|
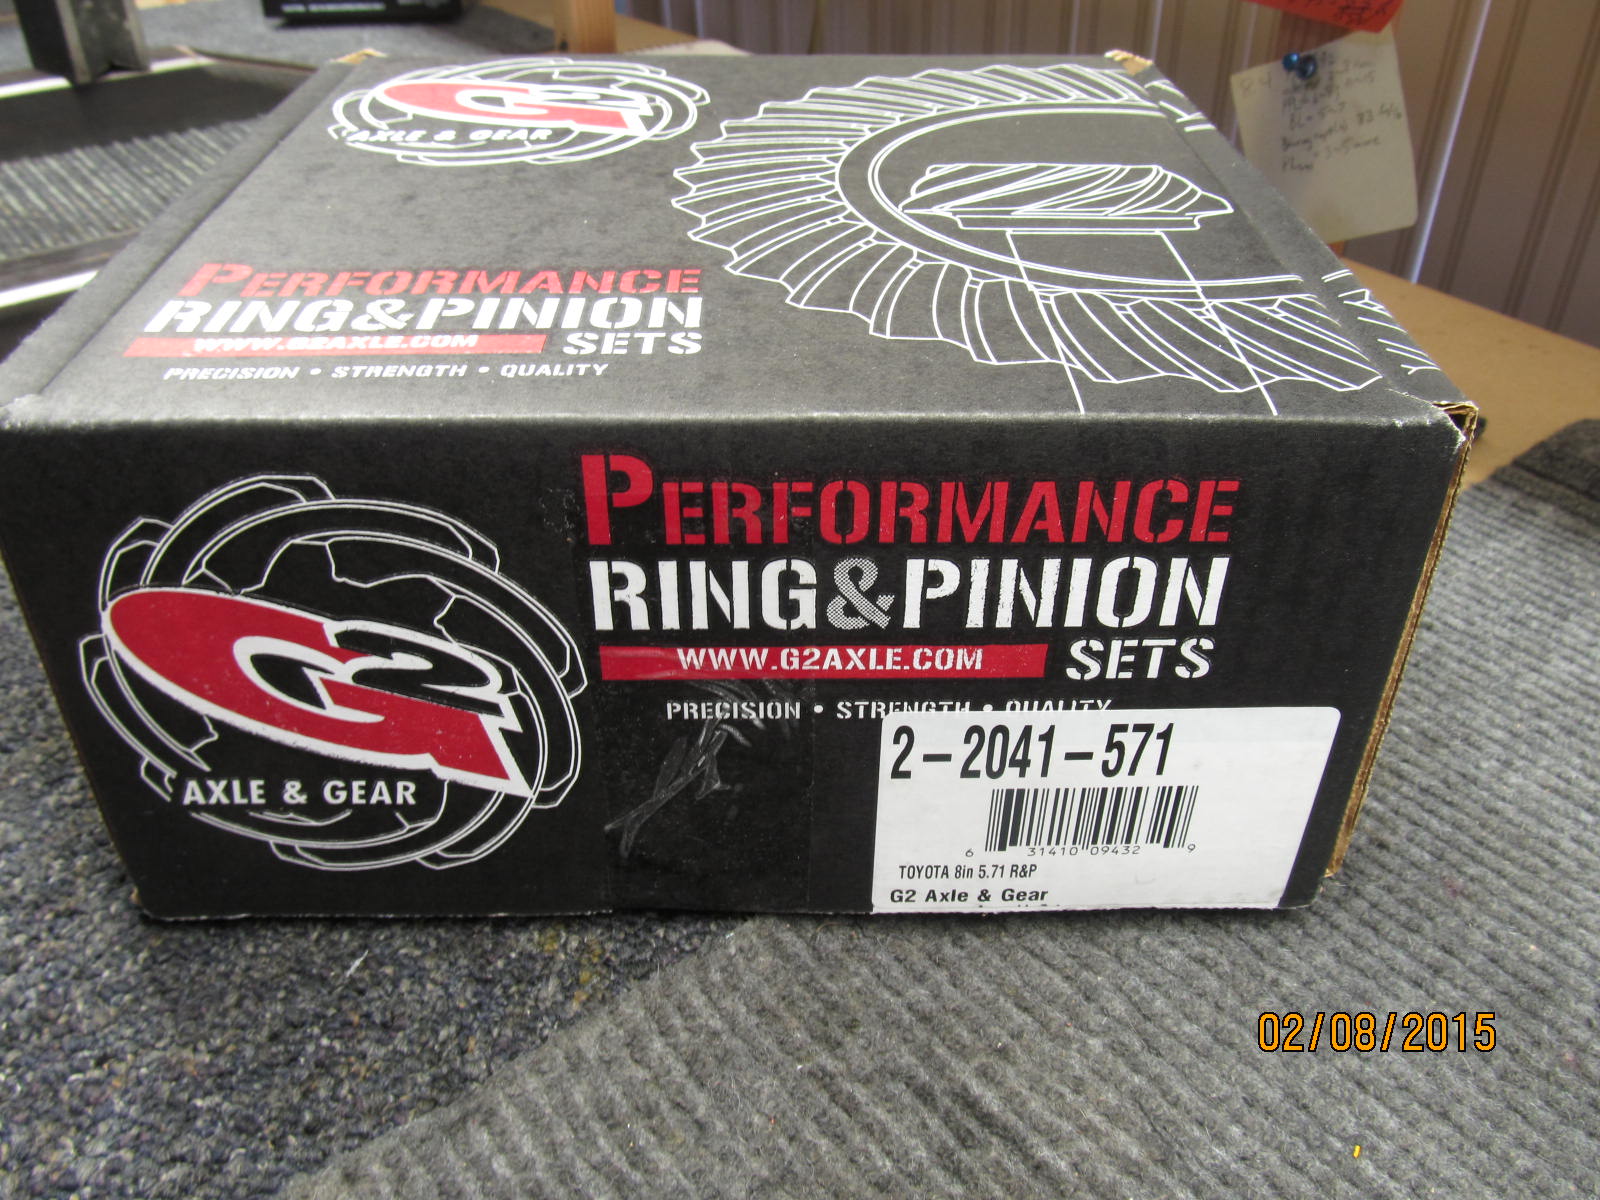
Josh gets 571 G2 Gears for his truck
|
|
(72 BIG pics loading)
|
|
Feb 17 2015
|
|
|
|
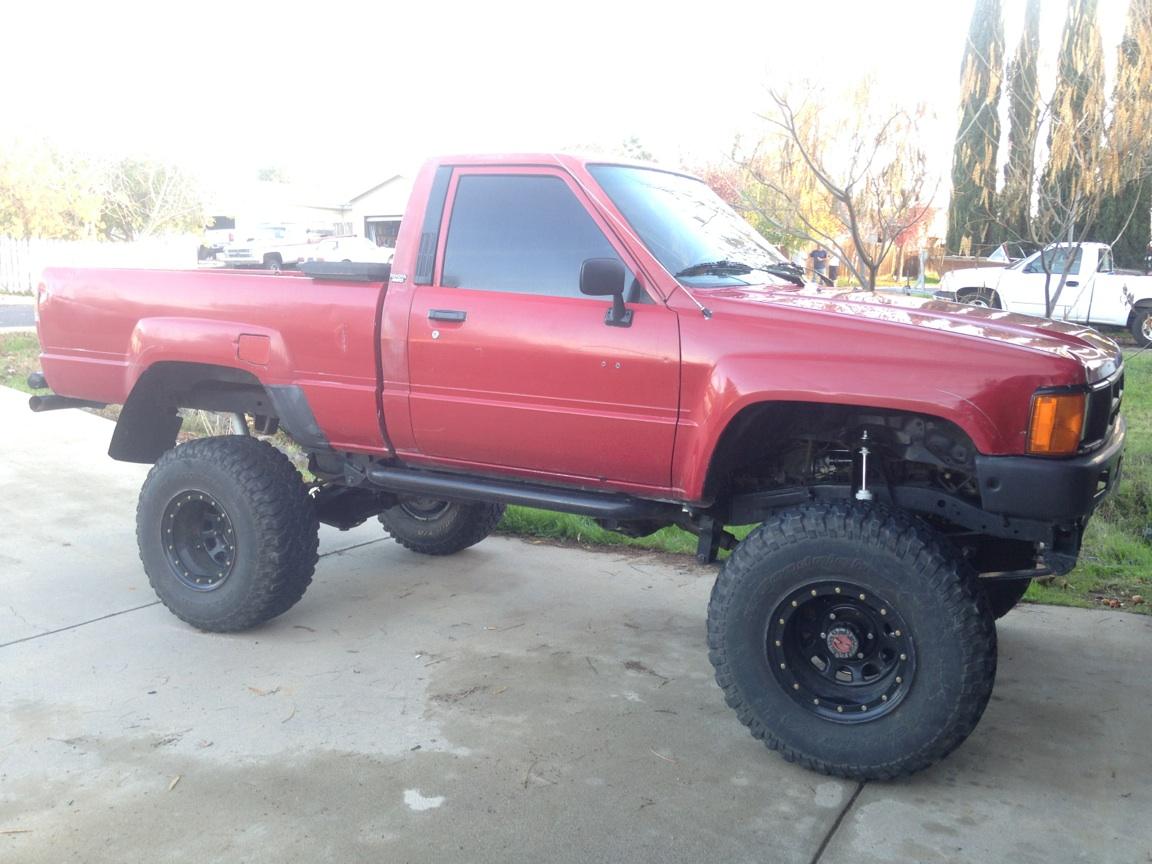
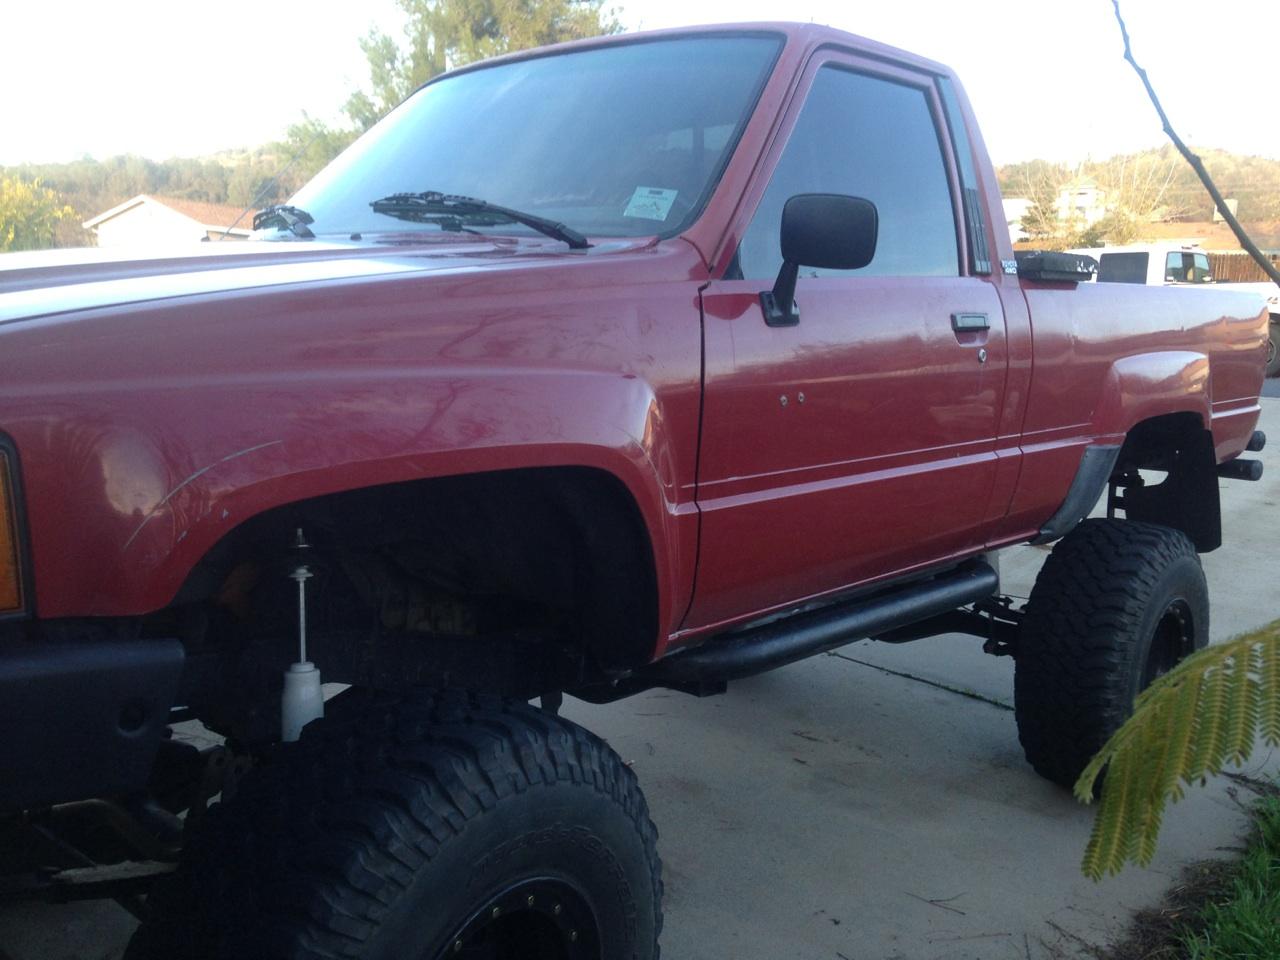
Josh's truck. 1985 single cab....22R....5 speed....33" tires at the moment.
|
|
|
|
|
Smittybilt nerf bars.
|
|
|
|
|
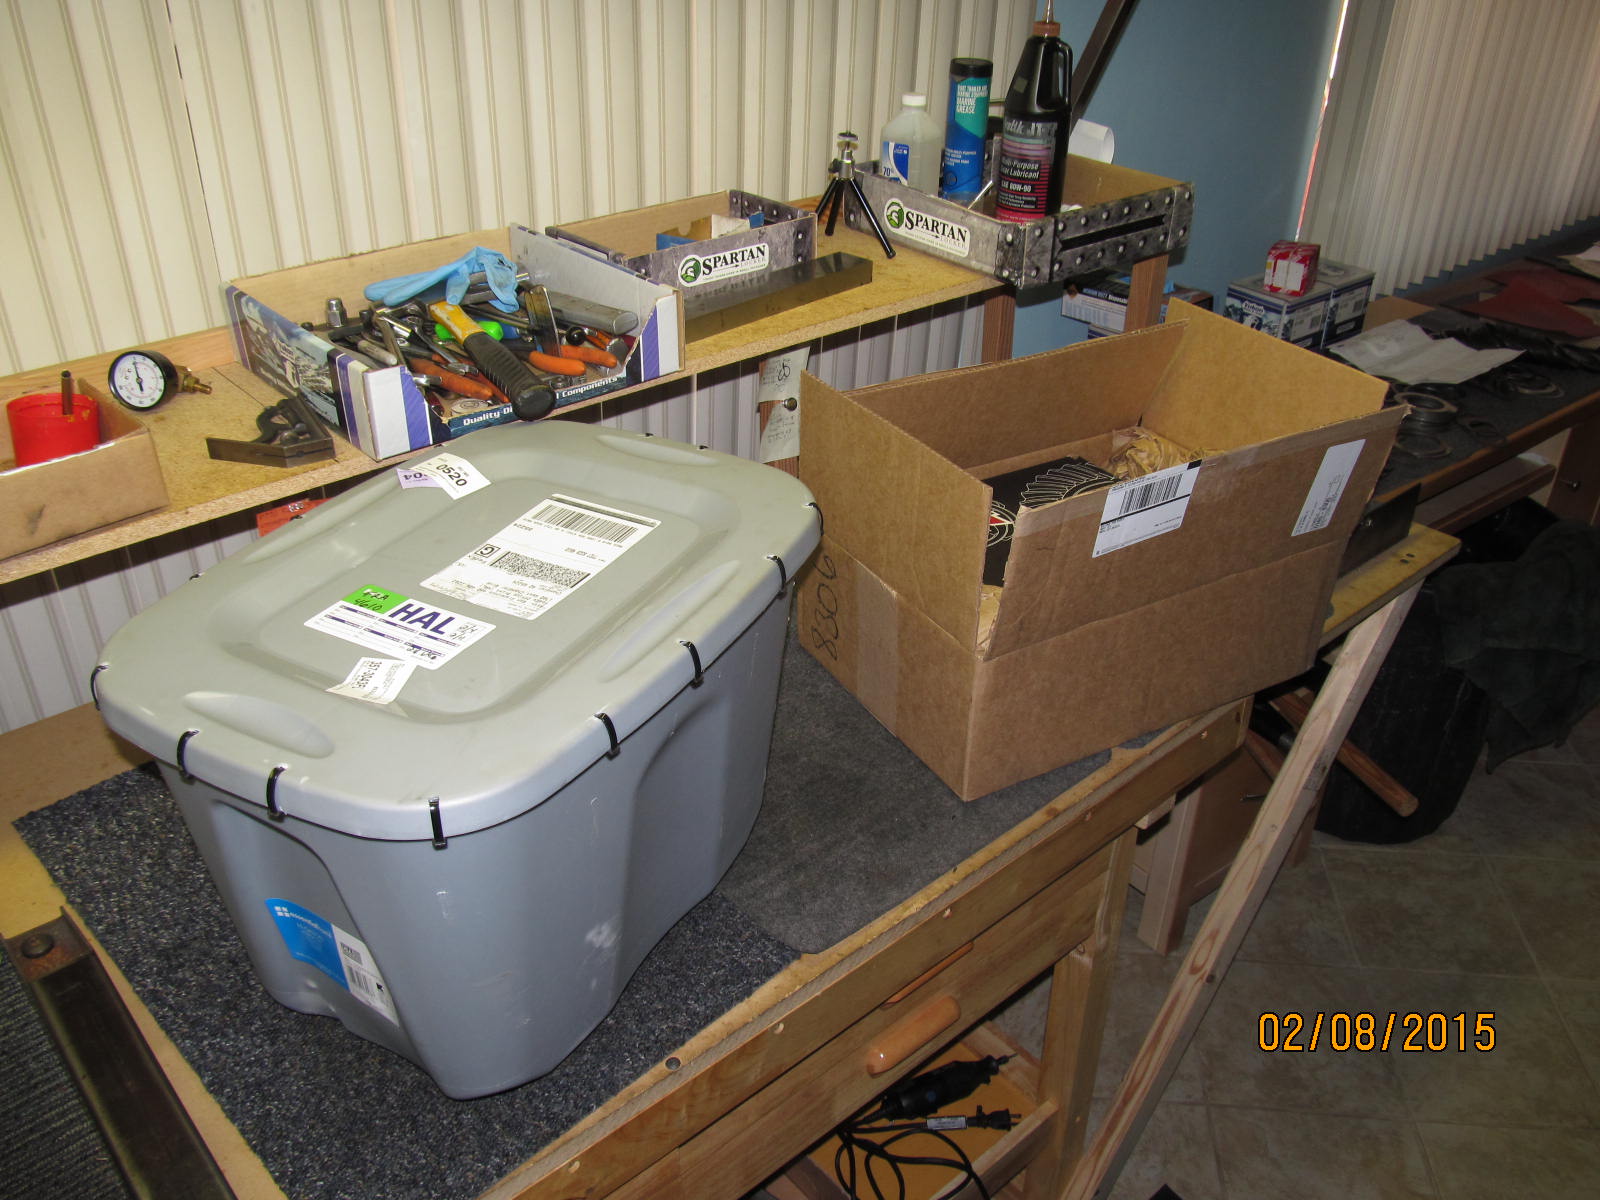
Tote received....nicely done on the tie-rap job. Also received the G2 571 gears at the same time.
|
|
|
|
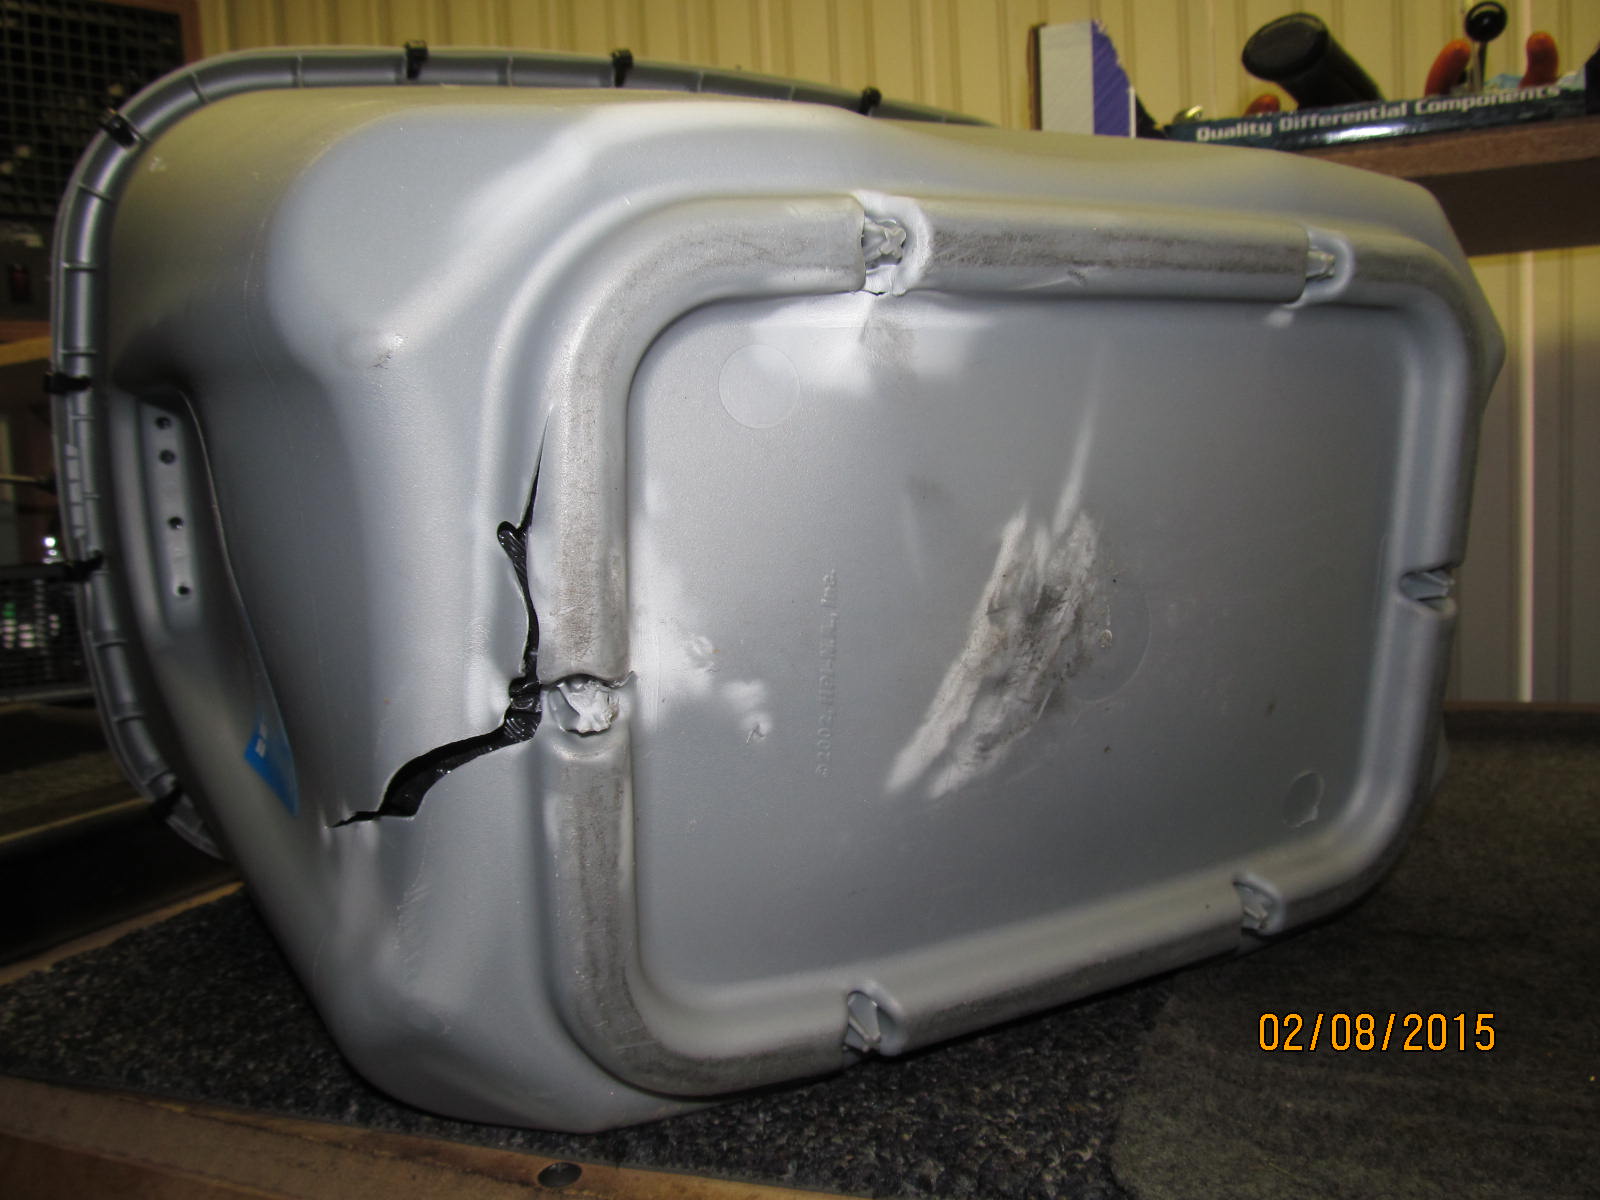
Bottom of the tote just barely made it to my place. The 3rd needed to be "stabilized" much more.
It was allowed to roll around in the tote.
|
|
|
|
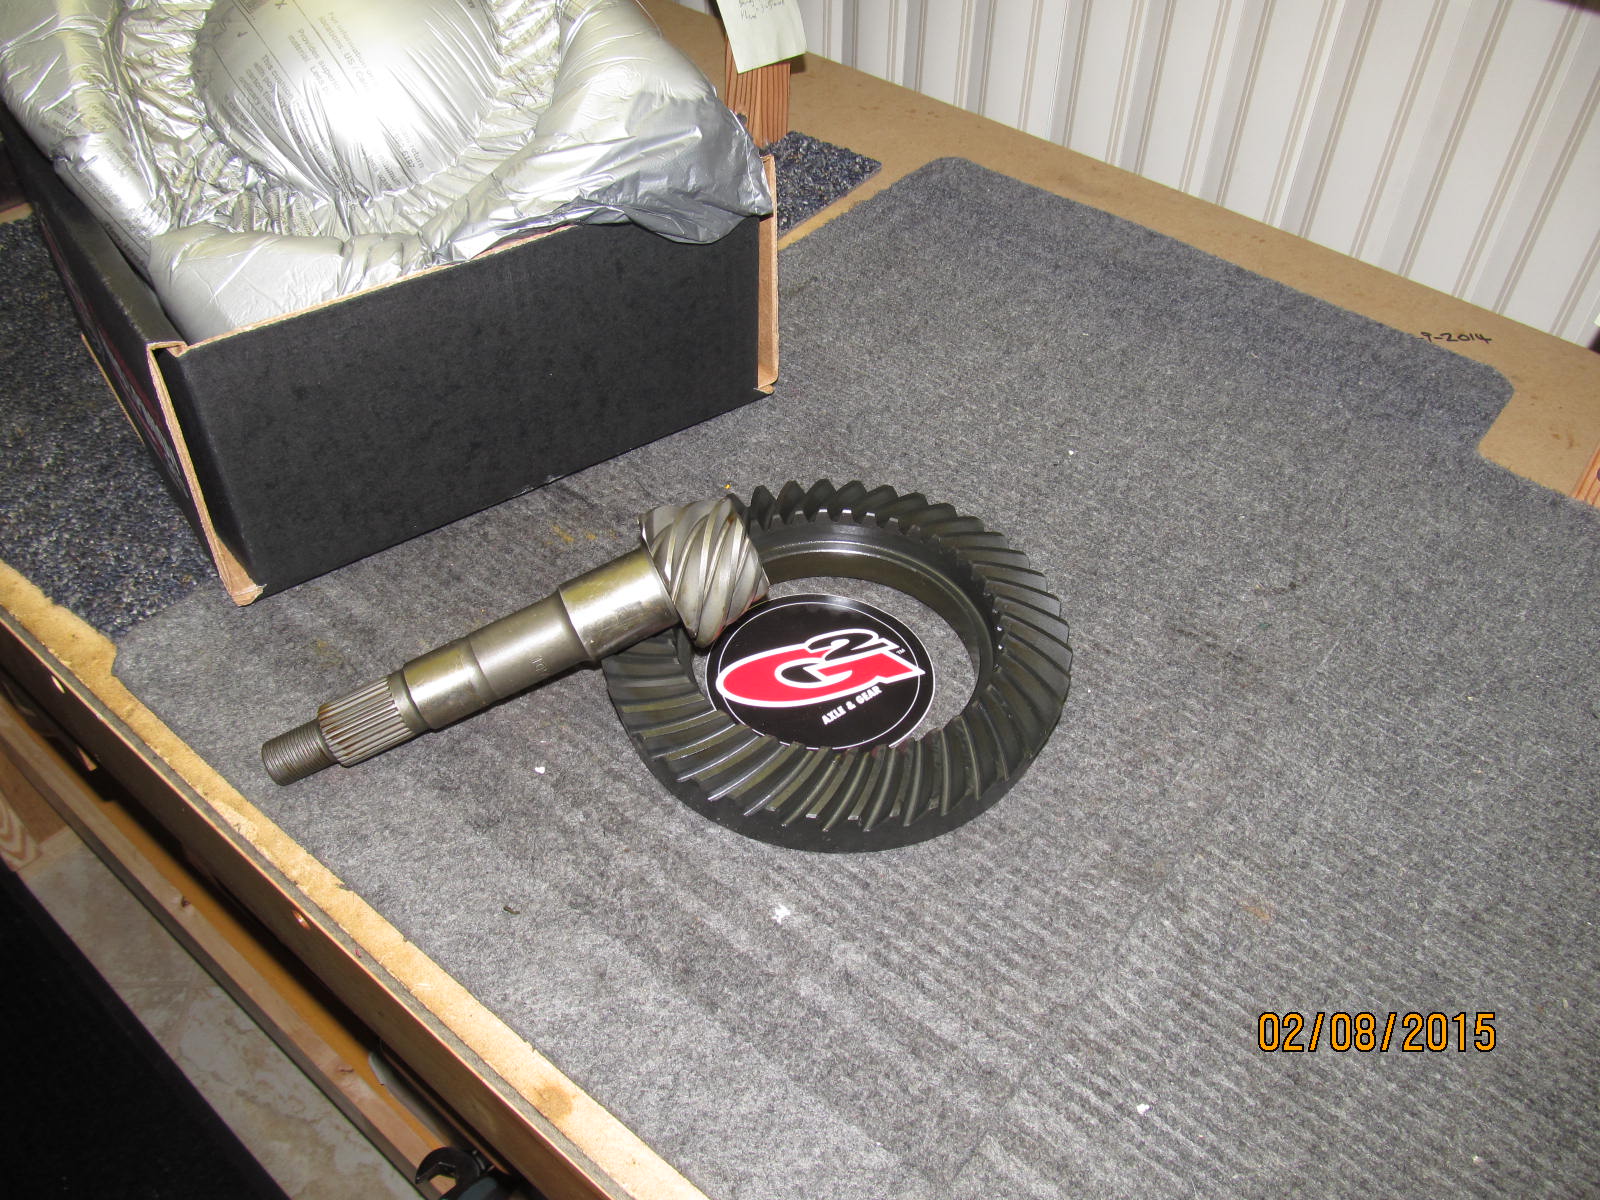
571 gears...a high performance ratio. If tire size dictates it or other factors play a part then do it. Just make sure
that the gears are a quality gear and the install is done right.
|
|
|
|
Josh doesn't have the funds to go with double cases and chooses for now to keep it simple....and cheap. Future plans
are for 35 or 36" swampers so 571 was the logical choice.
|
|
|
|
|
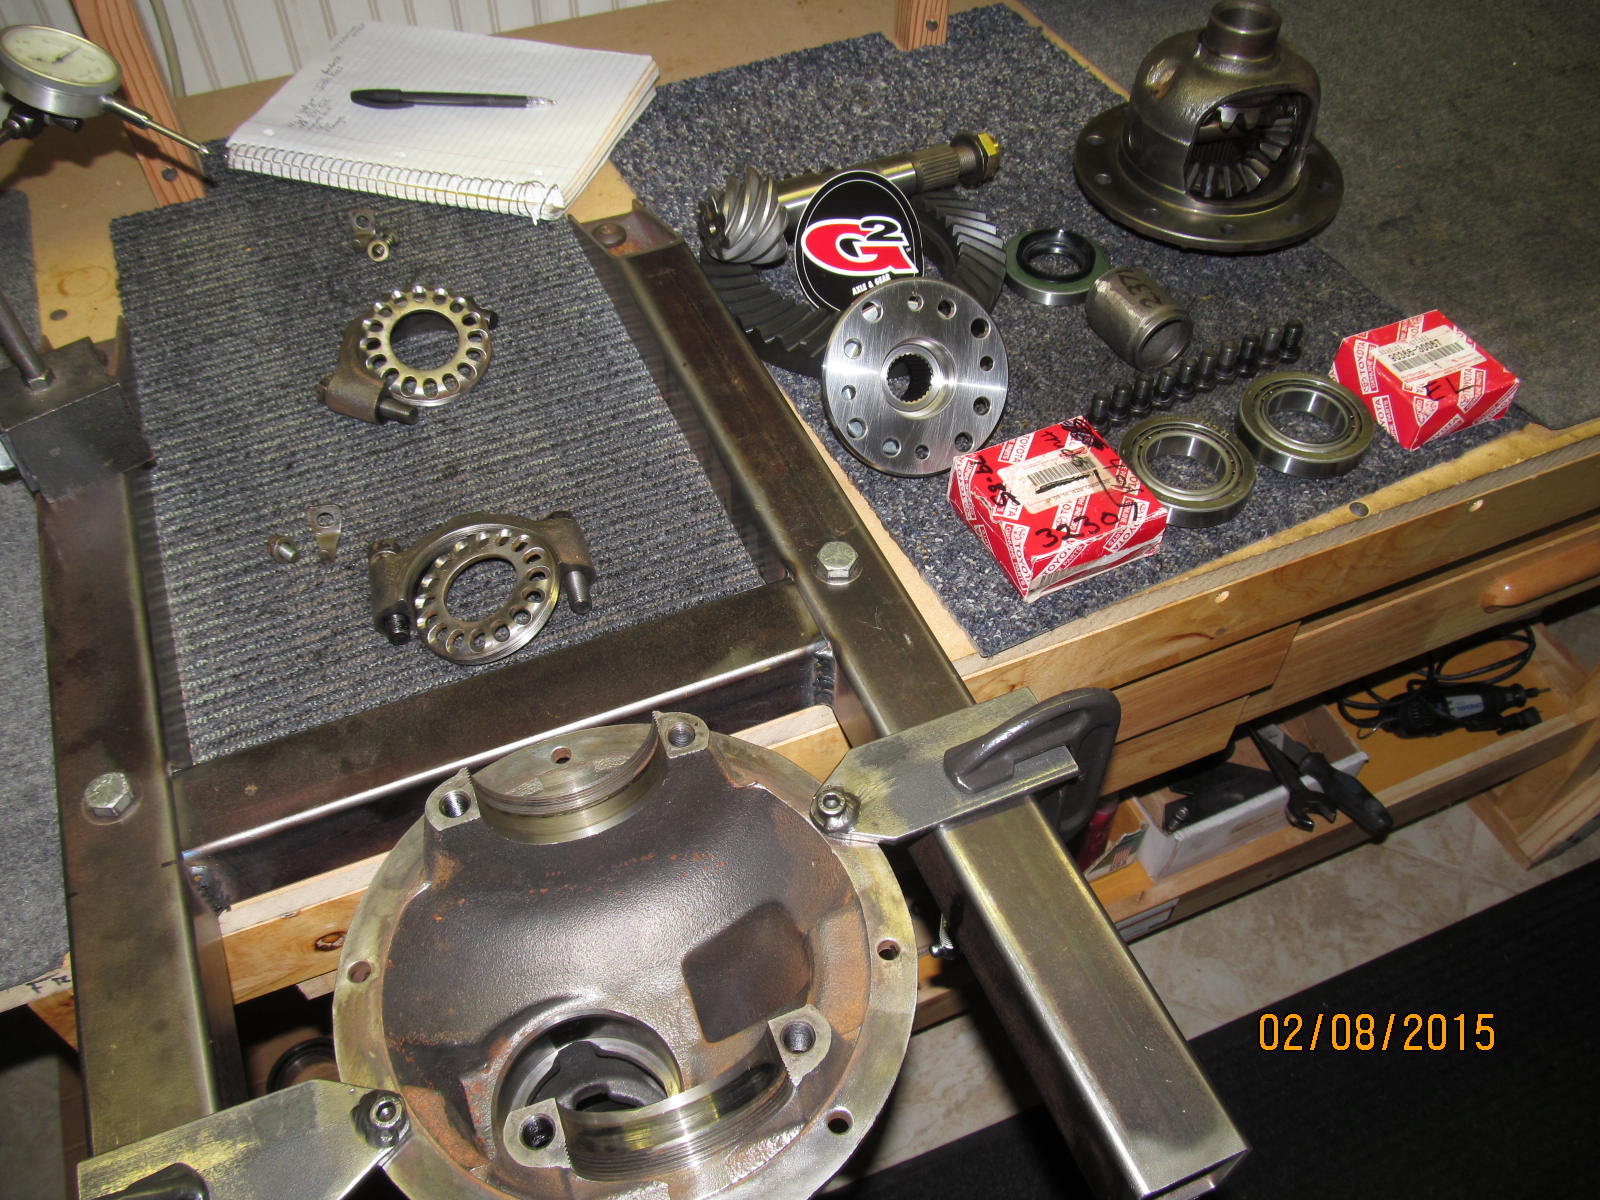
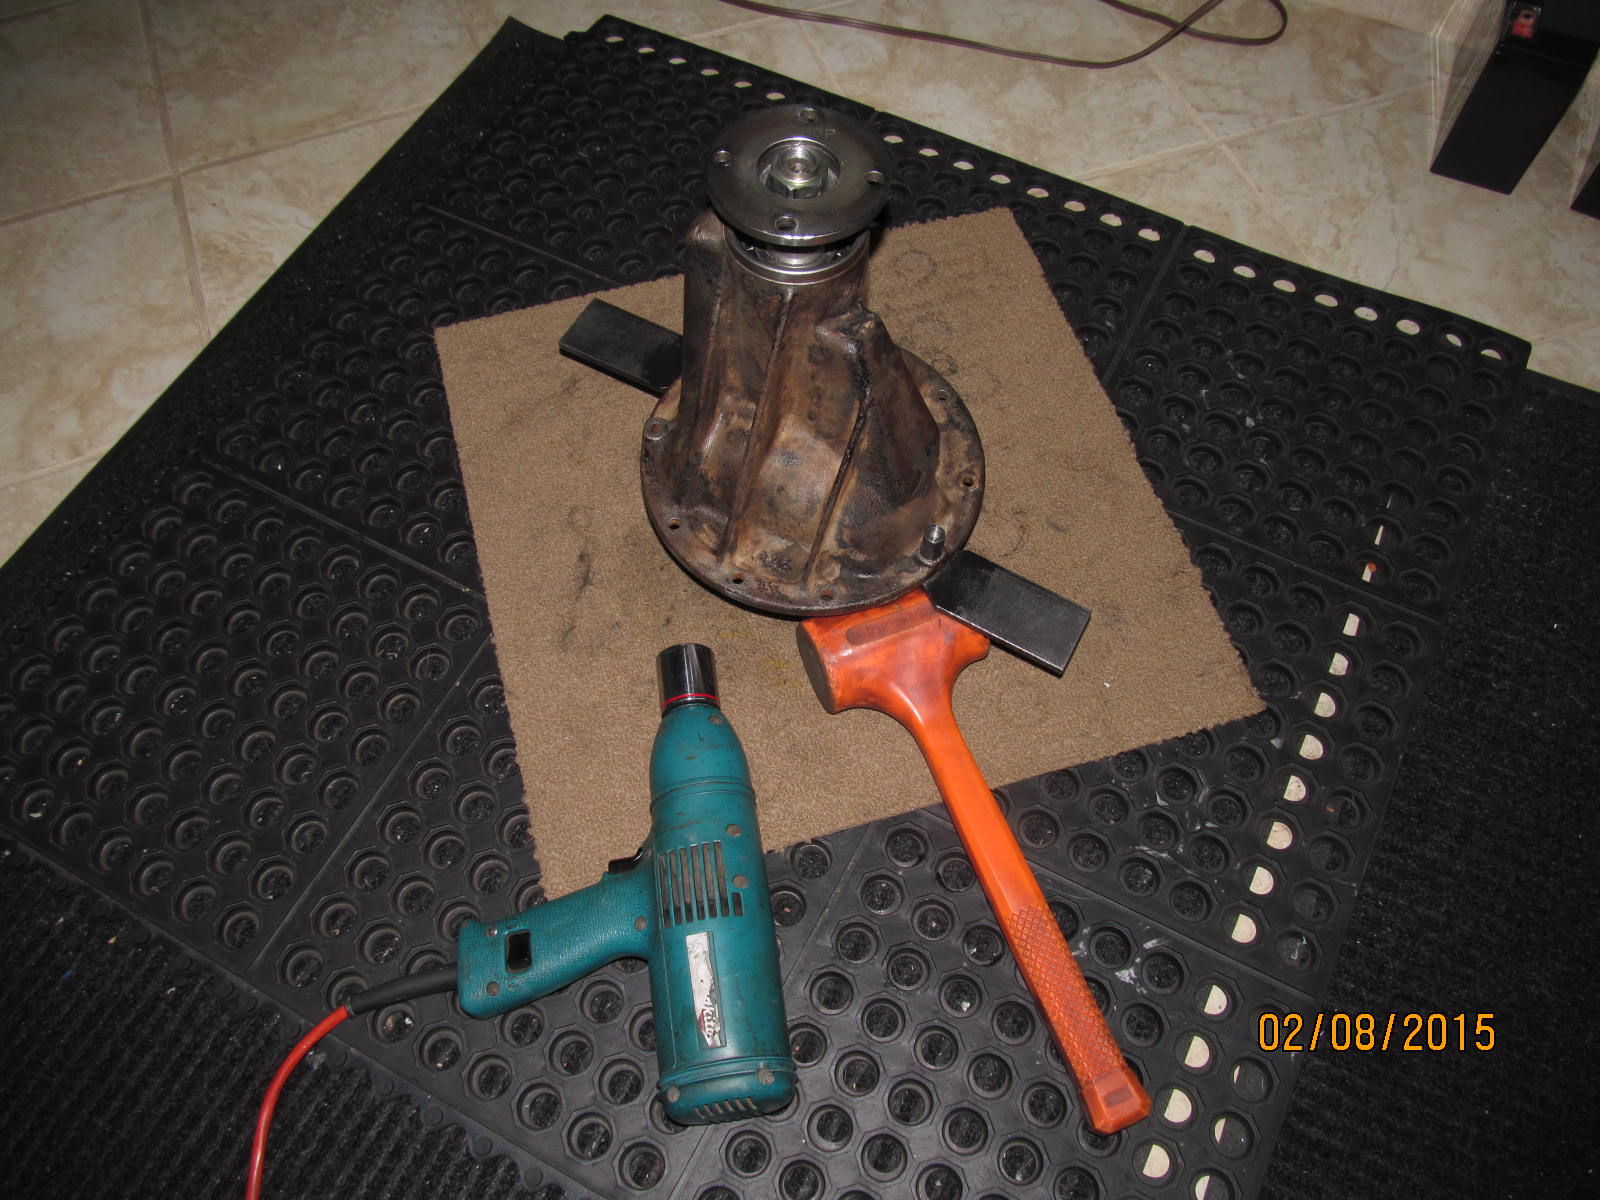
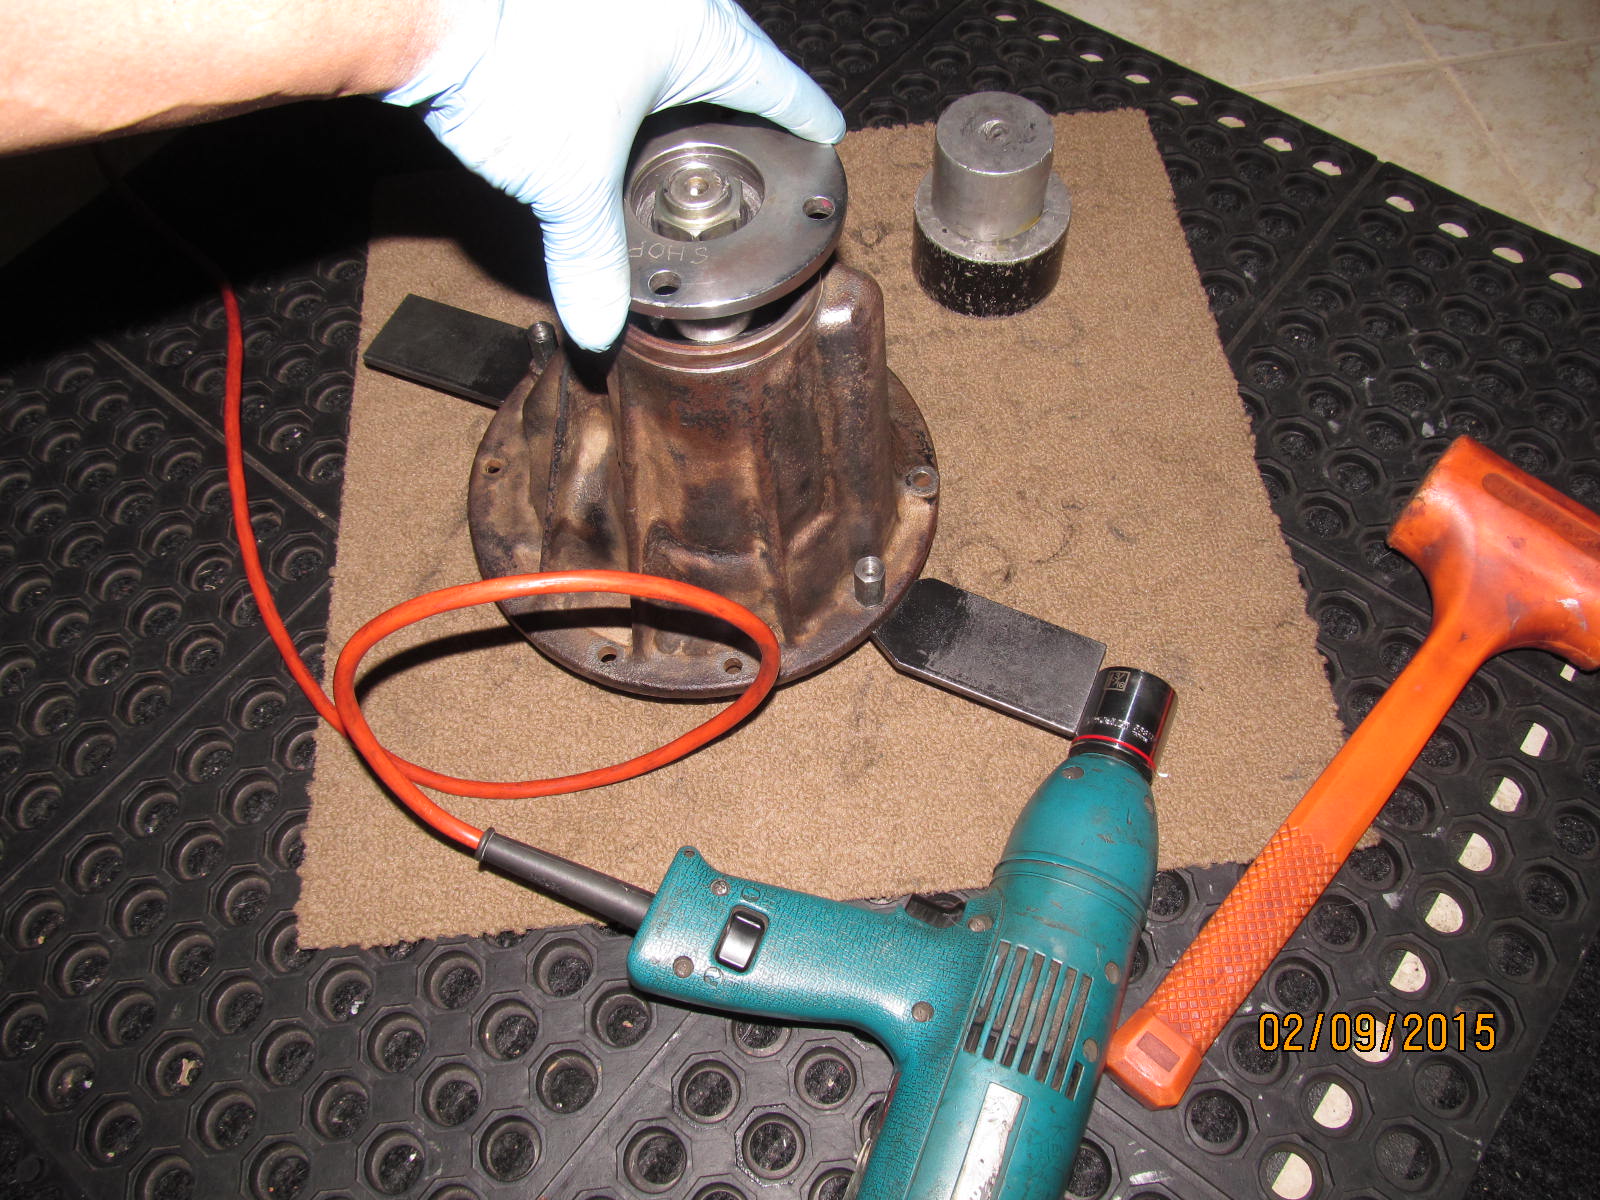
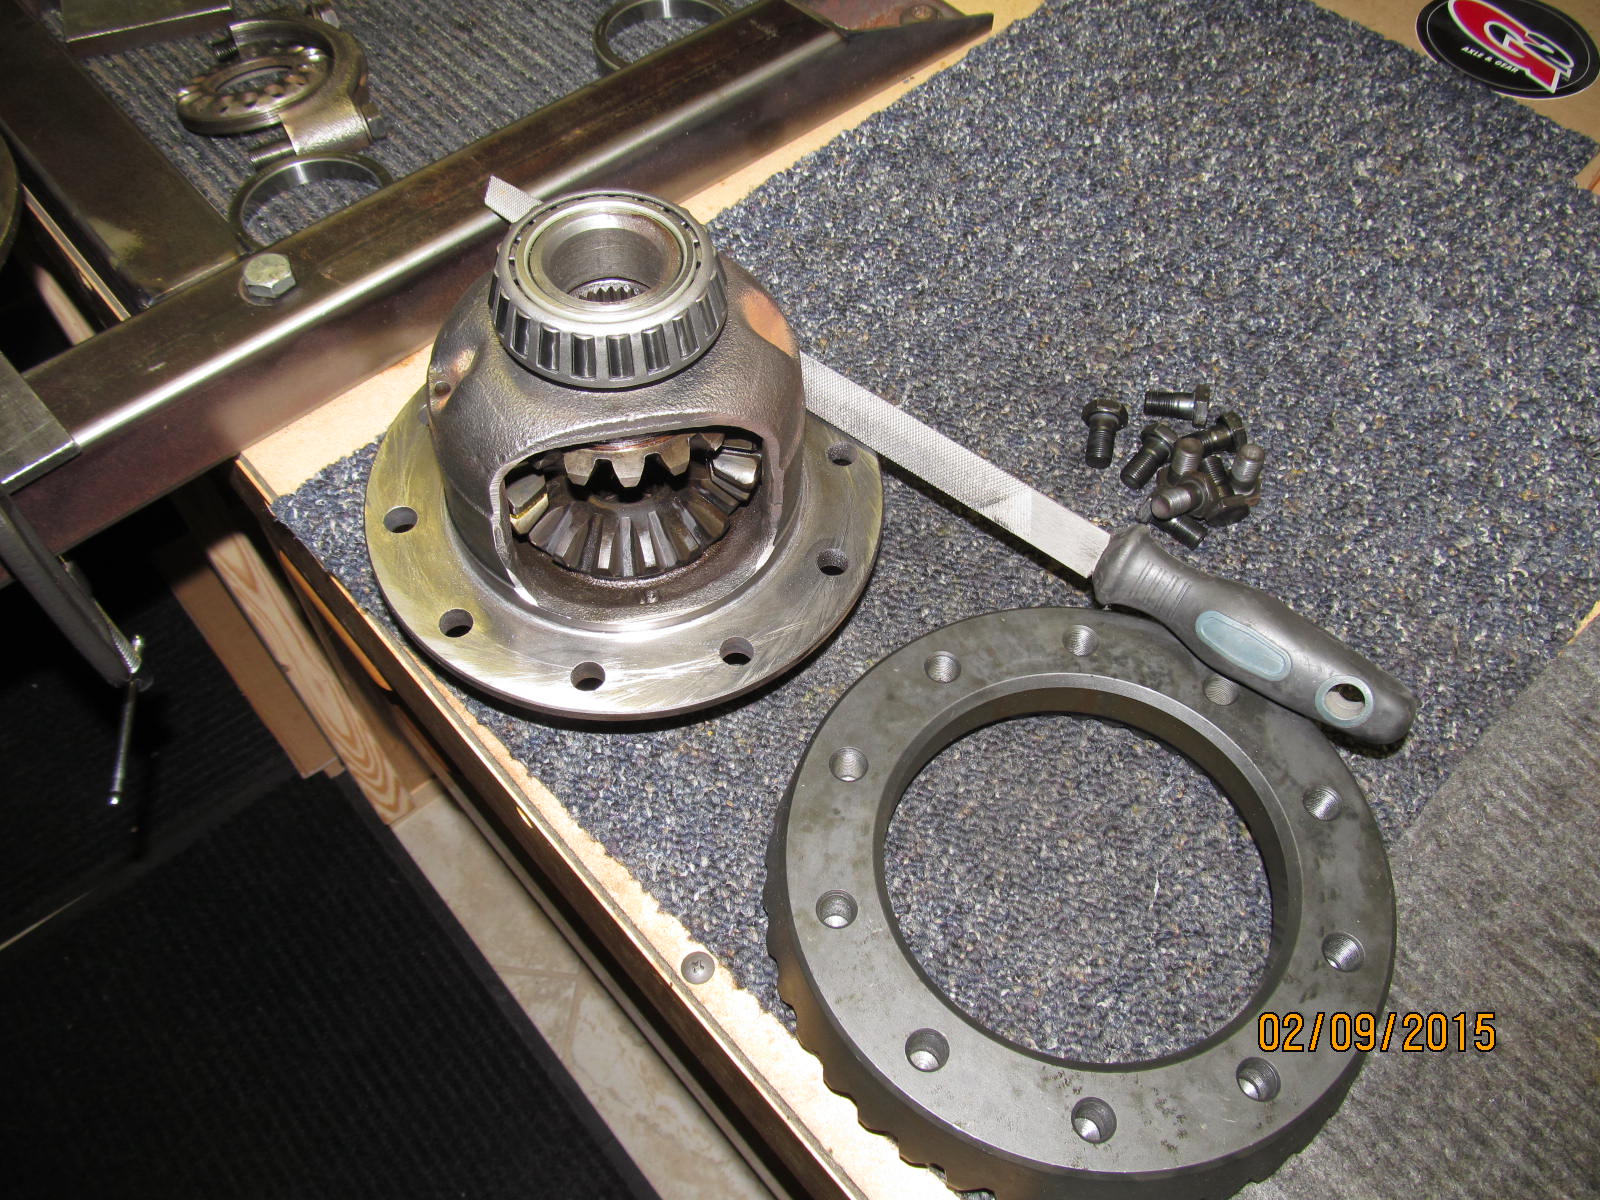
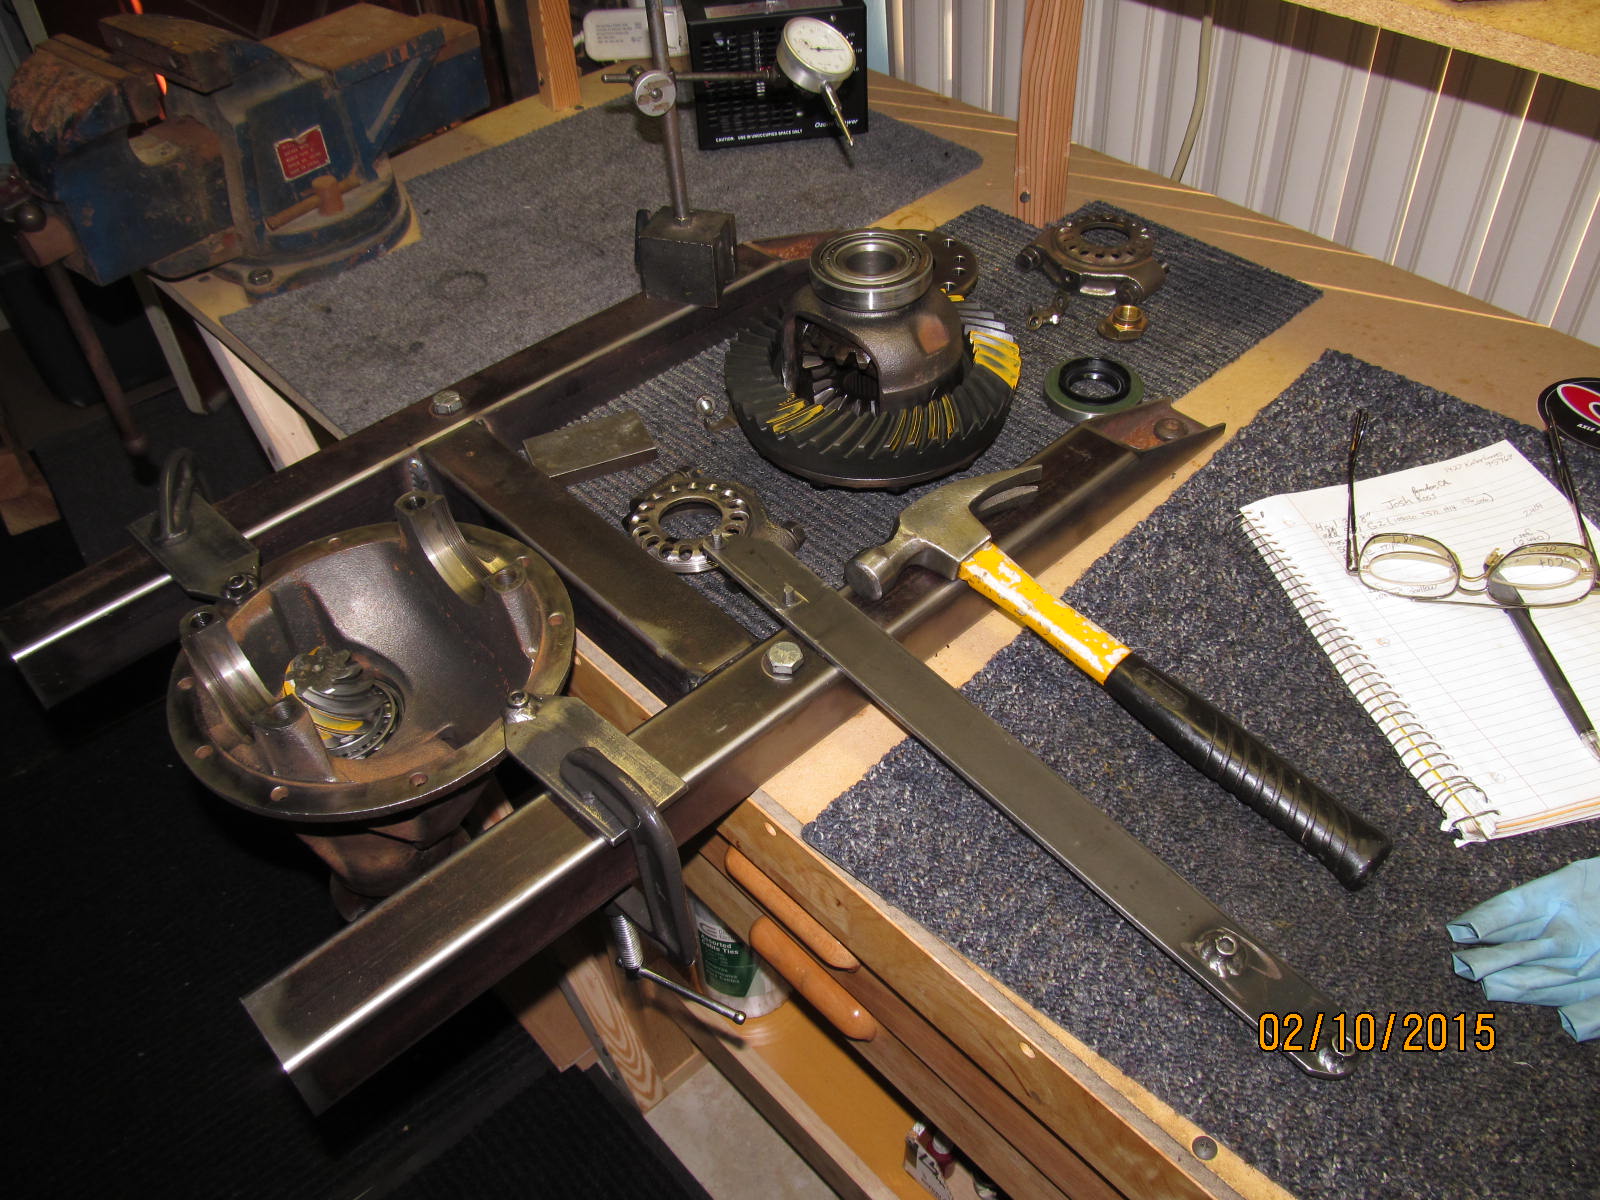
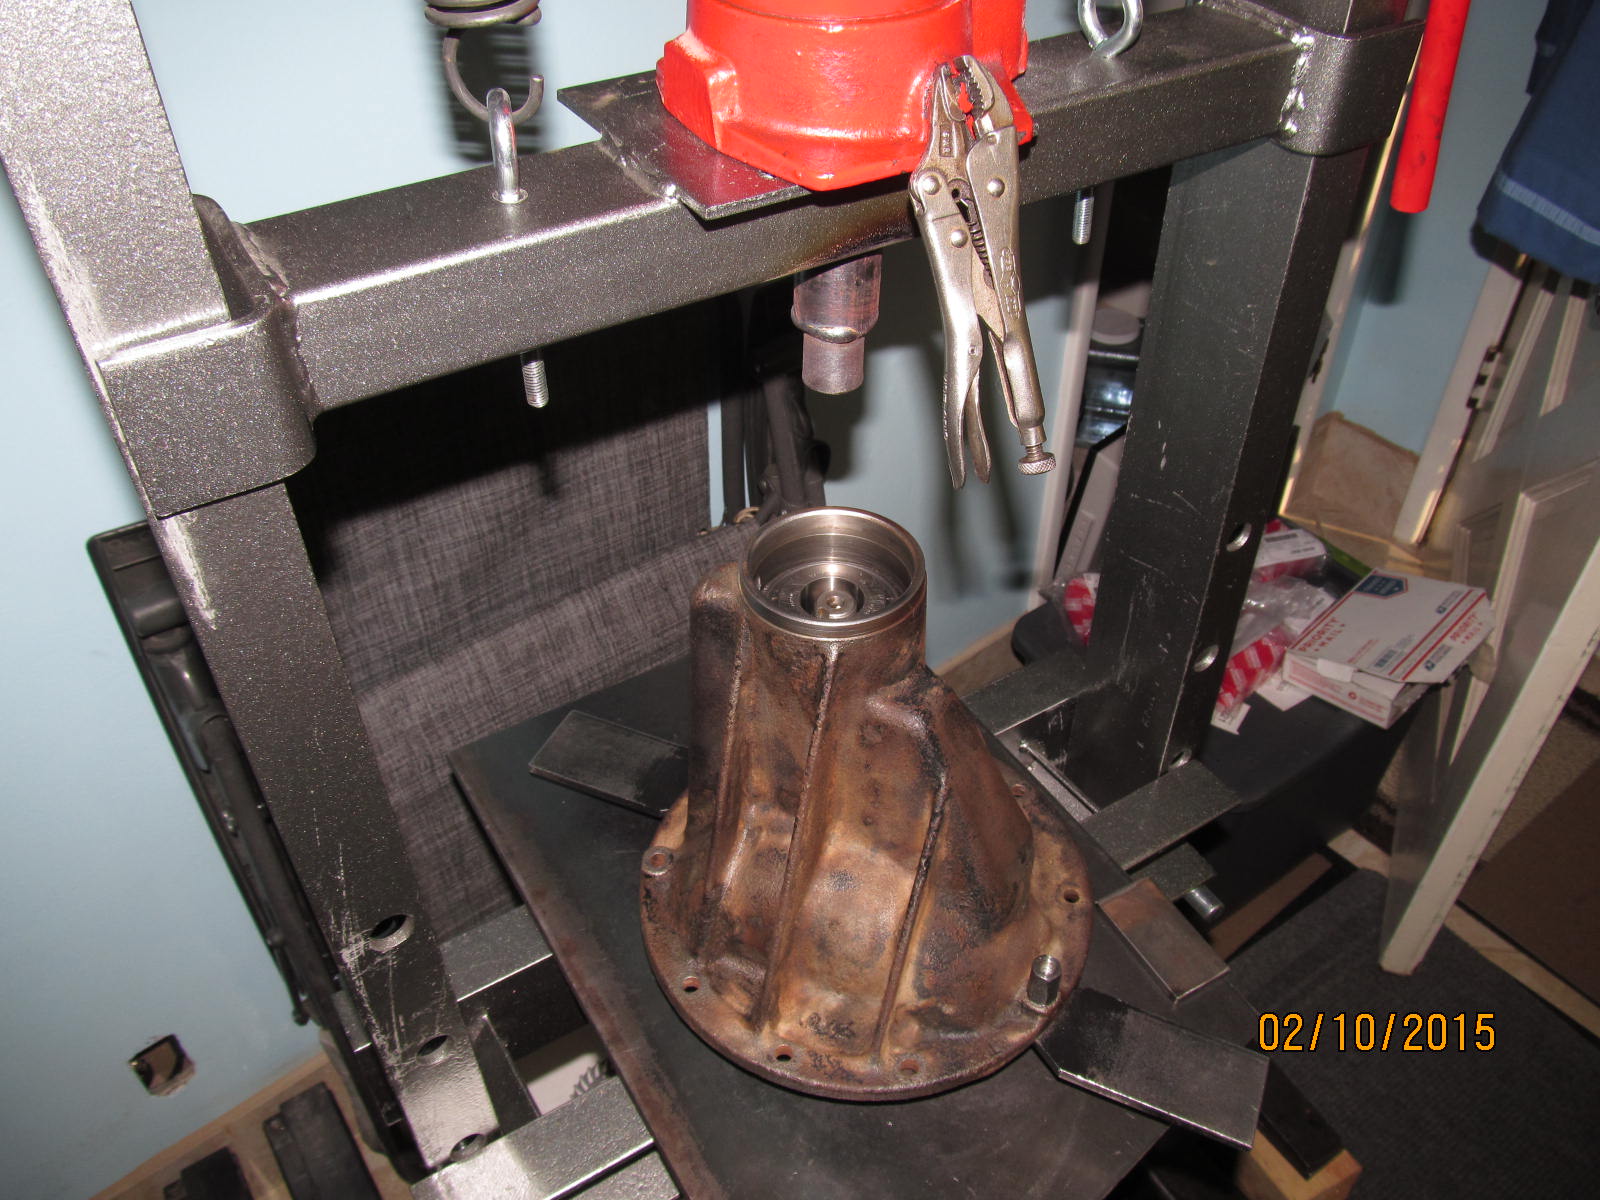
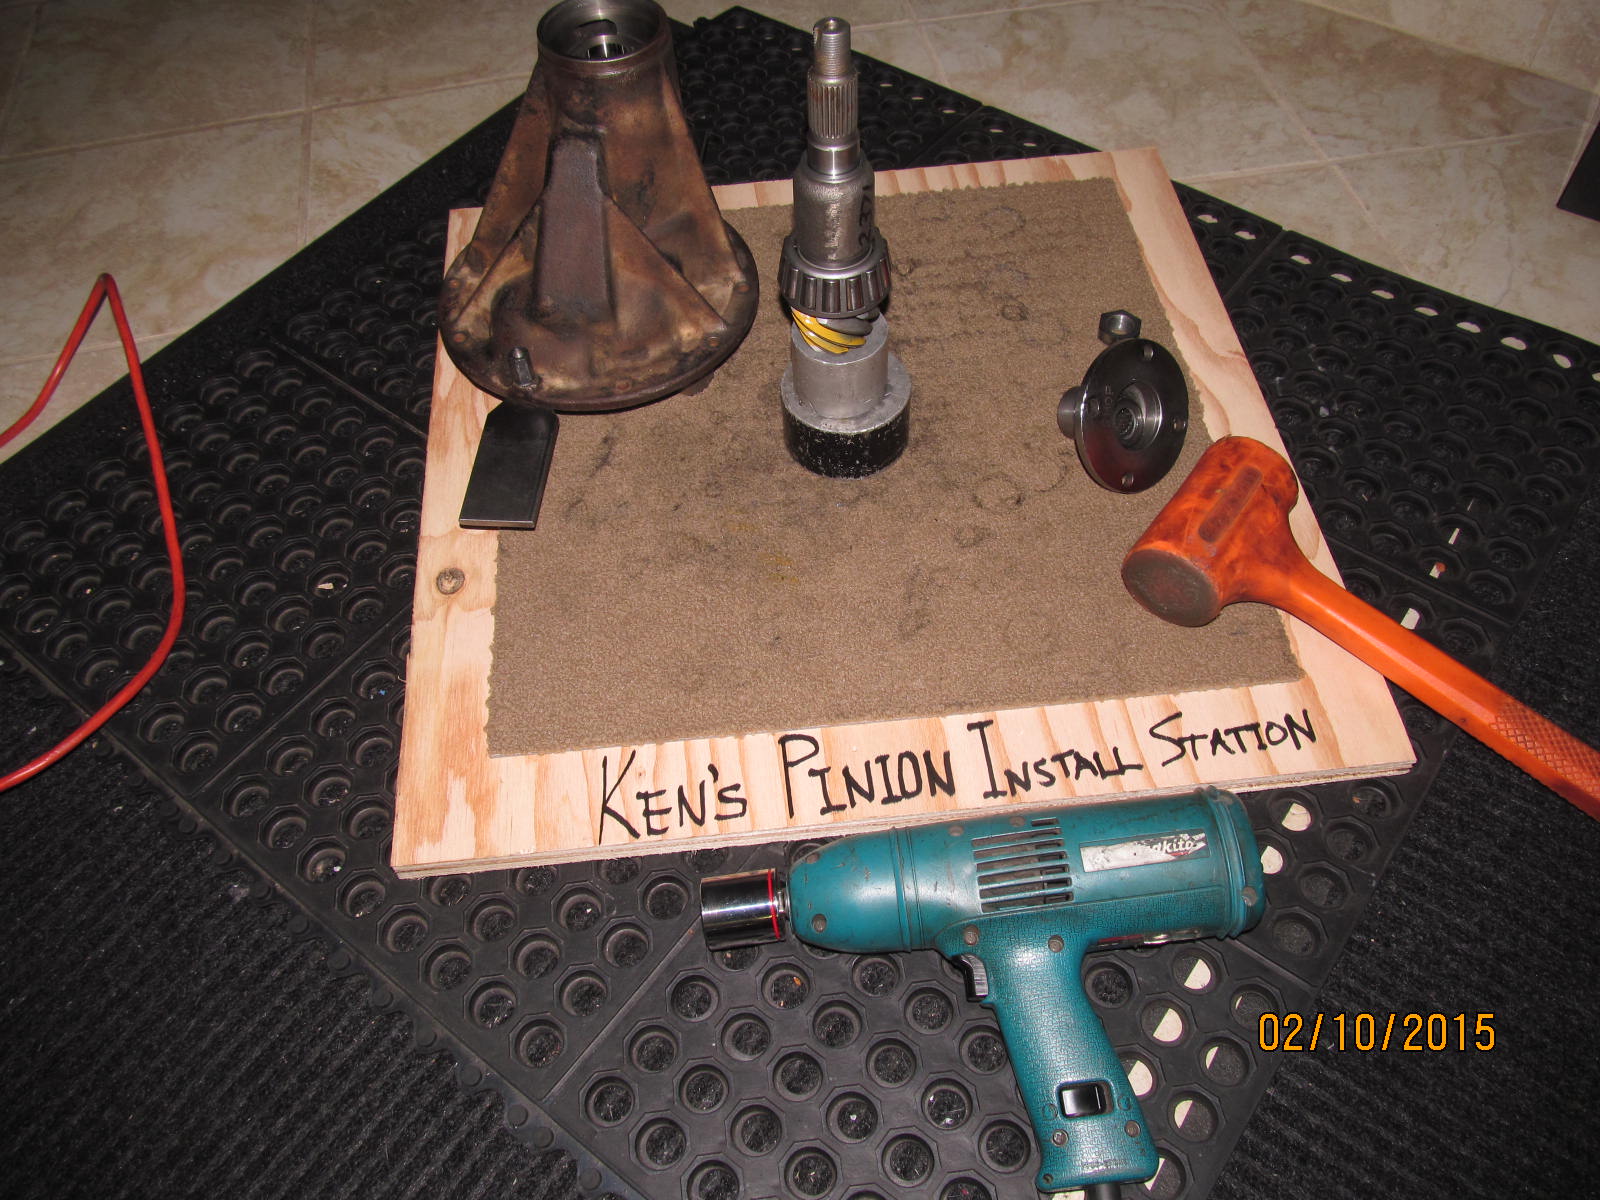
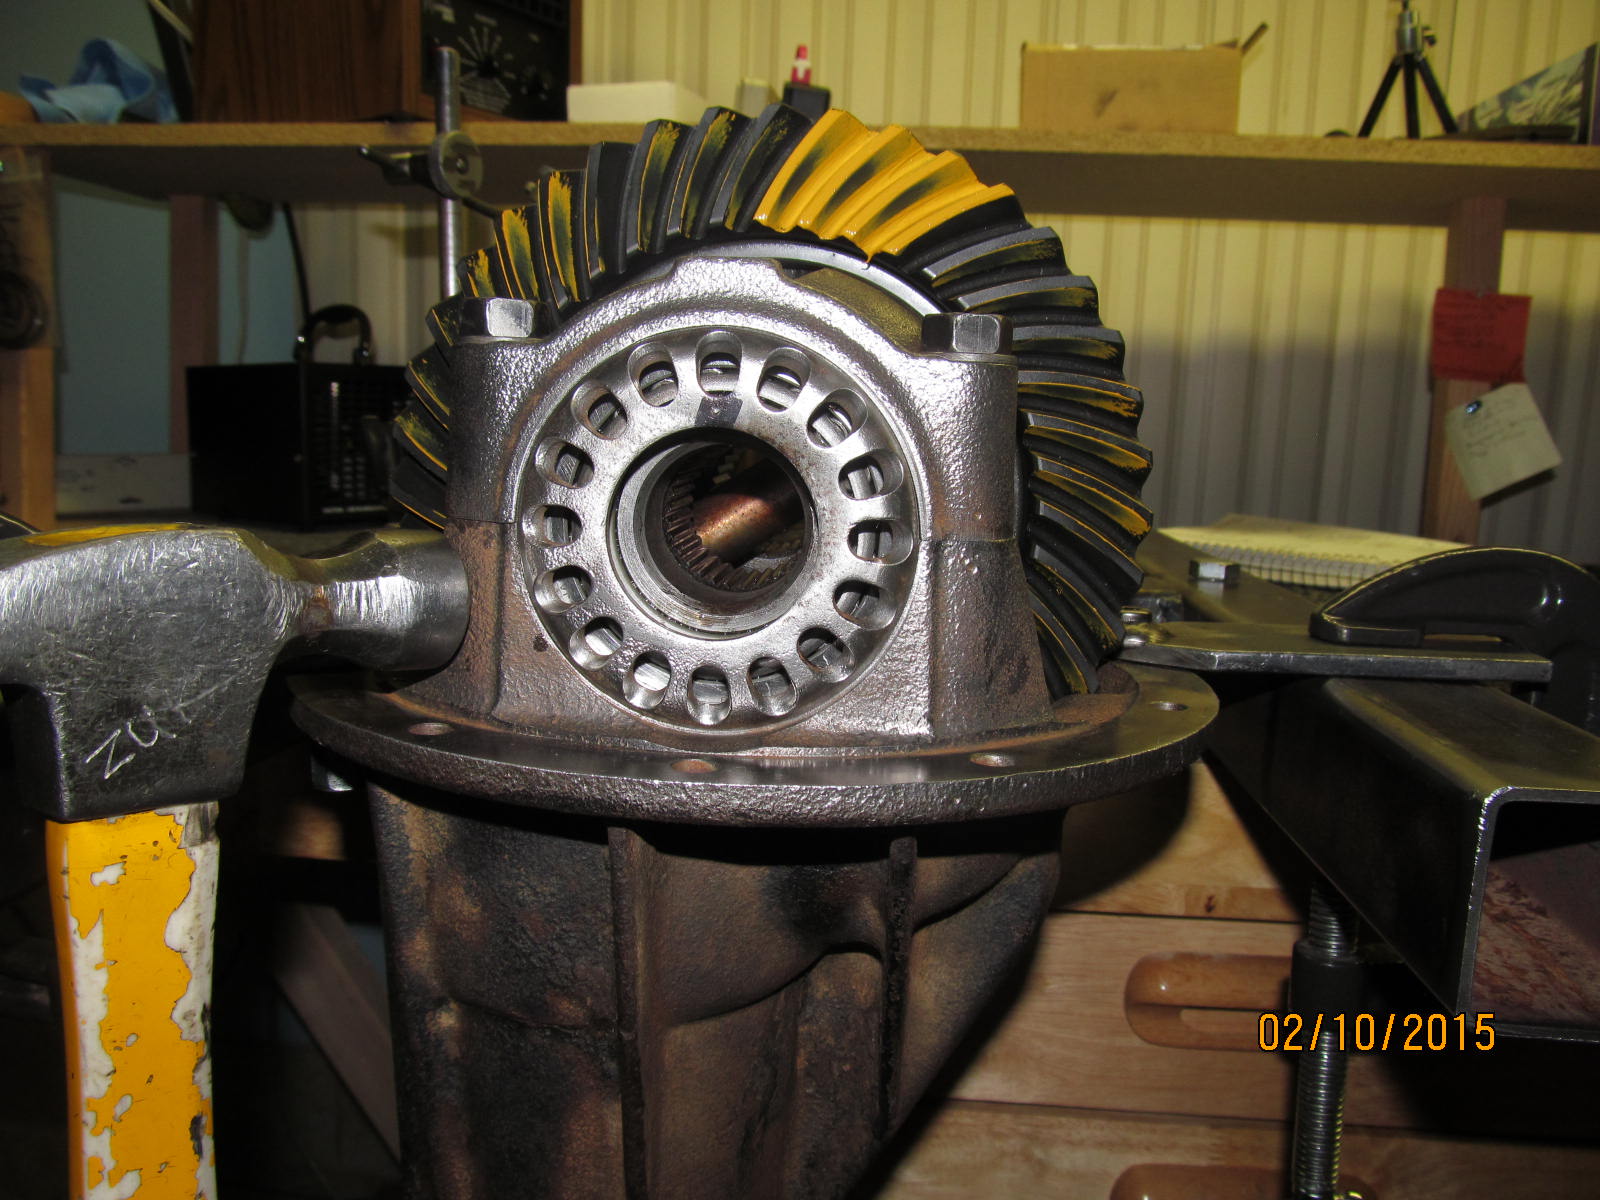
The 3rd is stripped down and cleaned. Parts are layed out on the right side and everything appears to be there.
|
|
|
|
|
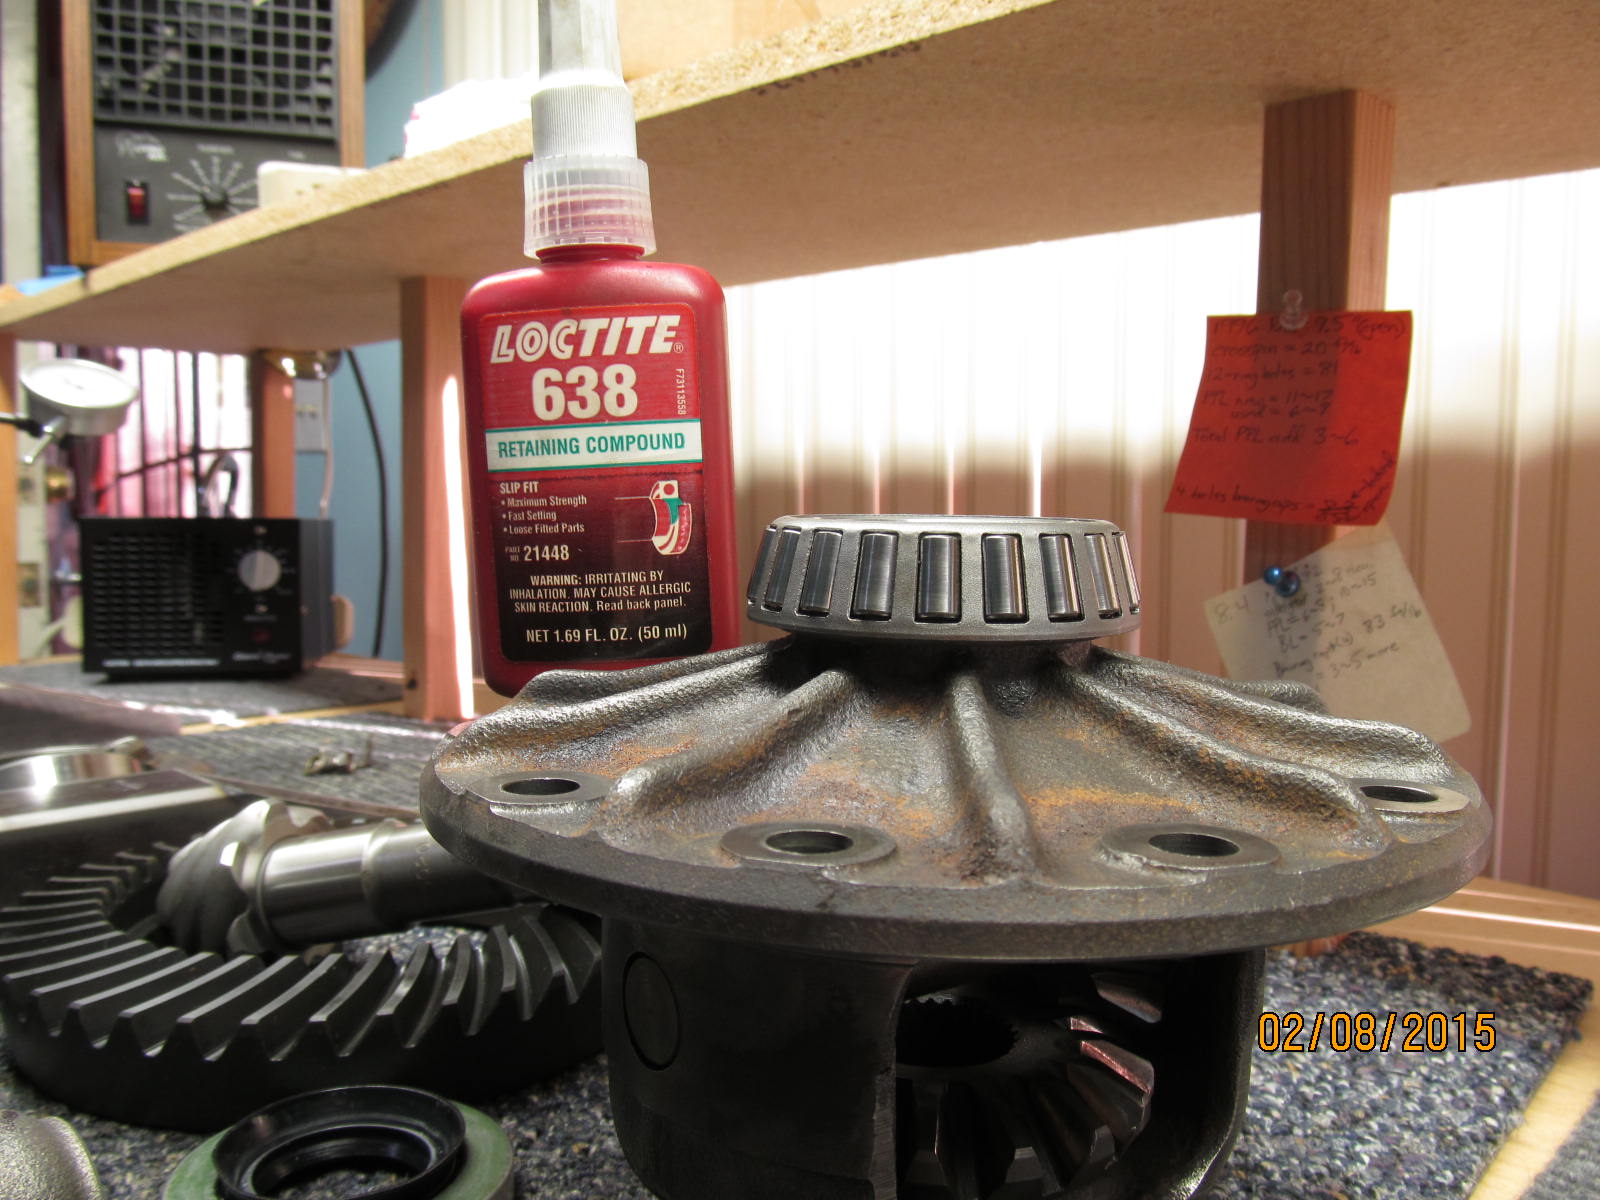
Both of the carrier bearings did not press on very tight so #638 Retaining compound was used. 24 hours to set up.
|
|
|
|
|
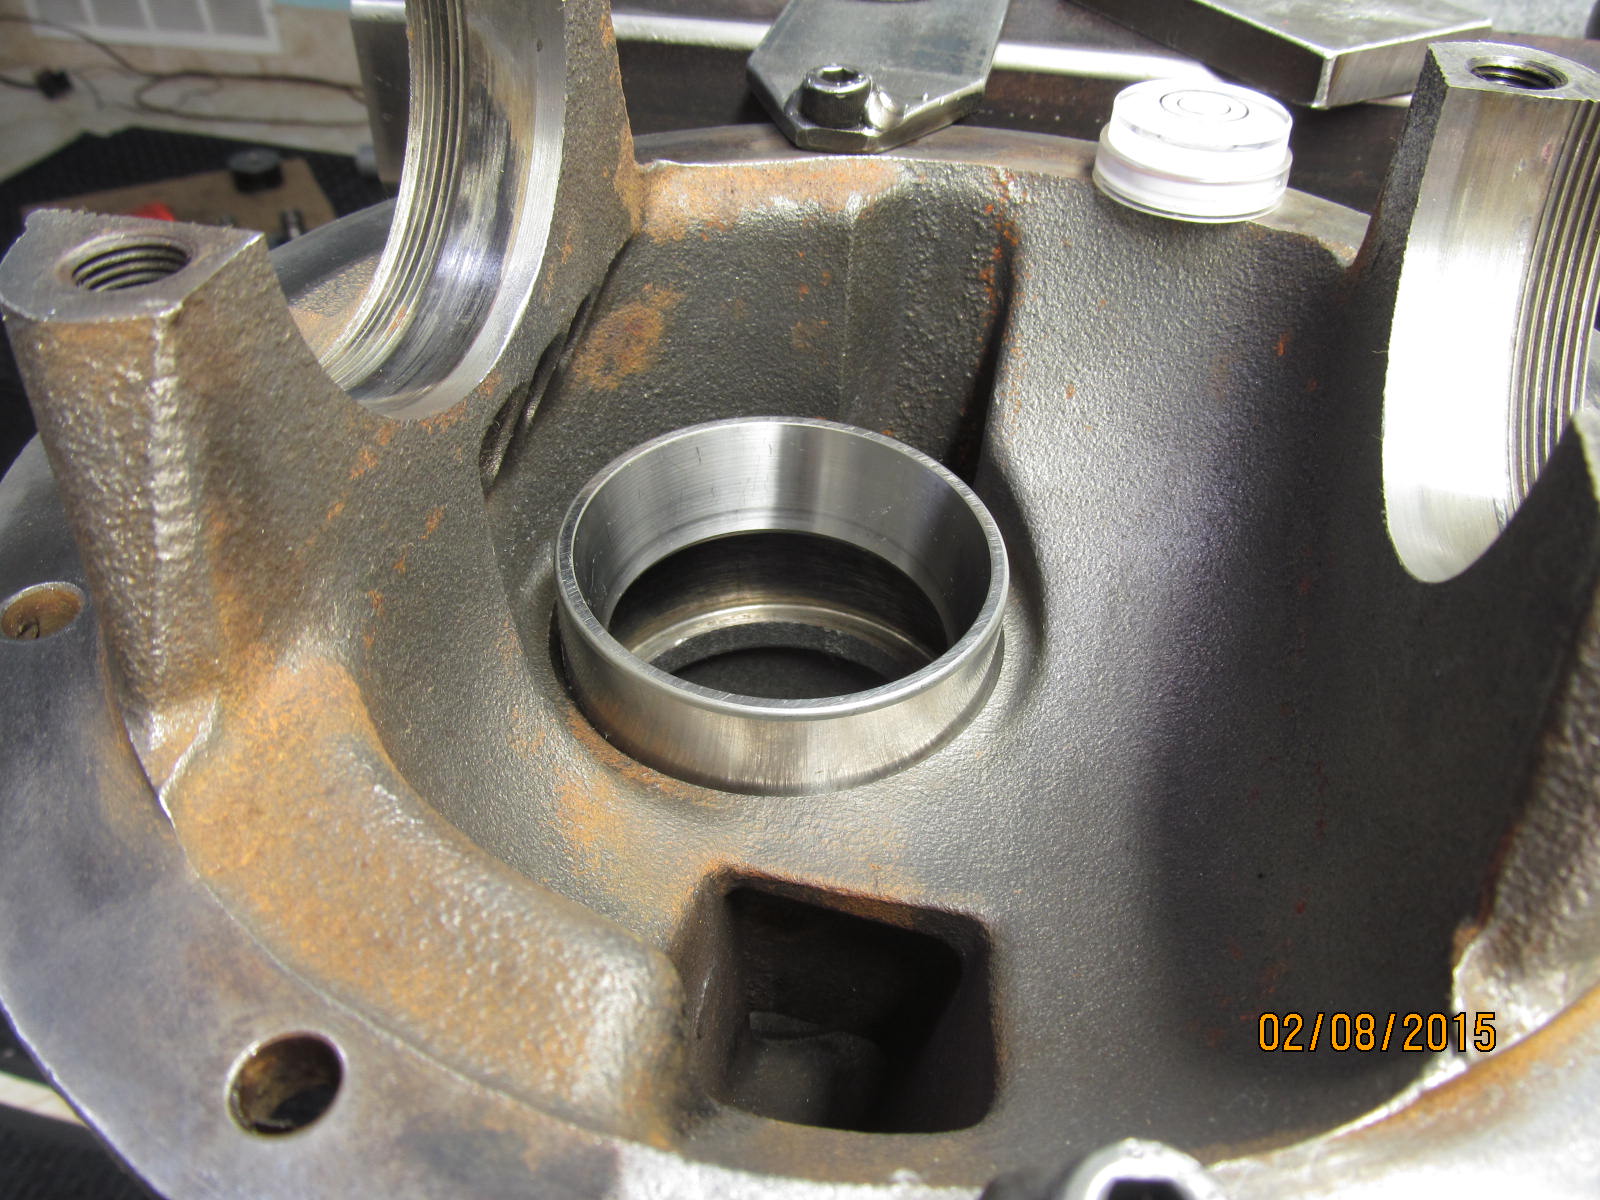
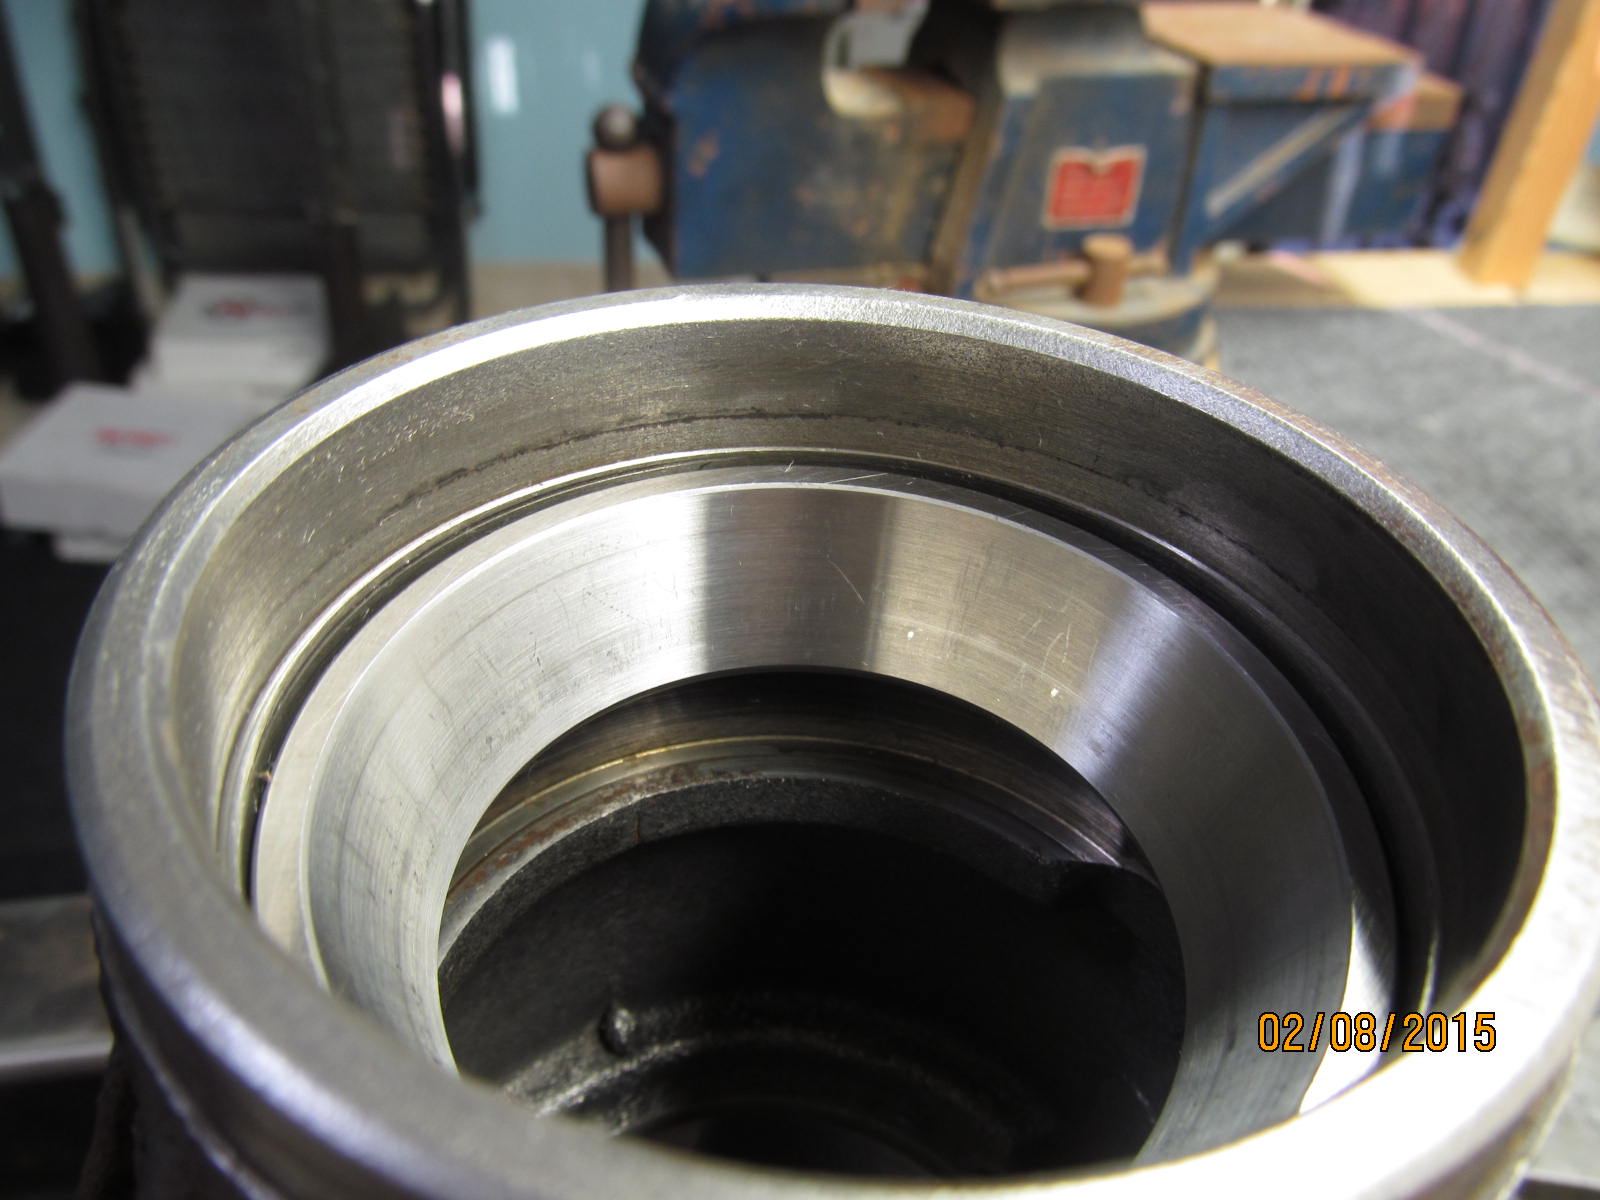
The inside pinion race is lightly tapped in place trying to start it level and true.
|
|
|
|
|
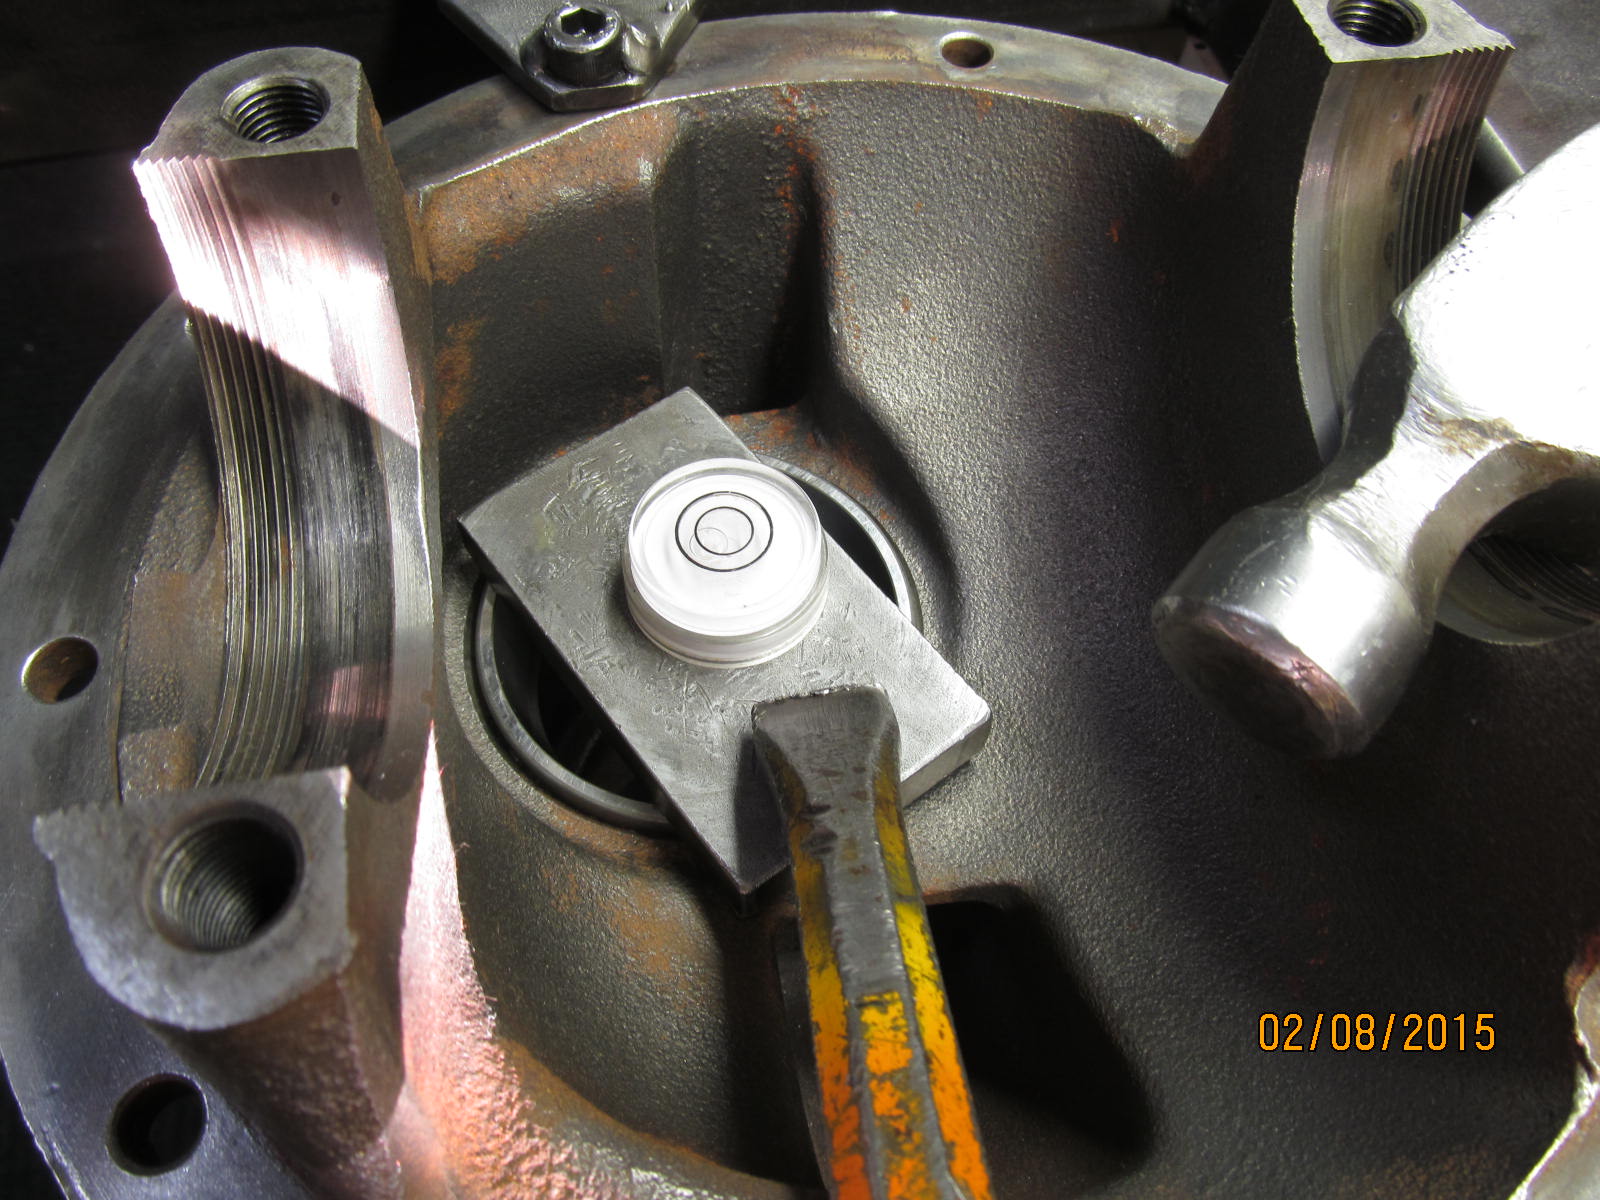
The use of a round bubble leveler works great here.
|
|
|
|
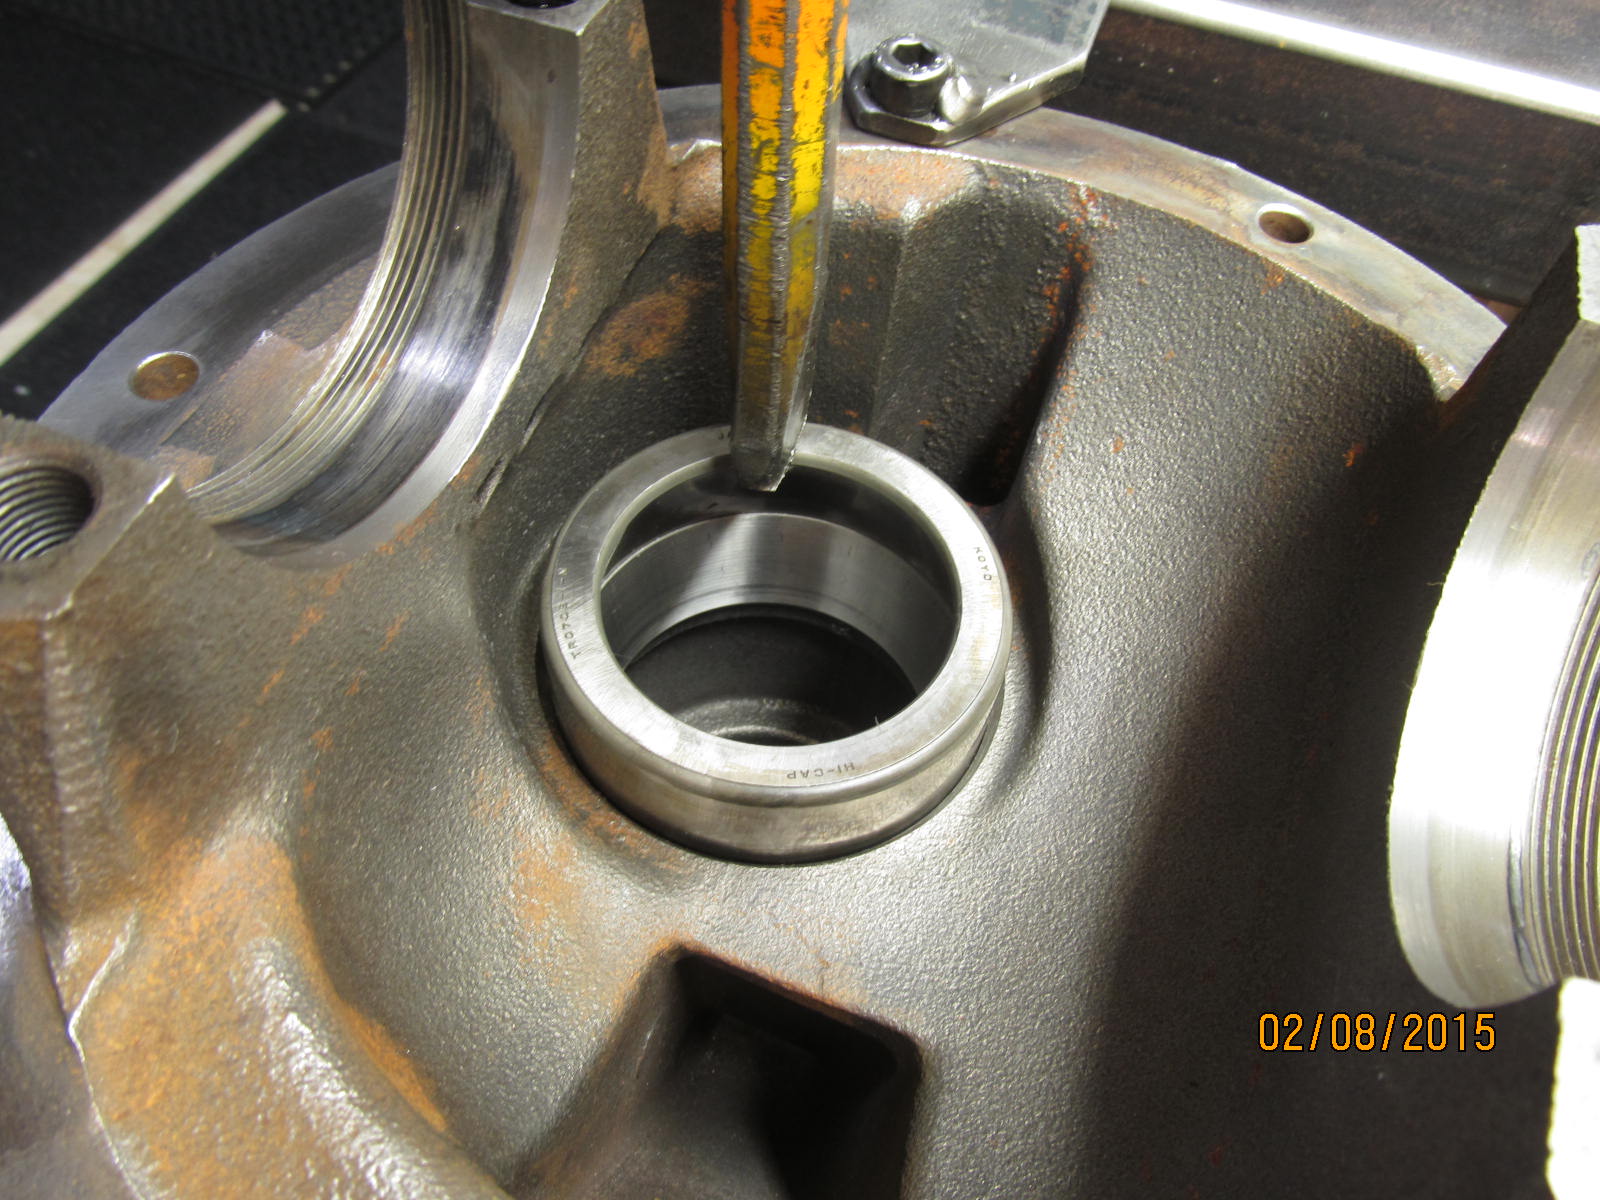
Once the race is seated into the hole about 1/8" then the hammer and a blunt chisel can run it home...but never
chiseling directly on the new race.....indirectly with an old race for 360 degree support.
|
|
|
|
|
And, that way, you know it's seated 100% down.
|
|
|
|
|
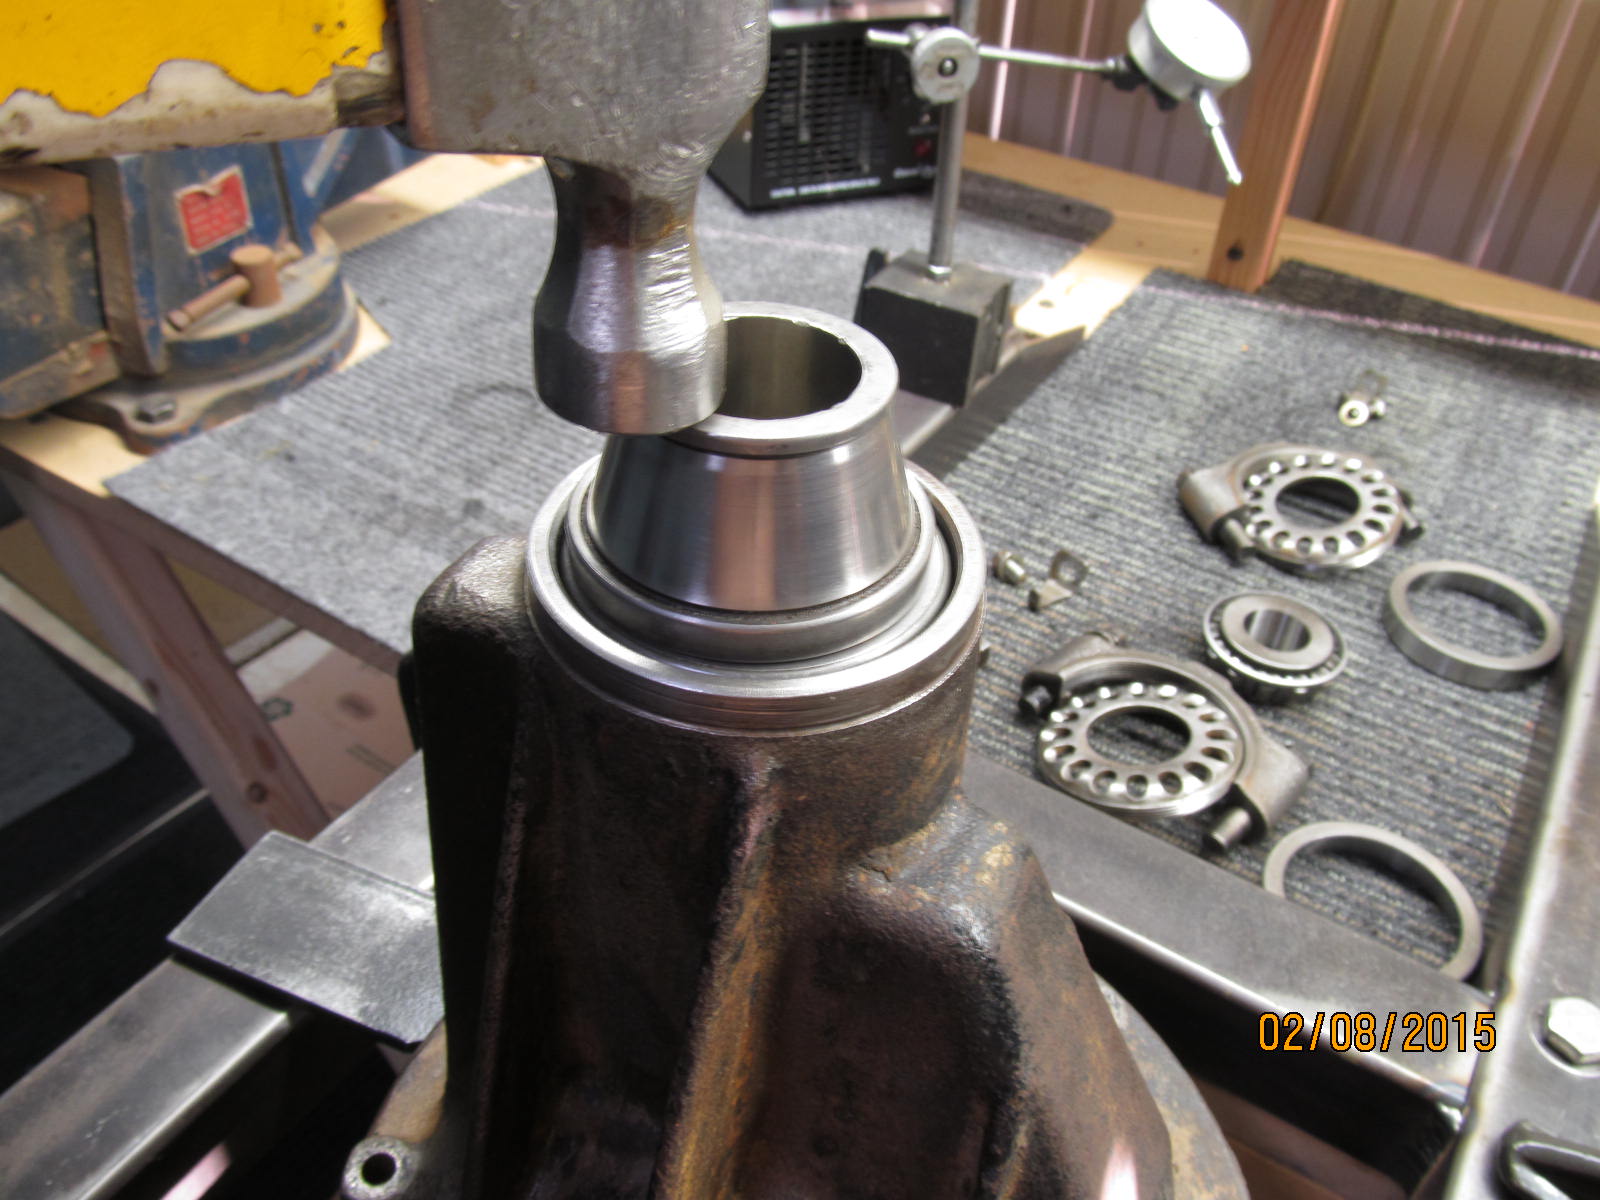
The outer race is much easier to get started straight.
|
|
|
|
It's so out in the open. Some old bearing parts make the job easy. Never throw your old bearing parts away....
|
|
|
|
|
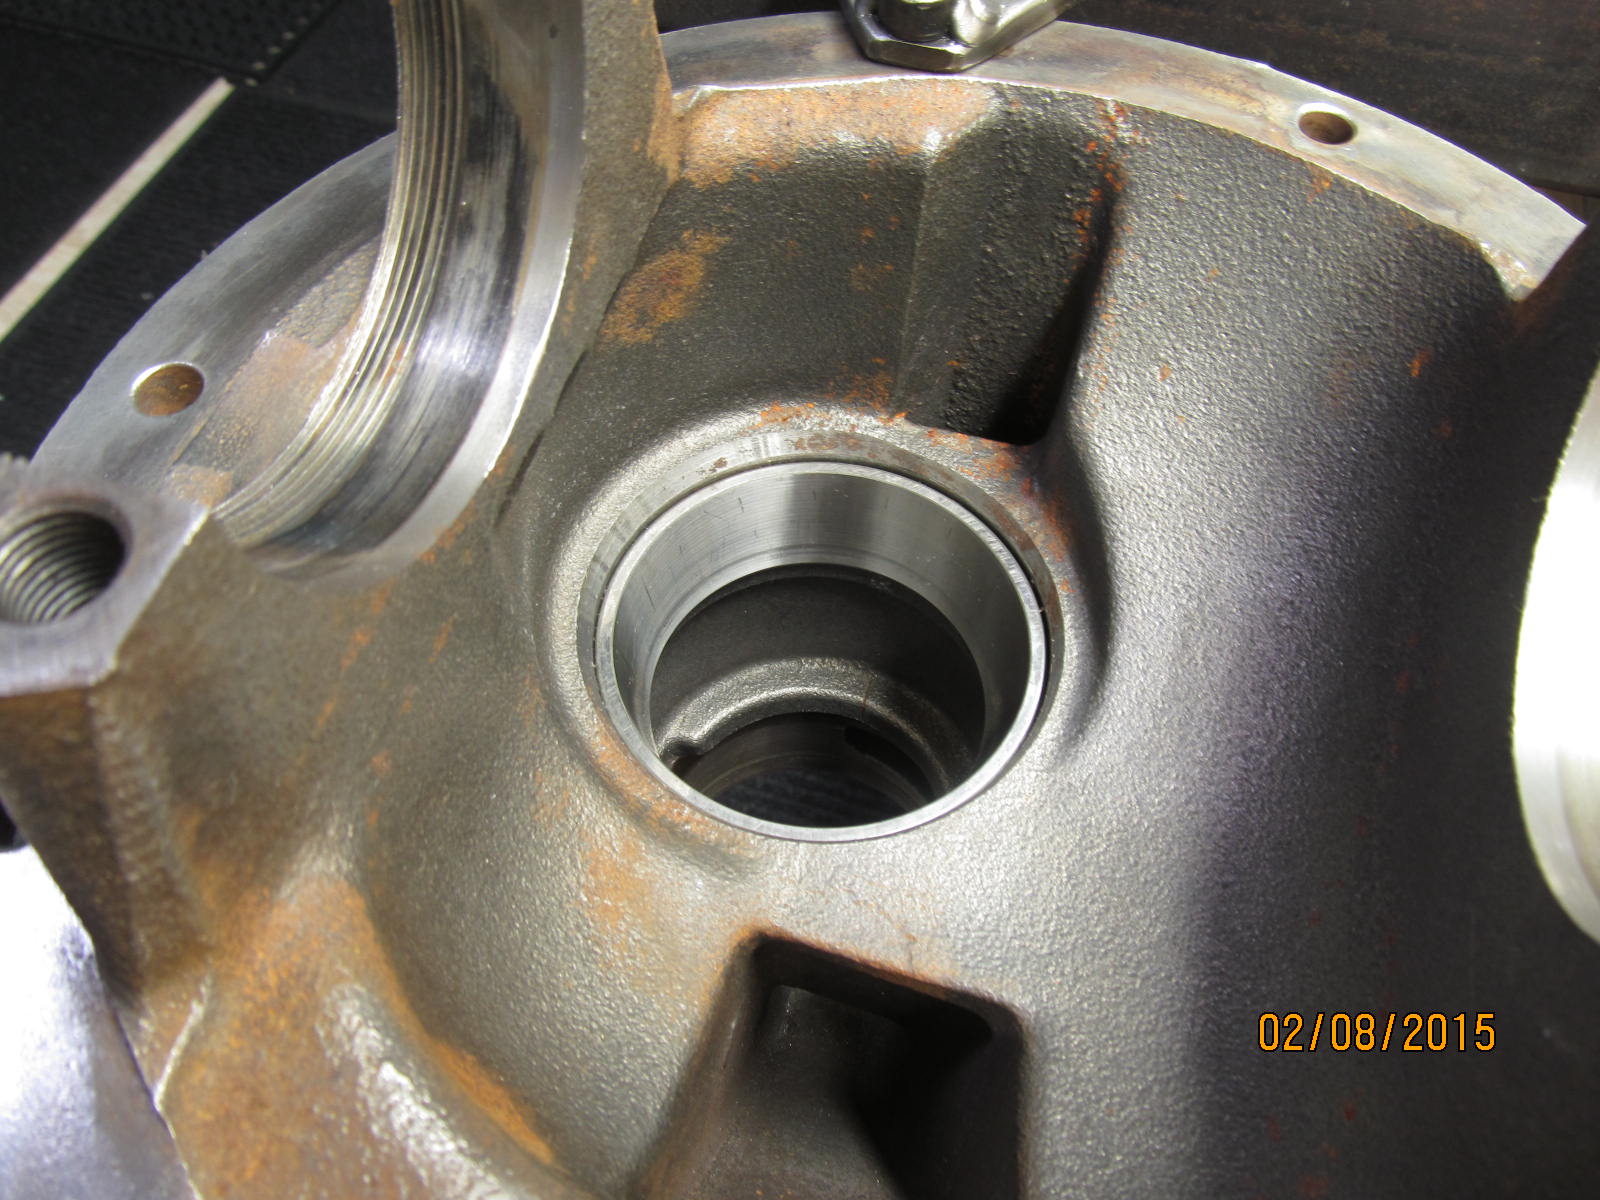
Fully seated.
|
|
|
|
|
Applying a little gravity weight to the carrier bearings while the sleeve-lock sets up.
|
|
|
|
|
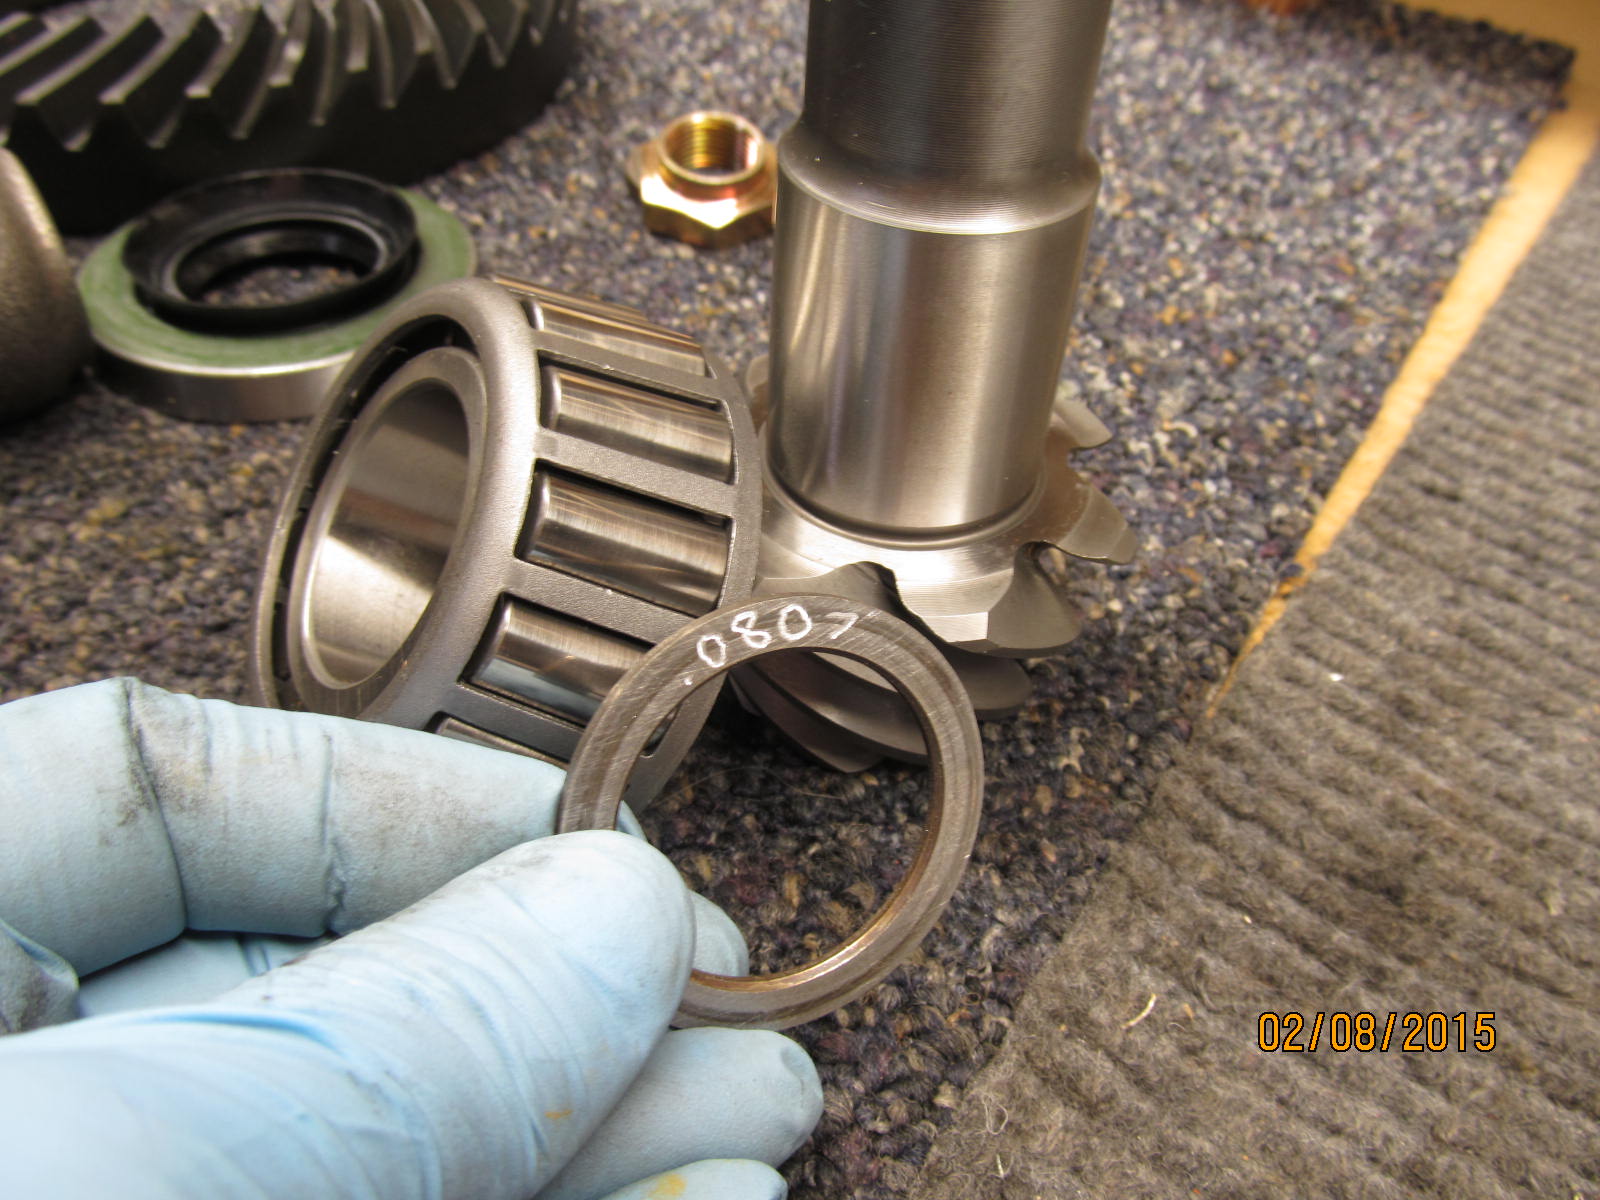
G2 571 ratio....going to try a .081" pinion shim and see where that gets me.
|
|
|
|
|
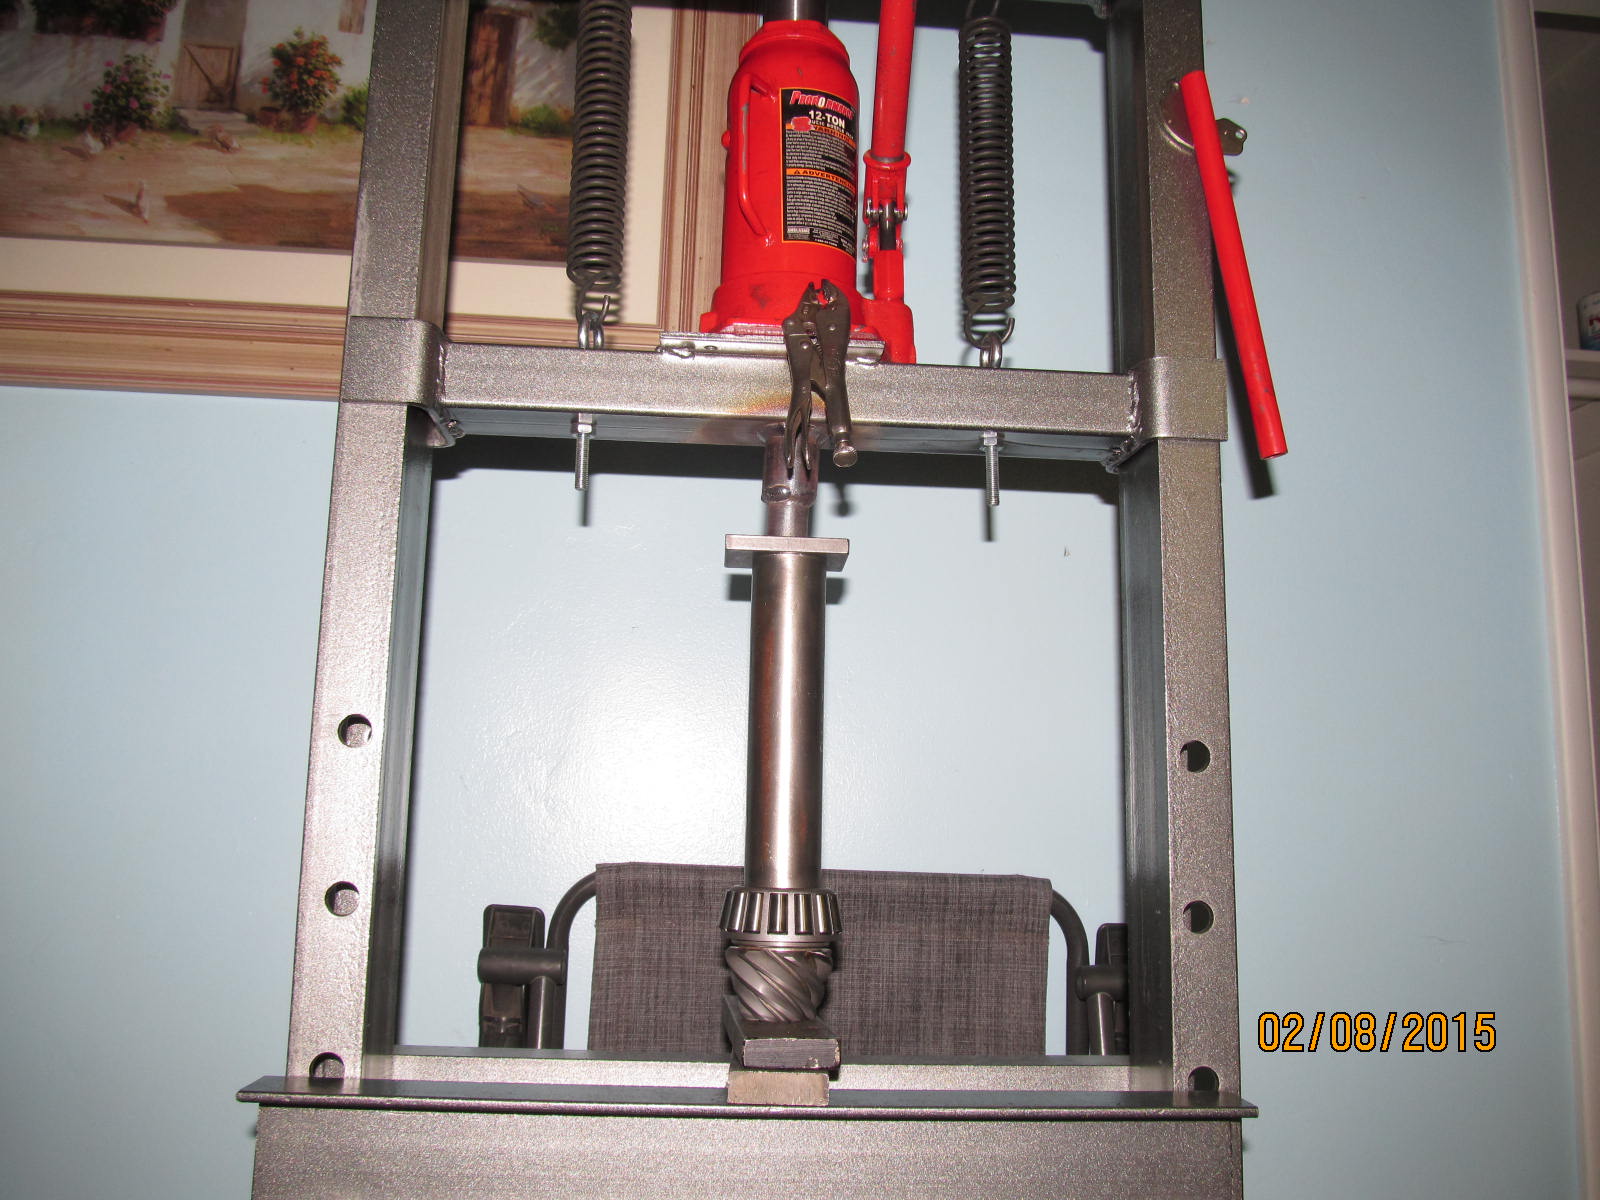
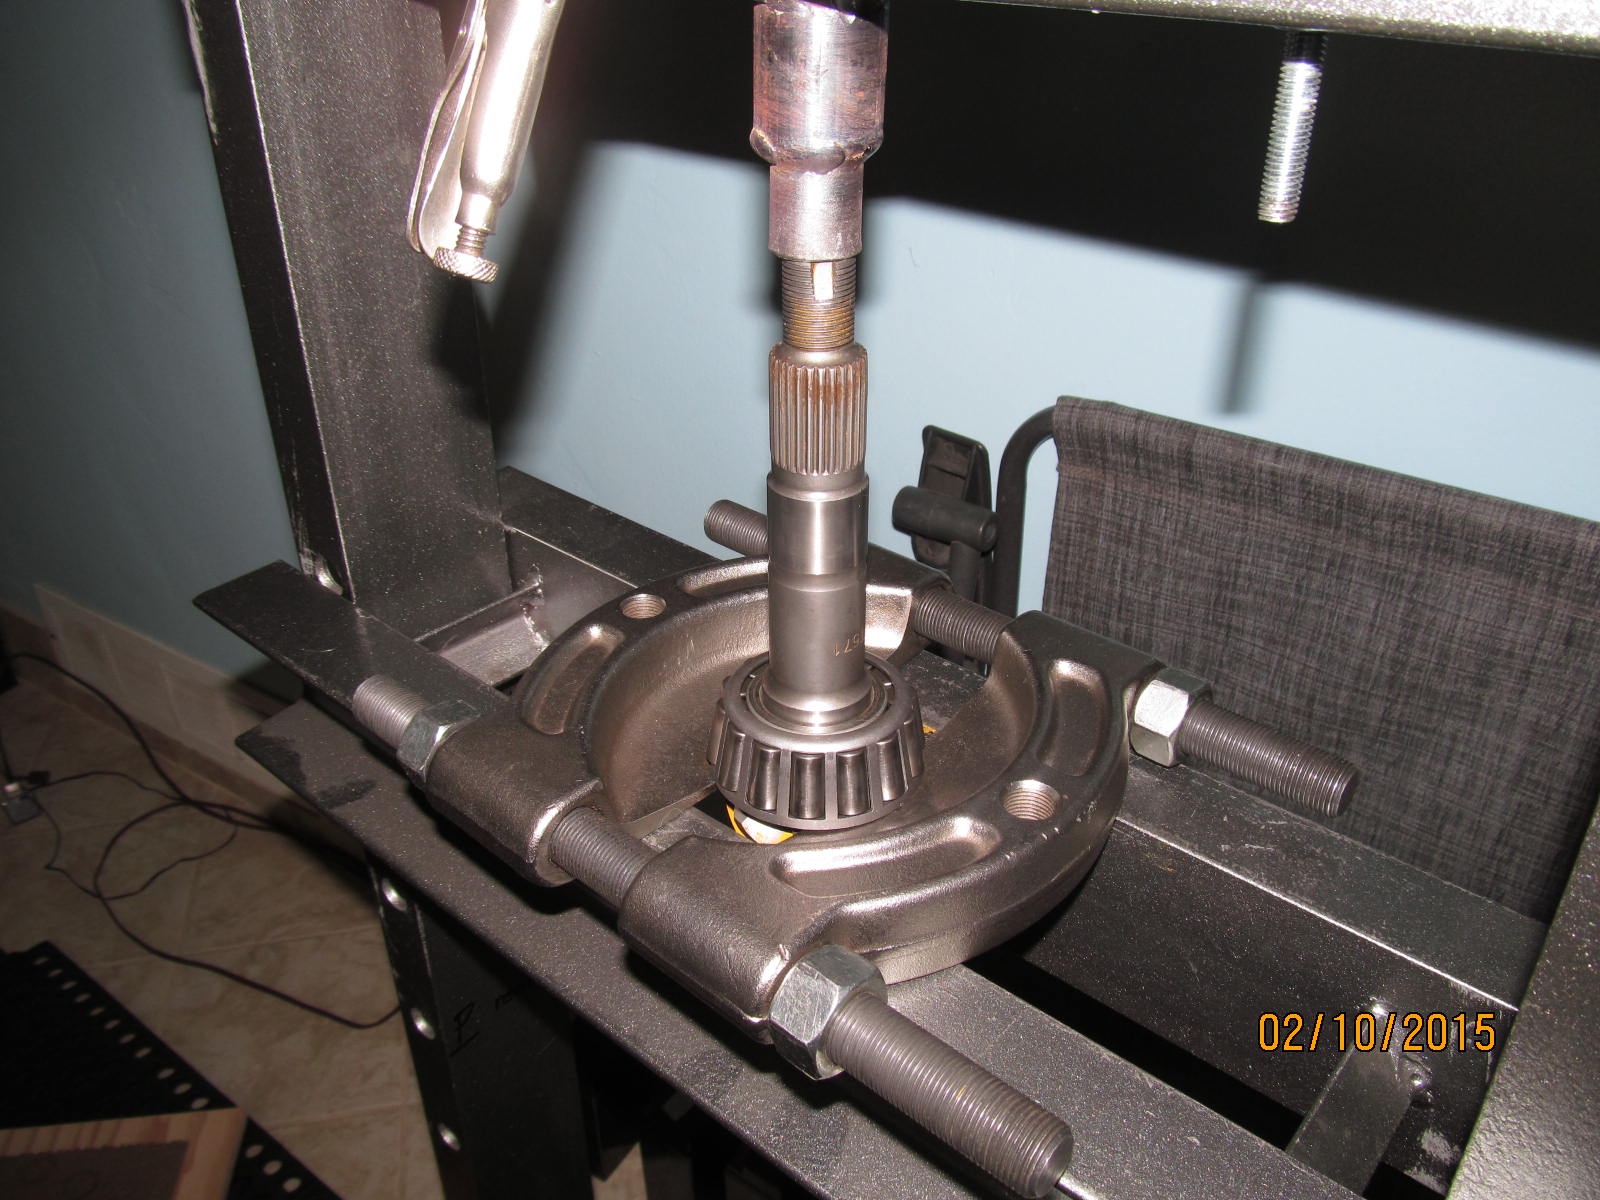
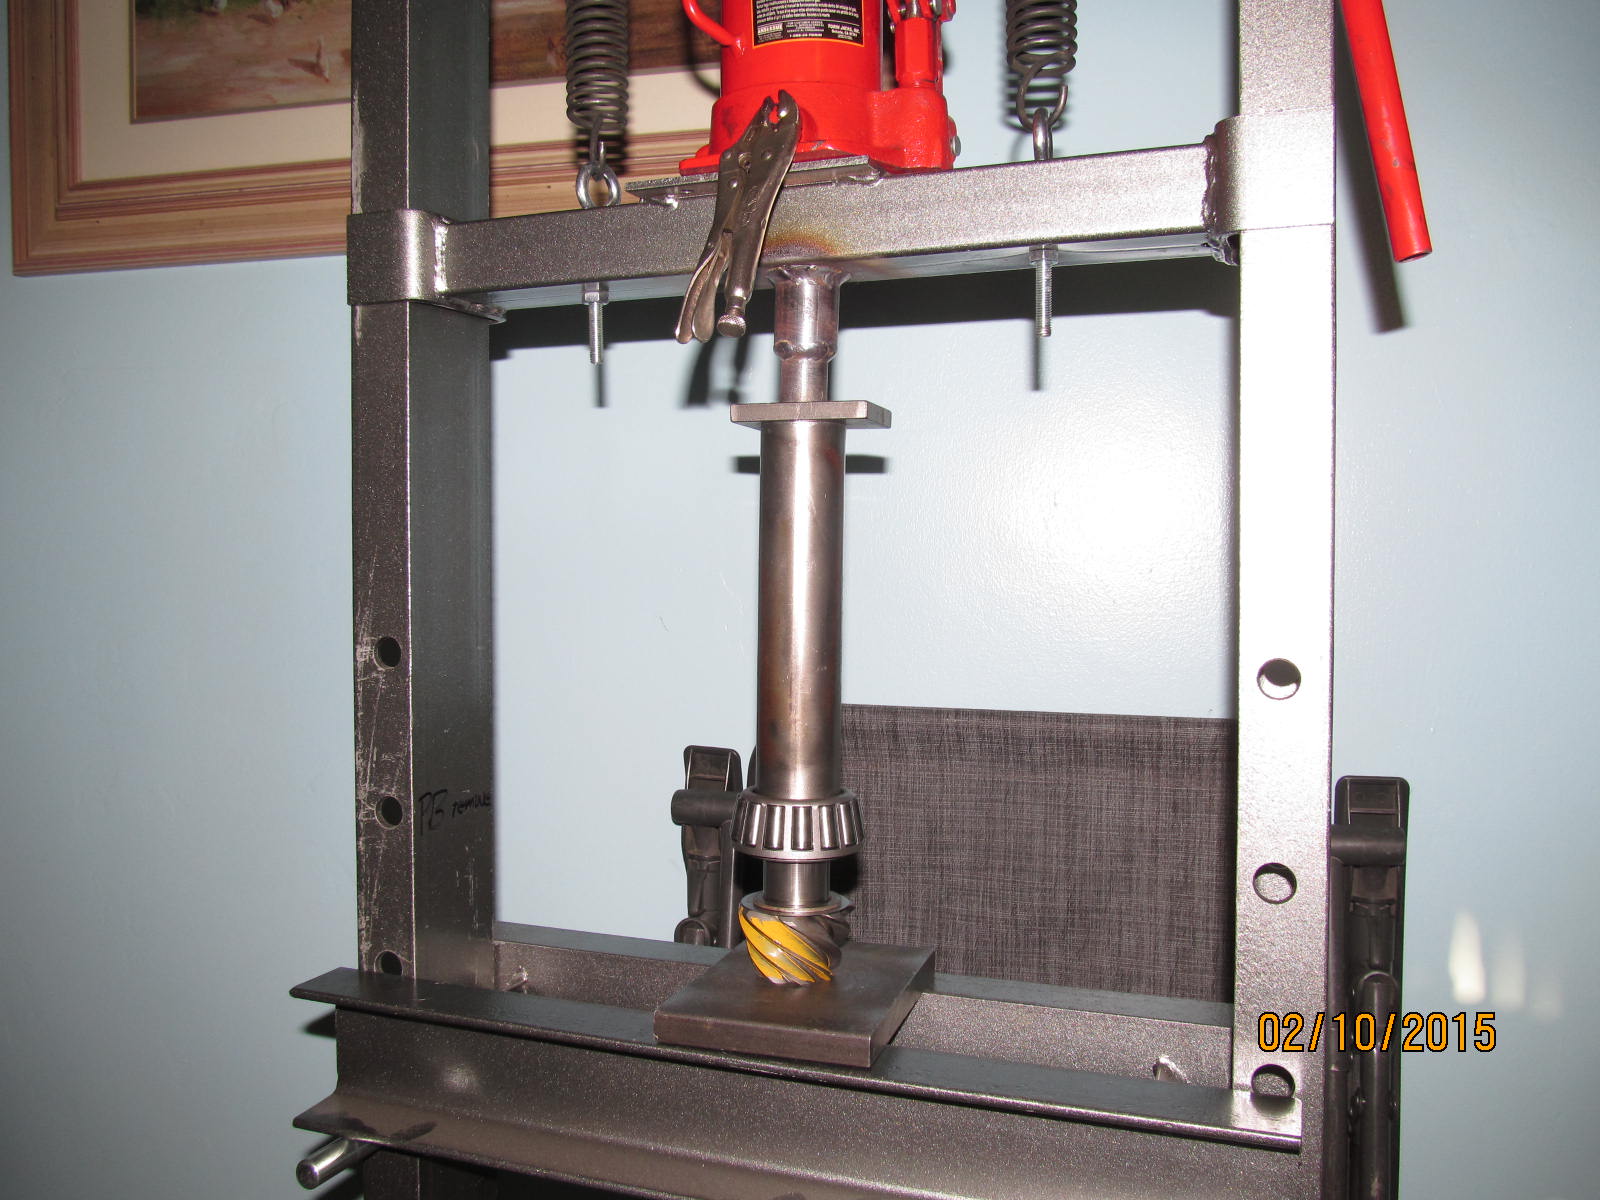
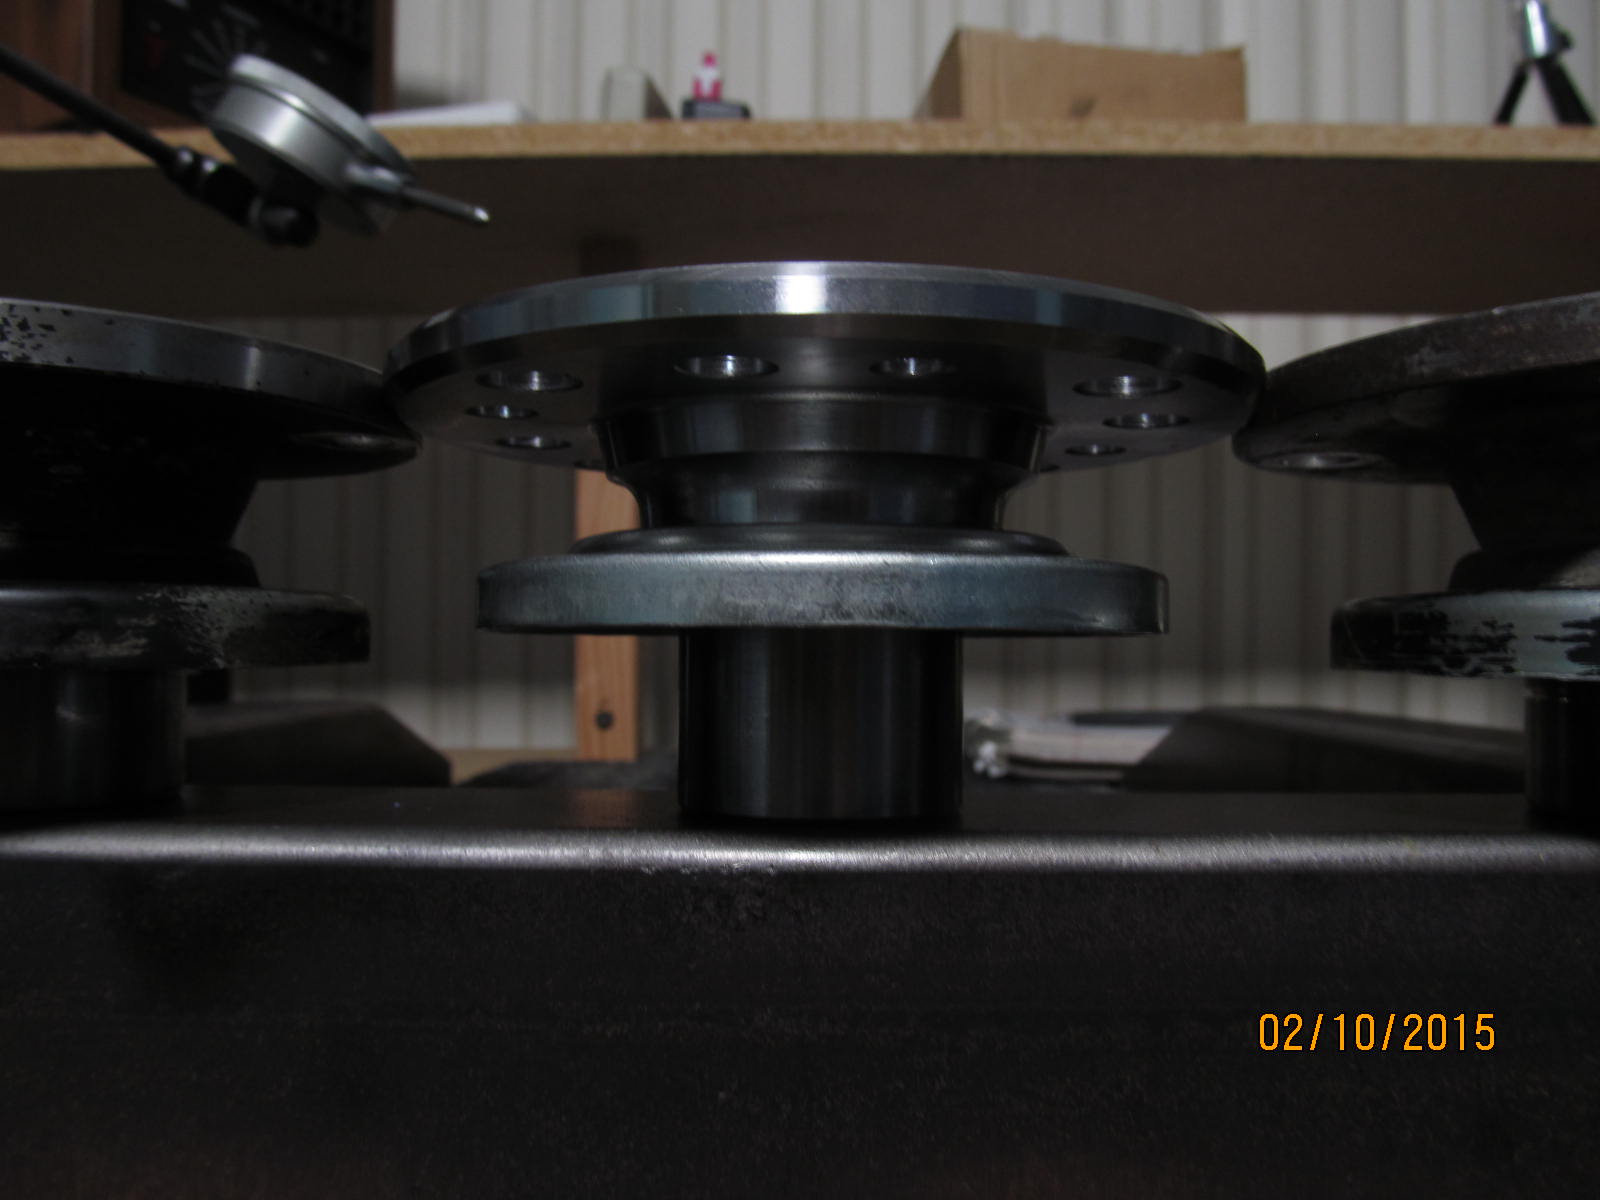
The 12 ton press makes such easy work of this task.
|
|
|
|
No crush or solid collar at this point...just oil up the bearings and assemble it and once some pinion preload
is felt we are good to go to run a test paint. The electric impact is so forgiving and does not over-tighten
the nut with some awareness of what is going on. Air impacts are not so "friendly" I feel.
|
|
|
|
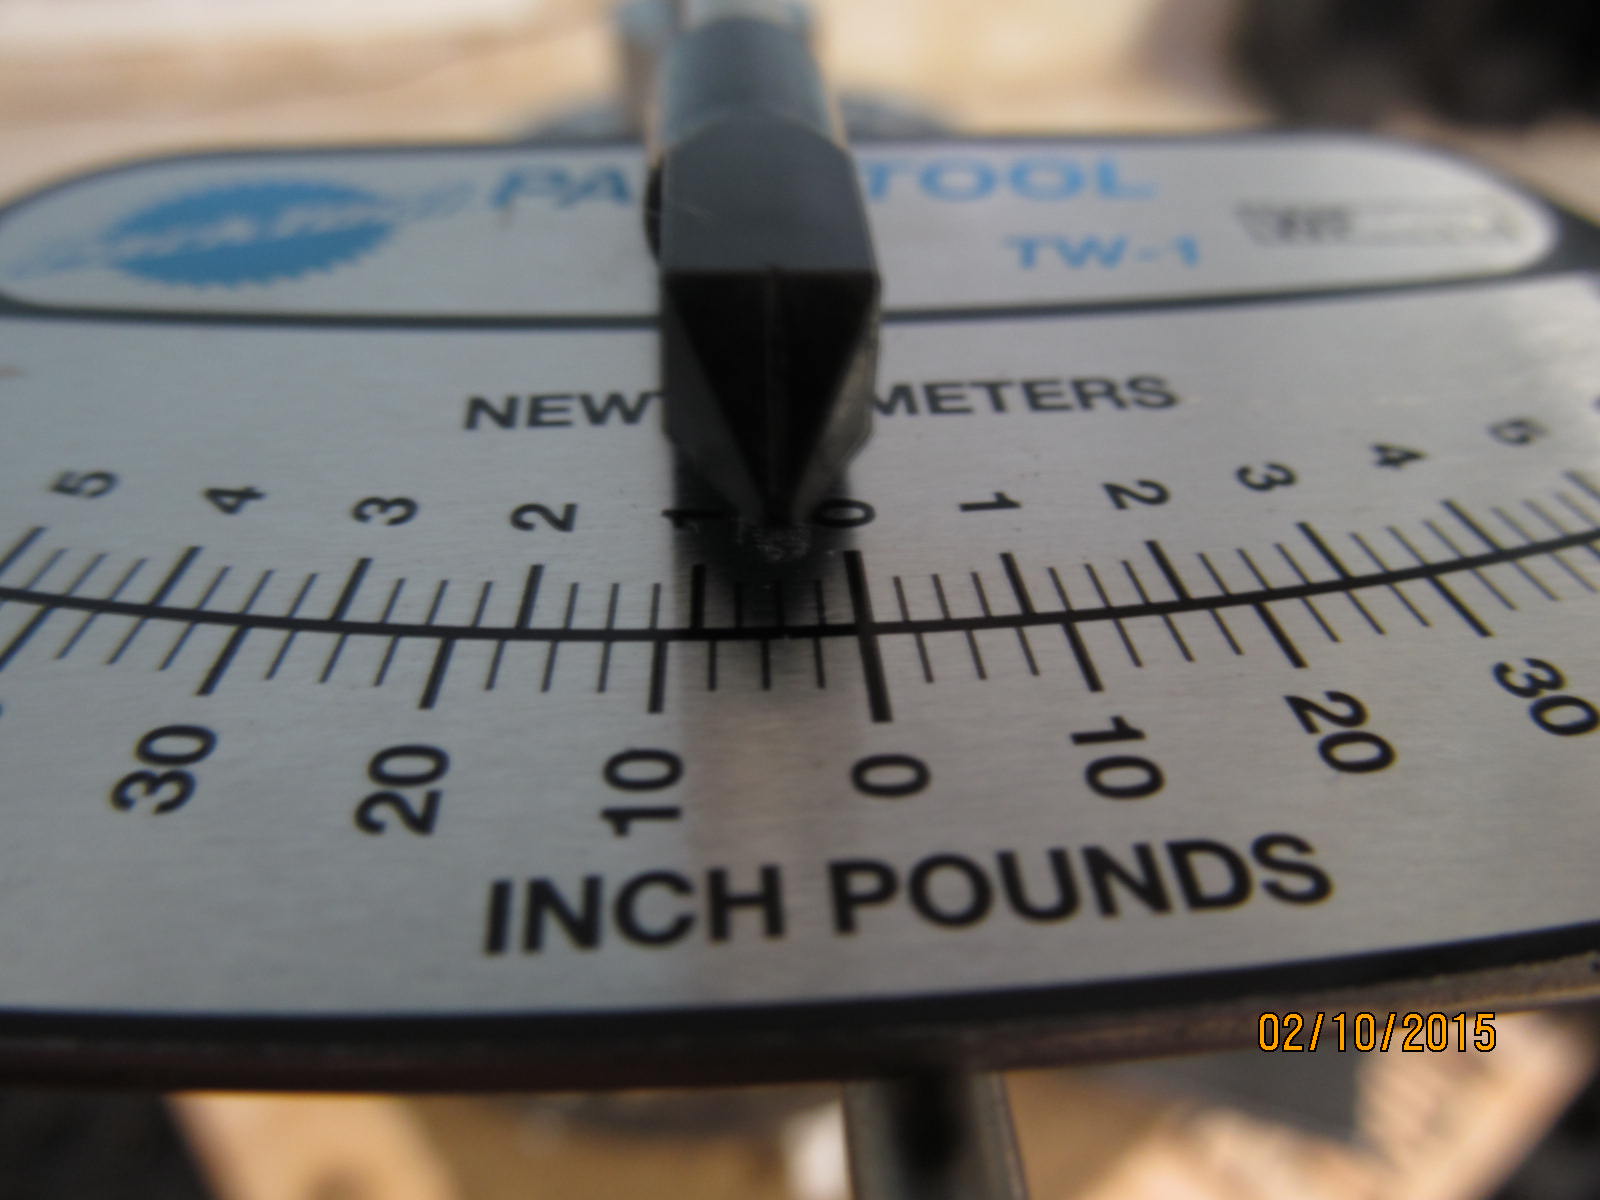
Really don't have to measure the pinion preload.....as long as it feels between 10 and 20 inch/pounds the
painted pattern will be just fine.
|
|
|
|
|
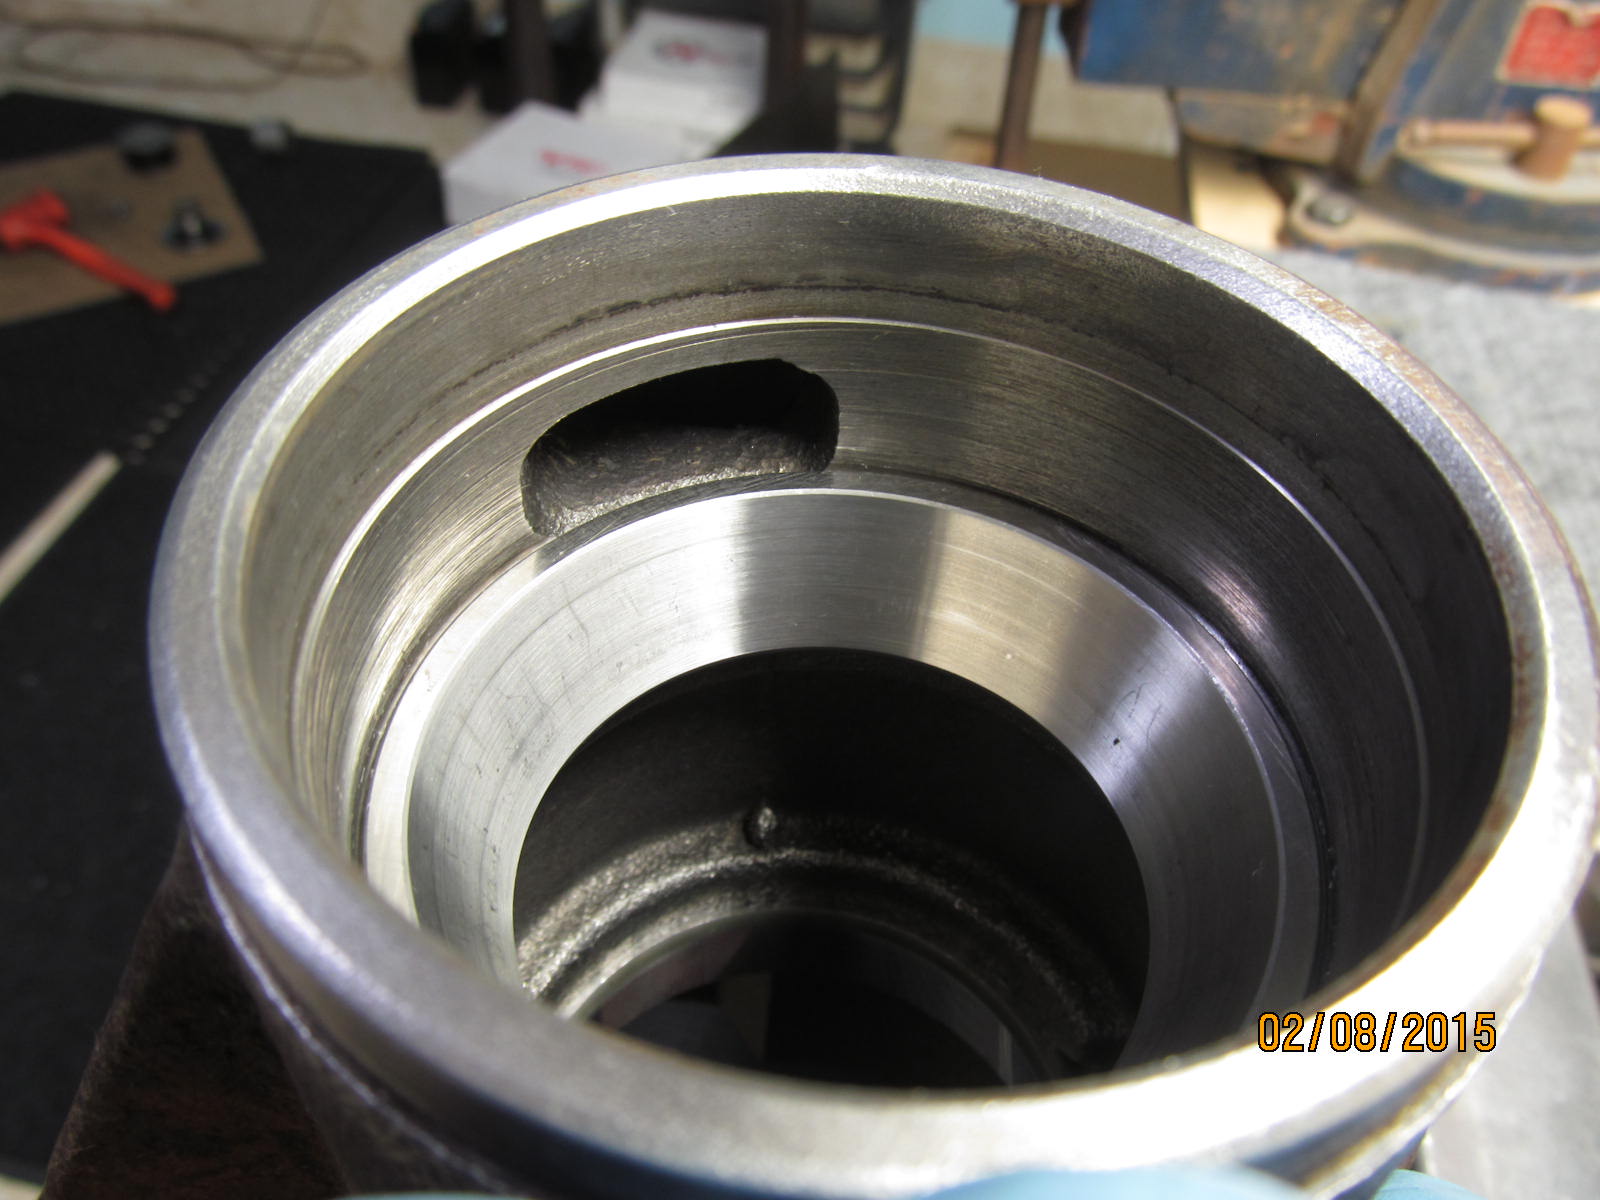
Surfaces are checked for bumps, ridges, and irregularities with a big, coarse file. All was good.
|
|
|

|
|
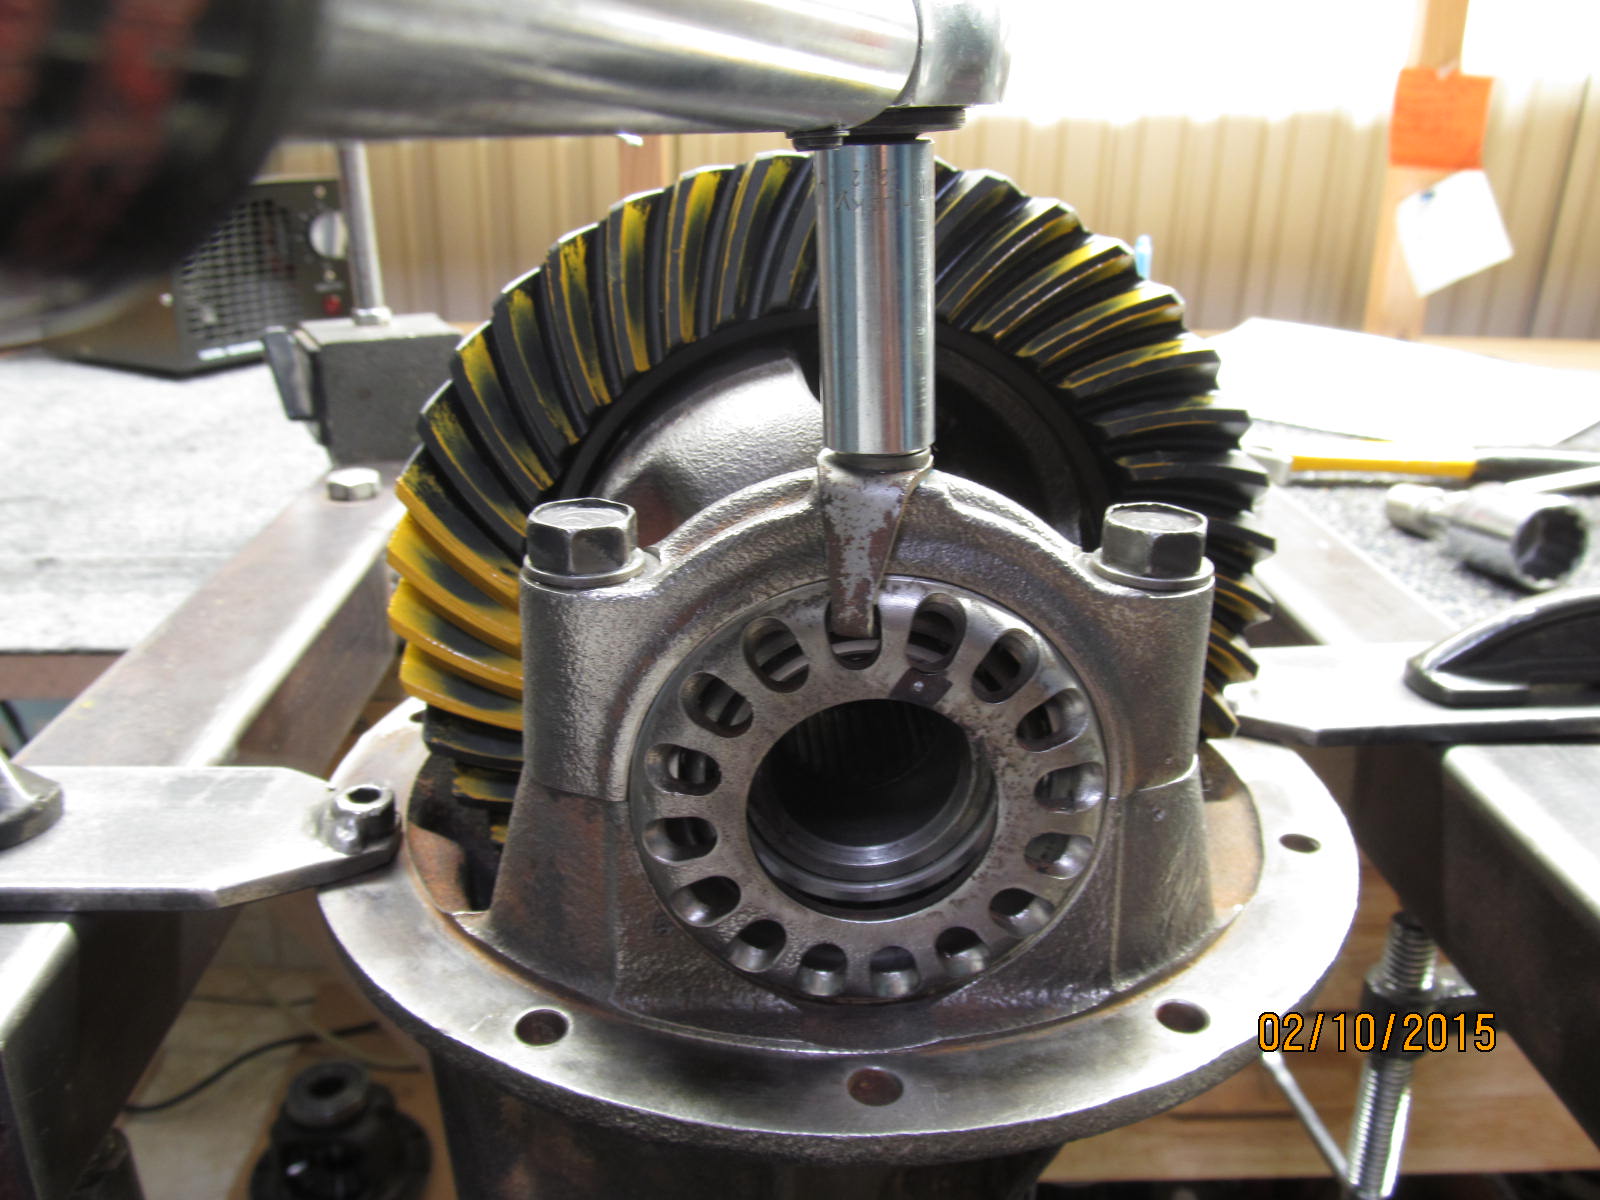
Now is a good time to check the case run-out....was less than .002" so it's ok.
|
|
|
|
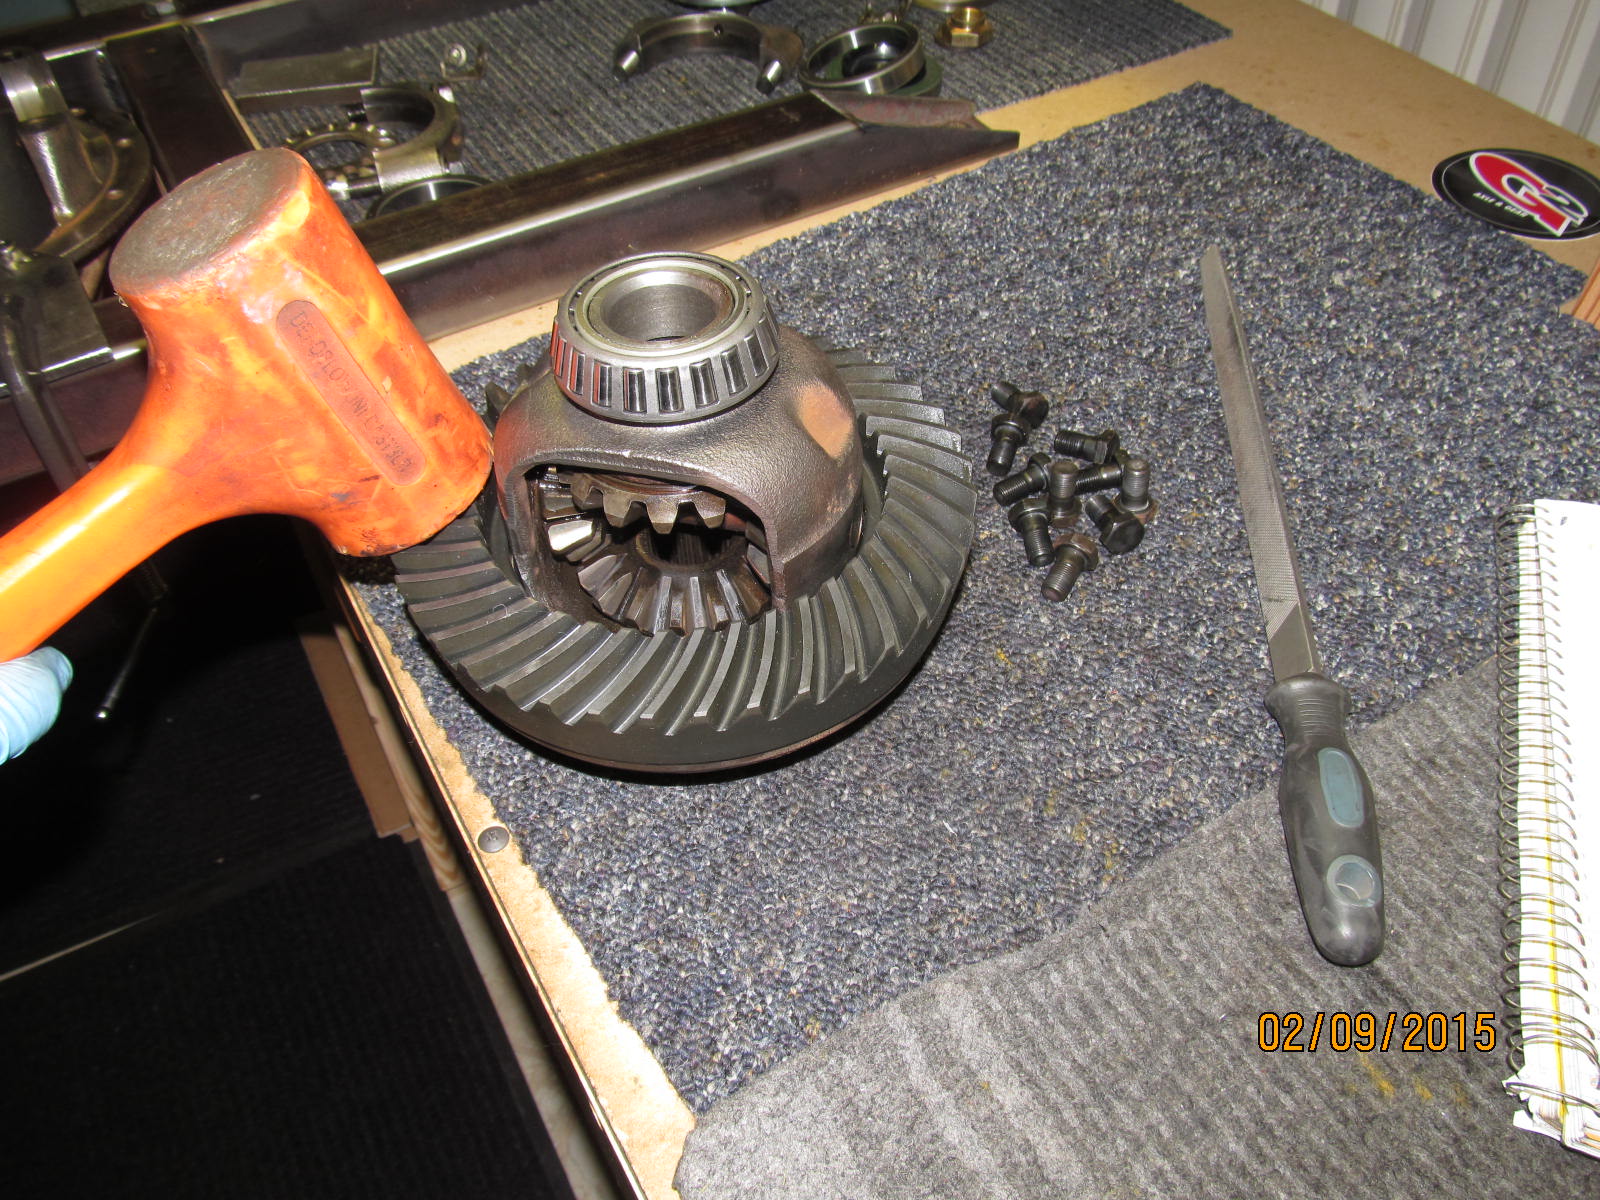
Now the ring can be pounded on. Not much pounding really....just tap all the way around the ring and it gradually
seats itself.
|
|
|
|
|
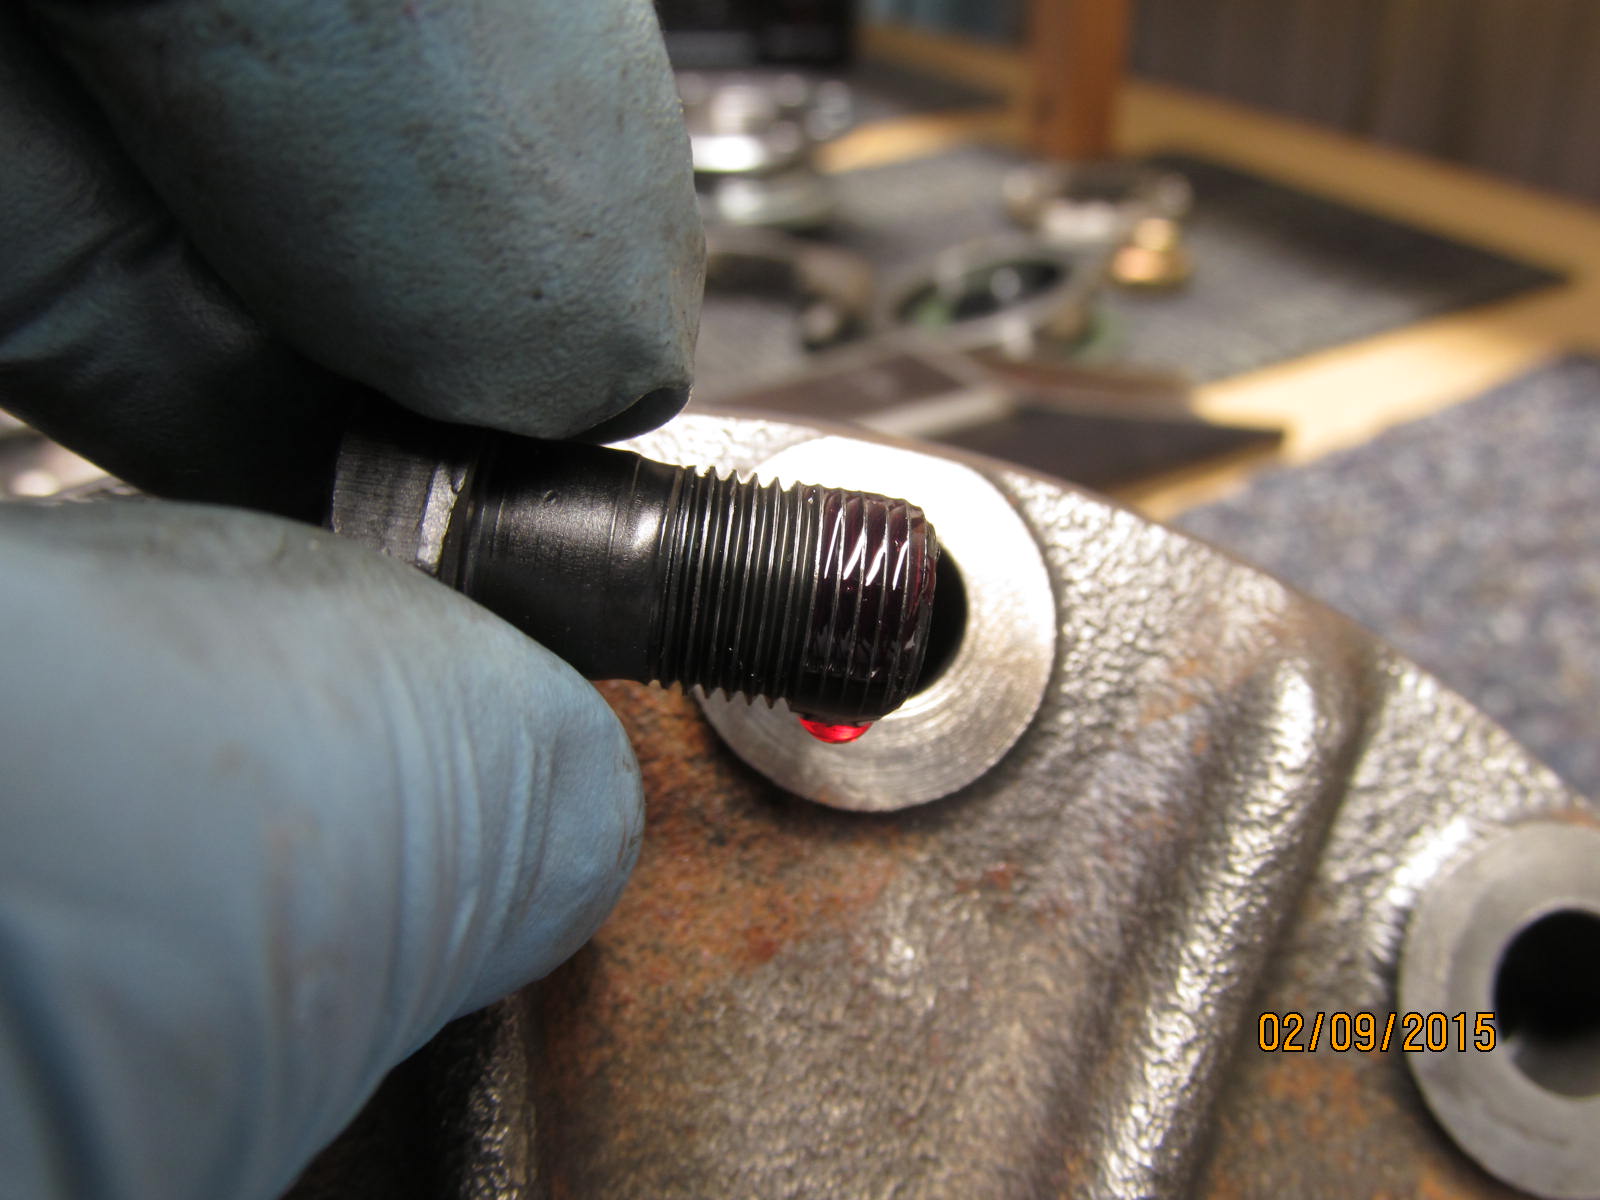
Red high-strength loctite on the 10 ring gear bolts.
|
|
|
|
|
.............
|
|
|

|
|
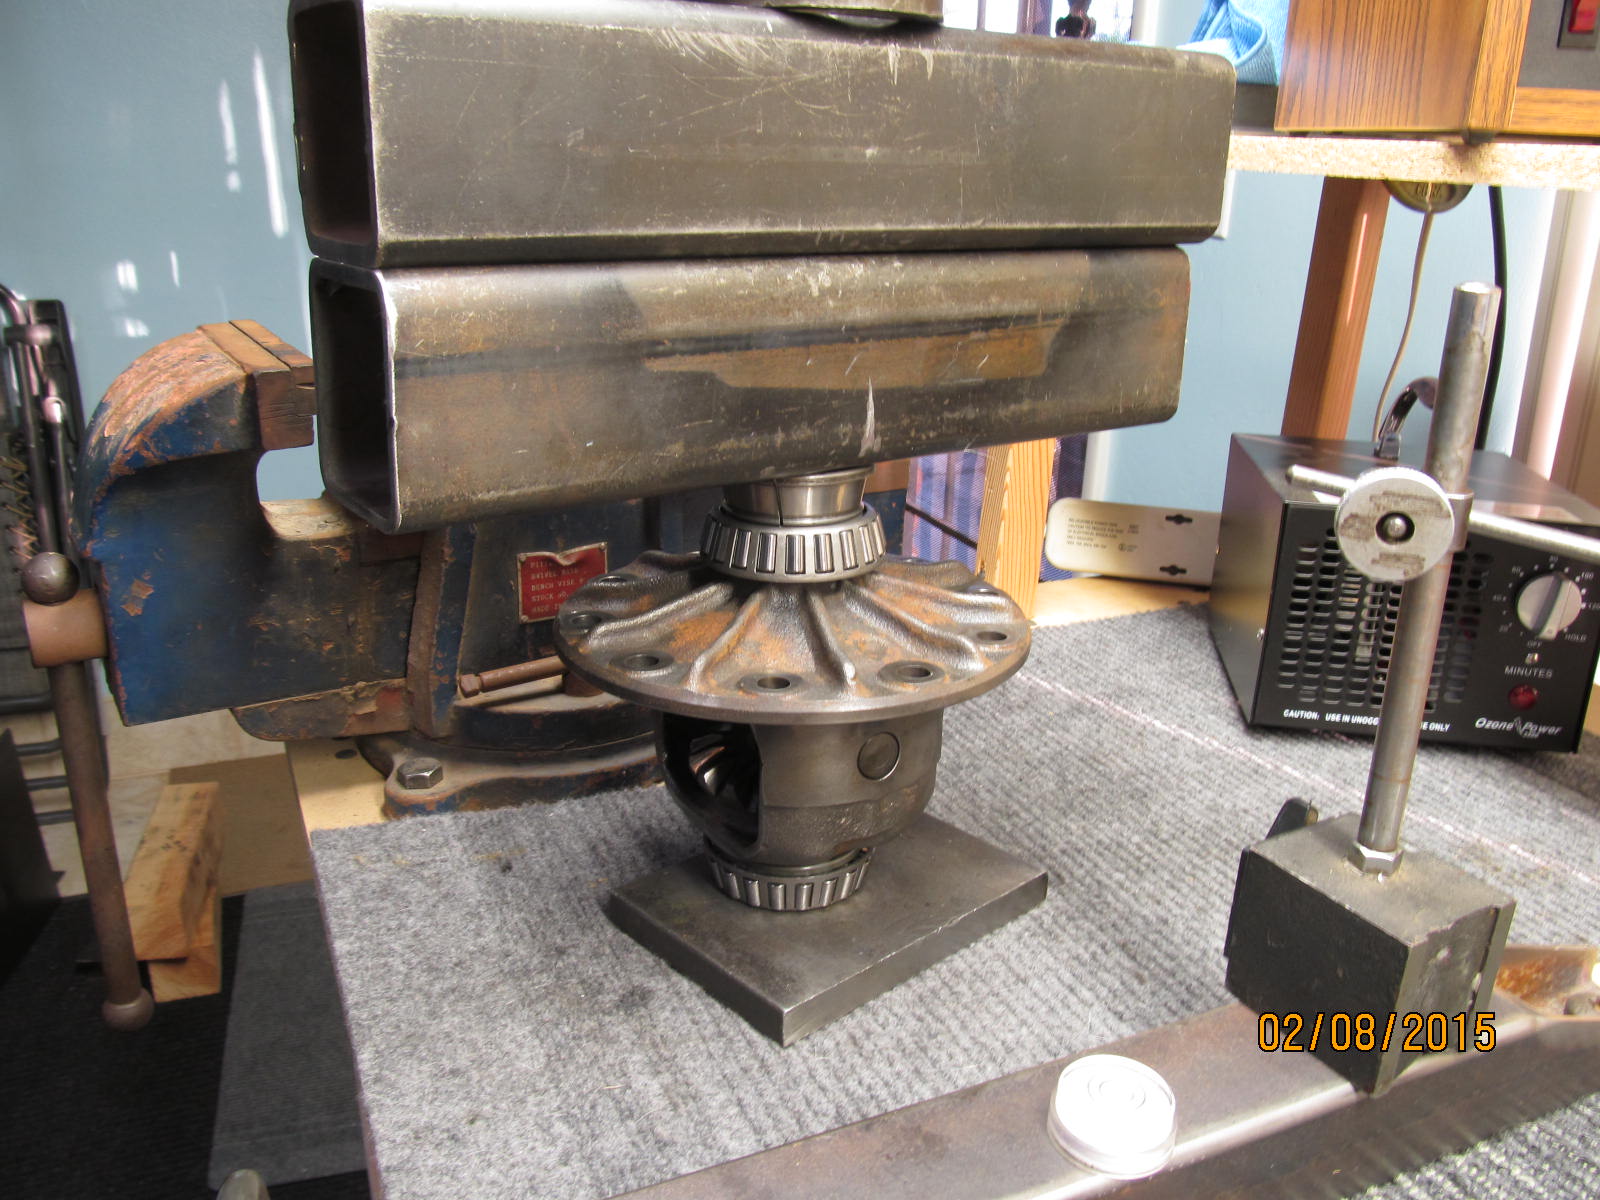
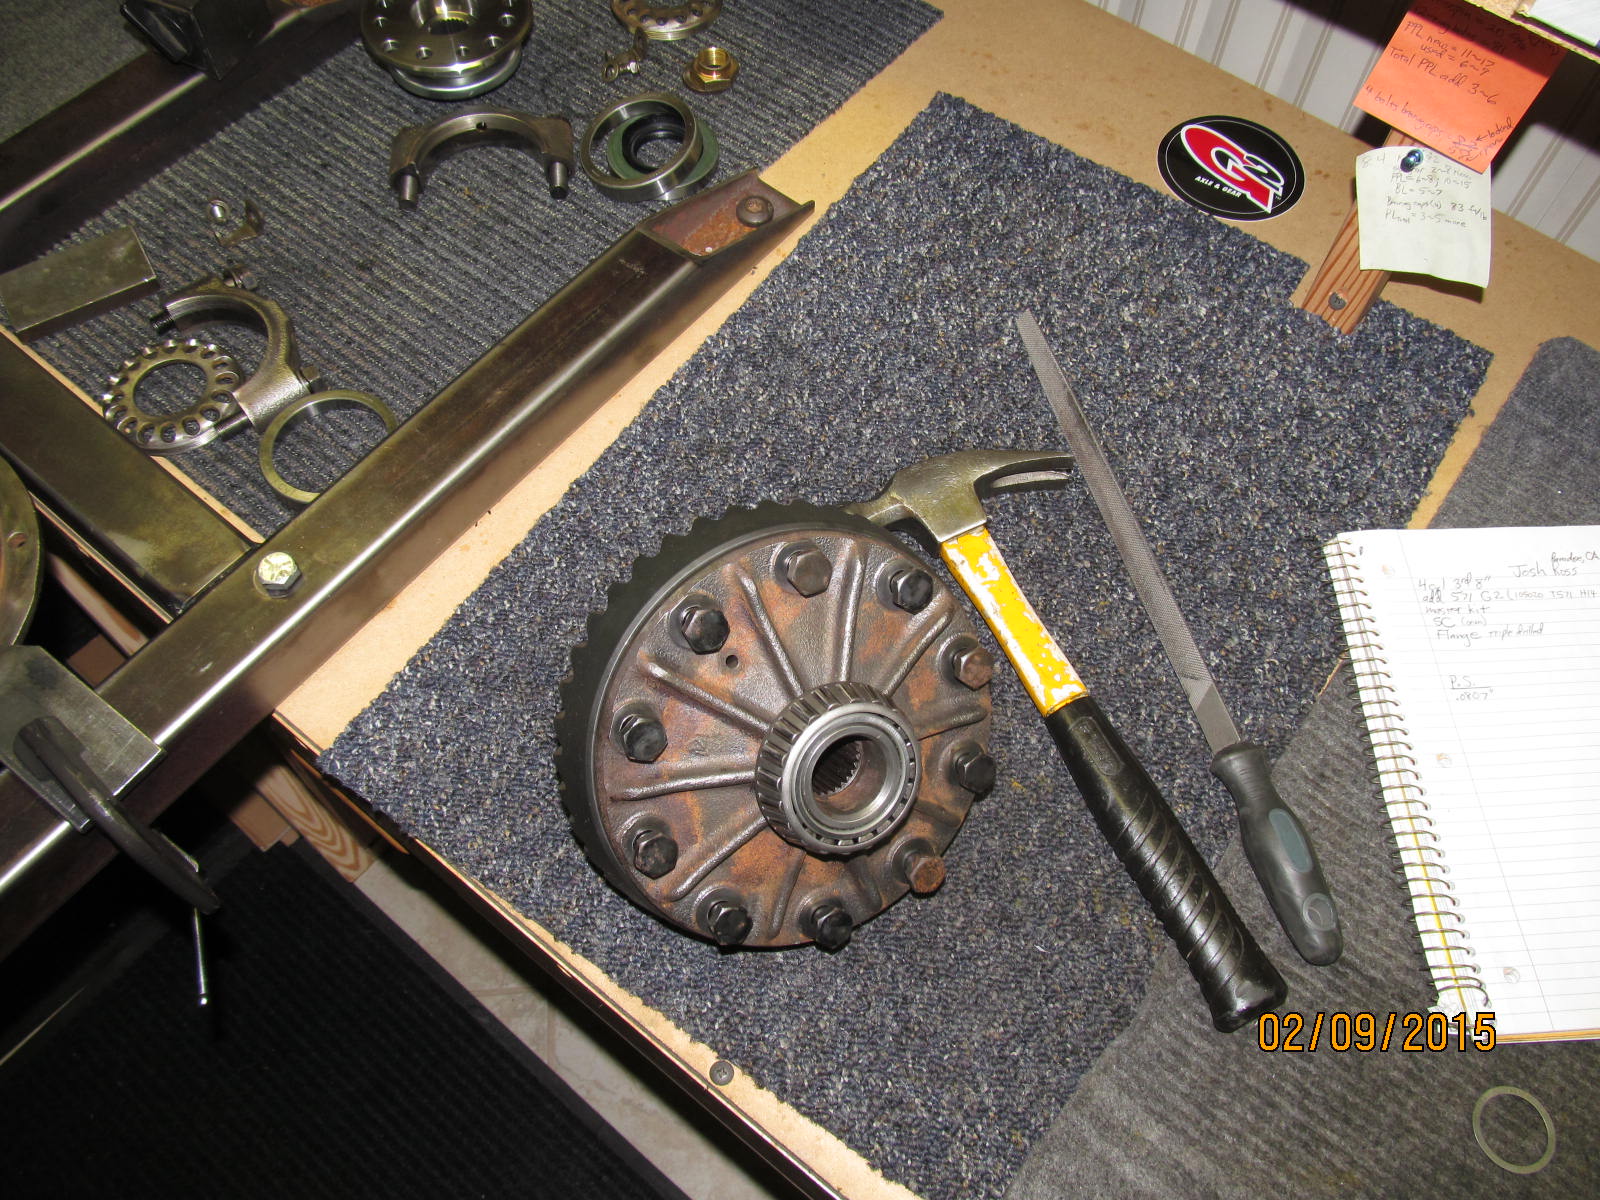
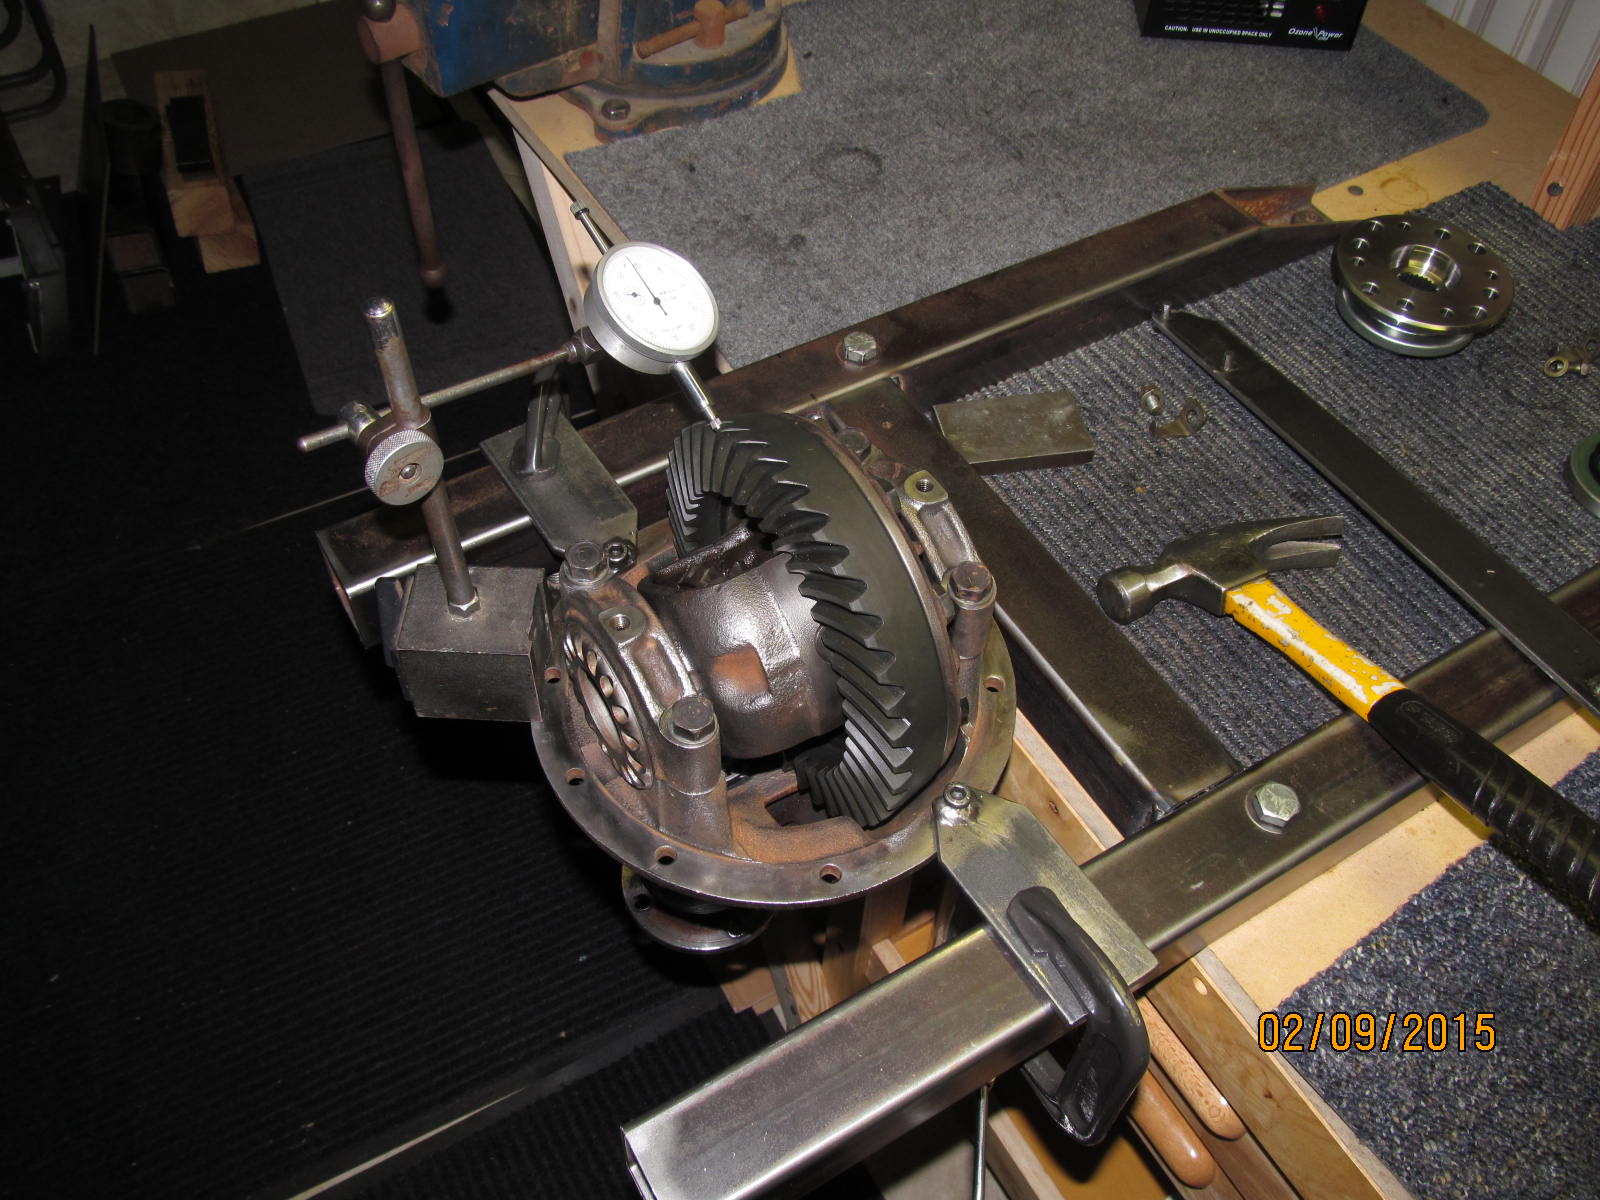
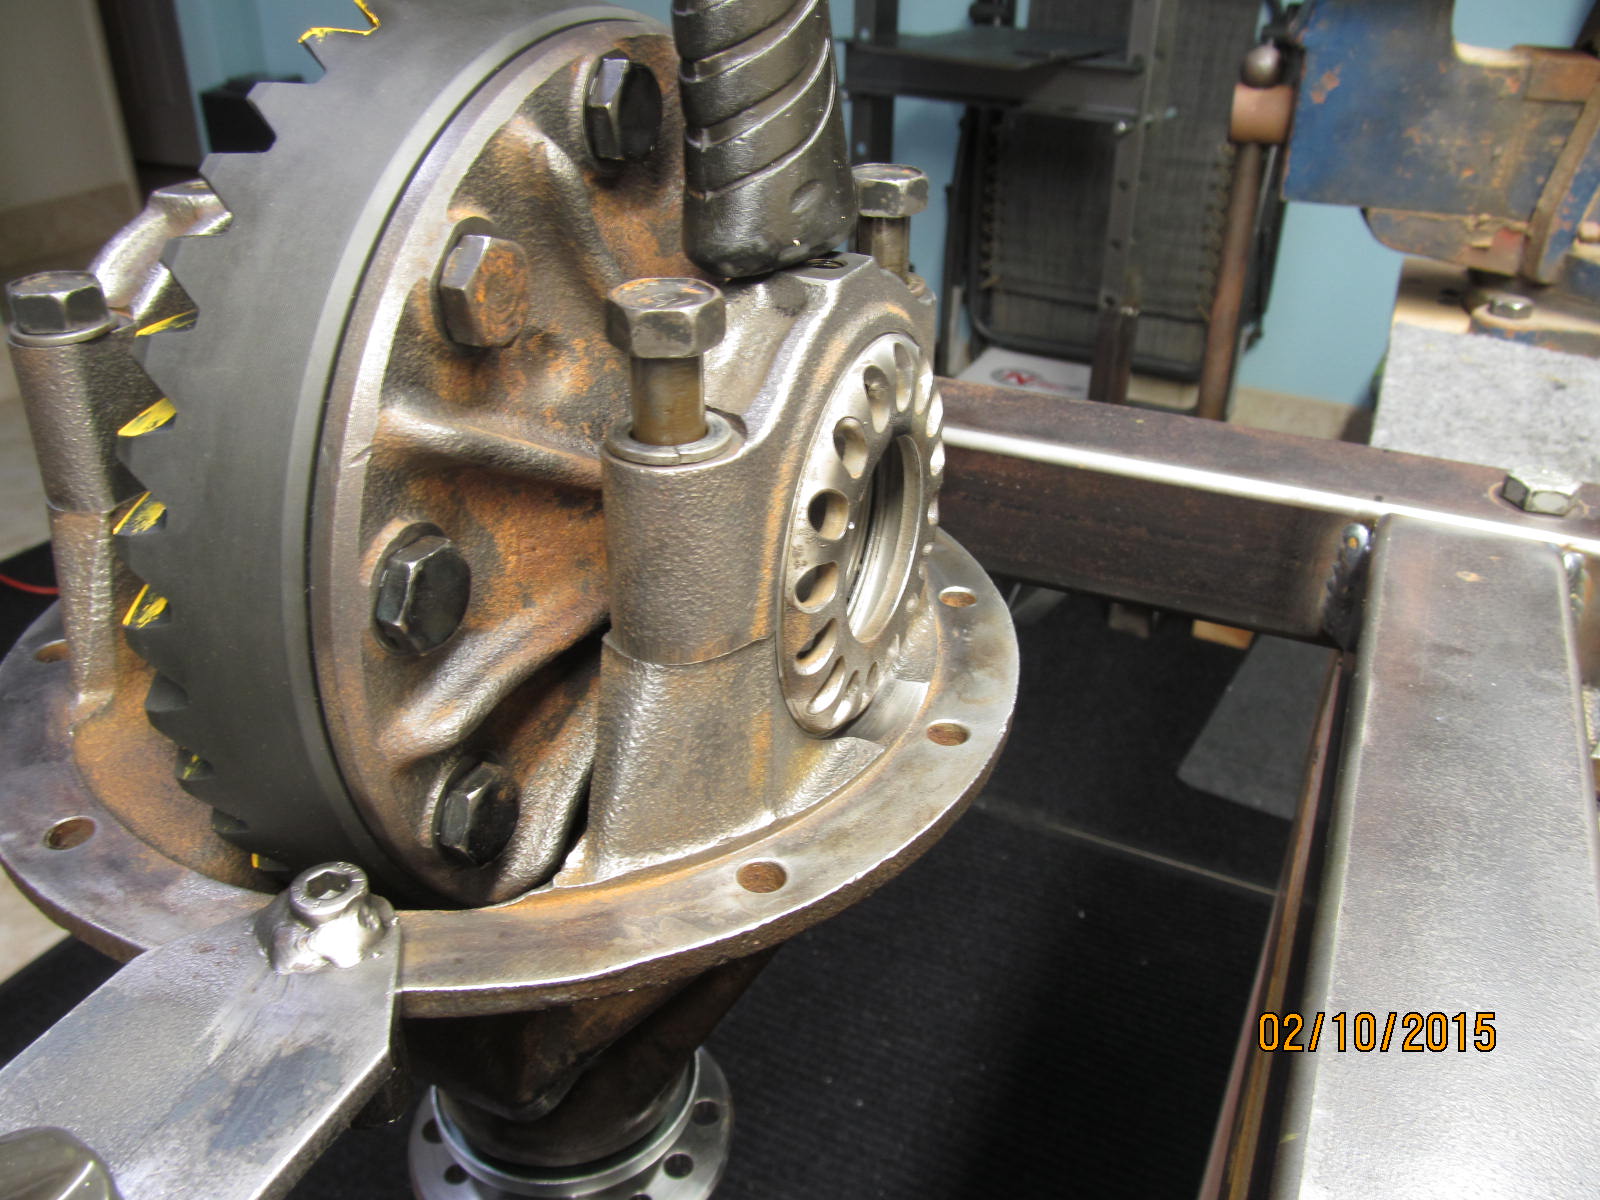
I can use the press to secure the case while the ring bolts are tightened to 75 ft/lb.
|
|
|
|
|
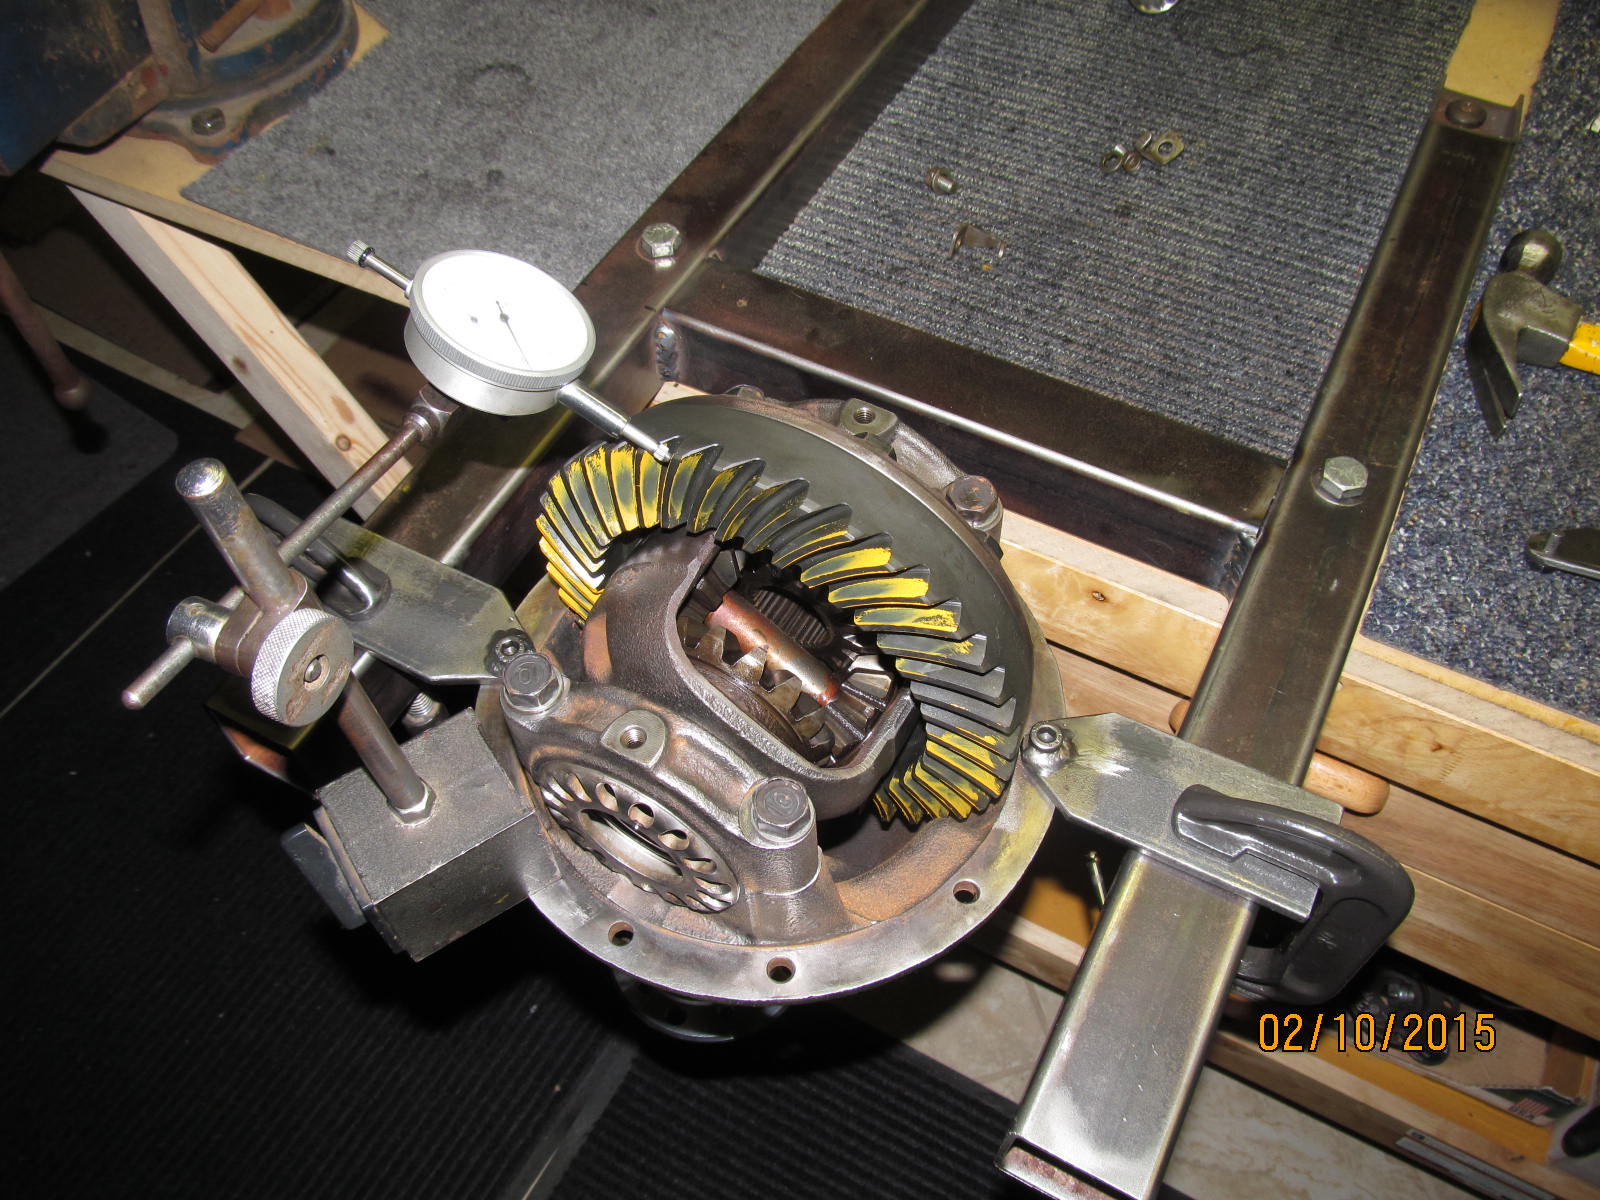
Install the case....set some moddest carrier bearing preload and get the backlash to roughly .007"....
|
|
|
|
|
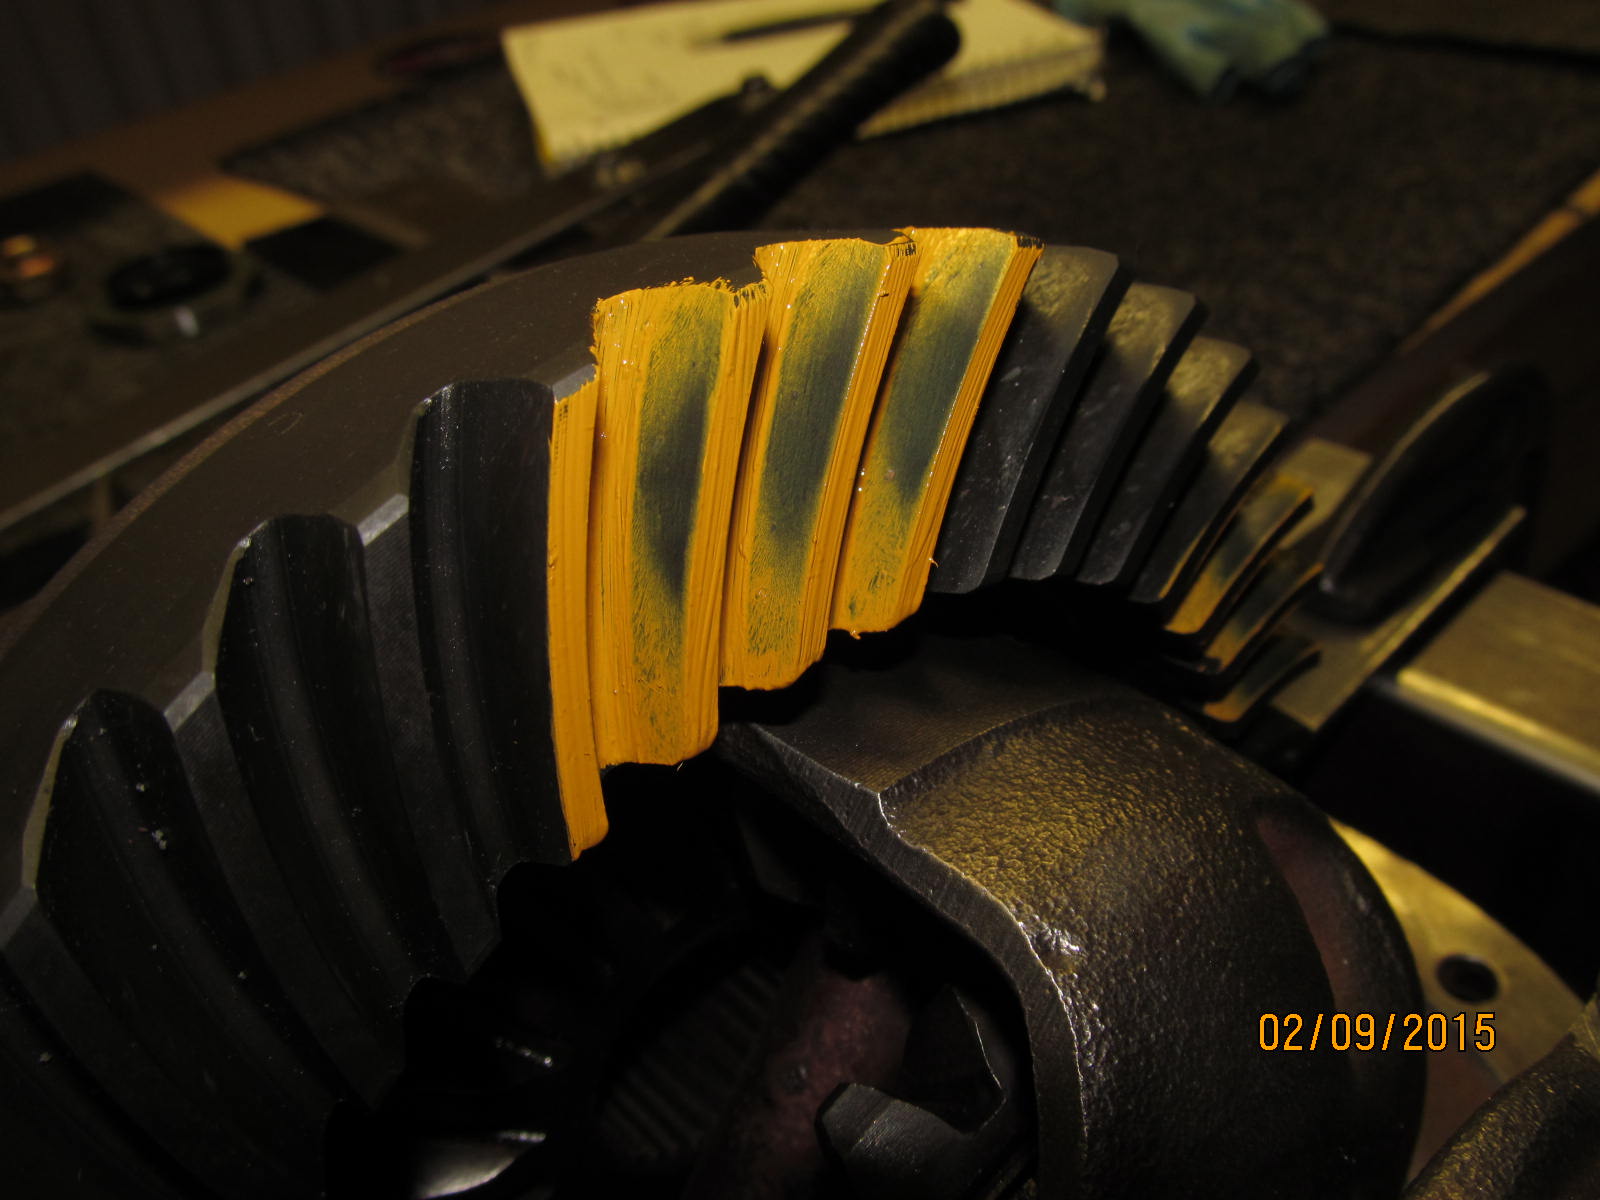
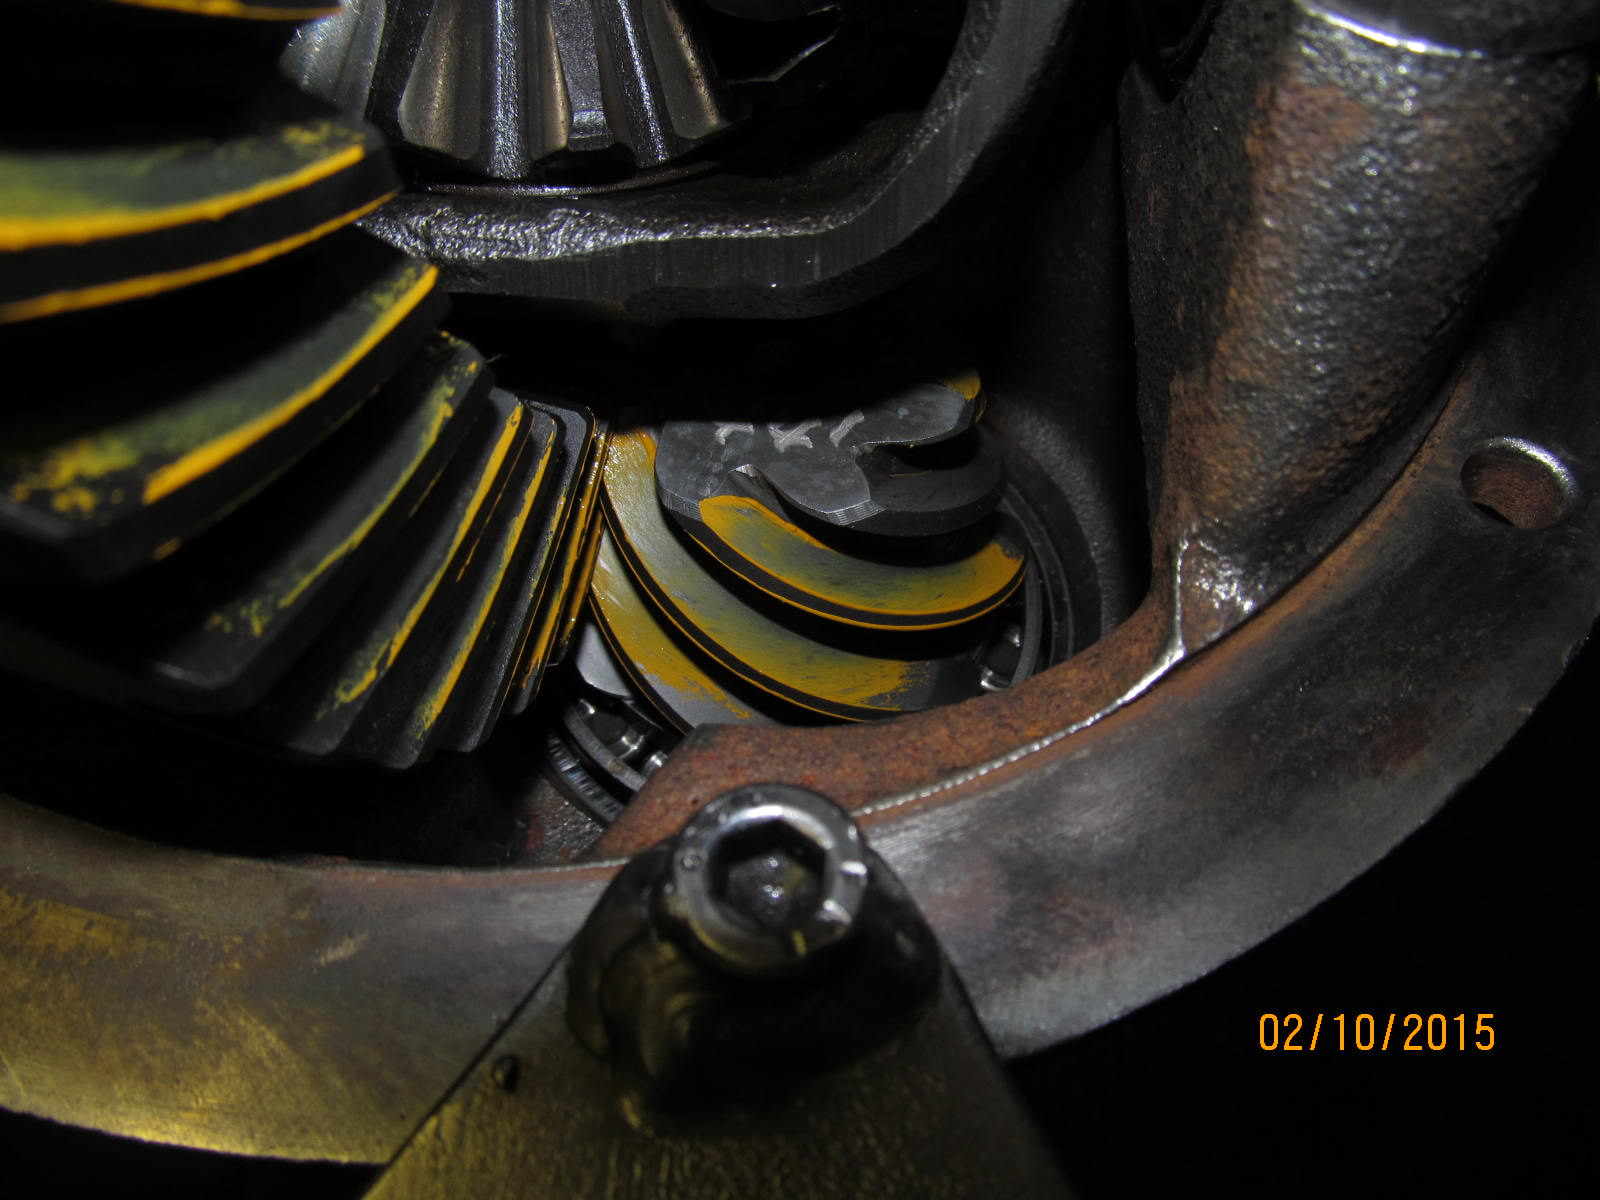
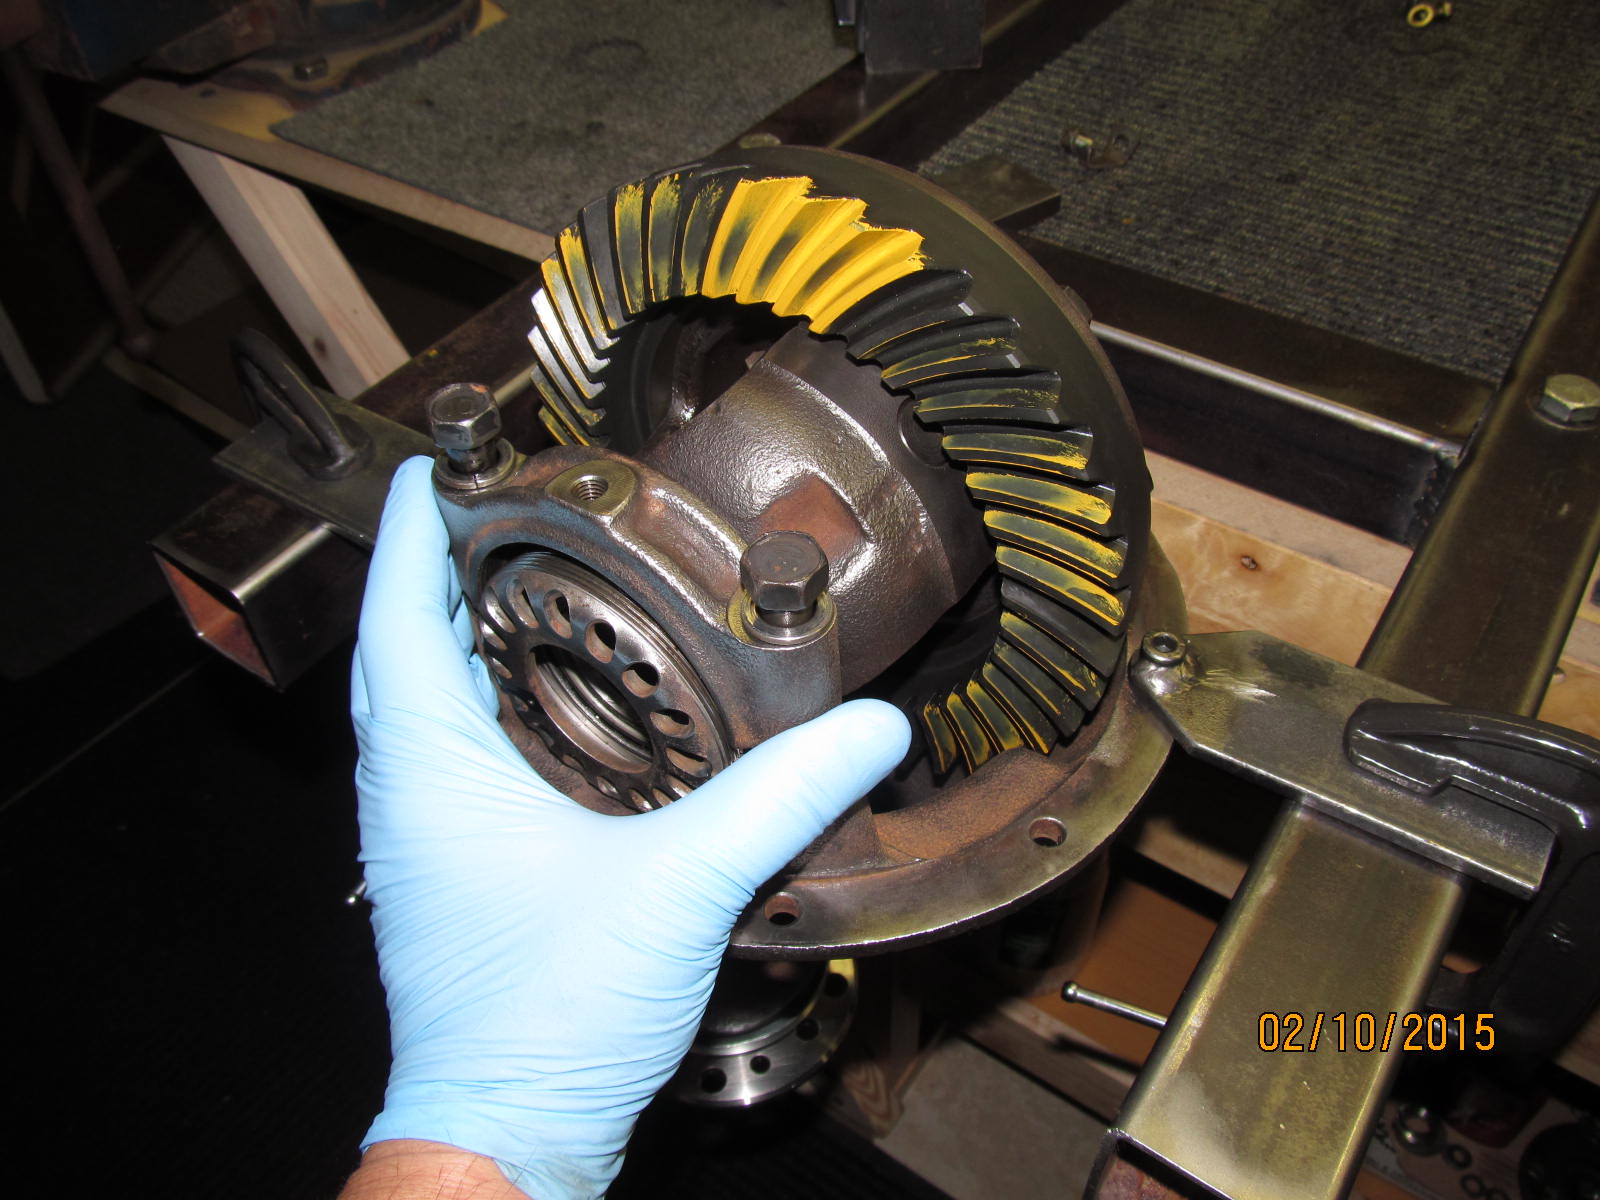
....and paint 3 teeth and see what shows up....Drive side...favors the heel and high on the tooth...too shallow.
|
|
|
|
|
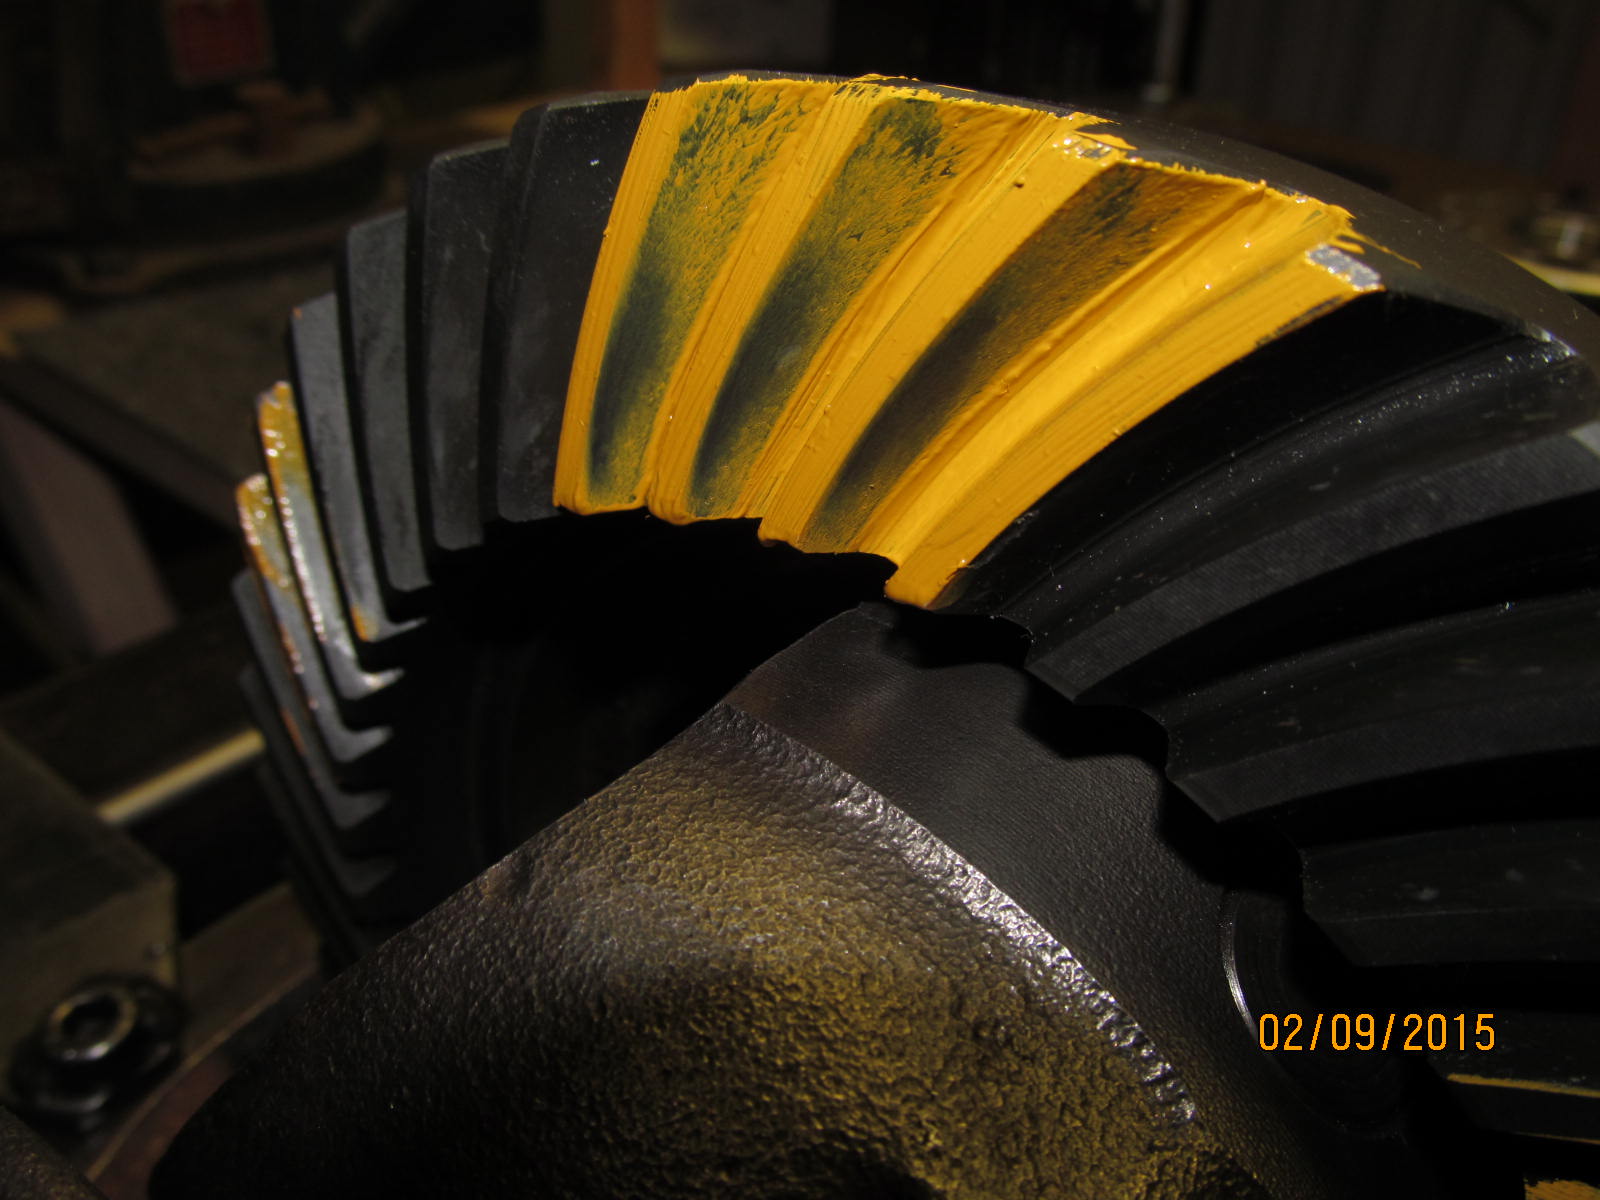
Coast....favors the toe and high on the tooth.....shallow.
|
|
|
|
|
Need to take it all apart again and try a thicker shim.
|
|
|
|
|
Press the pinion out...
|
|
|
|
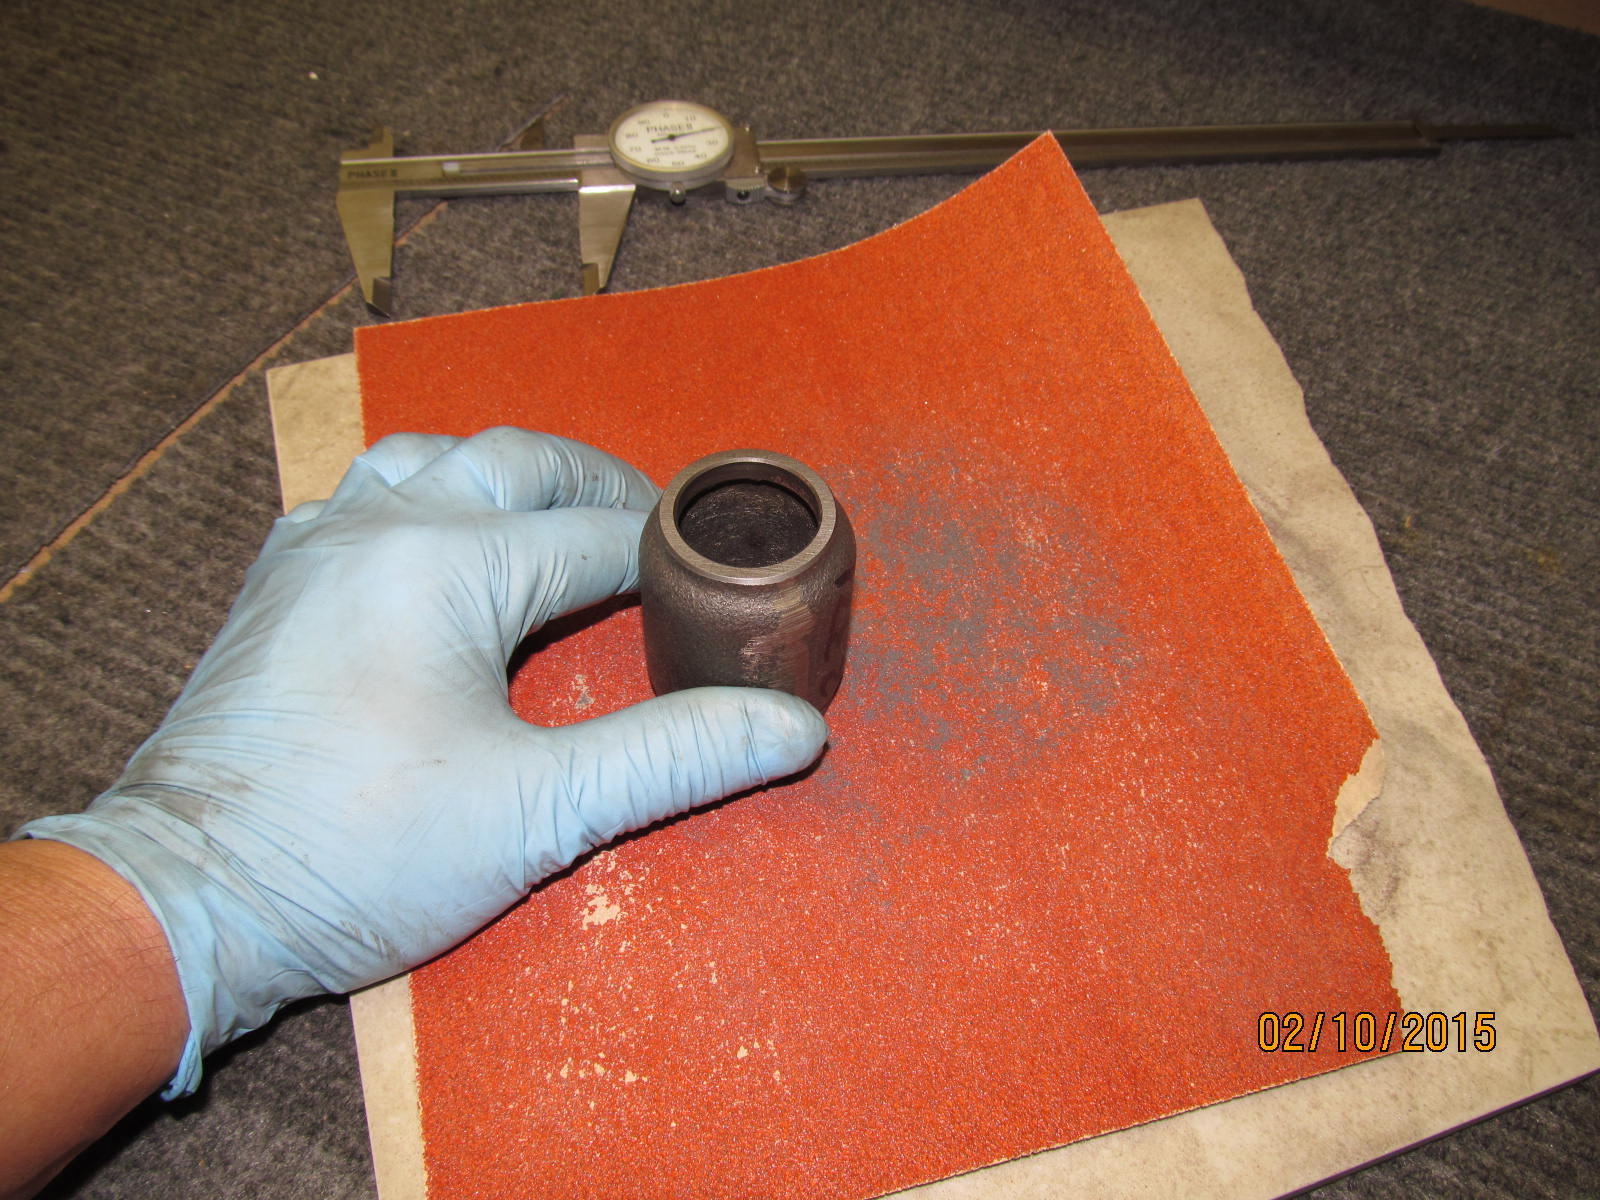
Might as well see if I can also set the solid collar shimming up at the same time here. Using a flat surface and
80 grit sandpaper to sand the surfaces perfectly flat and verifying 2.371" all the way around this collar.
Sometimes, there's 2 or 3 thousandths variation around the collar and that needs to be sanded out. I have
a set of 12" calipers that can give accurate, repeatable measurements for this kind of thing.
|
|
|
|
|
Press the pinion bearing off to get at the shim...
|
|
|
|
|
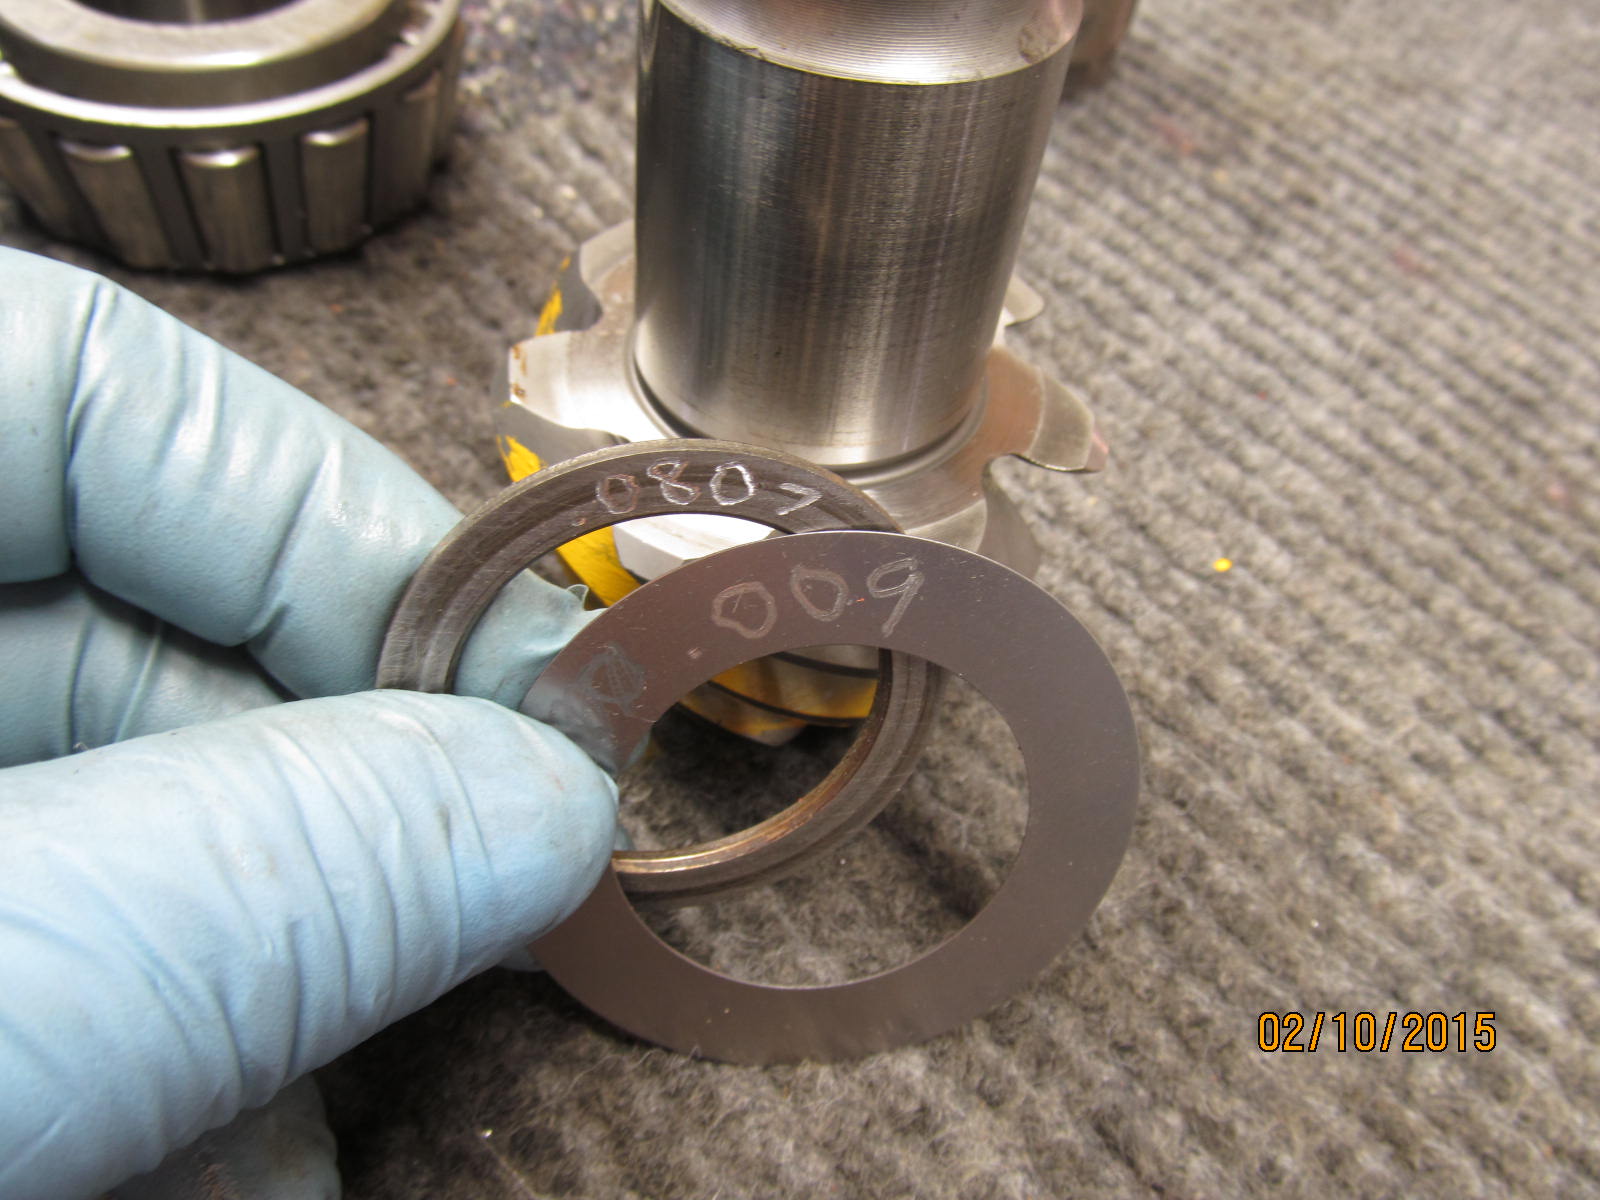
Upping the shim from 081 to about 090 shown here.
|
|
|
|
|
..................
|
|
|
|
|
This time the collar does go on. It took me about 4 tries to get this collar shimming correct.
|
|
|
|
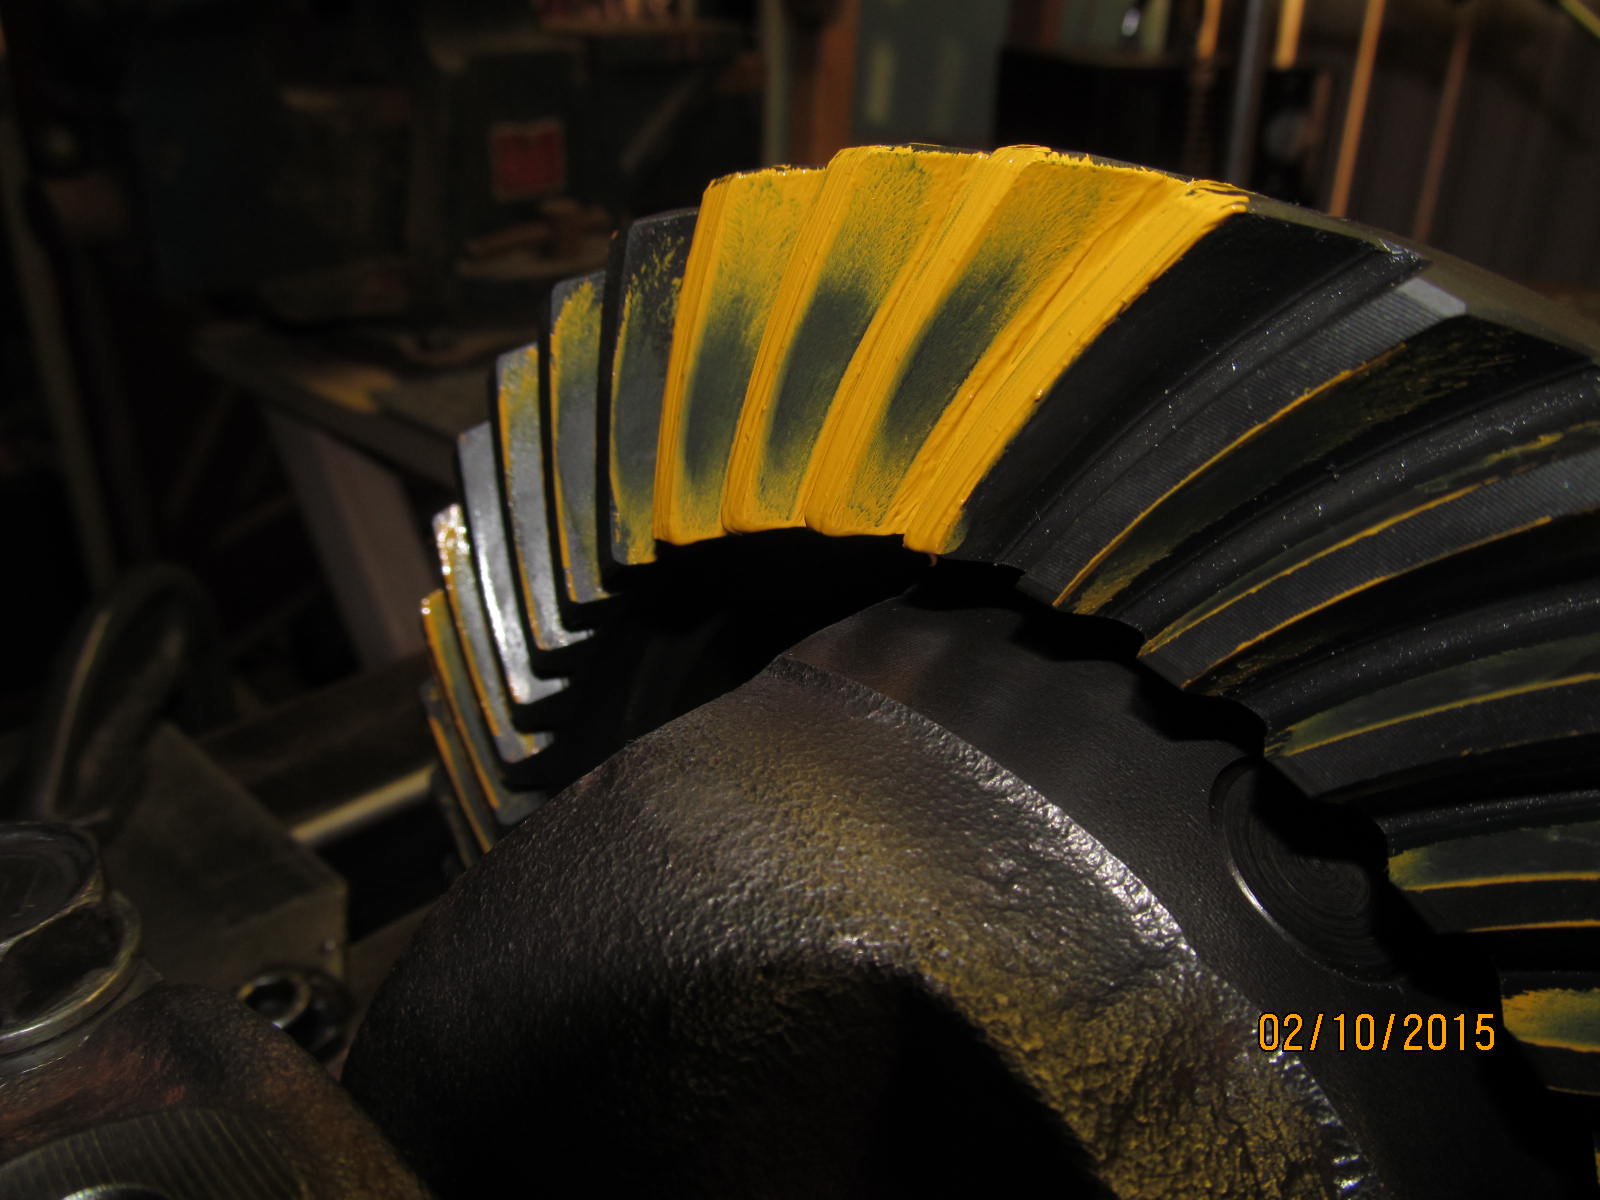
Drive. Much better...some would say "exact depth". I can get it better for Josh. These are high performance gears.
Let's set them up for maximum performance which is a slight deep condition.
|
|
|
|
|
Coast.
|
|
|
|
|
Drive side of pinion tooth.
|
|
|
|
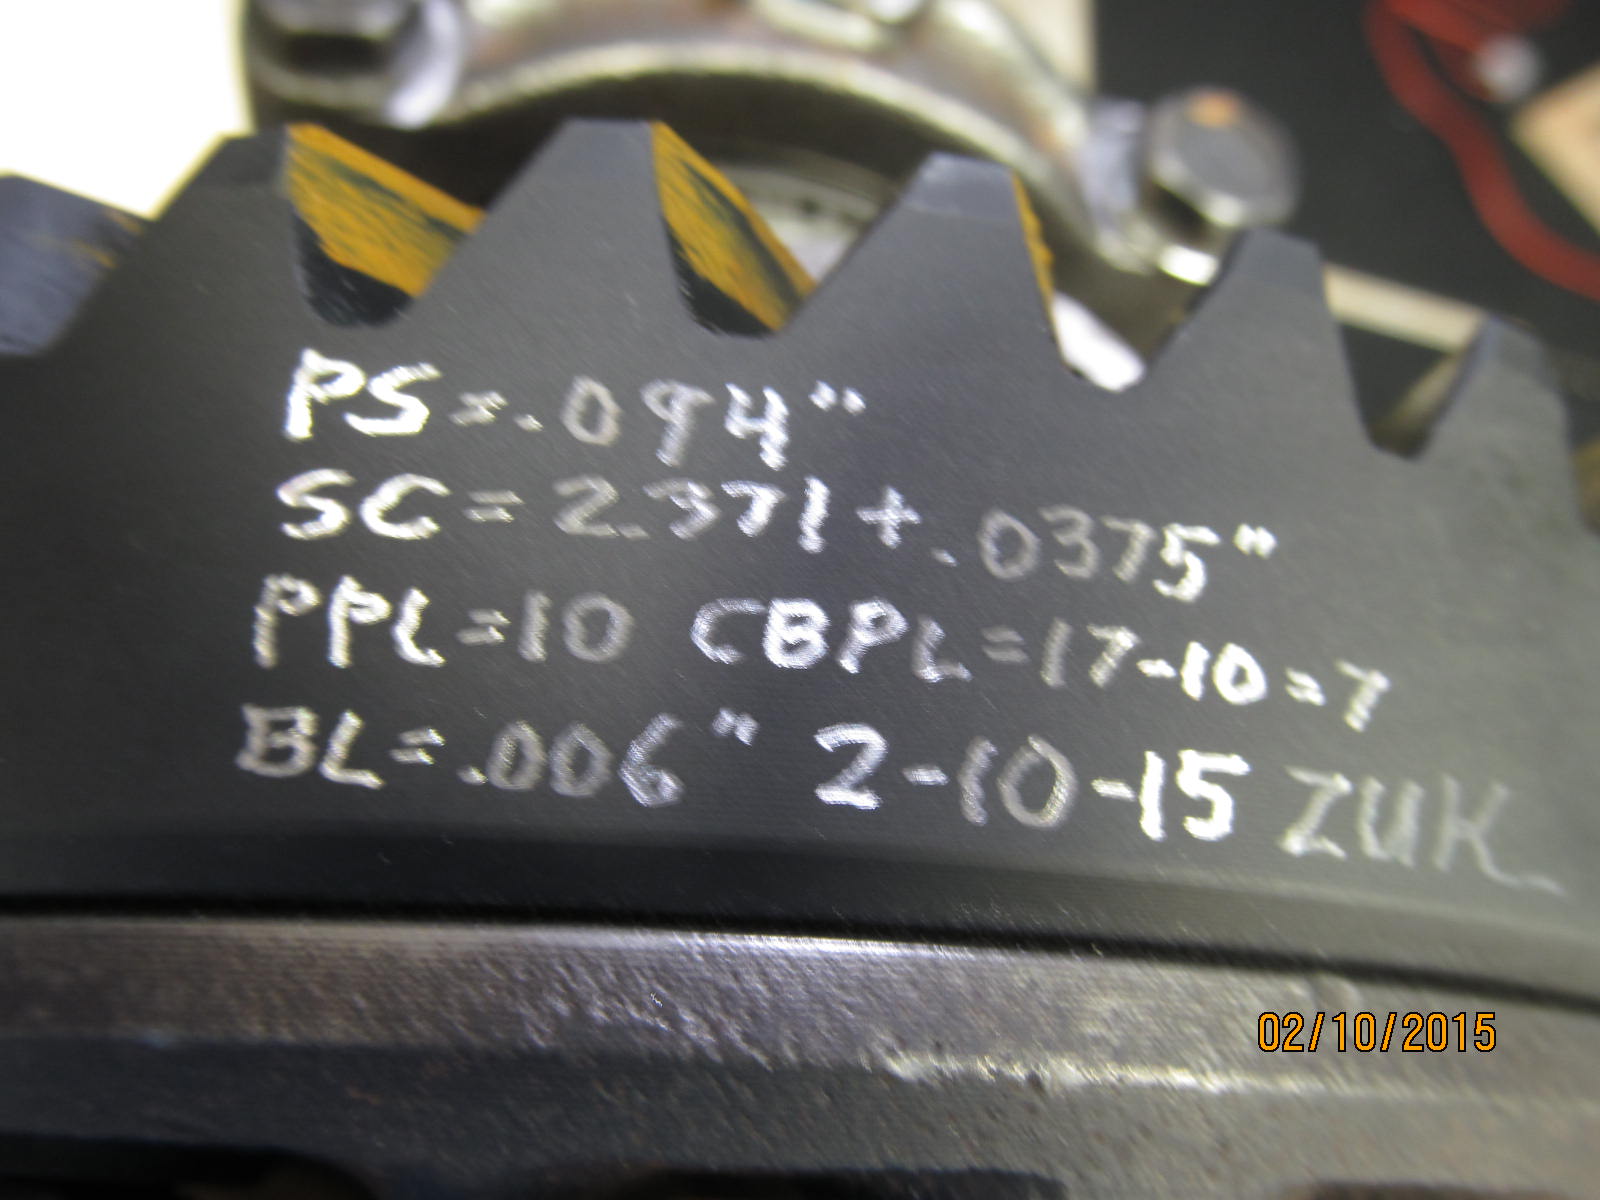
I skipped a few pictures and changed the pinion shim from 090 to 094". I'm confident enough where I'm will
to take the chance and put the seal in now.
|
|
|
|
|
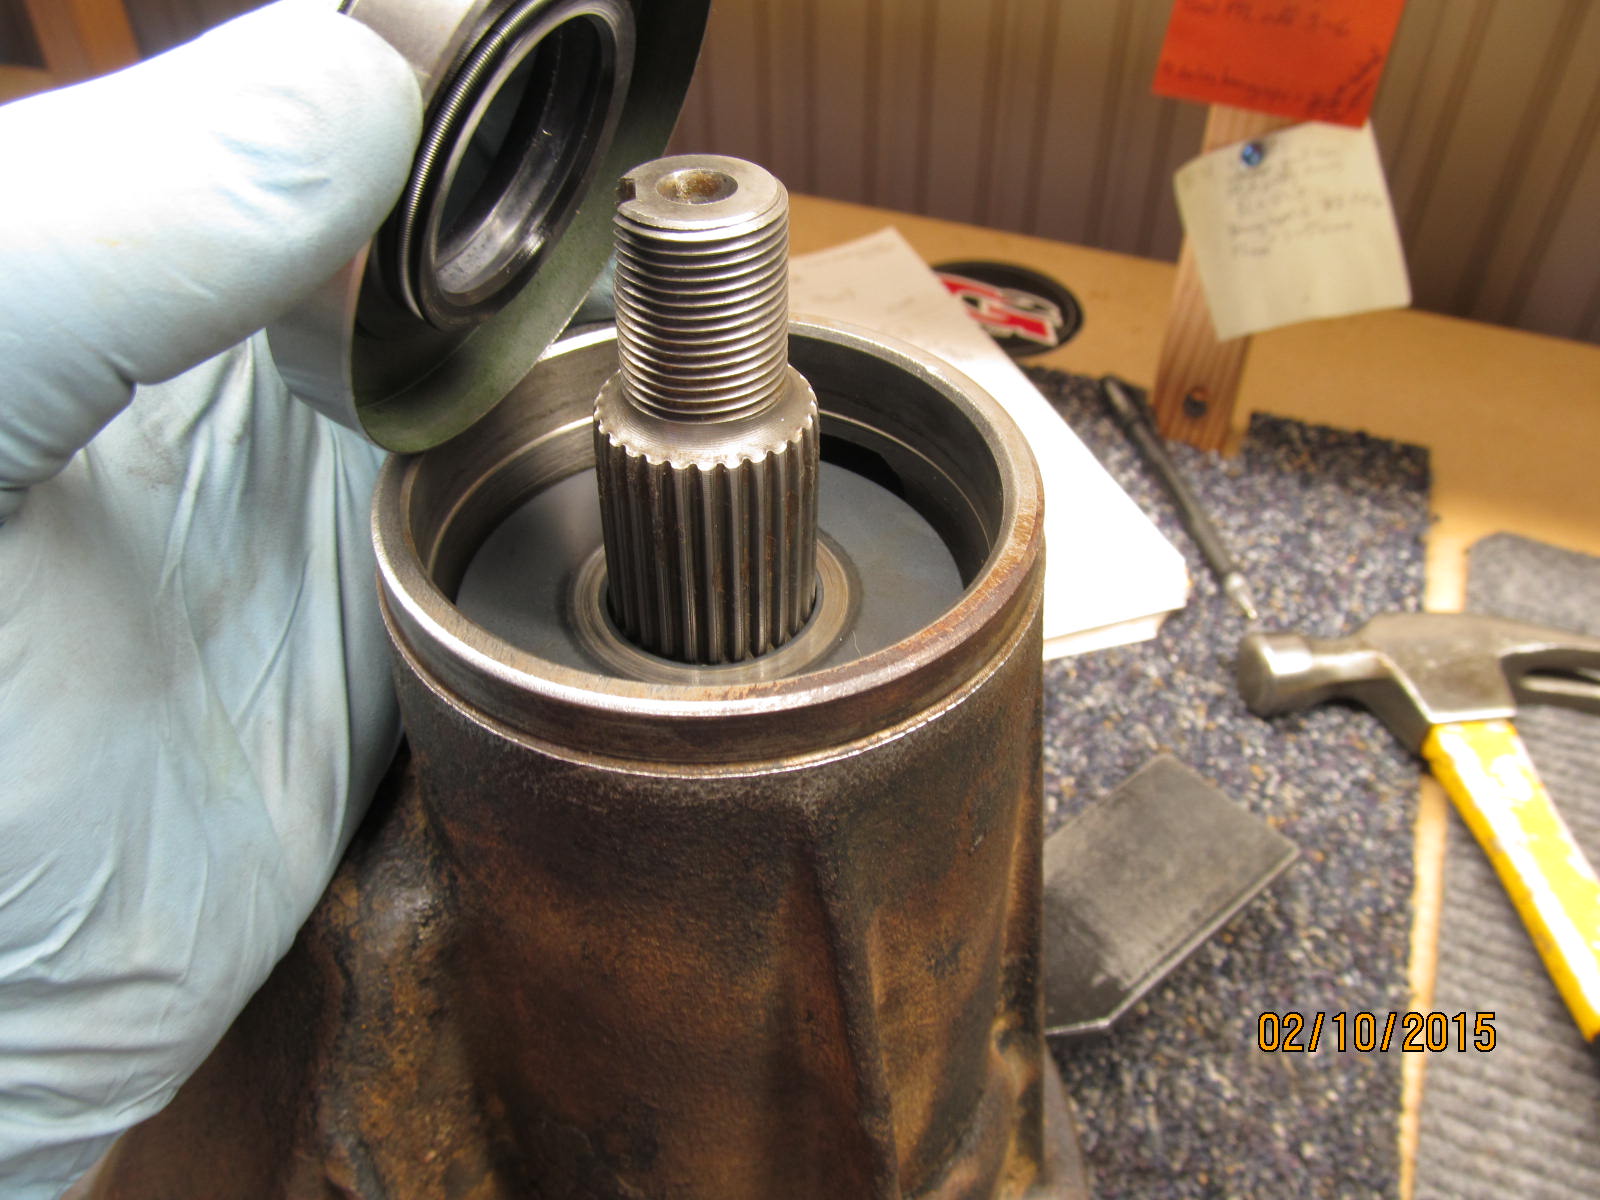
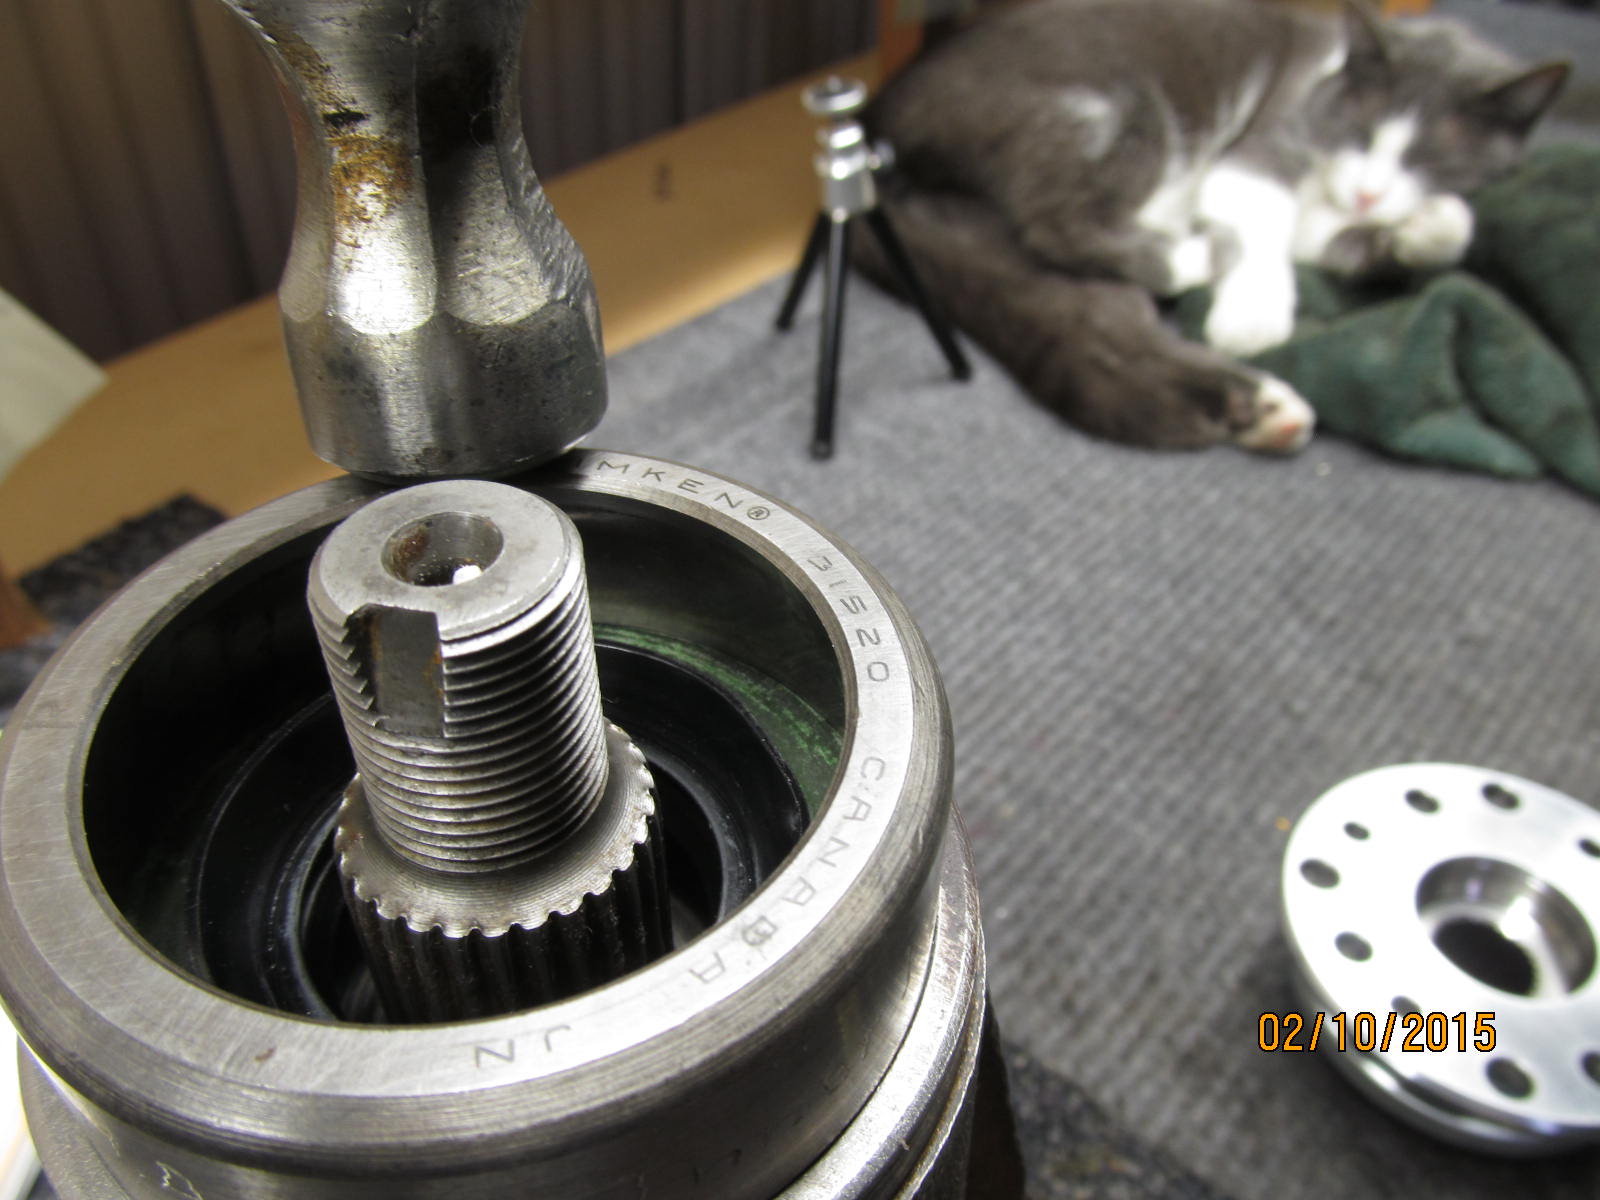
Quietly tap in the pinion seal.
|
|
|
|
|
I have found that perfect old race to catch the corners and tap it down just a smidge more.
|
|
|
|
|
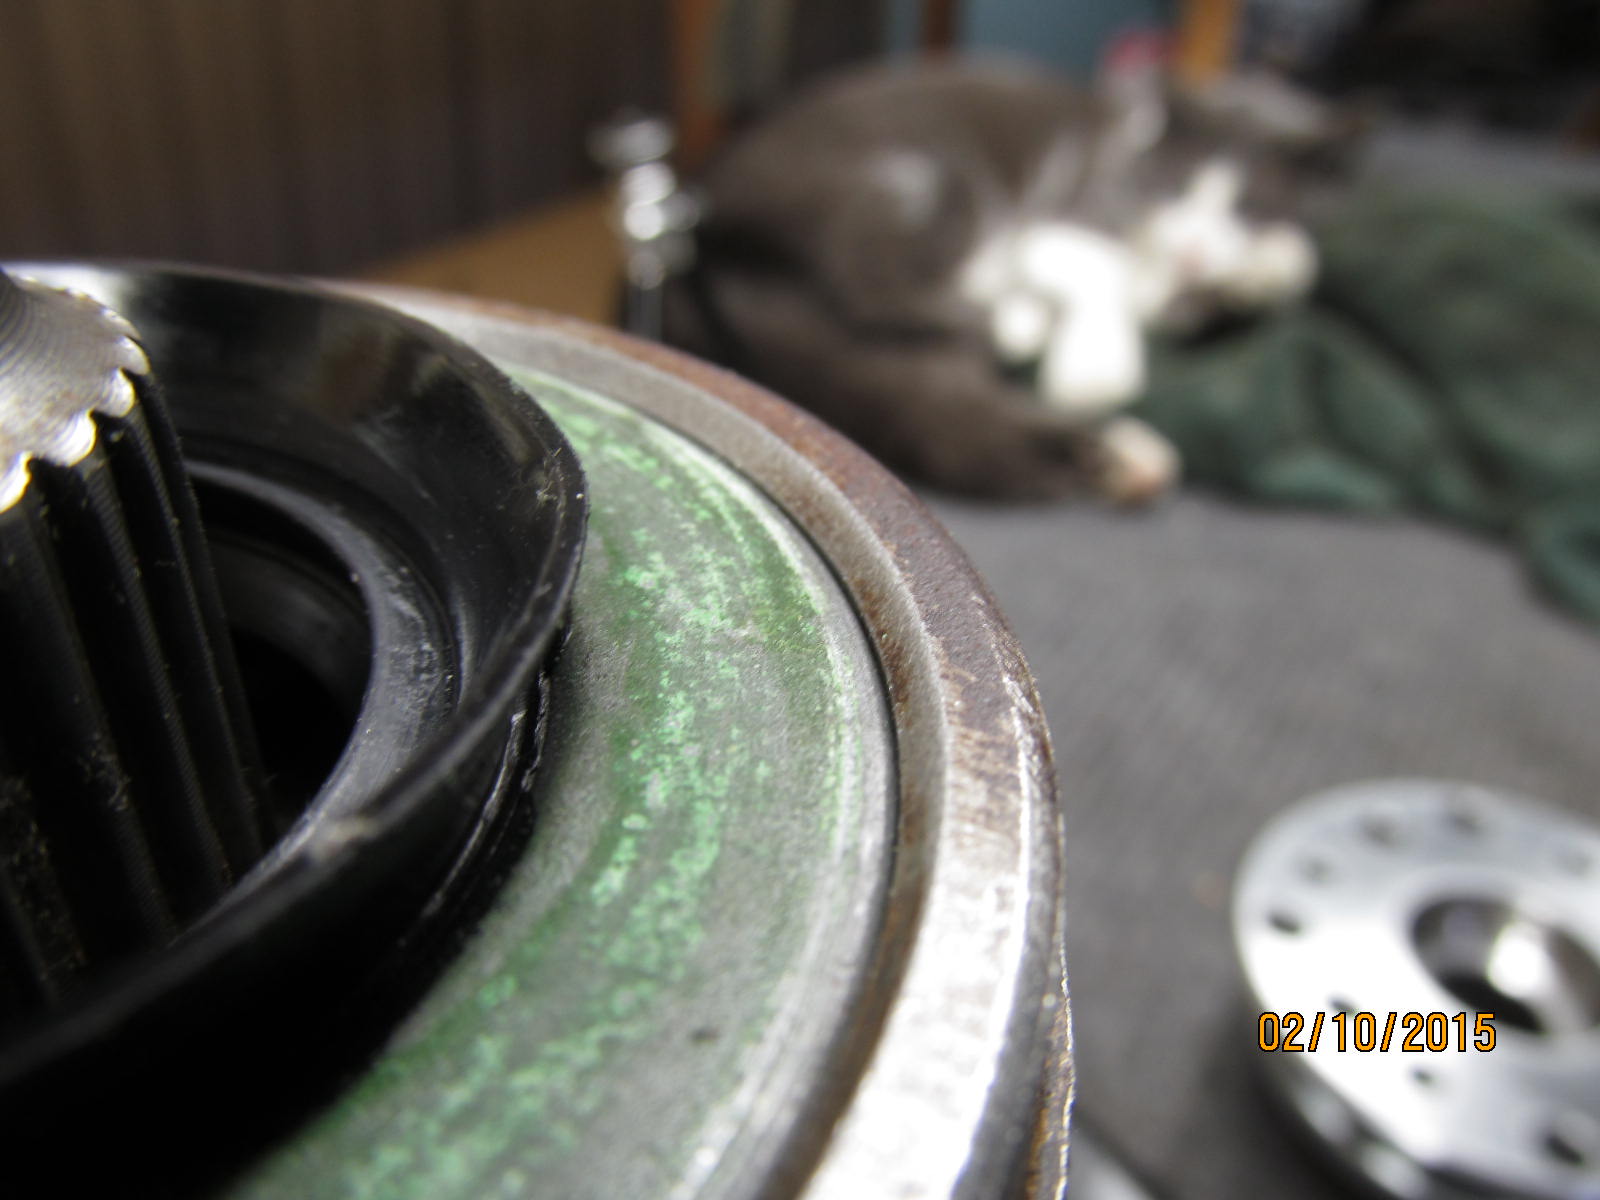
The seal is recessed down evenly all the way around about 1 or 2 mm per the FSM.
|
|
|
|
|
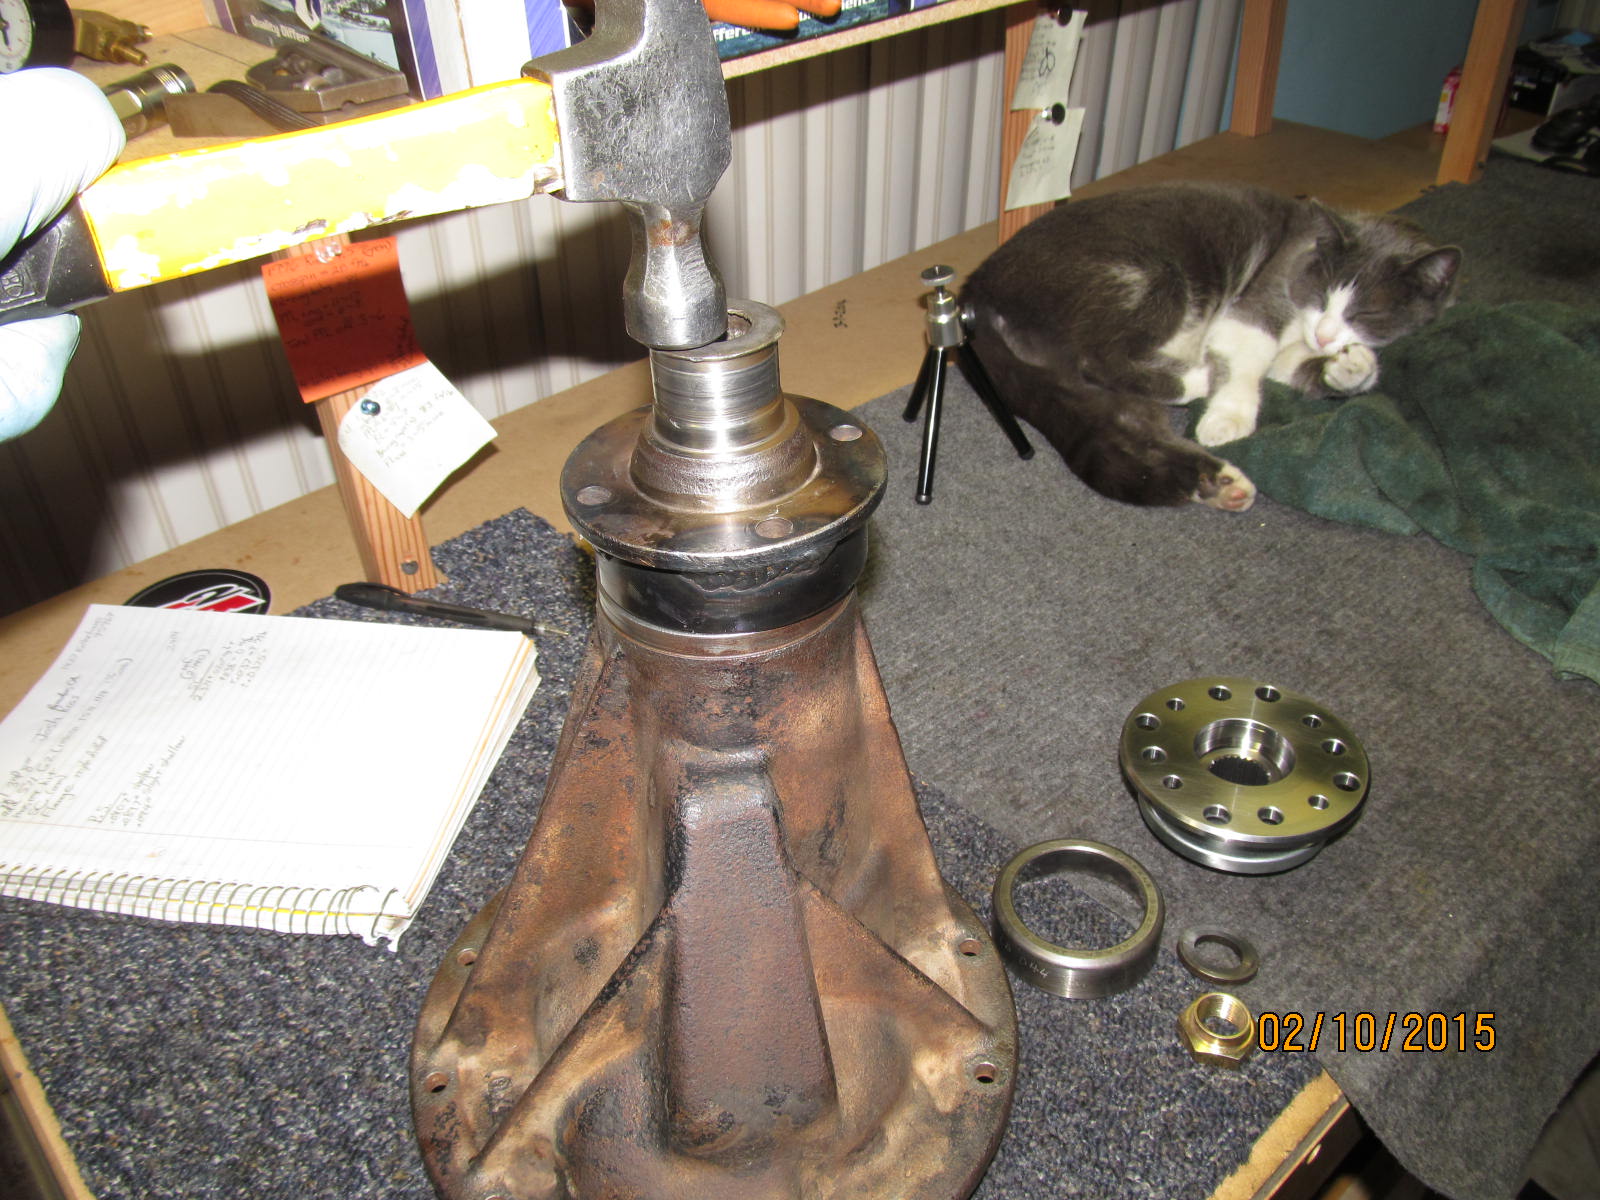
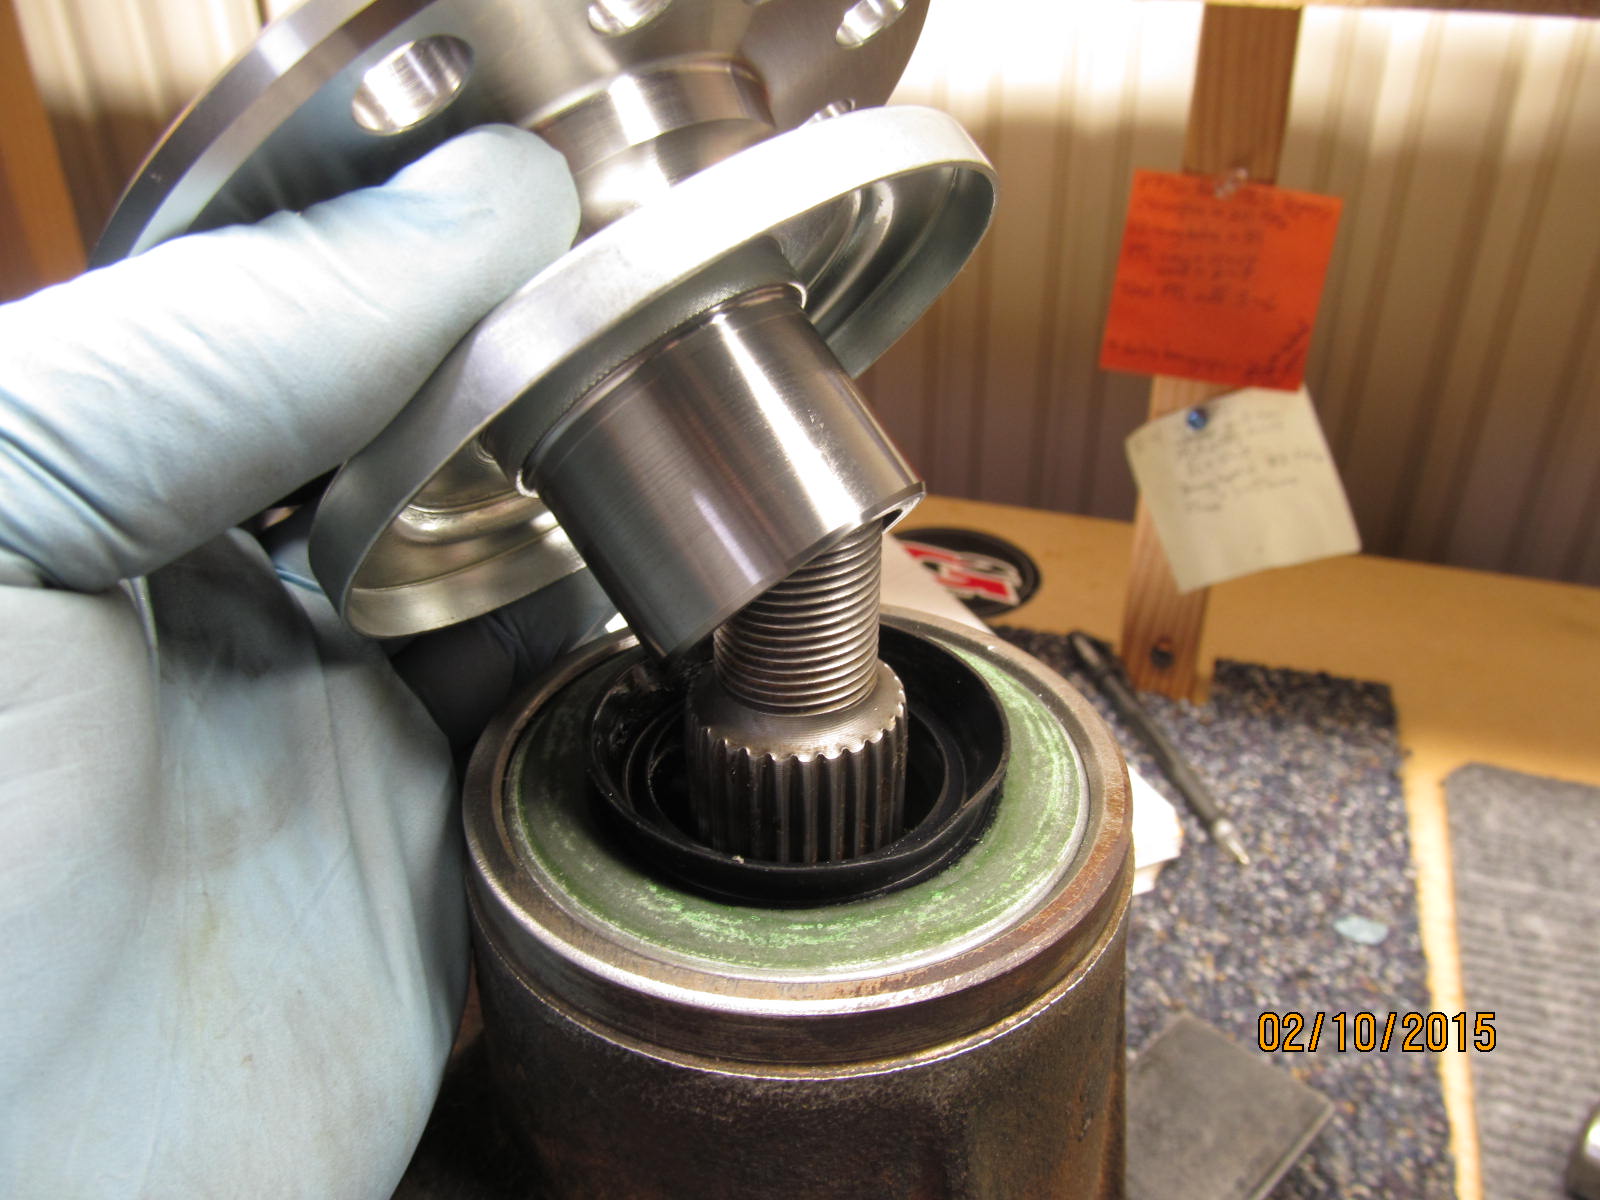
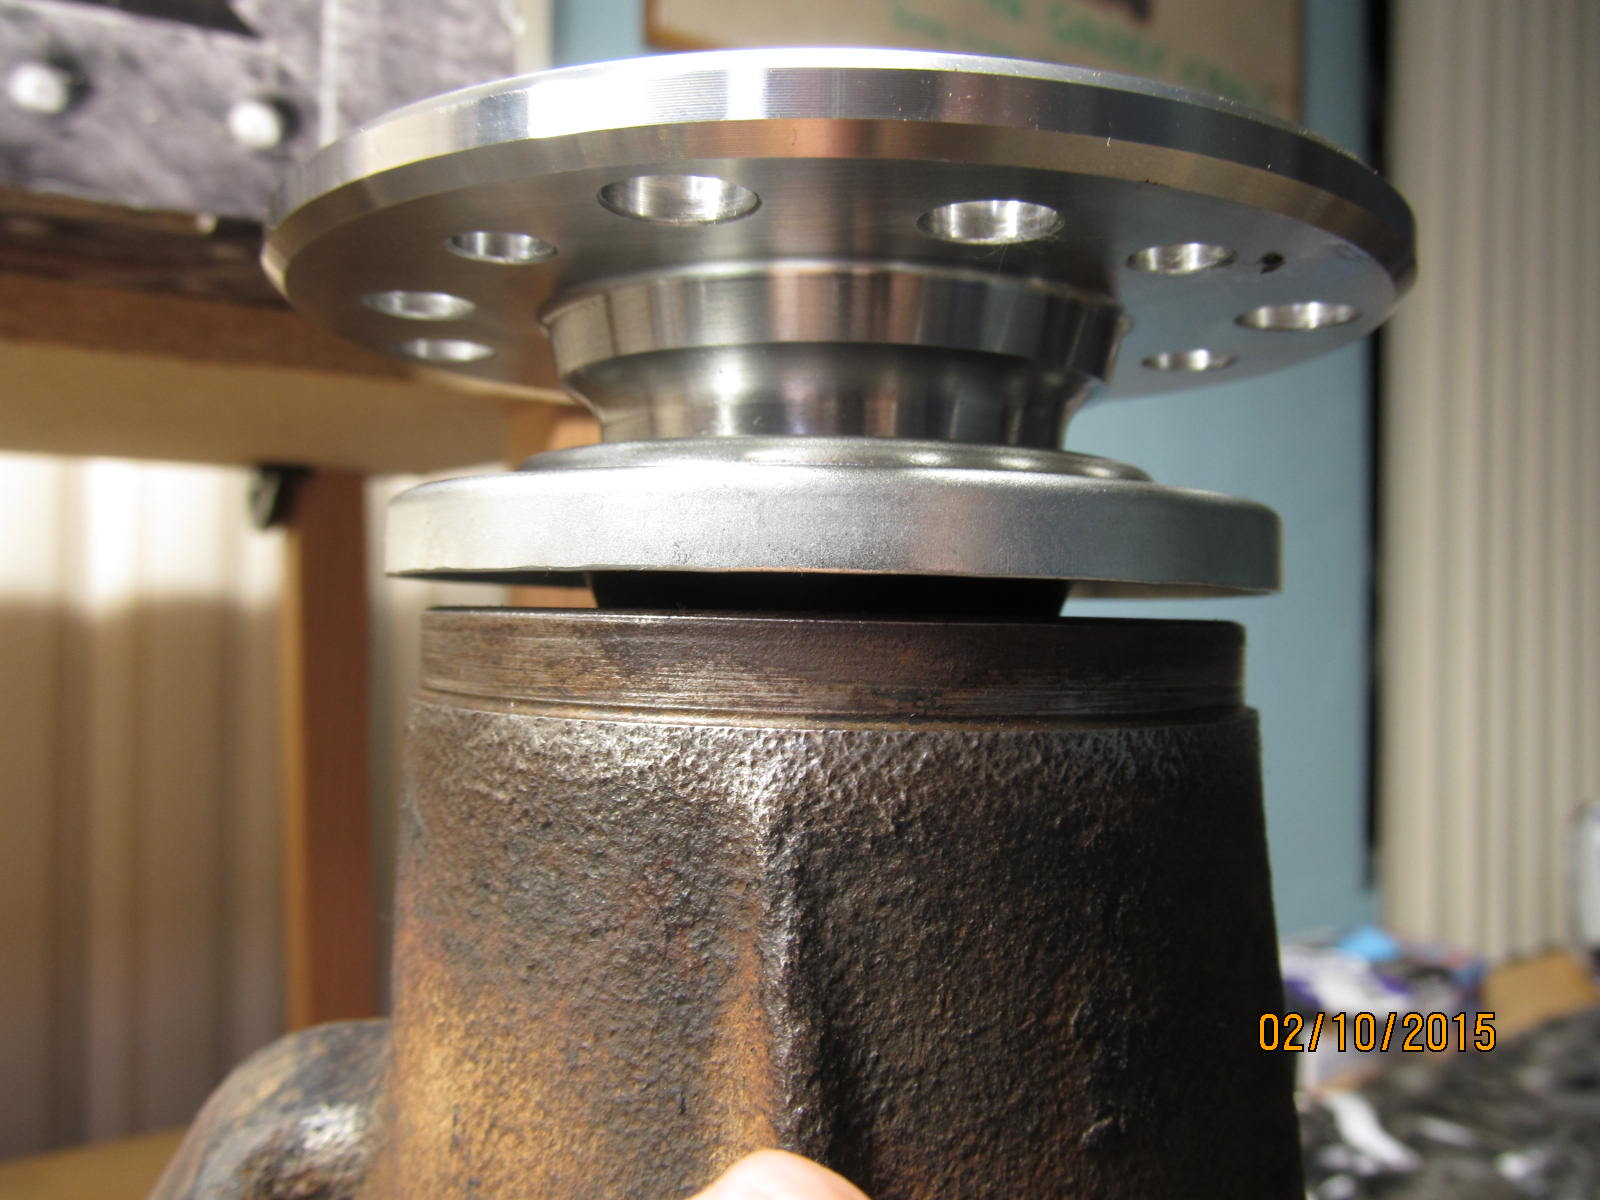
All related surfaces are oiled up and the new triple drilled flange can now be installed.
|
|
|
|
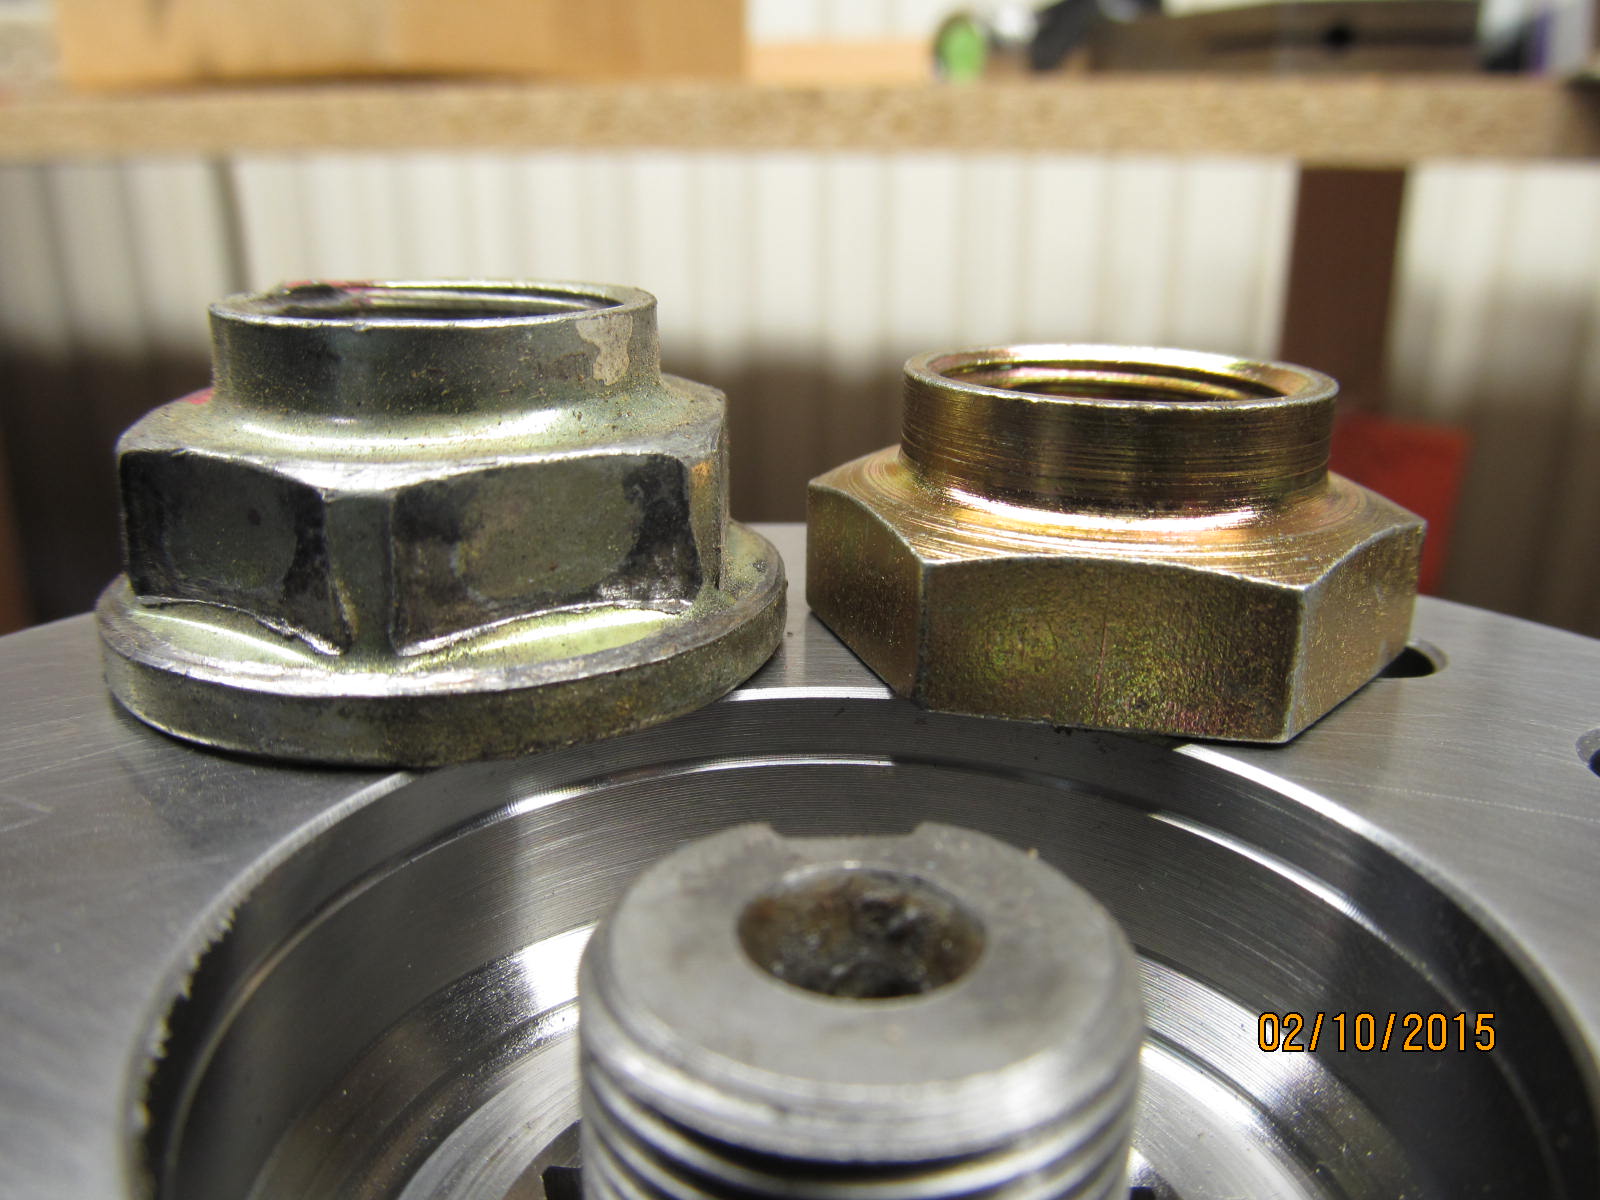
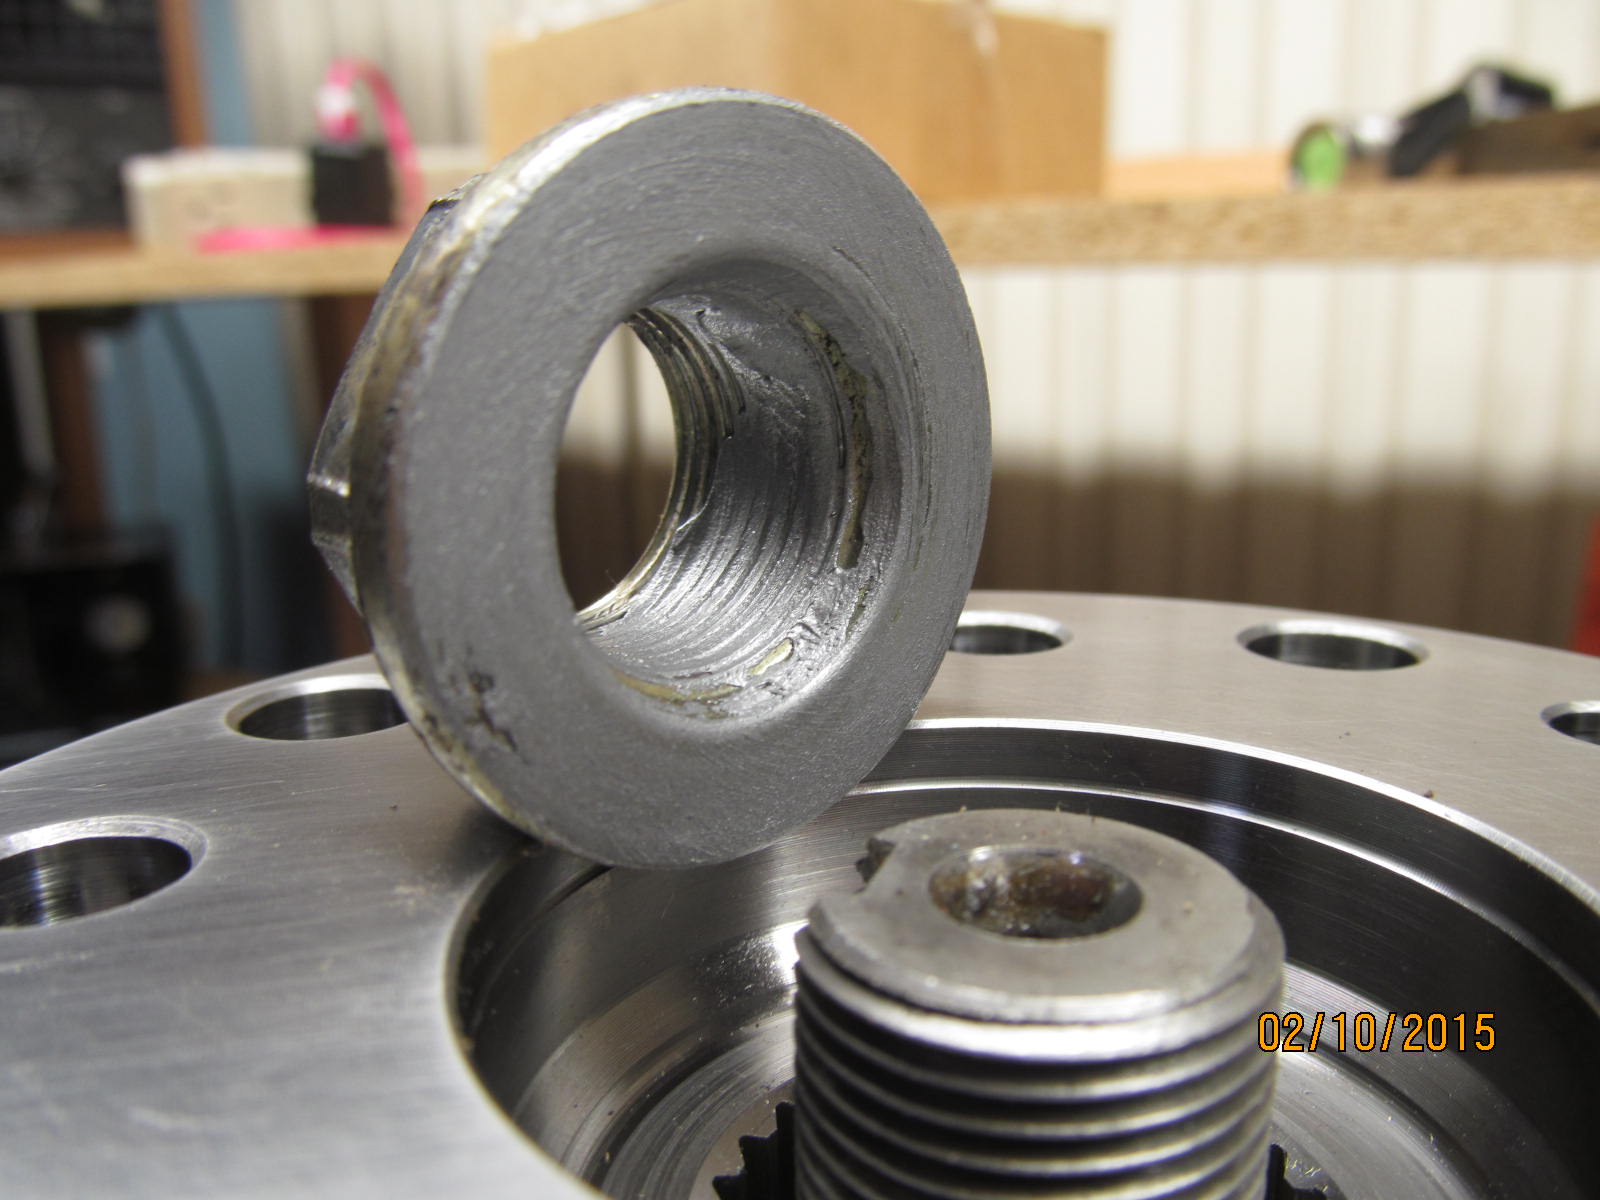
Use the used flange nut on the left or the new oem nut on the left? The flange style nut ,even used,
is the better choice. More threads and built in washer base.
|
|
|
|
|
Aluminum anti-seize is applied liberally to the threads and the bottom contact surface.
|
|
|
|
|
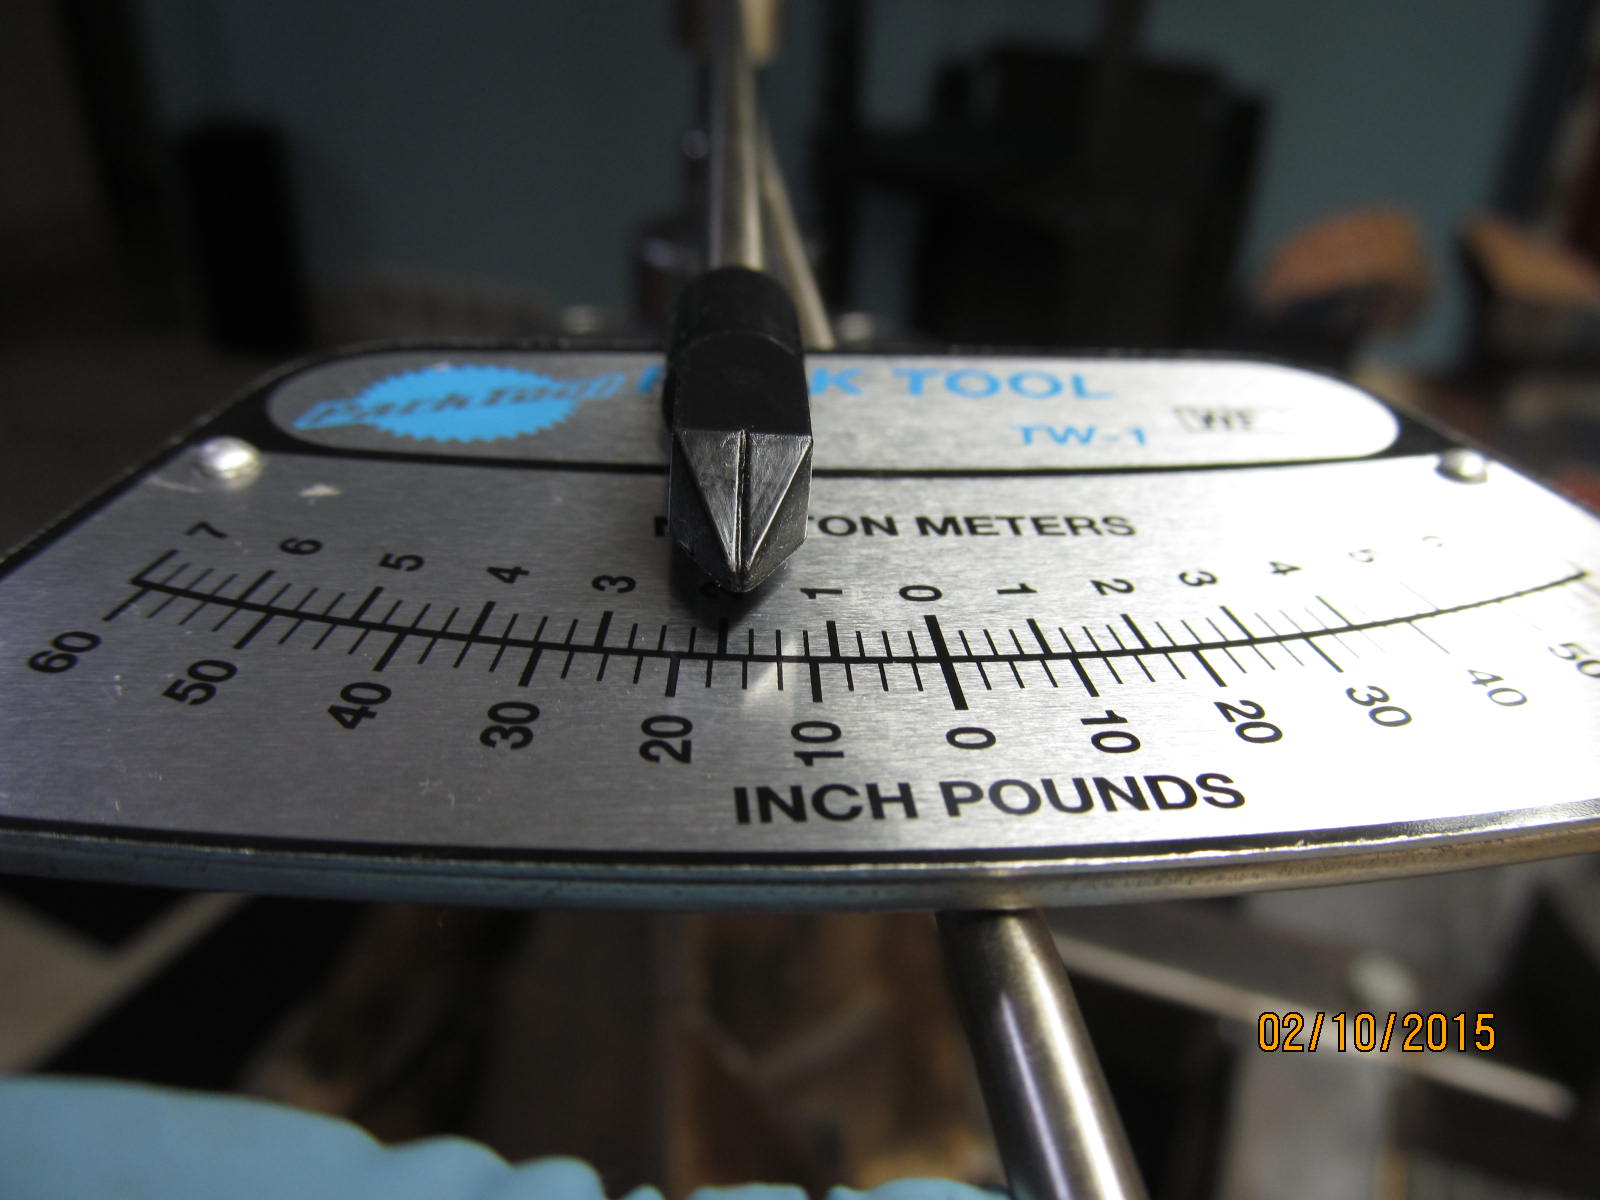
Tightening the nut with the electric impact resulted in a measured PPL of 5 in/lb.
|
|
|
|
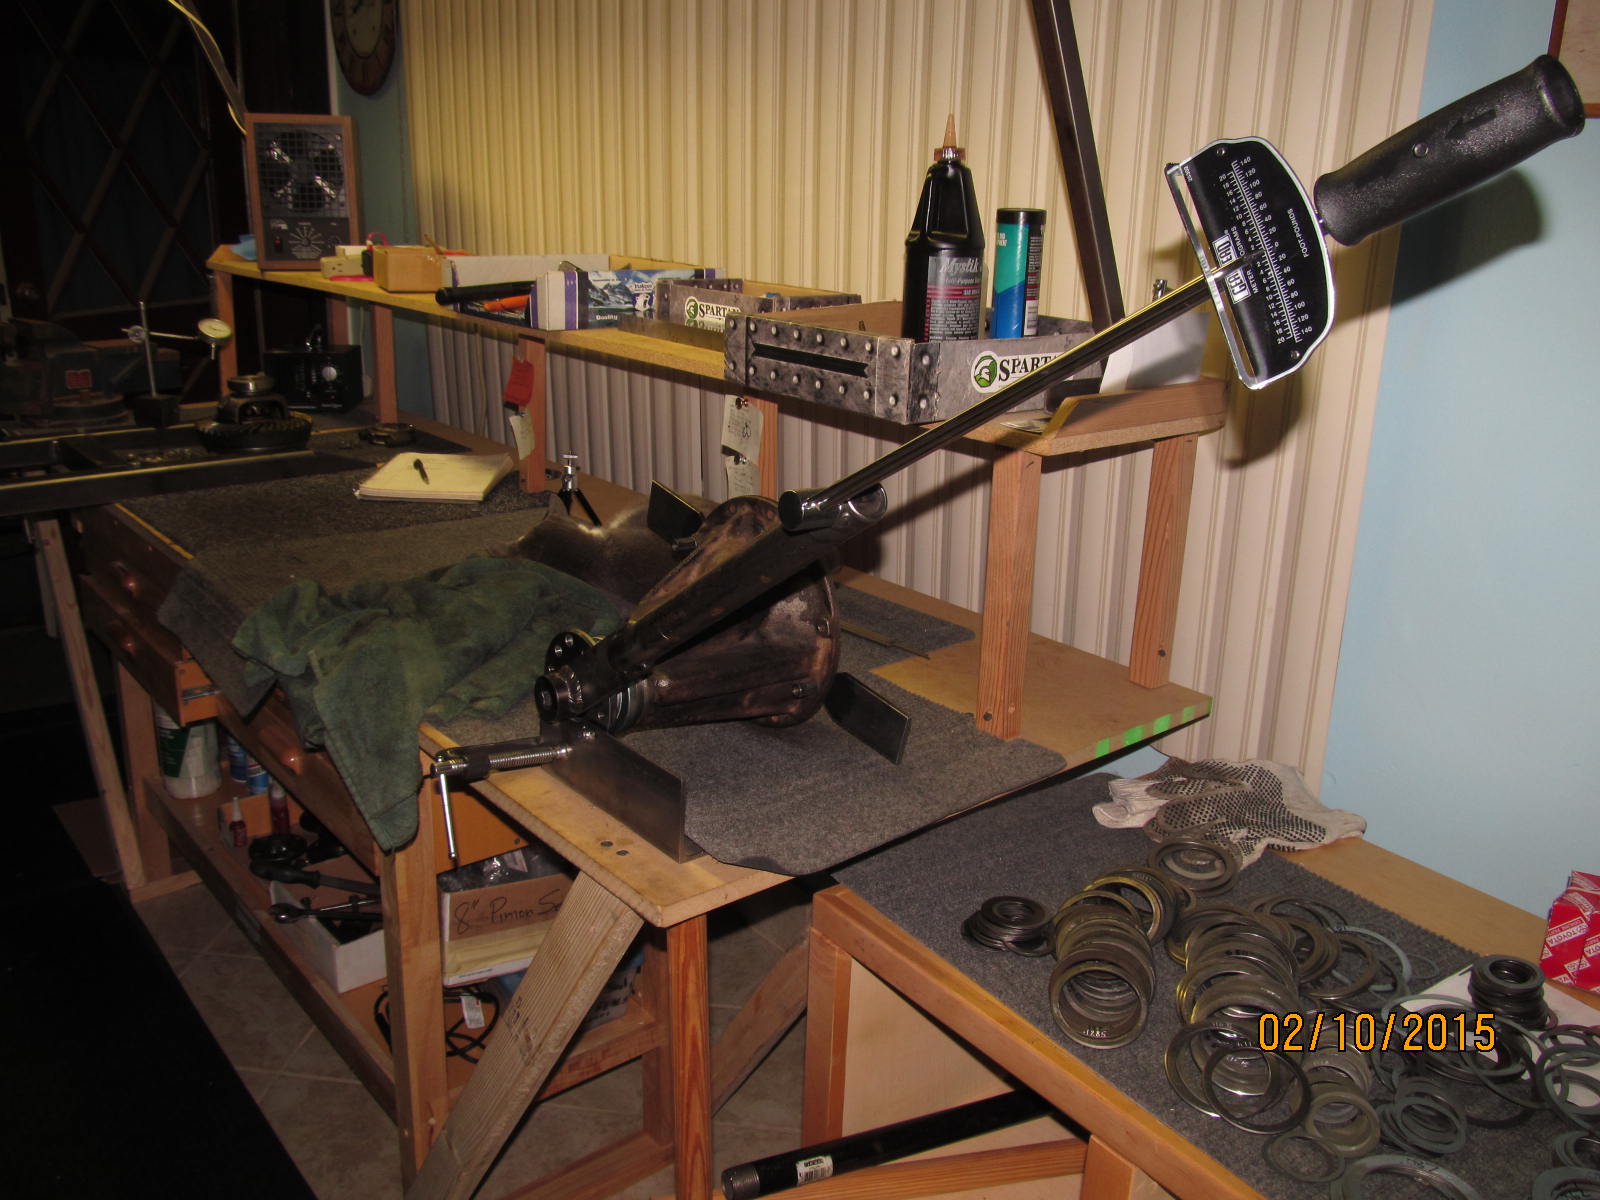
Using my 150 ft/lb torque wrench with the X2 multiplier gives so many more options. Now it is actually easy to
tighten the pinion nut to over 200 ft/lb ......
|
|
|
|
|
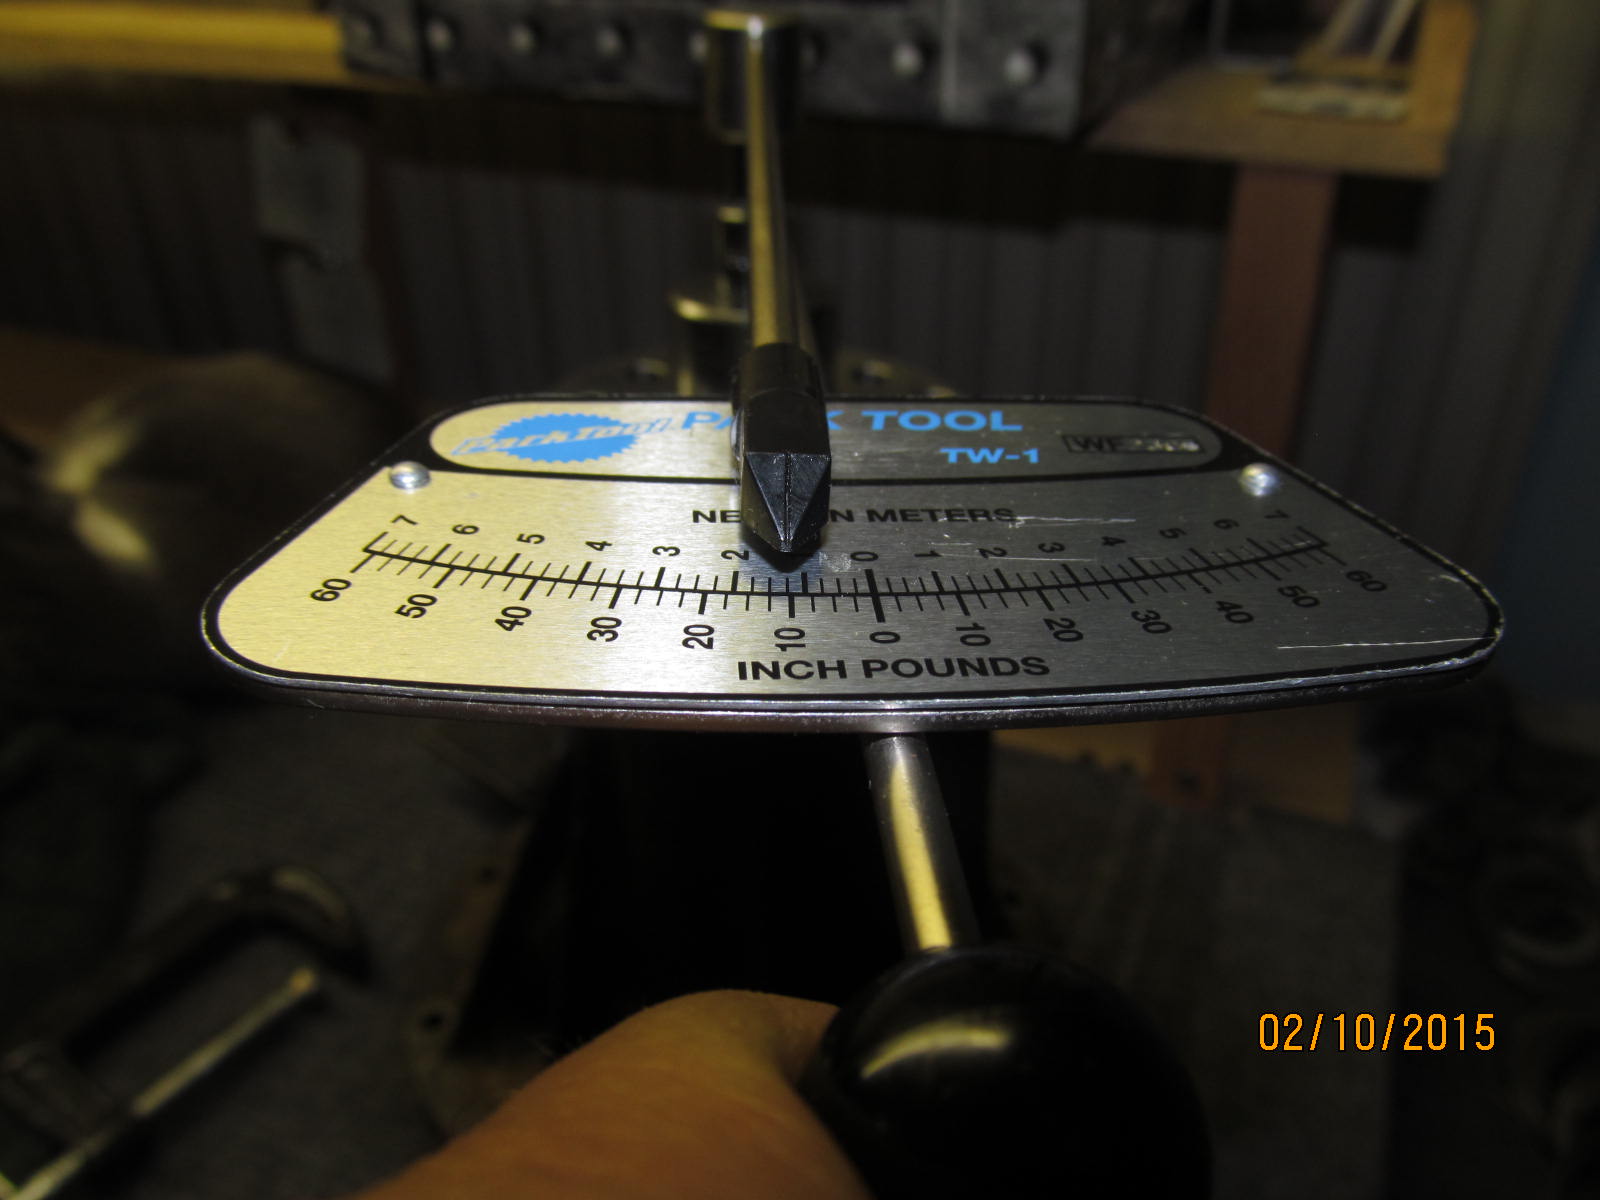
....and cause the solid collar to compress a tiny bit to result in a new PPL reading of 10 in/lb.
|
|
|
|
The dust shield is unusually high here....not gonna keep much dust out this way but there is little we can do
....just run with it. See next picture.
|
|
|
|
|
Some flanges are higher than other as shown here.
|
|
|
|
|
Assemble bearing caps making sure to catch the threads in the right groove.
|
|
|
|
Tap it down...if it makes a solid SNAP! then you caught the threads correctly. If it makes a soft thud then
better re-check things.
|
|
|
|
|
75 ft/lb
|
|
|
|
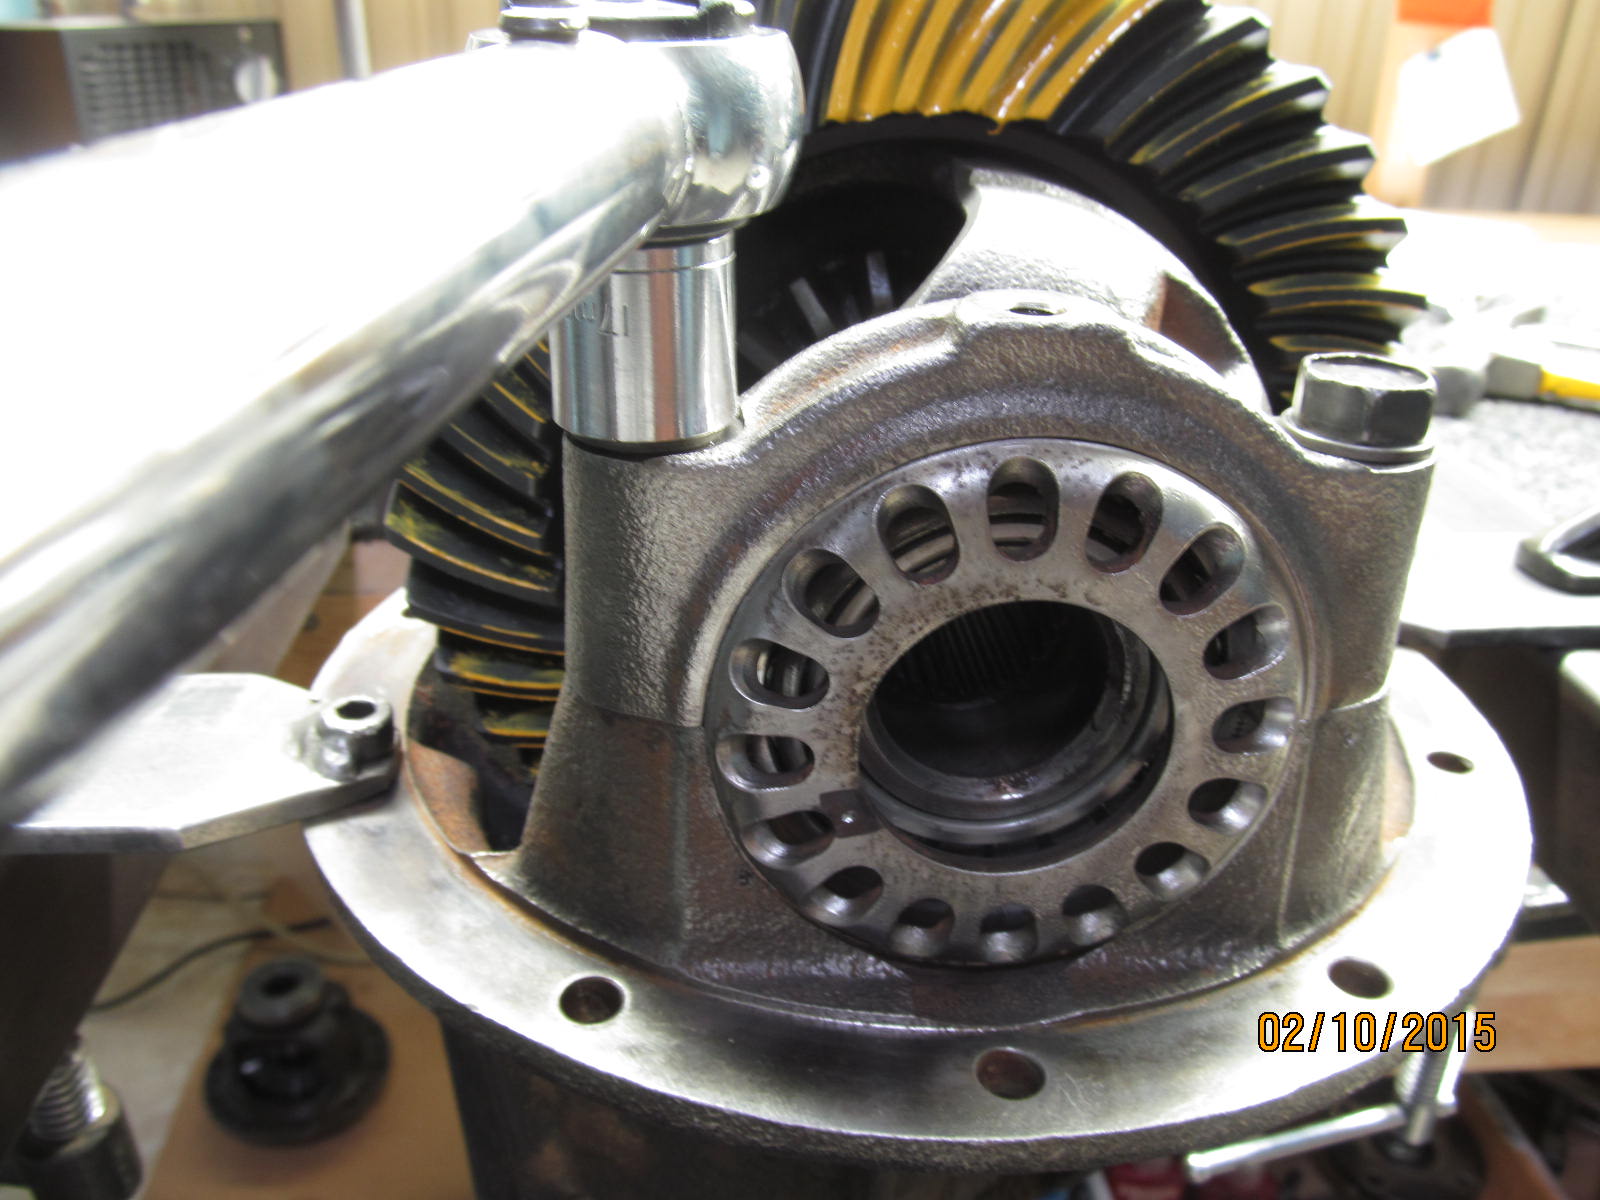
The careful process of balancing the backlash verses carrier preload. Turn the ring gear while smacking it with
a hammer on the 4 corners to equalize roller bearing tensions.
|
|
|
|
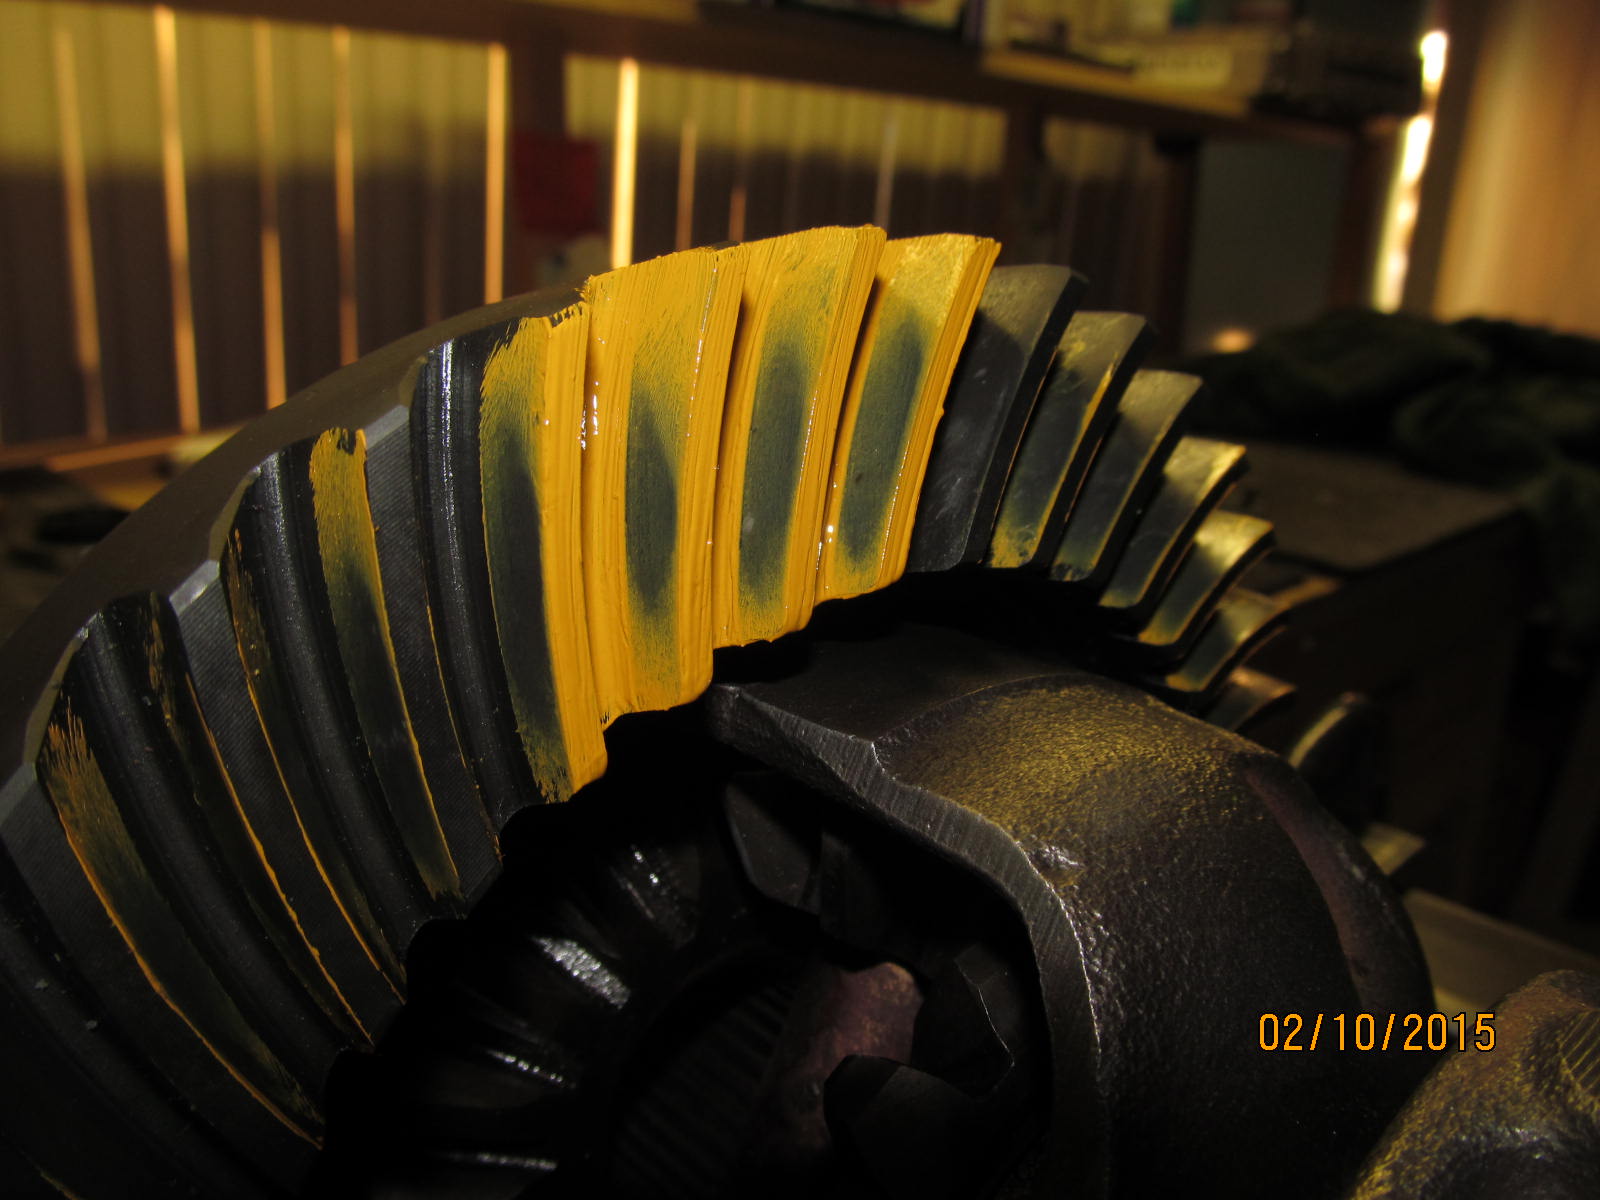
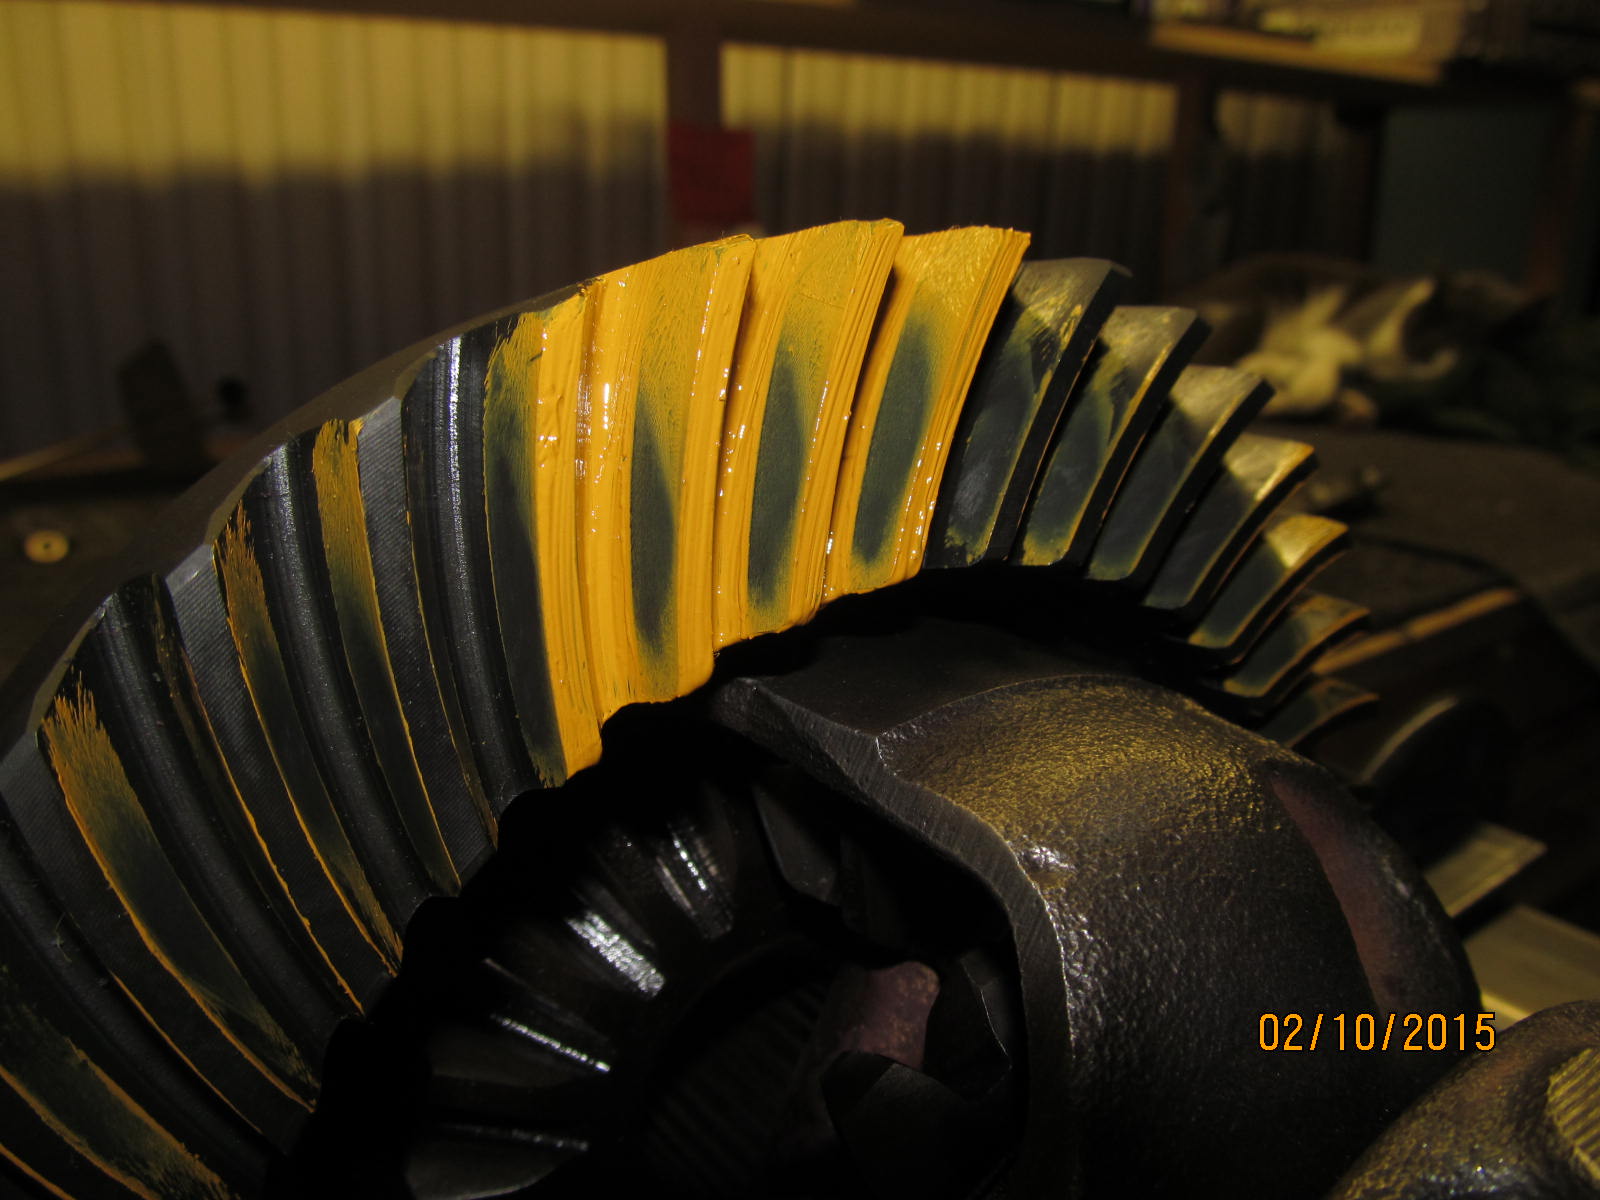
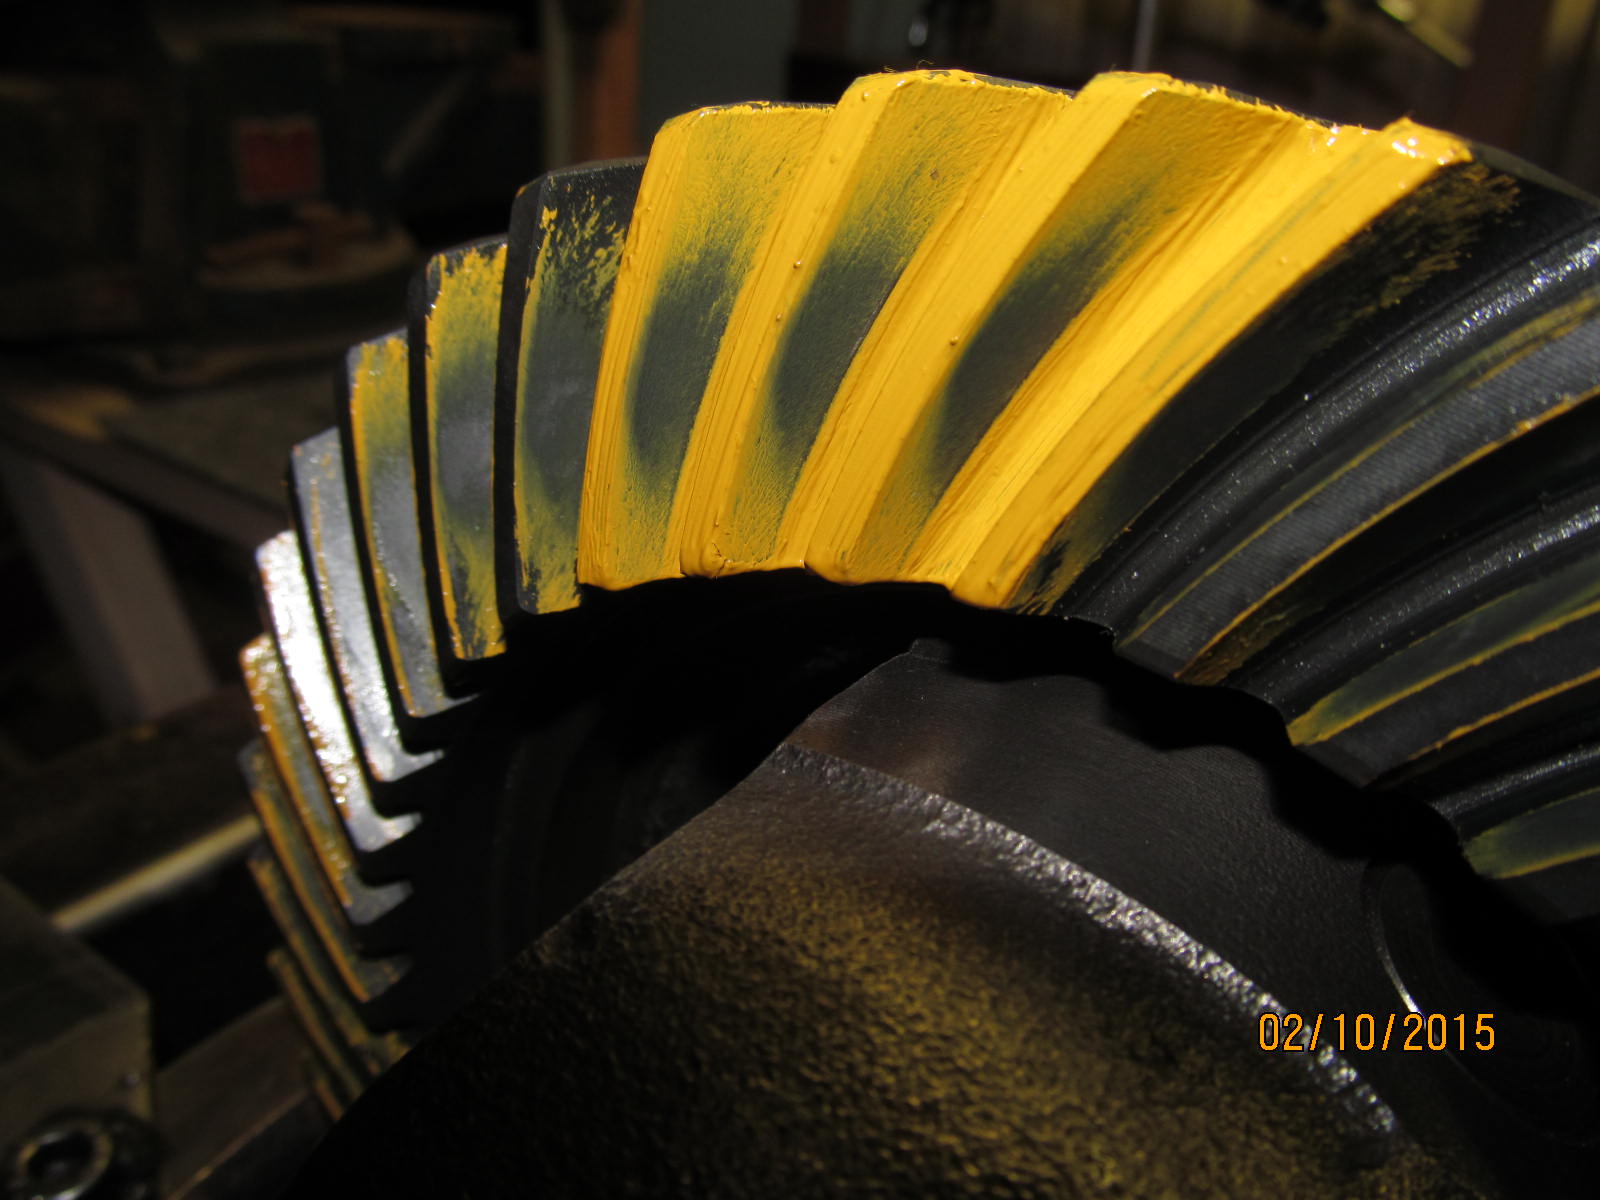
Re-paint .....sweet....slight deep condition I aim for. 
|
|
|
|
NICE coast pattern, too. It's in the same general spot as the drive side so the "balance" is very good. Looks
the same slight deep condition so I am confident that Josh will get some good service from these gears.....
just keep clean oil in it....and keep the water out :)
|
|
|
|
|
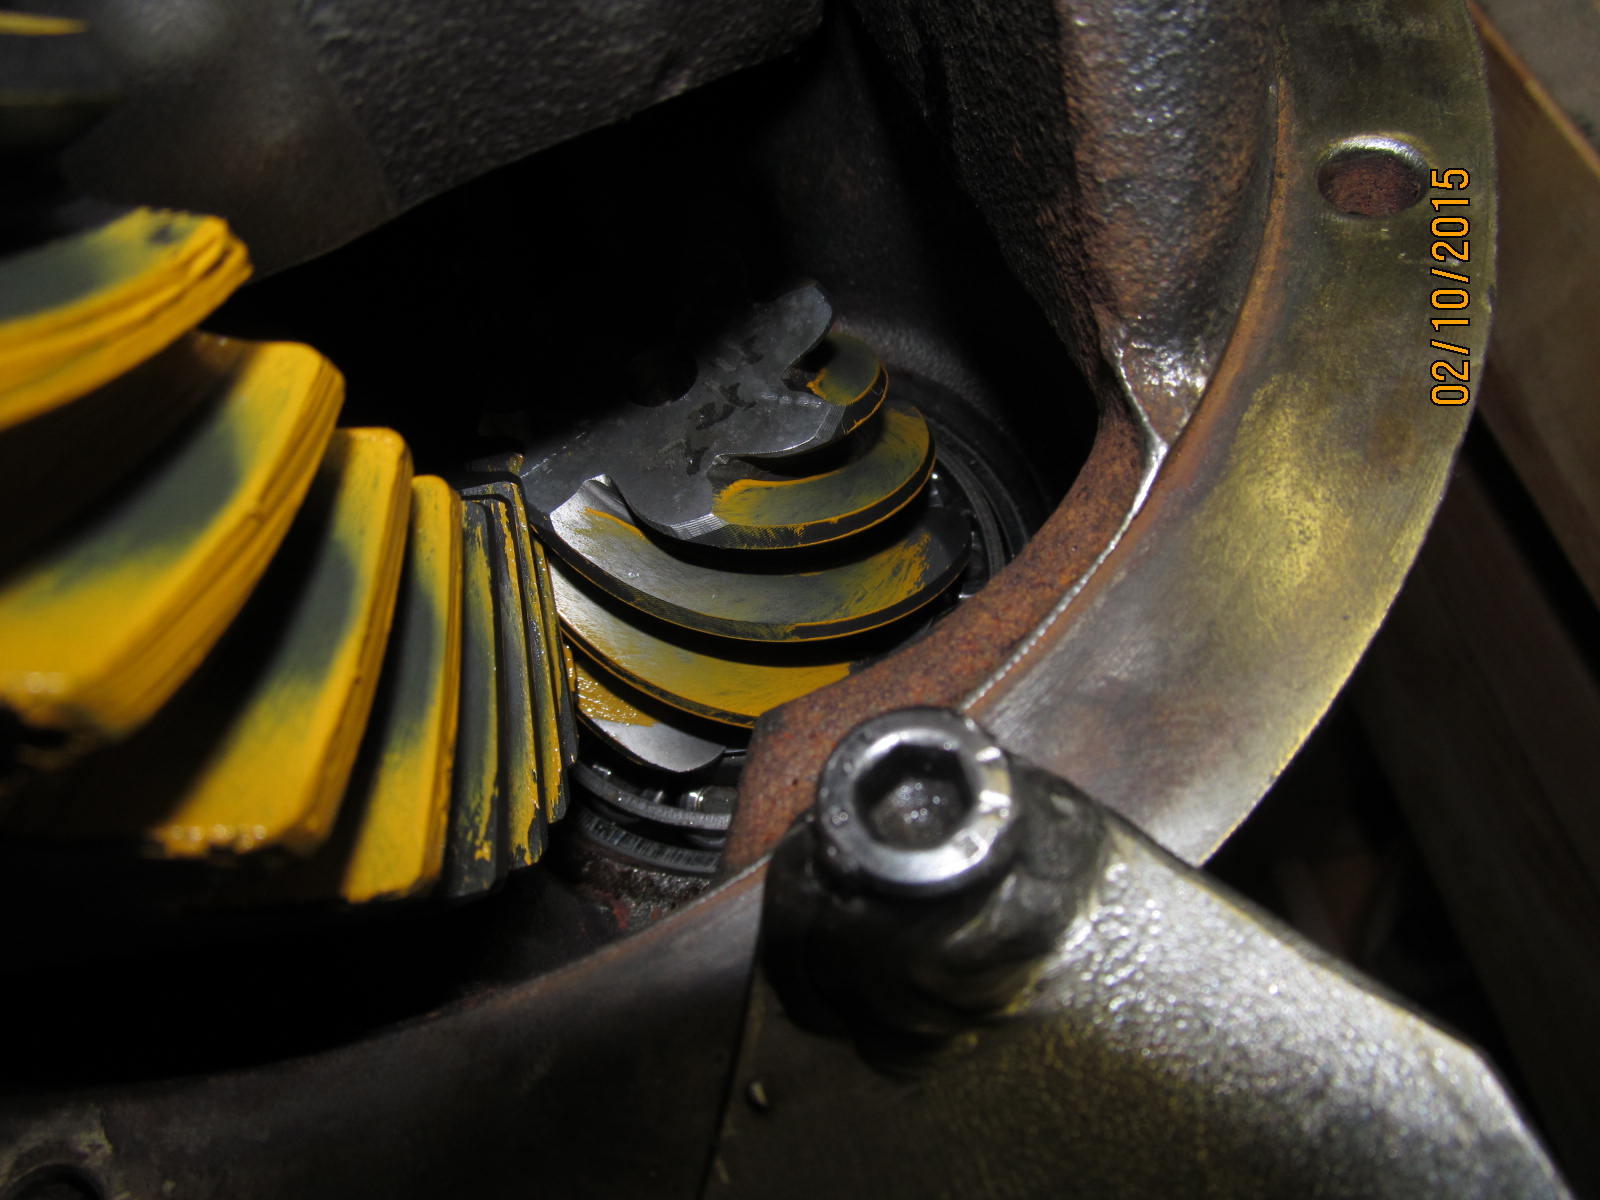
pinion tooth...DRIVE.
|
|
|
|
|
Checking the backlash on every other tooth....looks like .006" is the minimun BL I saw.
|
|
|
|
Combined preload is 17 in/lb so subtract the pinion preload value of 10 in/lb and that leaves 7 in/lb for the
CBPL value.
|
|
|
|
|
10 in/lb
|
|
|
|
|
.....
|
|
|
|
|
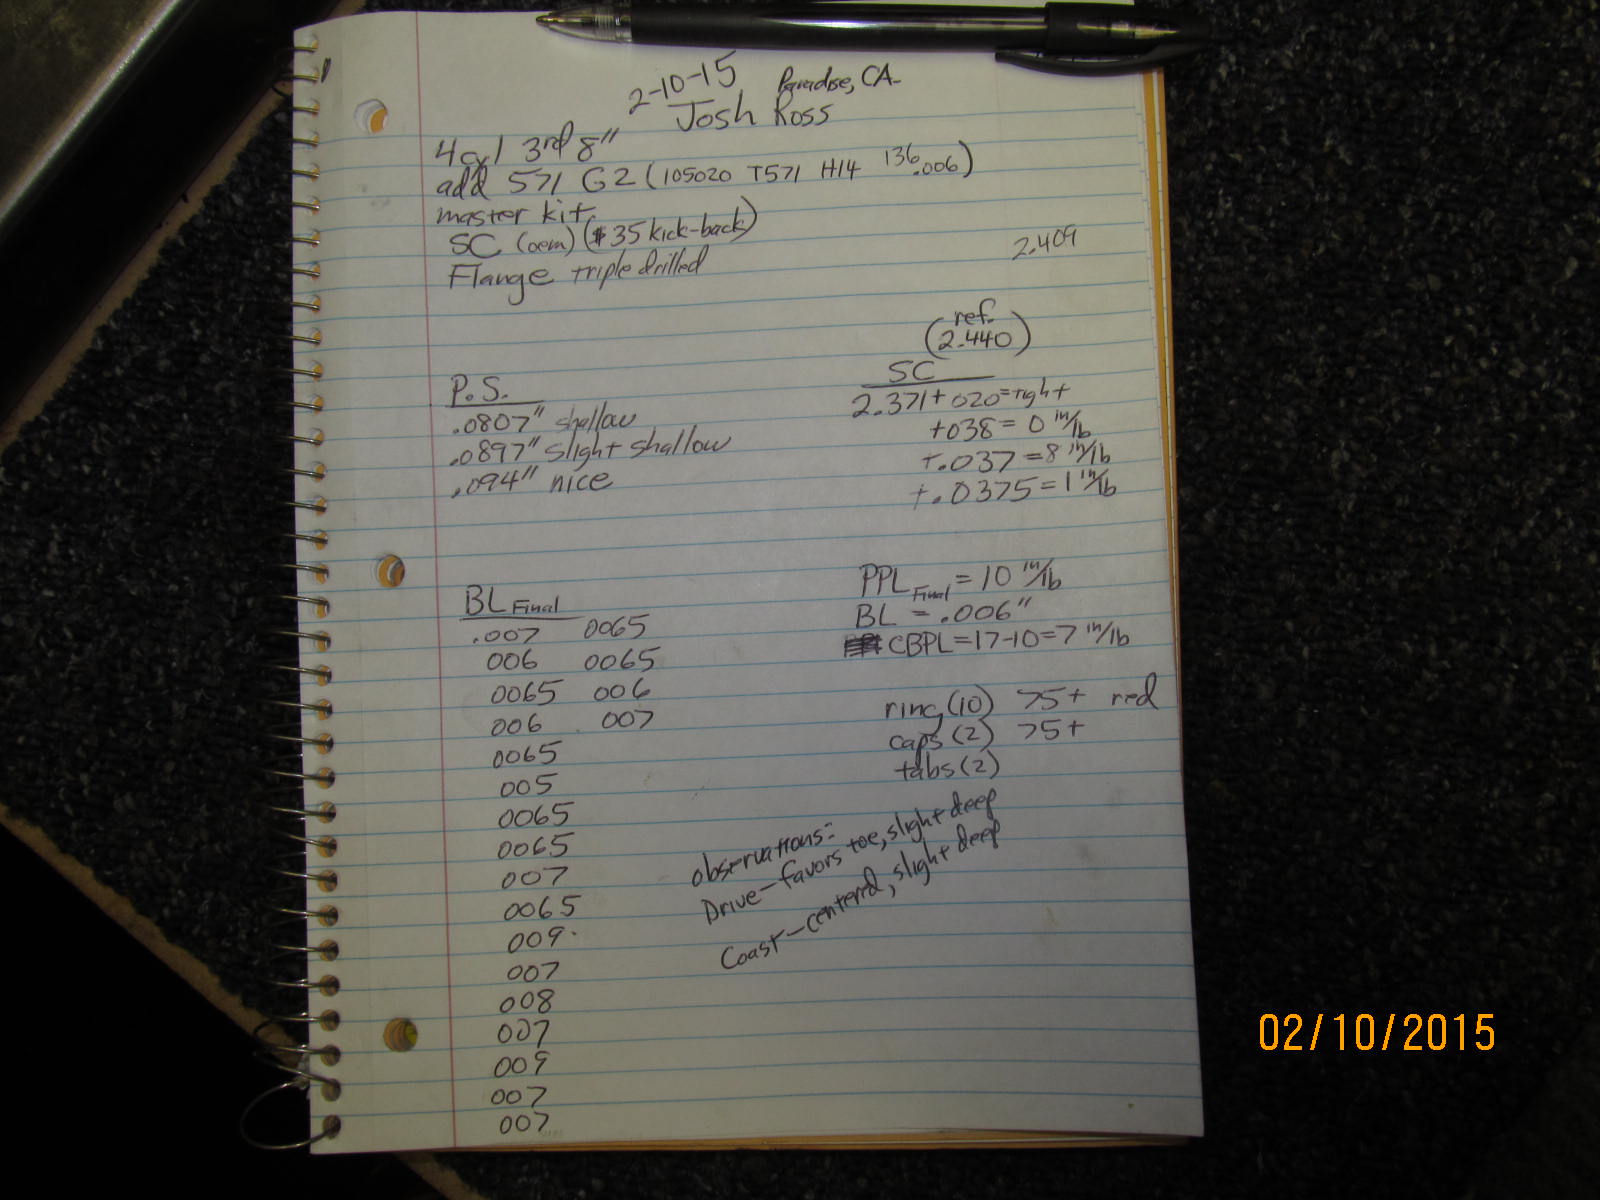
Notes.
|
|
.................
|
|

|