|
|
|
|
|
|
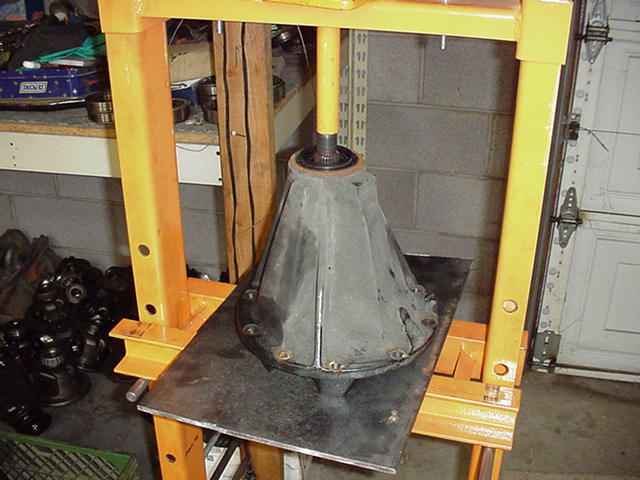
Russ, from Austin Arkansas, recently purchased this nice 2008 TRD sport that has the factory LSD and 373 gears.
The truck is used for the occasional hunting and fishing trips. Russ found a non-trd 410 3rd on Ebay for $200.
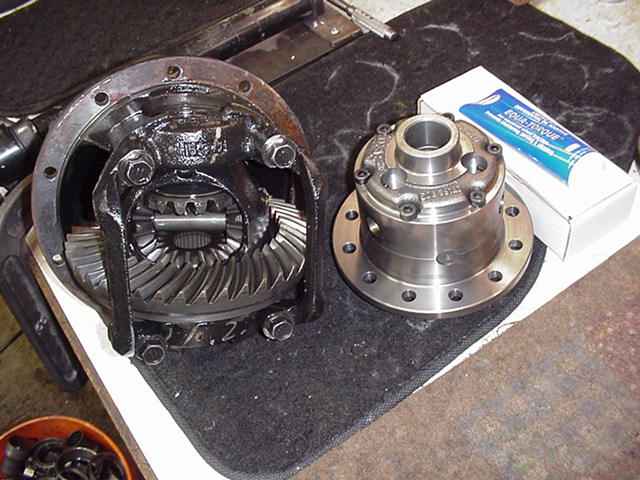
He also found a new Kazuma lsd on Ebay for a super deal ($100). Doing it
this way, Russ will have no downtime and can install the 3rd at his own leisure.
|
|
The spare 3rd is said to only have 5,000 miles so the bearings can likely be re-used. The basic procedure is to swap the carrier bearings and ring gear over to the LSD and install the new LSD case. Sounds simple and it can be simple but some easy to acquire tools will be needed to do it right. |
|
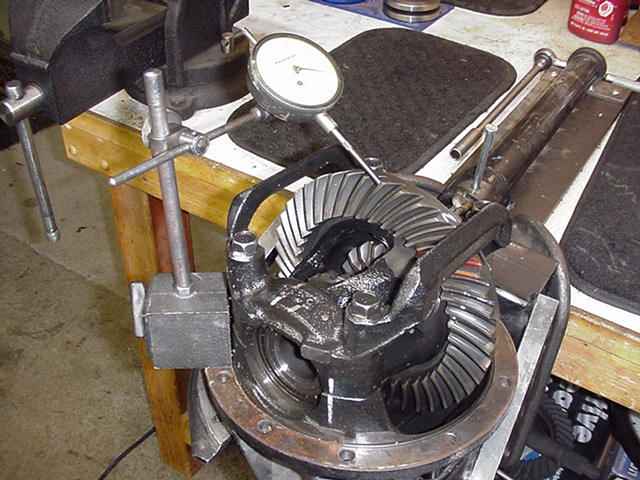
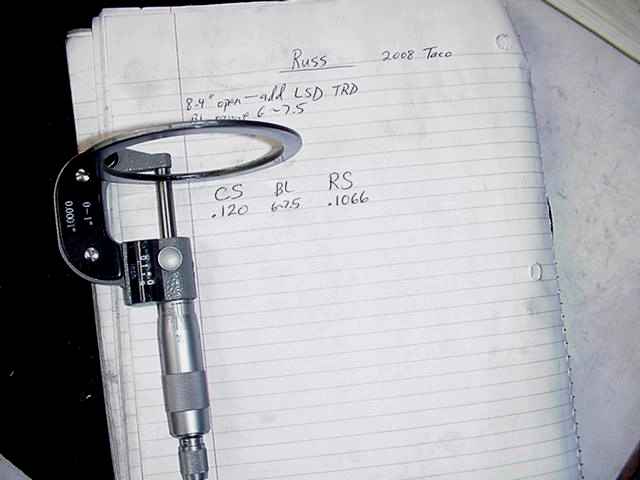
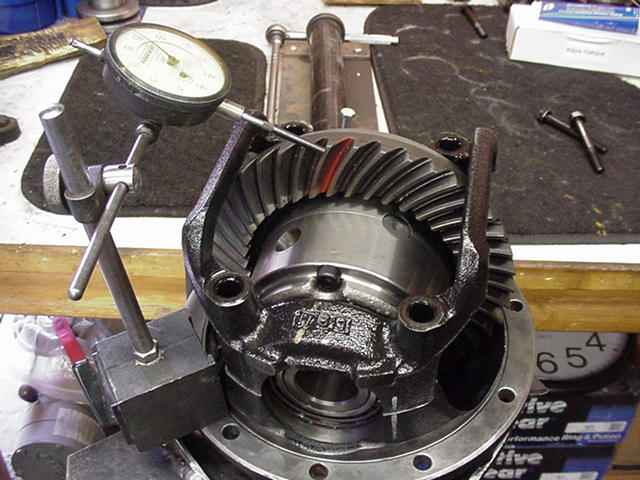
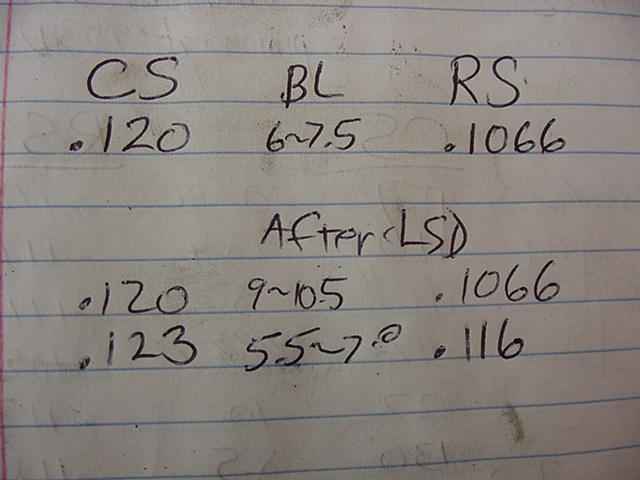
The first tool needed will be a dial indicator with magnetic base. The baseline backlash is measured. I measured it at .0065". |
|
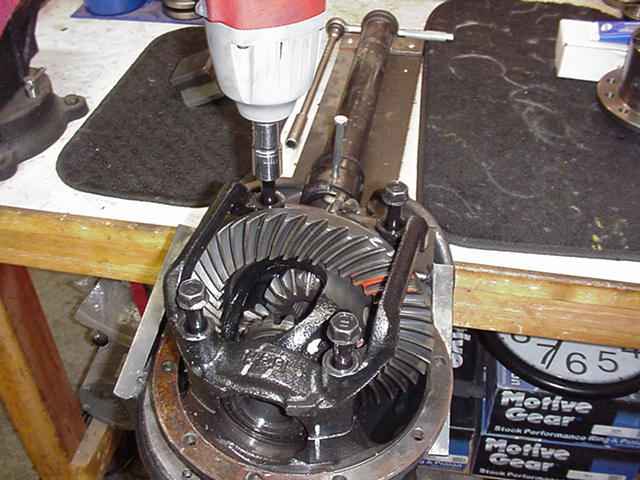
The electric impact is not mandatory but it sure is a time saver. The bearing cap assembly is now removed. |
|
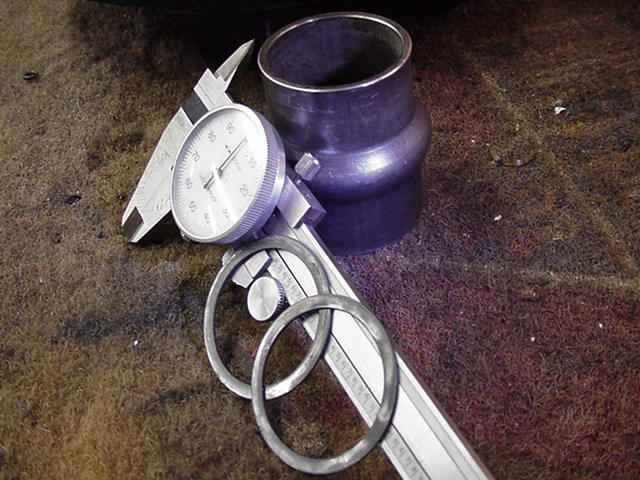
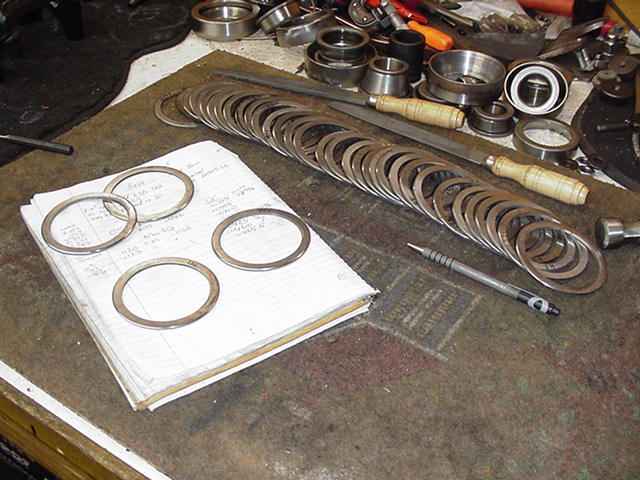
There is a thick shim(washer plate) on the outside of both carrier bearings and both are measured and cataloged. Most likely, the shims will change at the end. |

|
Another must have tool...a specialized bearing puller. The old bearings were on tight and this tool easily removed them.
|
|
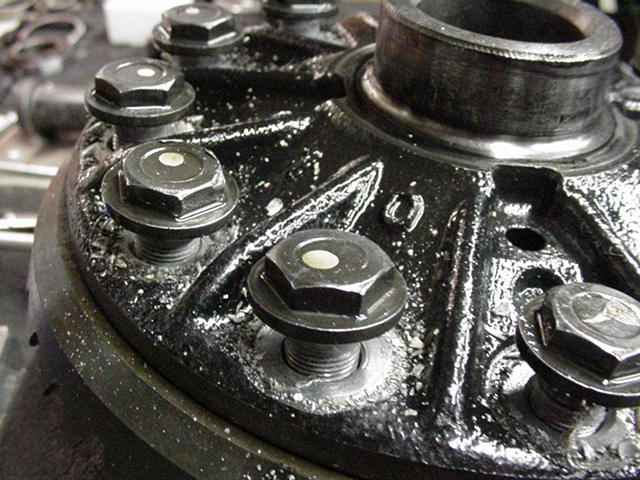
The ring gear bolts had a good quality loctite on them but the electric impact had no trouble. |

|
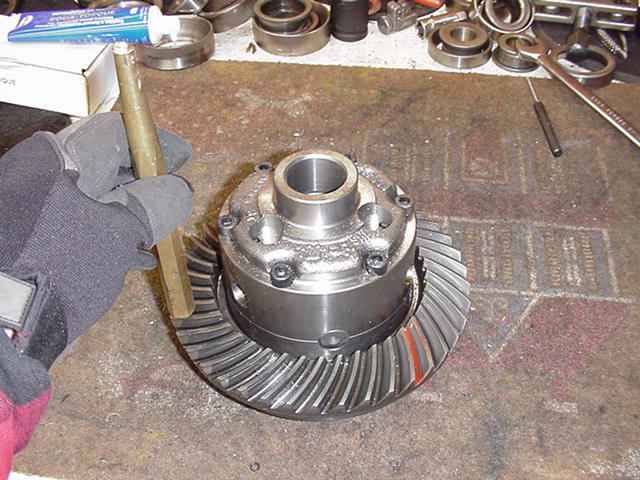
The ring gear will be swapped over to the LSD case. |
|
Just like the Kazuma LSD in another link, this one was also a "slip fit" with the factory ring gear. That means close tolerances and only a light tap from a brass bar was needed to seat the ring gear. |
|
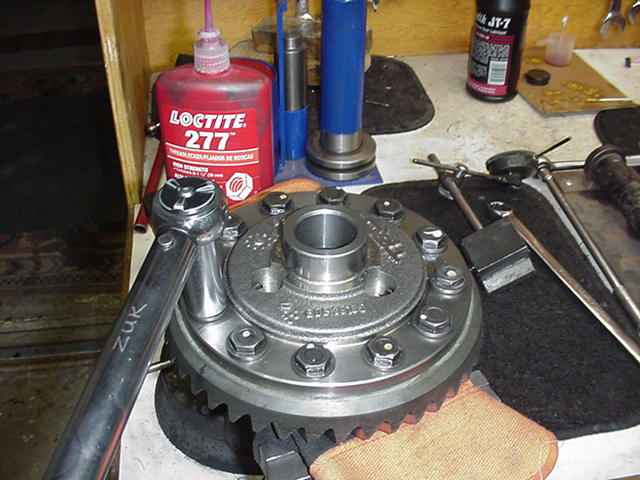
Red loctite and about 80 ft/lbs. |
|
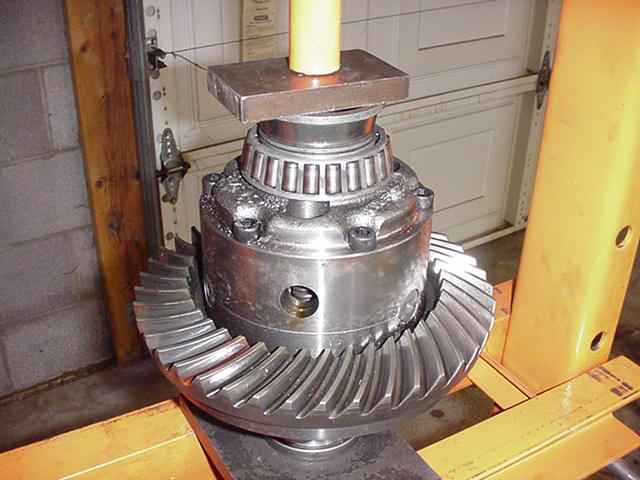
Carrier bearings are carefully pressed on. |
|
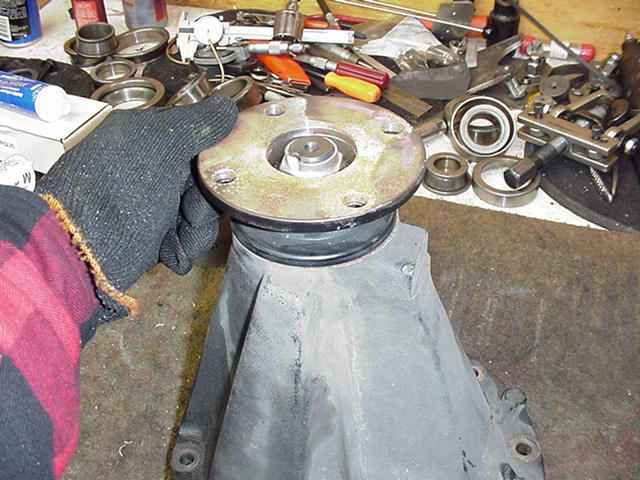
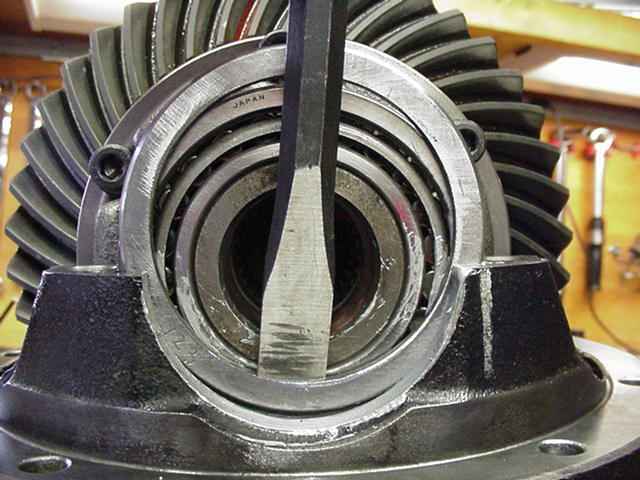
Before installing the LSD case, I inspected the pinion end and the pinion drag was a little low but it was still reasonable. |
|
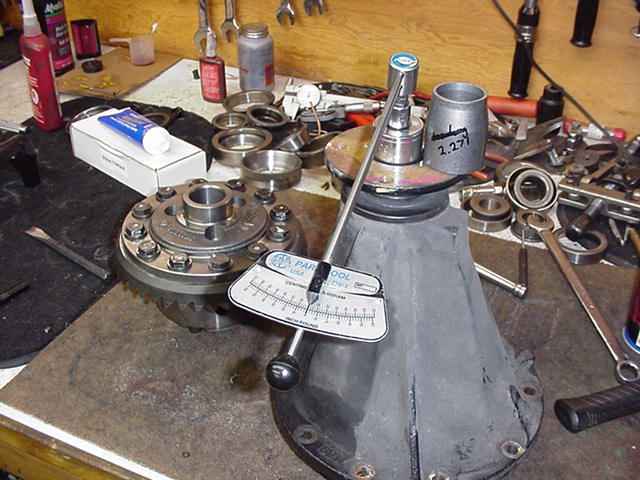
Another tool that is well worth the $32 price tag is this "bicycle" torque wrench commonly found in bike shops.
I measured the pinion pre-load (PPL) at a low 2 in/lb. I will install the solid collar shown in the pic.
|
|
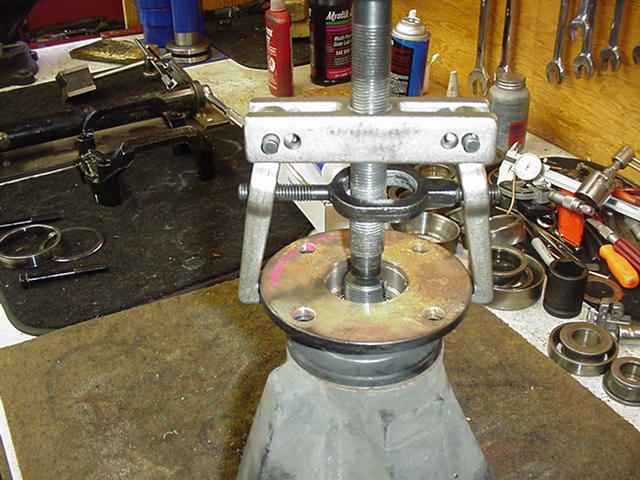
The pinion flange was a tight fit on the splines but the puller easily removed it. |
|
The pinion is now gently pressed out. It is best to not use a hammer to beat the pinion out. That could cause the tapered rollers to dent the outer race as well as possible pinion thread damage. |
|
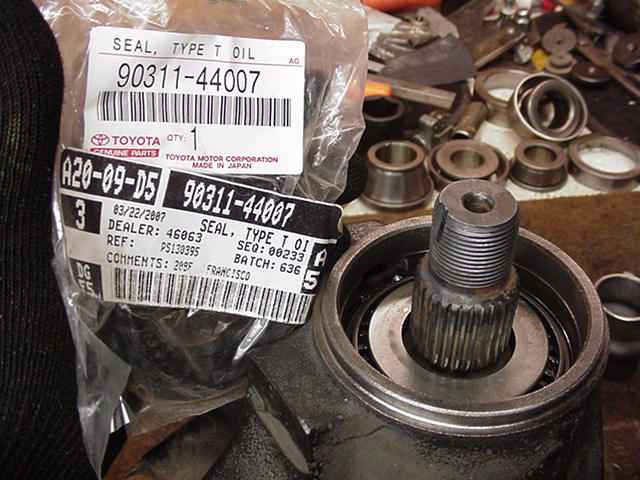
I'm not afraid to damage the old seal as a new one will be replacing it. |
|
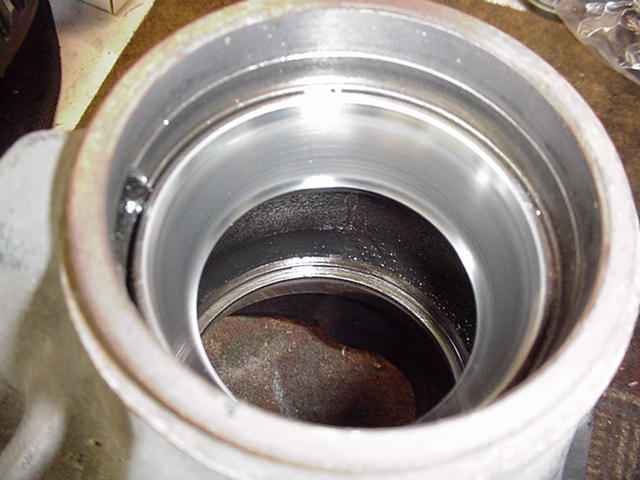
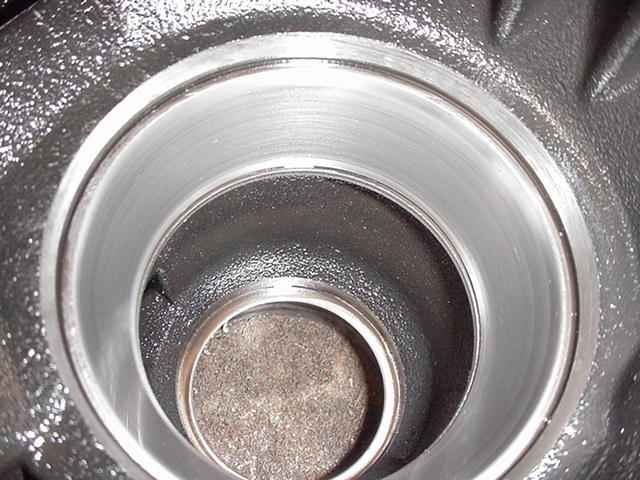
Pinion races are inspected...this outer race is good. |
|
The larger inner race is good also. |
|
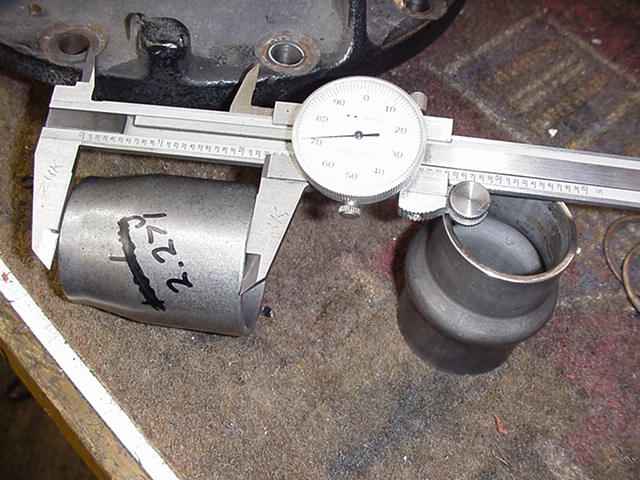
The factory adds 2 spacer washers to the crush sleeve. By measuring the crush sleeve and the 2 spacers... |
|
... and comparing that with the solid collar length, I can come fairly close to the right shim thickness. |
|
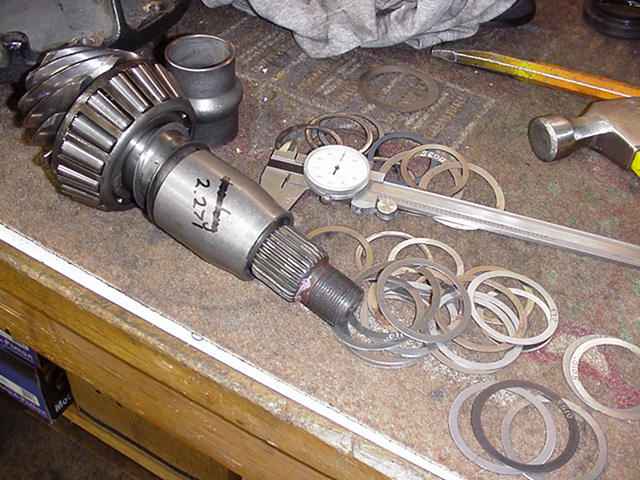
Having a large enough shim selection makes life easier. |
|
Sometimes I can get it in 1 try....sometimes 8 tries. |
|
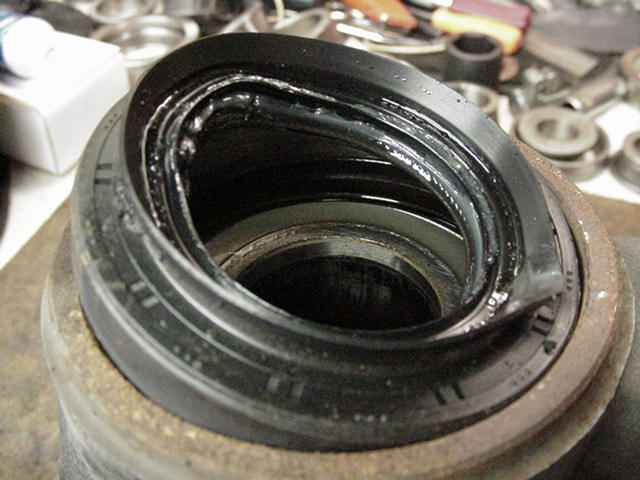
A new genuine Toyota seal is installed. |

|
Red loctite is on the used nut. Even though this is a solid collar, the final PPL can be influenced by how much arm is used to tighten the nut. Final PPL was measured at 8 inch/pounds. |
|
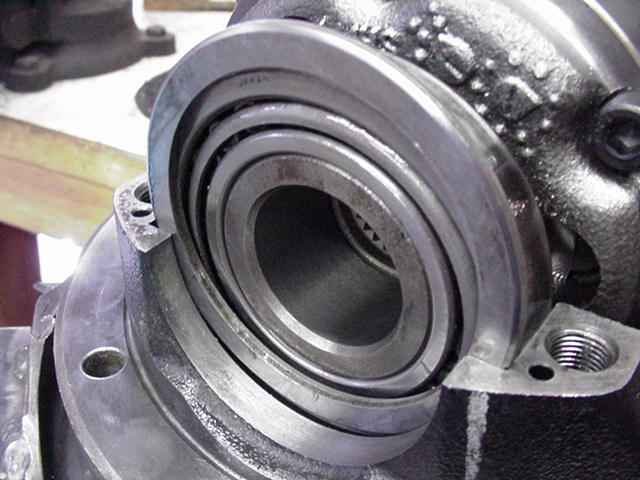
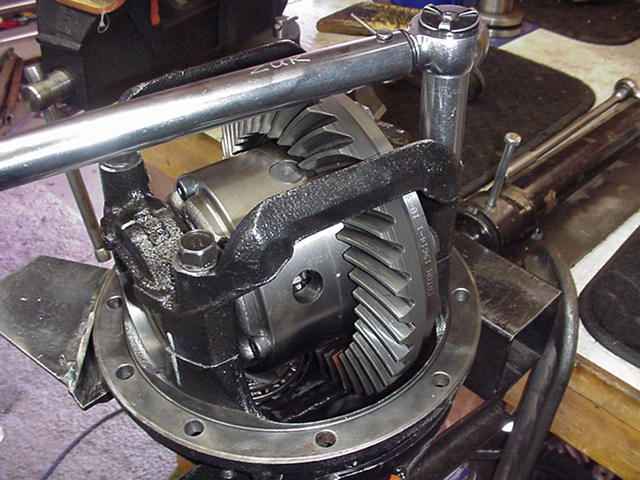
With the case in place and using the original shims, it was a fairly snug fit to get the shim in place. I have read in the FSM that if the shim can be pushed 2/3rds the way on with just fingers (like my pic shows) then correct CBPL has been achieved. Based on my experience, I find this CBPL to be inadequate.....add 5 thou more to each side (minimum) and now you're talking. |
|
A hammer can lightly tap it the rest of the way in. |
|
The bearing cap assembly is tapped in place and BL is checked. BL averaged .0095". |
|
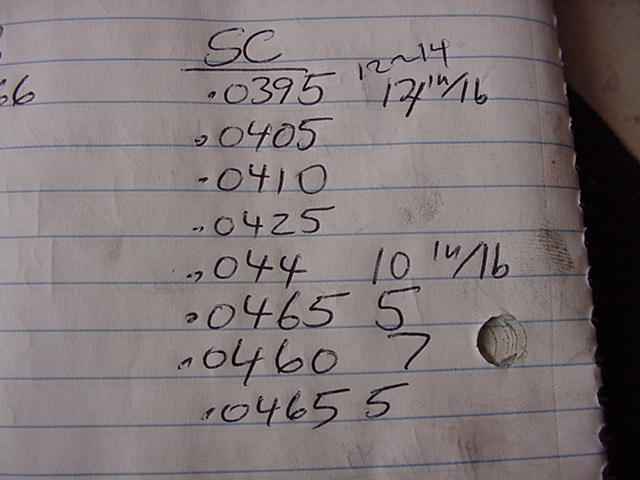
Having a large shim selection is nice. By placing a thicker shim on the ring side, the backlash can approach the target .0065". CBPL will also increase at the same time which is good. |
|
As shown on the last line, I added 3 to the case-side bearing and almost 10 to the ring-side (total of 13 thou CBPL increase over last time). This has the effect of reducing backlash and greatly increasing CBPL. |
|
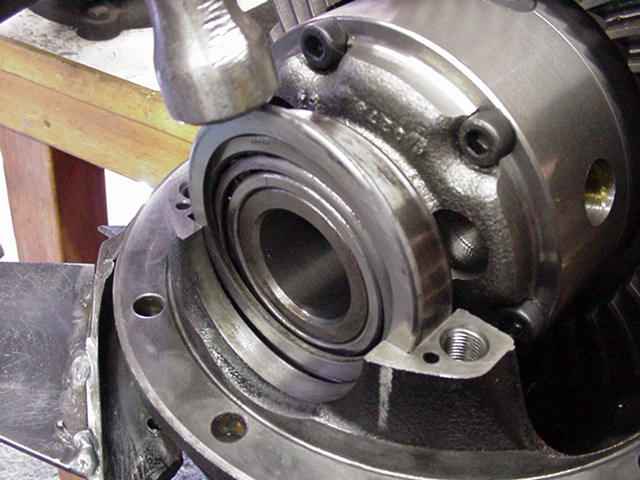
Fingers will not get this one started....anti-seize is gooped in the grooves...a chisel with a rounded curved surface to minimize chinger marks and dents. |
|
Cap bolts are tightened, carrier bearings are "equalized" in tension with the hammer rap method and BL is checked and found to be right in the target zone with a measured .006". |
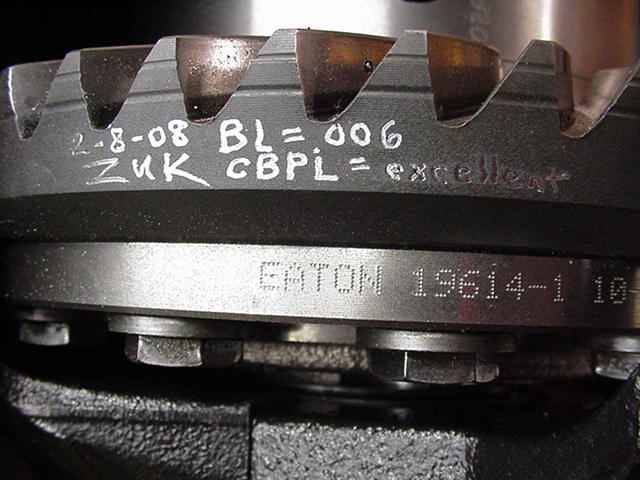
|
Specs are engraved and it's ready to ship back to Russ |

|
