|
Kelly's 92 2wd pickup gets G2 456 gears and a 911A644 Flipped TrueTrac
|
|
(57 BIG pics loading)
|
|
JUNE 28 2016
|
|
|
|
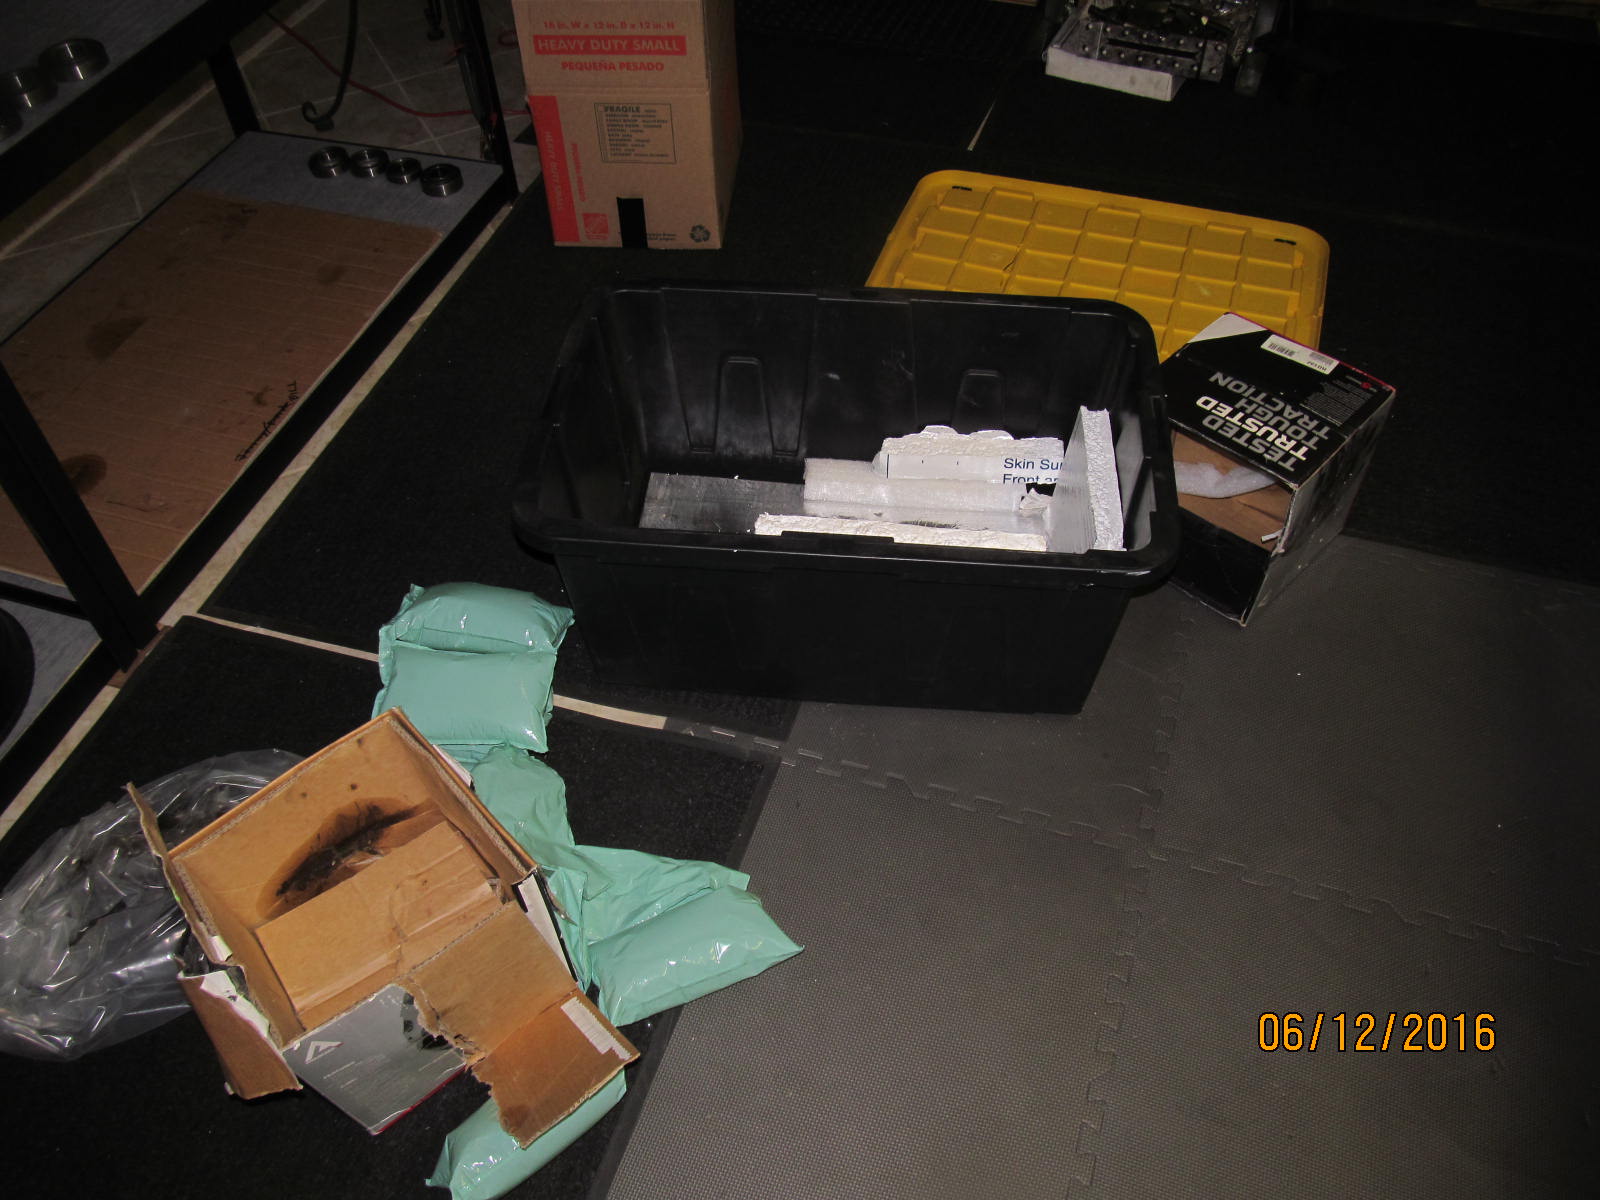
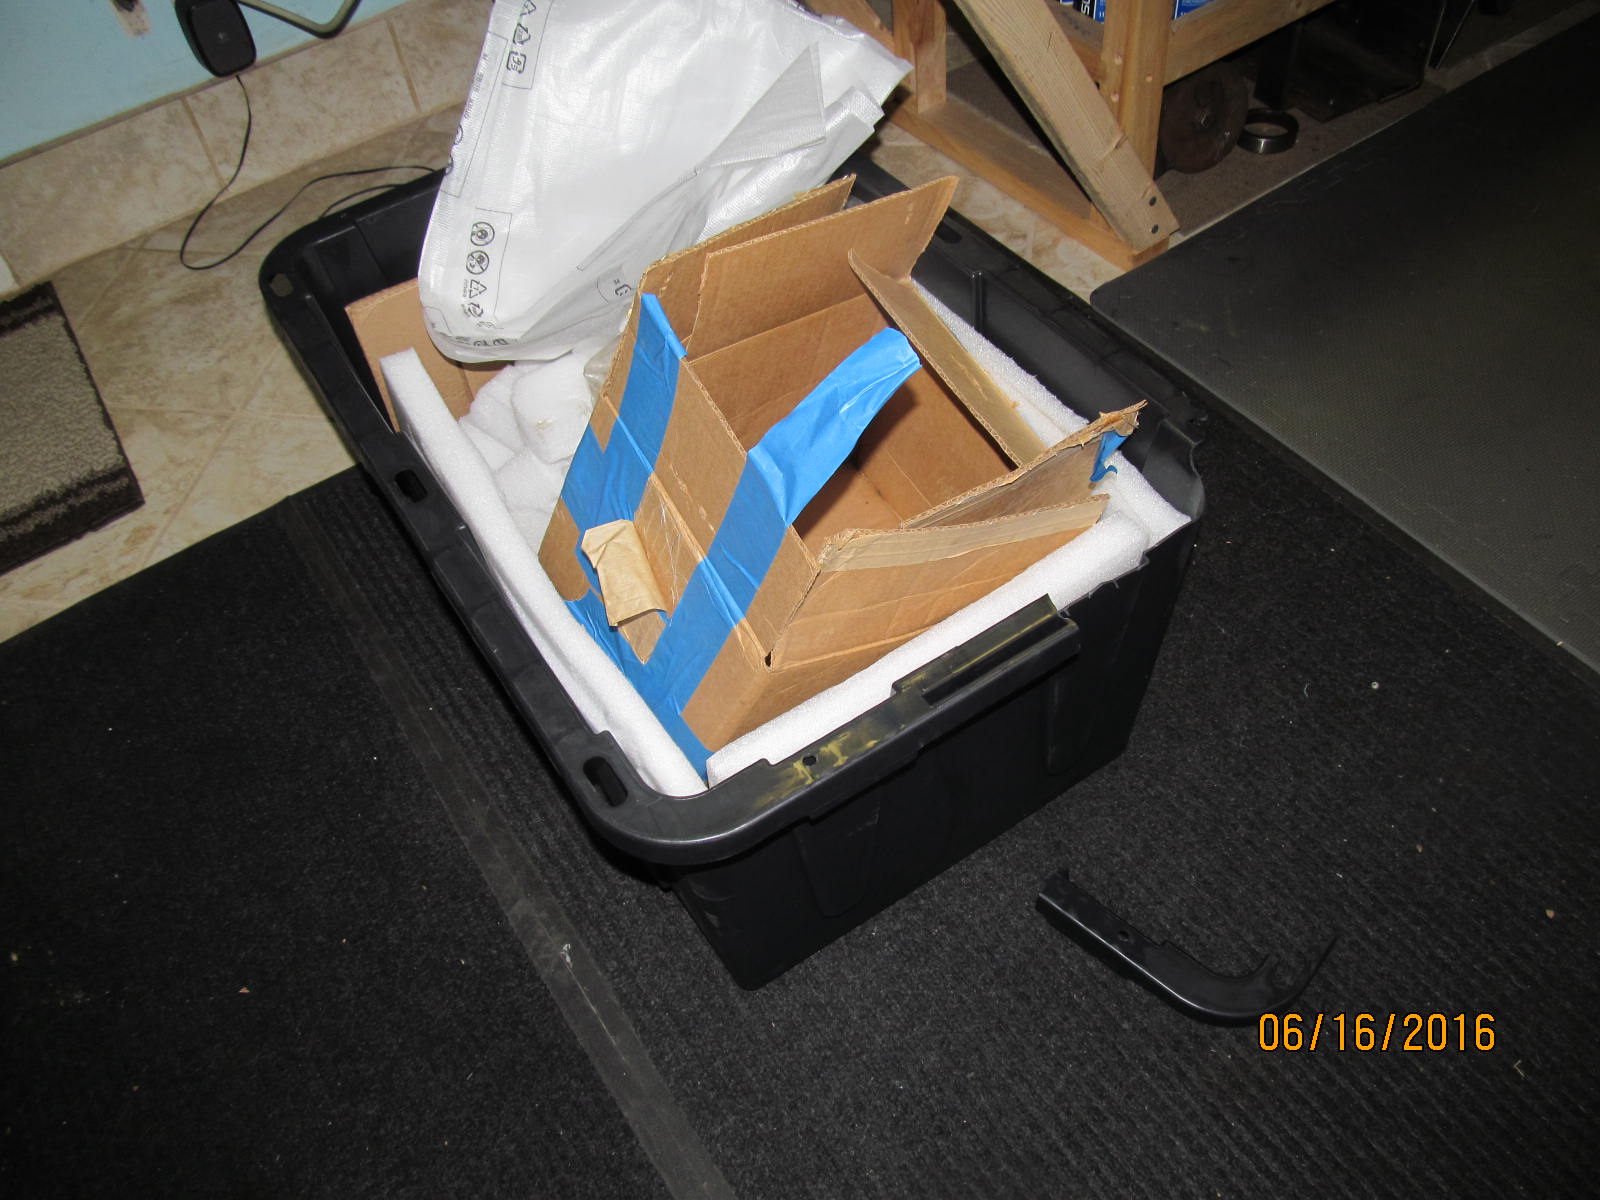
2 totes arrived from Kelly from Mississippi. Tote #1 had the 7.5" 3rd member in it.
|
|
|

|
|
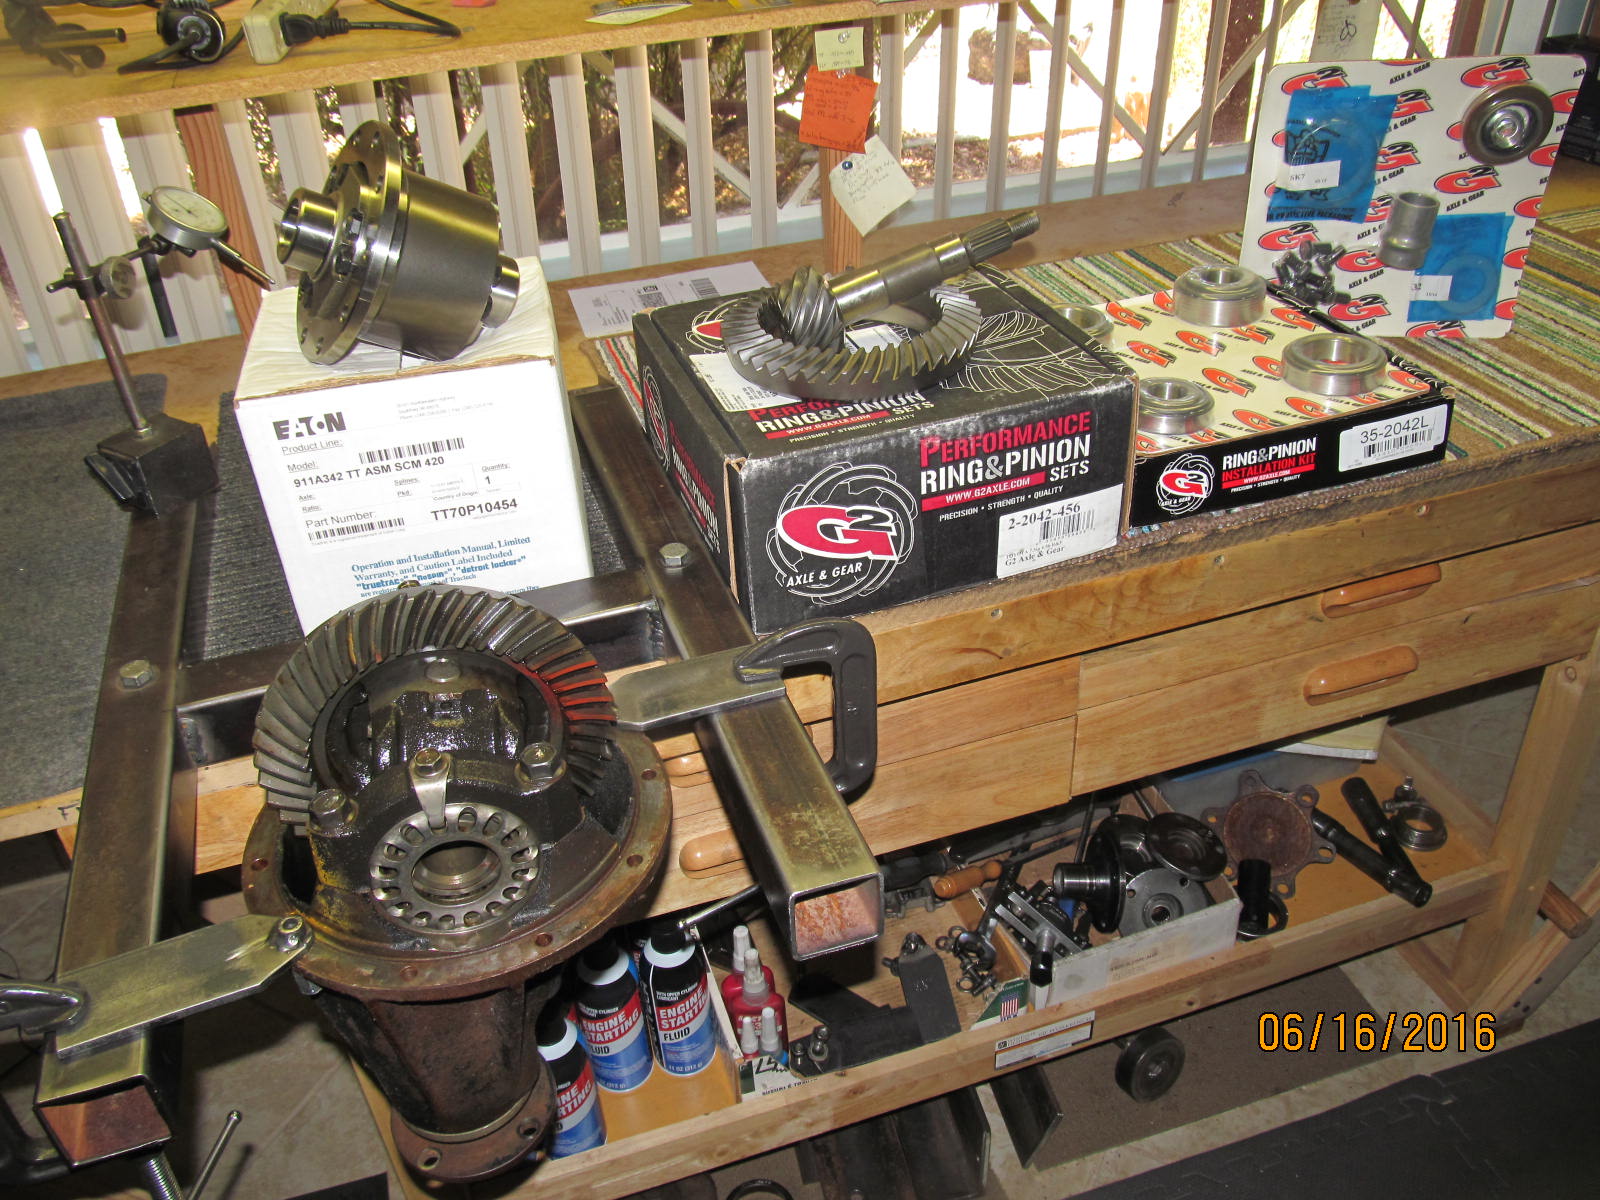
Tote #2 had the product in it.....G2 456 gear, G2 master kit, 911A644 Truetrac.
|
|
|
|
|
Corner was already 90% broke off when I removed the yellow lid.
|
|
|
|
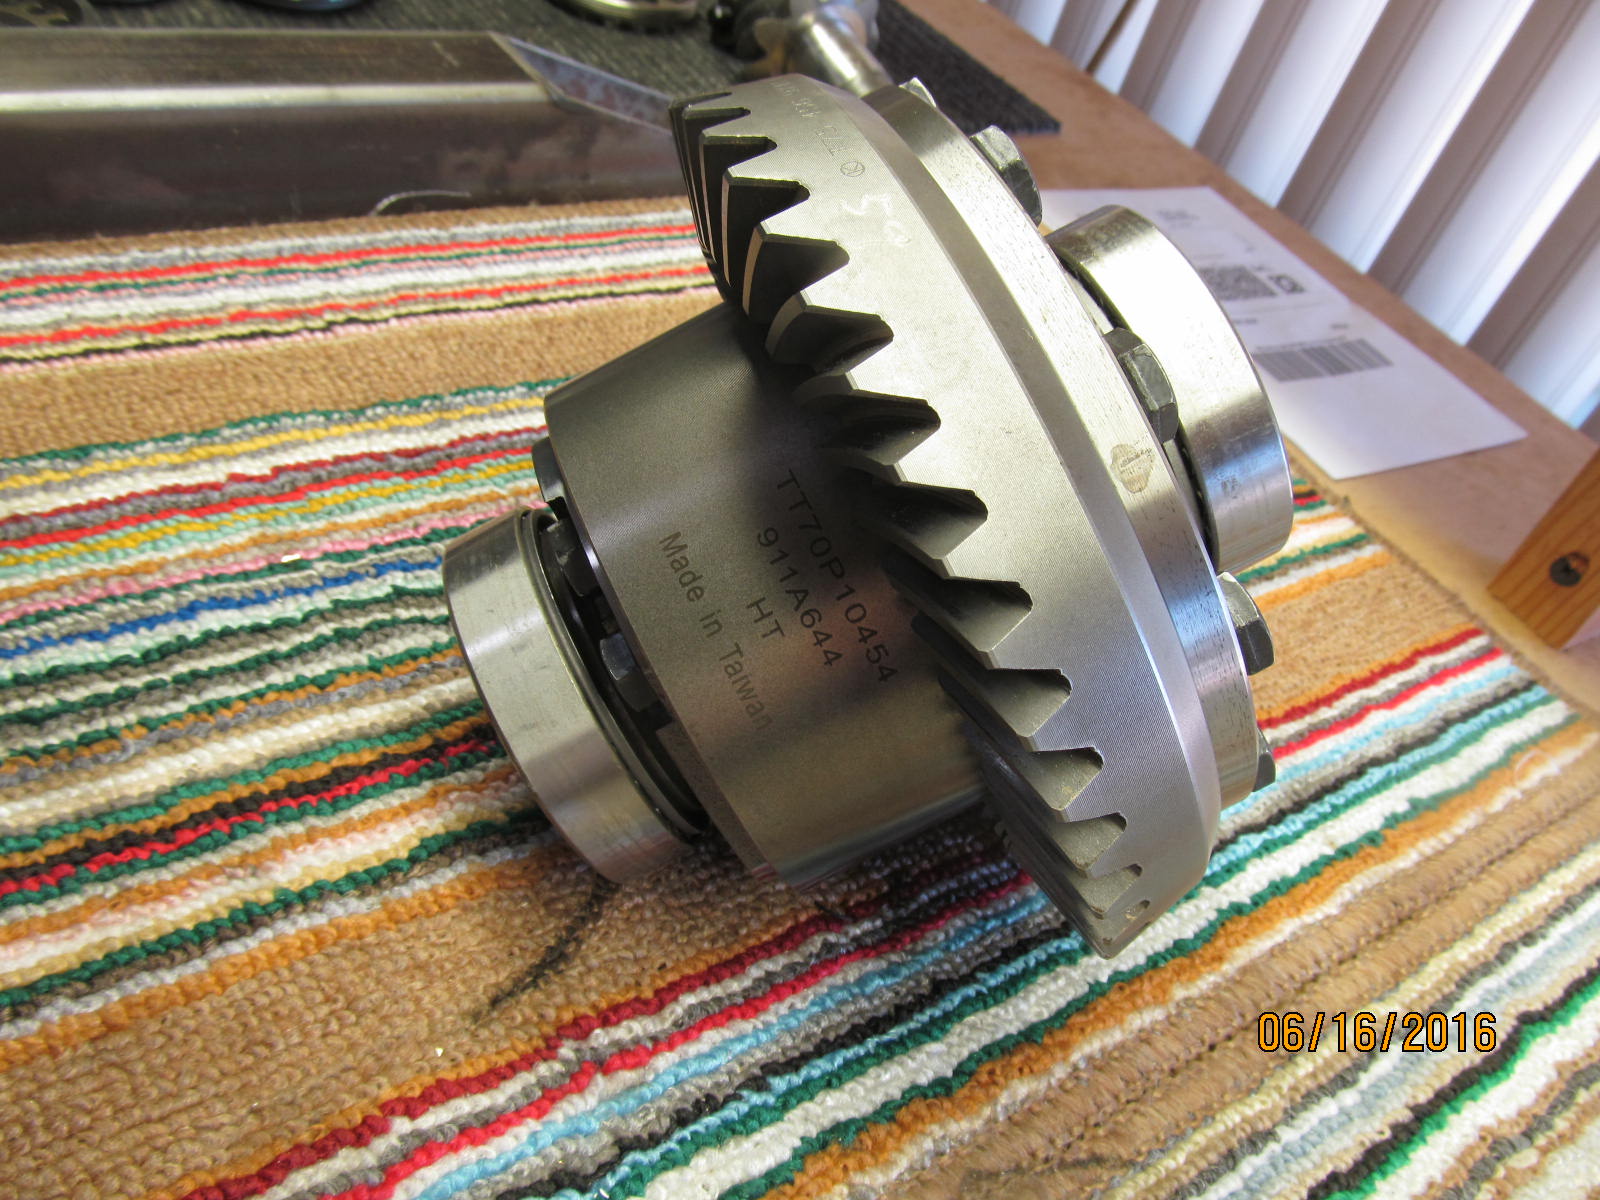
7.5" 3rd is mounted on the fixture. The truetrac box says 911A342 but in the box was a 911A644.
Apparently, the 342 was dis-continued and the 644 is the replacement.
G2 456 gears and a G2 master install kit.
|
|
|
|
|
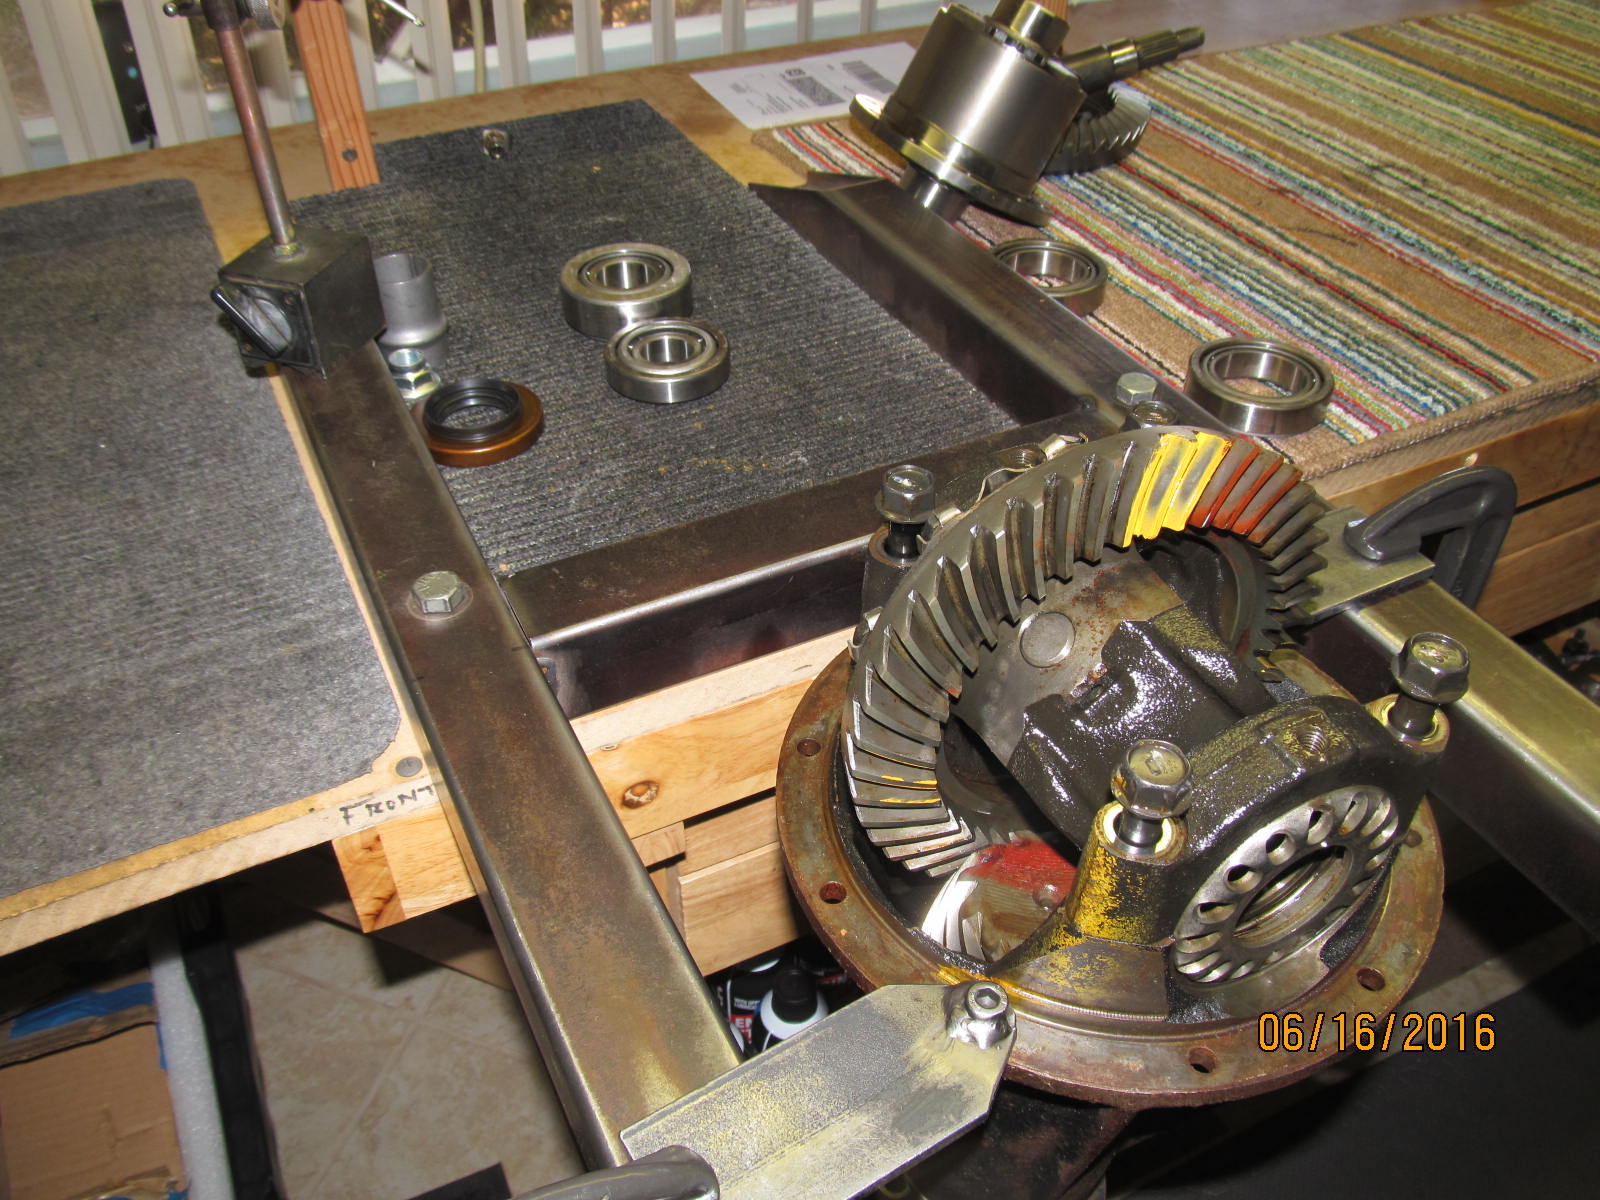
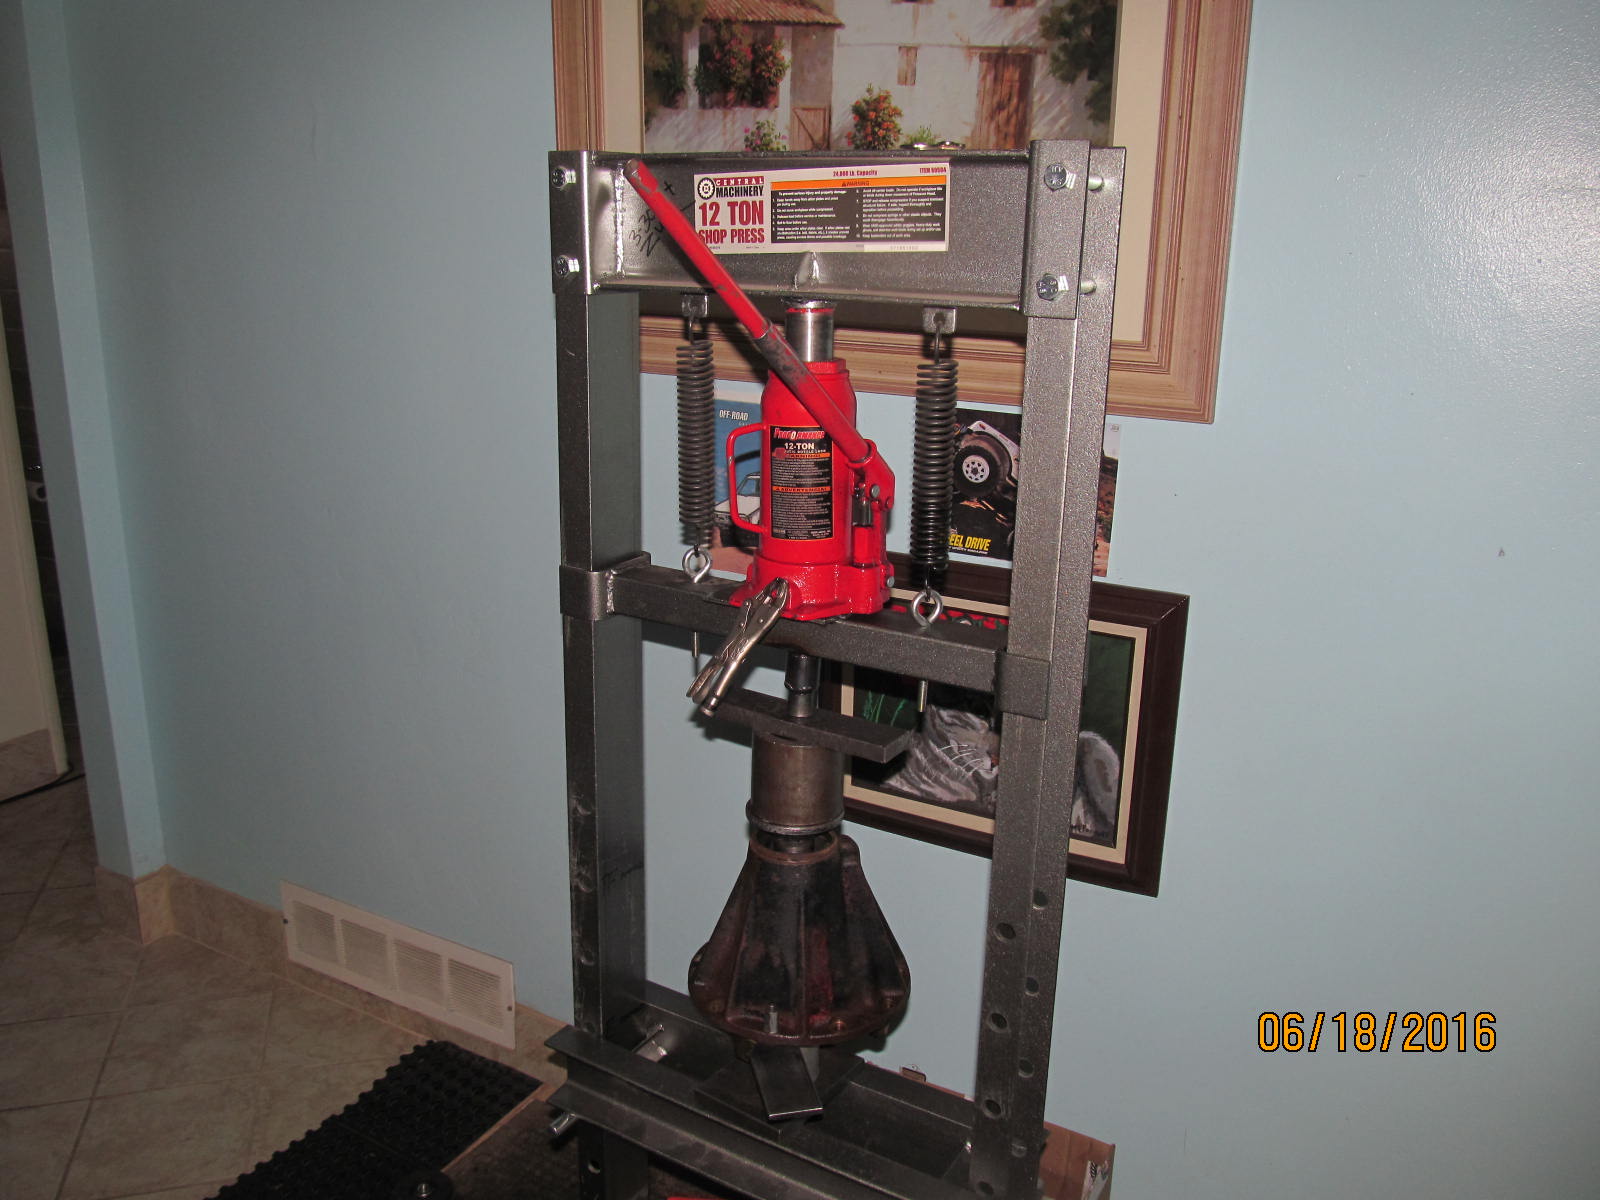
Dis-assembly begins by removing the bearing caps.
|
|
|
|
|
Then remove the 24mm pinion nut and the flange.
|
|
|
|
|
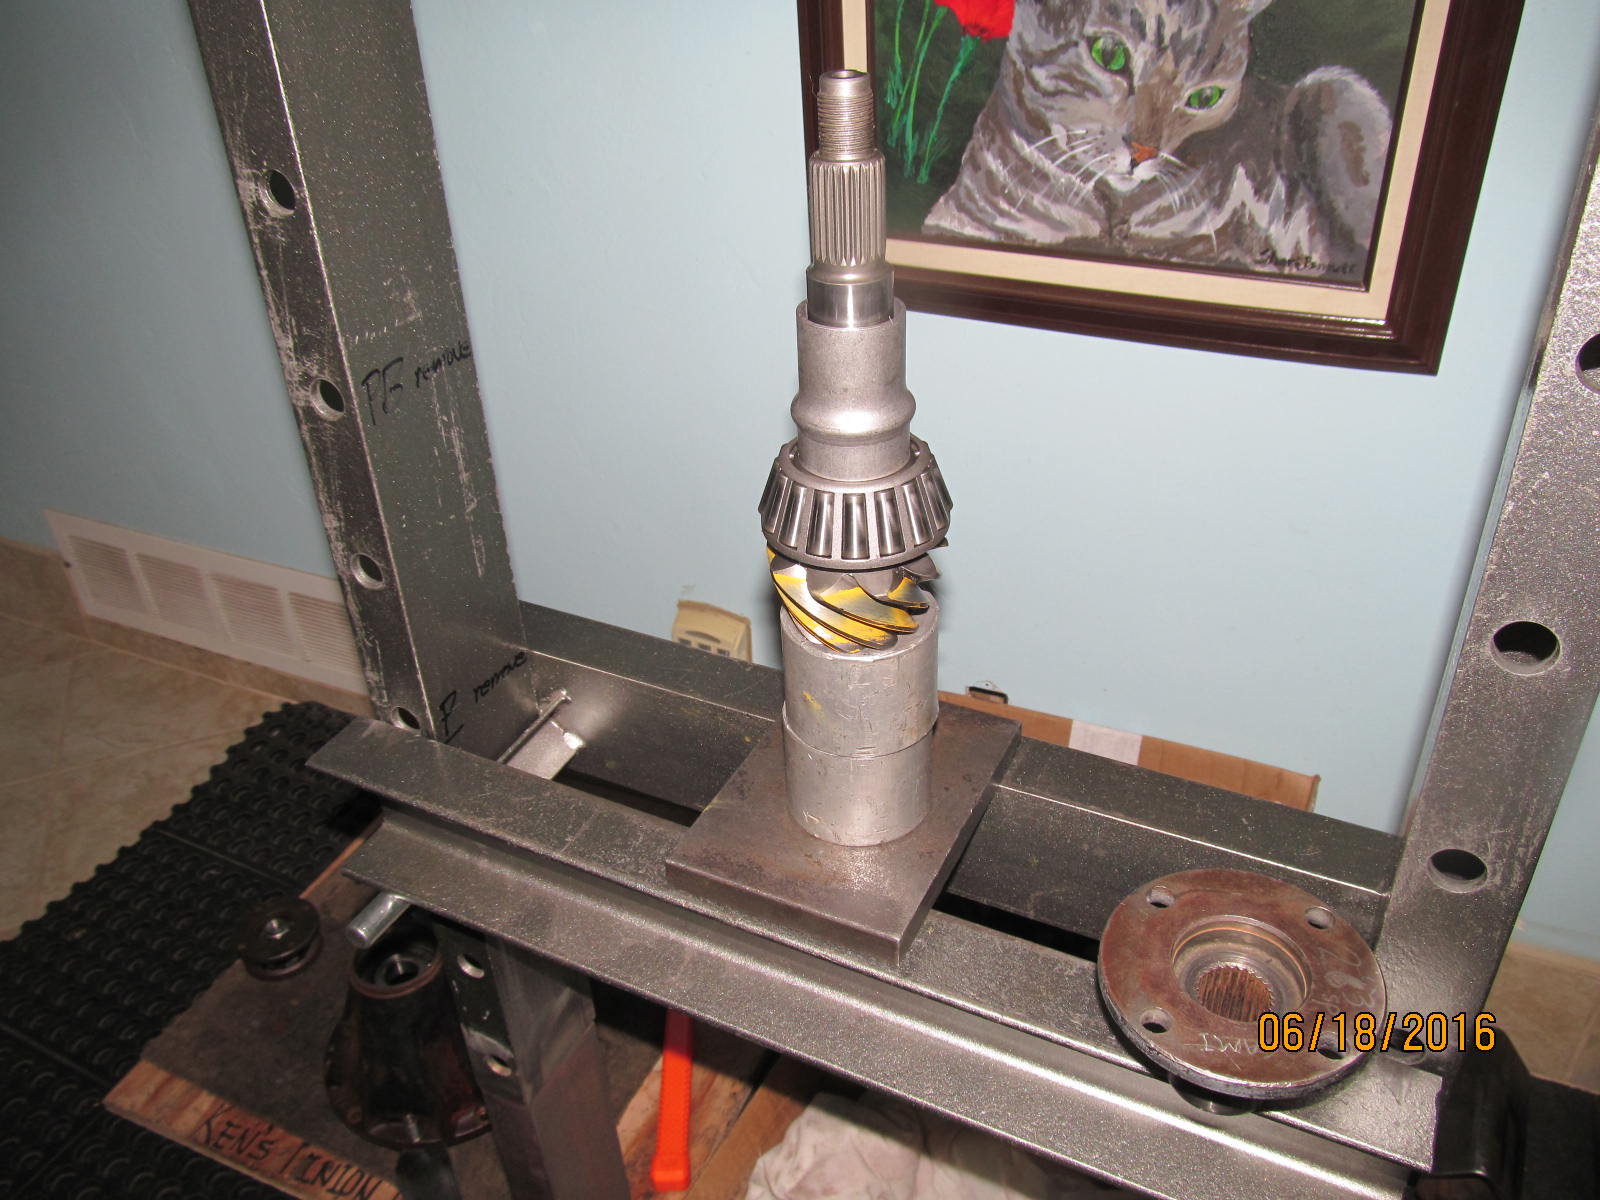
Push the pinion out.
|
|
|
|
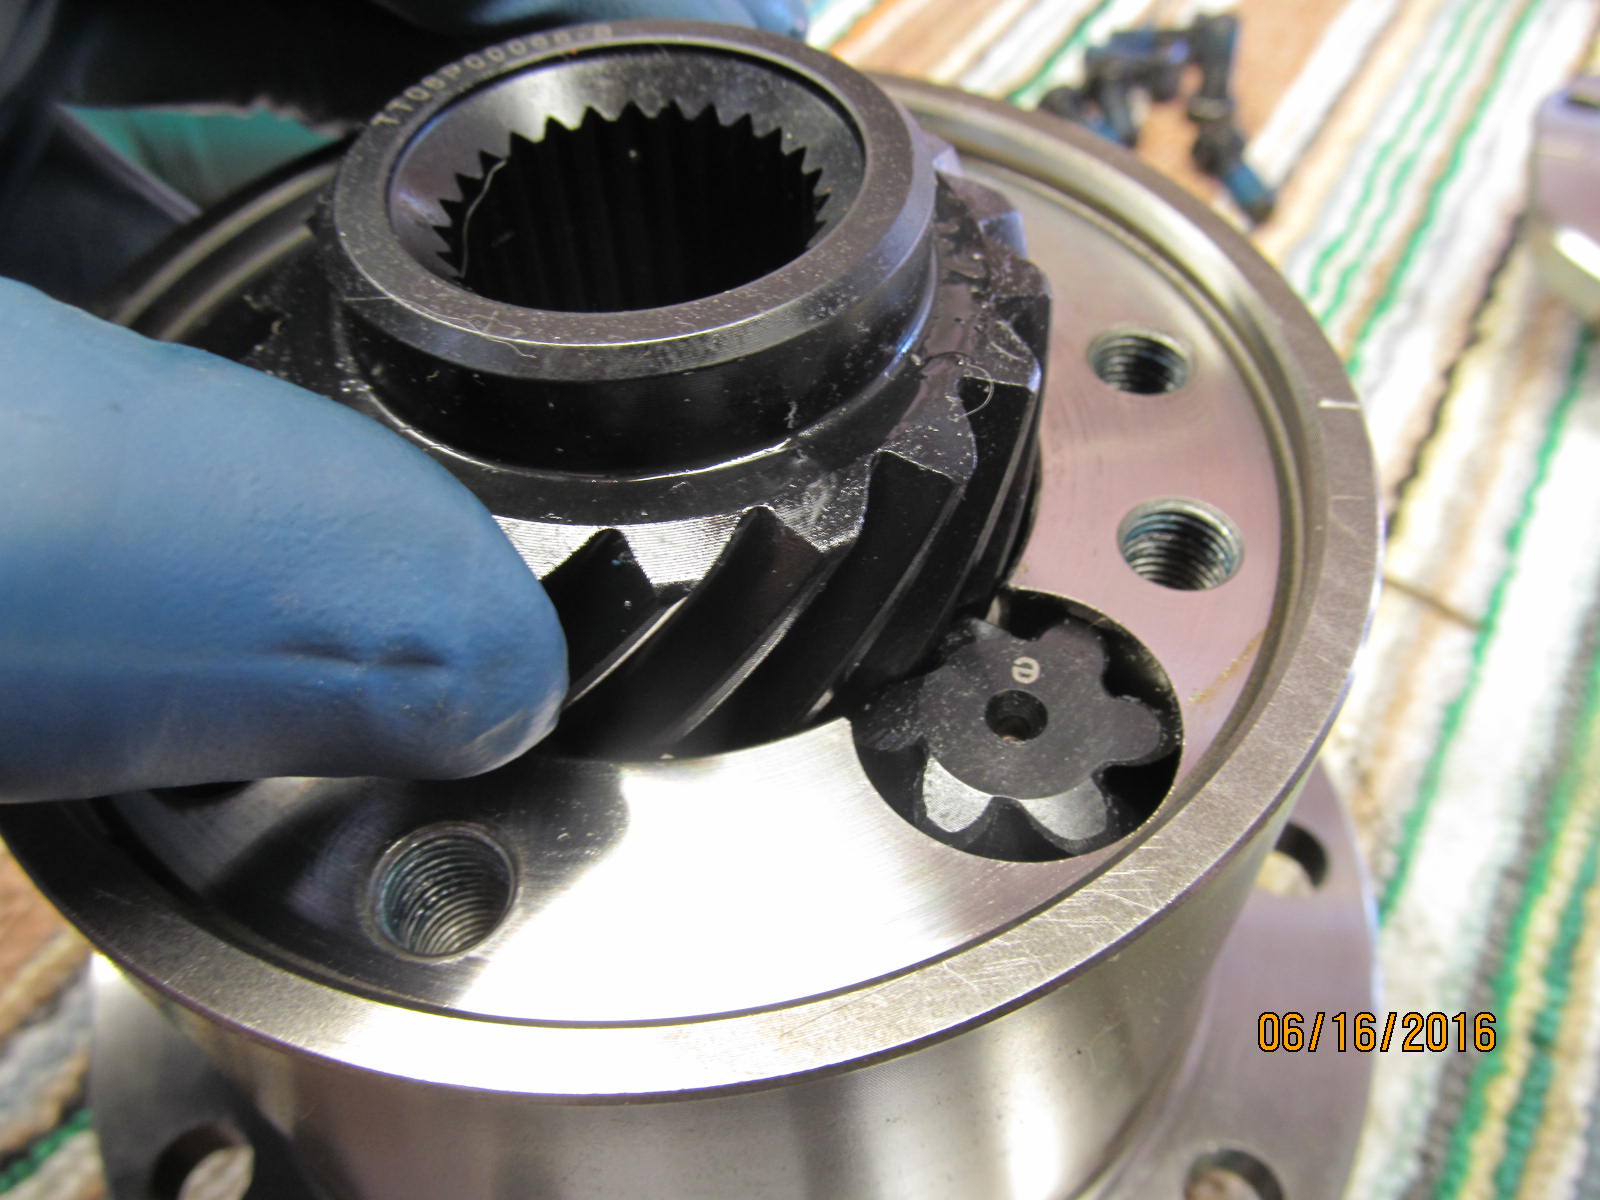
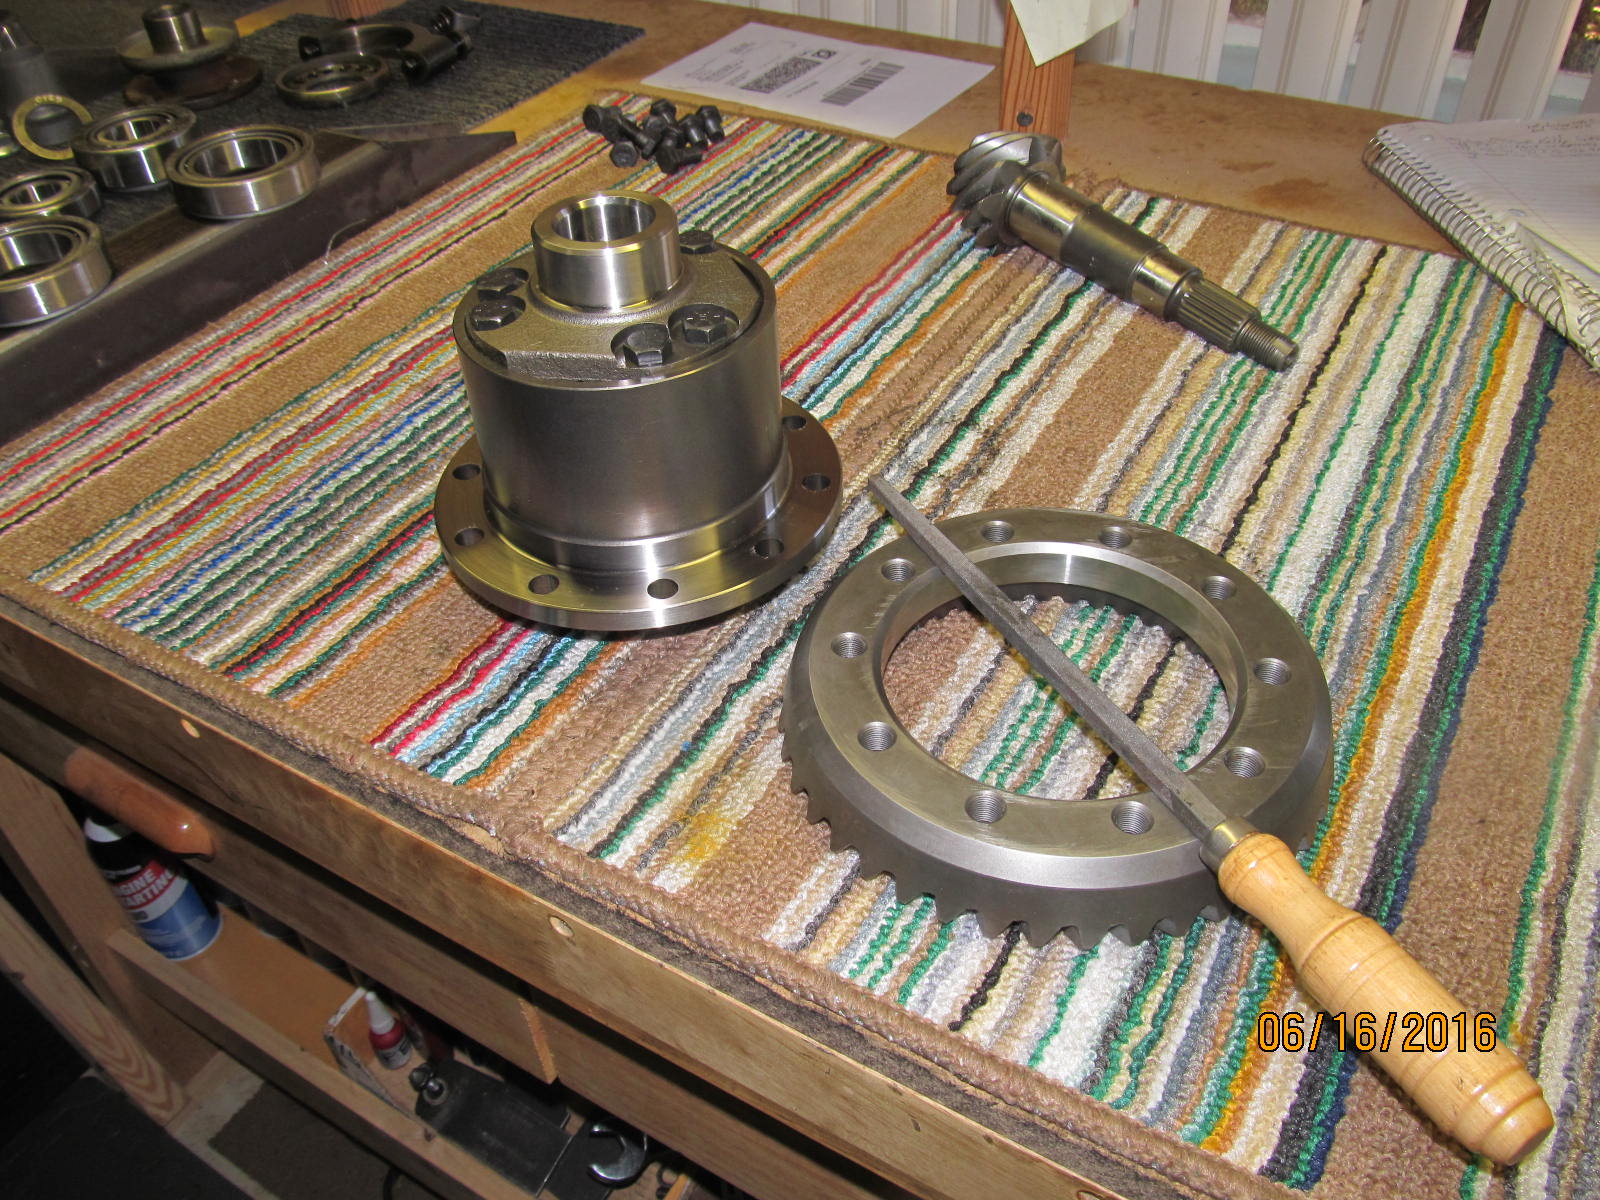
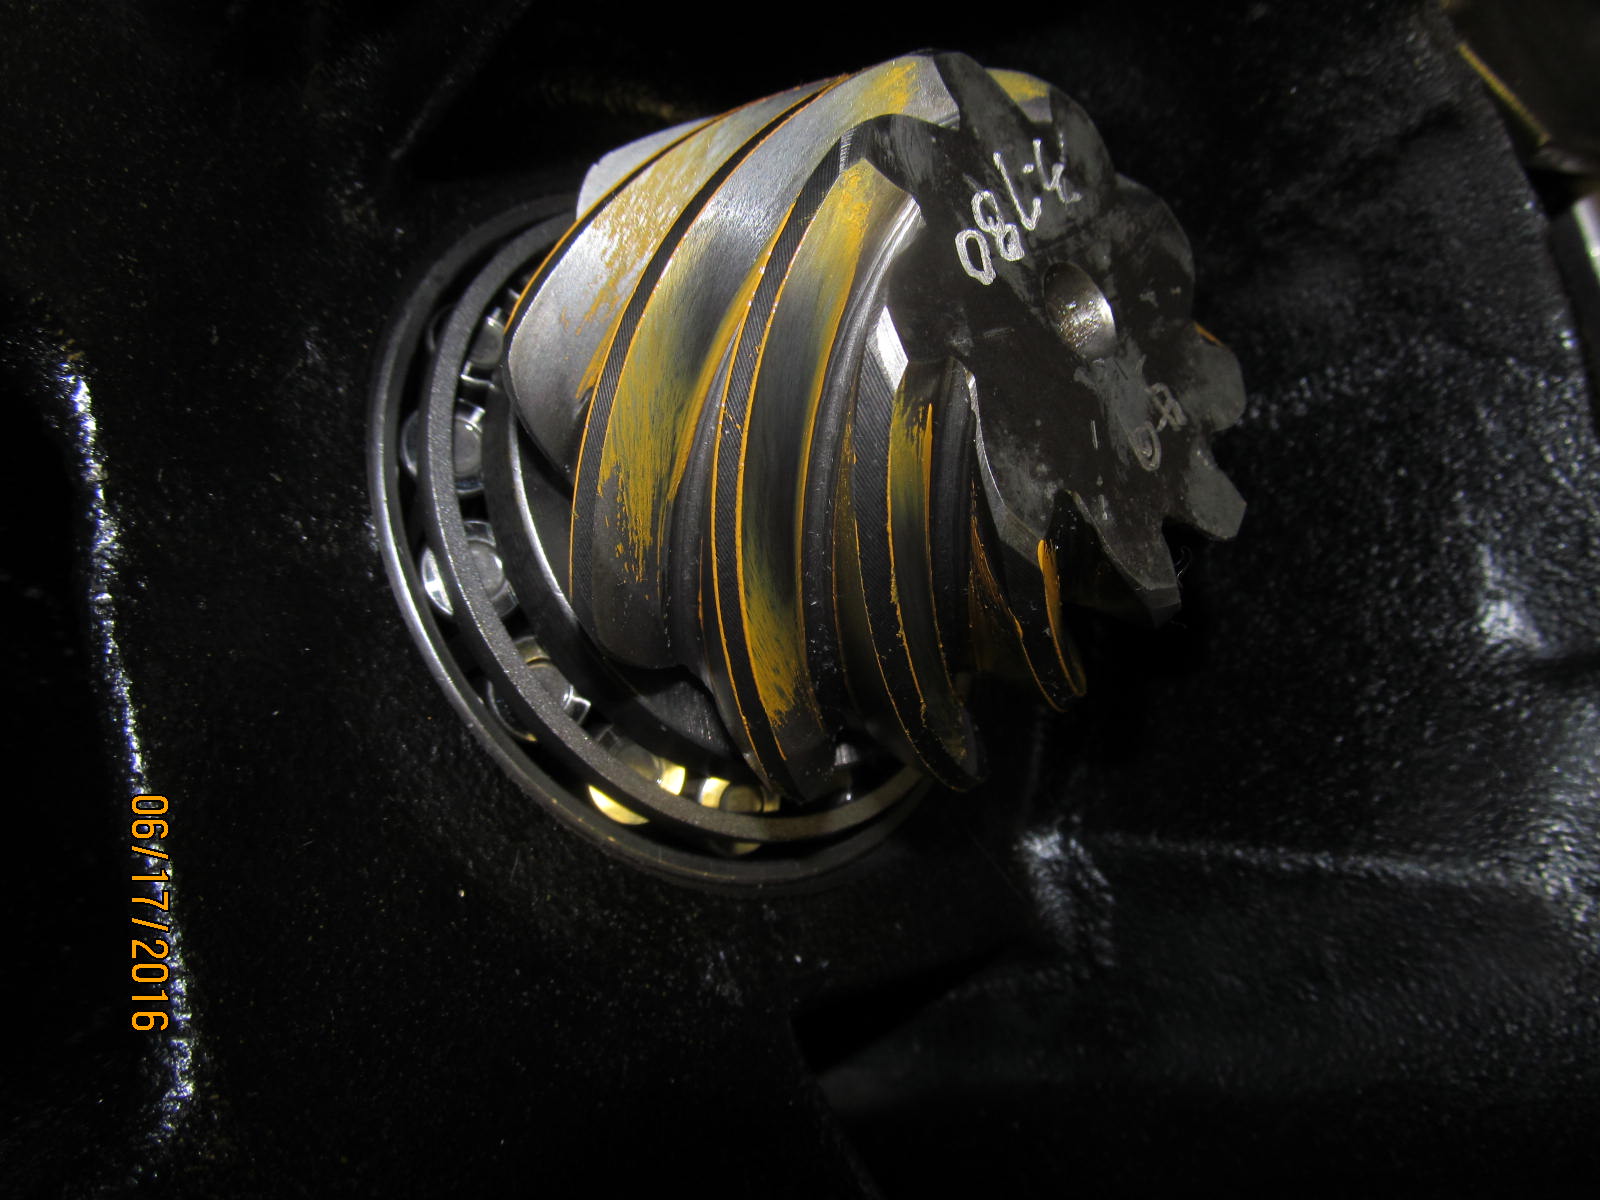
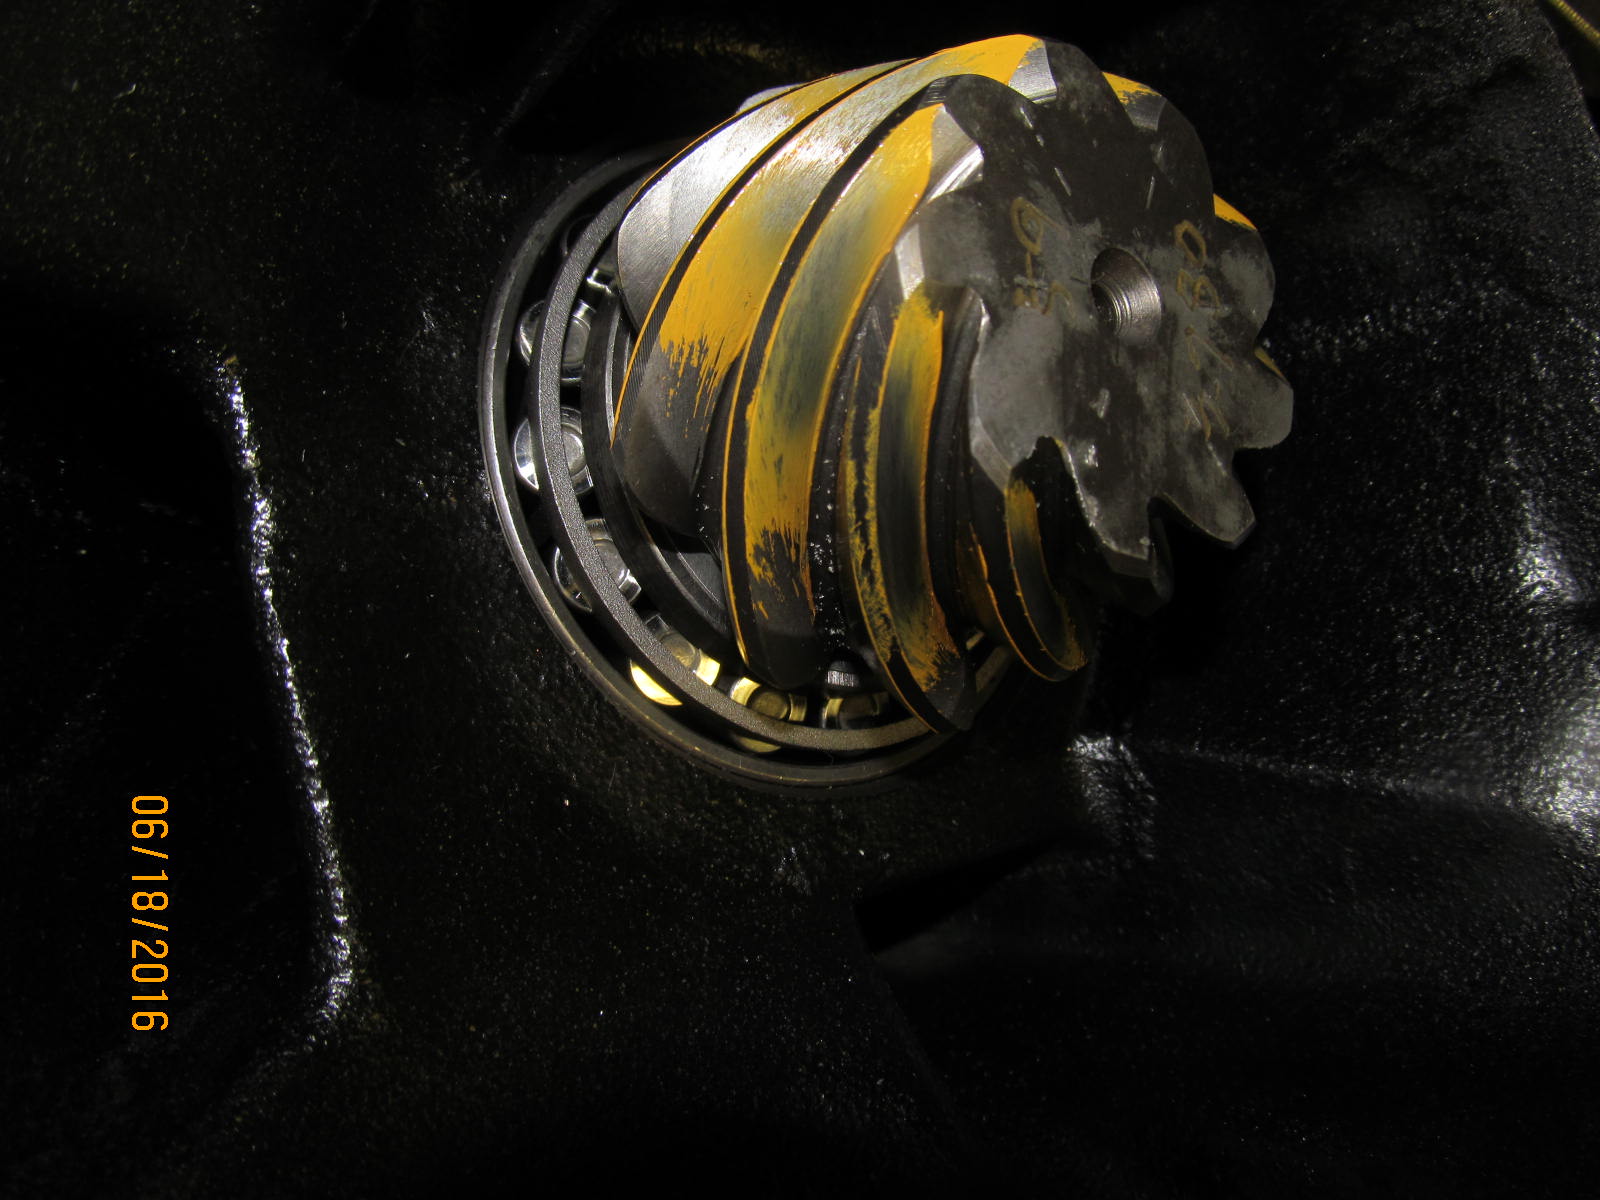
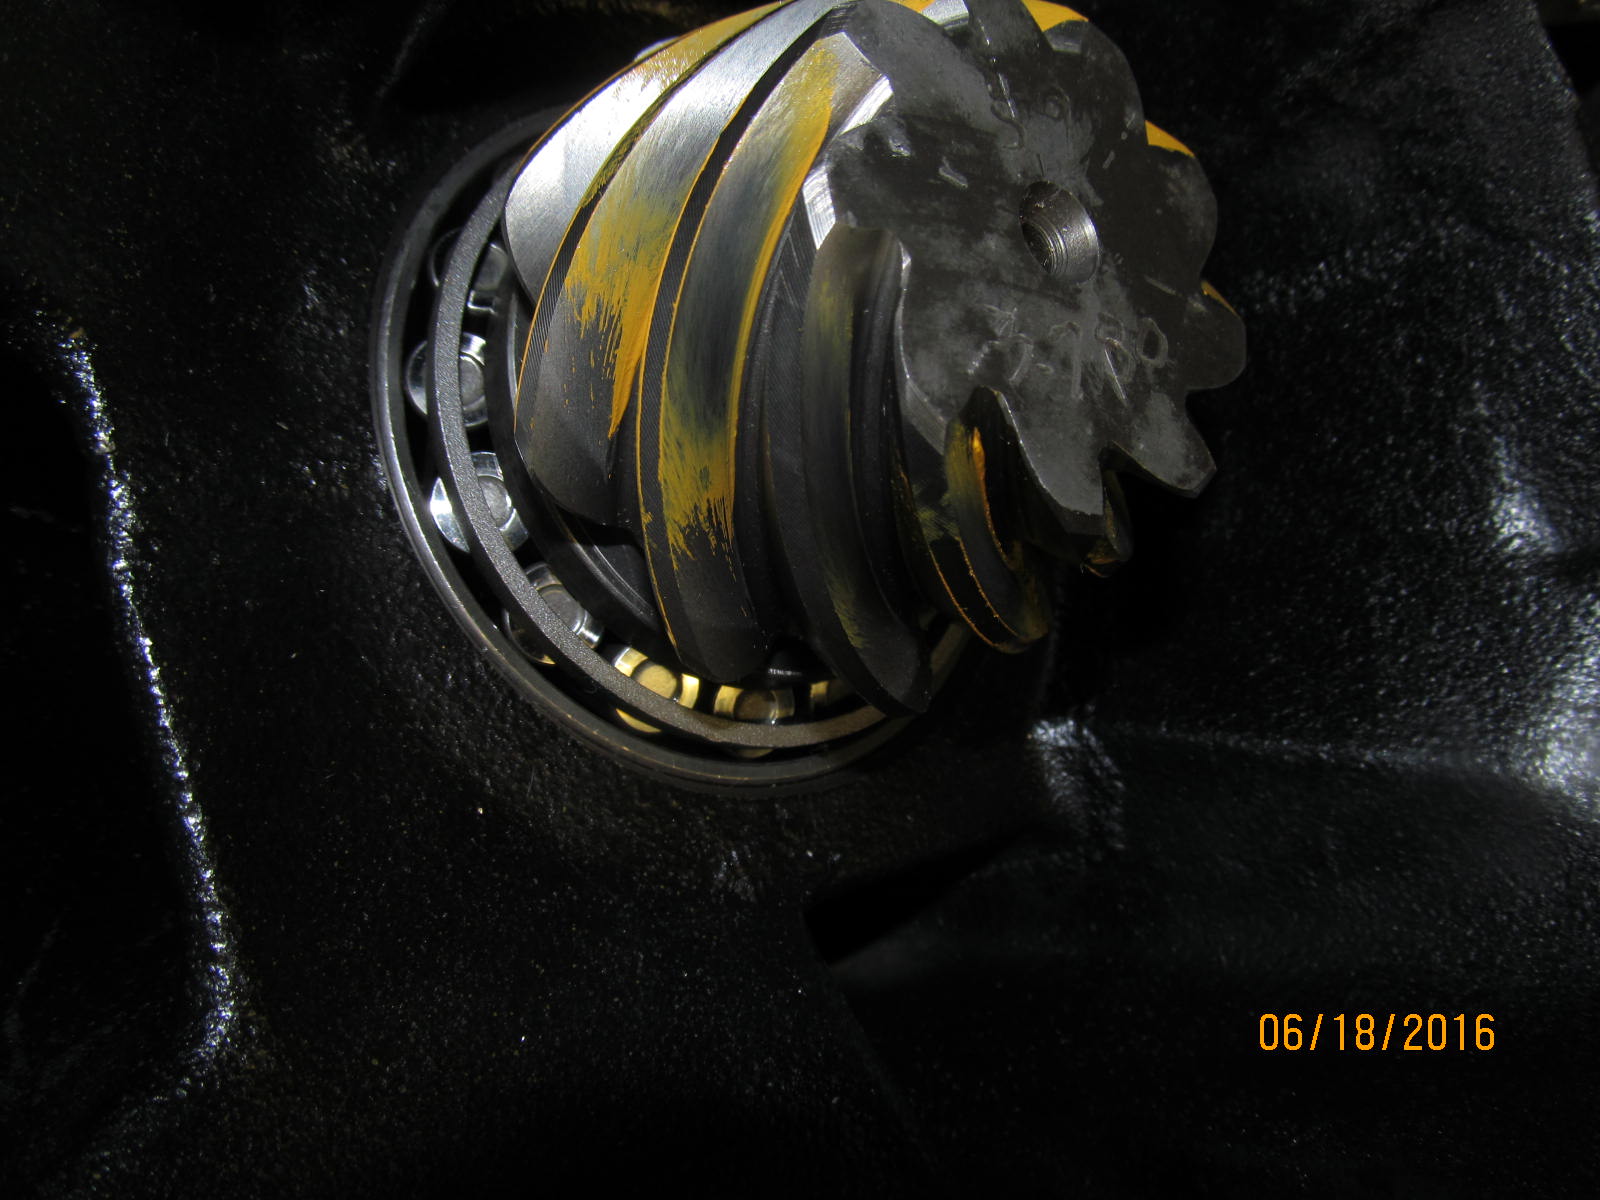
Hopping around a little....decided to see if the 911A644 Truetrac was indeed set up for front end use.
Hard to see the swirl on the 3 pinions sometimes so I just stuck a slender object in the root of
the tooth and it was obvious to me that this pinion swirls clockwise...that means the center
gear(sidegear) swirls CCW so this is for a front end use with a CCW rotation.
|
|
|
|
|
This is the top side.....6 bolts and the lid comes off.
|
|
|
|
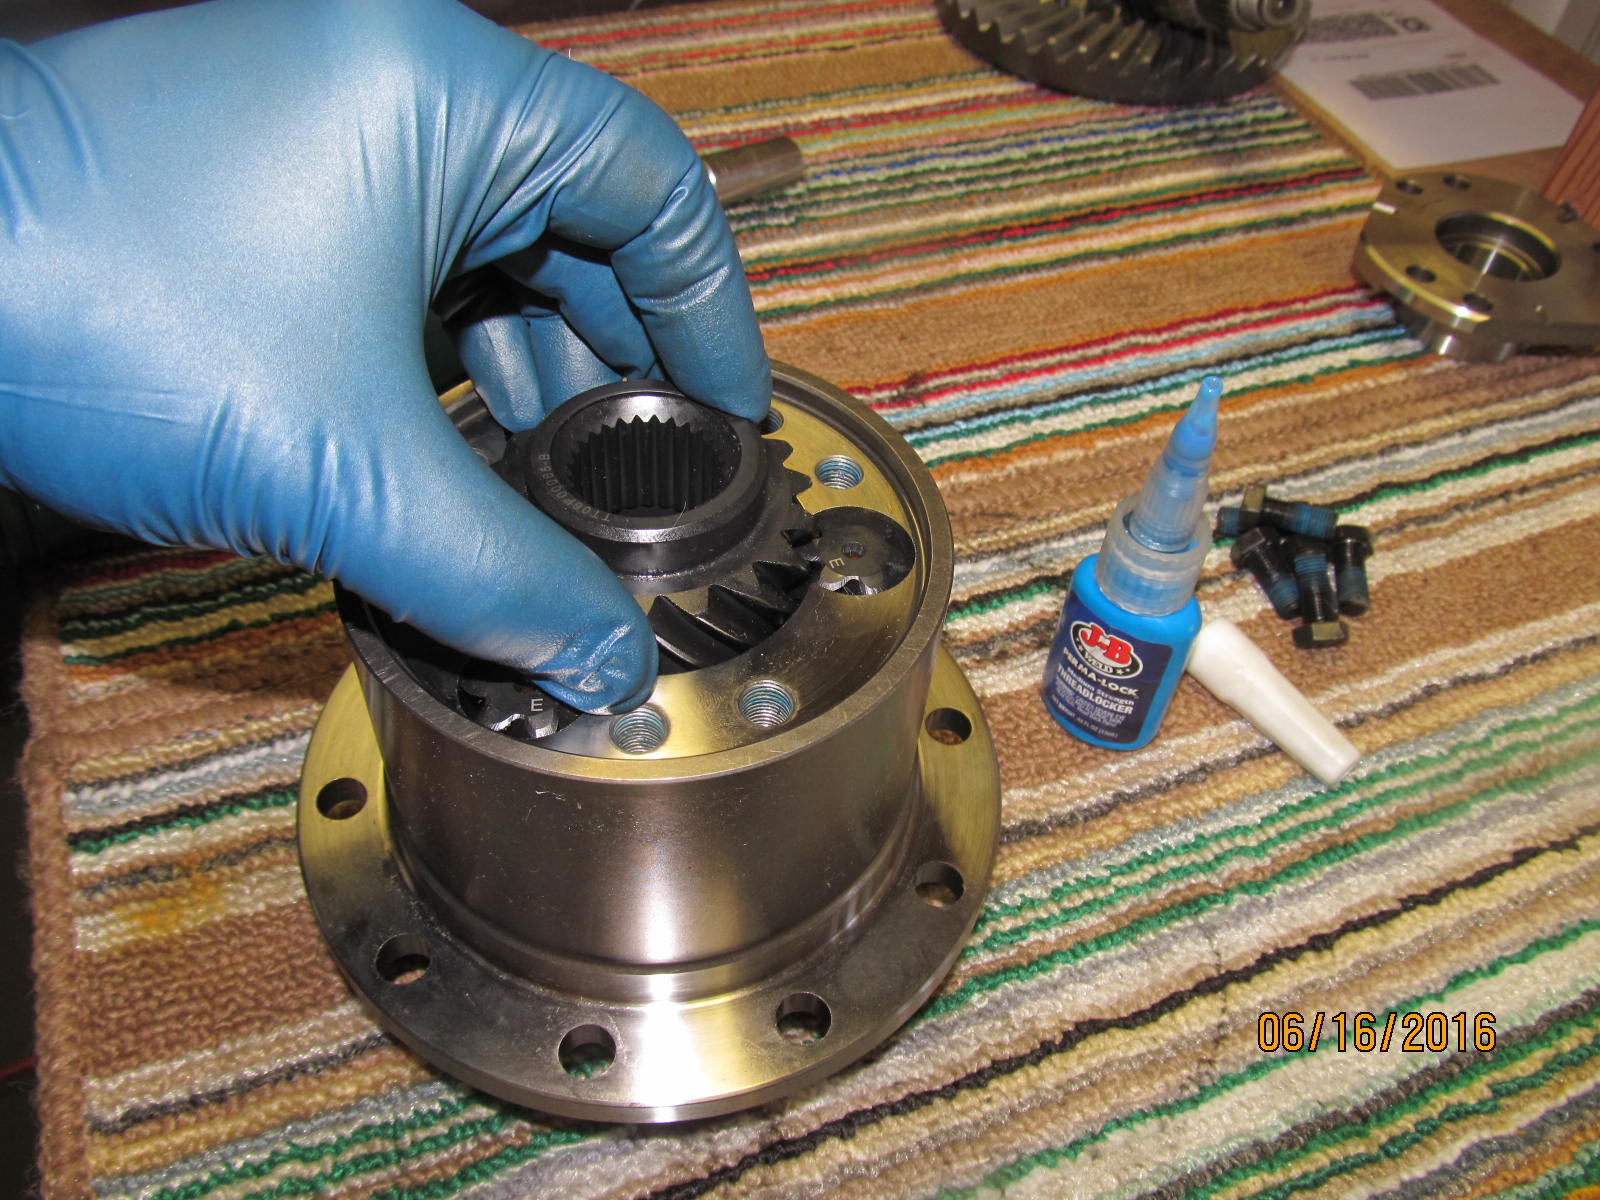
Notice as I remove the center sidegear that it spins in a CCW rotation. This will change once we swap
the gears from the other side. Stamped small "e" will move to the other side and the stamped
Large "E" will be on this side.
|
|
|
|
|
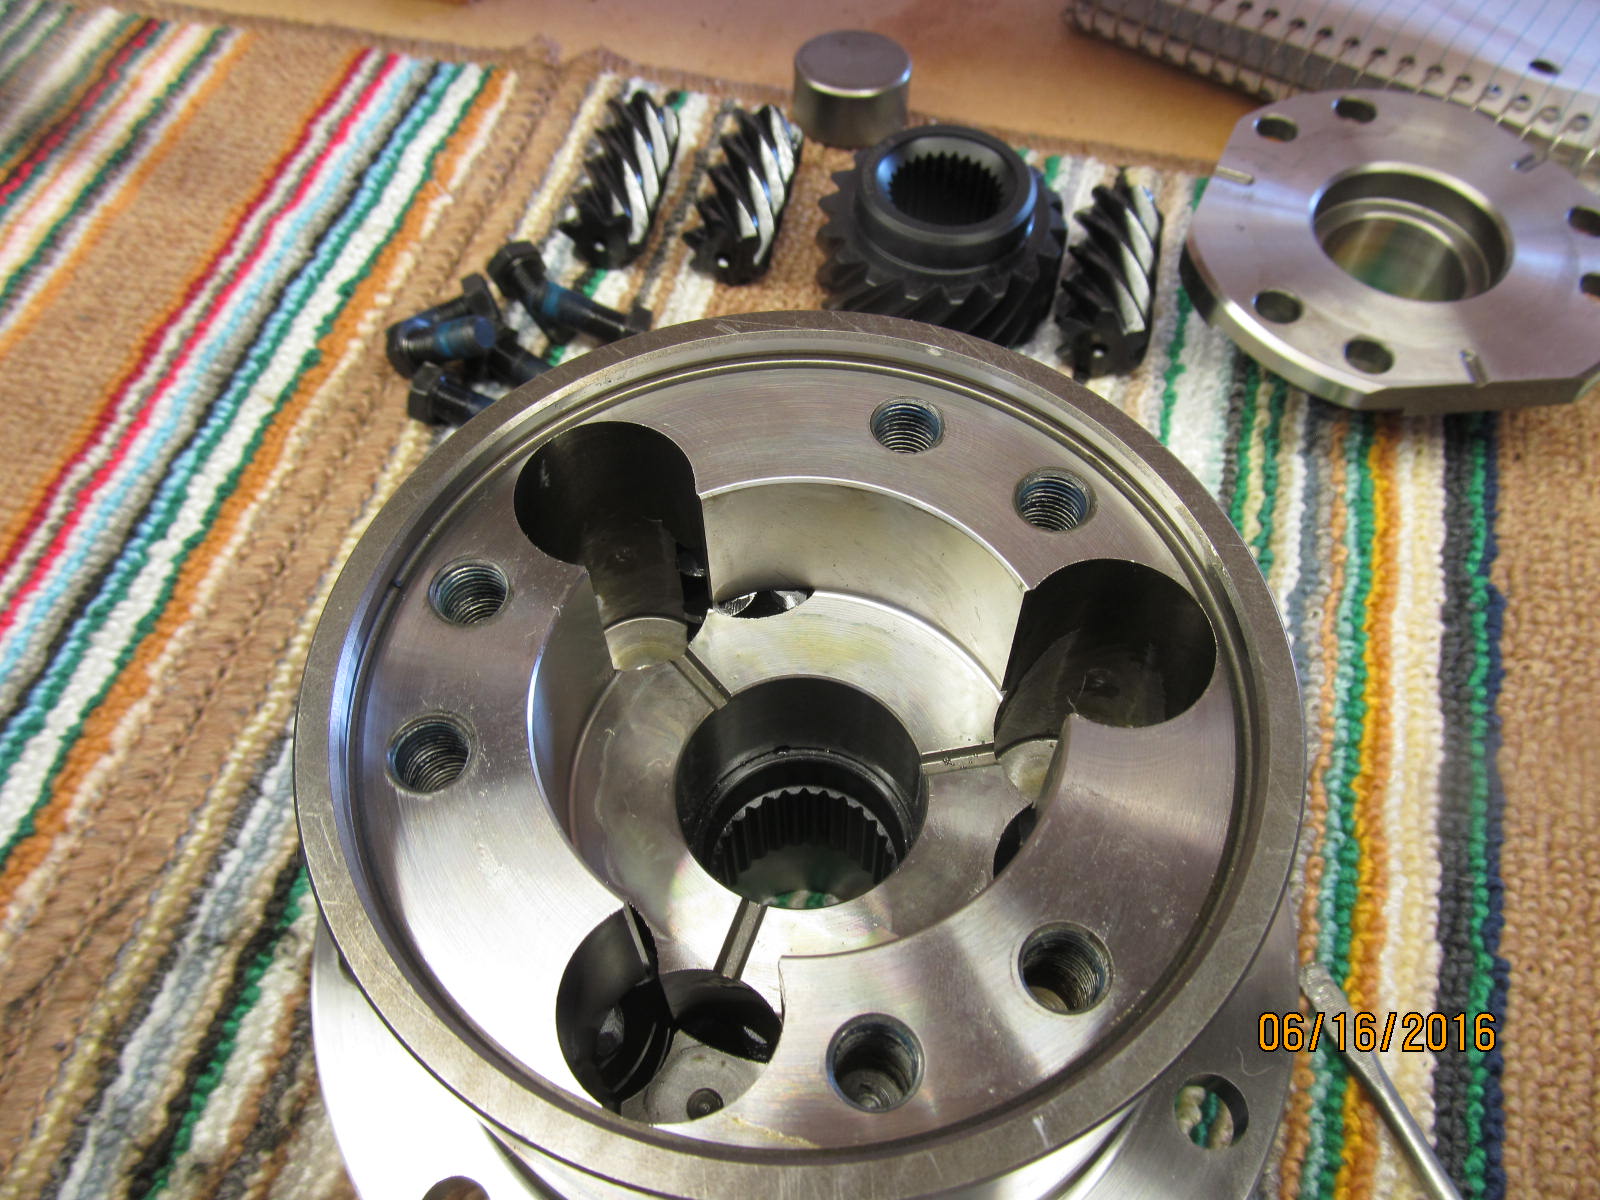
The 4 gears and steel center spacer are removed from the top side.
|
|
|
|
Removed the lid from the backside. Notice the sidegear here rotates CW. These 4 gears will go over
to the other side (front side).
|
|
|
|
|
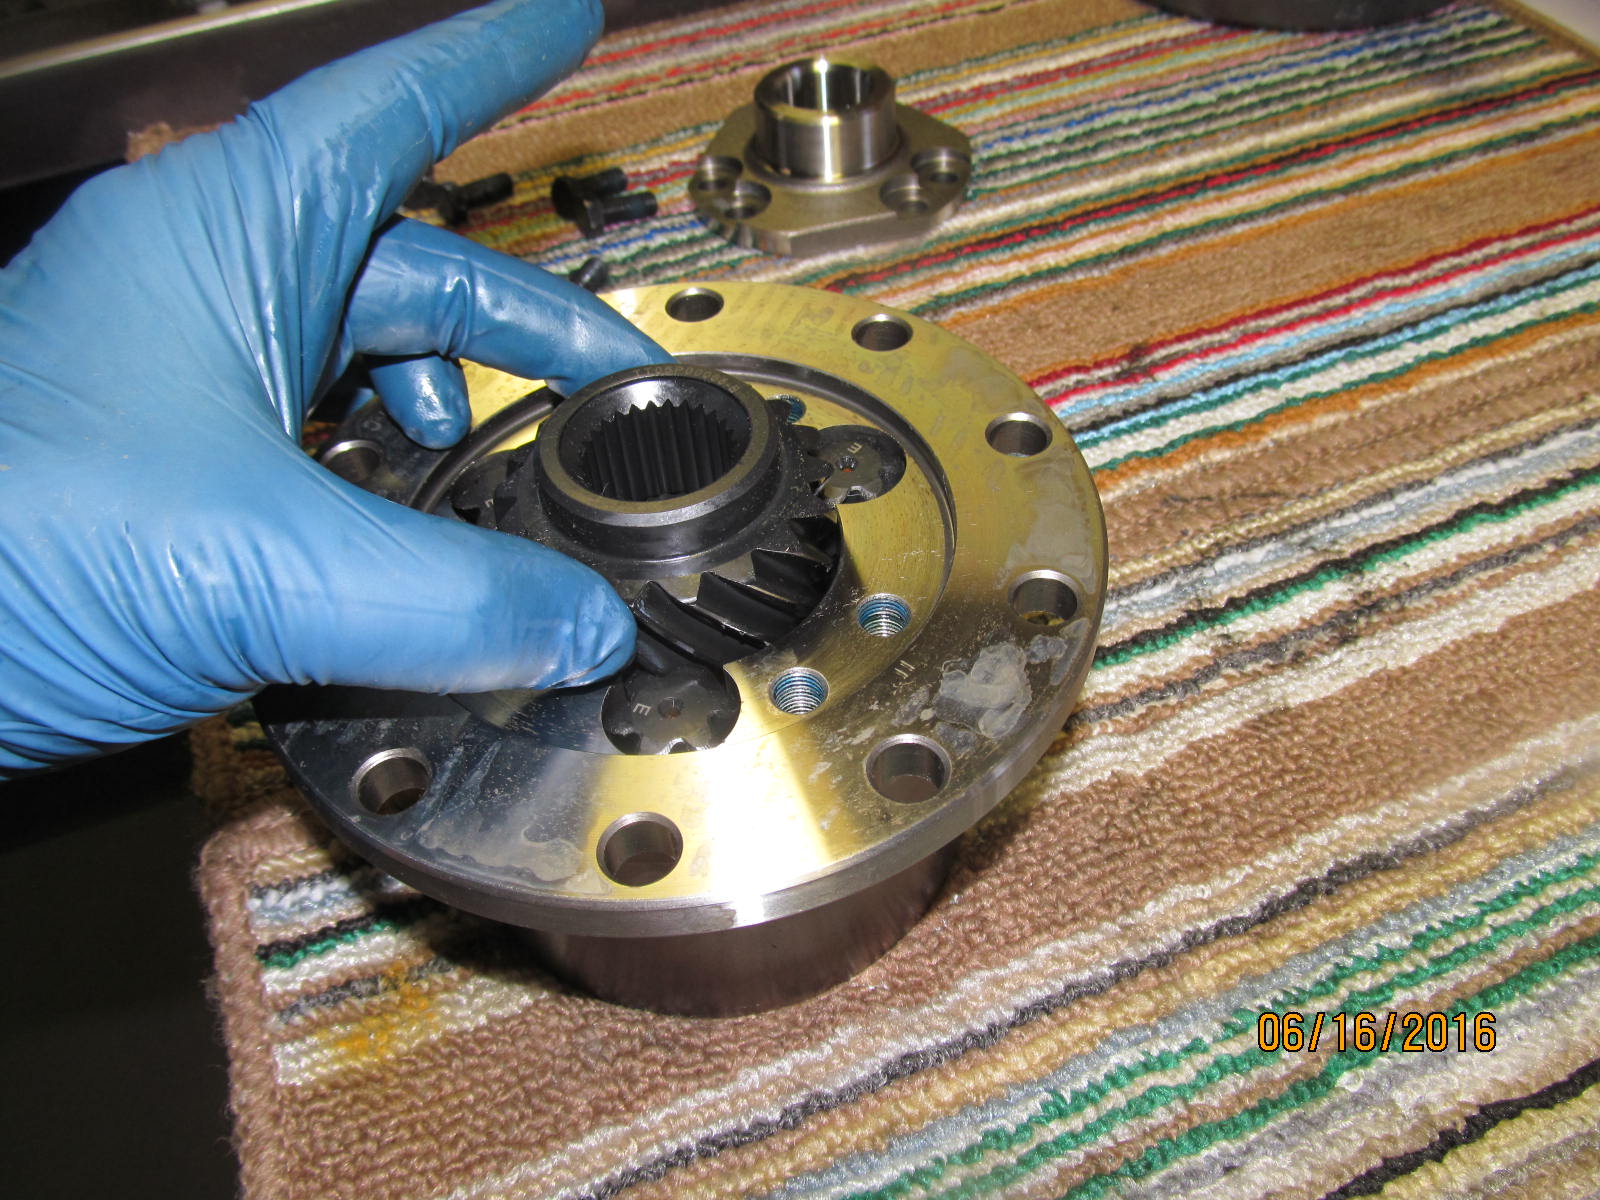
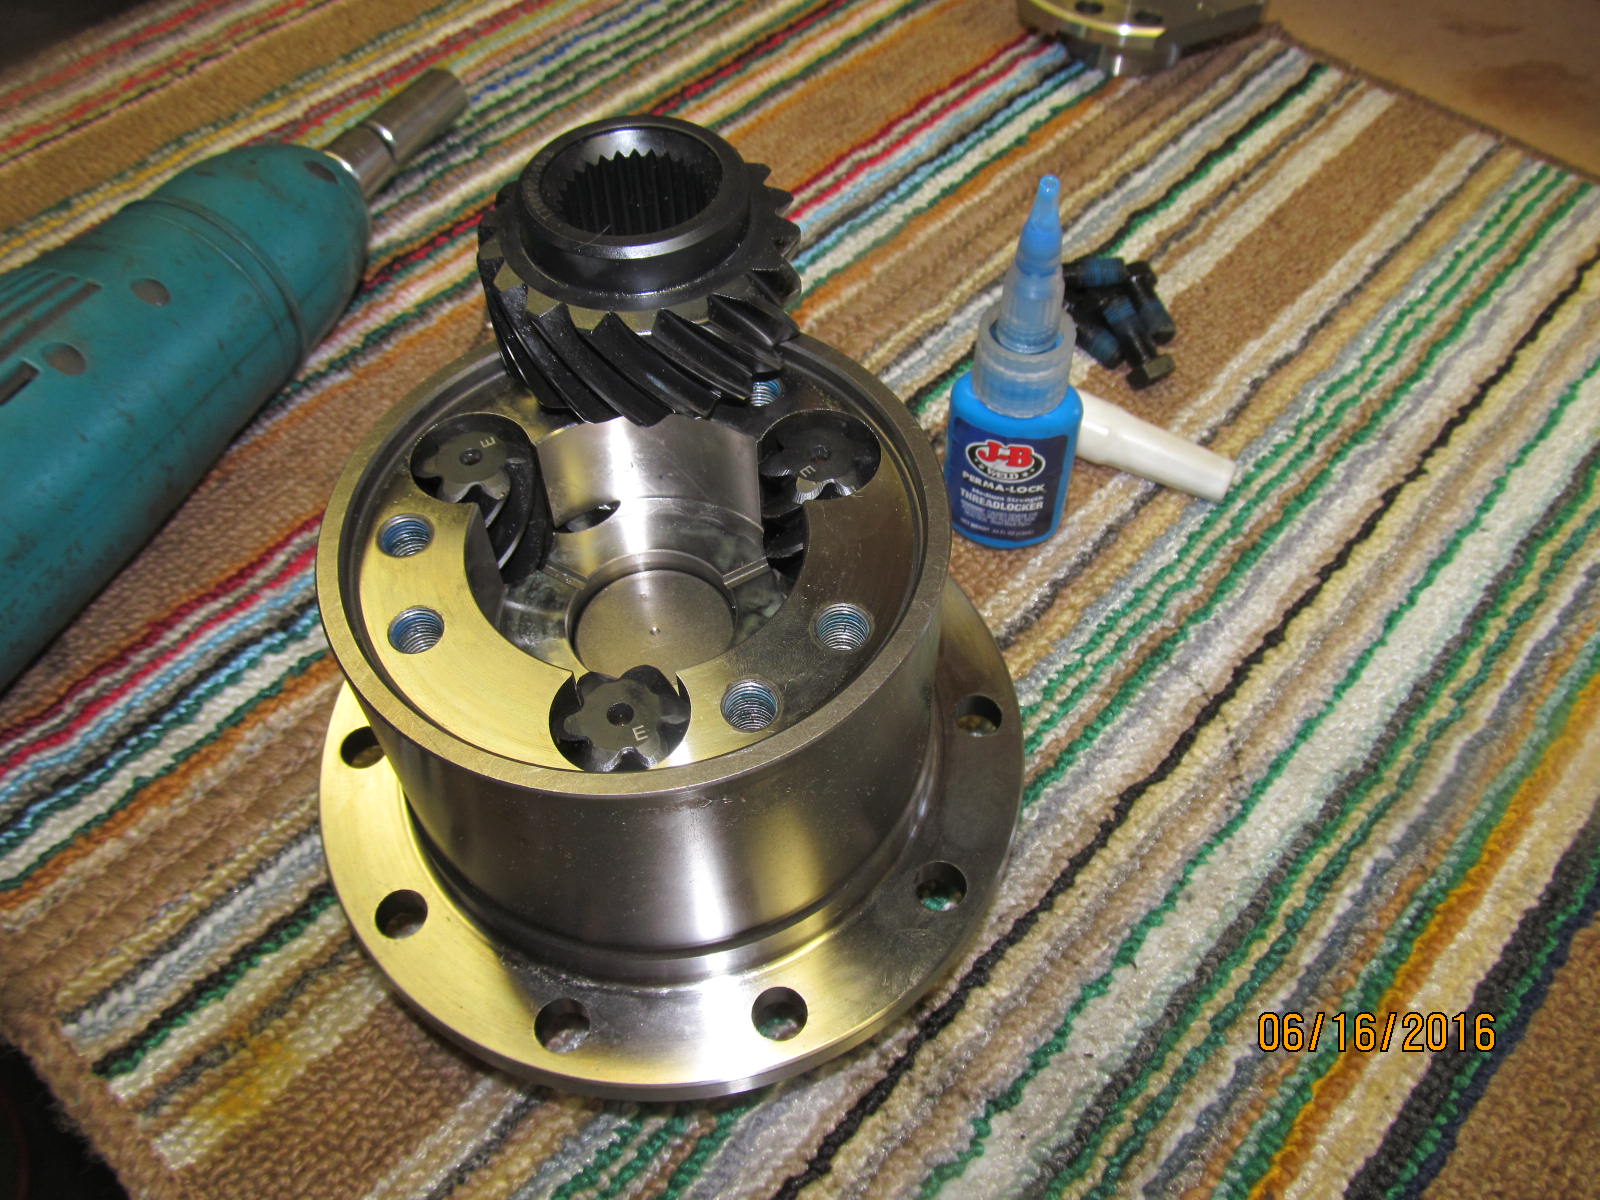
The other gearset is now being installed on the backside shown.
|
|
|
|
You can see the natural rotation now on the bottomside here....they swirl CCW. Replace lid. Apply
blue perma-lock and snug the 6 bolts lightly for now.
|
|
|
|
|
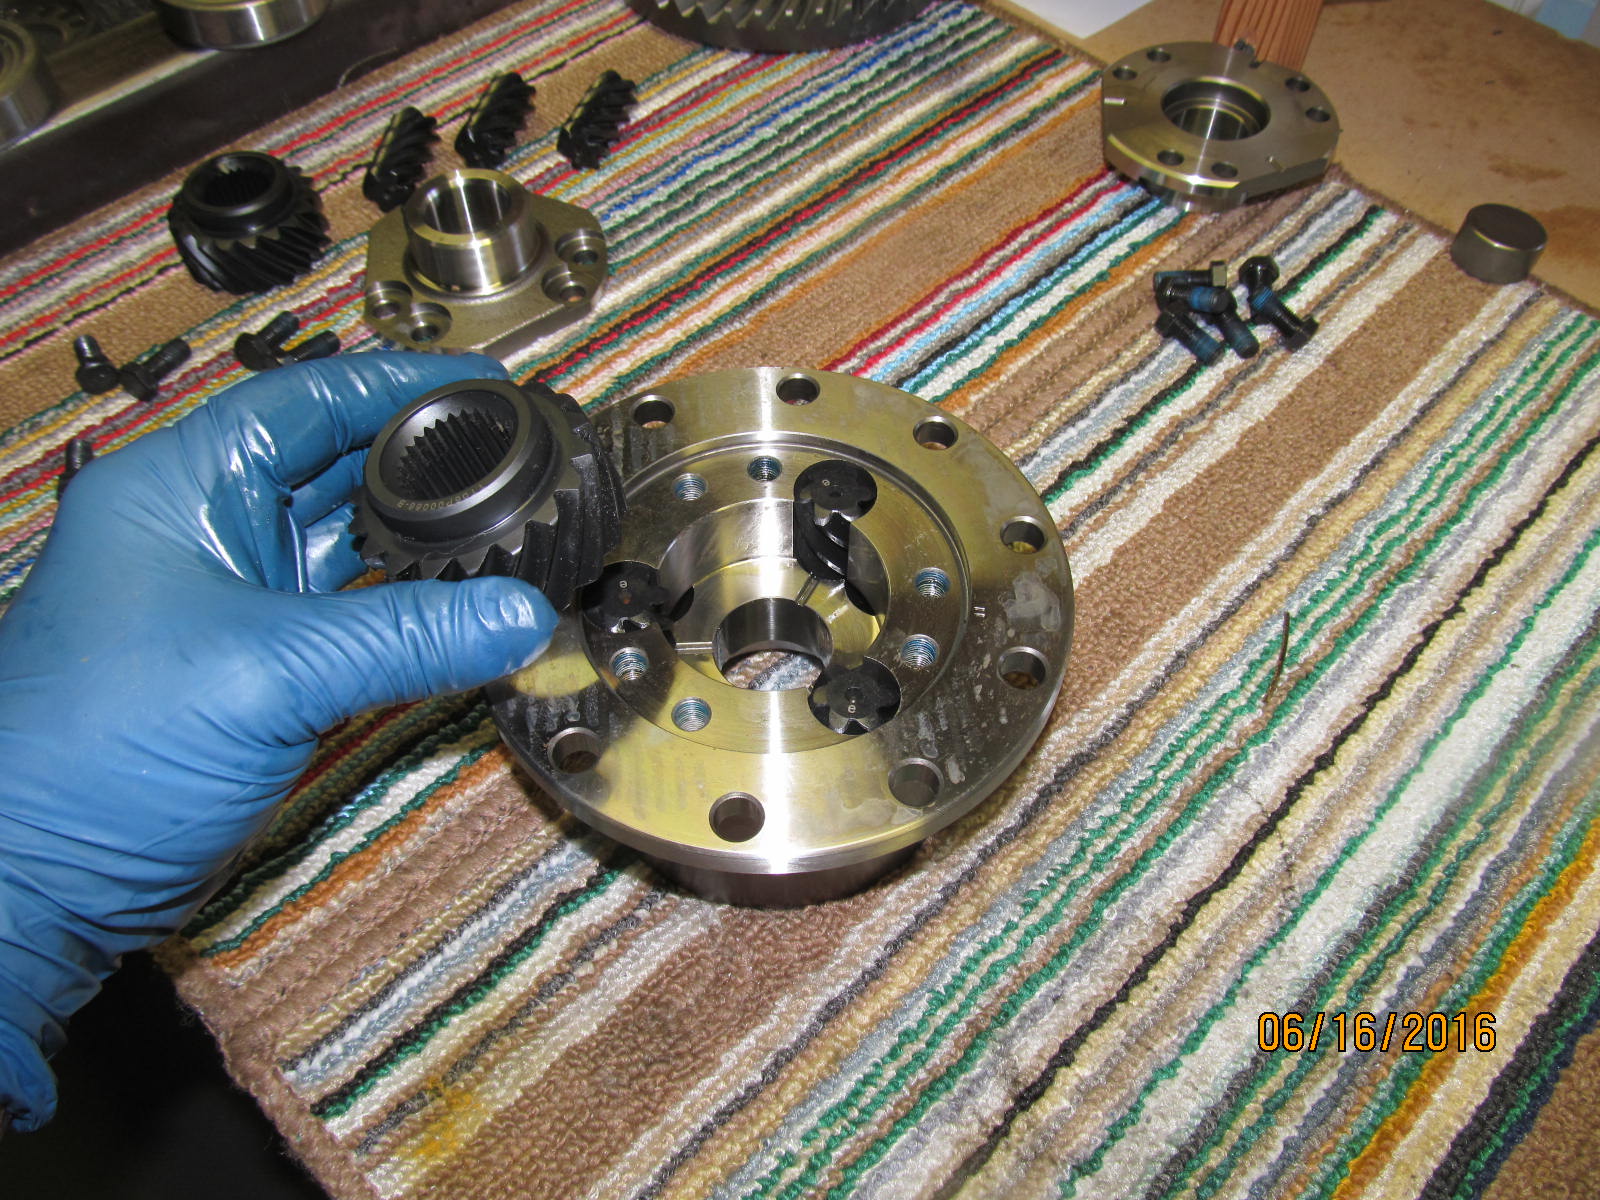
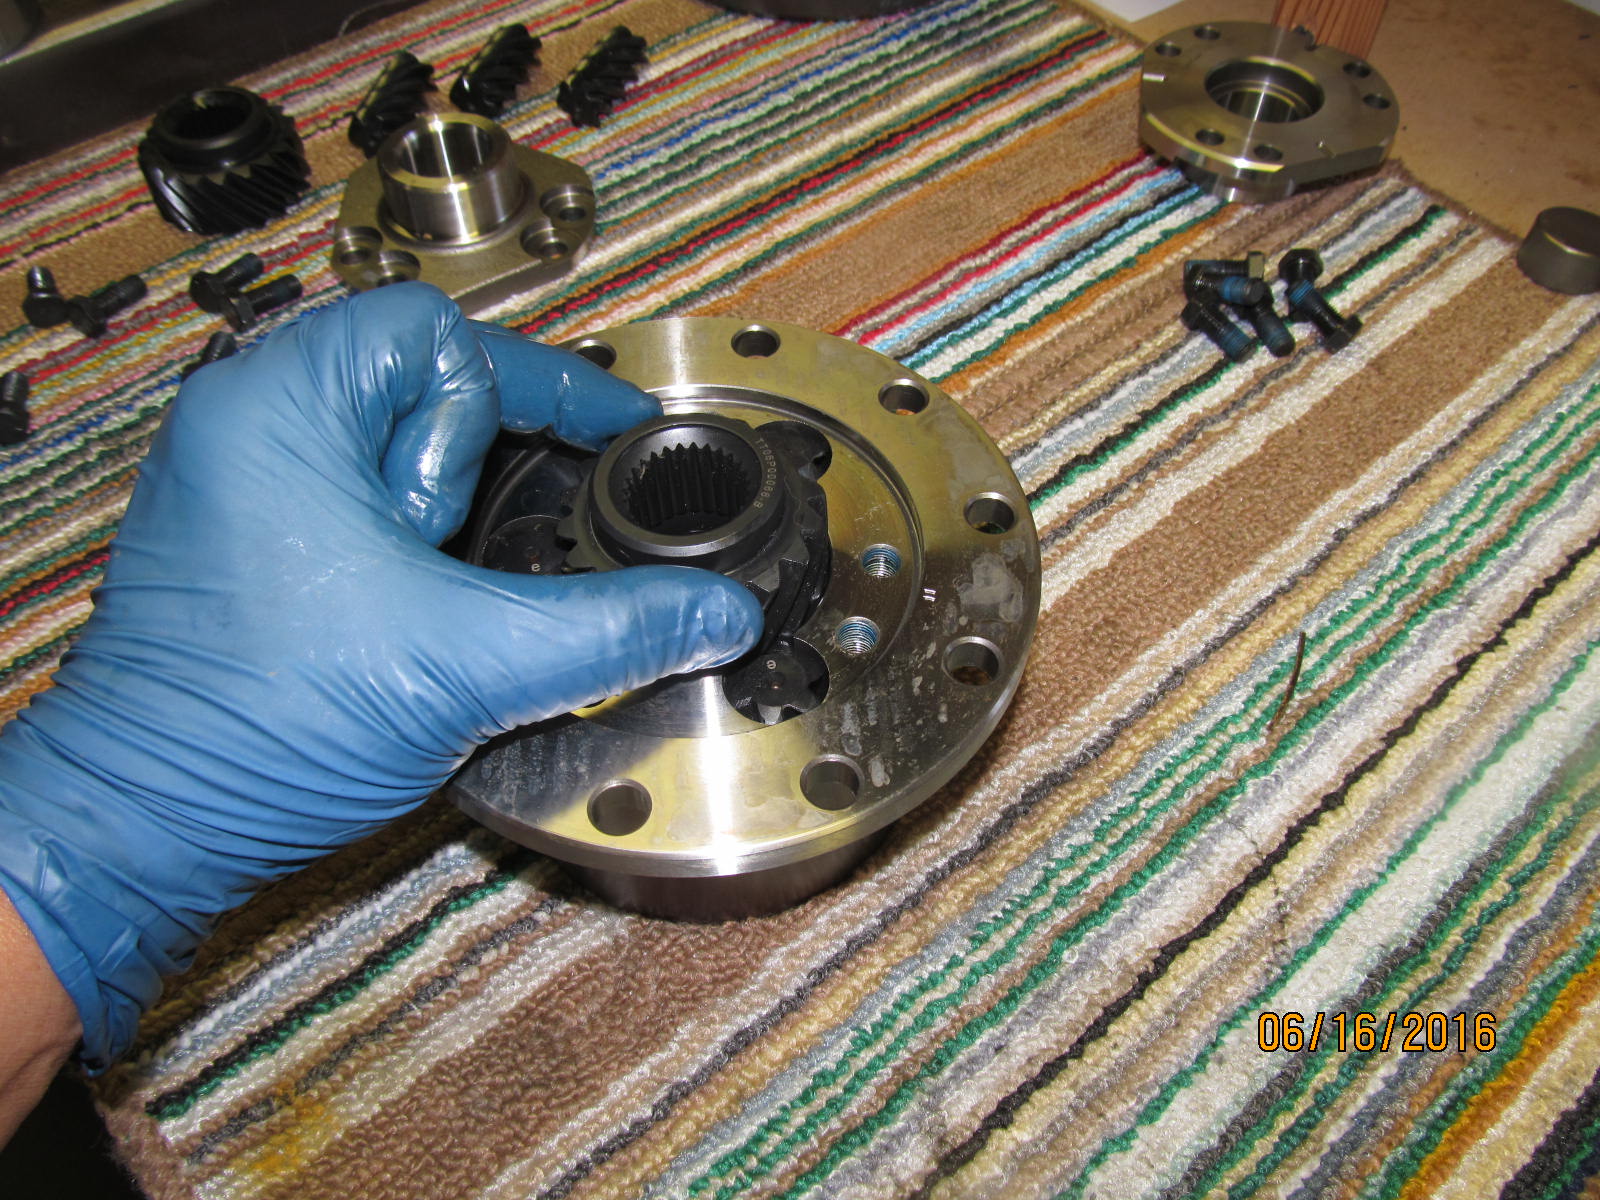
On the topside, put the remaining gearset in(large E stampings).
|
|
|
|
|
The side gear has a natural clockwise(CW) swirl as the gear is lifted up. This is for rear end use.
|
|
|

|
|
Like the other side, the lid now goes on and some loctite on the bolts.
|
|
|
|
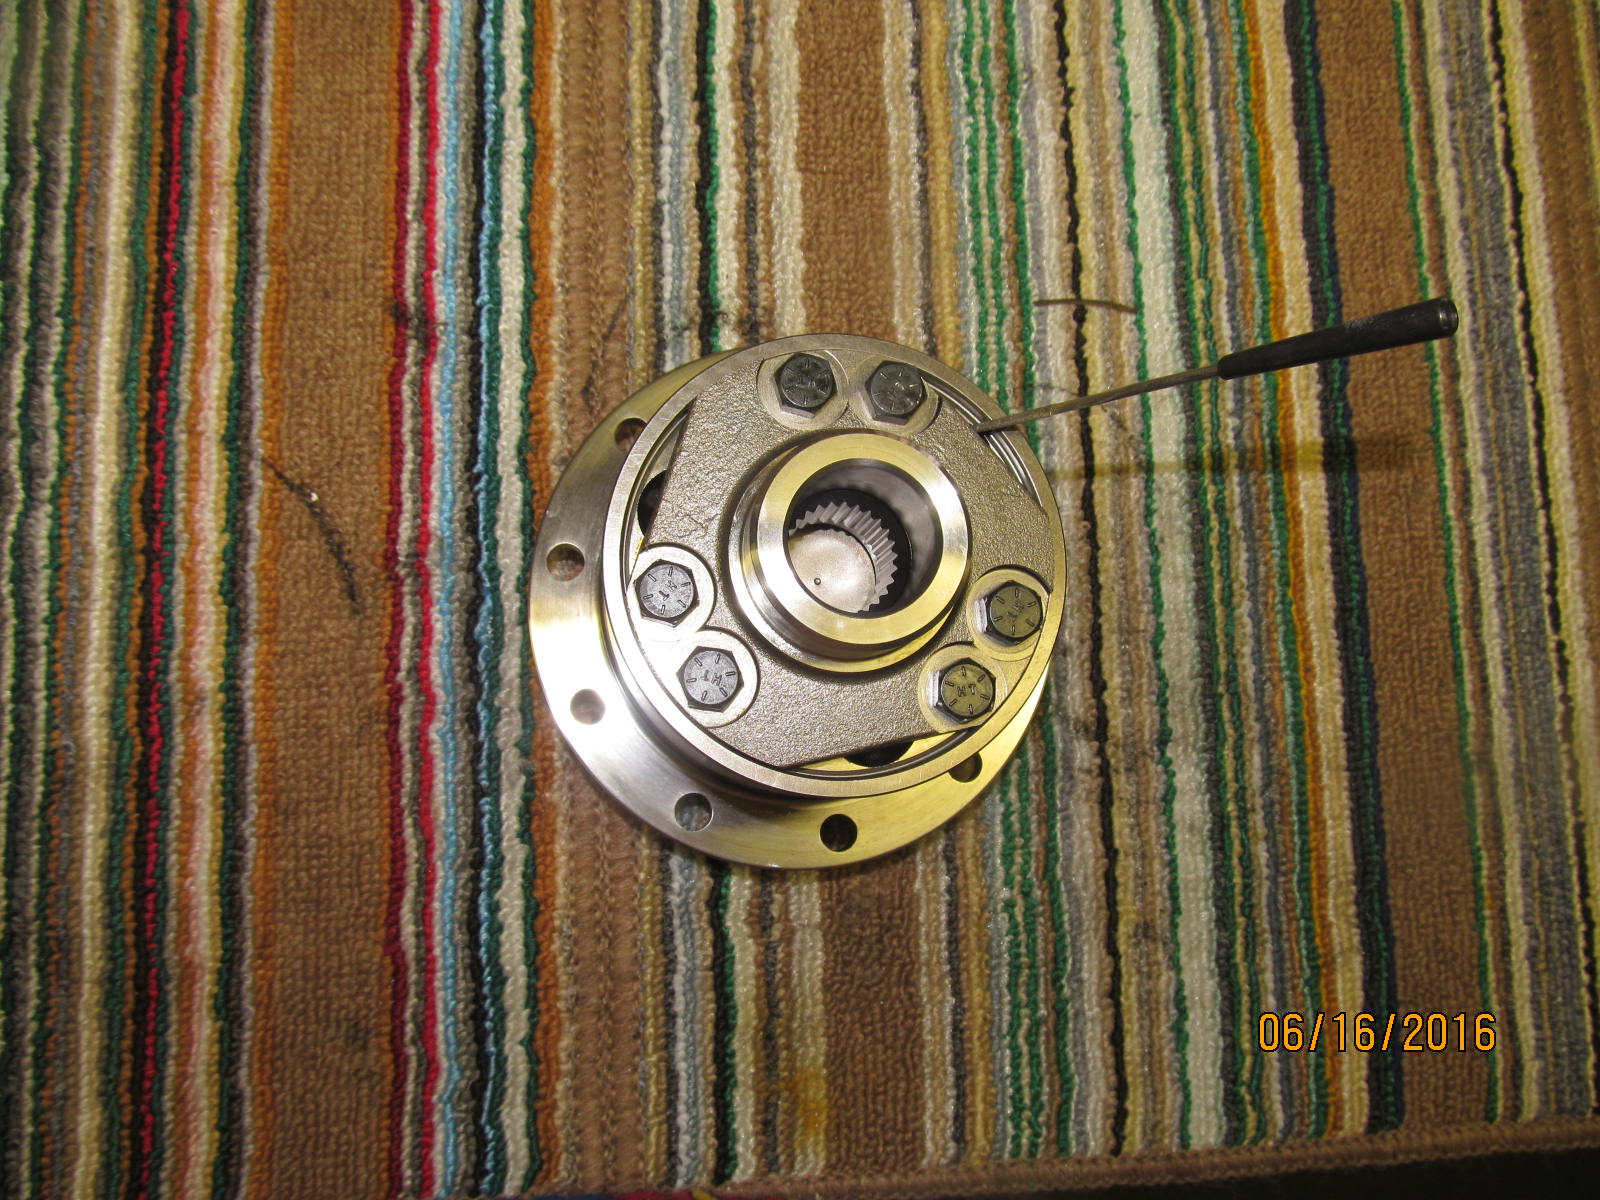
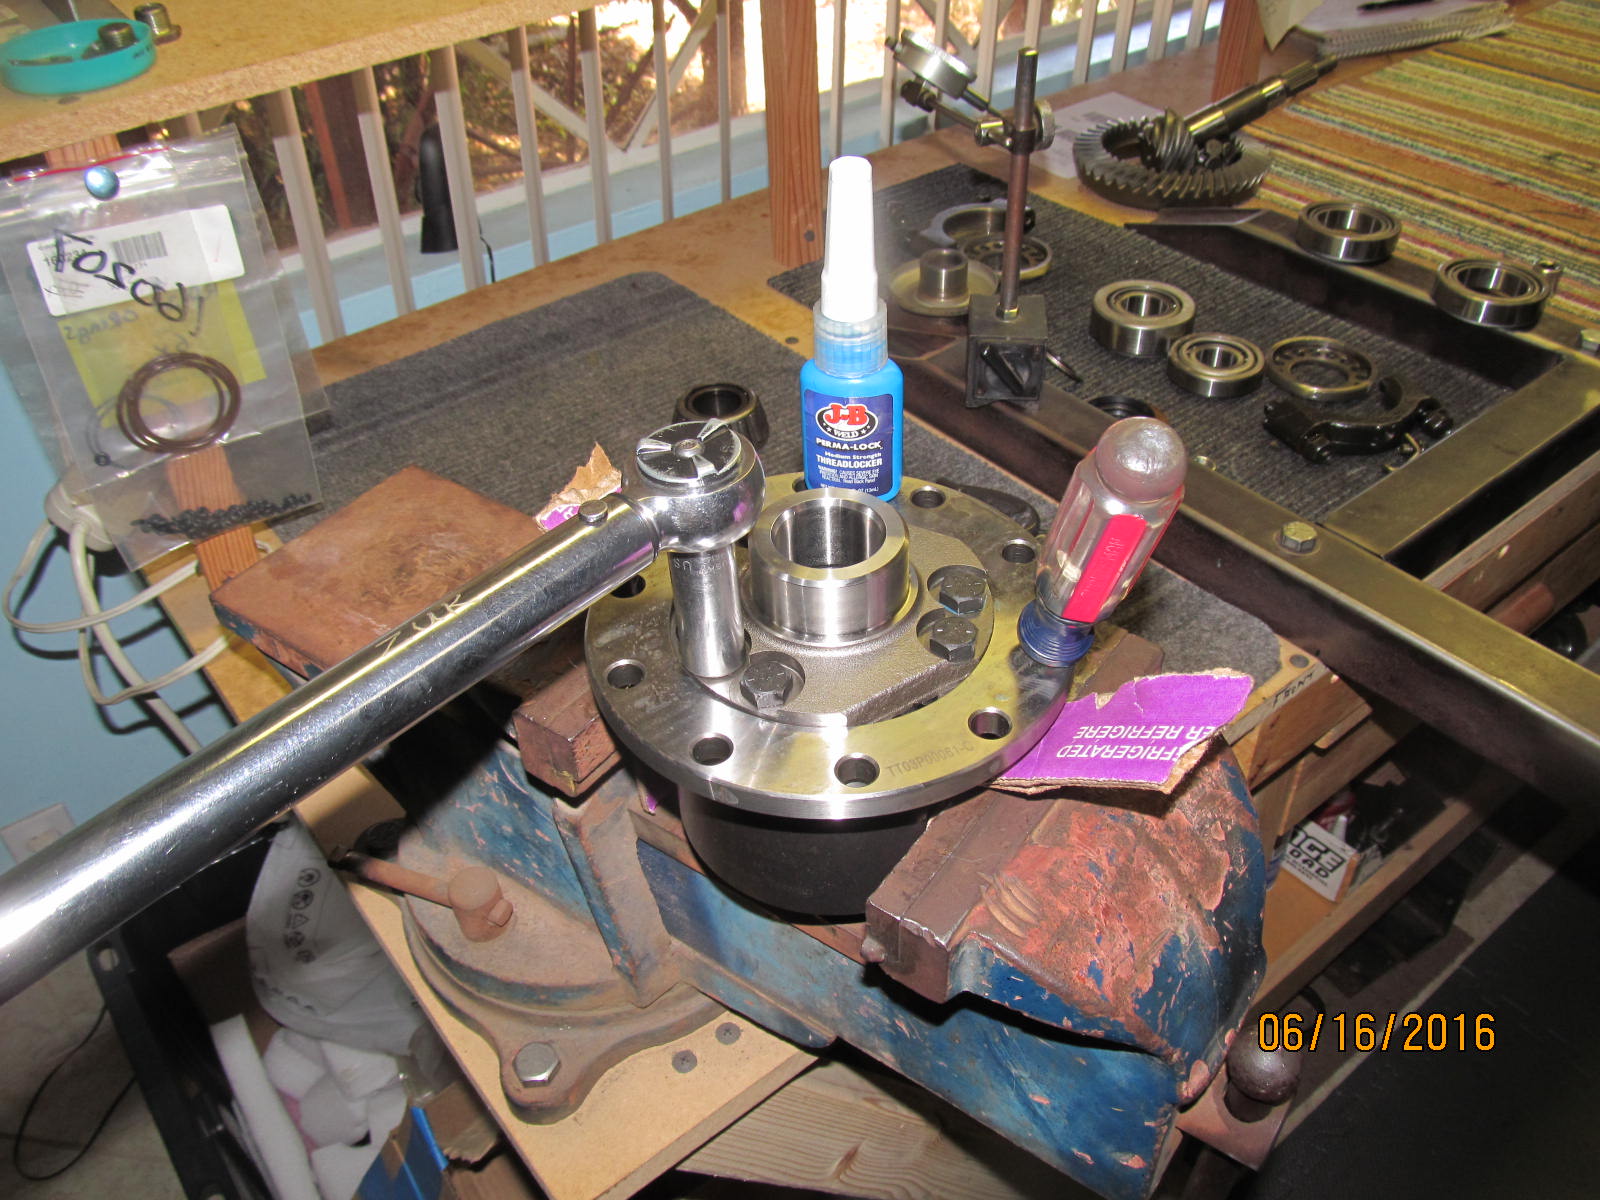
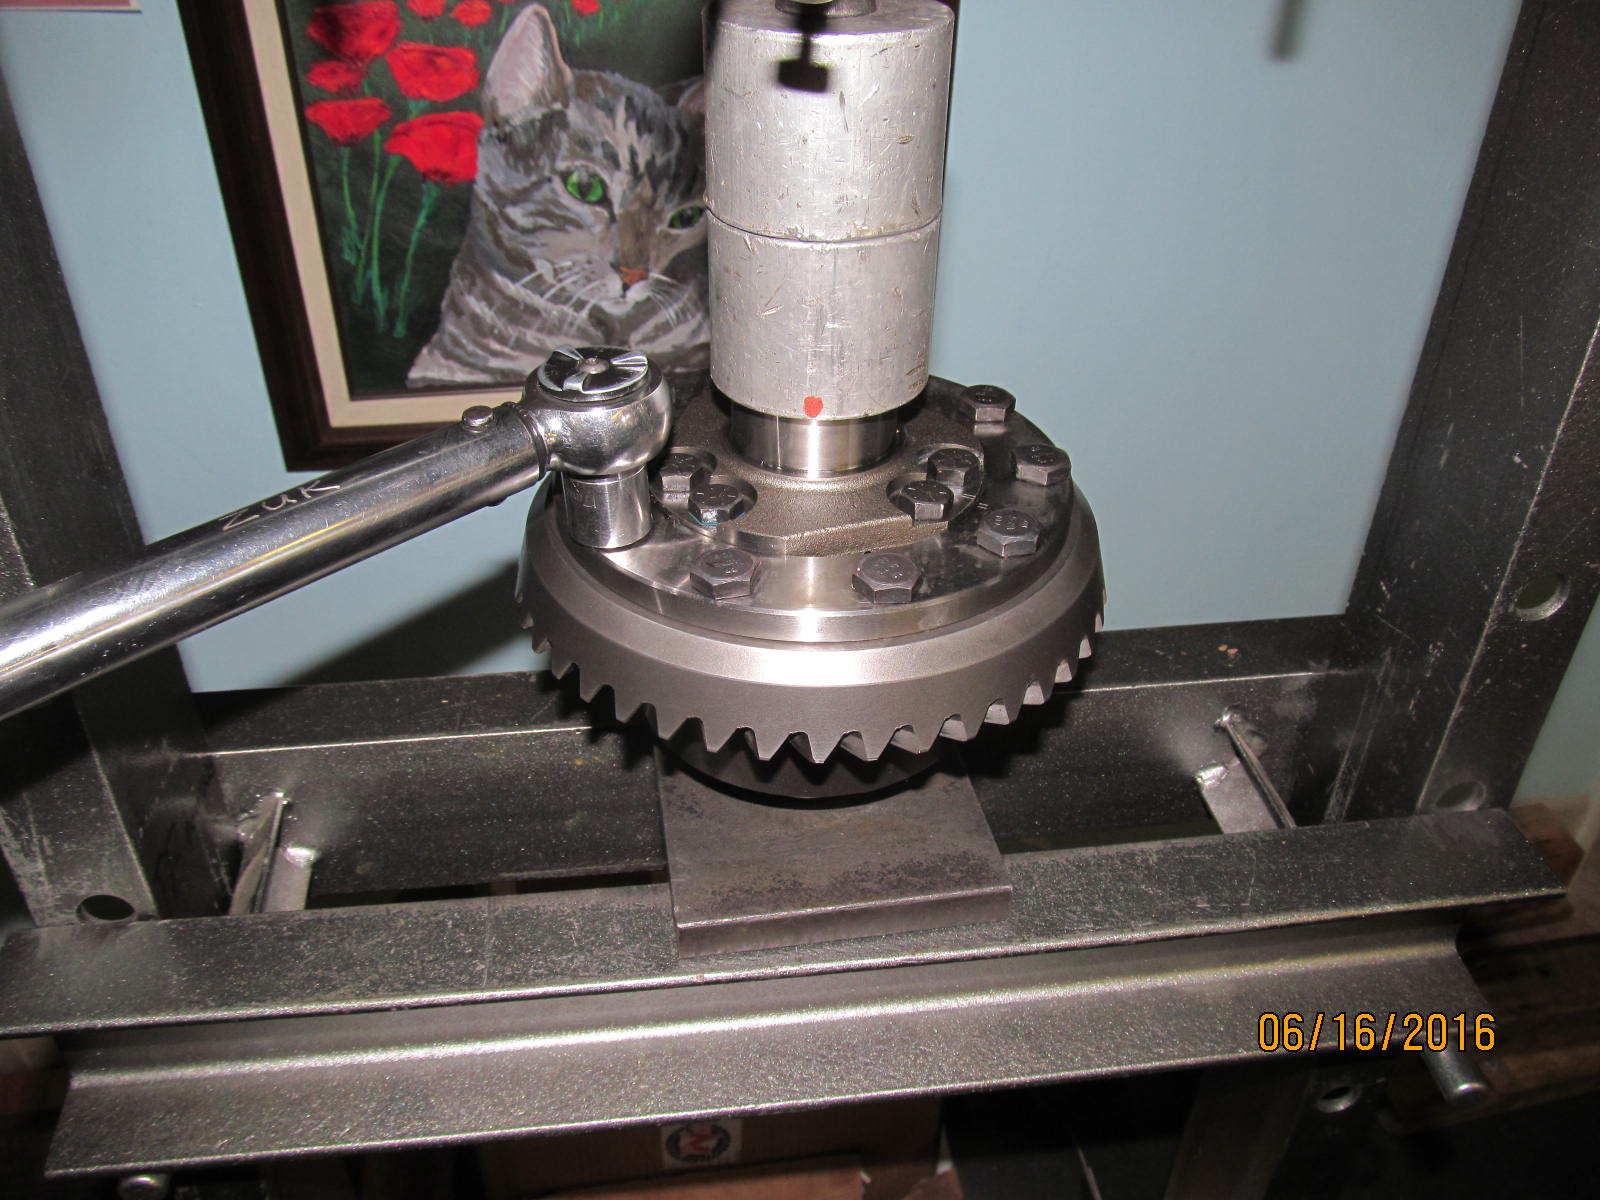
I would rather not mar up the surfaces of this well machined product so I figured a way to to keep
it from rotating while not really clamping down at all. 45 ft/lb on all 12 bolts.
|
|
|
|
|
Both the Truetrac surface and the G2 ring gear are checked for any irregularities and none found, of course.
|
|
|
|
|
The 10 ring gear bolts are cross tightened to 70 ft/lb. Red locktight applied also.
|
|
|
|
|
New carrier bearings are pressed on.
|
|
|
|
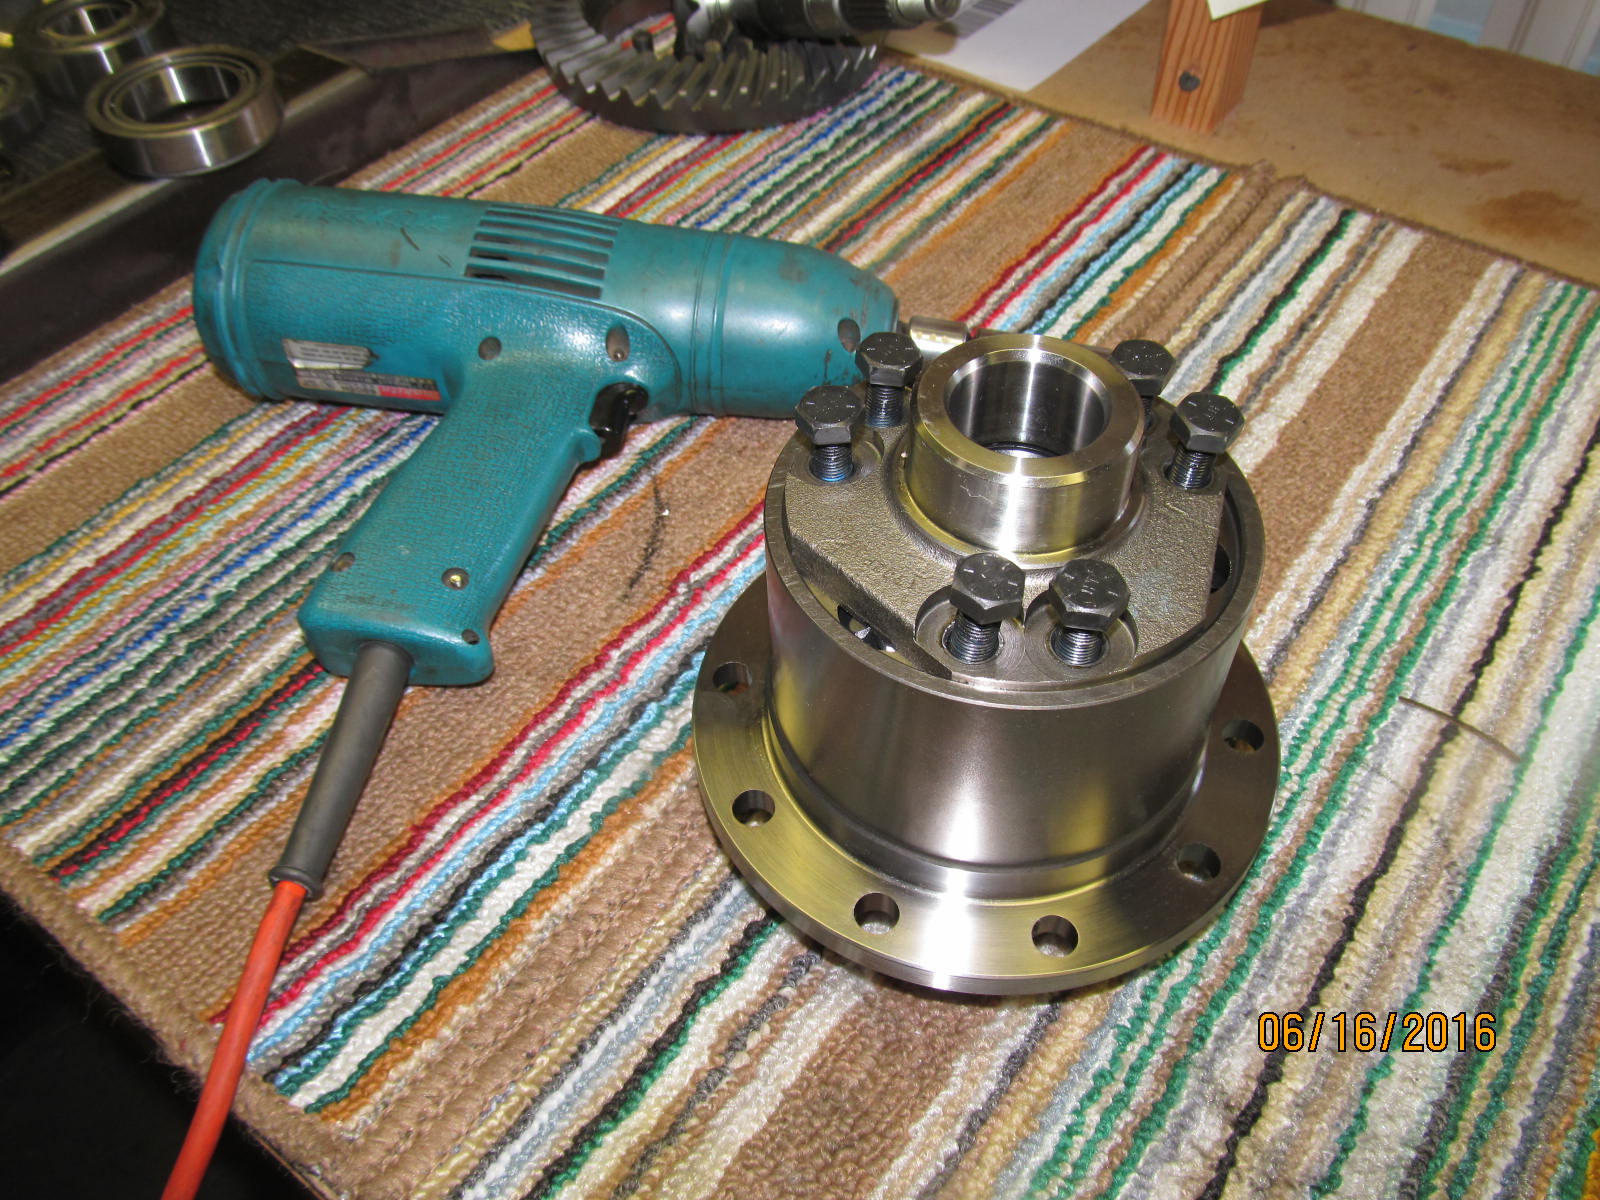
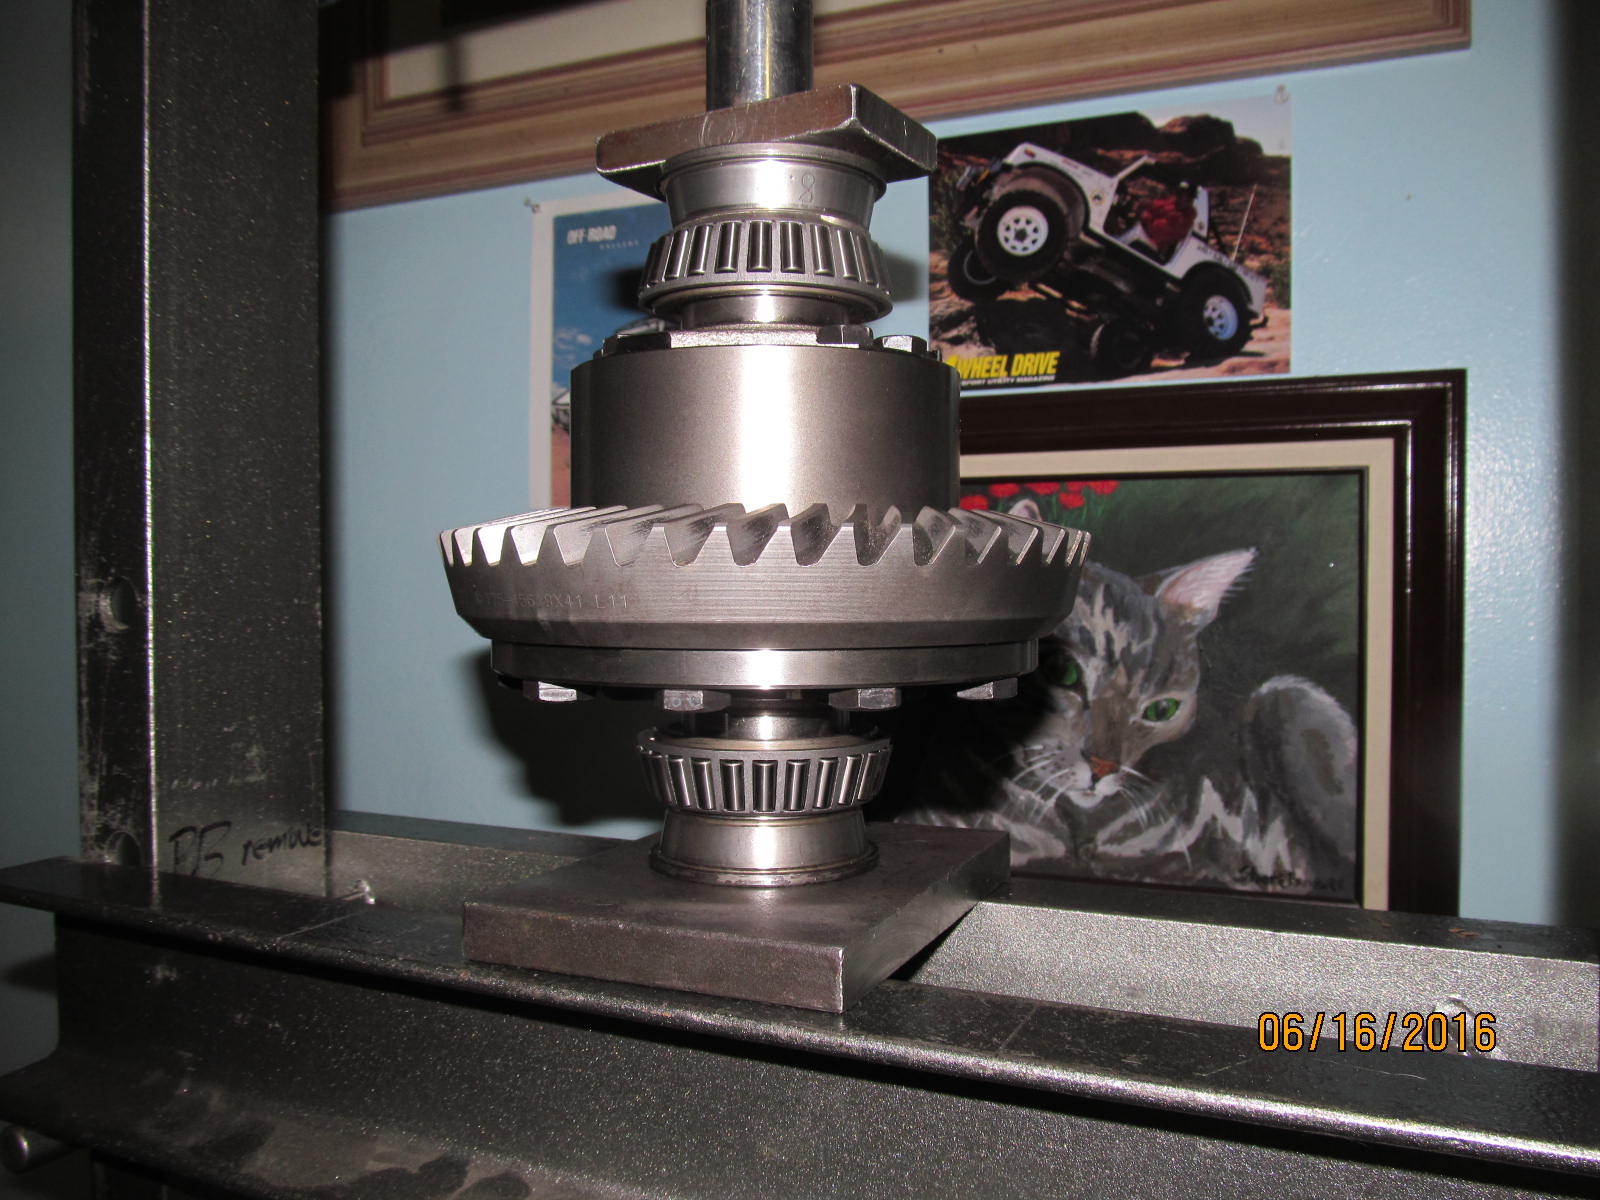
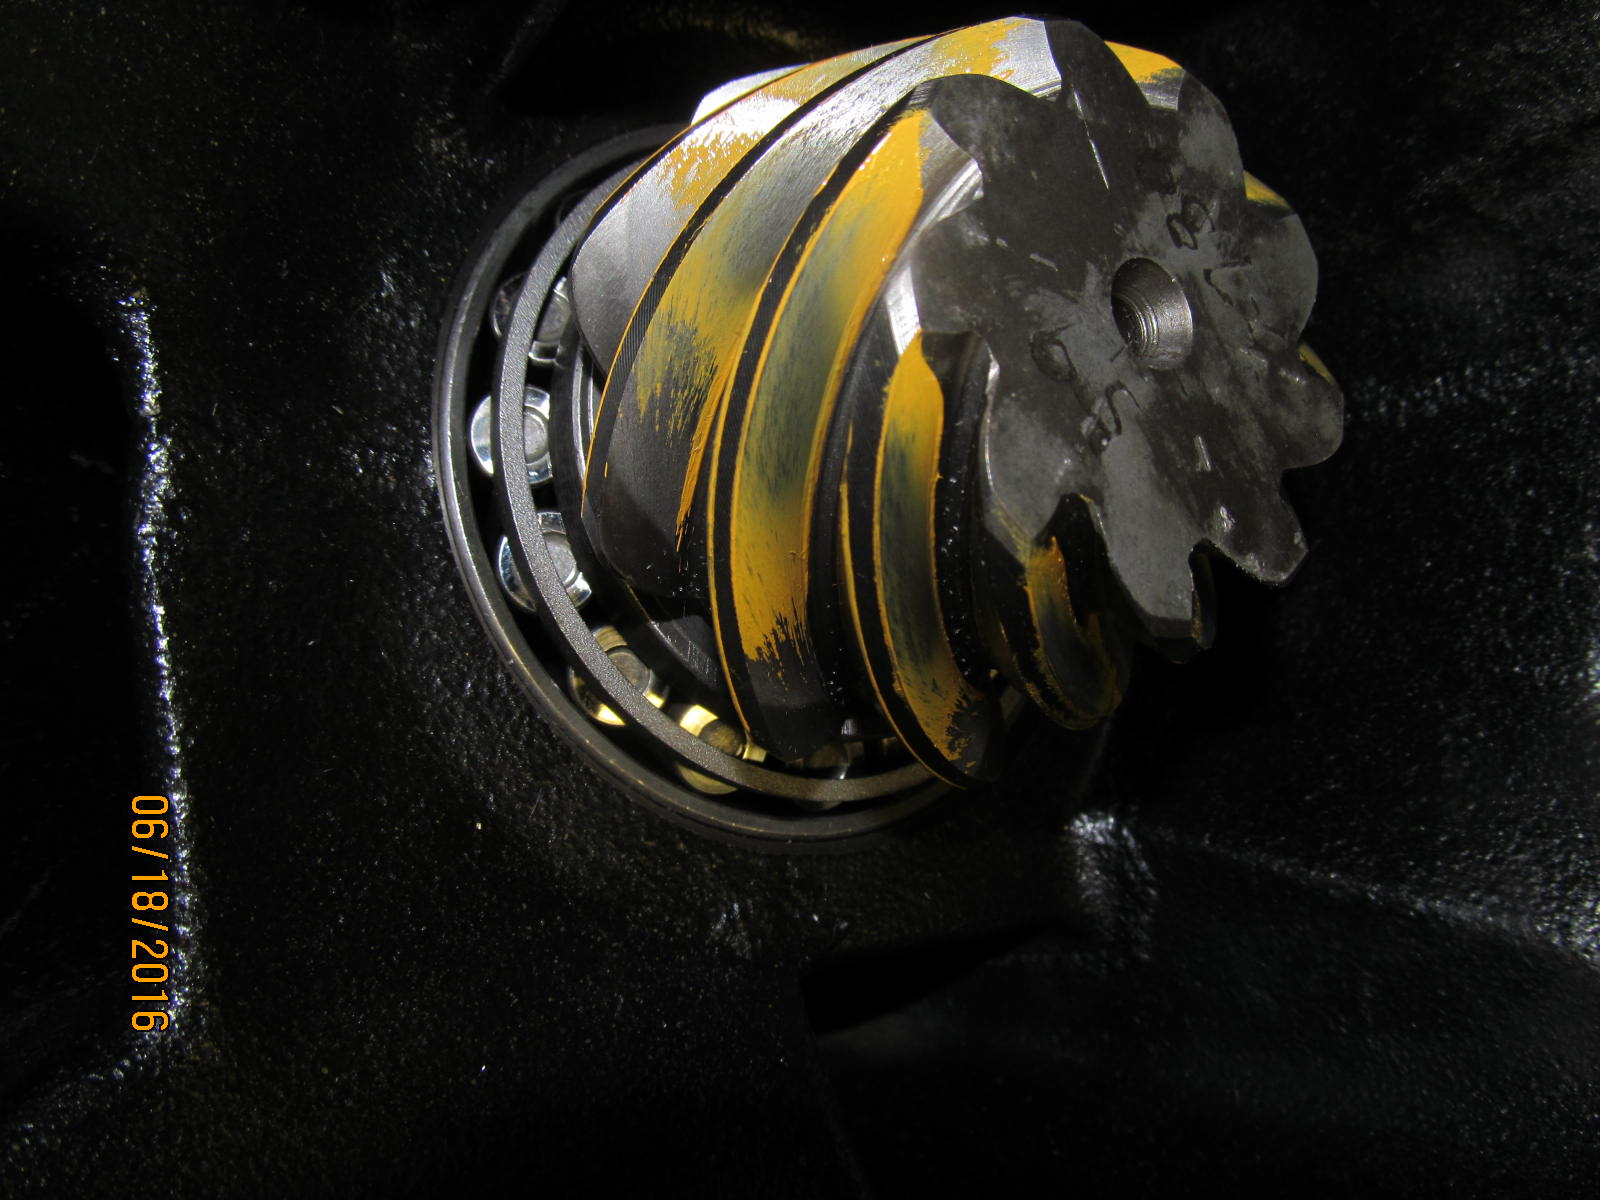
Internal gears are flipped, ring gear is on, and the carrier bearings are on.....This TT assembly is complete
and now to work on the pinion end of things.
|
|
|
|
|
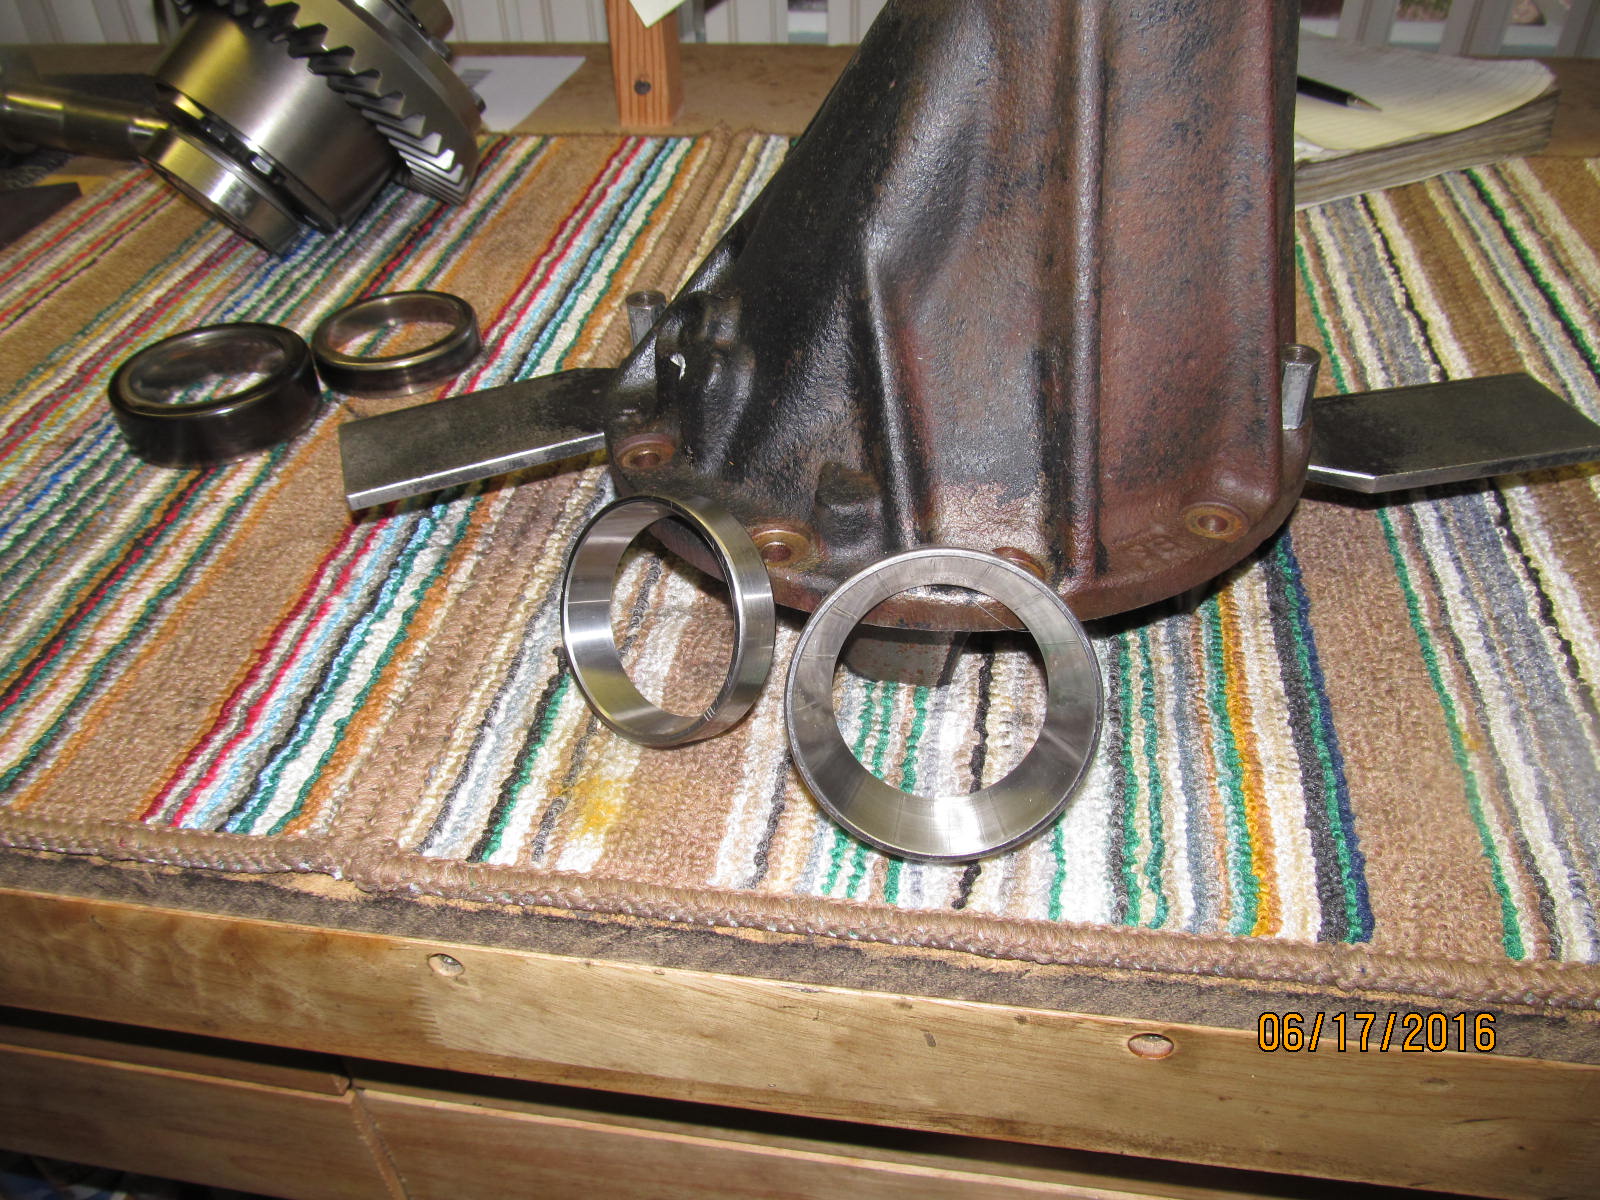
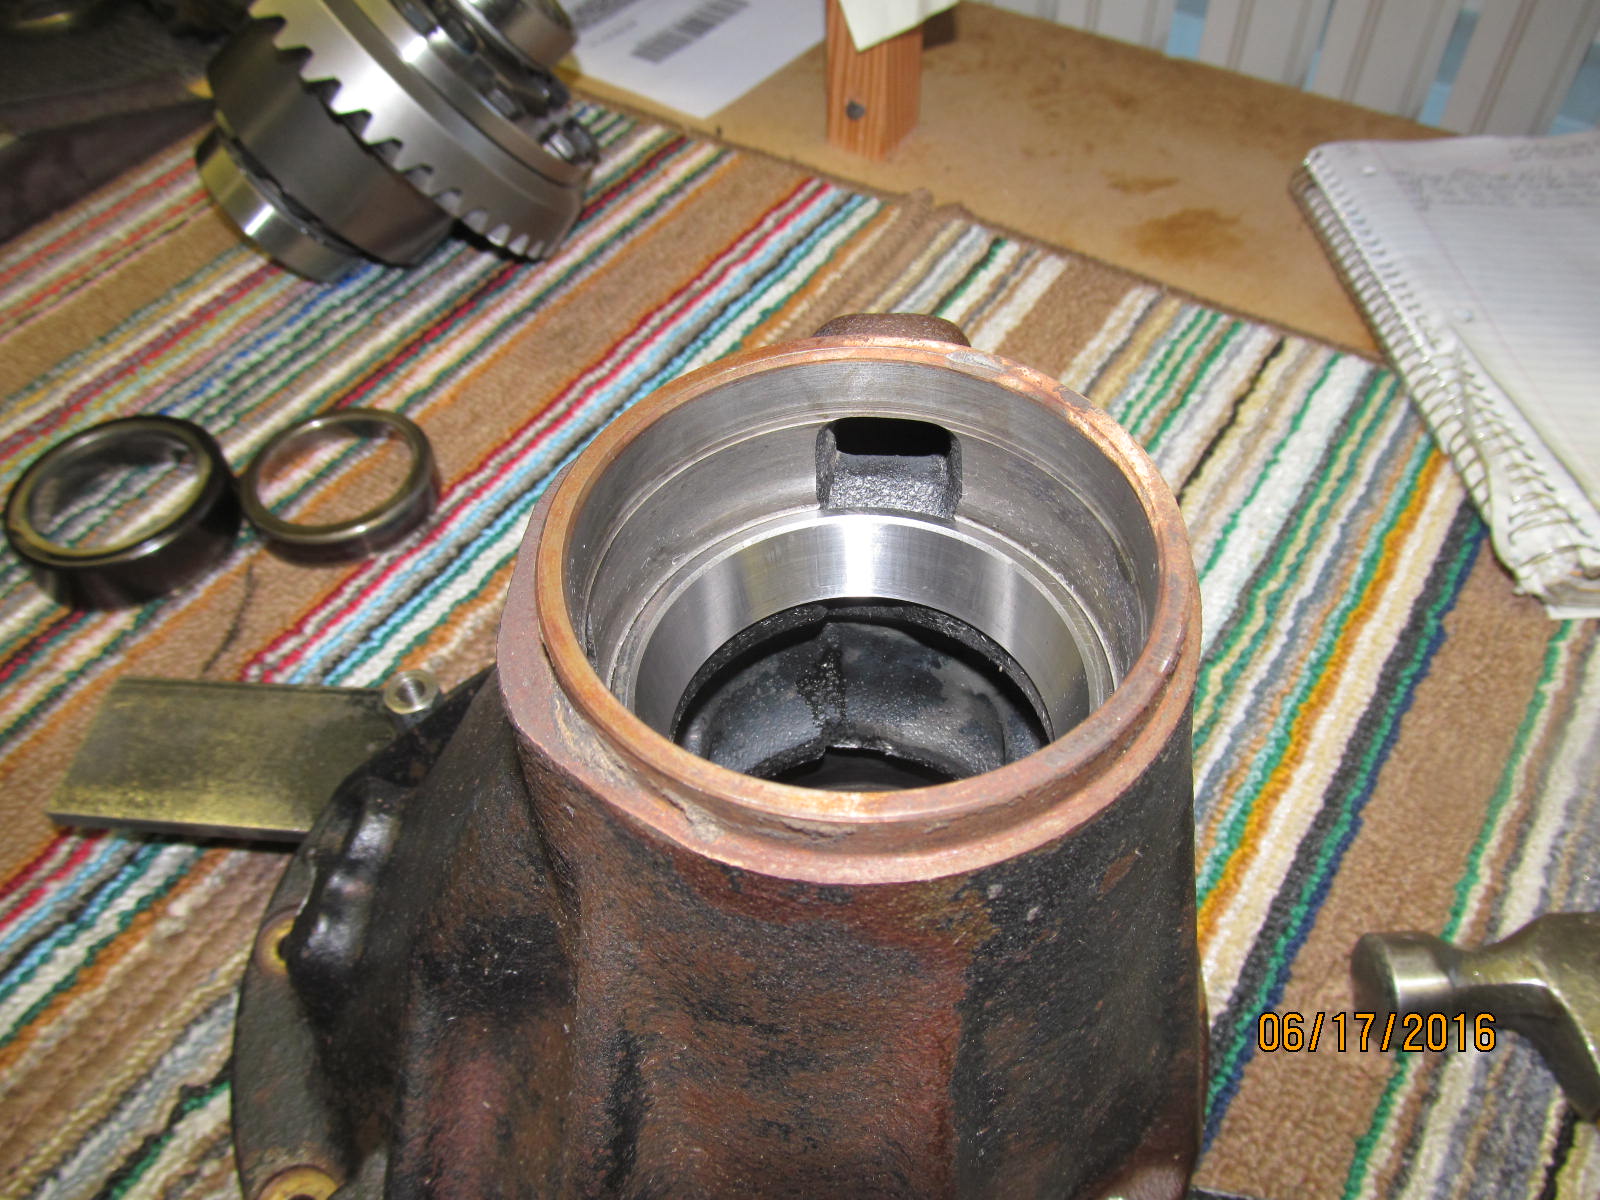
Old pinion races were tapped out with a dull chisel and hammer....new ones will be put in with even more care.
|
|
|
|
New ones were put in using a hammer but with "360 degree support". An old race up against the new race
eliminates any chance of damage or distortion to the new race.
|
|
|
|
|
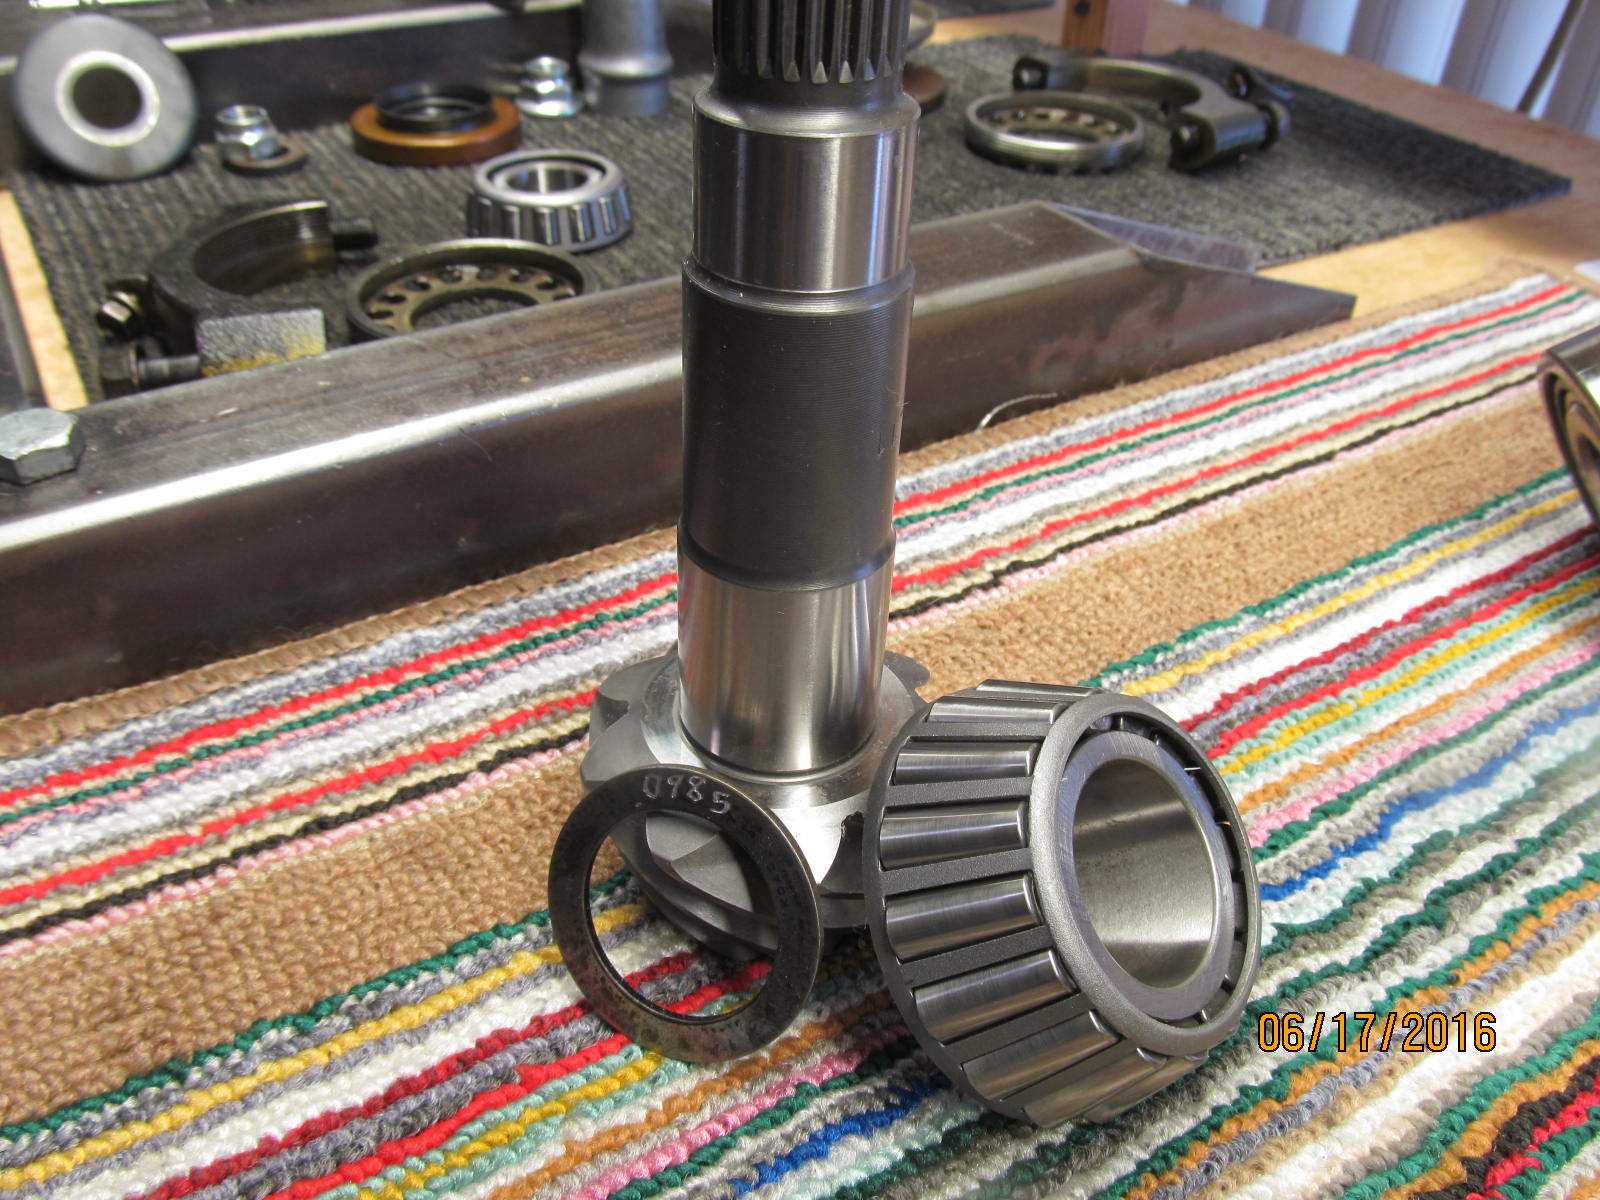
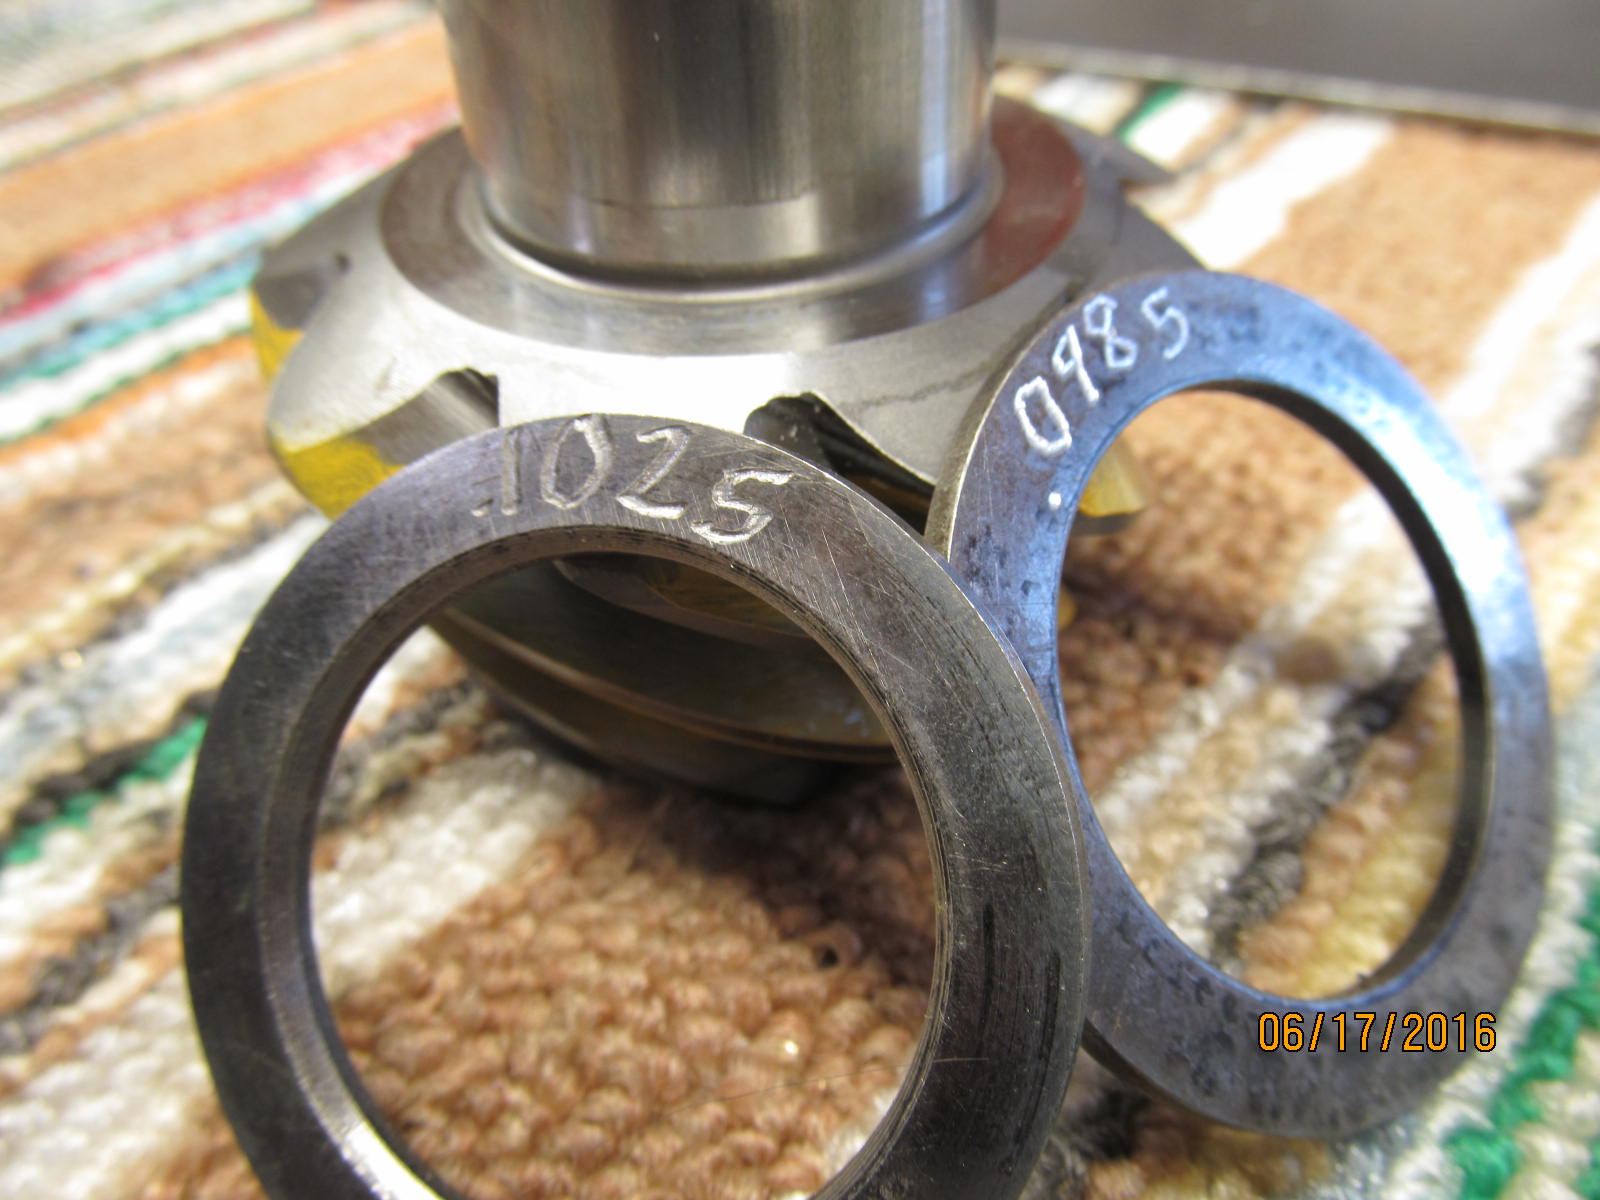
For the first shim, a .0985" will be tried.
|
|
|
|
|
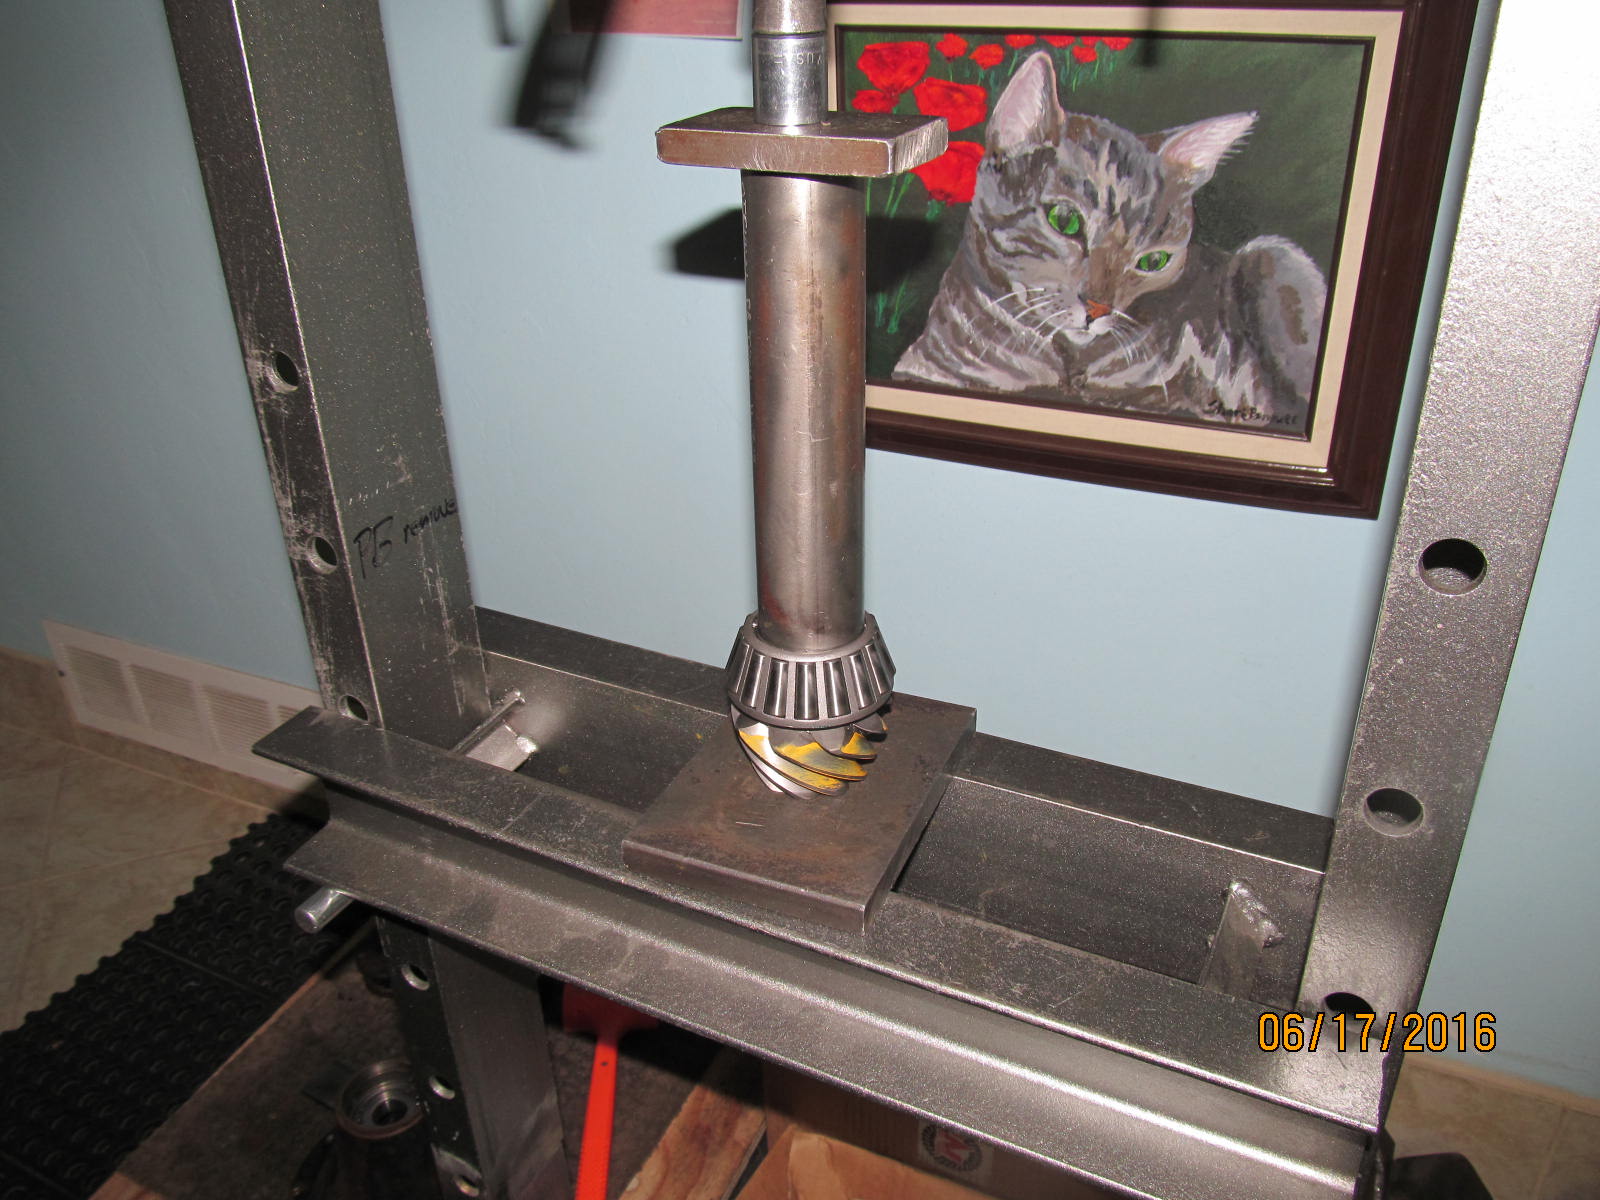
The new inner bearing is pressed on in this hi-quality picture.
|
|
|
|
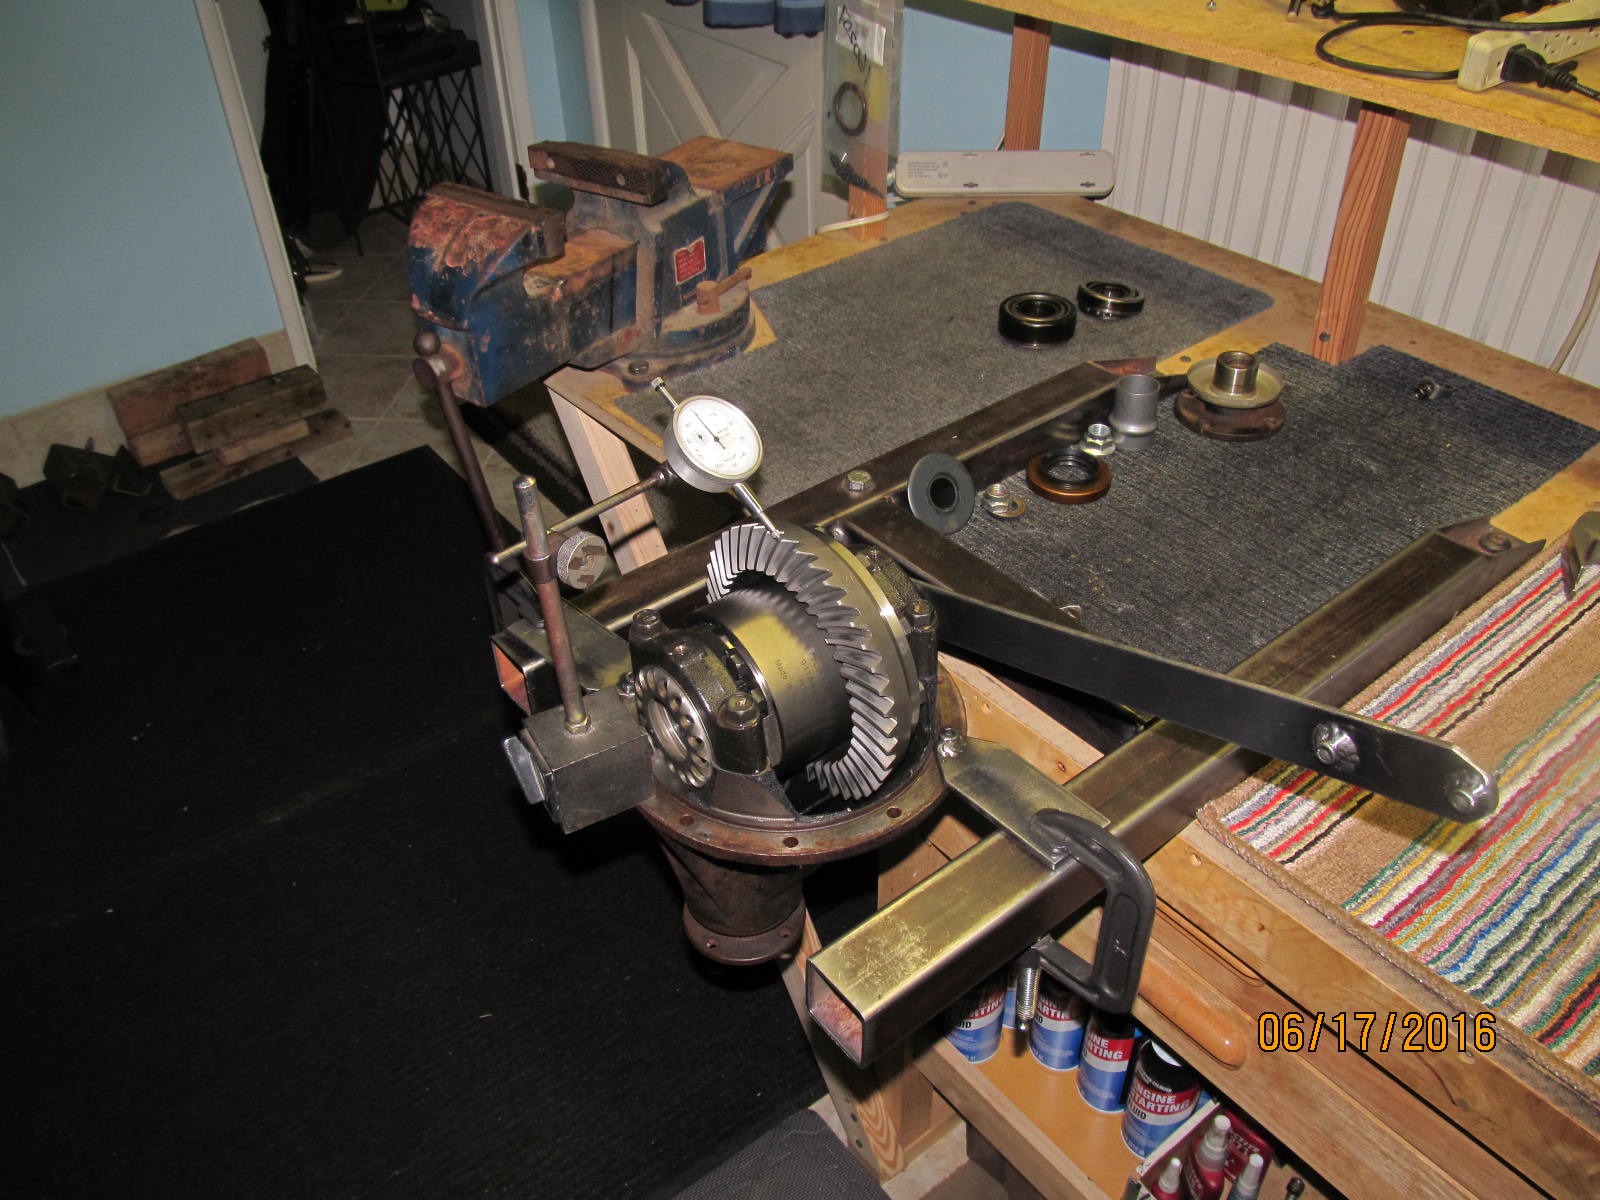
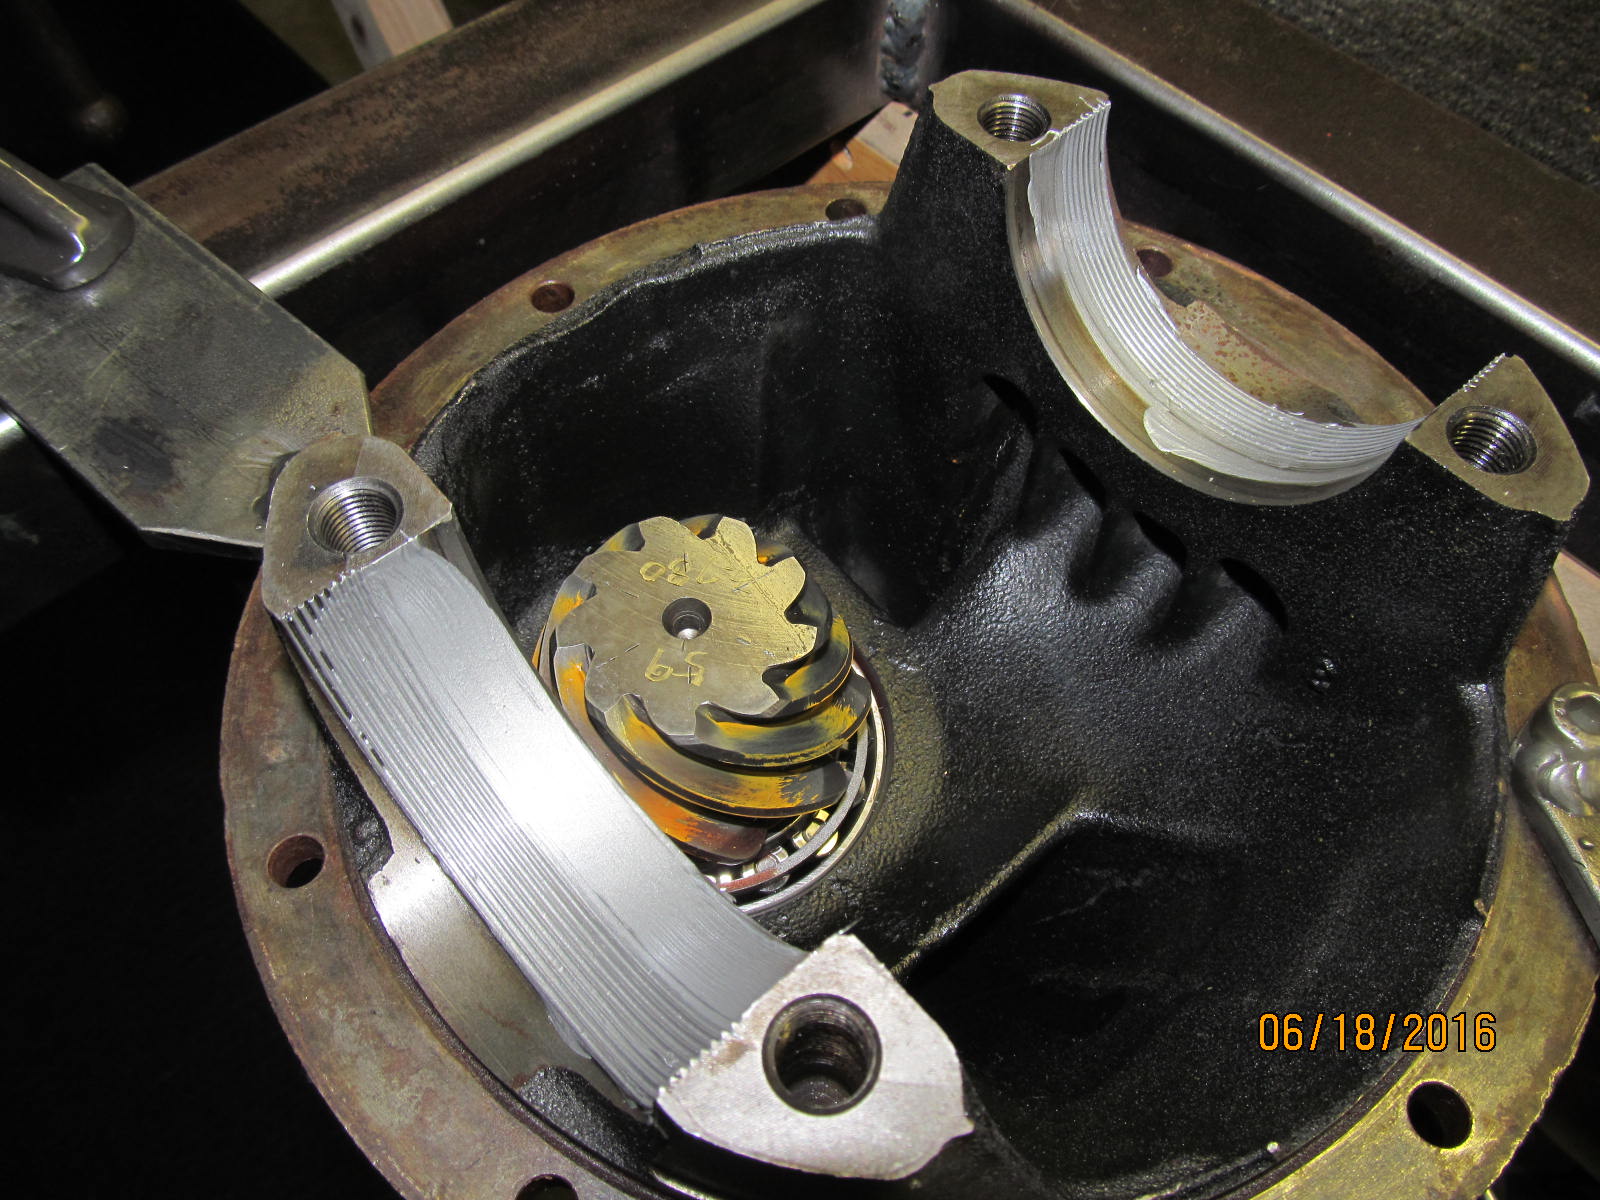
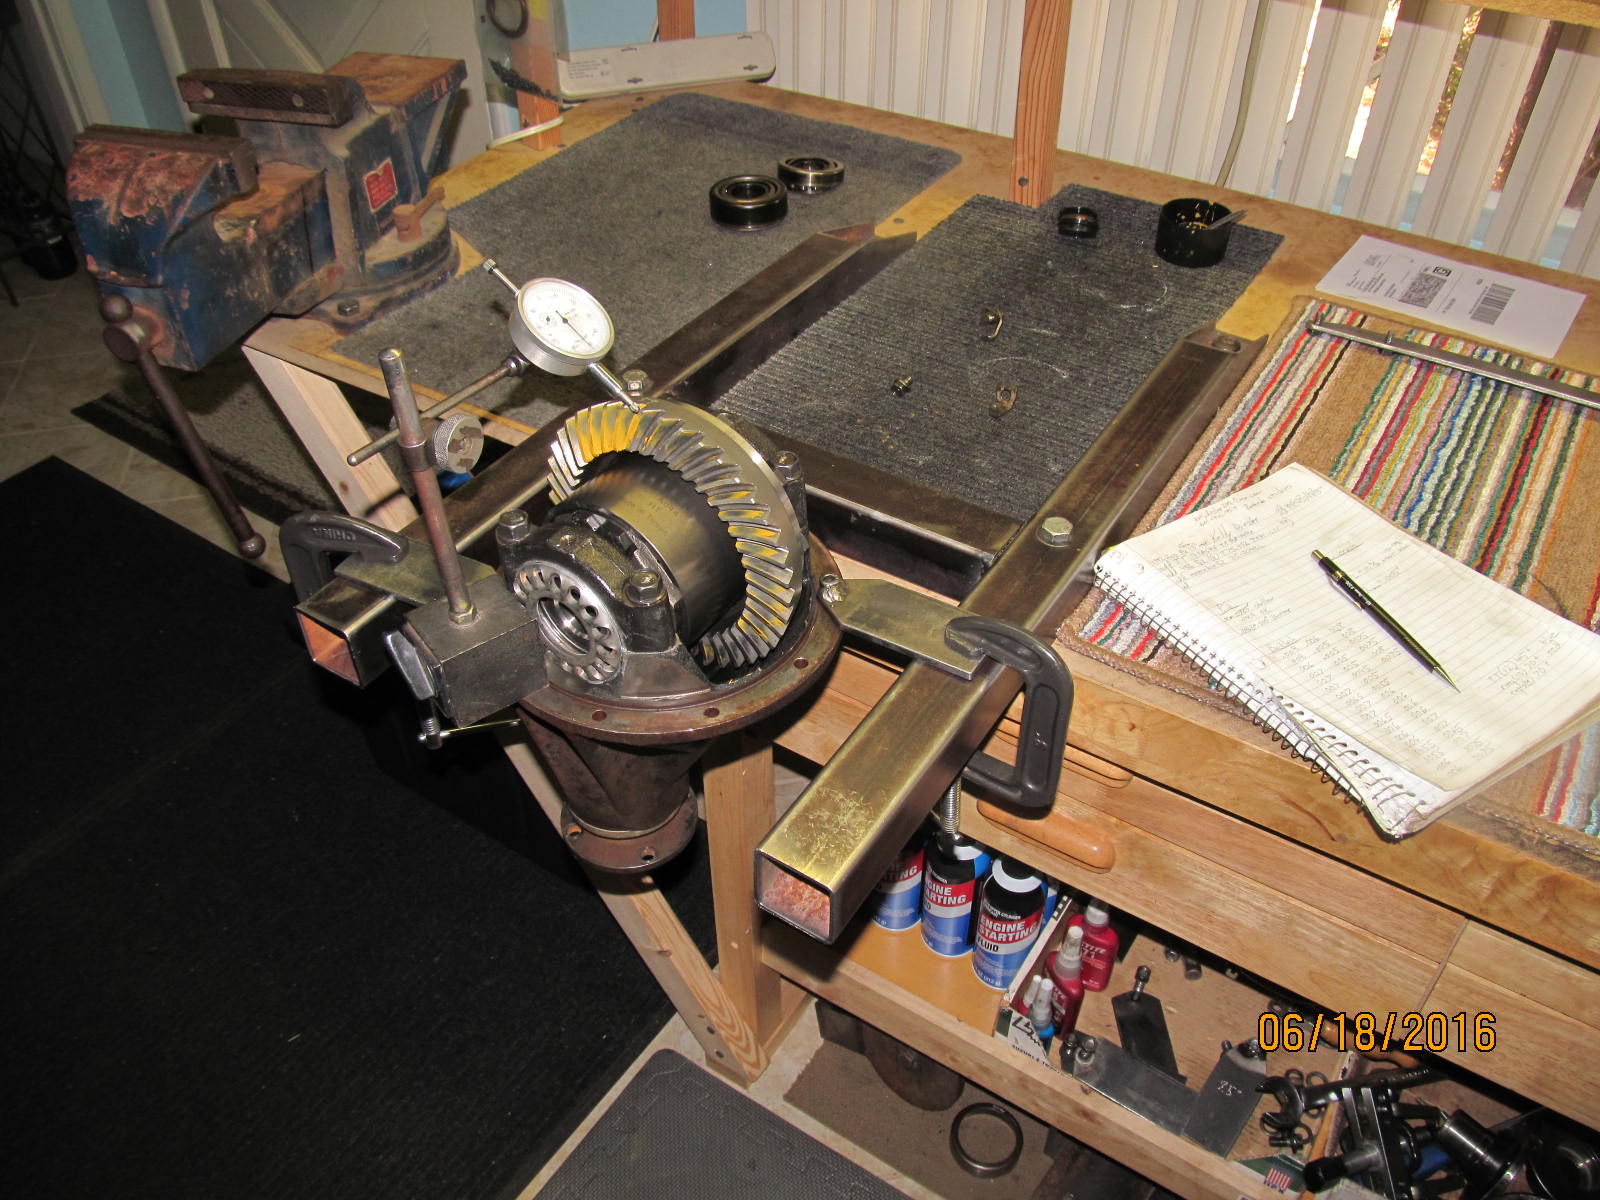
Skipped a few steps but basically the pinion assembly was loaded into the differential carrier and the TT
carrier loaded in place. Some carrier bearing preload was dialed in while verifying backlash.
|
|
|
|
|
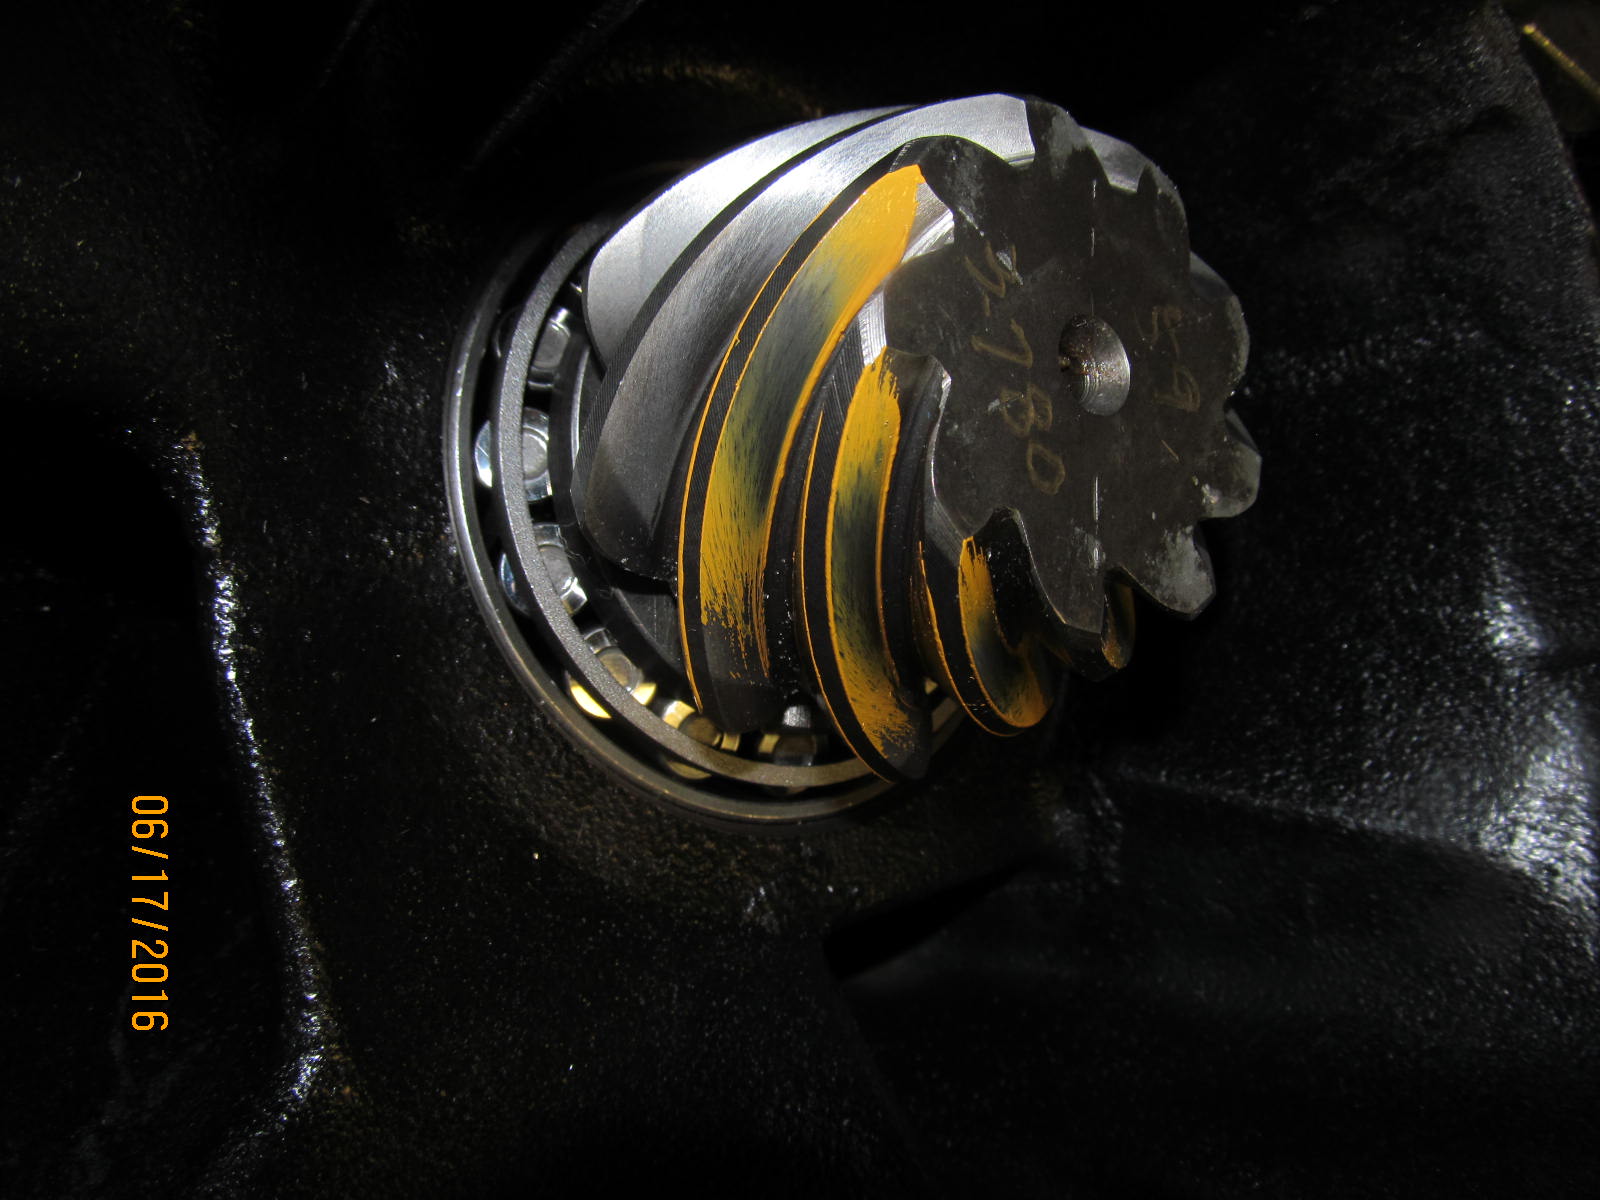
The first paint test on the drive side shows that the 098 shim is somewhat shallow.
|
|
|
|
|
Coast.
|
|
|
|
|
The drive side here even shows the shallowness as indicated by the hard tucked in comet tail on the bottom.
|
|
|

|
|
...................
|
|
|
|
|
If I had a nickle for every pinion I pressed out....
|
|
|
|
|
Selecting a thicker pinion shim .004" thicker.
|
|
|
|
|
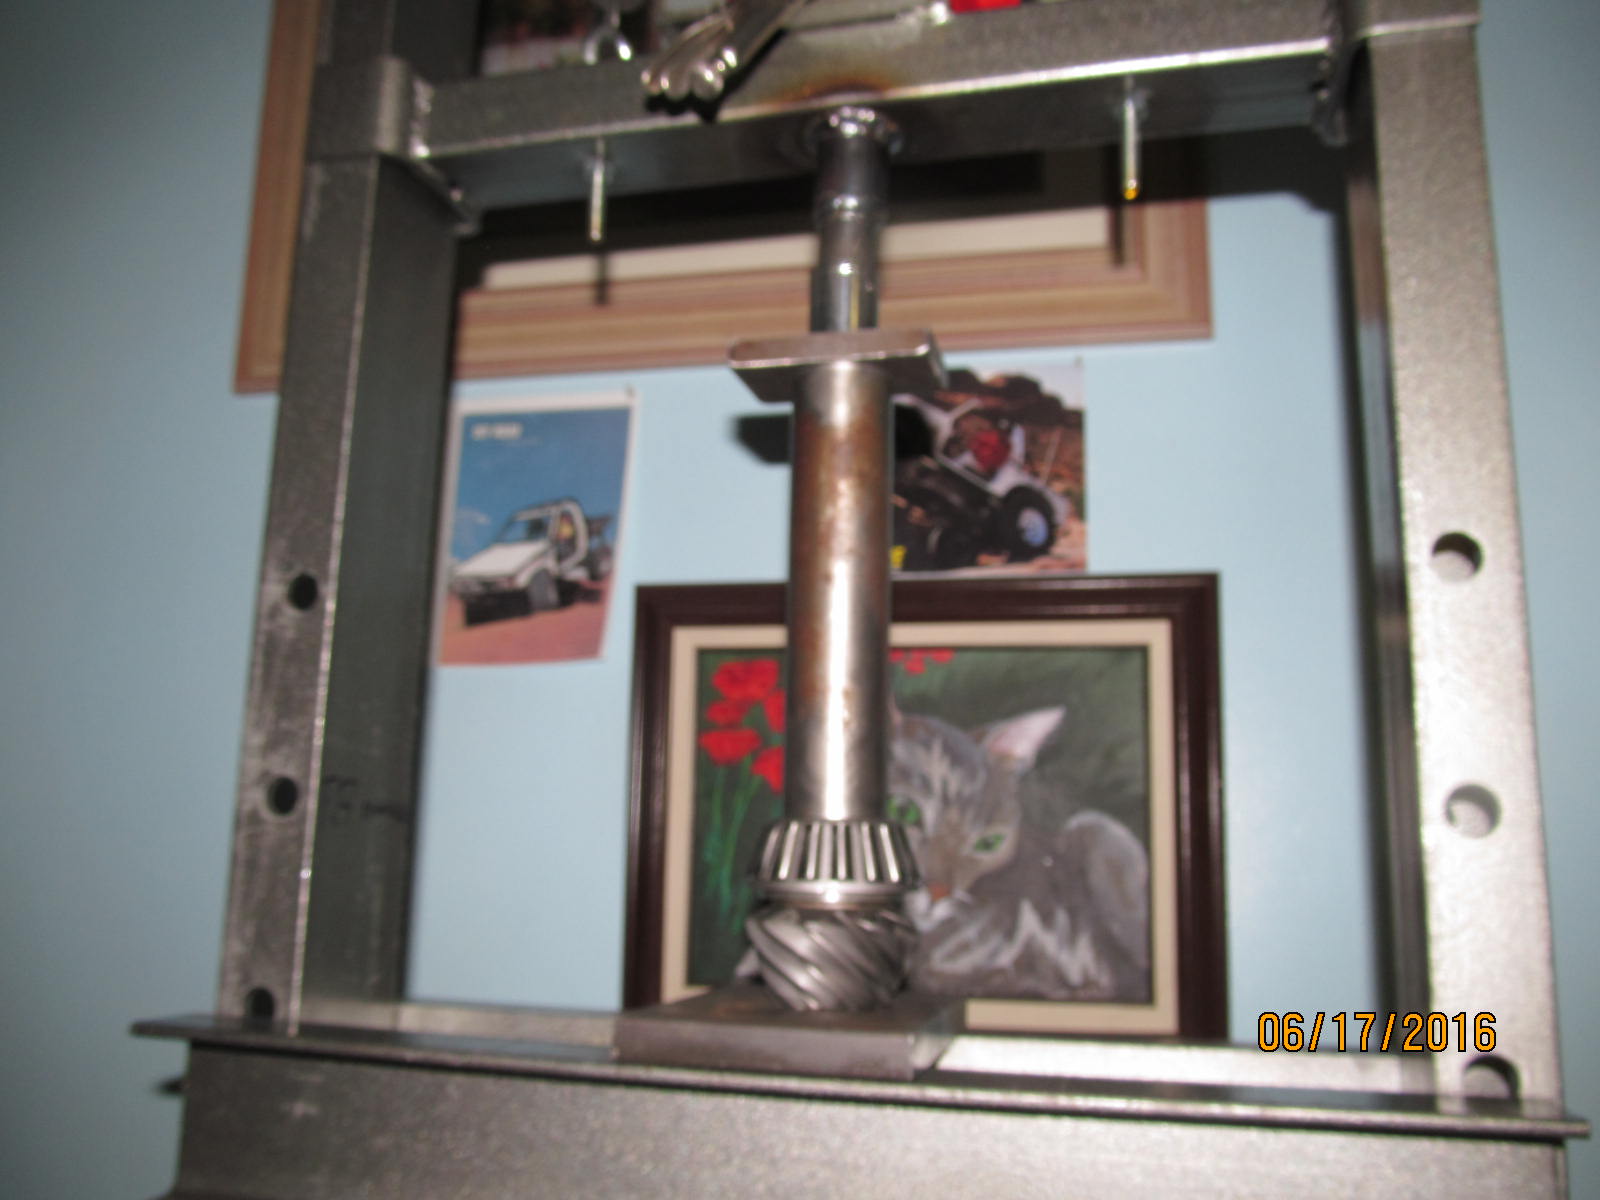
Press the bearing on...
|
|
|

|
|
...and put back together again to paint this. Looks better...
|
|
|
|
|
Coast is what it is...
|
|
|
|
|
The comet tail on the pinion is still harshly engaging the root of the tooth.
|
|
|

|
|
''''''''''''''''
|
|
|
|
|
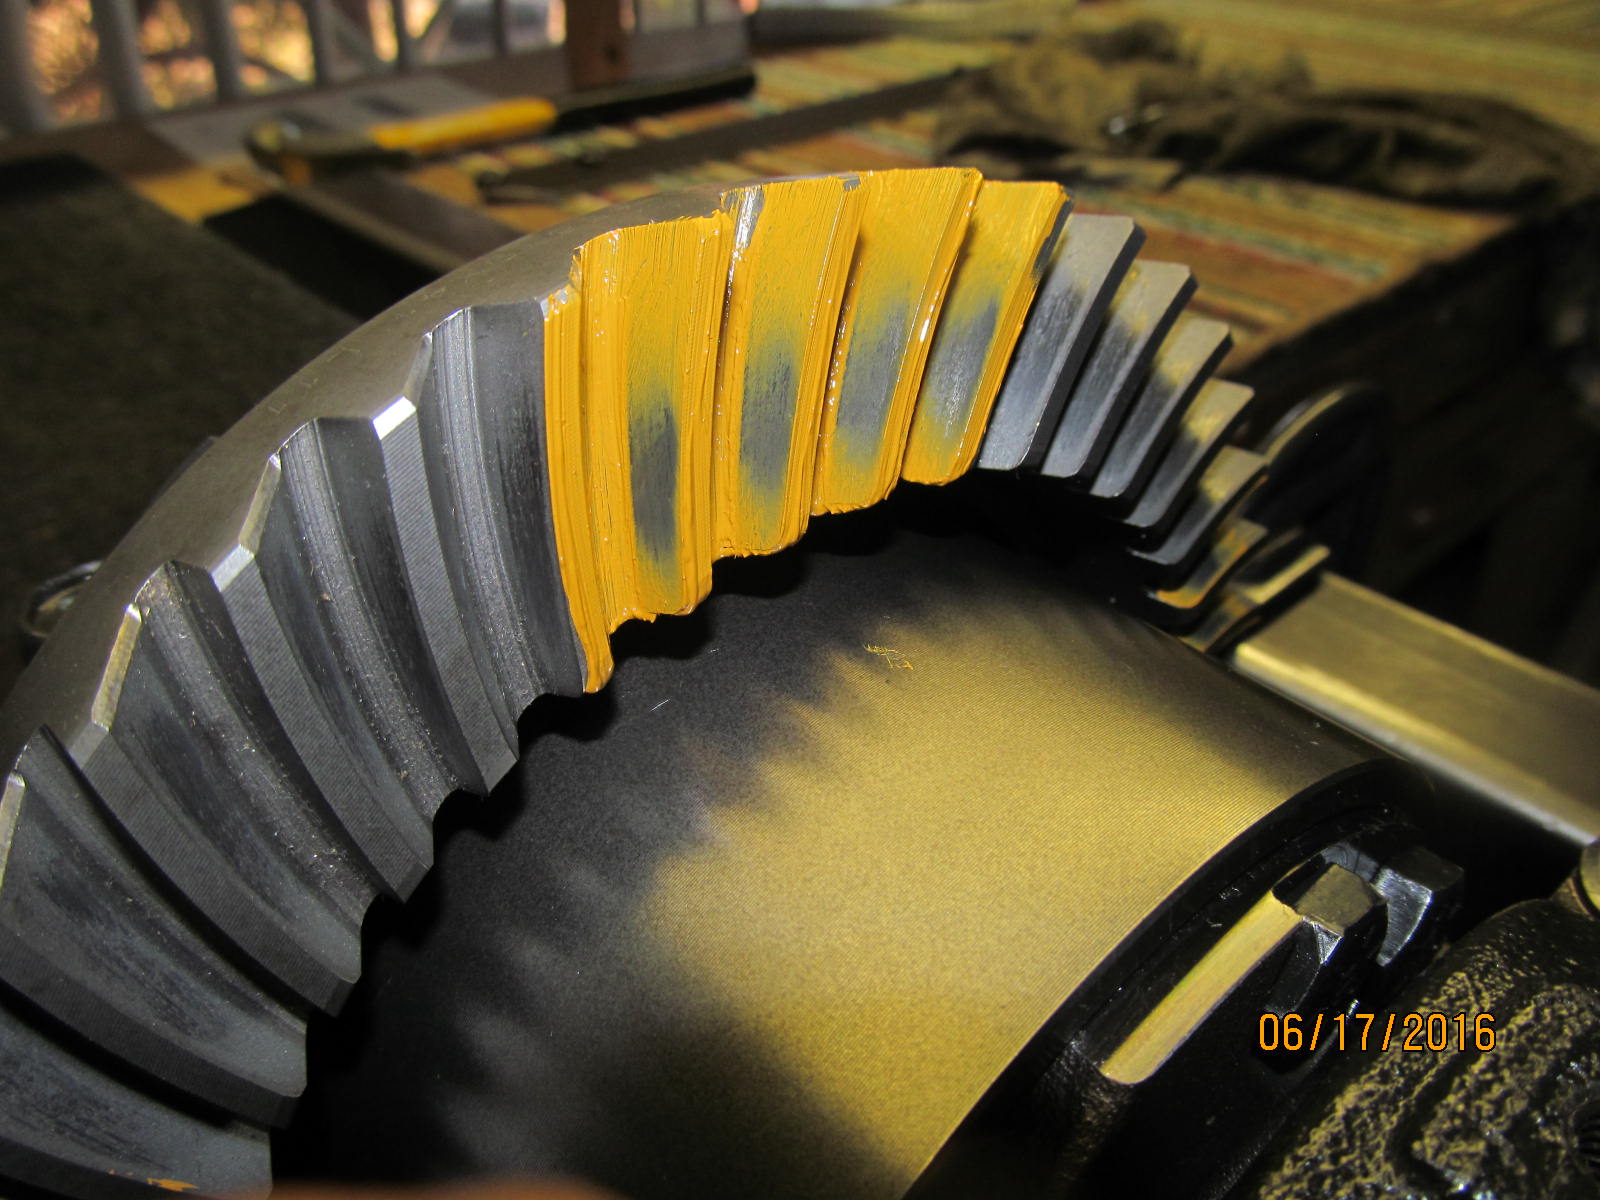
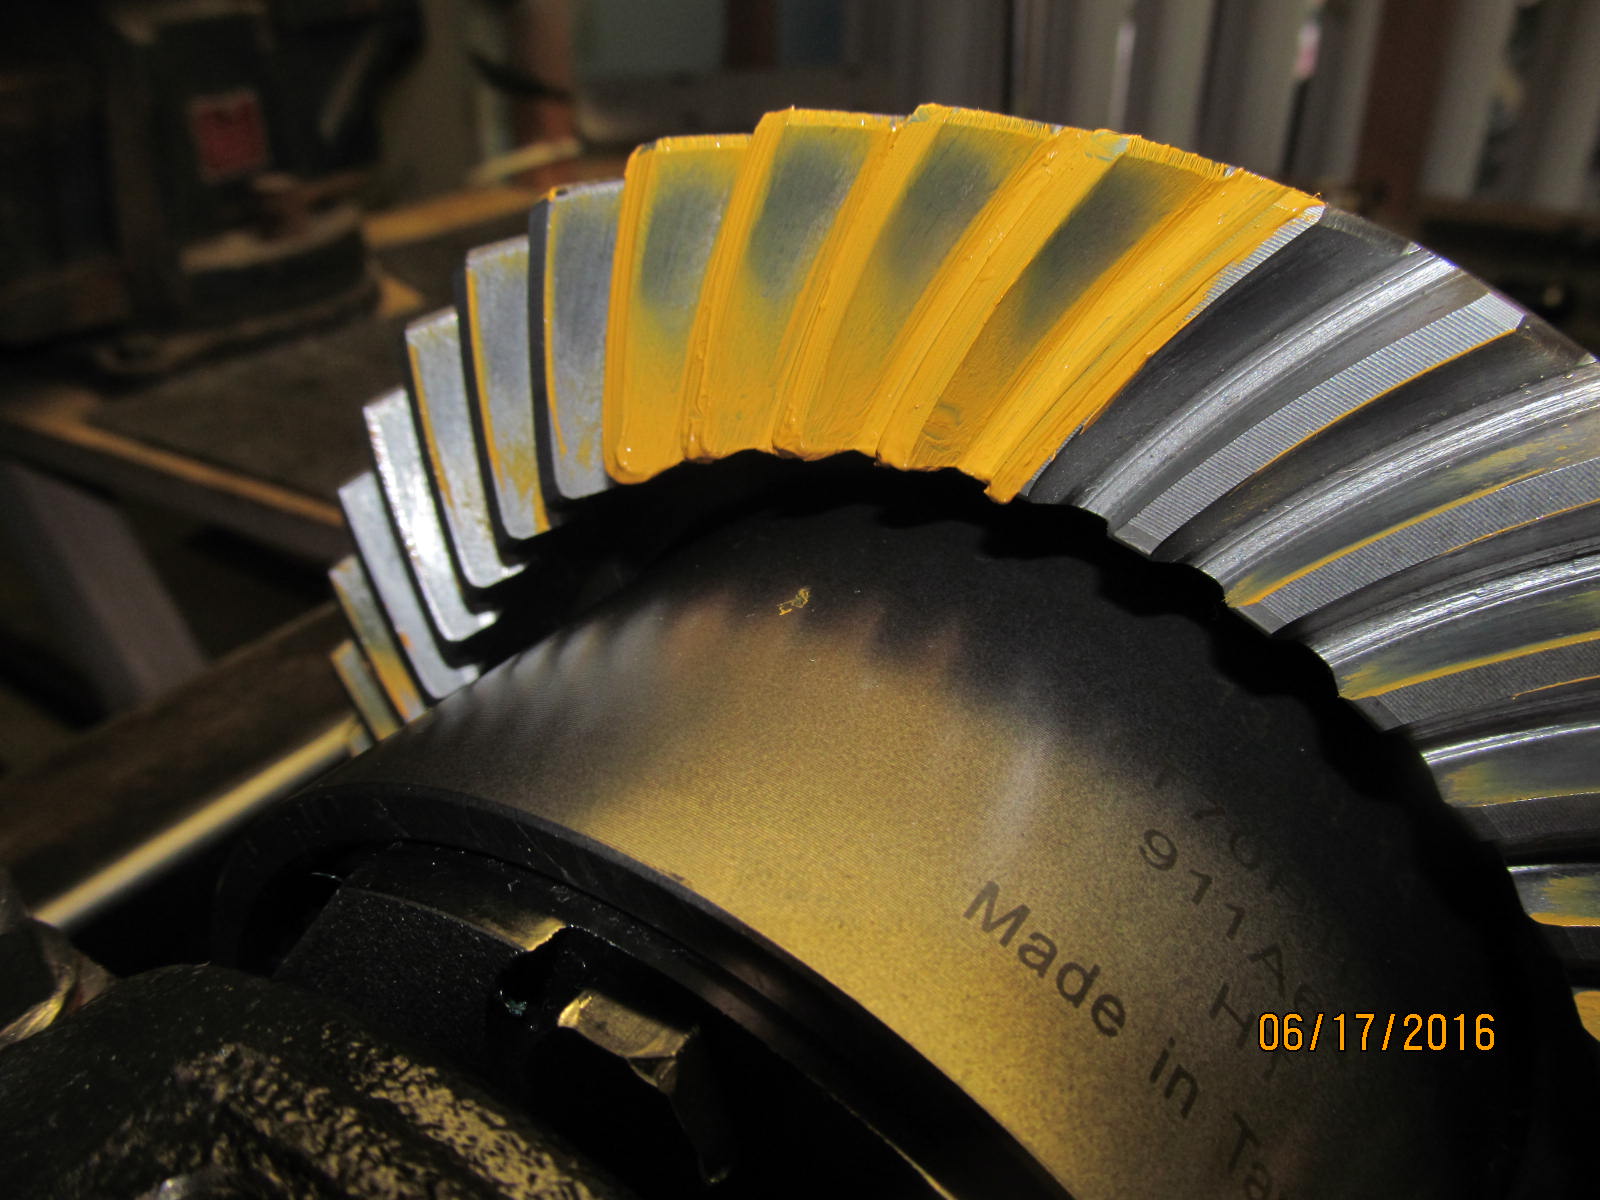
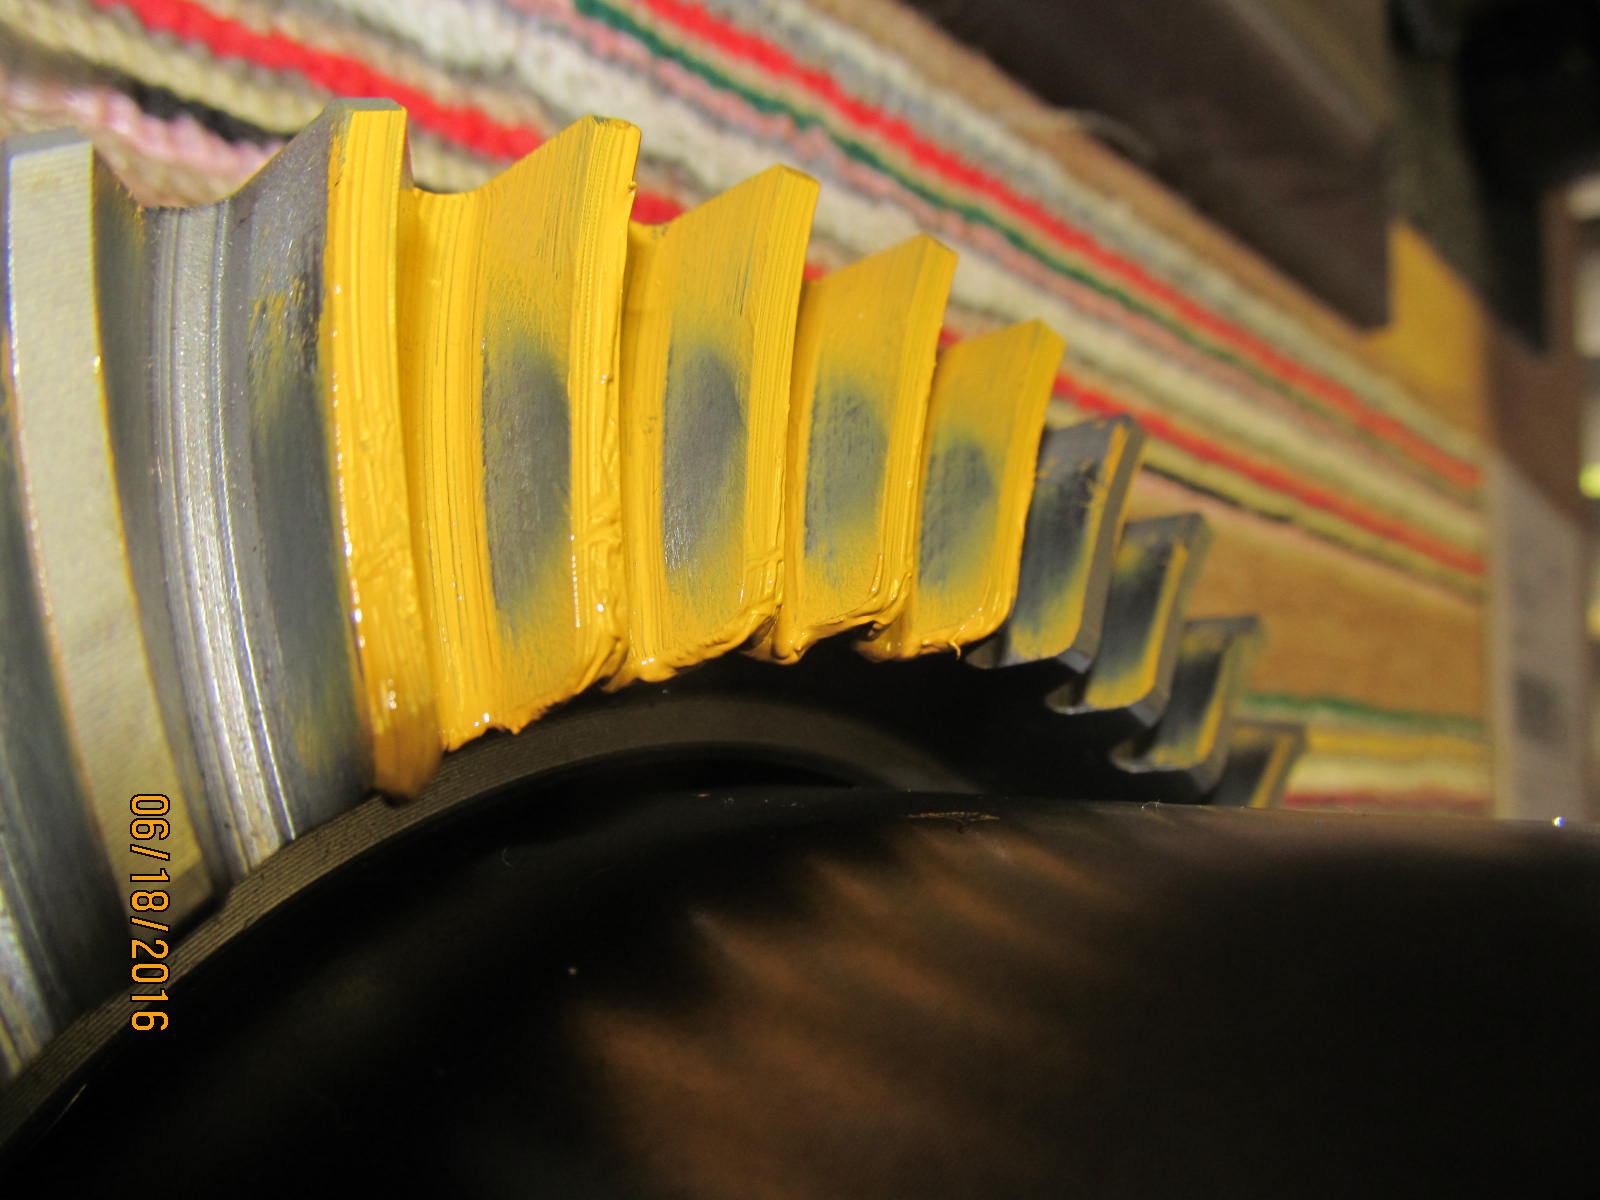
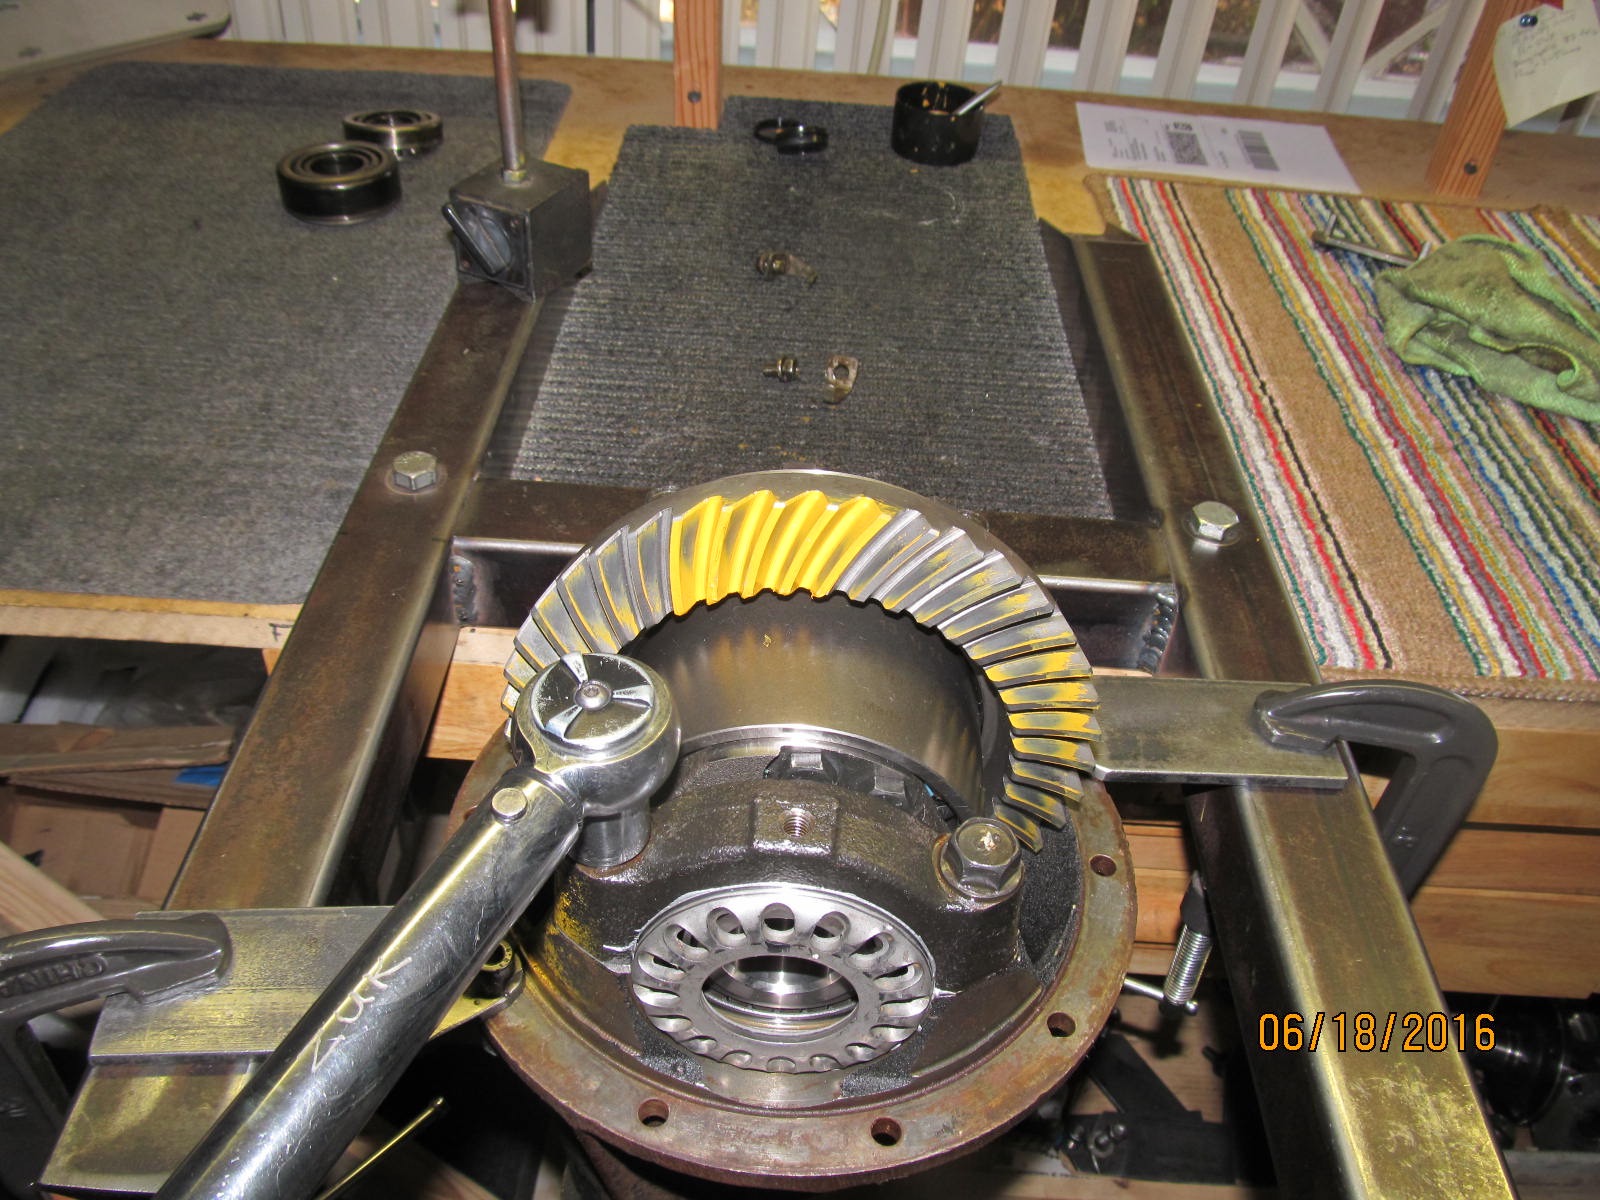
Teardown and re-shim to a thicker .106" (another .004" thicker) and this drive paint is much better.
|
|
|
|
|
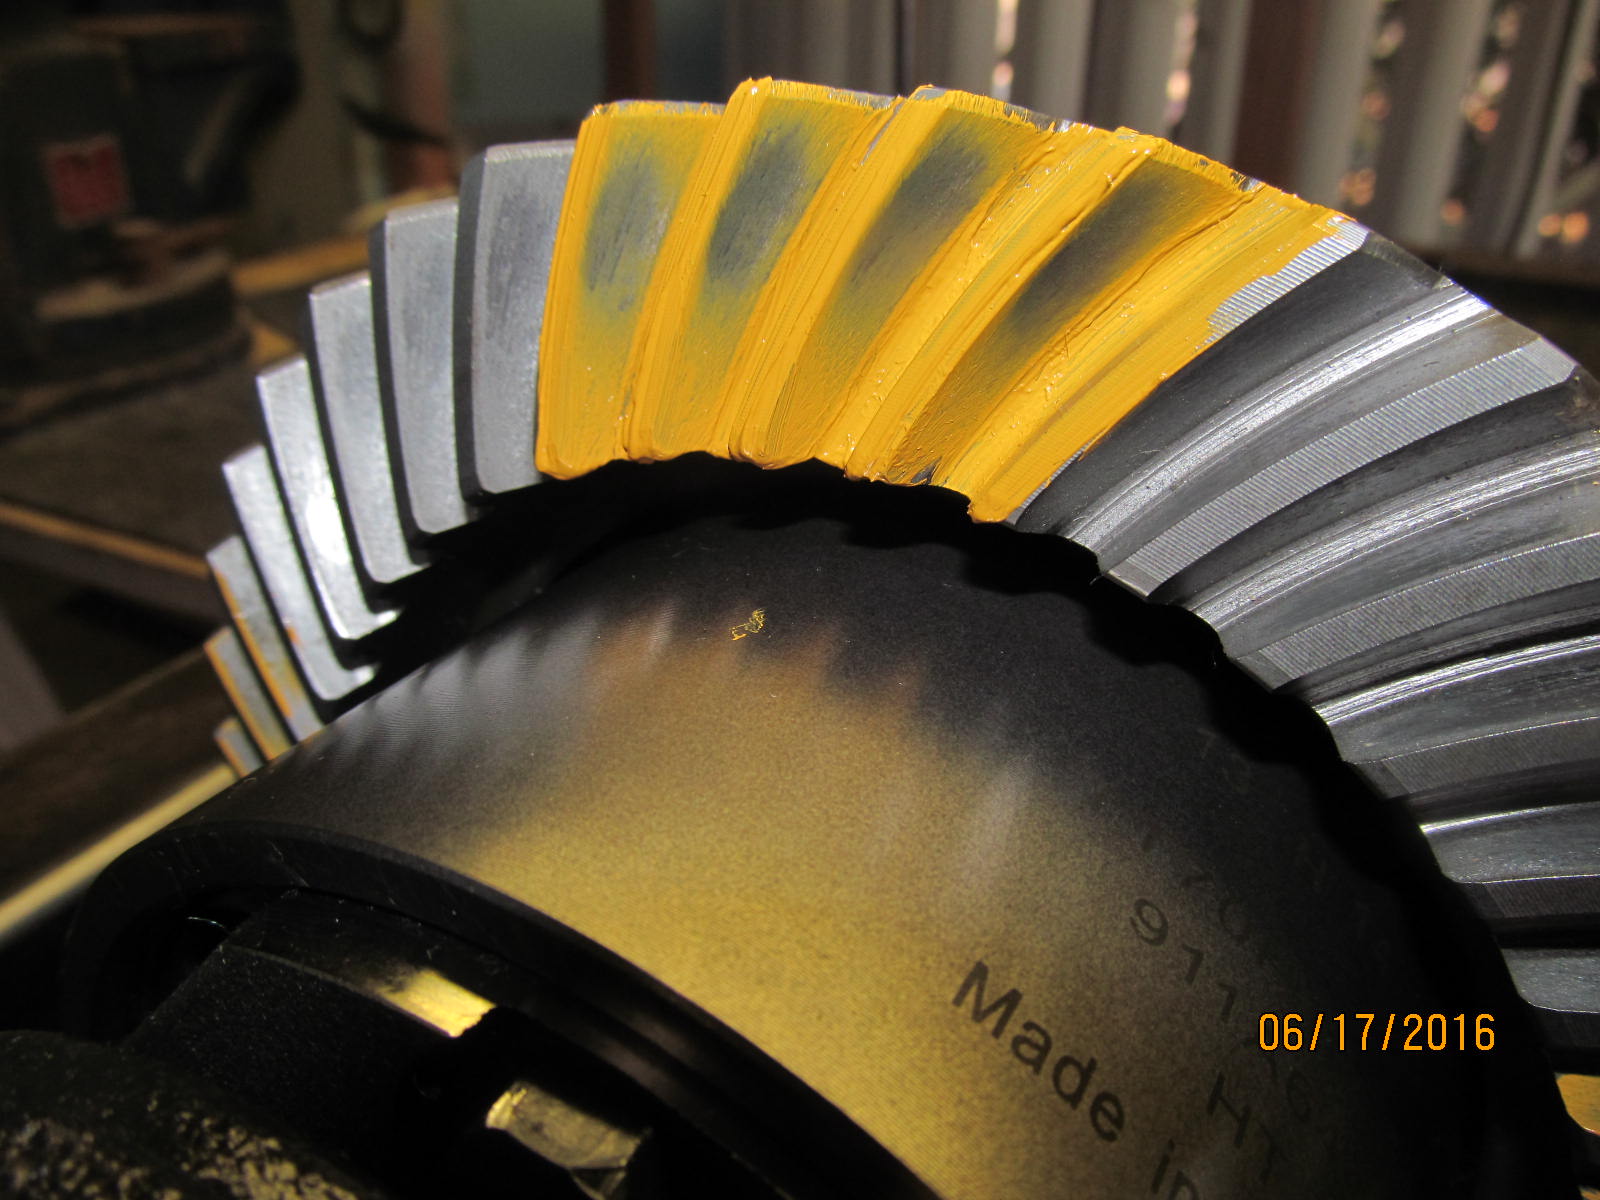
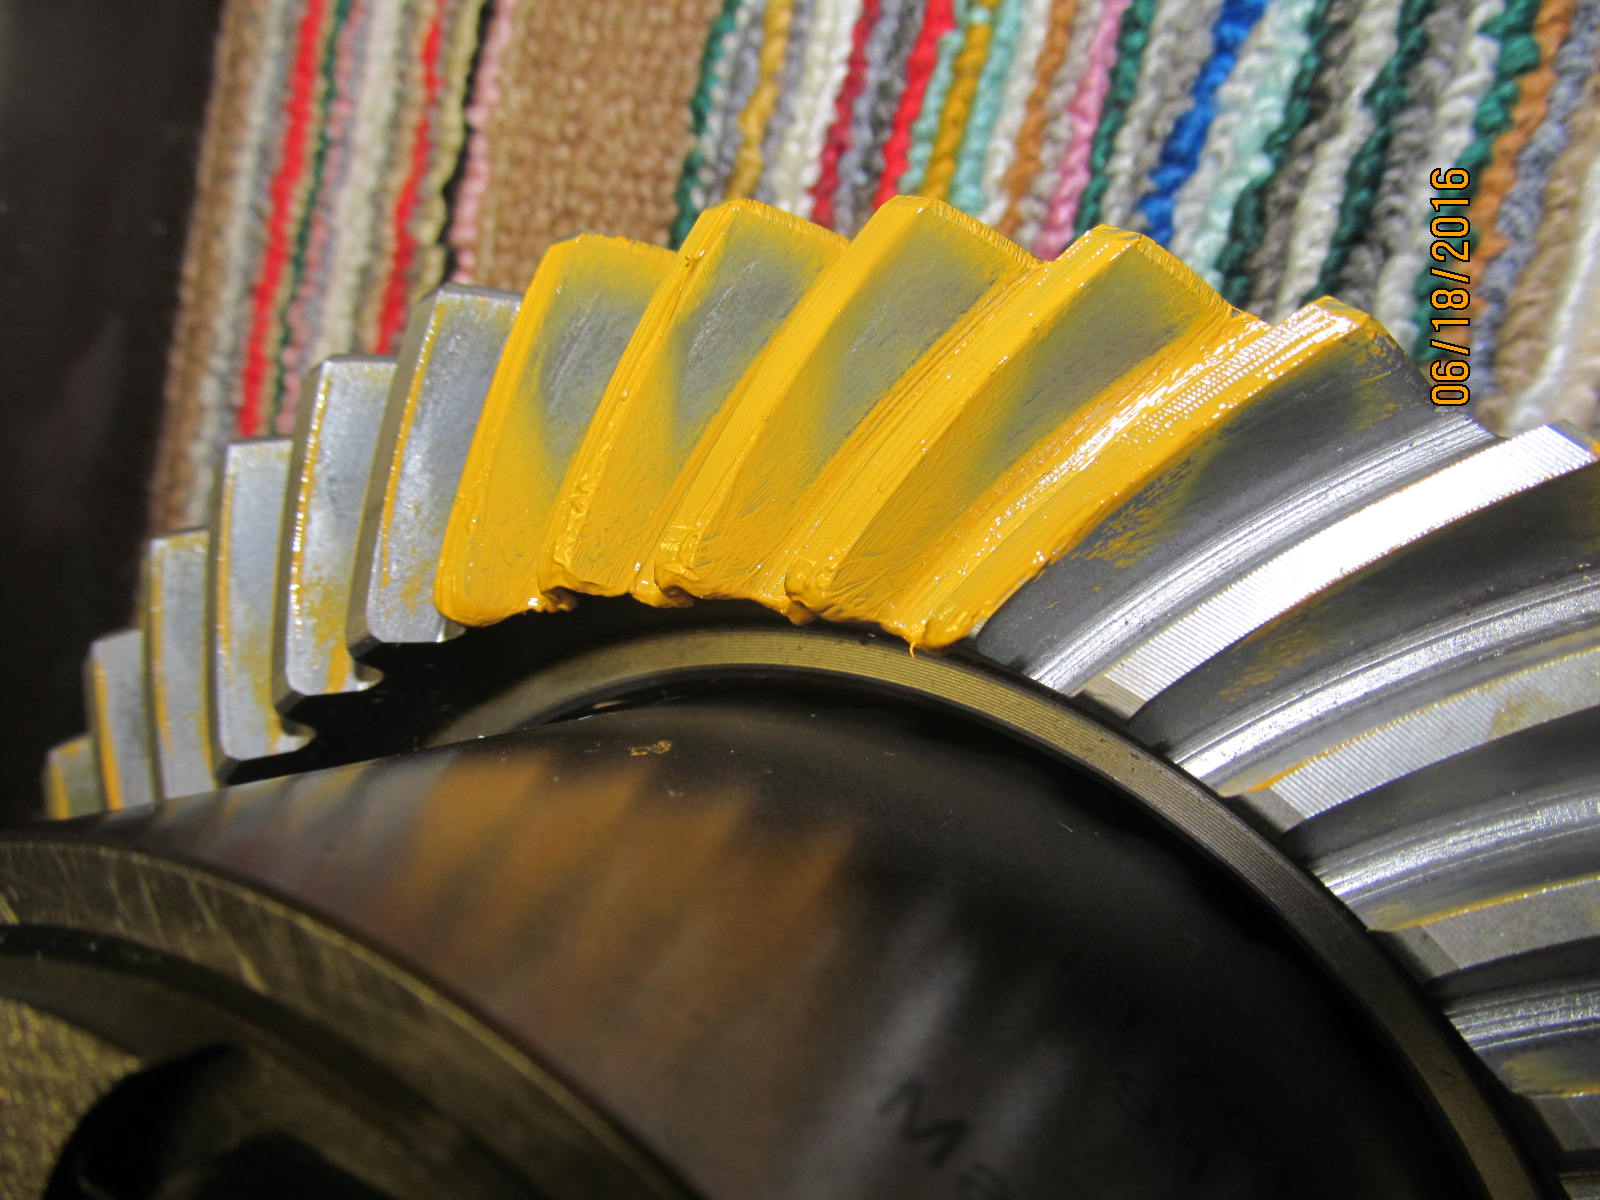
Coast is showing good root contact and it's favoring the outer heel but, as is the case here, is not changeable.
|
|
|
|
This is what I like to see....the lower comet tail is not swiping hard into the root....it is feathered
out closer to the tooth center.
|
|
|
|
|
Nice.
|
|
|
|
|
I like it. This contact pattern shows best possible contact for maximum strength.
|
|
|
|
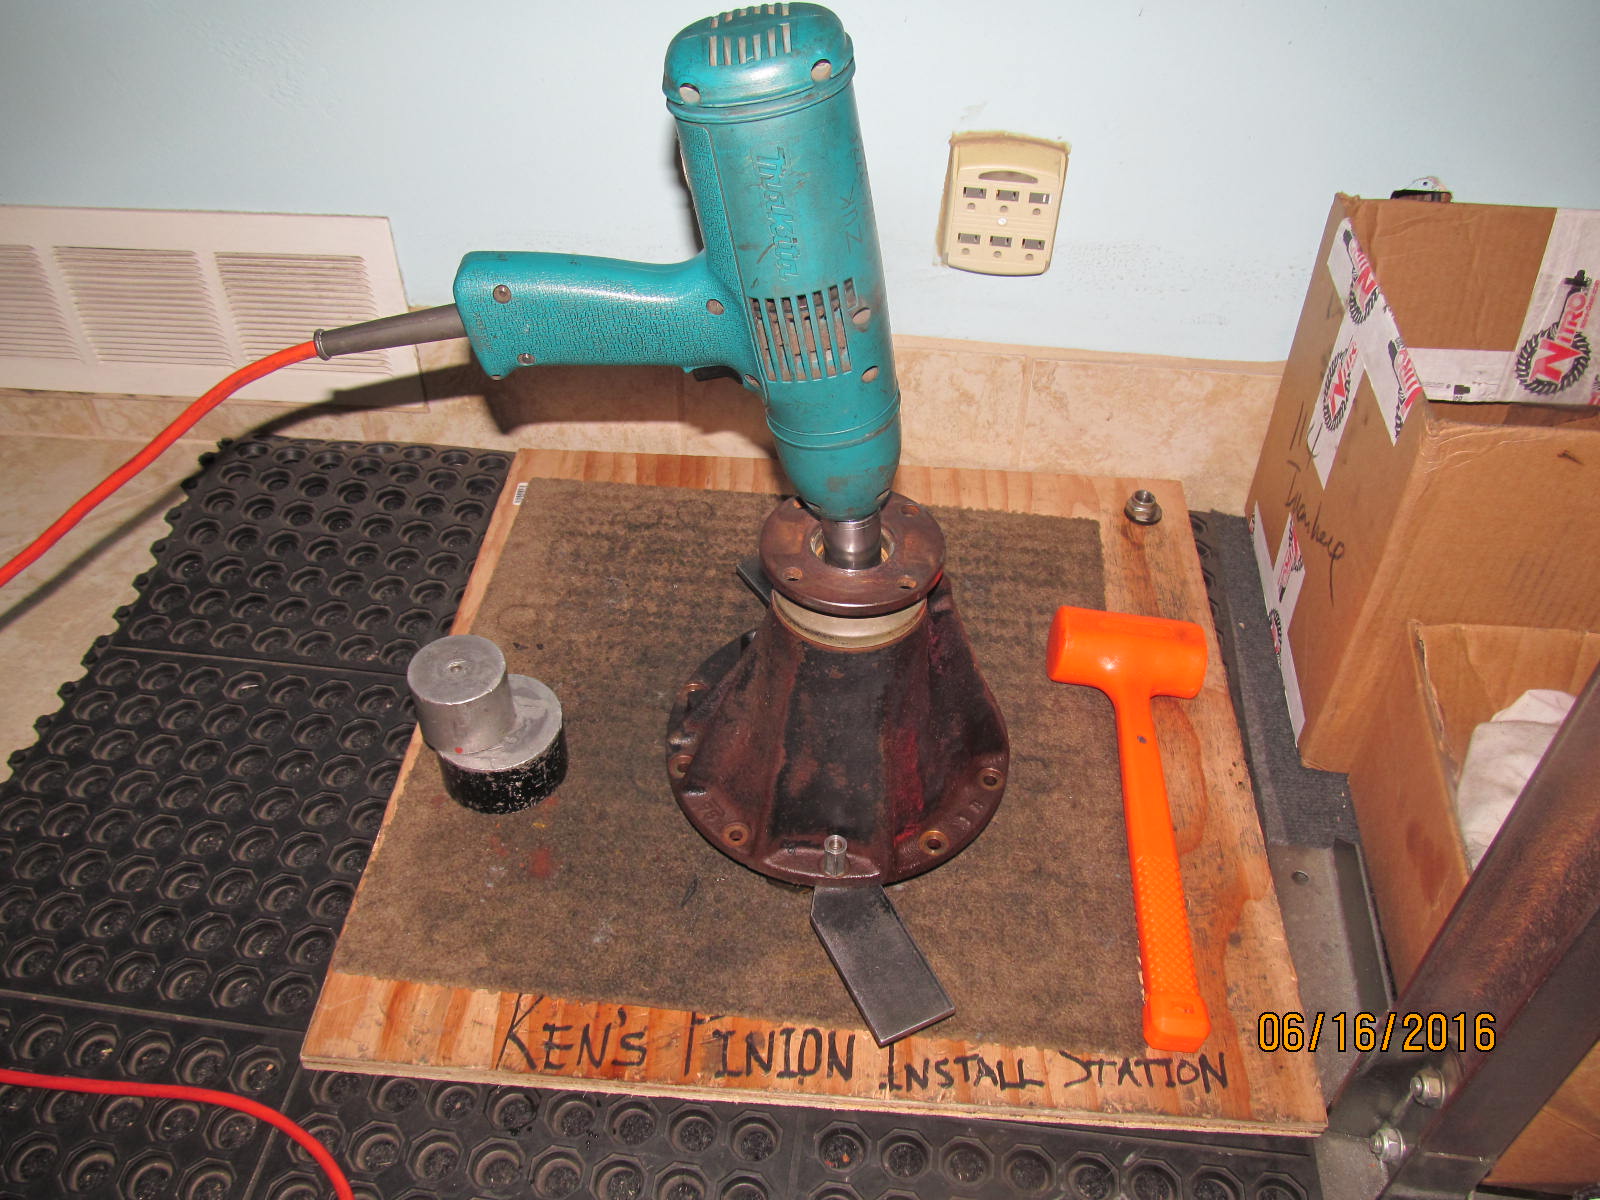
Time now for the crush sleeve operation. This idea was recommended to me by JustDifferentials.com
and works beautifully.
|
|
|
|
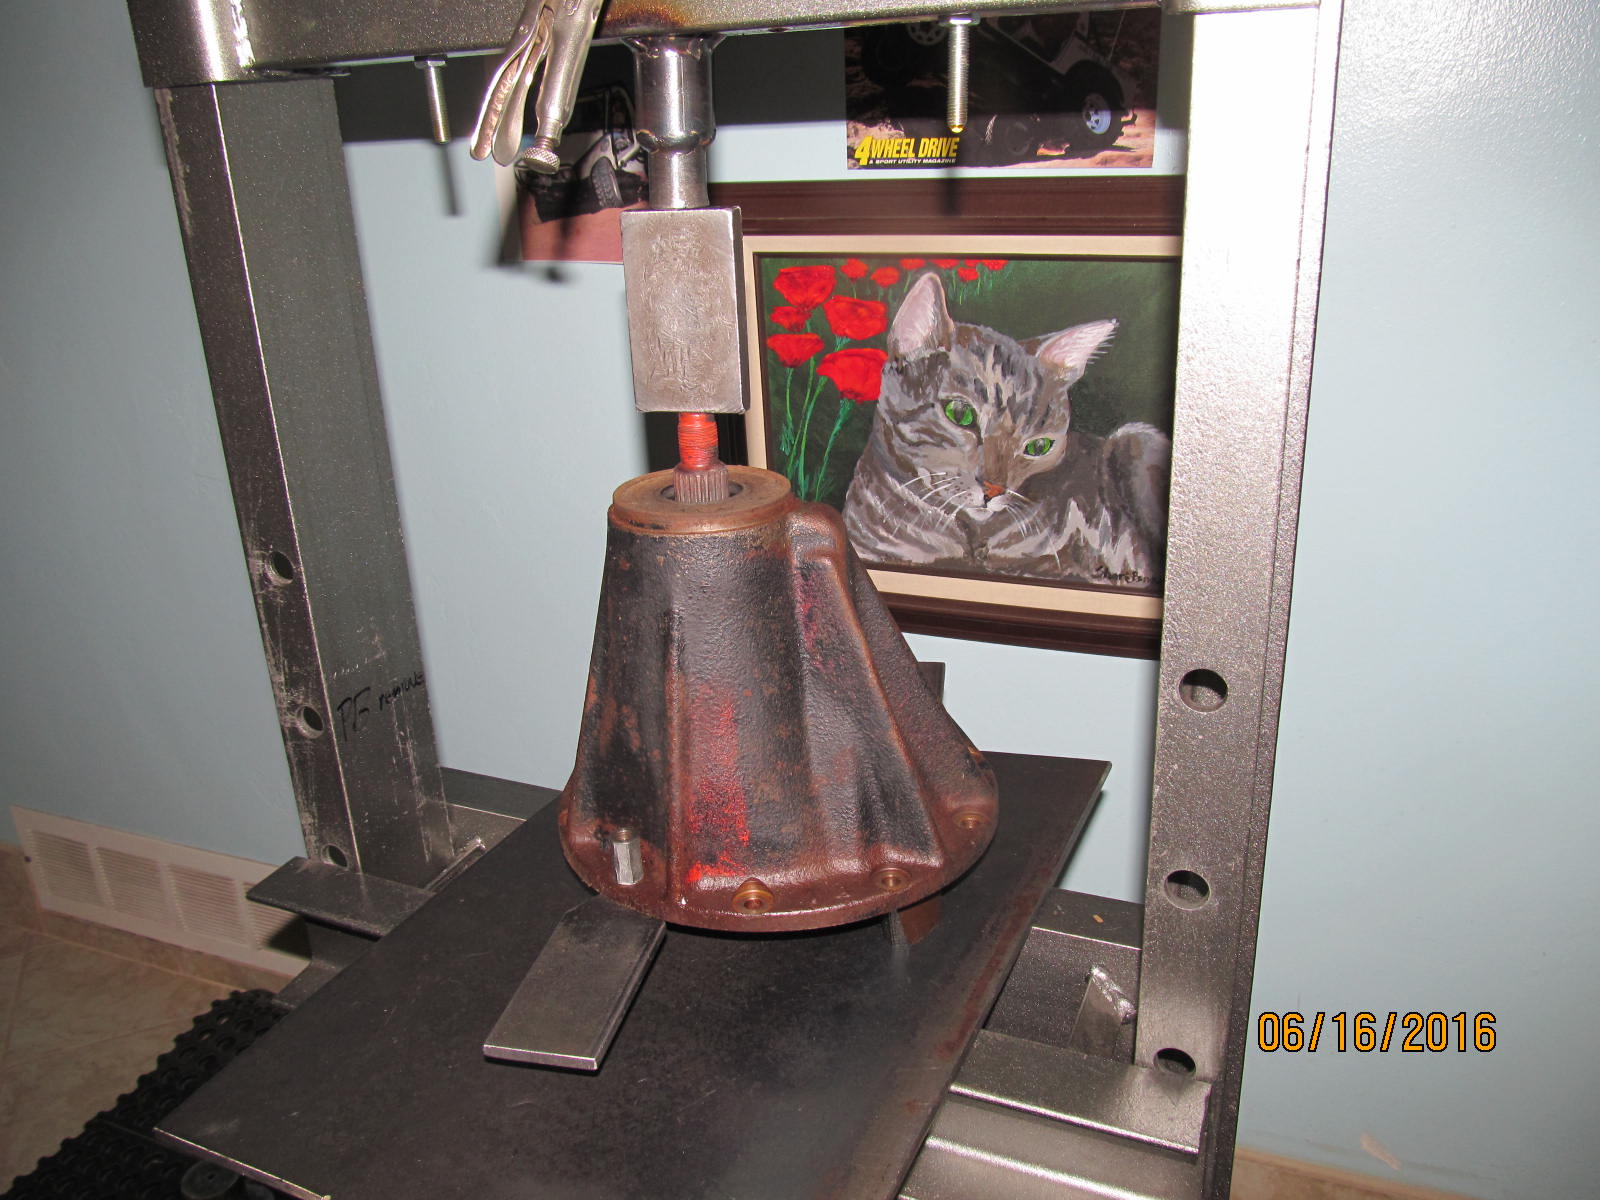
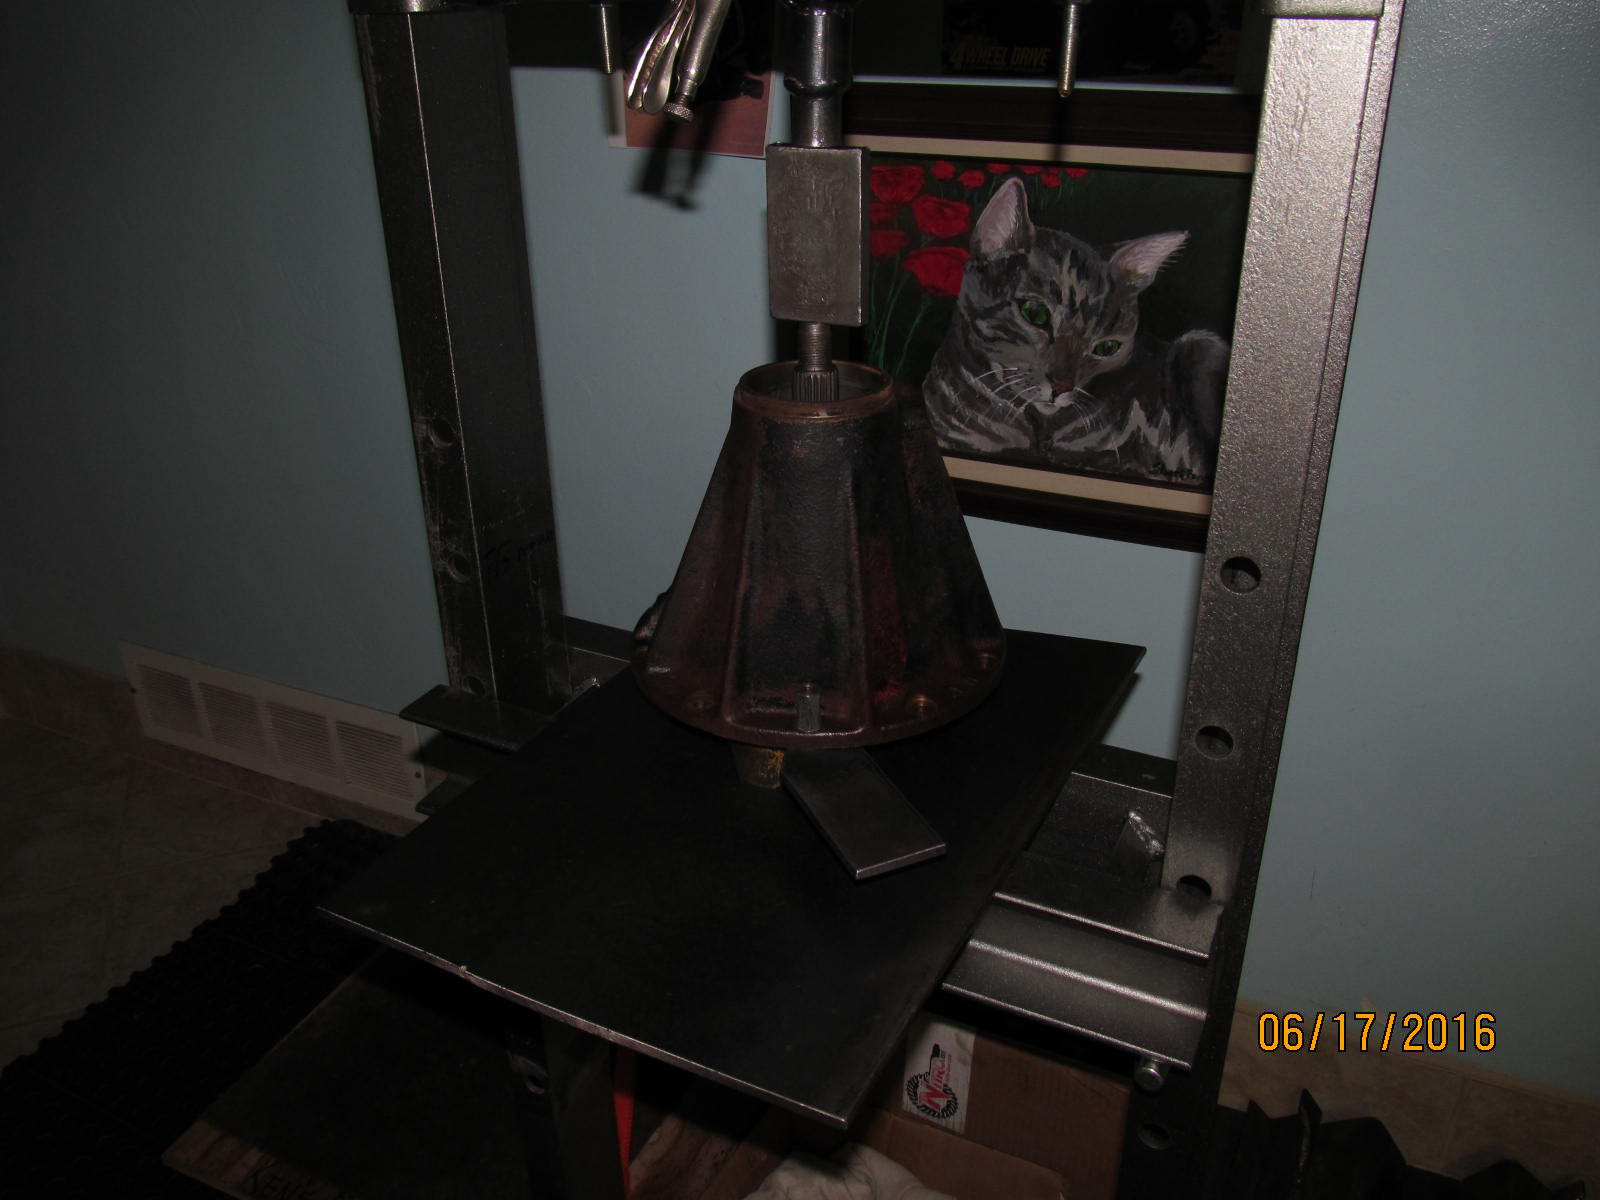
Using an old flange, I can crush/compress the after-market sleeve 99% of the way. The aftermarket
7.5" crush sleeve will almost surely strip the pinion nut every time....at least they have for me.
This technique makes it possible to NOT use the oem sleeve. The oem sleeves are designed to
crush much easier...the after-market versions are just too "heavy duty" and this
"pre-crush technique" makes it all possible. fyi...oem 7.5" crush collar = 41231-22010
|
|
|

|
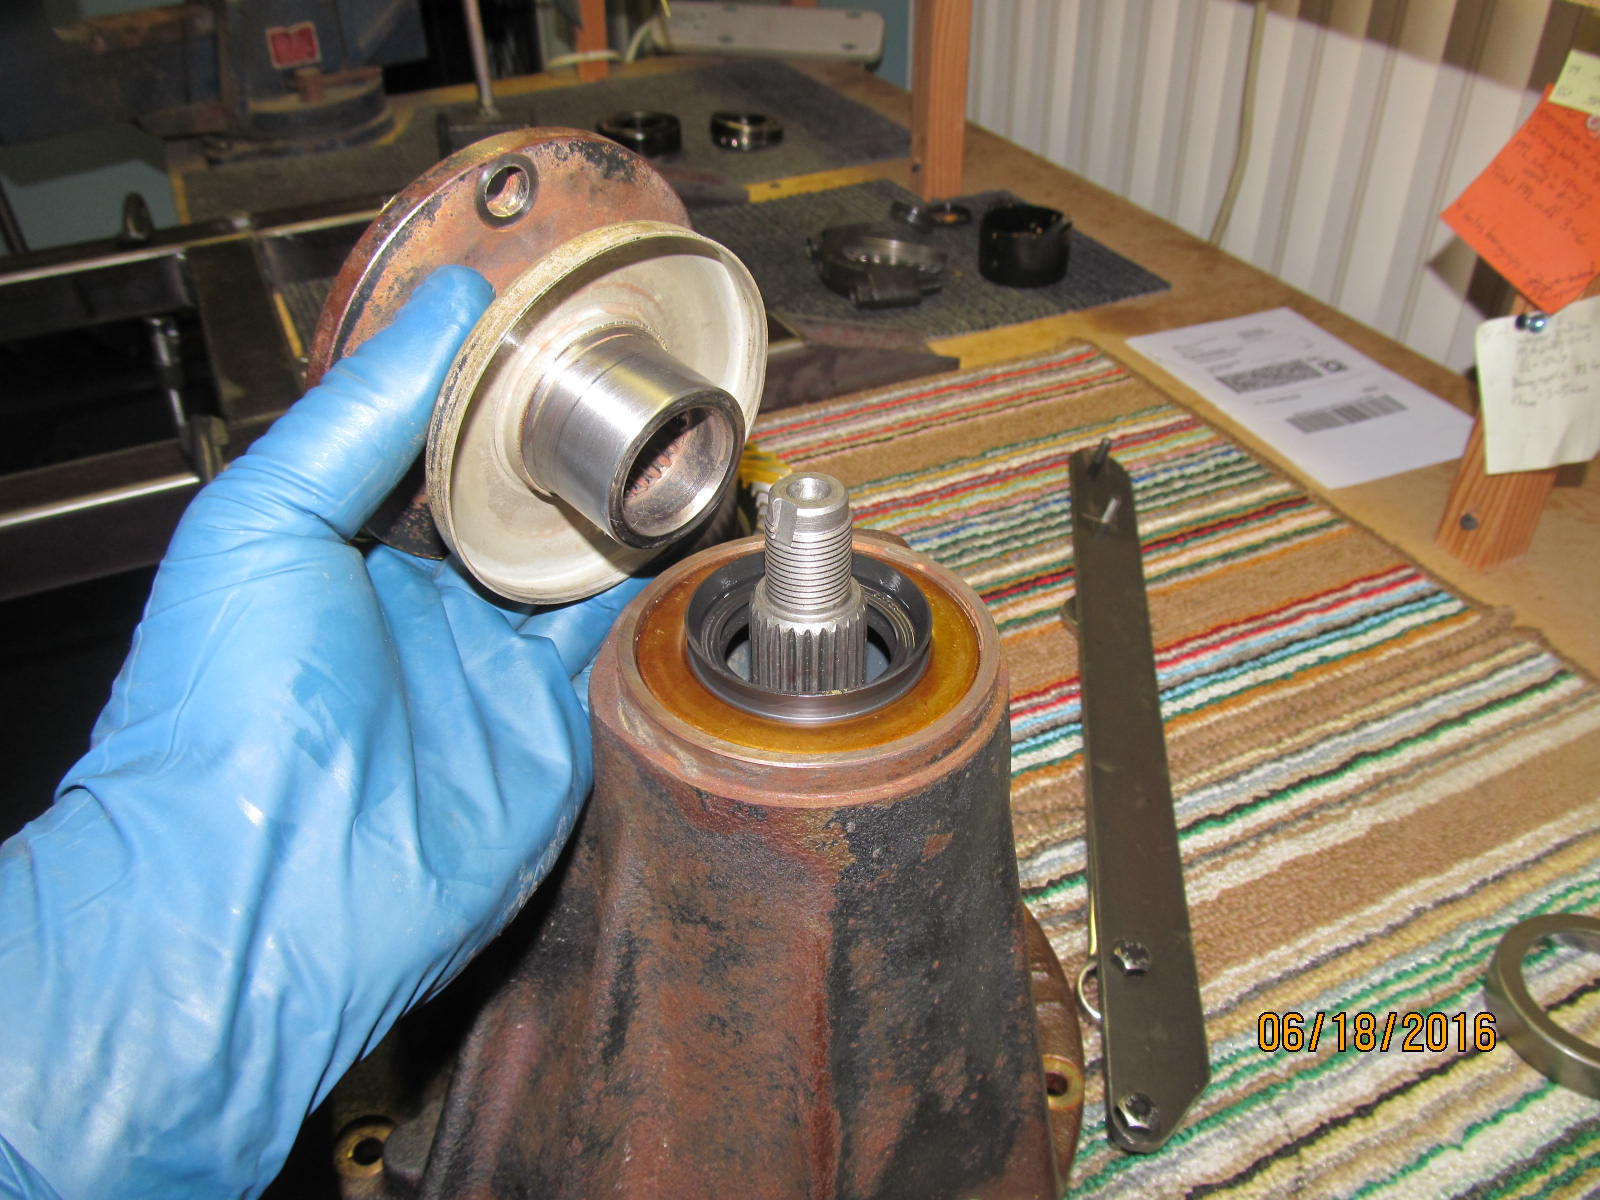
Using some wet/dry 600 sandpaper, the flange surface is refreshed. The small wear spot visible will not
affect the sealing ability.
|
|
|
|
|
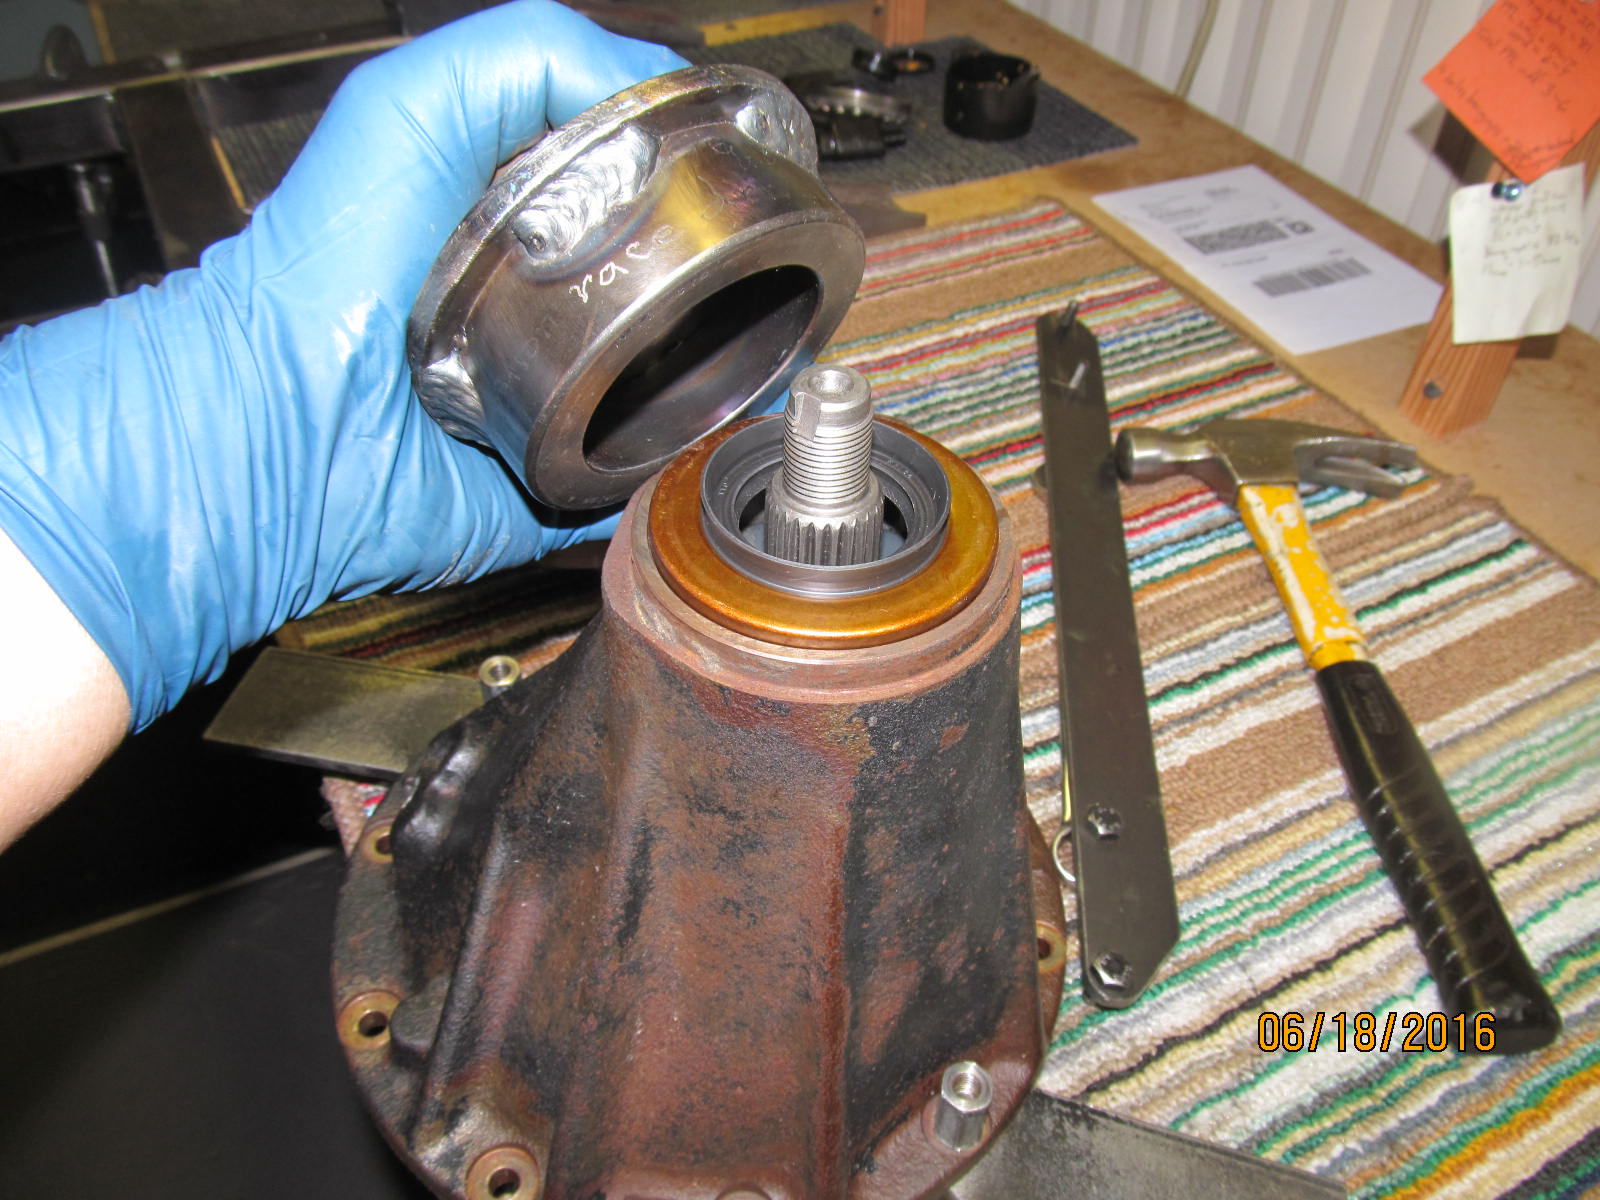
Welding an old V6 race to a similar old flange makes for a very affective seal installer.
|
|
|
|
|
The flange is installed with the new pinion nut.
|
|
|
|
|
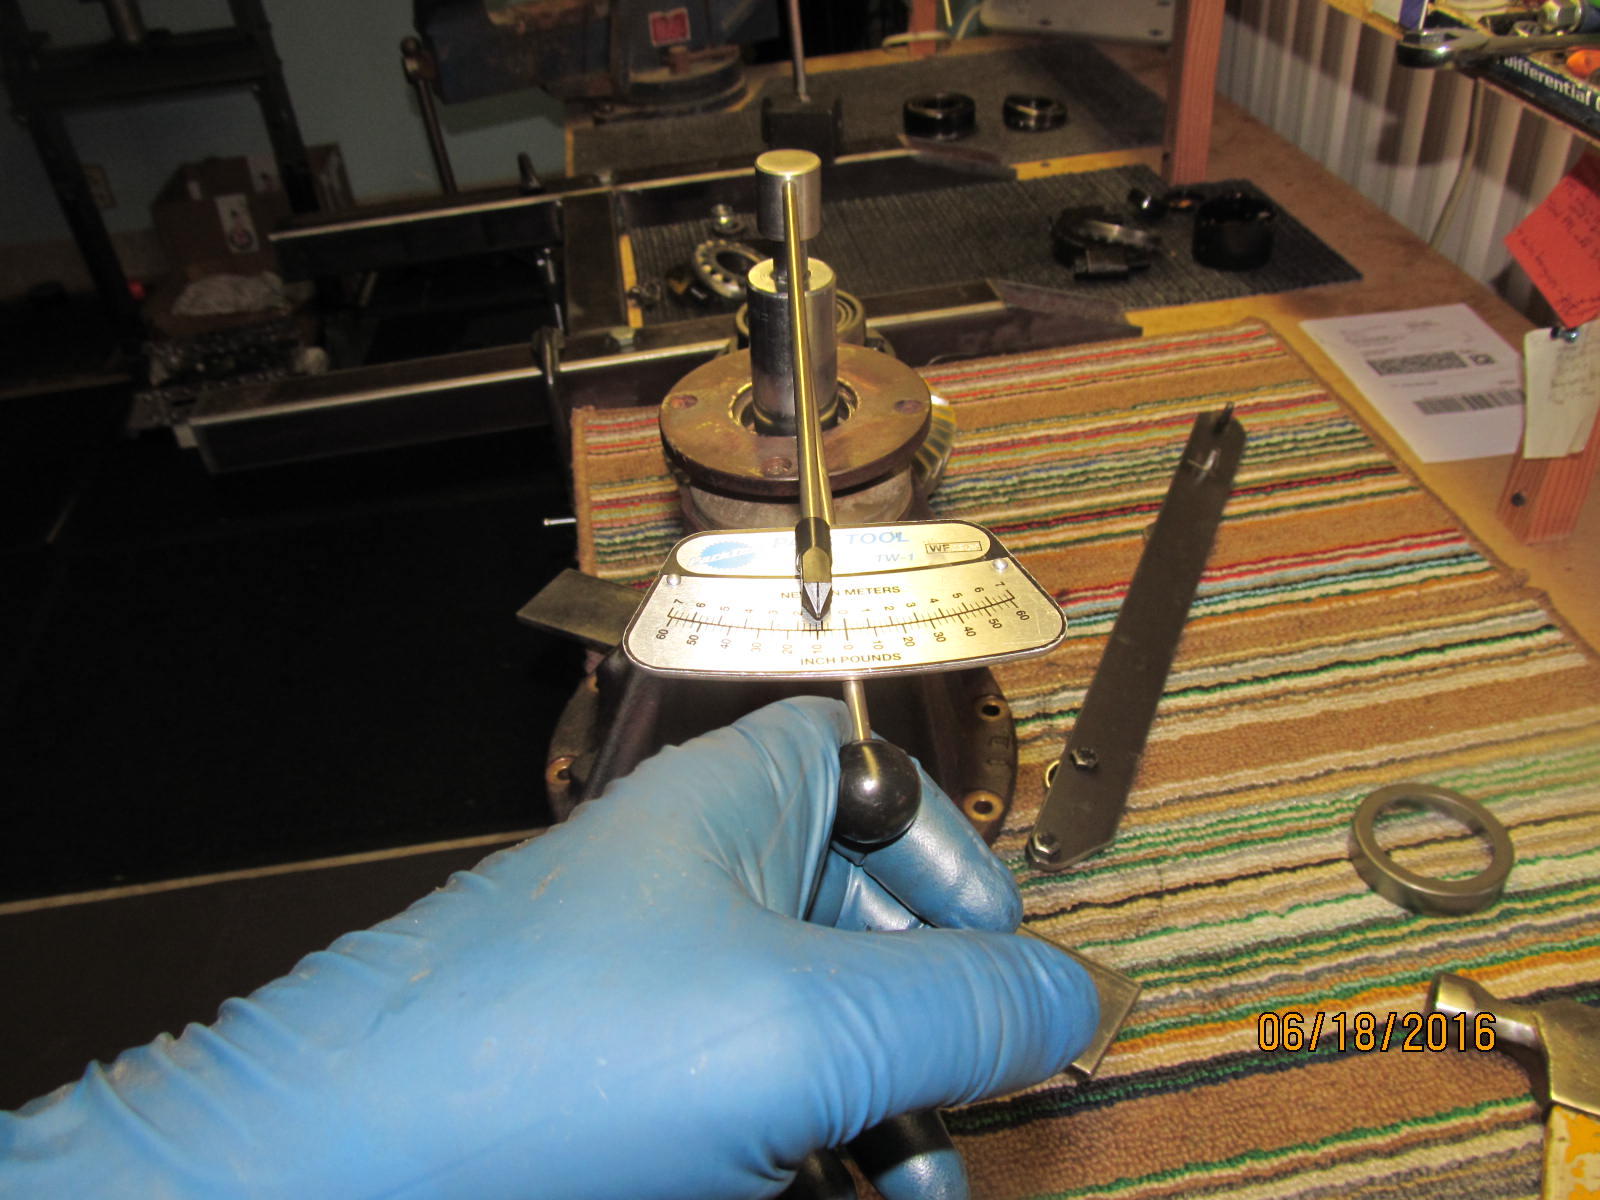
The pinion nut is tightened until 10 in/lb start torque is observed.
|
|
|
|
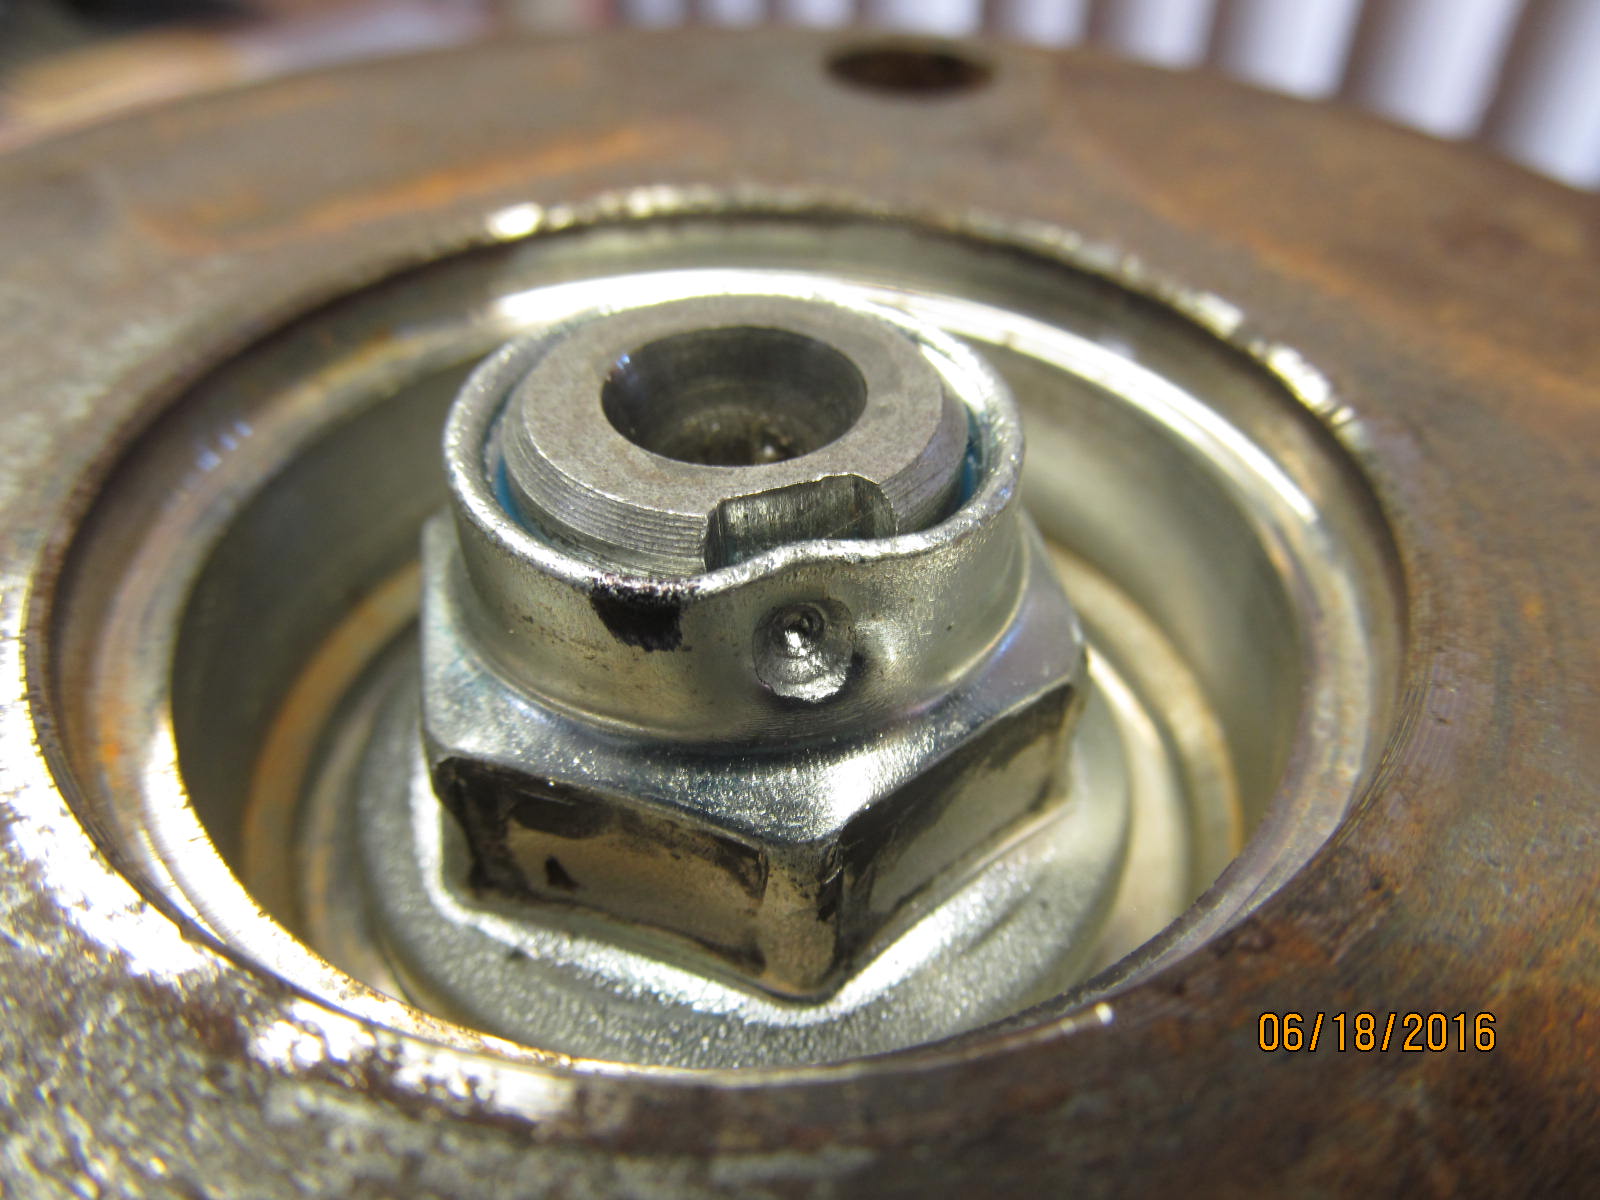
DING and this end is done. Notice the high quality flange style nut. This is the preferred style of nut.
No washer is used with this style. Though the liberal use of anti-seize was used on the threads.
|
|
|
|
|
Anti-seize was optionally spread on the carrier bearing threads shown here.
|
|
|
|
|
70 ft/lb
|
|
|
|
|
Adjusting the backlash while make sure the adjuster wheels are tight enough to show good CBPL.
|
|
|

|
|
The lock tabs can be tightened down once the BL and CBPL are verified. 10 ft/lb on the 2 tabs.
|
|
|
|
|
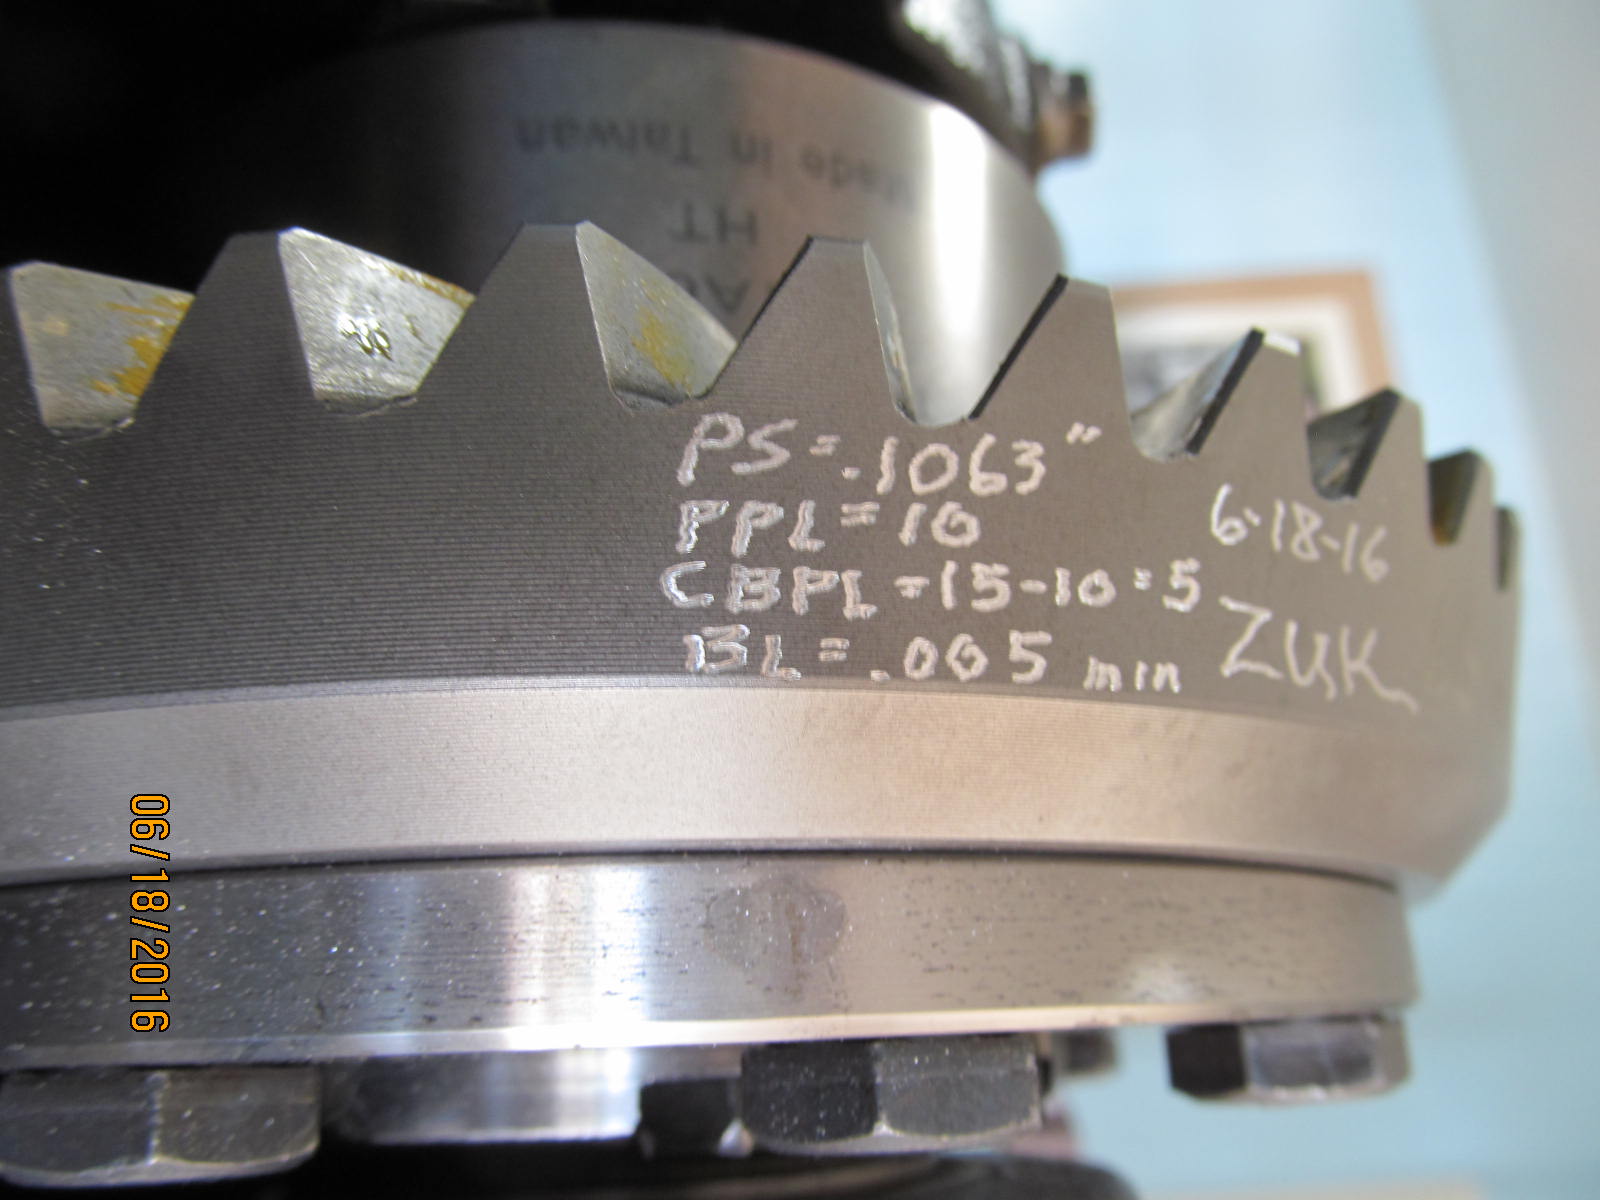
Basic info with a date is inscribed on the ring gear.
|
|
|
|
|
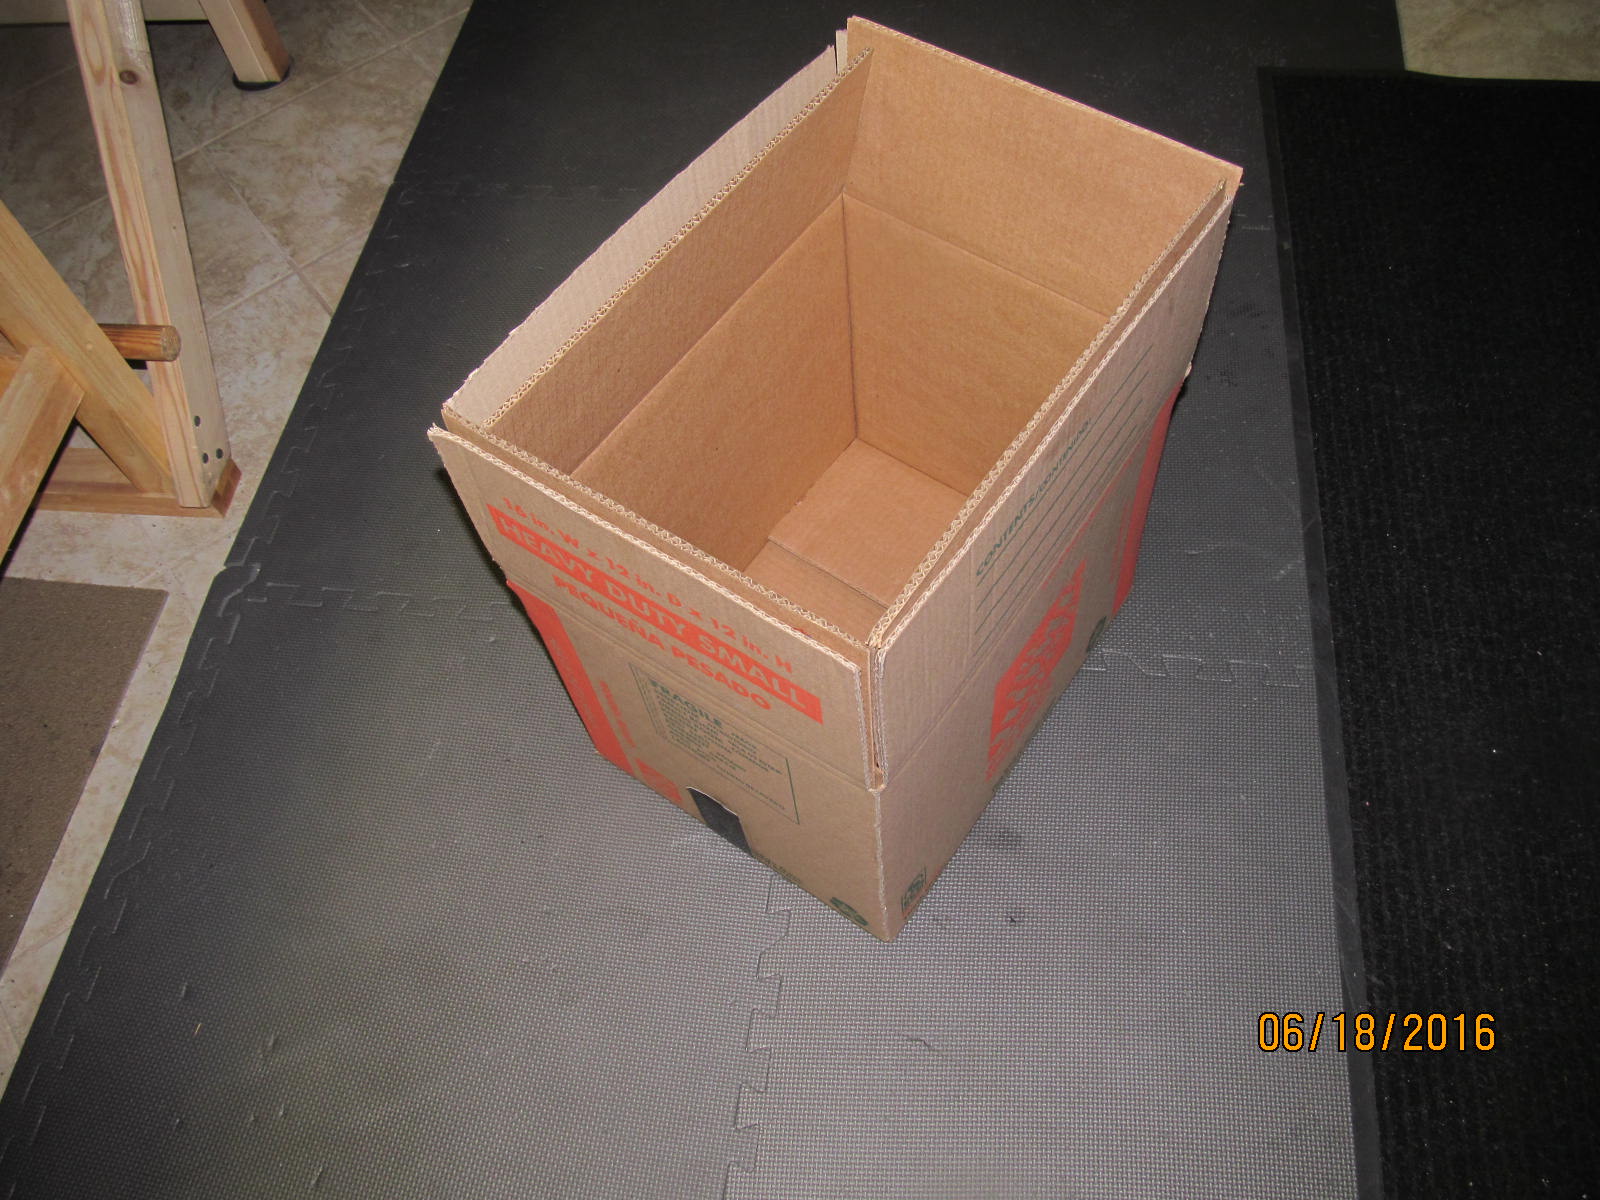
2 heavy duty boxes are put together to make transport possible.
|
|
|
|
|
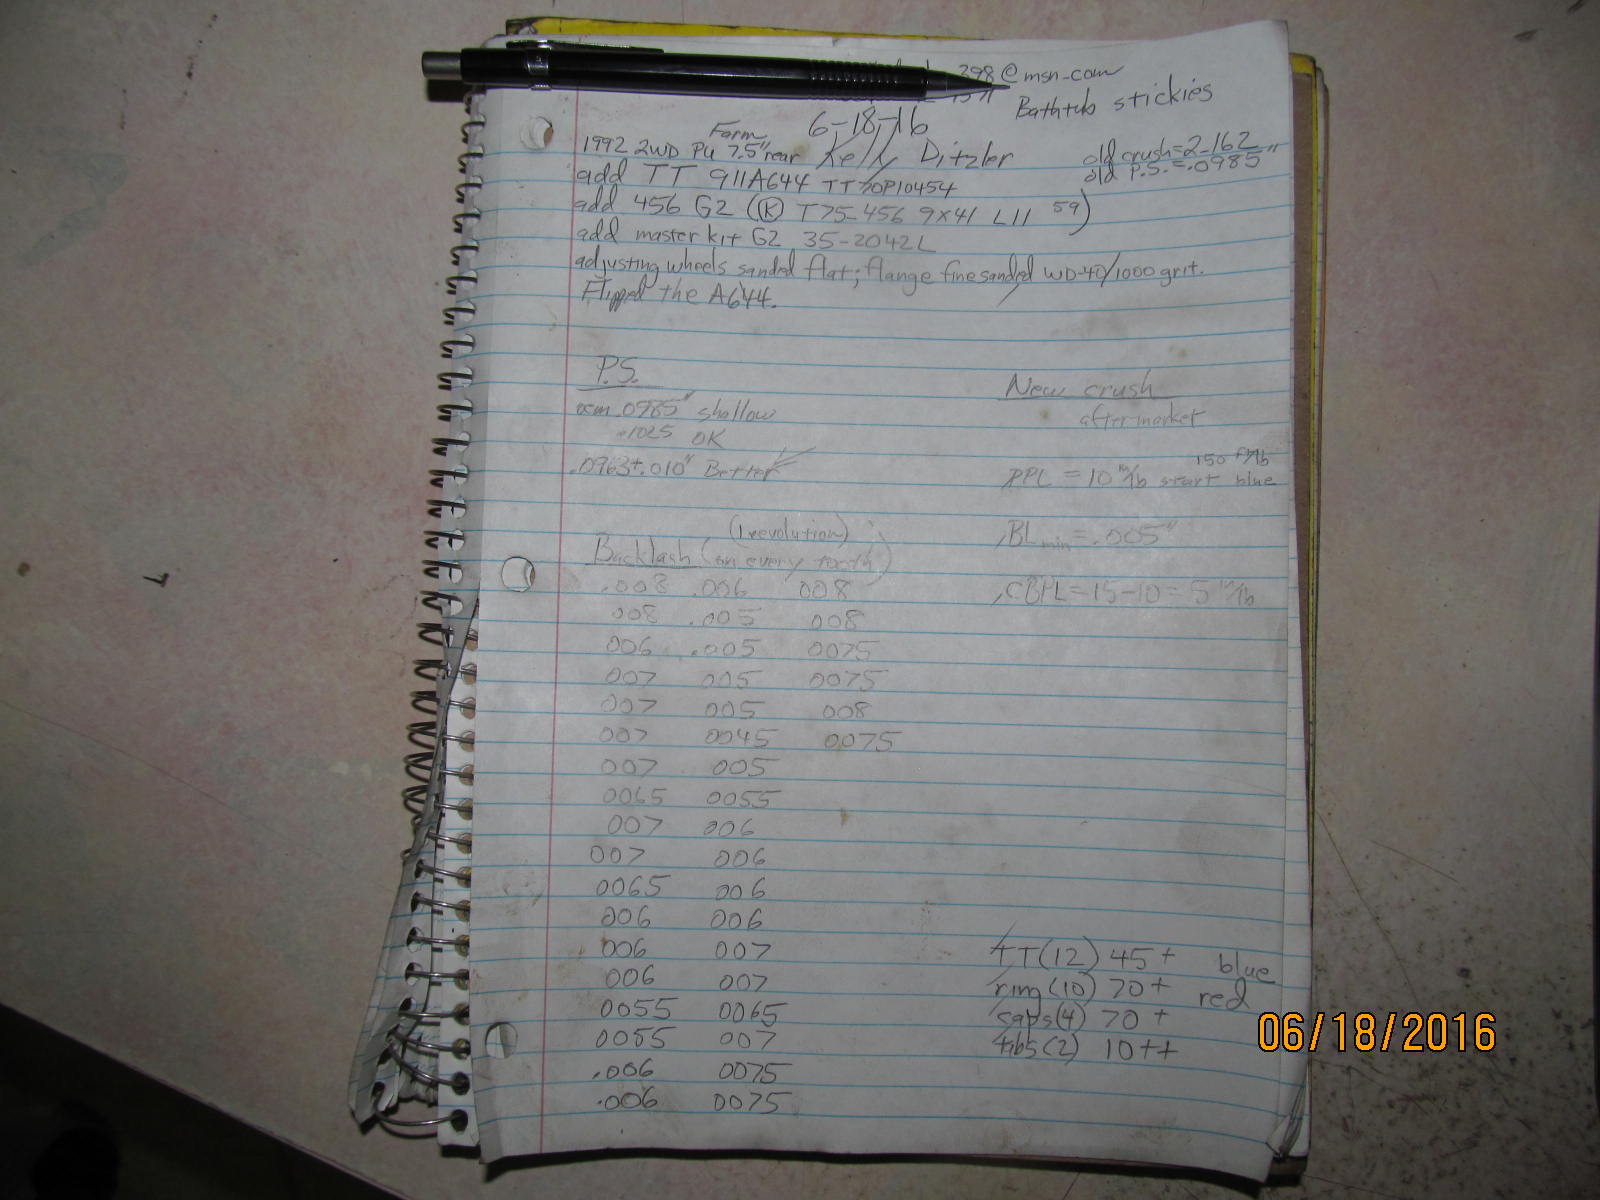
Final notes of Kelly's install.
|
|
|
|

|