|
Kevin's 91 Runner gets an ARB RD132 and new bearings
|
|
(90 BIG pics loading, please excuse the extended load times))
|
|
DEC 2 2014
|
|

|
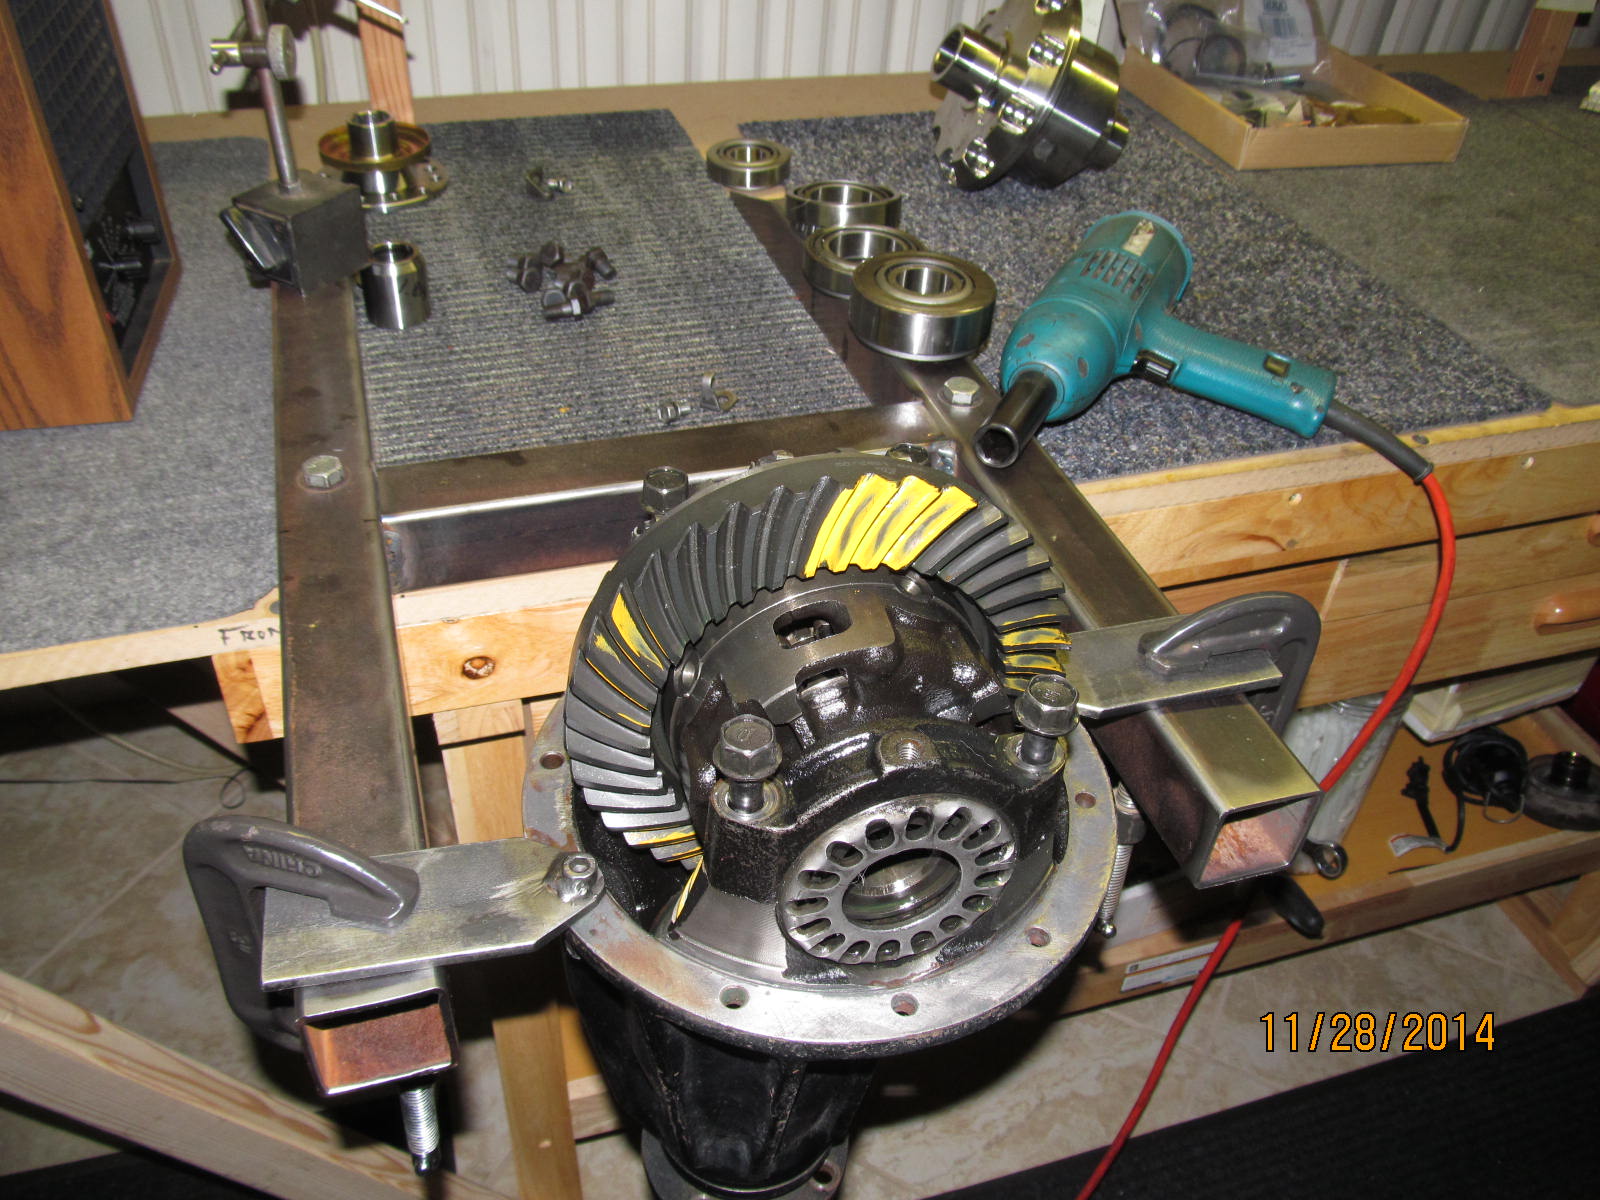
Kevin's 91 4Runner has come a long way in its 257,000 mile journey. 10 years ago, the factory 456 gears were
replaced in favor of 488 gears from Superior. Lately, strange noises have been heard along with some clunking
and Kevin figured it was probably overdue for a new set of bearings and an ARB while I'm in there.
|
|
|

|
|
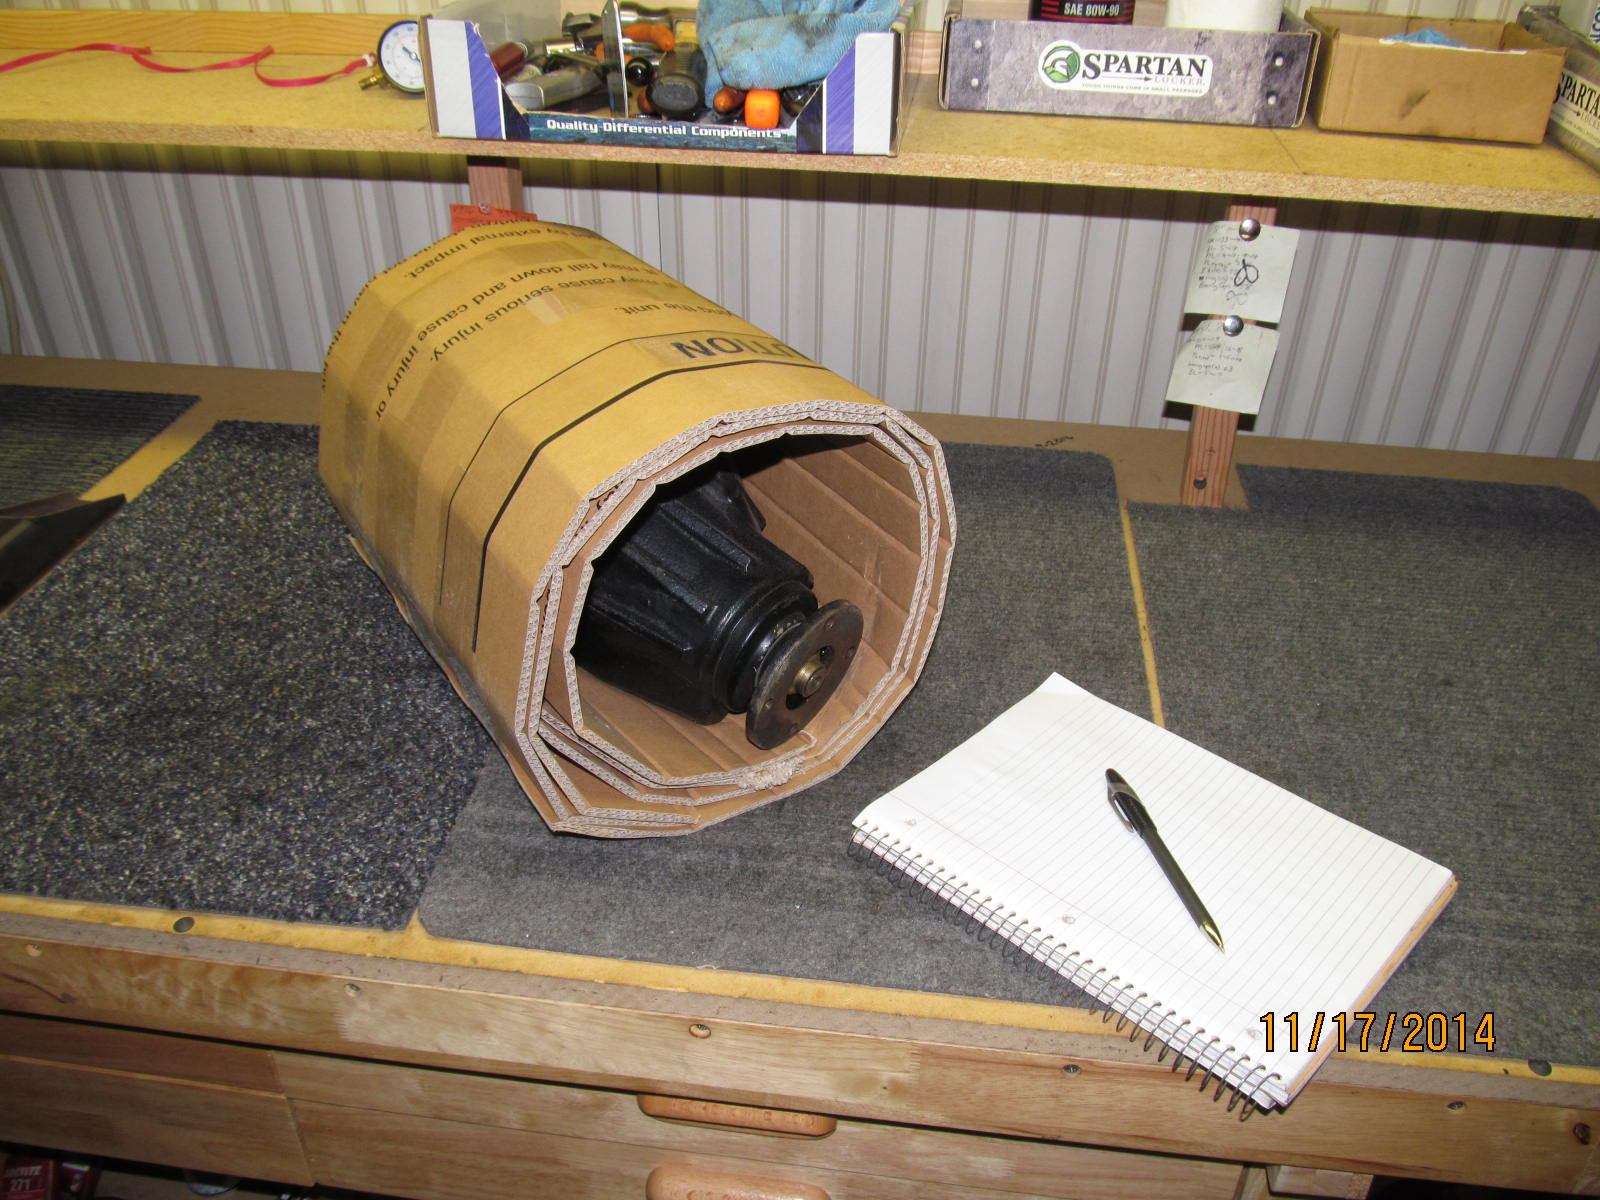
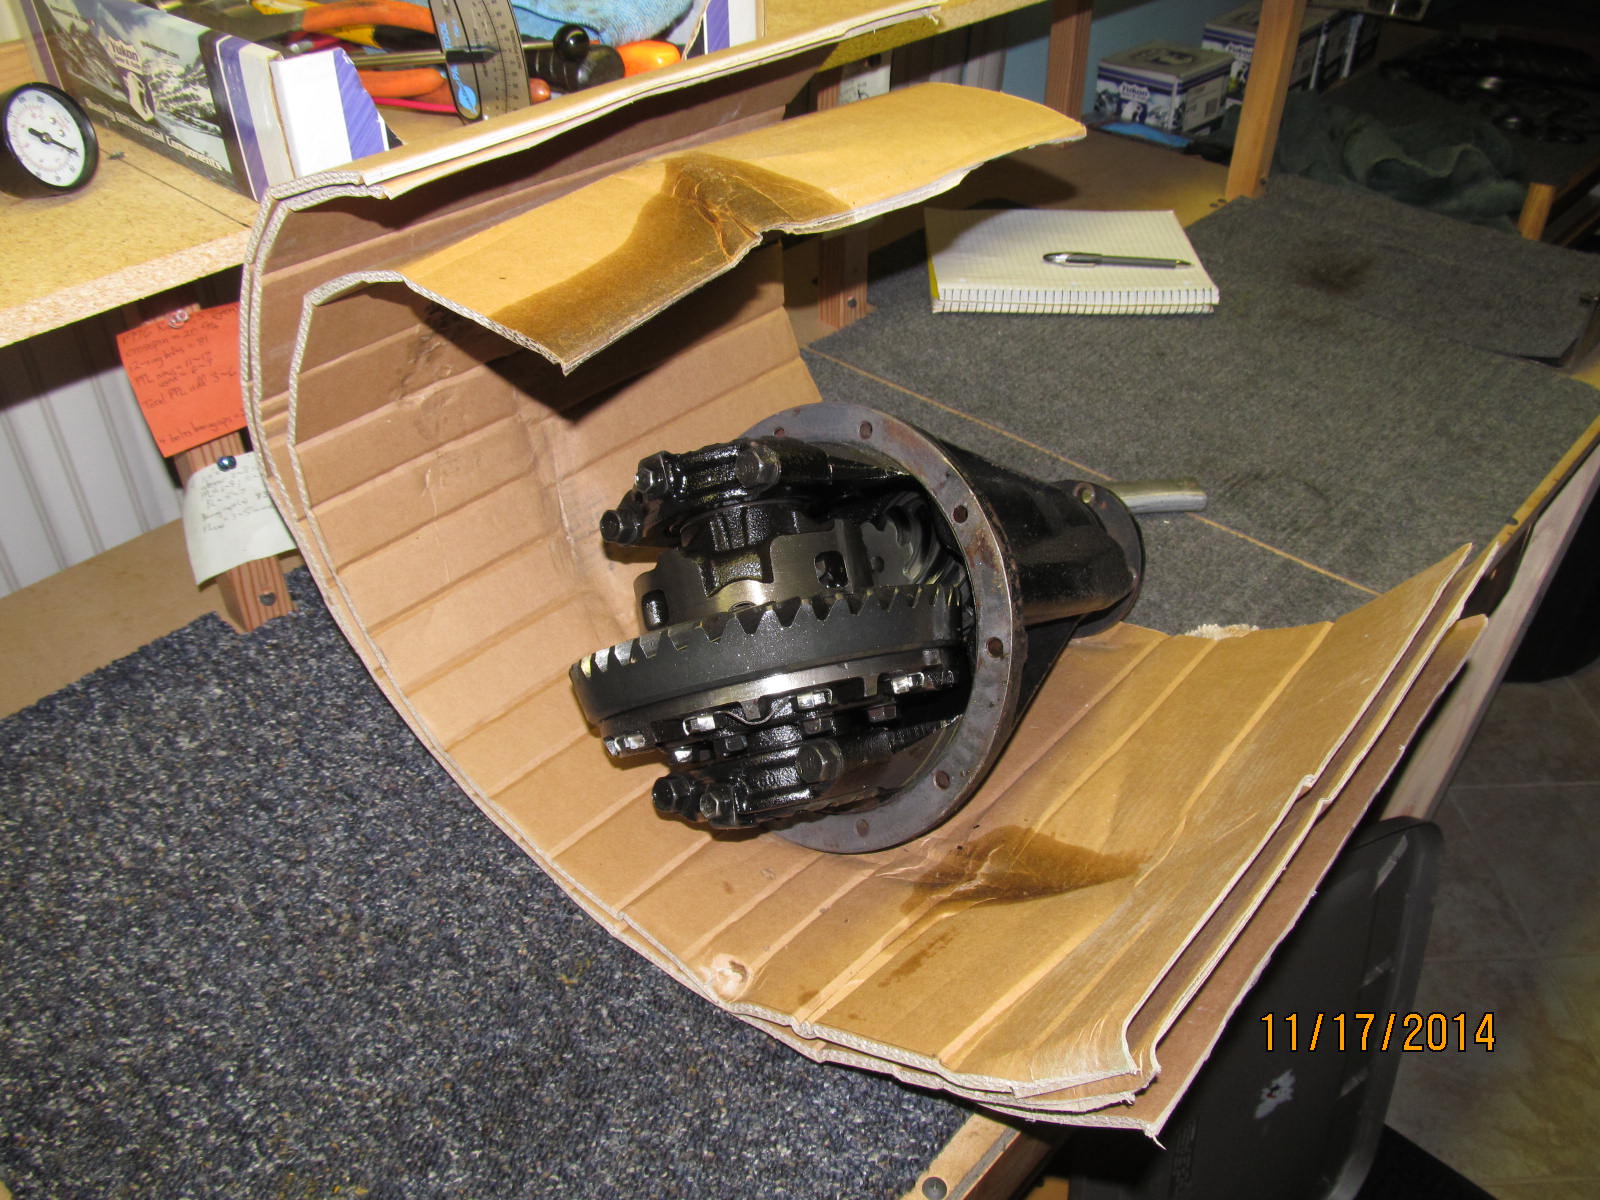
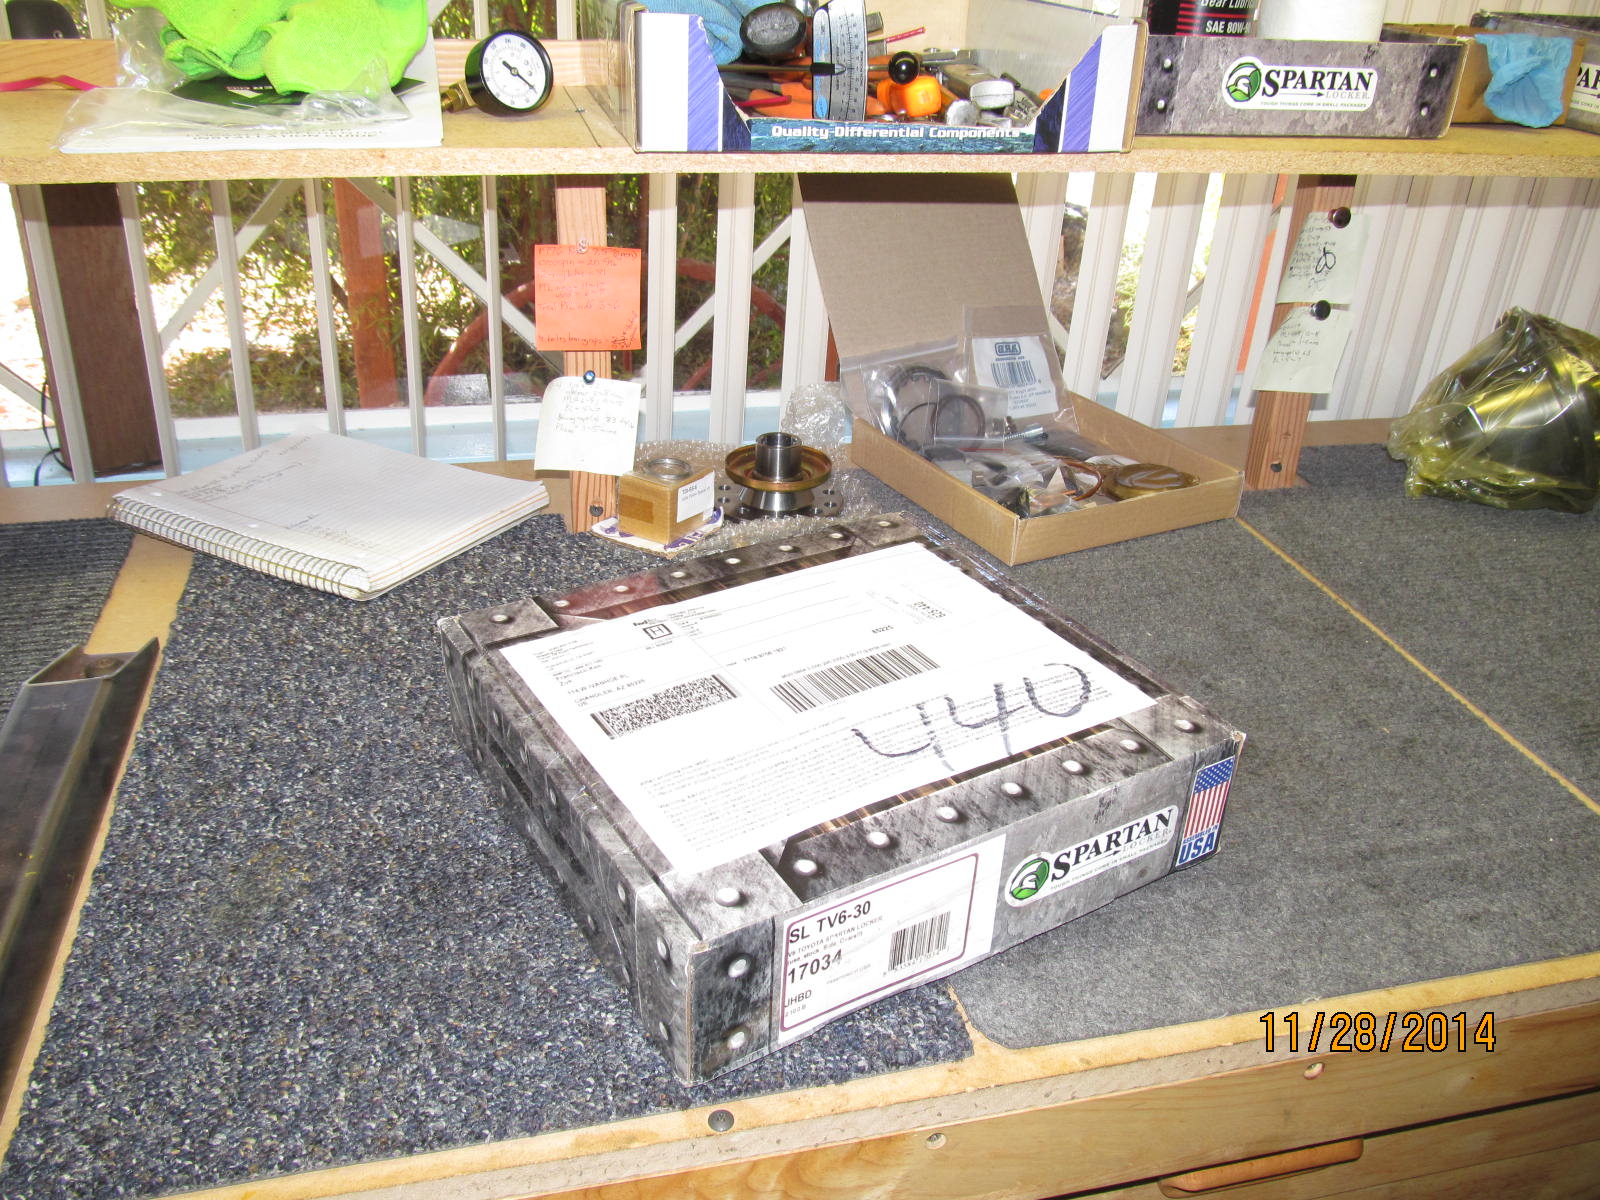
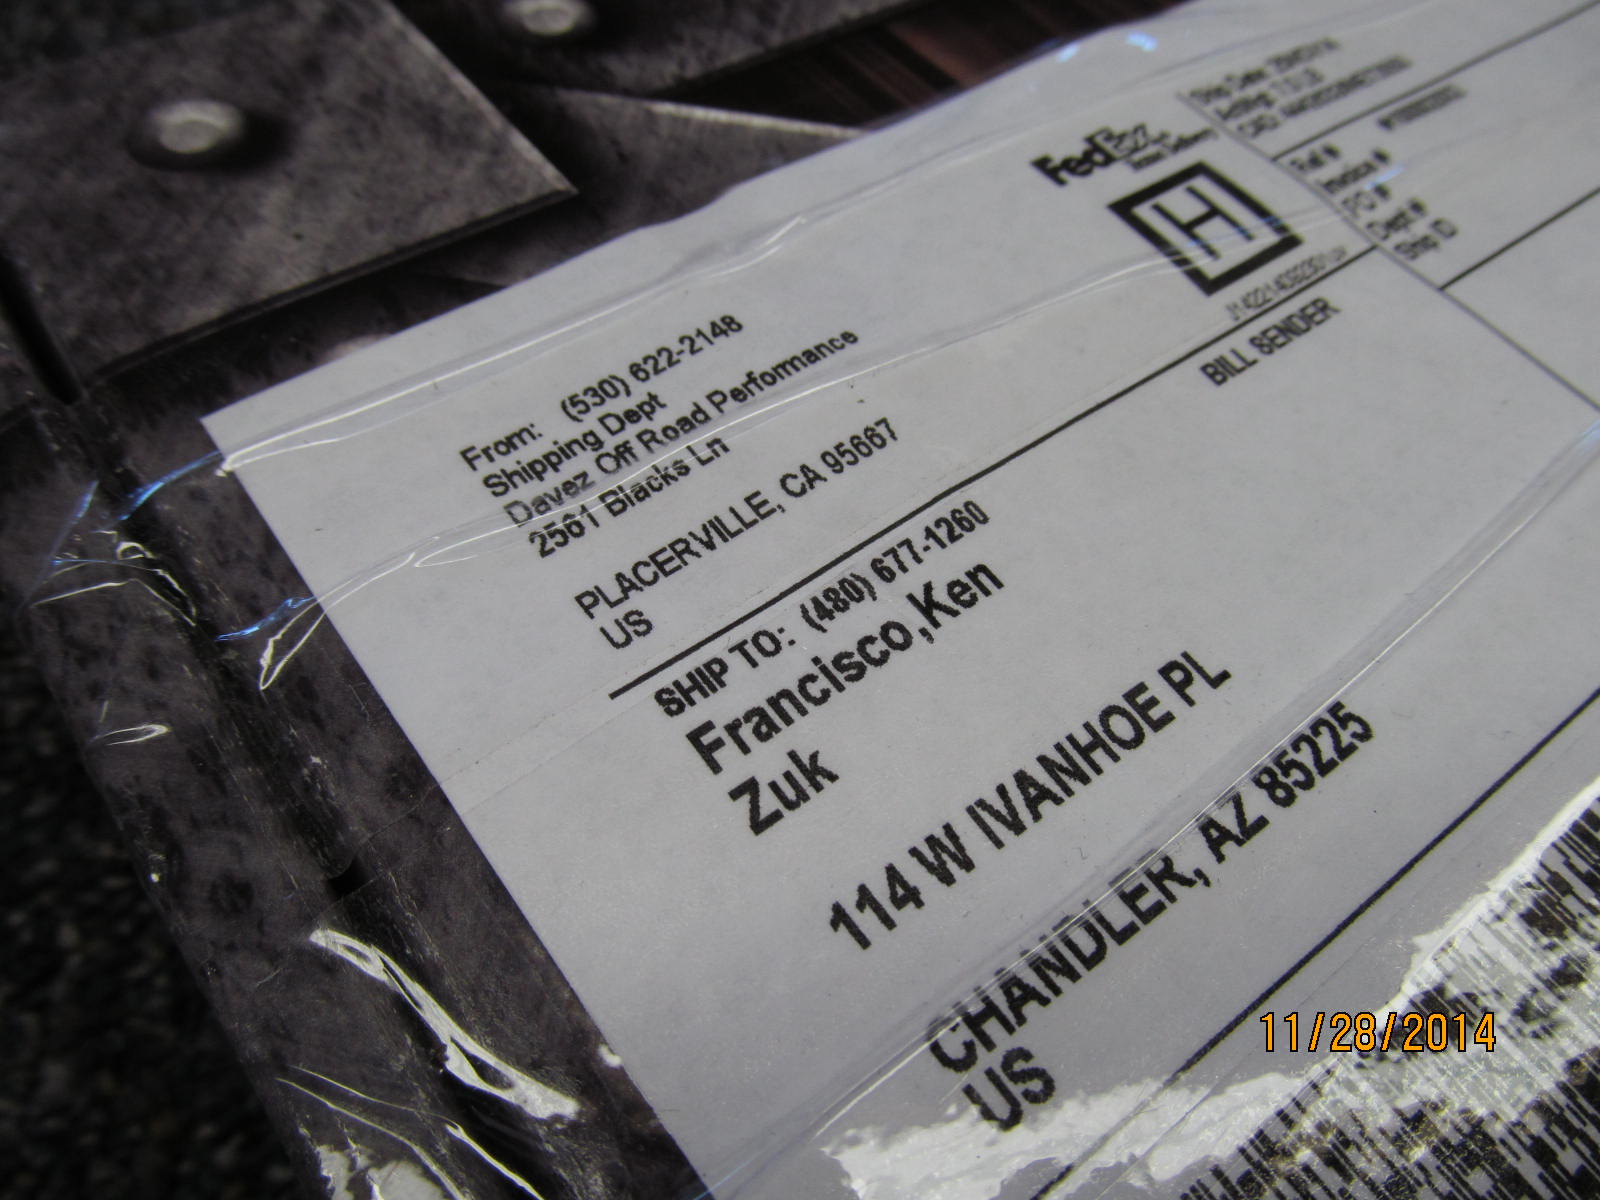
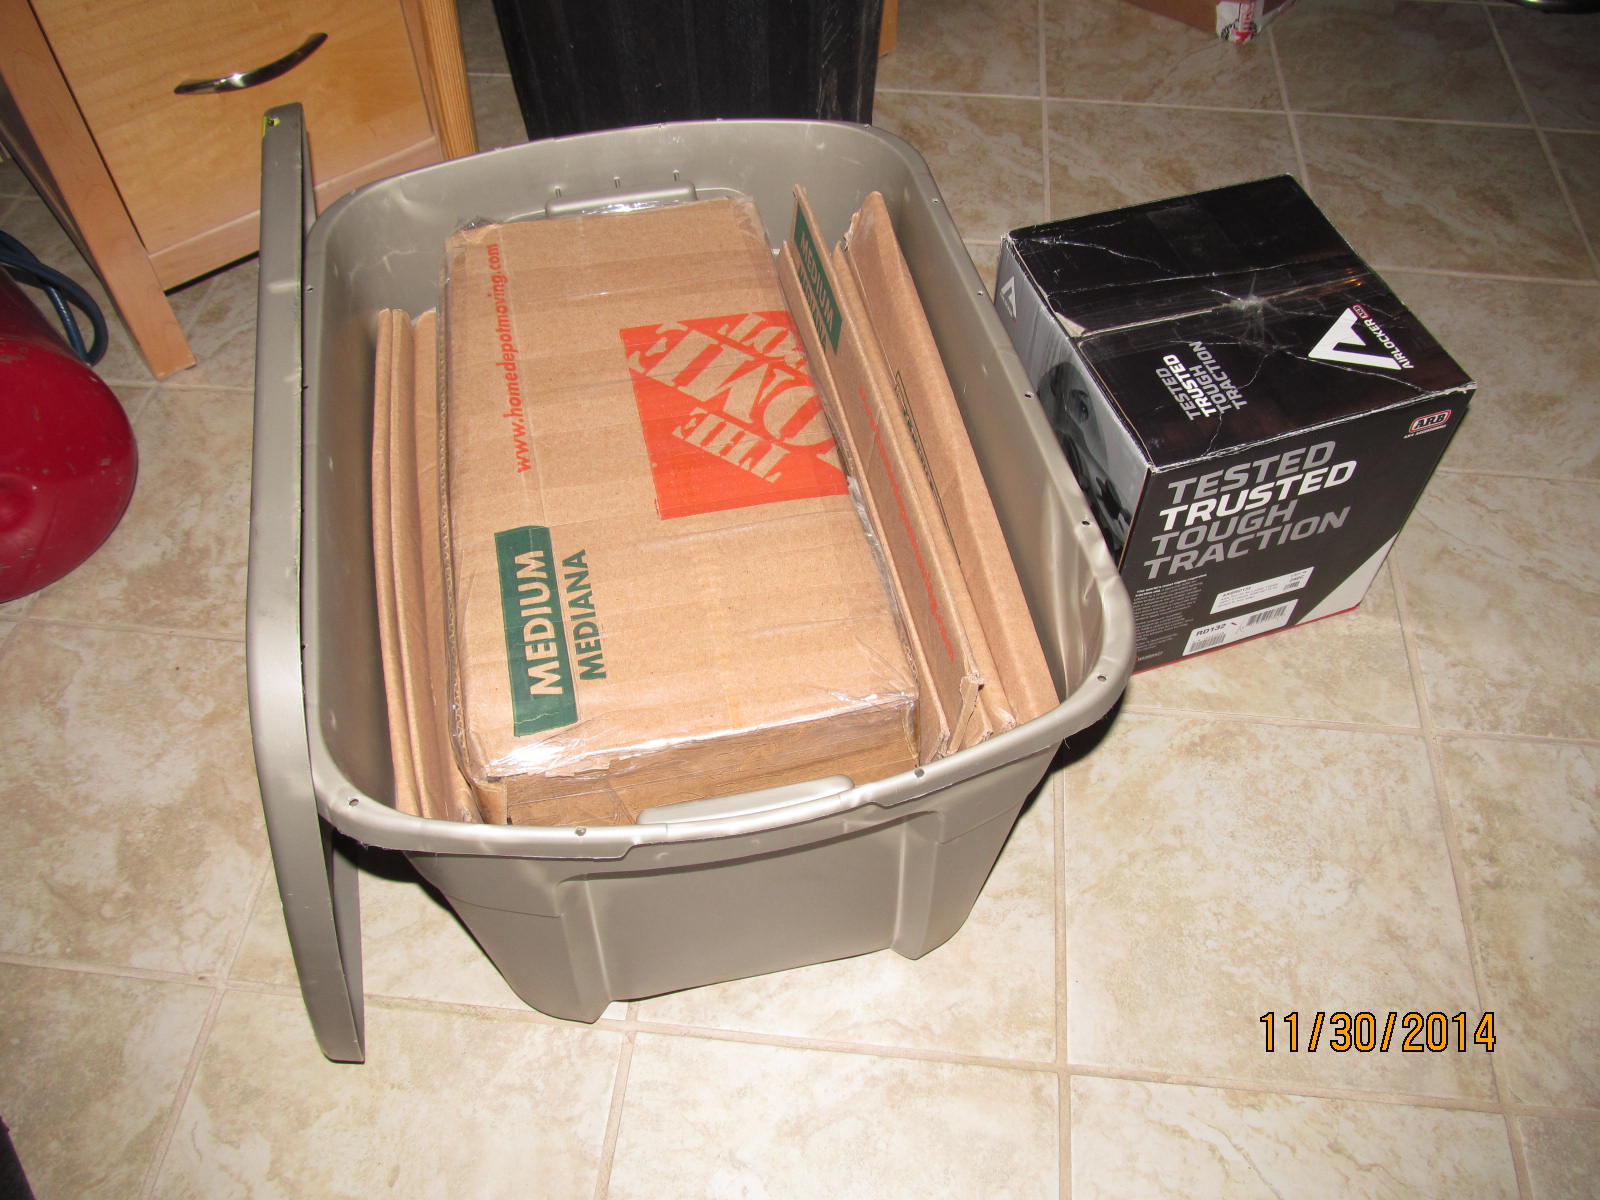
A tote arrives from Texas.
|
|
|

|
Excellent job securing that 3rd, Kevin. 
|
|
|
|
|
.....................
|
|
|
|
|
.......................
|
|
|
|
|
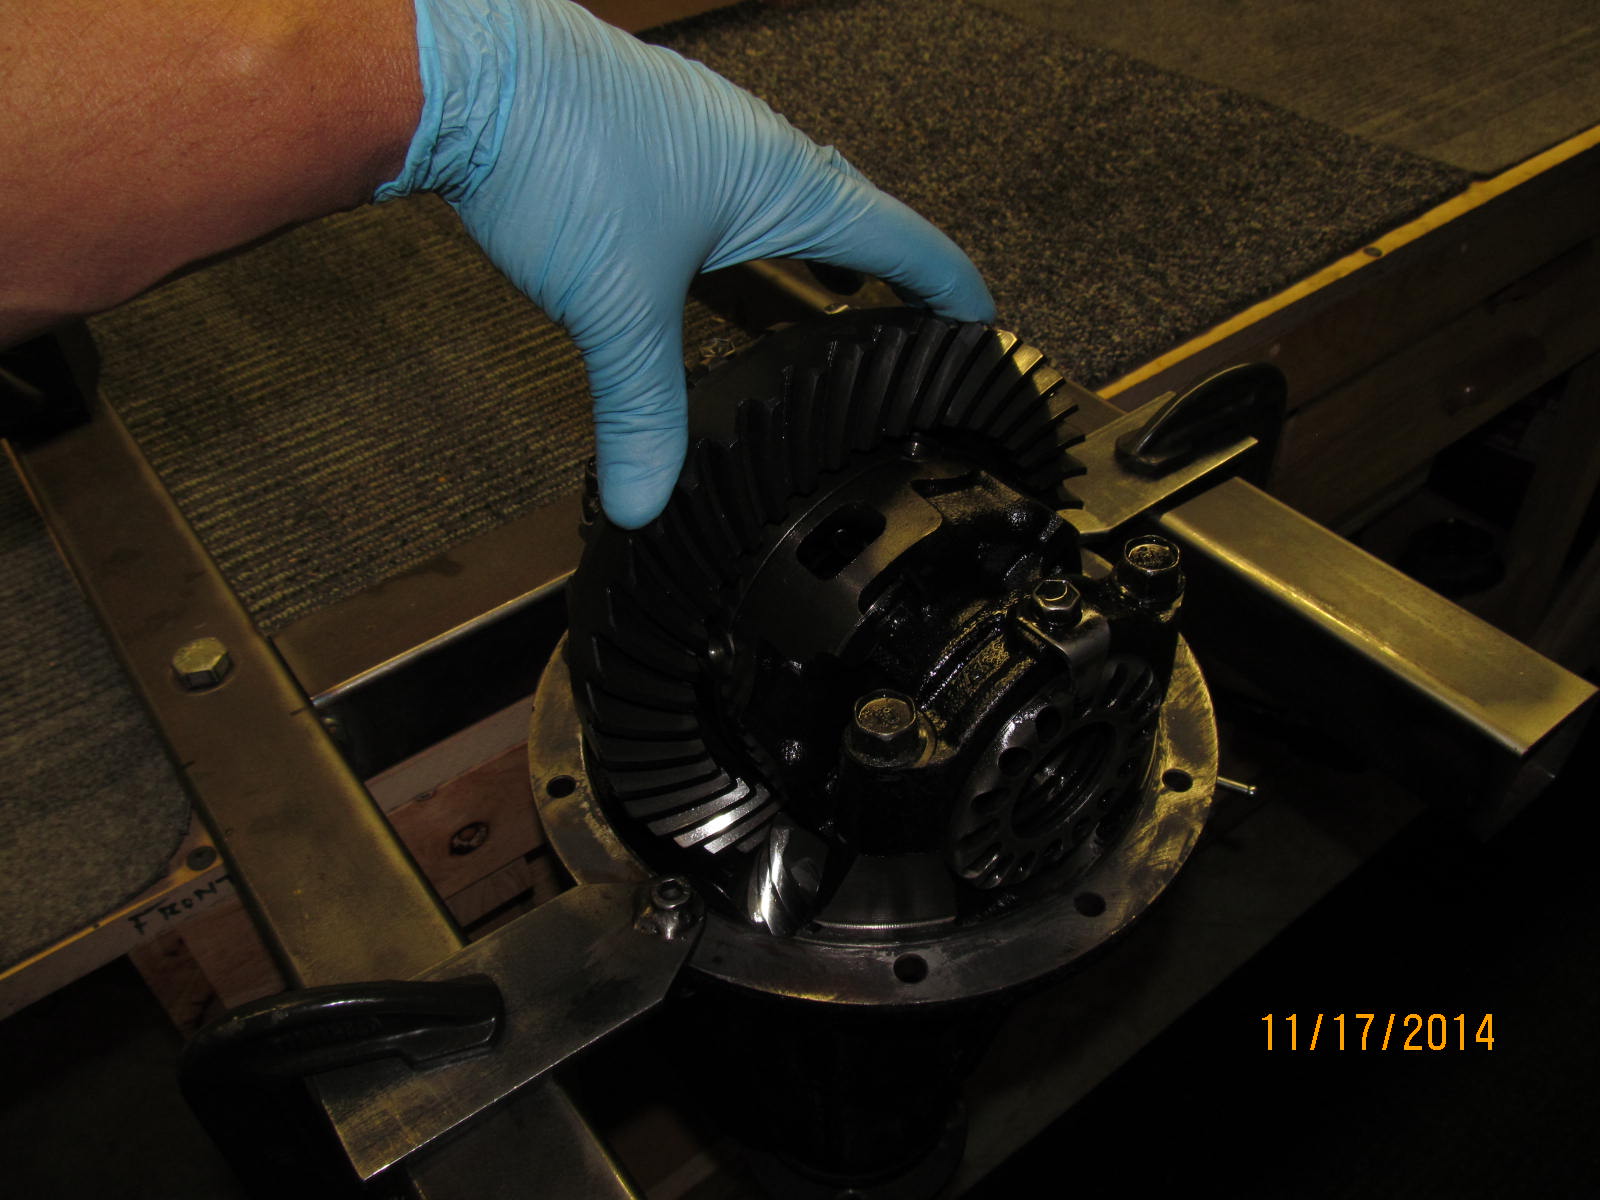
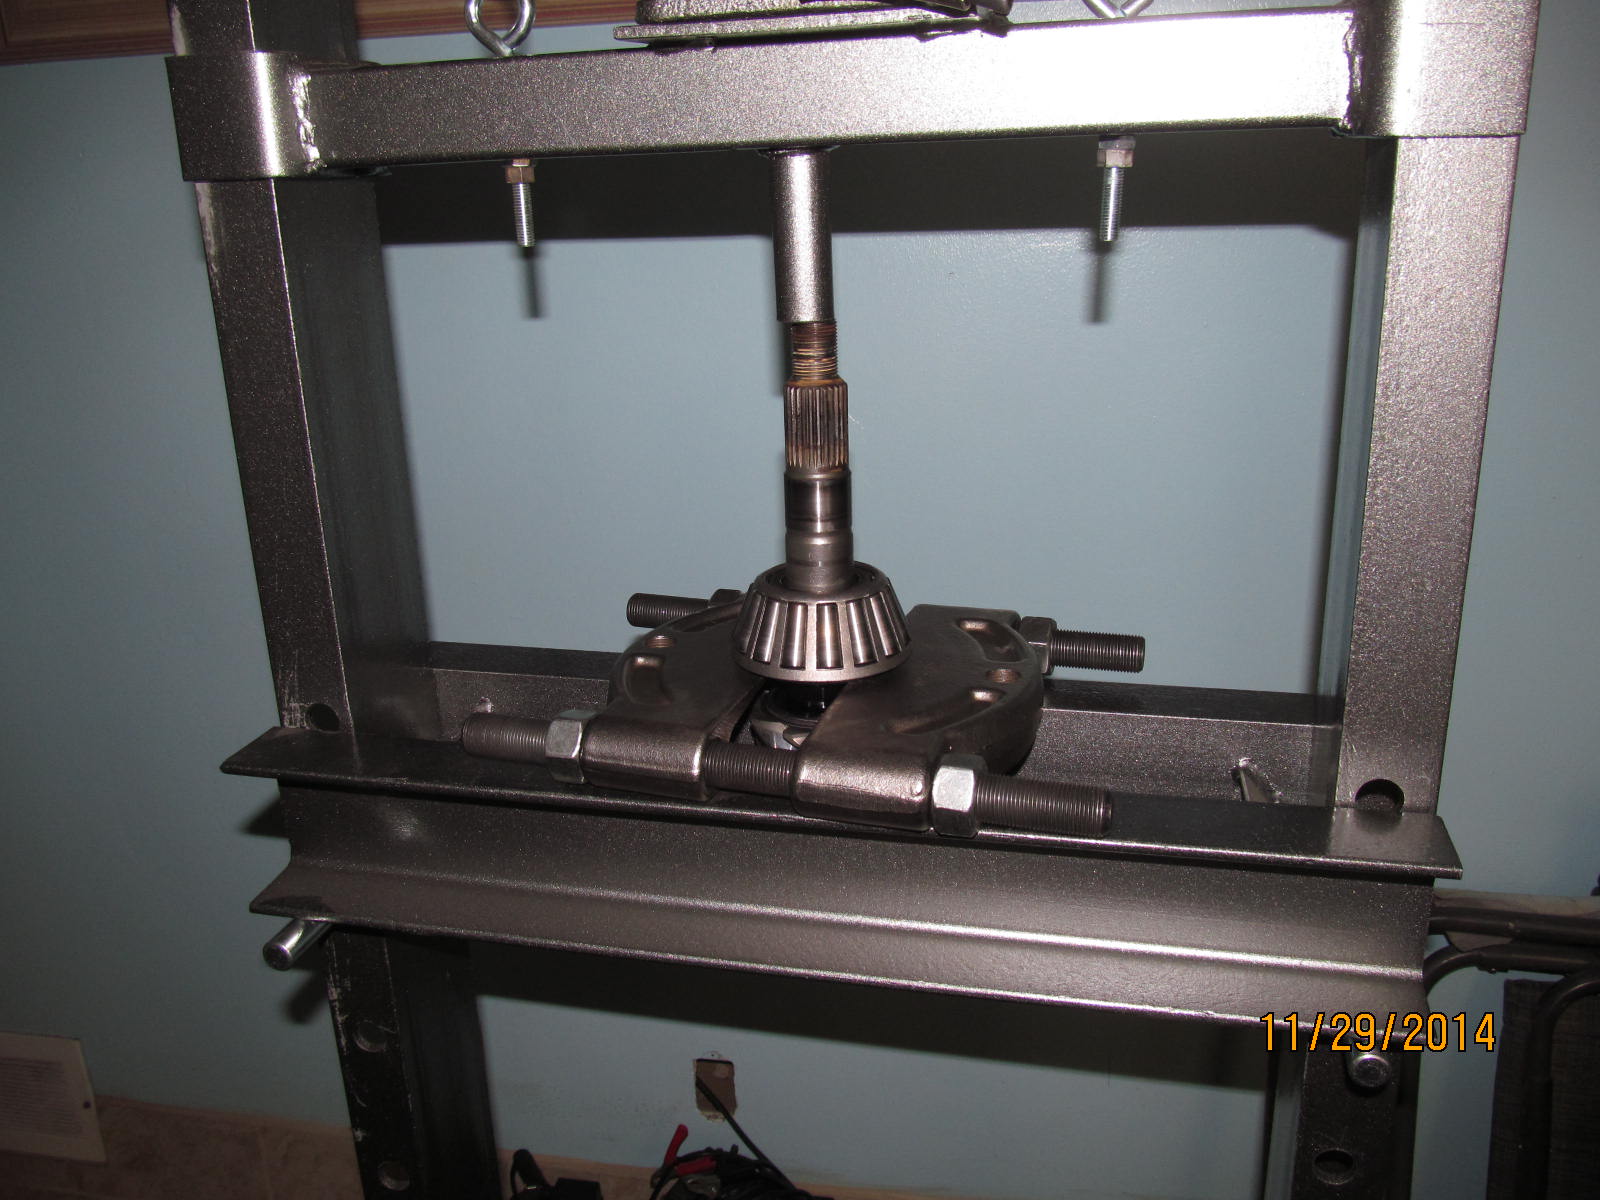
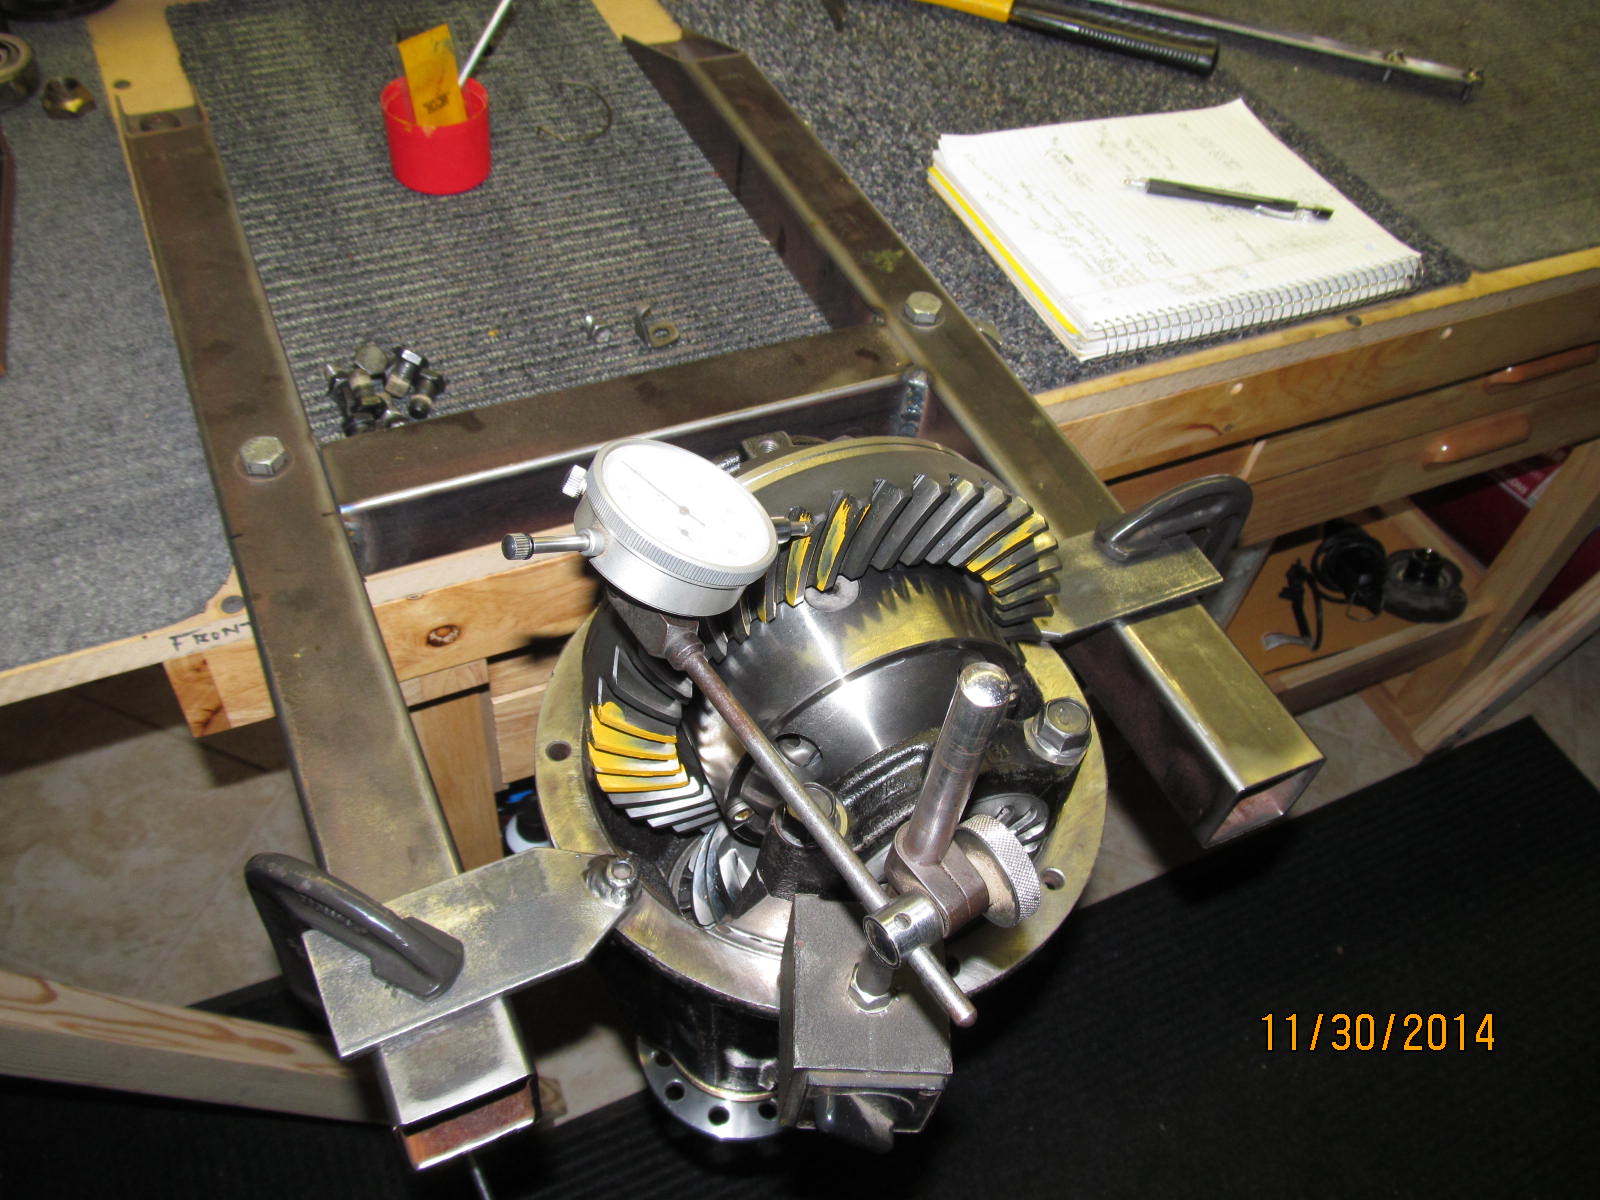
I do a few checks.....the carrier bearing preload is nothing....pinion didn't seem to have an excessive wobble.
|
|
|
|
|
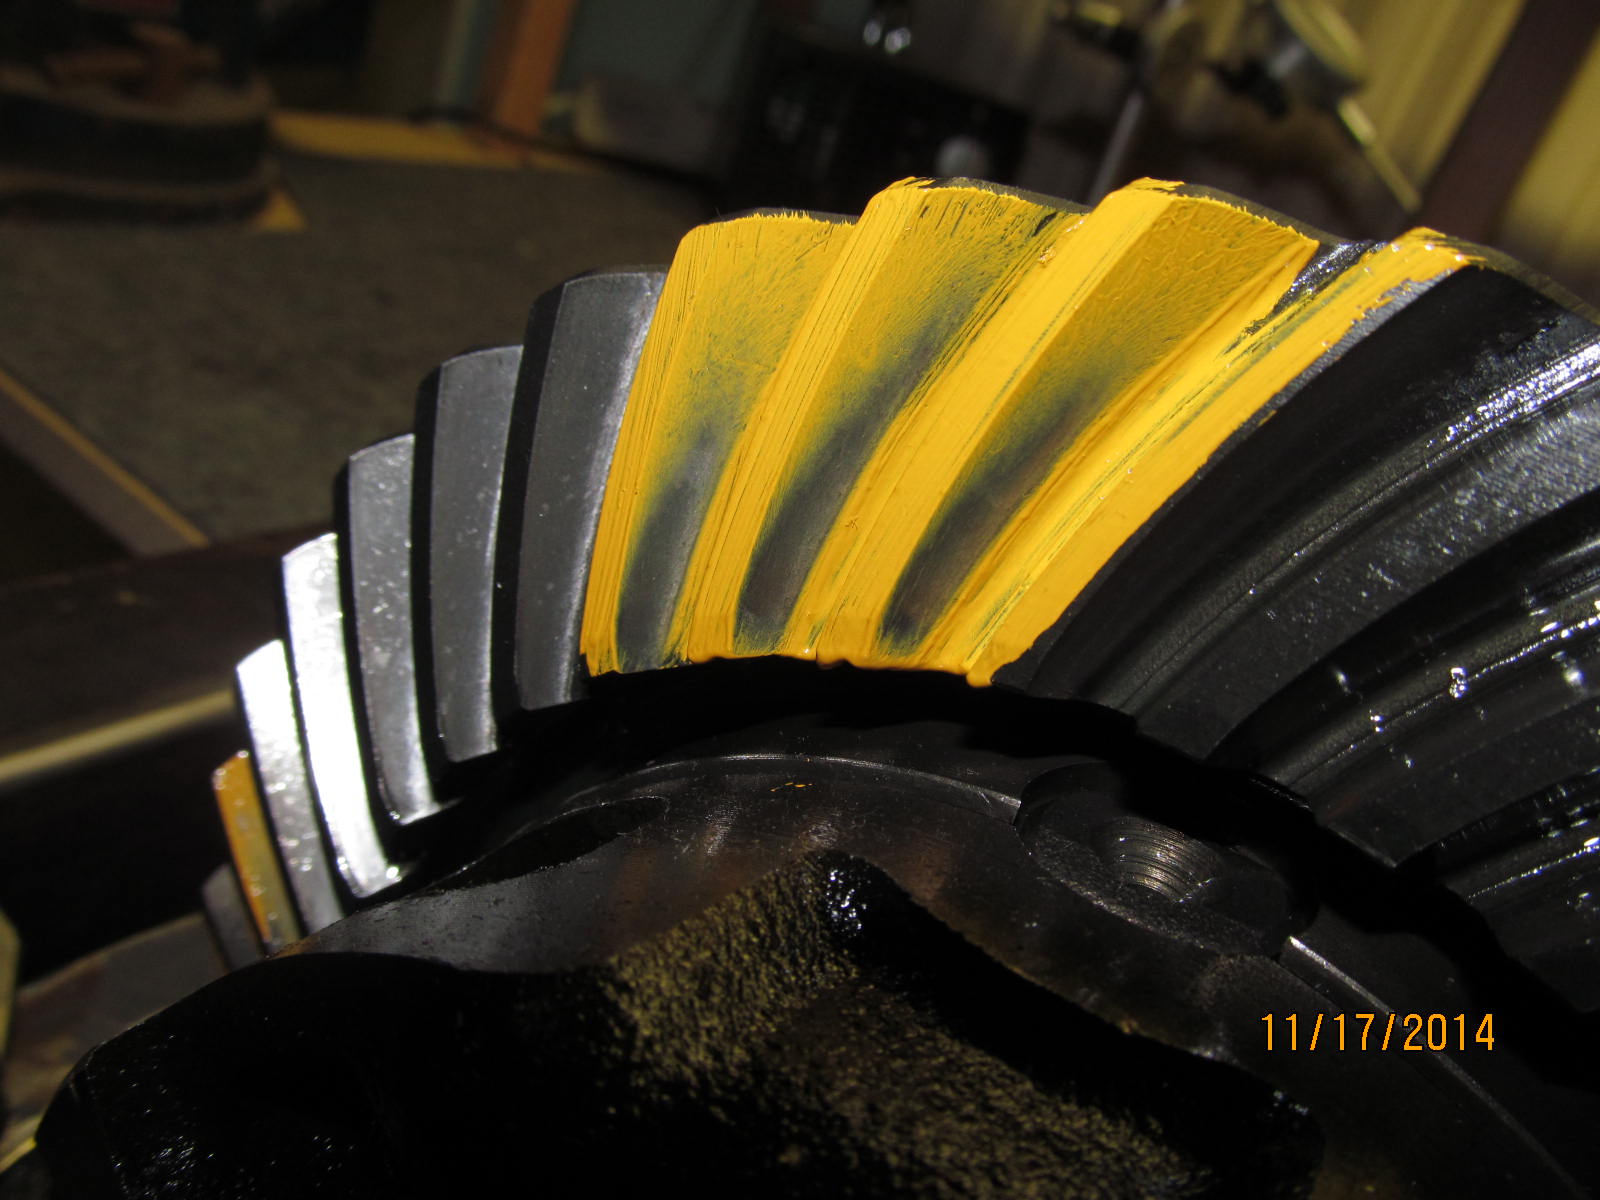
A slightly fuzzy driveside paint check shows this ring gear is very much re-usable.
|
|
|
|
|
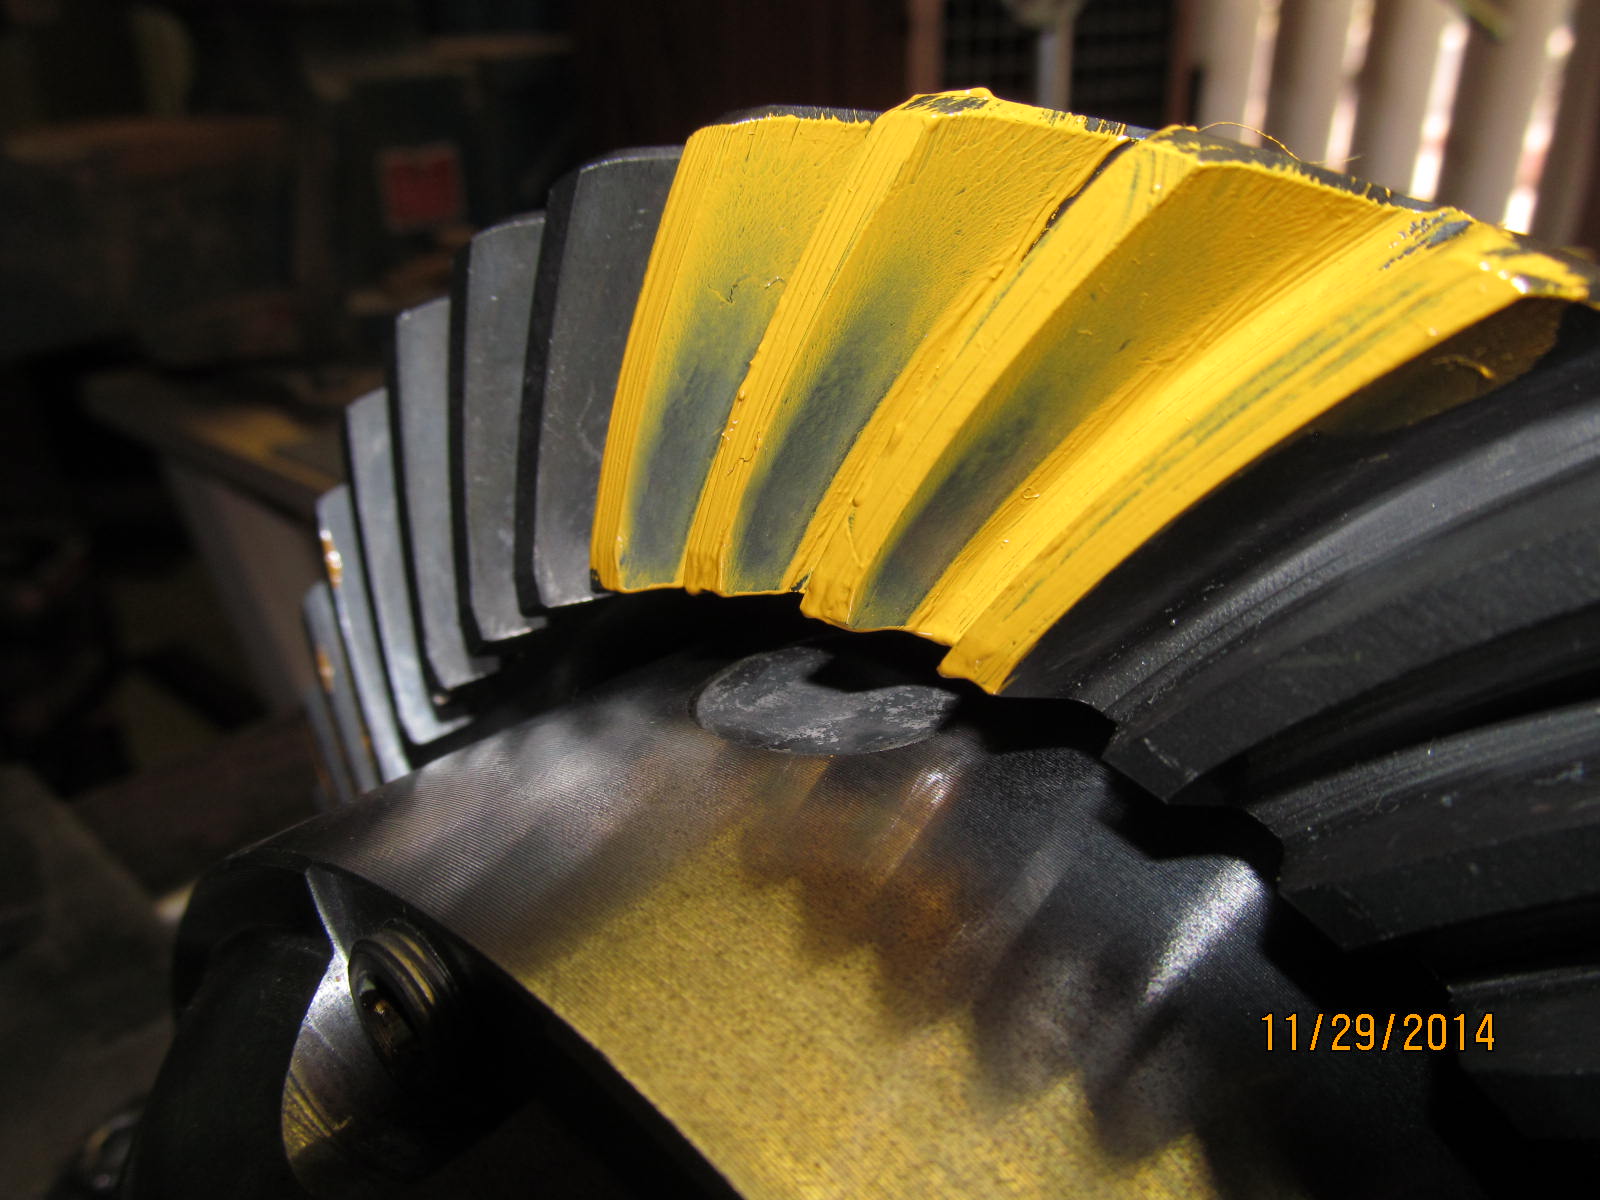
Coast is favoring the toe heavy but otherwise looks great.
|
|
|
|
|
A clear shot of the driveside shown here.
|
|
|

|
|
Another package arrives from Low Range Offroad.
|
|
|
|
|
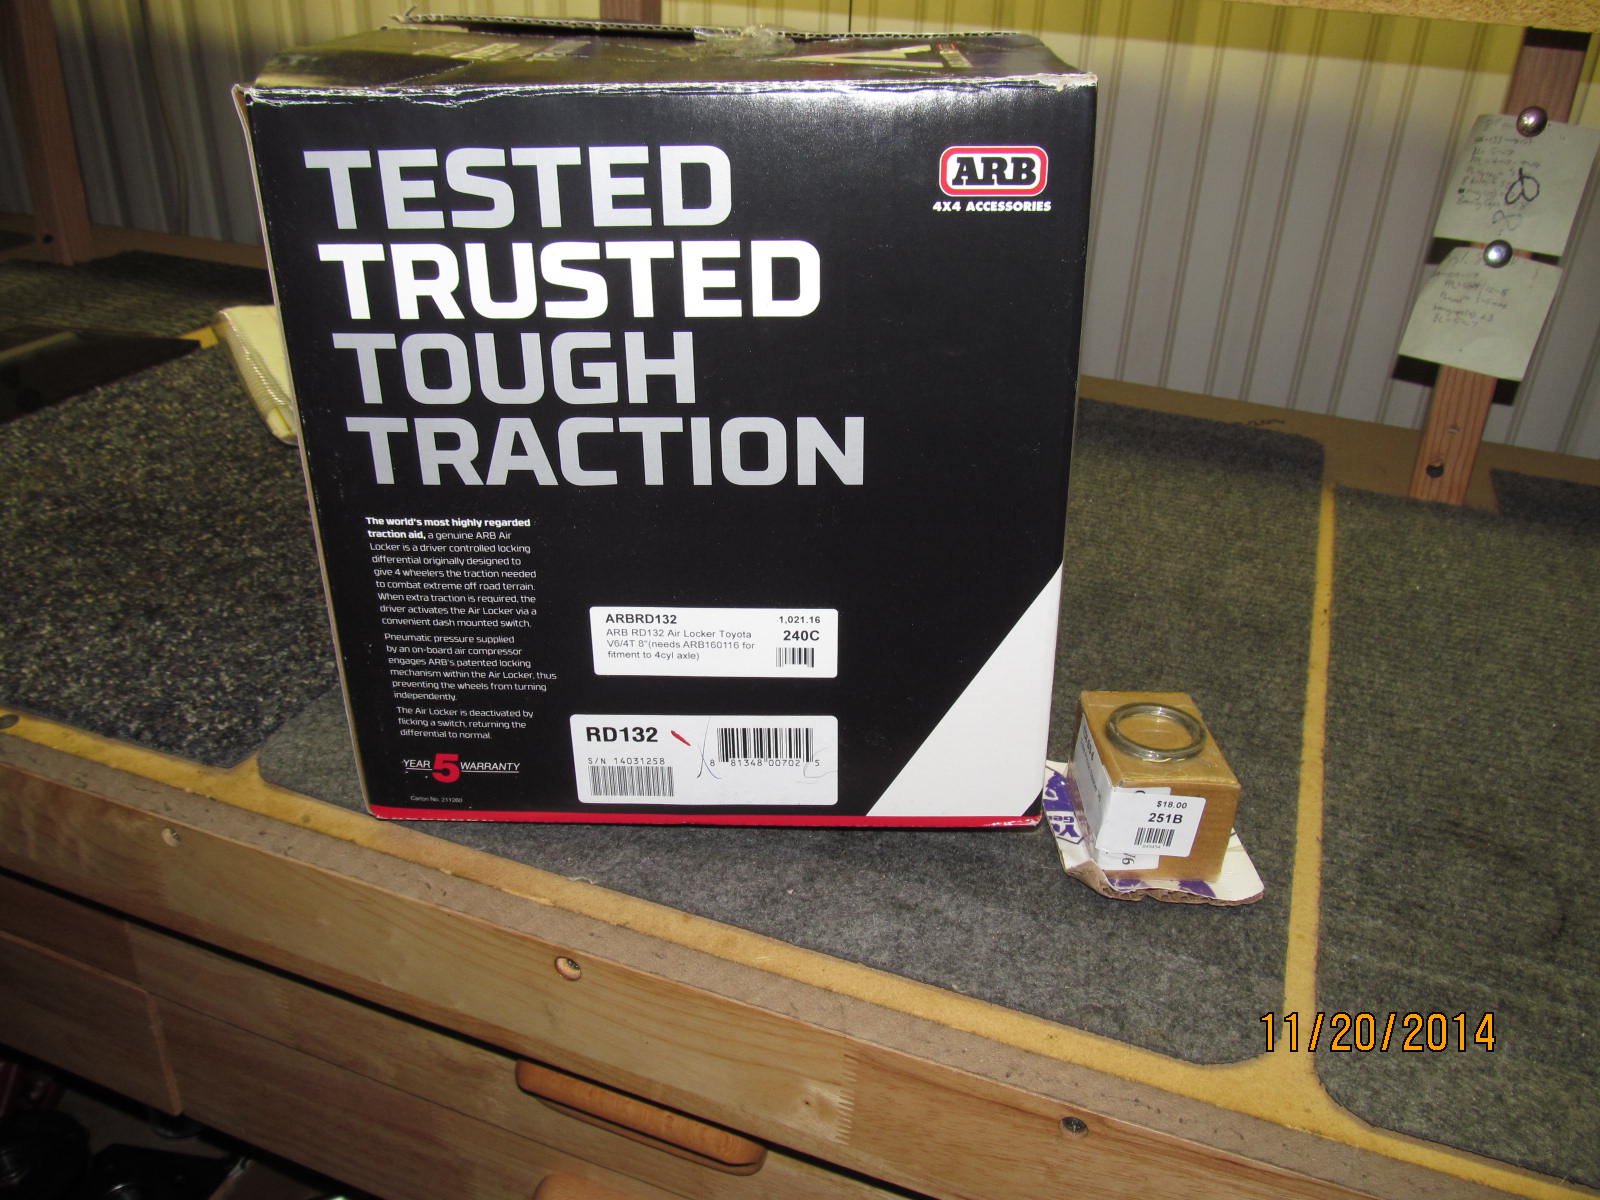
Kevin's arb locker.
|
|
|
|
|
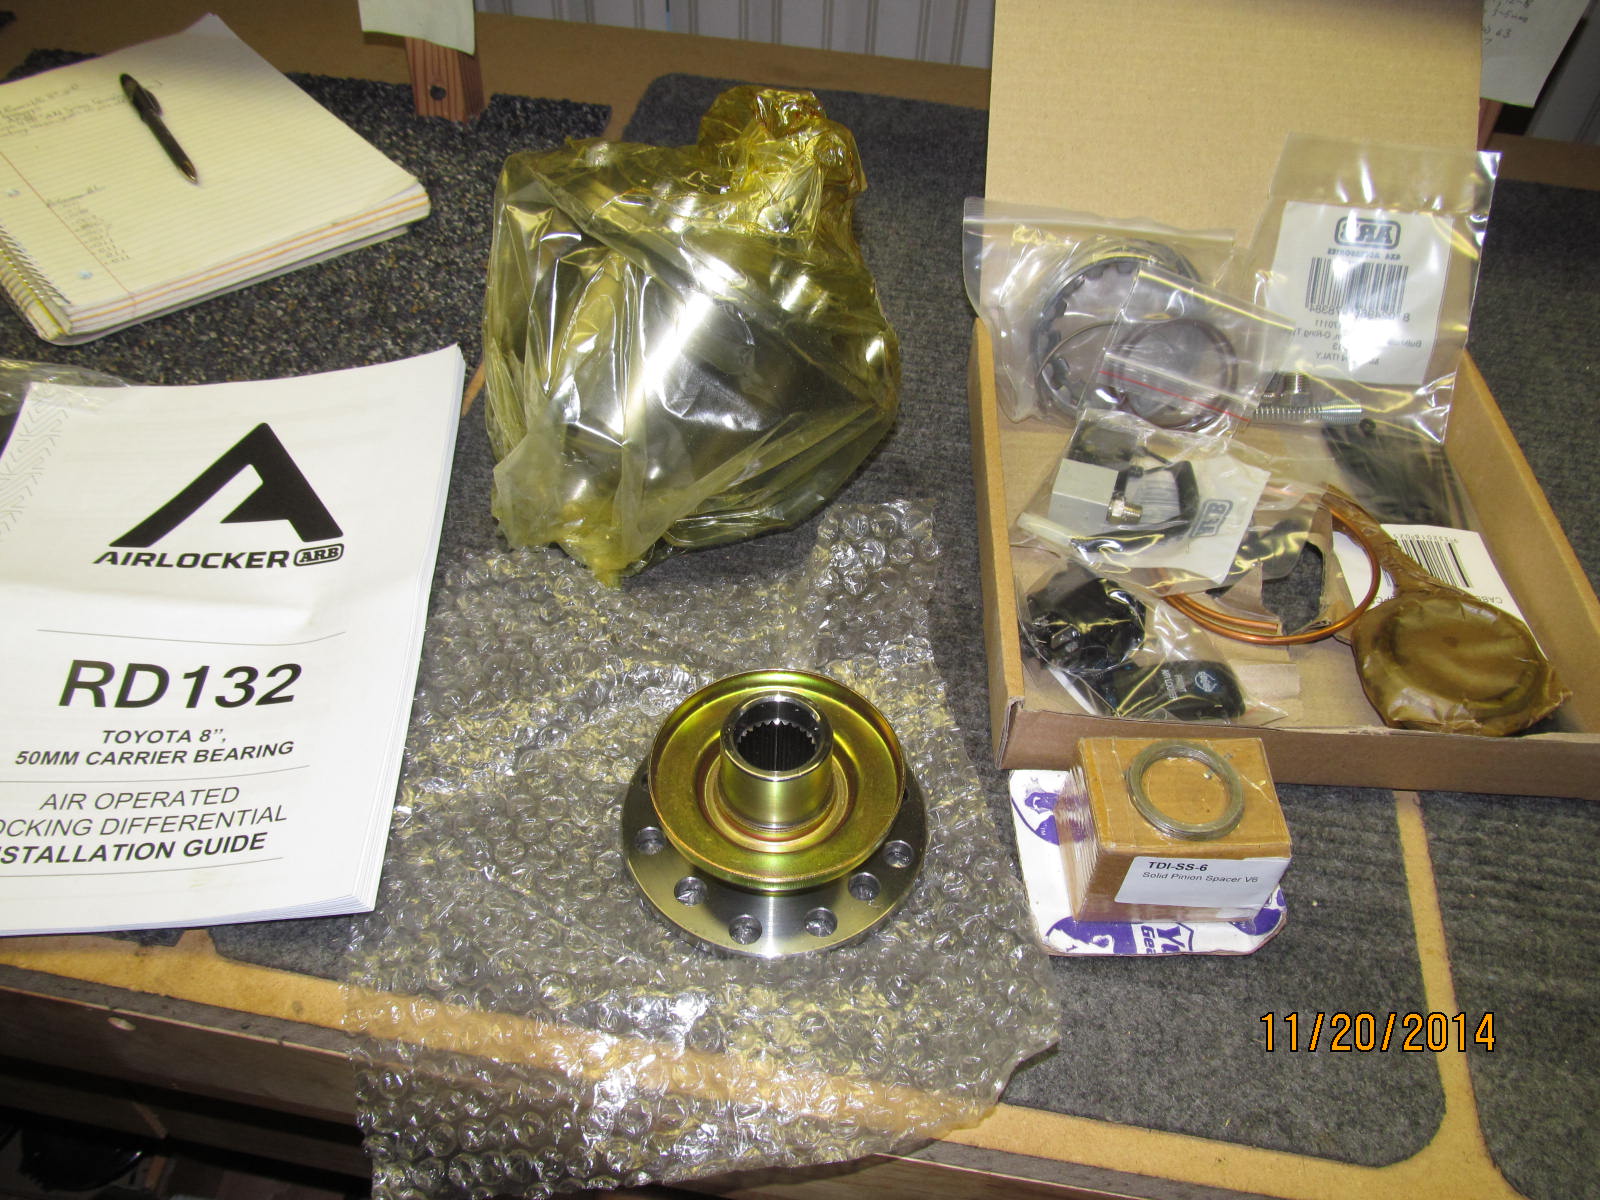
They also supplied the triple drilled 27 spline flange and the solid collar.
|
|
|
|
|
One final package arrives...and I doubt it's a Spartan locker inside.
|
|
|
|
|
...from Davez Offroad Performance
|
|
|
|
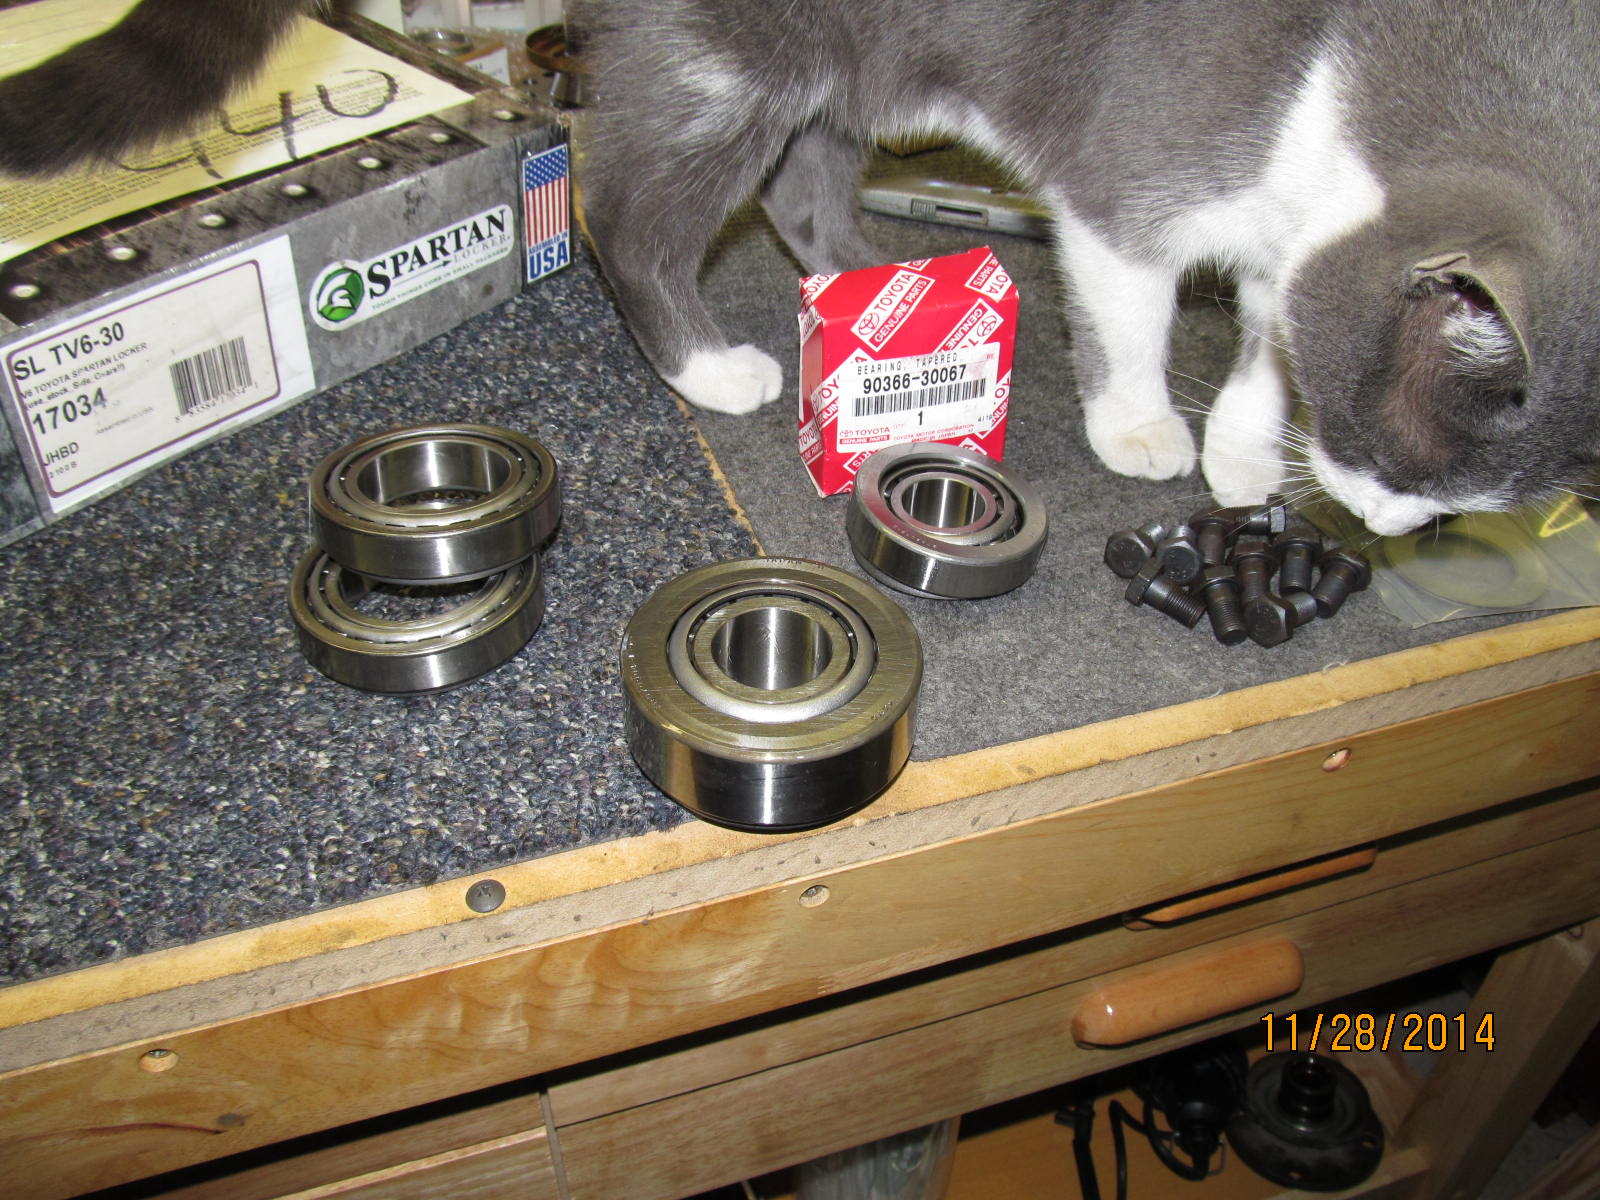
This cat is funny....as soon as she heard all the rustling noises of the newly opened box, she just had
to be first to inspect it.
|
|
|
|
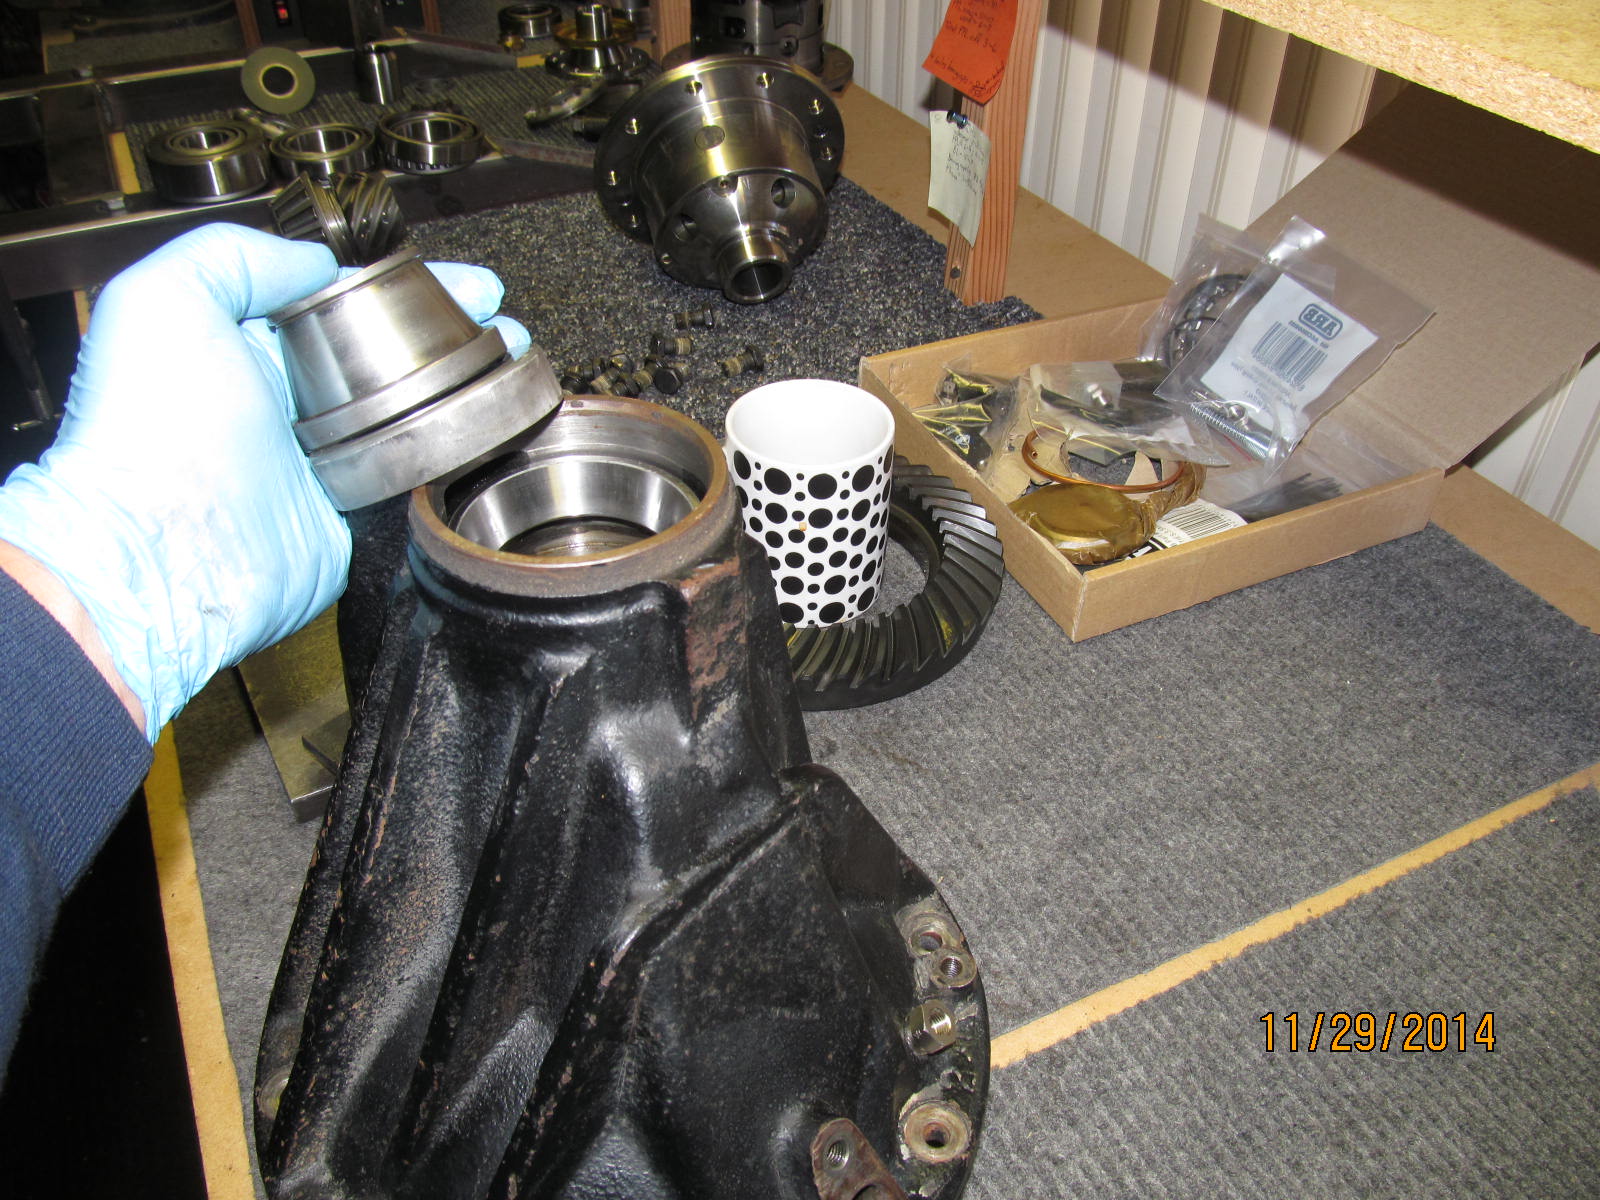
Seems like most online 4x4 places could not come up with a complete V6 master kit. In particular, the big V6
inner pinion bearing, shown out front, is on some kind of national back-order. Dave was able to piece together
a kit for us and it's much appreciated. Best way to contact Dave is his company email.
|
|
|
|
|
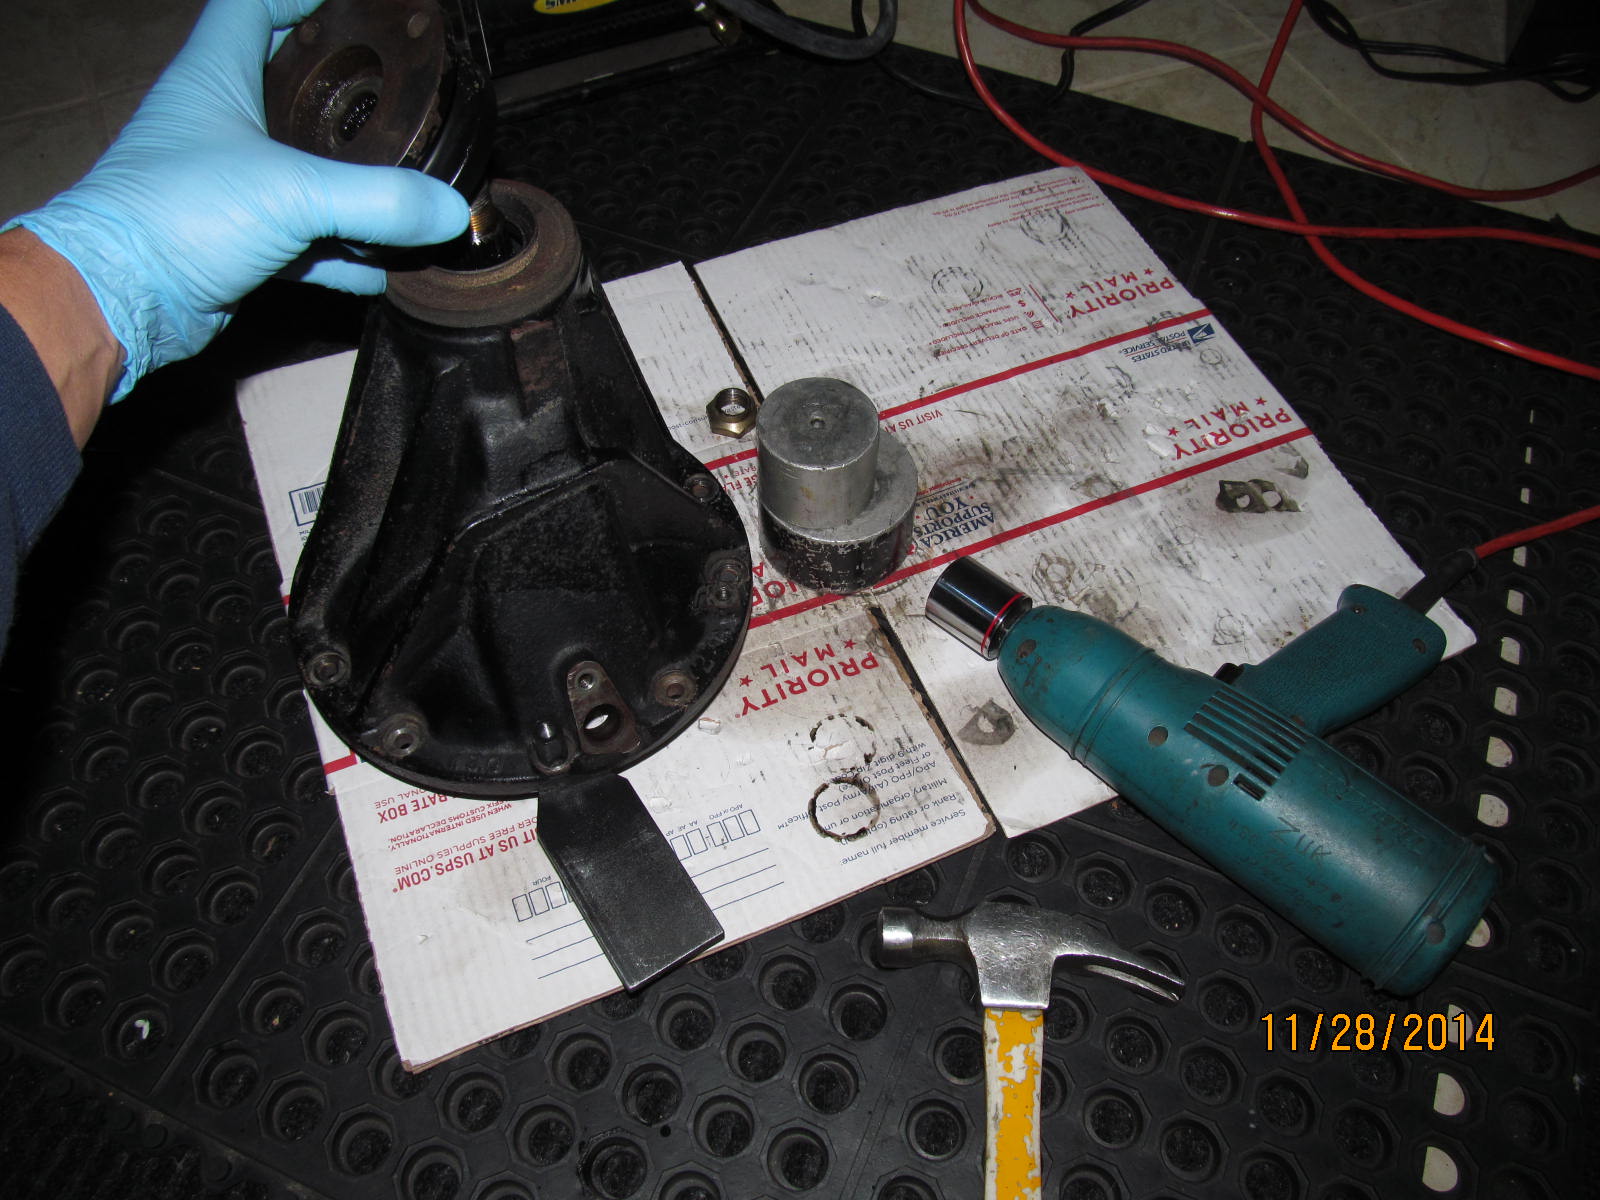
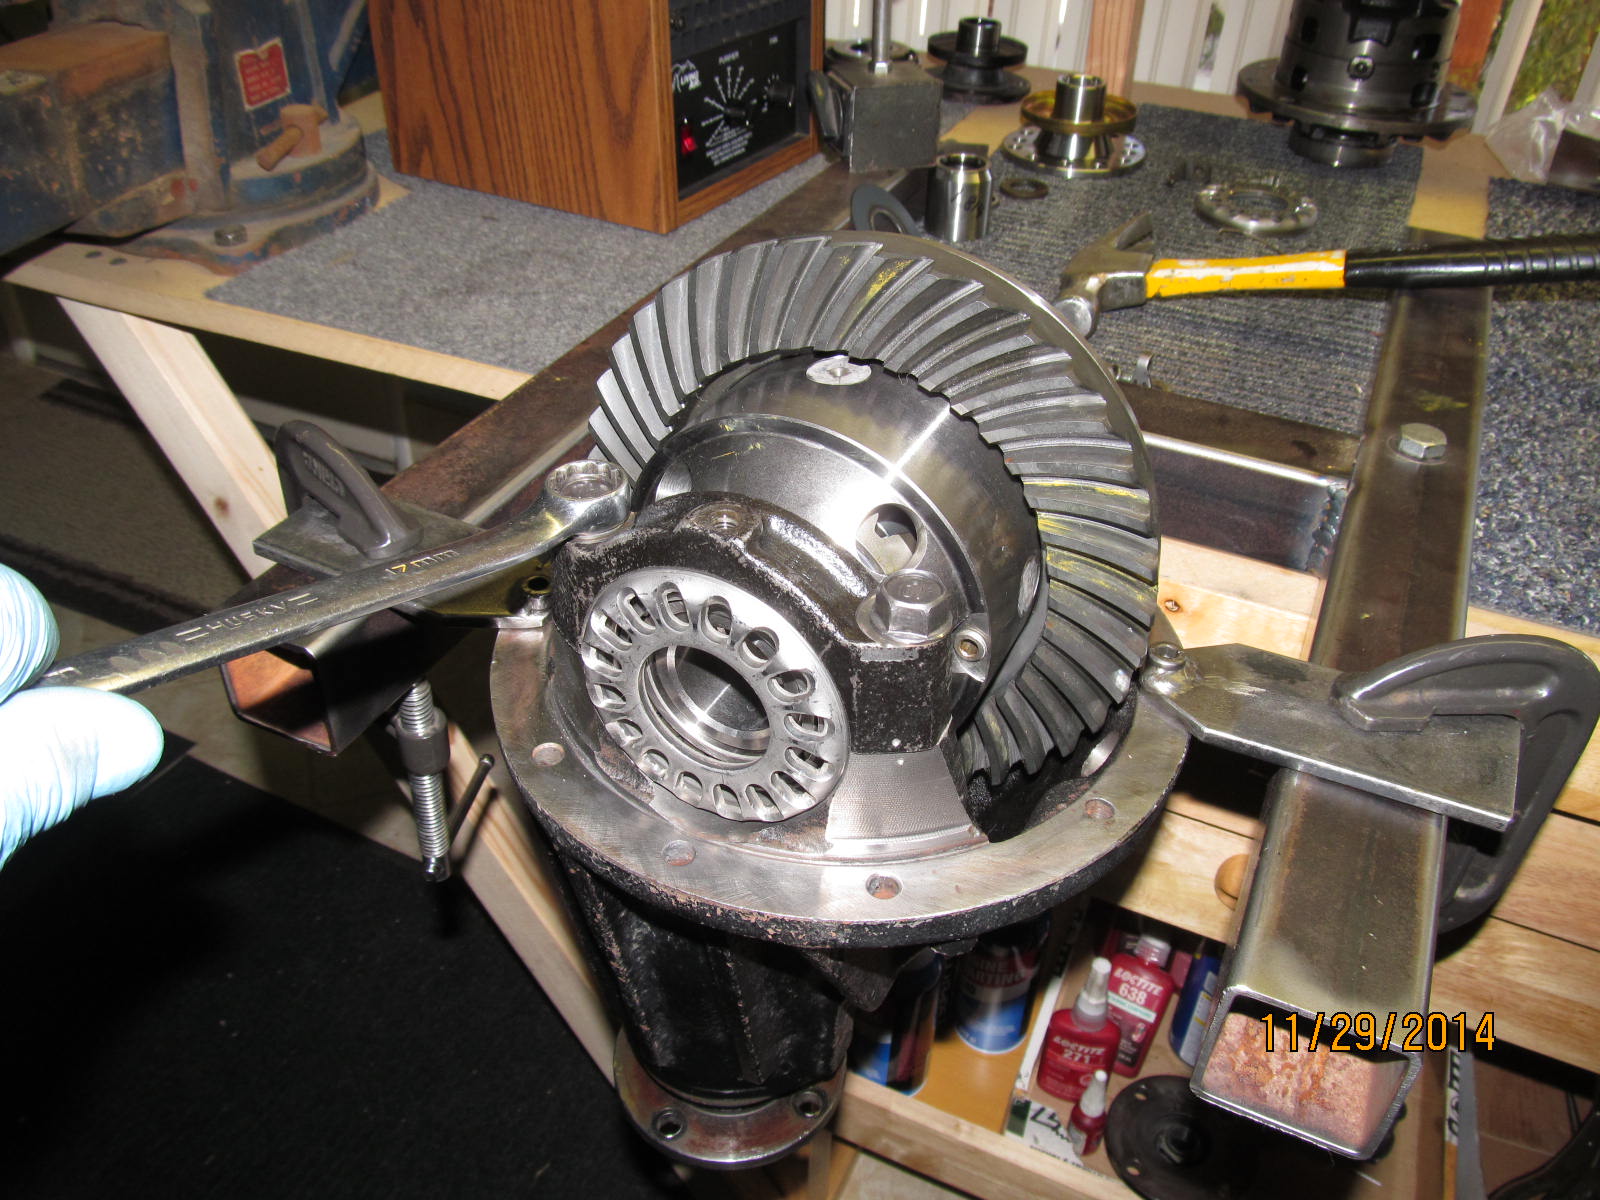
Dis-assembly now officially starts...4 bearing cap bolts get wizzed off first.
|
|
|
|
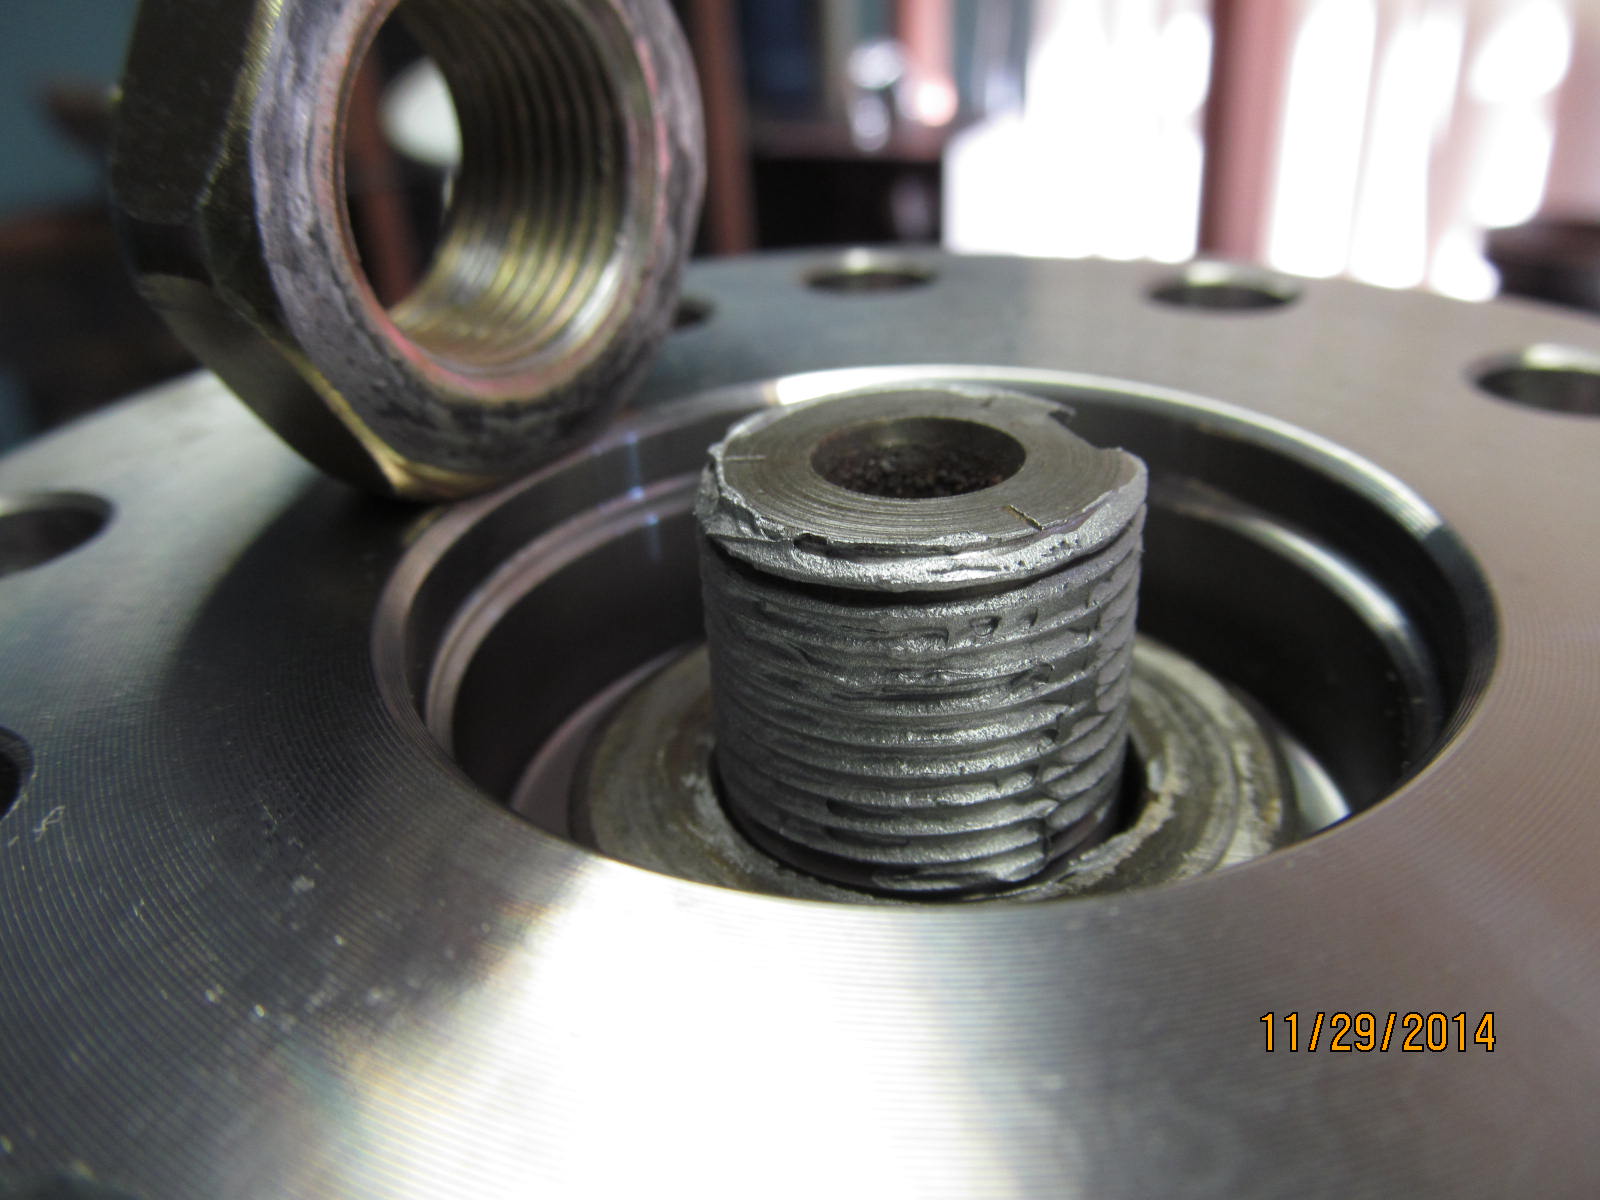
Then, working my way to the other end, the pinion flange is removed. Glad we have a new triple drilled
flange because this one looks rough.
|
|
|
|
|
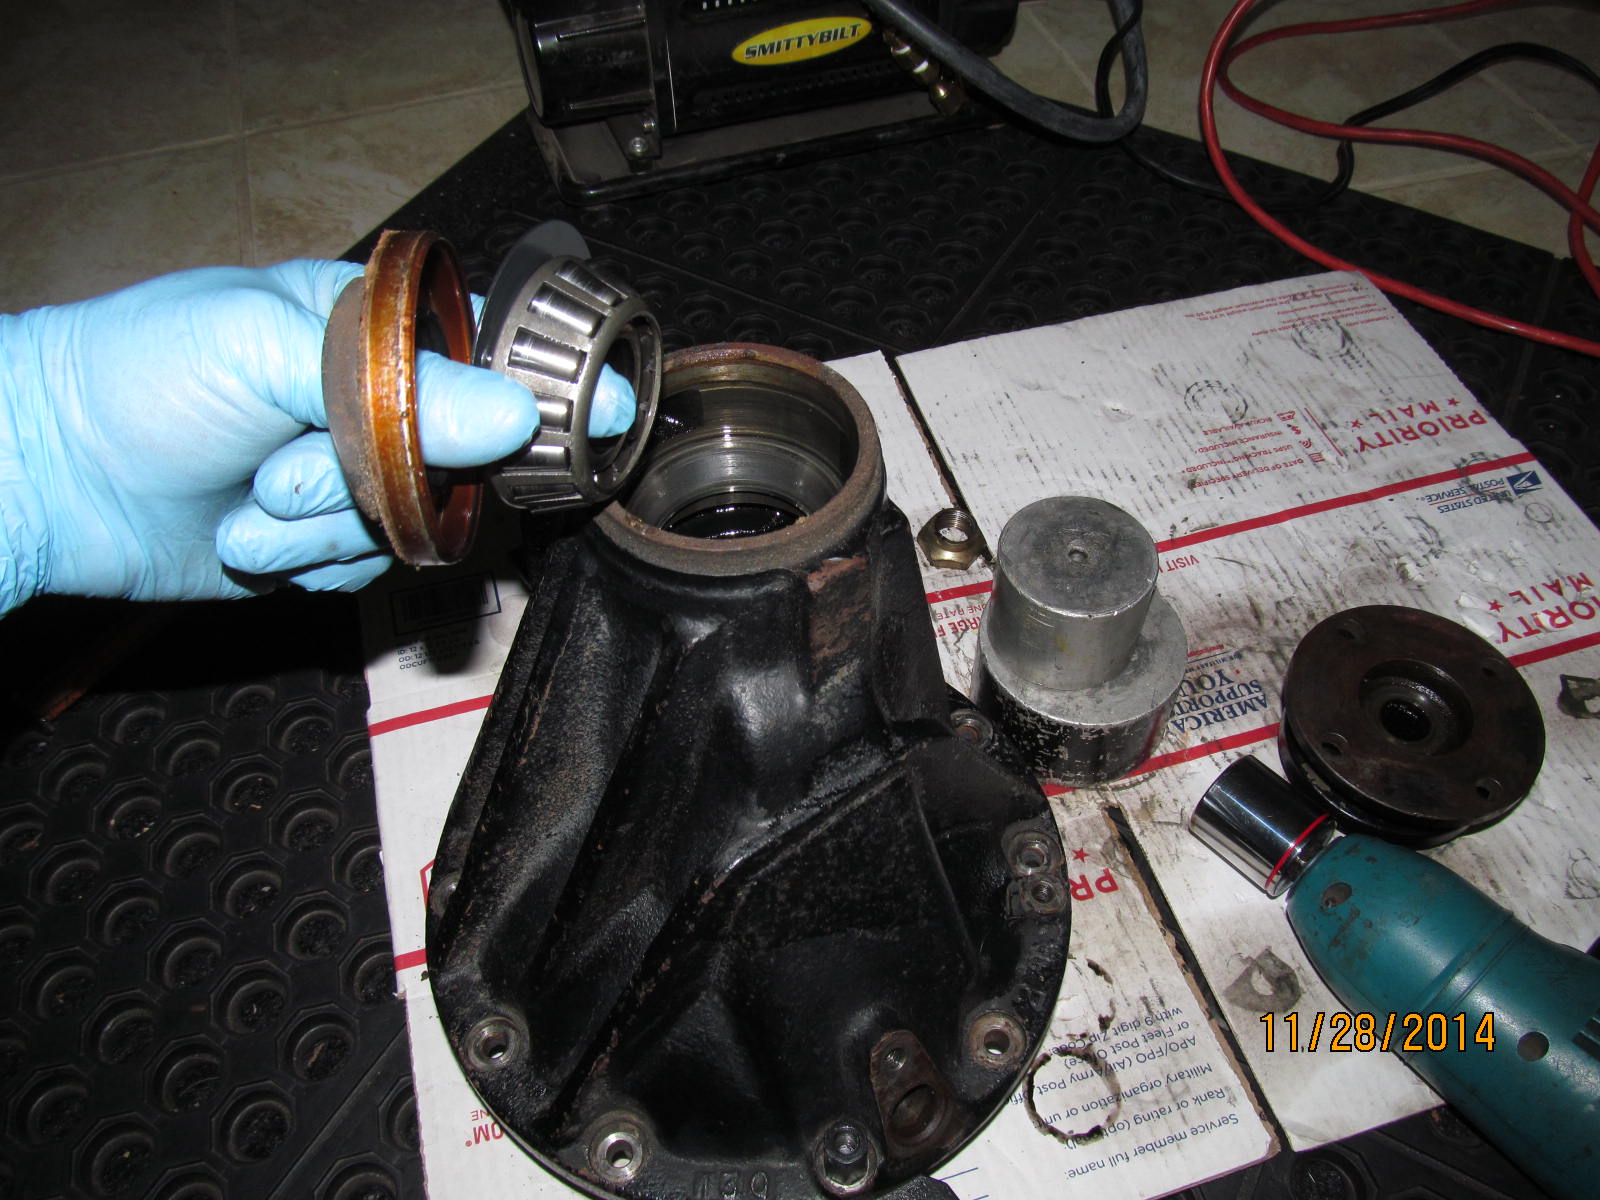
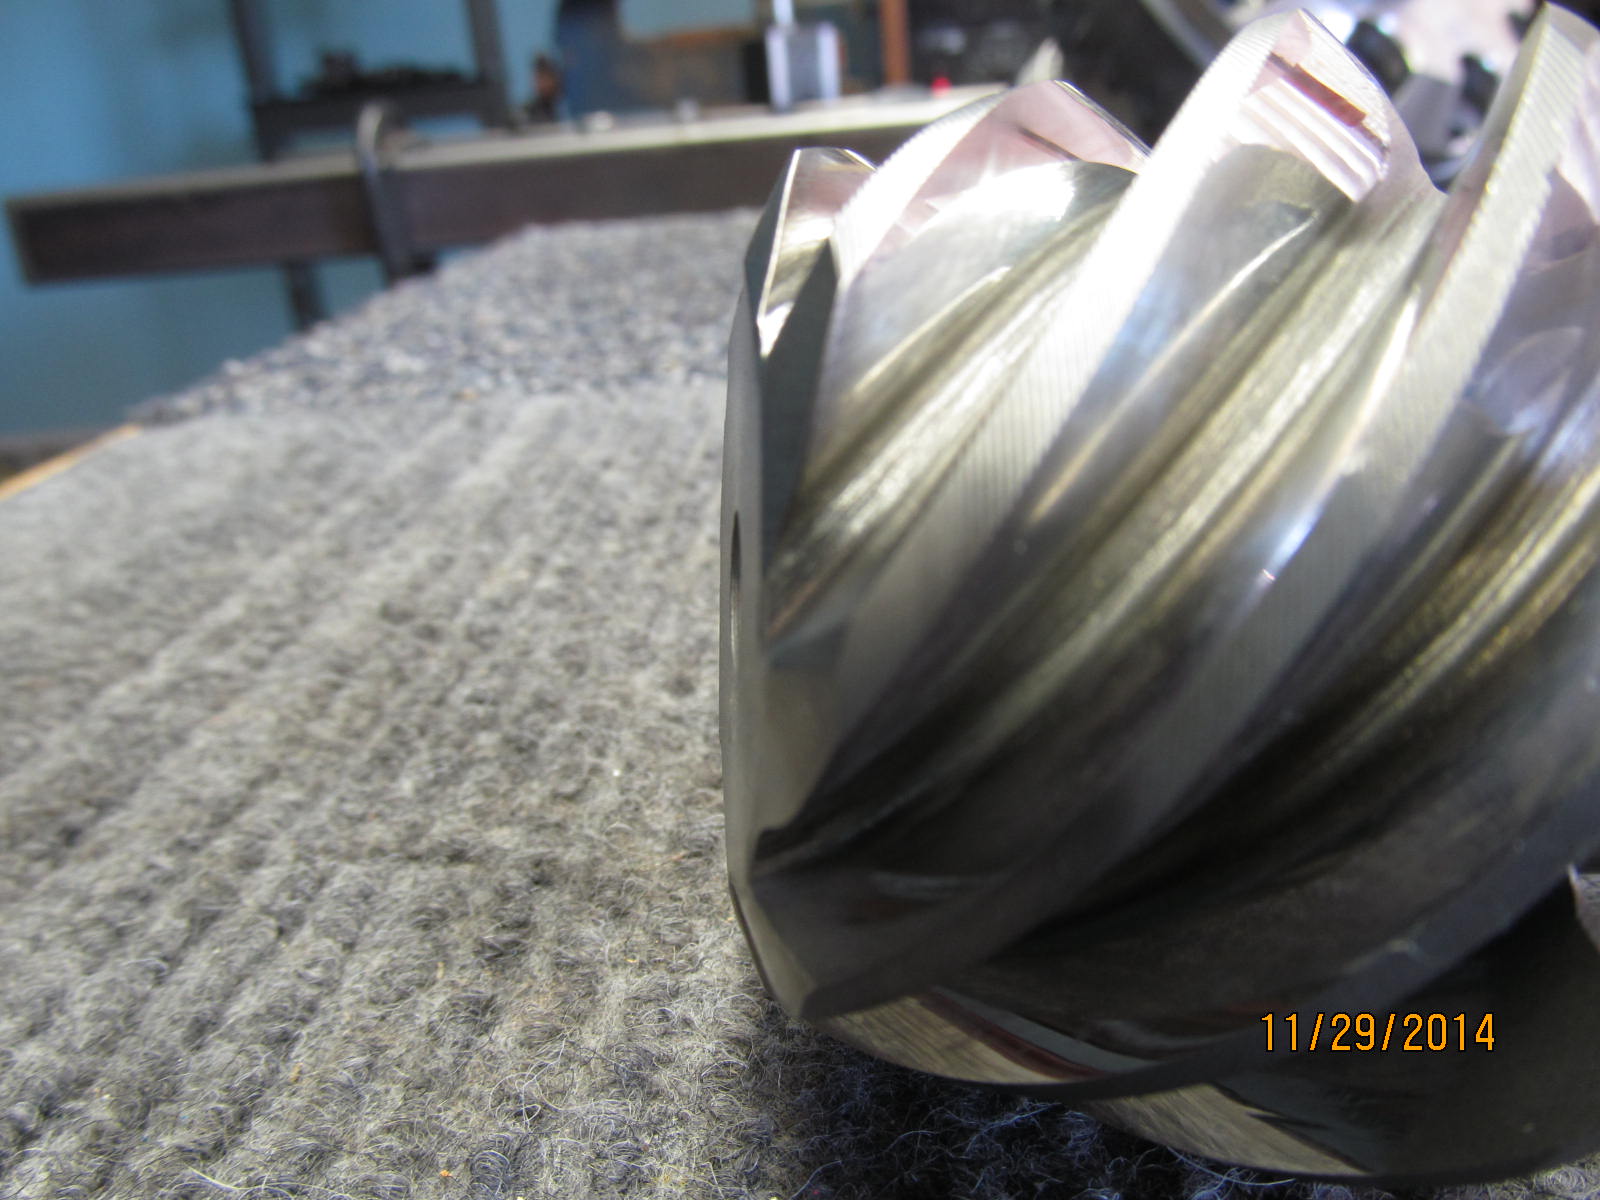
The old pinion bearing was worn and no chunky spots on the rollers this time.
|
|
|
|
This kind of race damage was probably due to the breakdown of gear oil over a long period of time.
Gear oil can become corrosive after breakdown. See this pdf file for more info on this. Gear Failures
|
|
|
|
|
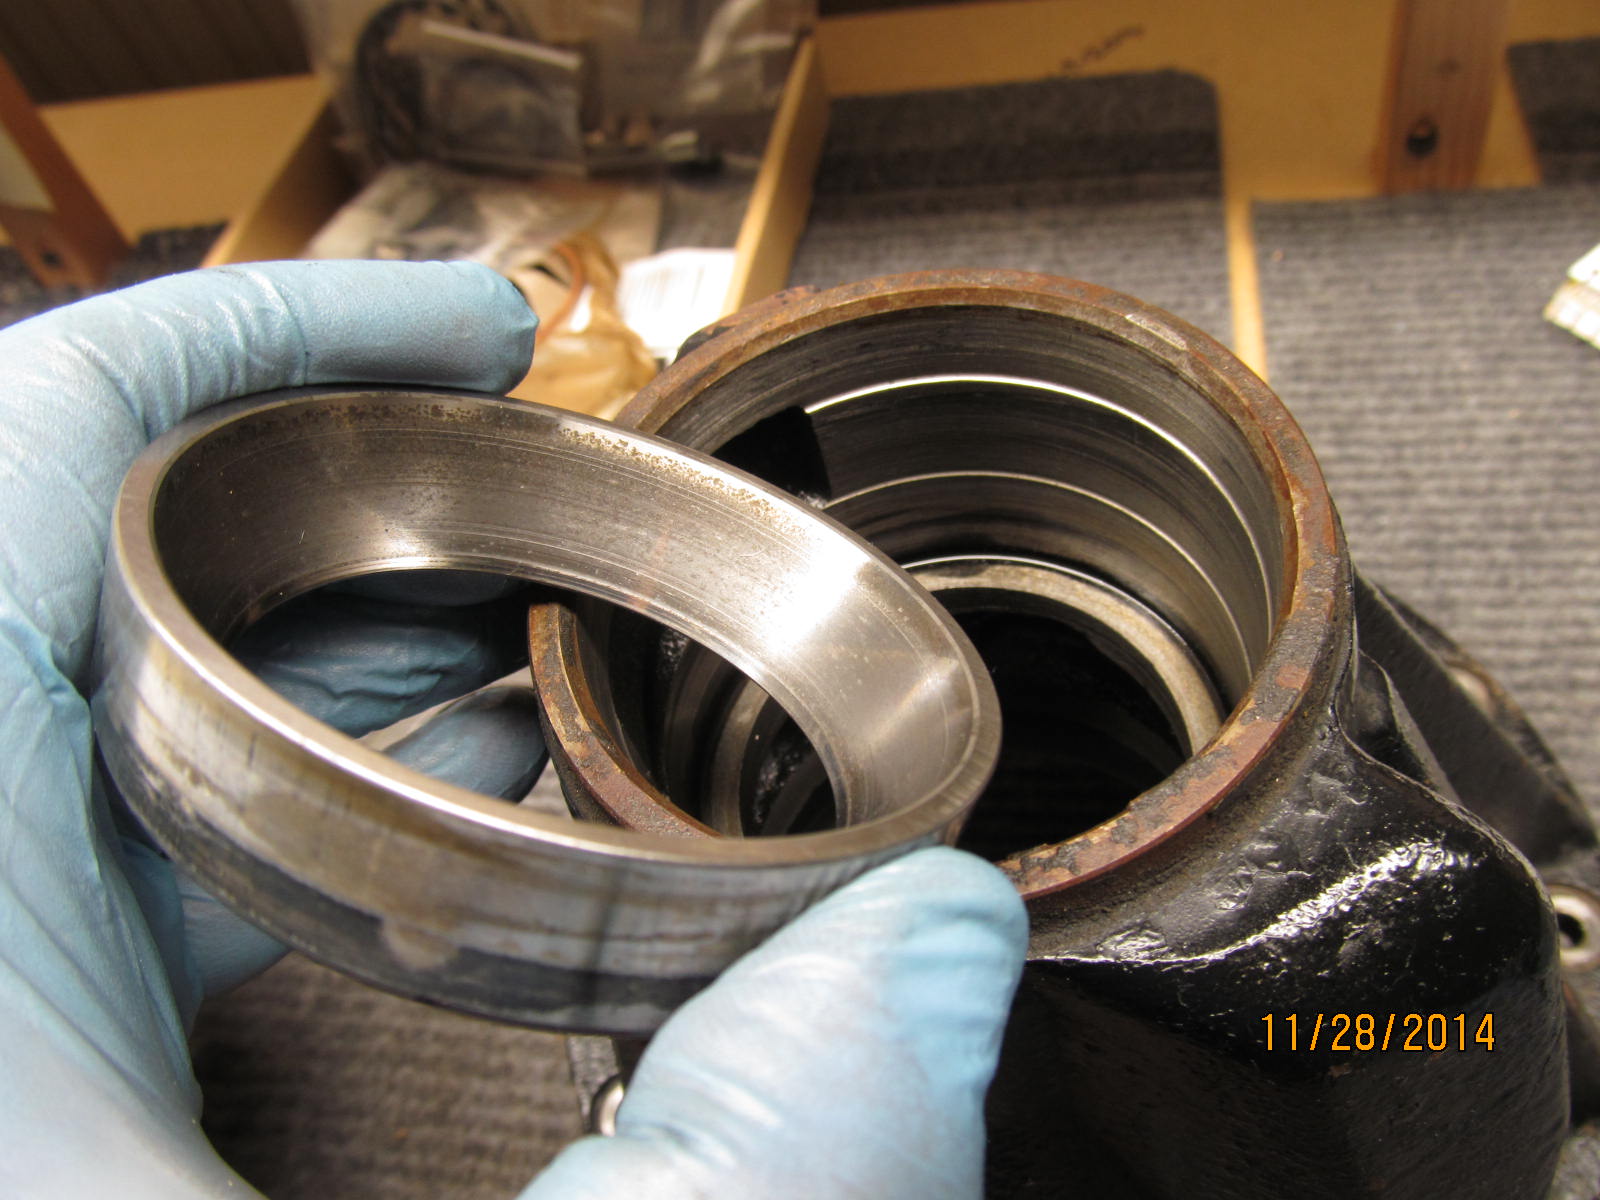
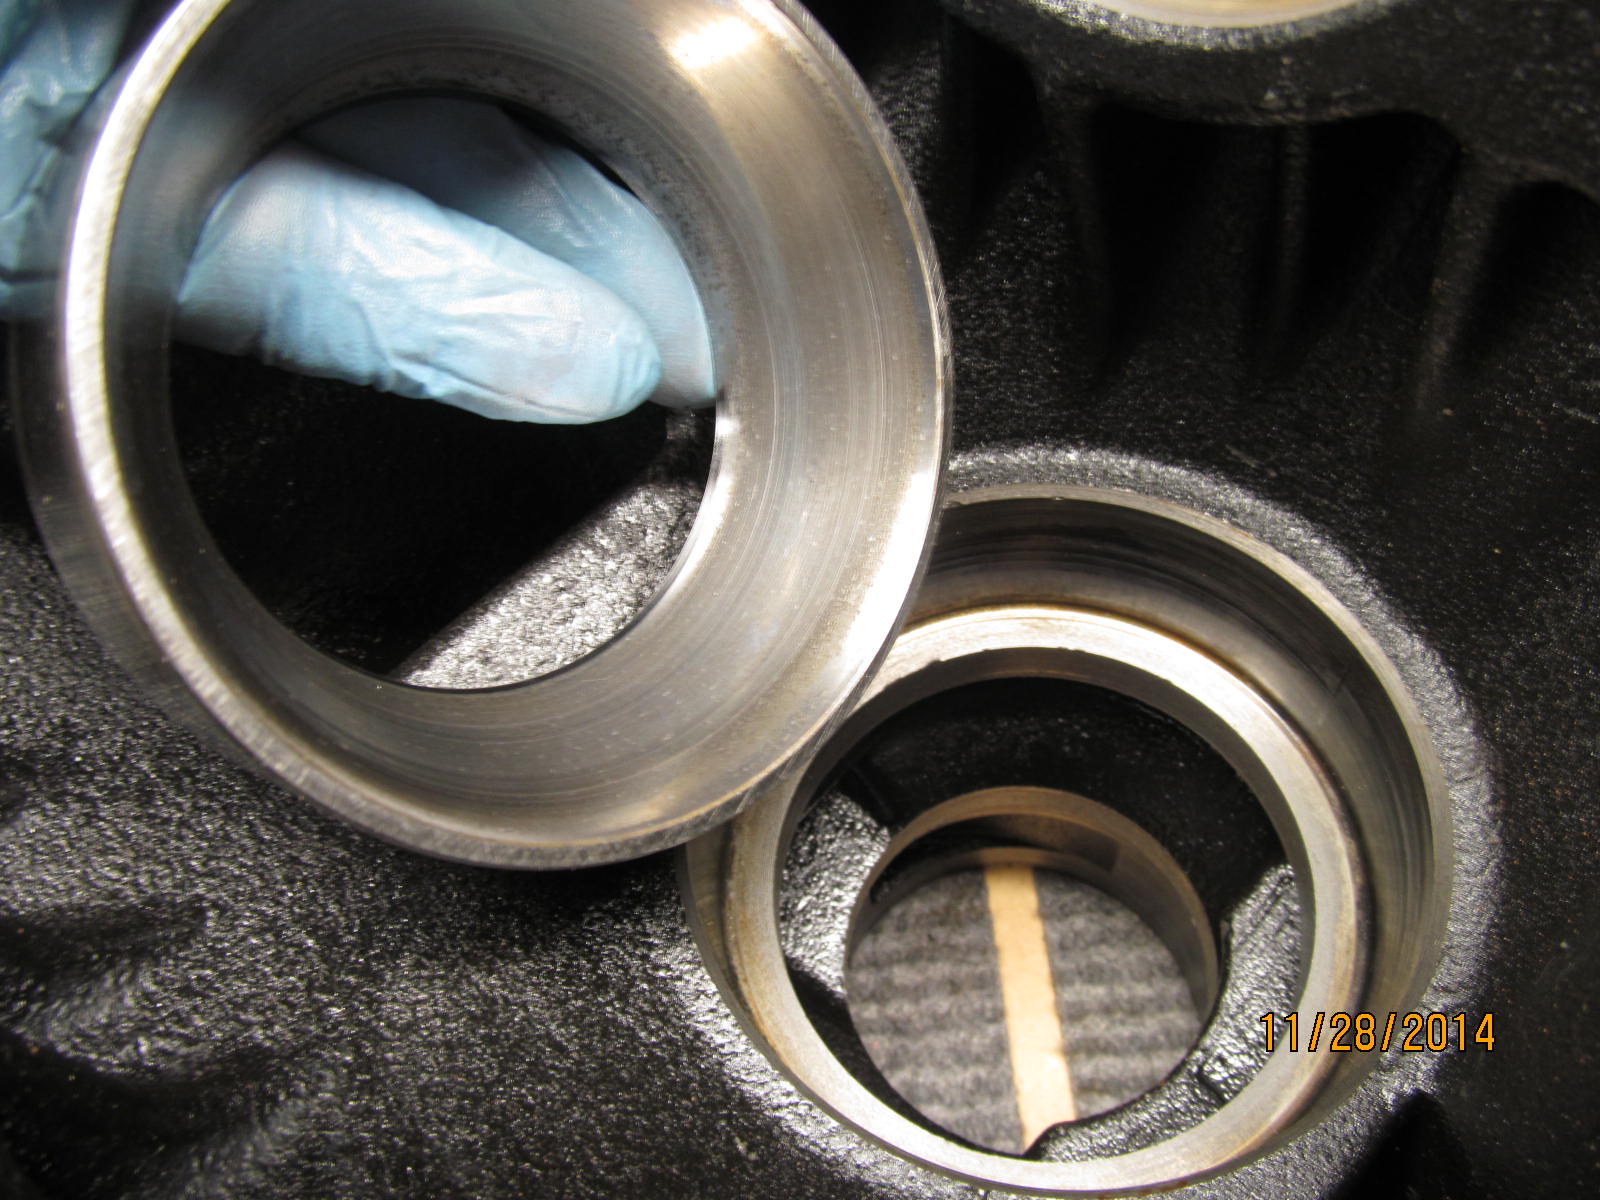
The large inner race also shows the same corrosive damage.
|
|
|
|
|
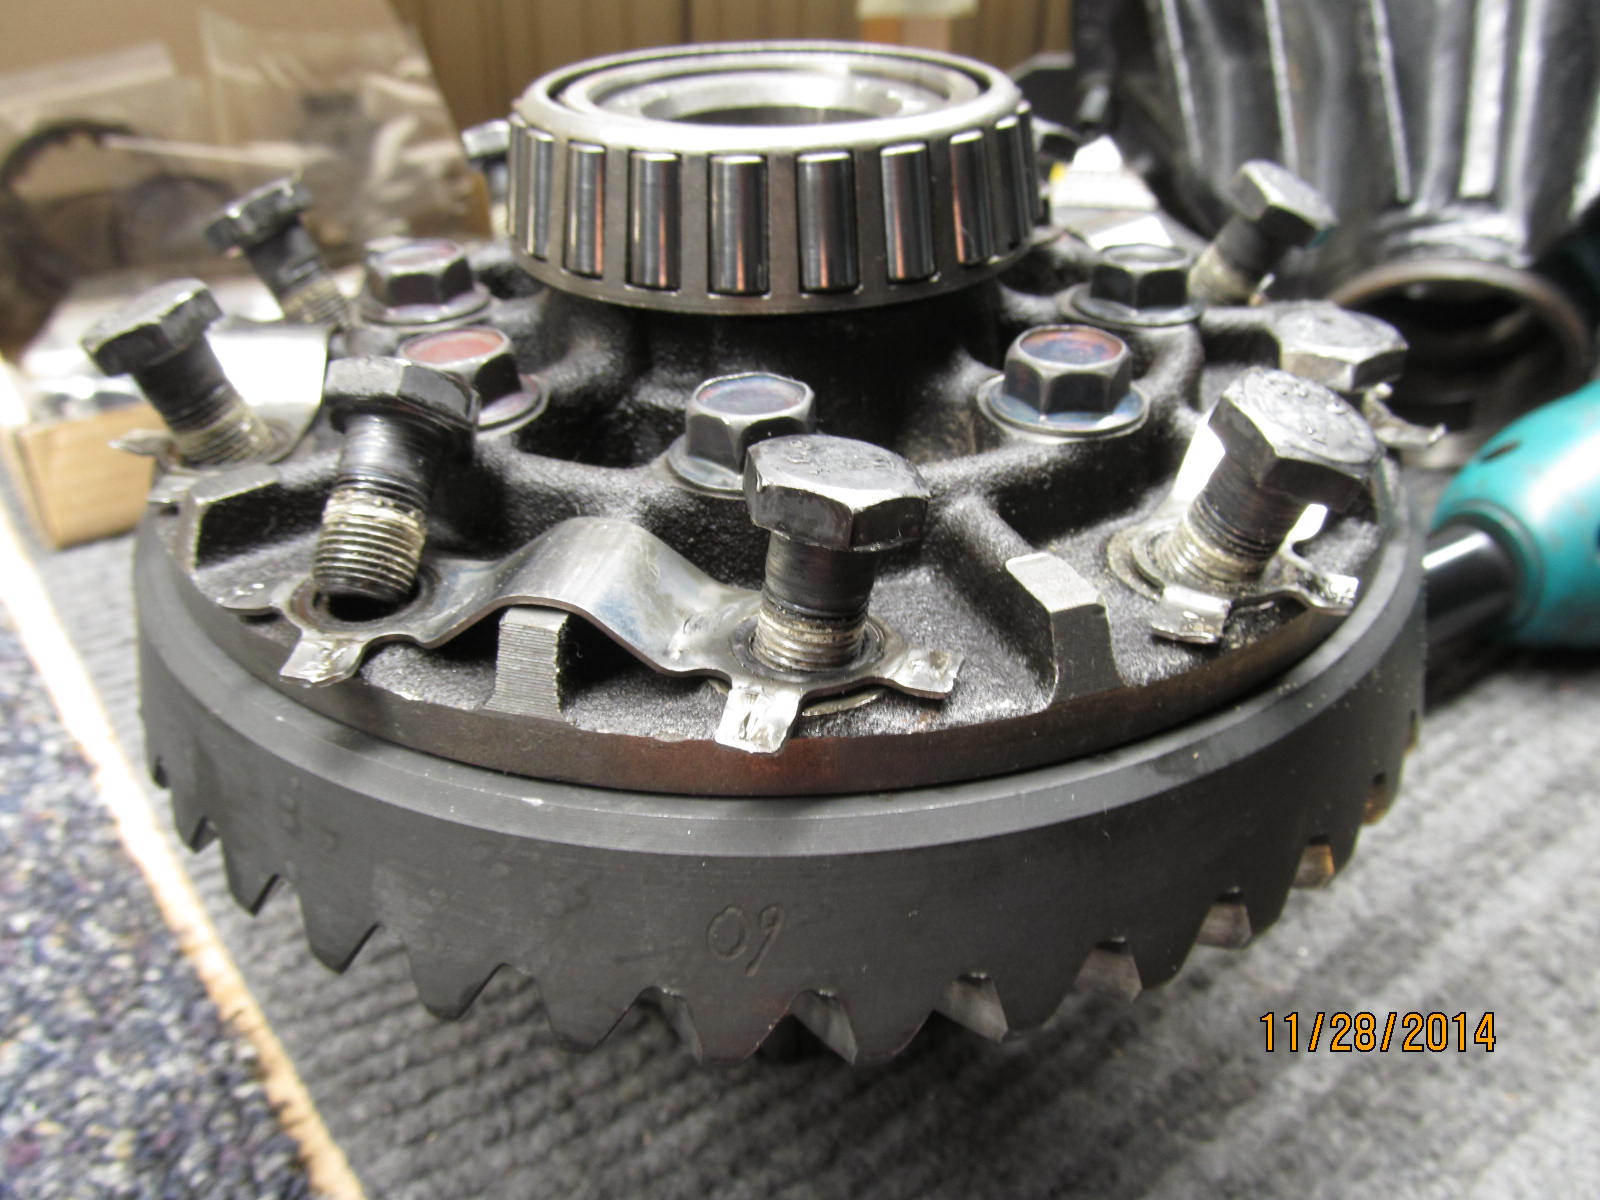
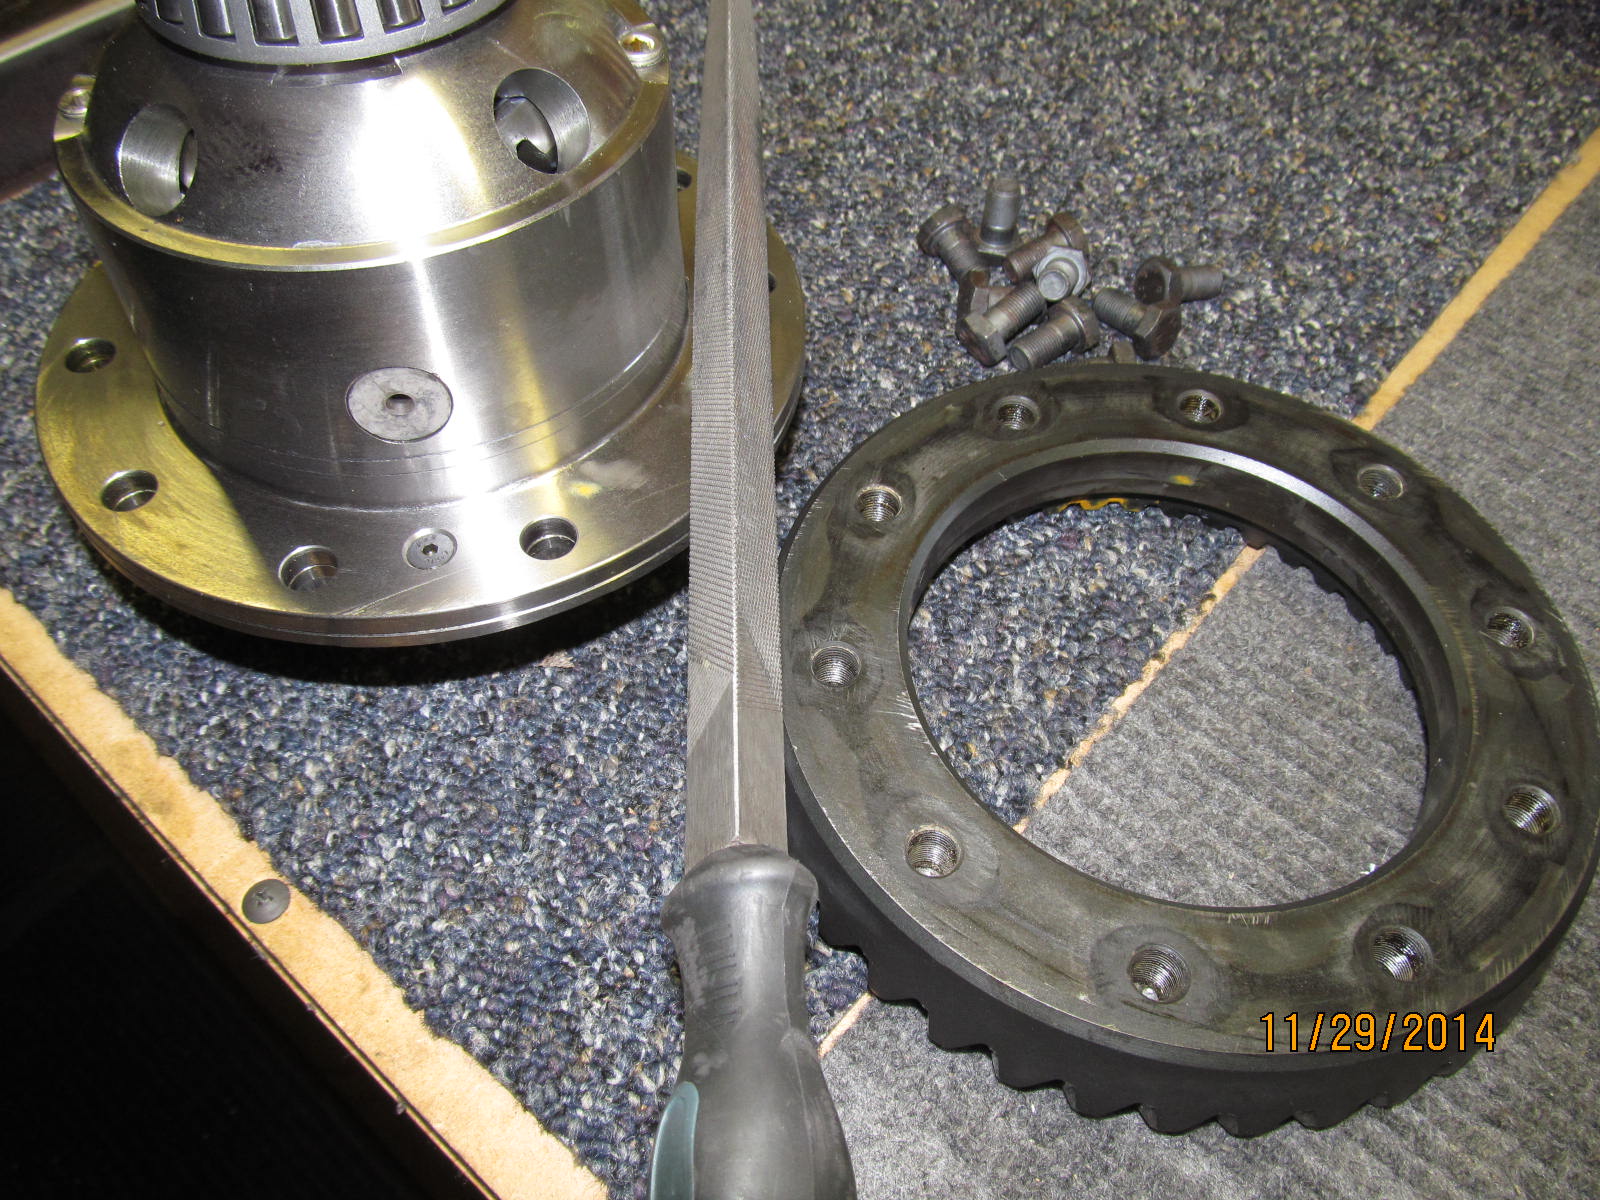
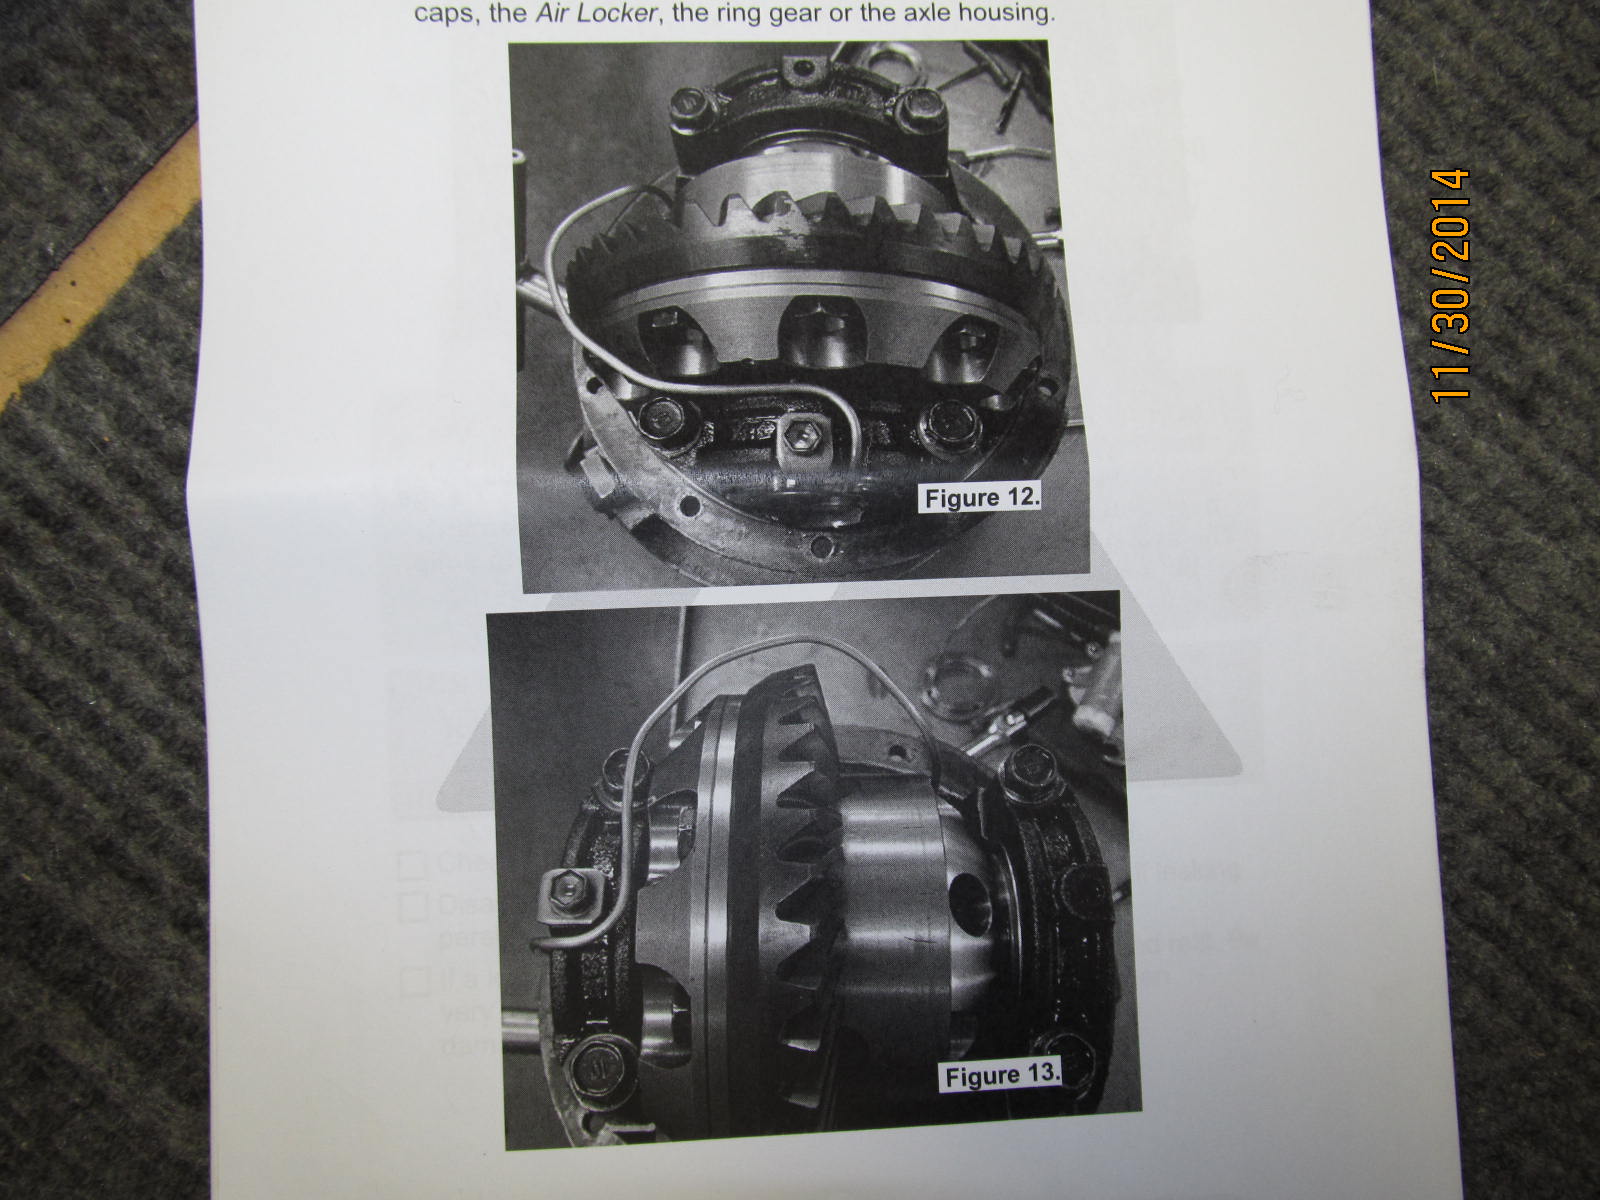
Remove the Superior 488 ring-gear to mount to the arb.
|
|
|
|
|
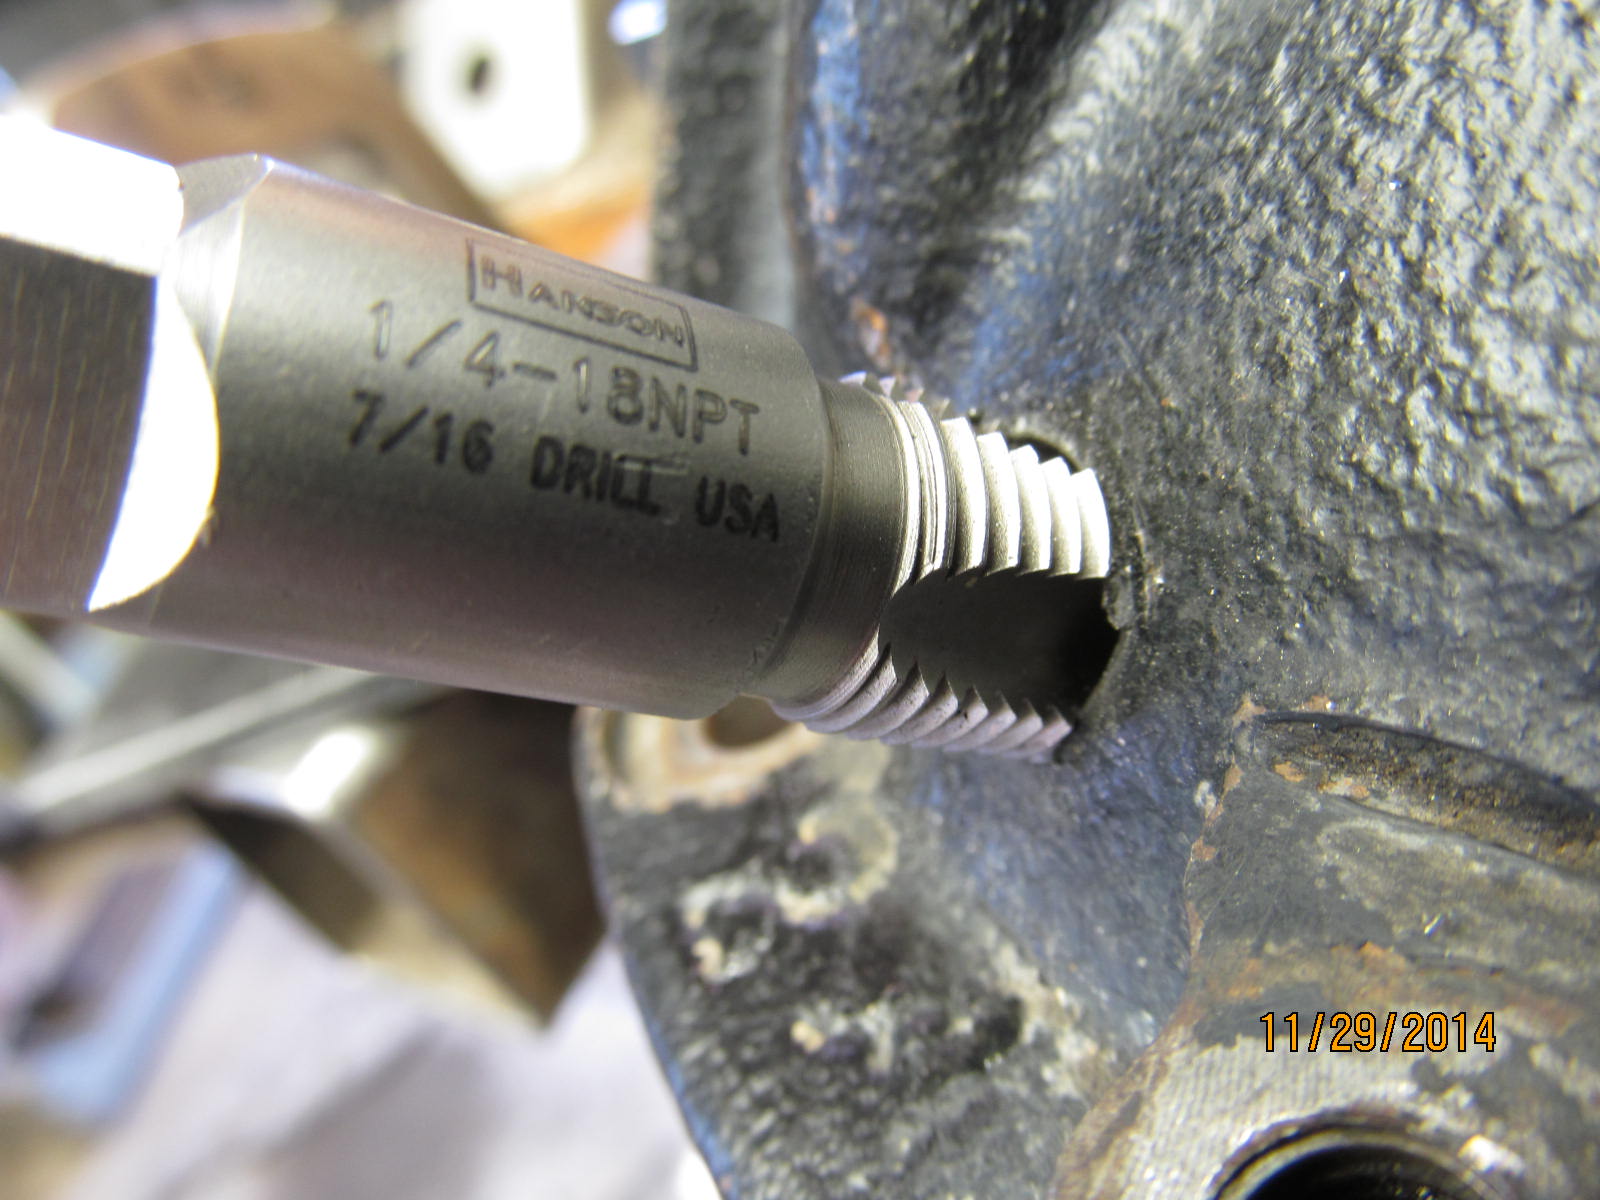
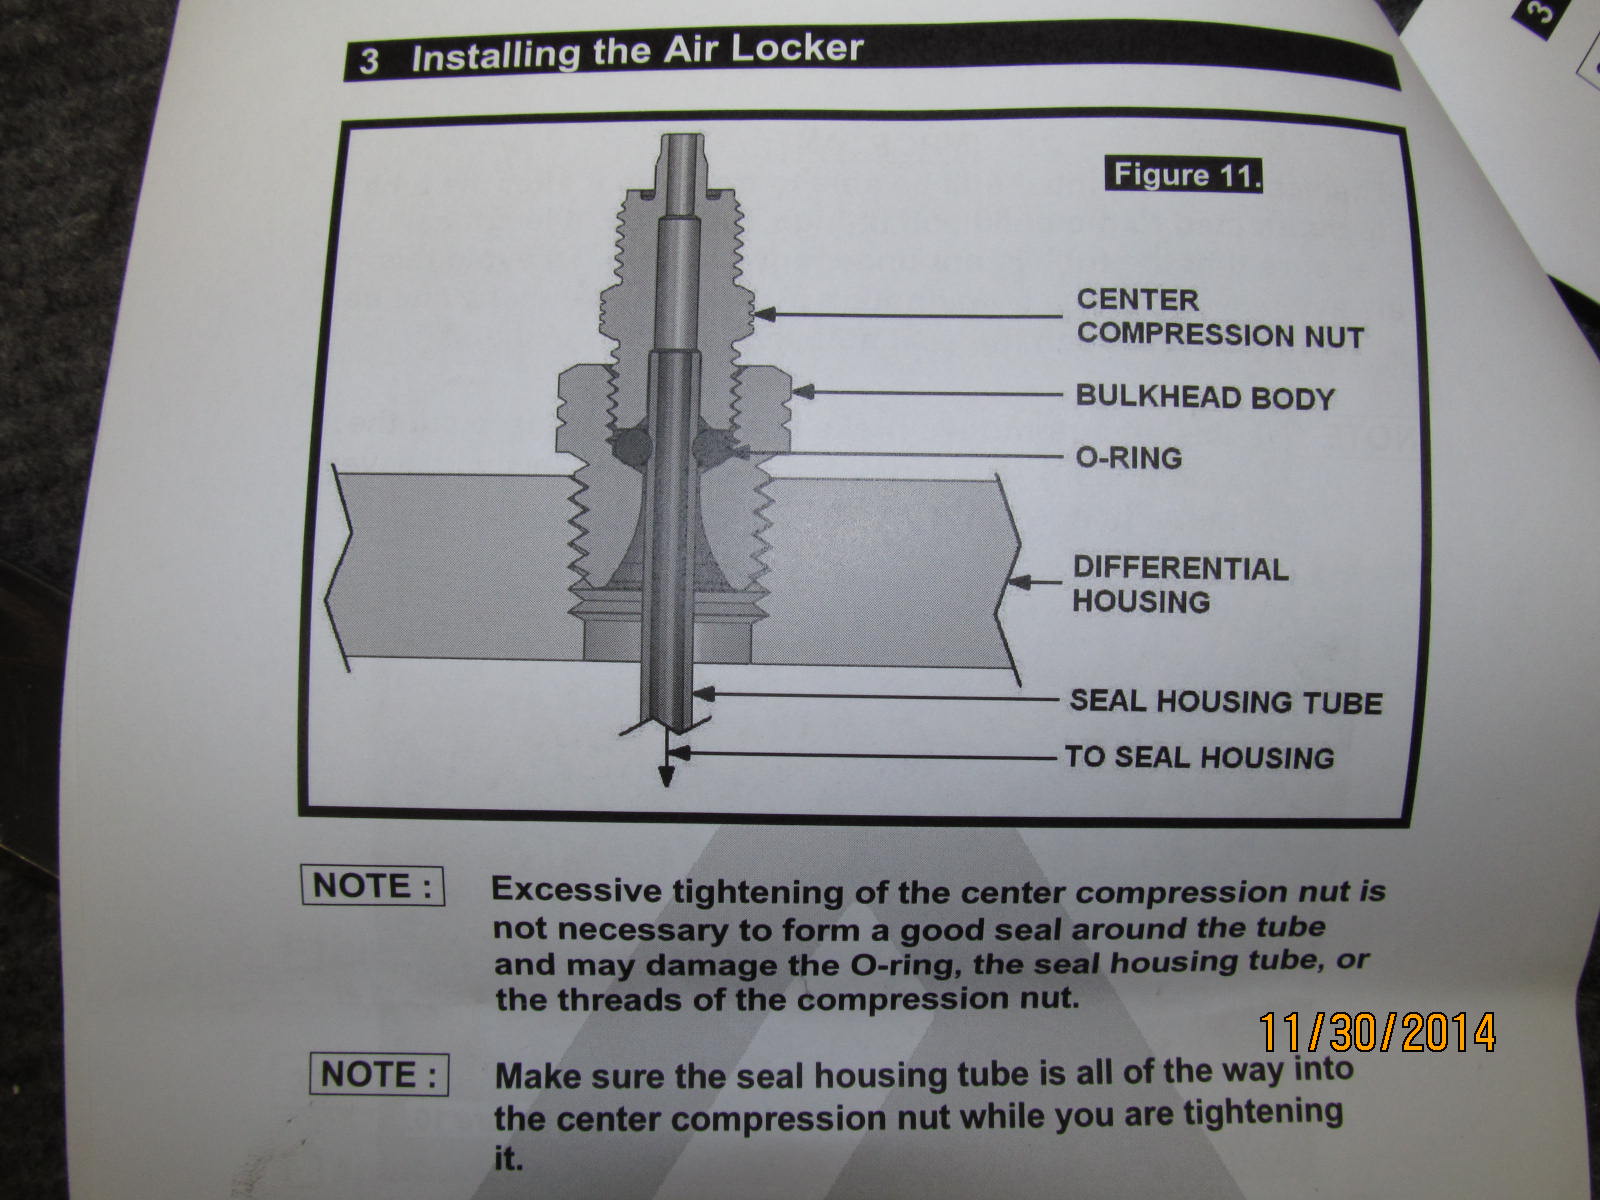
Jumping over to the differential housing, drill and tap for the "bulkhead body".
|
|
|
|
|
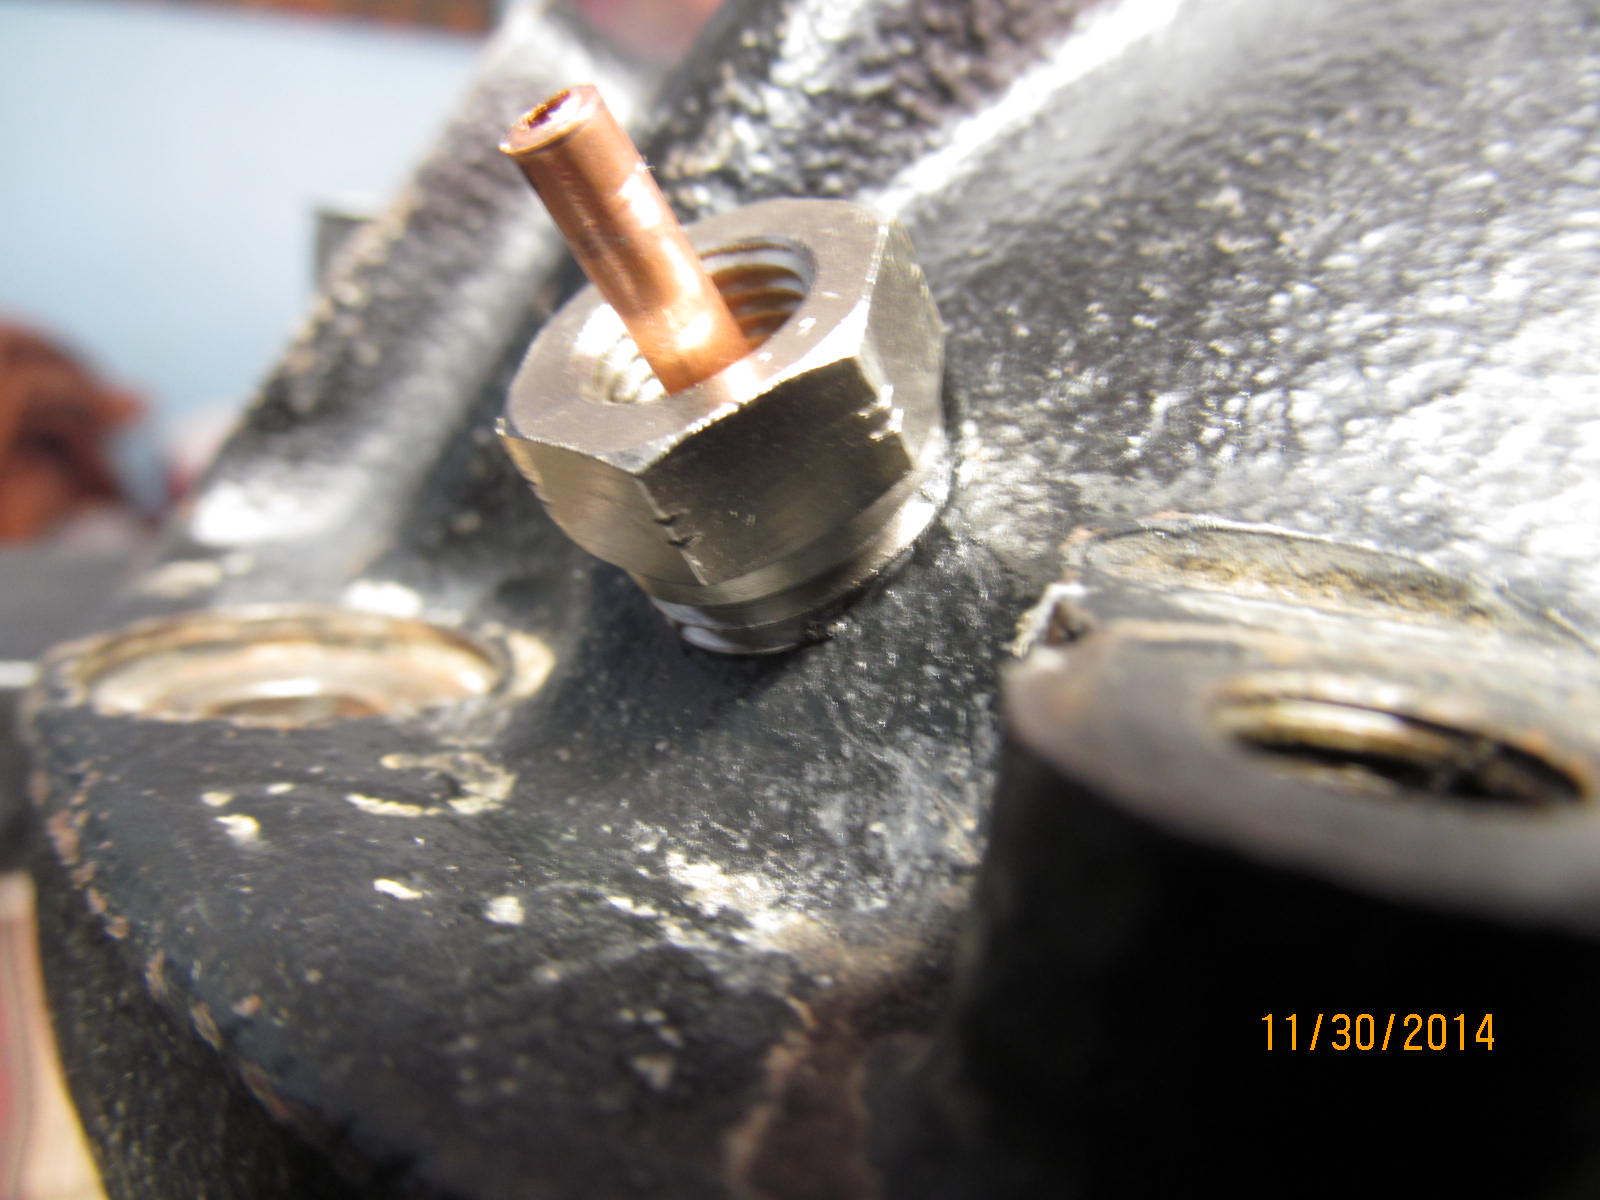
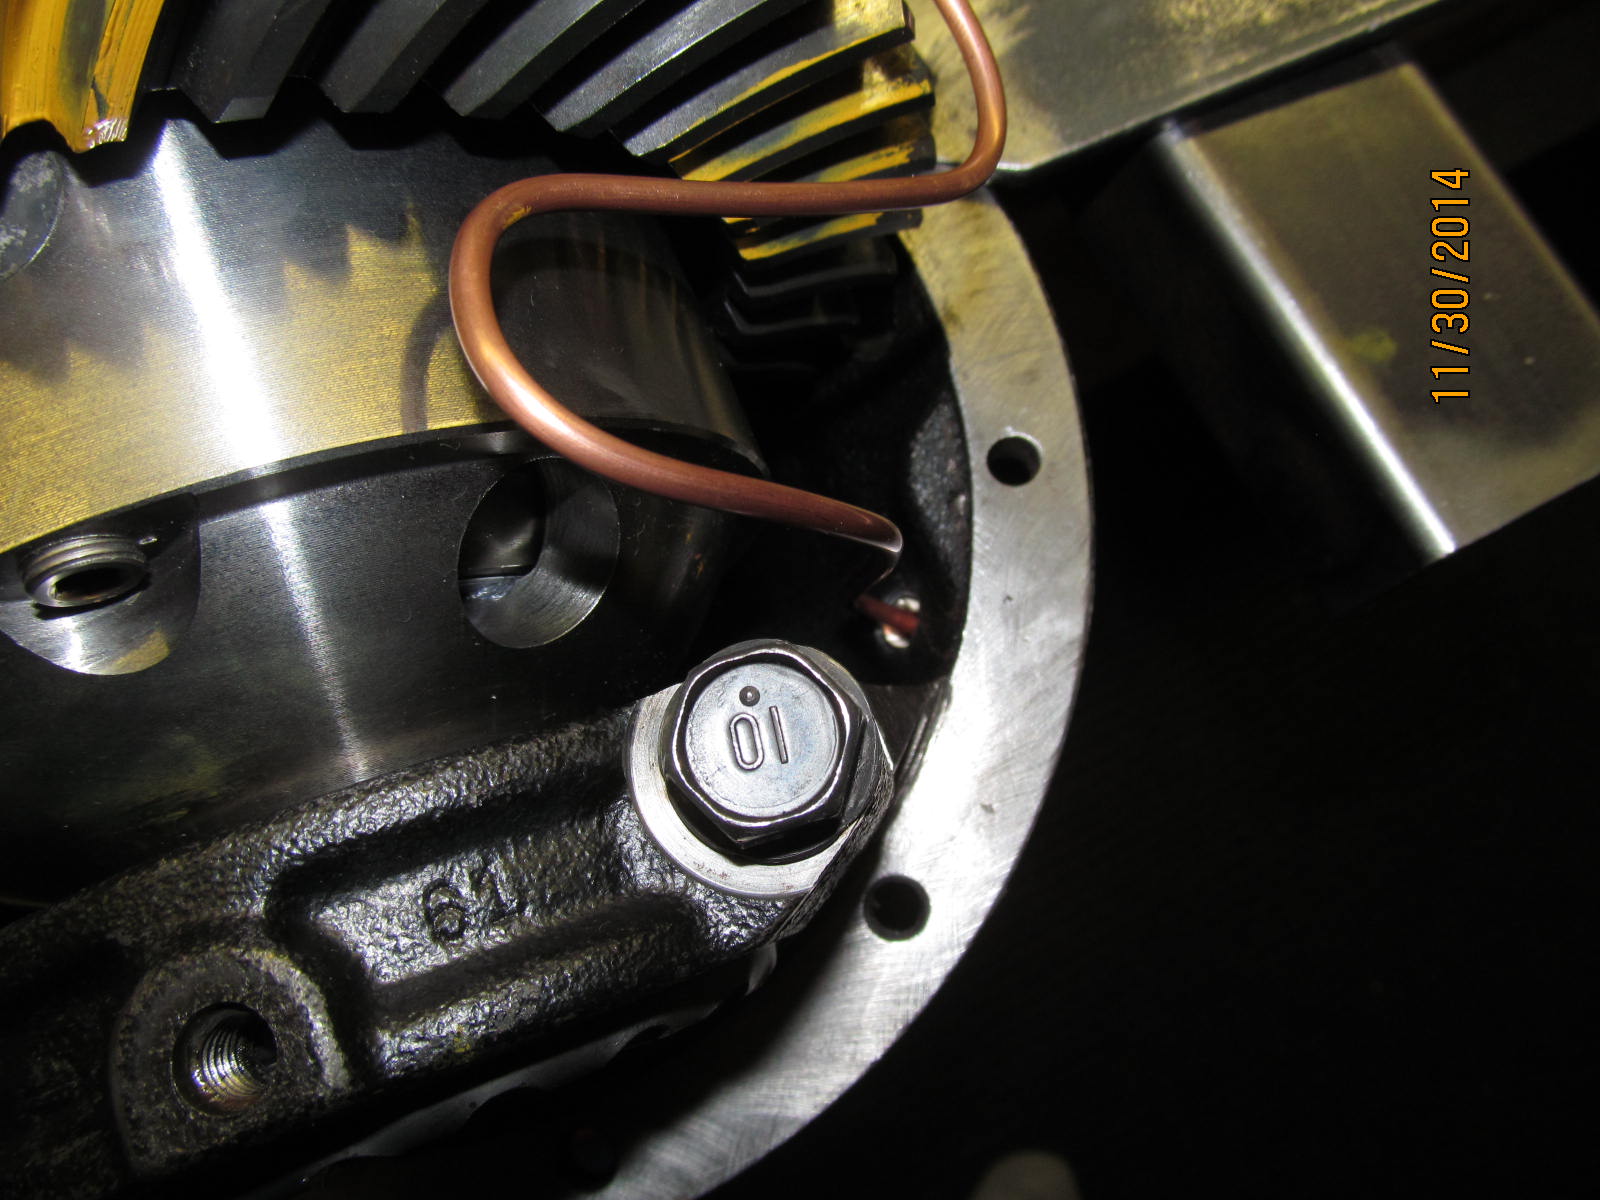
The bulkhead body points at a more favorable angle to allow the copper tubing to be easily guided thru.
|
|
|
|
|
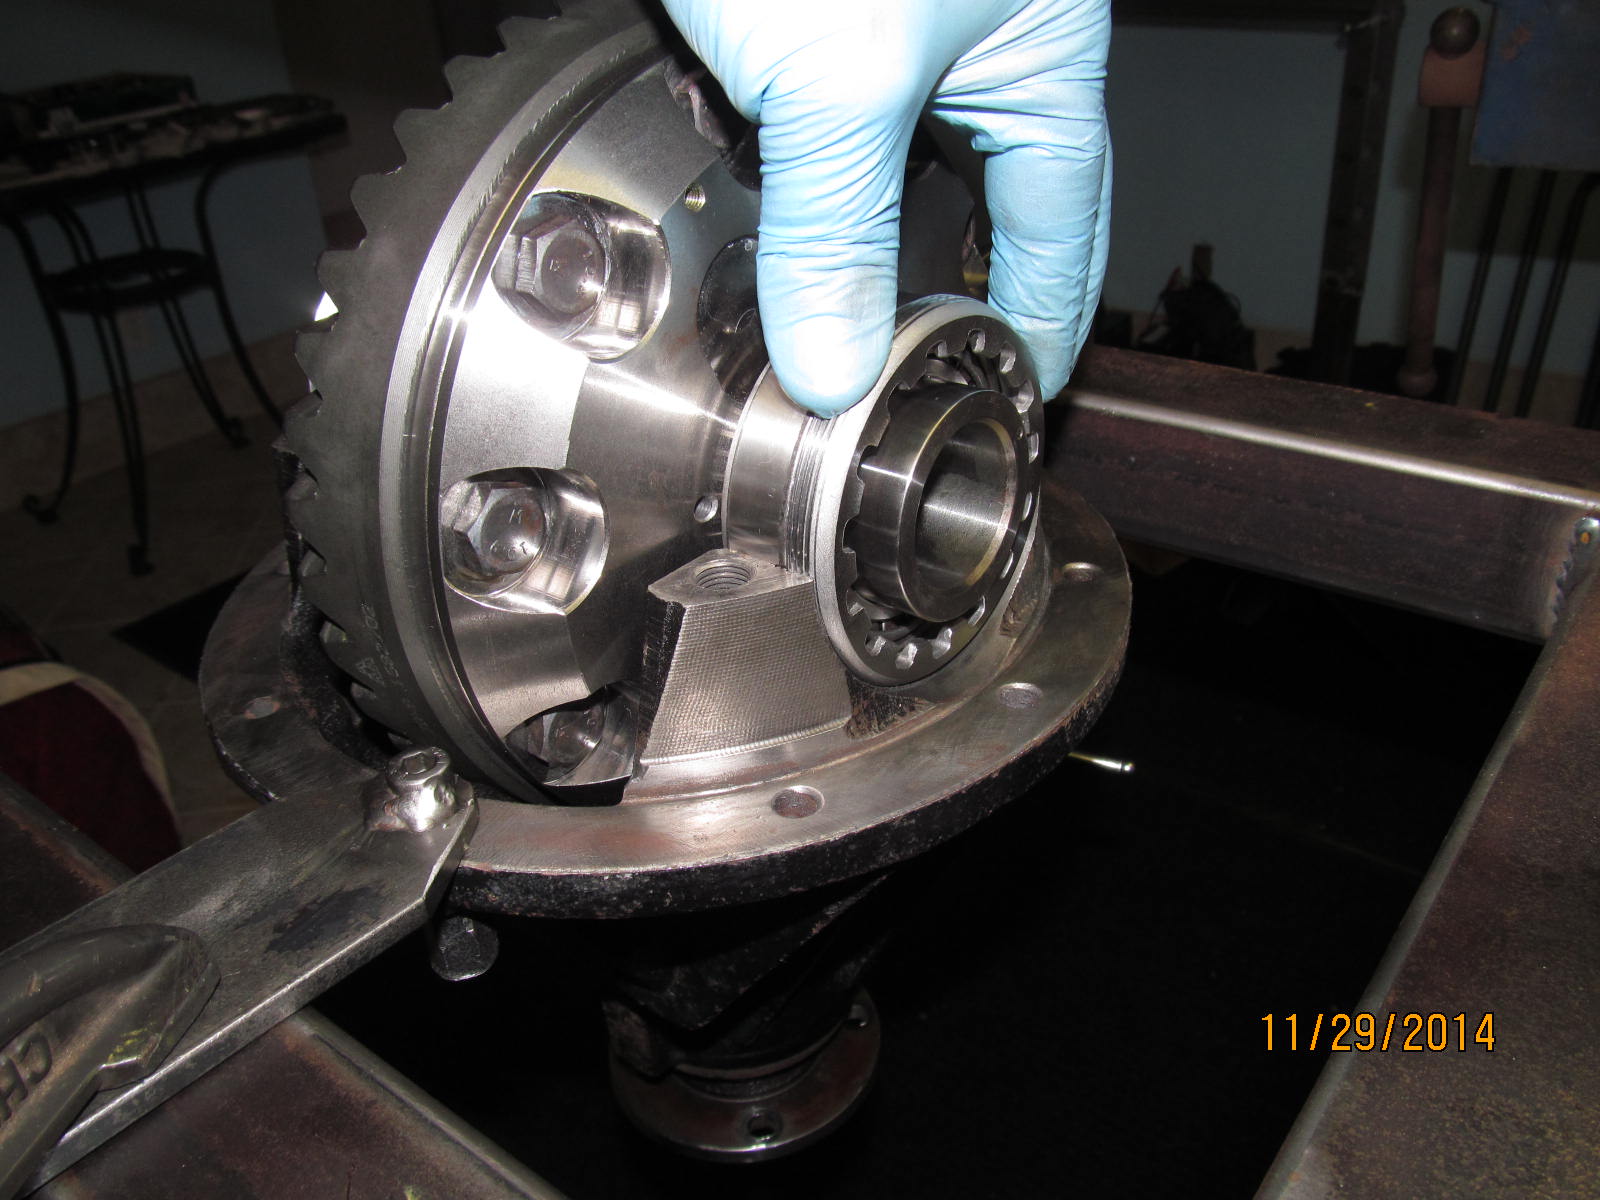
The small outer pinion bearing can now be tapped in place.
|
|
|
|
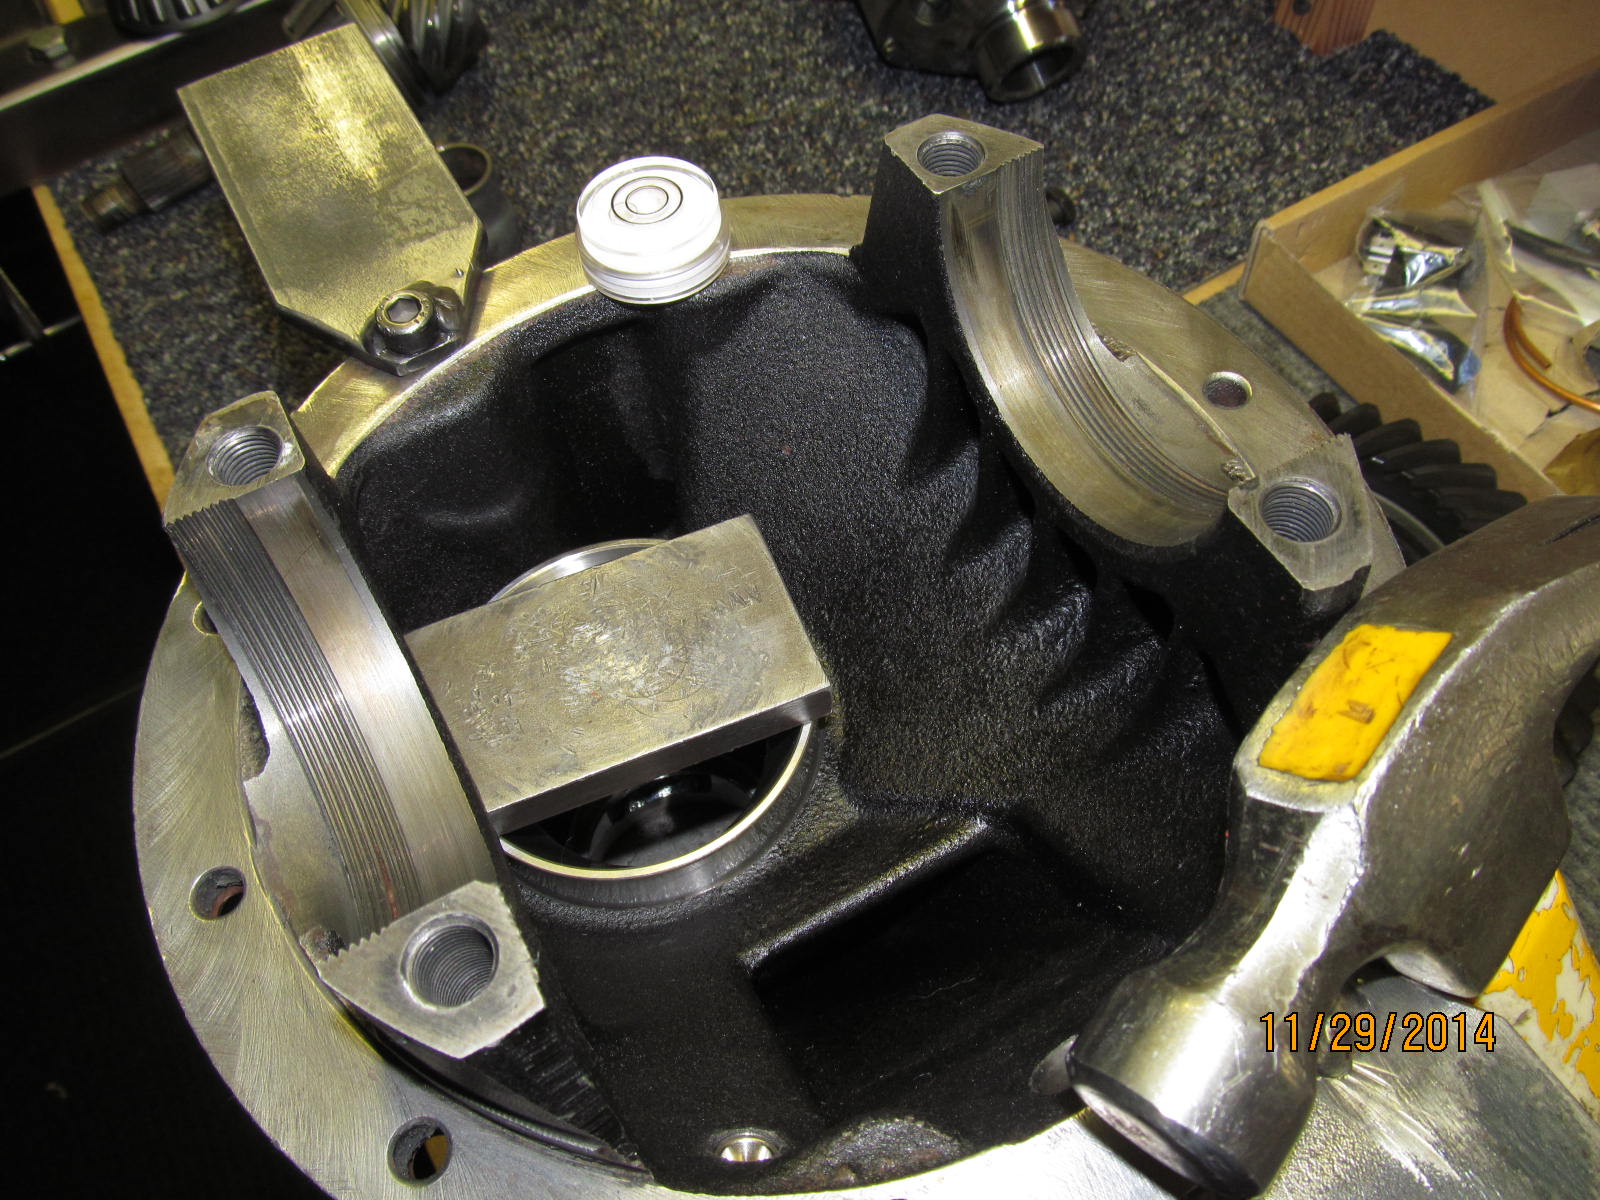
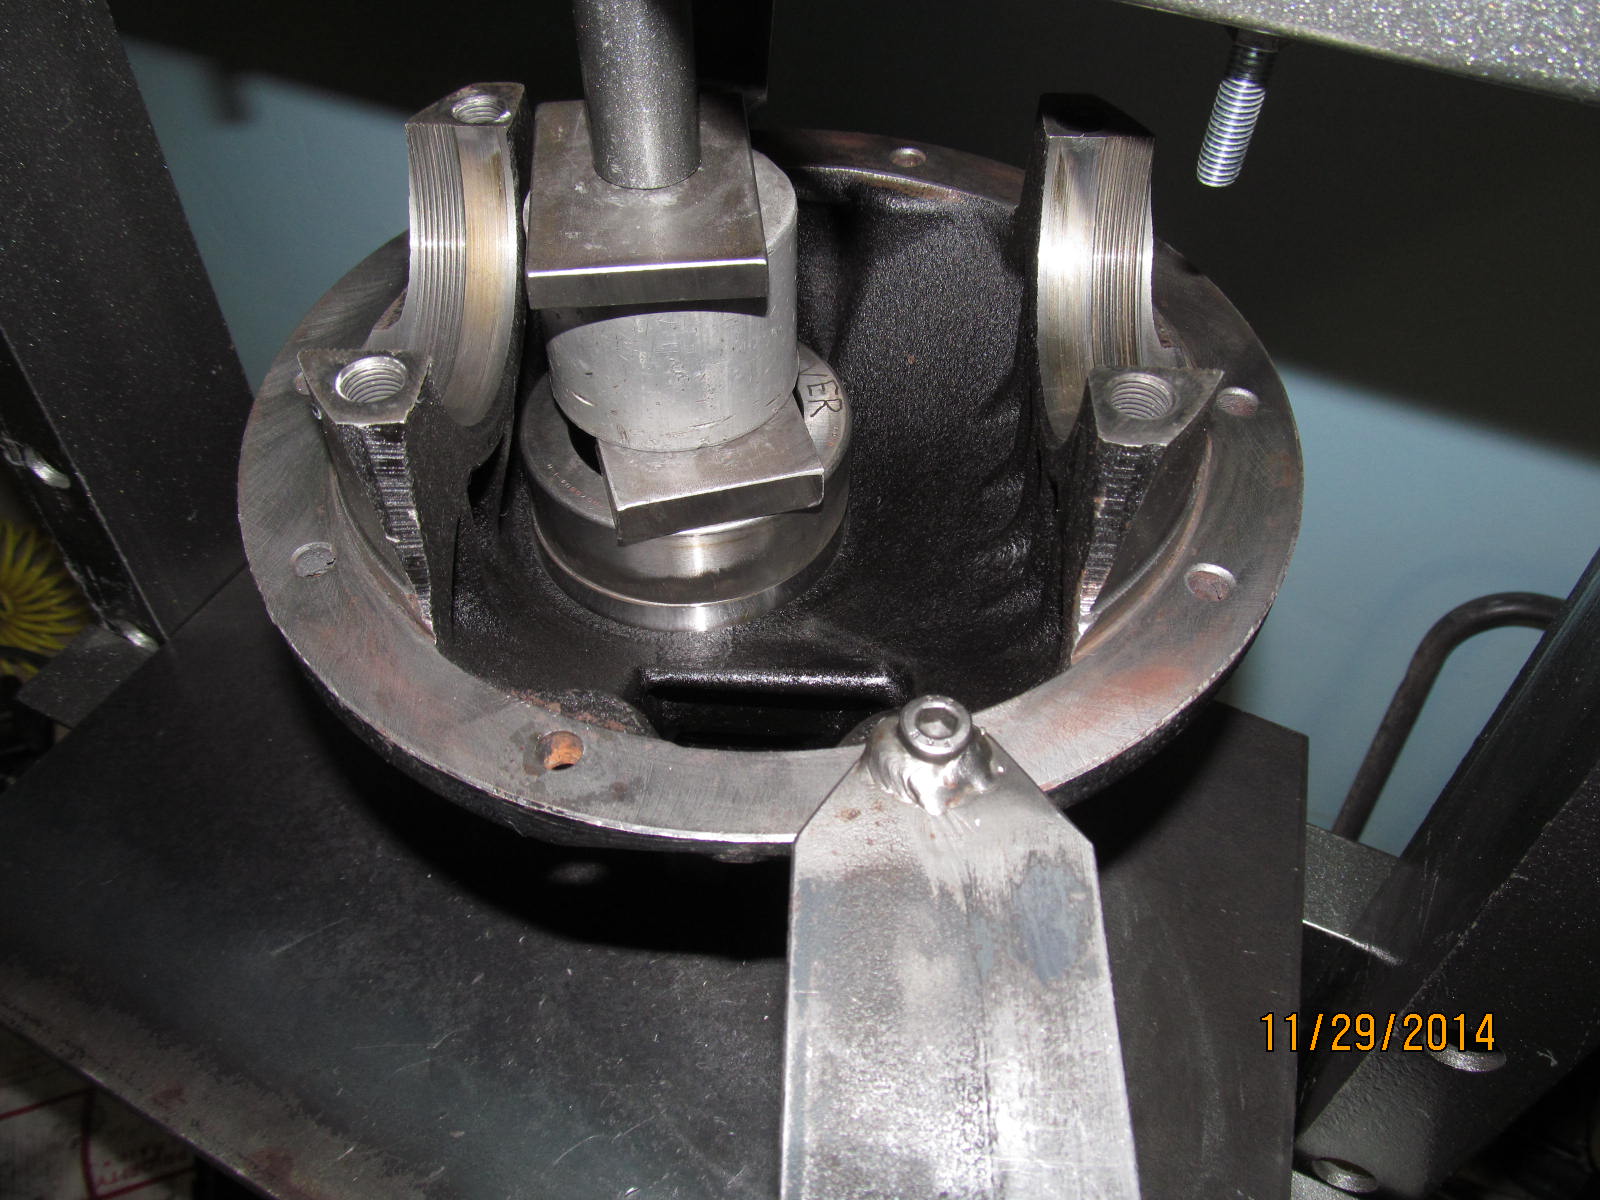
The large inner bearing is a little trickier to seat down. Tap it down about 1/8" while keeping it level based on
the bubble. When the bubble location is the same on the above shown surface and on the plate above the
race thenit can be said that the race is setting "true" ....level.....even....with the bore and
the press can finish pushing the race in 100%
|
|
|
|
|
If the race pushes down evenly then it won't bind up in the bore.
|
|
|
|
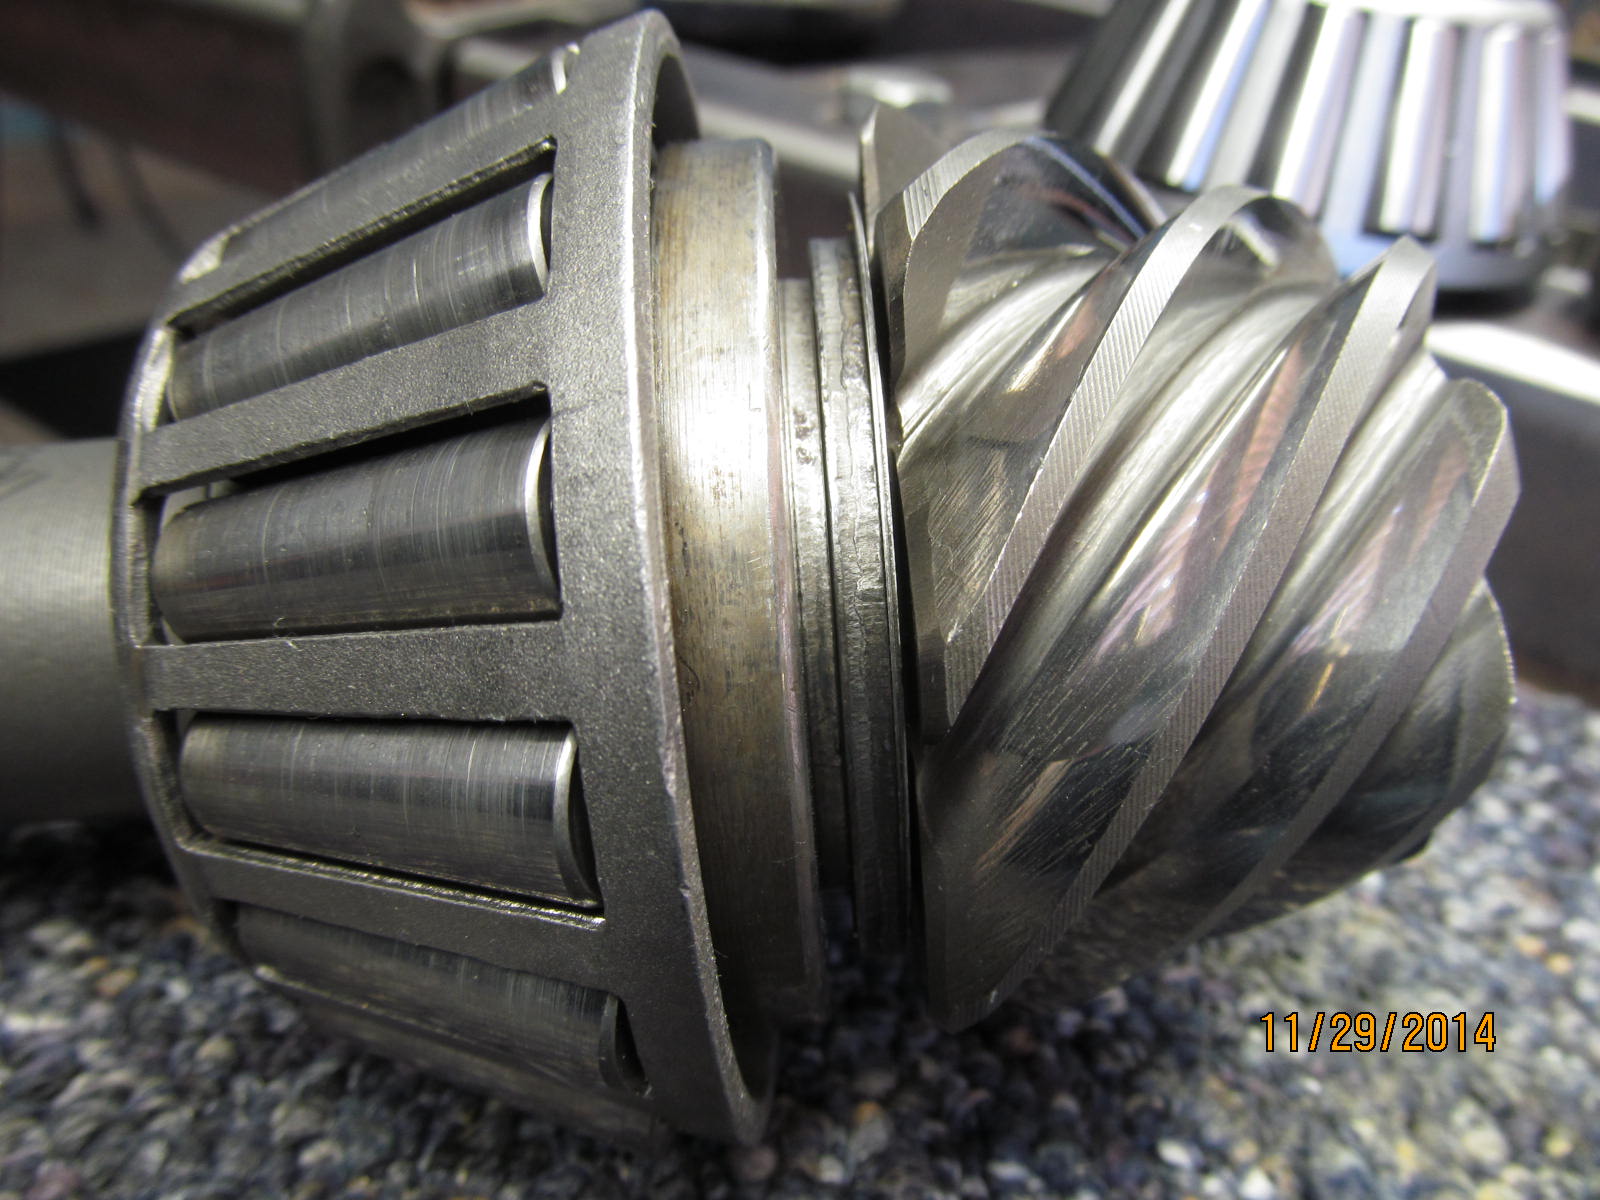
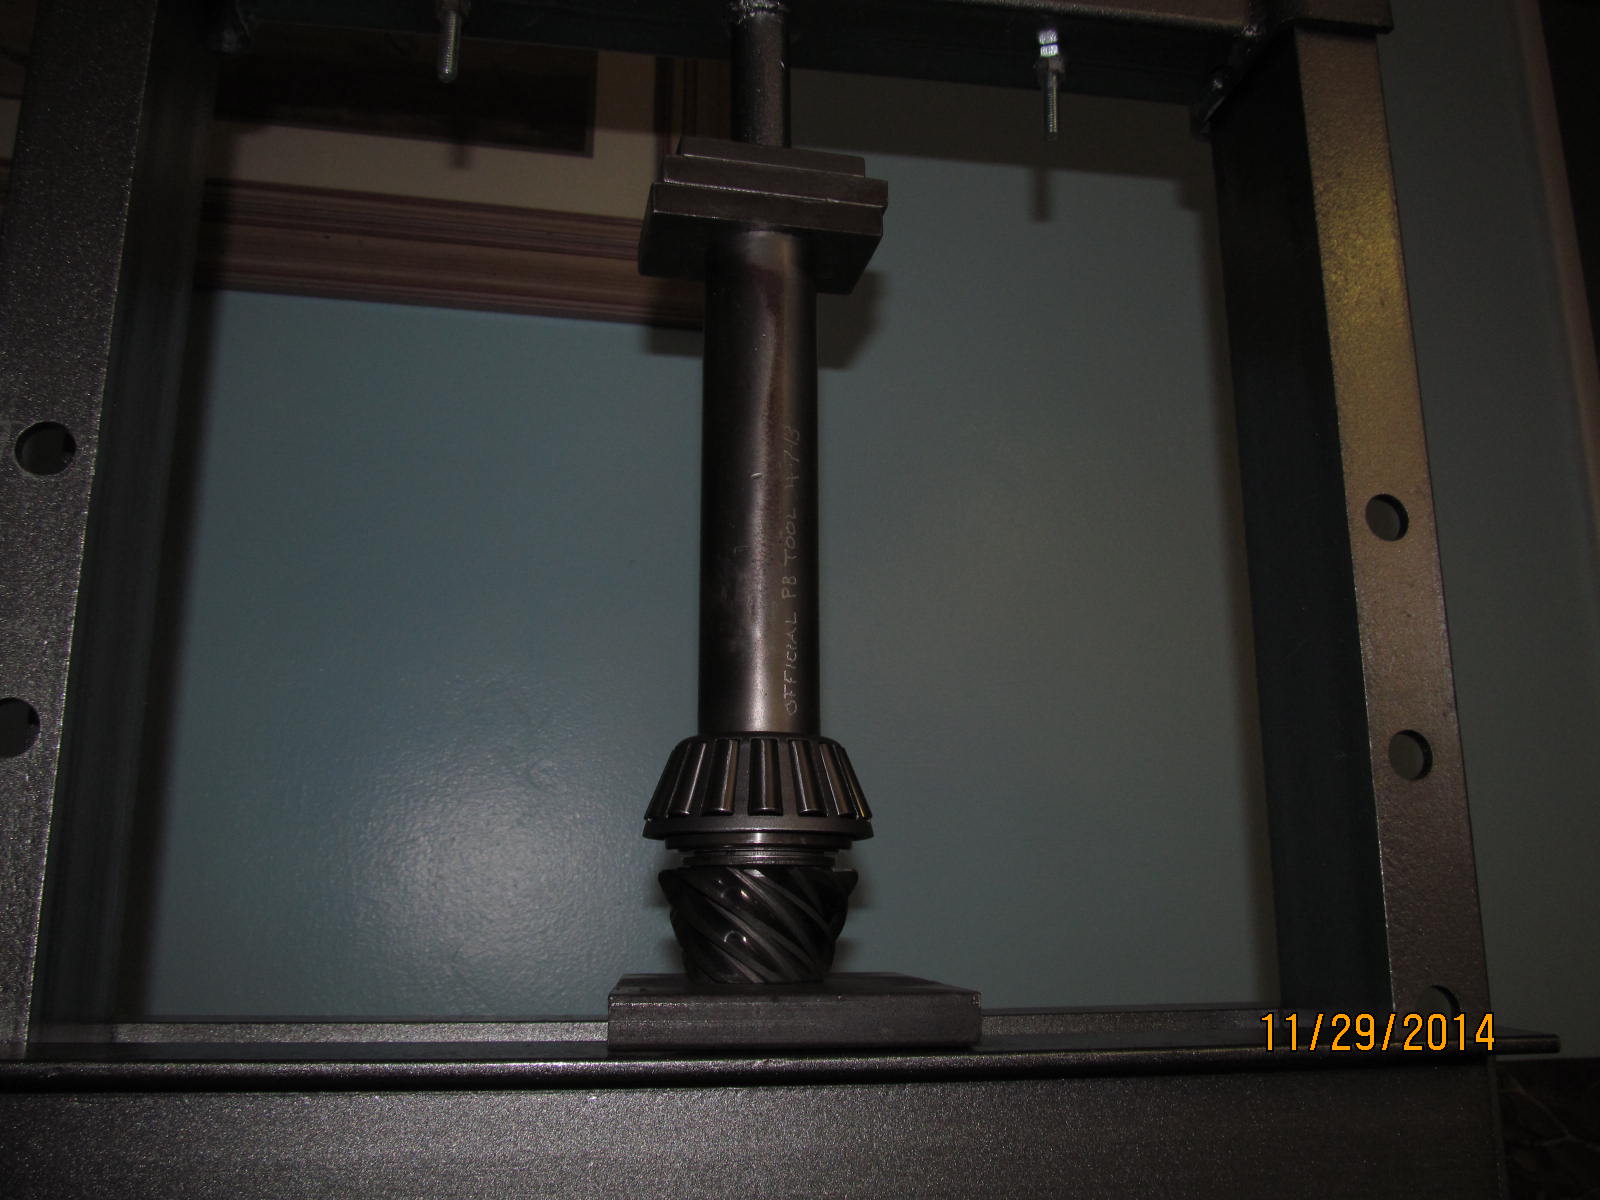
Time for a new bearing to be installed. The thick pinion shim tells me this is a short pinion head
(4 cylinder pinion) and there is nothing wrong with that. Much has been rumored on the internet
of 4 cyl pinion verses V6 pinion strength.....there's a lot of difference between rumor and fact.
|
|
|
|
|
Using the OTC-1130 bearing splitter to remove the old bearing.
|
|
|
|
|
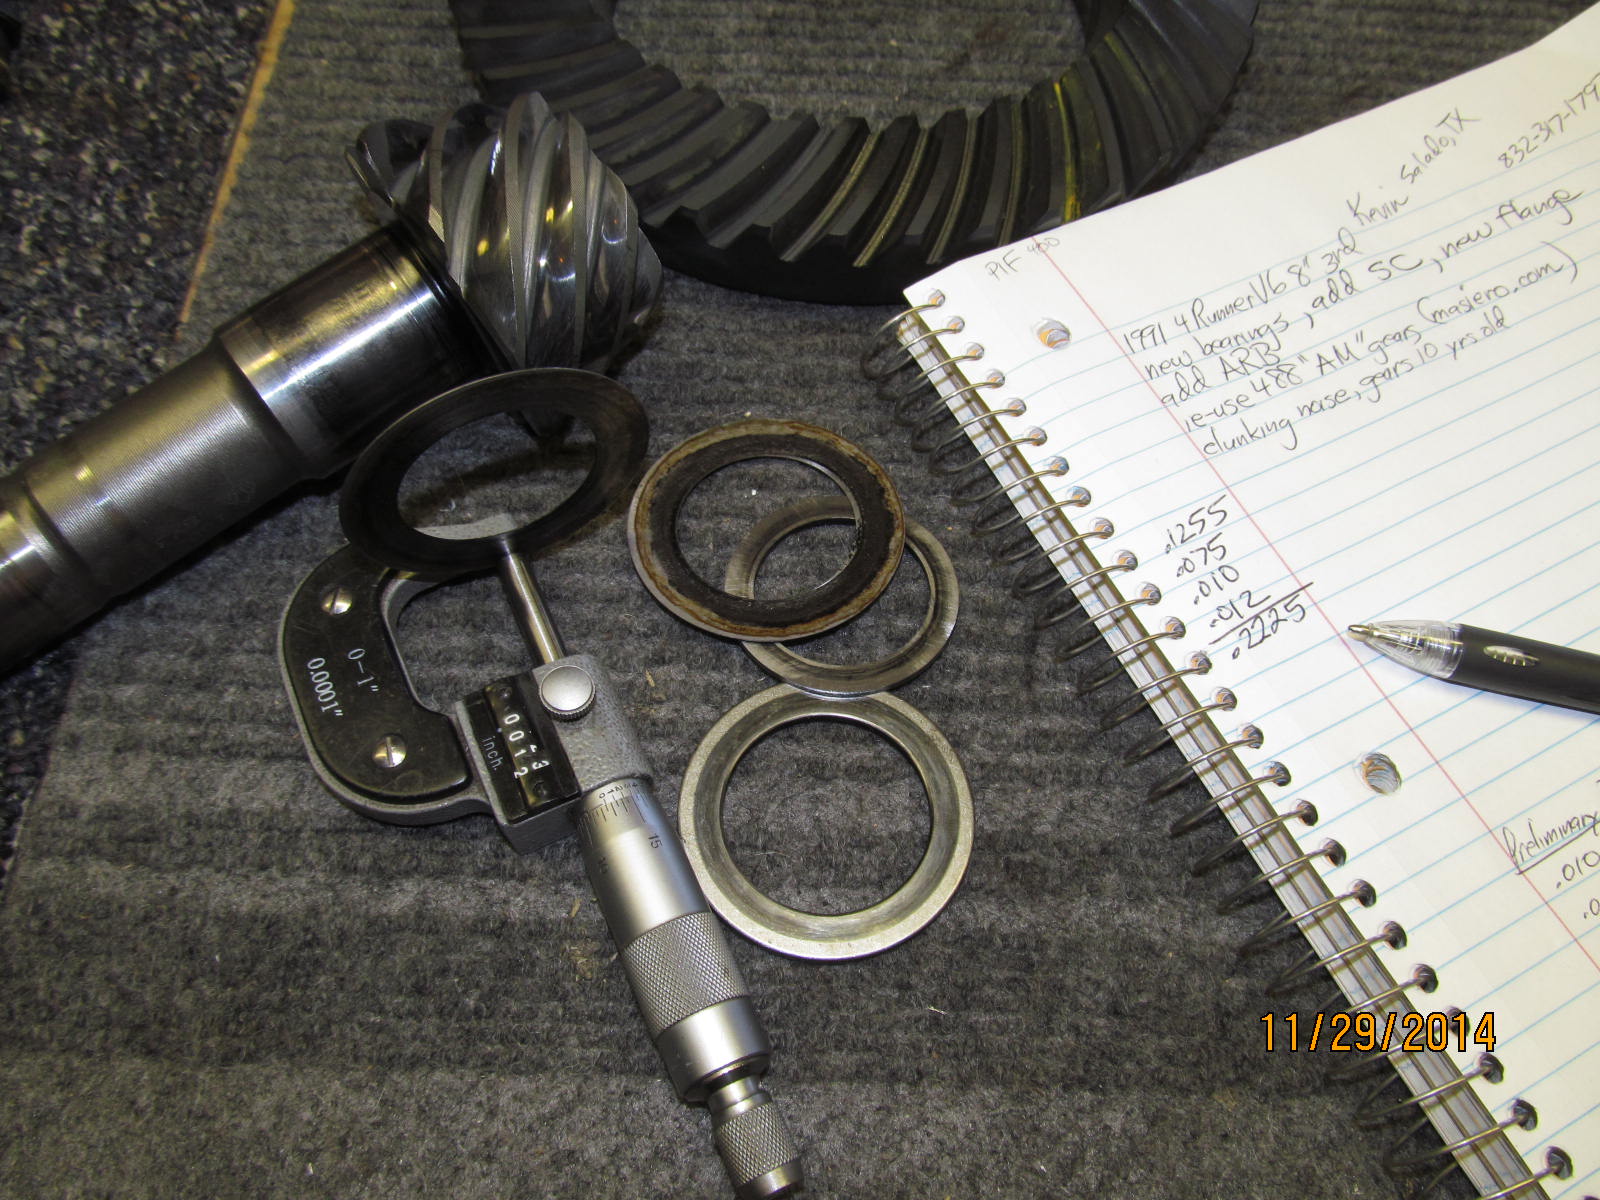
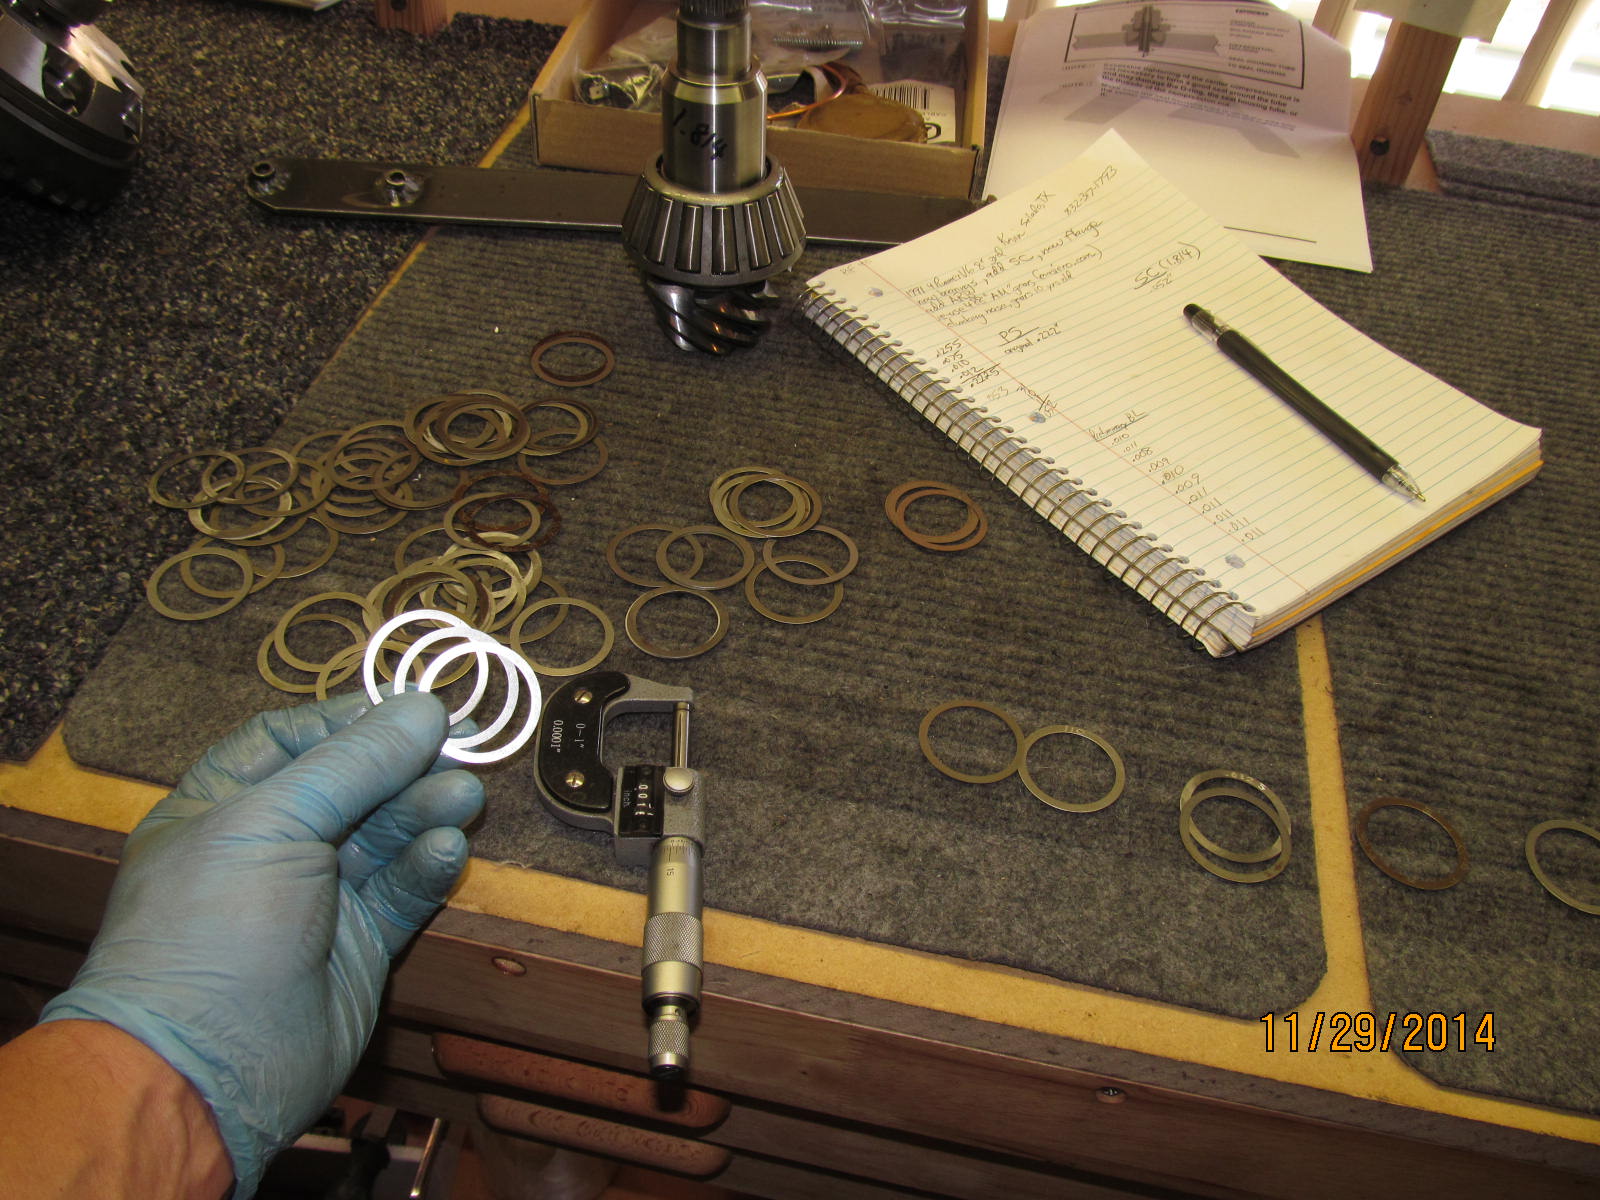
Using the micrometers, I came up with about .222" combined shim thickness which is a typical value.
|
|
|
|
|
The new bearing is pressed on with the same .222" shim..
|
|
|

|
|
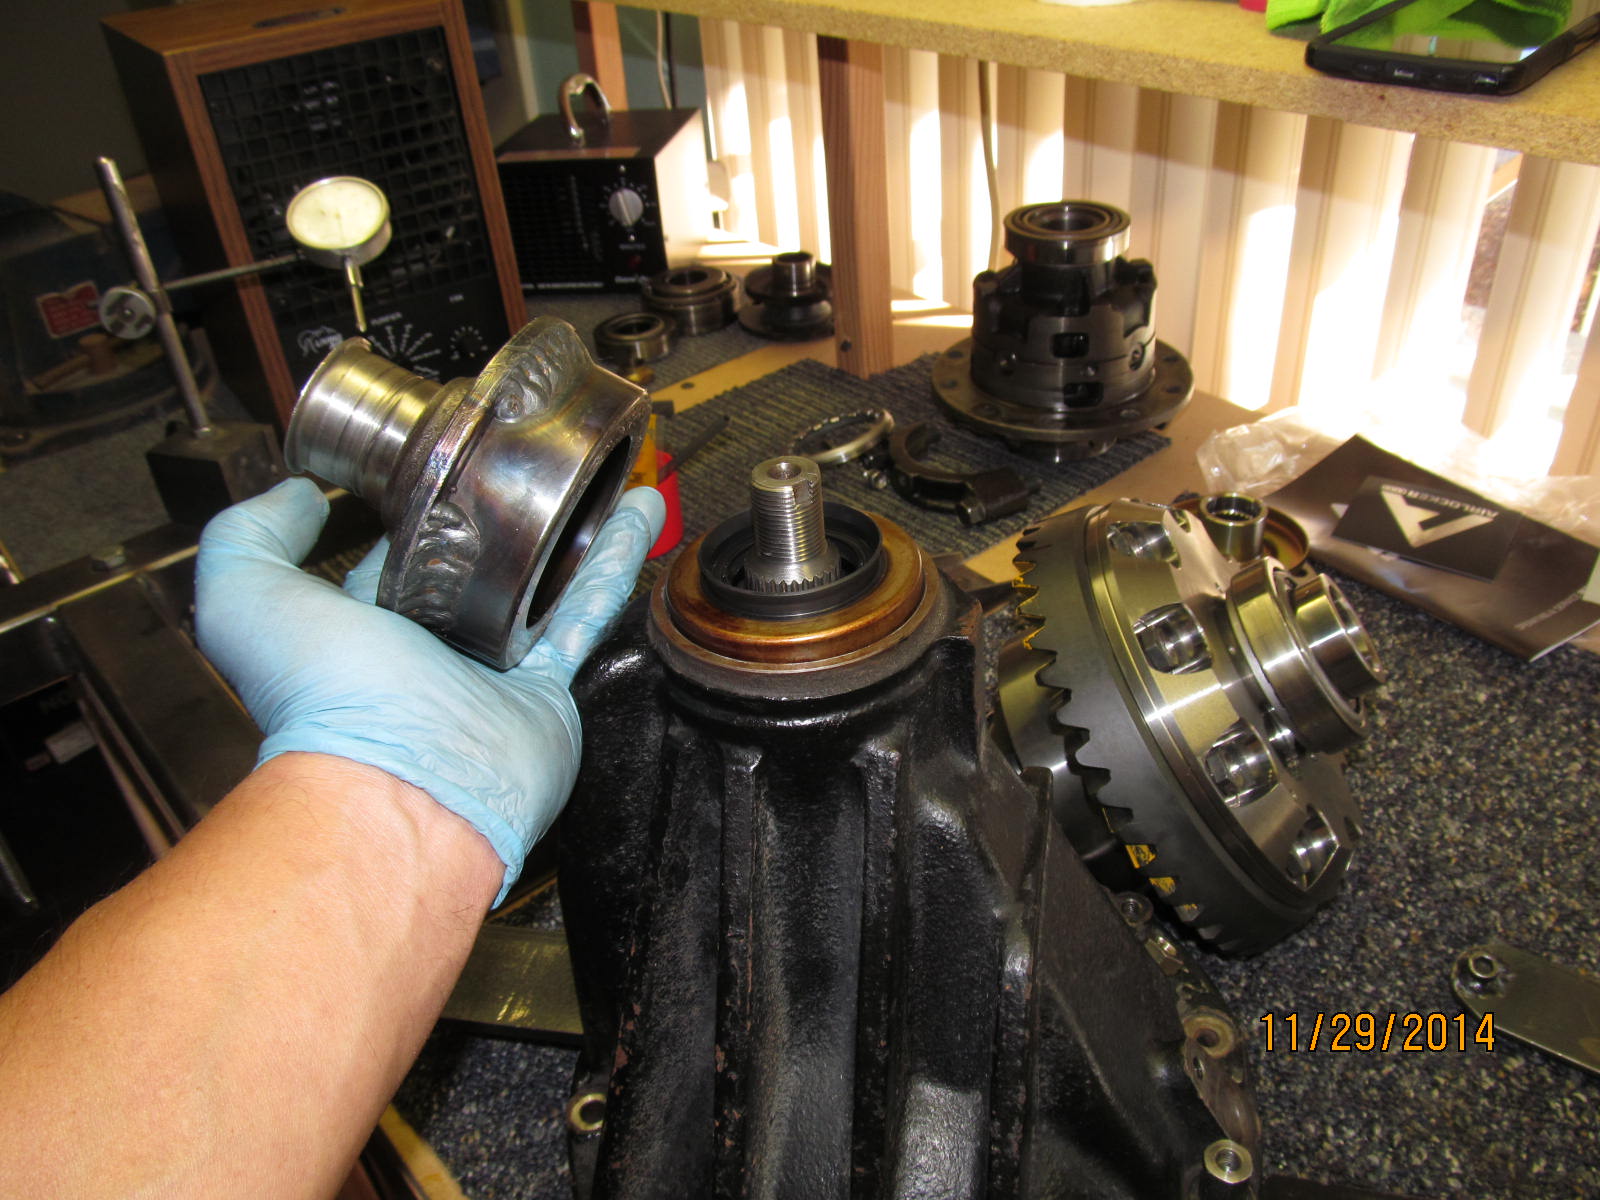
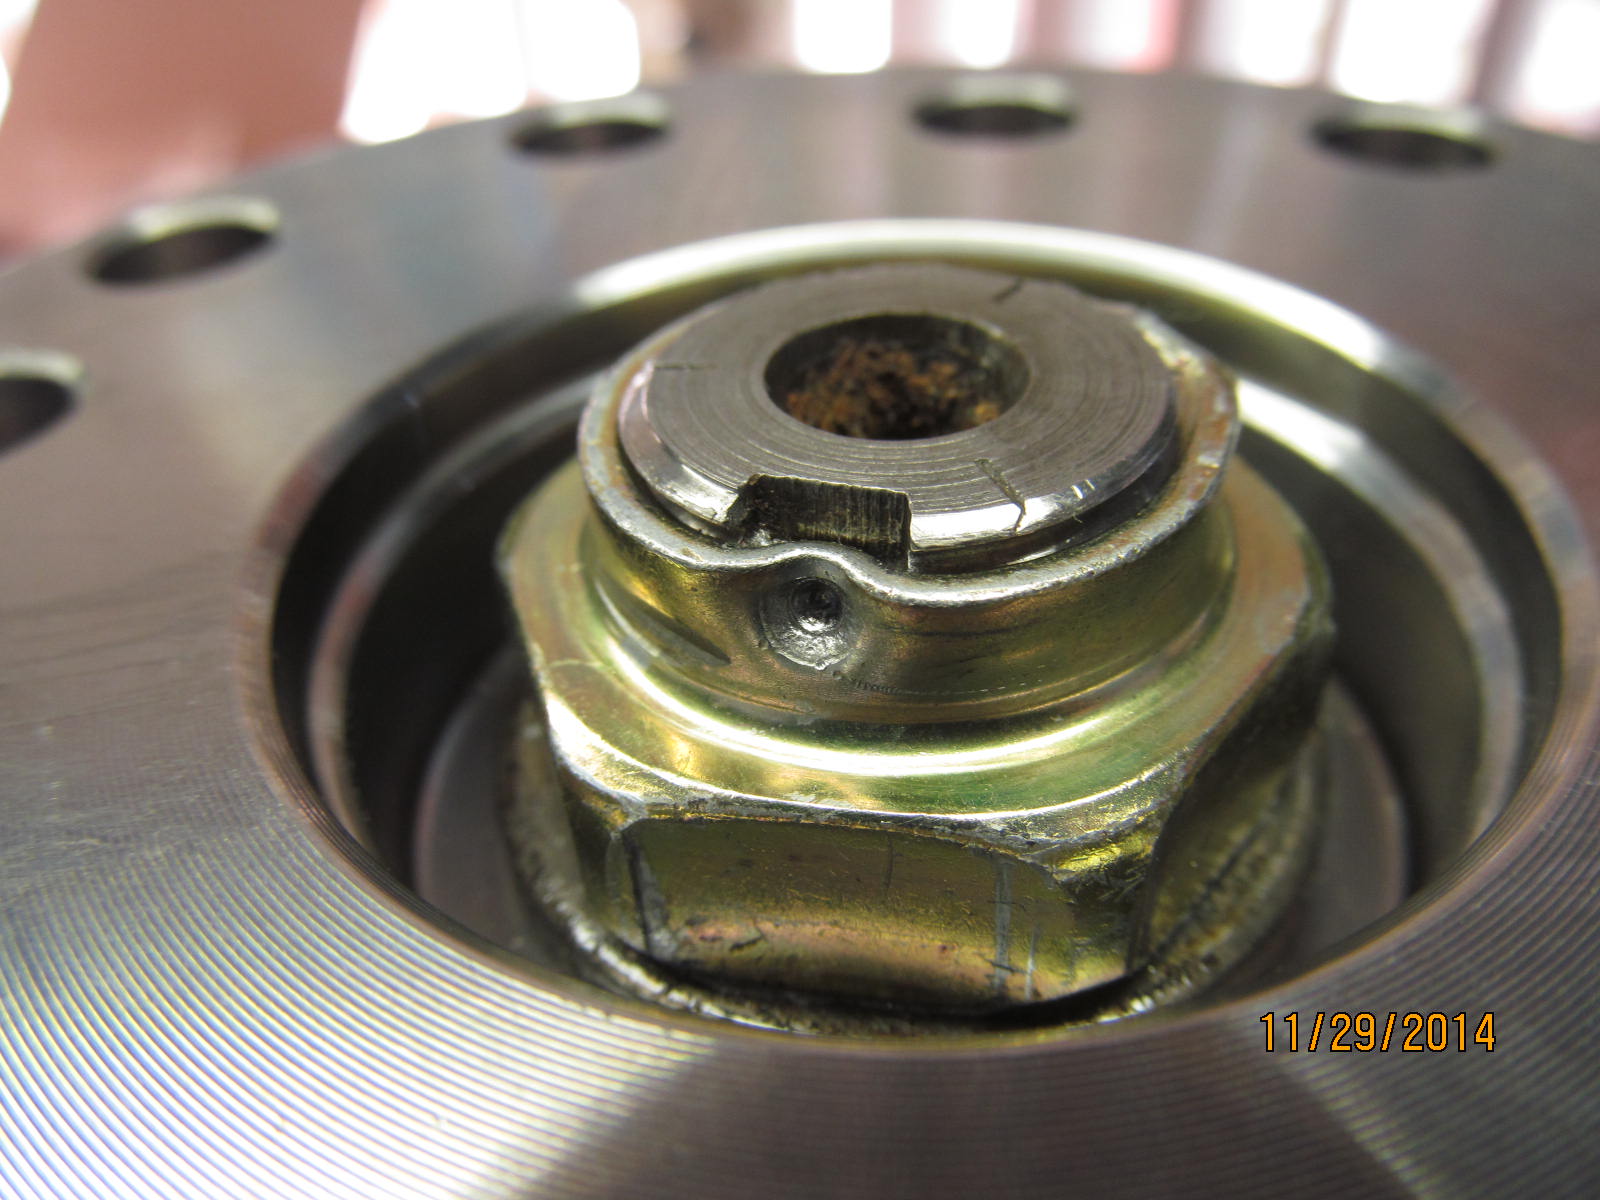
Just a comparison of the original flange with the replacement triple drilled version.
|
|
|
|
I realize that the paint pattern is going to be just fine re-using the same .222" shim but I will assemble this
without the solid collar on the first pass. Want to make sure everything goes together smoothly the first pass.
Electric impacts allow for the gradual tightening of the nut.....
|
|
|
|
|
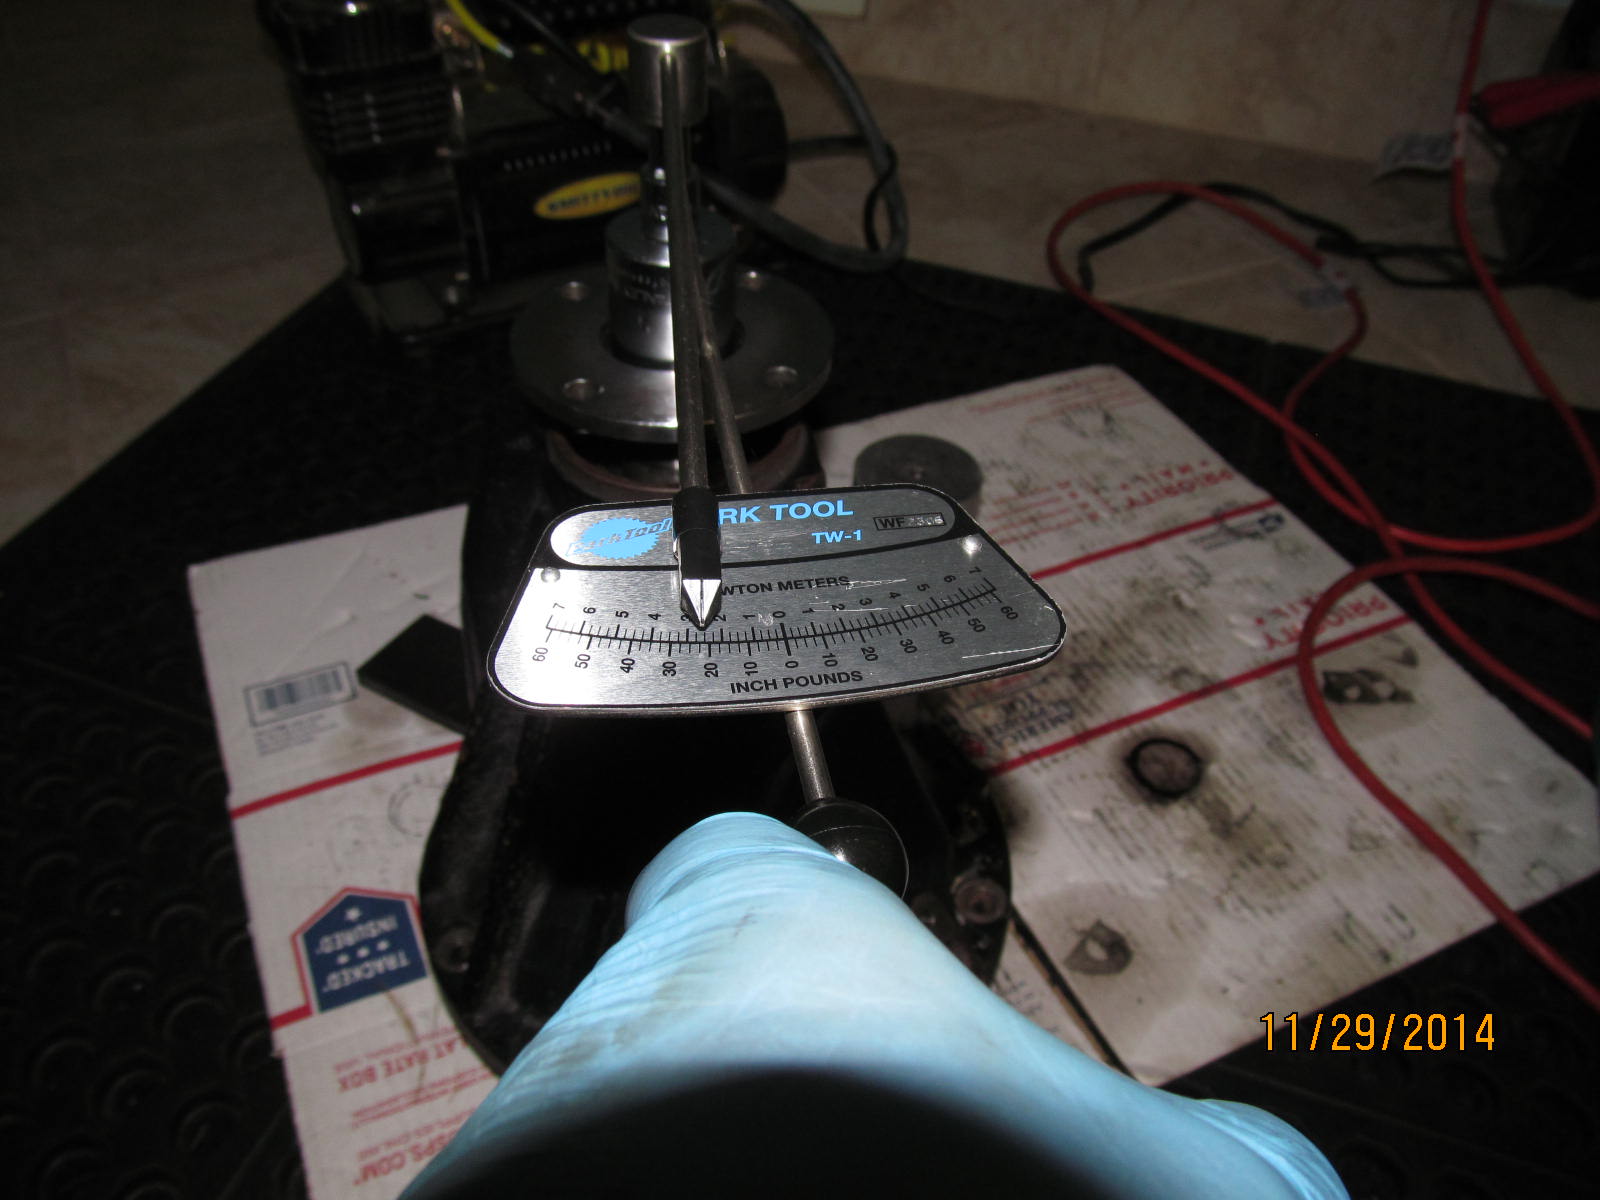
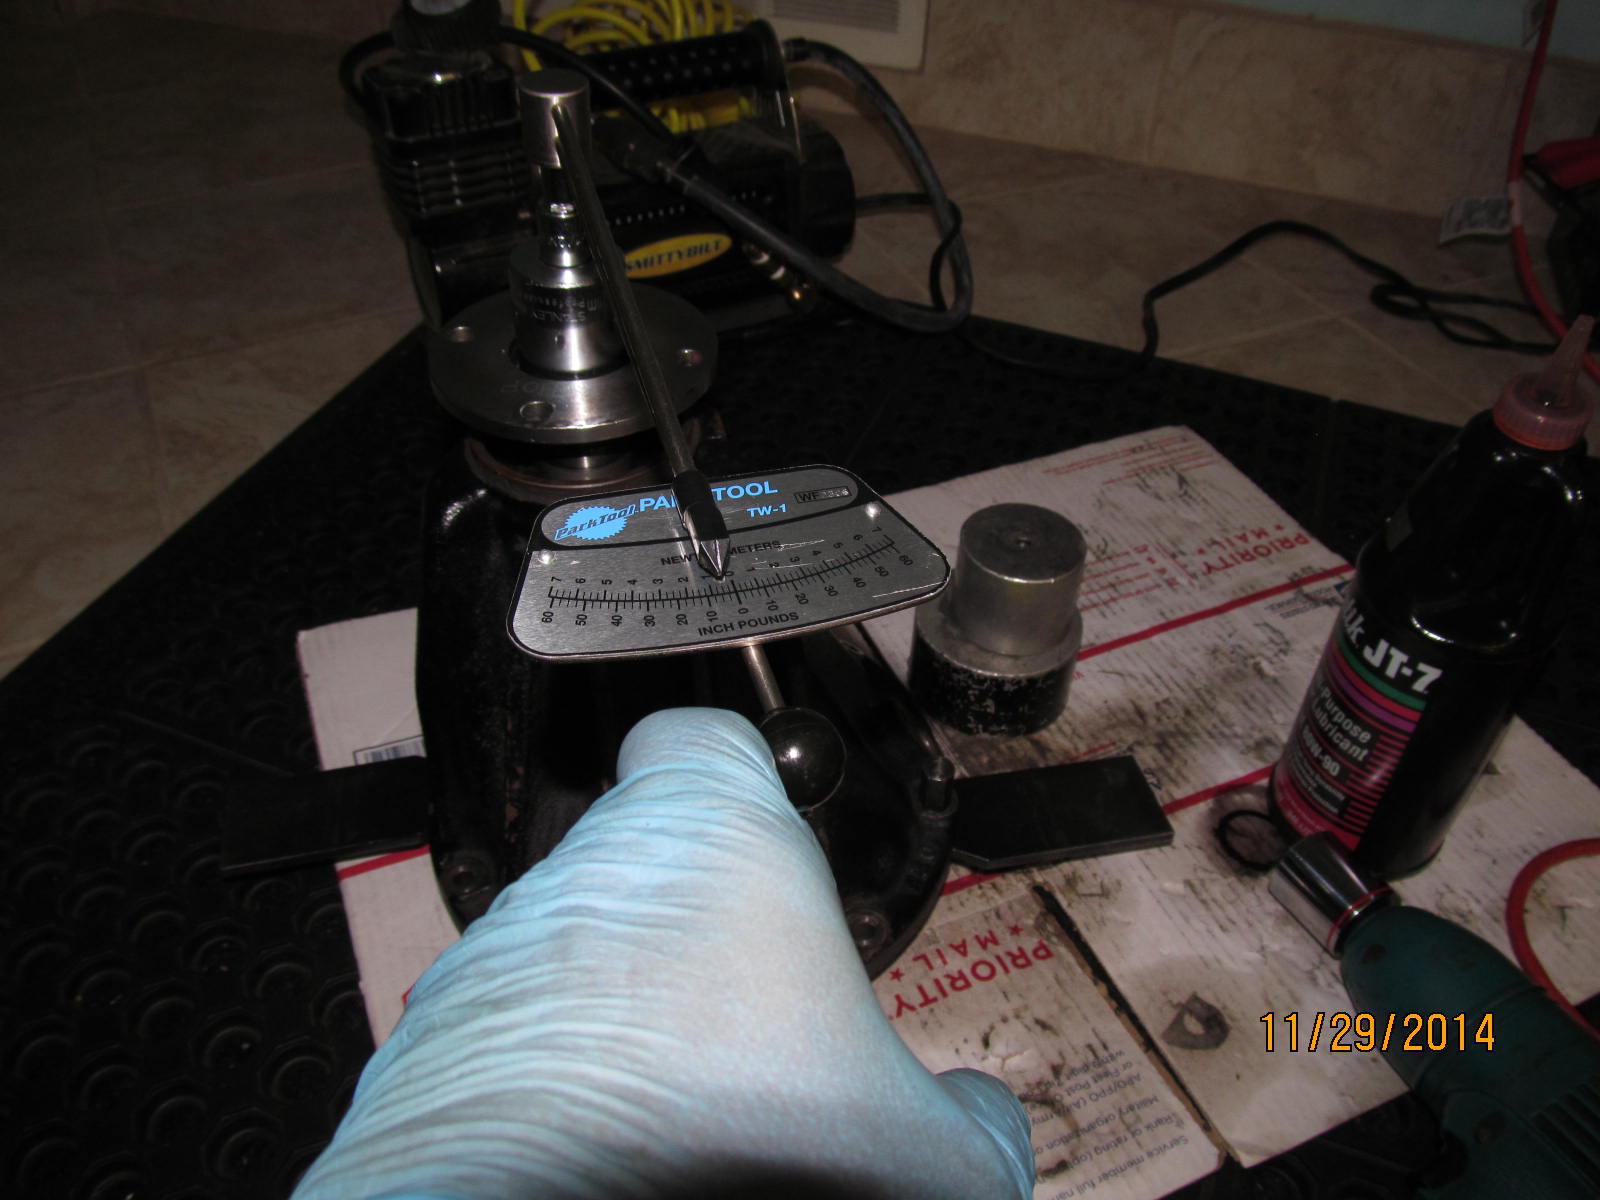
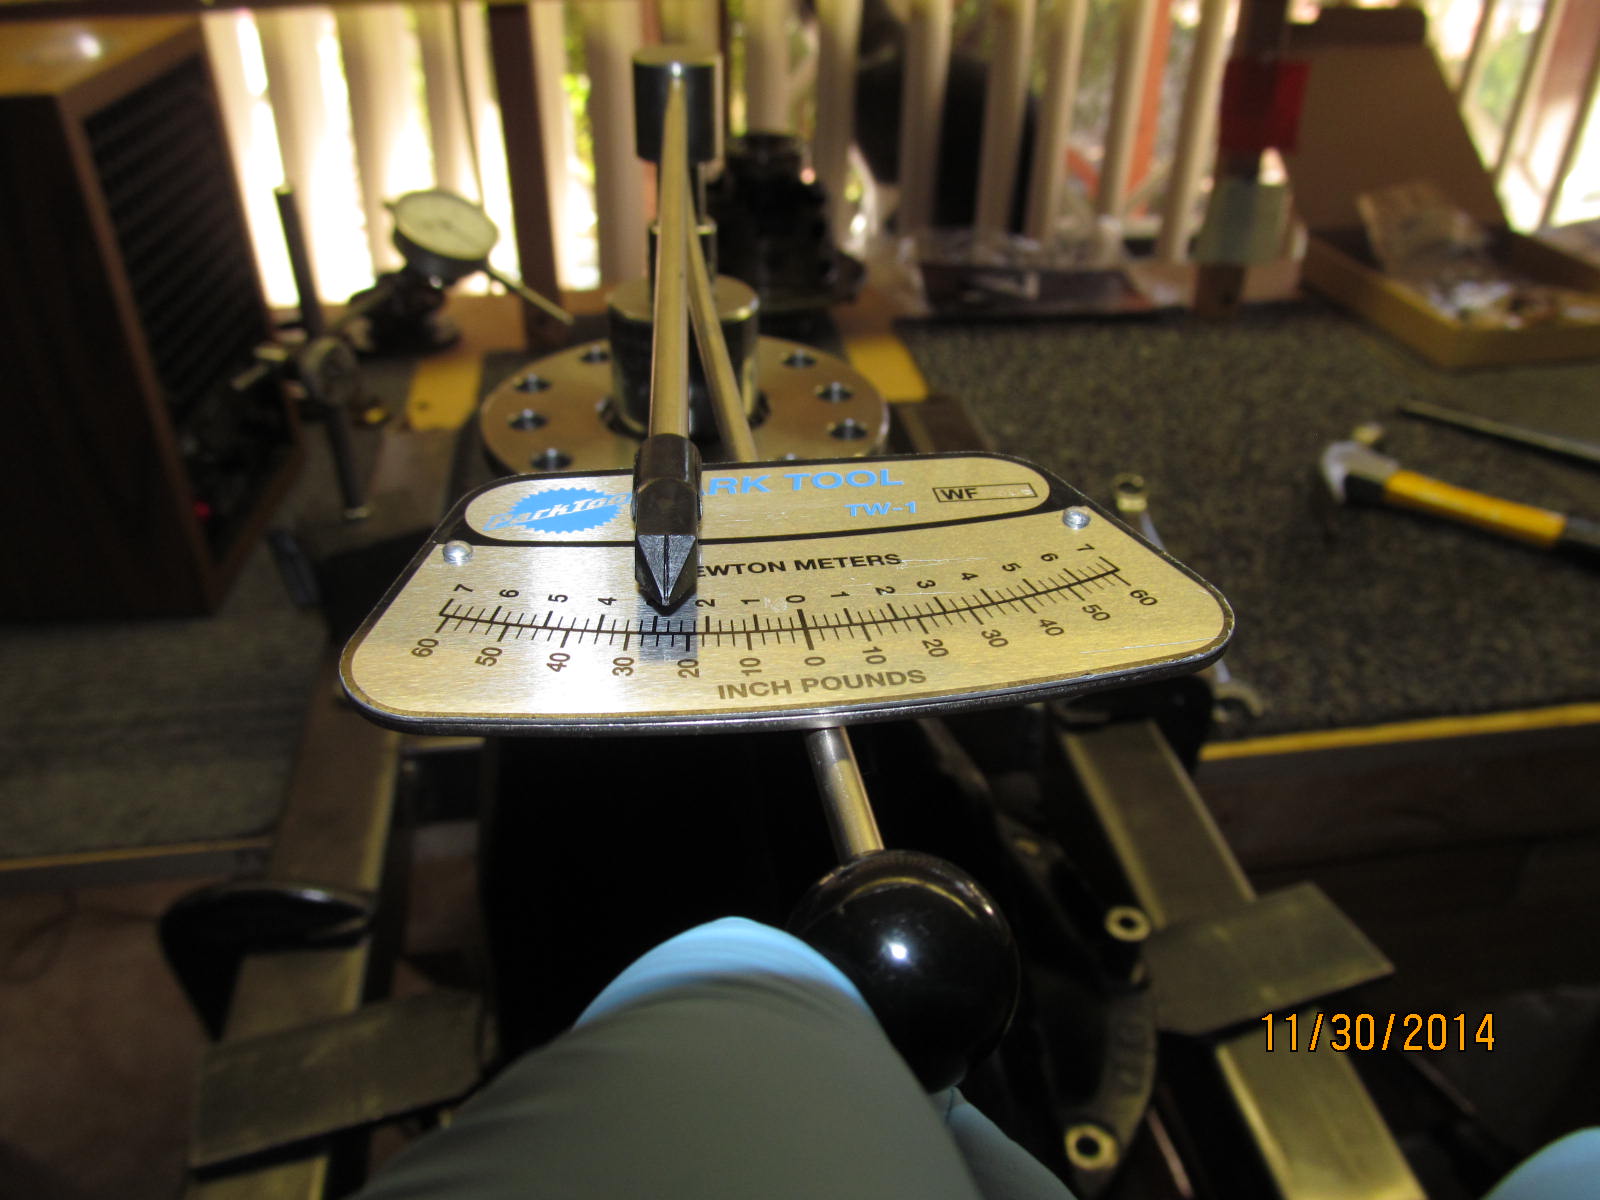
Over 20 in/lb start torque and is perfectly fine for a paint check.
|
|
|
|
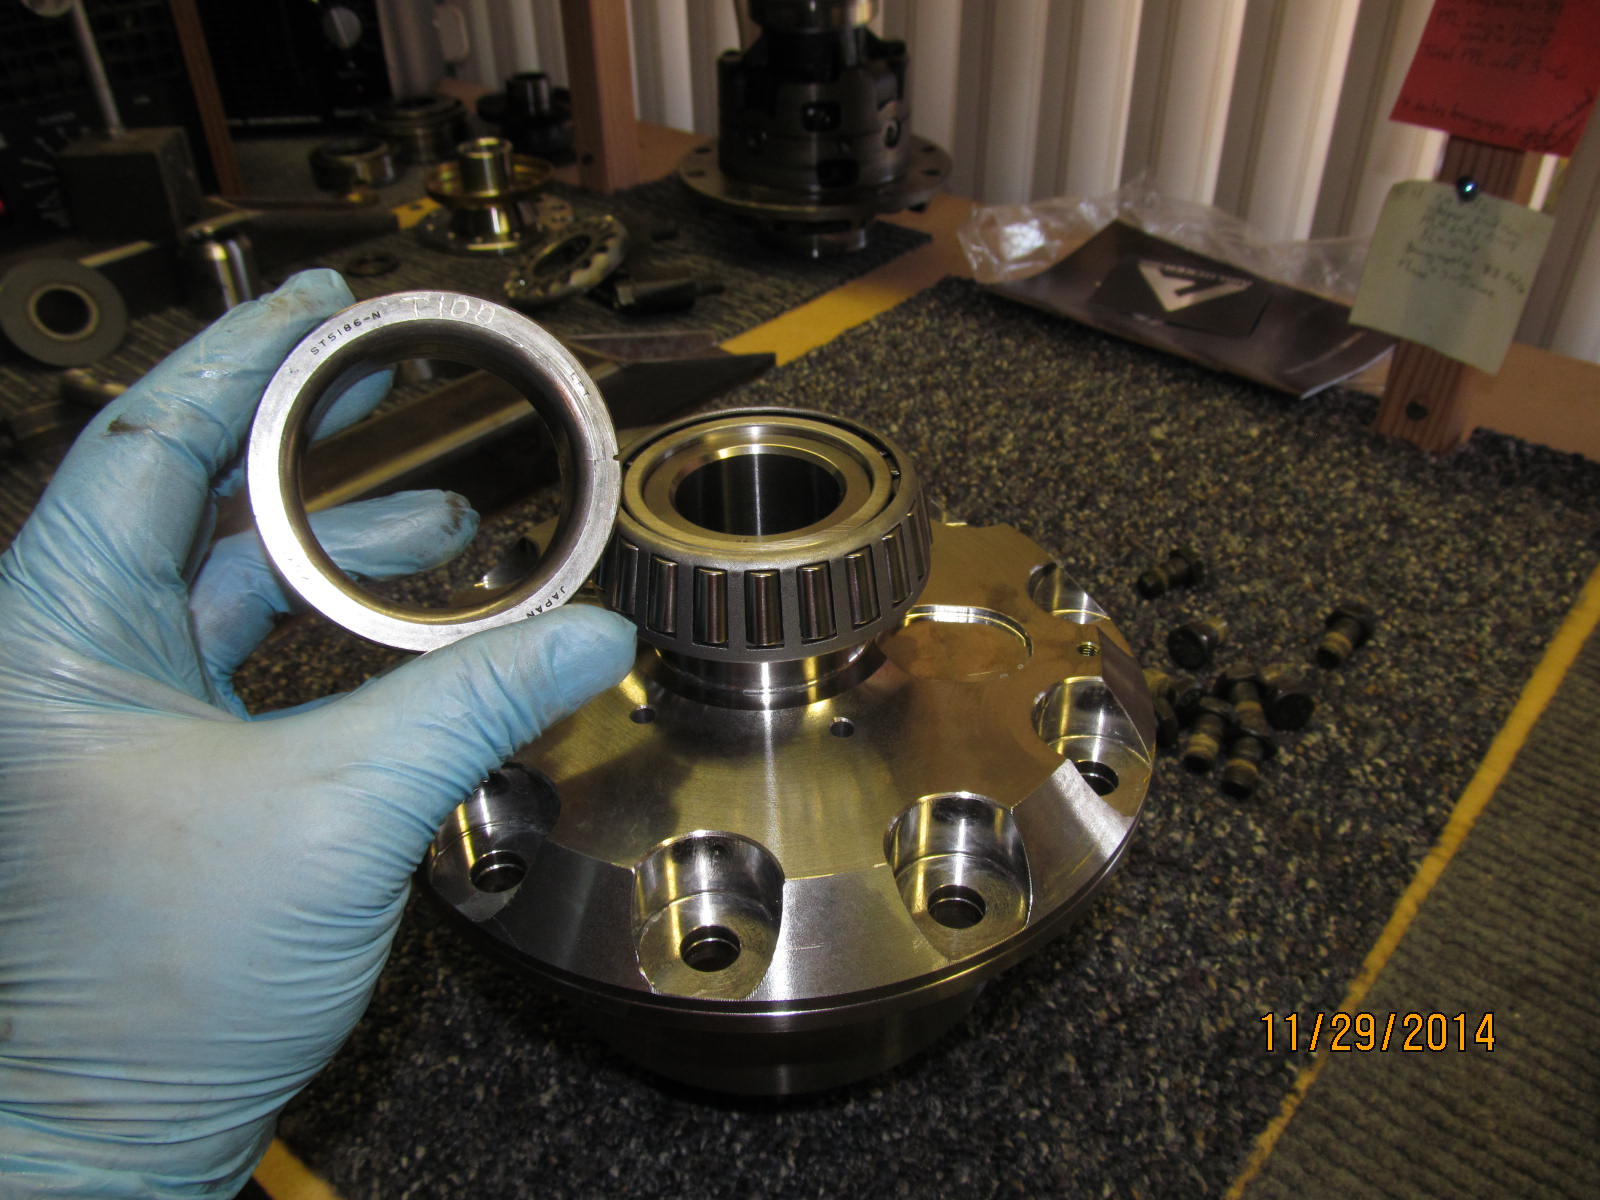
These are old T100/8.4" carrier bearing inards that I keep around just for this purpose. They are slightly larger
than the 50mm journals on the ARB's so are perfect for tapping/pressing on new bearings.
|
|
|
|
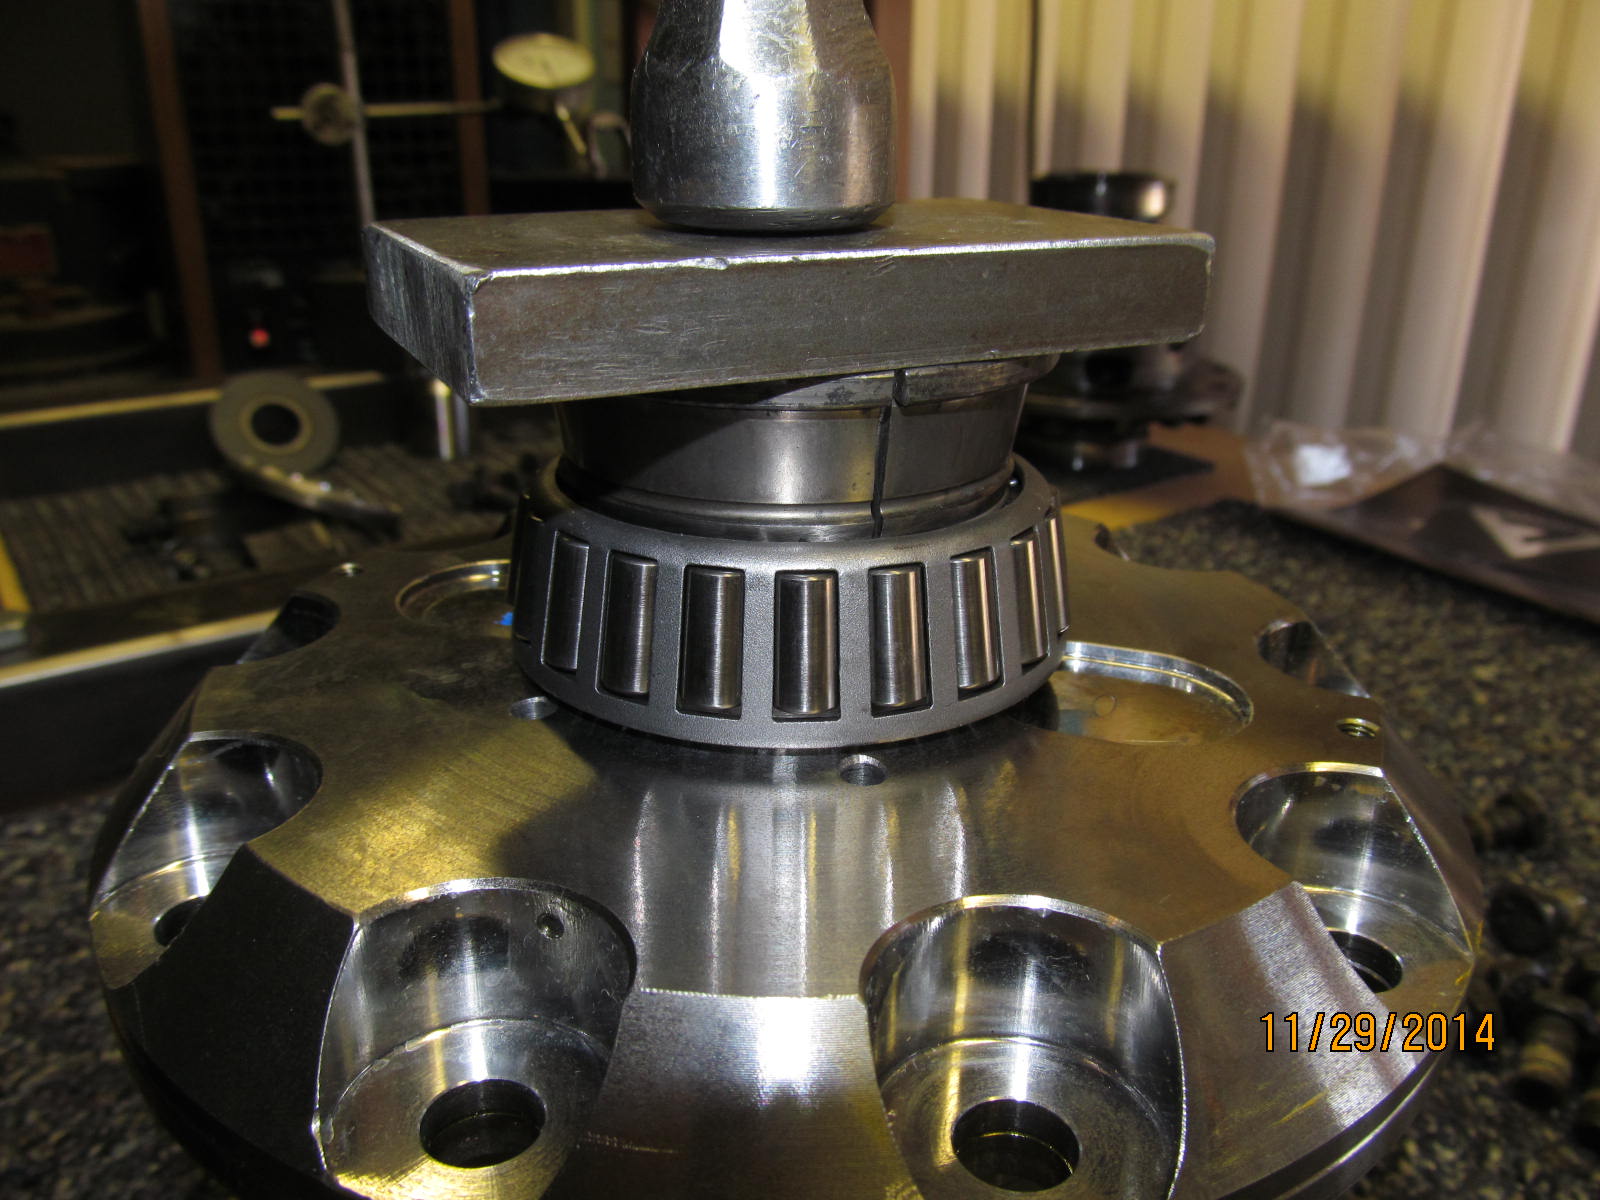
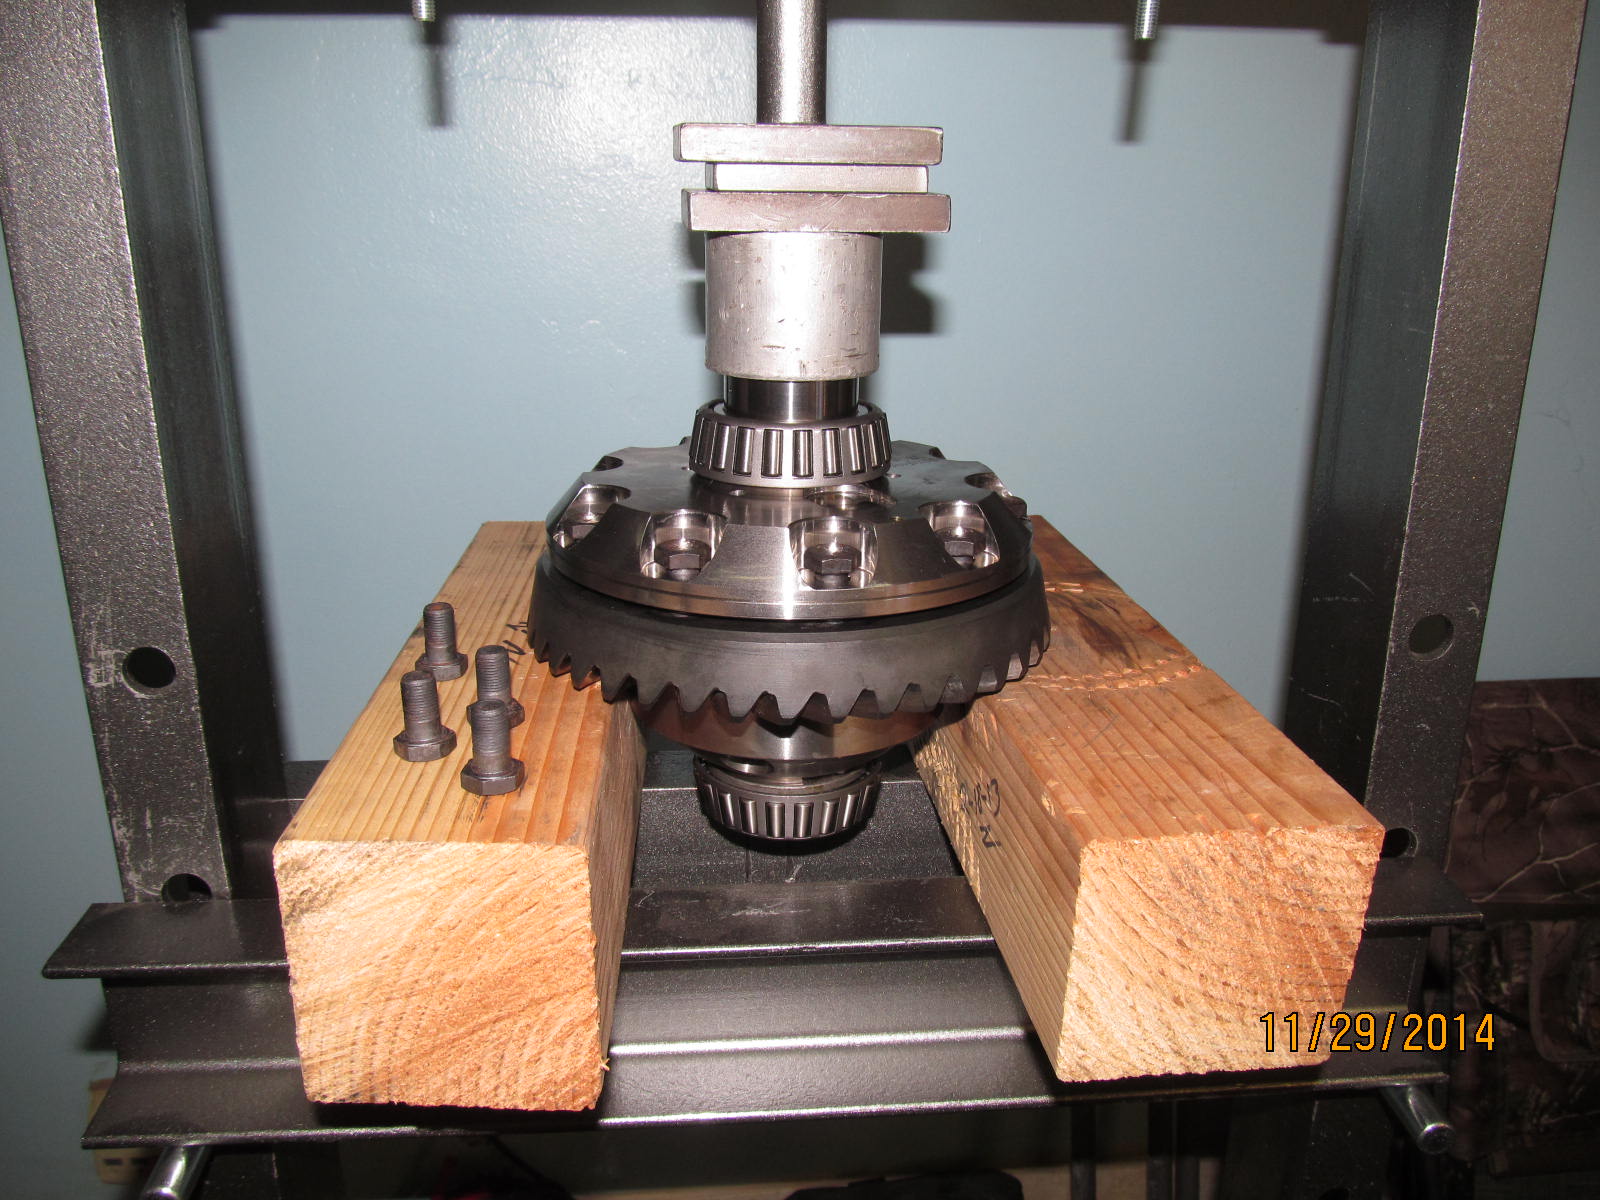
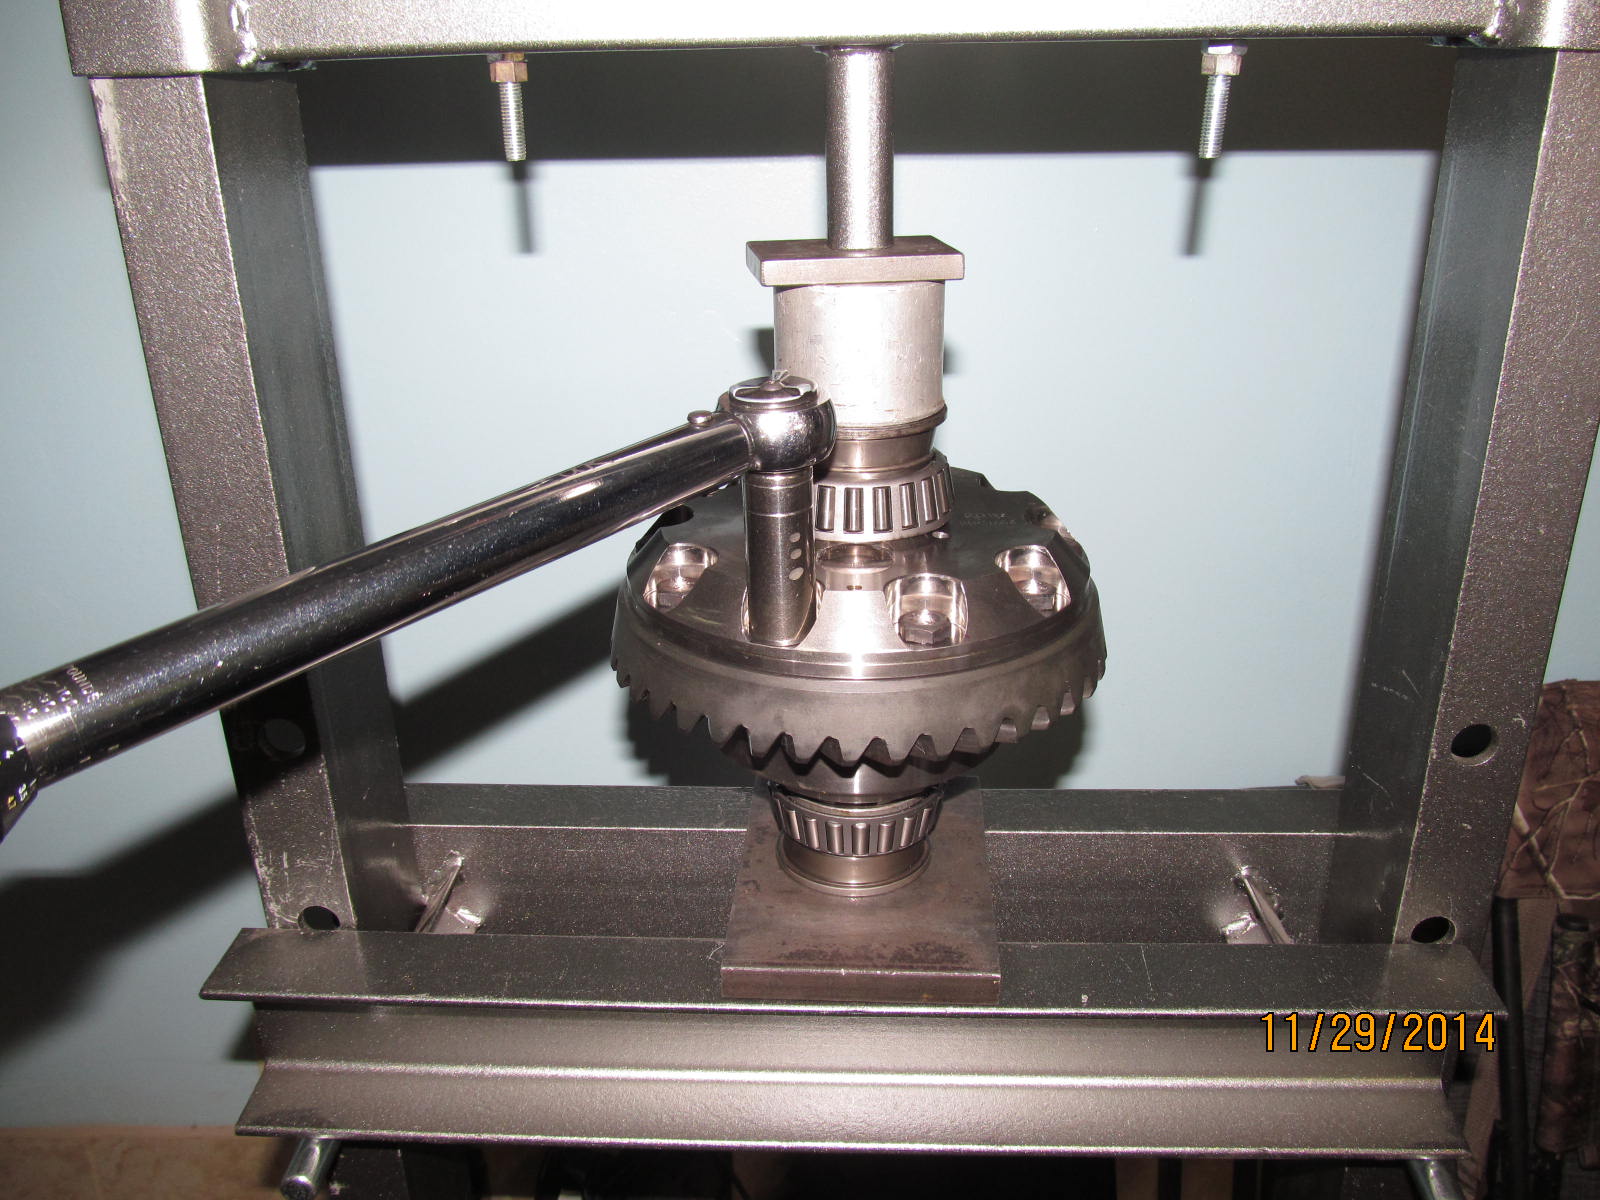
The press can finish pressing the new bearings on the rest of the way. Generally, these ARB journals are a very
tight fit for the bearings.....wish the OEM cases all fit this tight.
|
|
|
|
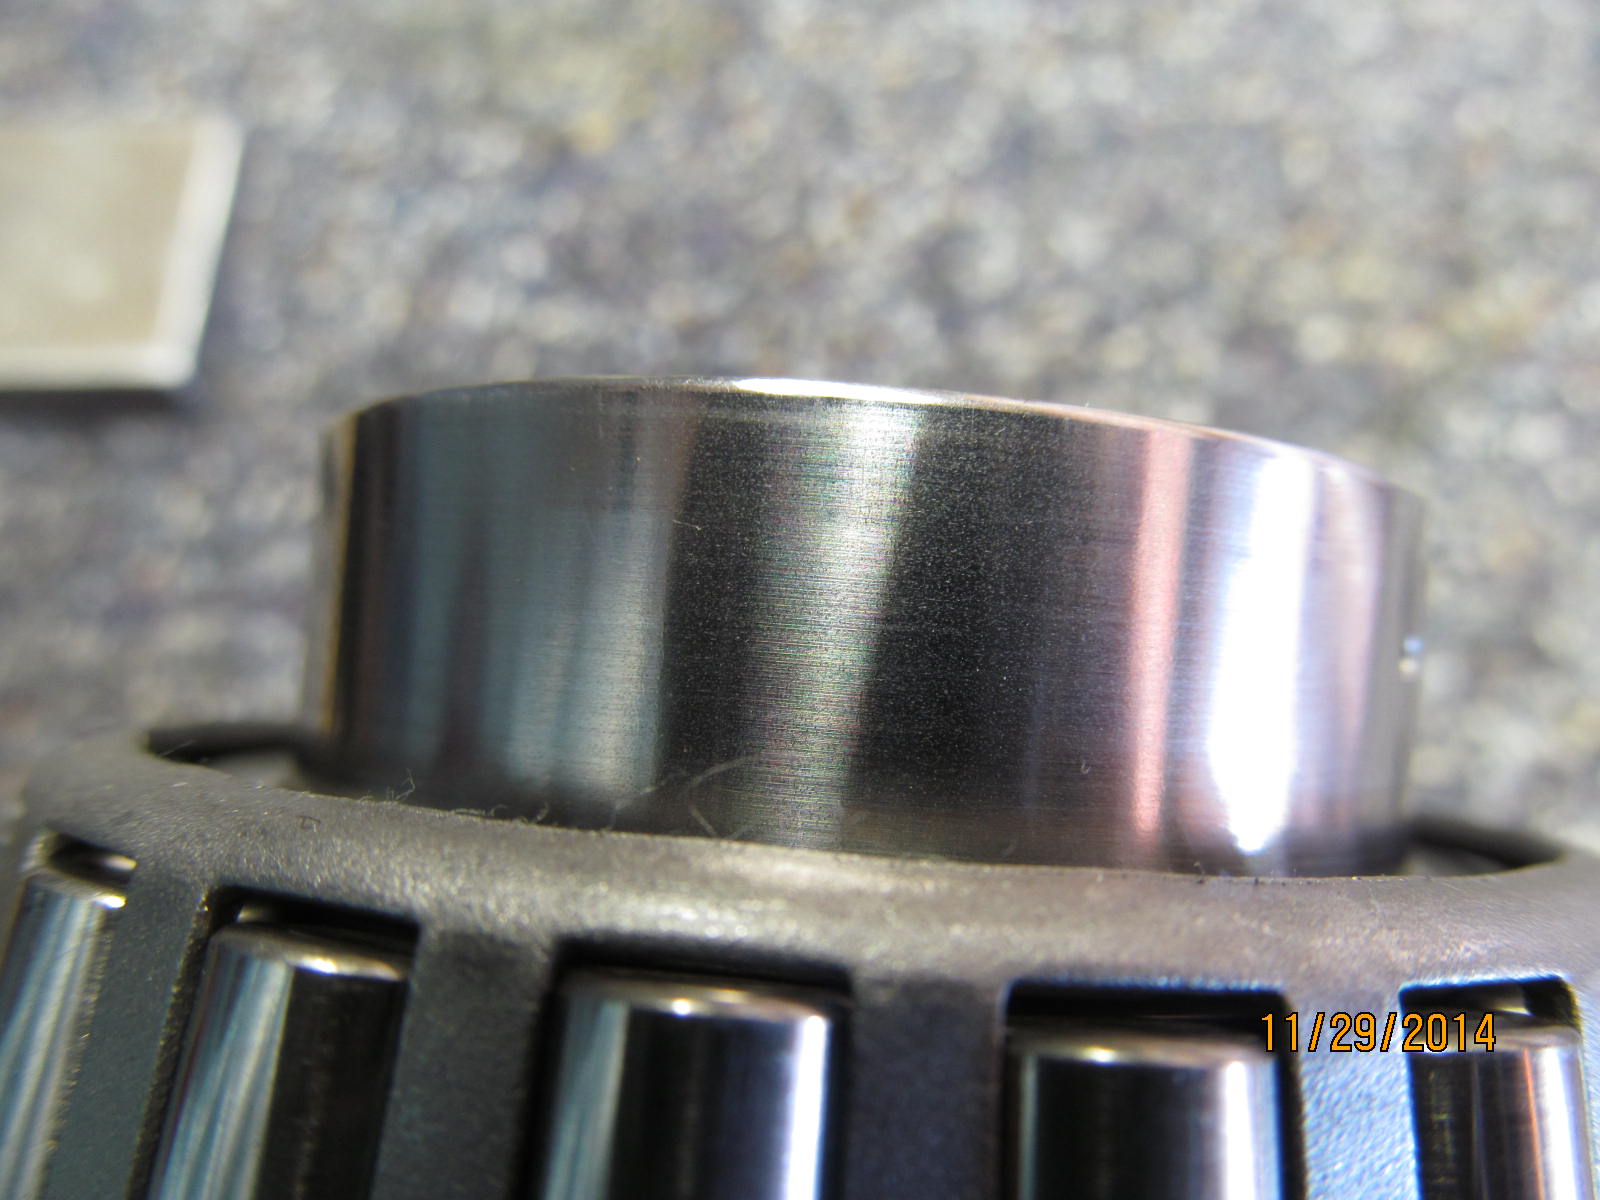
ARB has improved the surface finish where the o-rings ride. Glad to see that. This picture does not show it the
best but the finish is pretty good for a lathe job.
|
|
|
|
|
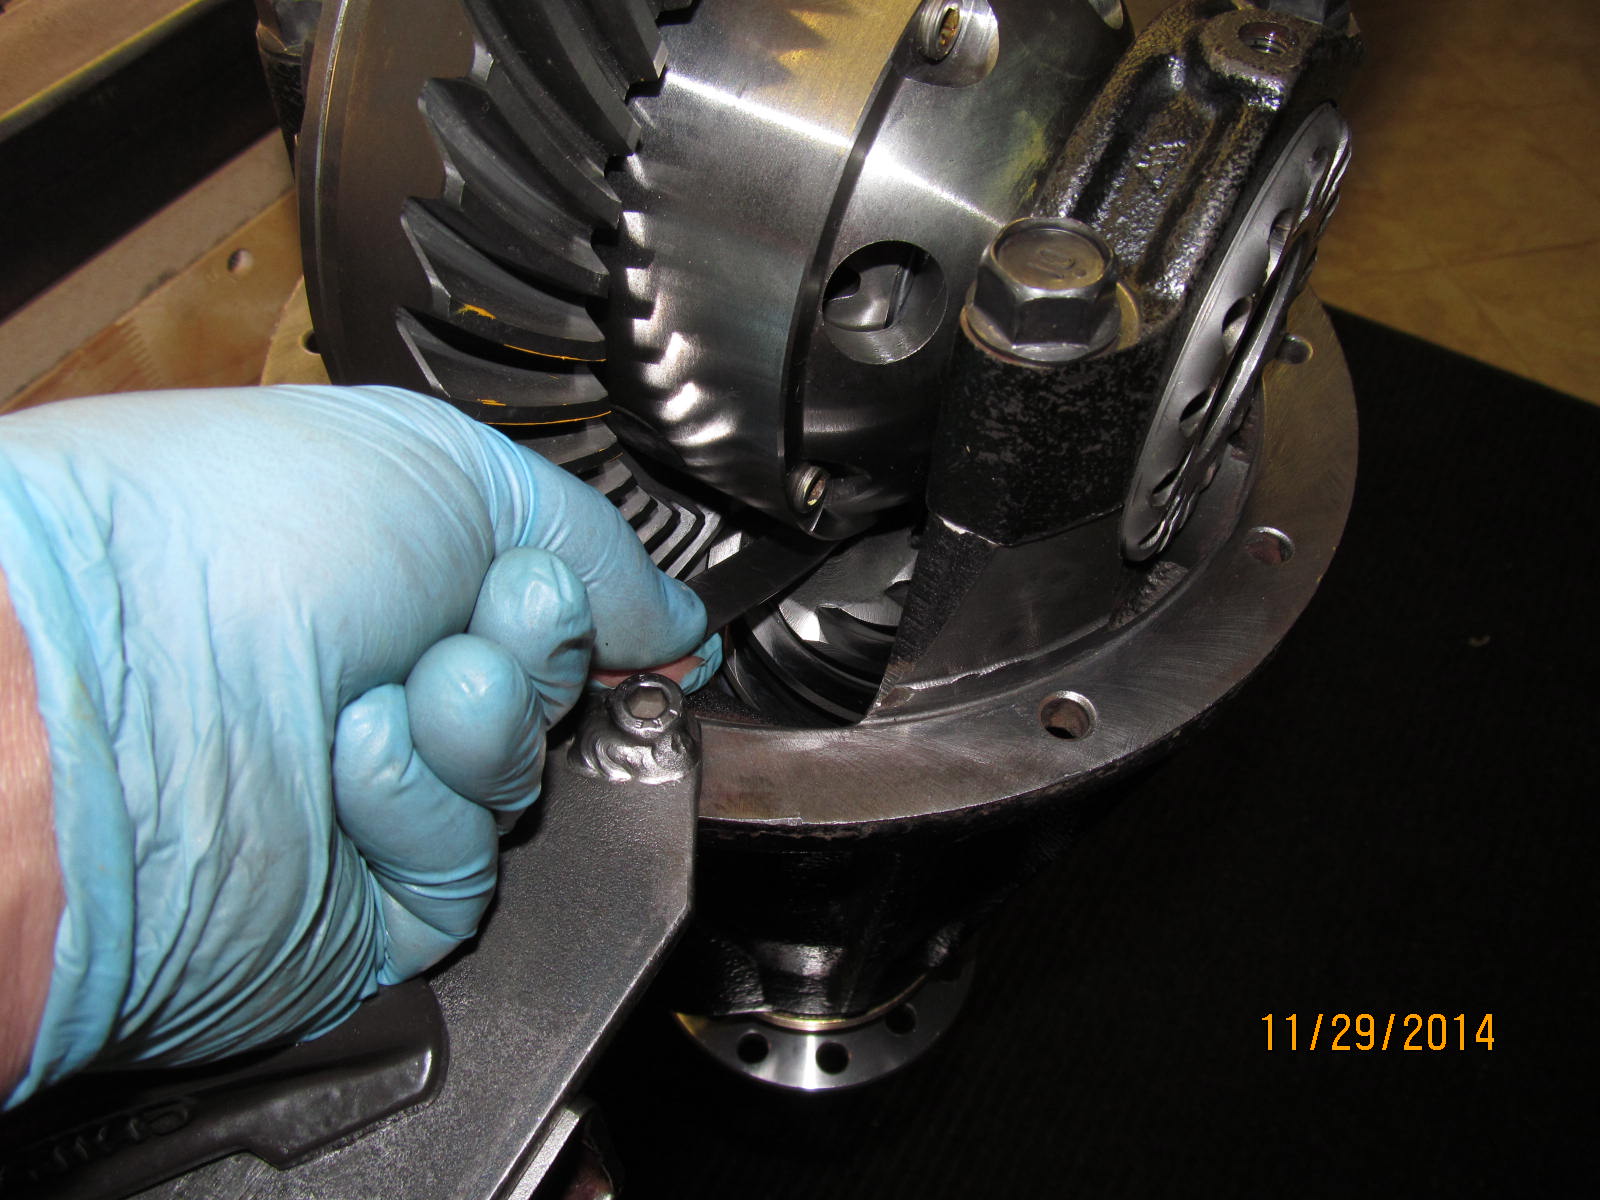
Surfaces are checked with a coarse file
|
|
|
|
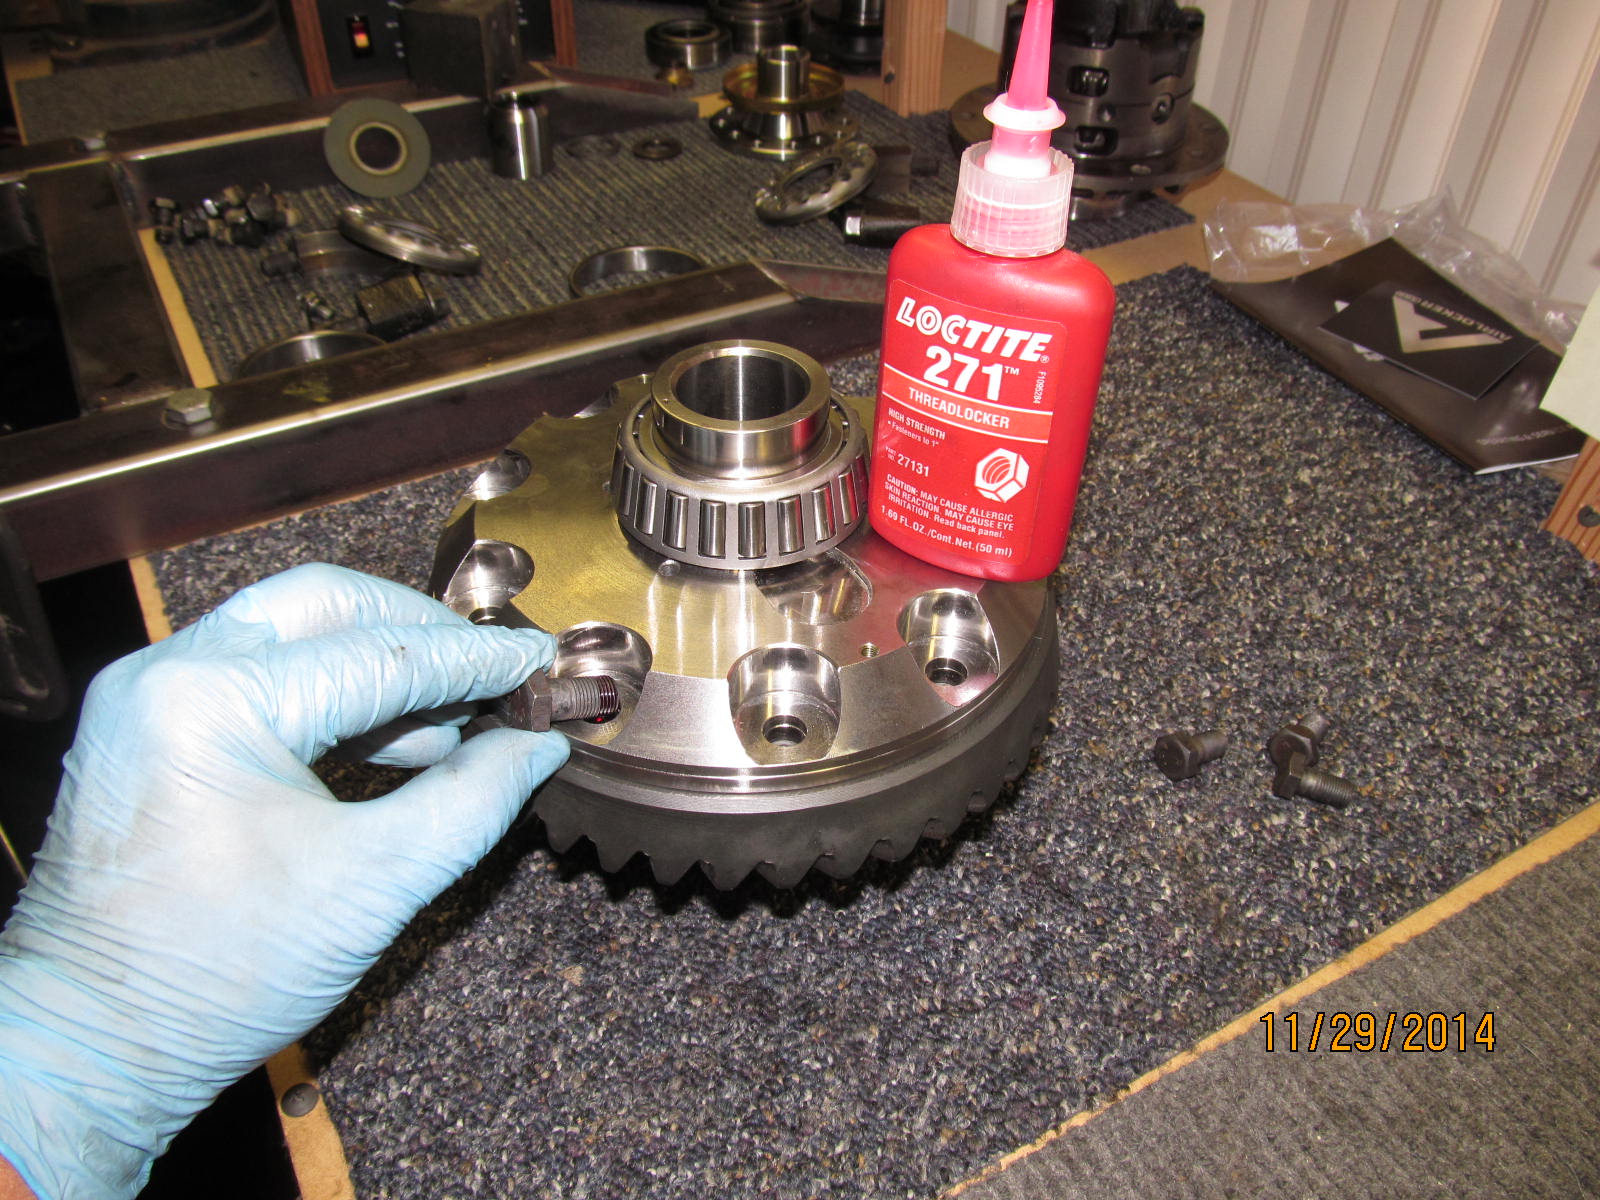
The ring has always been a tight fit on ARB's and some like to use the method of heat.....of heating the ring gear
up in boiling water to allow an easy, drop-on fit. I prefer the method of persuasion.
|
|
|
|
|
High strength red loctite.
|
|
|
|
|
75 ft/lb
|
|
|
|
|
ARB supplies the adjuster wheel for this side.
|
|
|
|
Re-use the OEM wheel on this side. Snug both bearing caps down. Set the backlash to about .008" and dial in
some carrier bearing preload. This is only a paint check so doesn't have to be full torque levels.
|
|
|
|
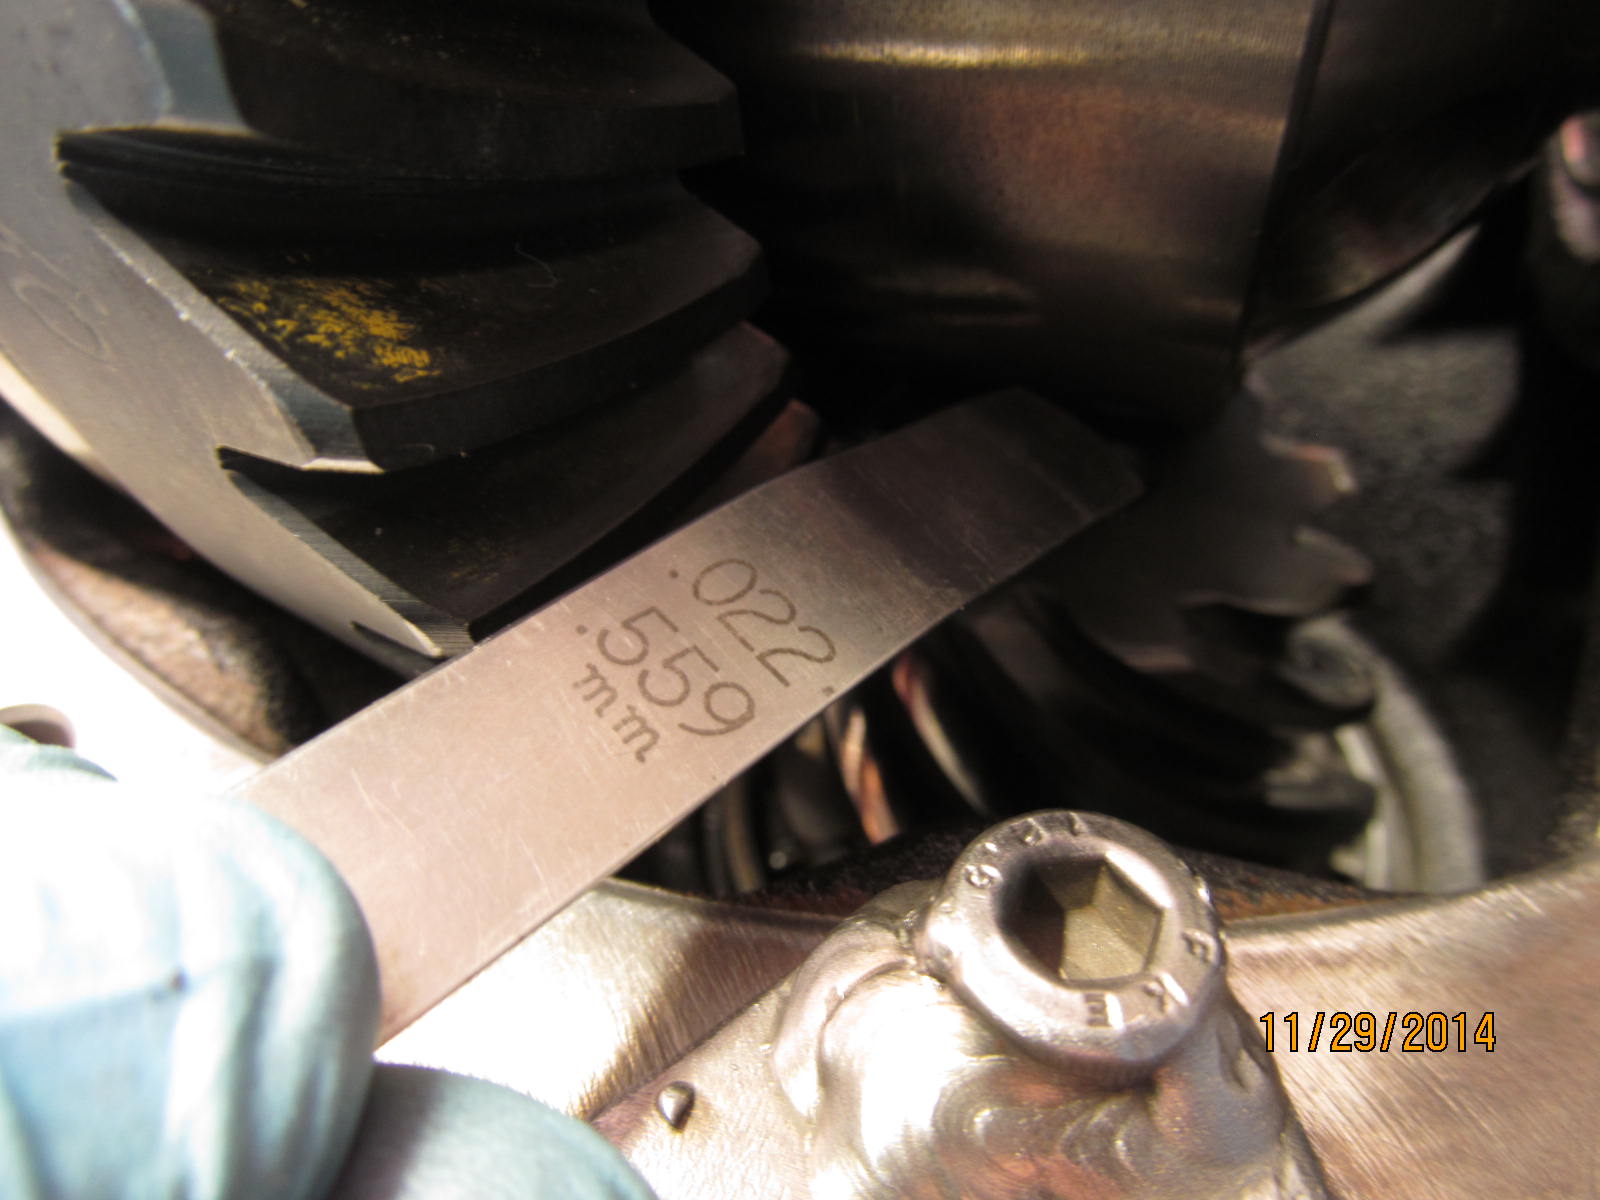
ARB wants to see .020" clearance minimum from pinion to case and this .022" feeler guage was not coming even
close to
slipping thru. As a matter of fact, a .002" feeler just barely made it thru so I will have to do some
clearancing before long here.
|
|
|
|
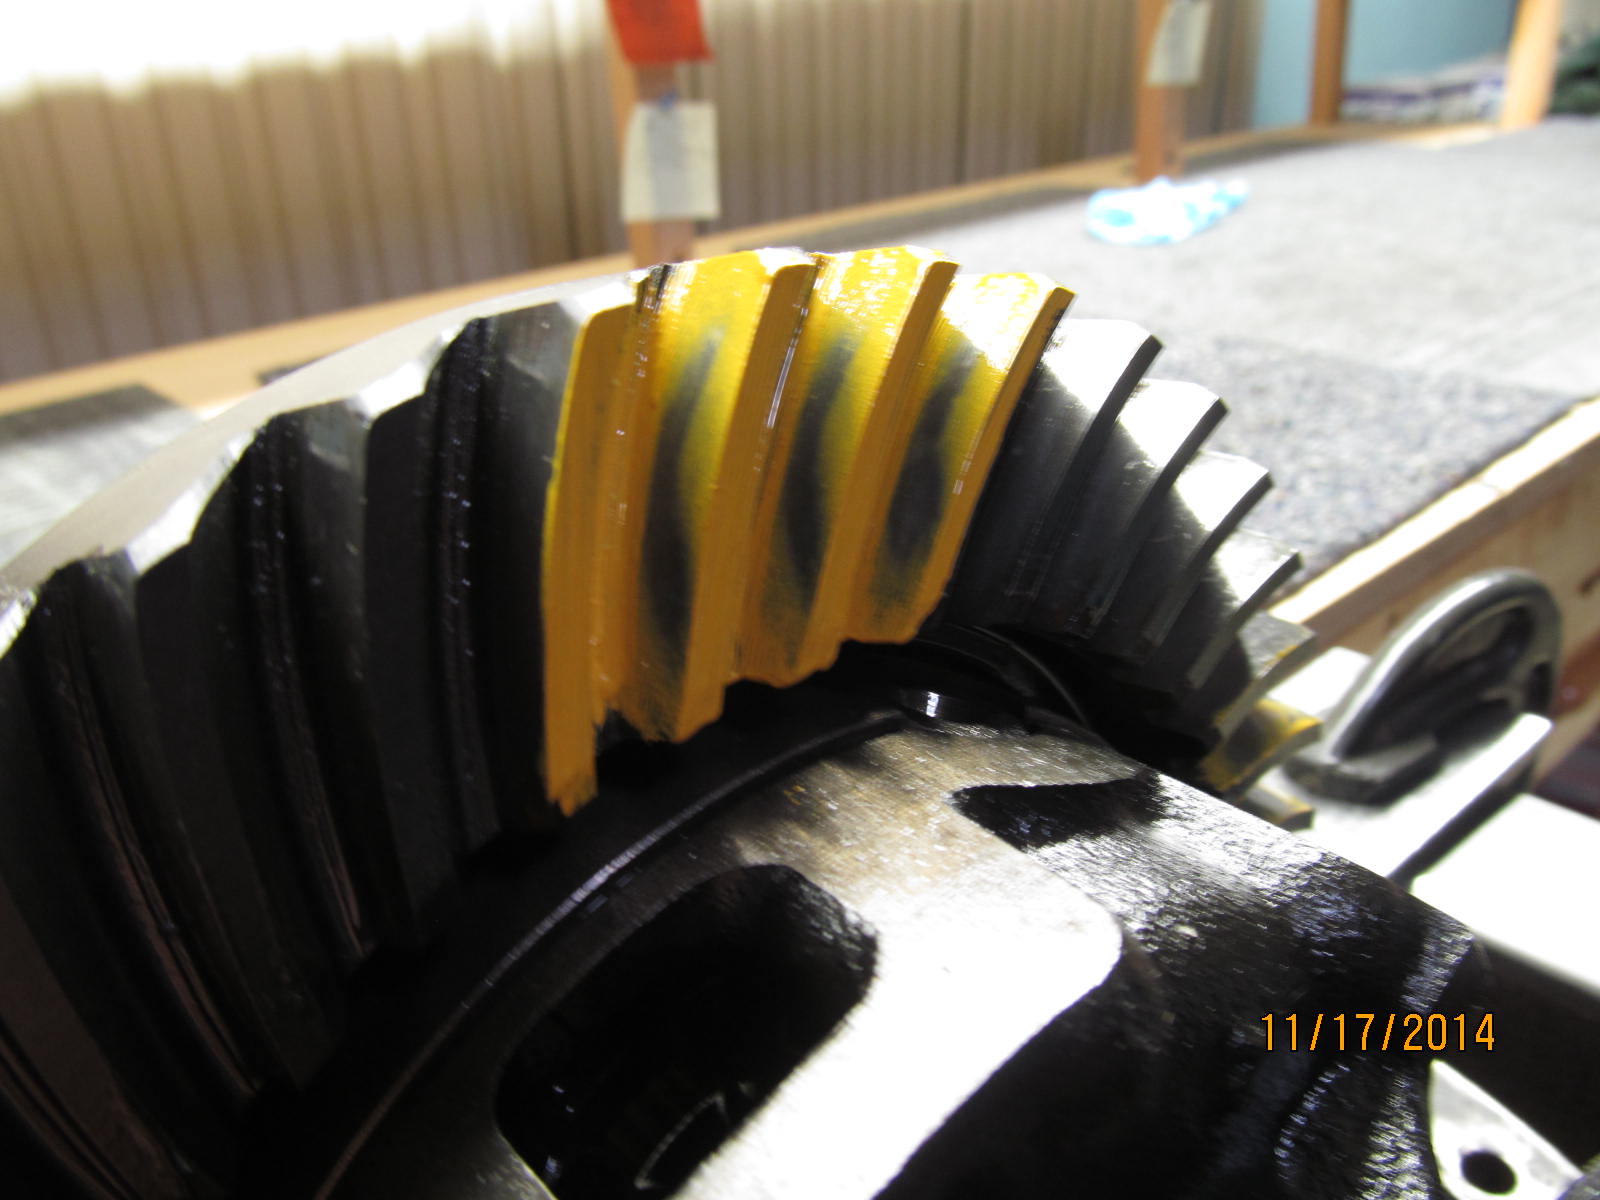
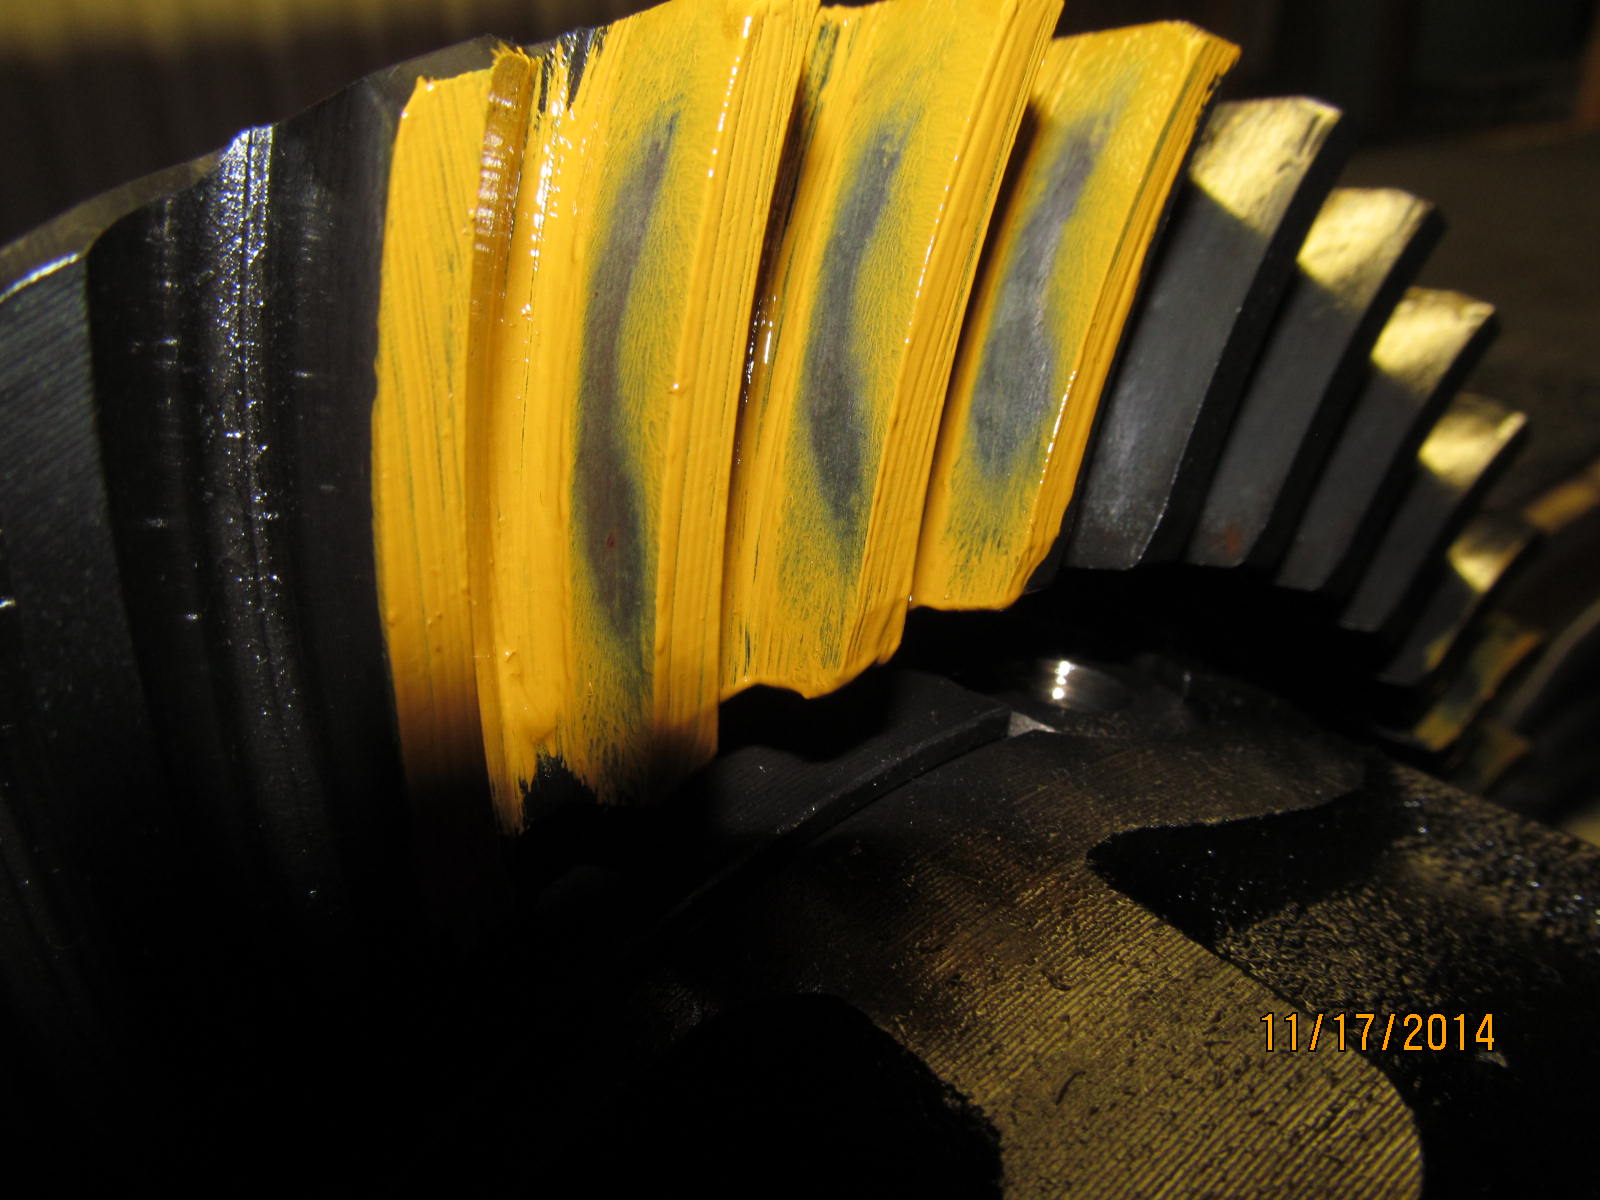
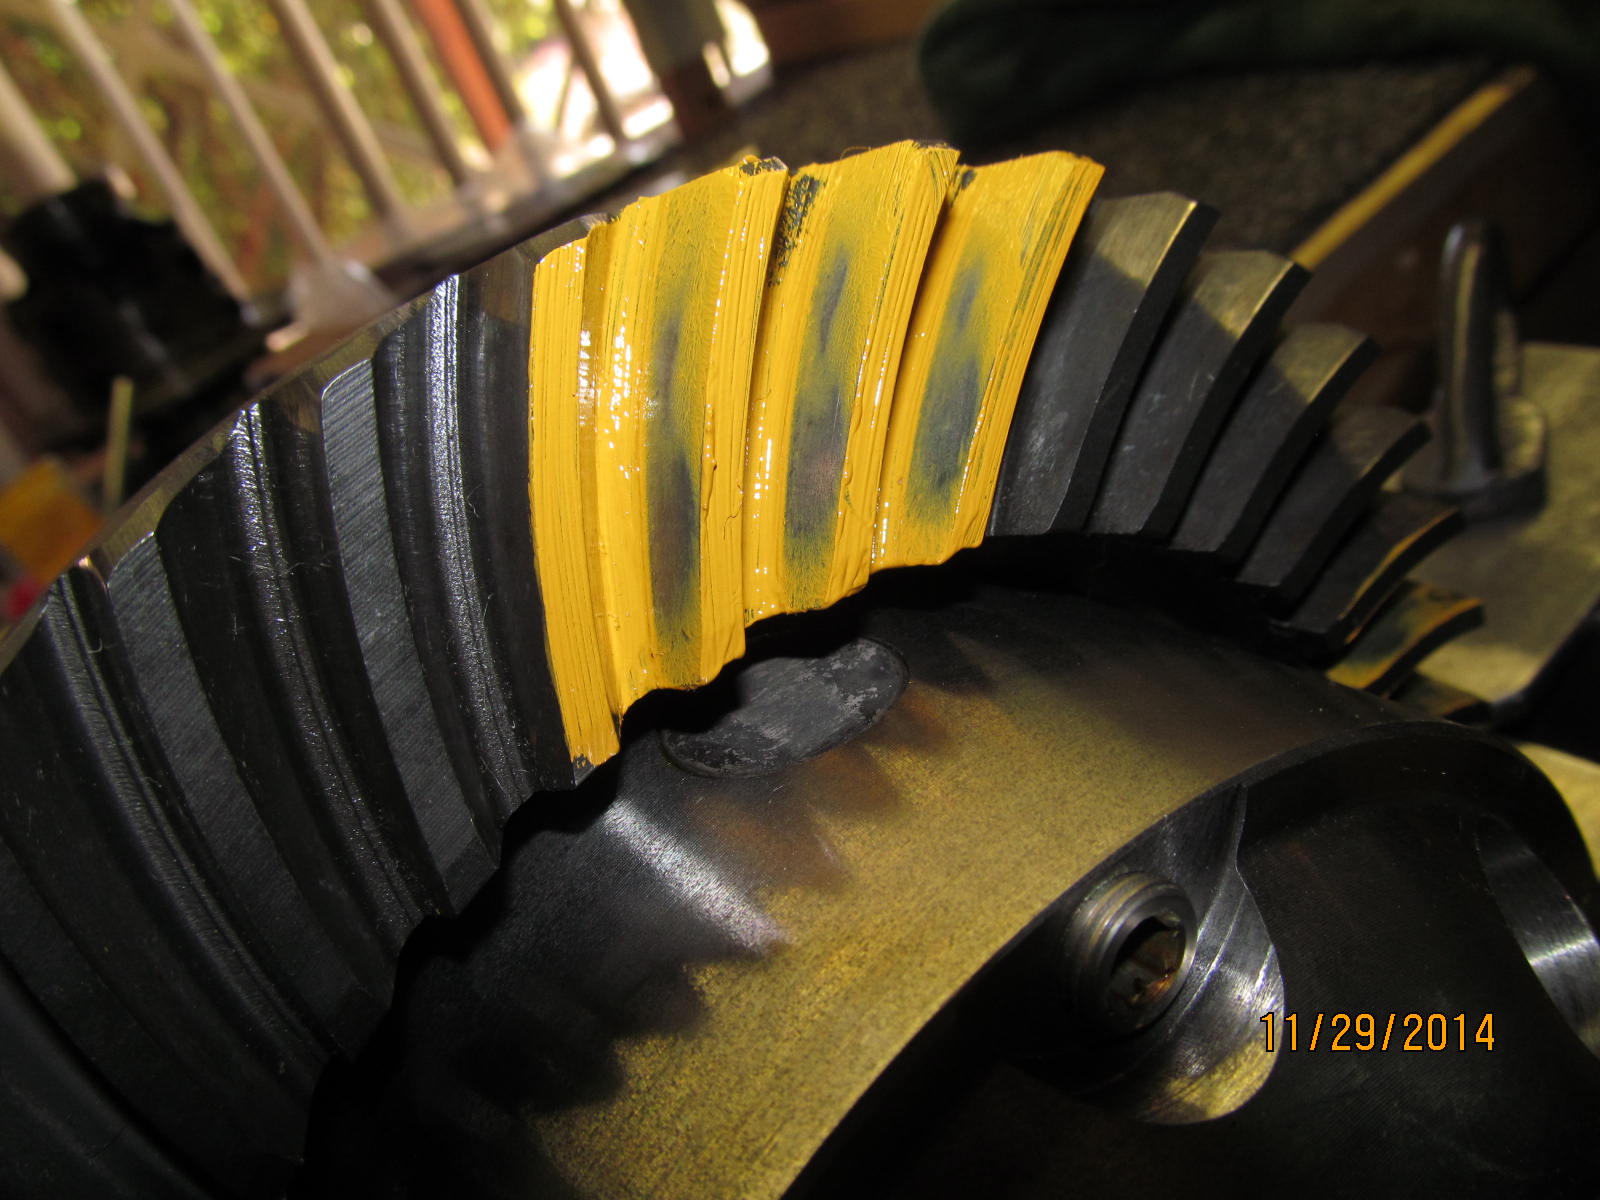
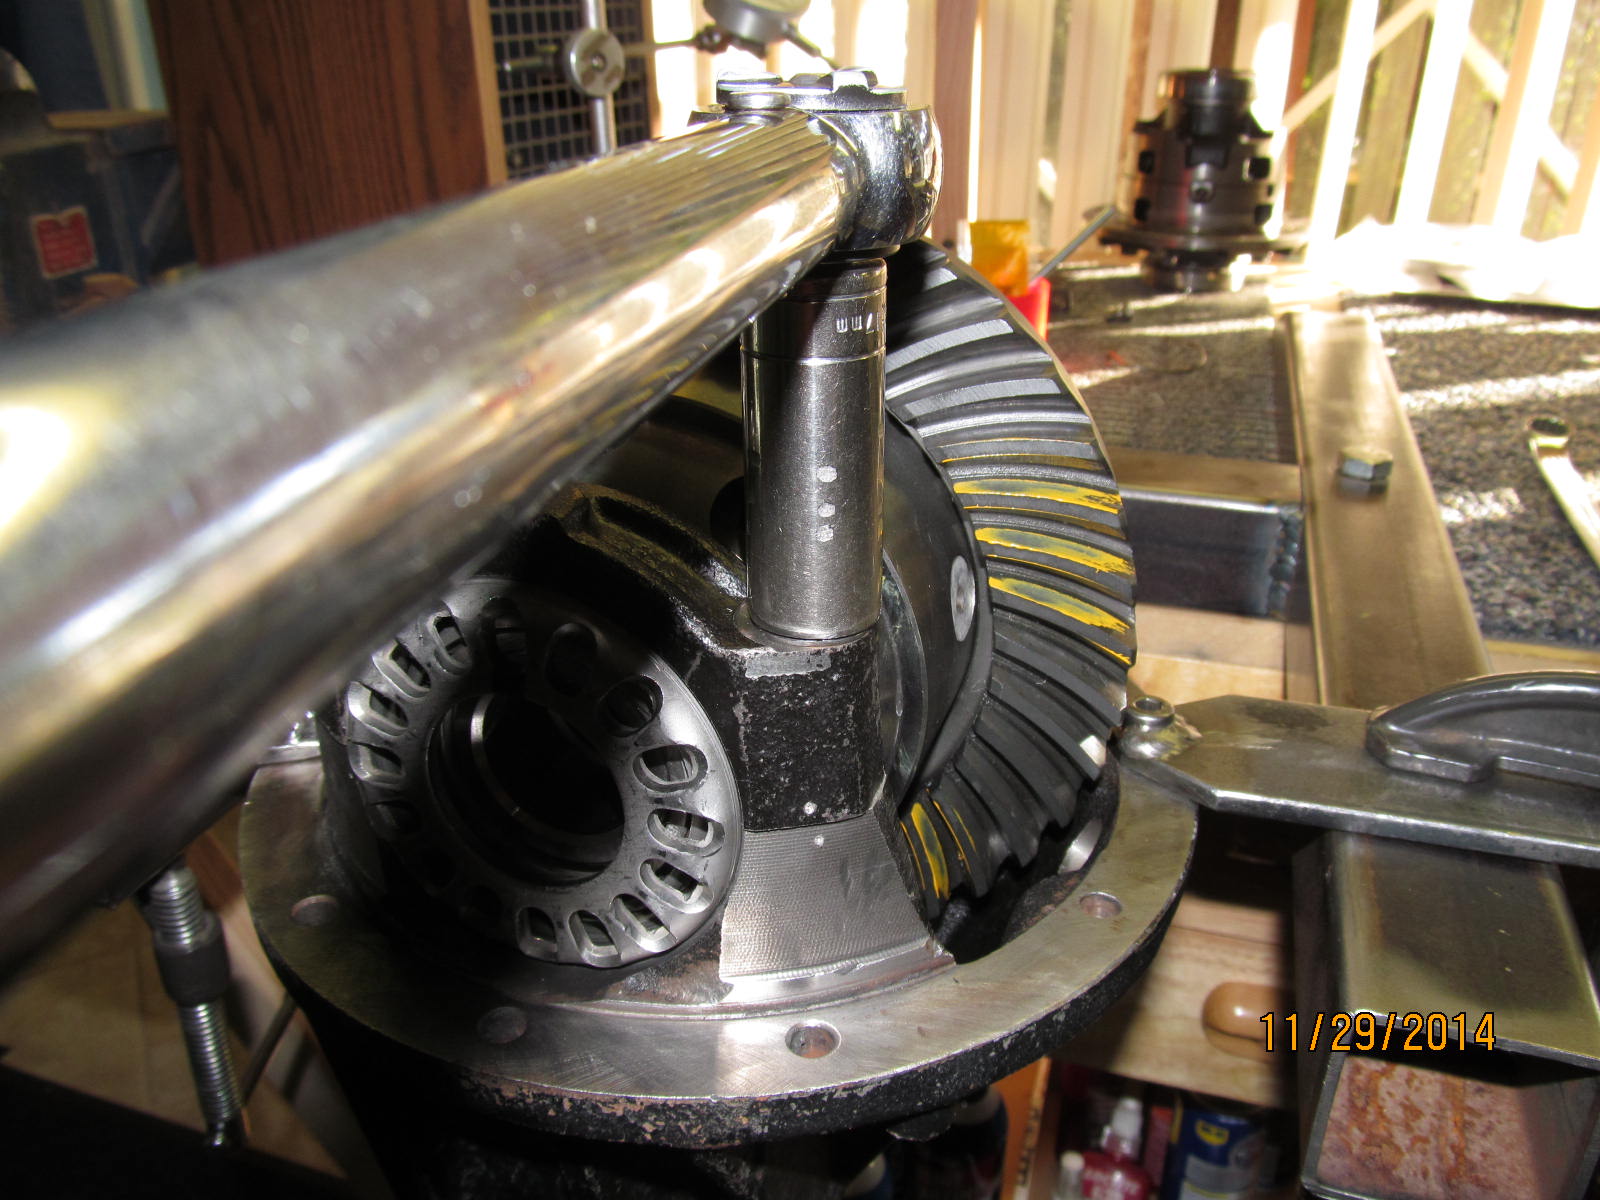
But a quick pattern check shows the drive pattern is ok....some definite out of place wear
but time would rectify that.
|
|
|
|
|
Coast pattern solid and favors the toe heavy.
|
|
|
|
BEFORE......
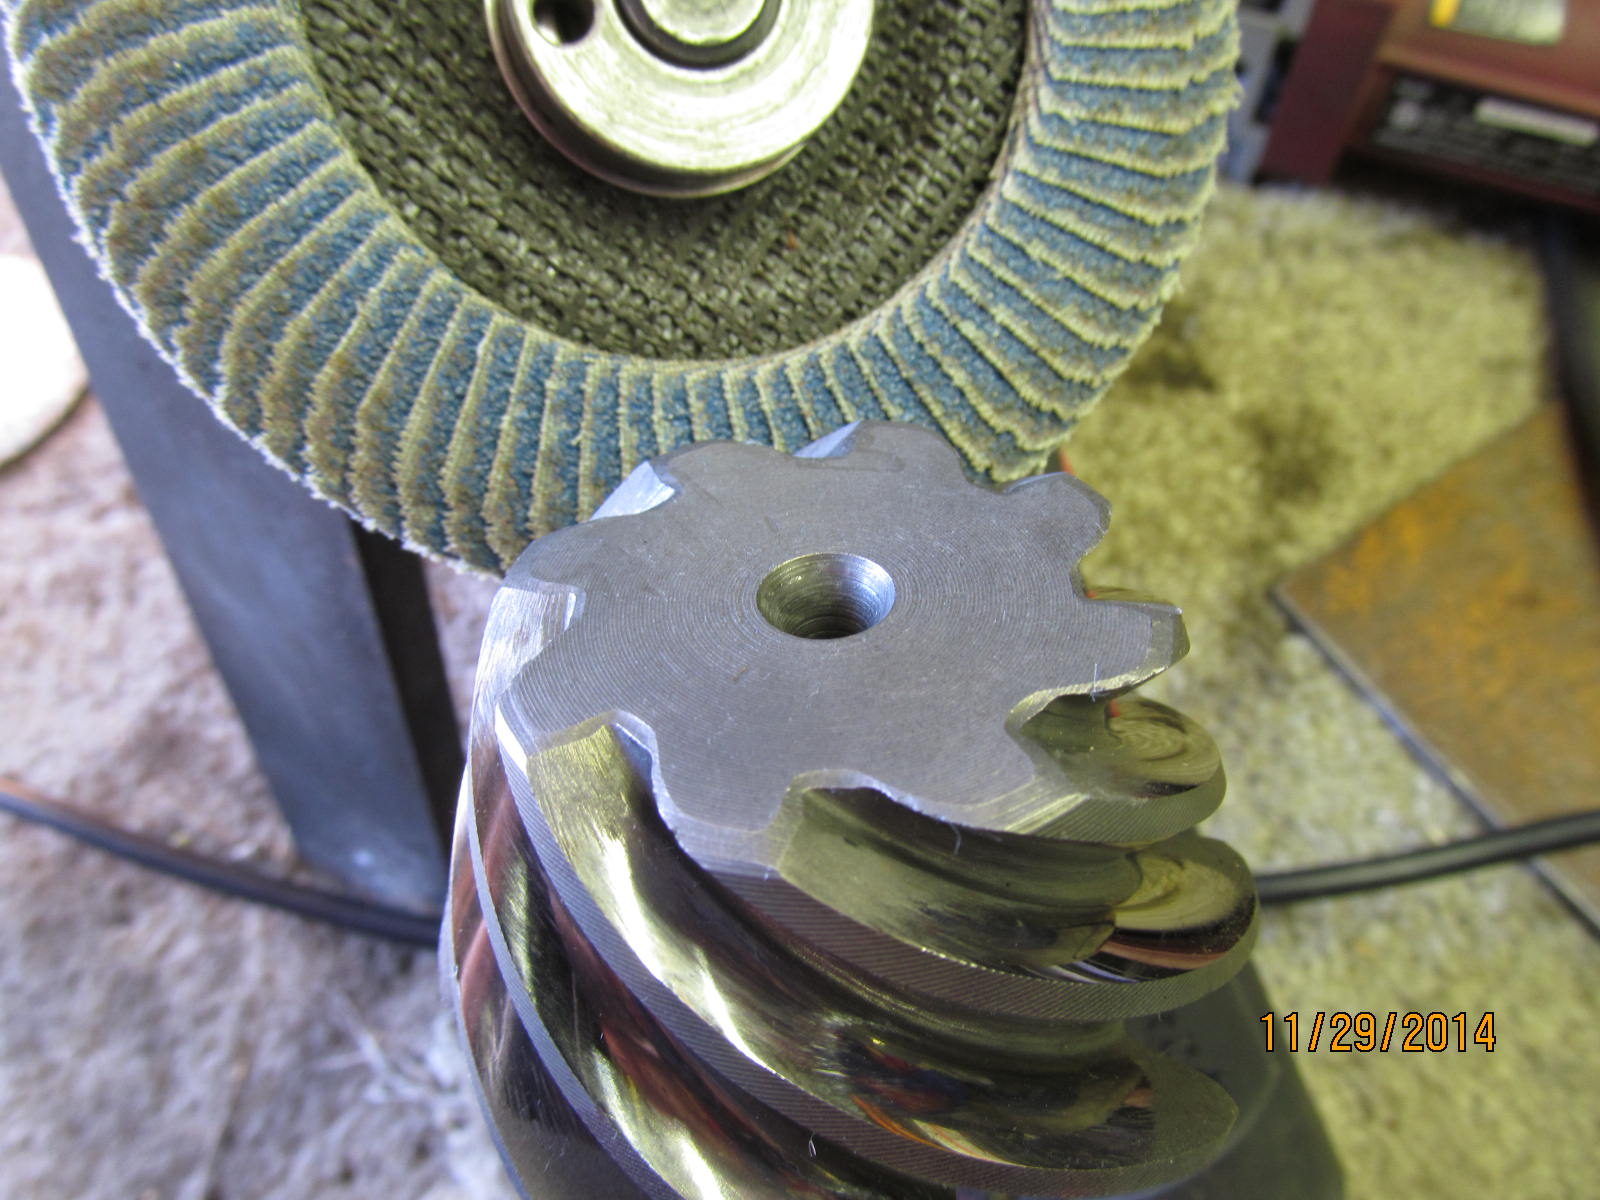
Using a flapper wheel to clearance the tips of the pinion teeth to allow more of an air gap to the ARB case.
|
|
|
|
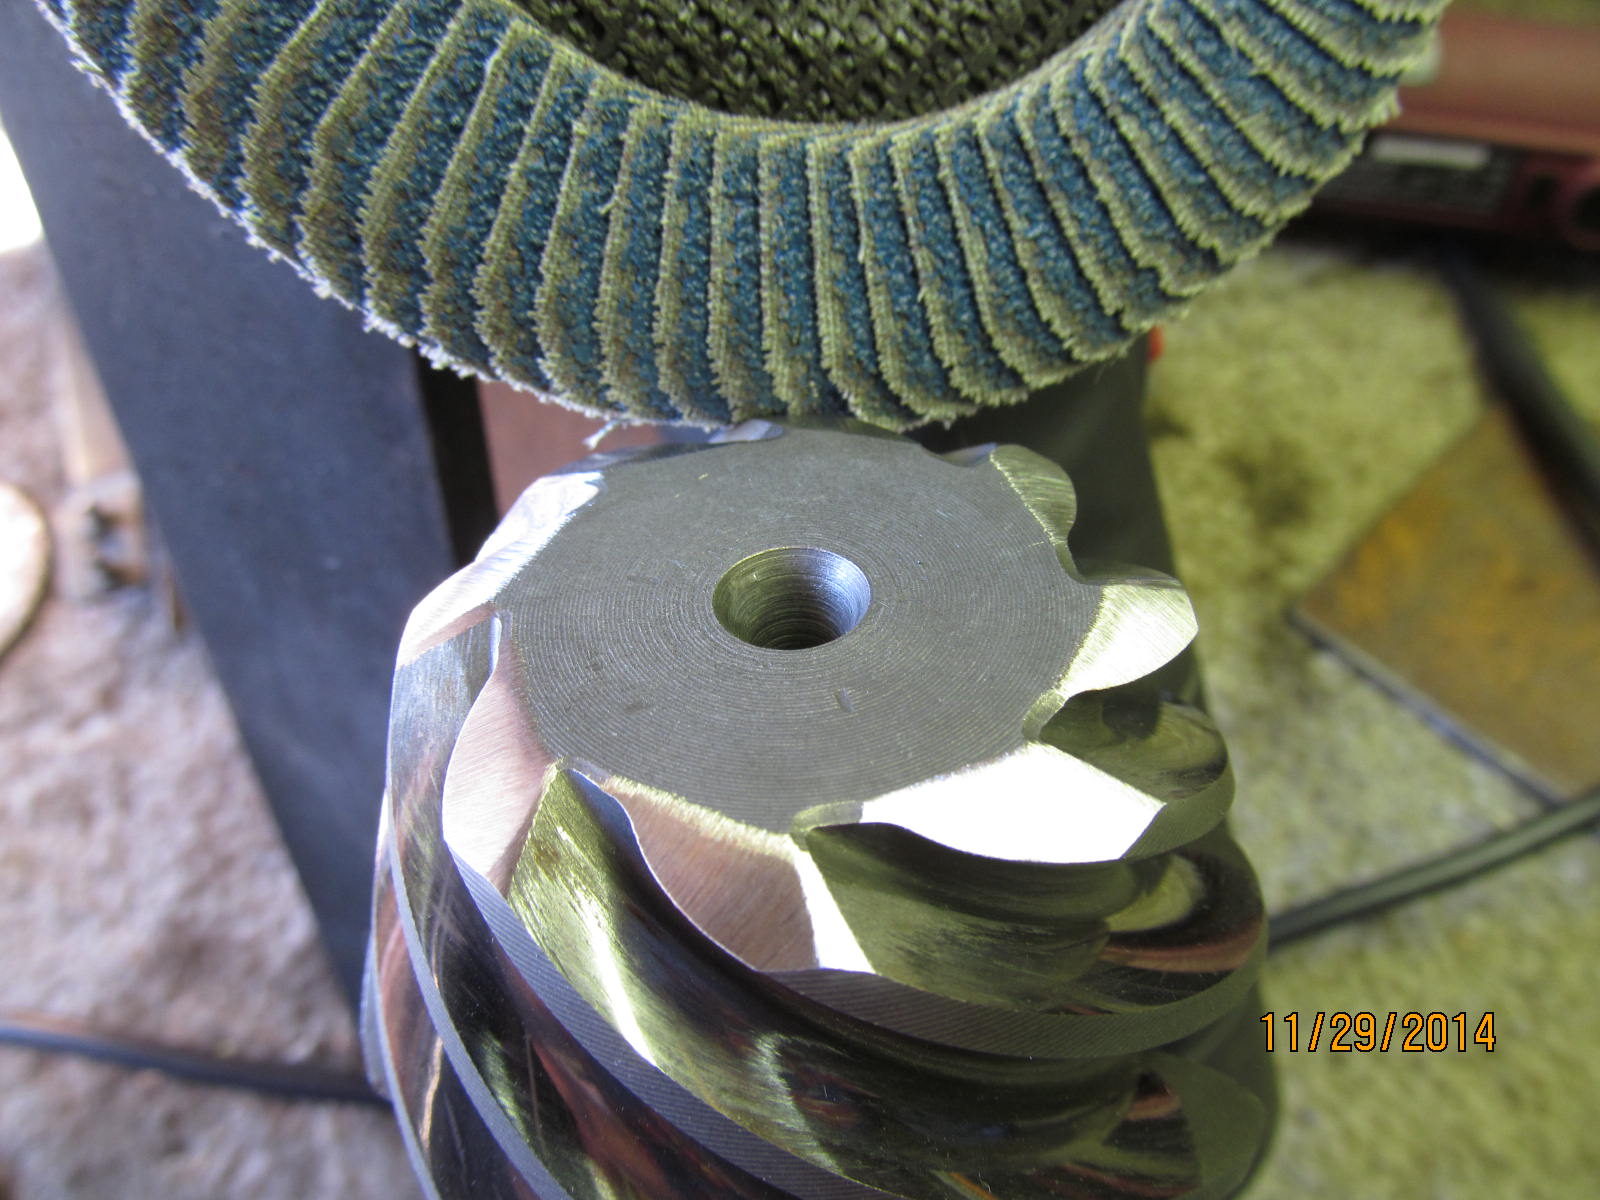
AFTER
|
|
|
|
|
...................
|
|
|
|
|
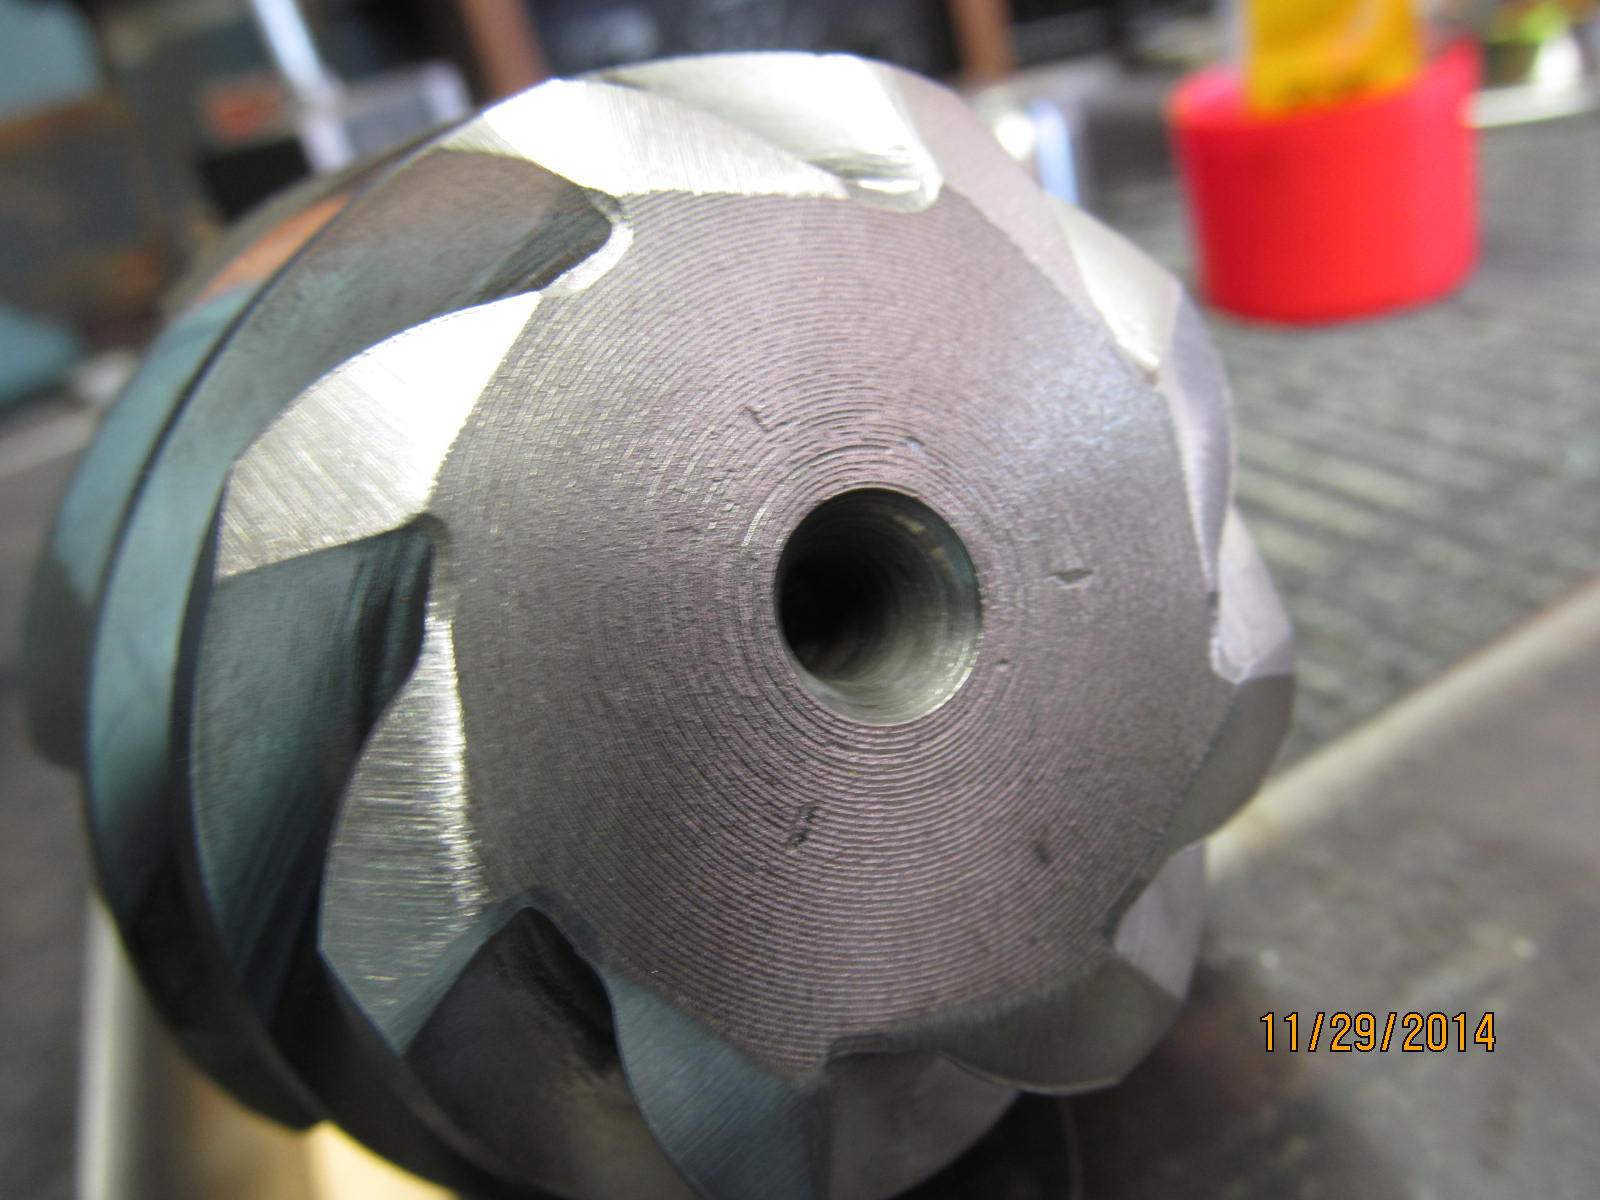
Now the .022" feeler will clear easy.
|
|
|
|
1.866" is the typical total length for a collar installation in a V6 3rd. Collar measures at 1.814" so let's
try a shim of .052".
|
|
|
|
Got lucky.....tightened down using the electric impact and measure 5 in/lb start torque. I can increase that to
10 in/lb with a little extra leverage on the pinion nut and I will do that later.
|
|
|
|
|
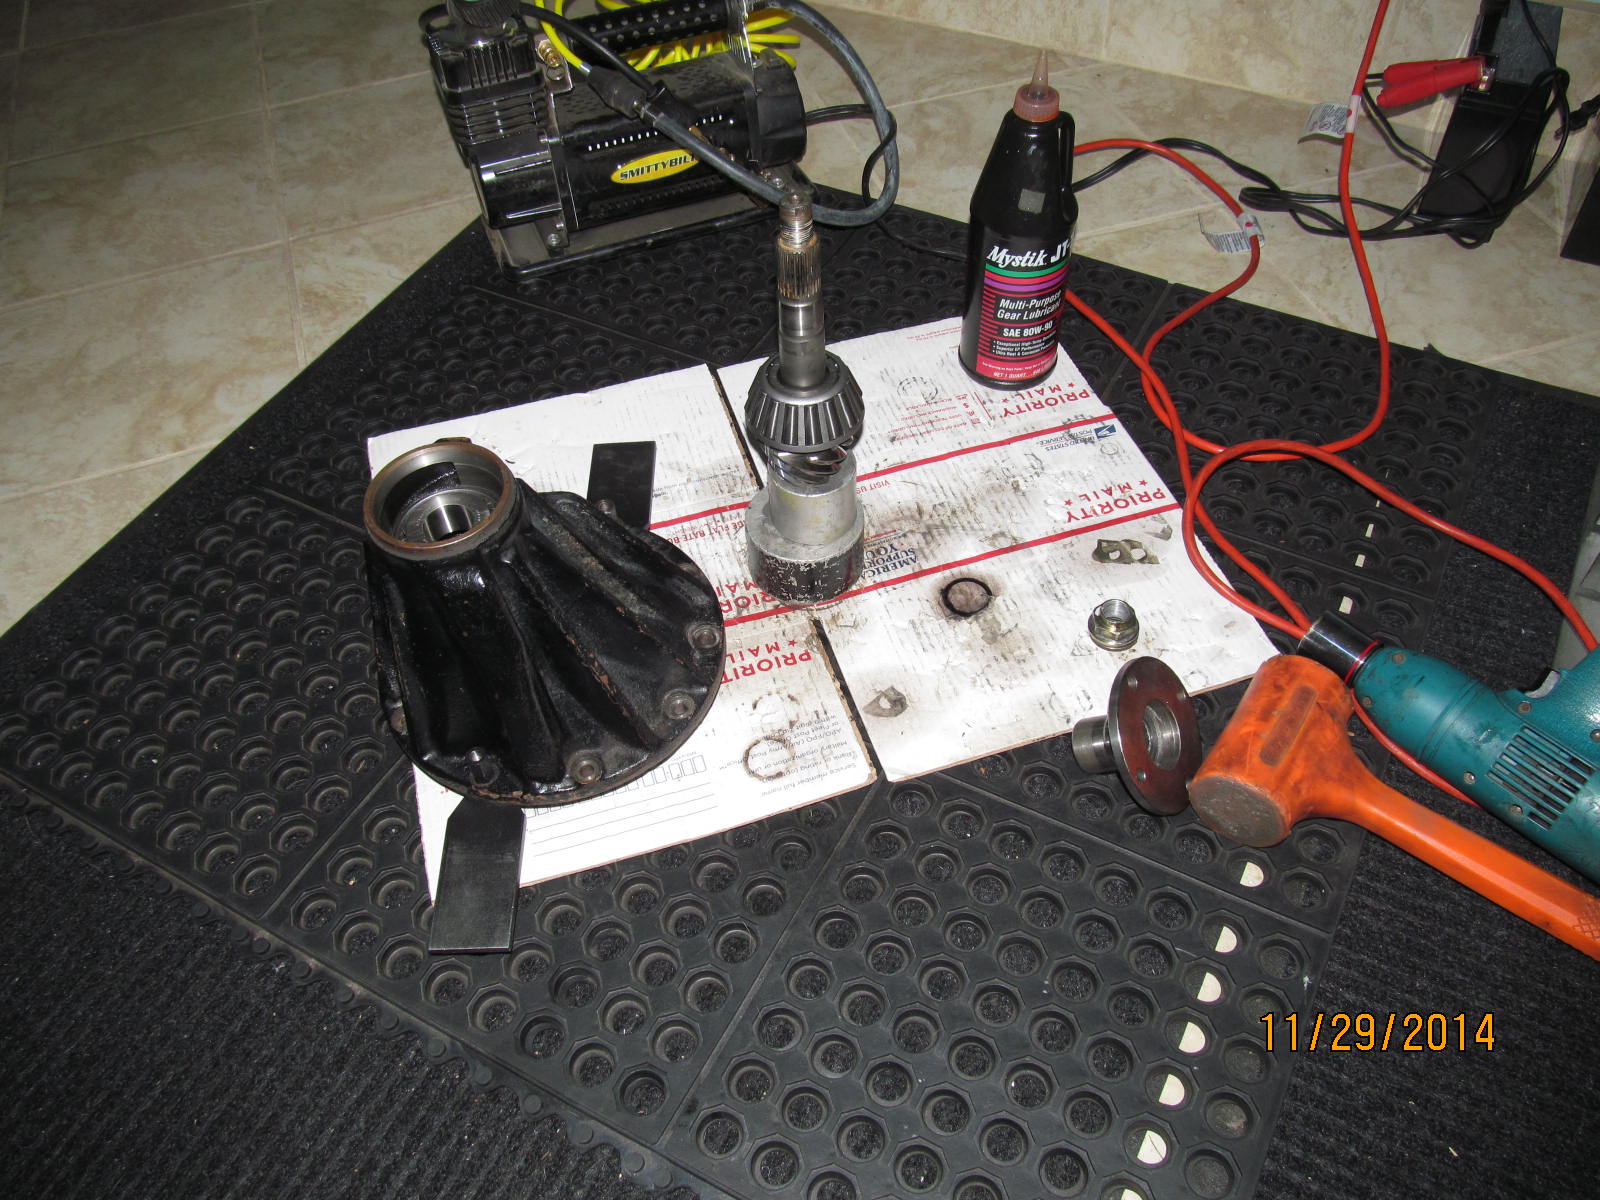
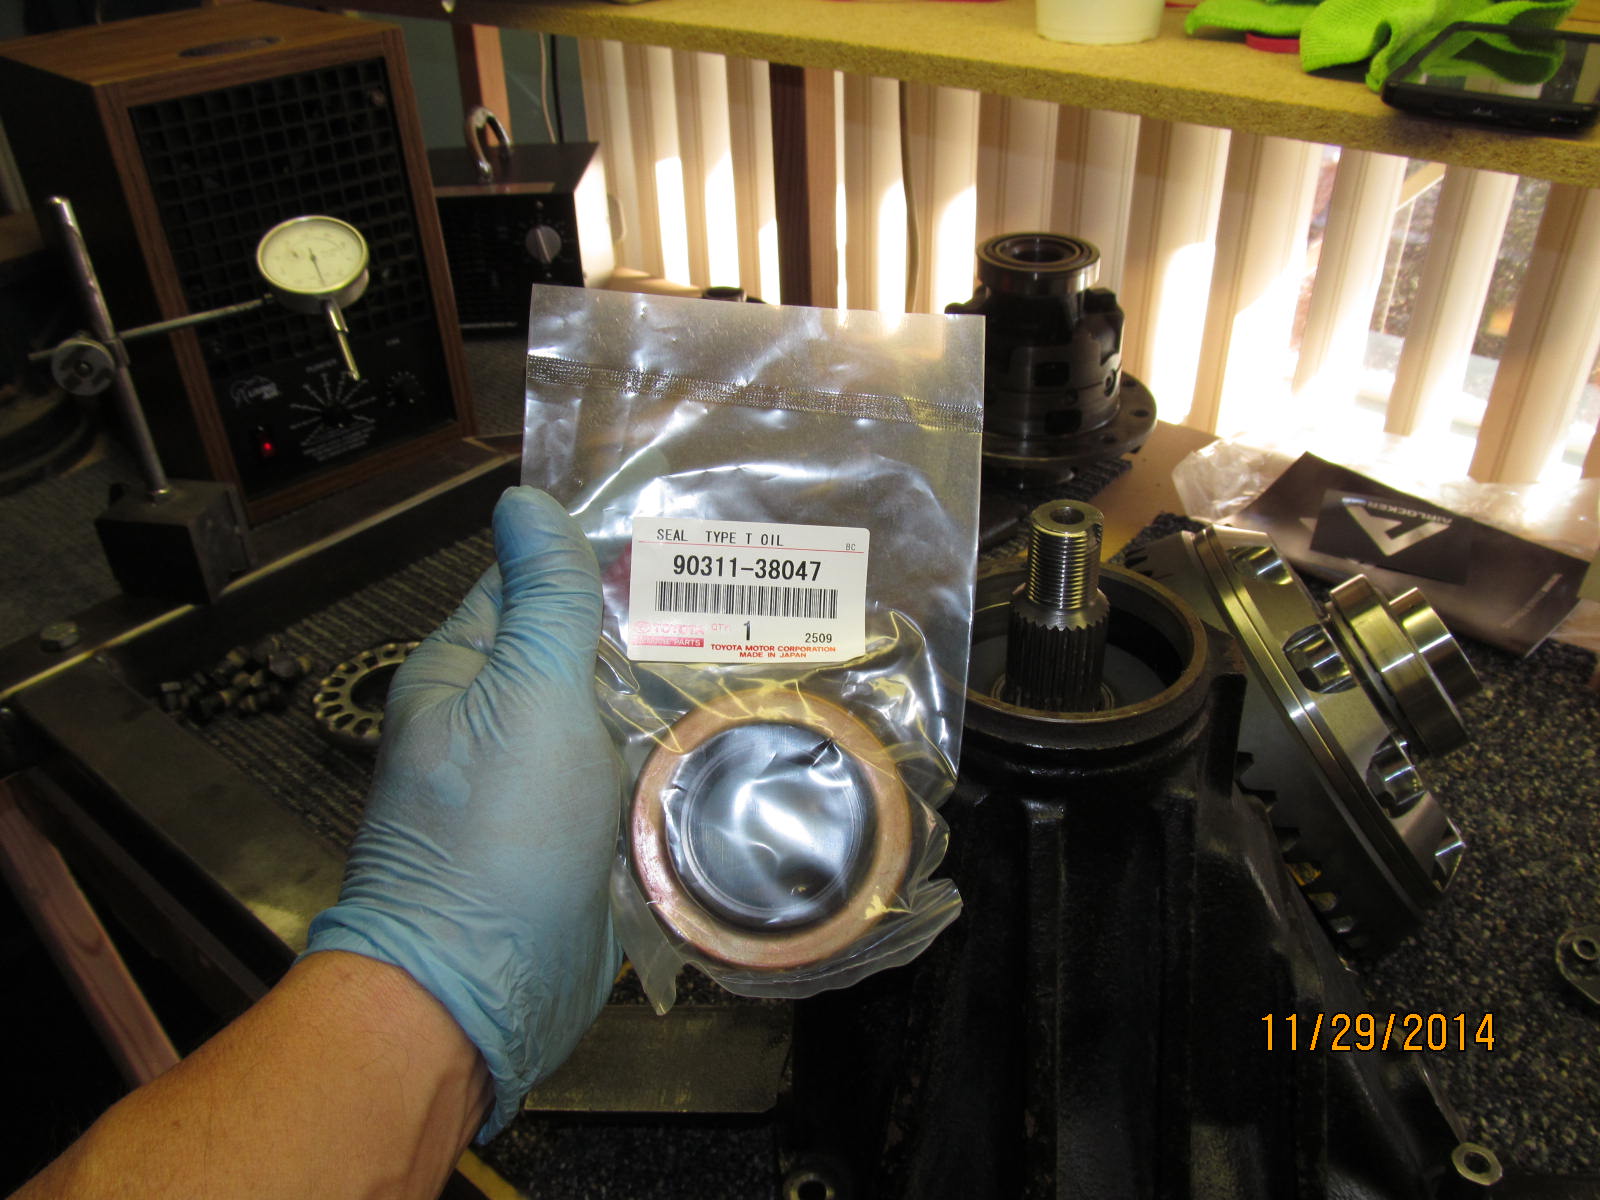
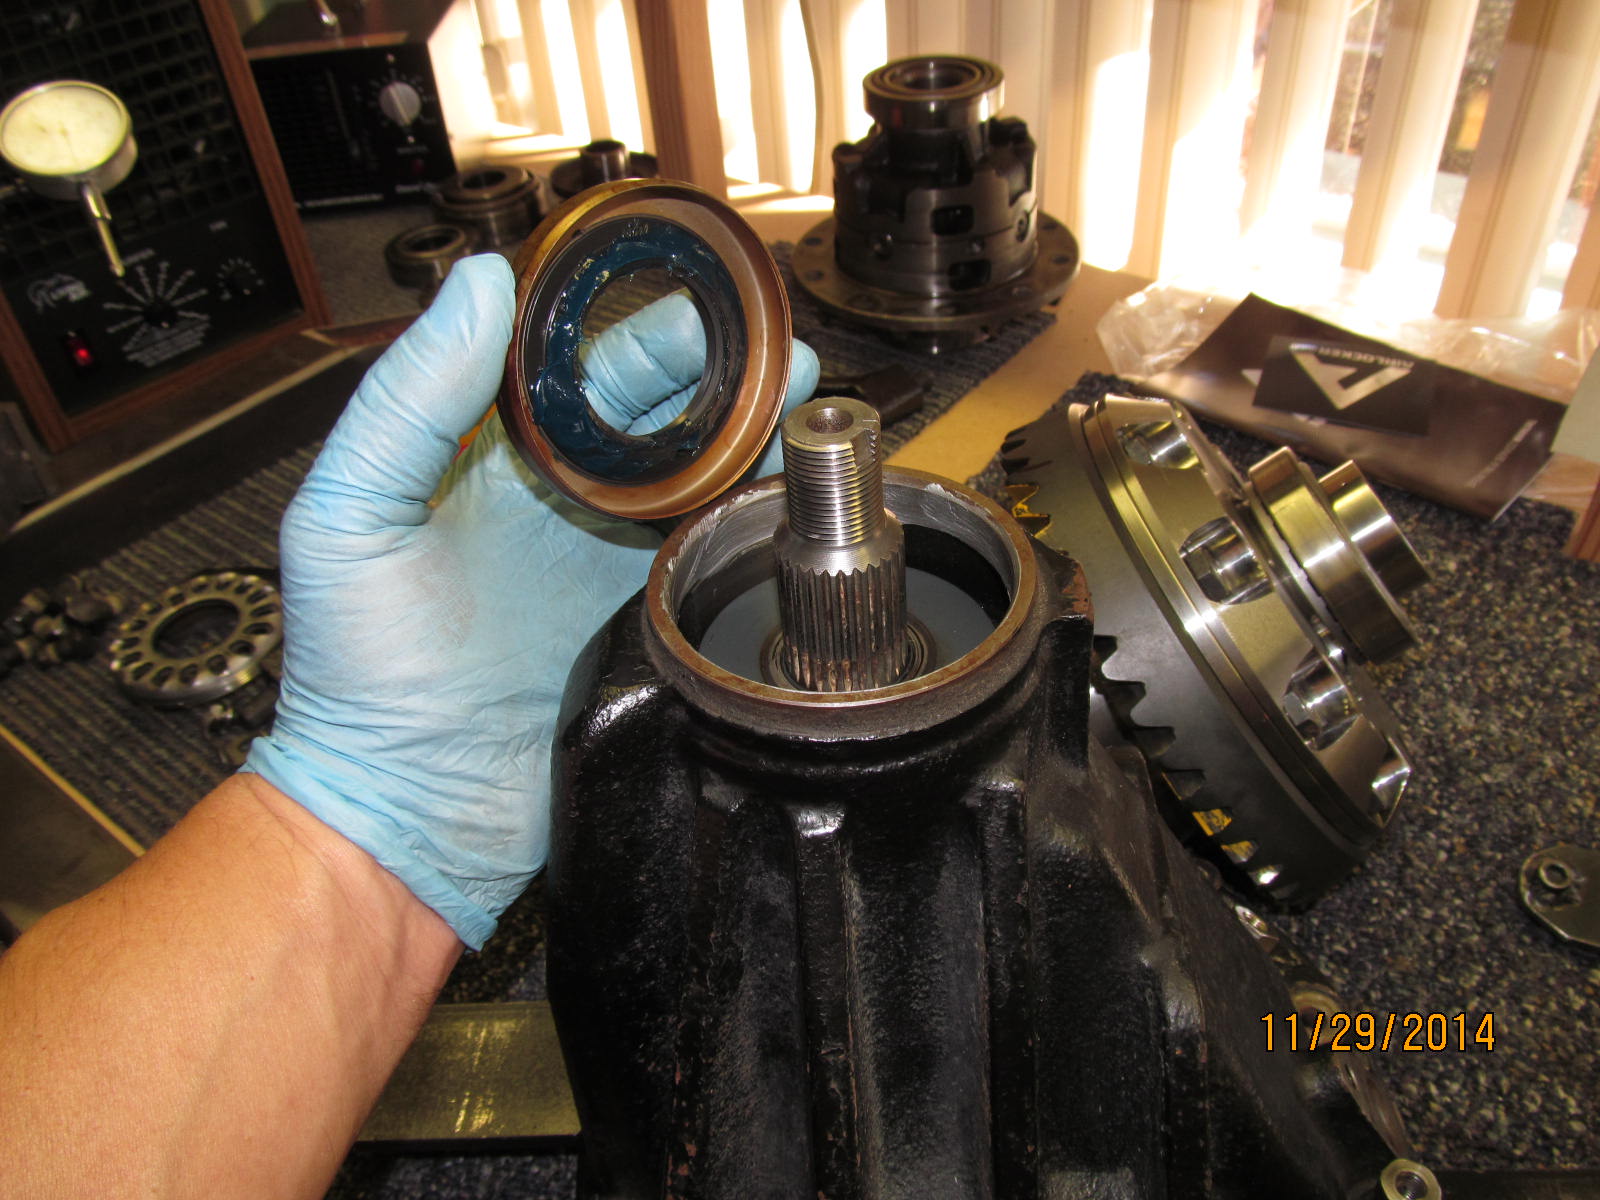
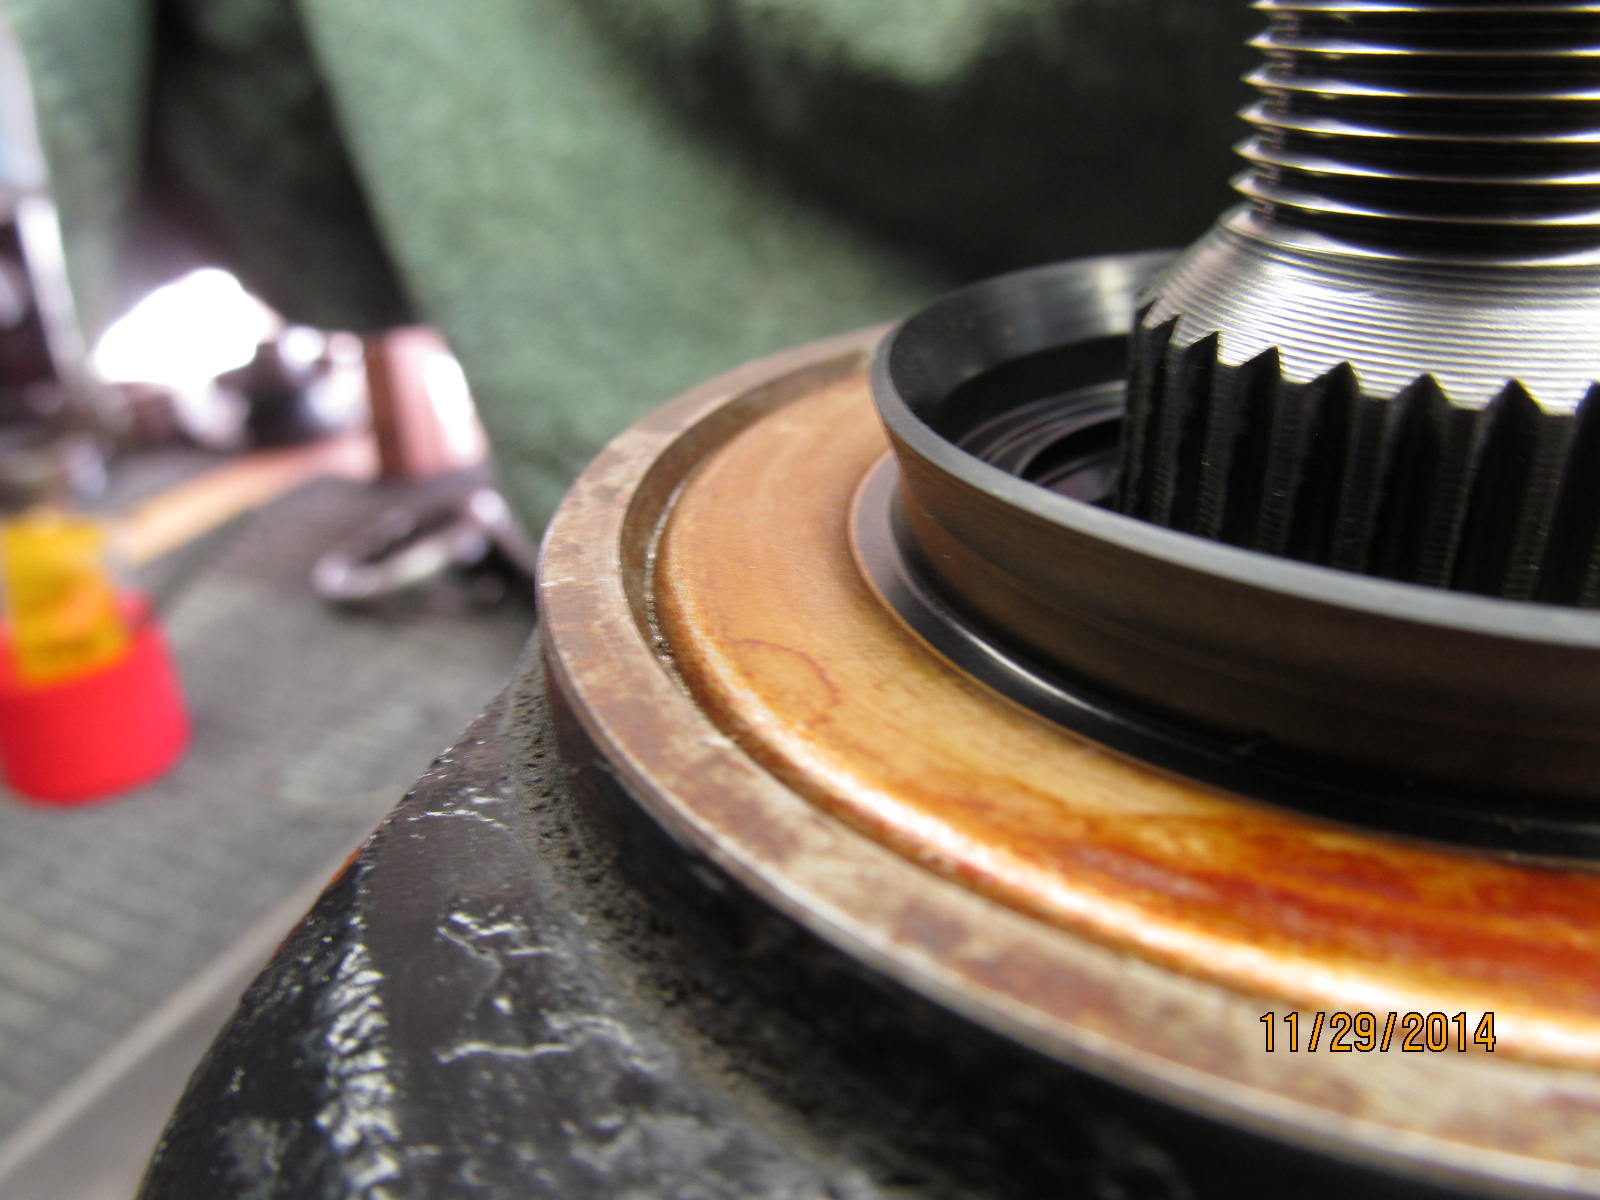
The shop flange comes off and now to finish assembling the pinion end. Genuine oem seal will be used.
|
|
|
|
The grease on the rubber portion of the seal keeps the garter spring from popping off during installation.
The silver colored rtv is optional.
|
|
|
|
|
Notice the robust tack welds I use to make my tools.
|
|
|
|
|
Looks good.
|
|
|
|
|
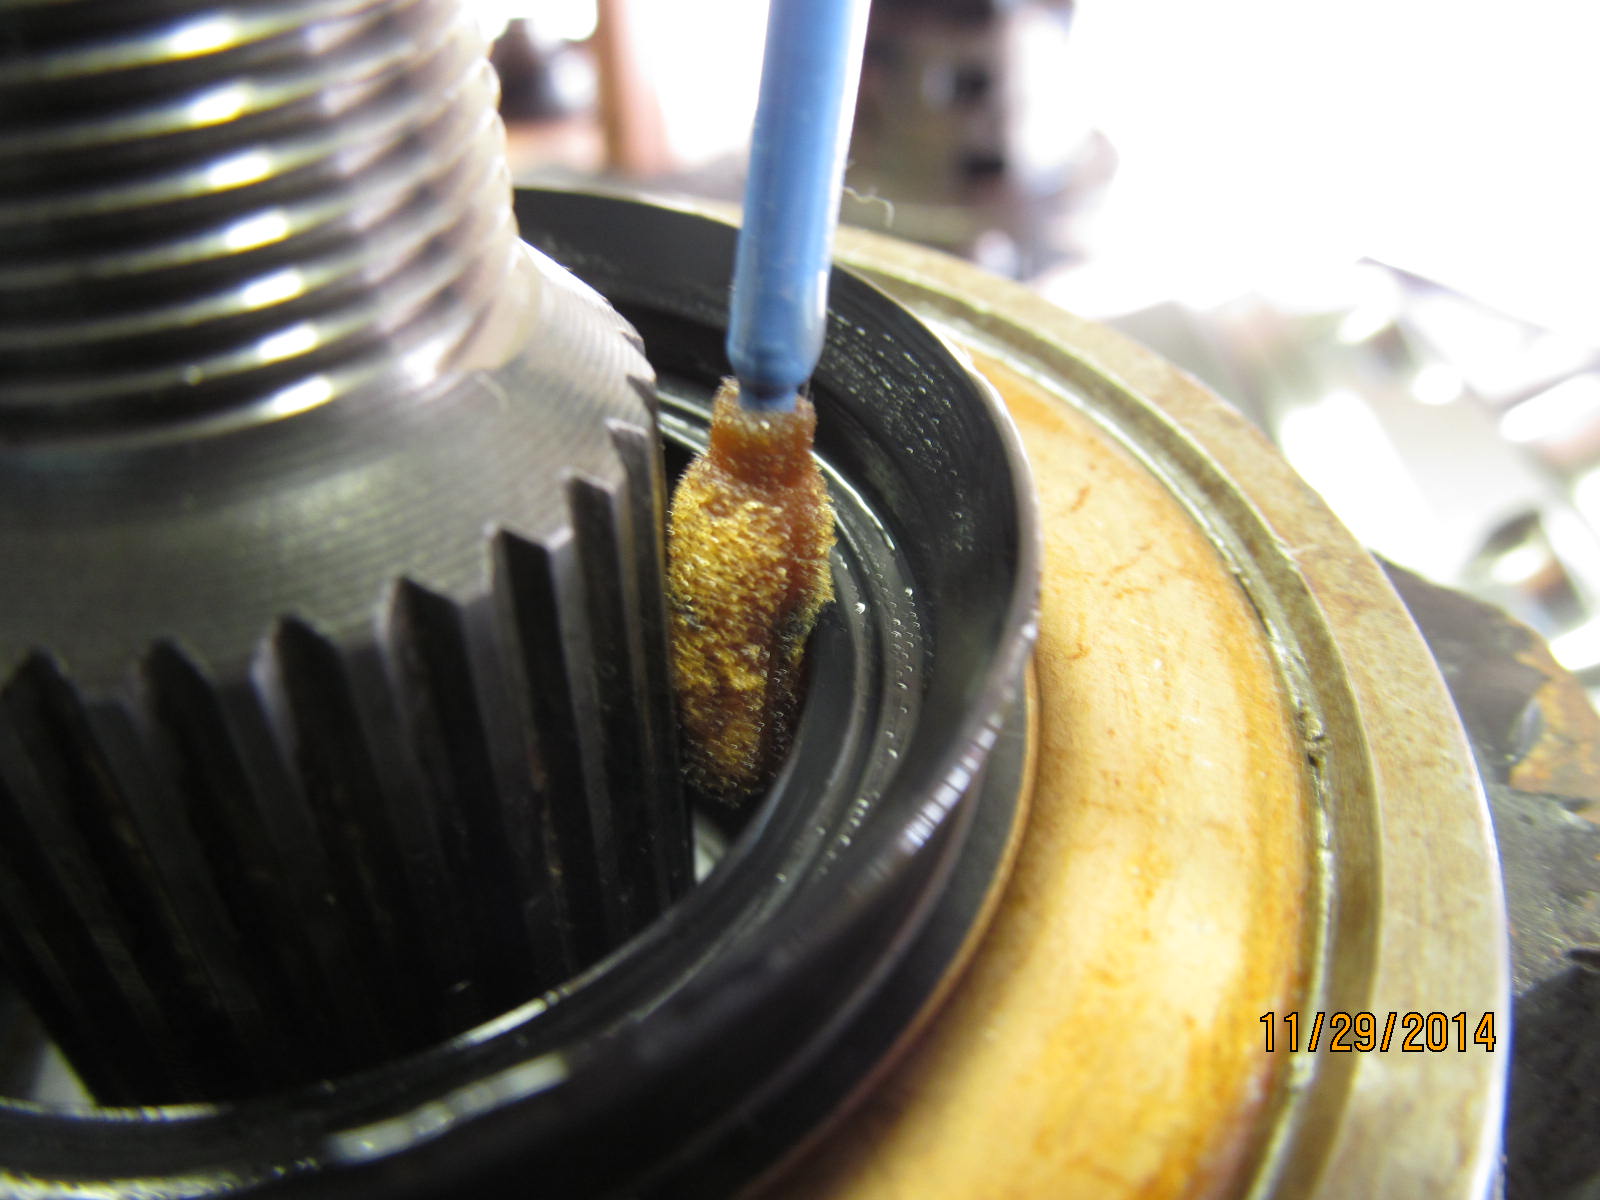
Last chance to apply a little gear oil to prevent dry start up.
|
|
|
|
|
I used to use red loctite on the pinion threads....but decided this is where anti-seize(aluminum based) belongs.
|
|
|

|
Anti-seize makes it easier to crank the pinion nut down a bit tighter and I use that to my advantage. What
started out at 5 in/lb is now up to 14 in/lb....and I didn't get a hernia doing it. :)
|
|
|
|
|
DING! it with a good center punch and the nut will stay put.
|
|
|
|
|
ARB case goes in....bearing caps on....and 75 ft/lb on all 4 bolts.
|
|
|
|
|
Double check the air gap...much more than the .020" requirements.
|
|
|
|
Turn the wheel adjusters for .007" backlash.....make sure there is good preload on the carrier bearings.
As shown above, I measured about 22 in/lb total preload. 22 minus 14 is 8 in/lb for the CBPL
carrier bearing pre-load portion.
|
|
|
|
|
Backlash was measured on every other tooth and recorded.
|
|
|
|
|
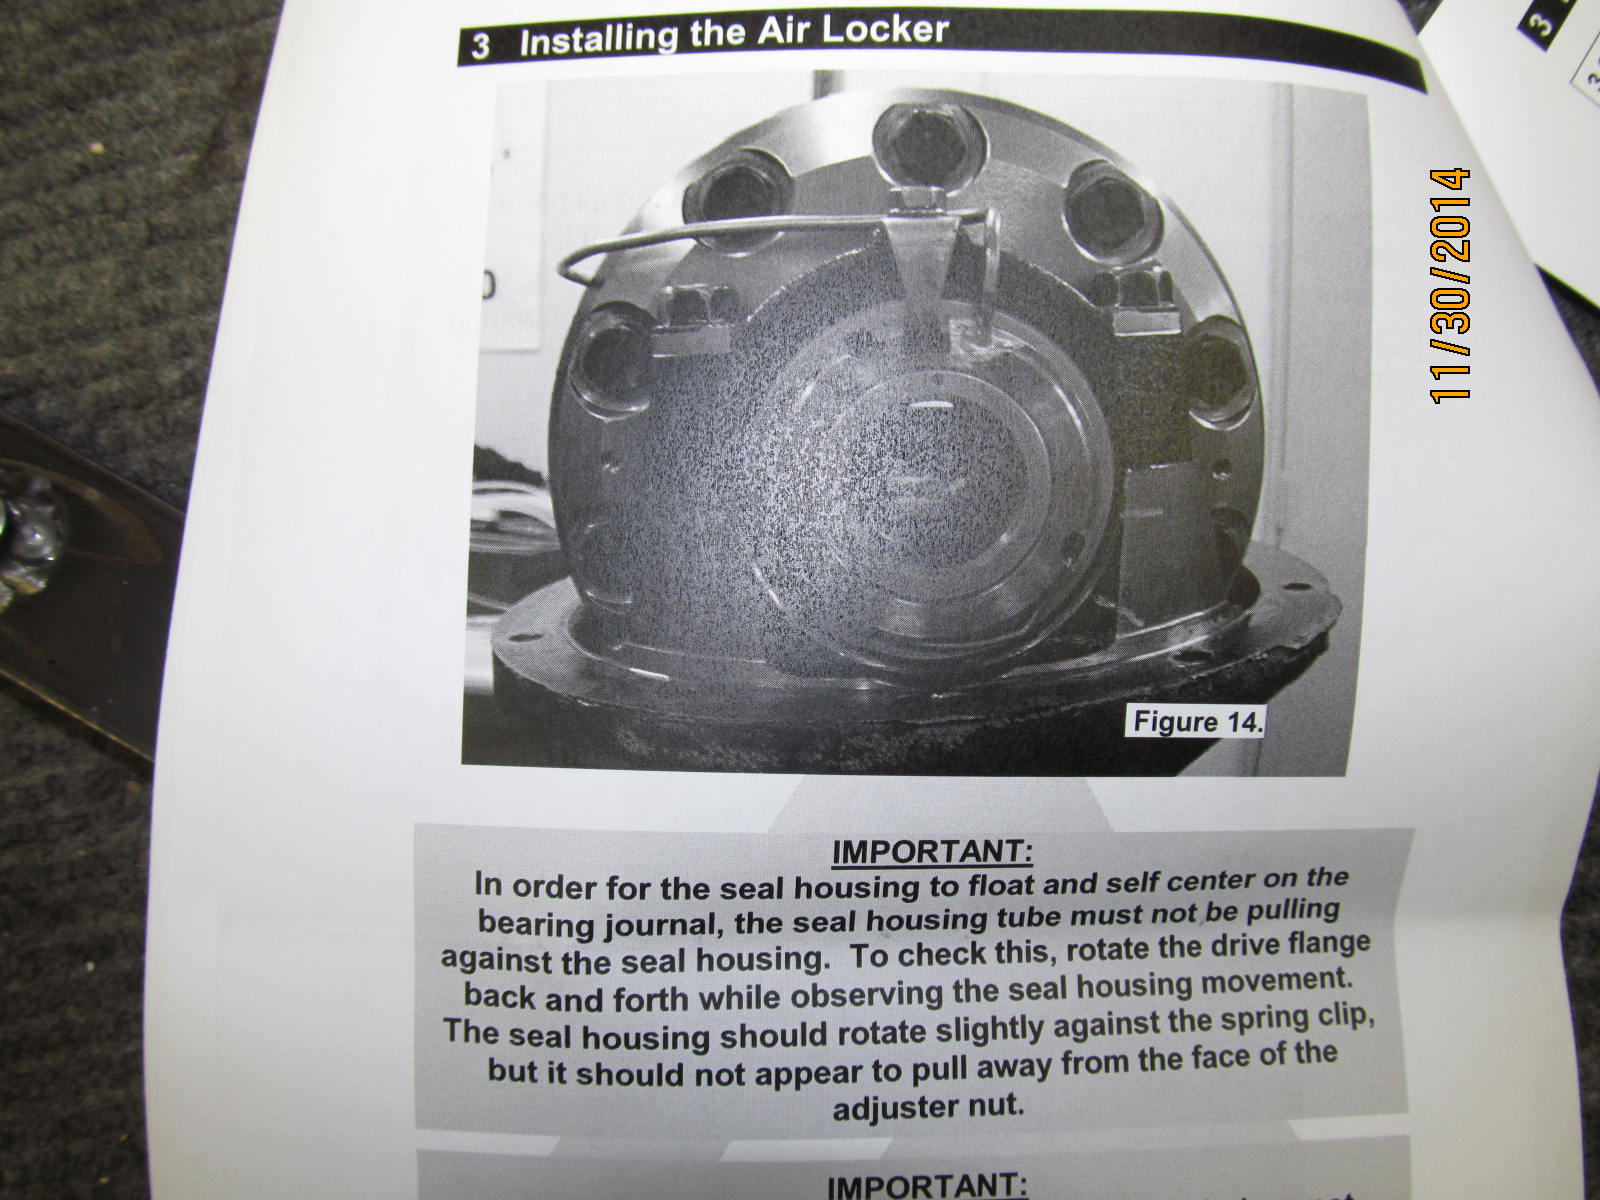
Lube up the seal housing assembly and rock it in place. Sip on coffee.
|
|
|
|
|
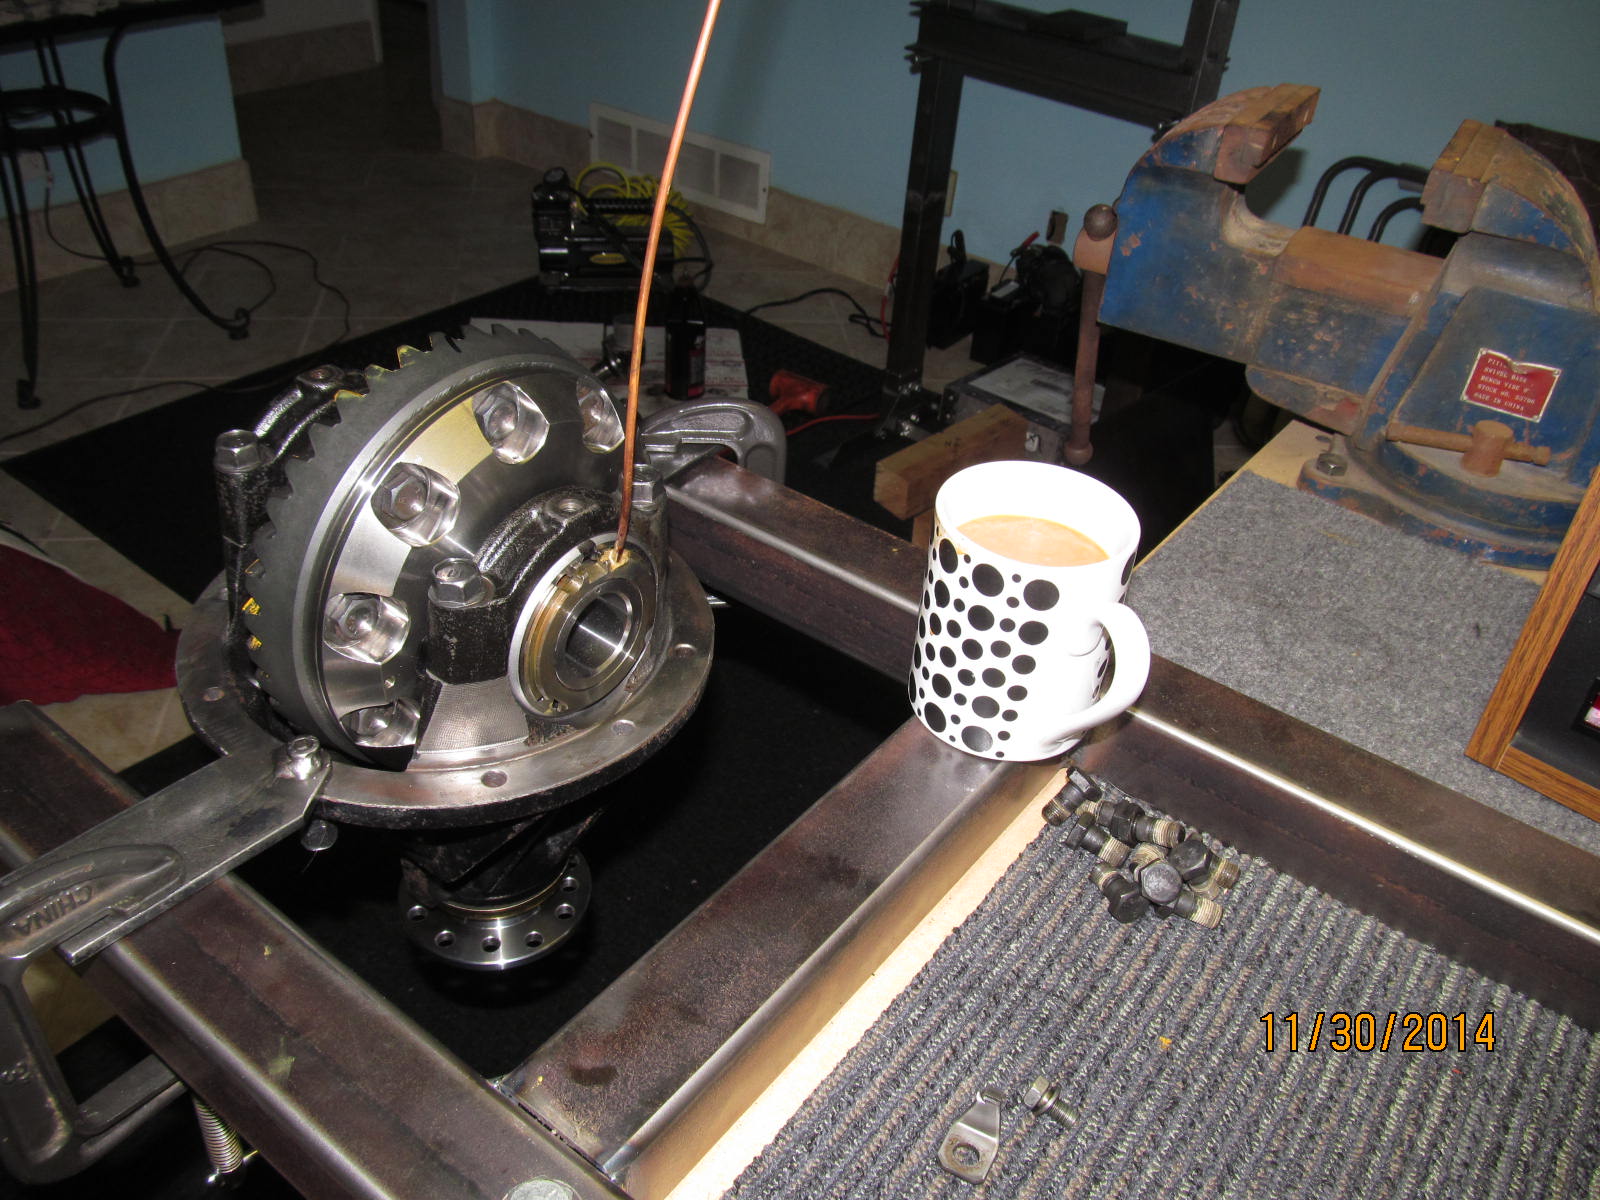
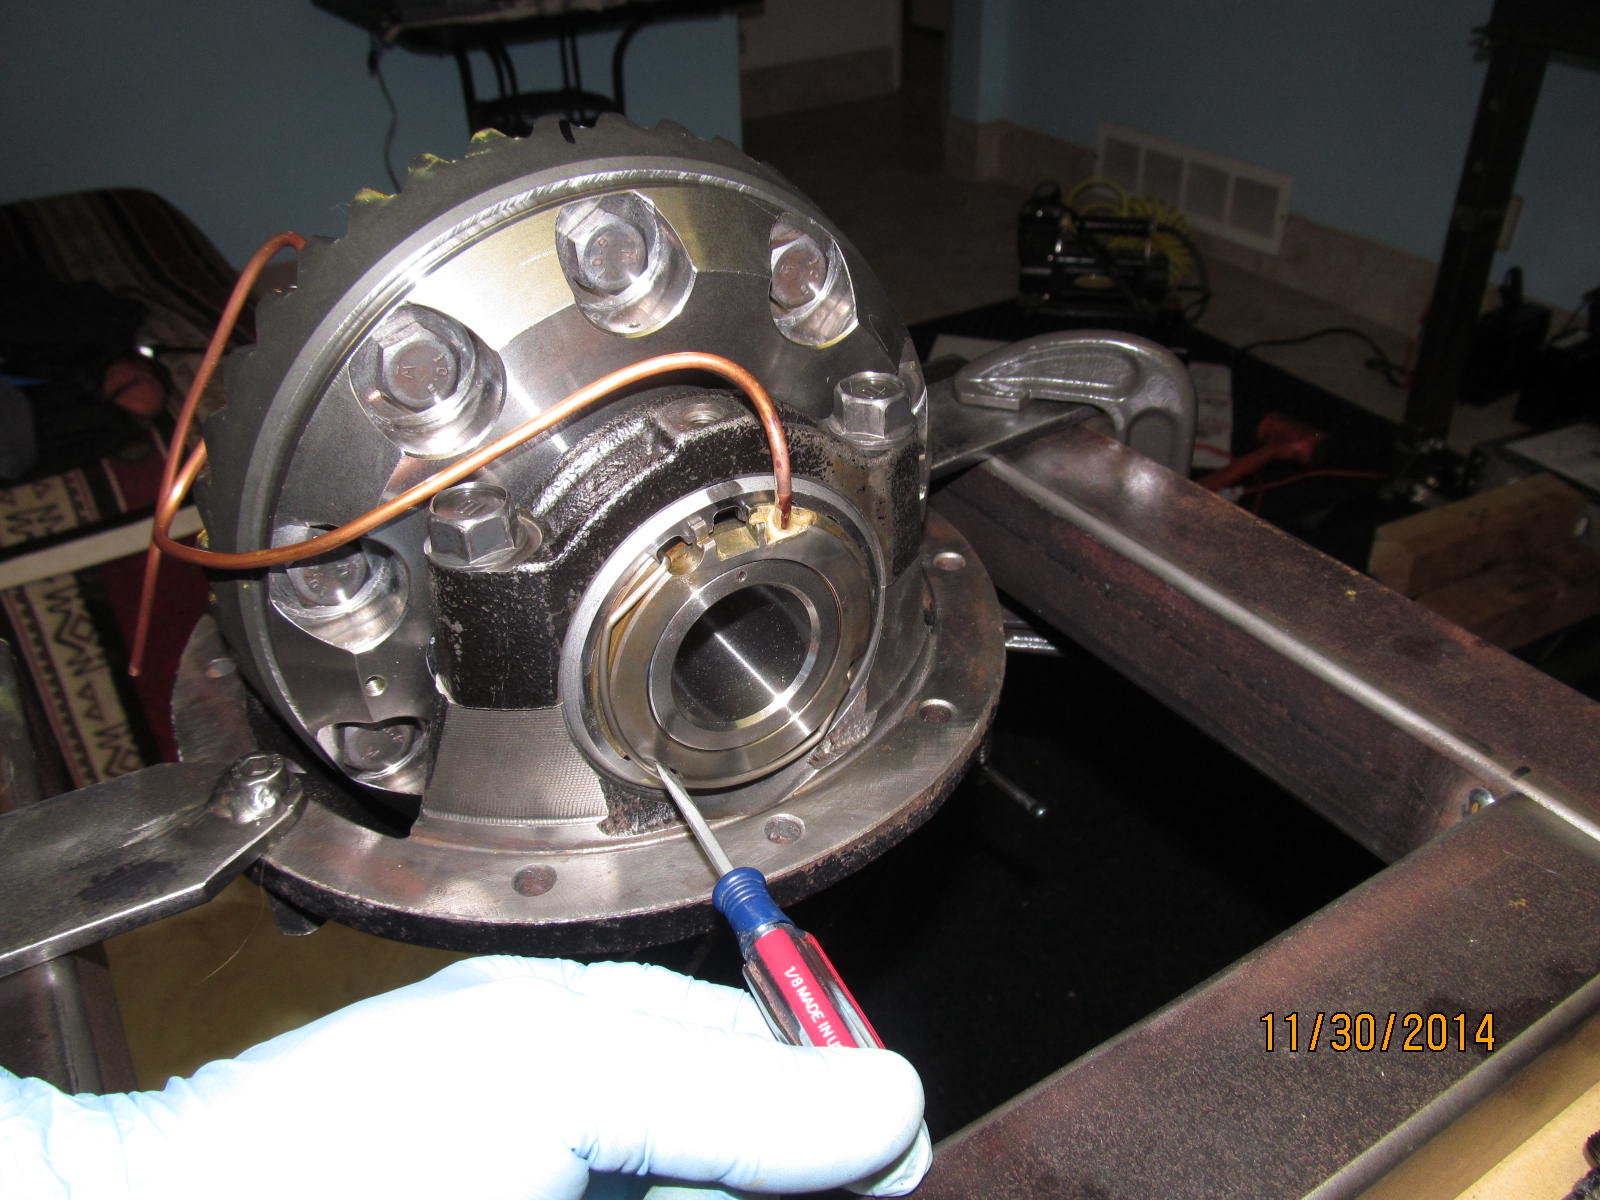
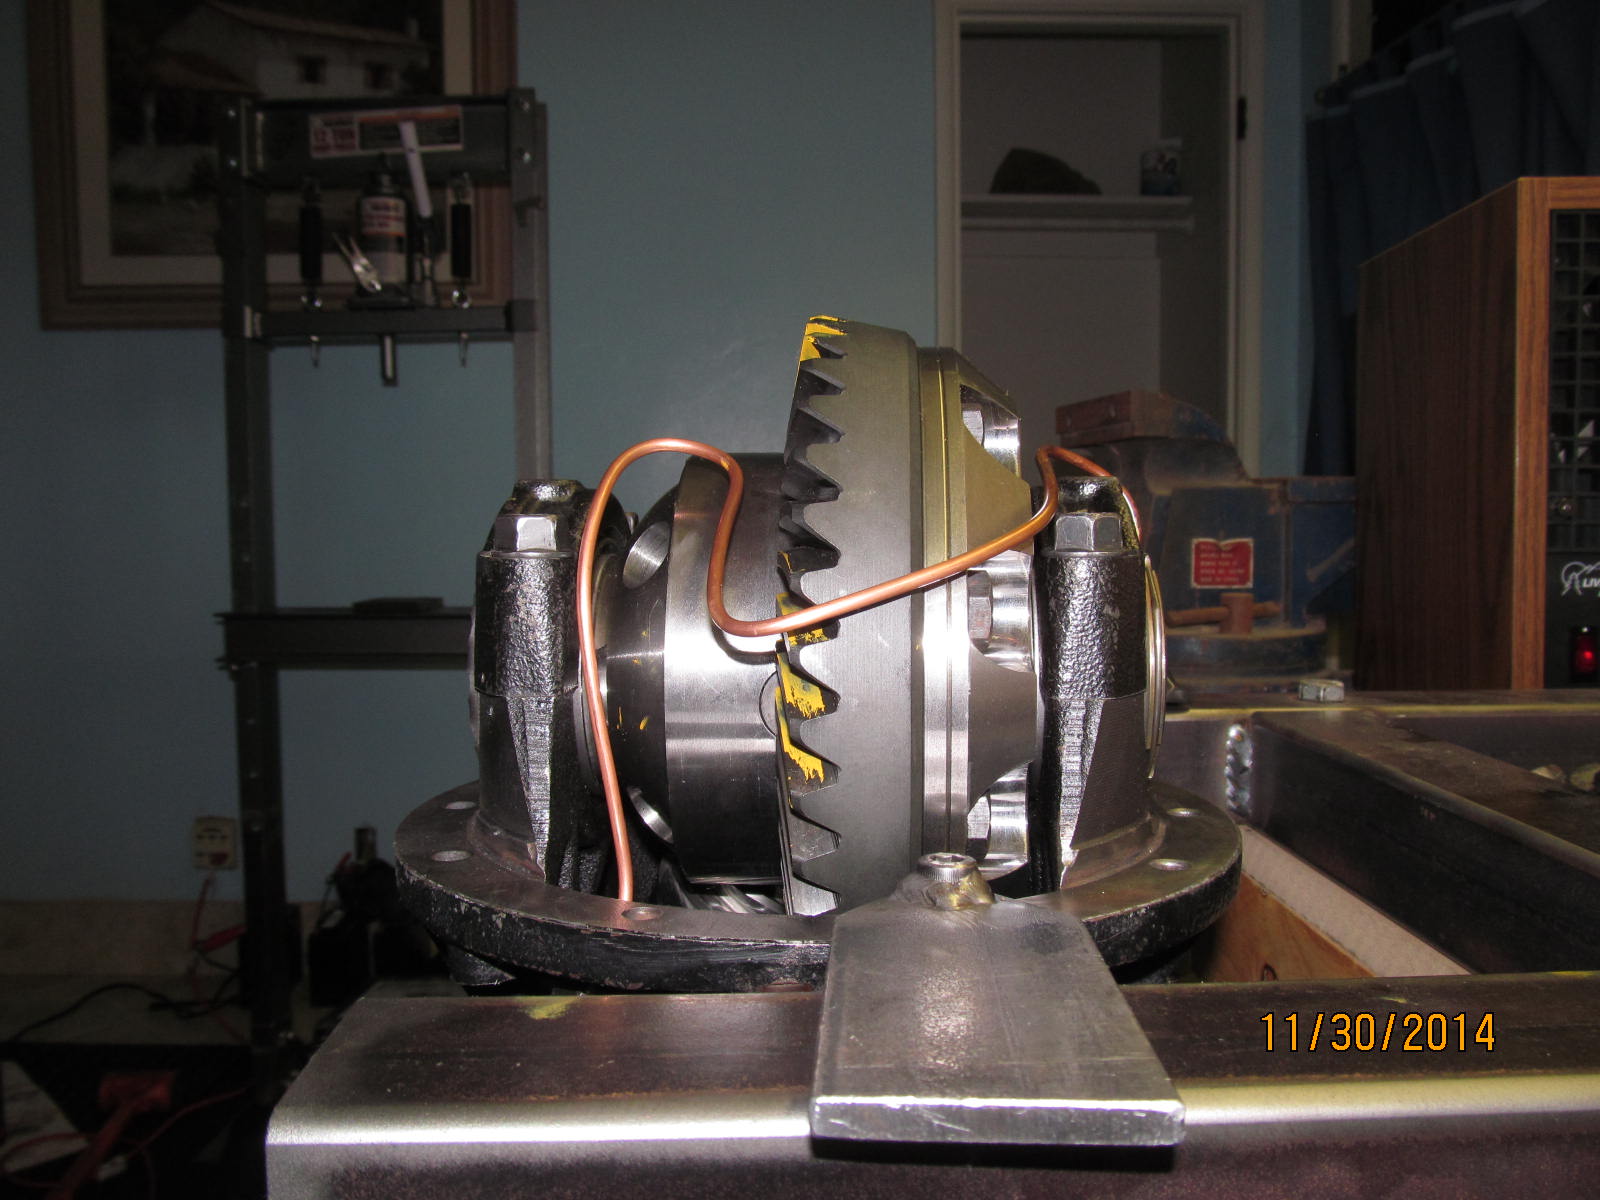
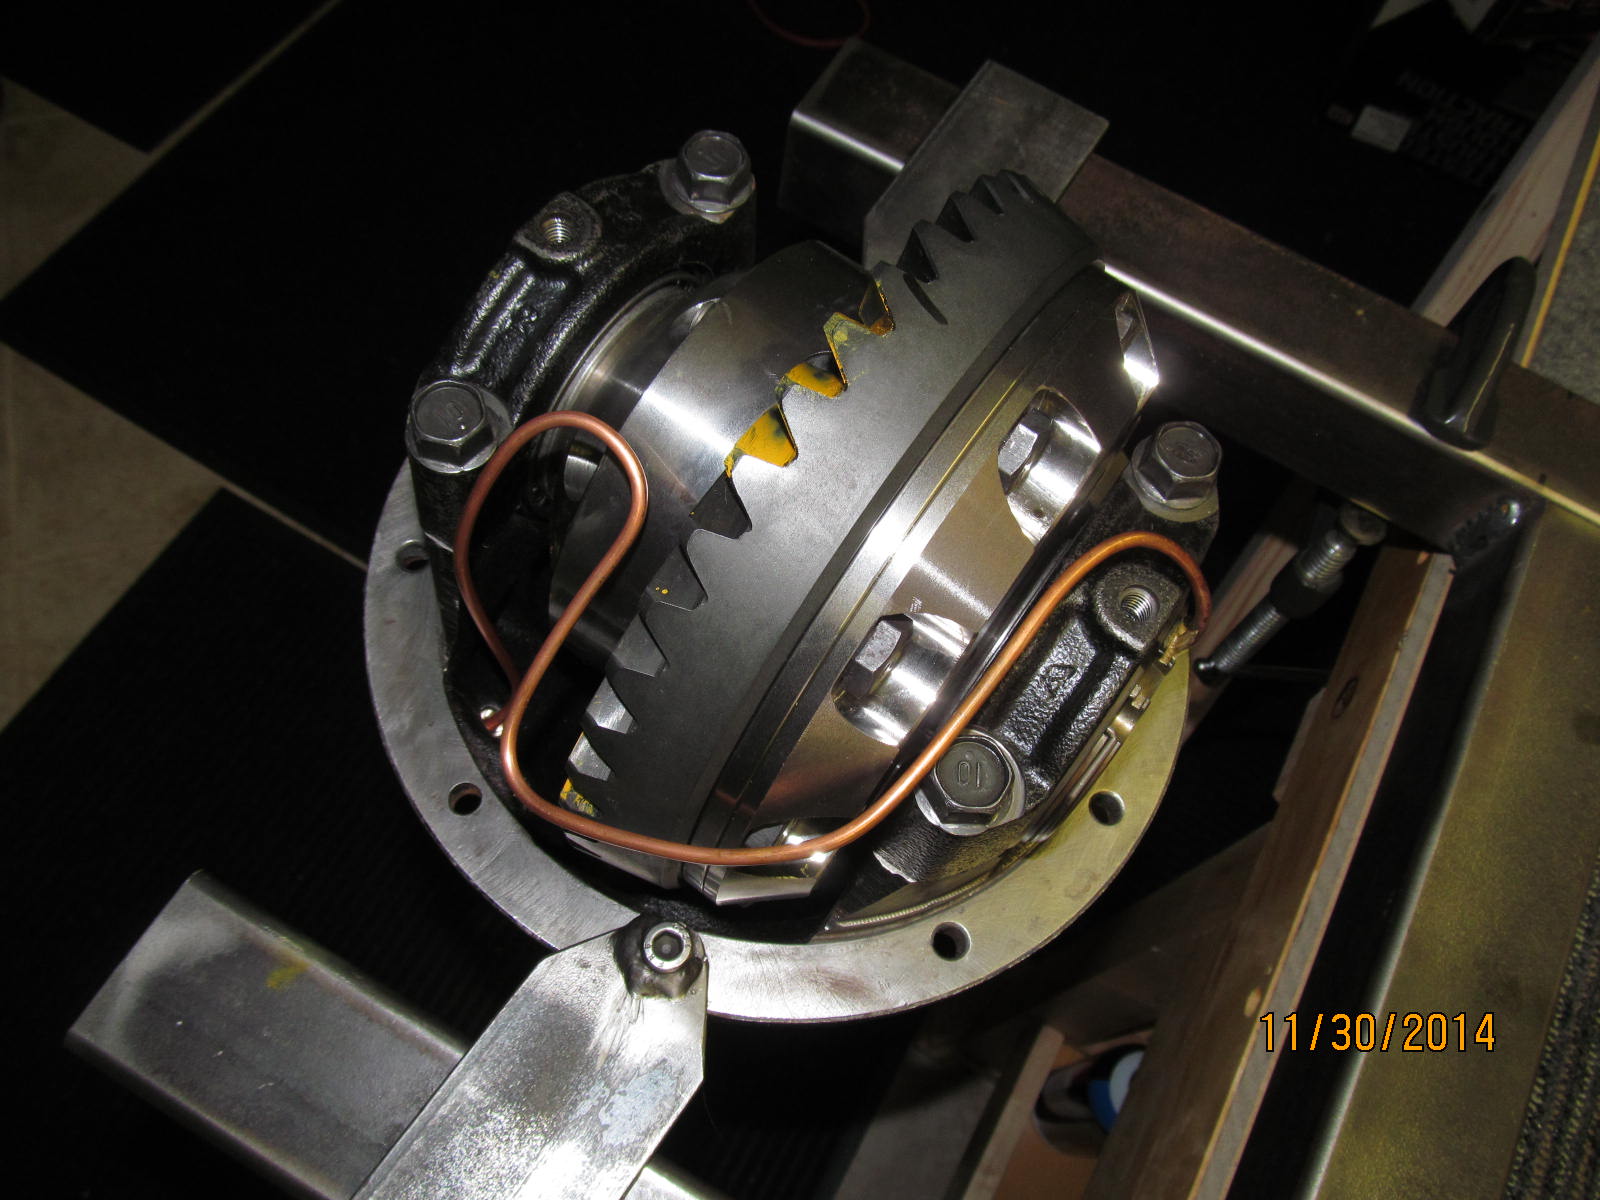
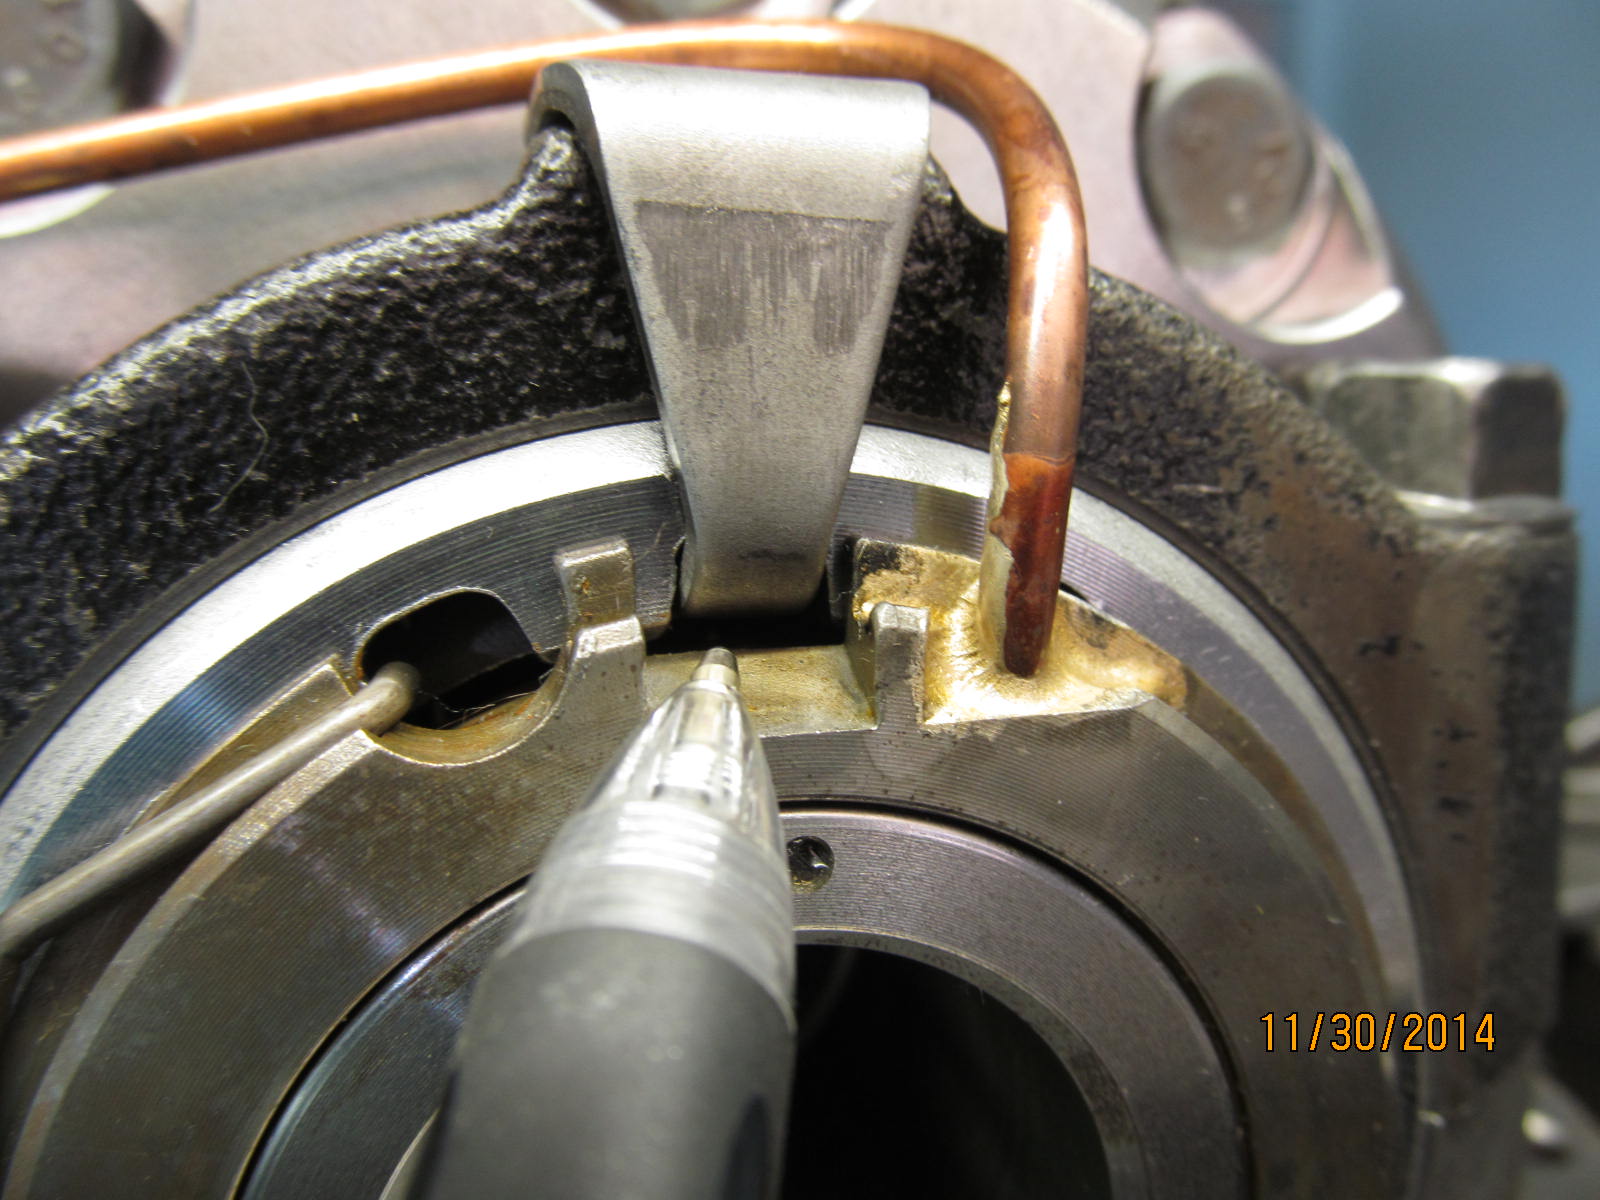
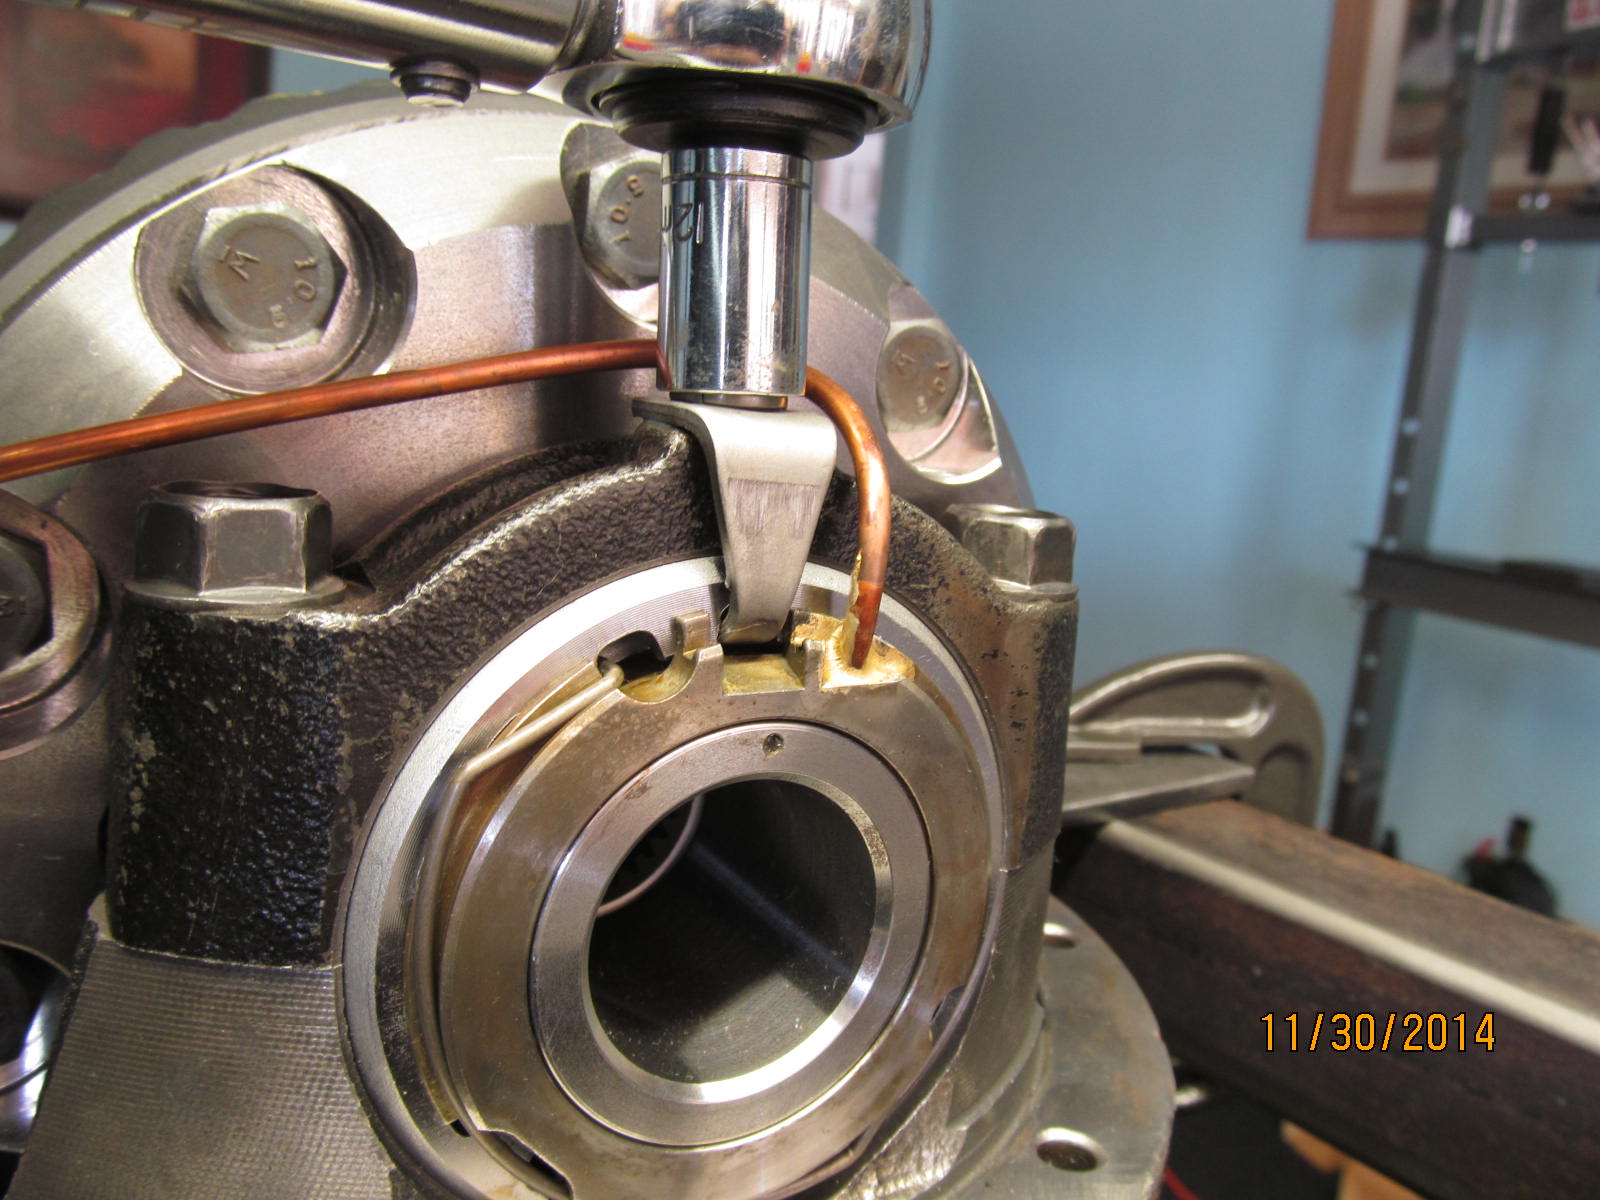
Route the copper line.
|
|
|
|
|
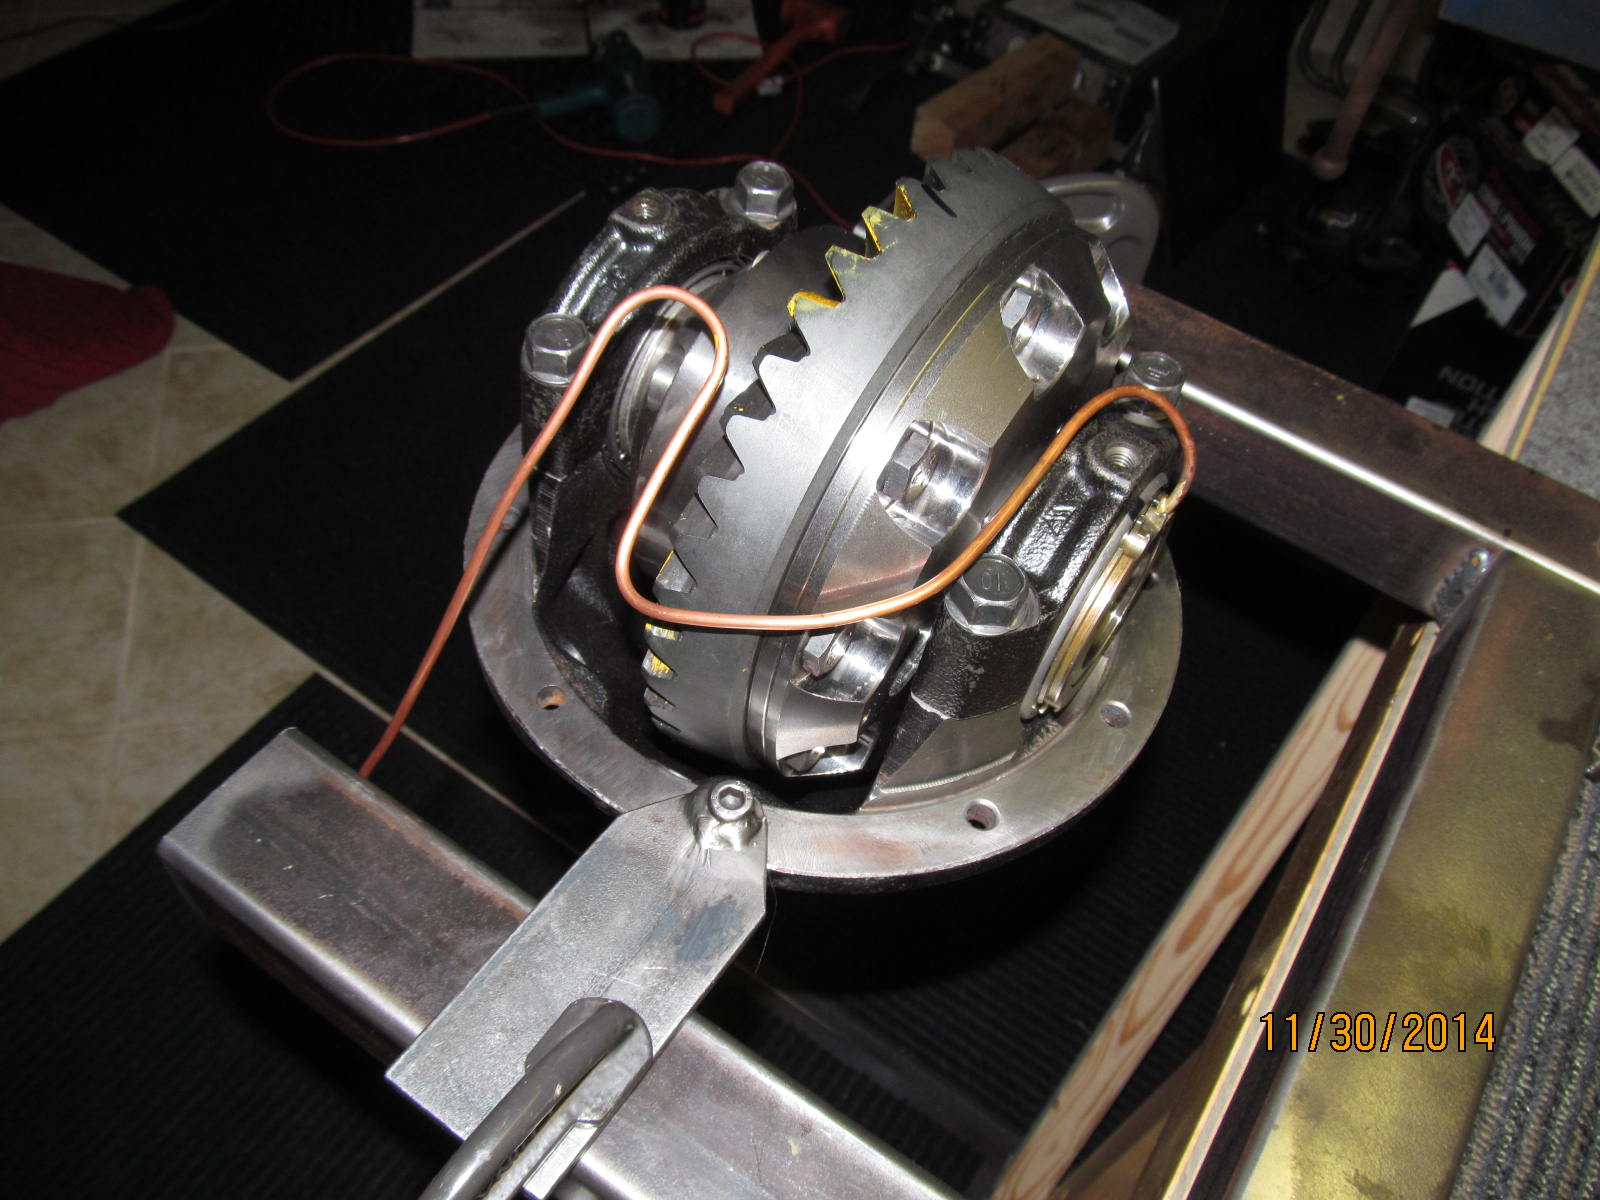
Snap the retaining clip in place.
|
|
|
|
|
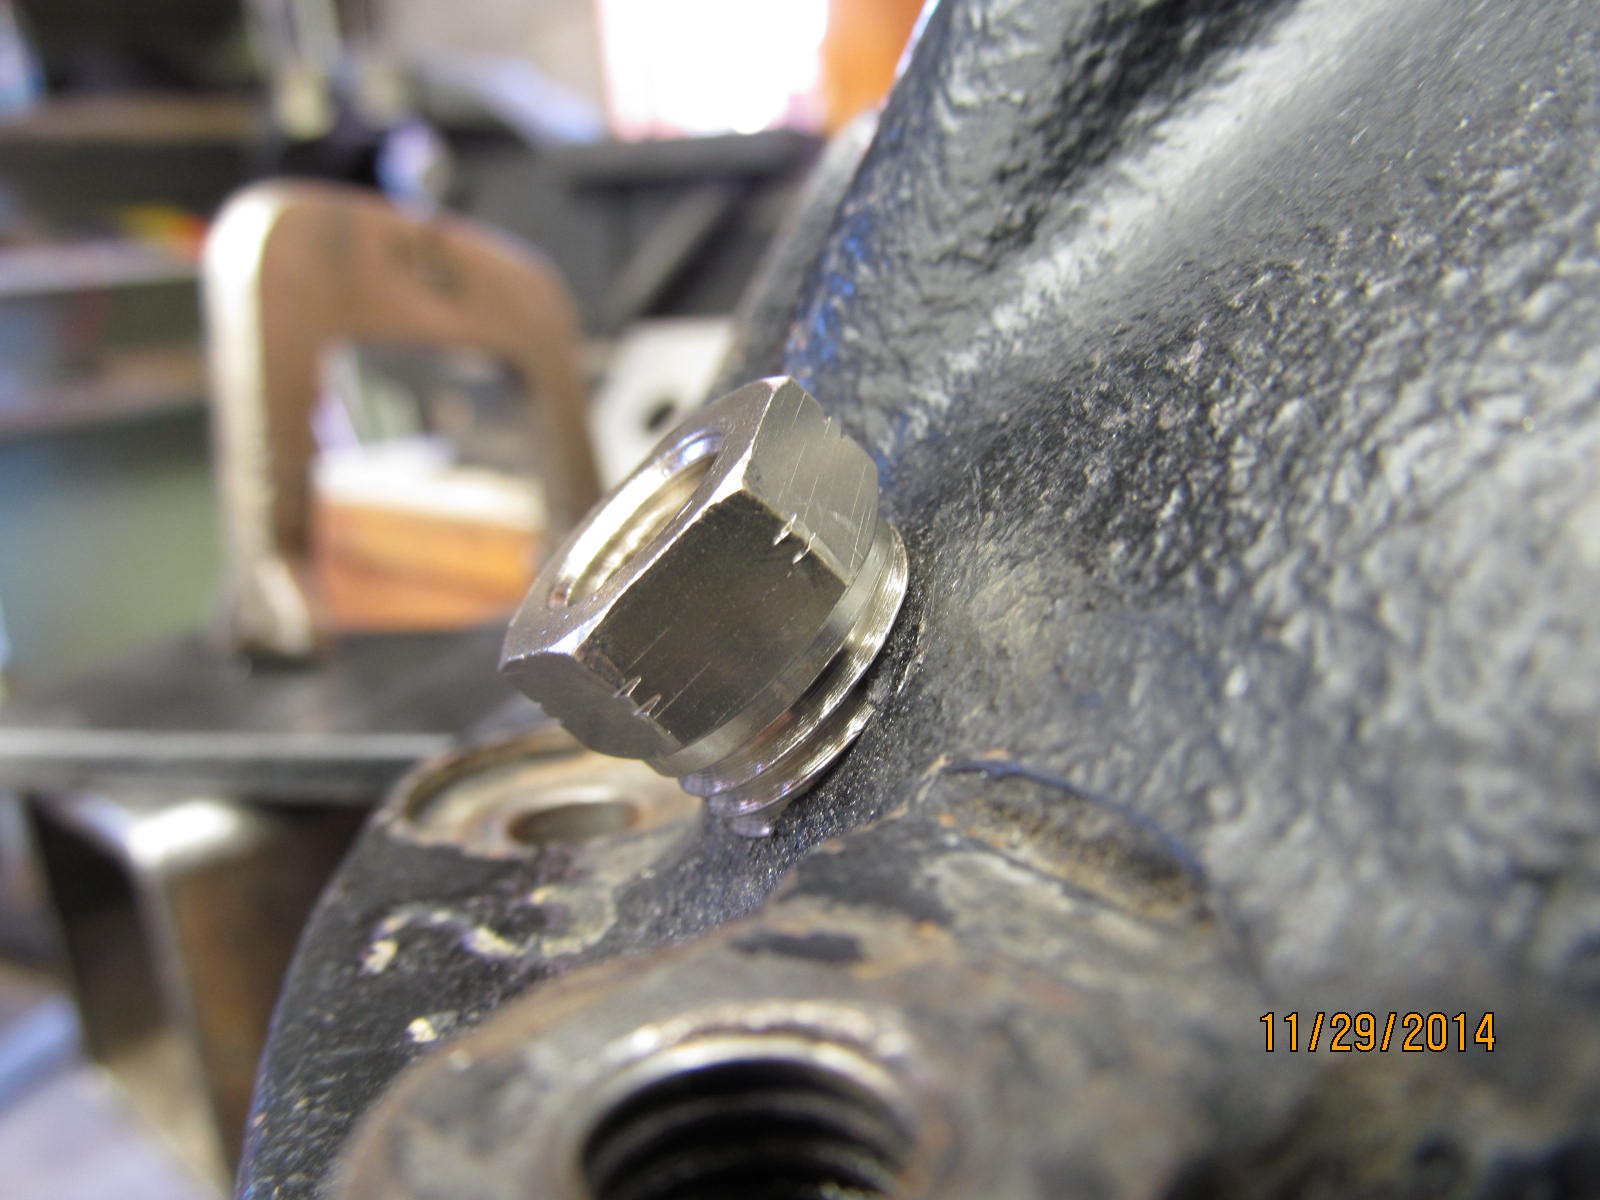
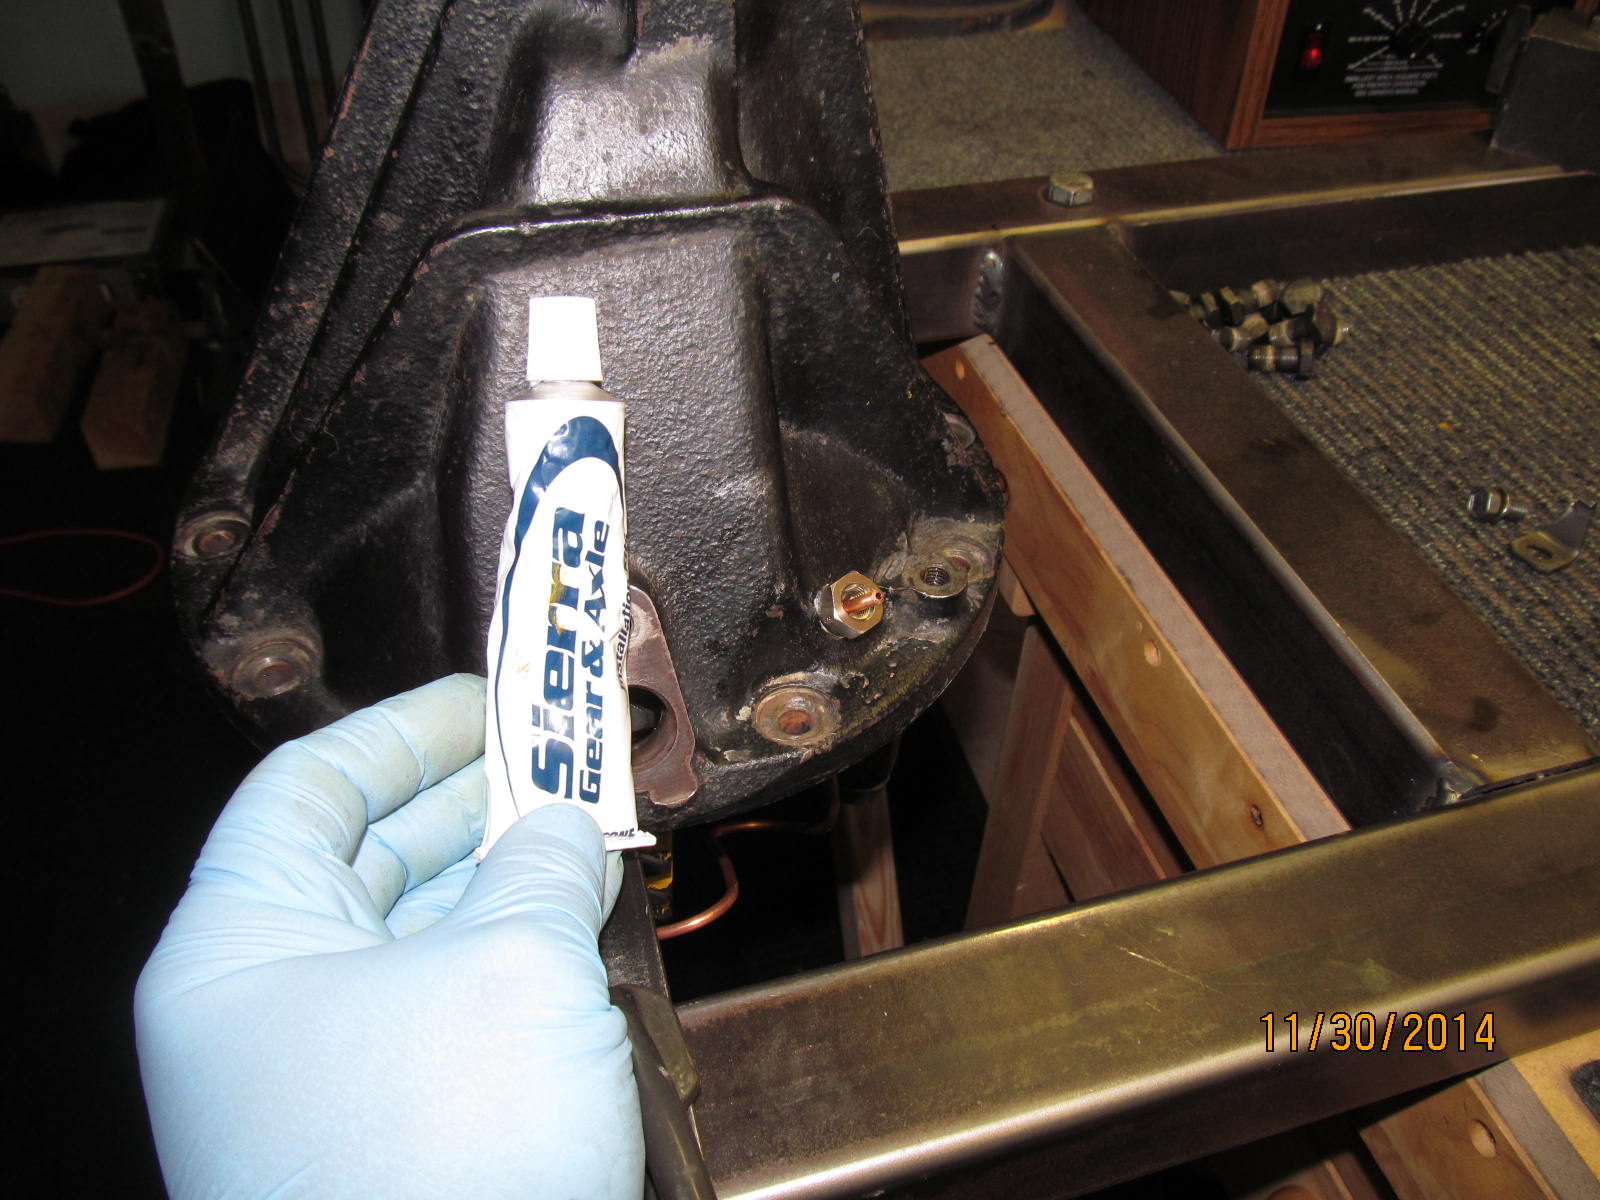
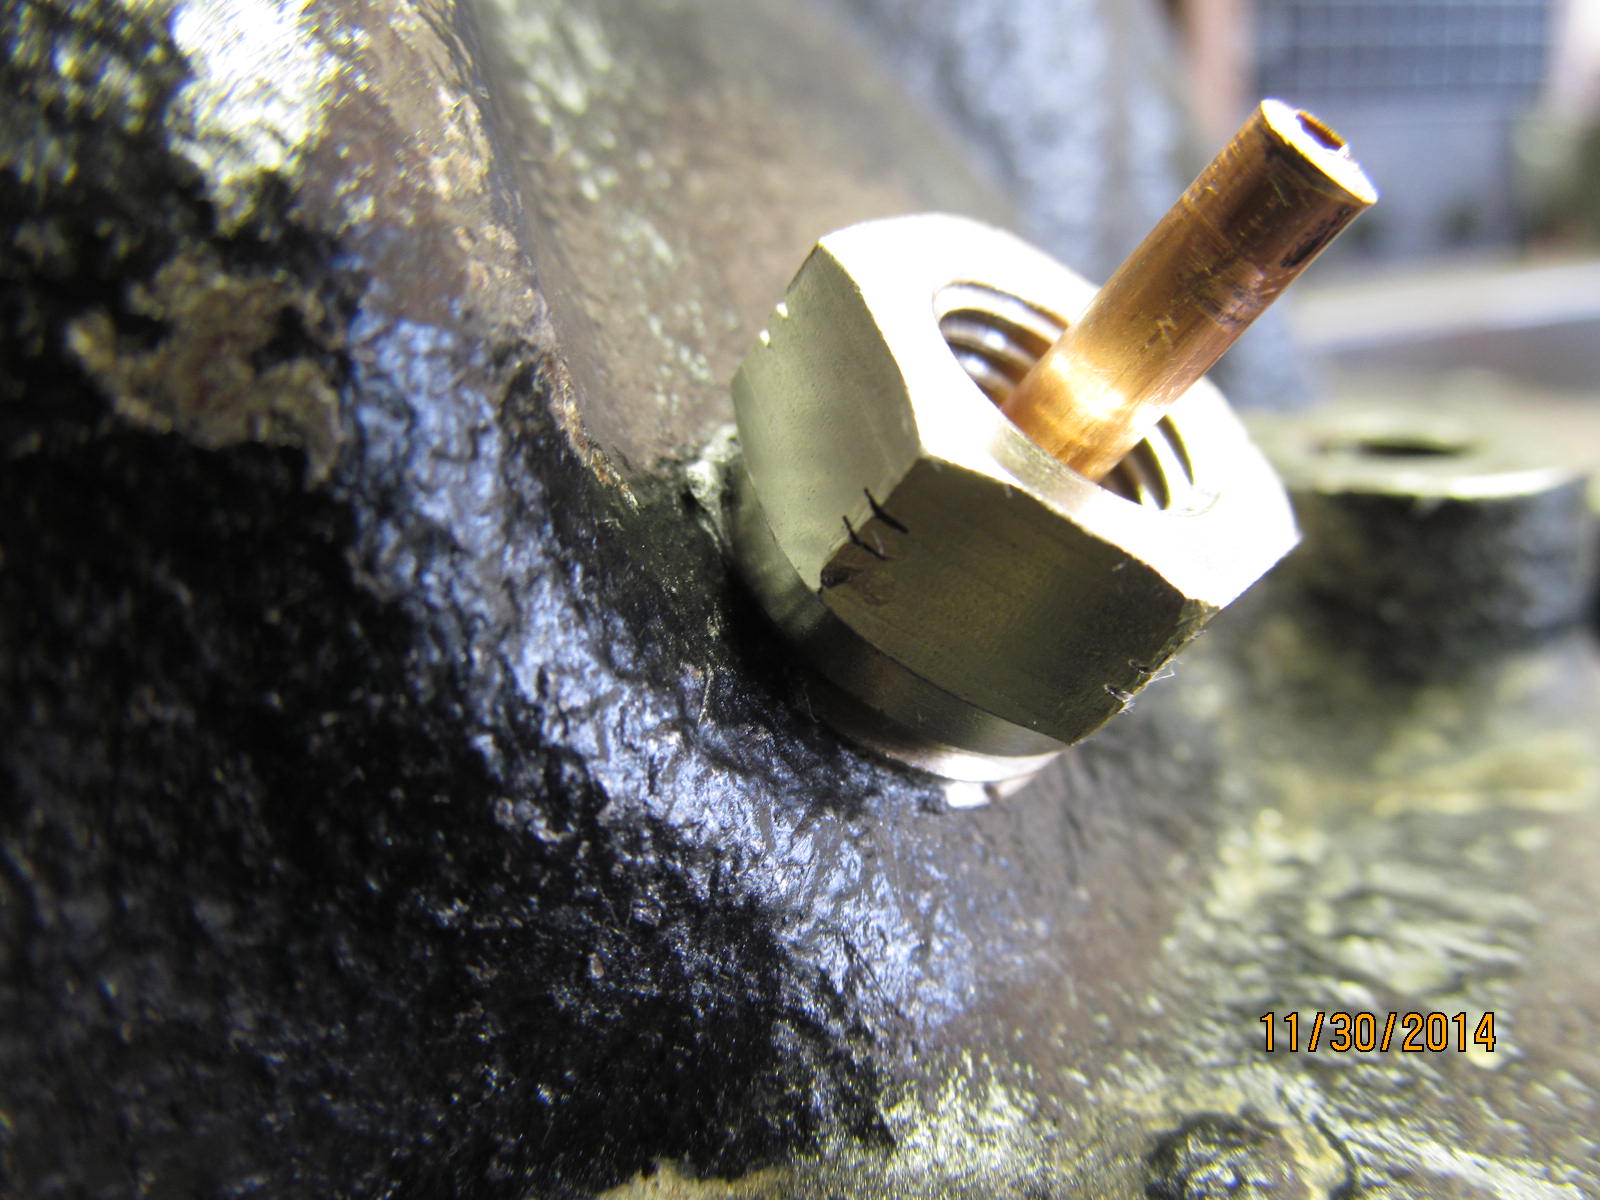
Instead of teflon tape, general purpose rtv was applied to the brass bulkhead body.
|
|
|
|
|
...........................
|
|
|
|
|
........................
|
|
|
|
|
...........................
|
|
|
|
|
........................
|
|
|
|
|
.......................
|
|
|

|
|
.........................
|
|
|
|
|
............................
|
|
|
|
|
.....................................
|
|
|
|
|
........................................
|
|
|
|
|
Making sure that the tab is not pressing up against the seal housing. Plenty of clearance.
|
|
|
|
|
10 ft/lb on the 2 tabs.
|
|
|
|
|
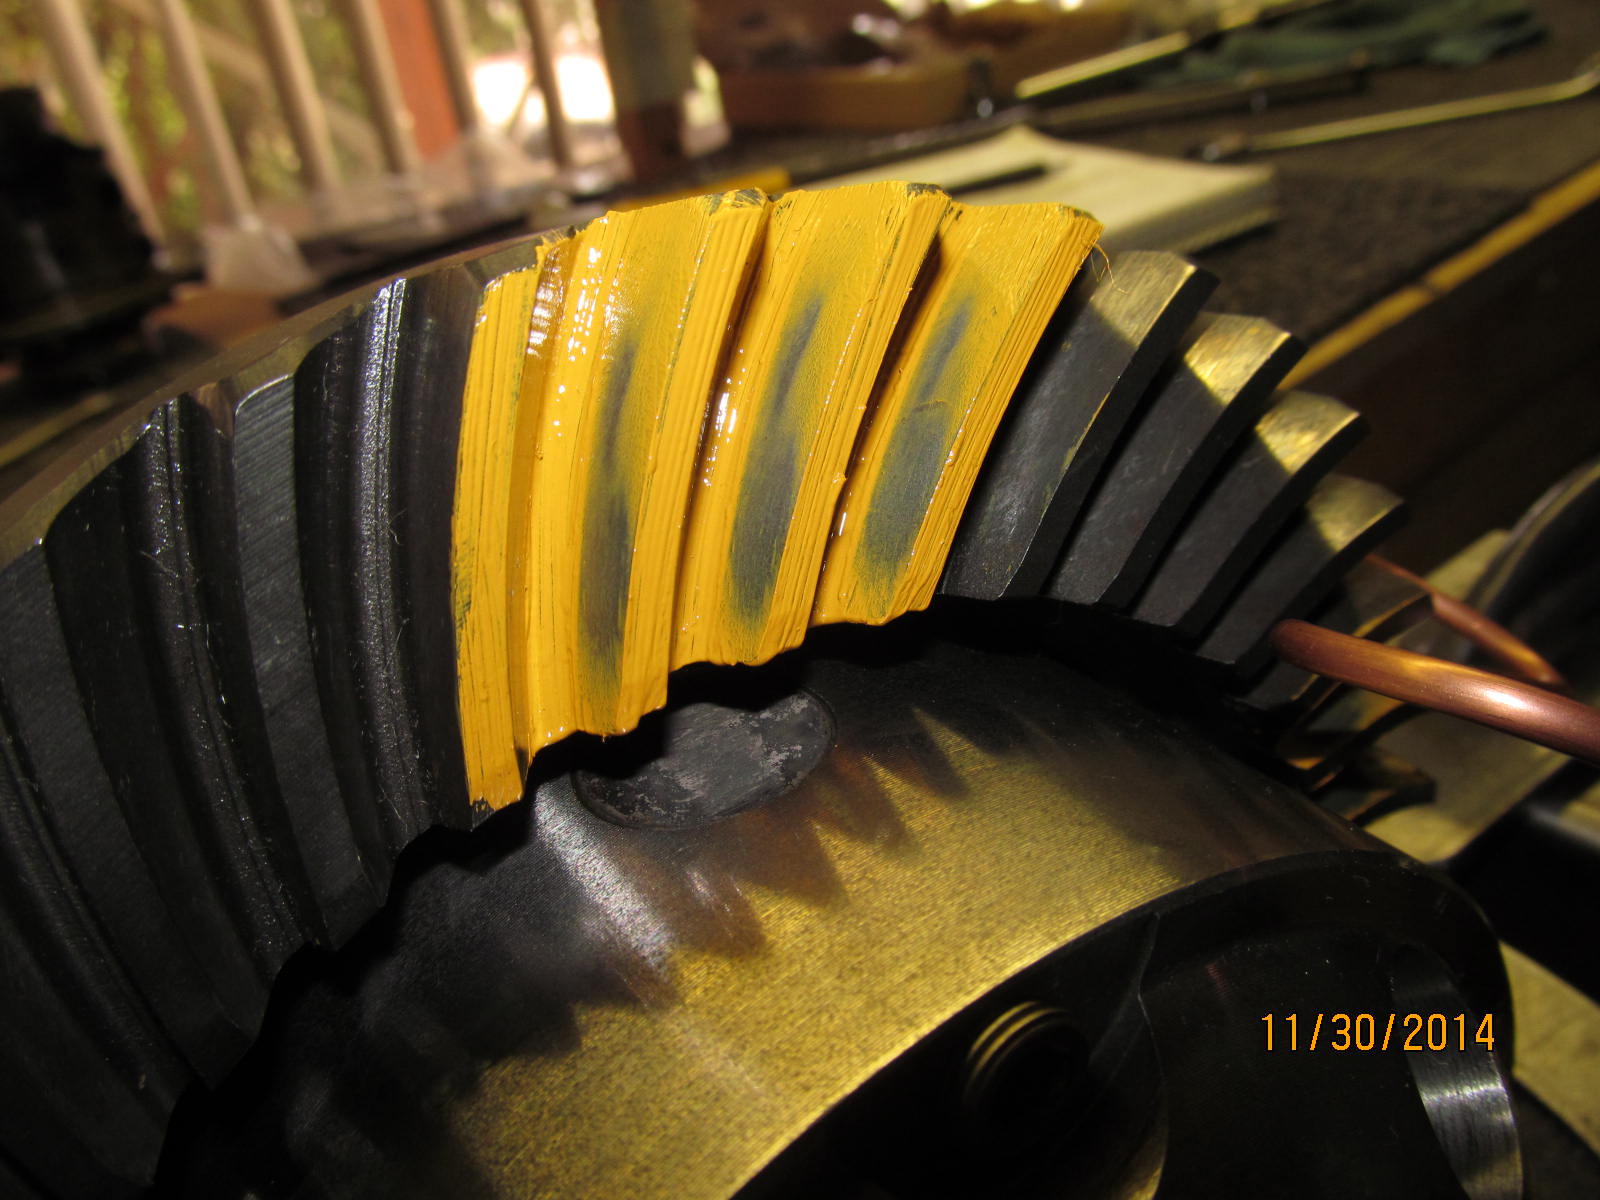
Final pattern check- drive looks good.
|
|
|
|
|
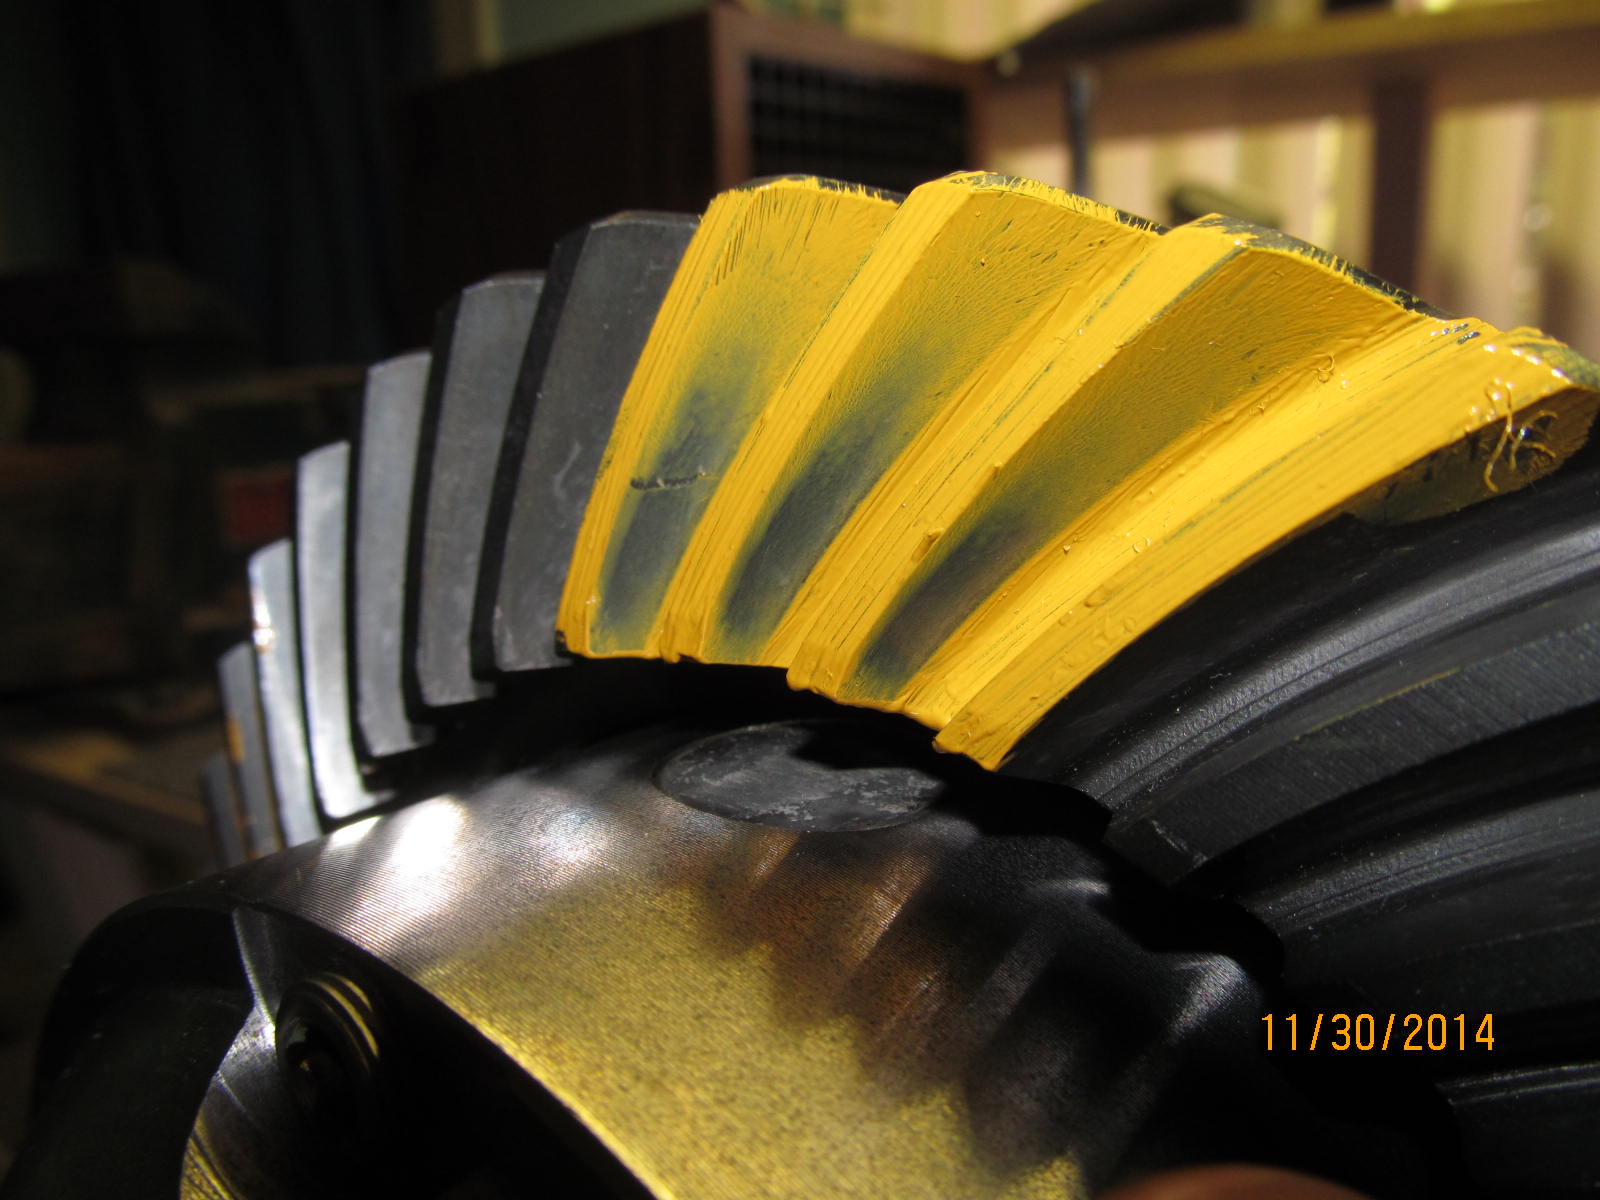
Coast is good.....on the toe end for sure.
|
|
|
|
|
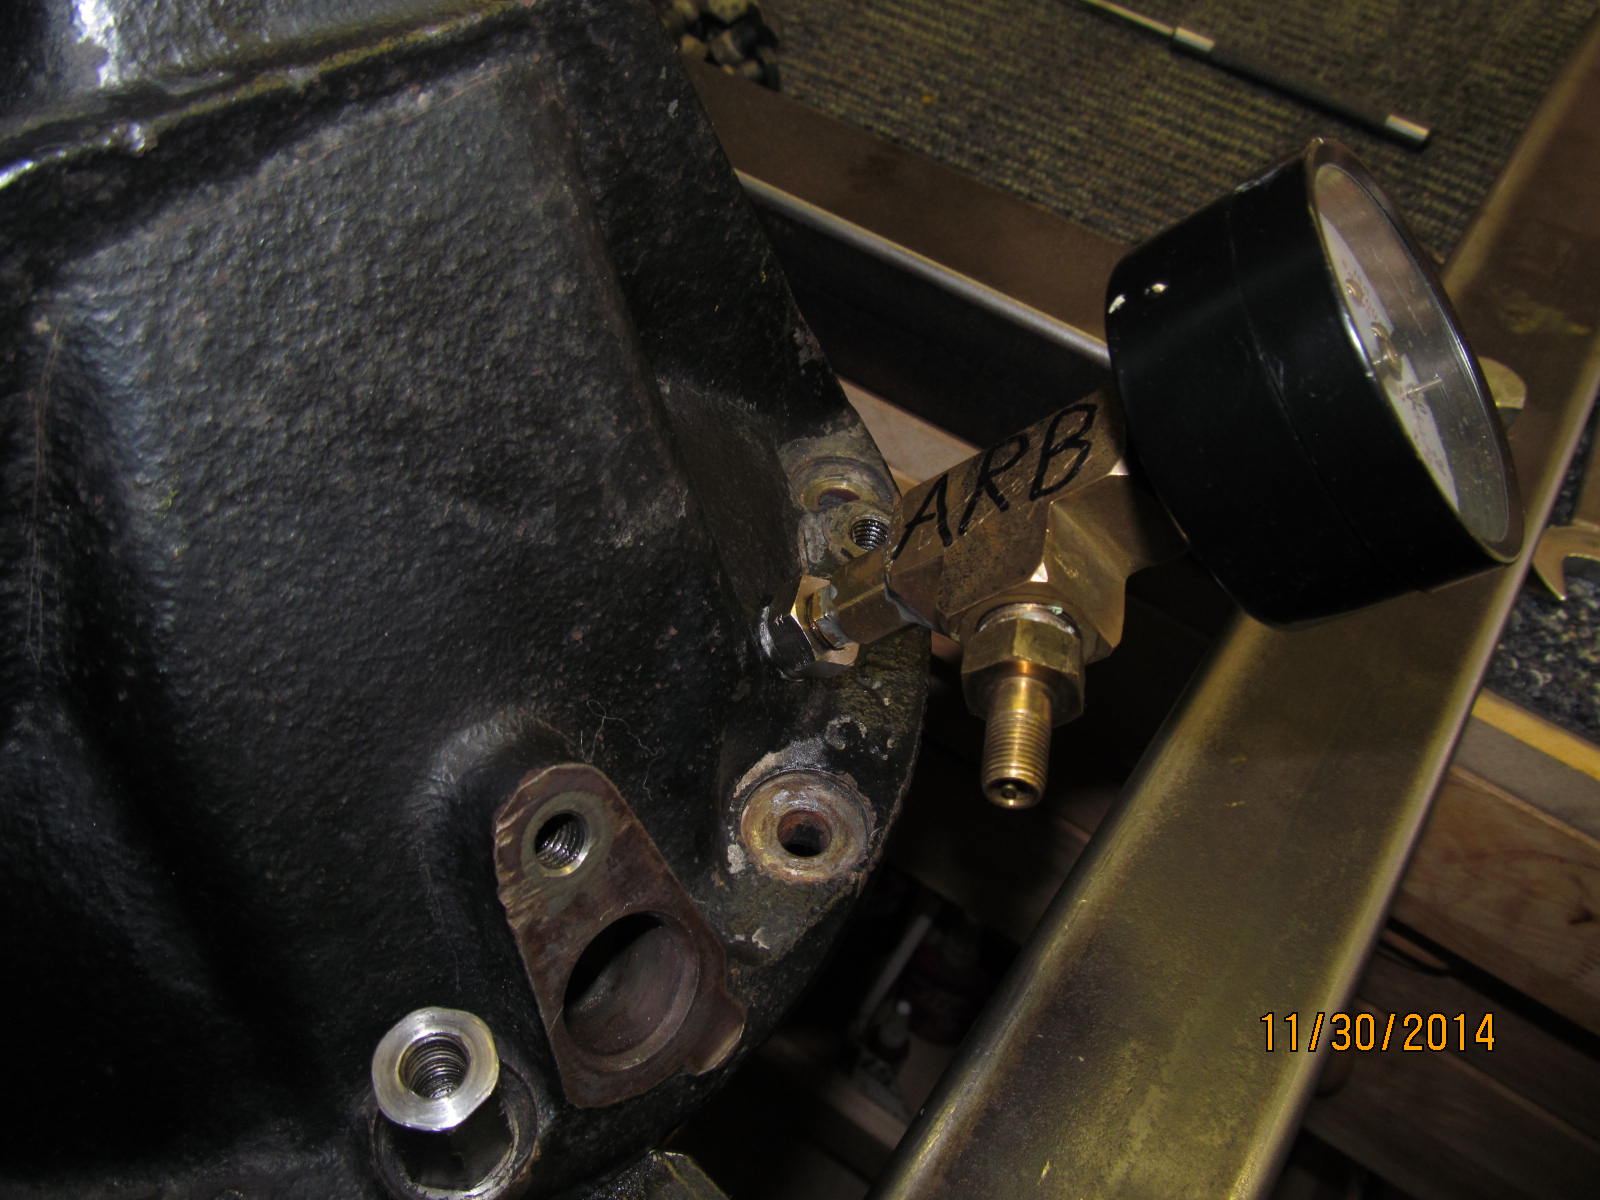
ARB tester screwed on....only finger tight and no more.
|
|
|
|
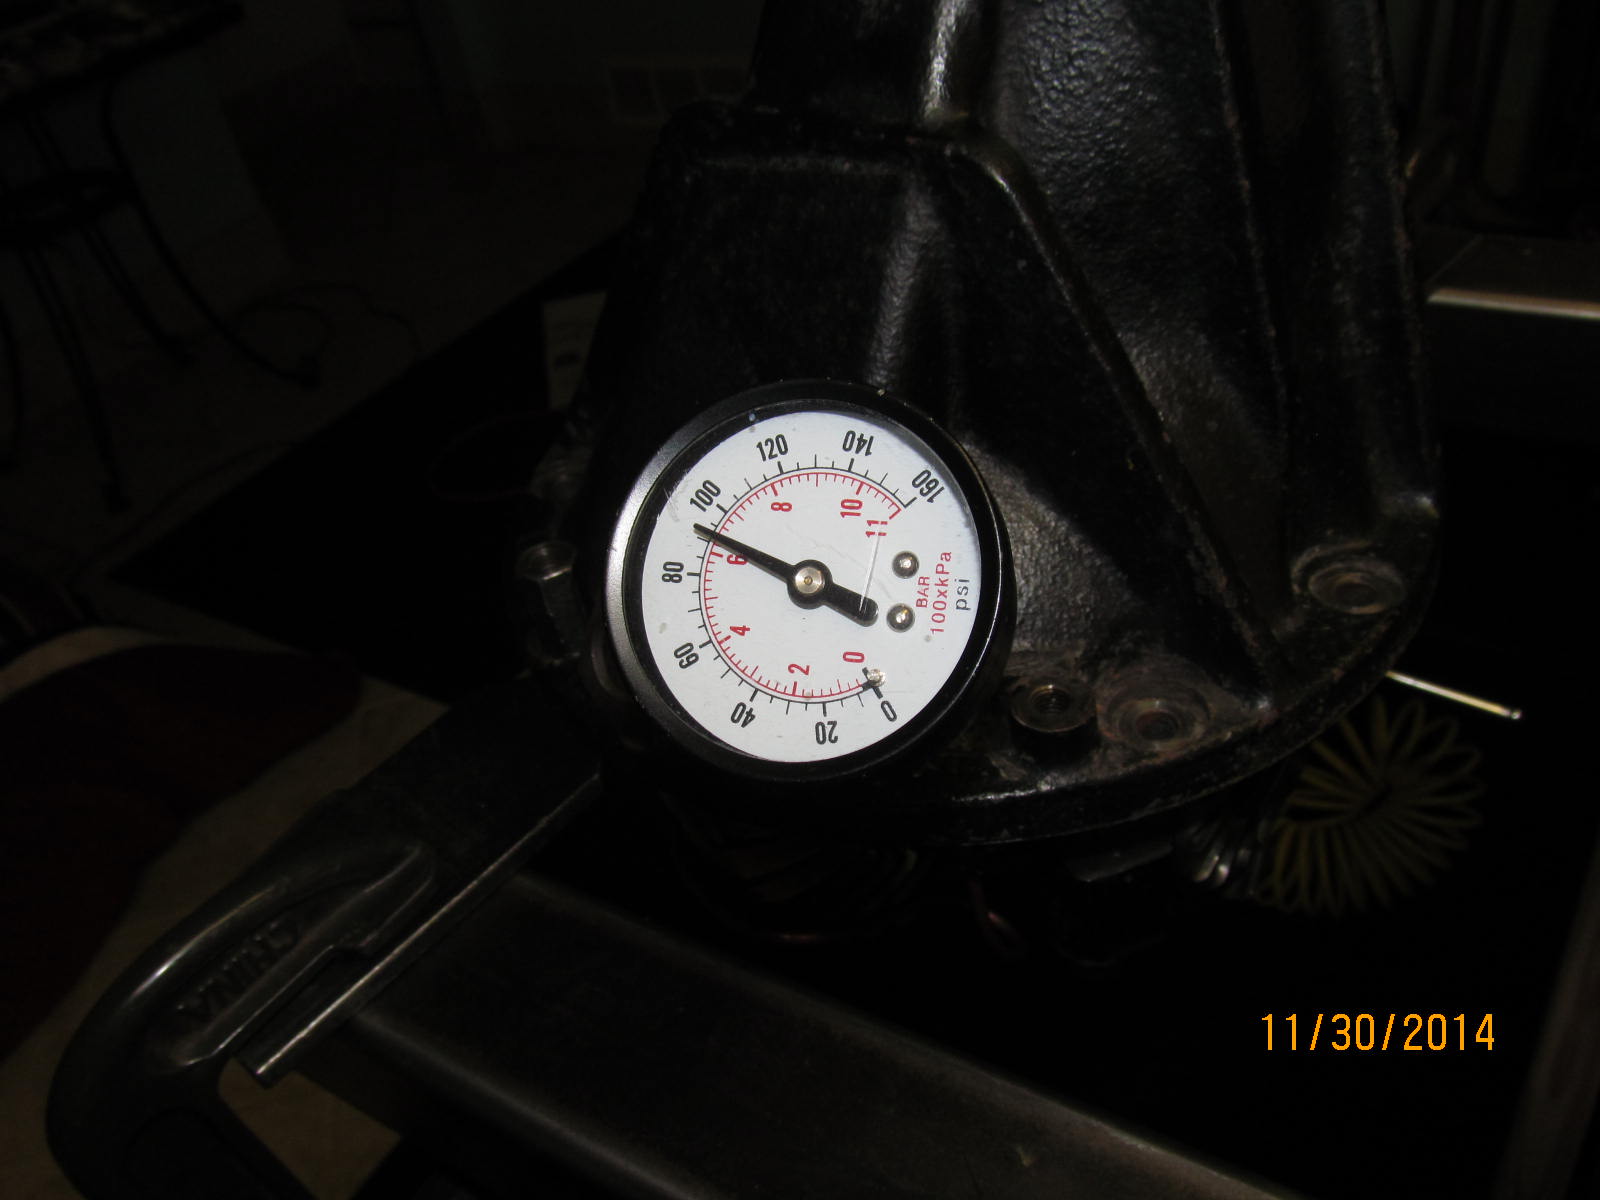
92 pounds for at least 5 minutes. Pass. Actually, if even a fraction of a pound is lost then something is
wrong somewhere.
|
|
|
|
|
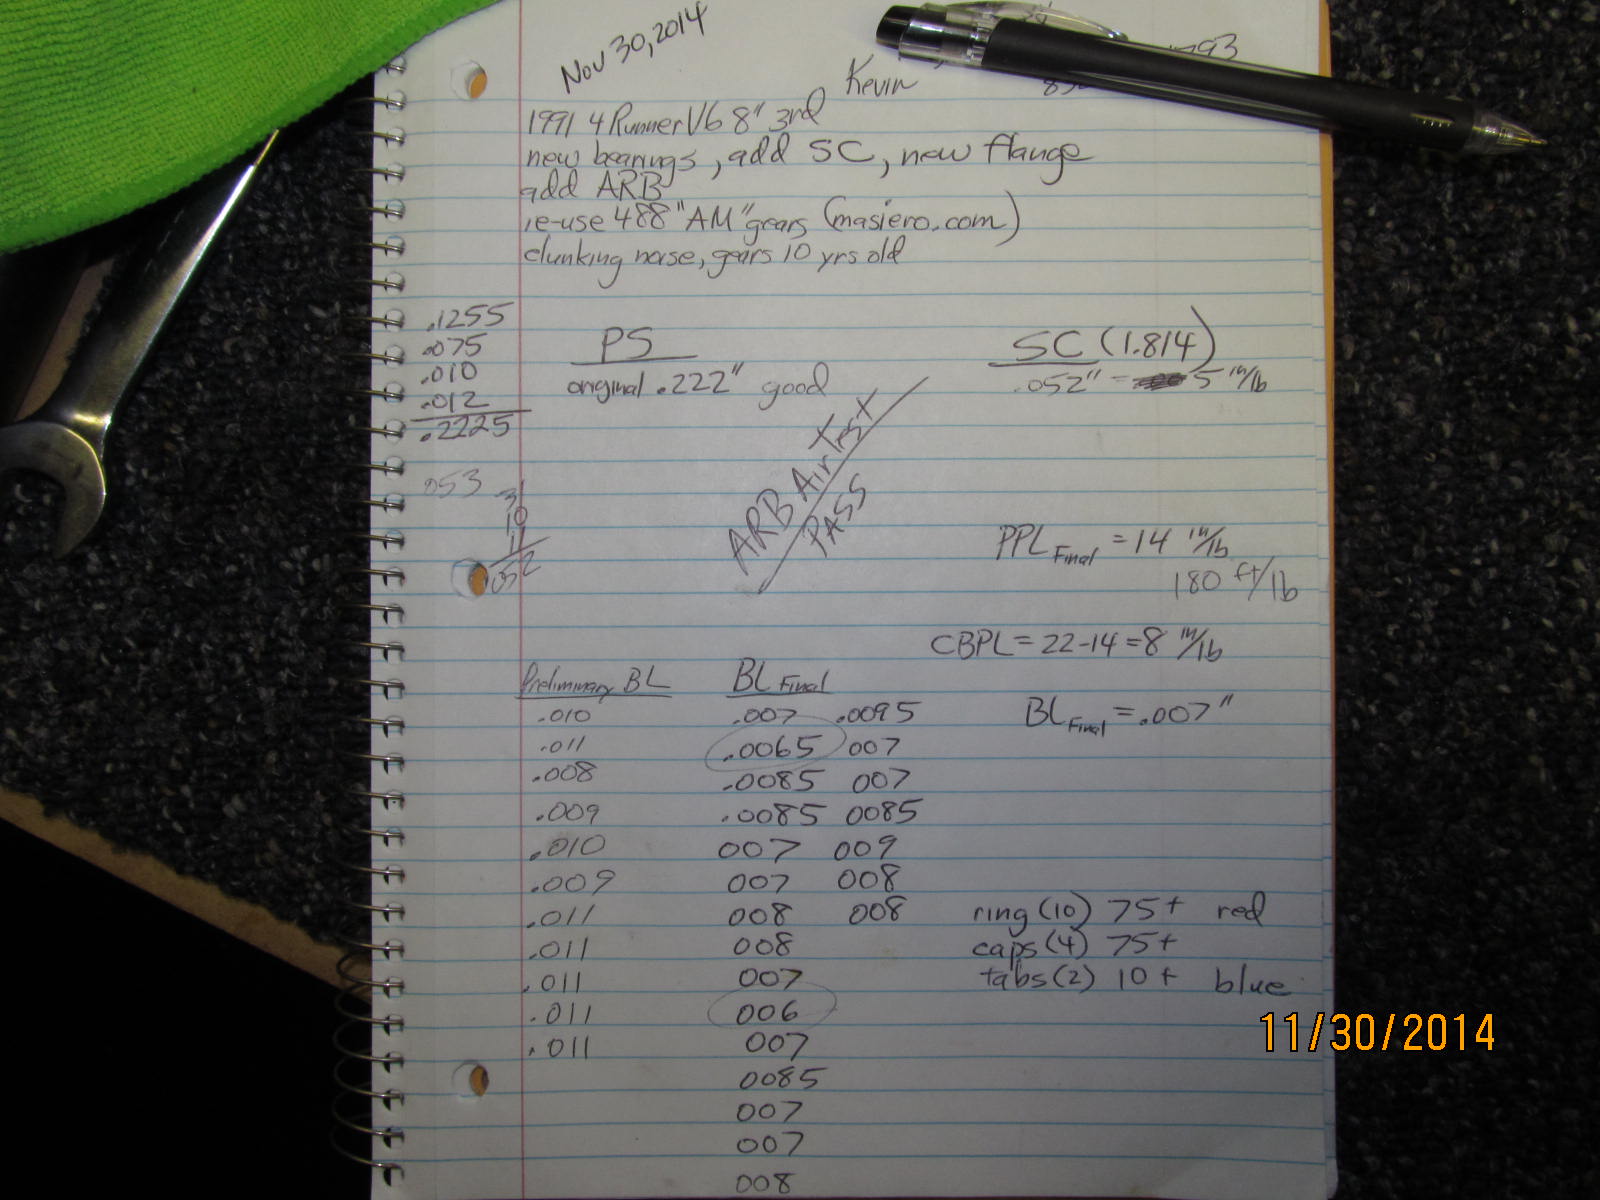
assembly notes.
|
|
|
|
Back to Texas :) 3 inches of cardboard on the bottom and the ARB 3rd is well secured and locked in place inside
the box in the tote.
|
|
|

|