|
Cryogenically treated 529 Nitro Gears for Marty's 1996 LX450
|
|
(112 BIG pics loading)
|
|
SEPT 13 2016
|
|
|
Sorry about the 112 pics trying to load right now. It's a BIG link. Give it a bit more time.
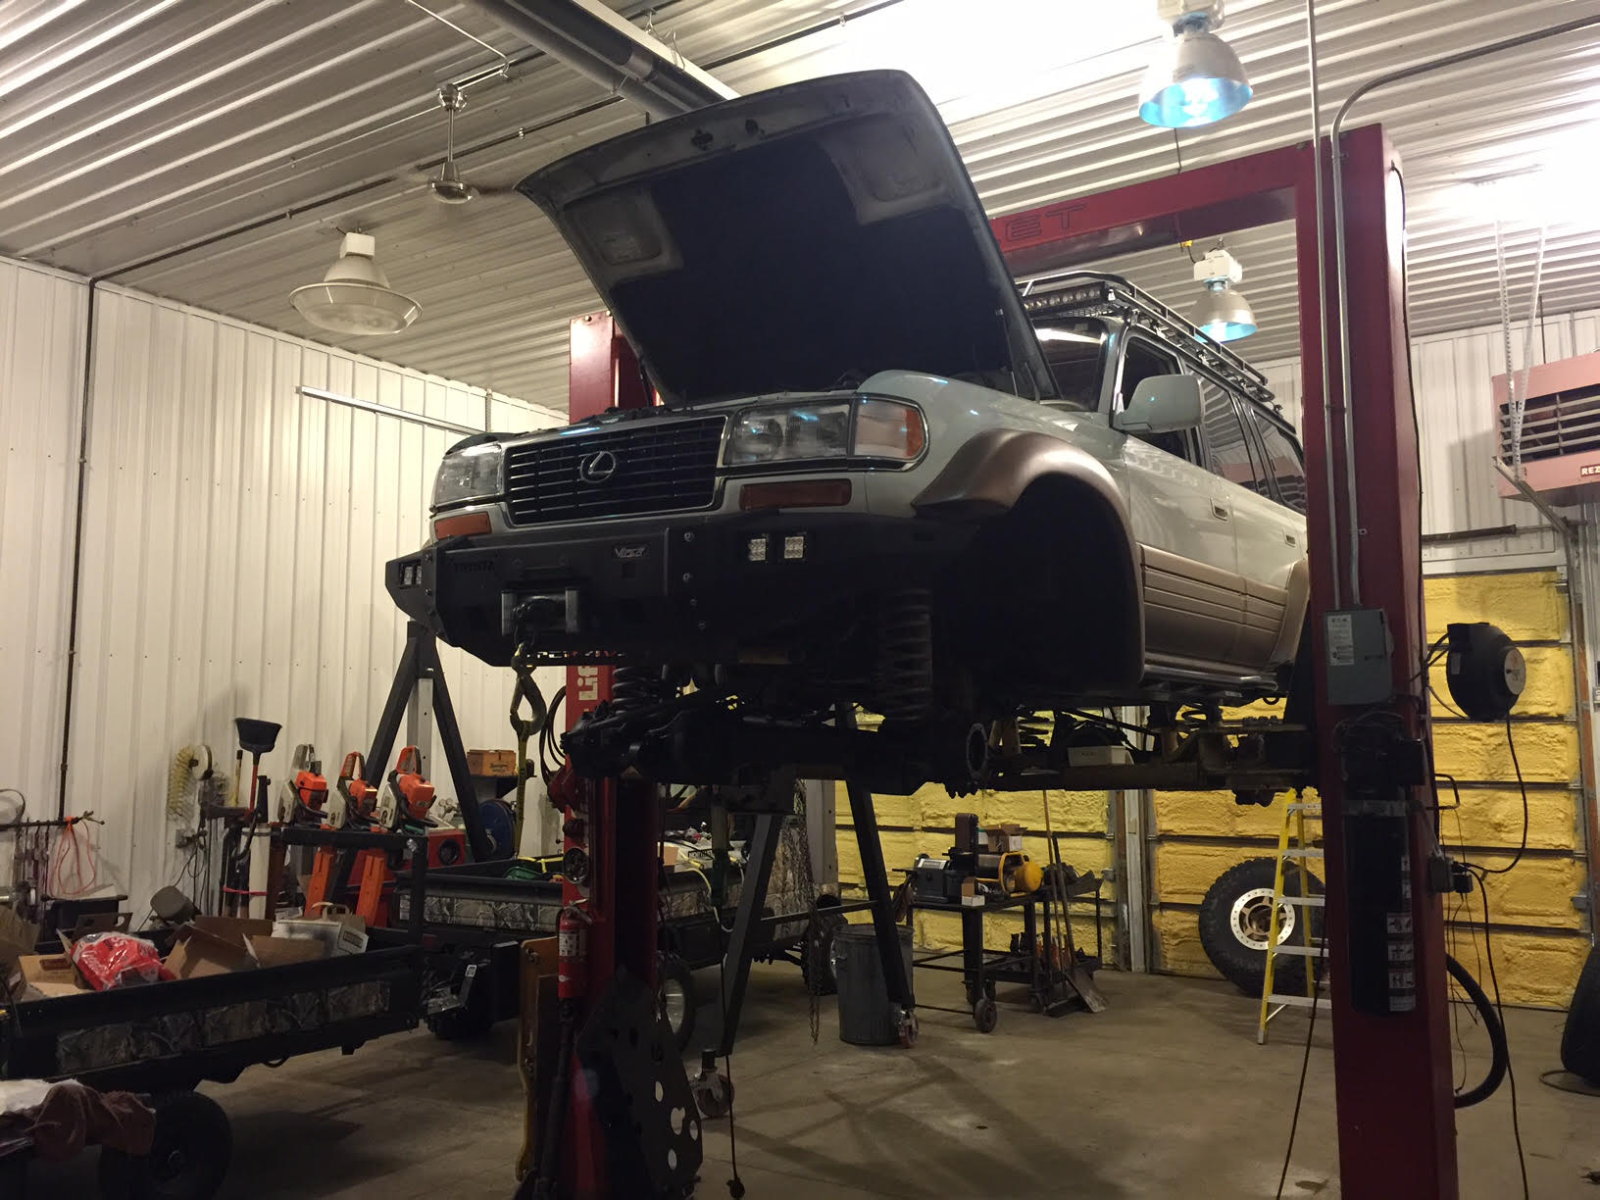
Marty has the right stuff for lifting his 96 LX450 off the ground and remove both diffs
to send my way.
|
|
|
|
|
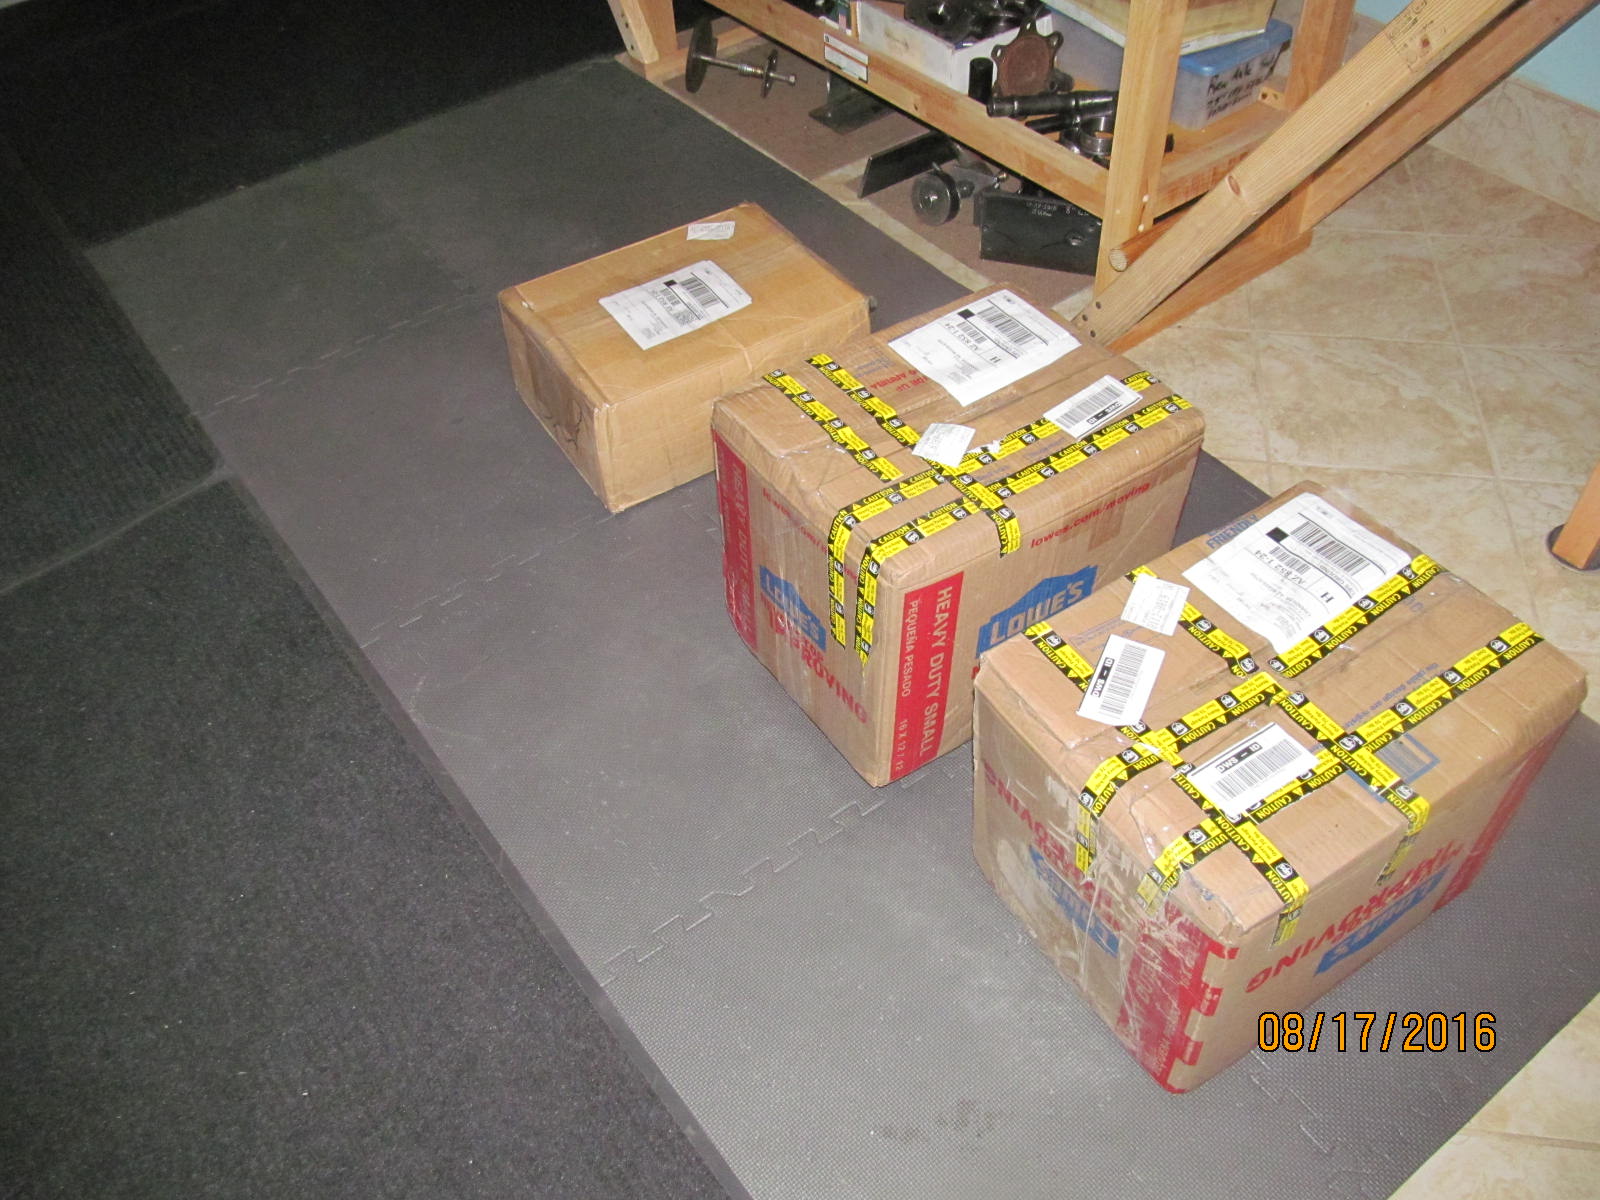
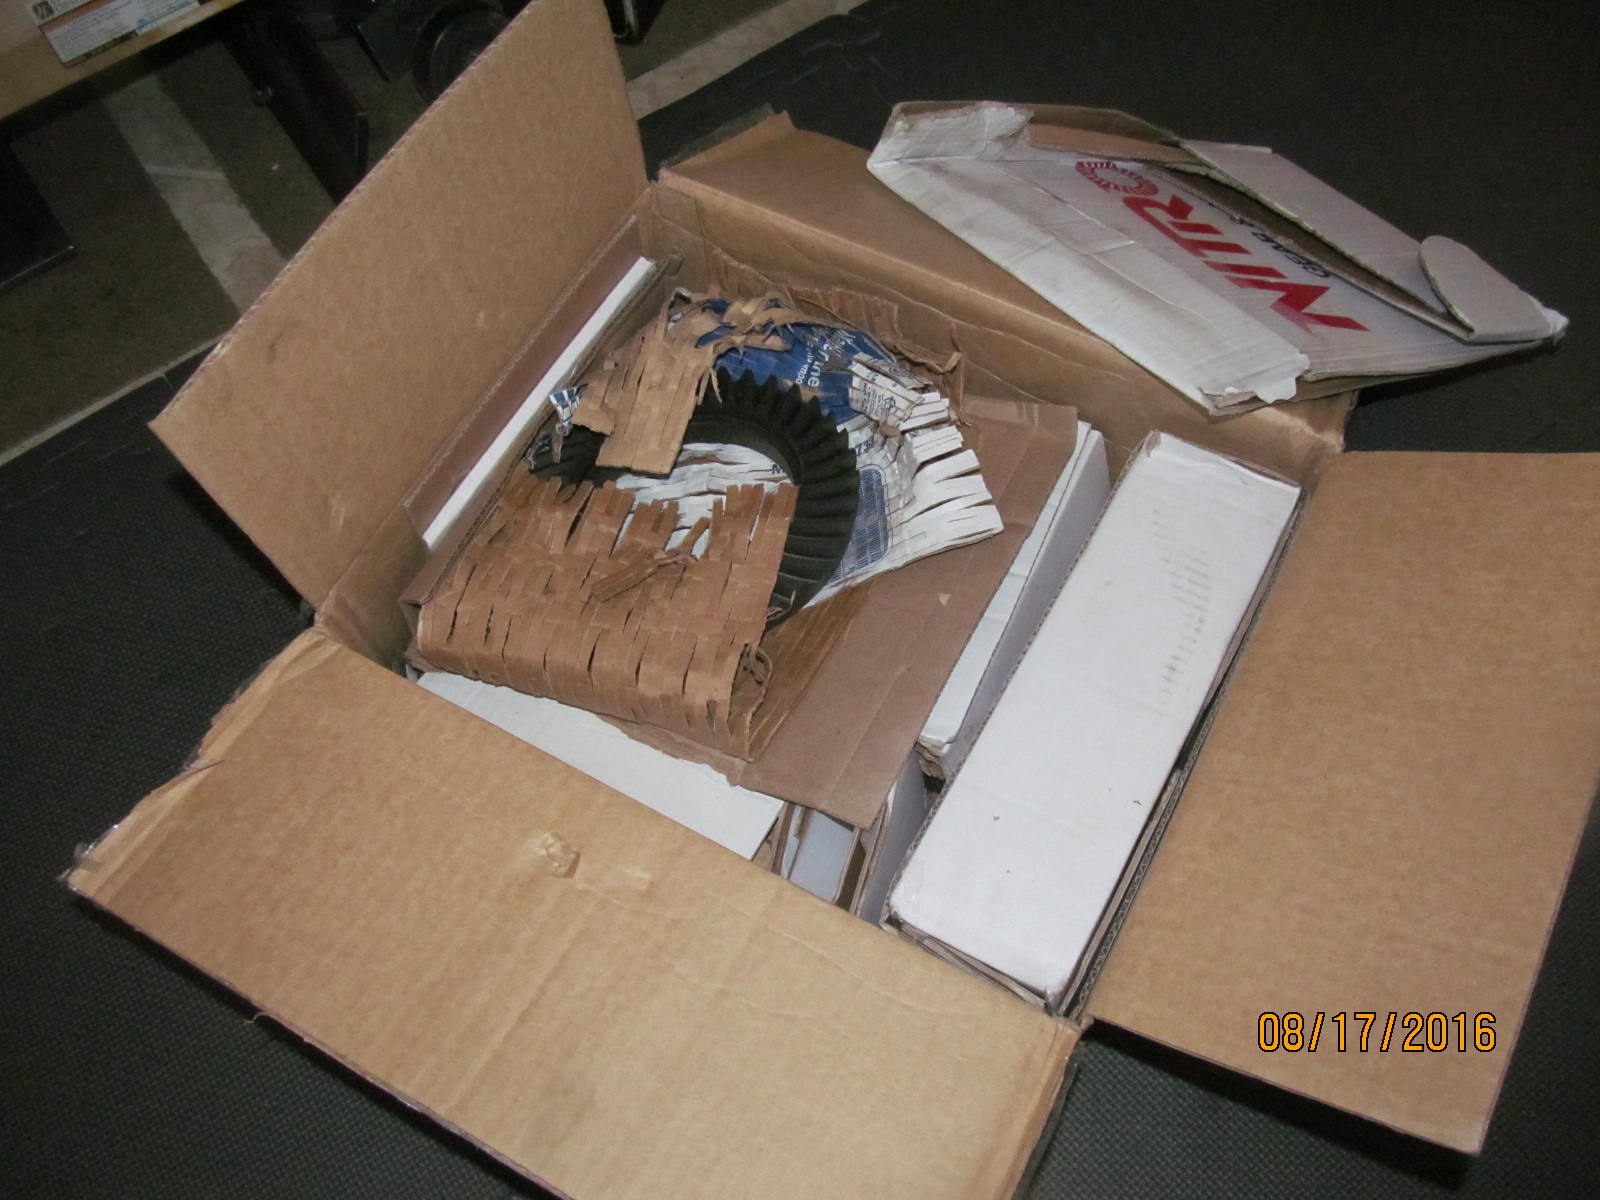
A few days later I received 3 boxes.
|
|
|
|
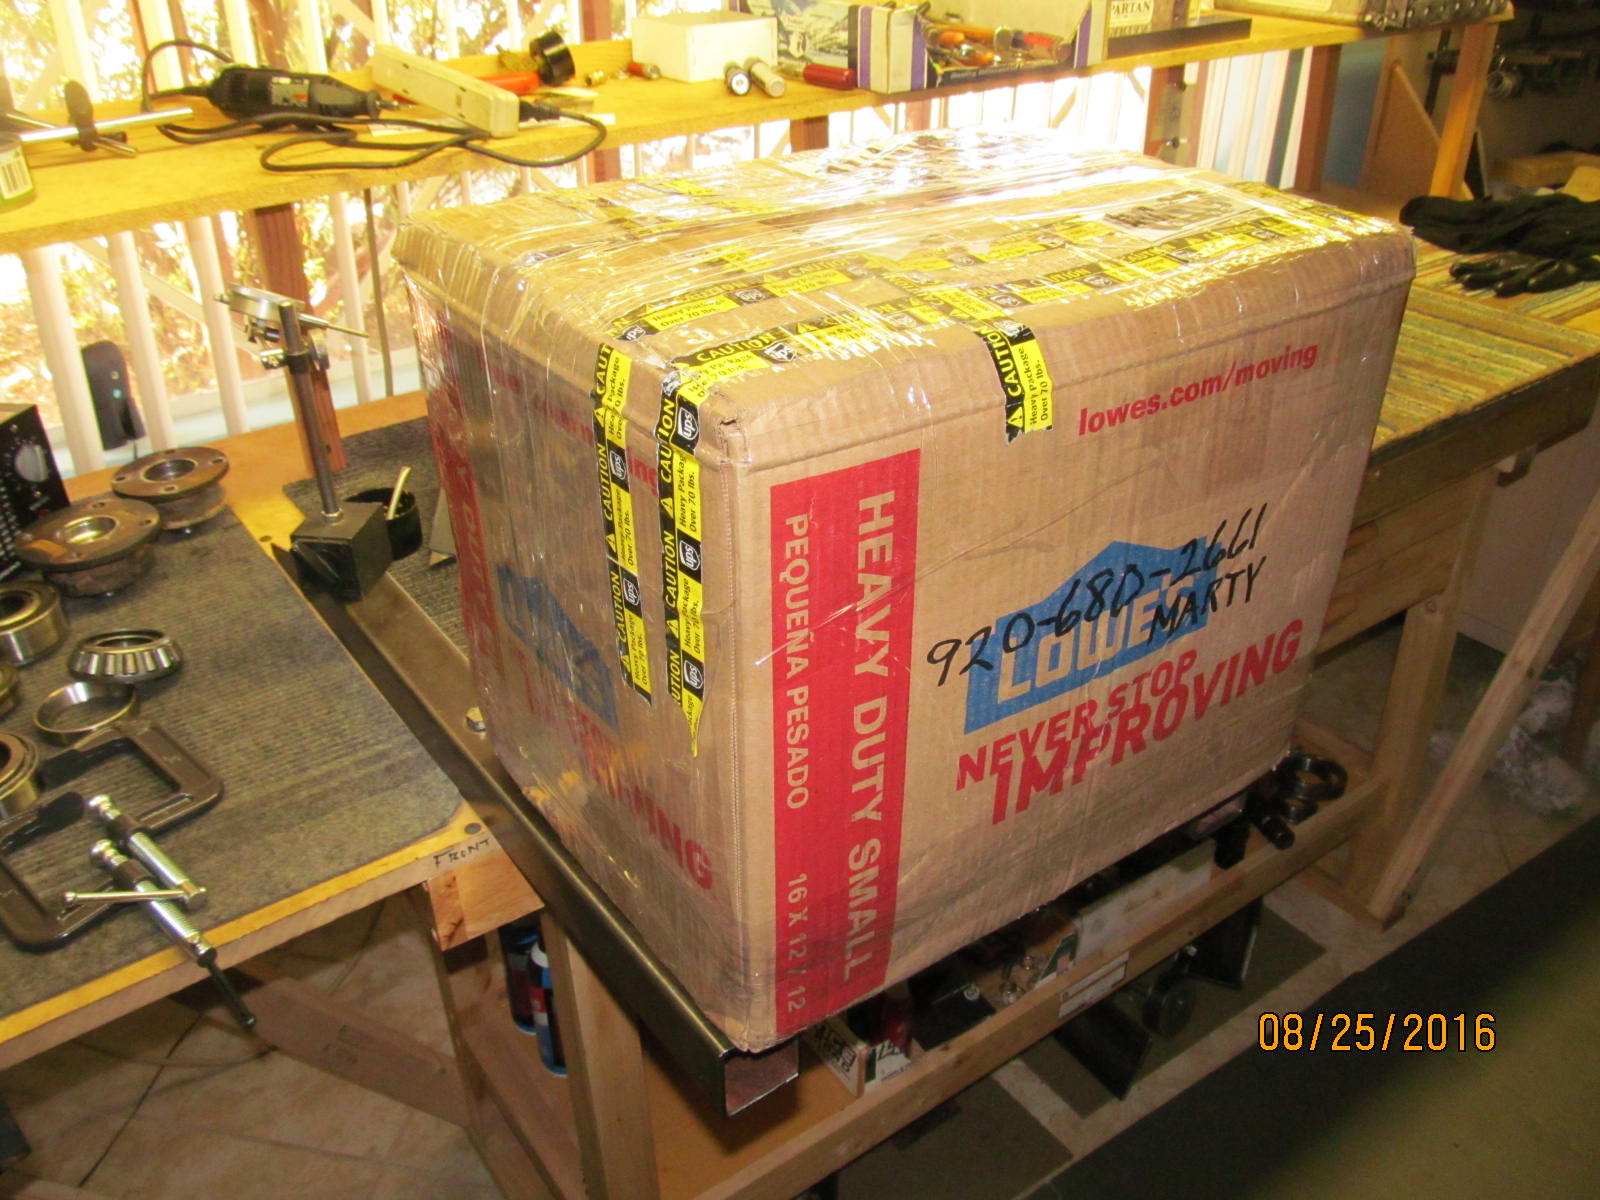
A very secure way to send the diffs is in these double corrugated heavy duty cardboard boxes
available from Lowe's Home Improvement stores or Home Depot.
|
|
|
|
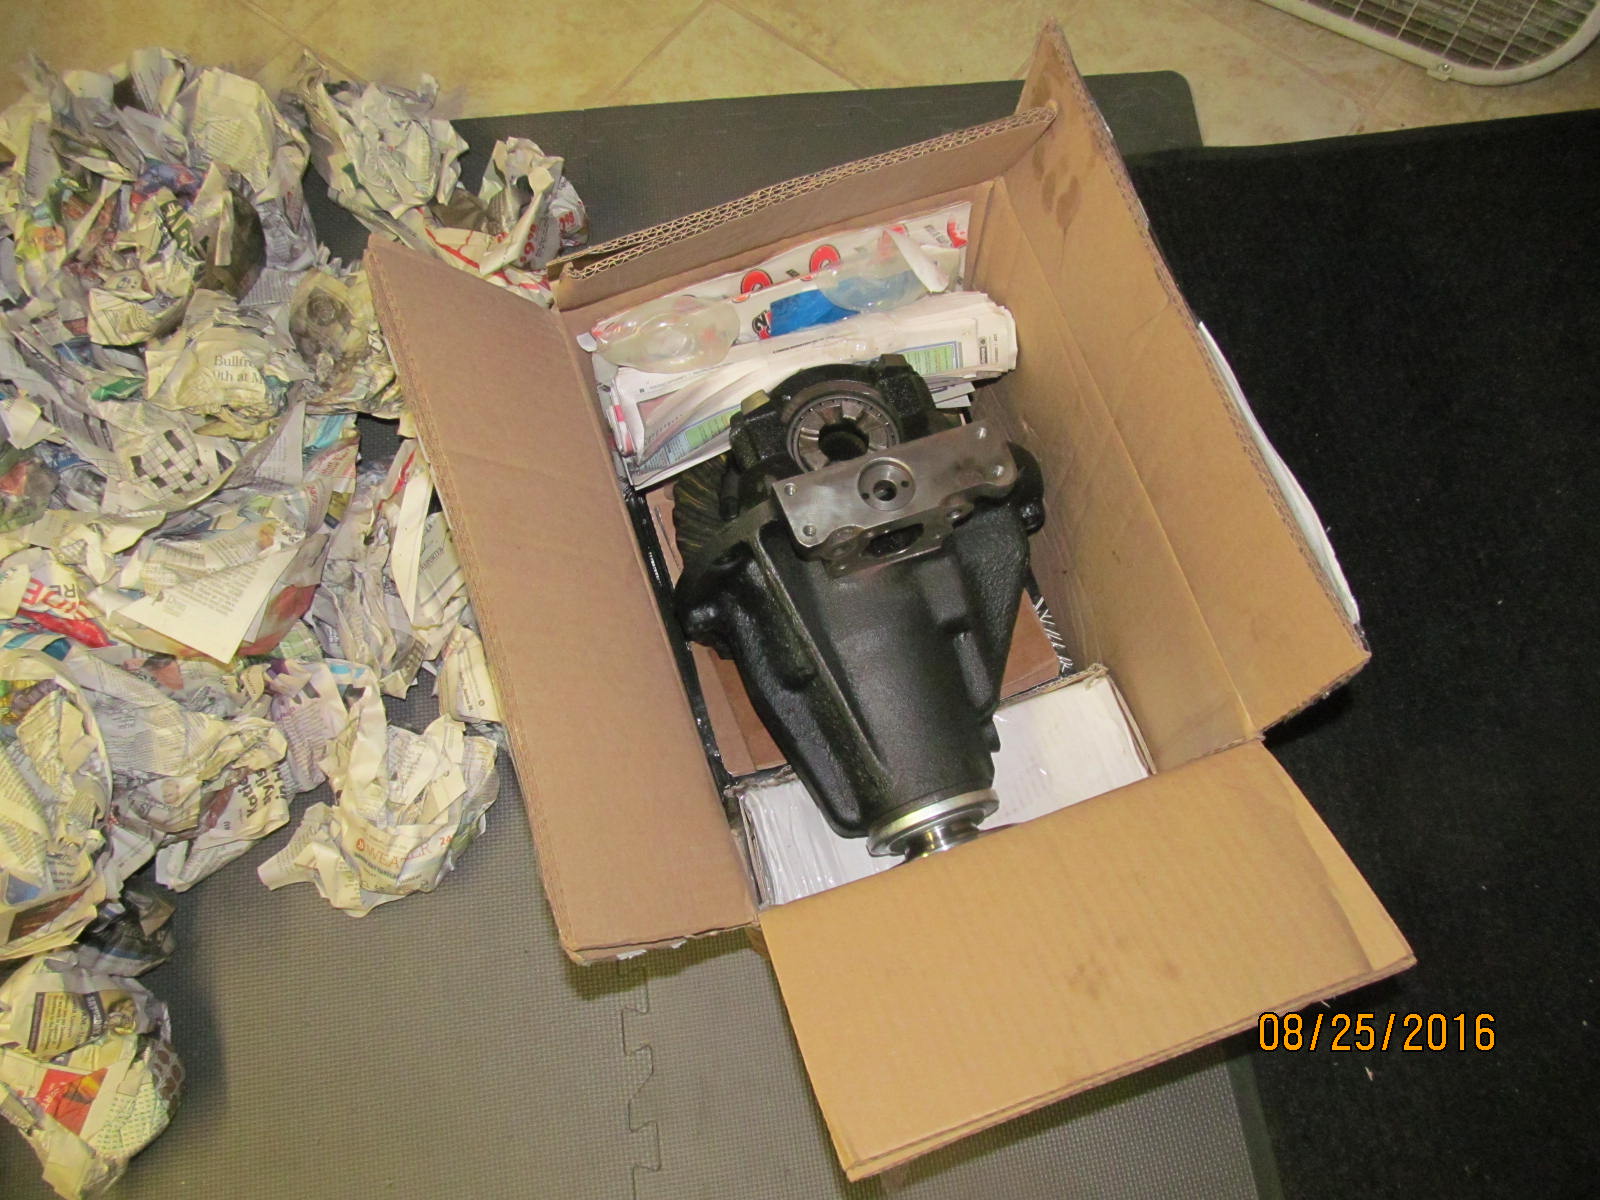
This is box #1. Not shown here but the diff lip caused a good ding on the bottom of the box but the thick
double boxing method prevented any open tears. Box #2 made the trip just fine with the front
high pinion 8" diff inside.
|
|
|
|
|
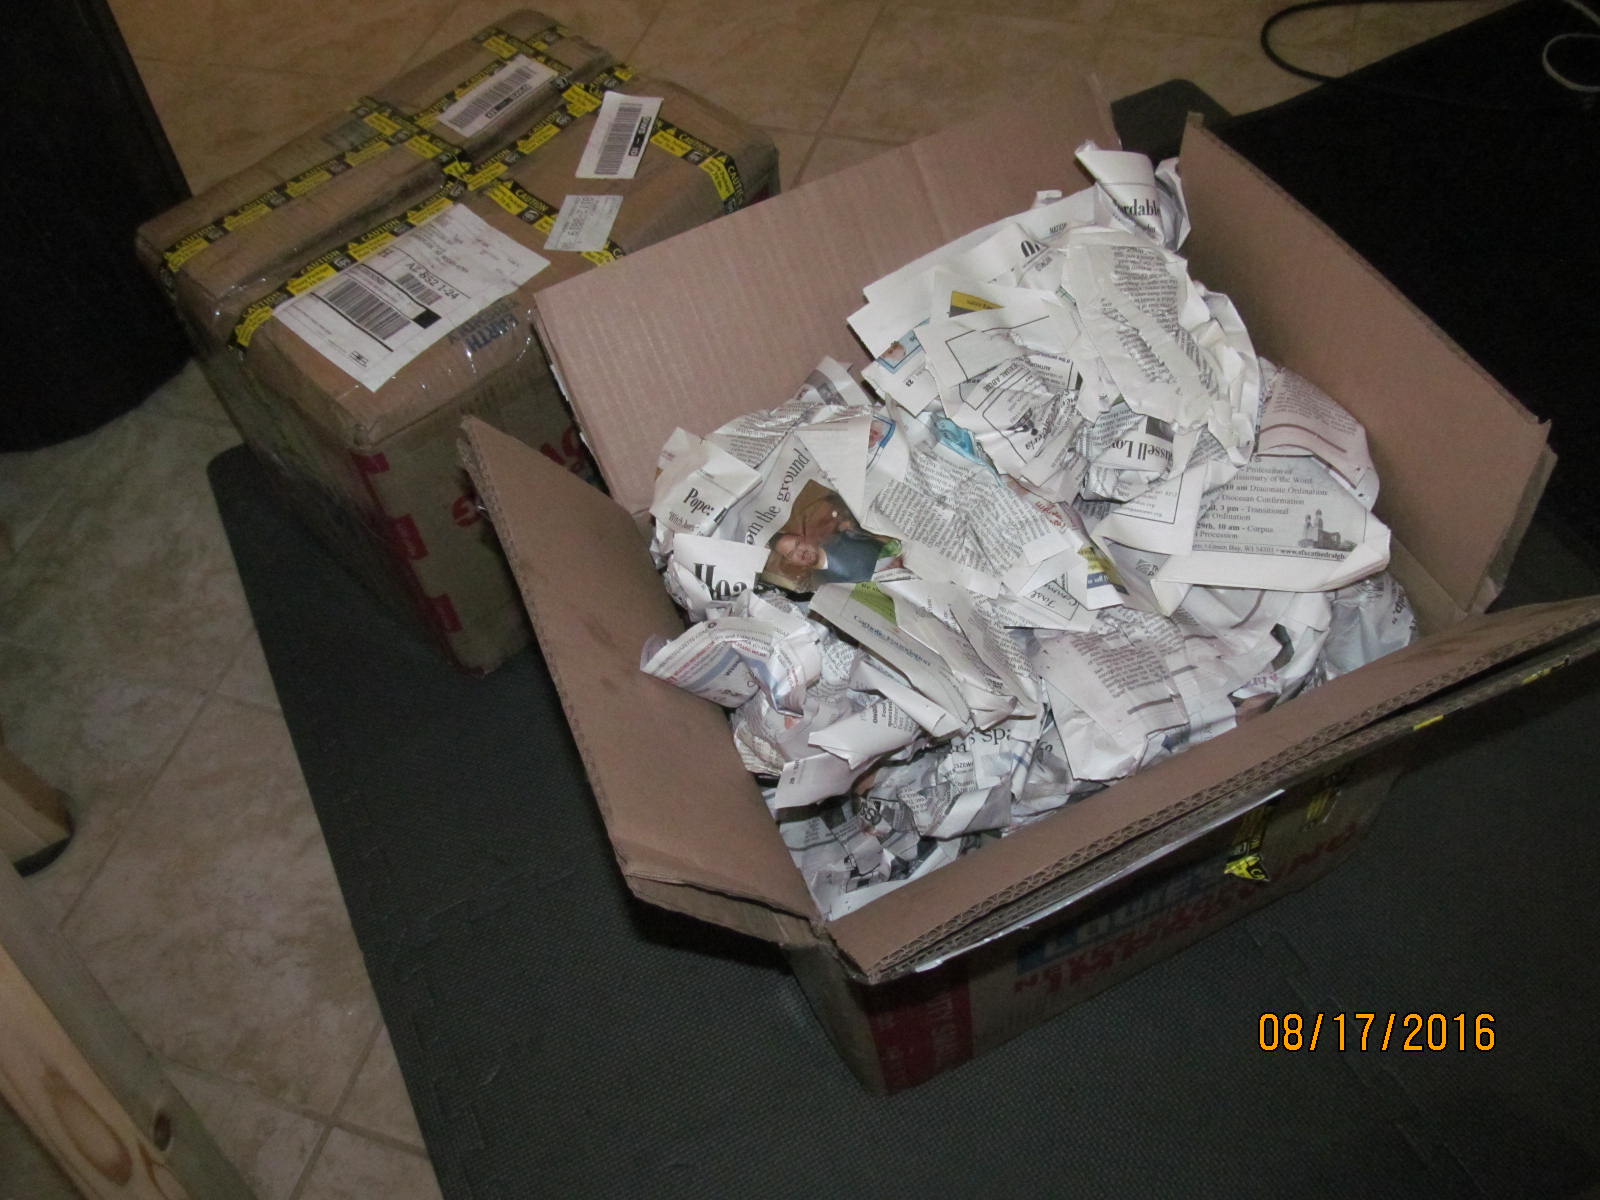
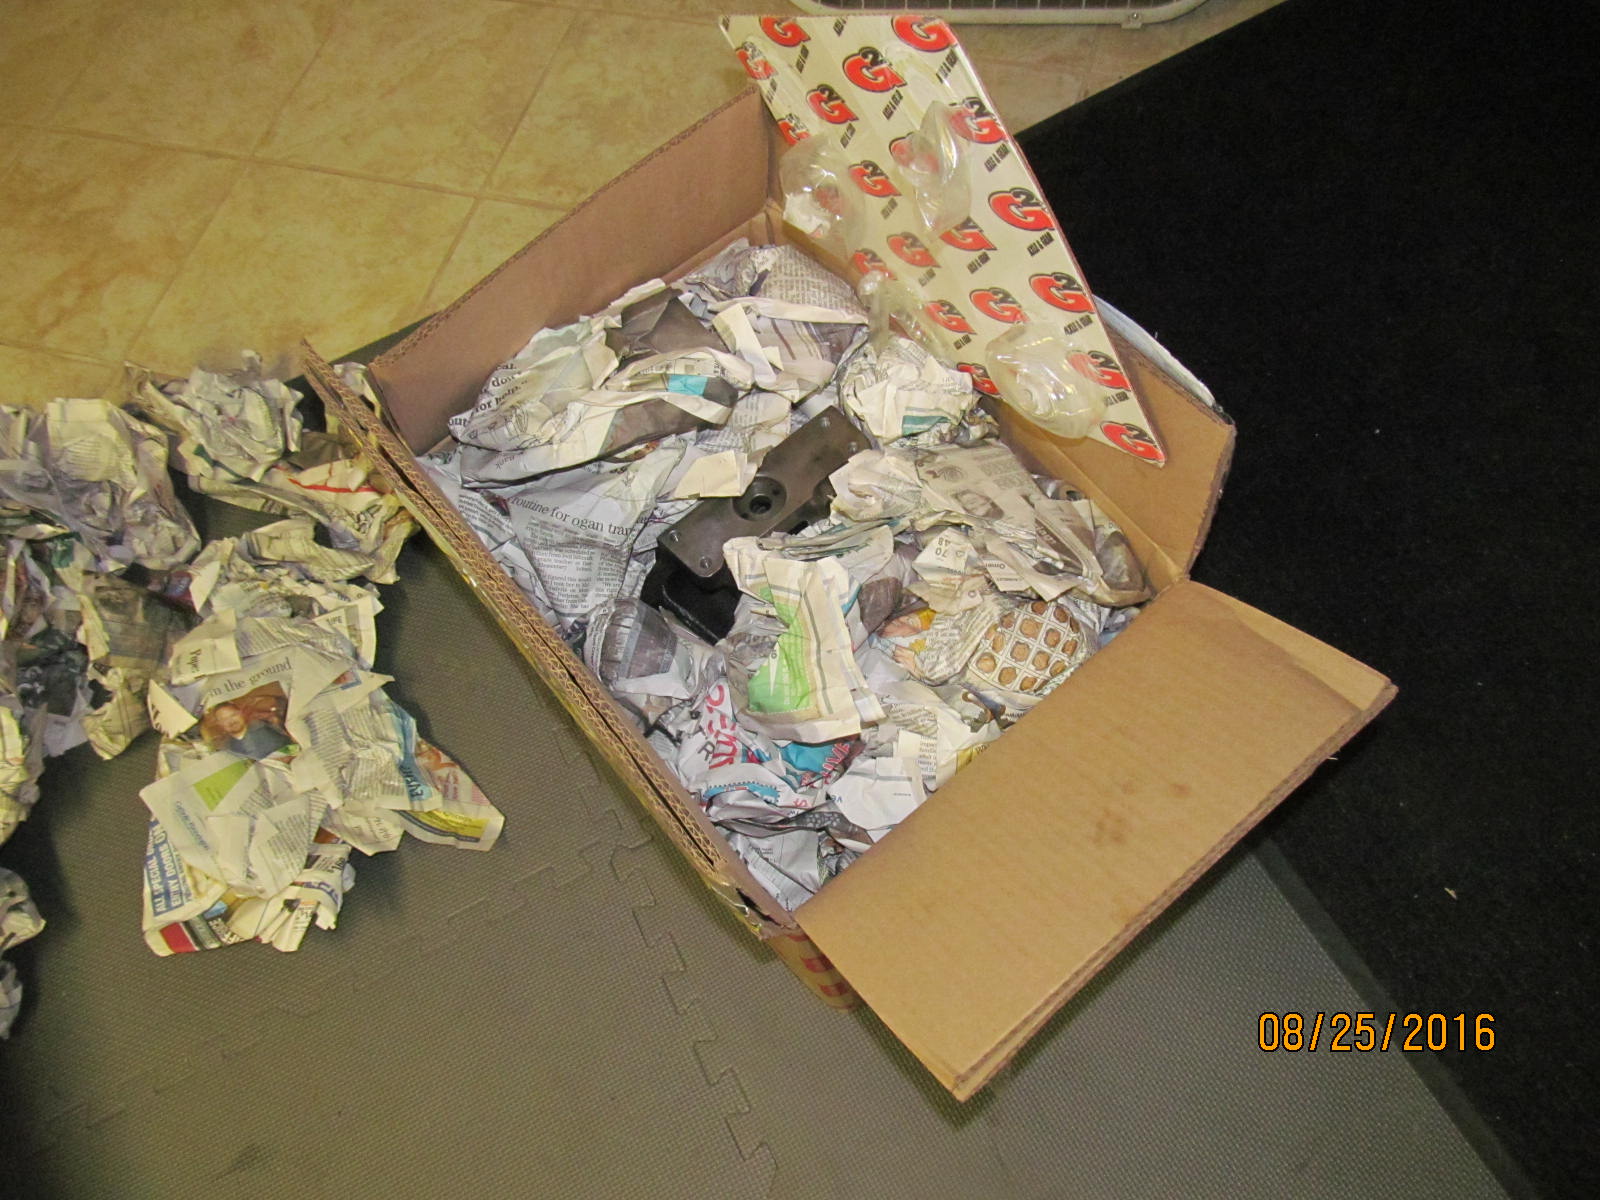
Box #3 had all the product that Marty secured ahead of time.
|
|
|
|
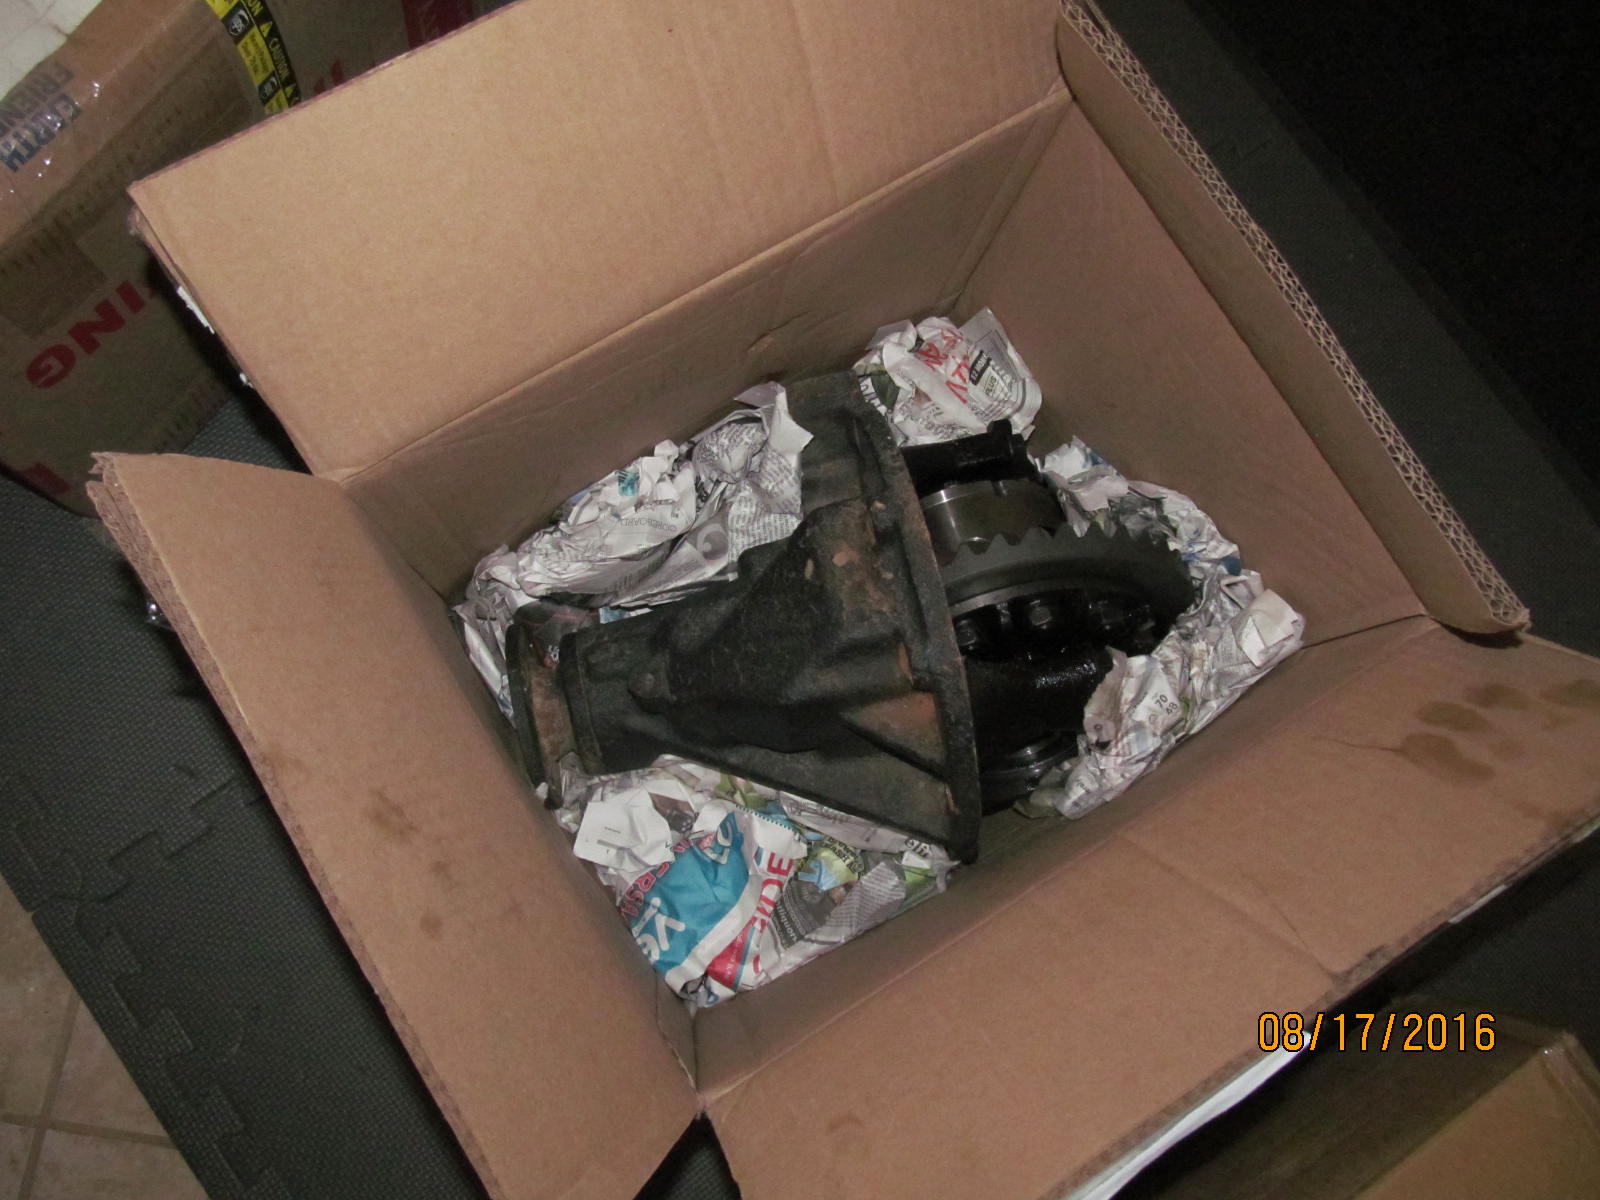
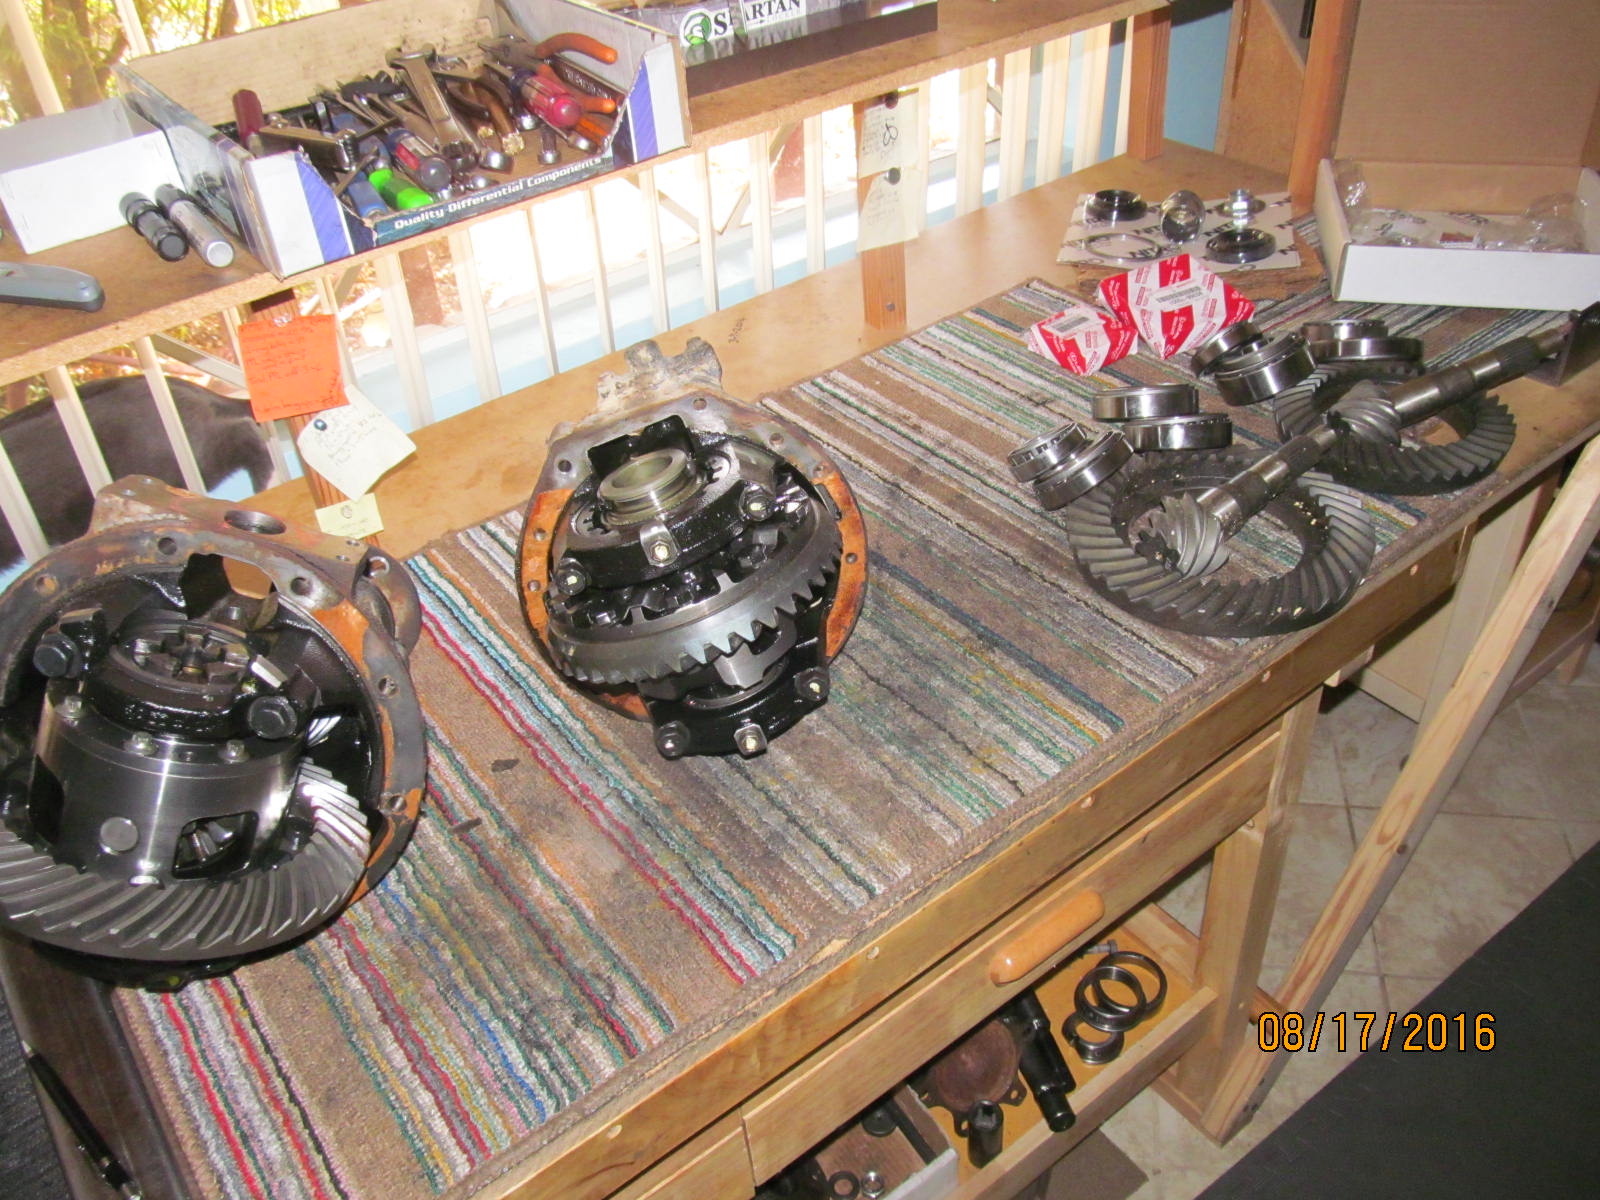
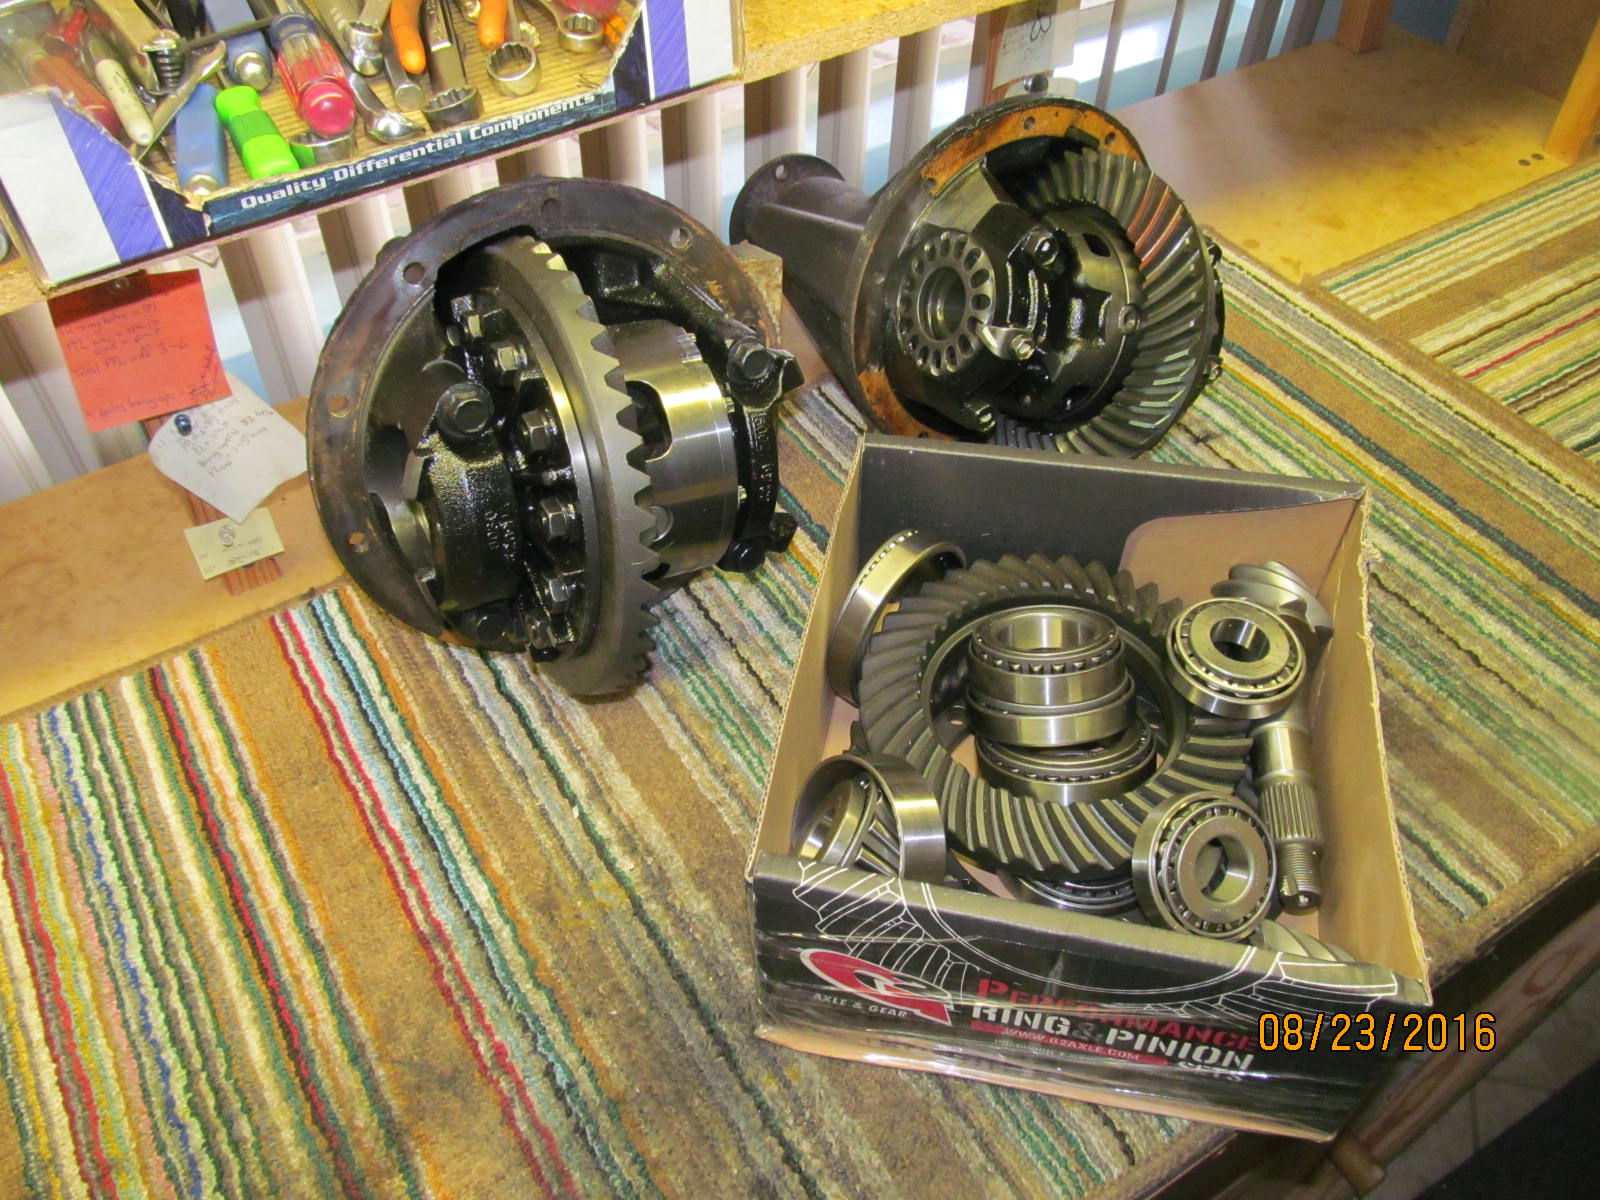
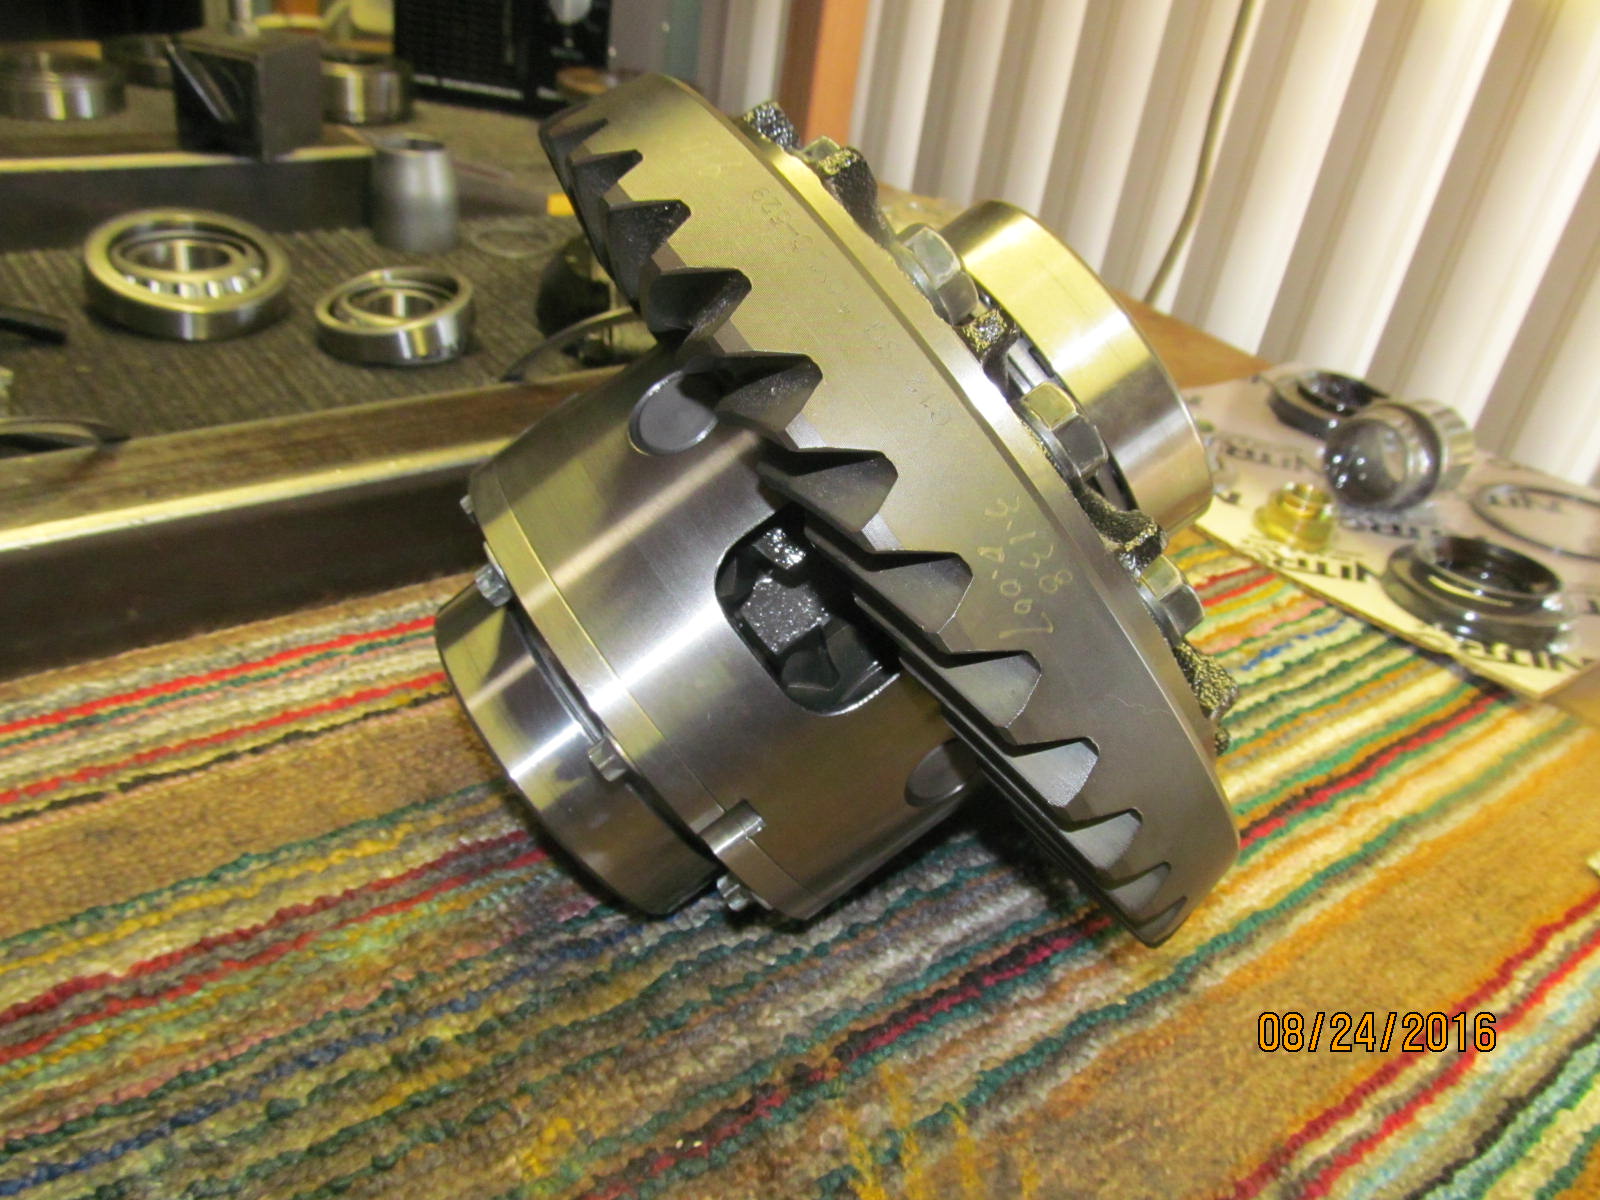
Big heavy rear 3rd on the left...then the front diff...then the Nitro ring/pinions/bearings that are
going to cryo this Friday.
|
|
|
|
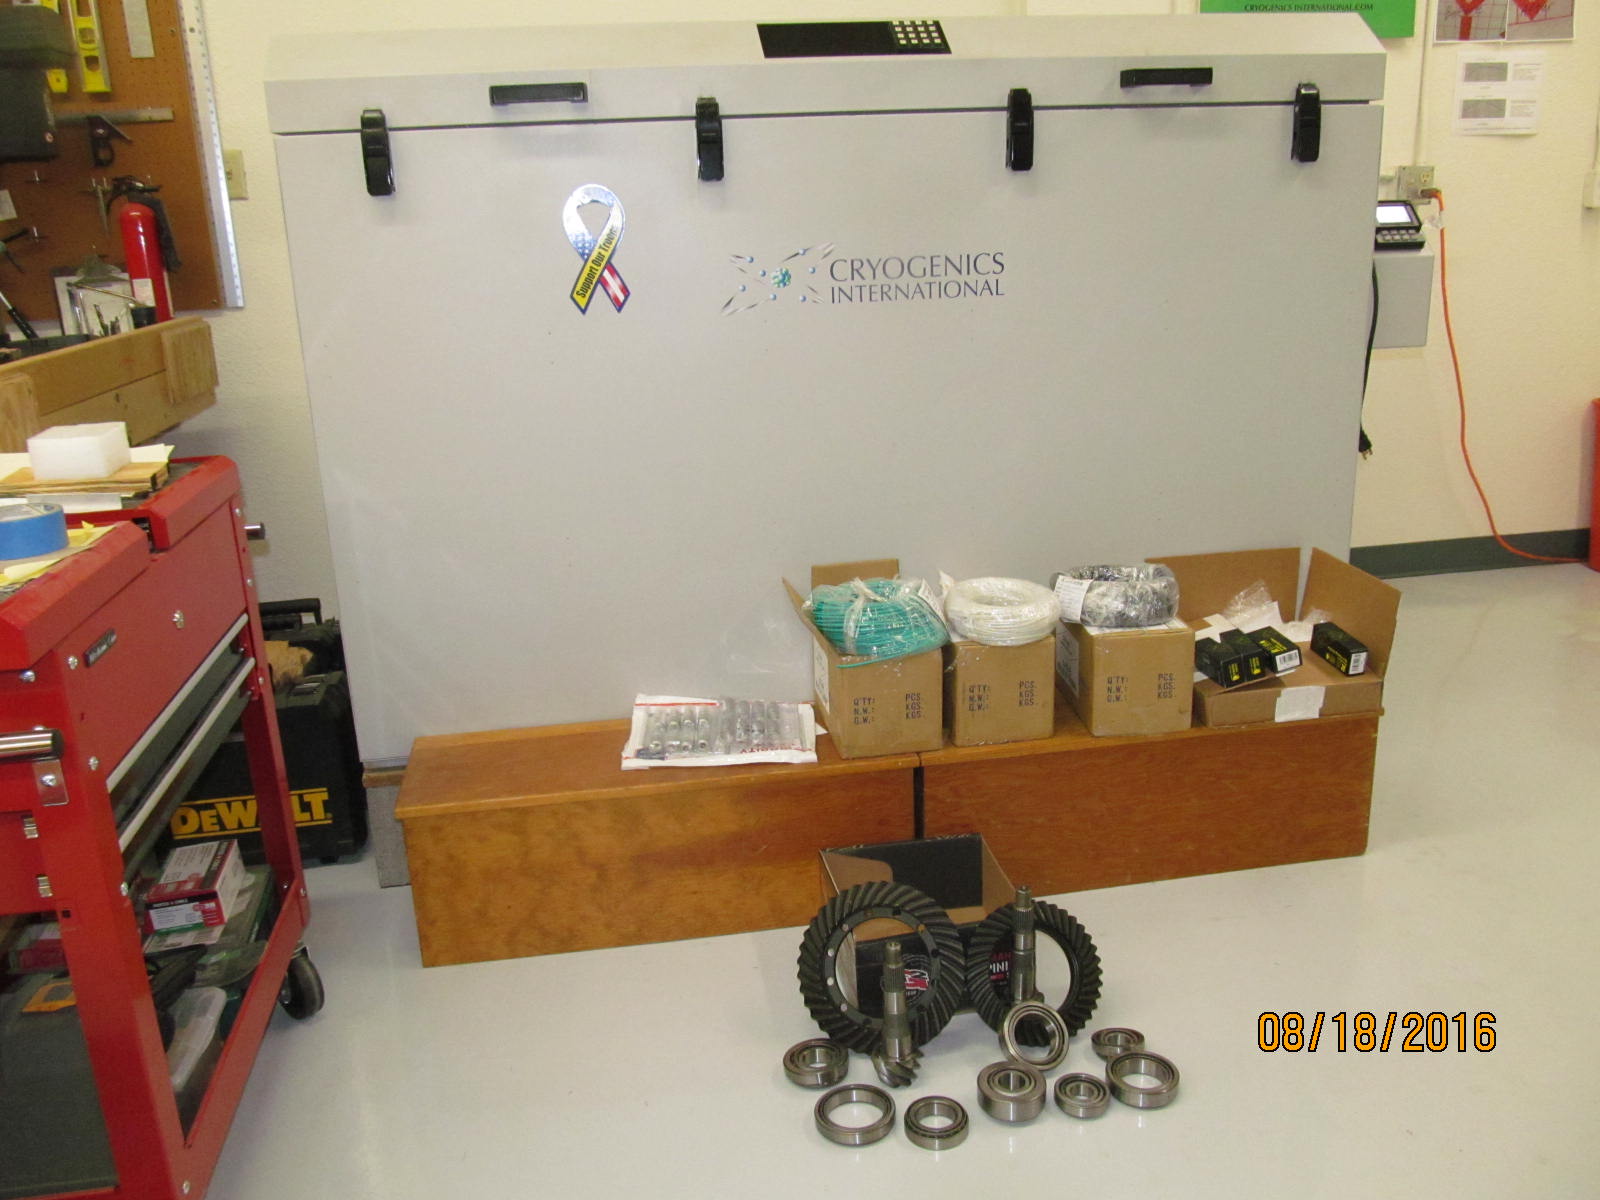
Items are delivered to Cryogenics International about 30 miles from me. Note the other items that
will also be cryo'd. Even copper or silver wiring can benefit from cryo from a 5% reduction is resistance.
The contents of the black boxes on the right have ac outlets inside. These are super high quality
outlets.....$150 each....considerably more than the typical $3 outlets.
Ha...the Nitro gears and bearings were transported in a G2 box :)
|
|
|
|
|
In the chamber on Friday and back on my bench on Tuesday morning.
|
|
|
|
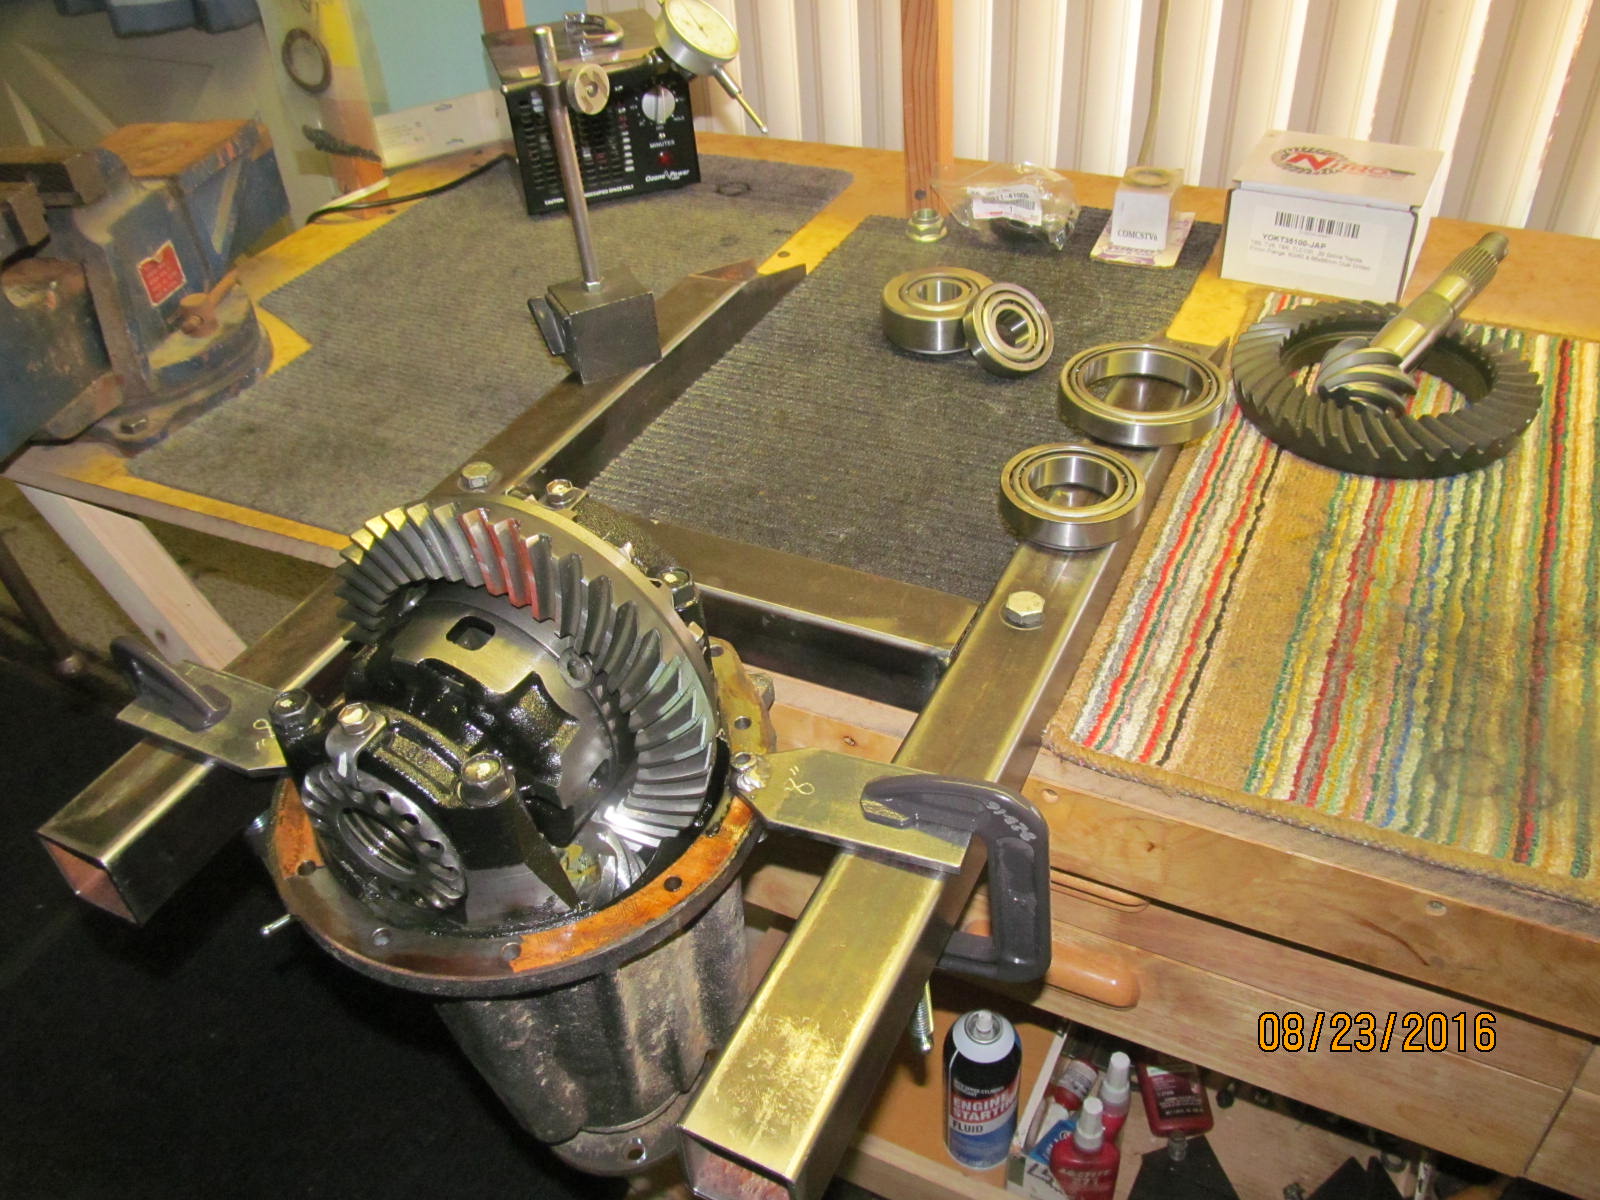
The front high pinion 3rd will be re-geared first. Other items are shown in the background.
The paper gasket material will be cleaned off shortly.
|
|
|
|
|
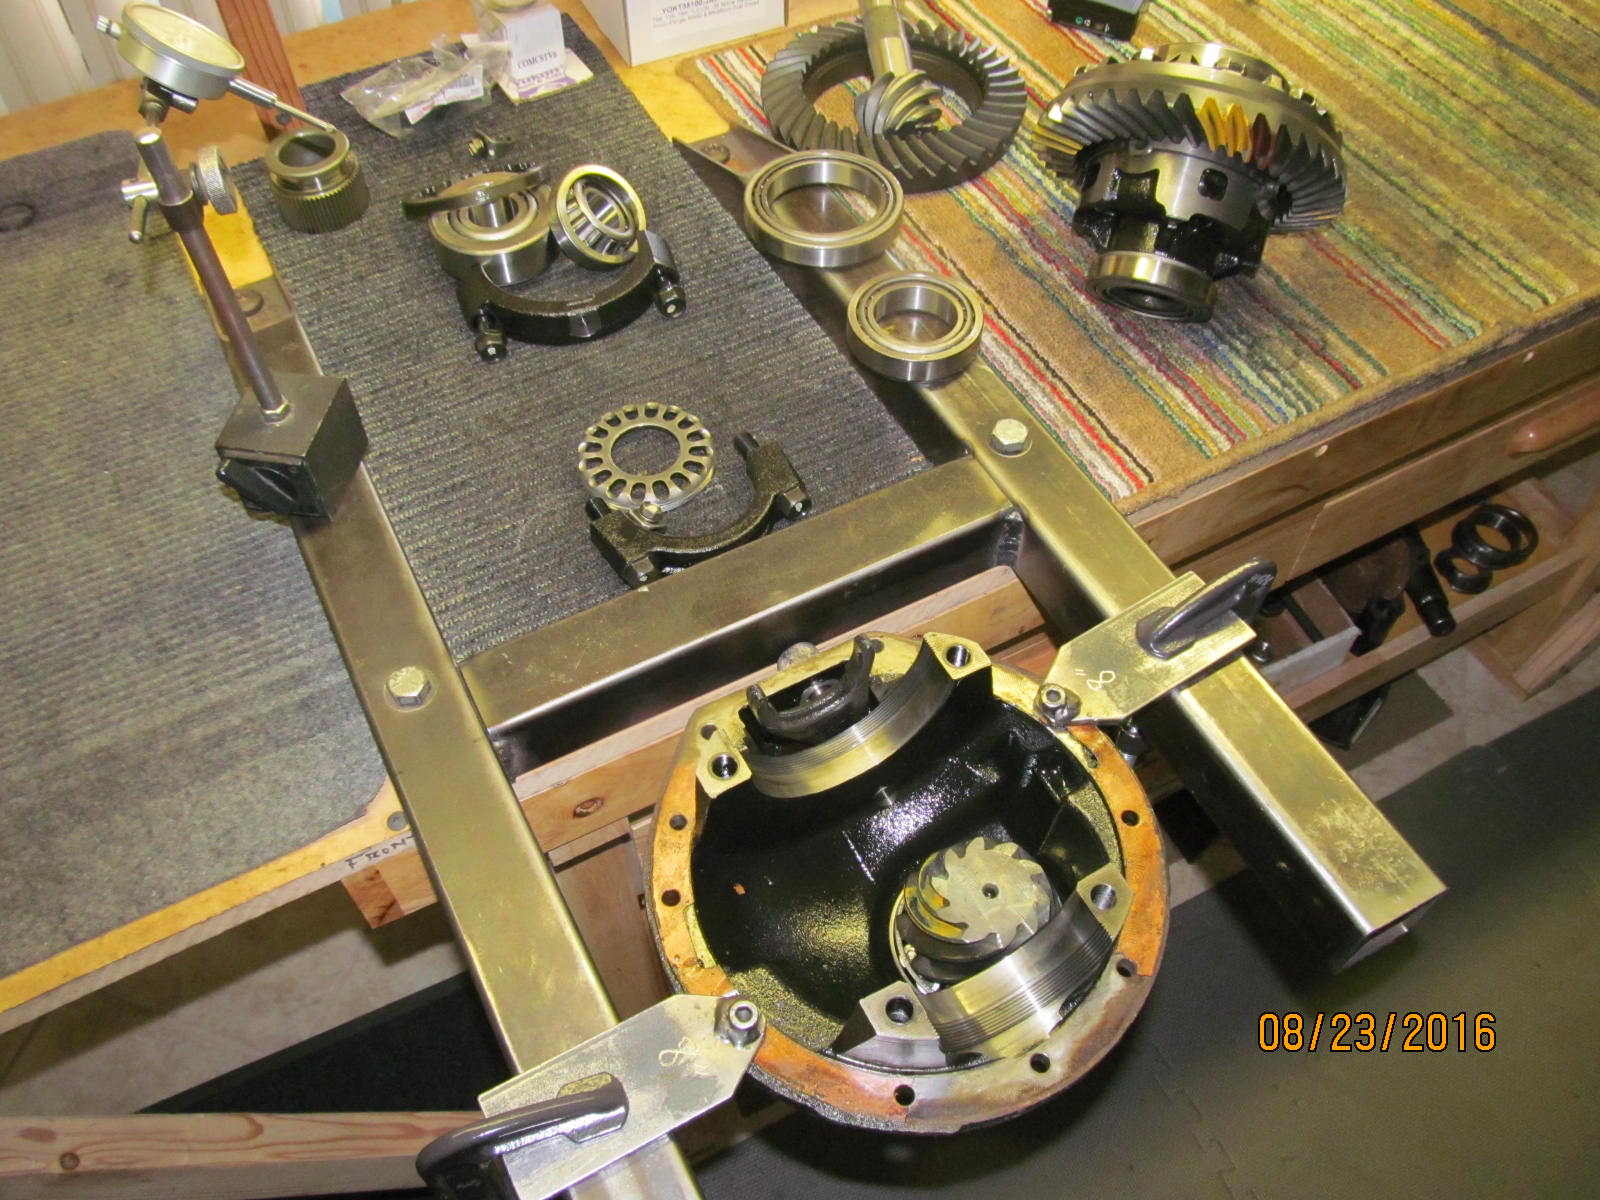
Center section is removed and put off to the side...
|
|
|

|
|
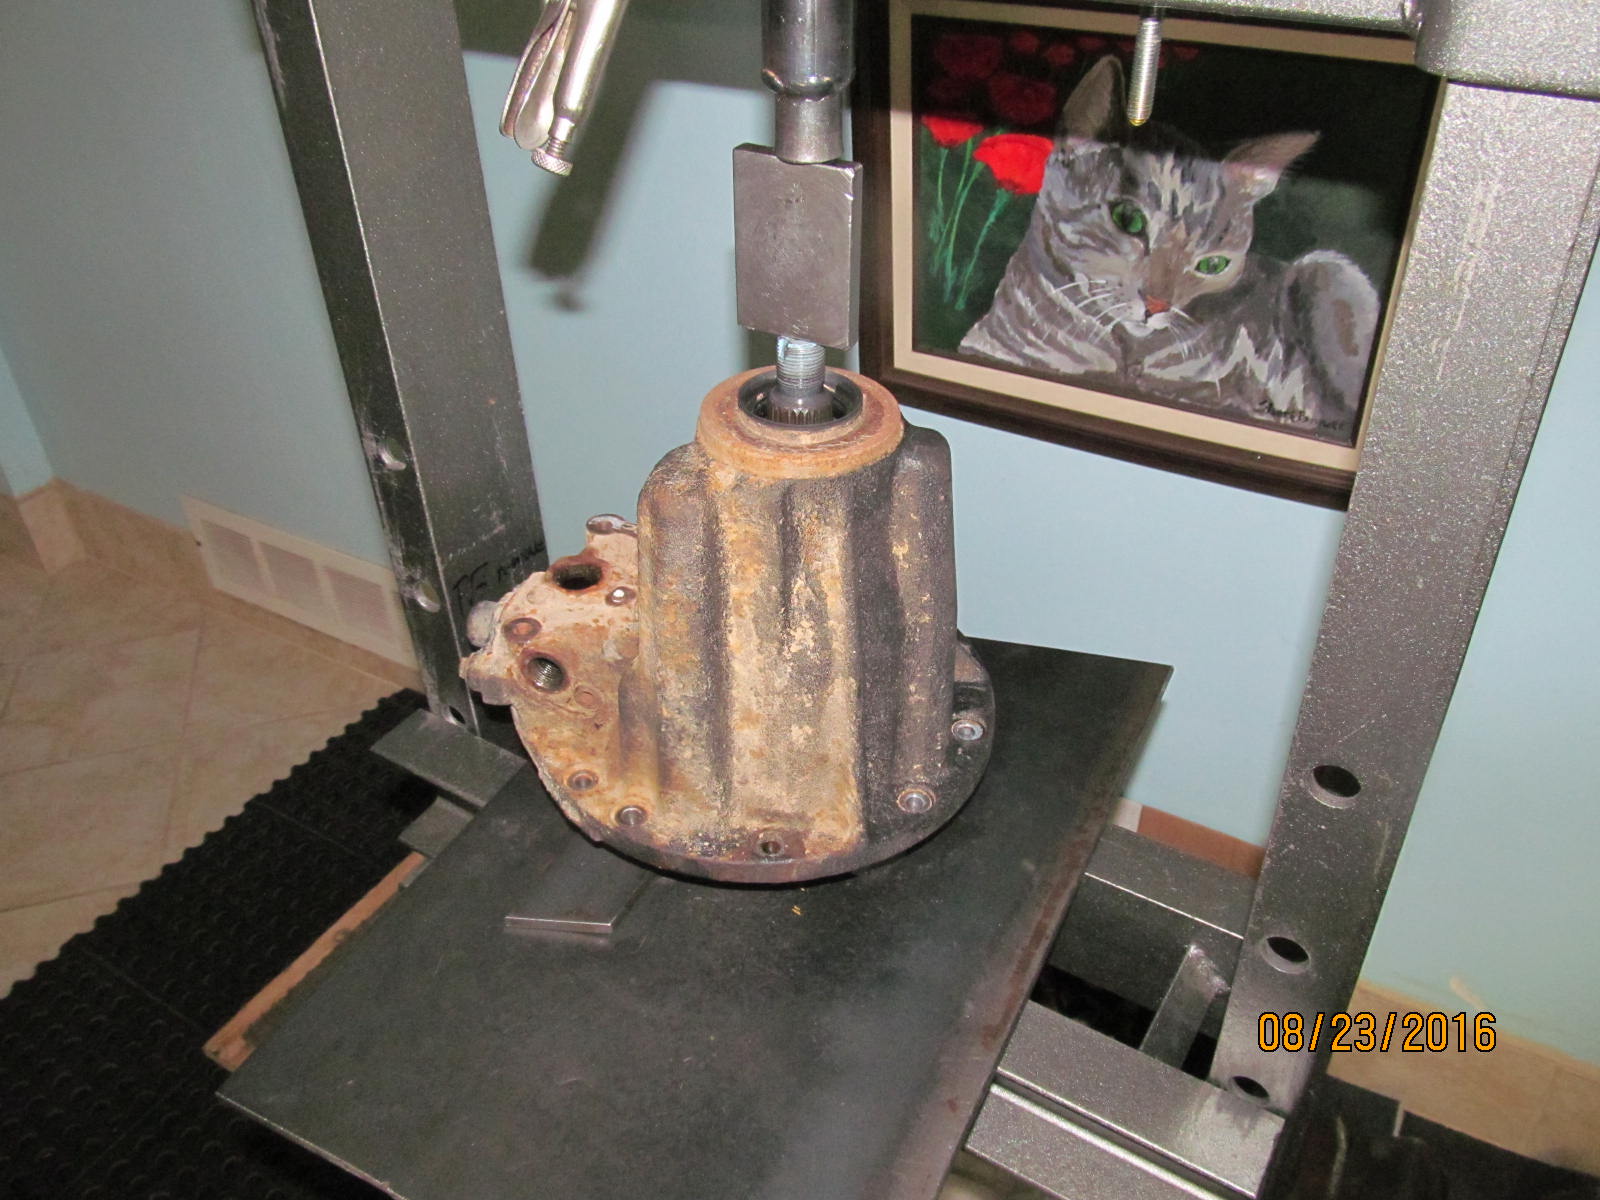
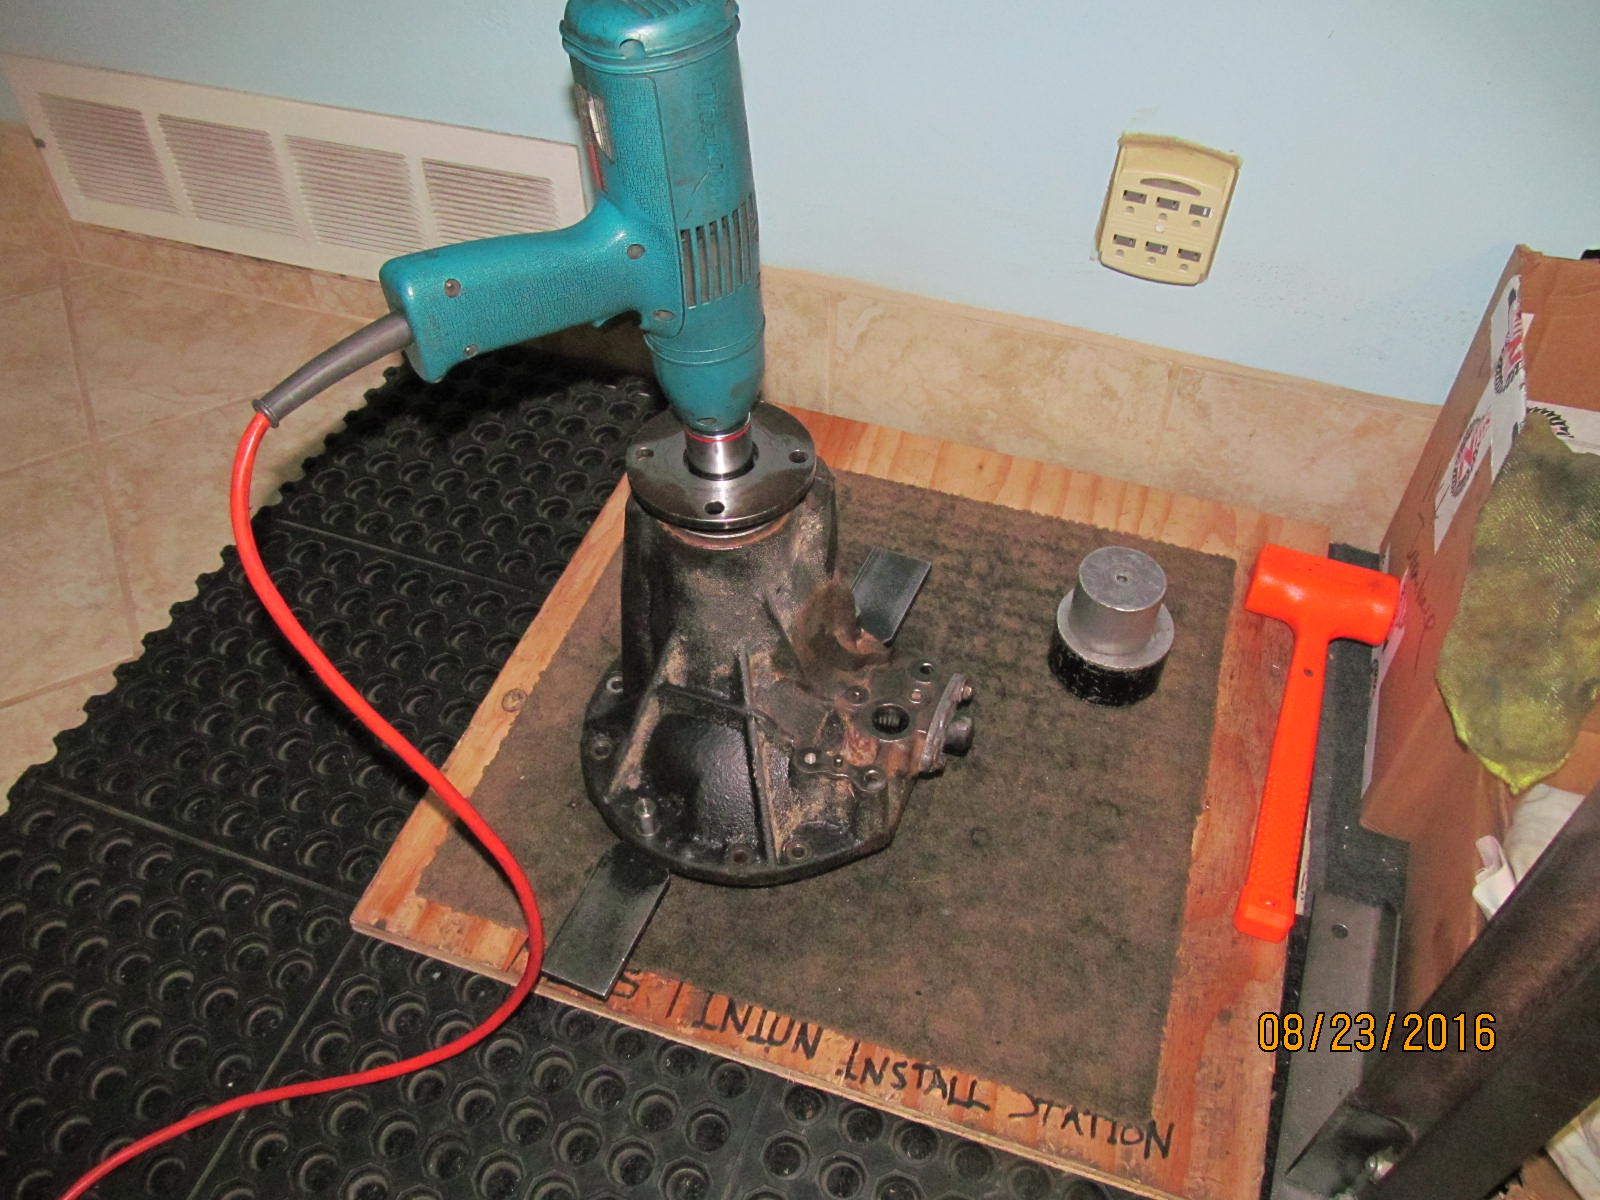
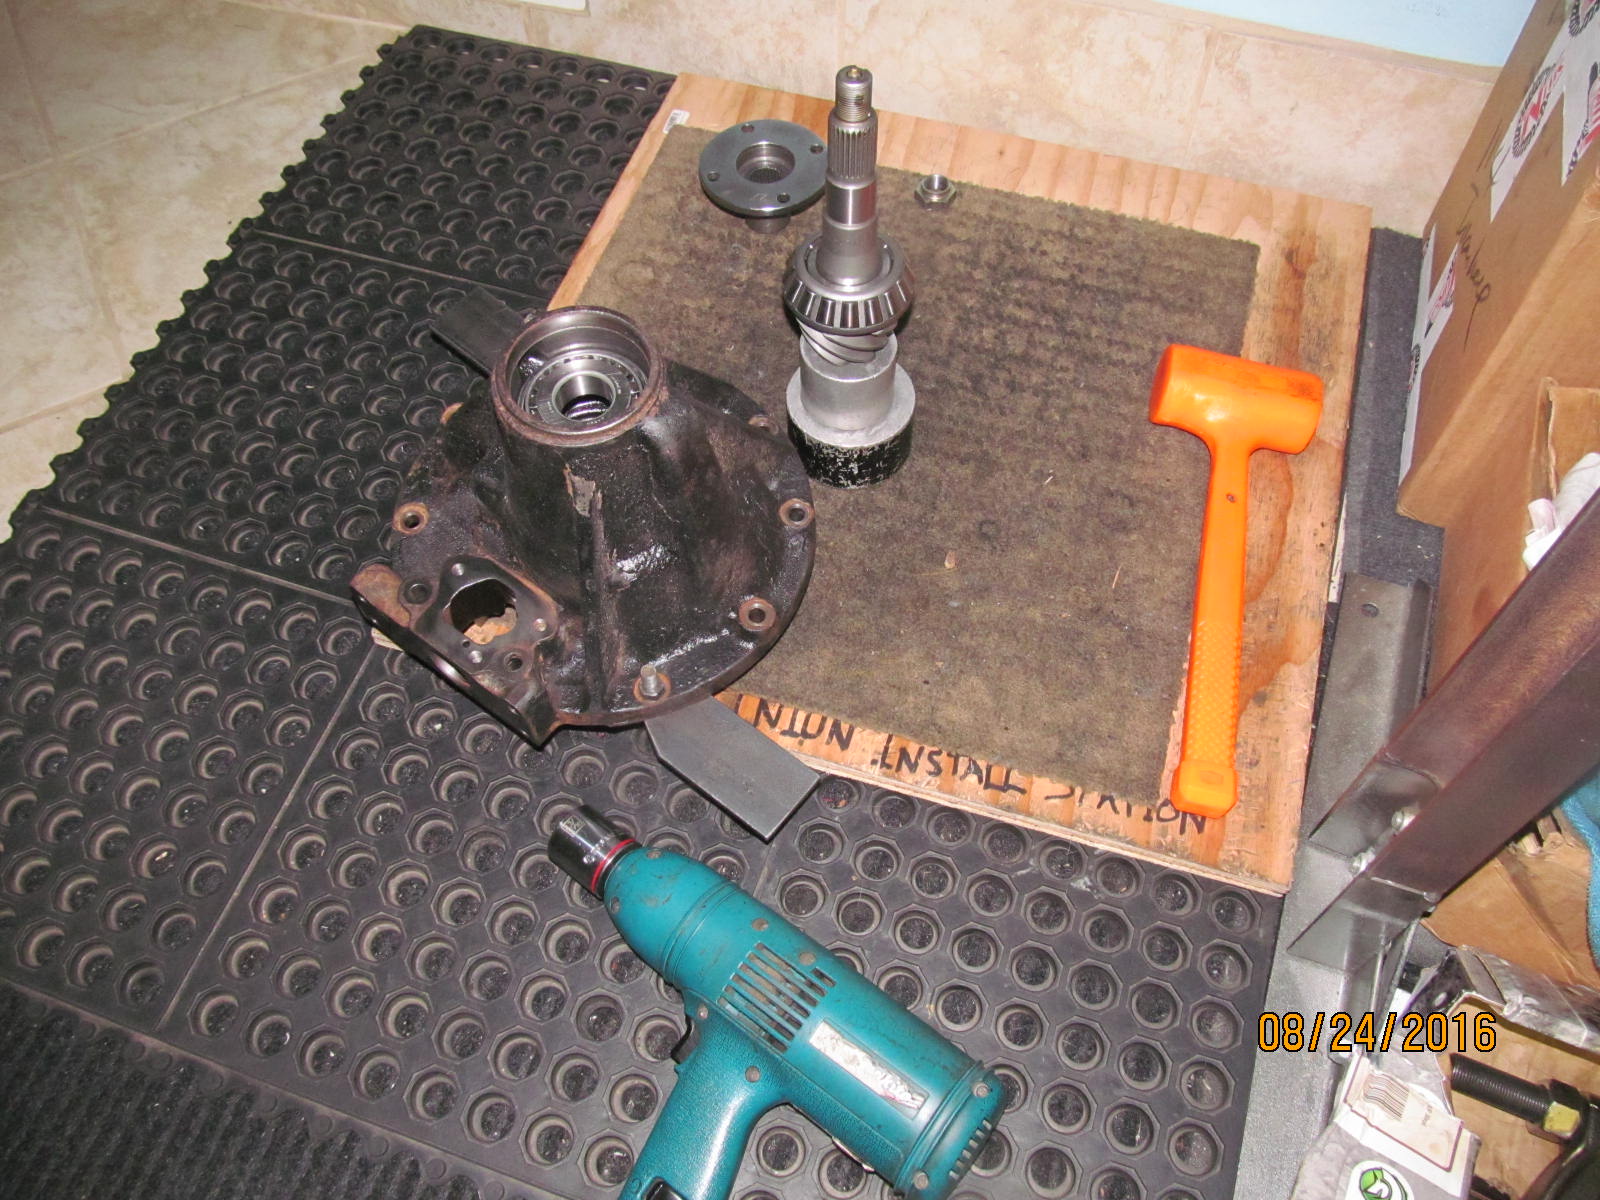
I decided to work on the pinion ends first on this one. The electric impact easily takes the pinion nut off.
|
|
|
|
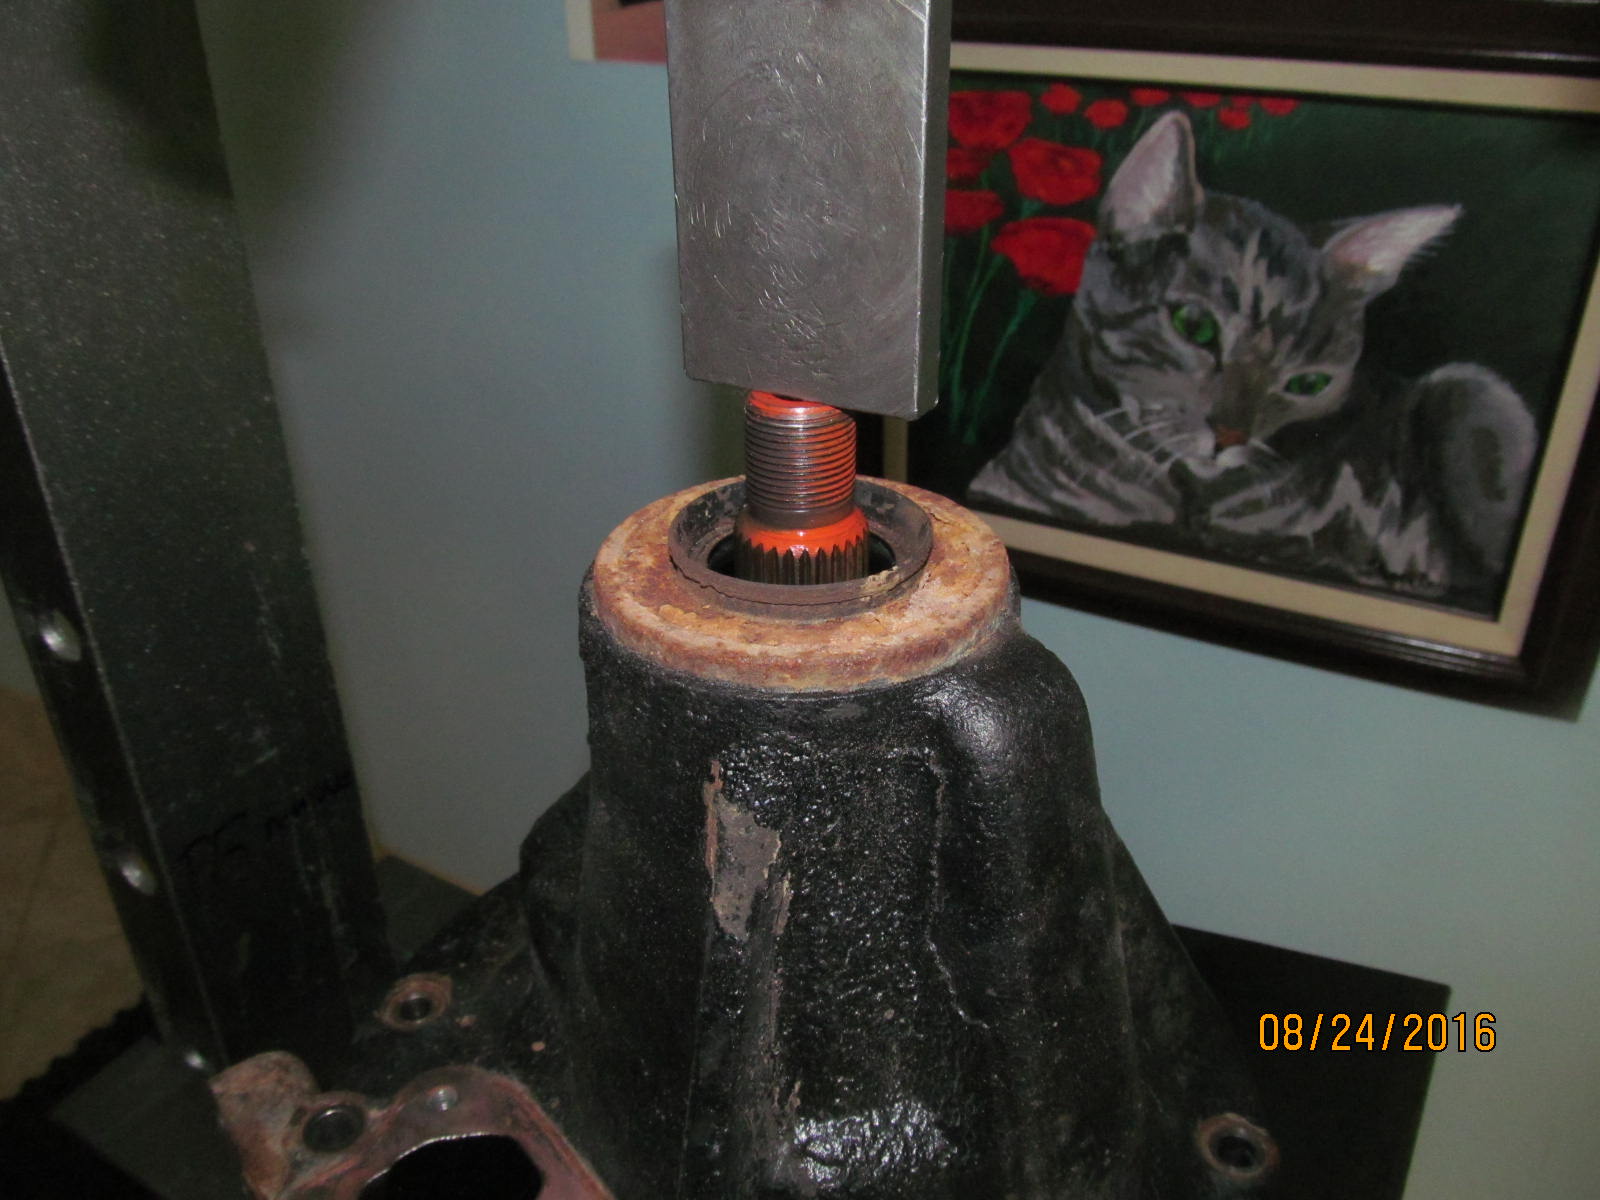
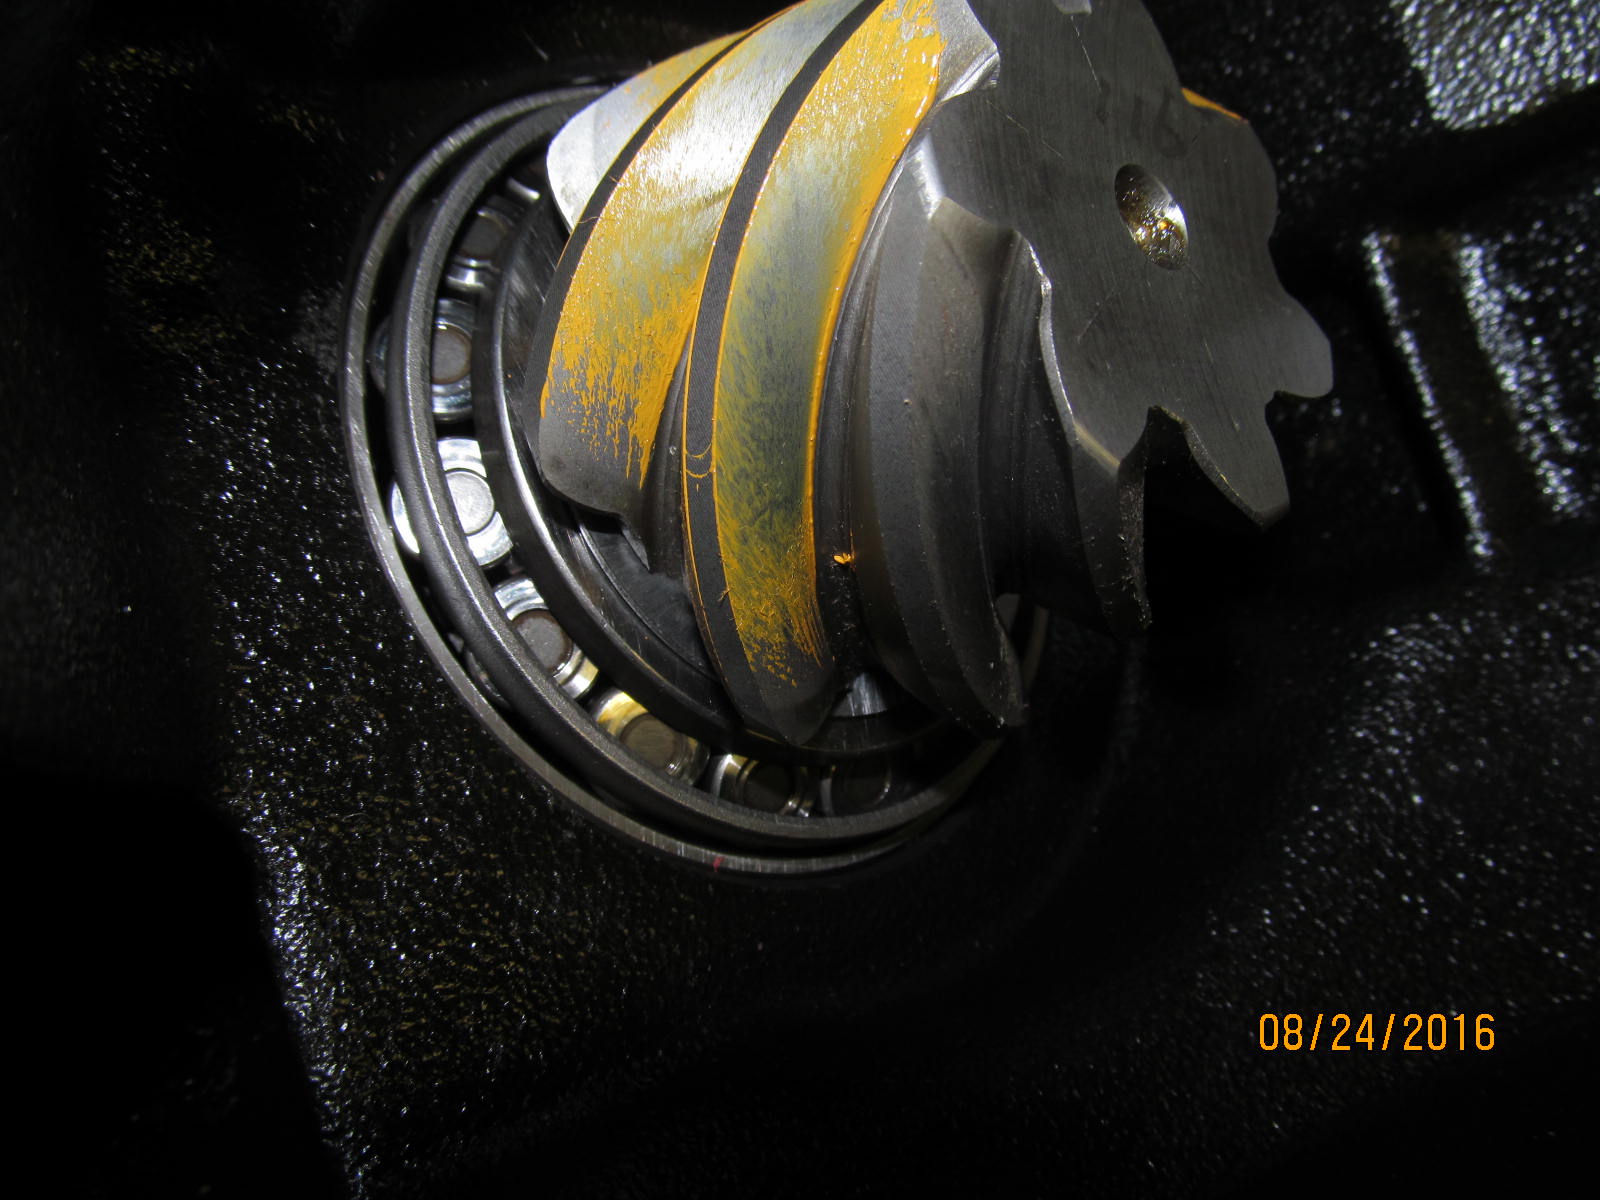
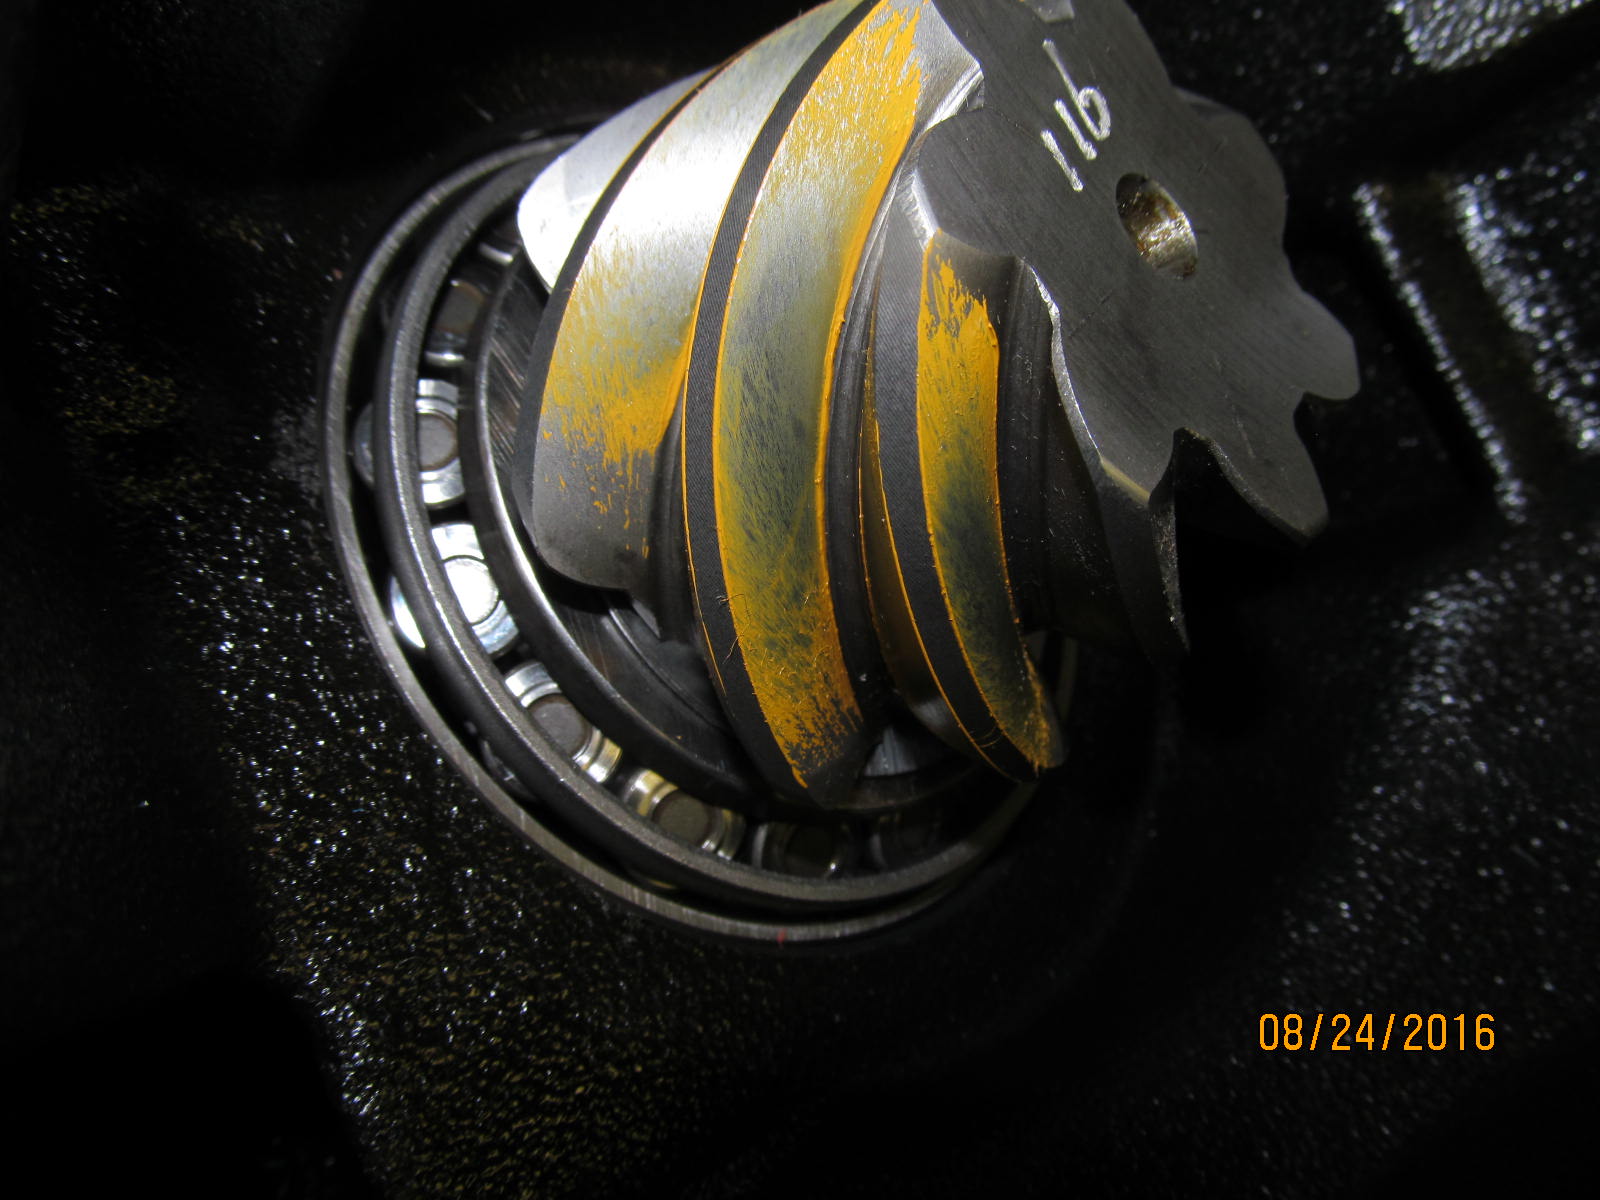
A couple hundred pounds of pressure will push the pinion out. The flash from the digital camera really makes
the corrosion around the e-motor area seem worse than it is. A wire brush will fix that.
|
|
|

|
|
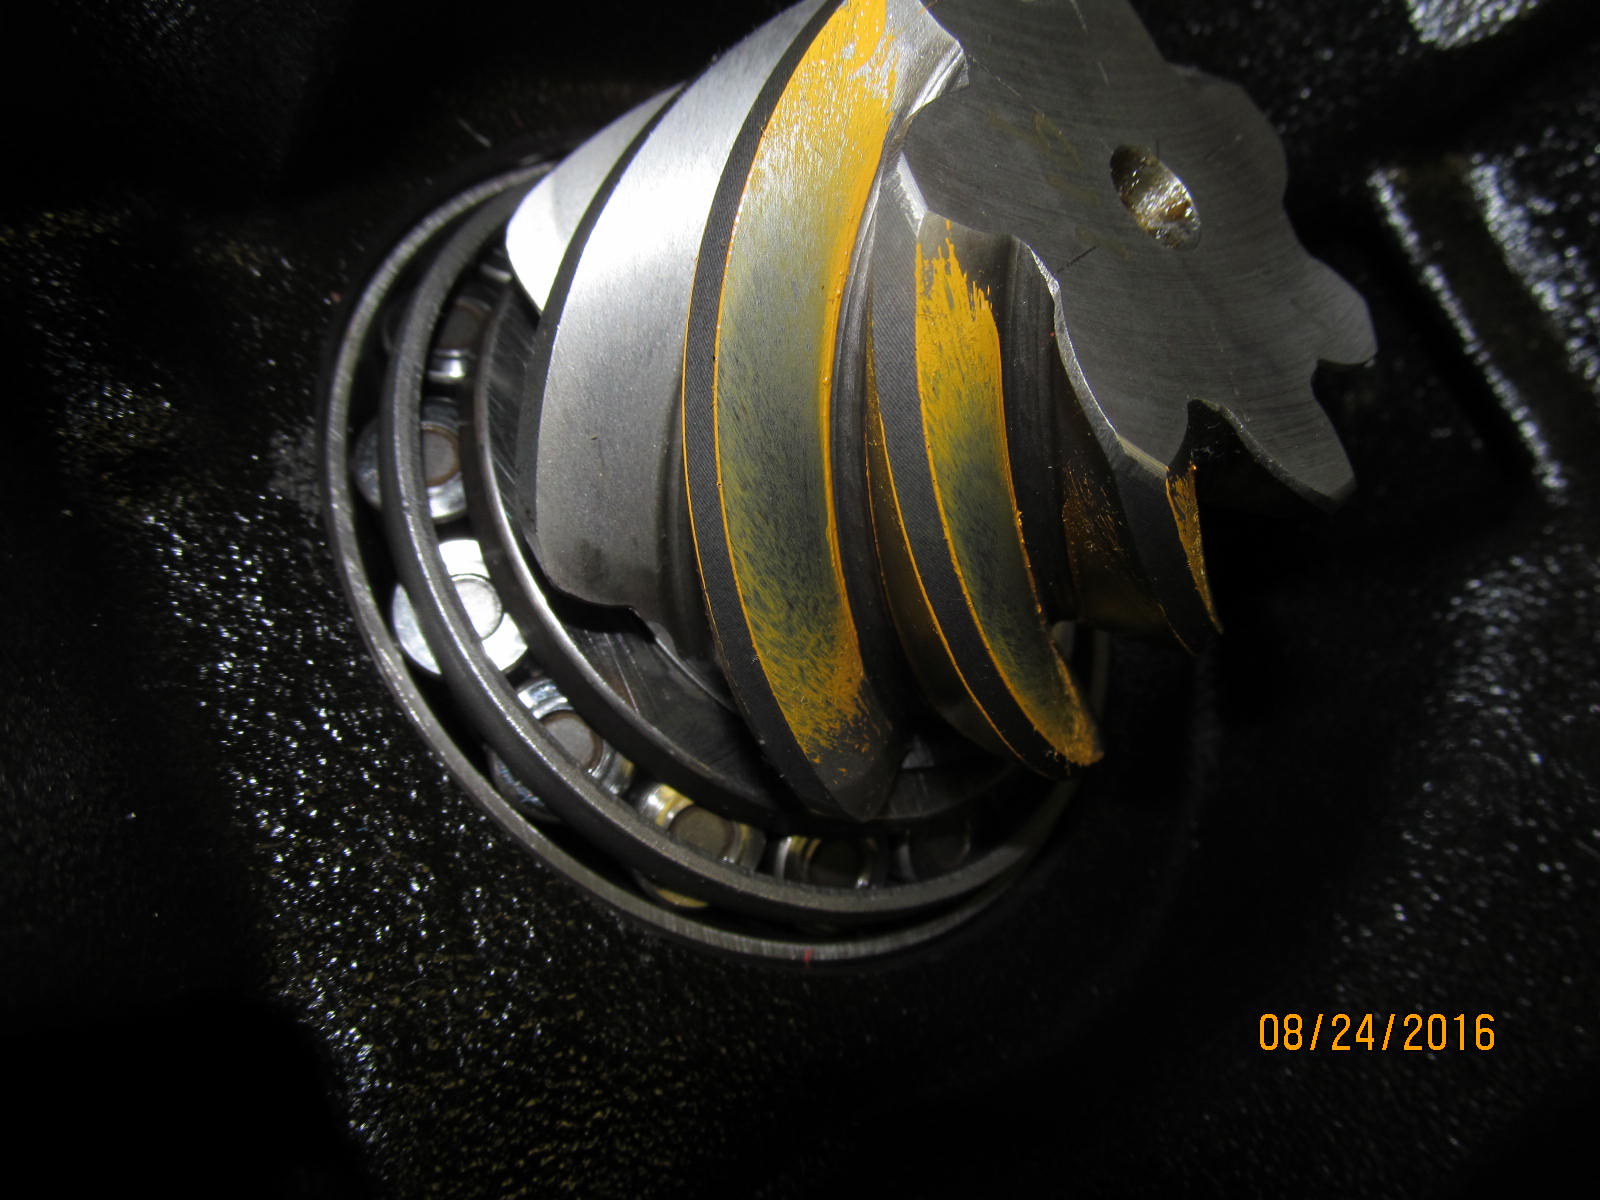
Pinion seal is removed.
|
|
|
|
|
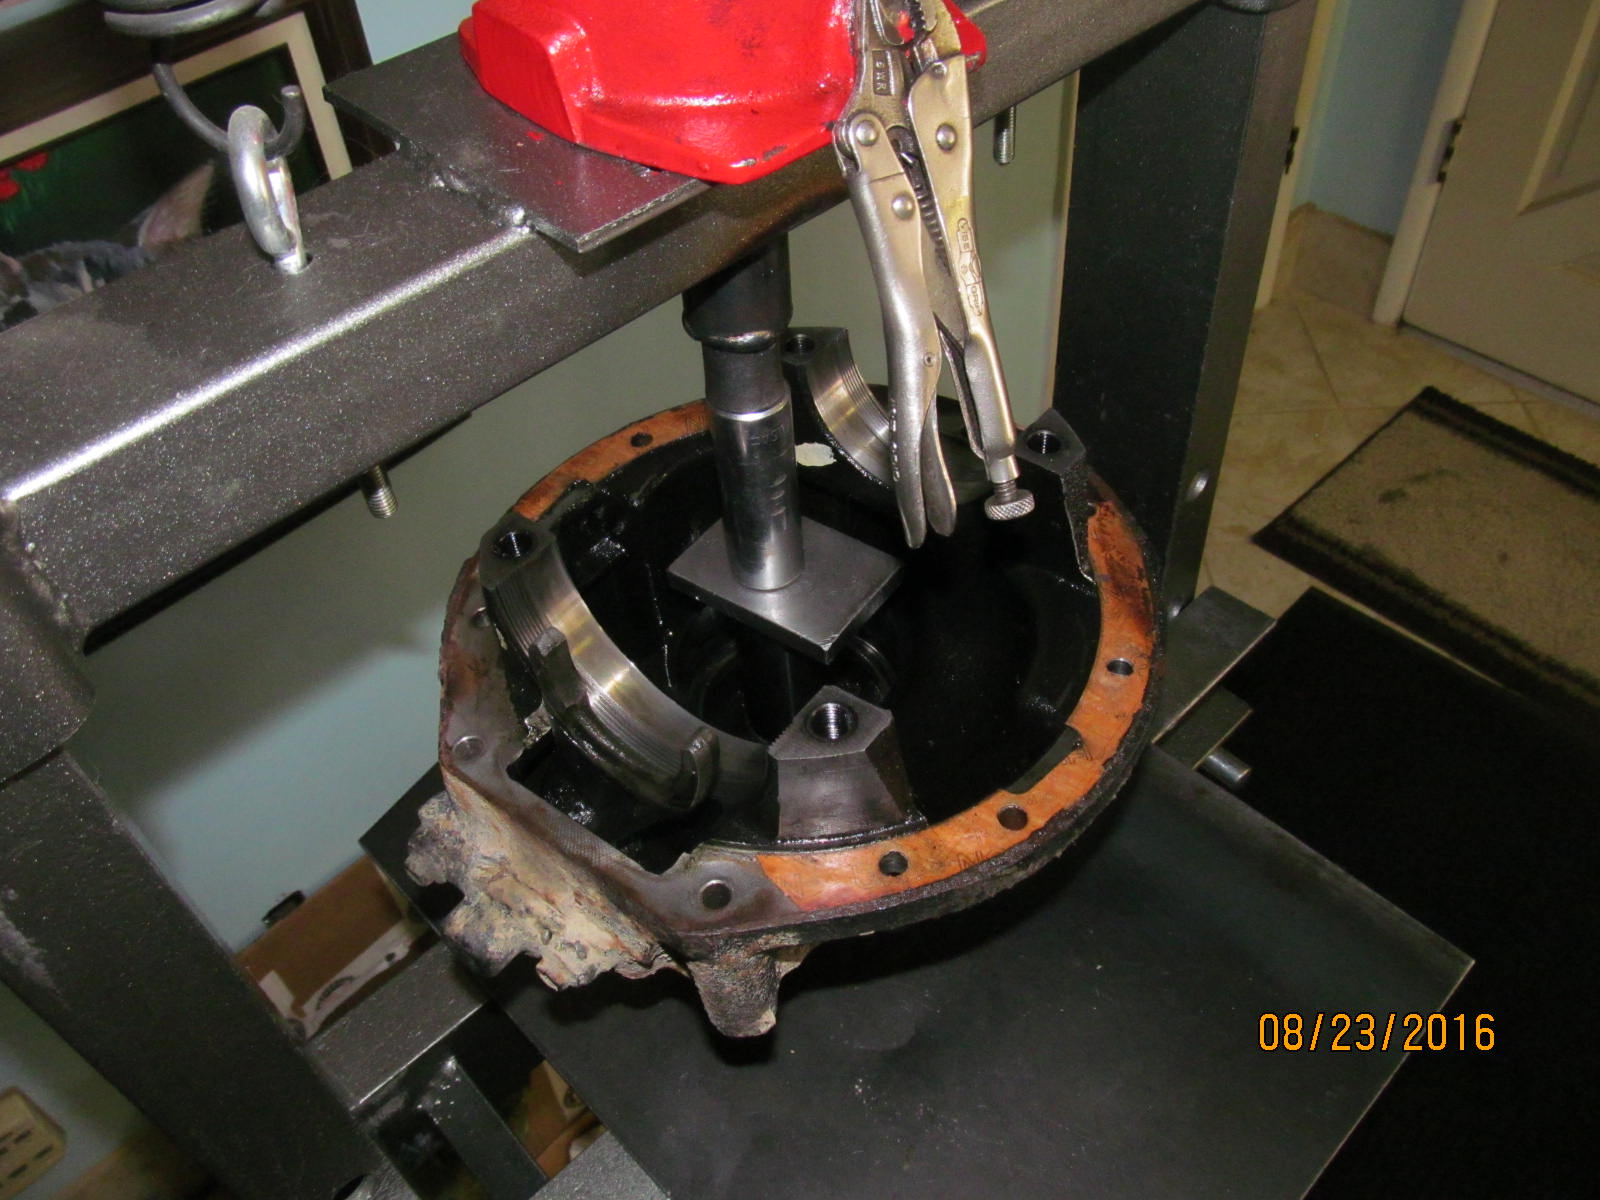
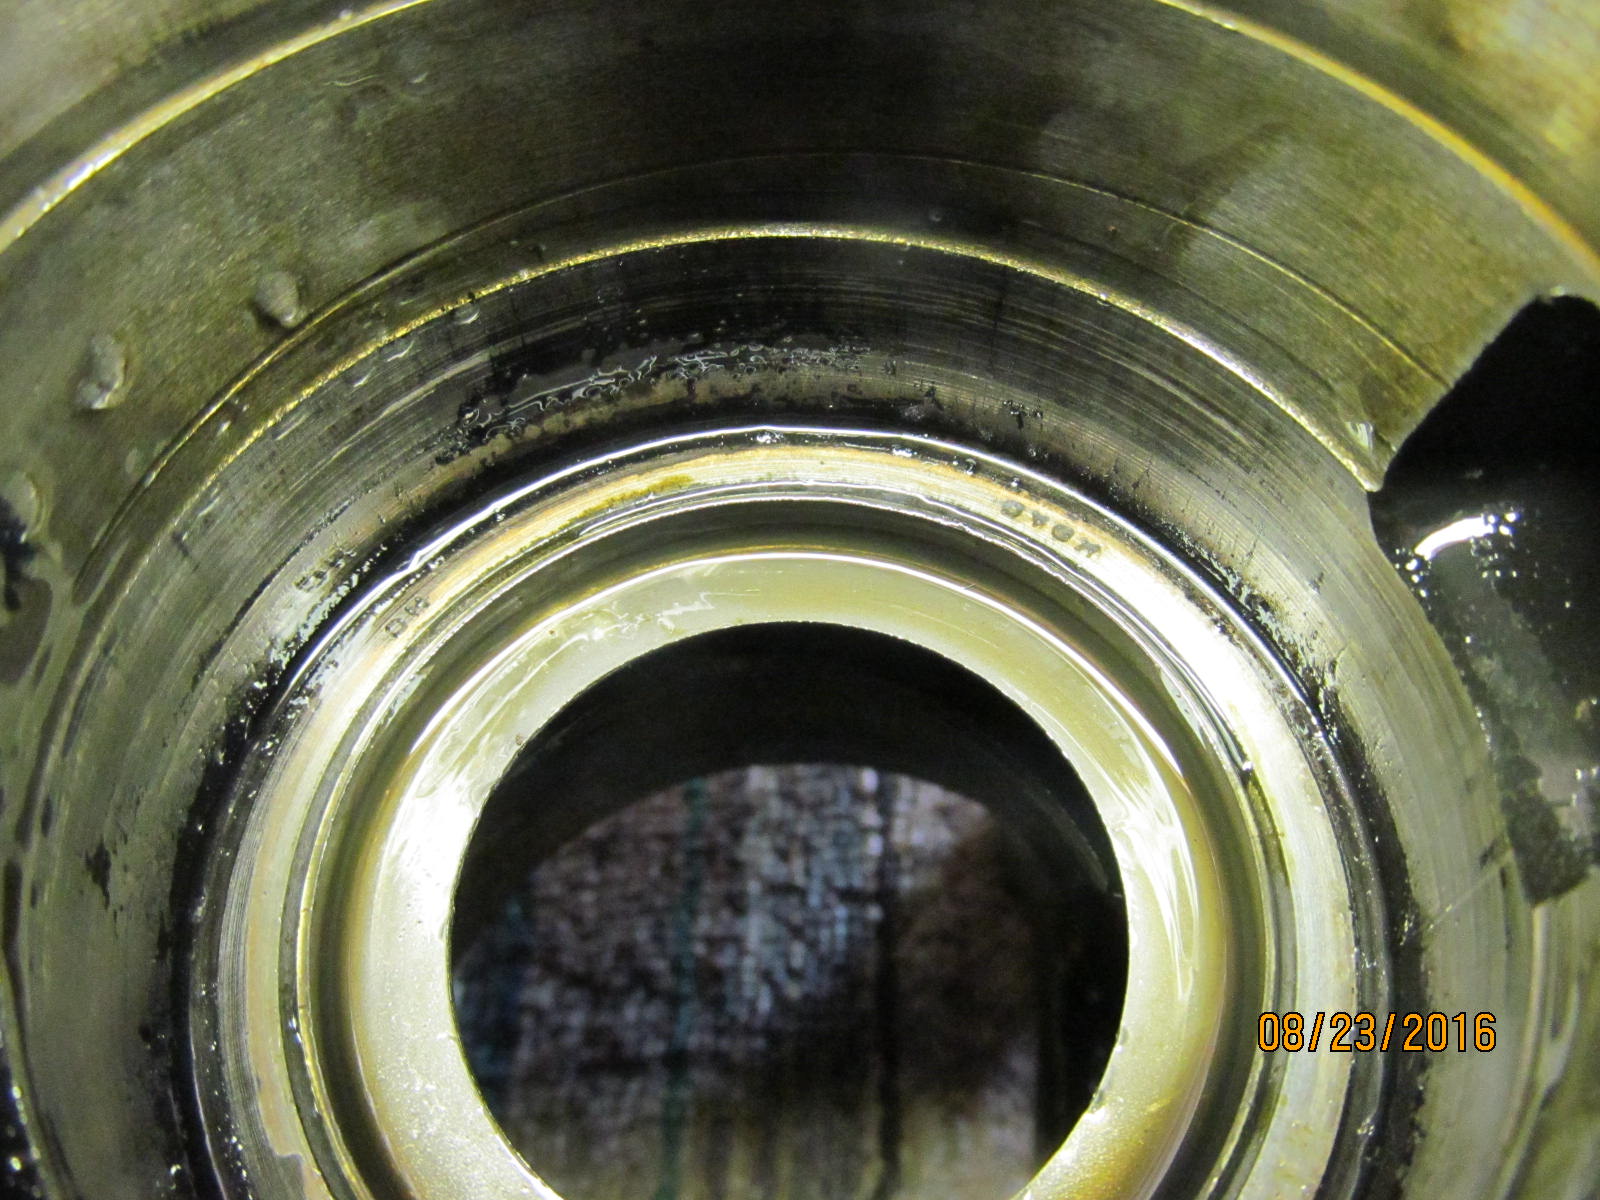
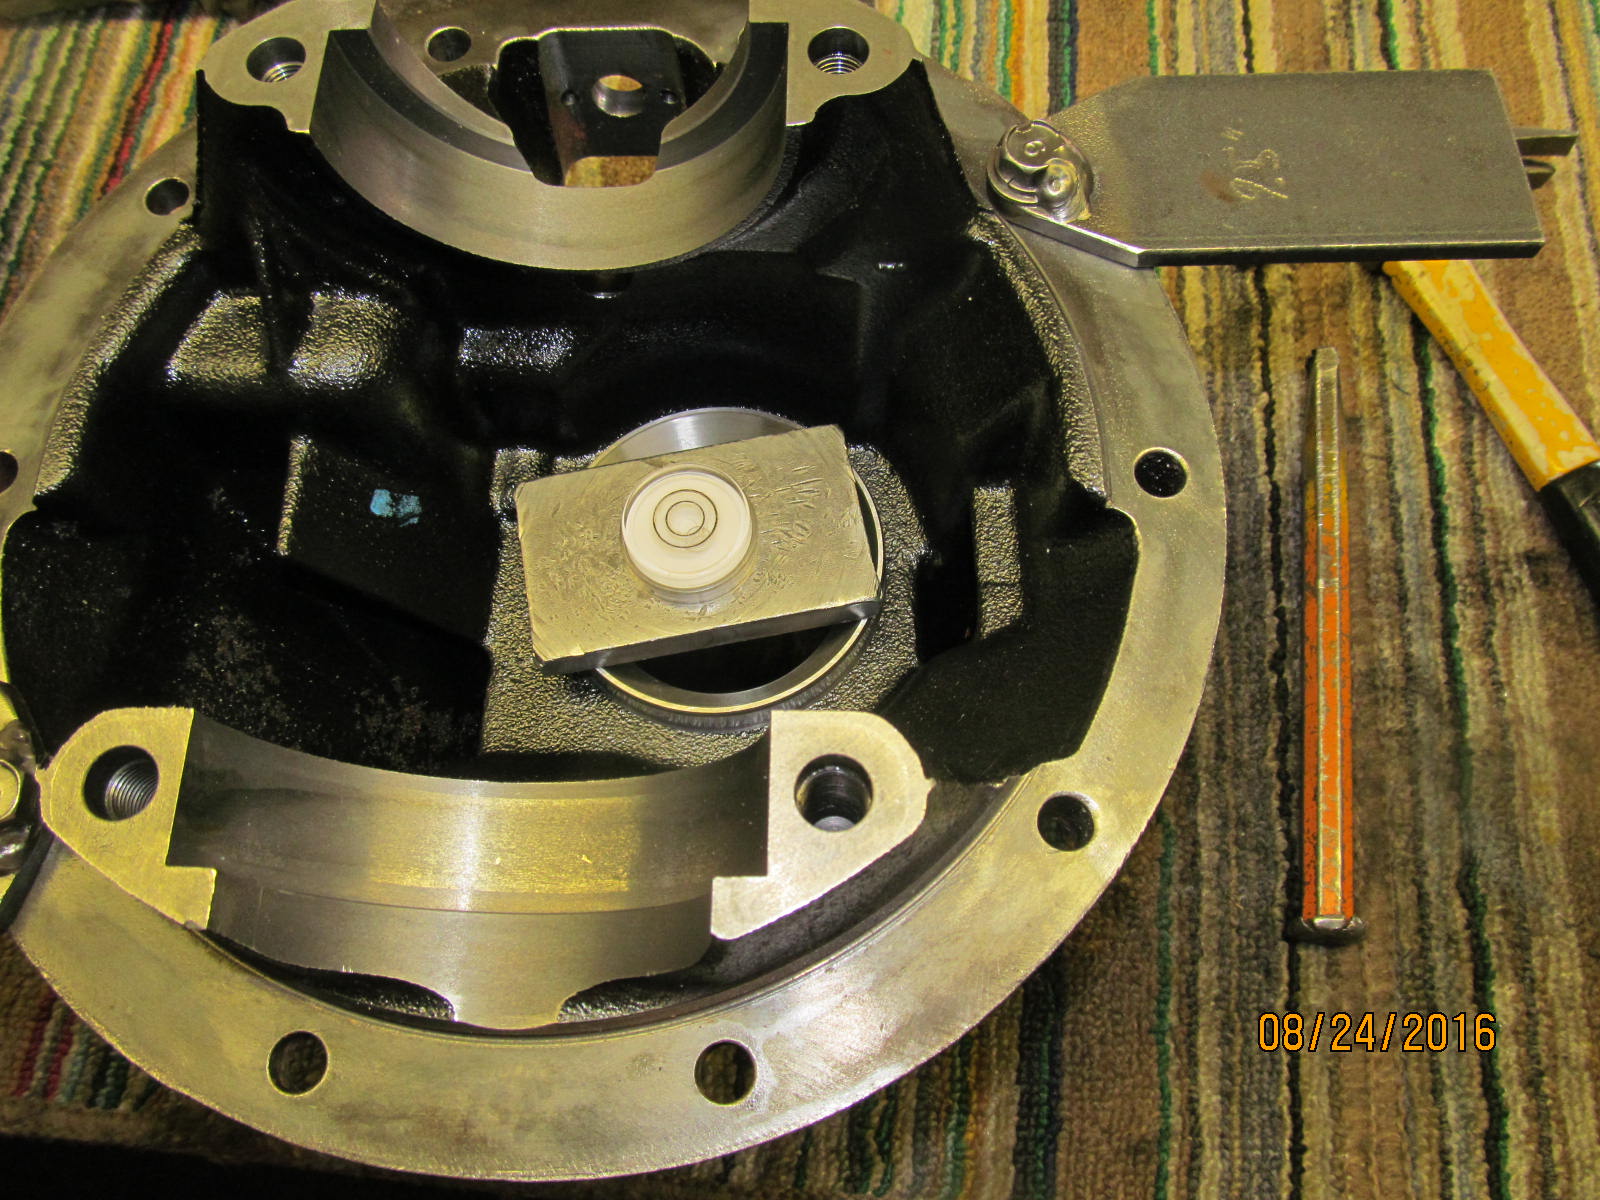
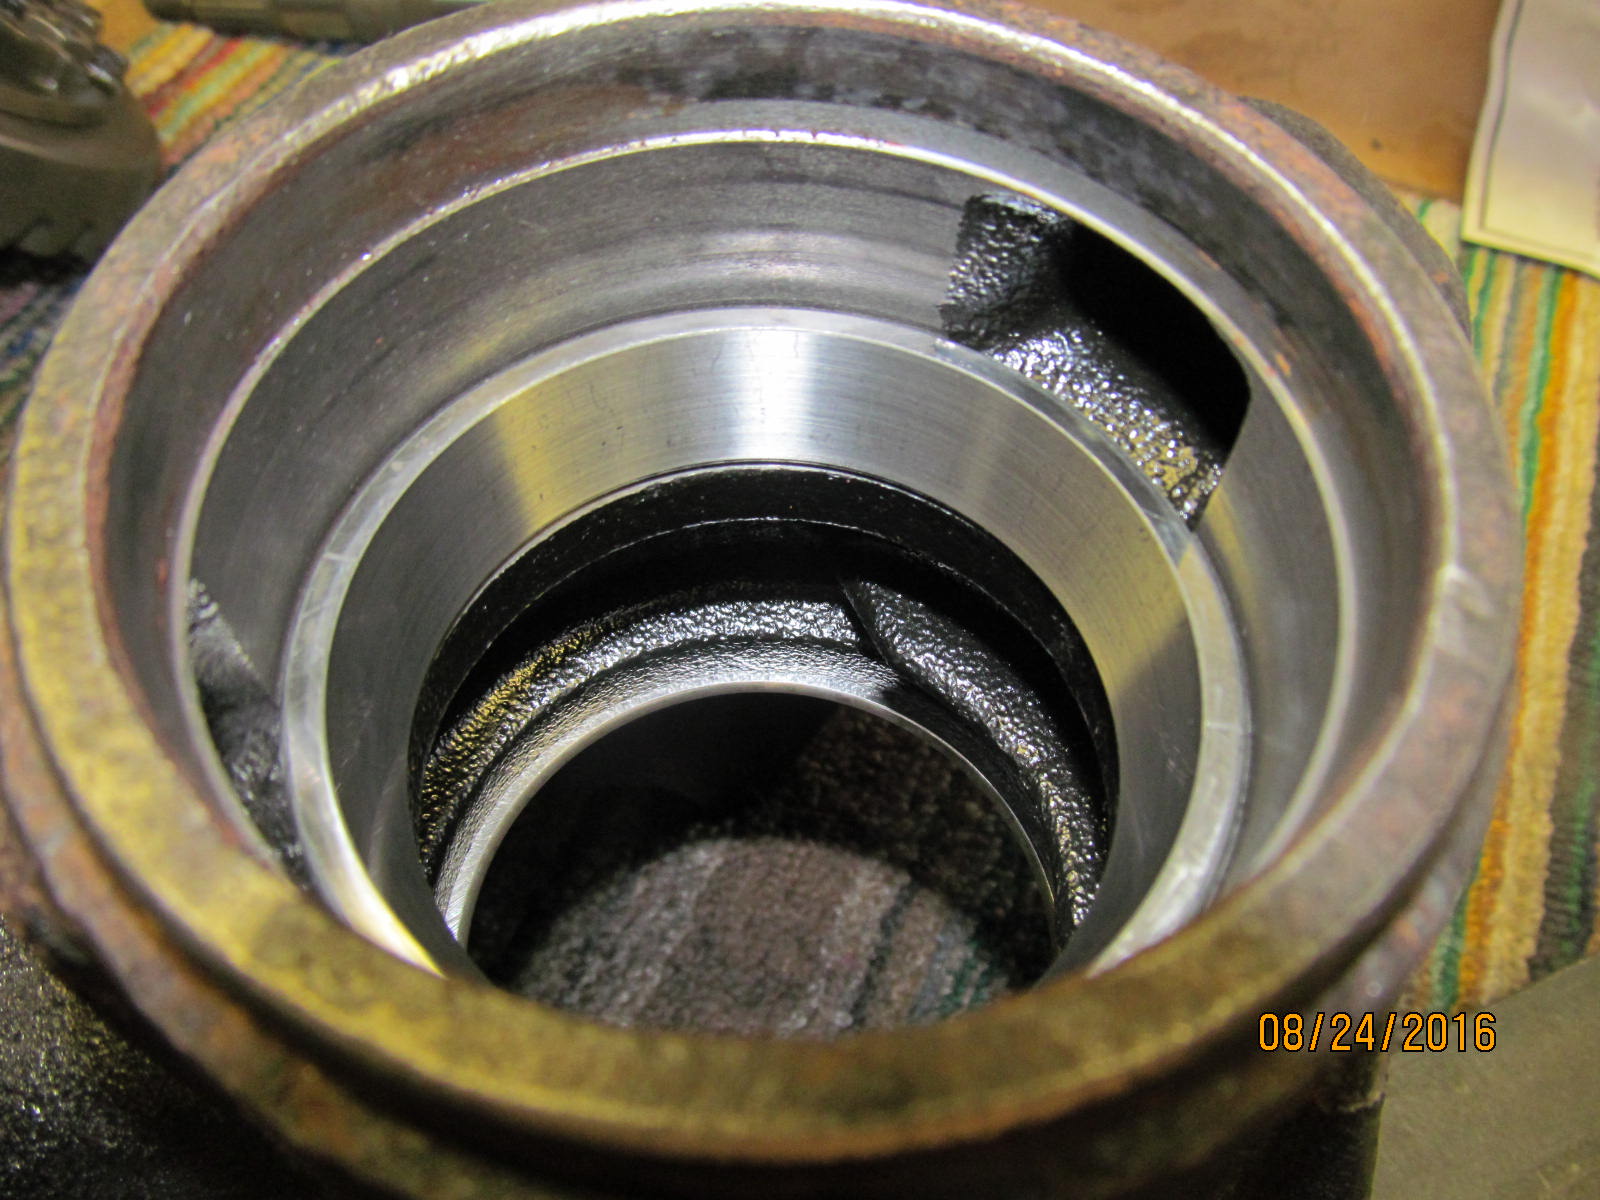
The outer pinion race is pushed out.
|
|
|

|
|
A little trick that Scott from down in Tucson passed on to me.
|
|
|
|
|
This trick allows removal of the race with zero damage to the oil retainer shown here.
|
|
|
|
|
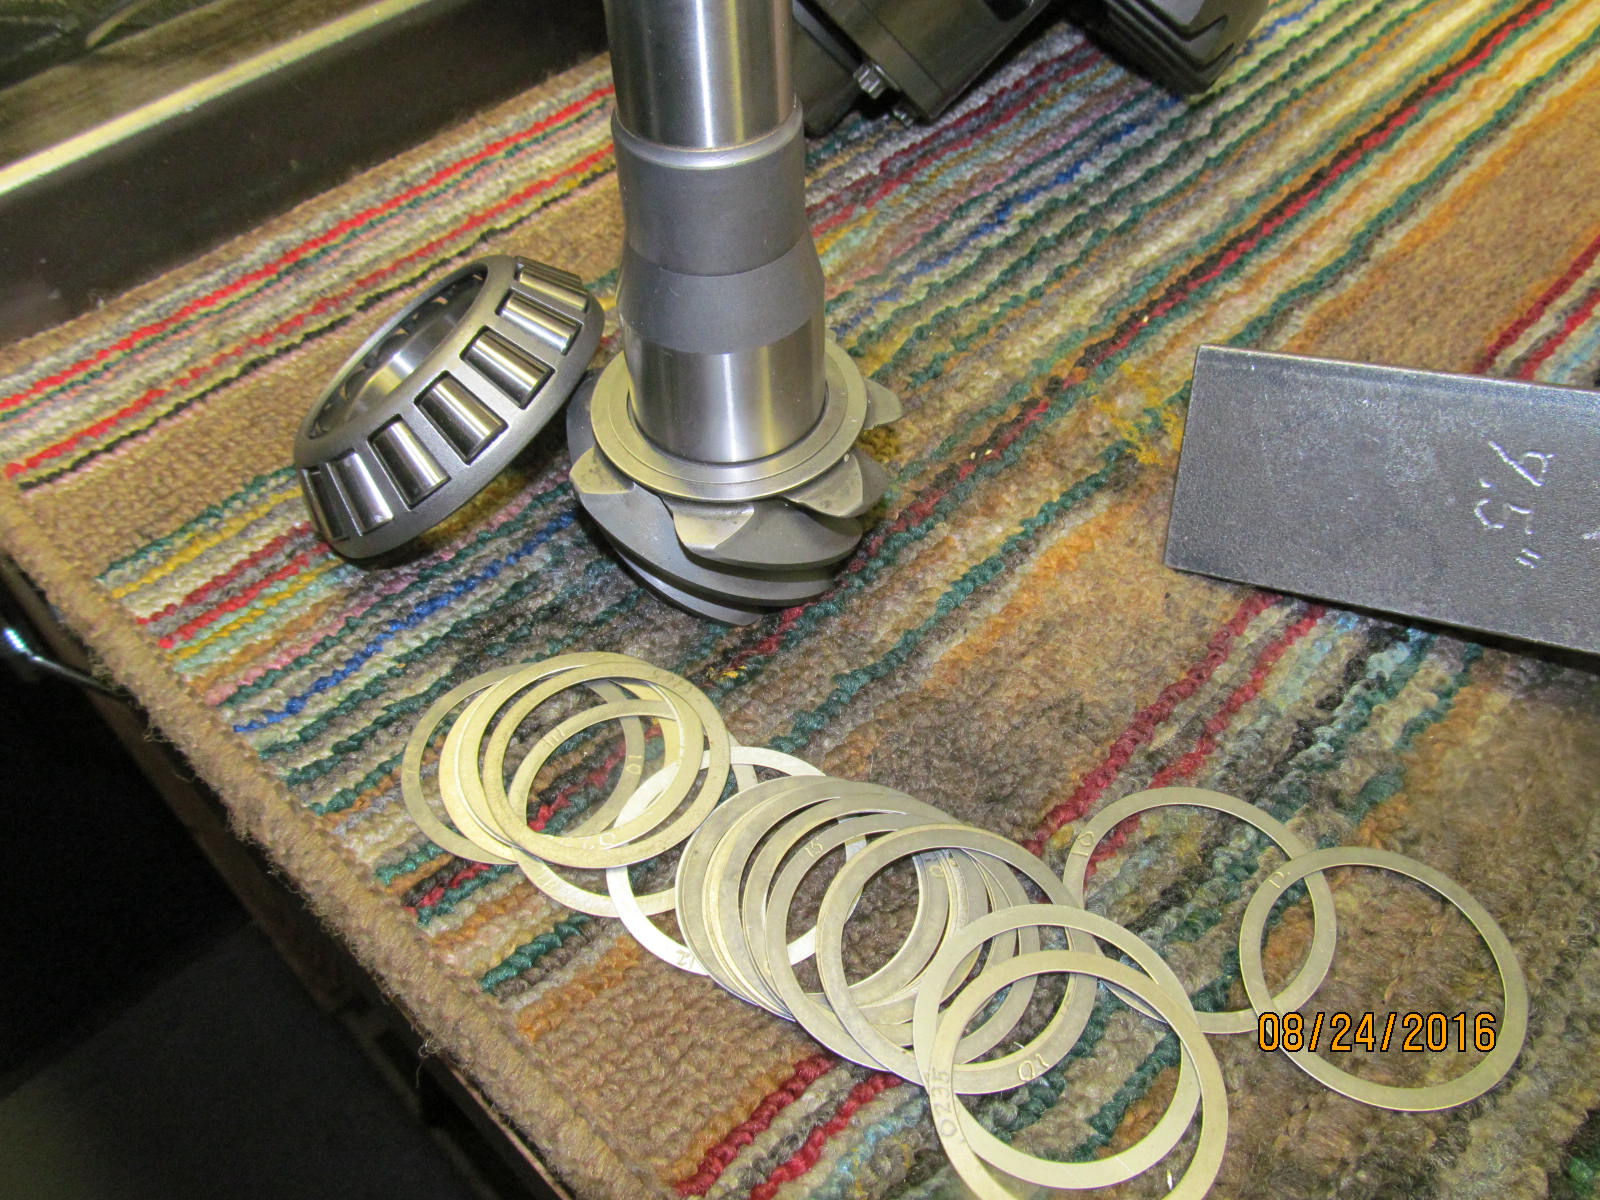
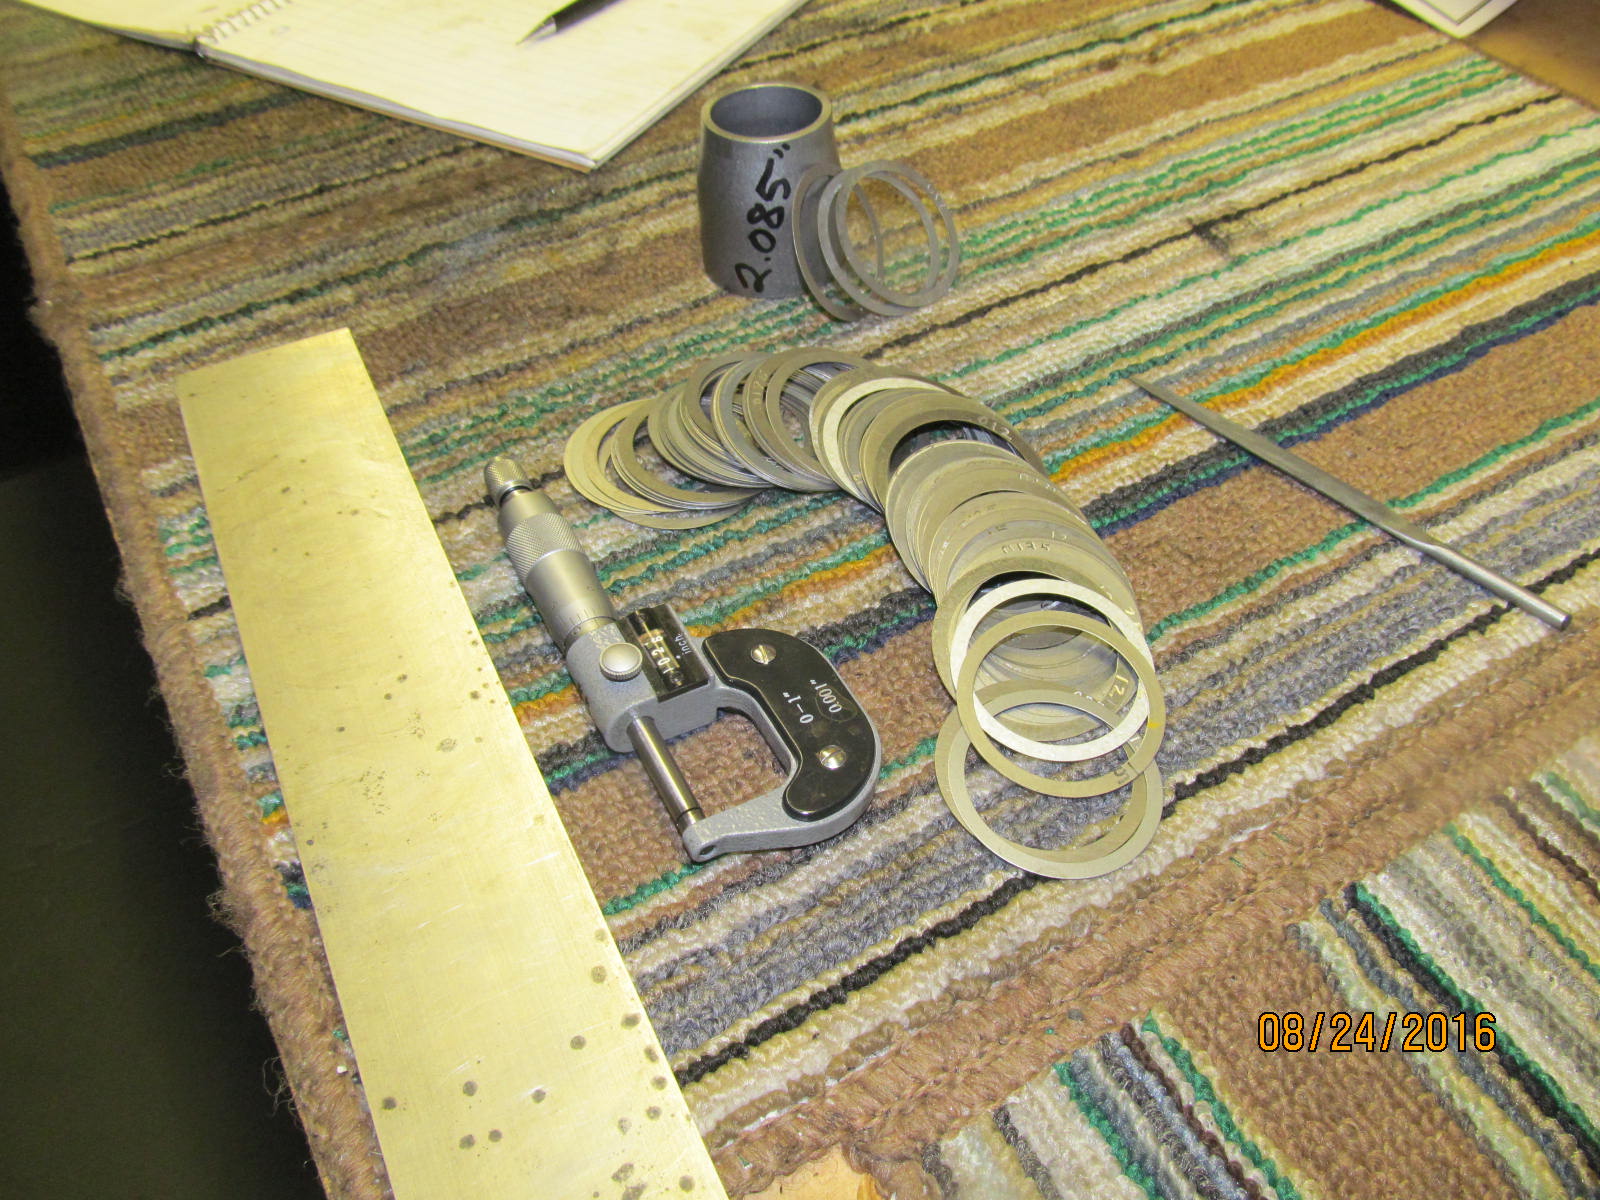
A .074" shim is slipped in between the cryo treated bearing and pinion head.
|
|
|
|
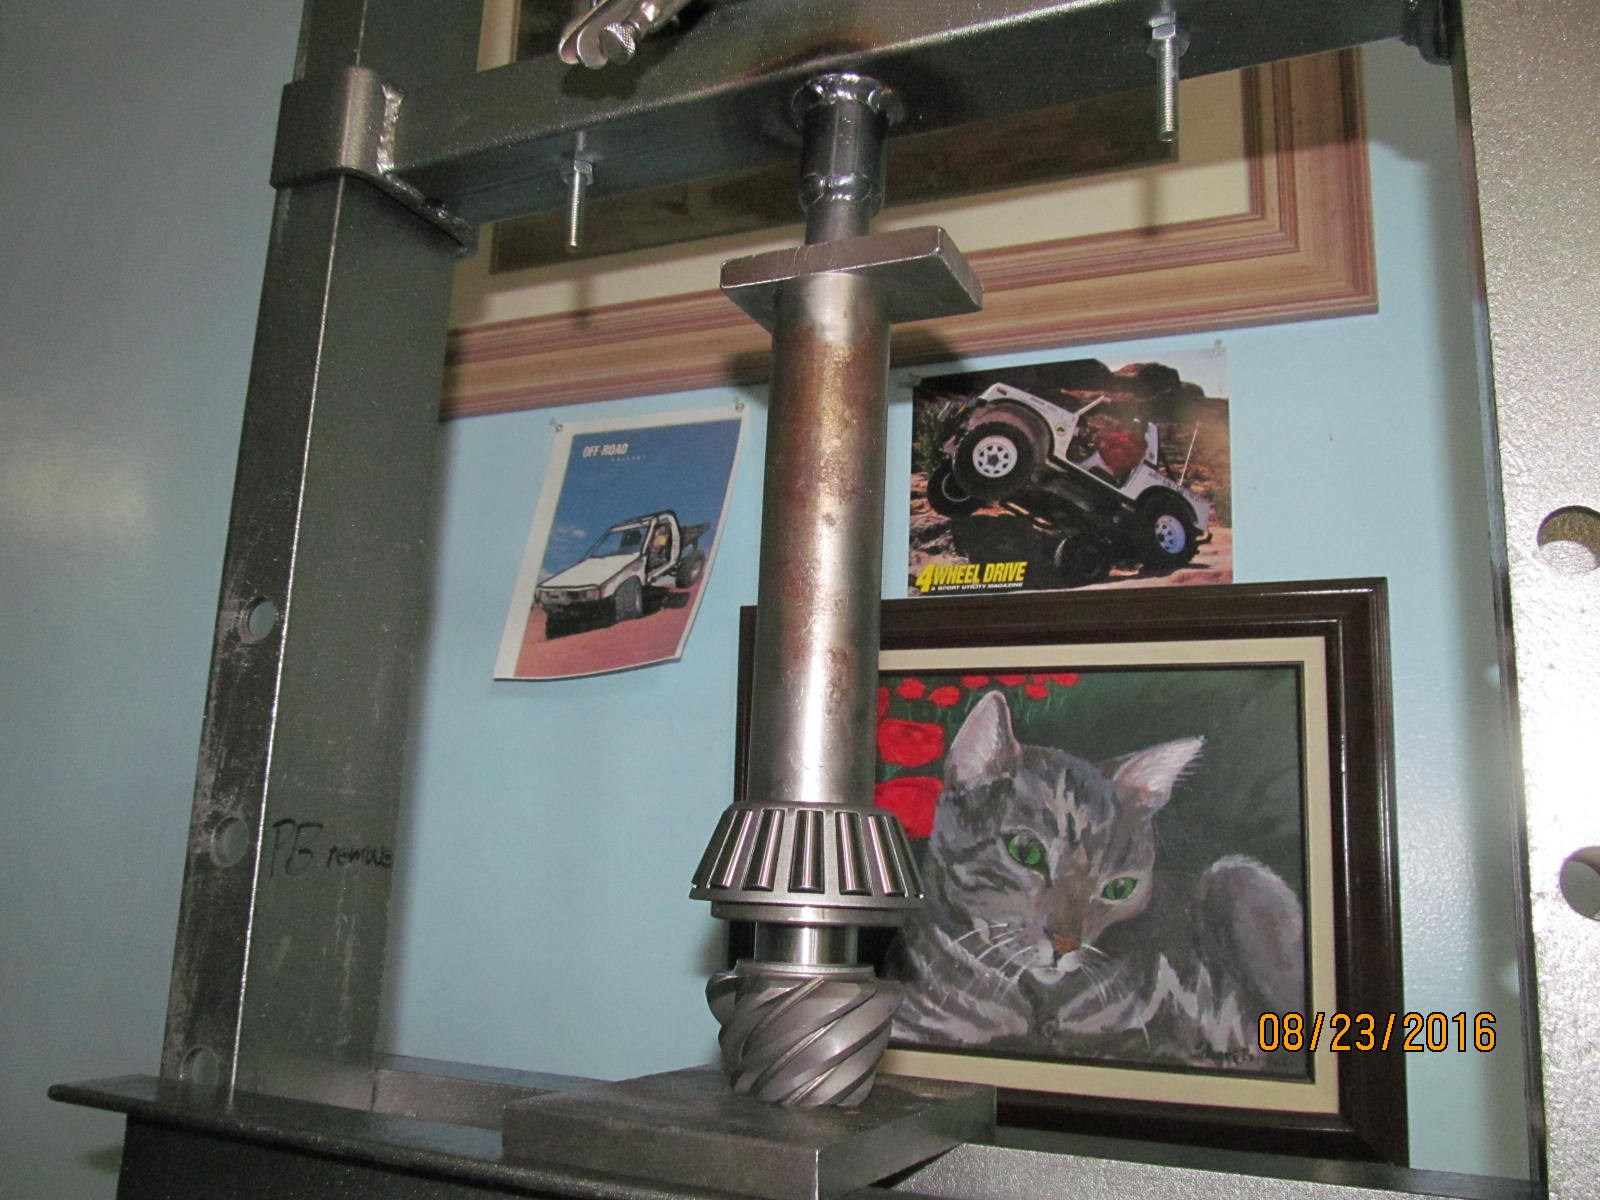
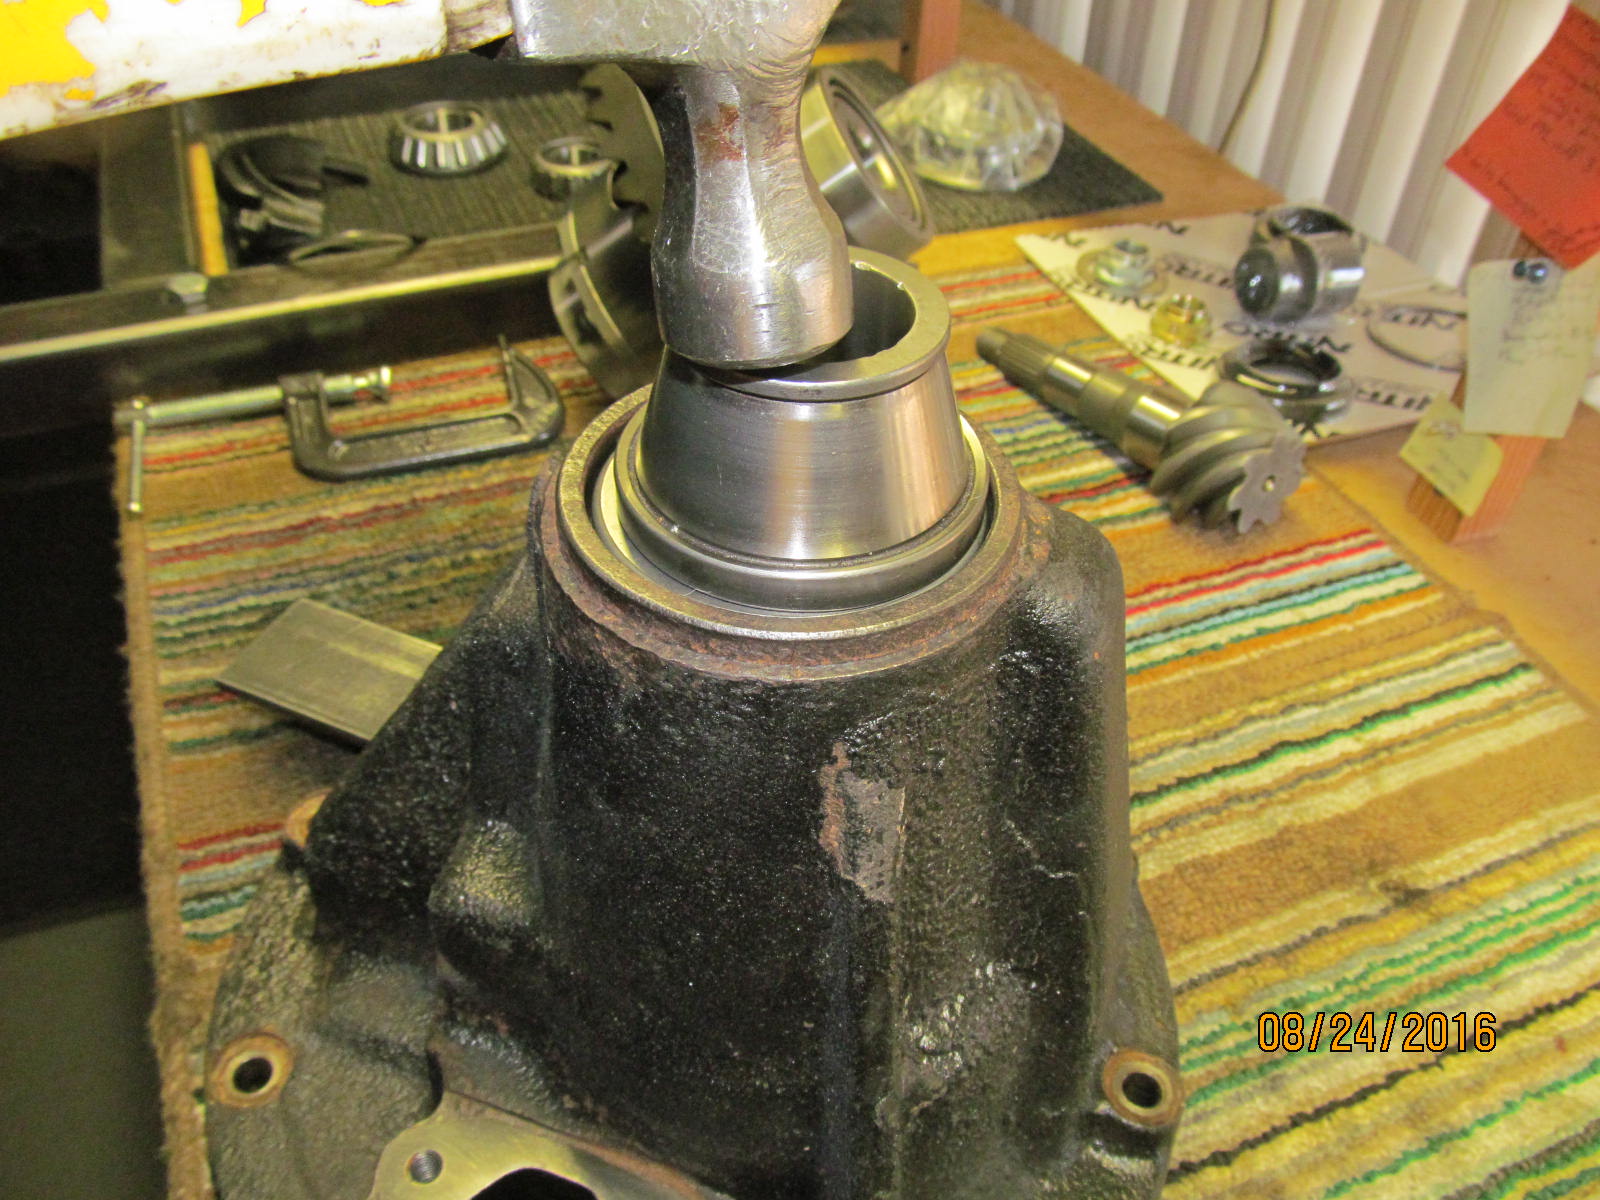
Then load it in the empty 3rd and snug the pinion up to get some solid resistance. The high speed
wire brush really cleaned up the e-motor mount surfaces as shown.
|
|
|
|
|
Back to the center section....
|
|
|

|
|
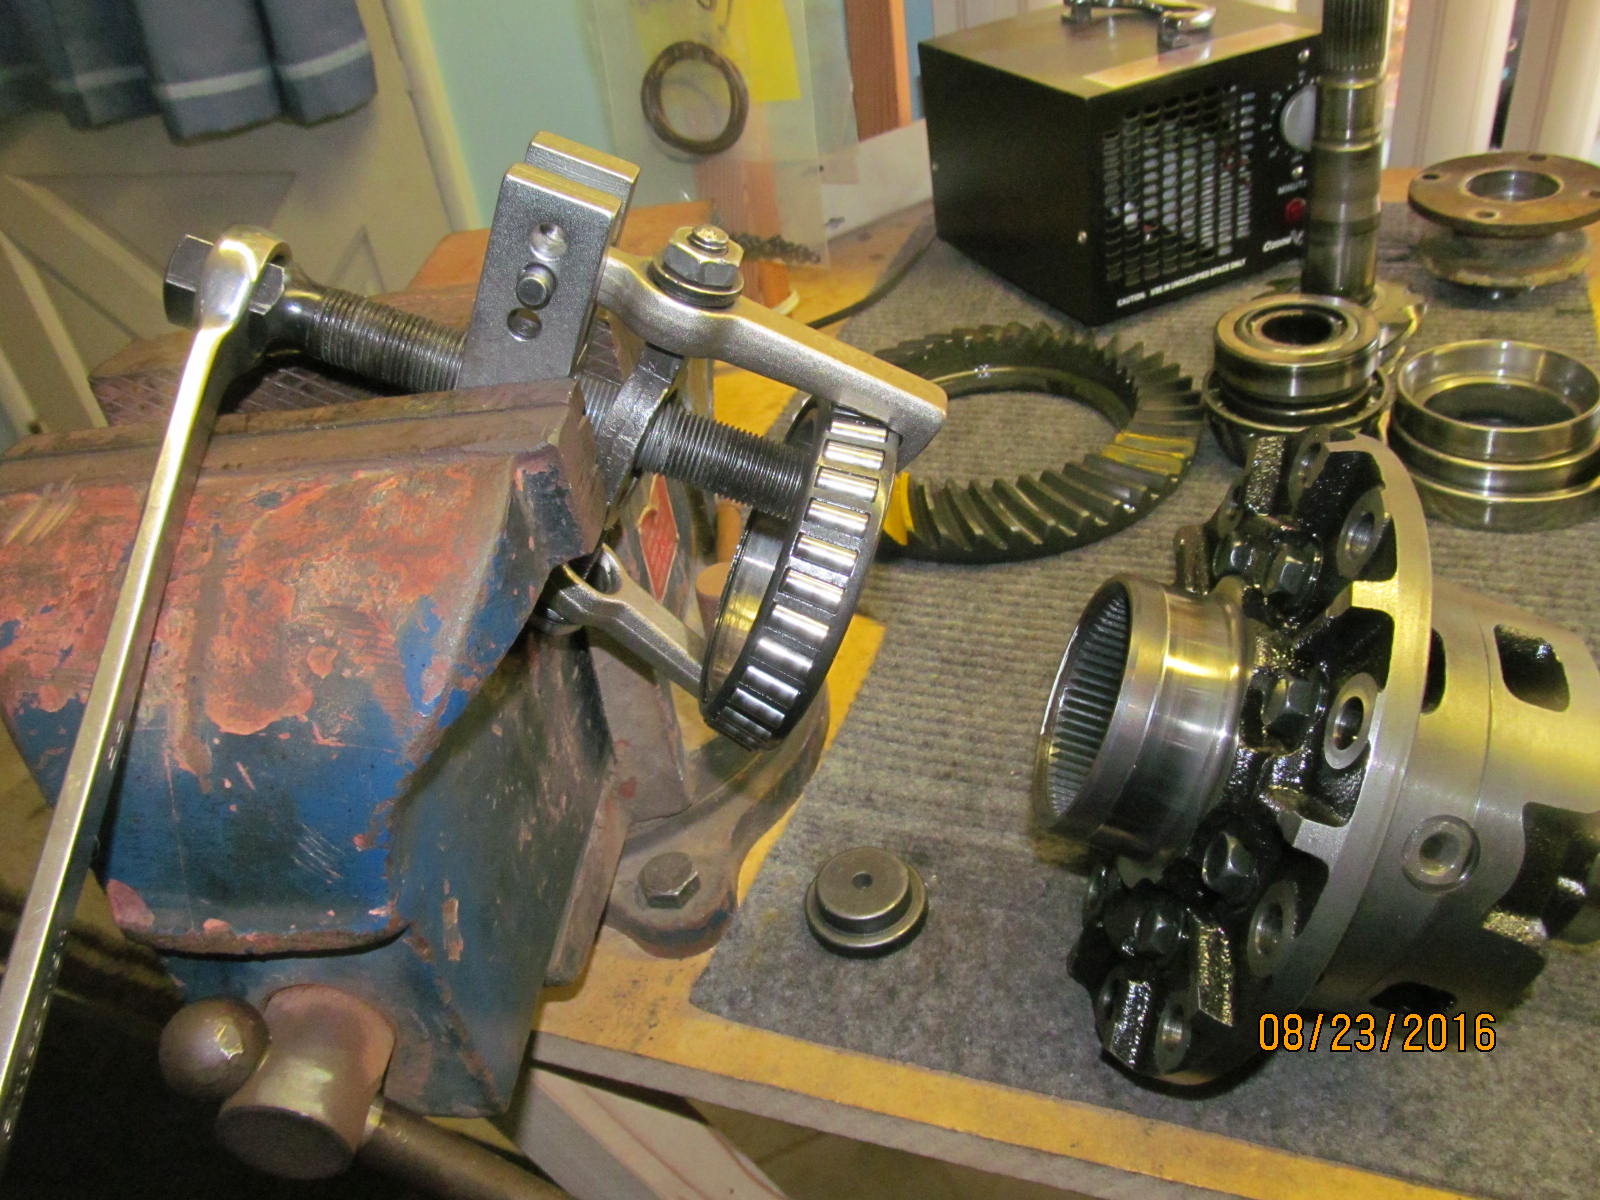
....remove the ring gear.
|
|
|
|
|
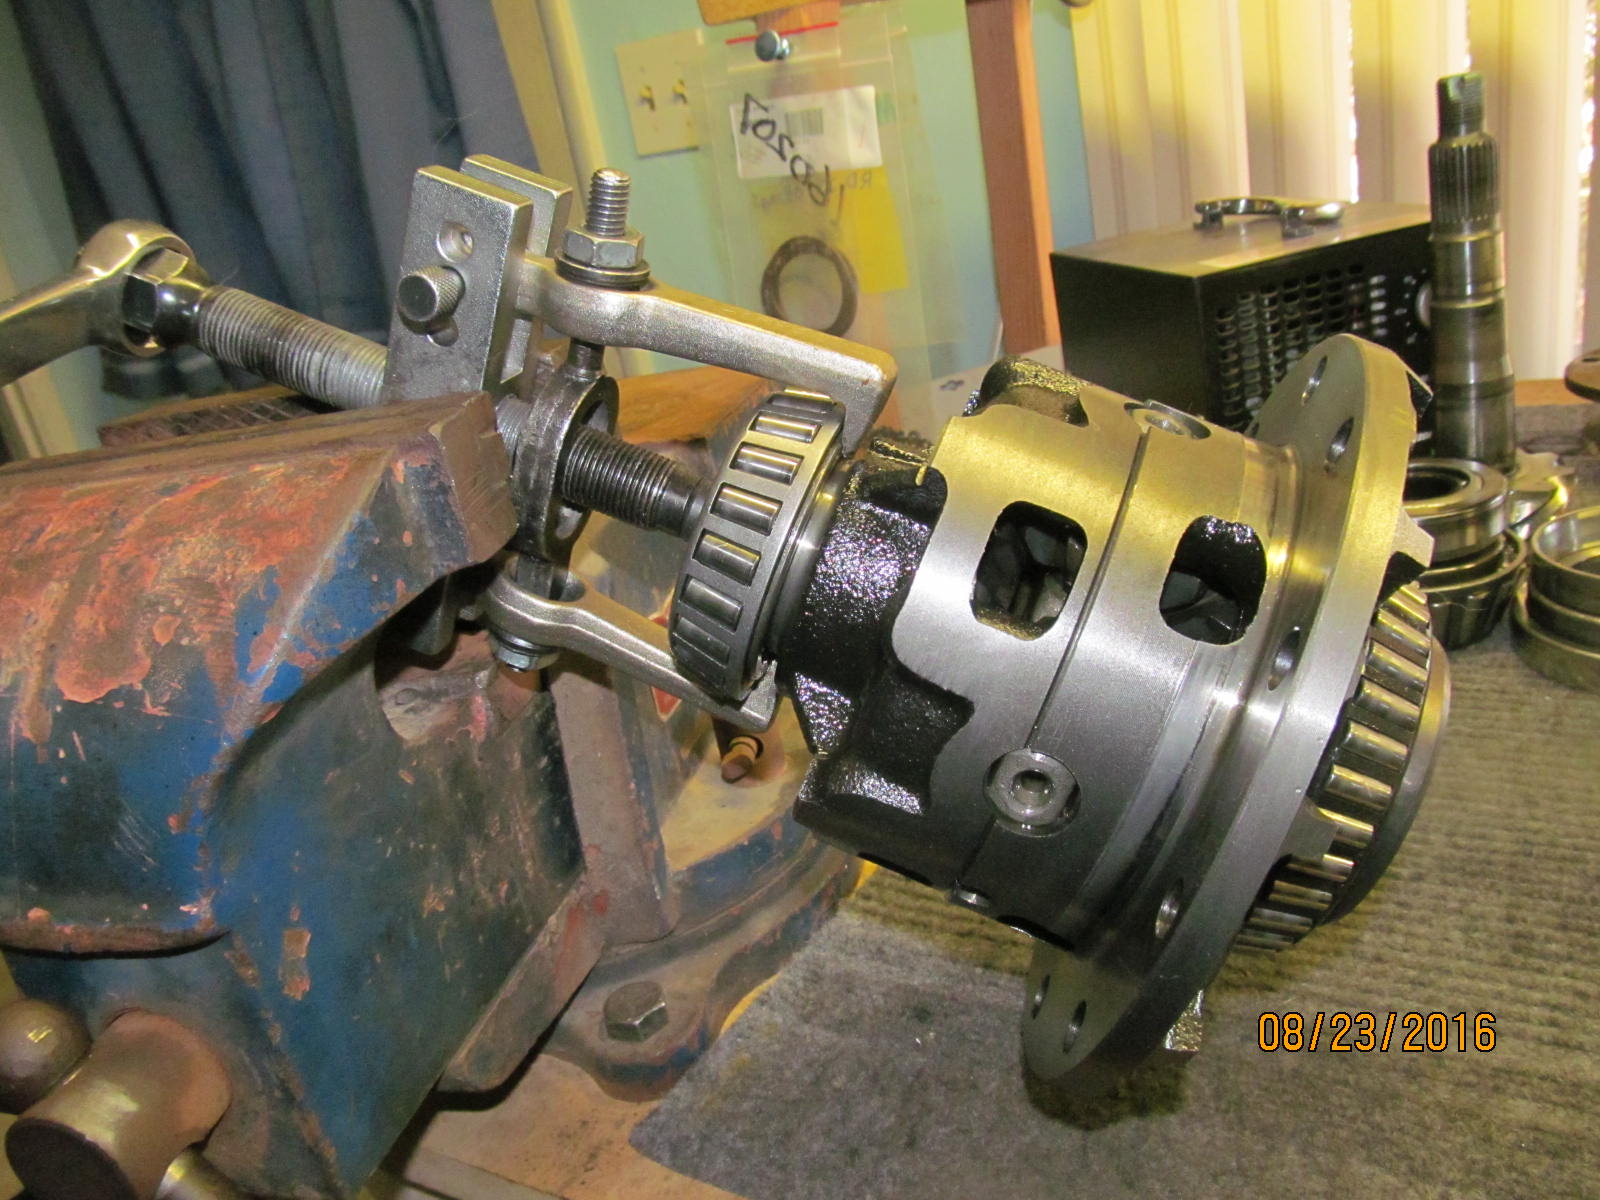
Remove the old bearings.
|
|
|
|
|
......
|
|
|
|
|
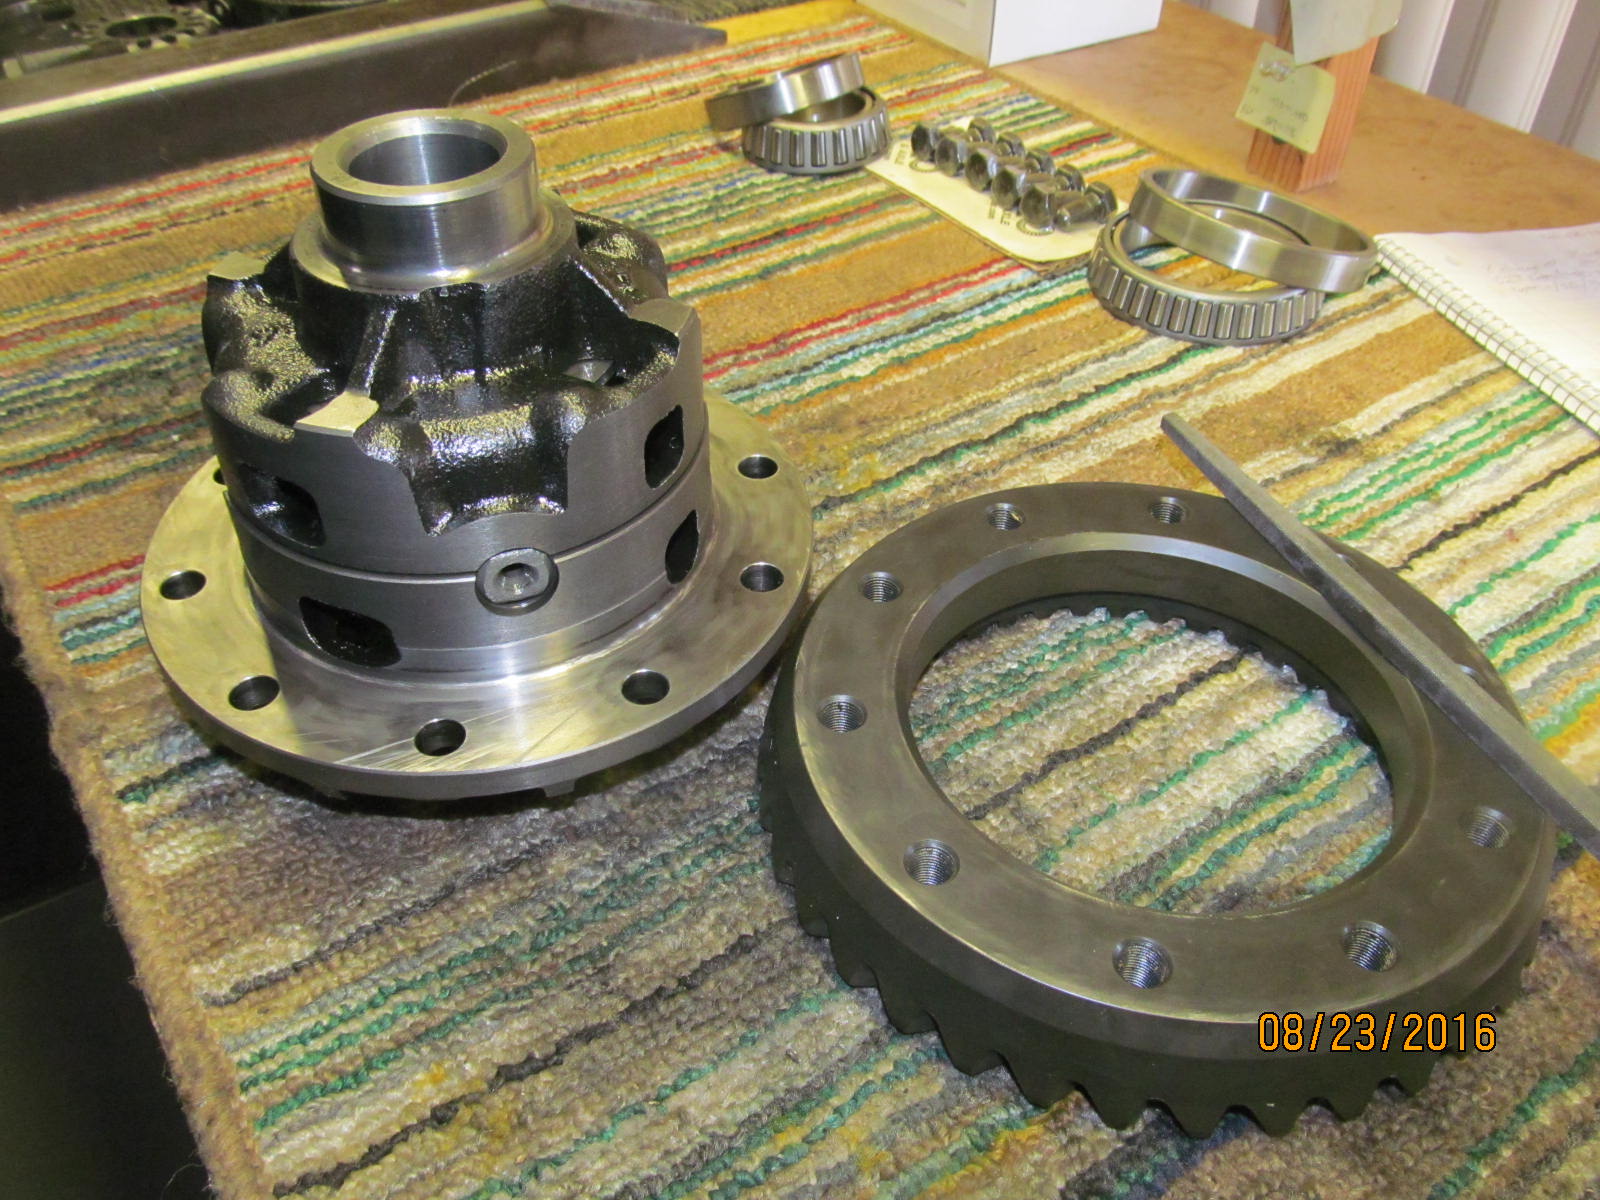
Check both mating surfaces for irregularities and none found.
|
|
|

|
No boiling water needed....now that I think about it, I have not used any boiling water in the 15 years
of doing this. A lead filled plastic hammer sufficed most of the time and the 12 ton press
the rest of the time.
|
|
|
|
|
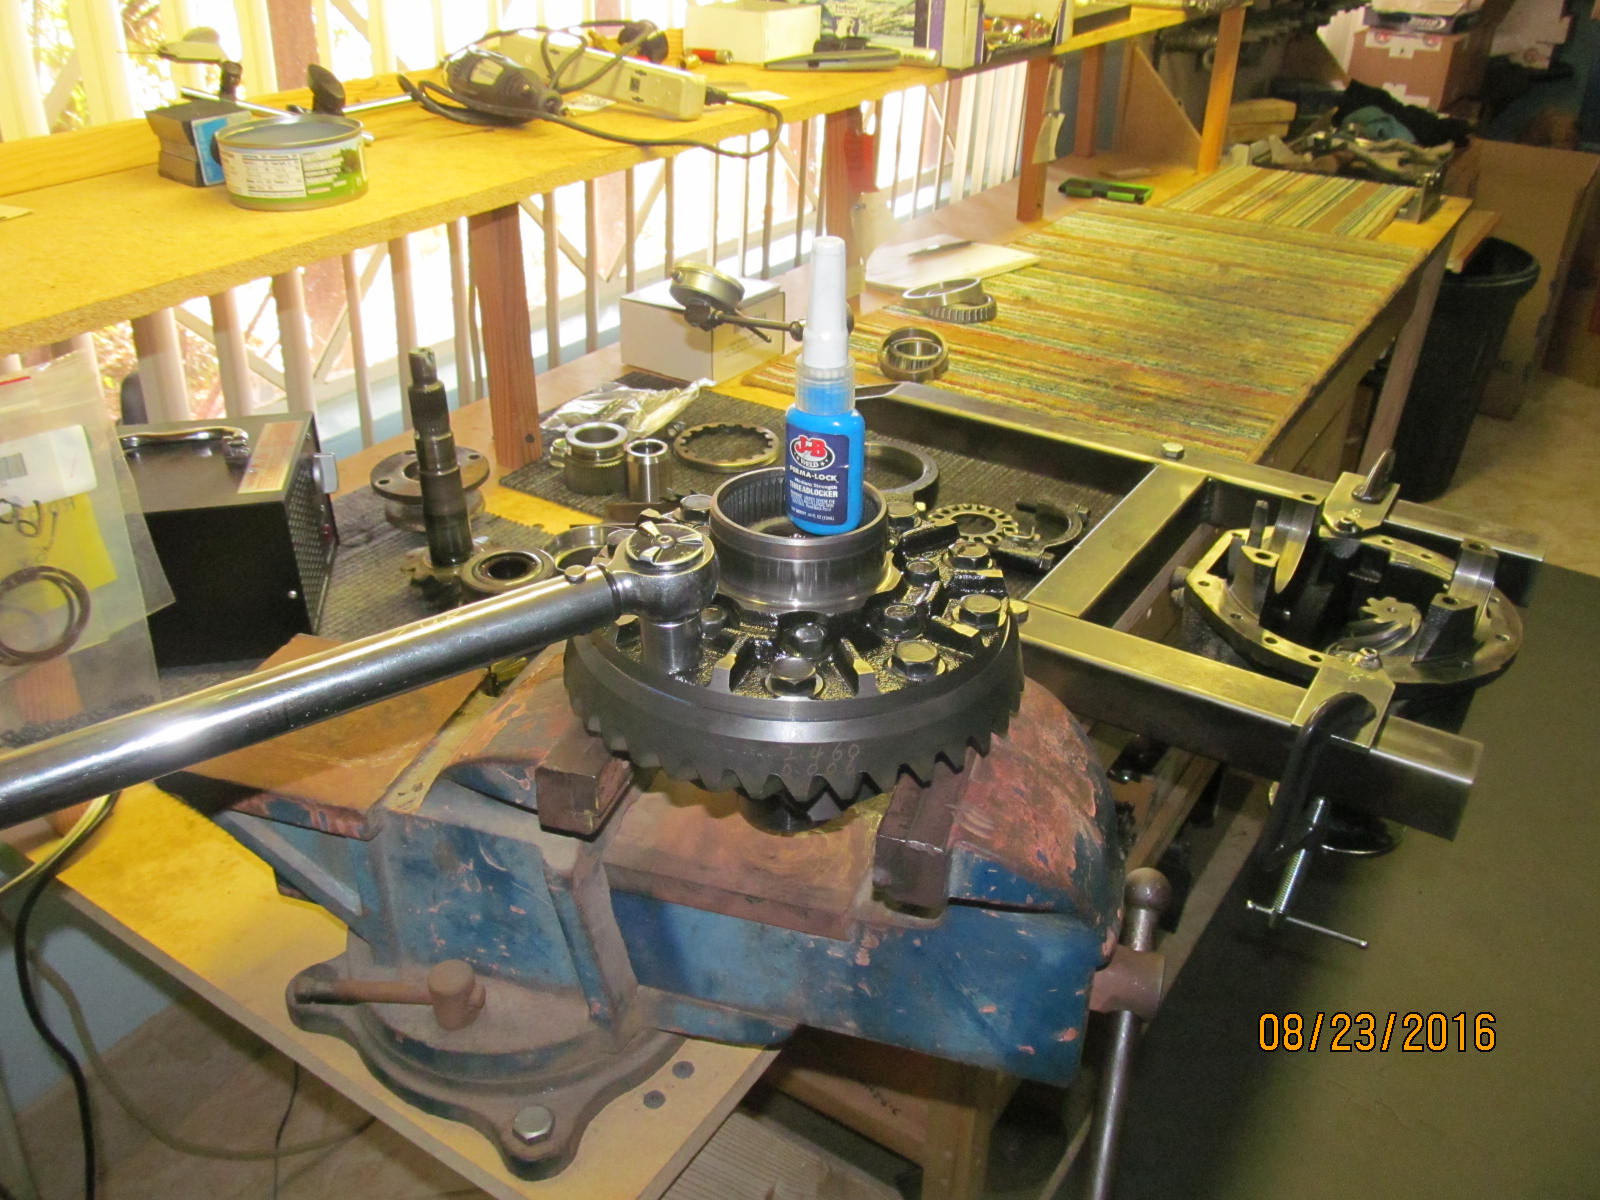
Medium strength thread-lock and 70 ft/lb.
|
|
|
|
|
45 ft/lb was verified on the inner 8 case bolts. All were good.
|
|
|
|
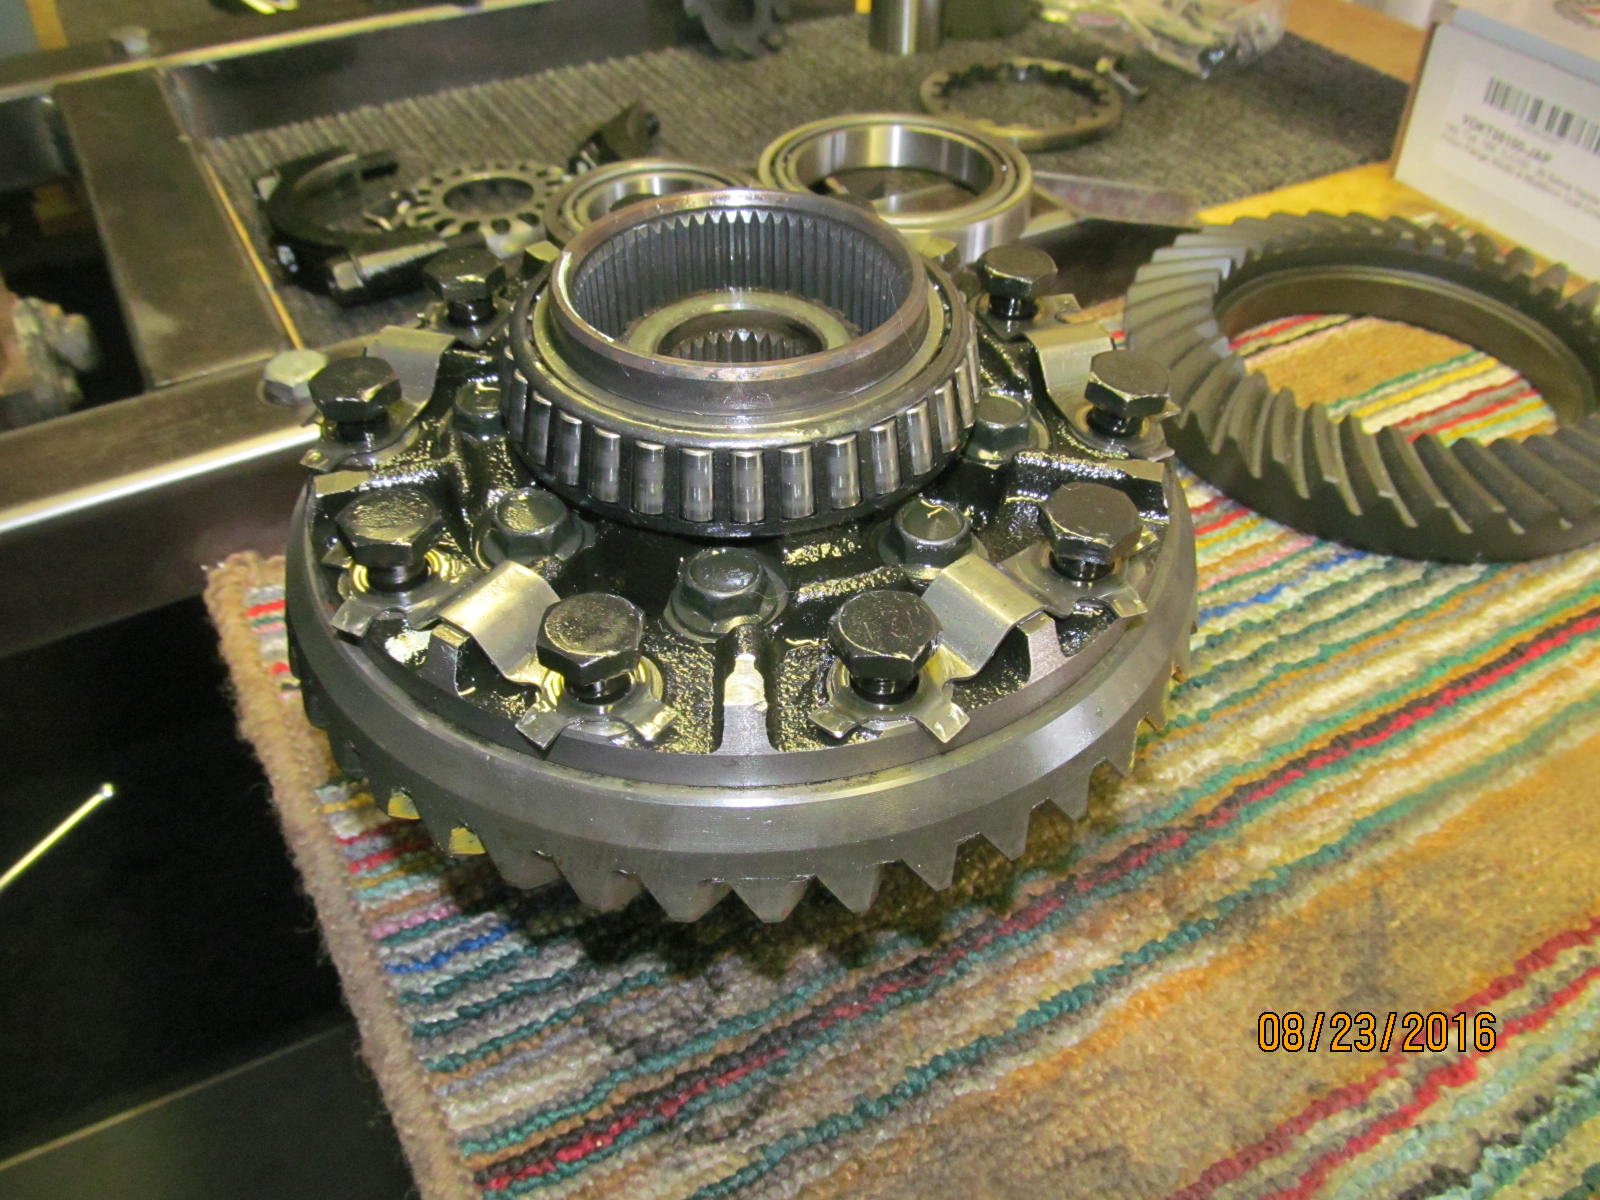
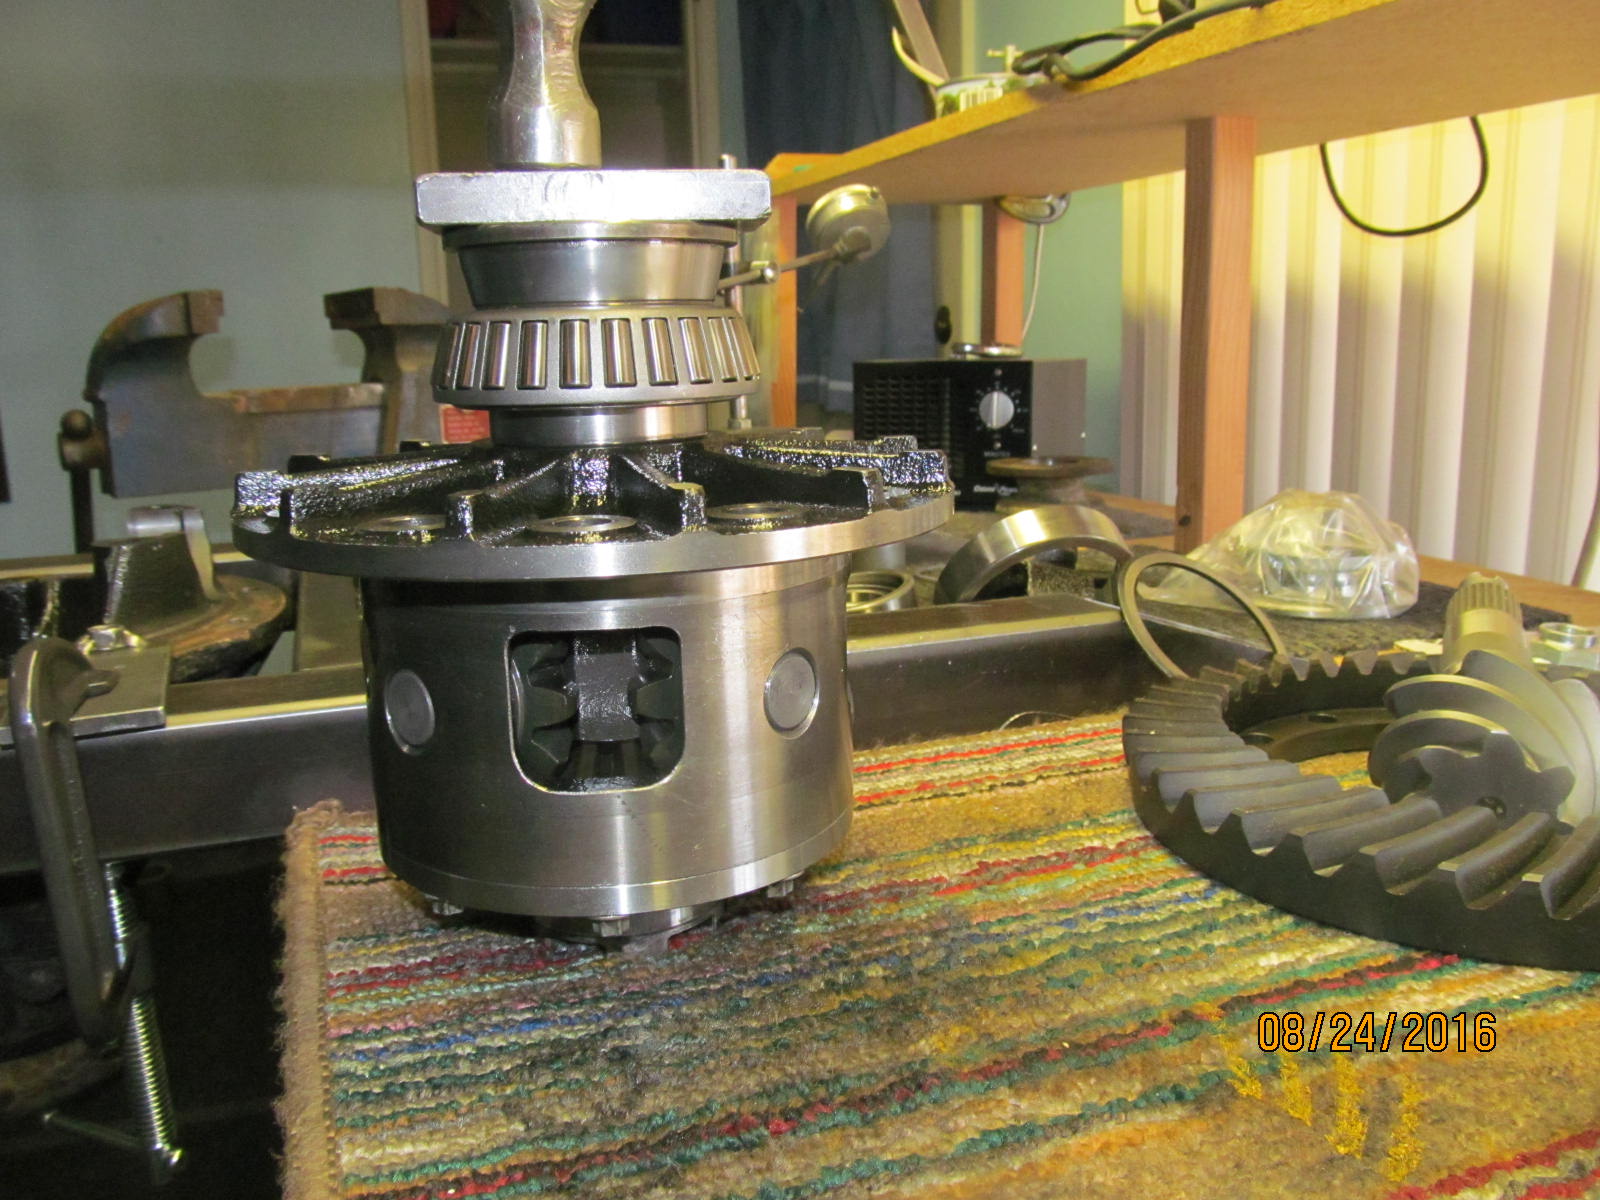
Cryo carrier bearings were pressed on at the same time.
Never throw away old bearings....they make good widgets.
|
|
|
|
|
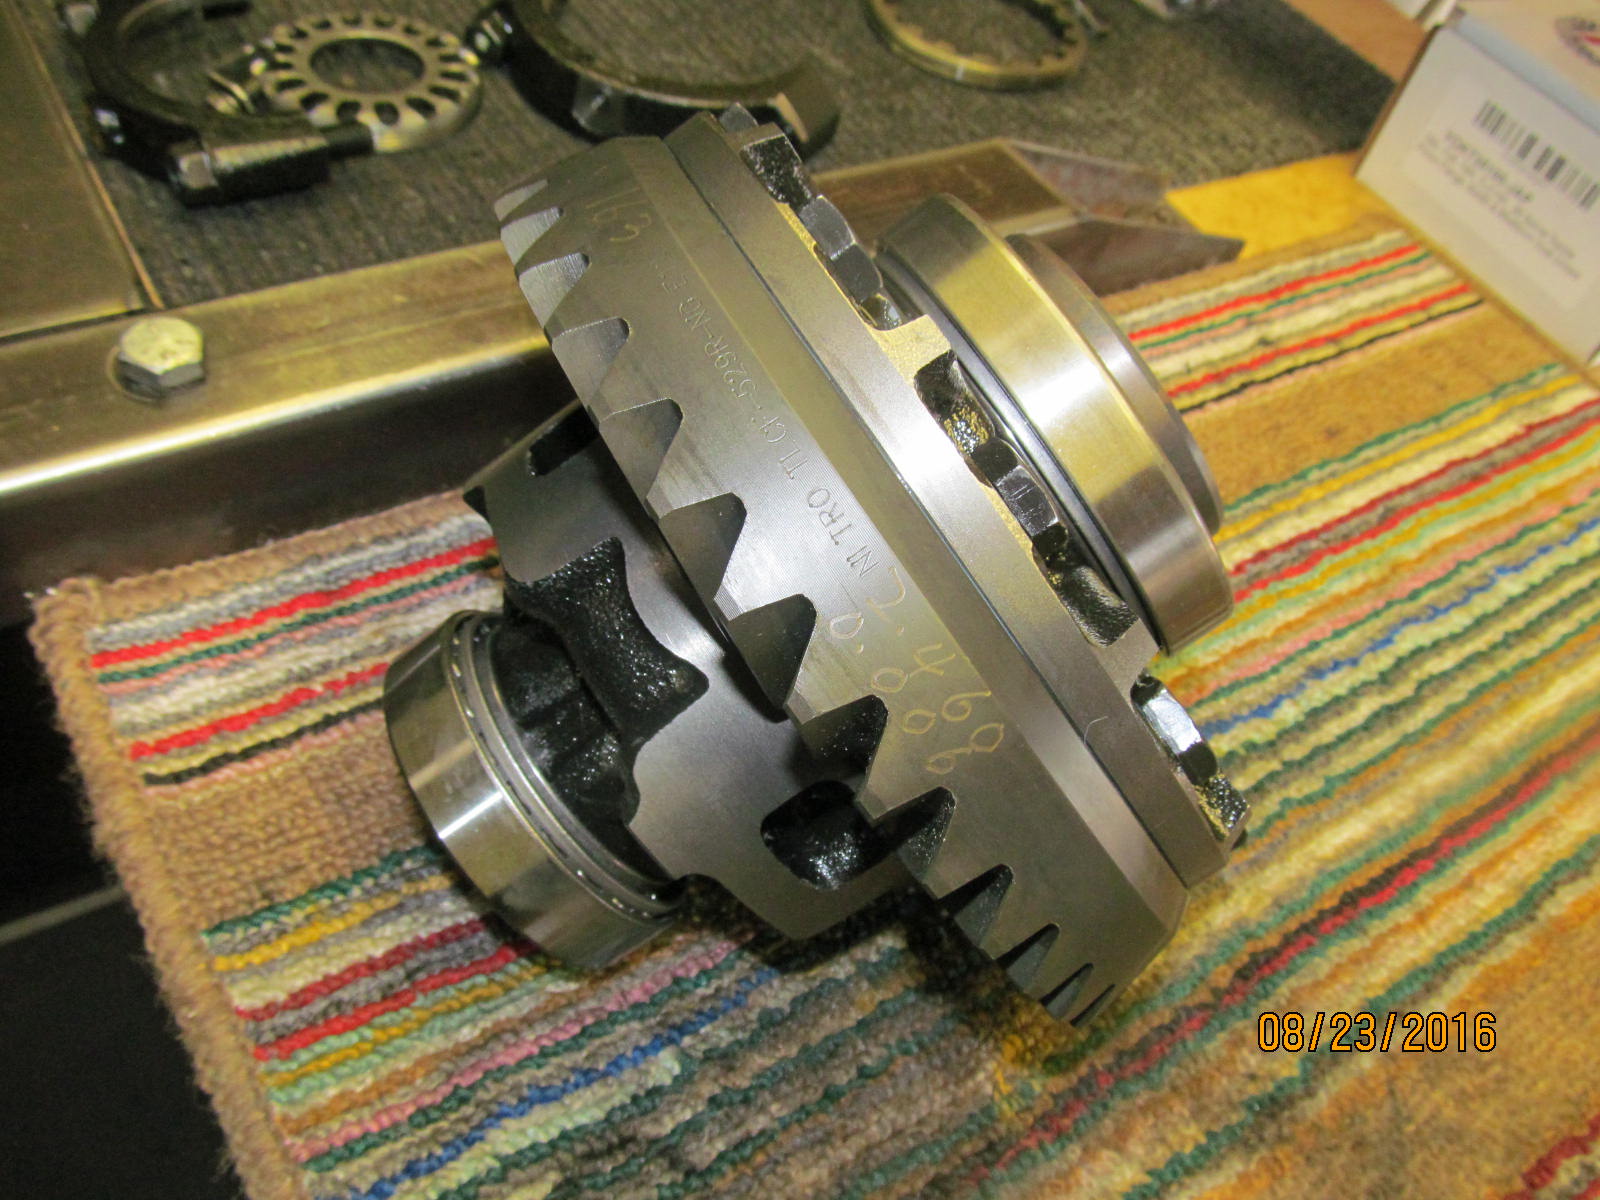
This end is all loaded up and ready to go.
|
|
|
|
|
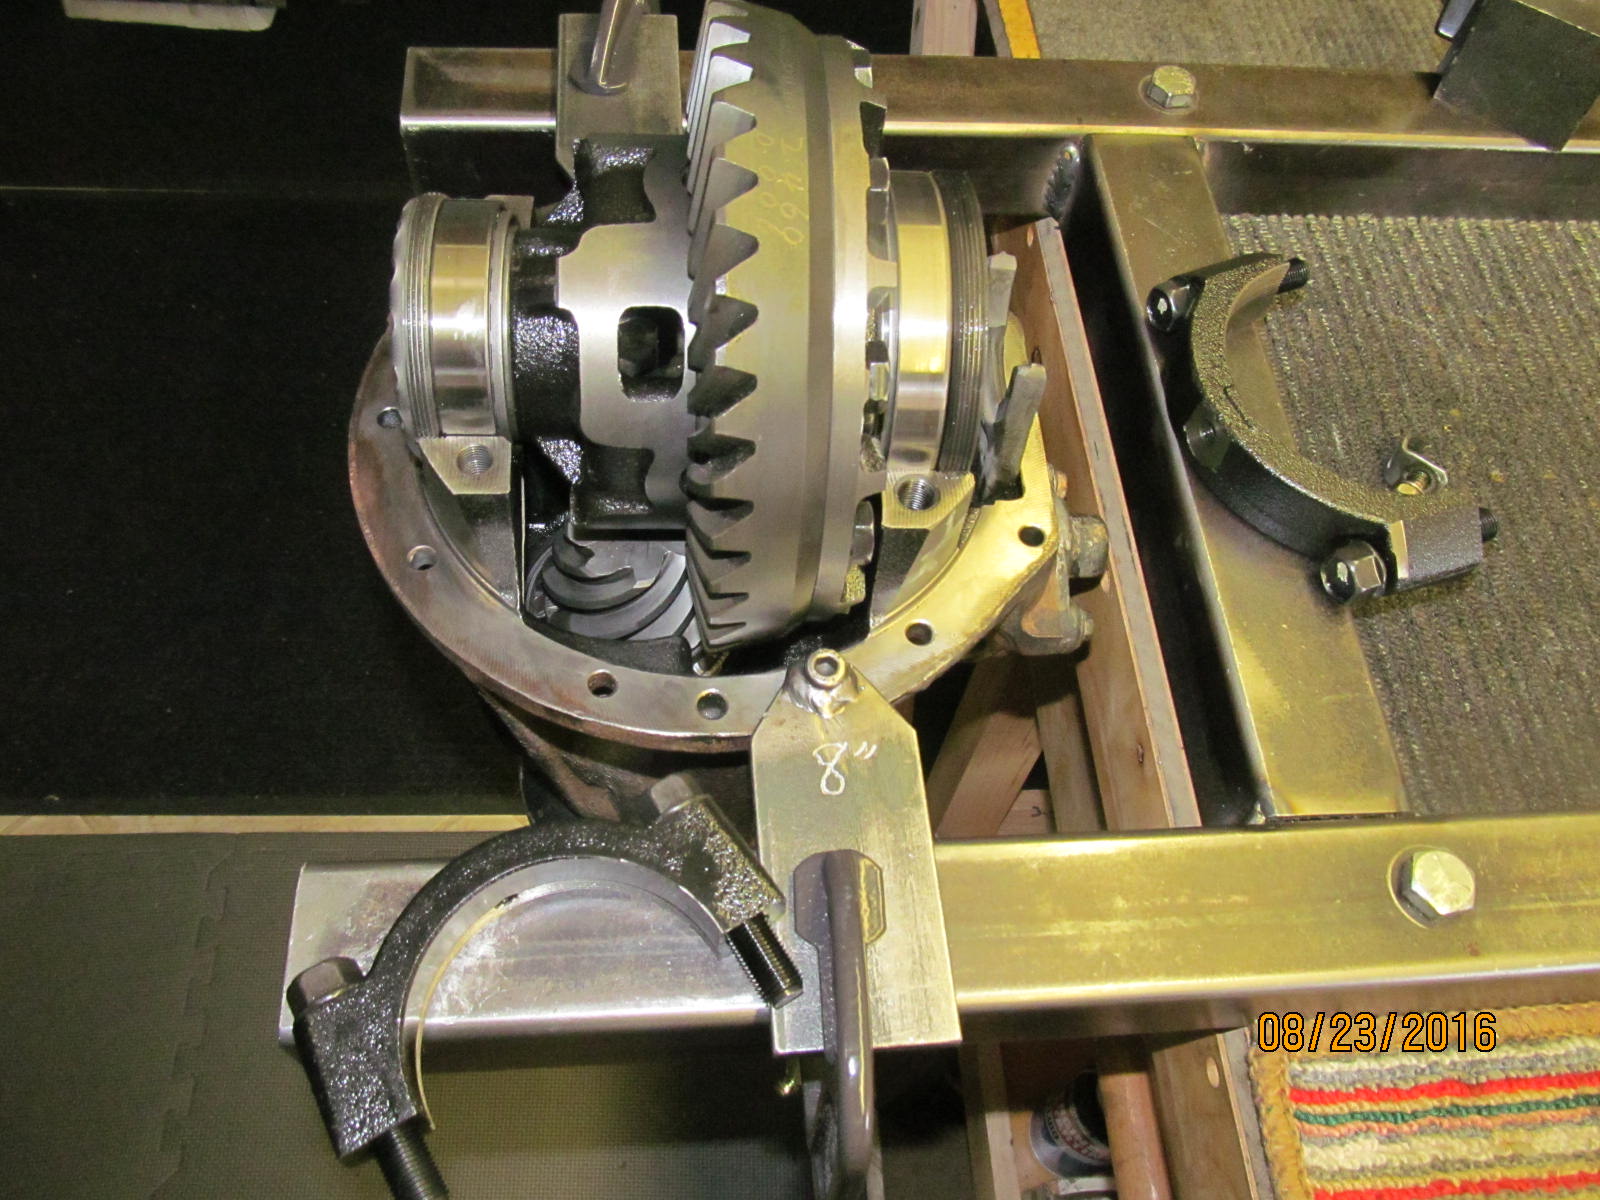
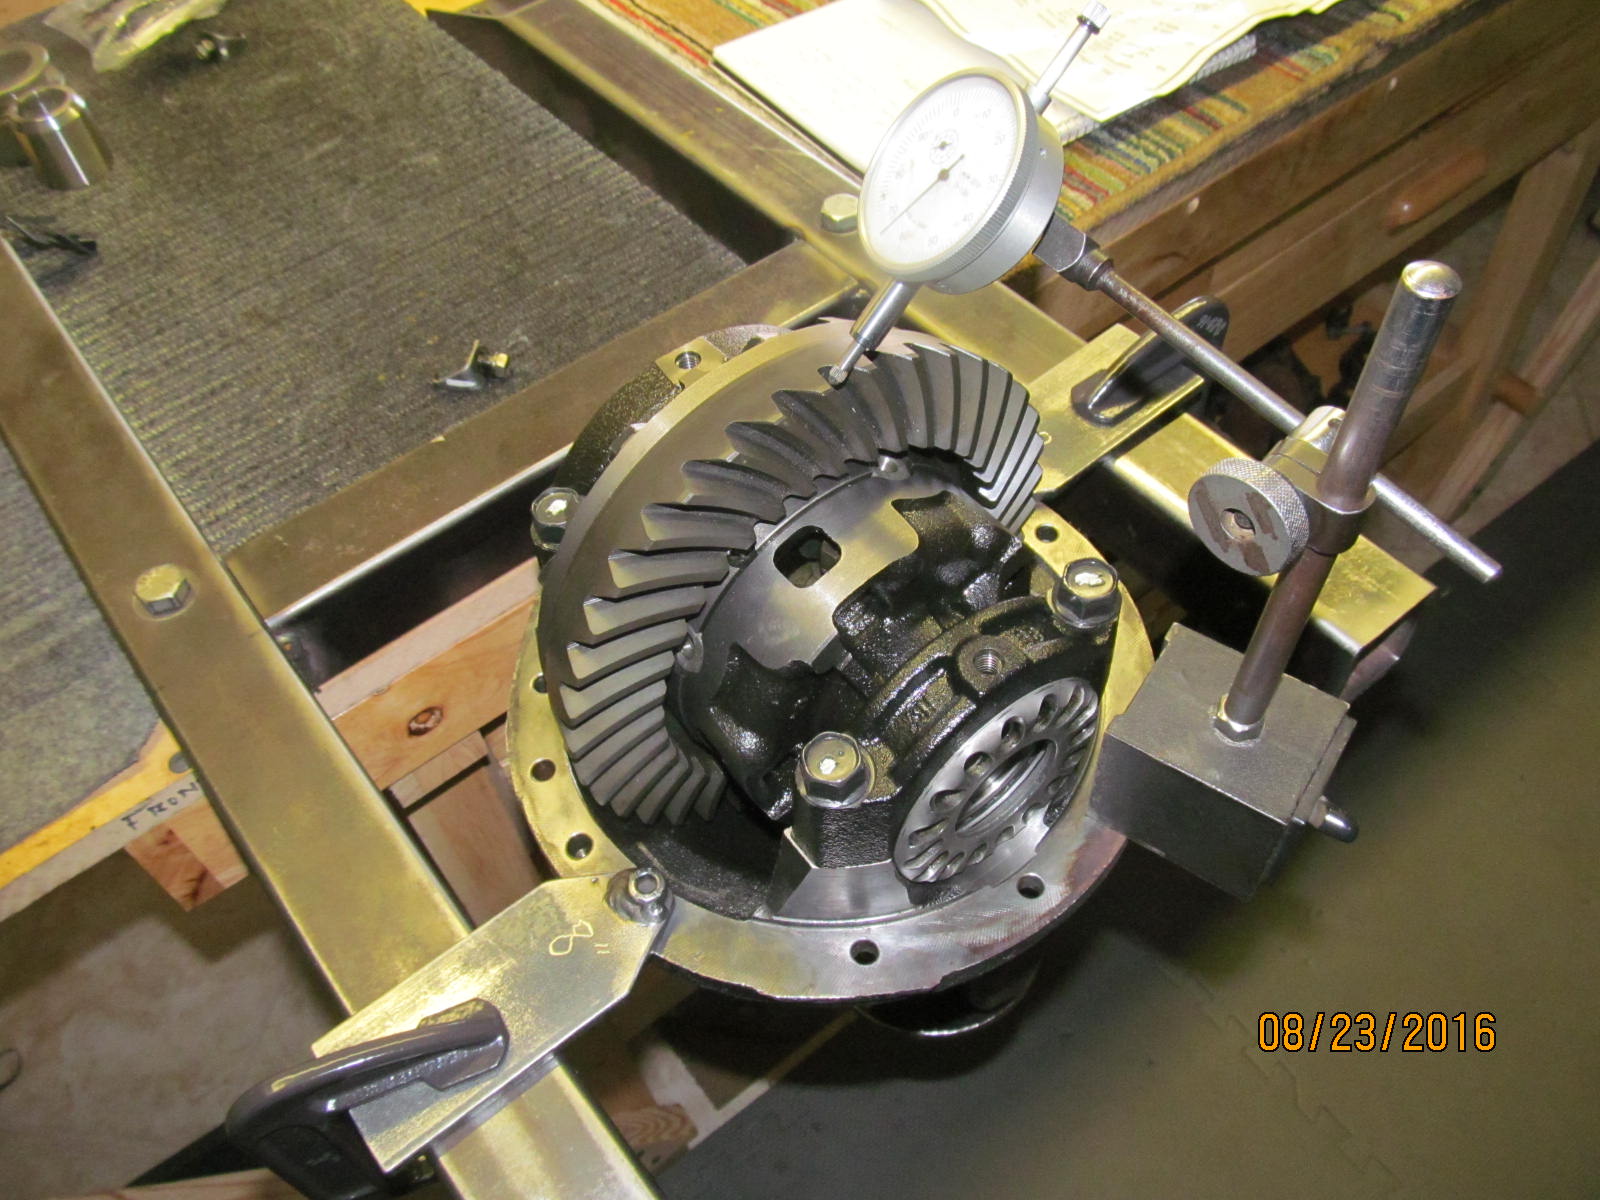
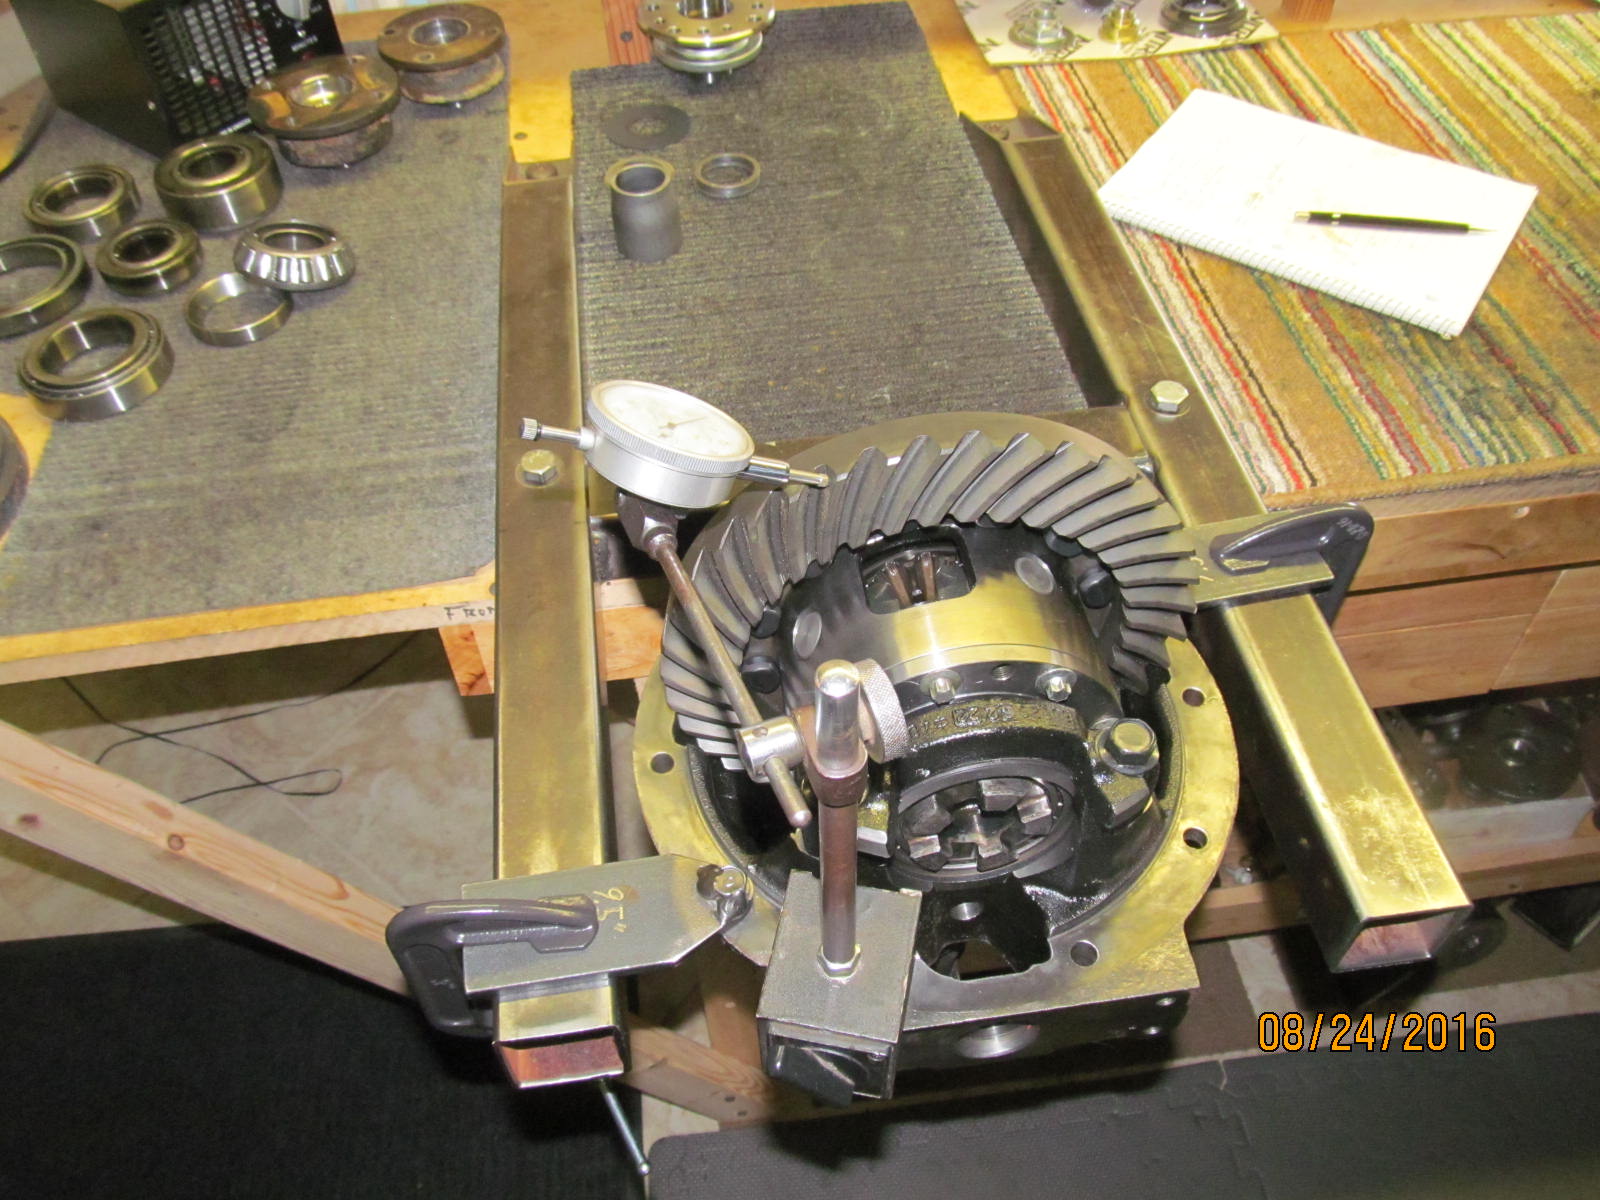
Making sure that the side adjusters are in the threads and meshing smoothly.
|
|
|
|
|
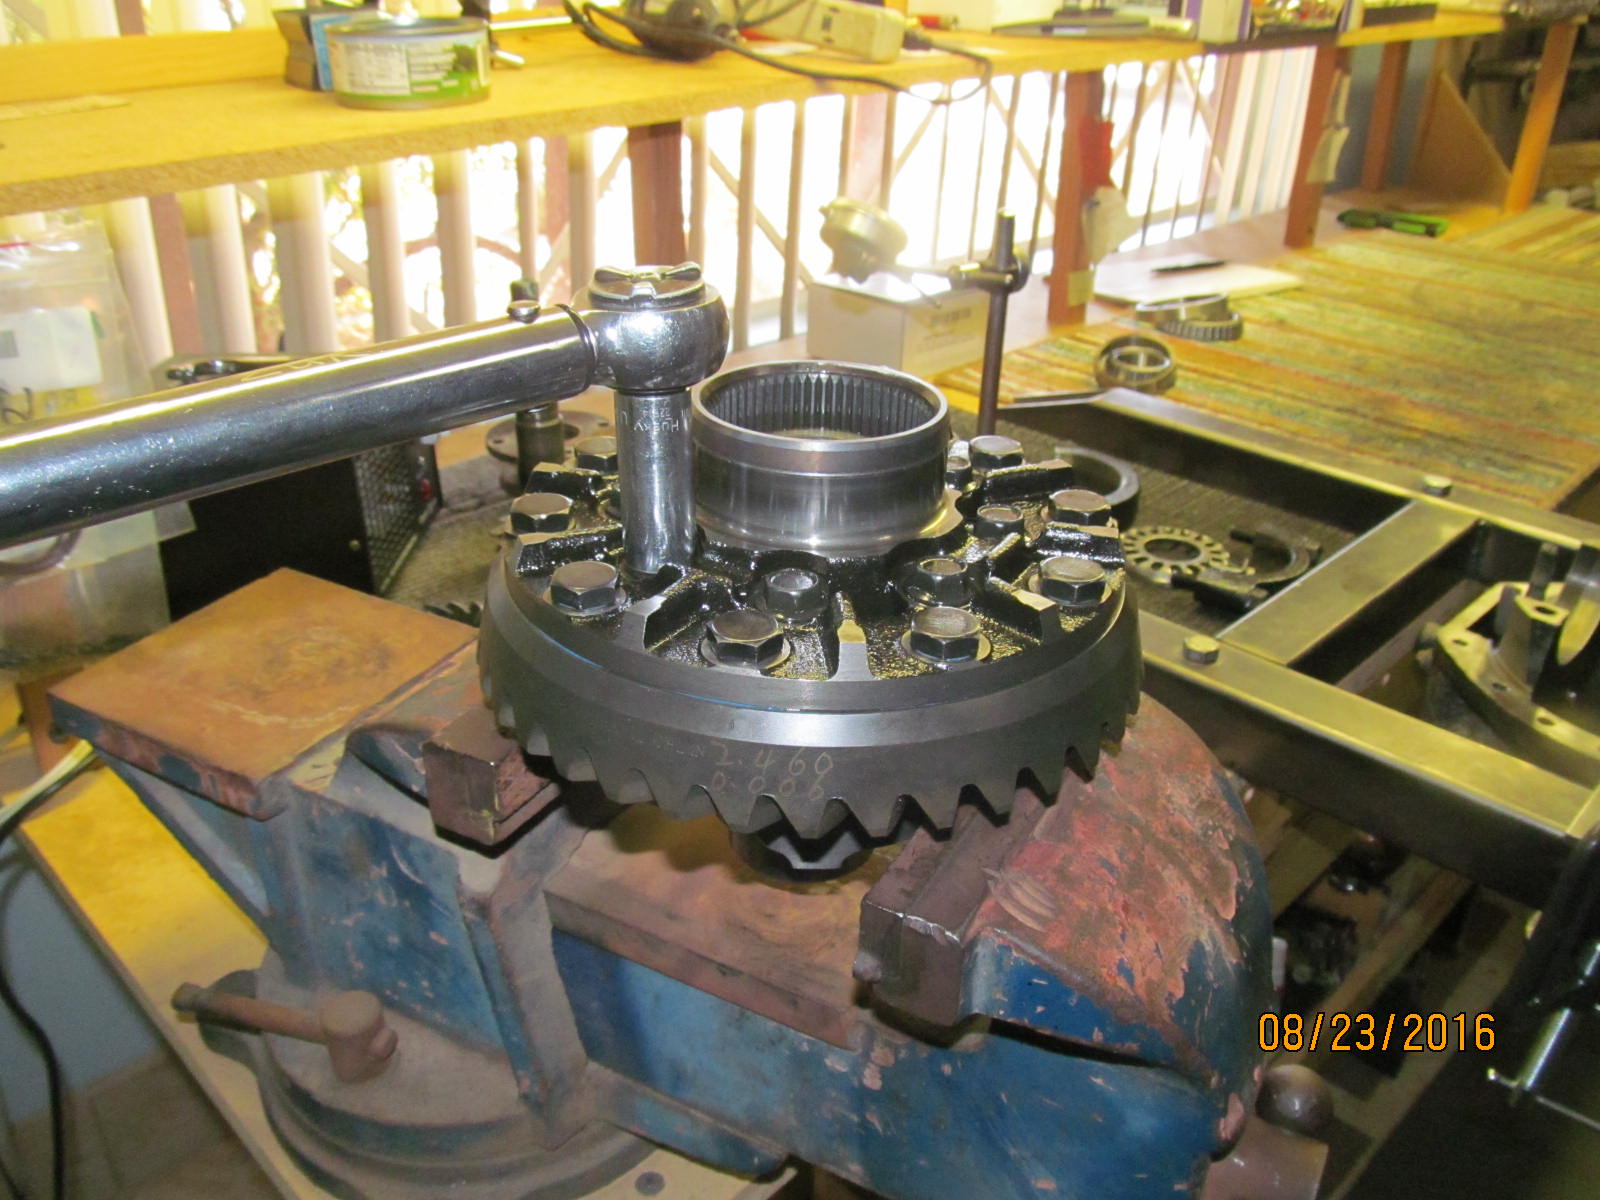
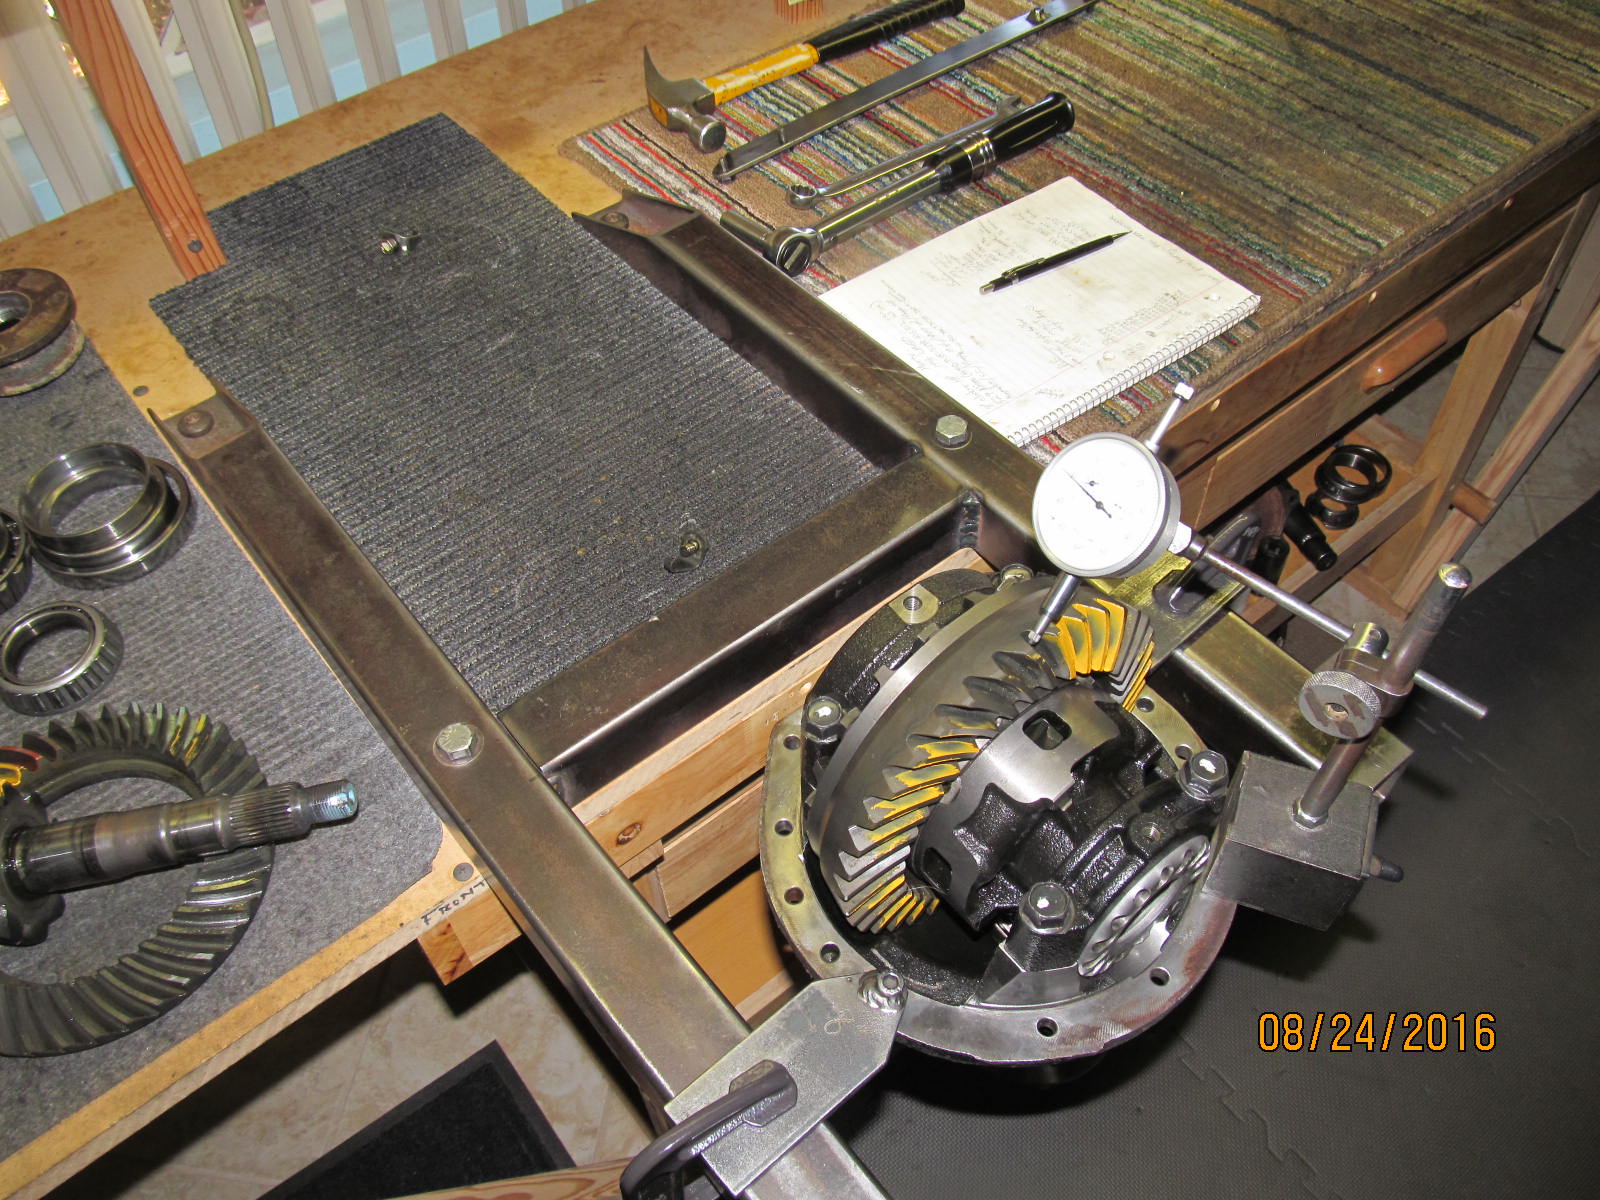
4 cap bolts are tightened up and some carrier bearing preload is present. Backlash is set to .007".
|
|
|
|
|
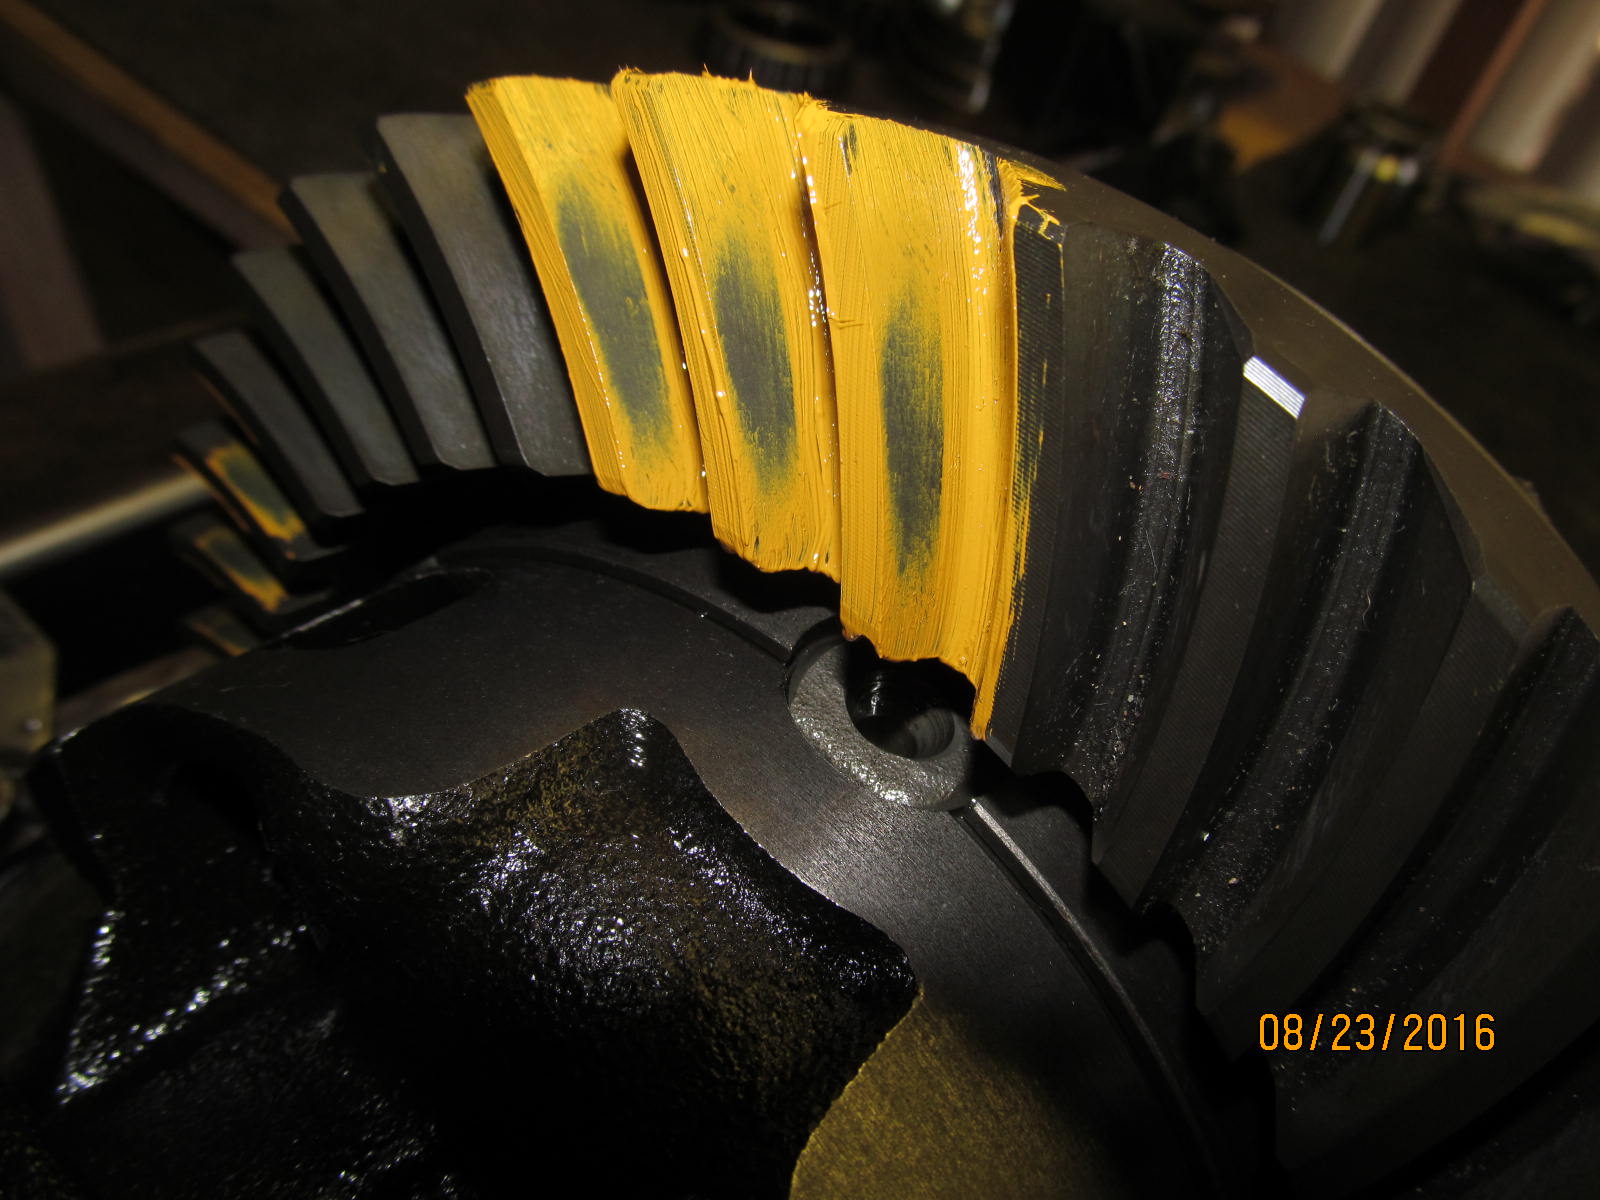
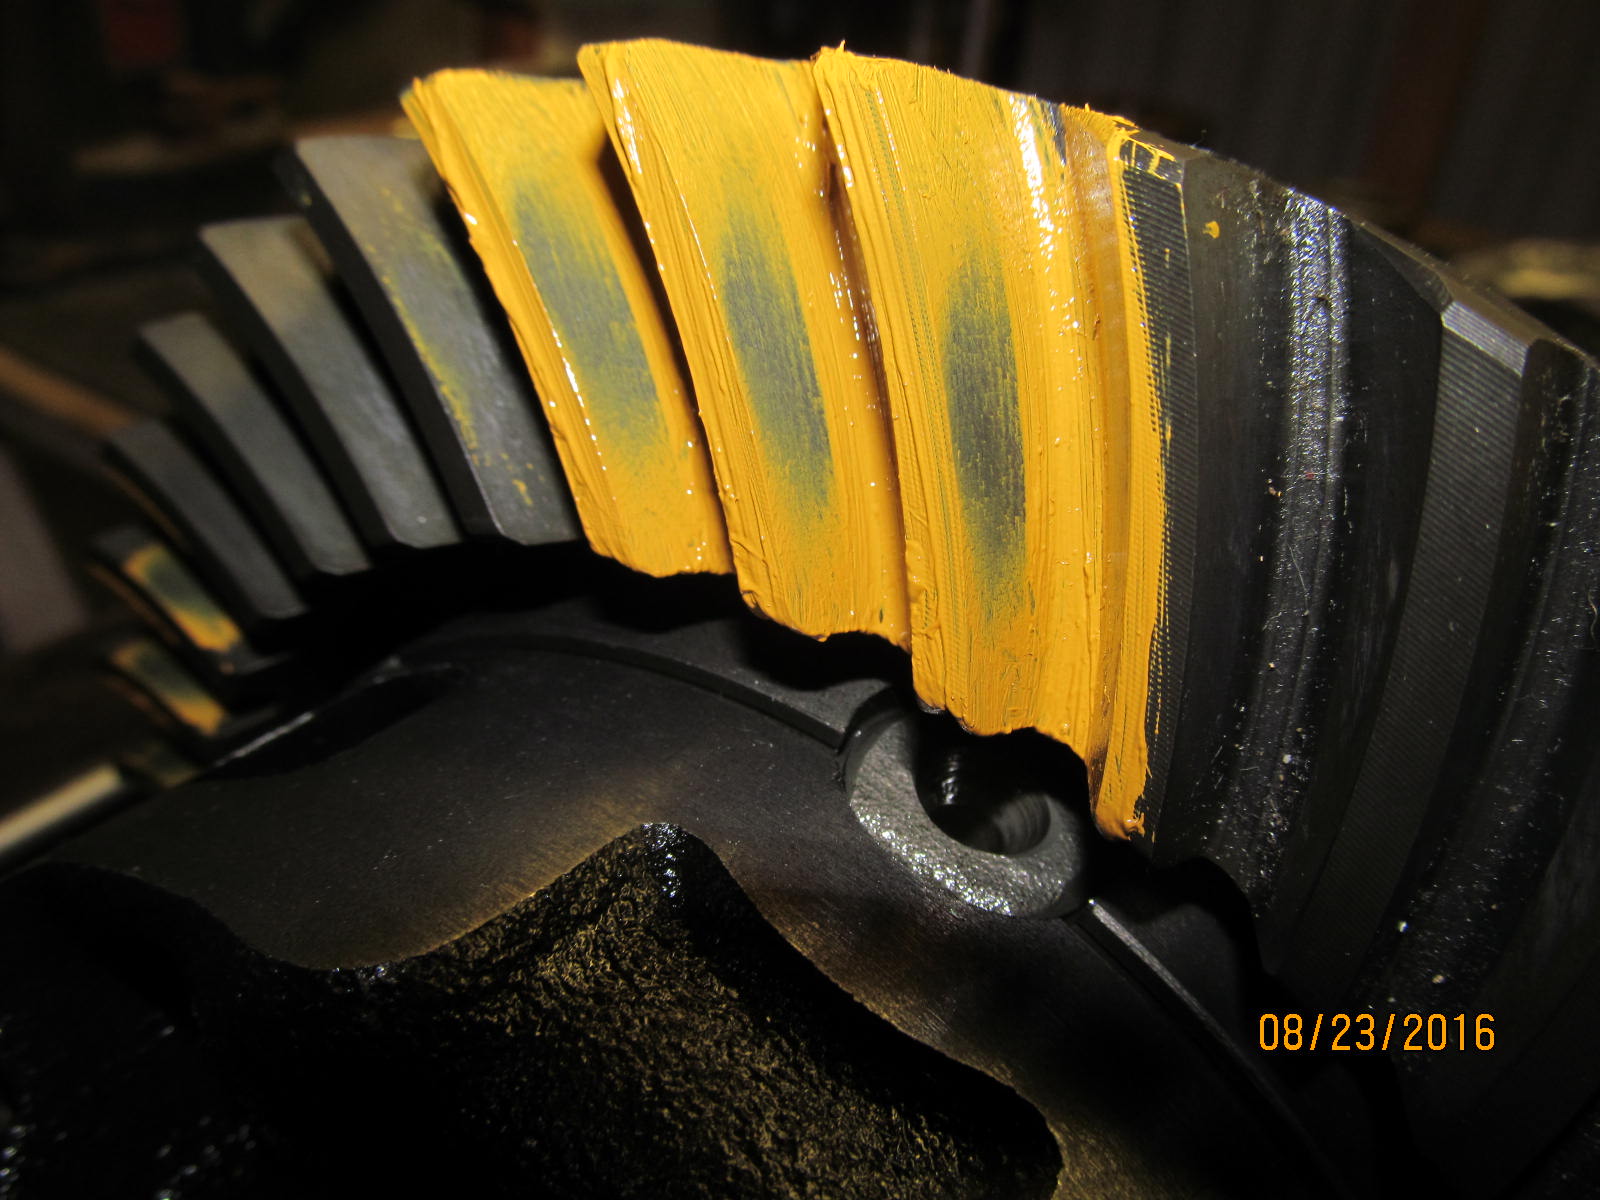
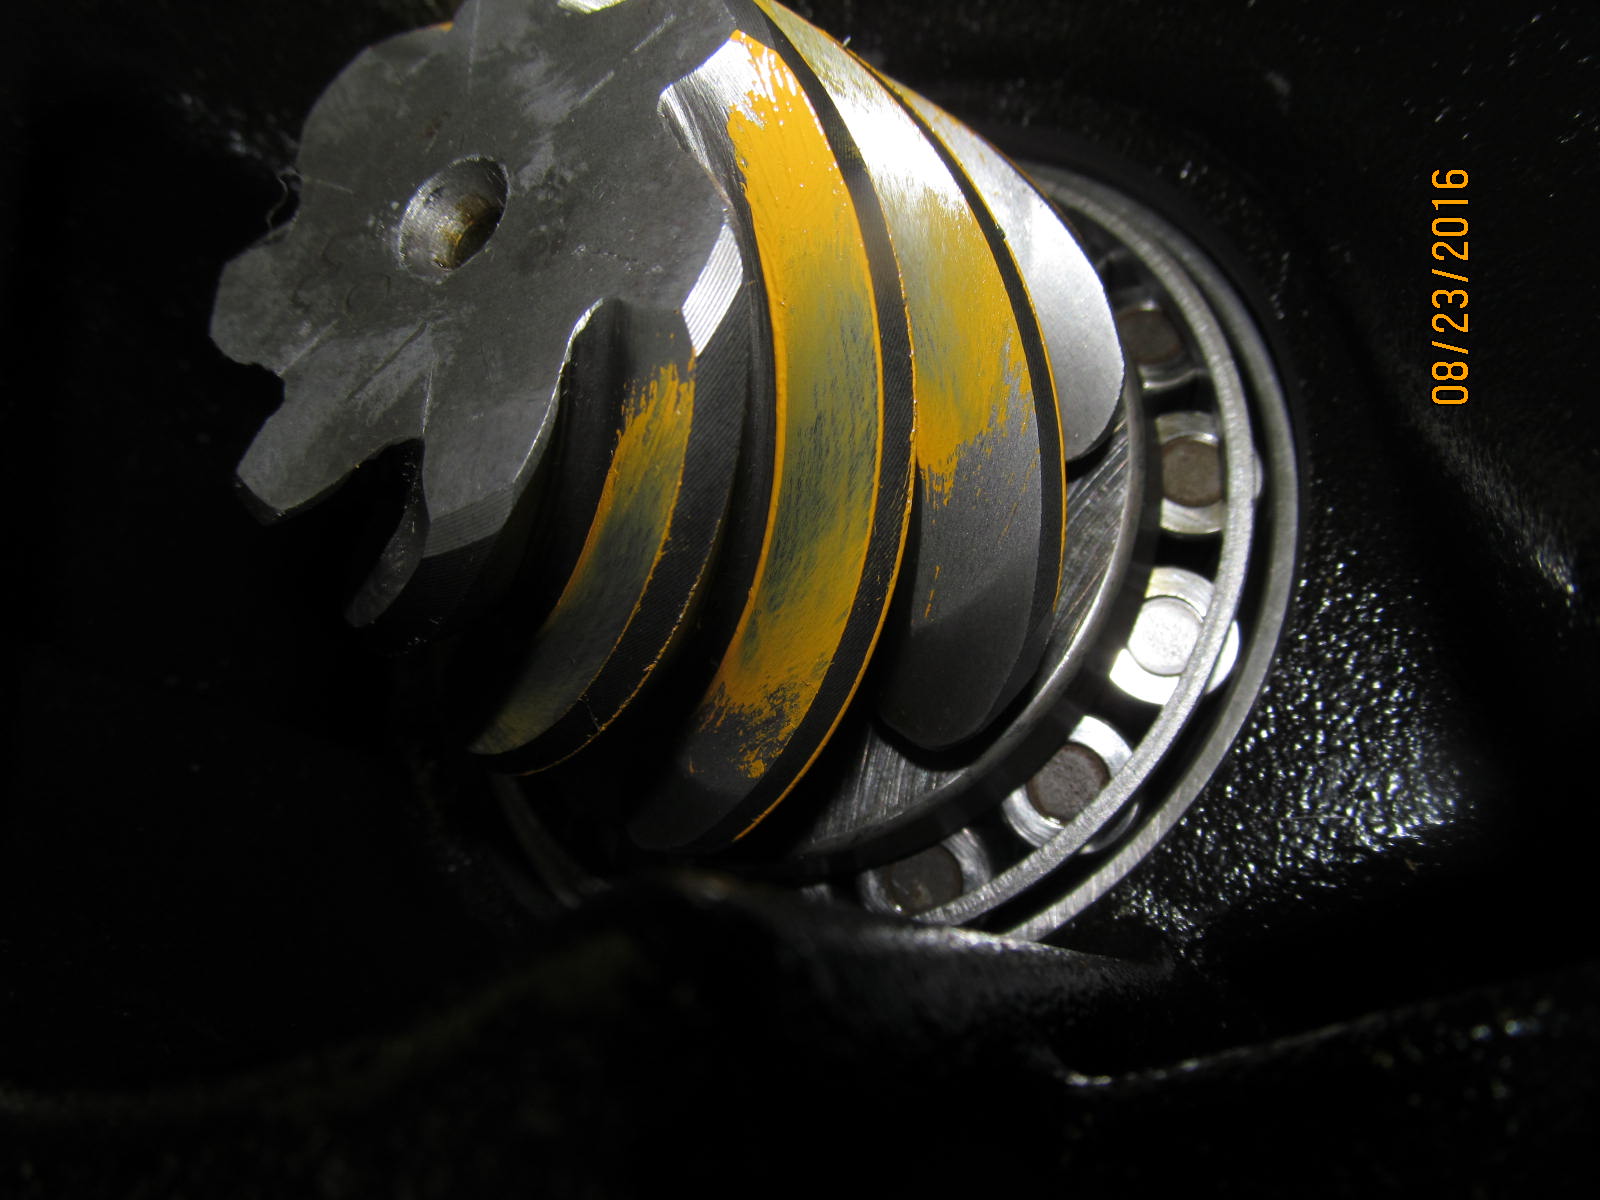
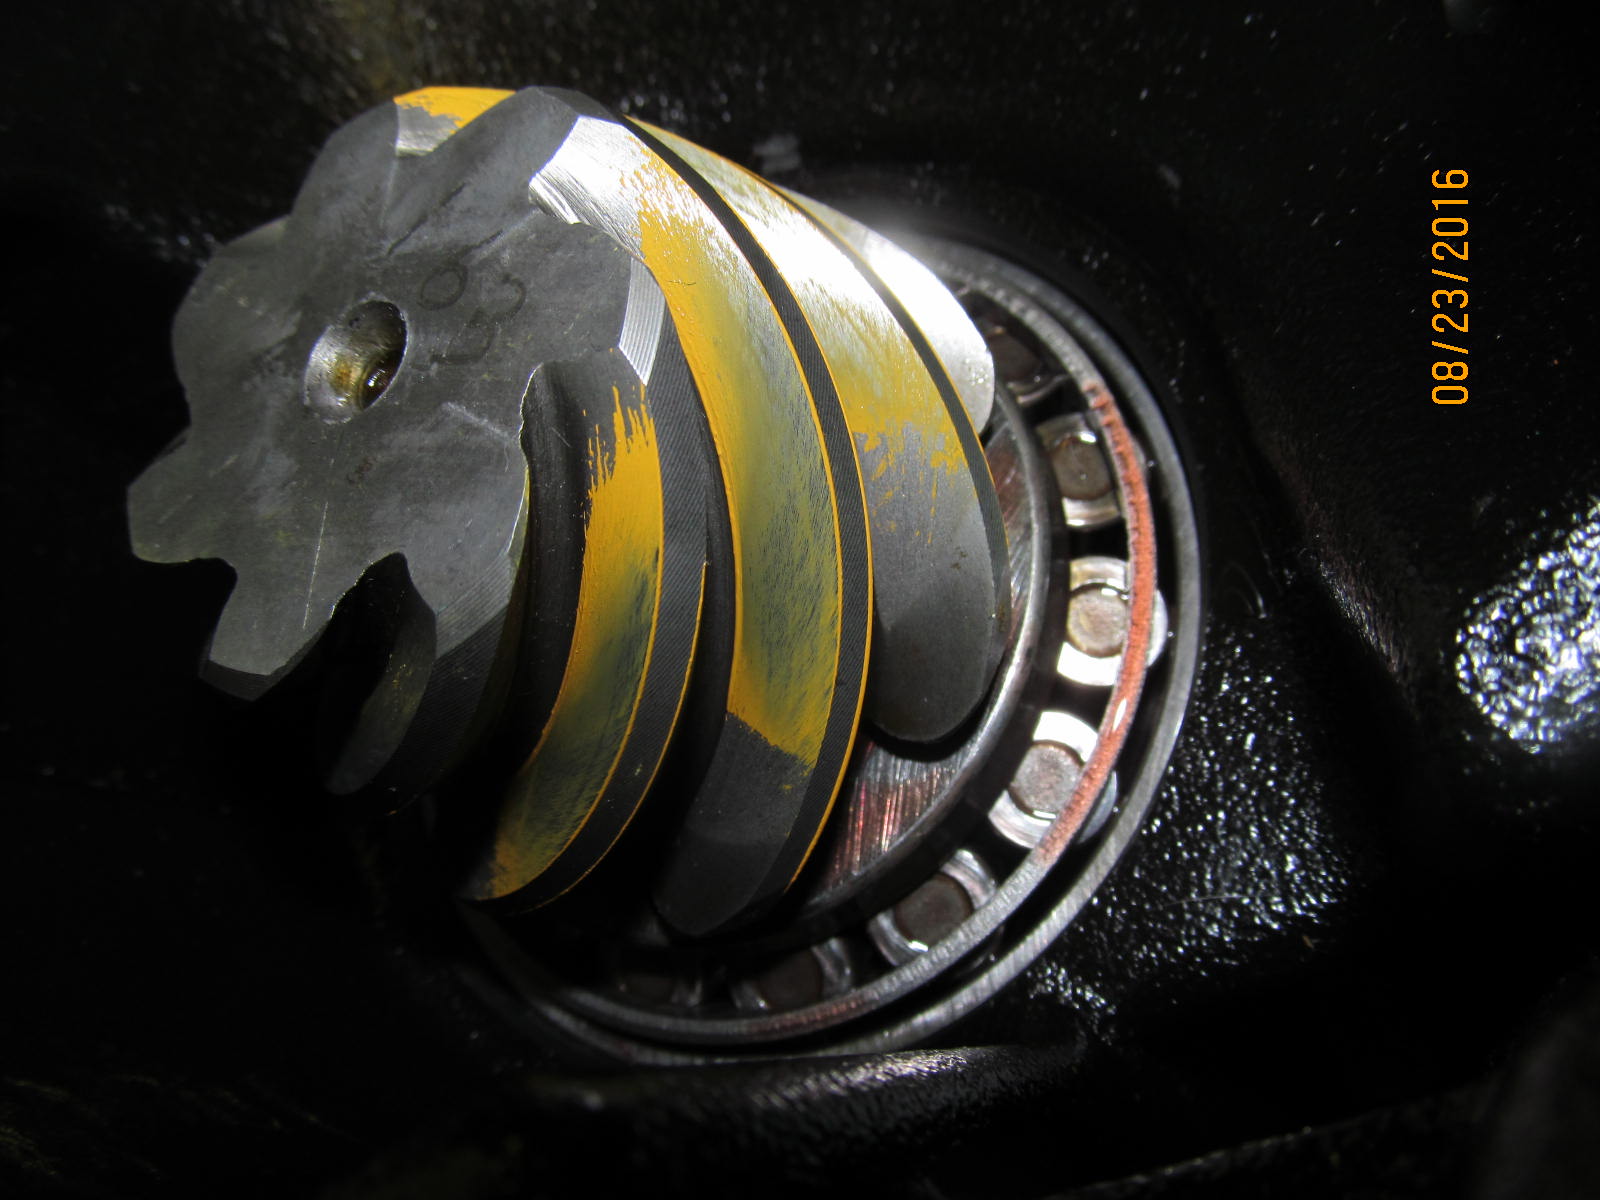
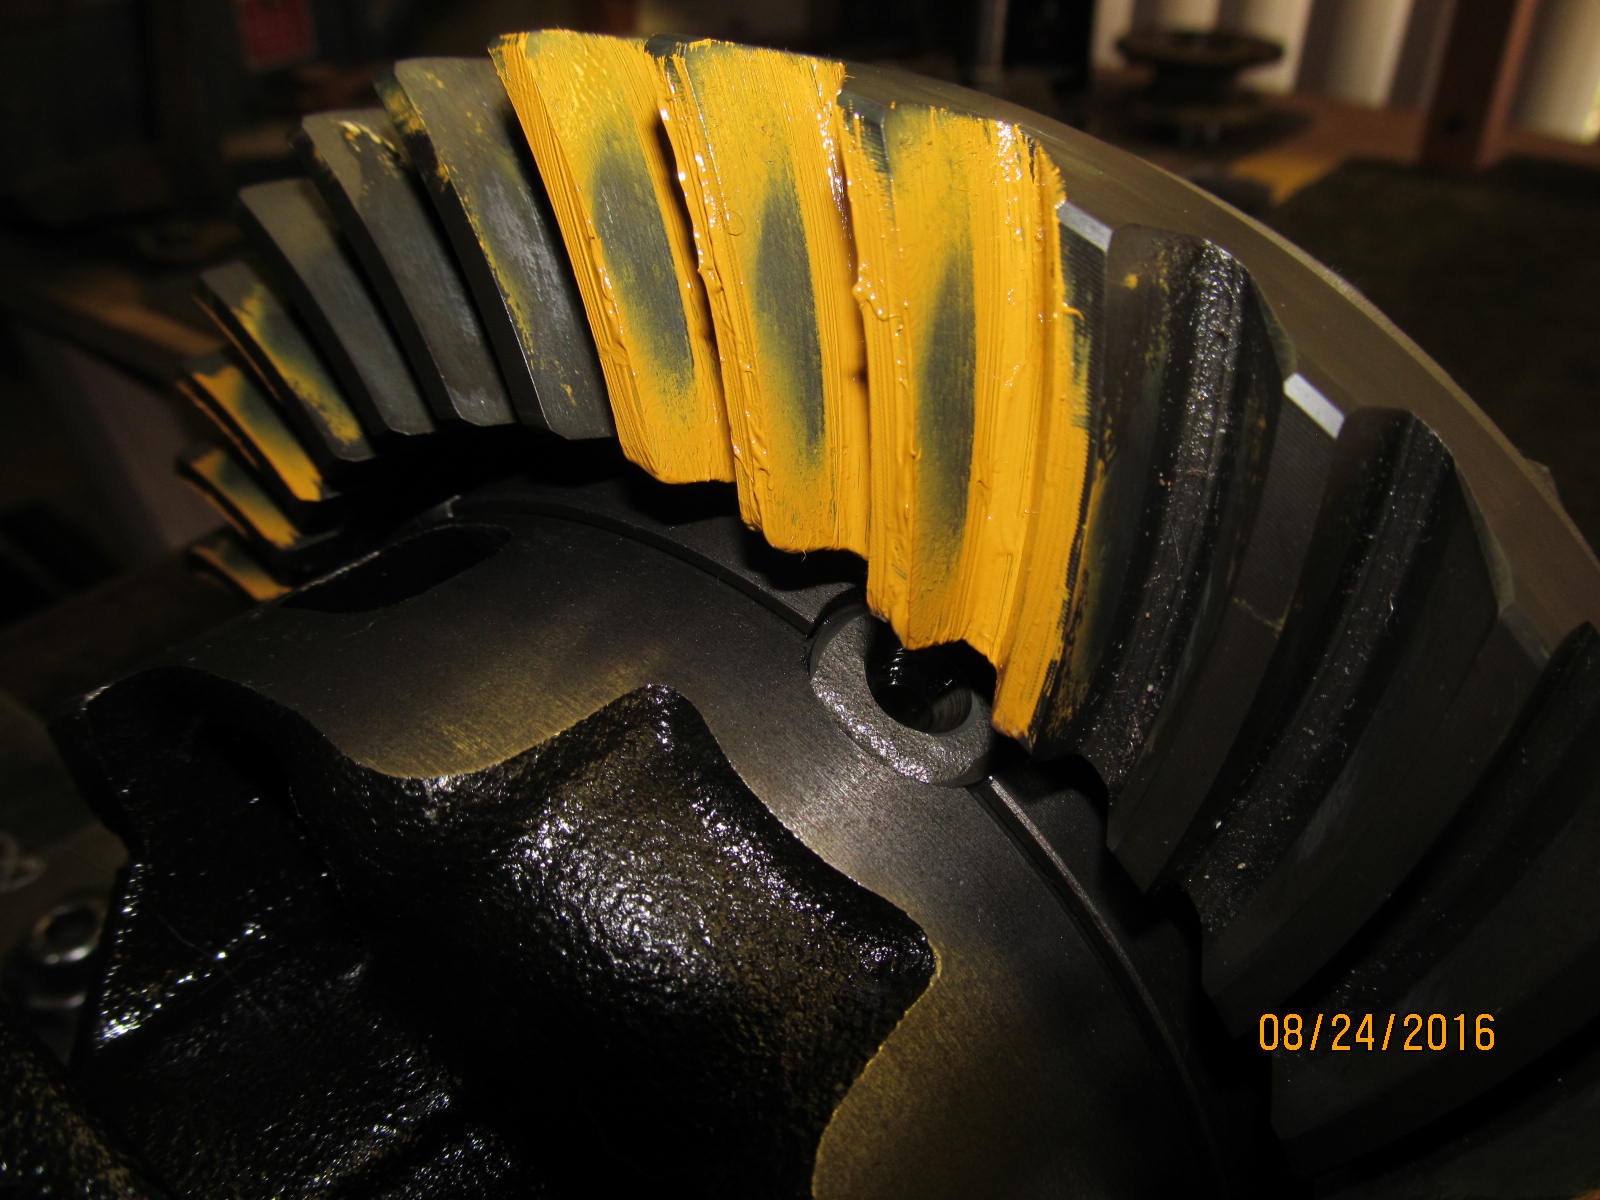
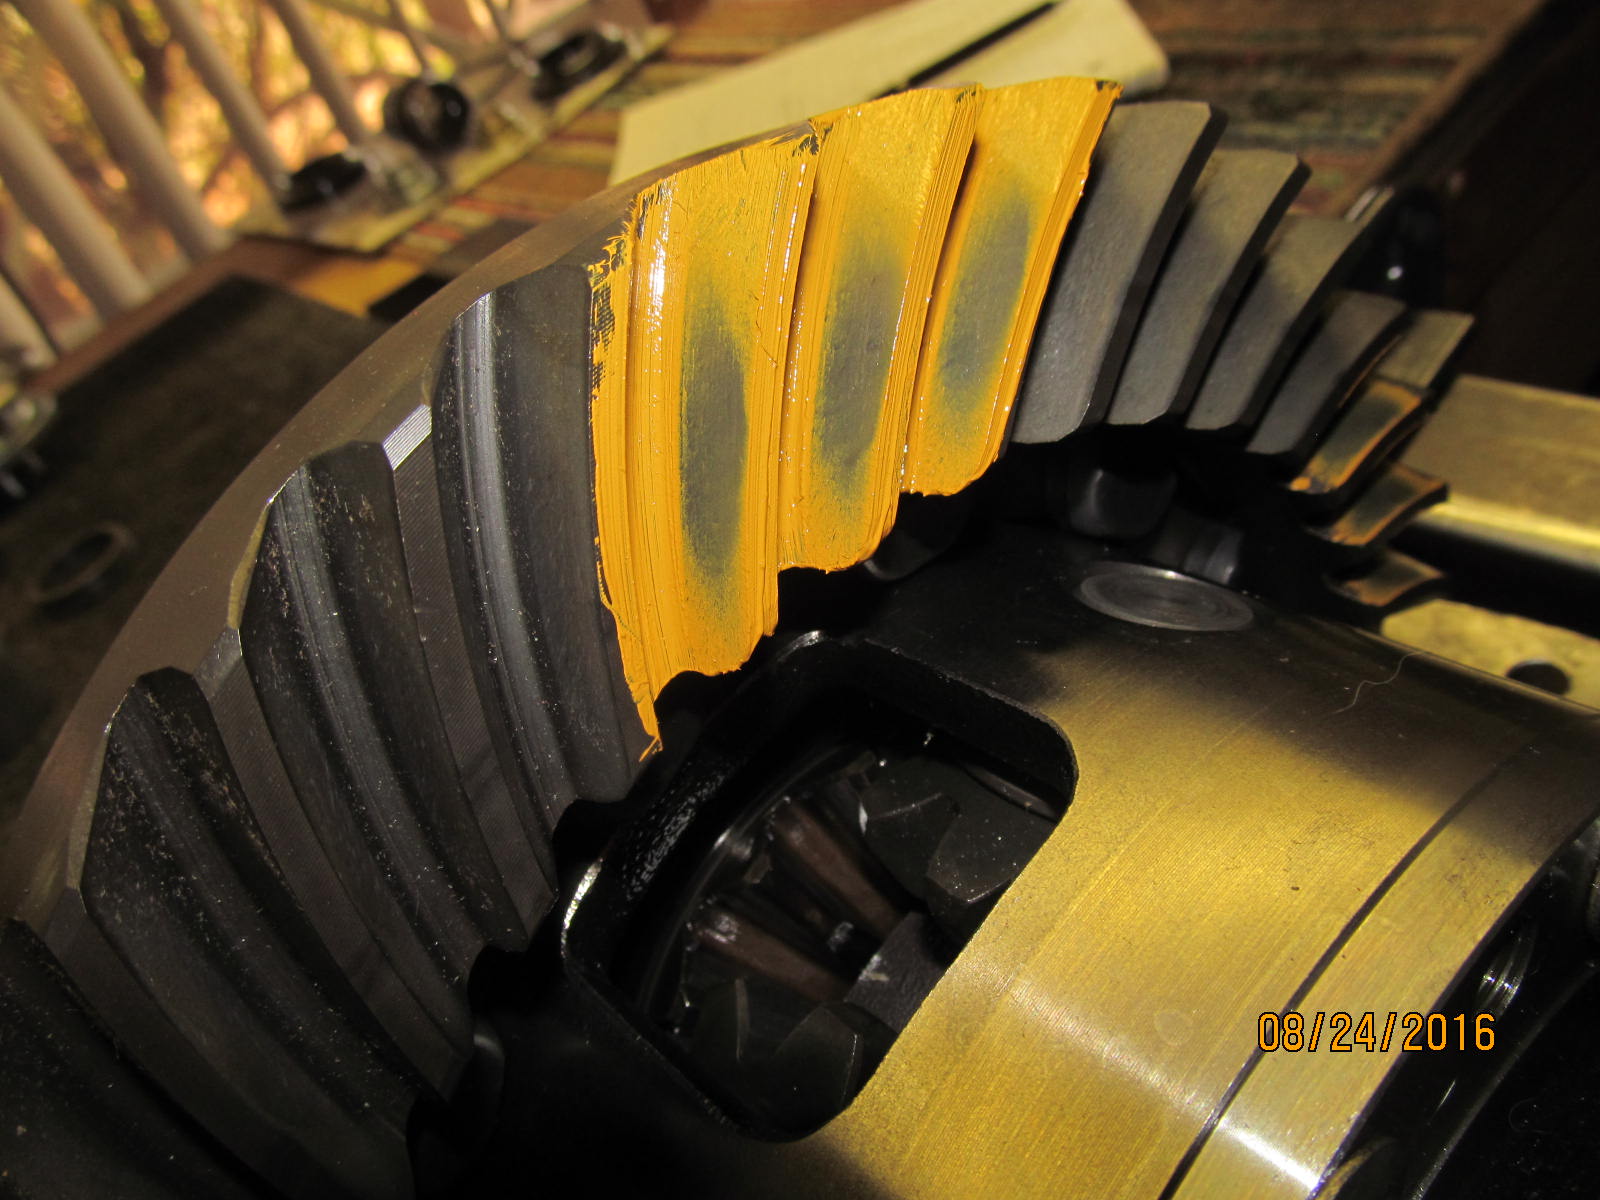
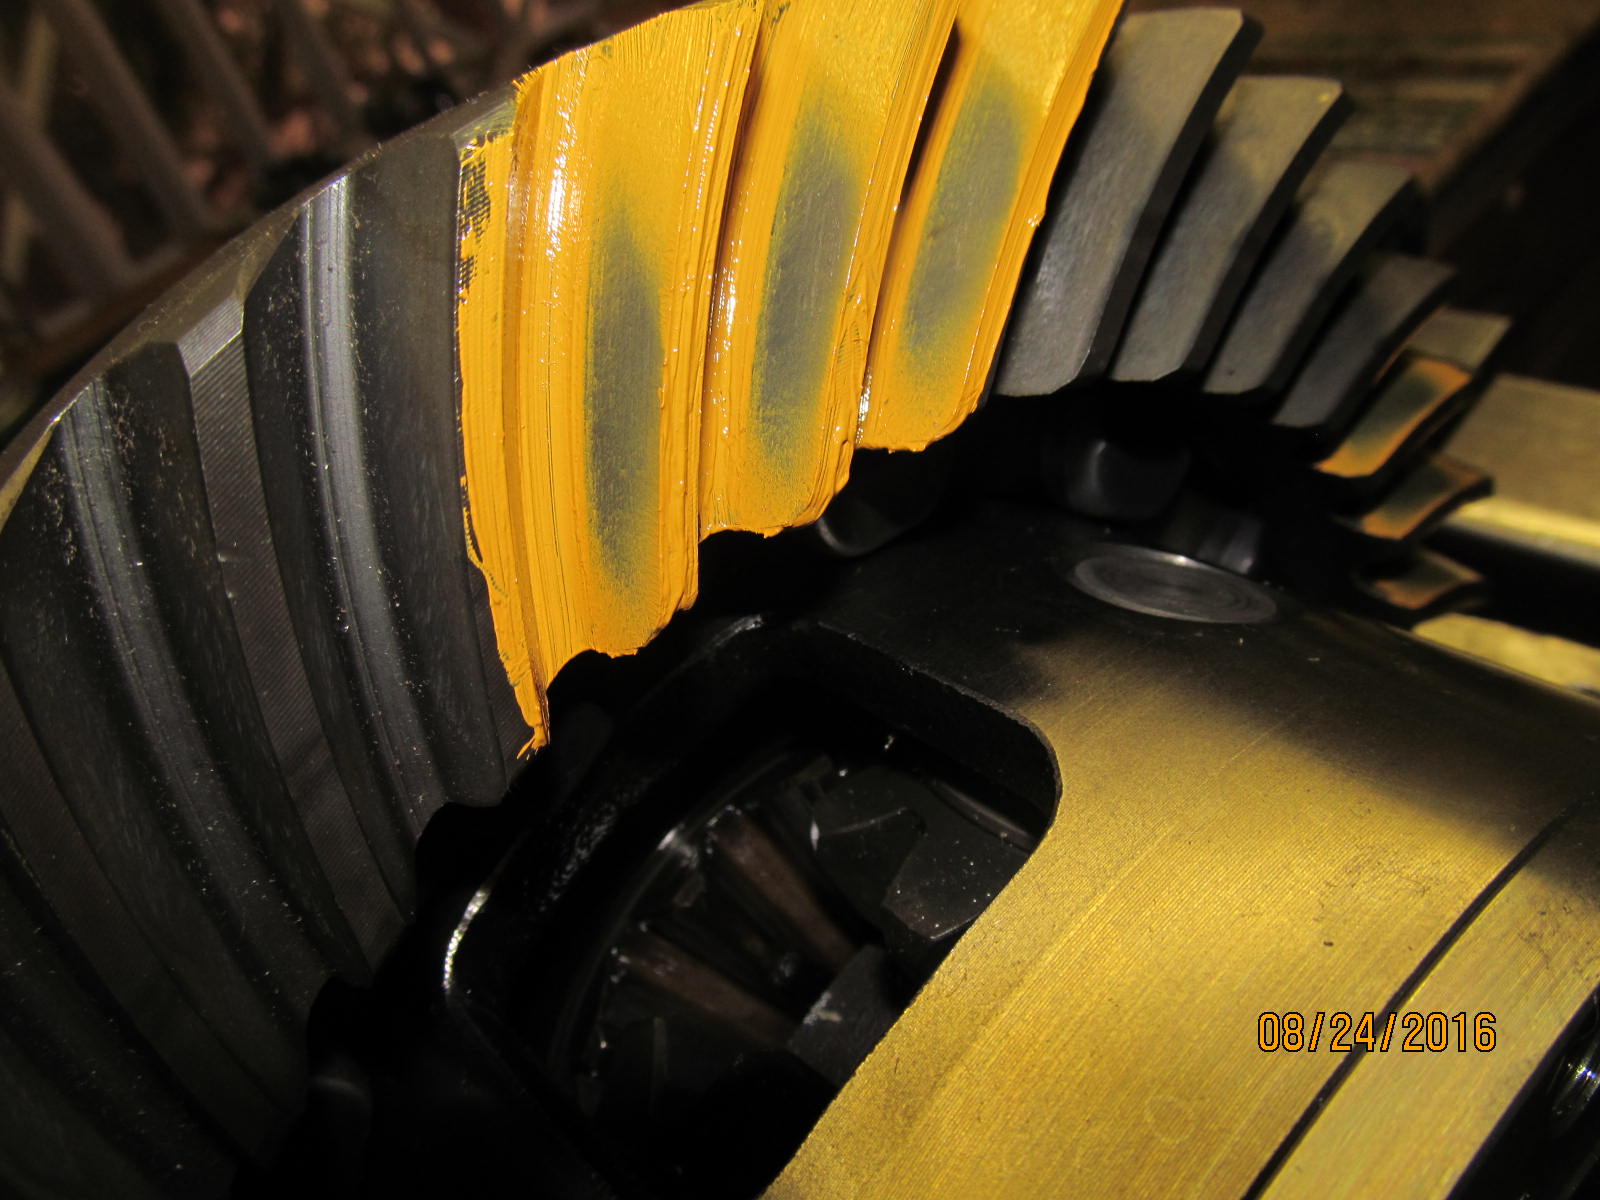
Drive side....looks like "exact depth"....would like to see it deeper.
|
|
|
|
|
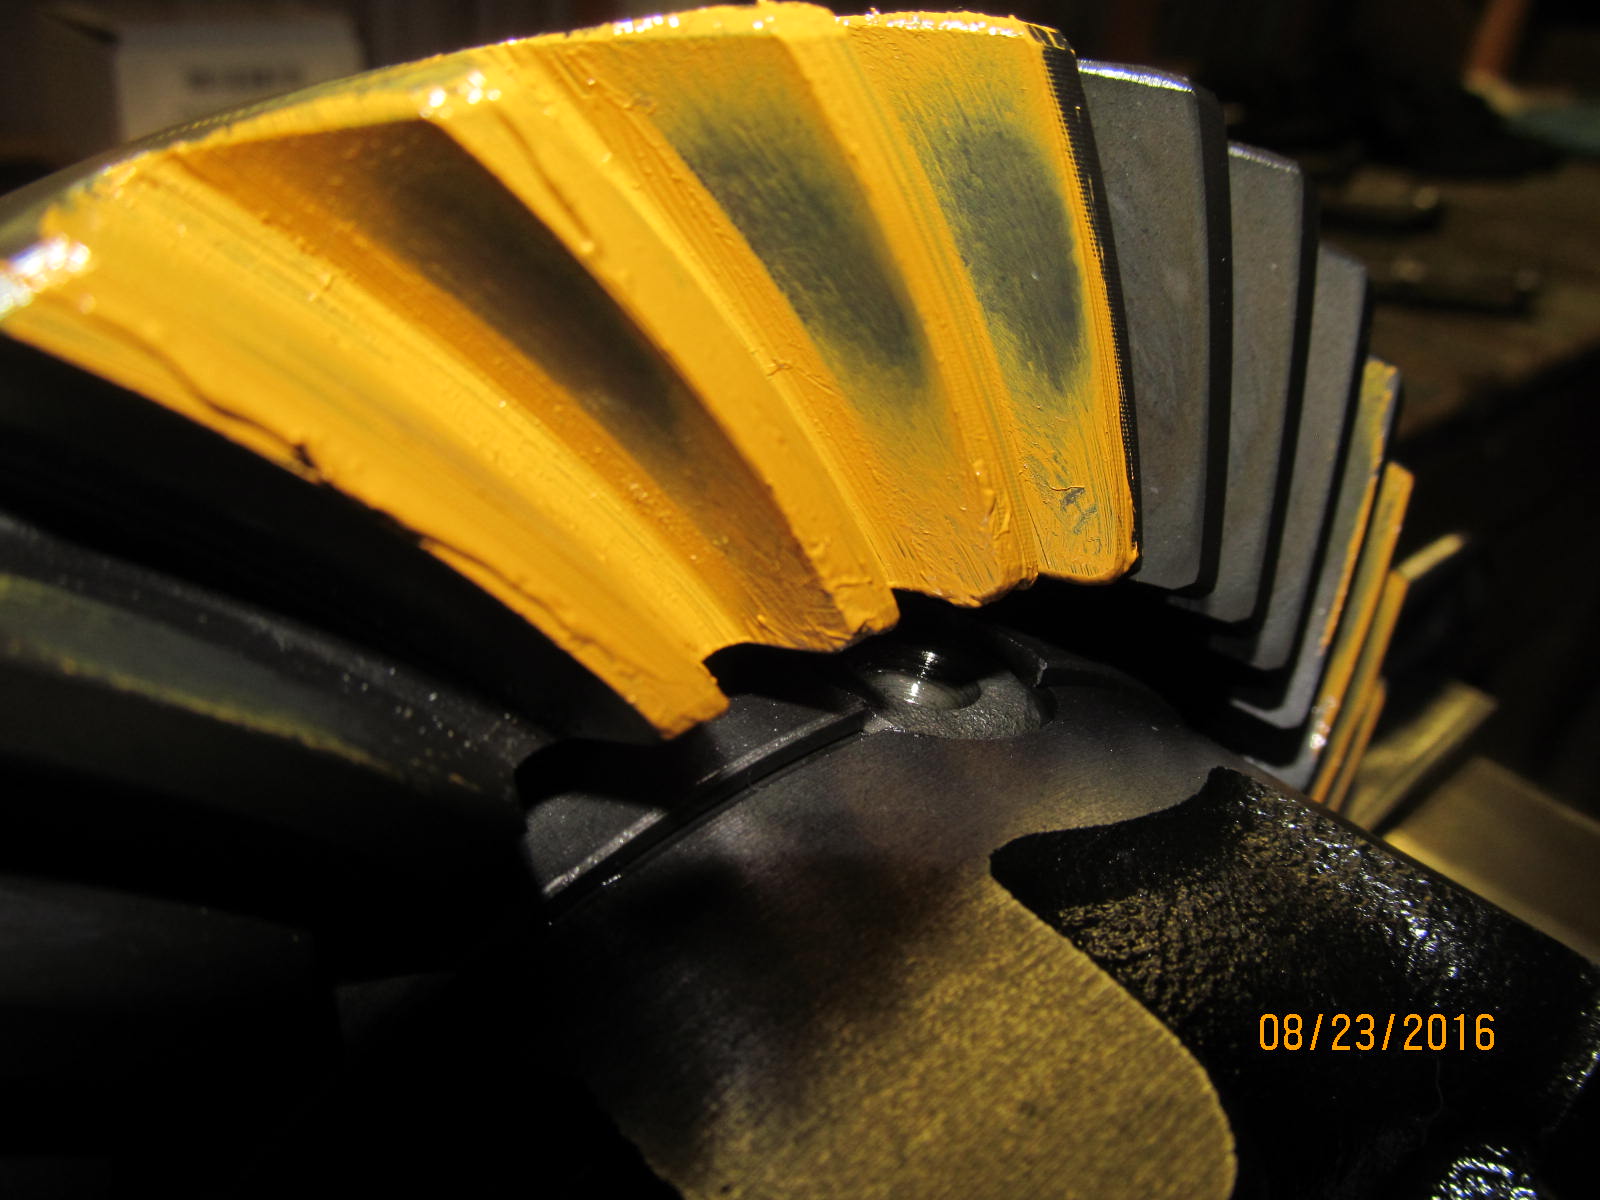
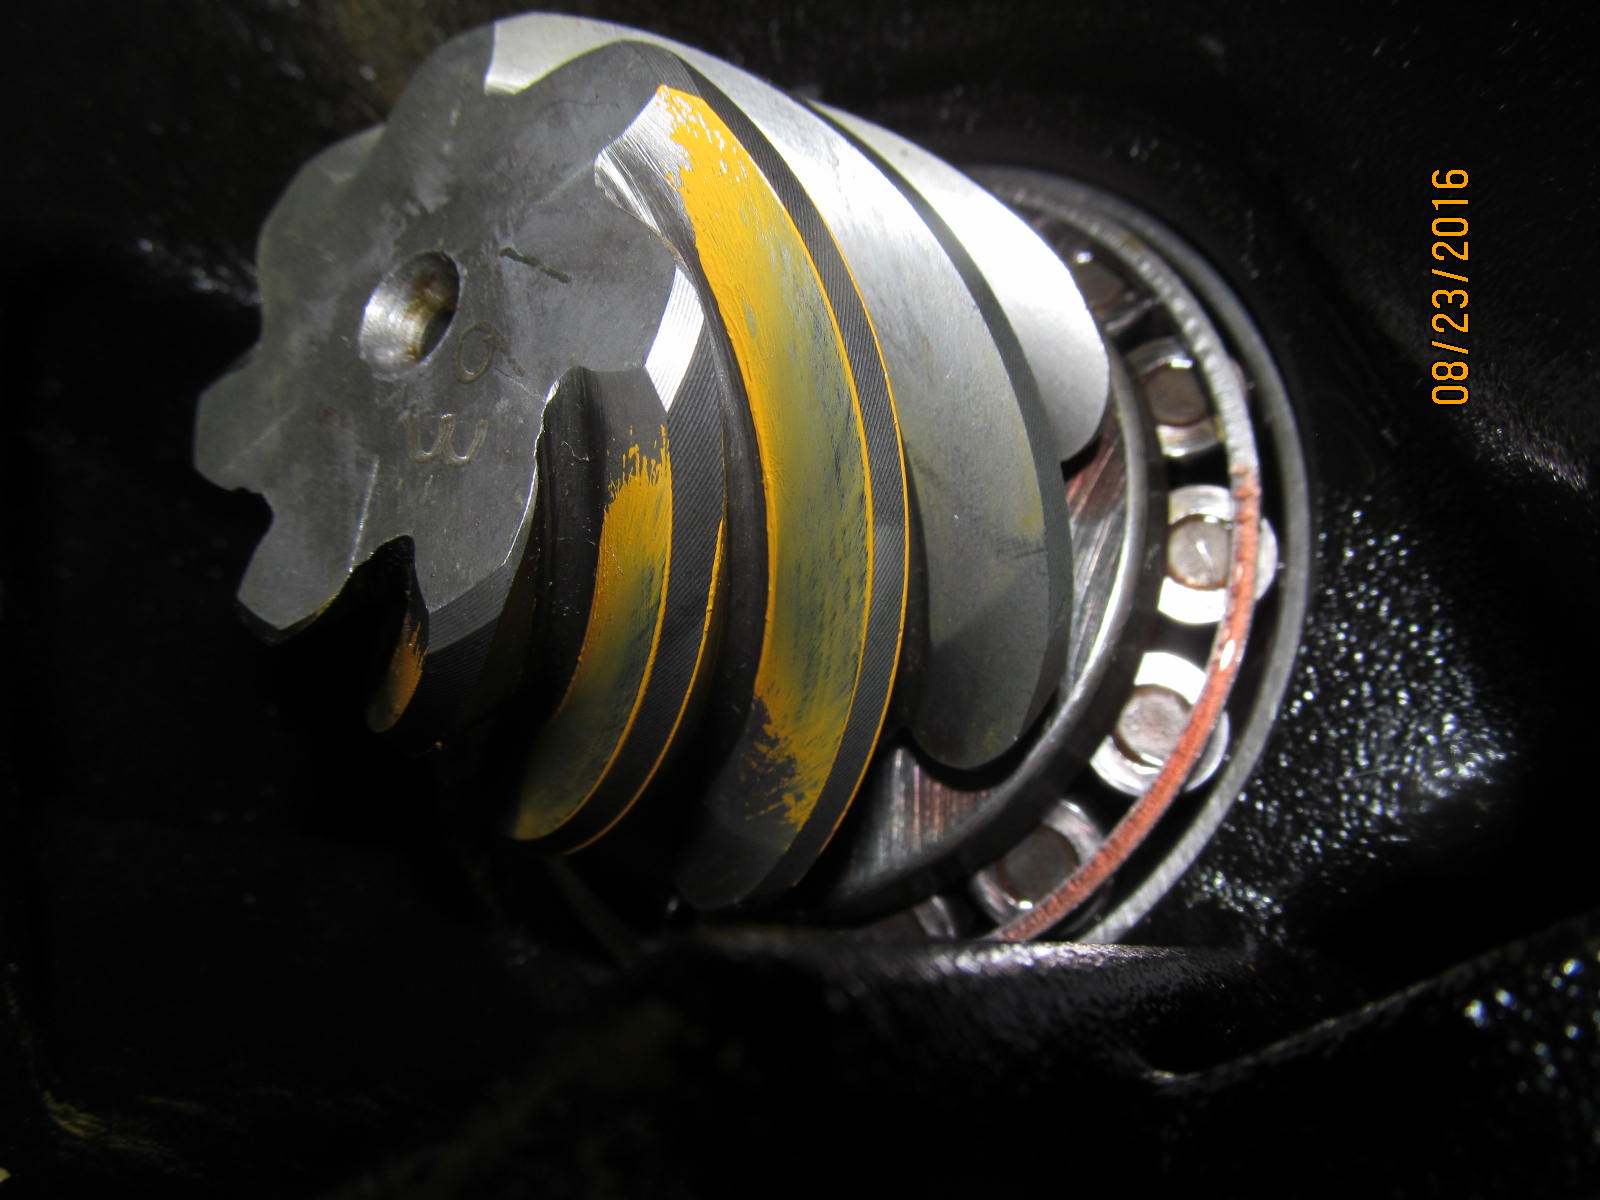
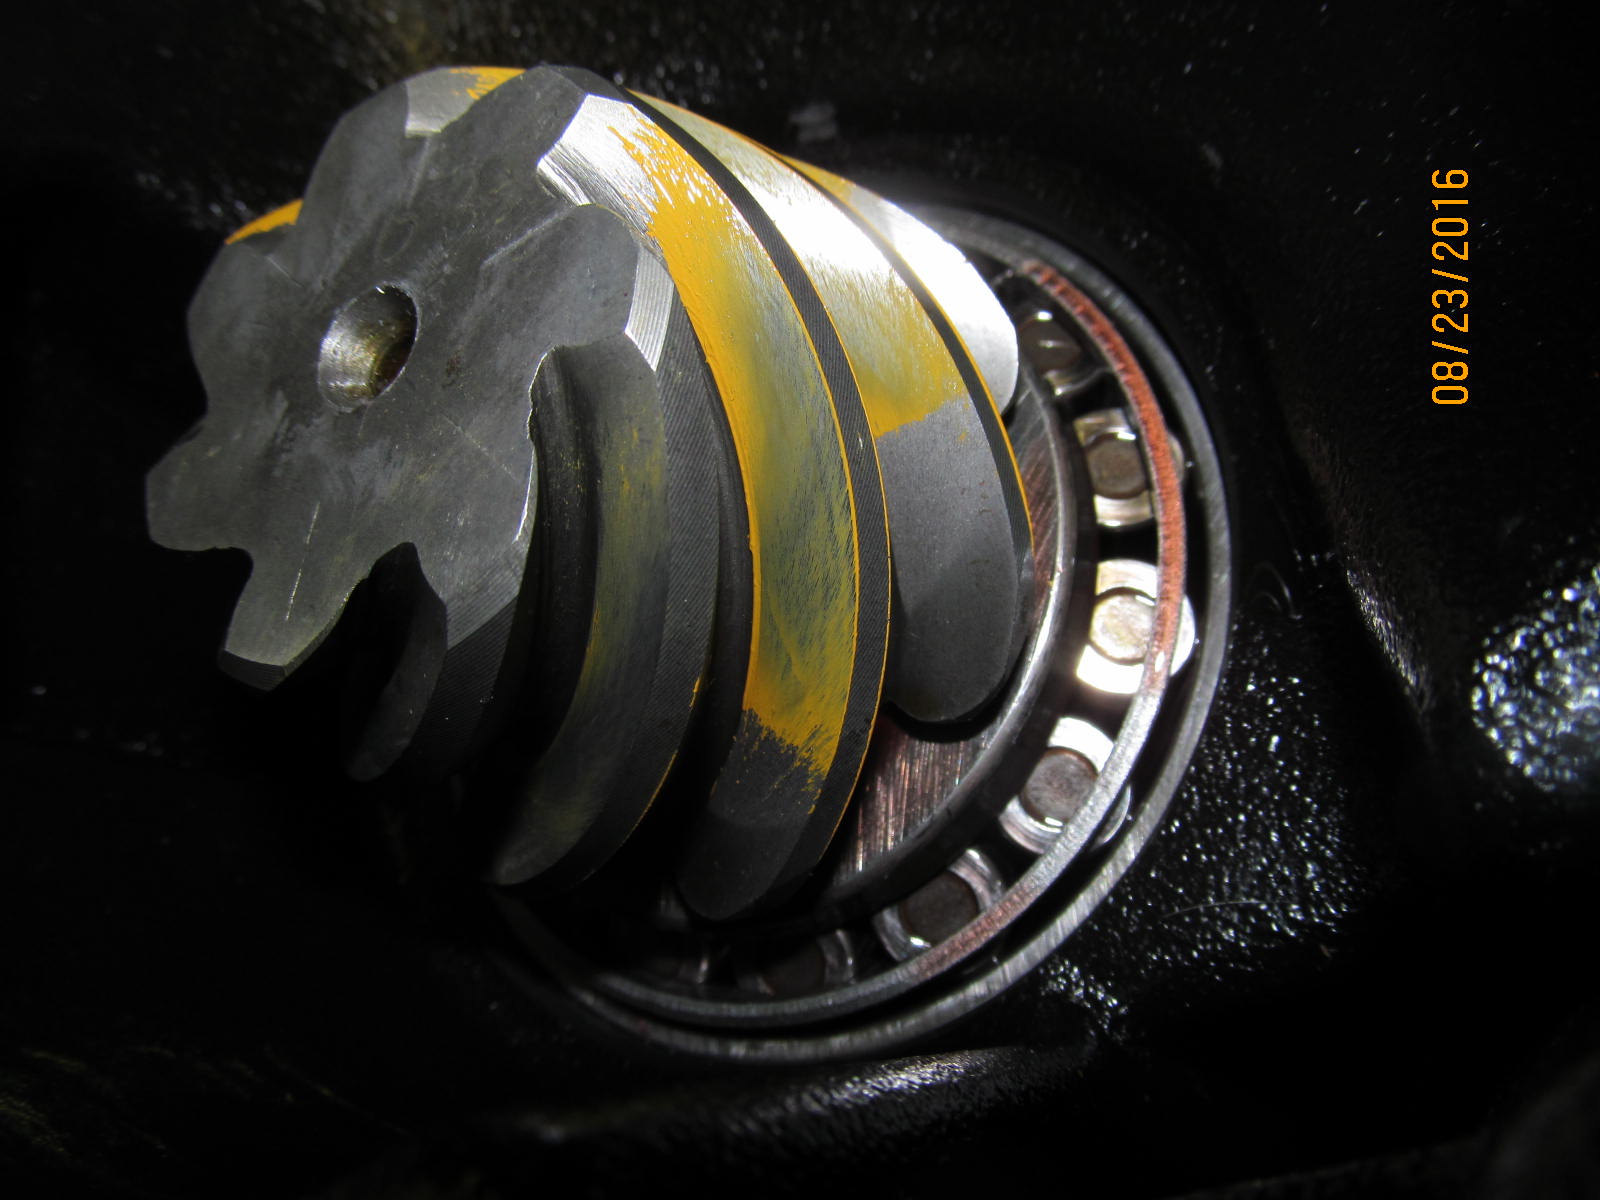
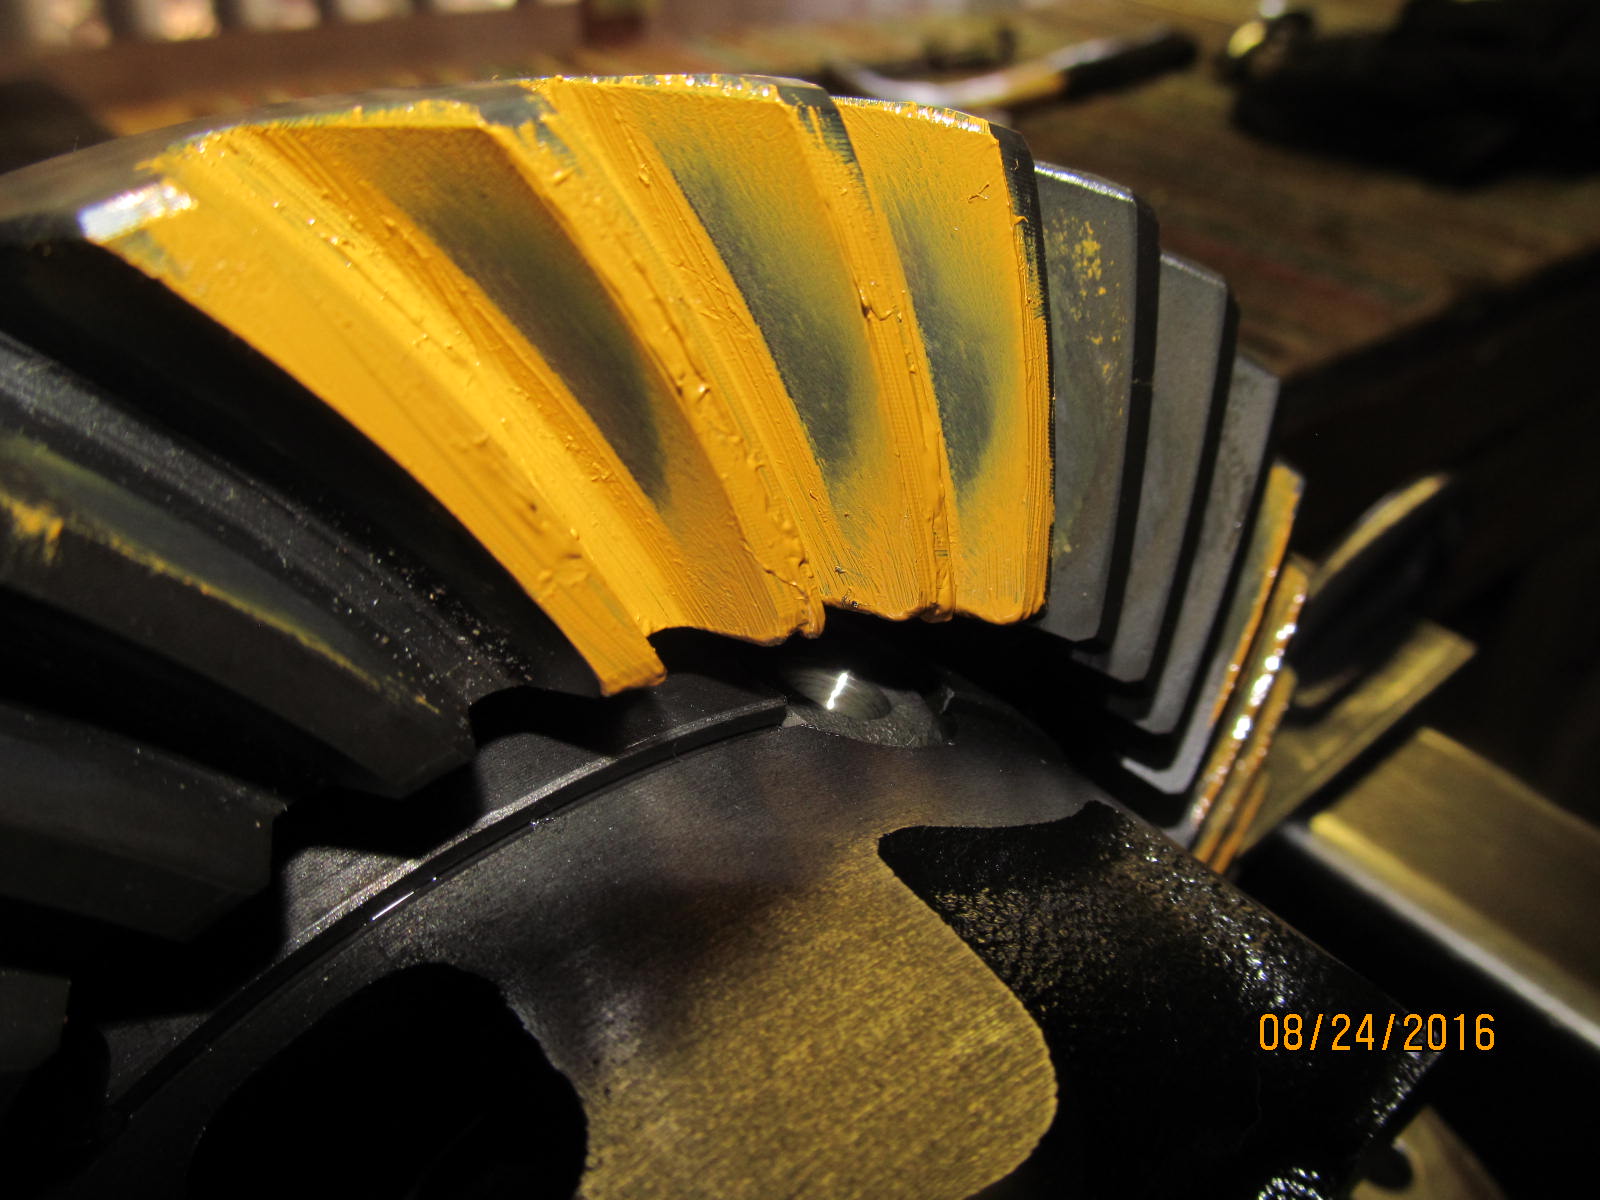
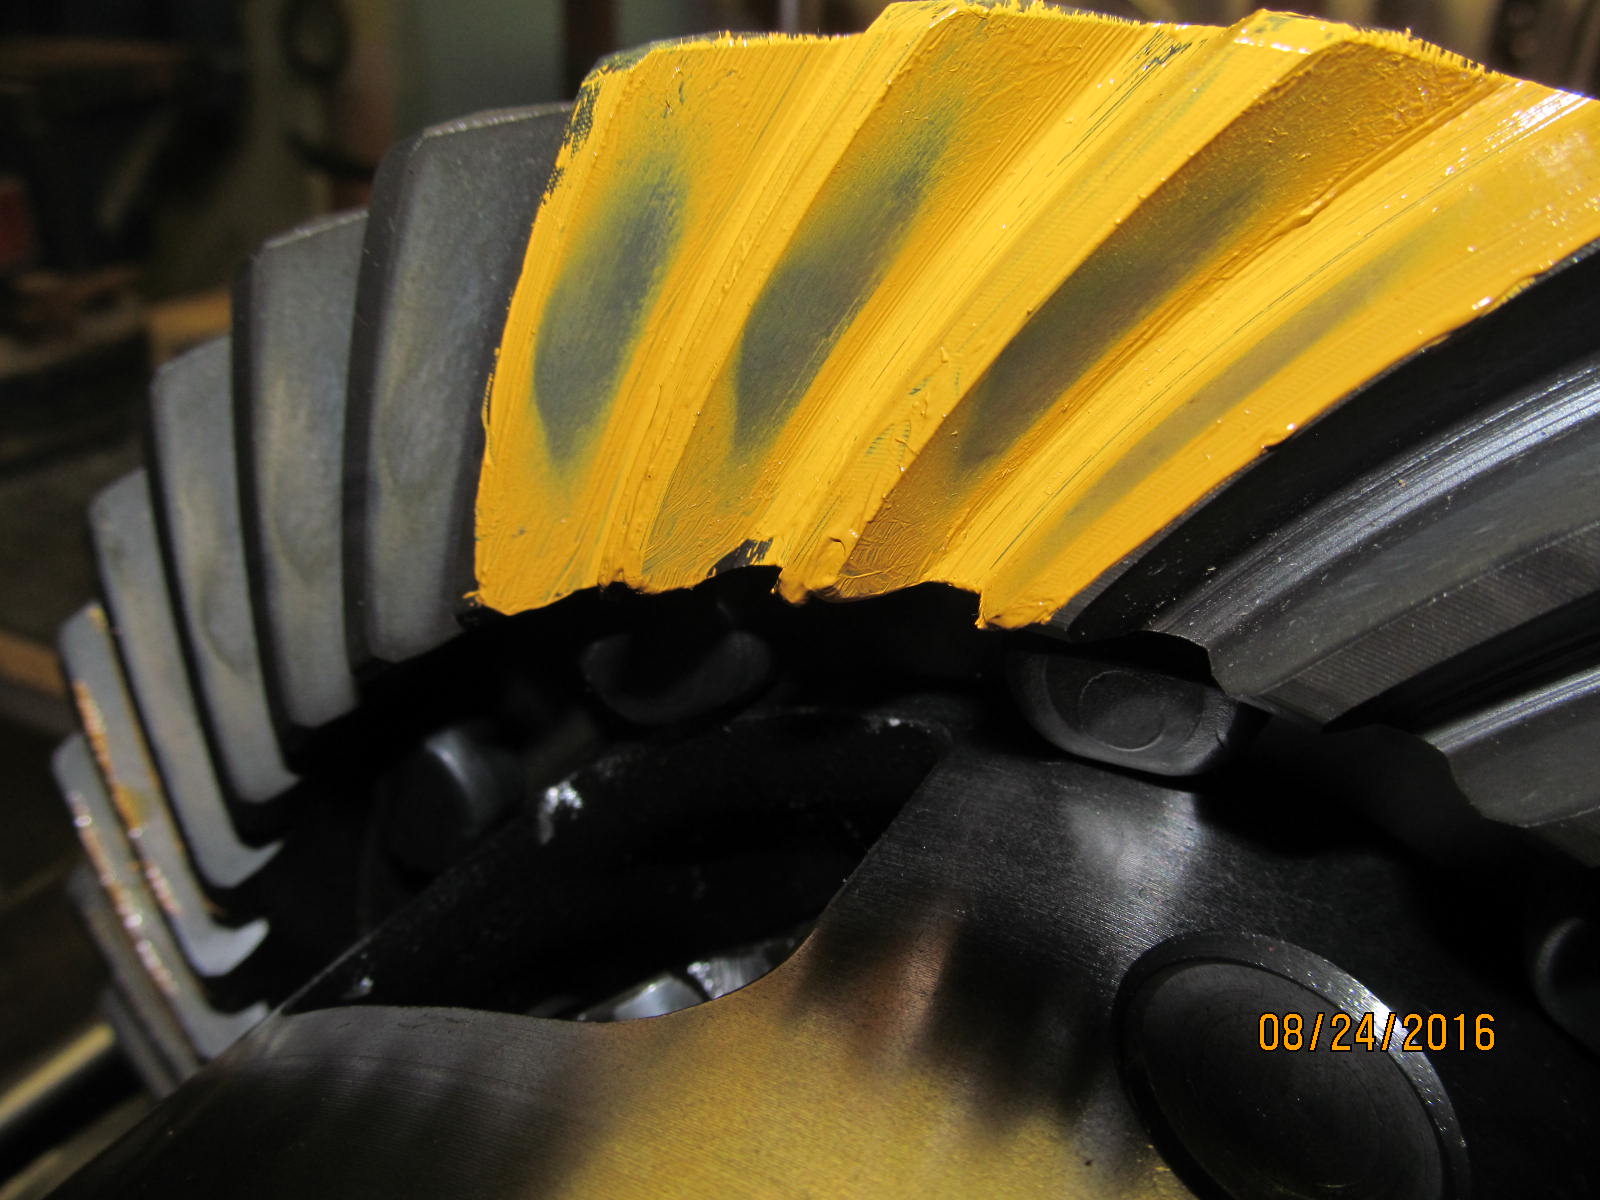
Coast.
|
|
|

|
|
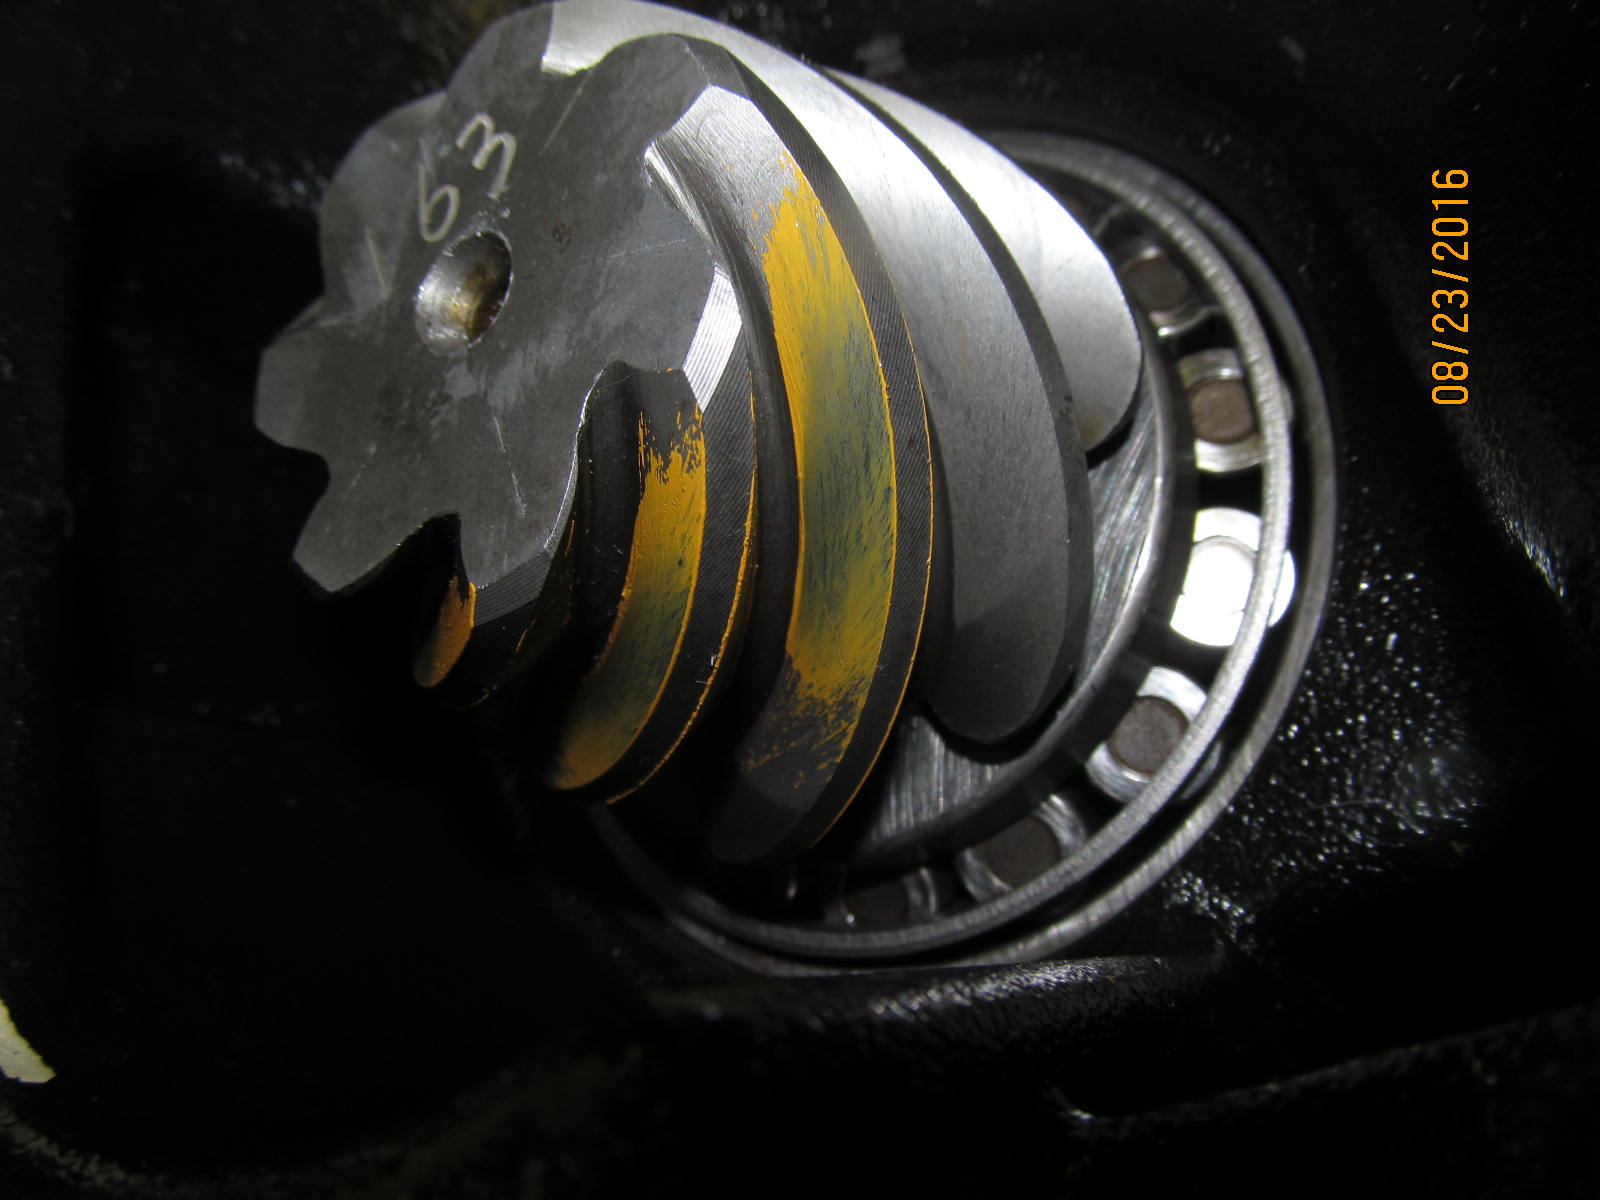
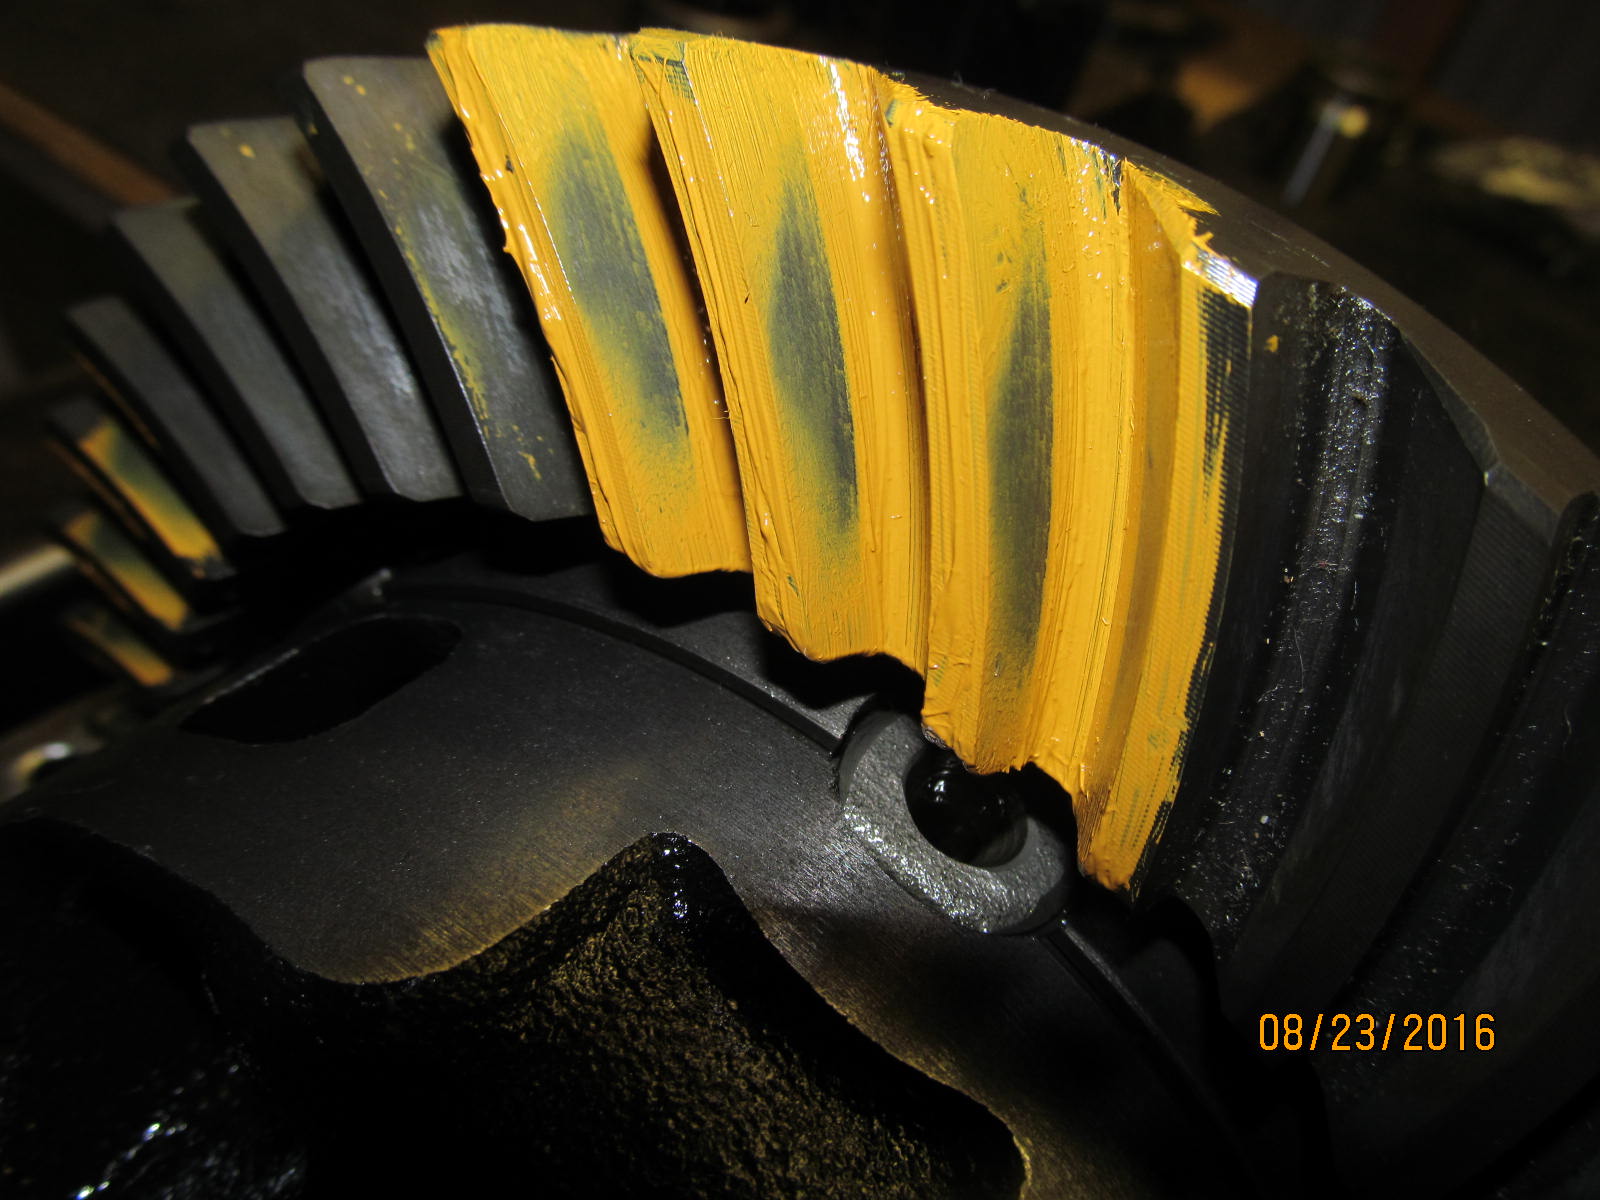
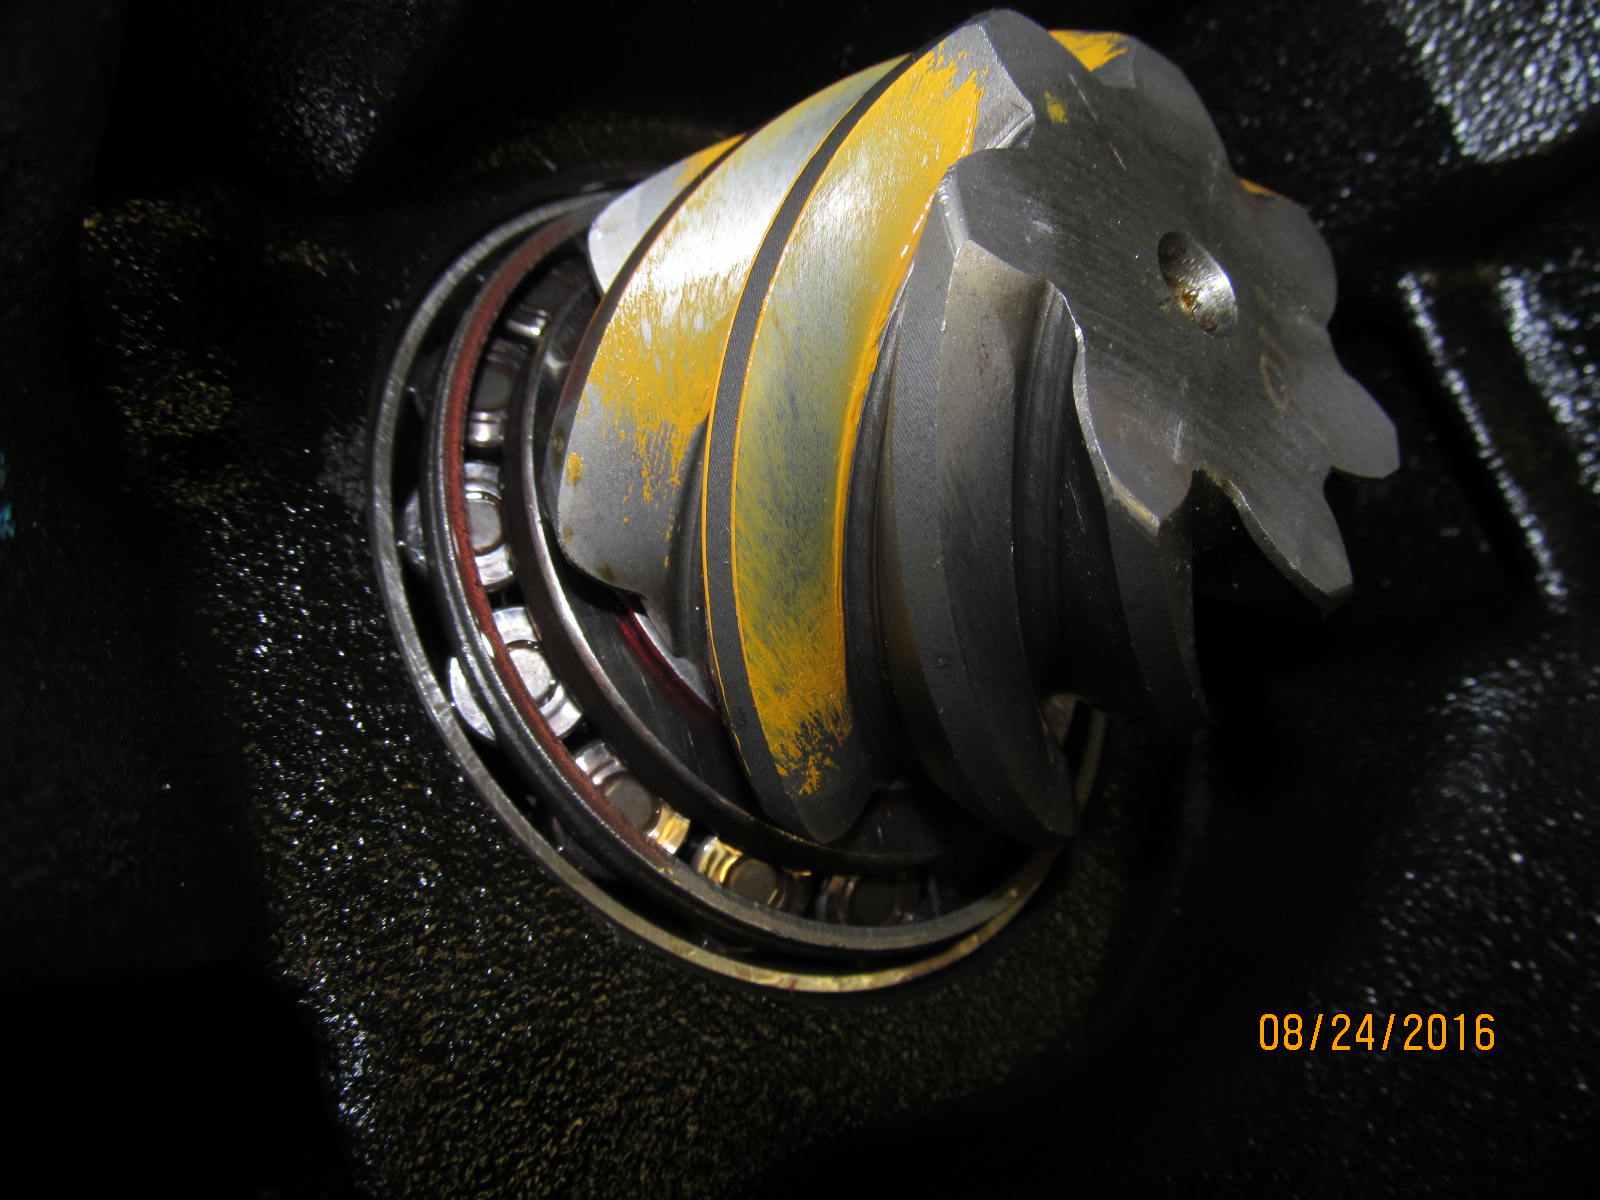
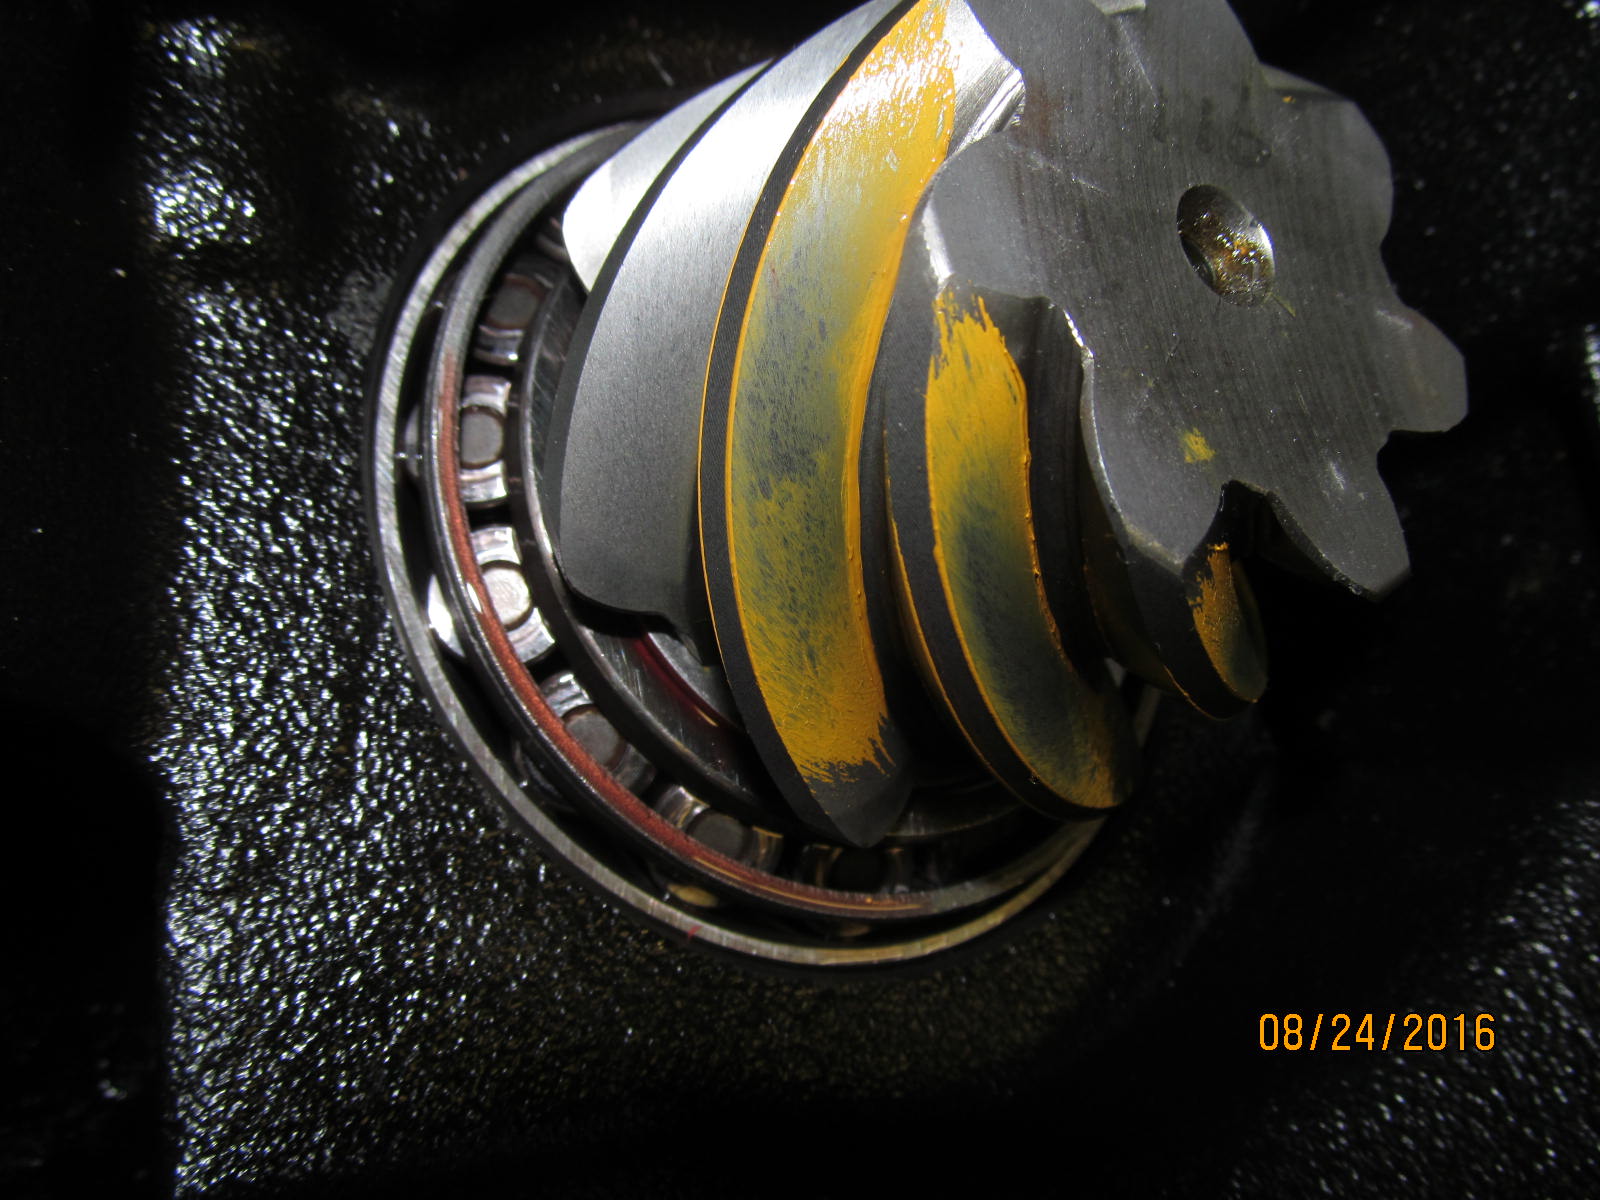
Drive on the pinion...tail is tucked in.
|
|
|
|
|
........
|
|
|
|
|
.............
|
|
|
|
|
Tore it down again and going to try a thicker shim to get it deeper.
|
|
|
|
|
Increased the shim to .078"...
|
|
|
|
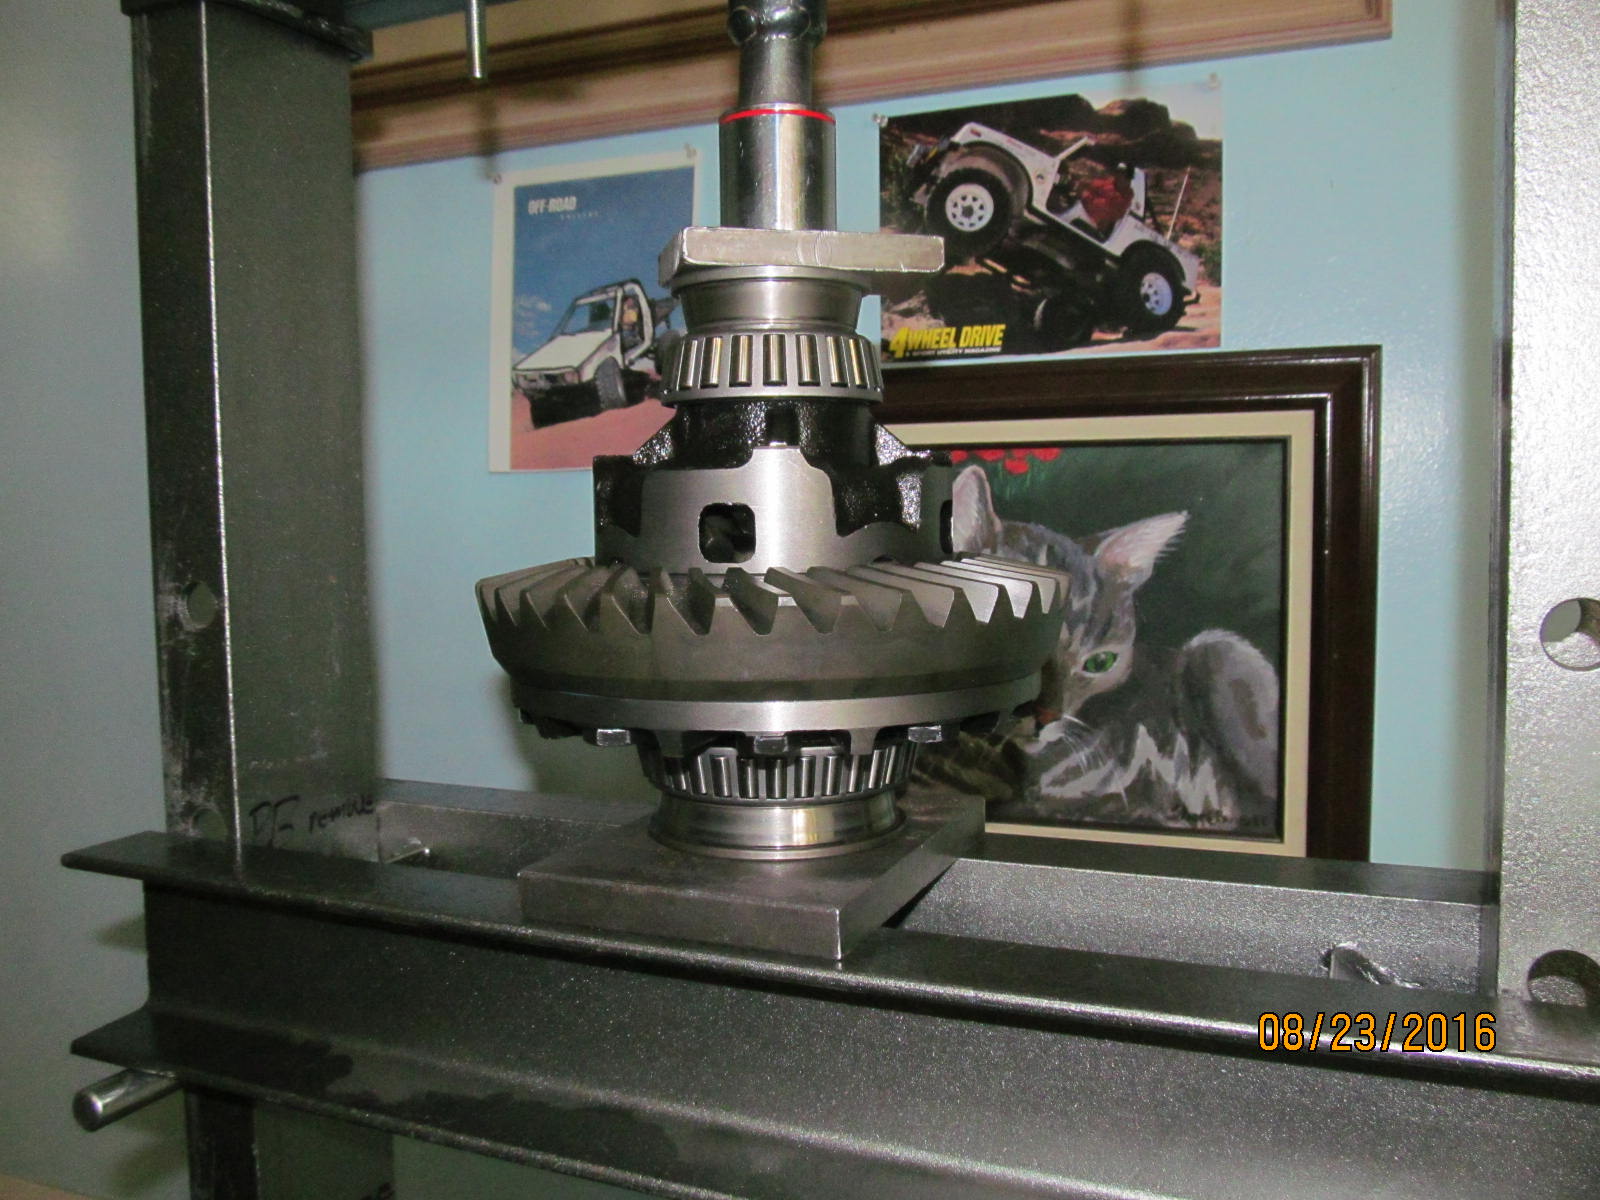
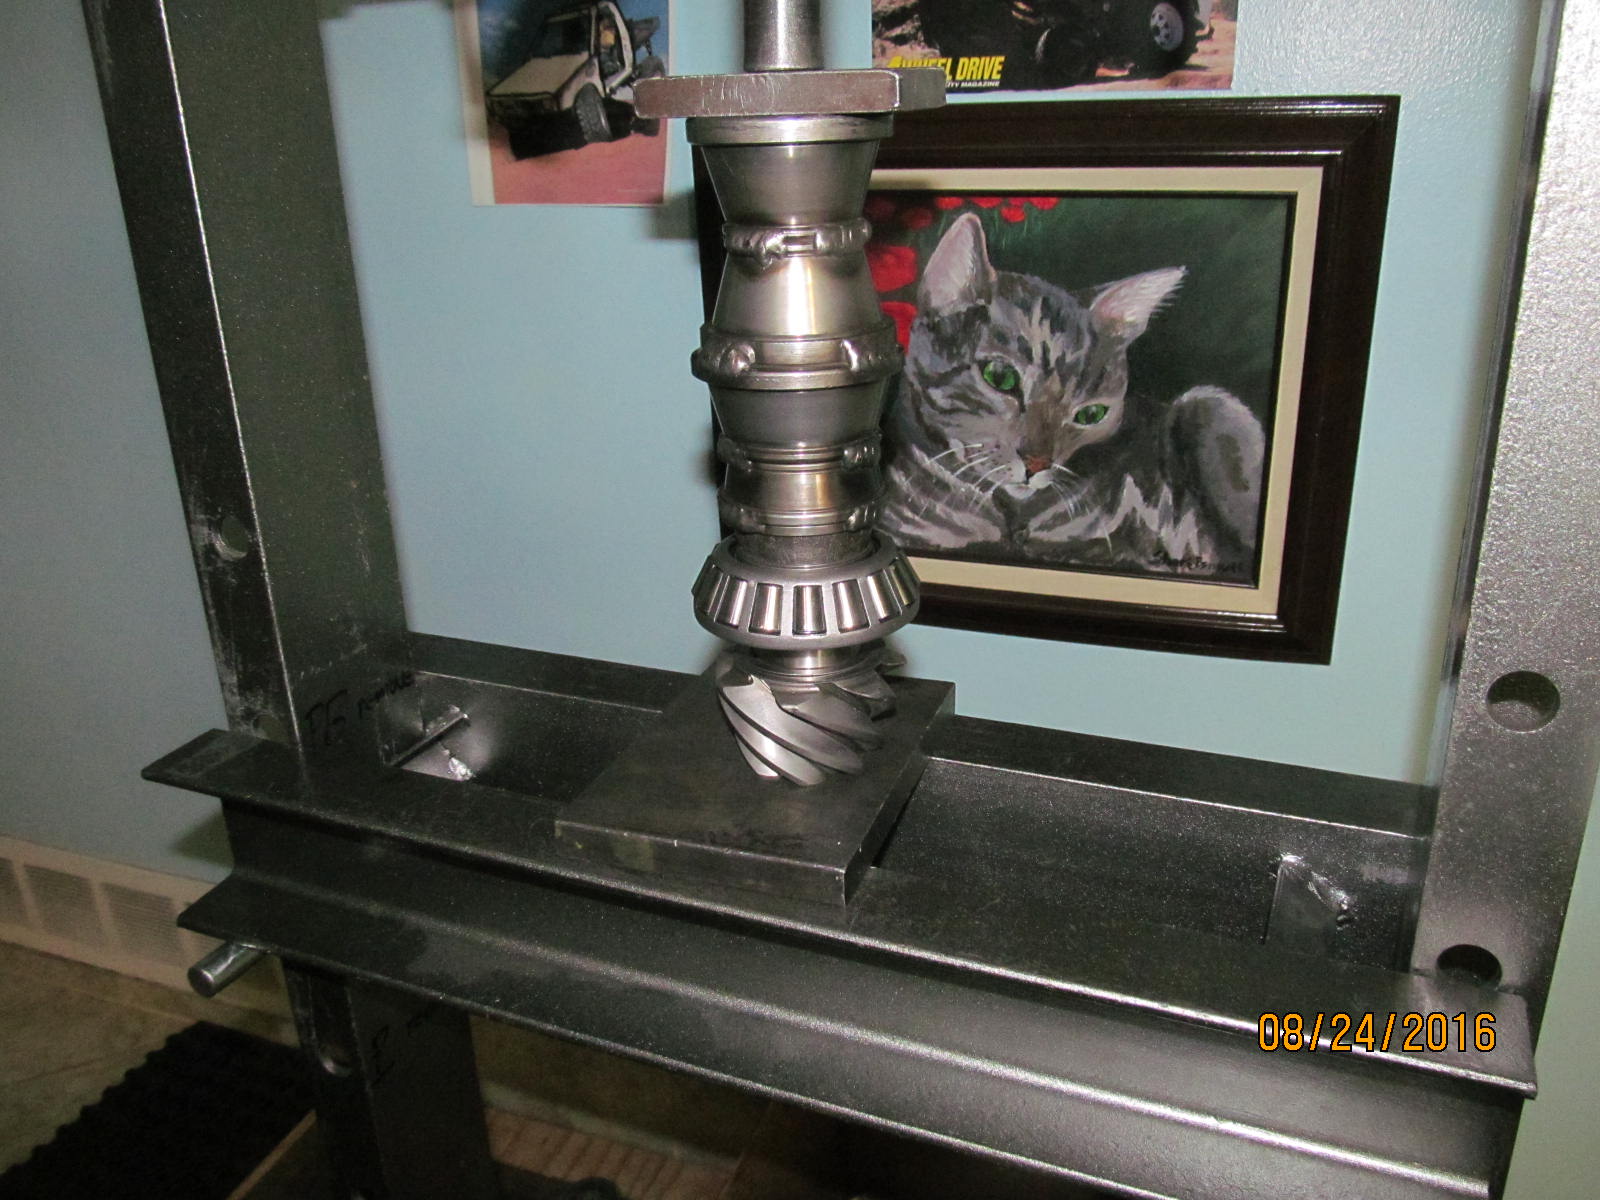
Pinion is supported by a couple of aluminum blocks(from a Skyjacker lift kit for a 99 TJ Jeep).
Empty 3rd is placed over it and the shop pinion flange is tapped on.
|
|
|
|
|
Drive side....now is maybe slight deep....
|
|
|
|
|
Coast shows that it should go a touch deeper yet.
|
|
|
|
|
Drive here says maybe a little deeper again.
|
|
|
|
|
...................
|
|
|
|
|
........................
|
|
|
|
Teardown and re-assemble with .081"
This is about as deep as I can go.....
|
|
|
|
|
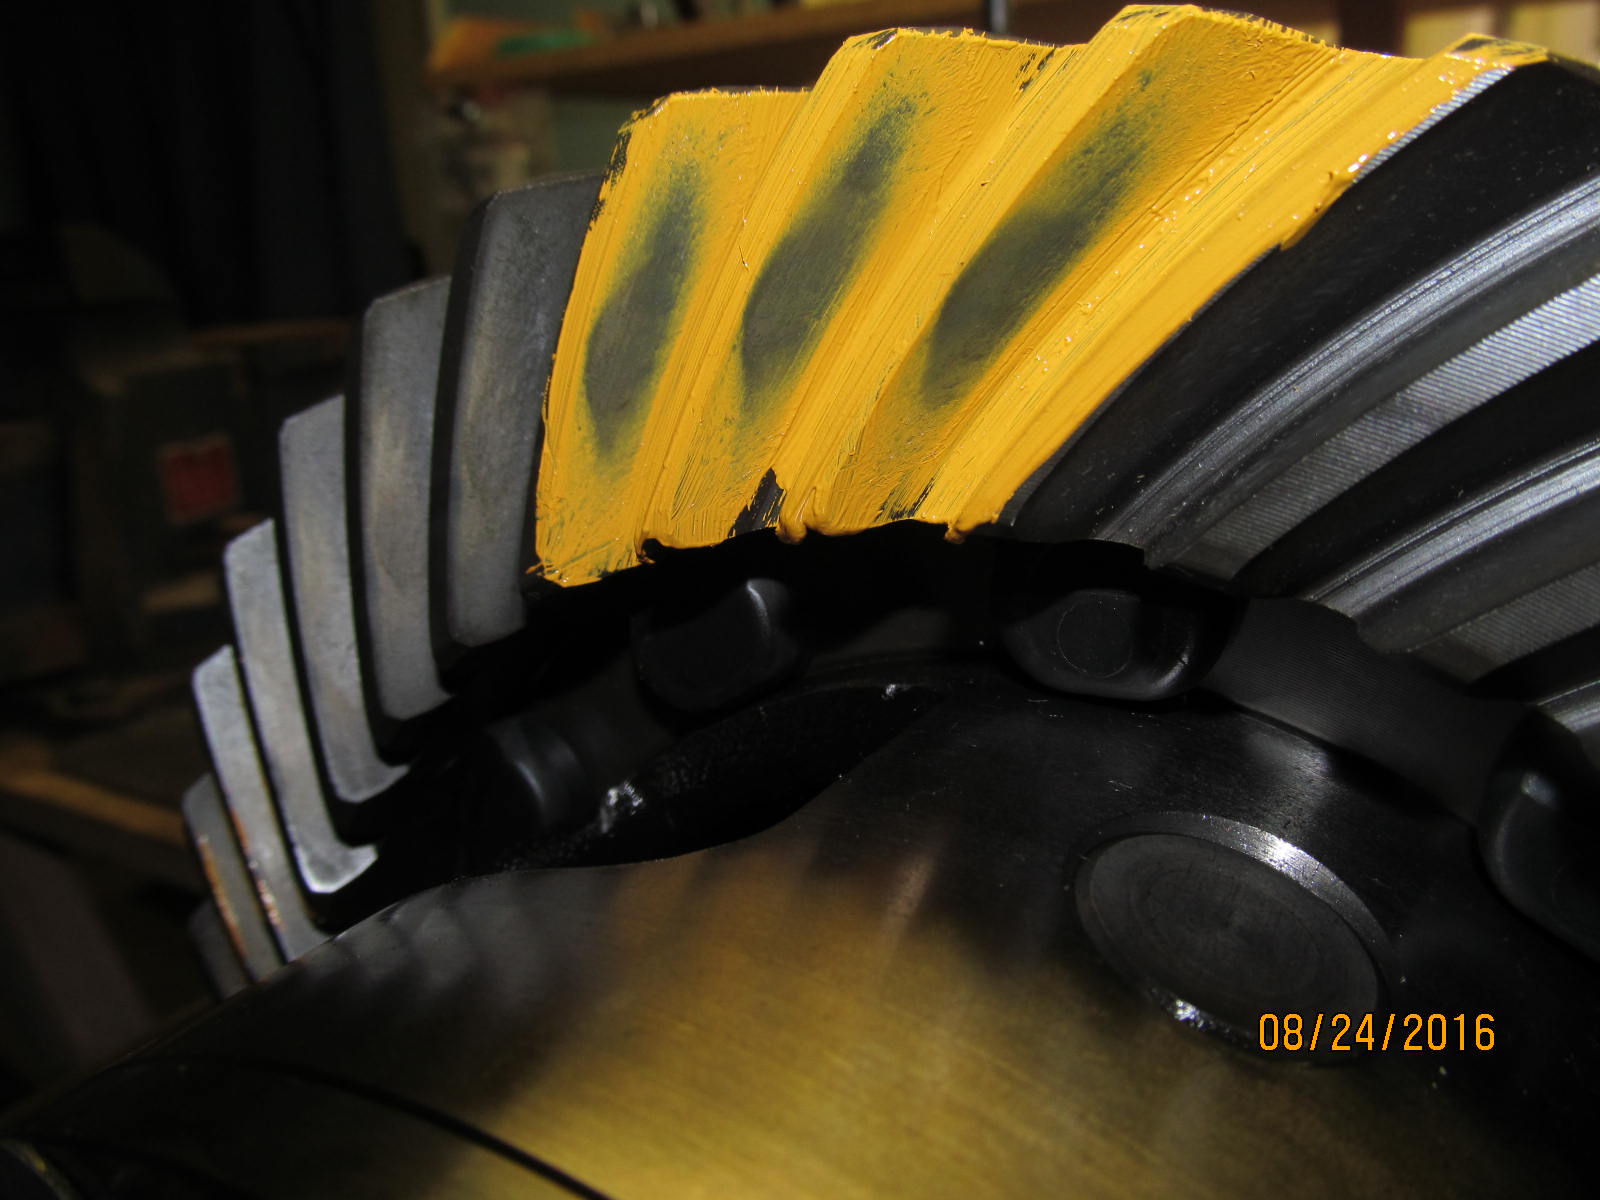
Oh ya....coast is deep.
|
|
|
|
|
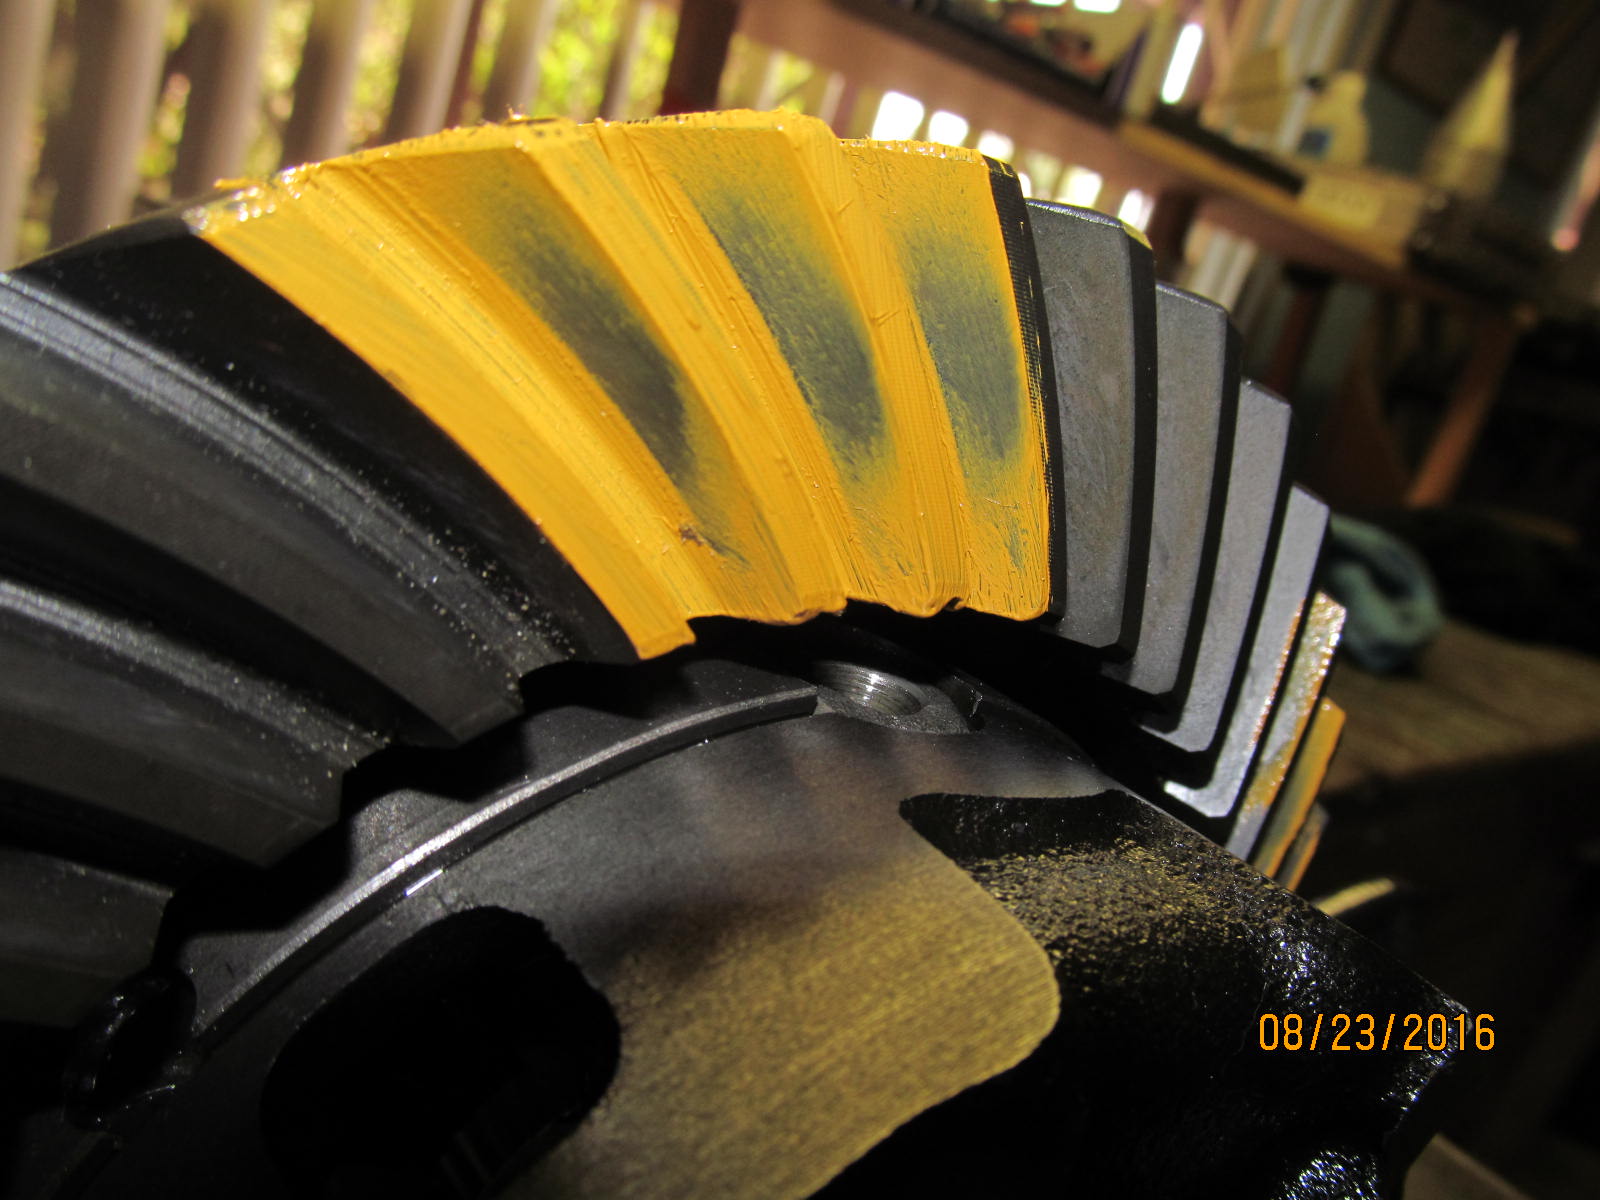
Drive.....and now the tail is not tucked into the root. It is now spread out.
|
|
|
|
|
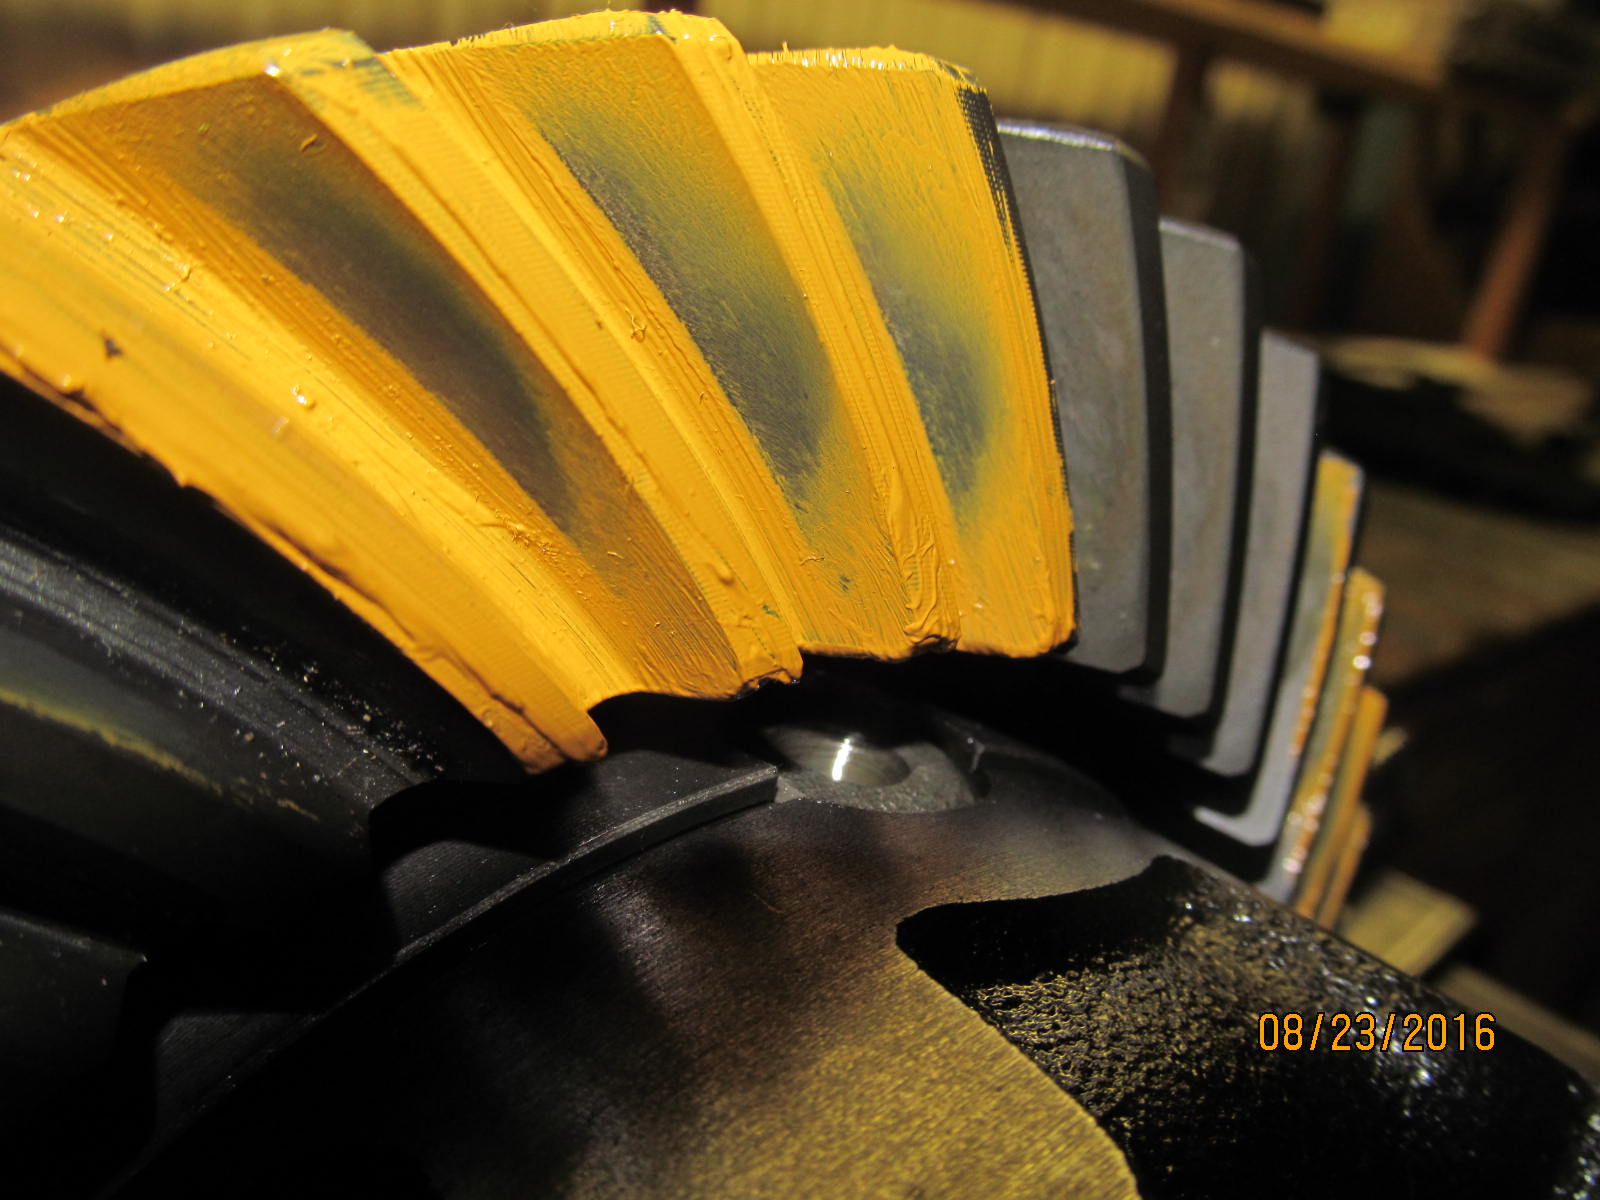
See how the tail is smoothly in the center? That's what I want to see.
|
|
|
|
|
......................
|
|
|
|
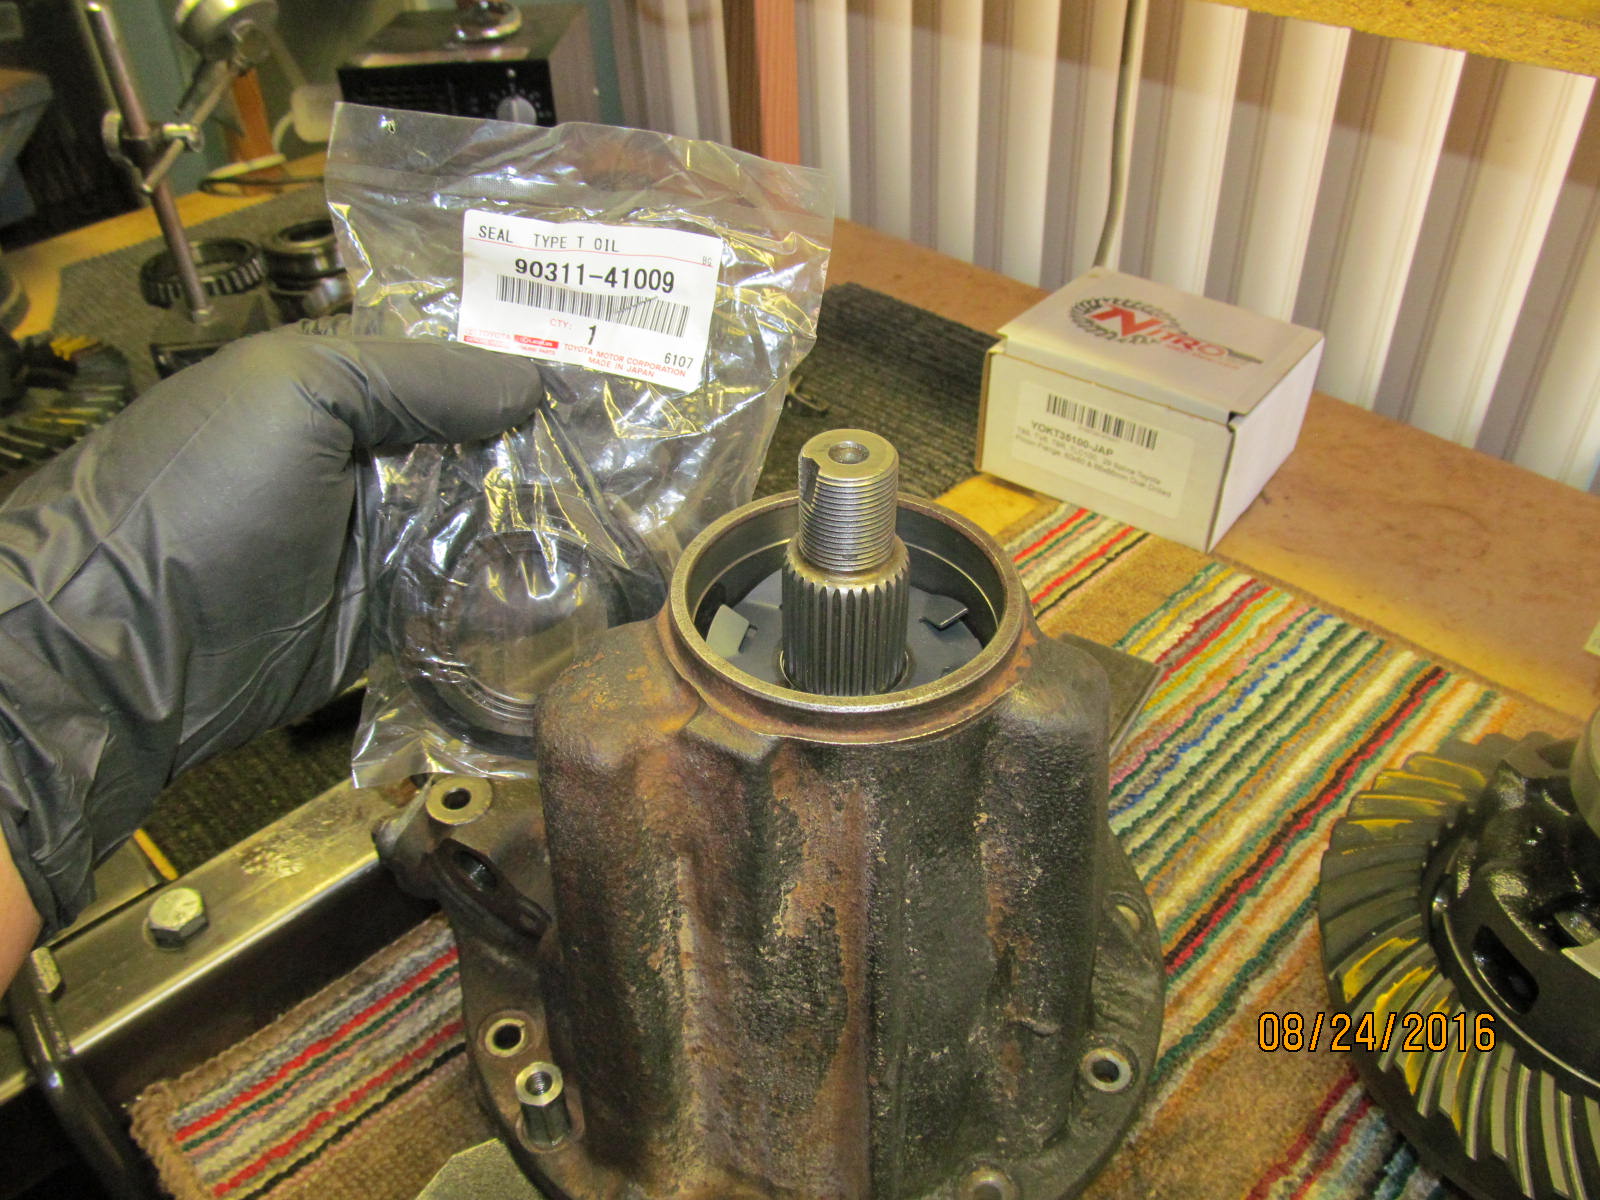
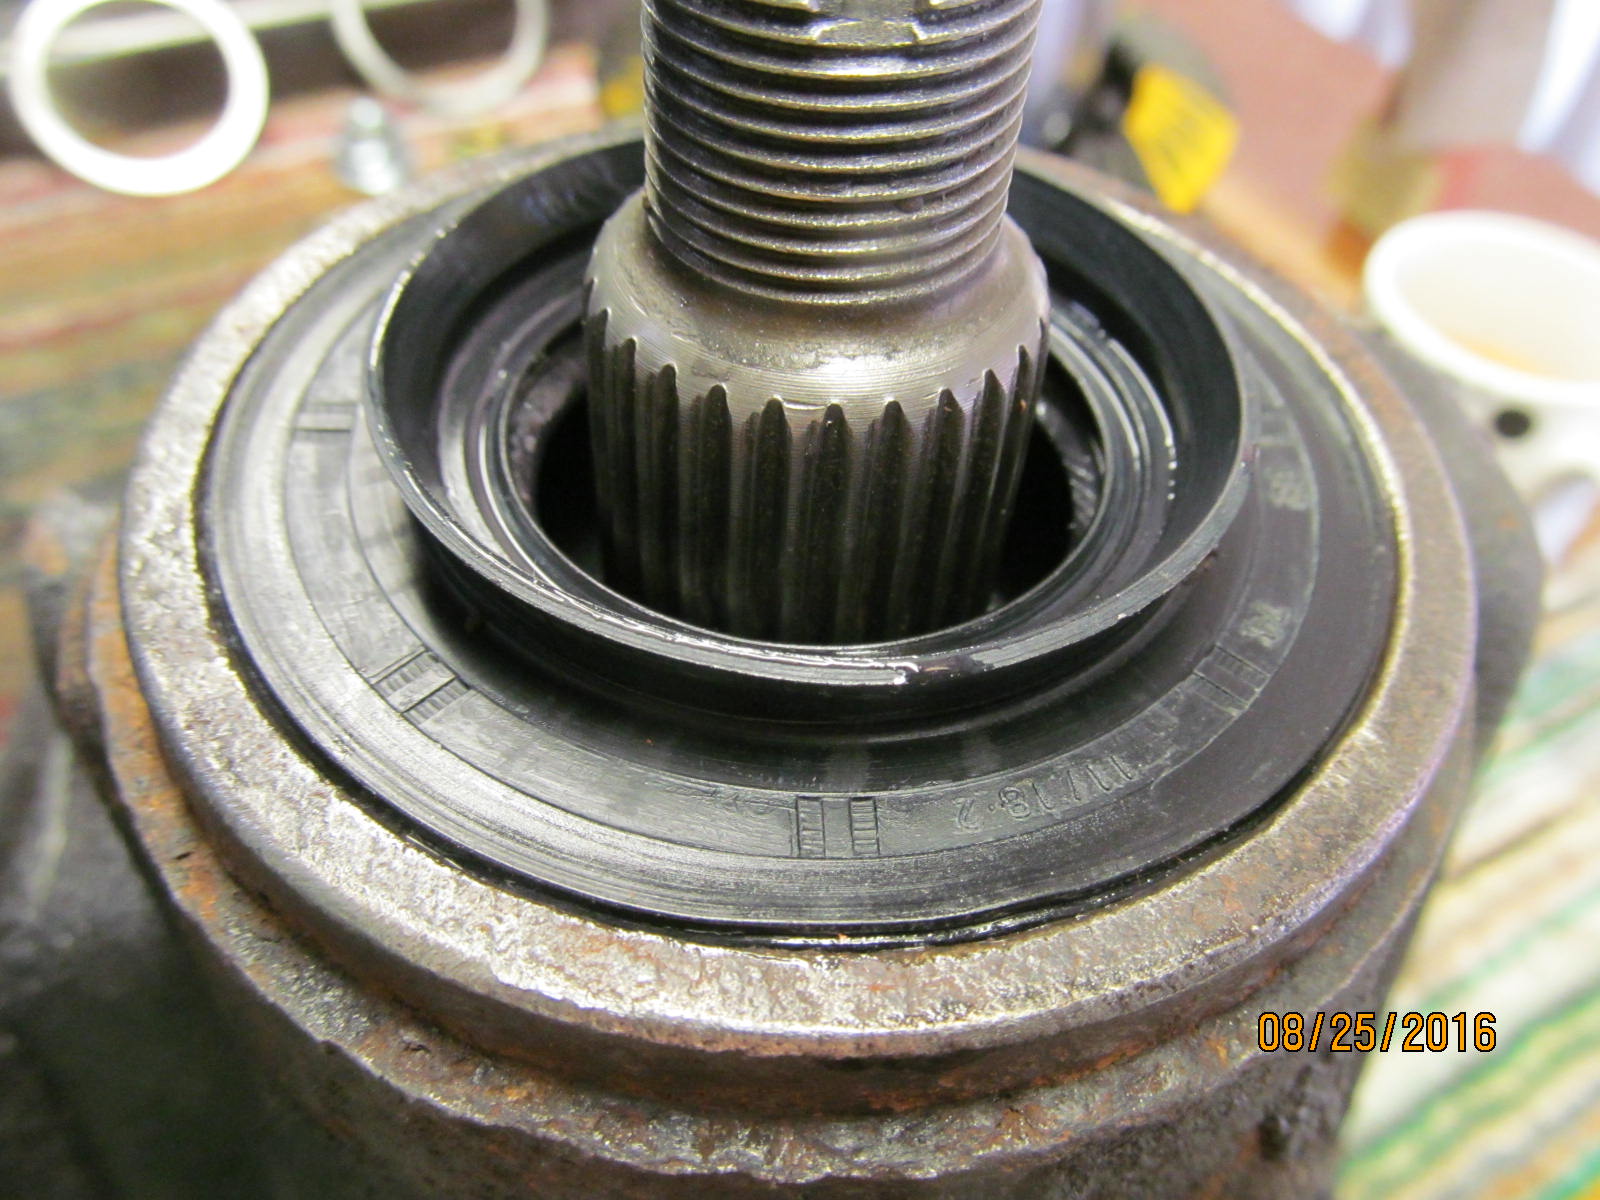
Now that depth is precisely established time to put the OEM 29 spline seal is.
Not shown but I shimmed the solid collar in perfectly. Took more tries than usual
and it was not the usual final shim value that I normally see. 8 tries is a record :)
see notes 12 pics down.
|
|
|
|
|
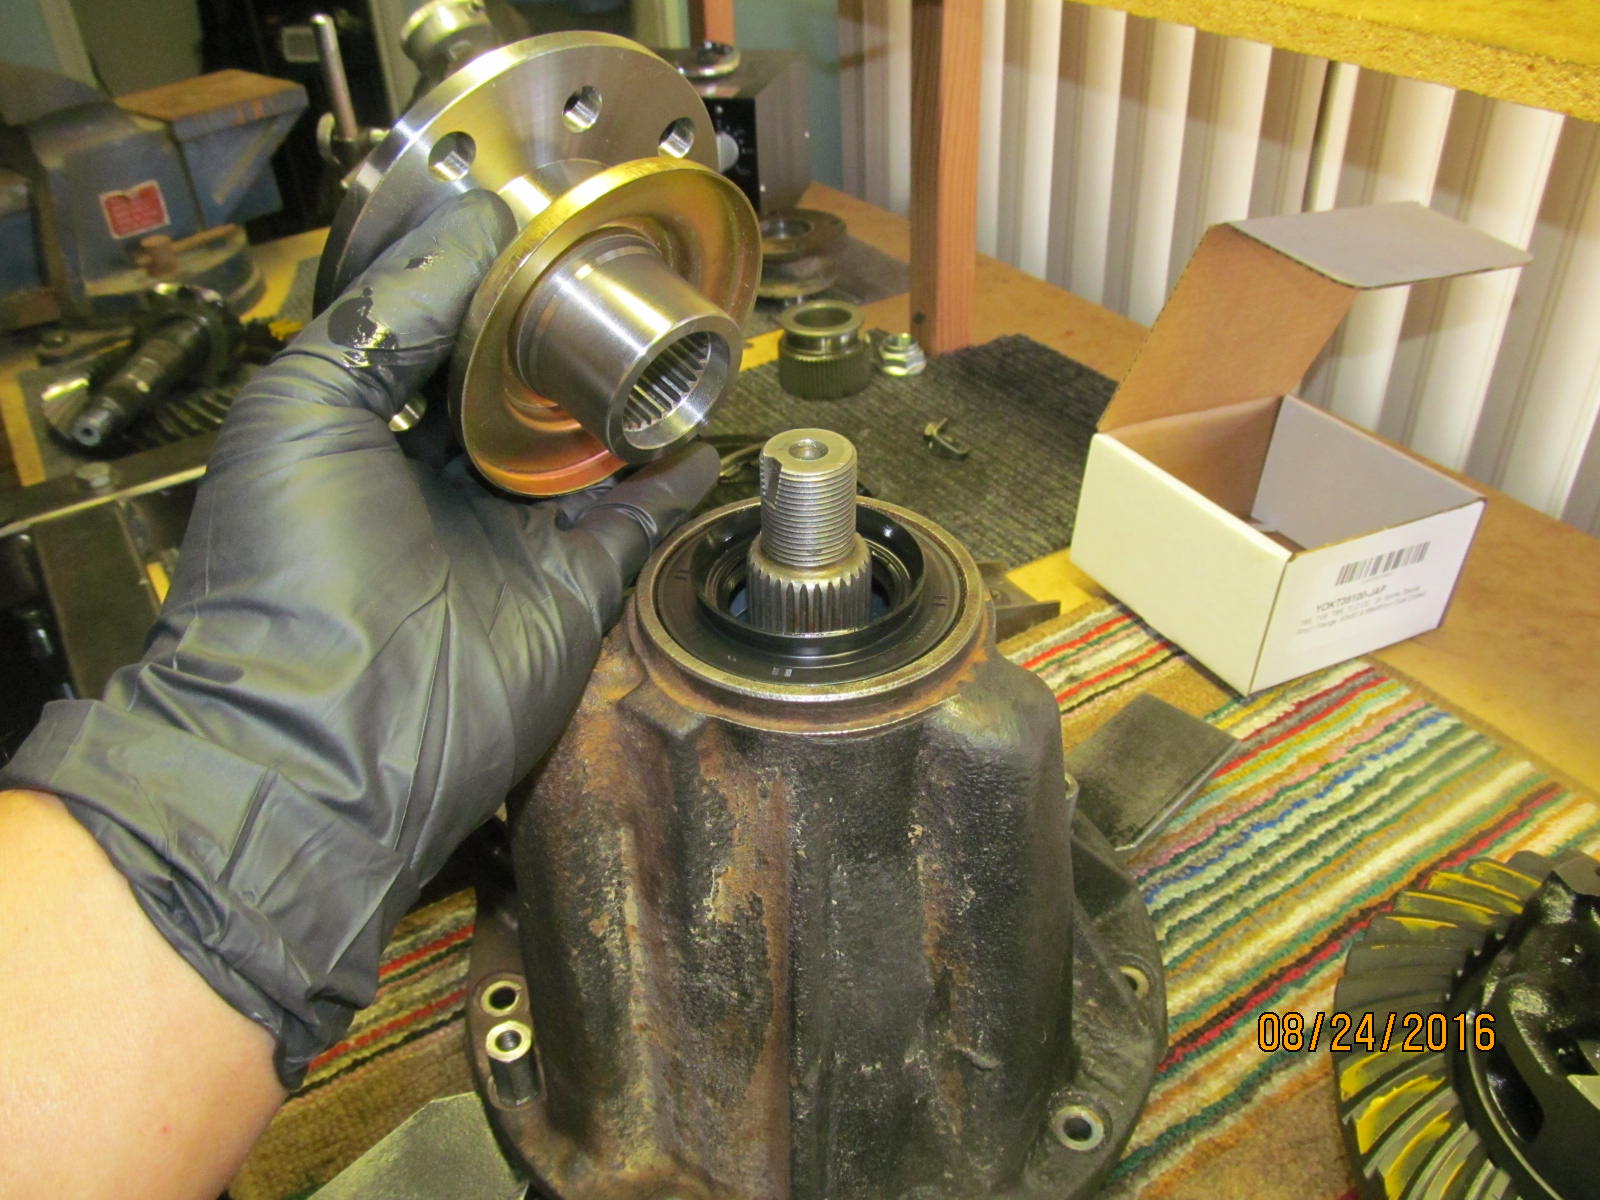
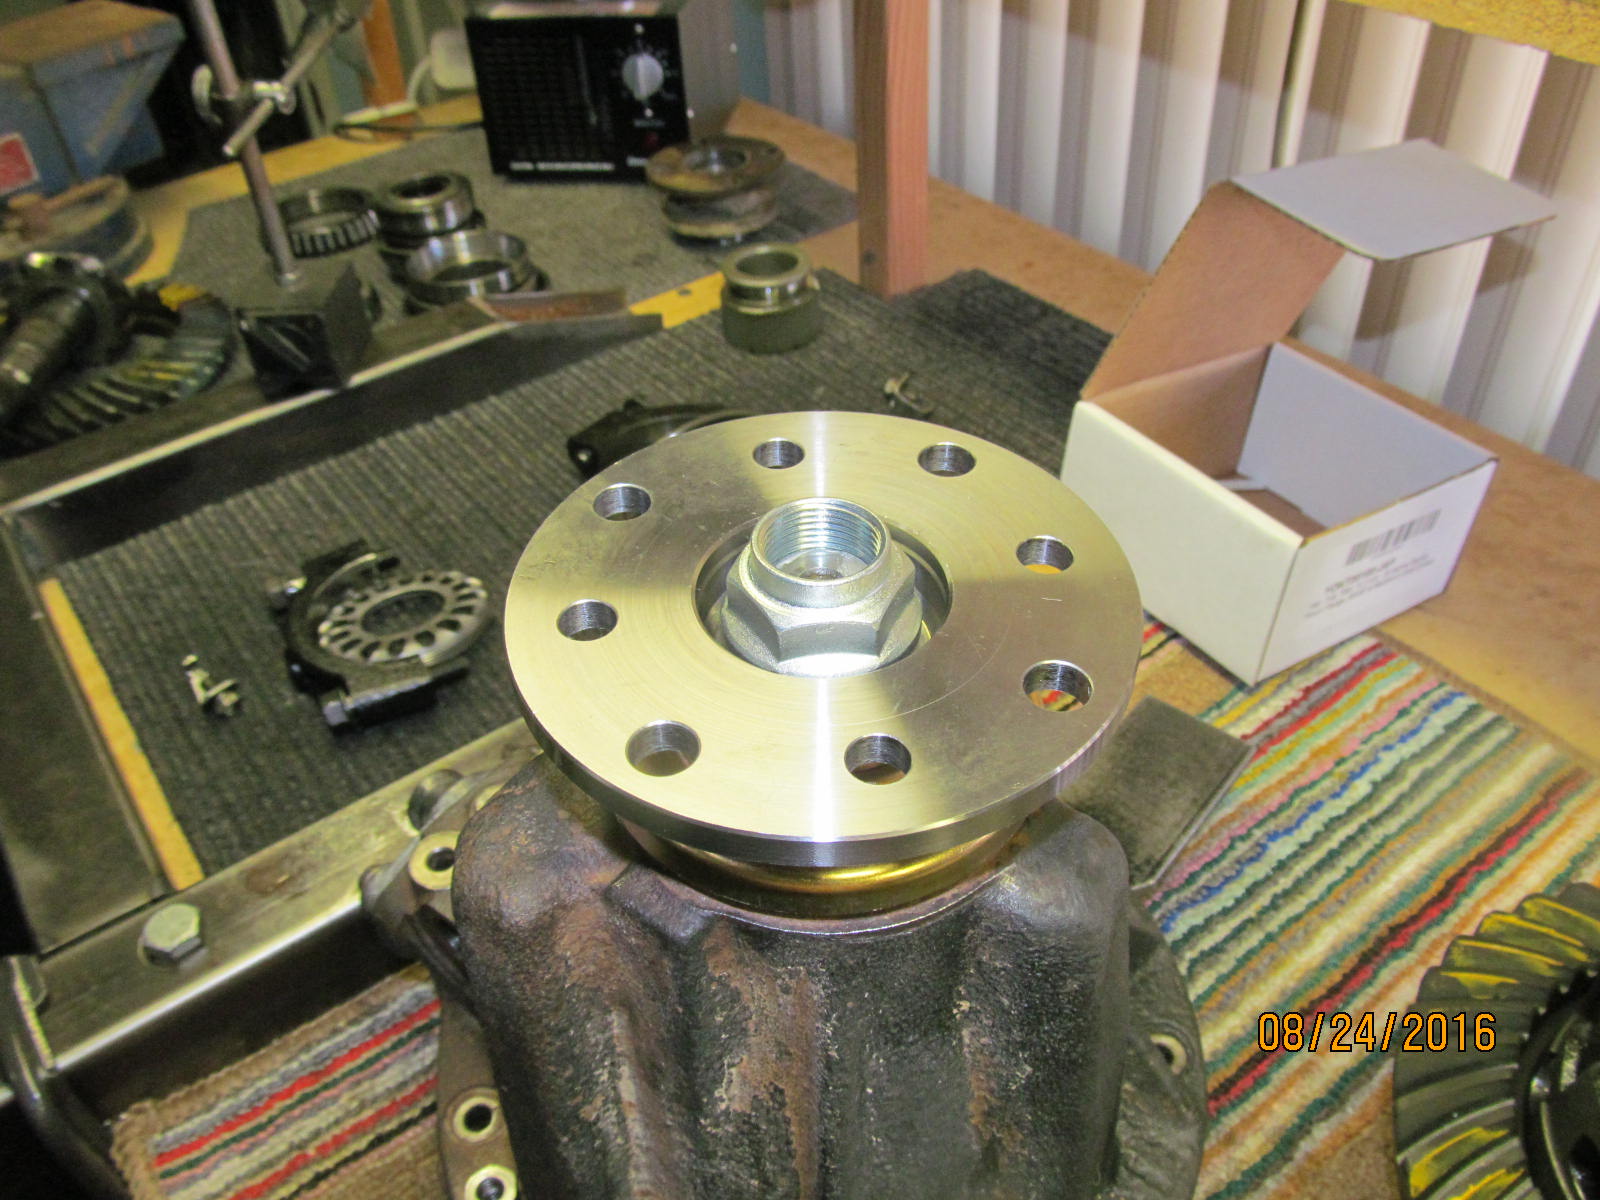
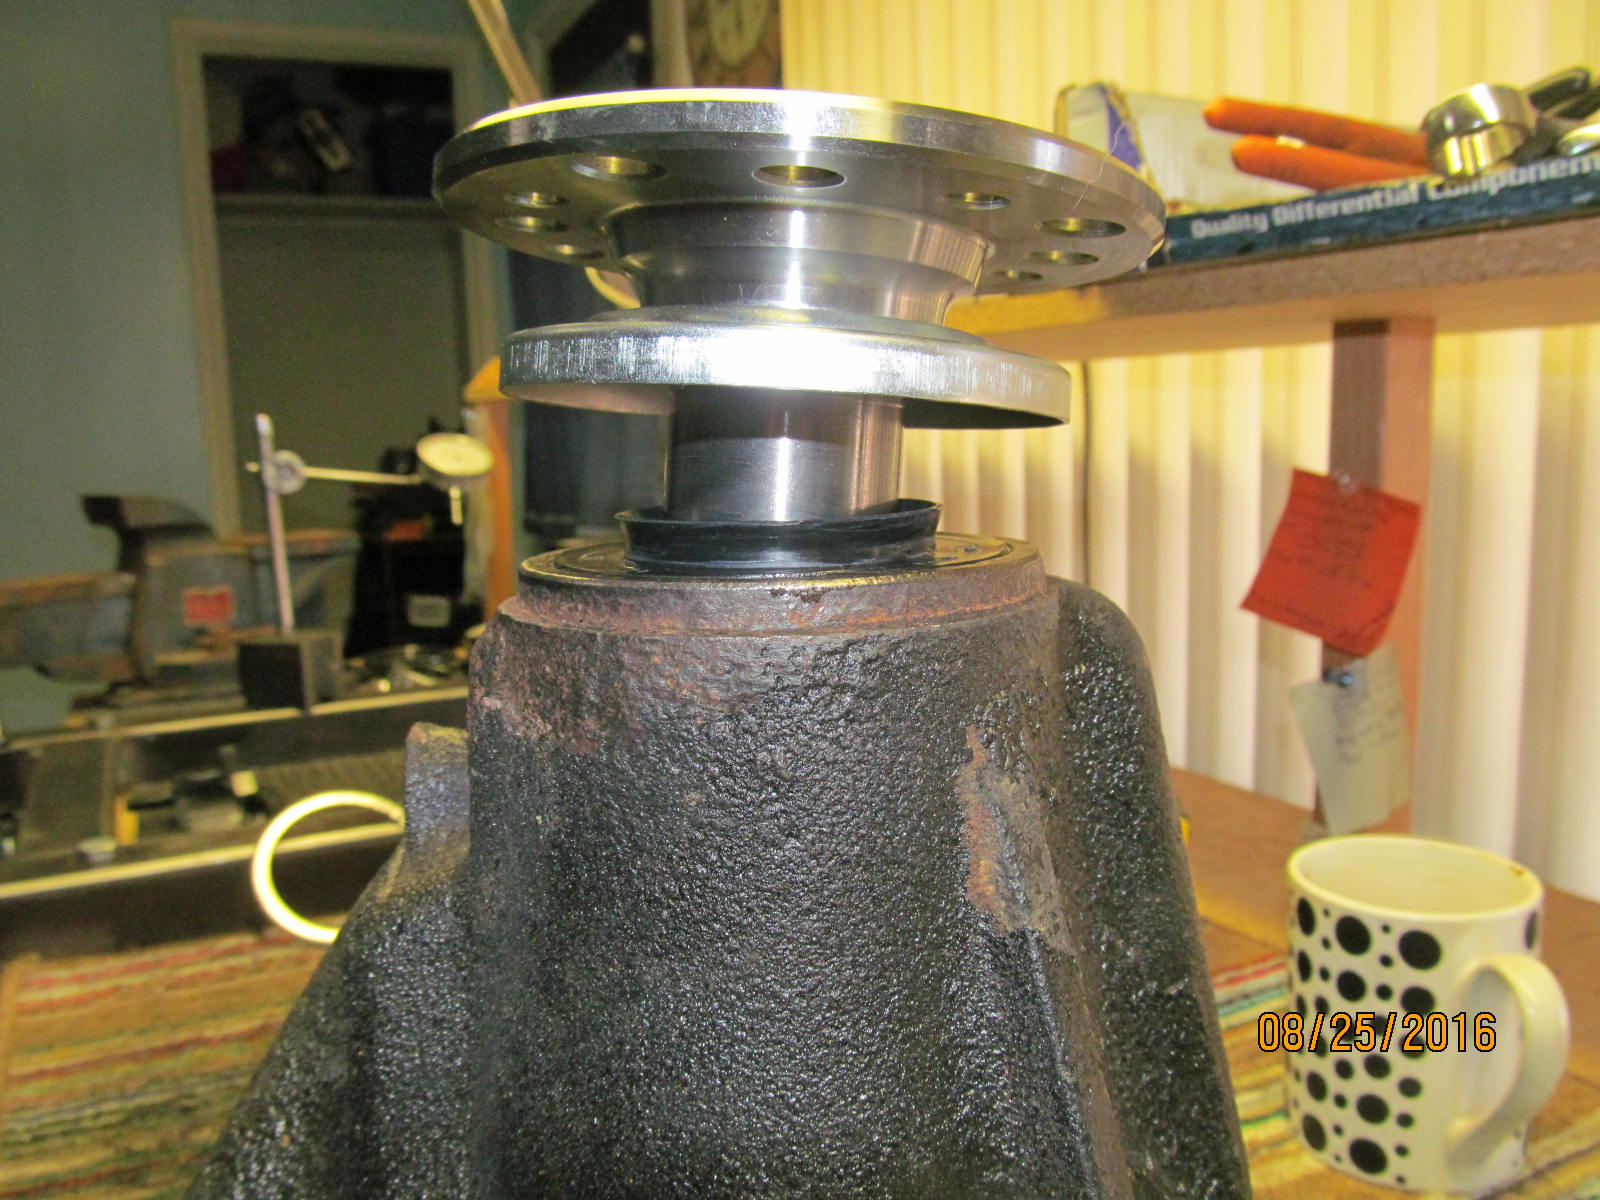
Fan blade is in....seal is tapped in....new double drilled flange goes on.
|
|
|
|
|
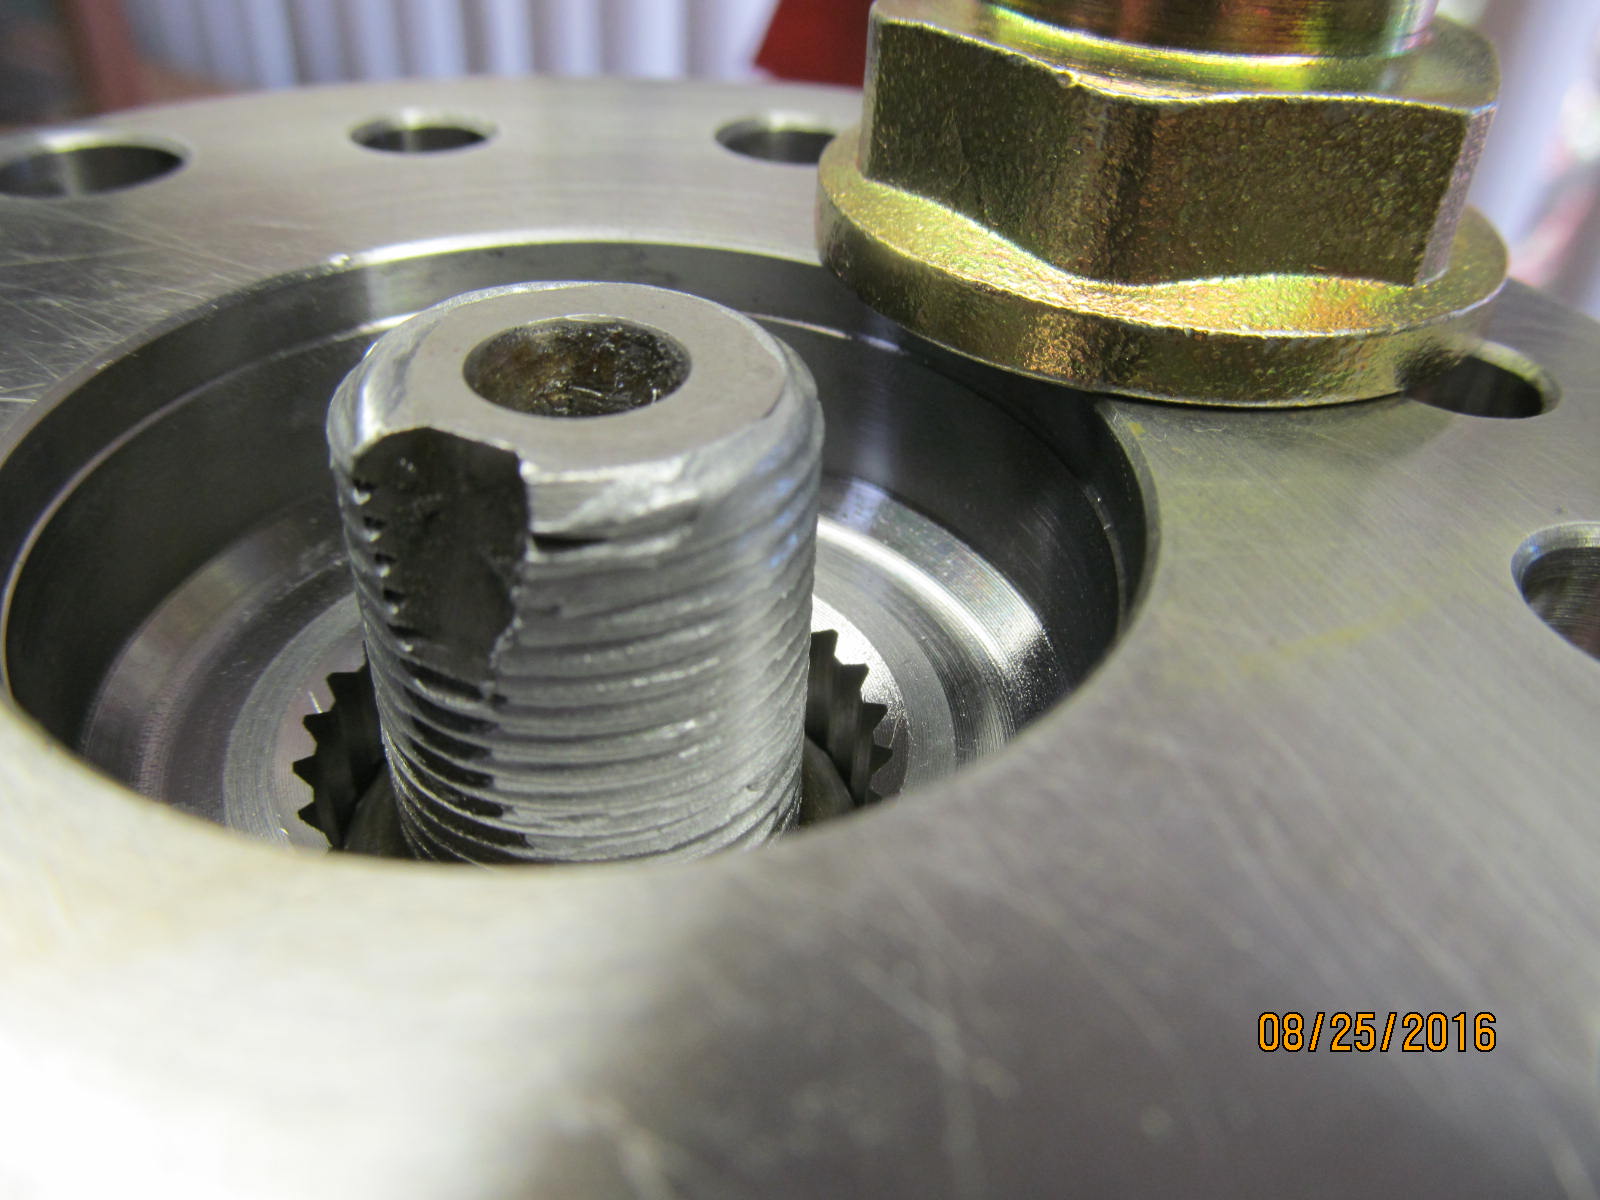
Anti-seize has been applied to the pinion threads and a new flange style pinion nut is inserted.
|
|
|
|
|
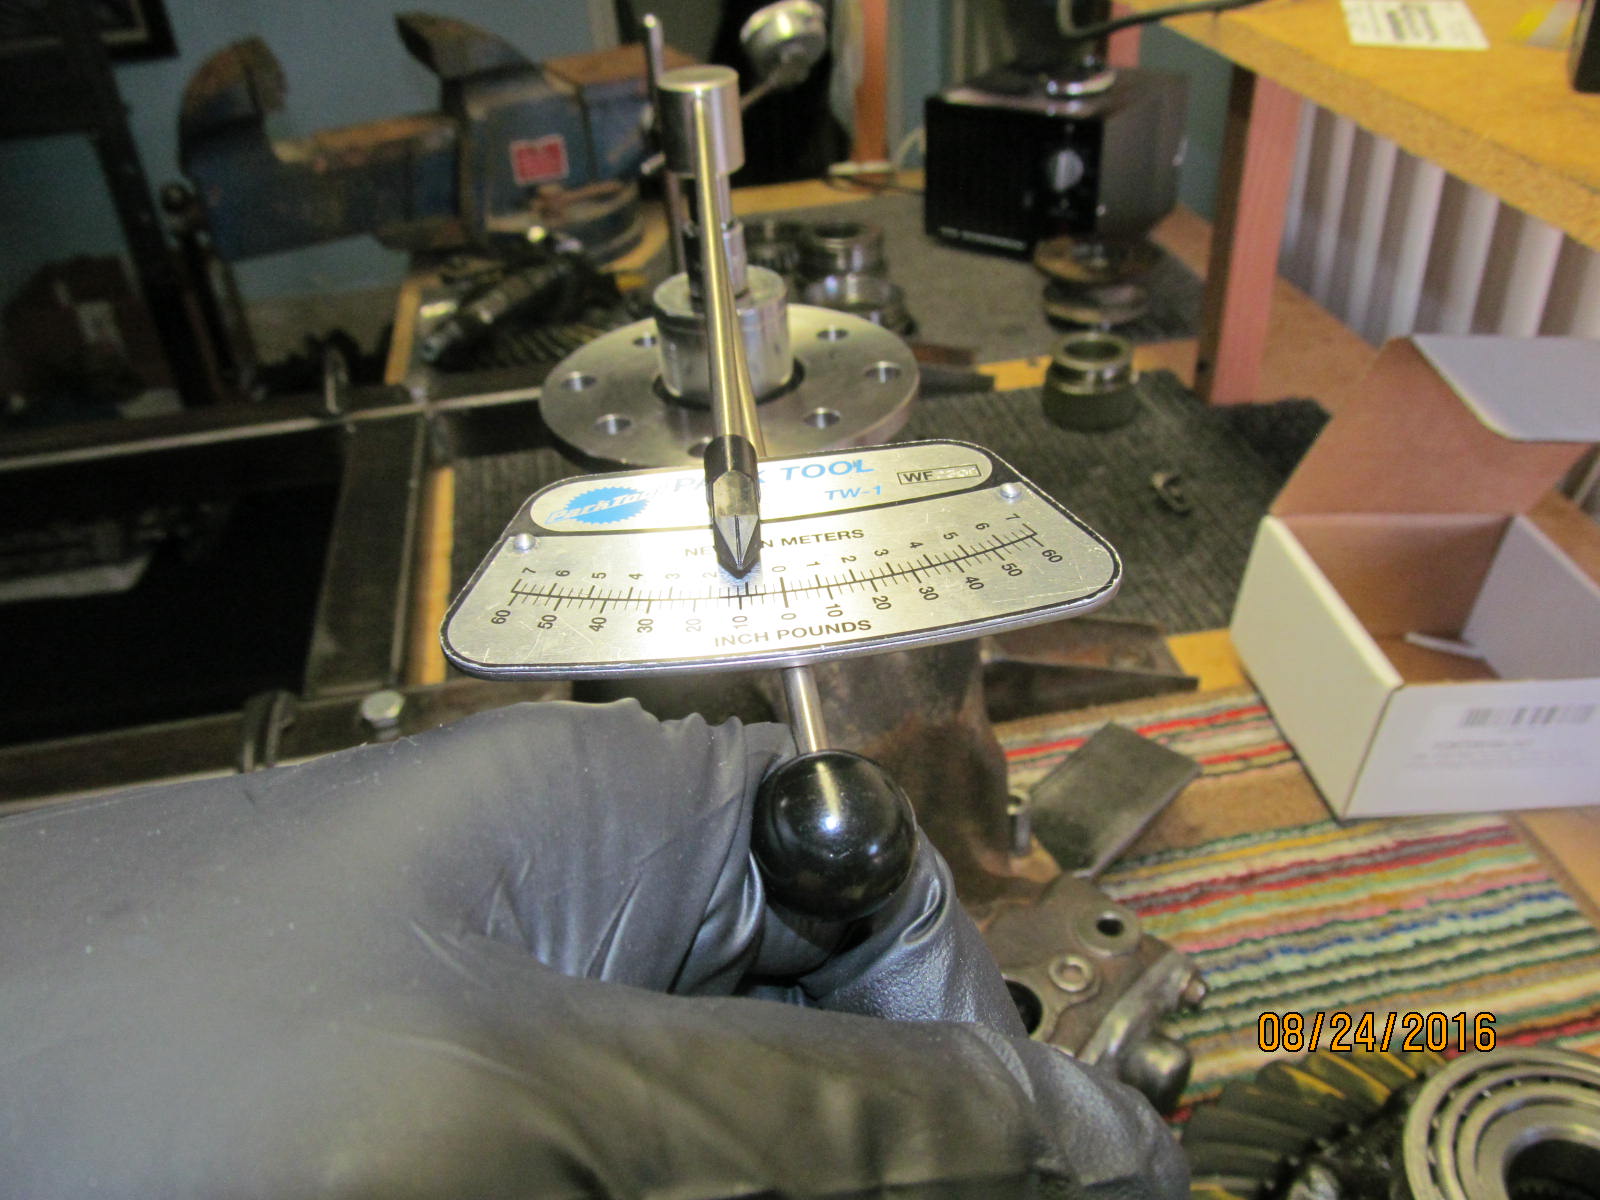
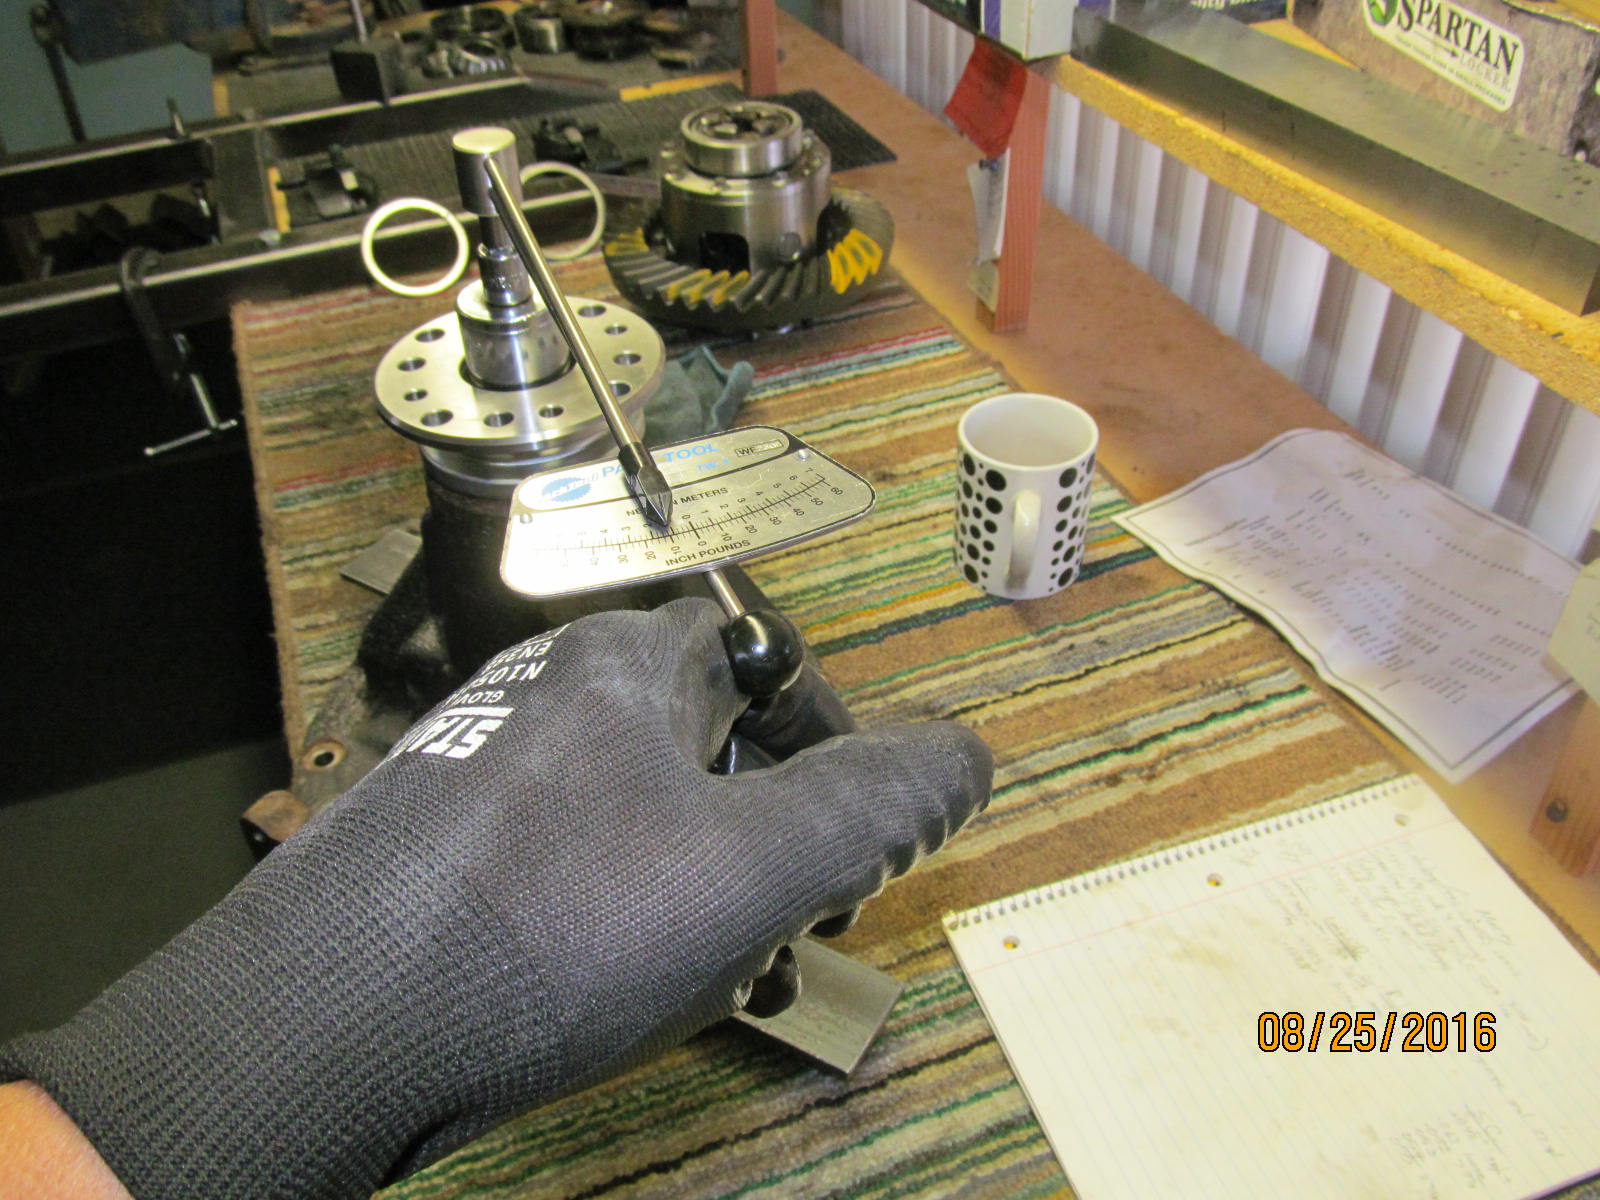
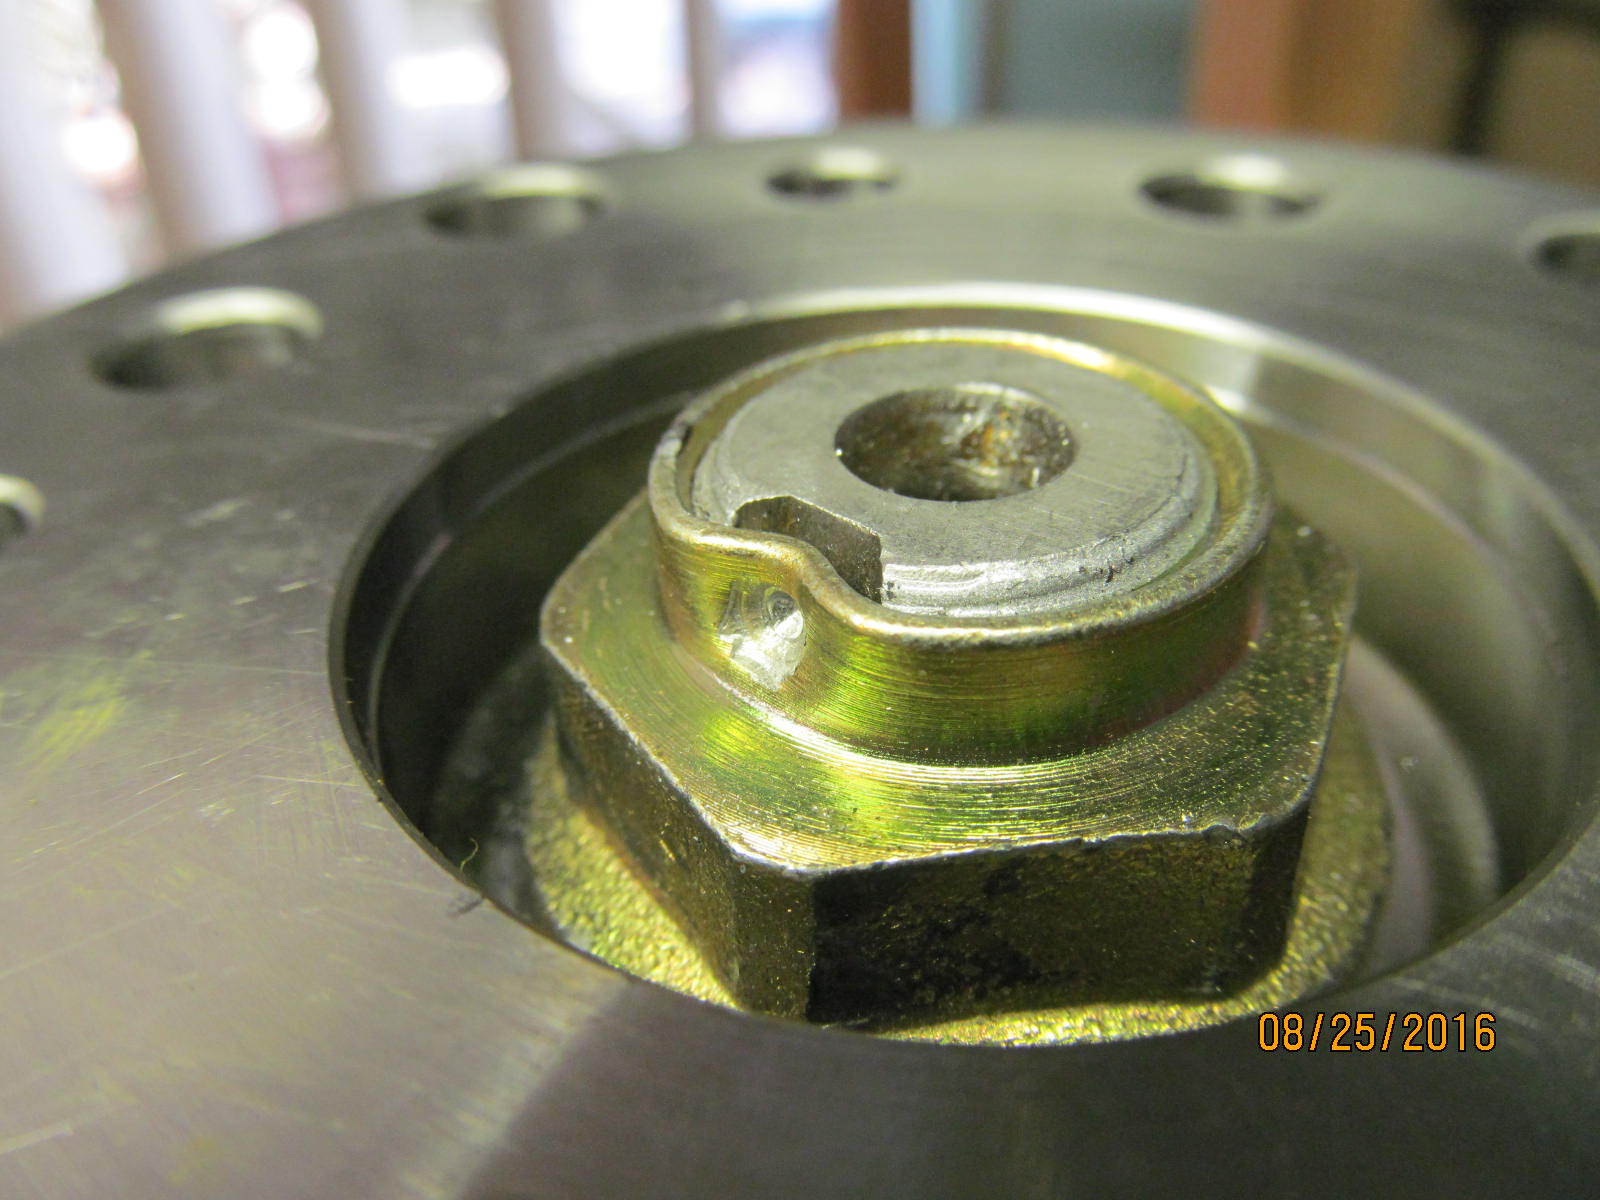
200 ft/lb or there abouts and a nice 10 inch/pounds of smooth START preload is measured.
|
|
|
|
|
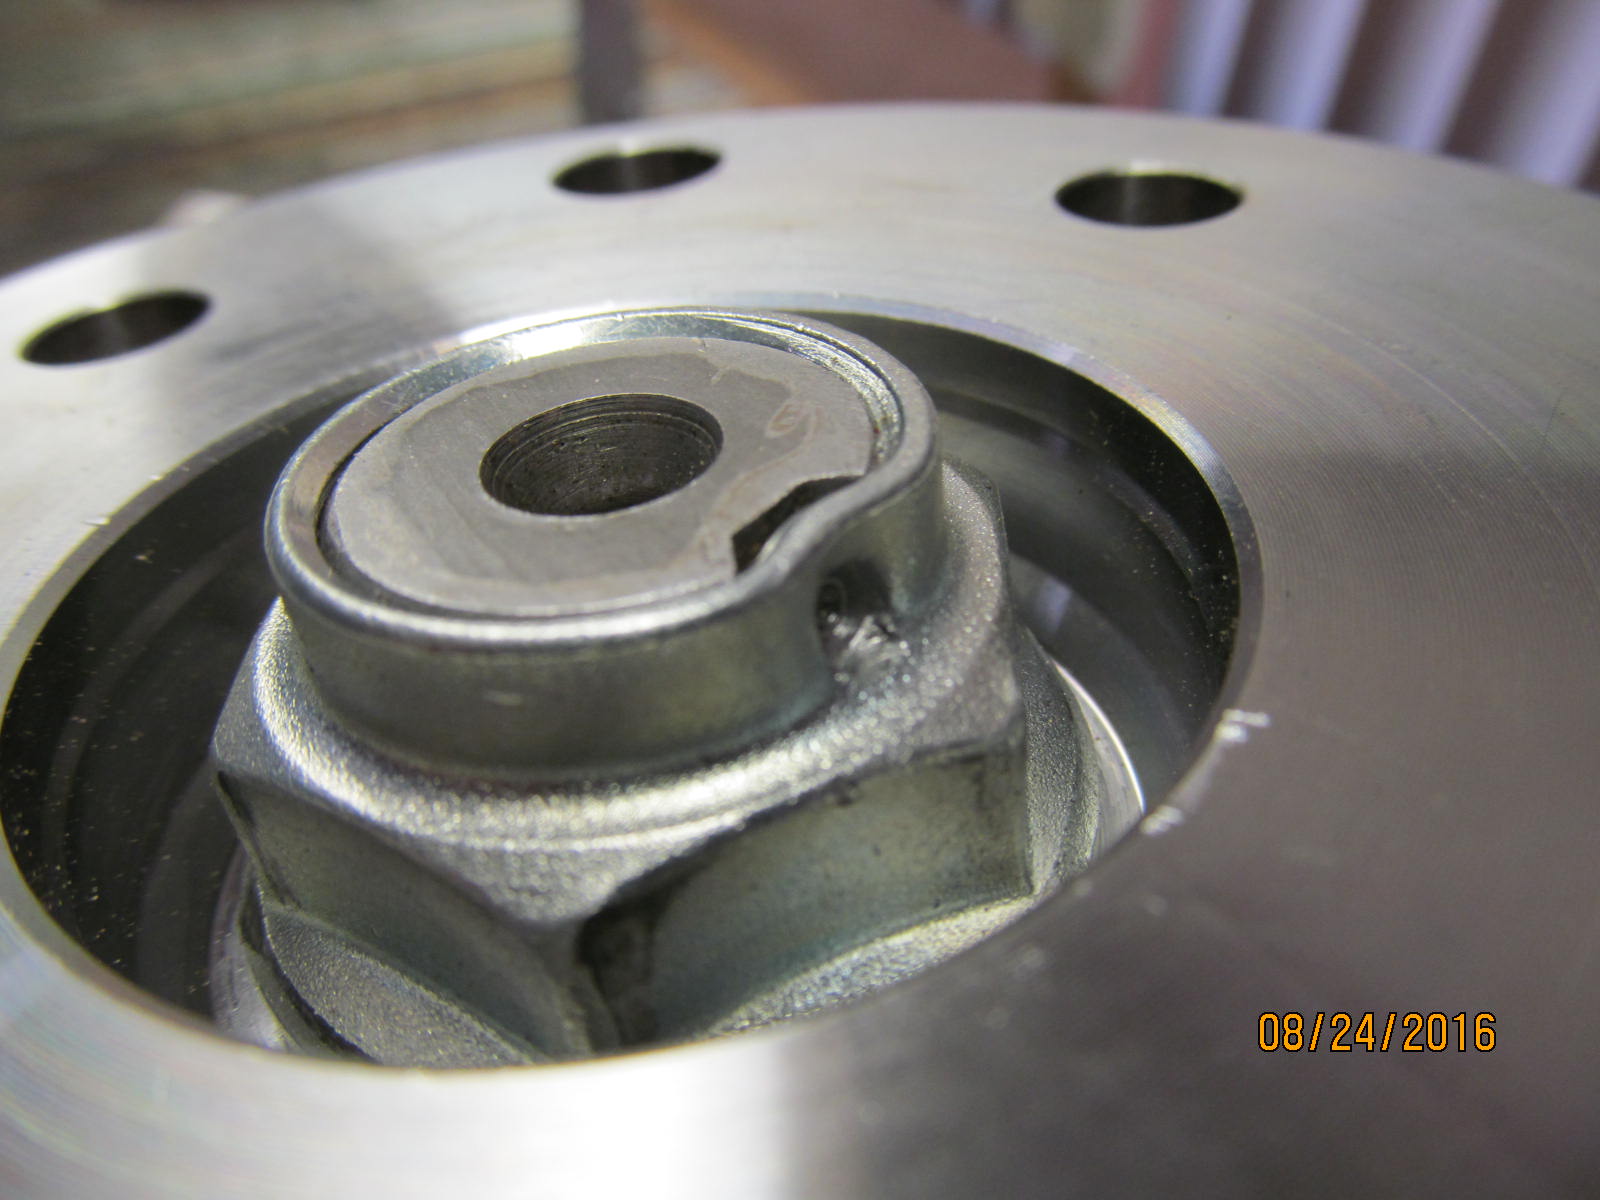
DING!!! and it is not going to loosen up on its own.
|
|
|

|
|
This is the easy part....almost home free.
|
|
|
|
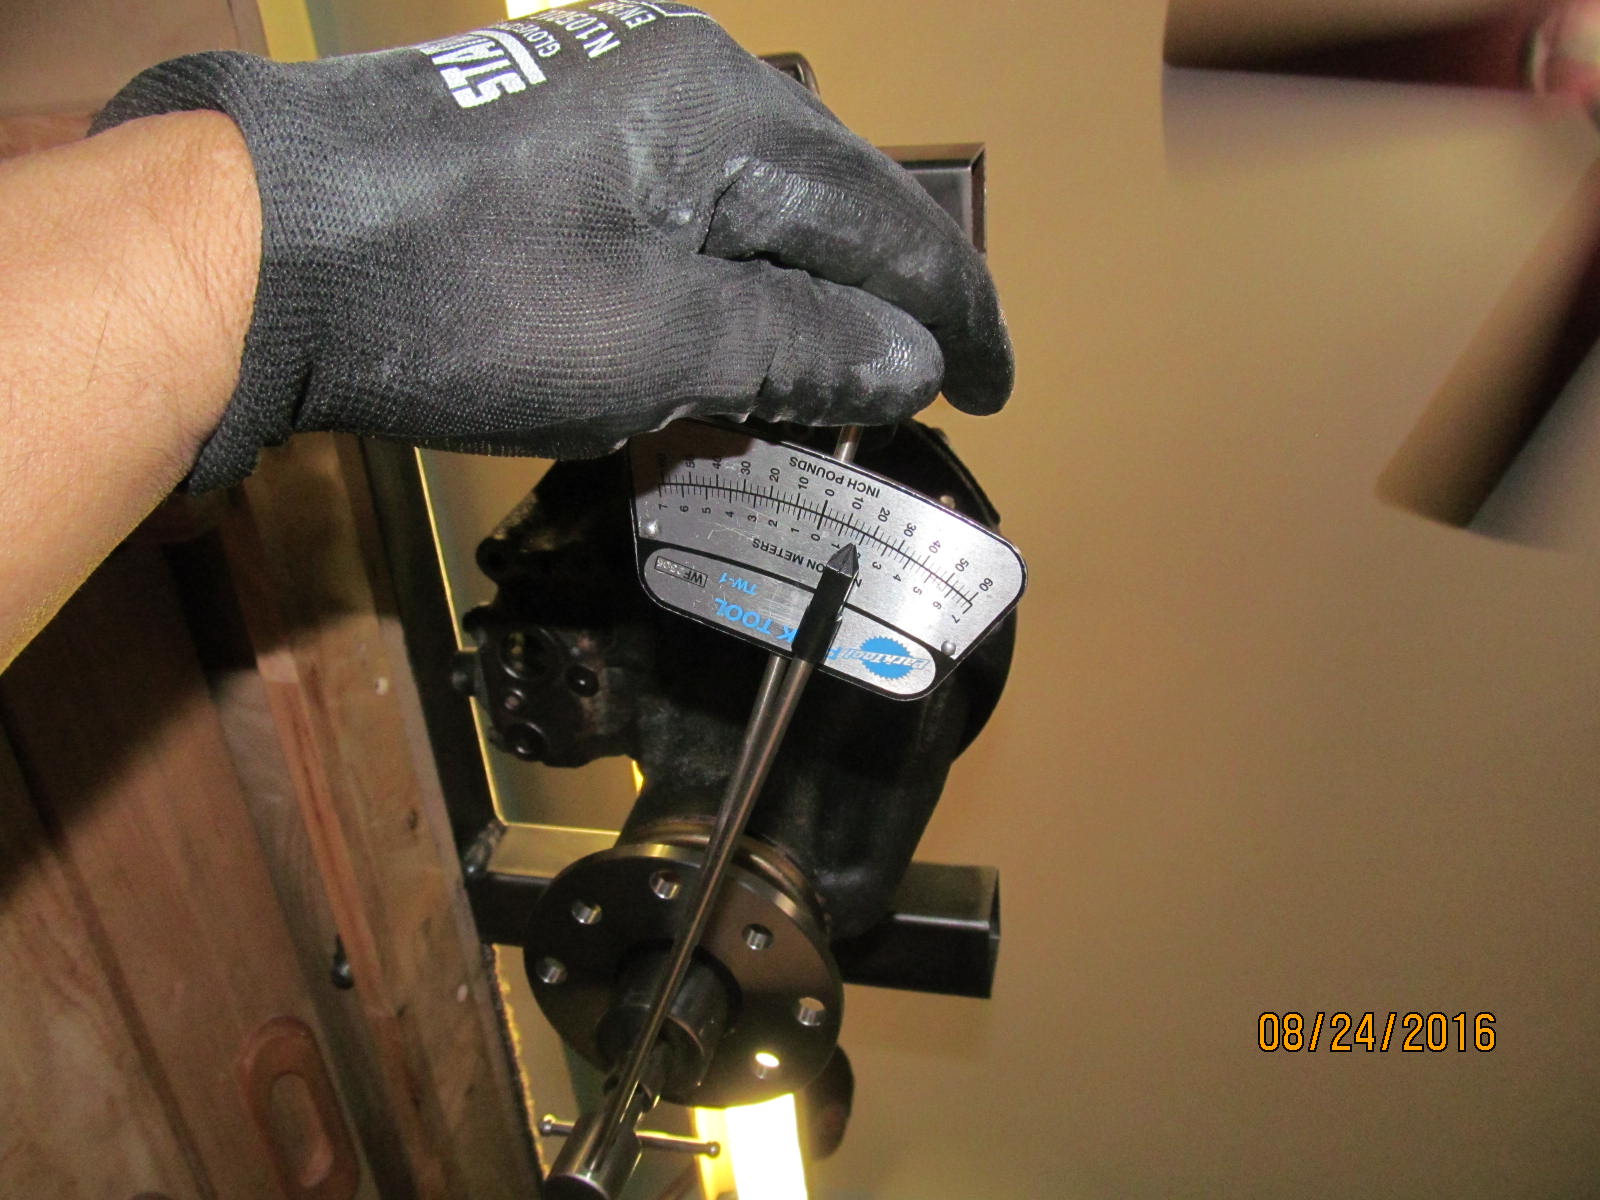
Dial in some CBPL and set the backlash to .006" minimum reading. 15 in/lb is measured. This is the
total preload....to turn both the pinion bearings and carrier bearings.
|
|
|
|
Nice slight deep condition. Remember, as the big inner pinion bearing wears with miles, the pattern will
tend to go more shallow....so logic says start out "slight deep".
|
|
|
|
|
Coast.
|
|
|
|
|
Backlash is documented on every other tooth....about 20 readings around the ring.
|
|
|

|
The 4 bearing caps were torqued to 70 ft/lb and the 2 smaller lock tabs to 10+ ft/lb. Torque values are
written down. Too easy to "forget" a final tightening. Happened to me once in the distant past.....
I blame it on not writing it down and 110 degrees out in the external shop during early summer.....
never again....that's one reason why I moved my shop into the house. Air conditioning :)
|
|
|

|
|
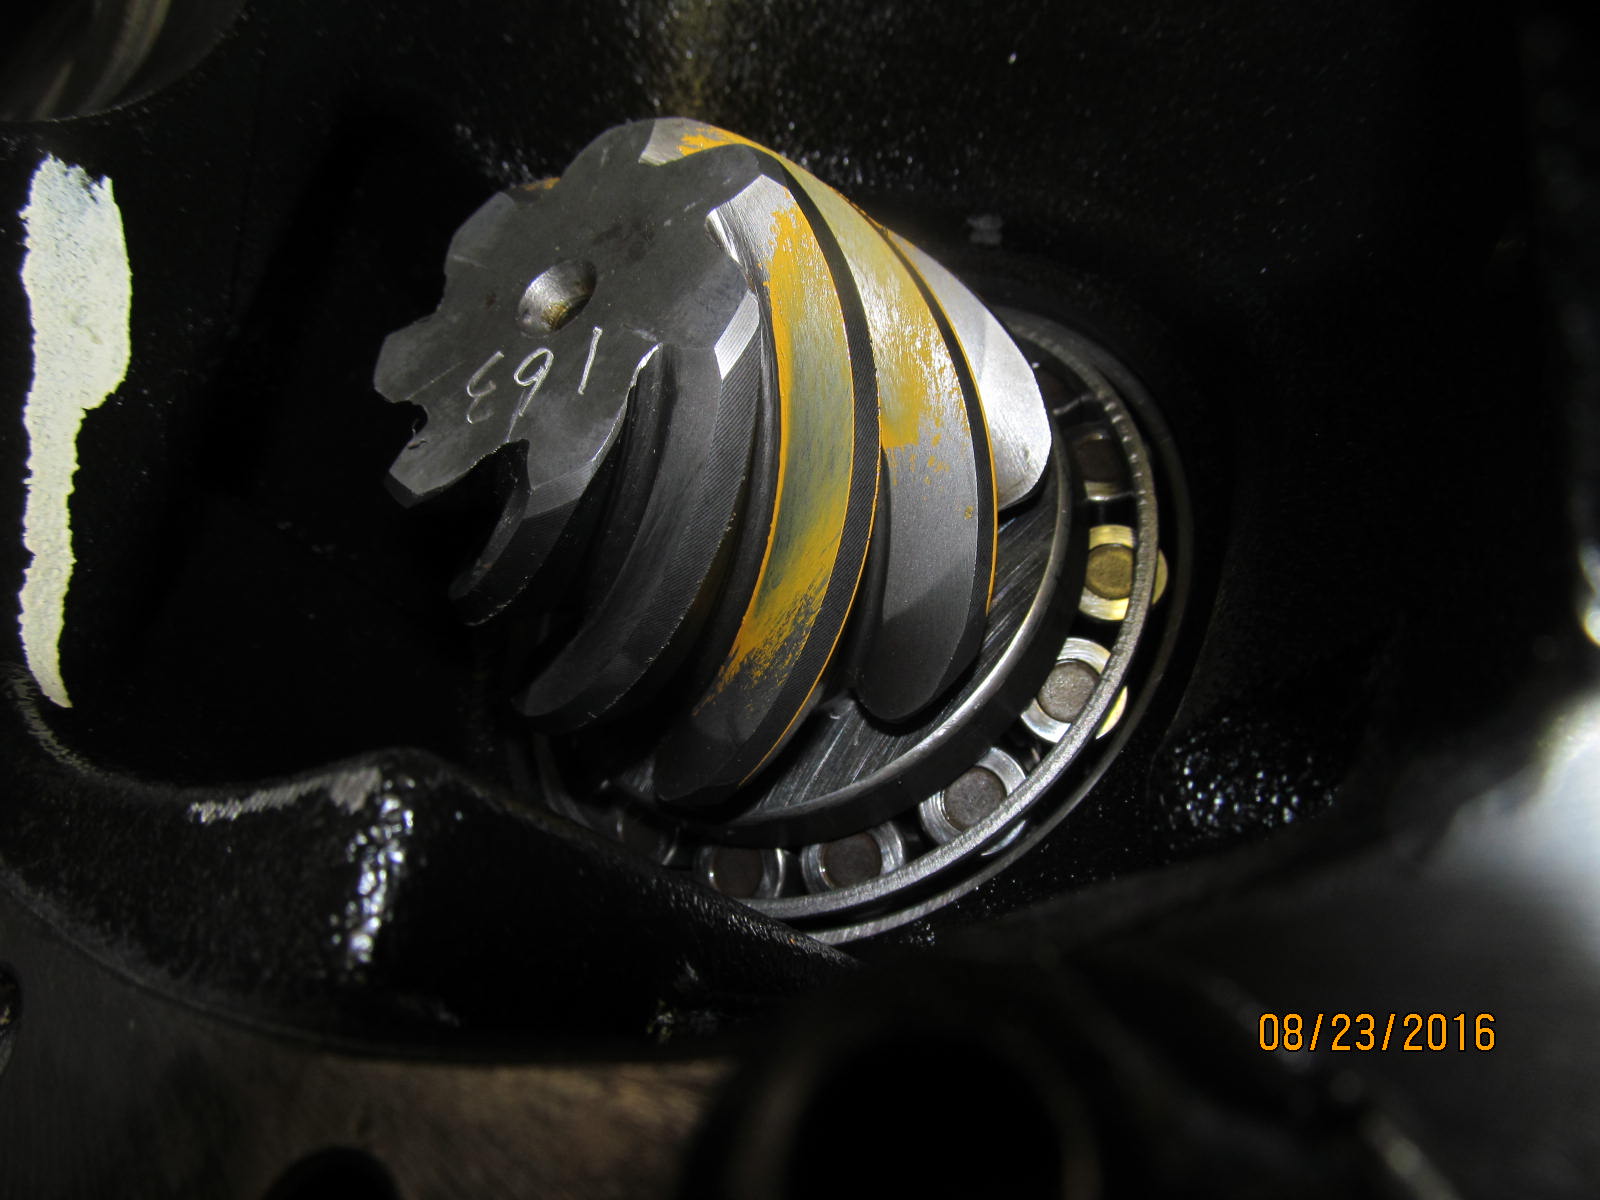
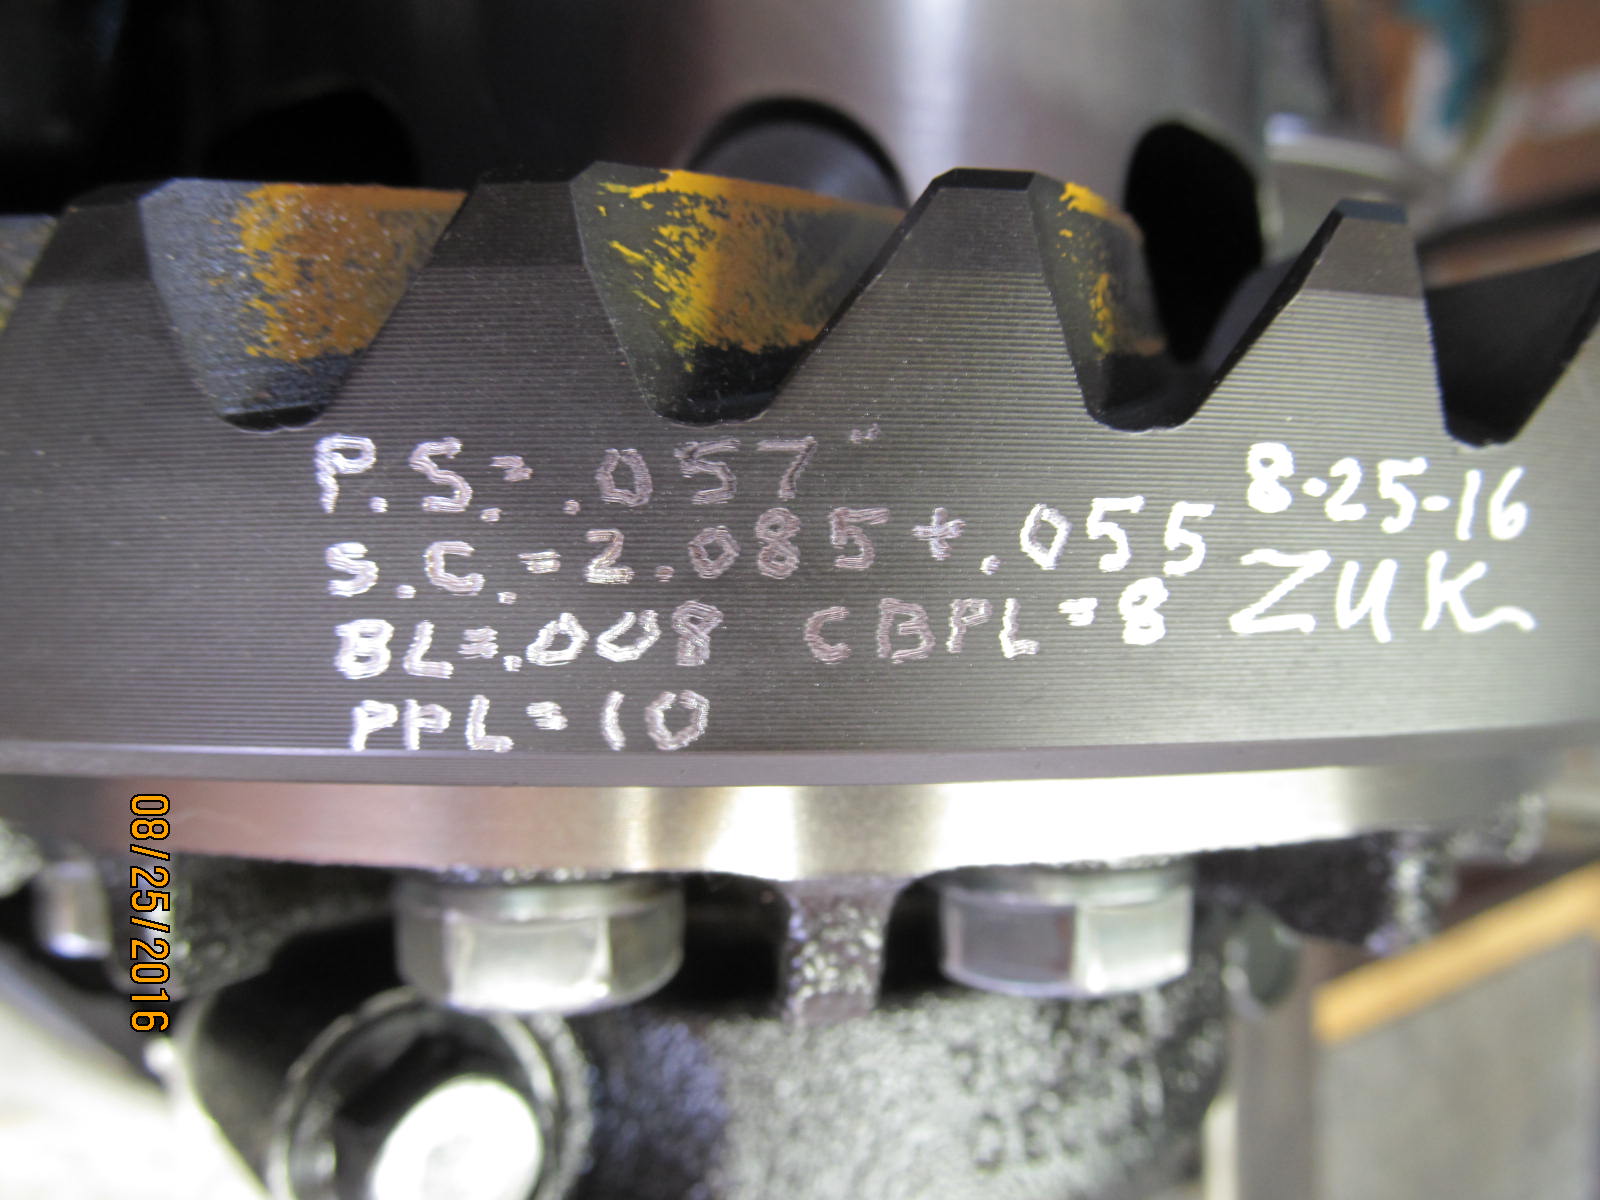
Basic info is inscribed on the ring. Date coded.
|
|
|
|
|
Classes like physics lab drilled into me the importance of documentation.
|
|
|
|
|
Will use the same double box that Marty sent the front 3rd in.
|
|
|
|
Rolled up cardboard and newspaper will act as a support to spread the load out and keep the steel lip
from contacting the box's floor. No "hotspots".
|
|
|
|
|
......................
|
|
|

|
Ready to go back to Wisconsin now.
For the record, only 2 brands I recommend at this time.....Nitro or G2.
|
|
|
|
Doing this link back to back. That means alot of pics to load but hoping it is worth the loadtime to see them.
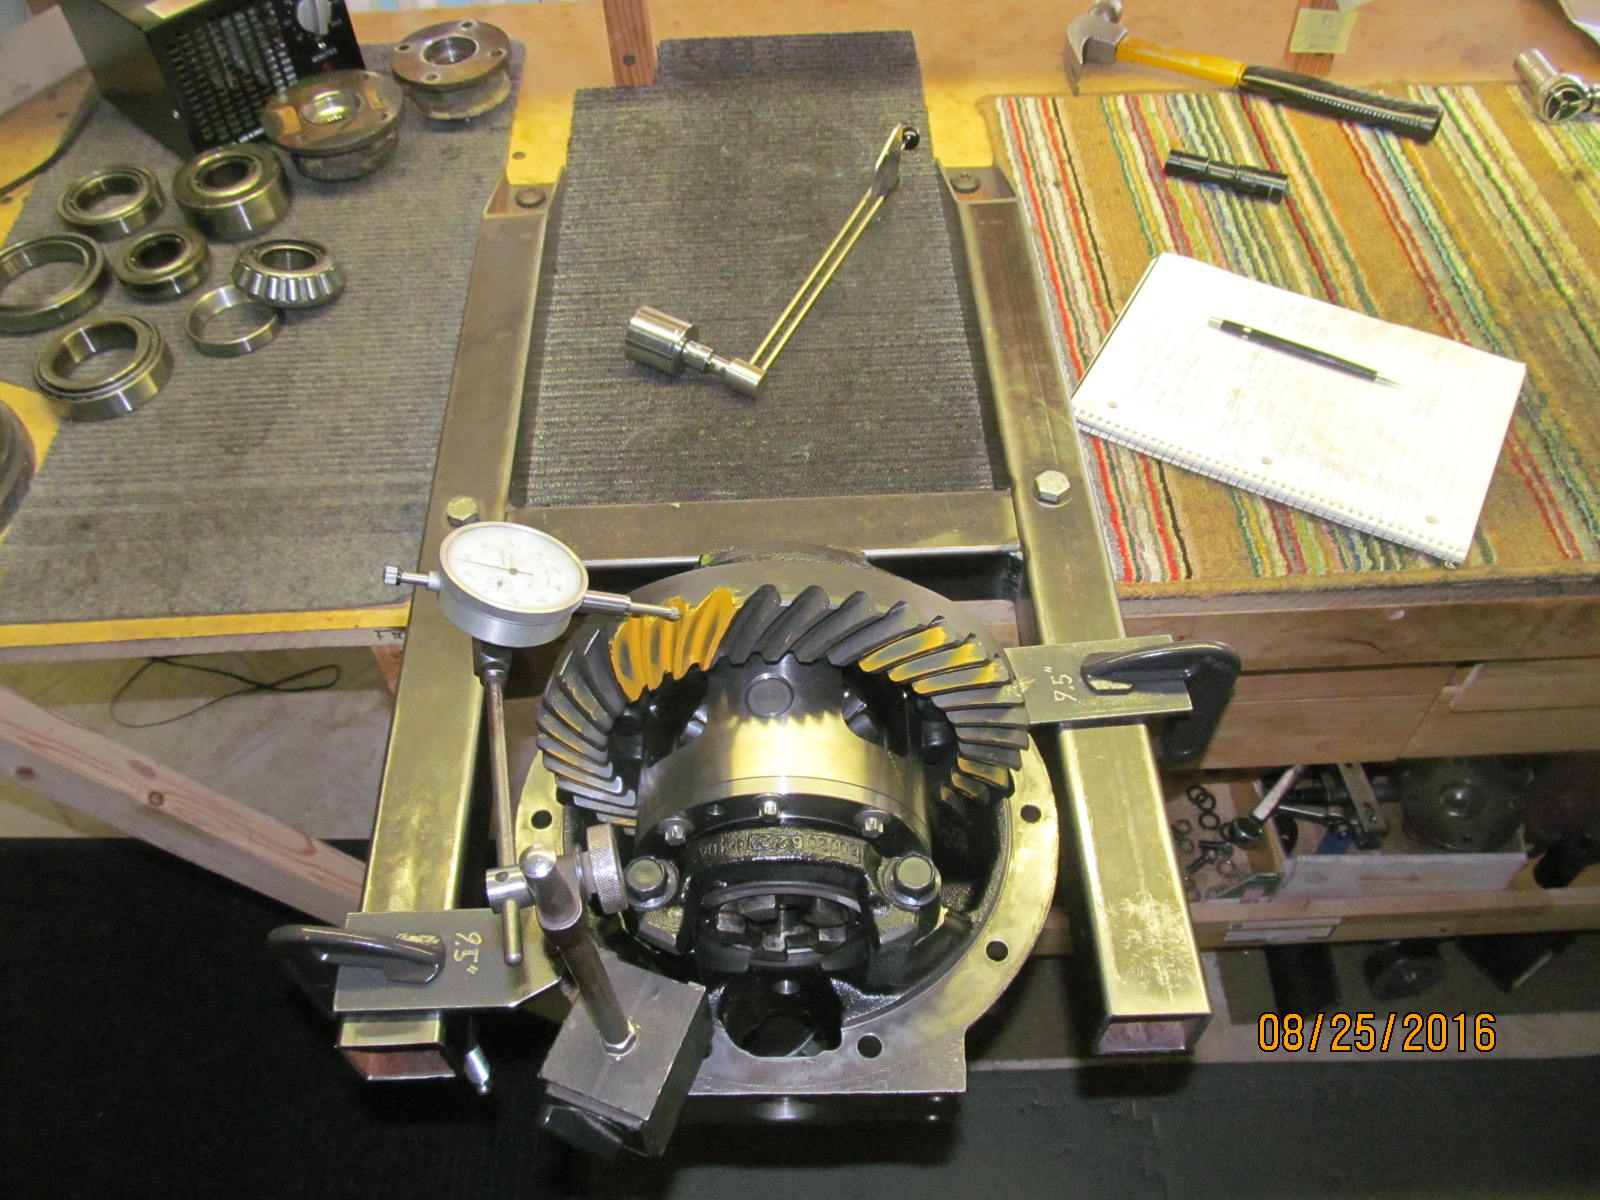
This is the start of the heavy rear 9.5" e-locker 3rd. 529 regear with cryo treated bearings
and new solid collar and new triple drilled flange.
|
|
|
|
|
Not required but checked the pattern on the original gears and they look great.
|
|
|
|
|
......................
|
|
|
|
|
Teardown begins....remove the bearing caps.
|
|
|
|
|
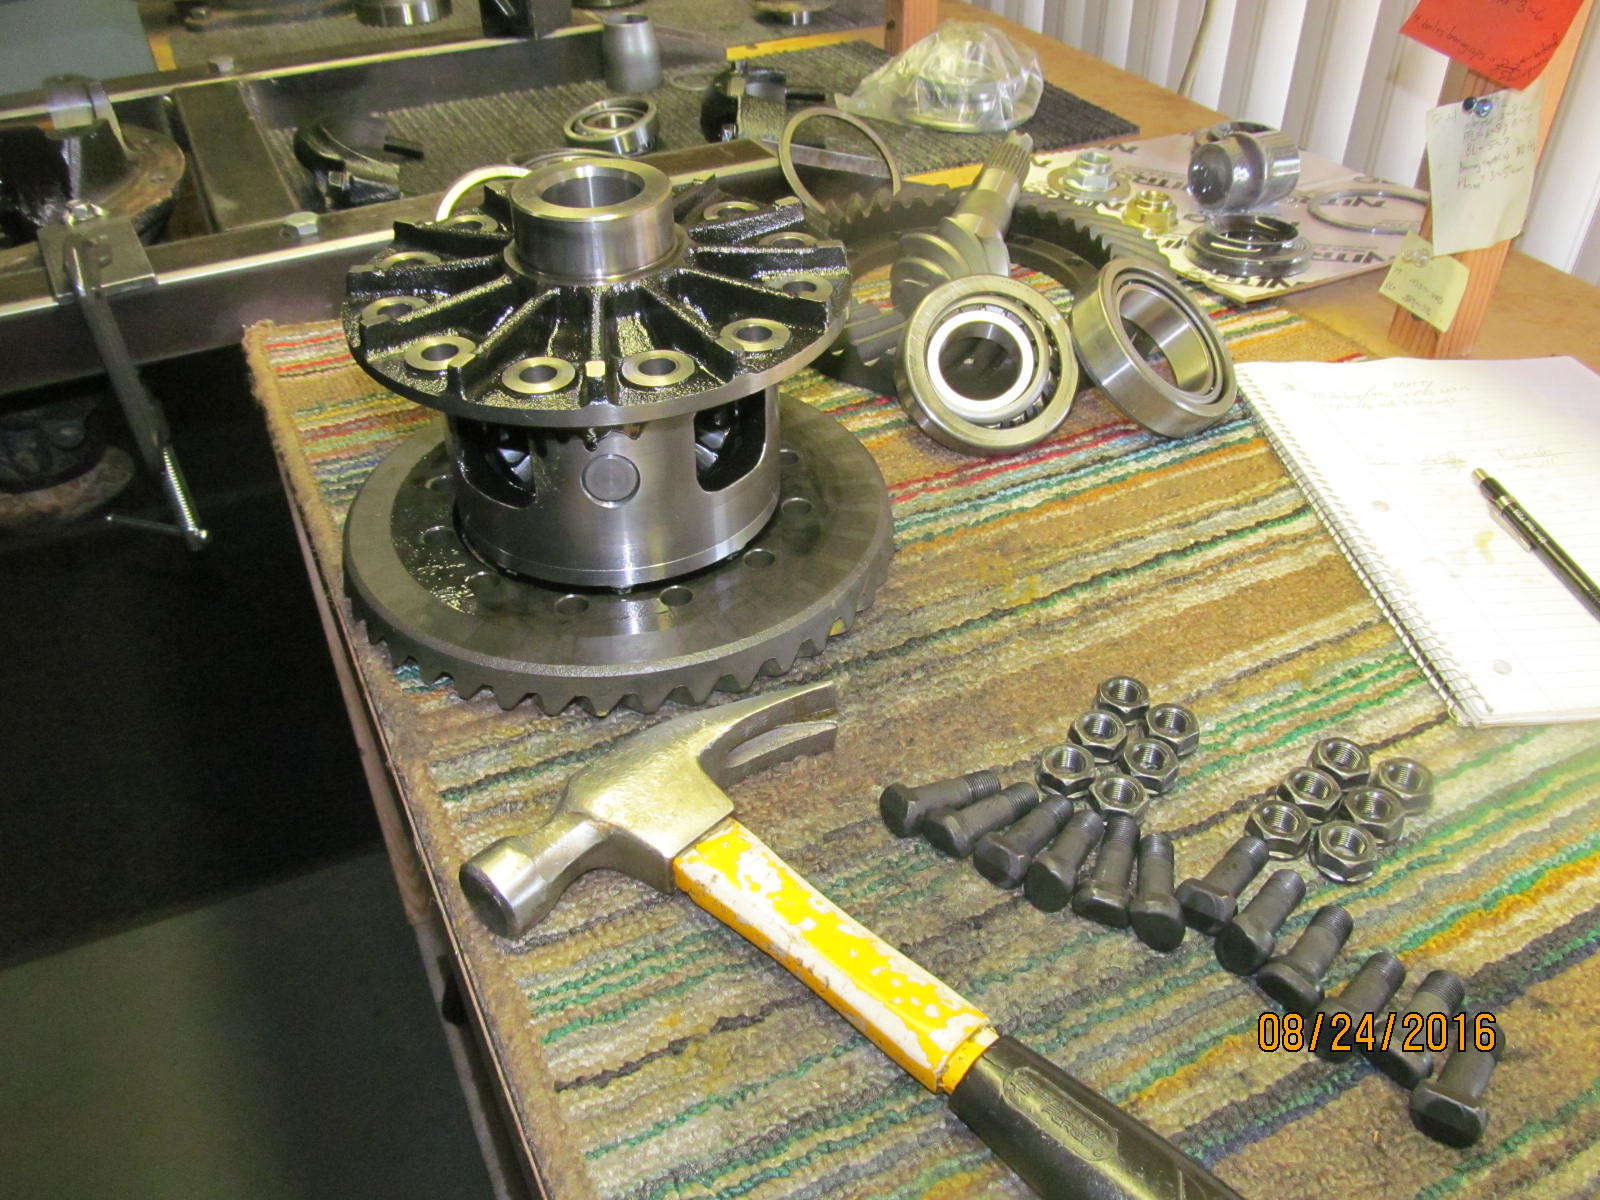
Remove the old 410 ring gear and carrier bearings.
|
|
|
|
|
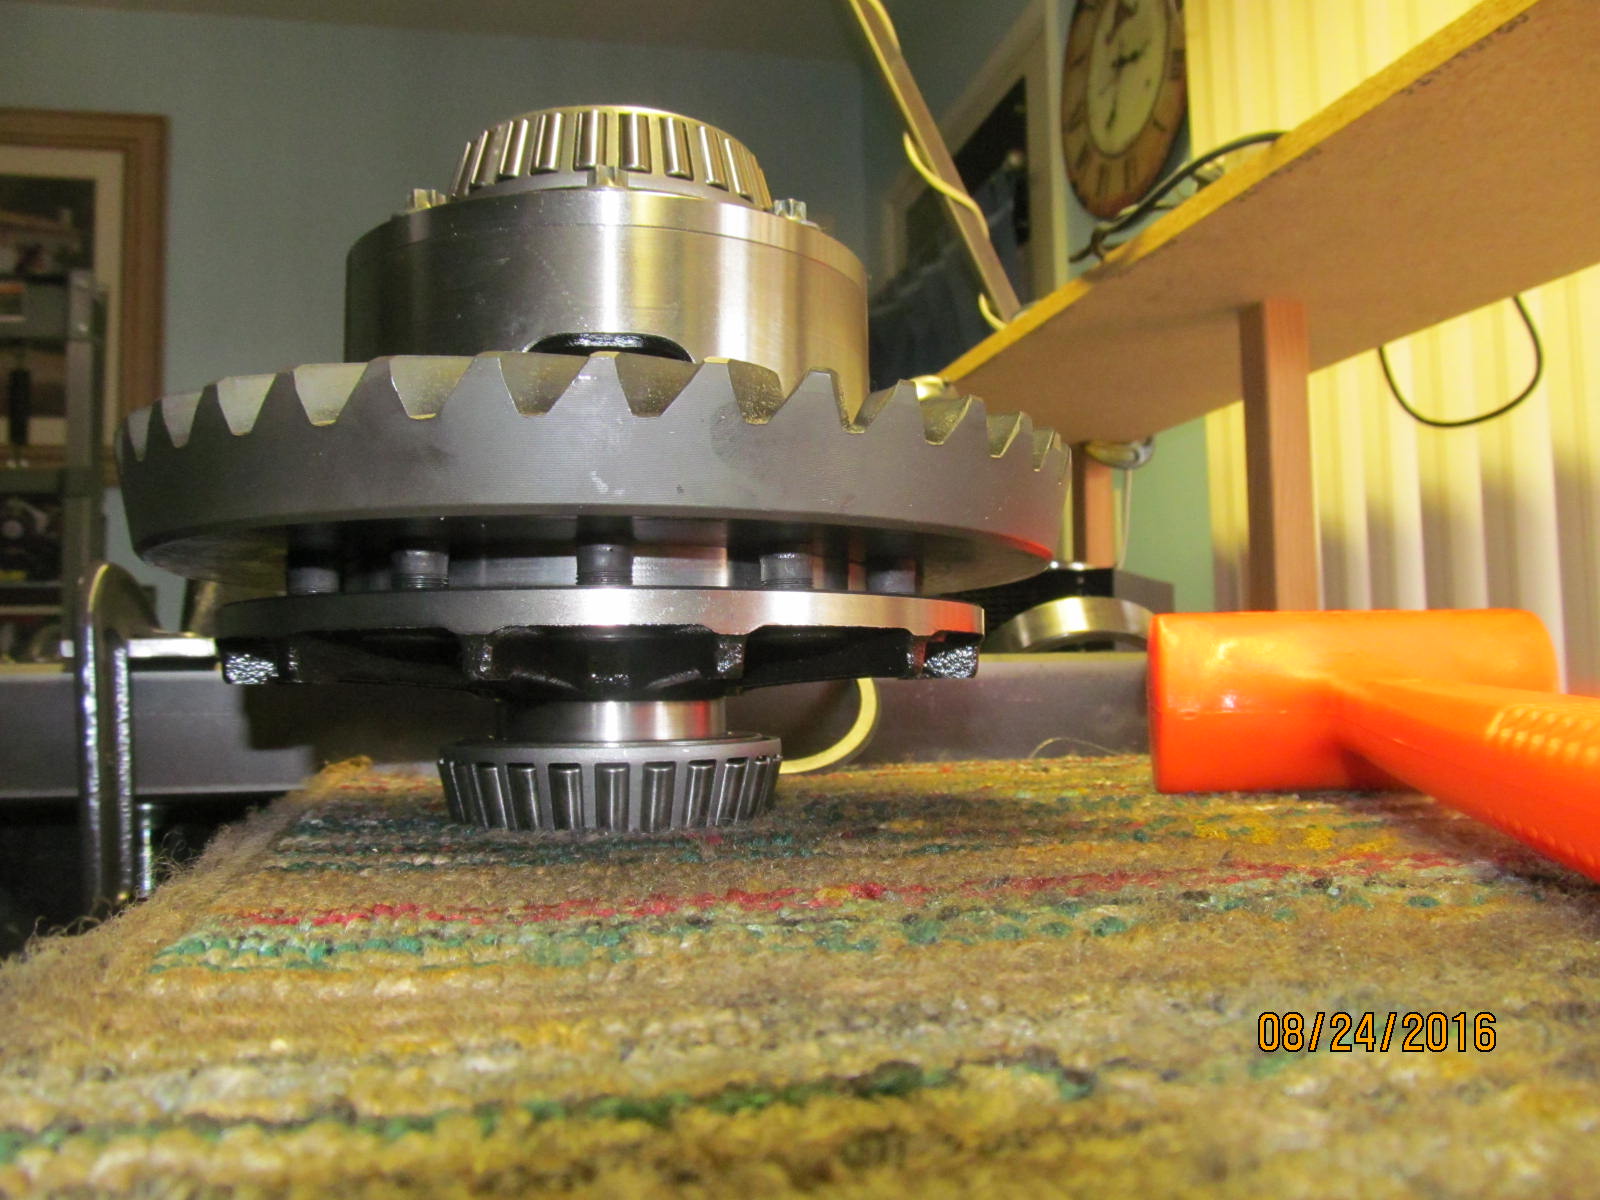
New ones are started in place with a few taps.
|
|
|
|
Same with the ring....line it up carefully by eyeball, tap the ring gear down
with the bolts in place to verify proper alignment.
|
|
|
|
|
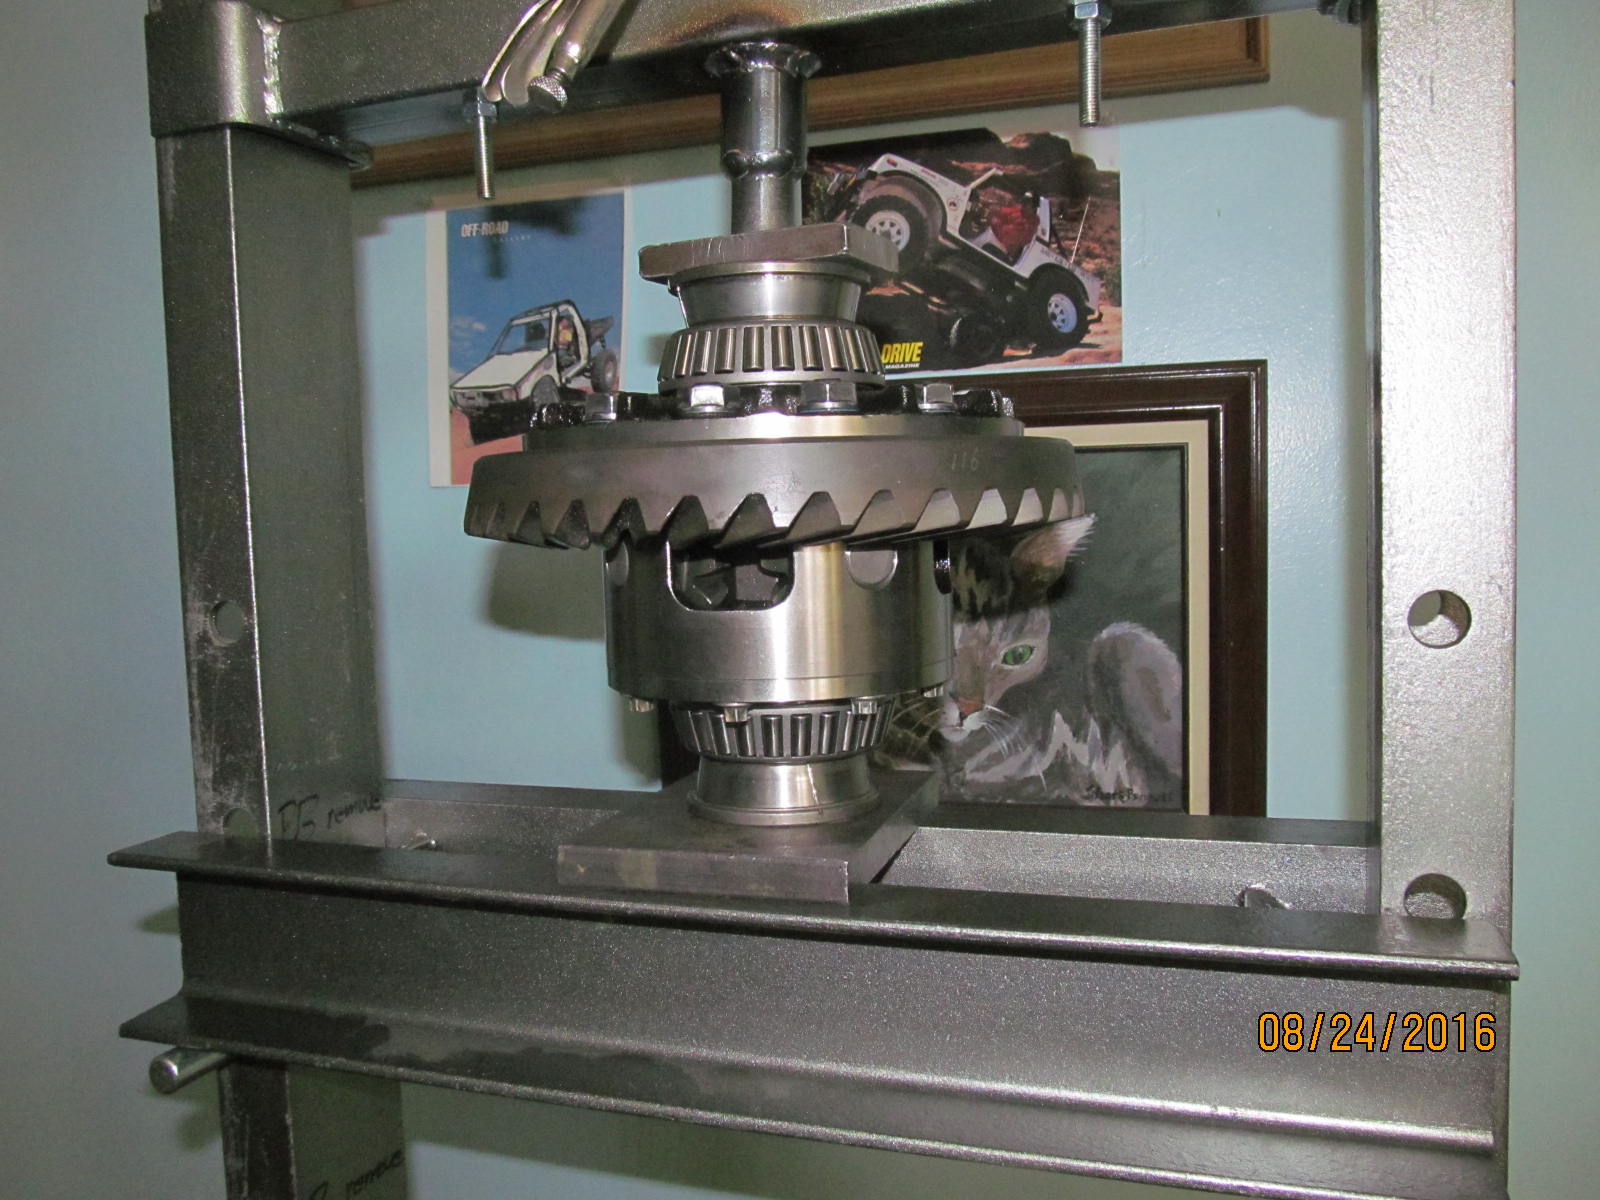
The press can then fully press the bearings in place.
|
|
|
|
|
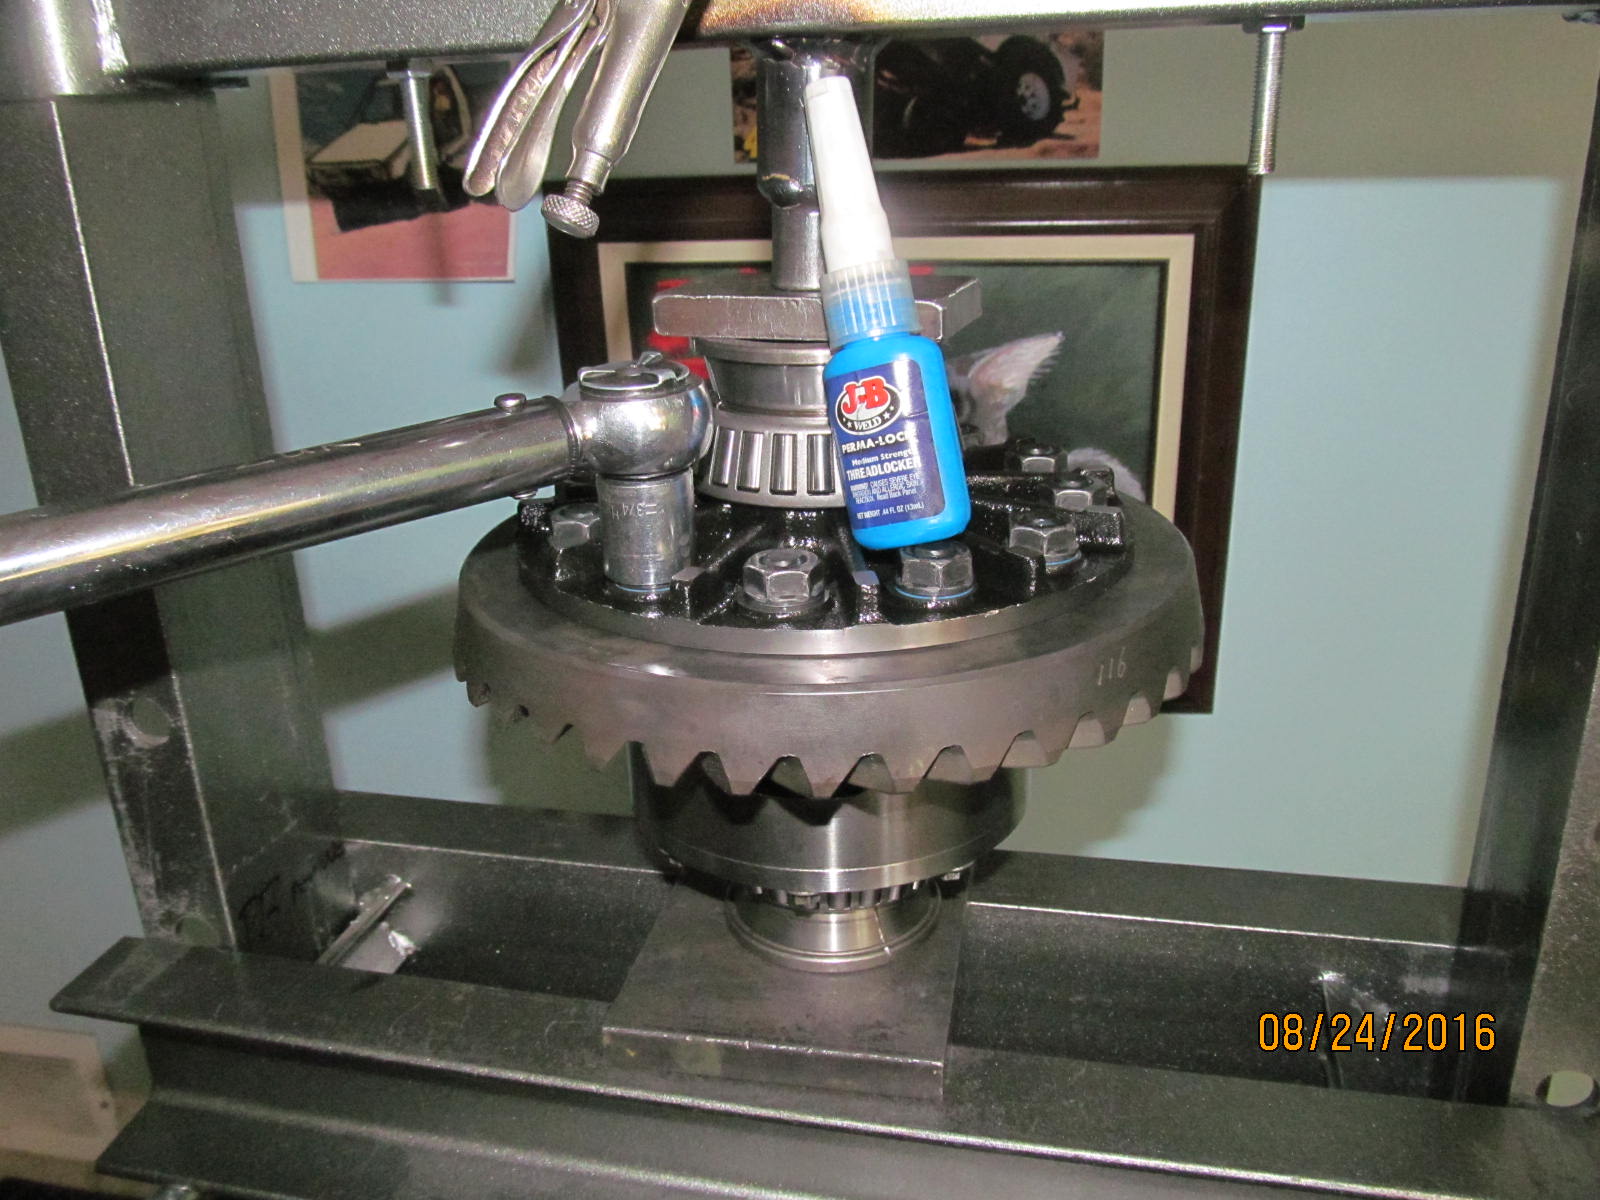
The tension is handy in that the ring gear bolts can now be torqued to 81 ft/lb with medium threadlocker.
|
|
|
|
|
This end done.
|
|
|
|
|
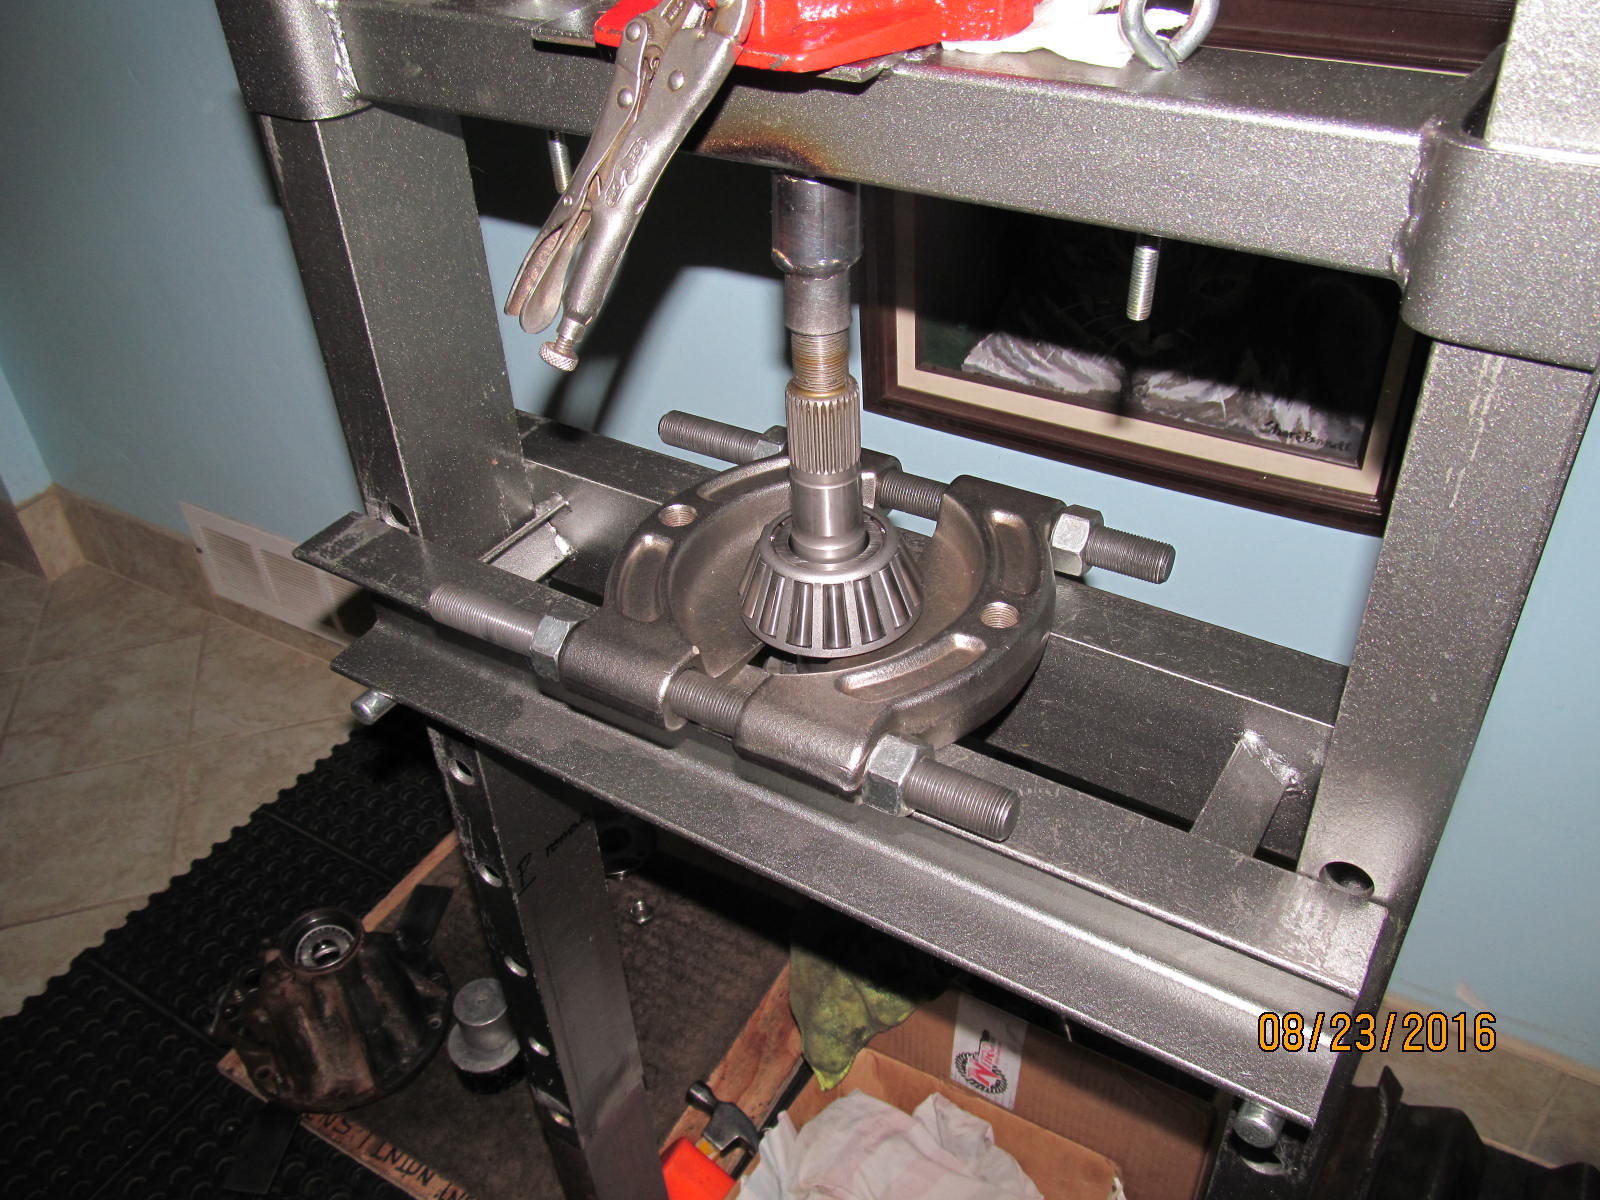
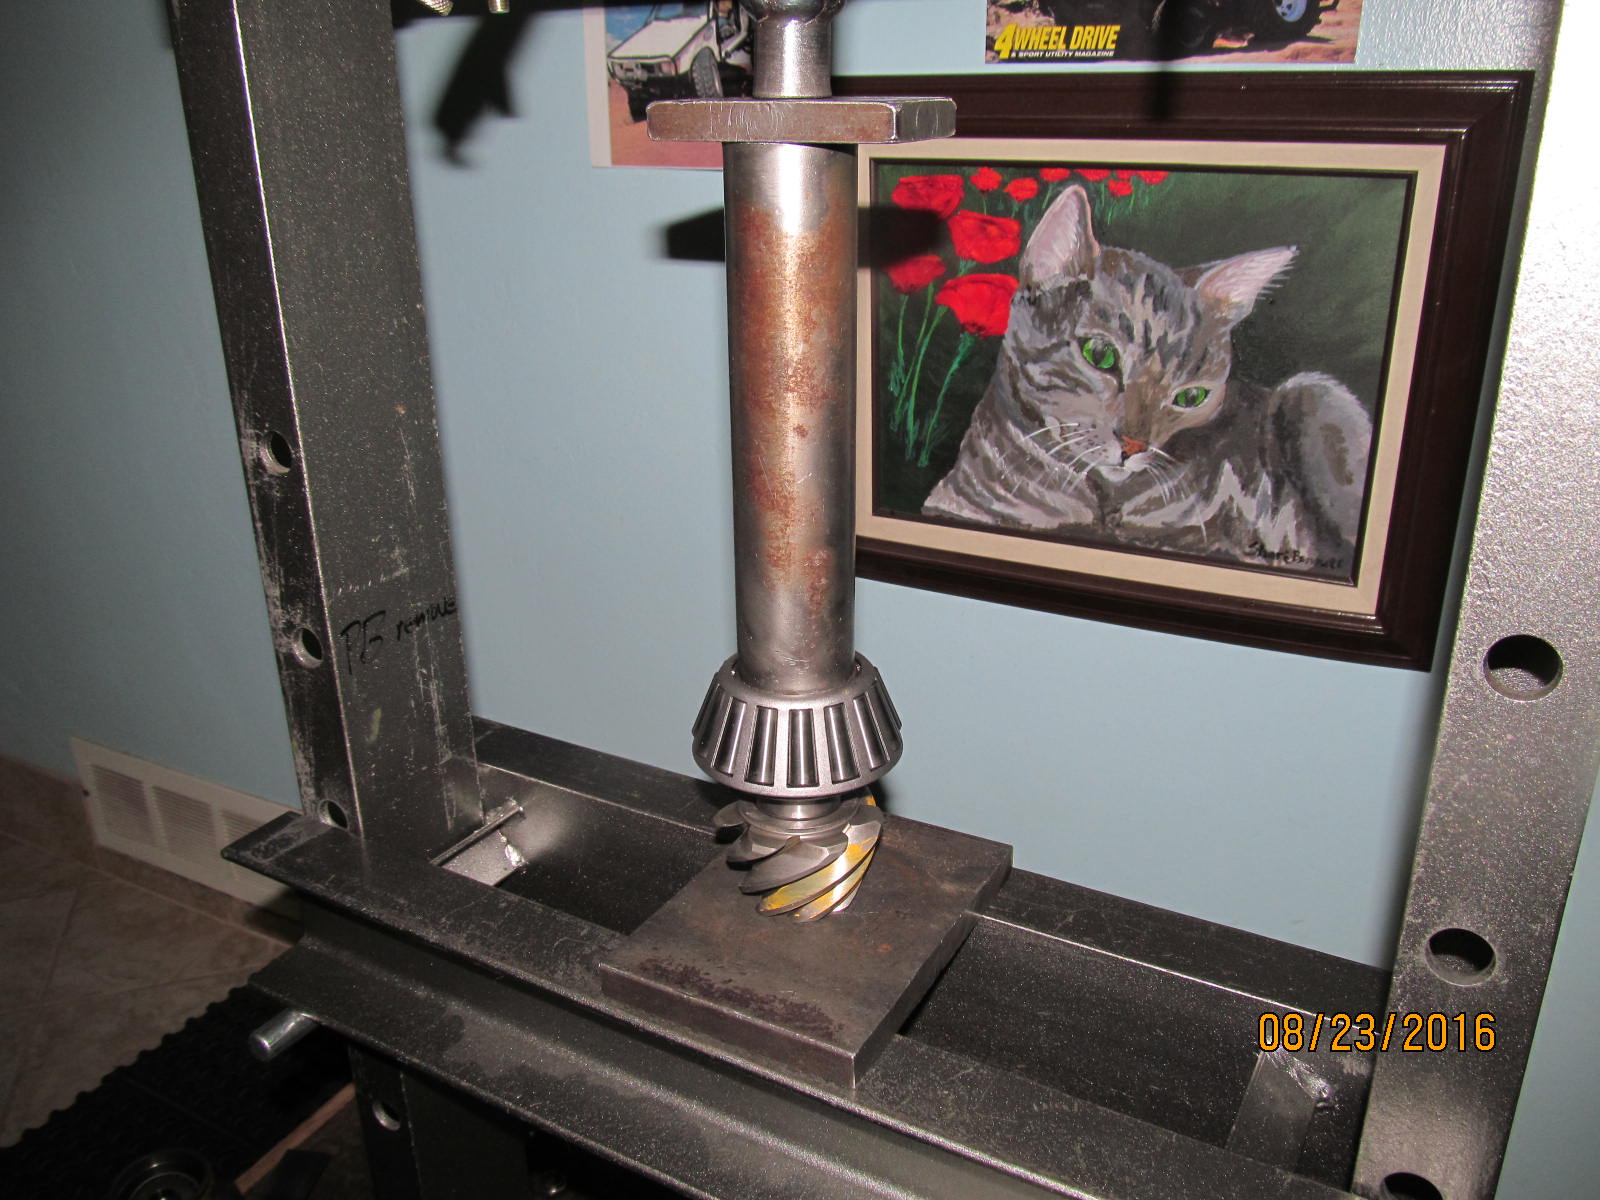
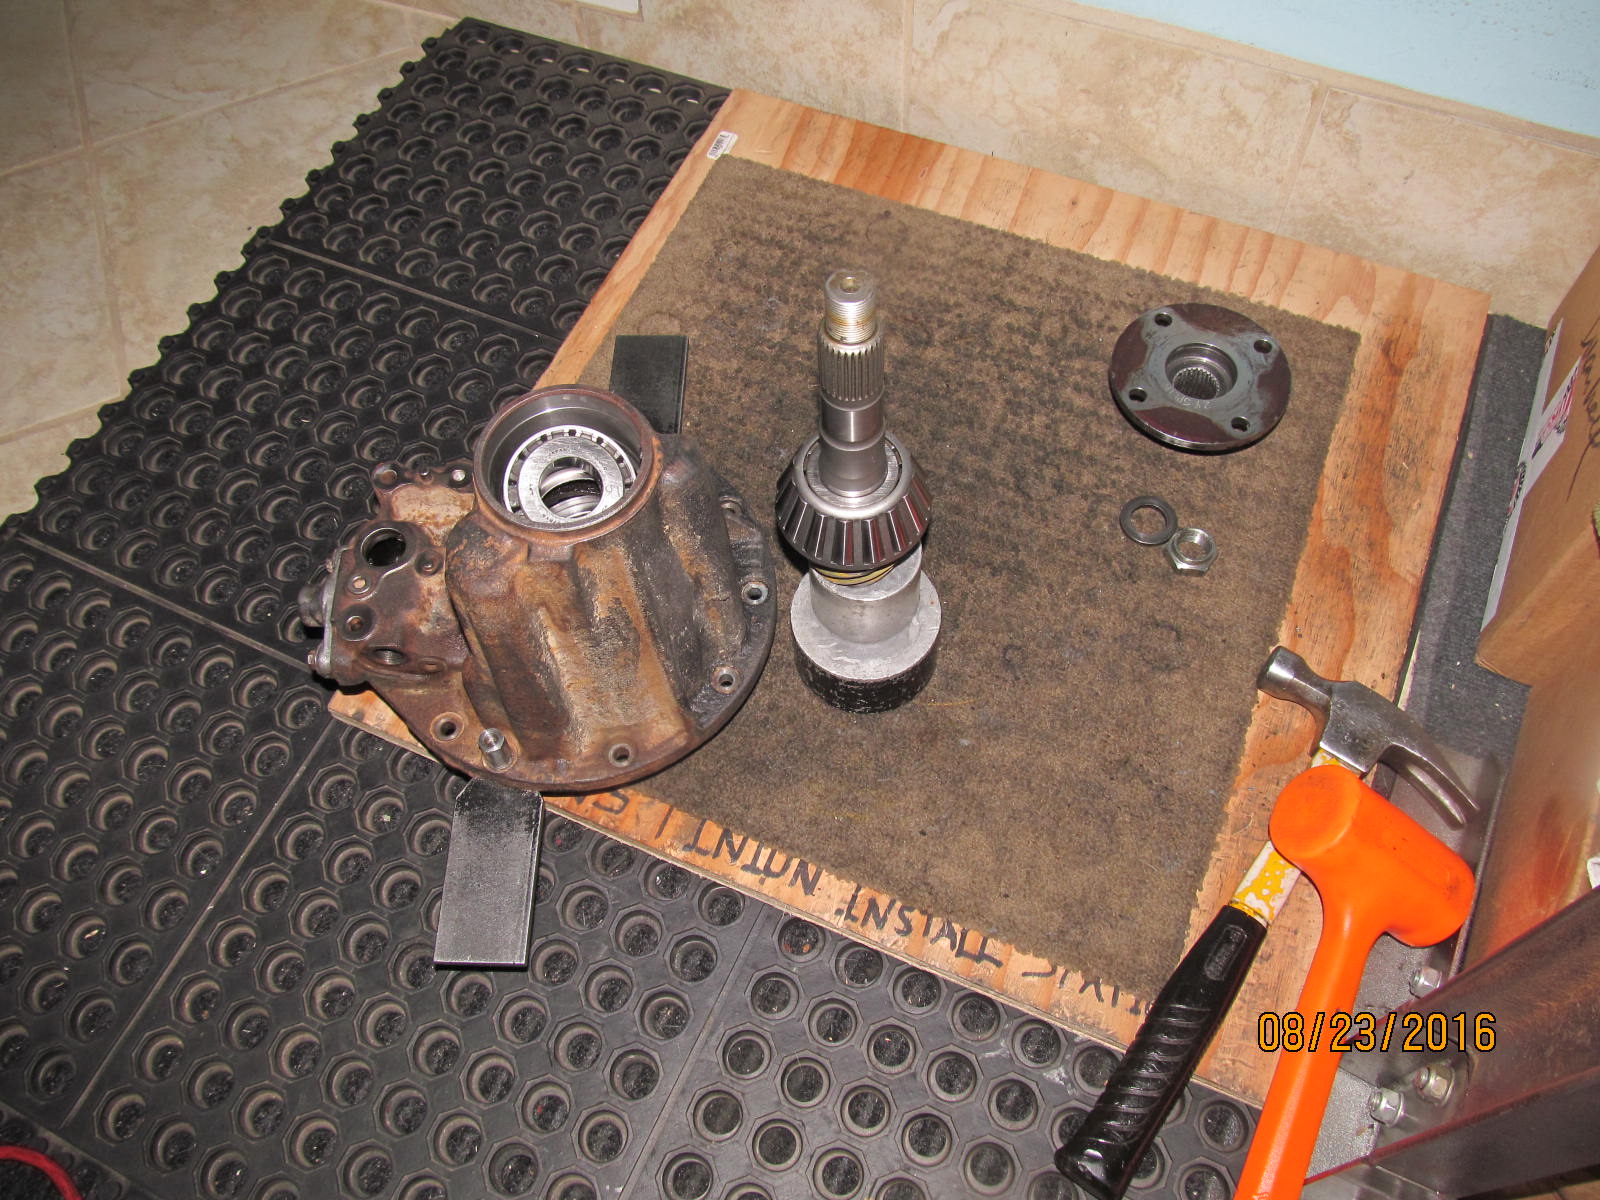
Press the old pinion out. Many times it falls out but not this one.
|
|
|
|
All surfaces on the stripped 3rd were cleaned....most by high speed wire brush.
New races were then tapped in.
|
|
|
|
|
......
|
|
|
|
|
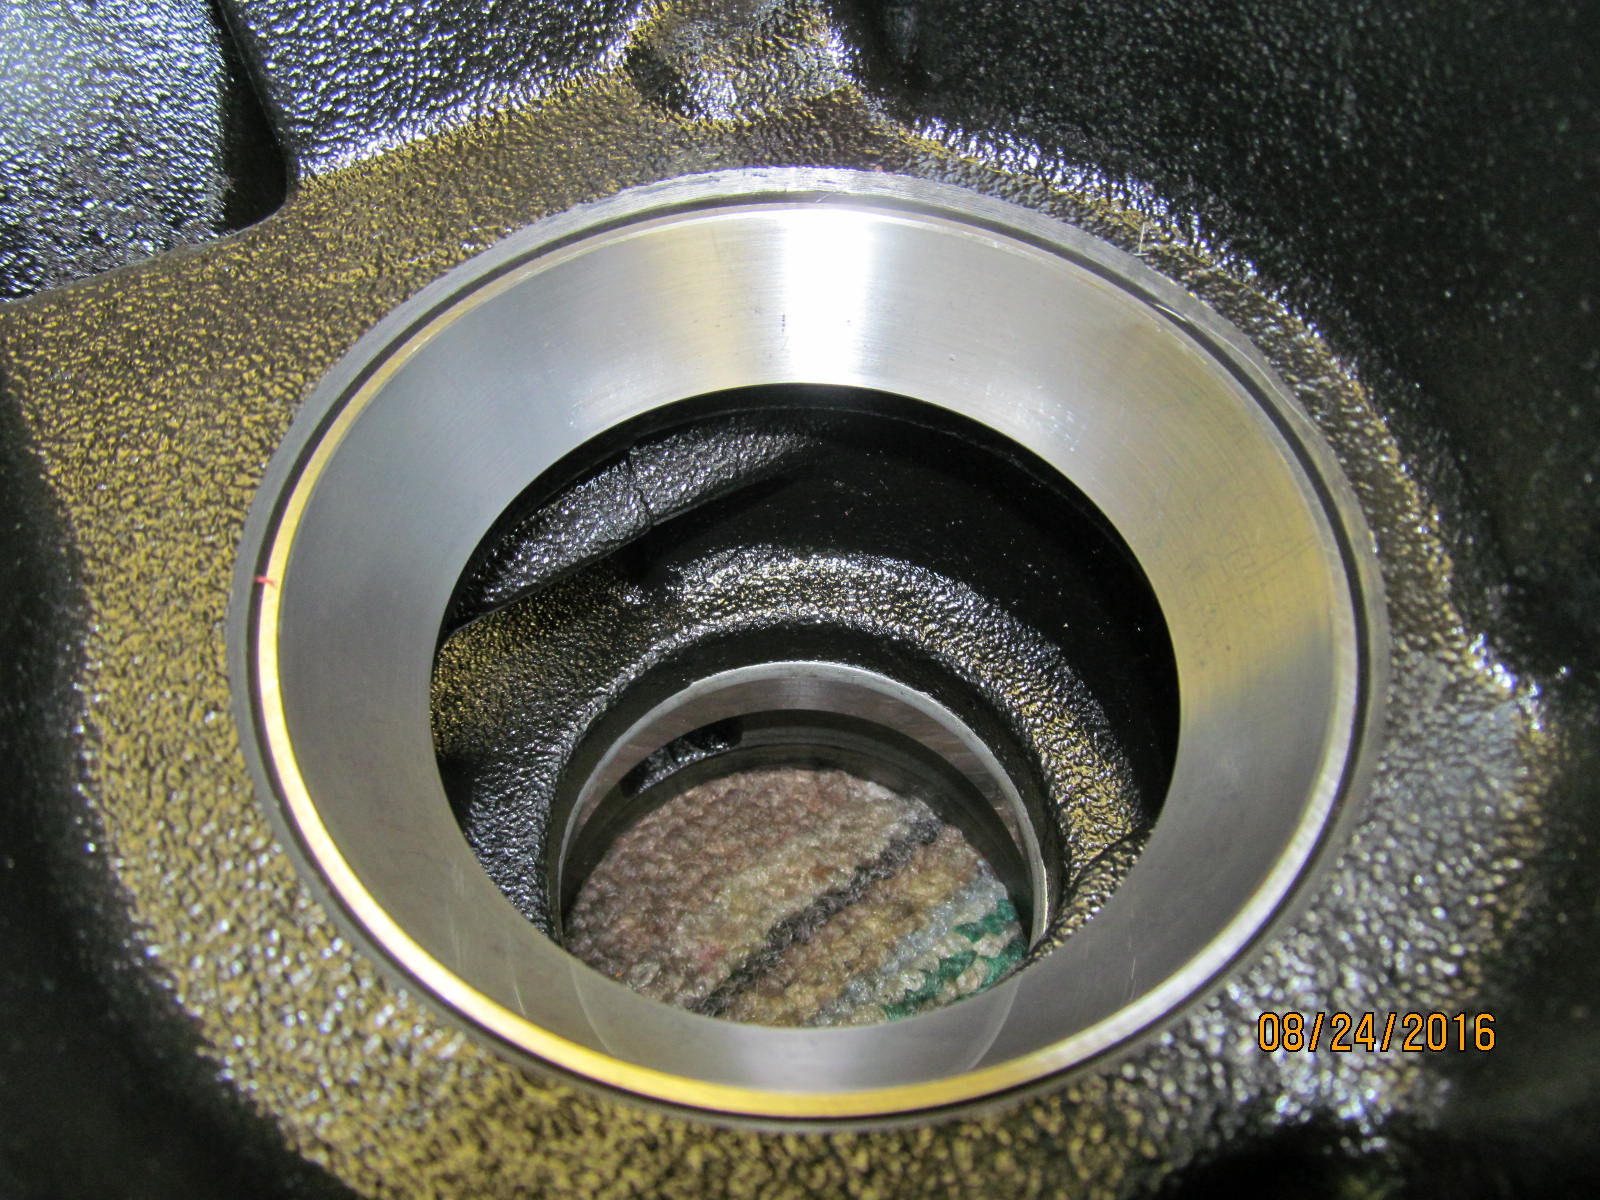
New outer race fully 100% seated.
|
|
|
|
|
The larger inner race was verified to be 100% seated, too.
|
|
|
|
|
Think we will try a .054" shim on the cryo 529 for the first try....
|
|
|
|
|
Cryo bearings is pressed in place with the shim.
|
|
|
|
|
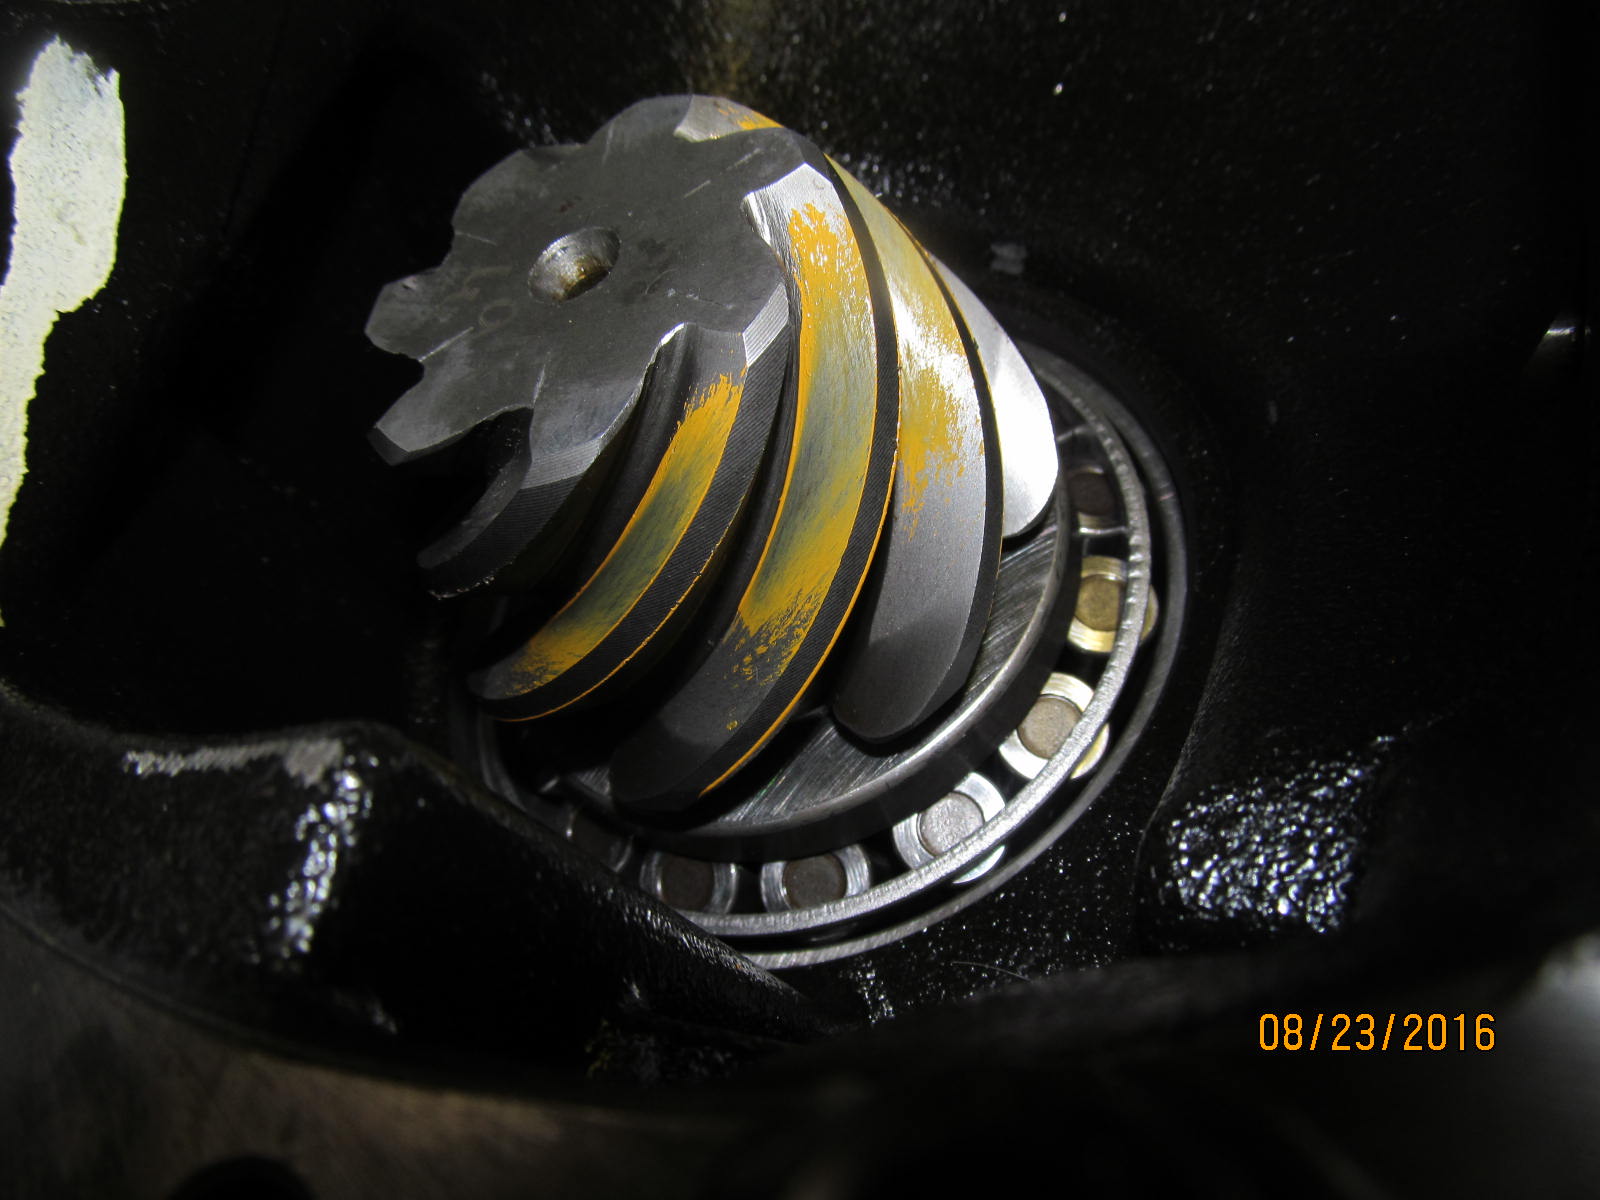
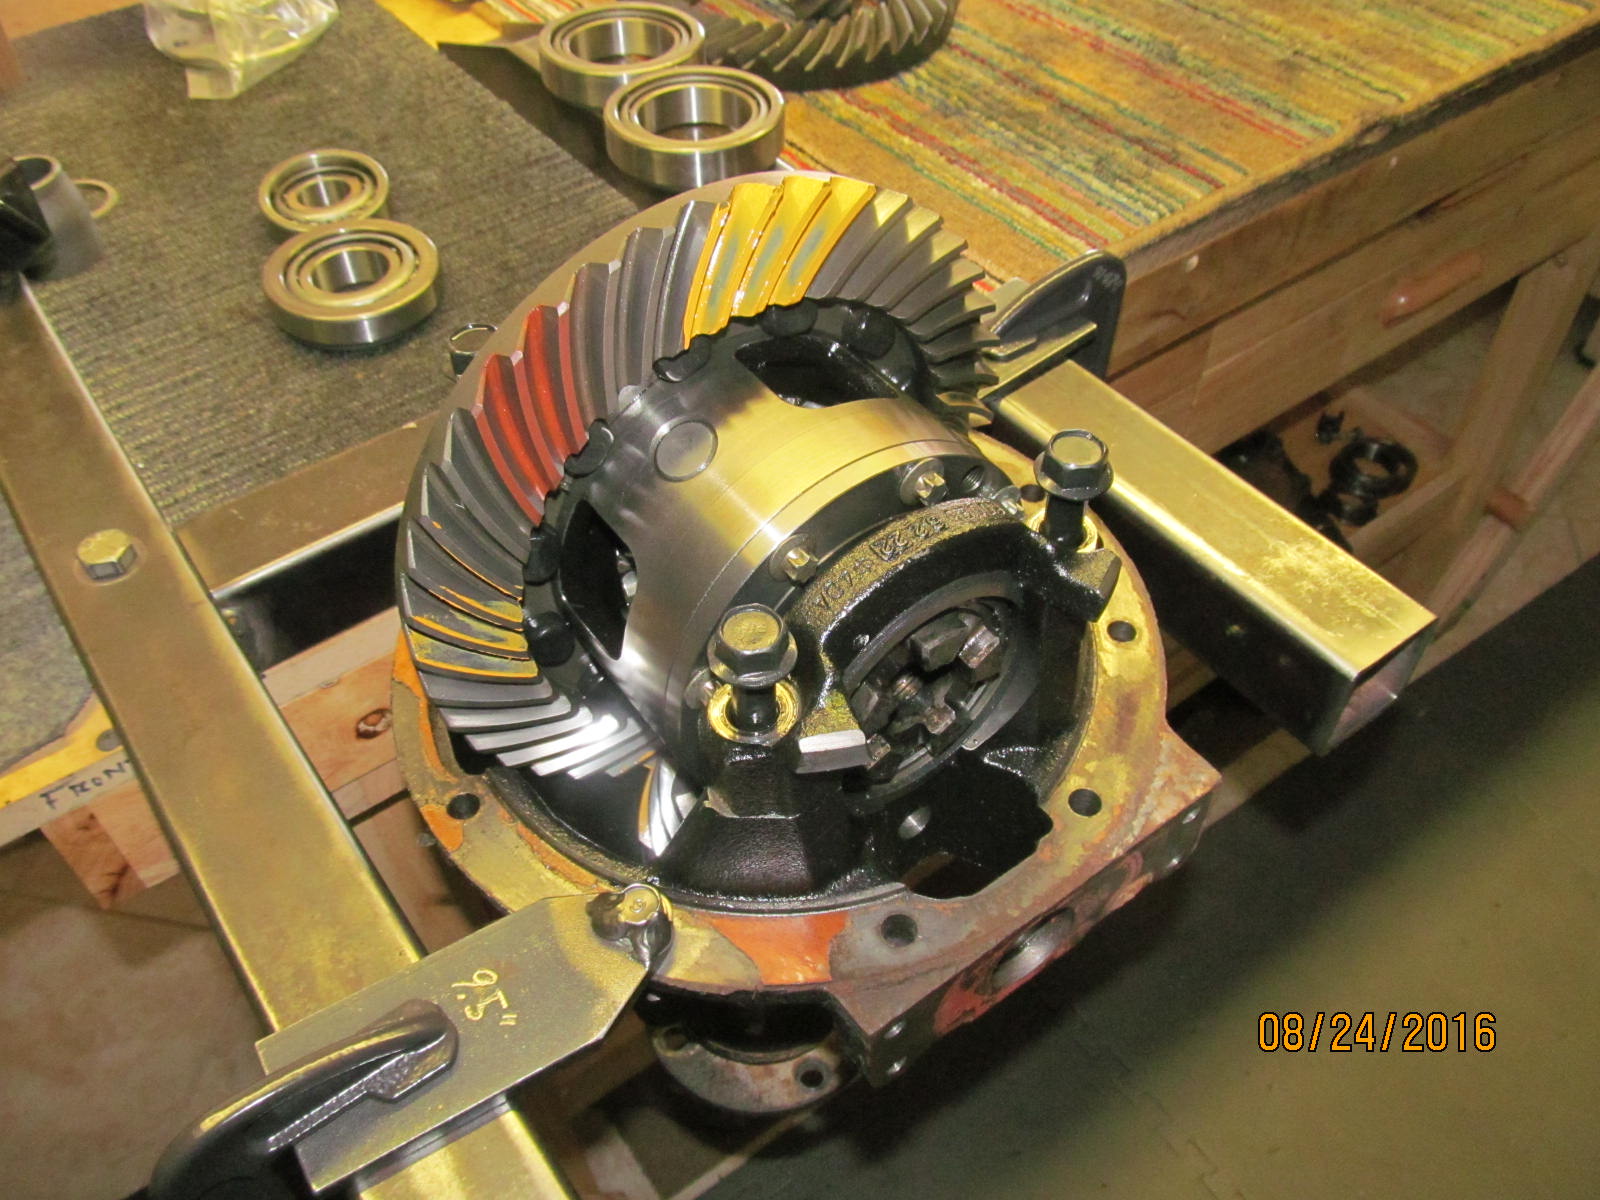
Mount the pinion assembly in the diff carrier.....snug pinion nut down for about 20 in/lb of resistance/drag.
|
|
|
|
The original carrier bearing washer plates were close enough to use for a paint check.
Backlash measured about .005"
|
|
|
|
|
Not bad....but looks like the depth shim (.054") could be a little deeper.
|
|
|
|
|
Flying saucers again.
|
|
|
|
|
The pinion is saying try a little deeper.
|
|
|
|
|
................
|
|
|
|
|
......................
|
|
|
|
|
I can go a couple thou deeper on the pinion depth and install the solid collar at the same time.
|
|
|

|
|
The washer plates were fine tuned closer .008 backlash and more bearing preloading at the same time.
|
|
|
|
|
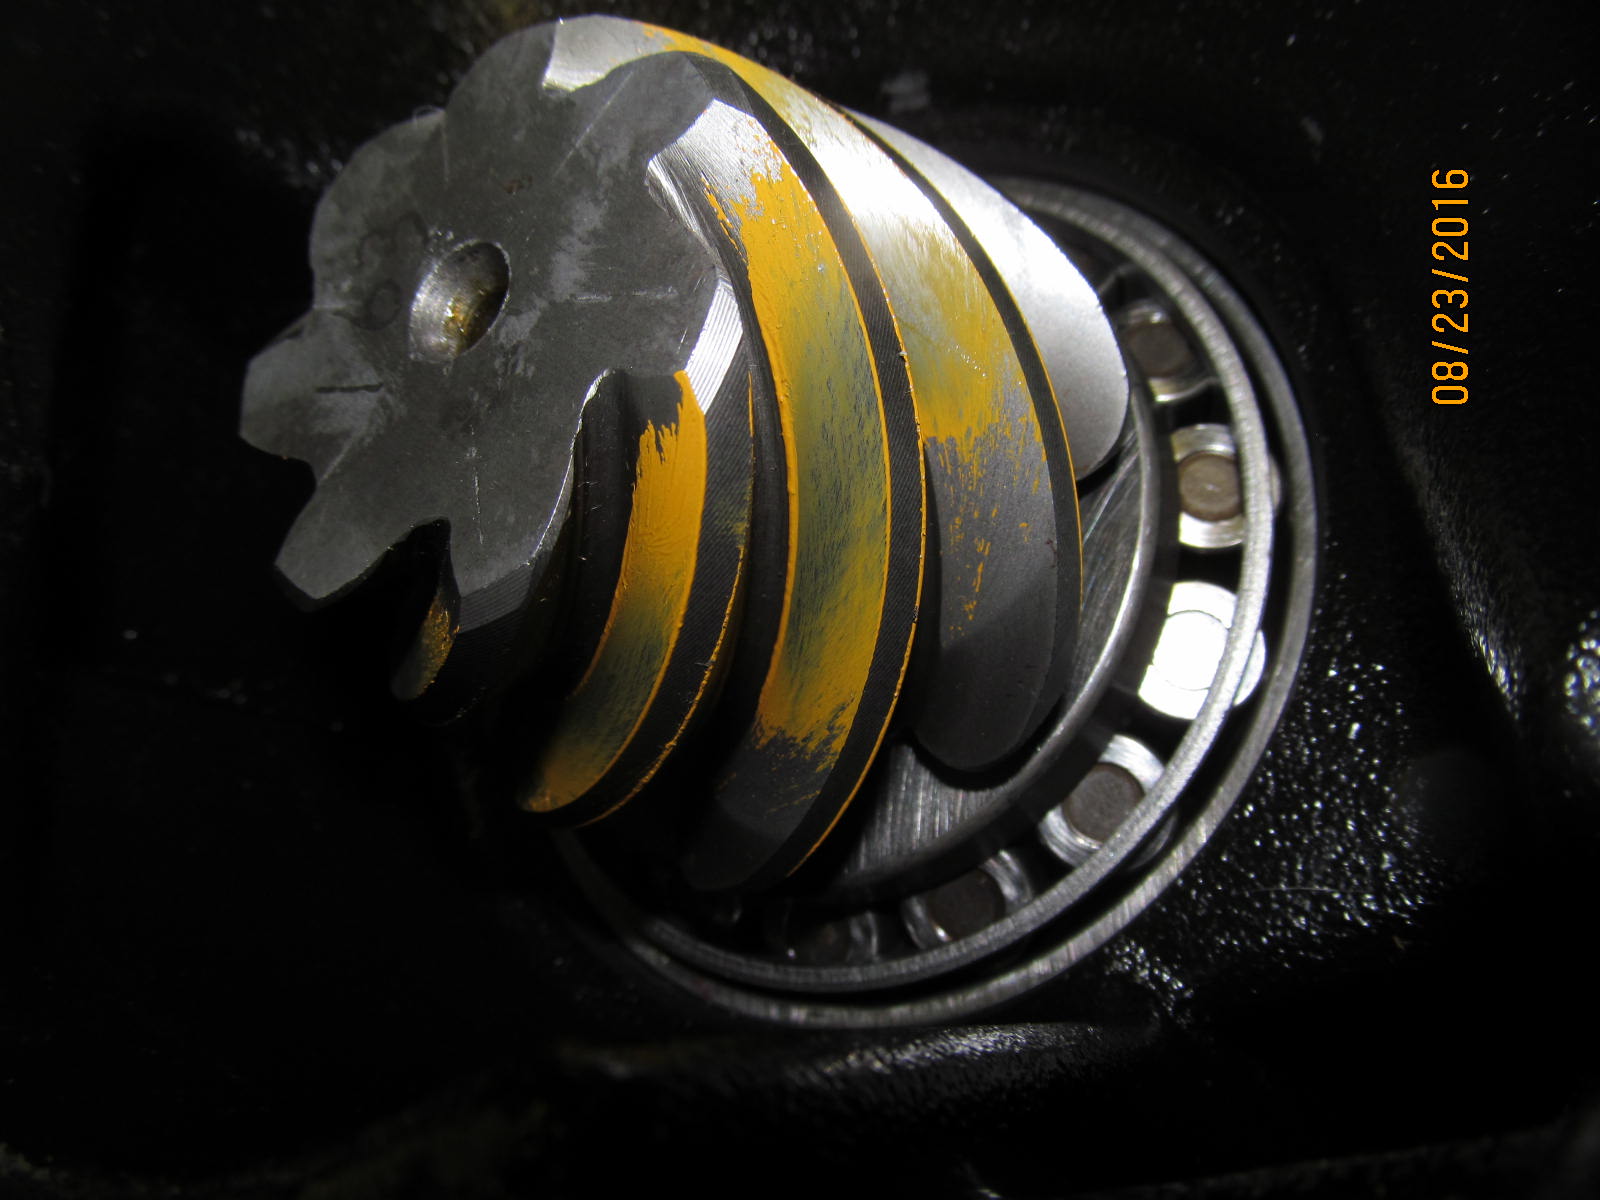
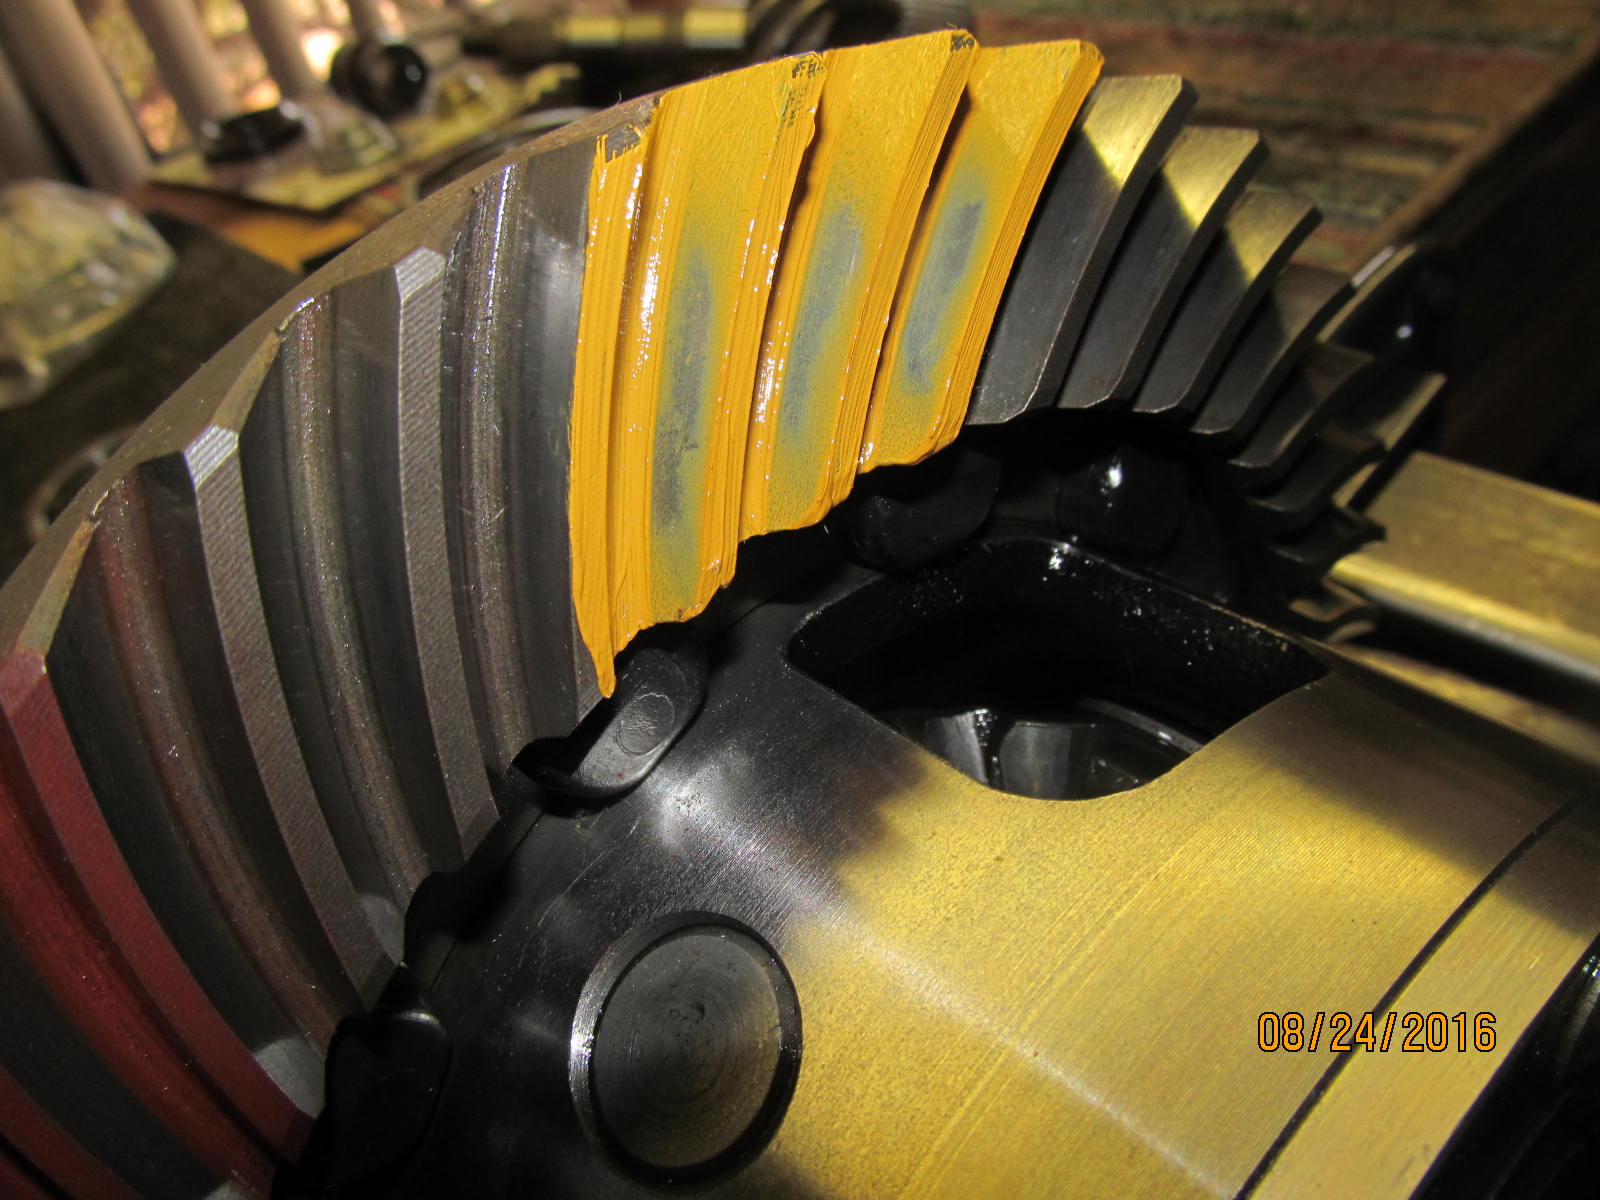
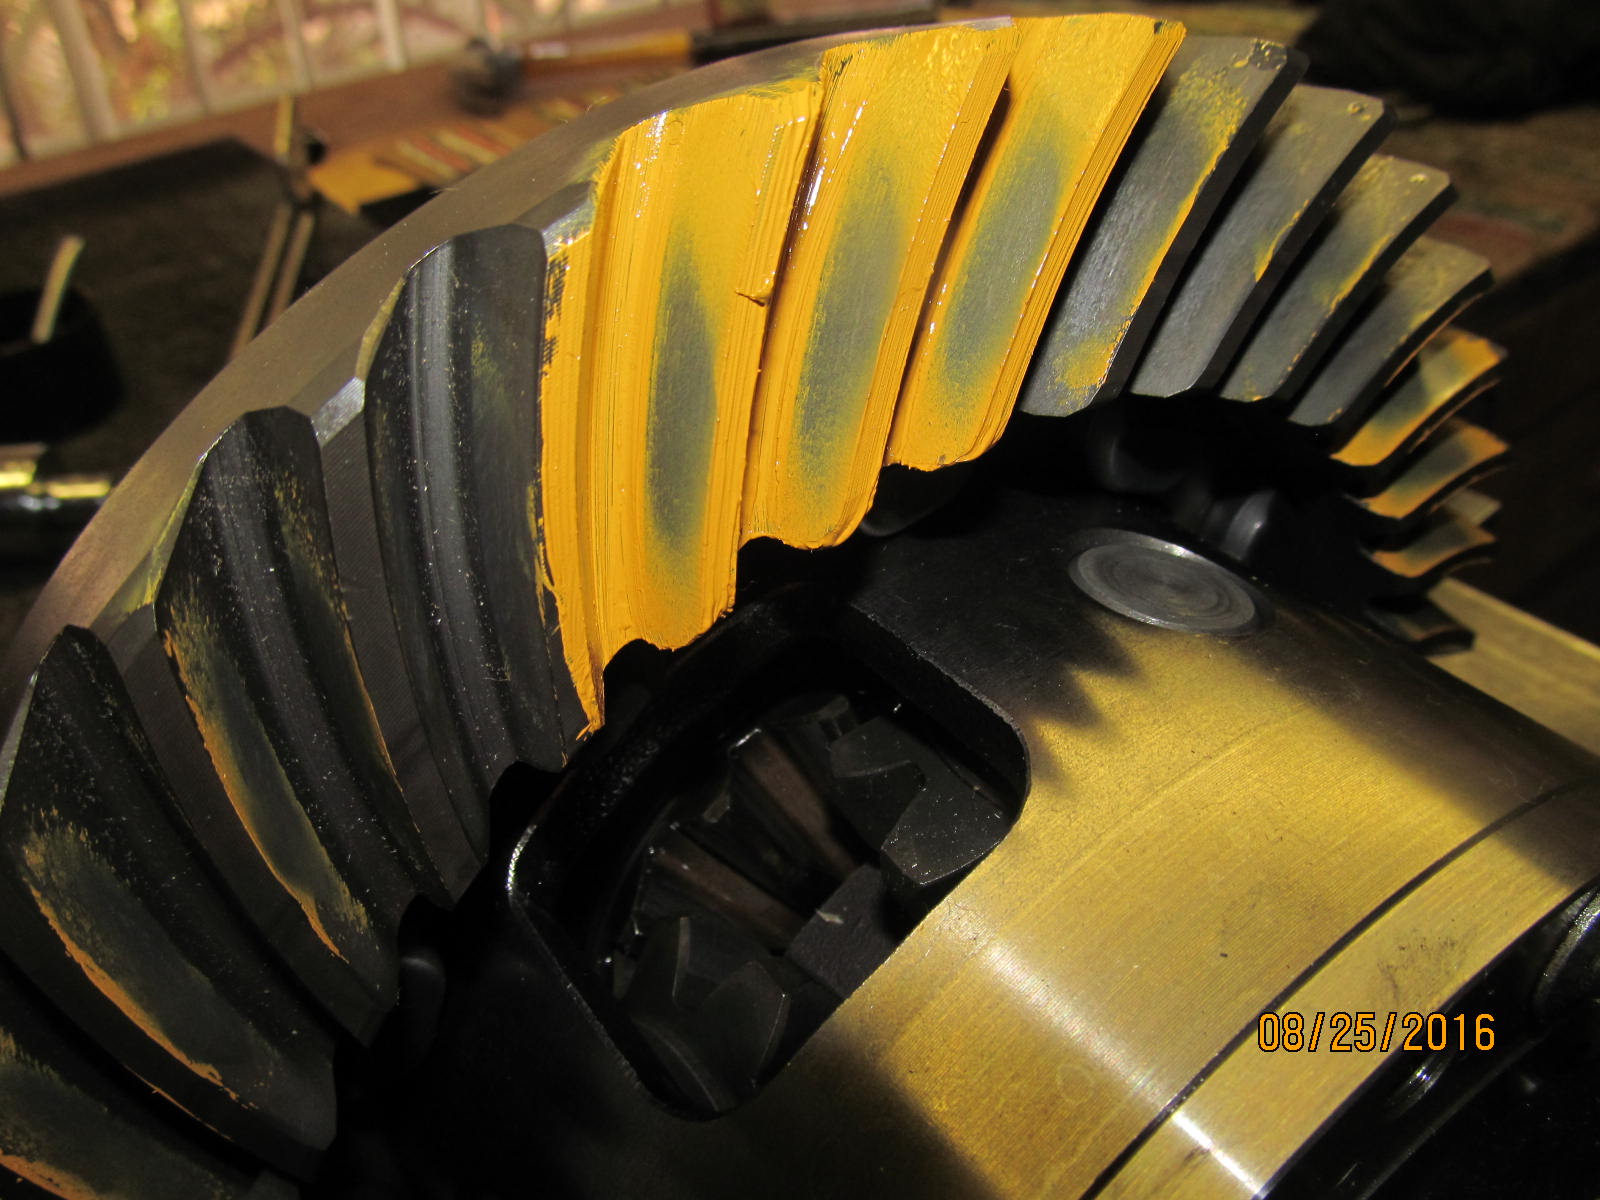
Pinion is now .003" deeper for a total of .057" and looks nice on this drive side.
|
|
|
|
|
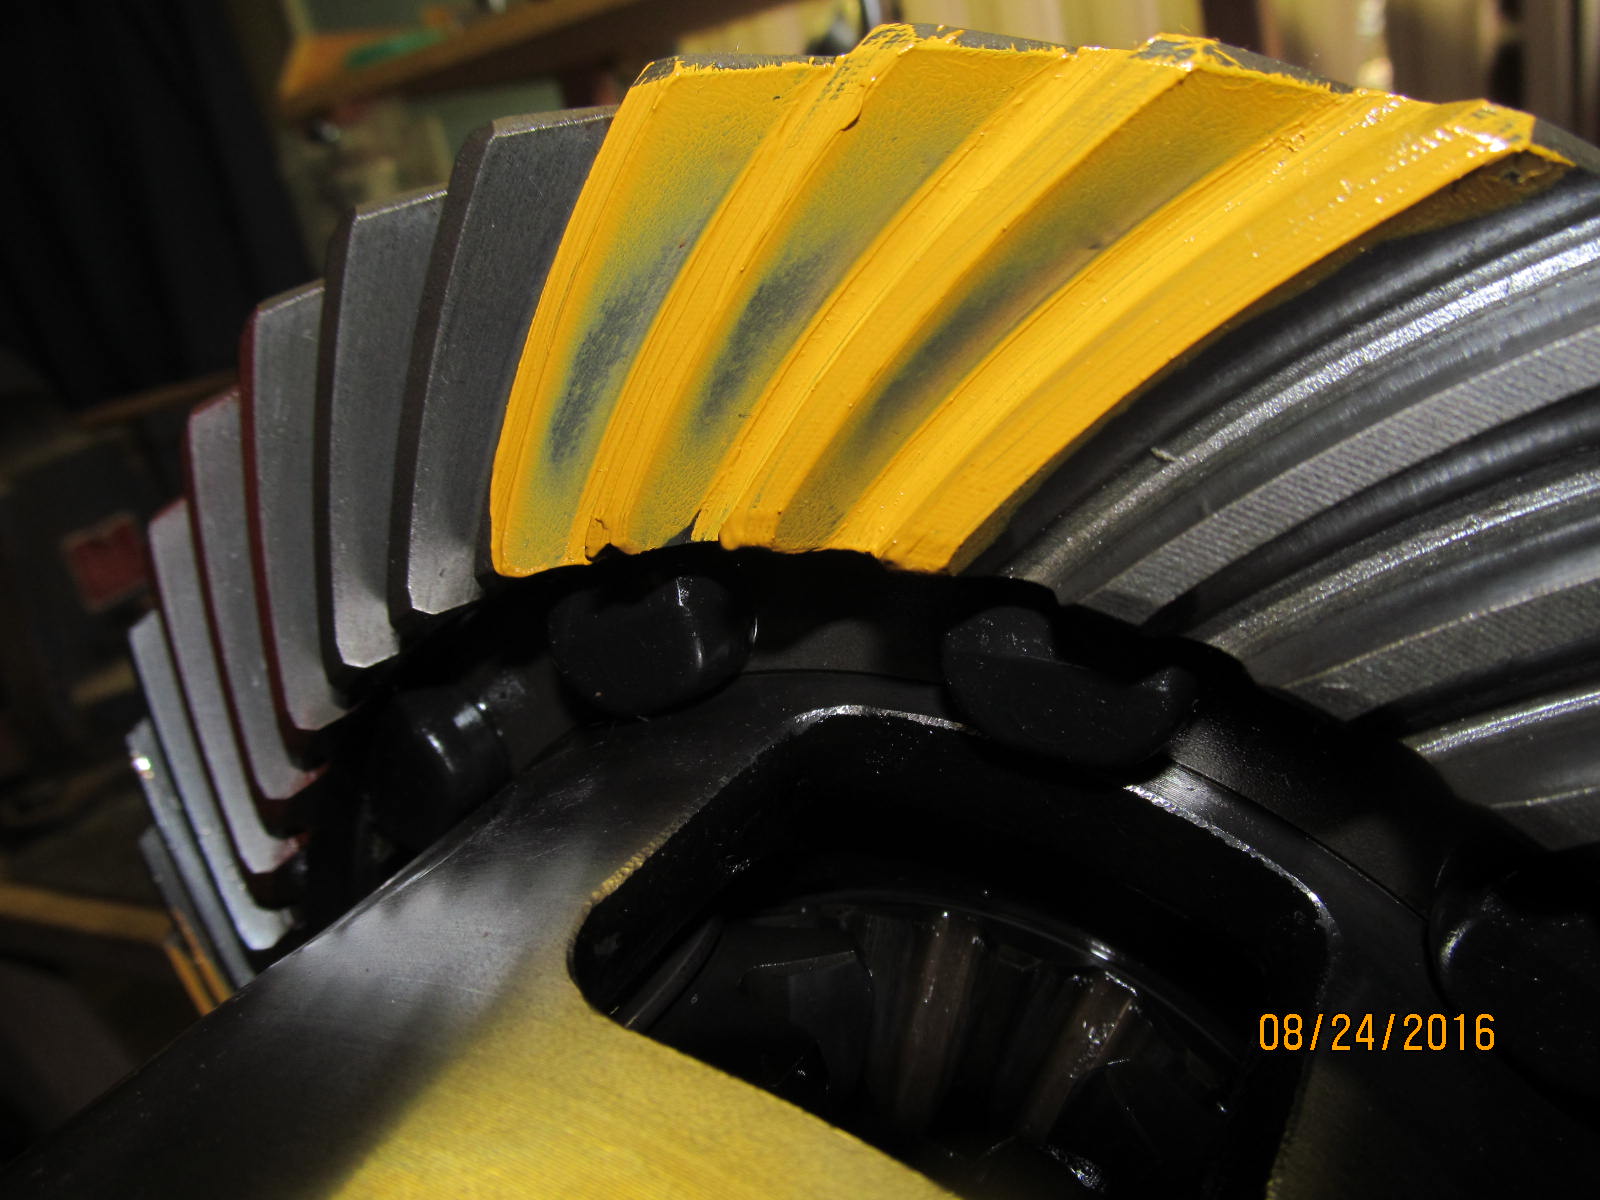
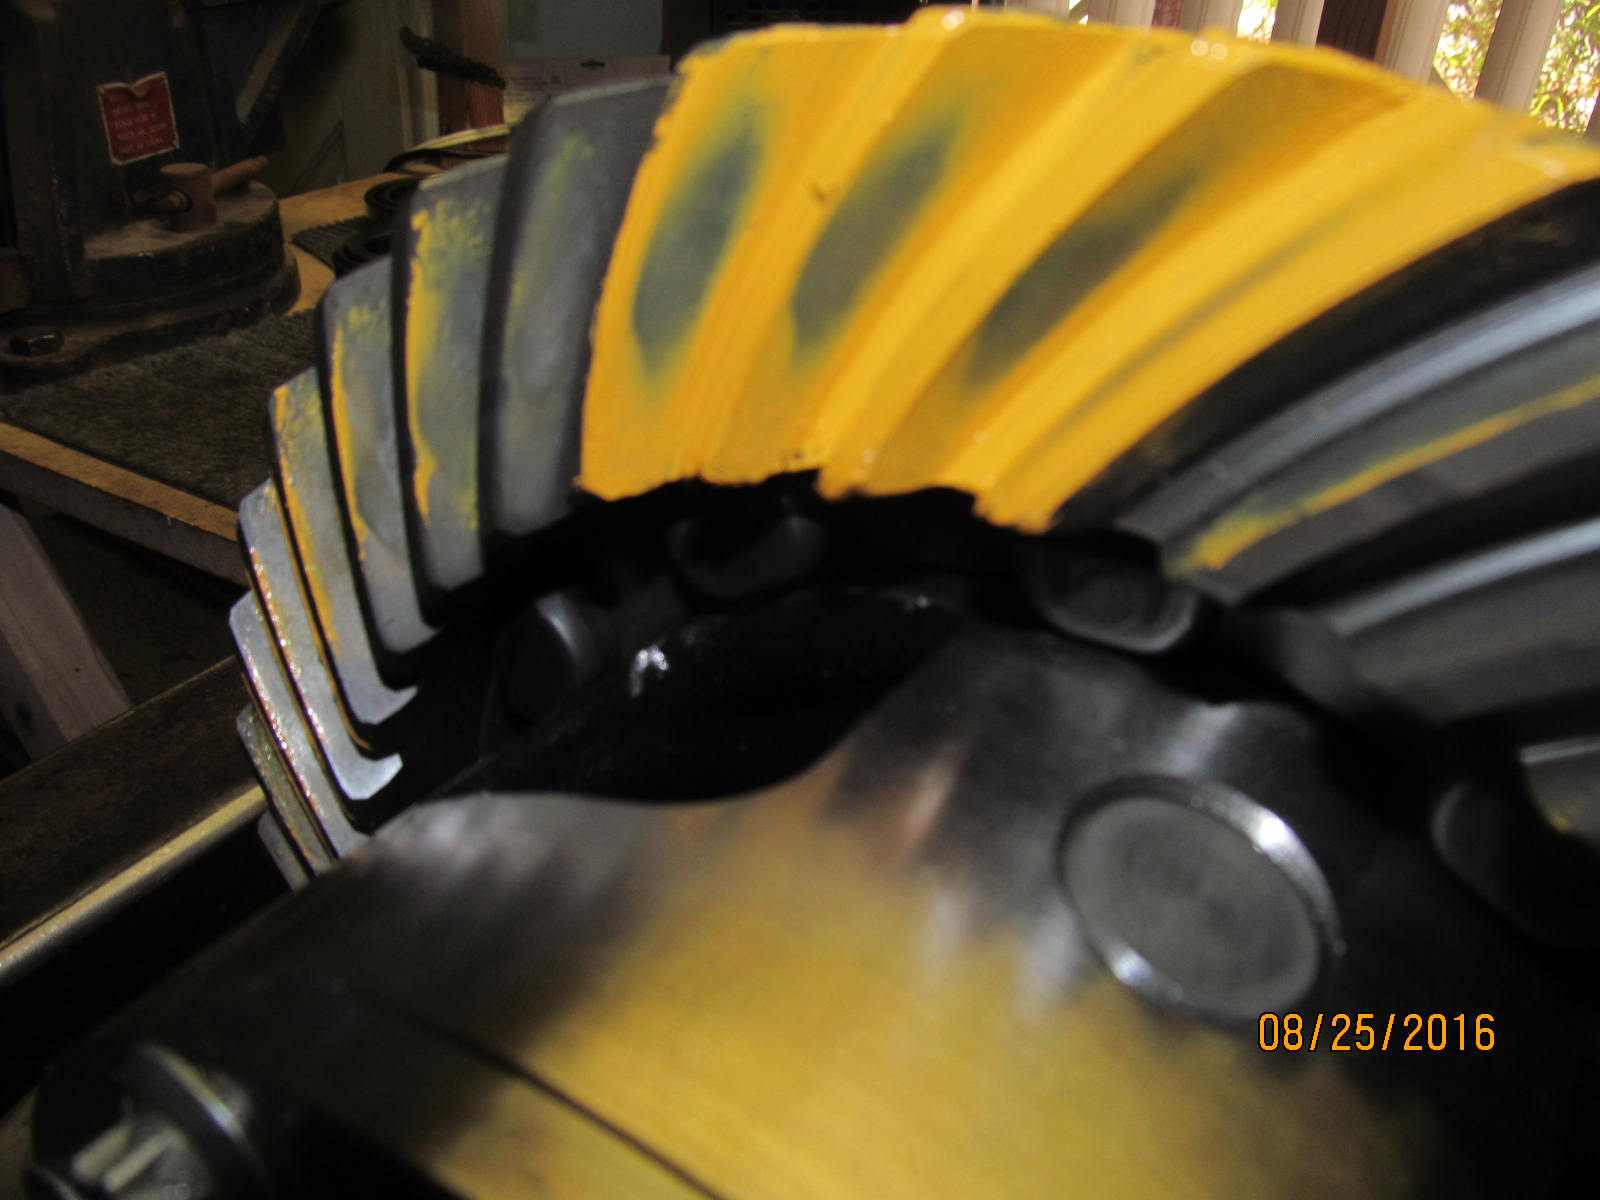
Coast is excellent.
|
|
|
|
|
The comet tail is somewheres in the middle and is definitely not tucked in to the root as it was before.
|
|
|

|
|
..................................................
|
|
|
|
|
.......................................
|
|
|

|
|
Happy with the pinion depth now....oil up the bearings and place splashguard in the hole.
|
|
|

|
|
Seal is oiled and greased for installation.
|
|
|
|
|
100% tapped down.
|
|
|
|
|
New flange is in place....
|
|
|
|
|
Some anti-seize was smeared on the threads.
|
|
|
|
|
About 260 ft/lb was applied to the nut and that resulted in 10 in/lb of smooth, repeatable pinion bearing preload.
|
|
|
|
|
DING and this end is complete.
|
|
|
|
In this case, I ended up re-using the original factory .111" washer plate on the ring gear side...
and adding .006" to the factory plate on the e-motor side. That resulted in more bearing preload
with a final backlash value of .008" minimum.
|
|
|

|
|
The 4 cap bolts were verified to be 83 ft/lb.
|
|
|
|
|
One last pattern check. Looks great. Nitro gears are among the best.
|
|
|
|
|
Nice focus on the coast side.
|
|
|
|
|
Specs are engraved.
|
|
|
|
Going to send both 3rds back to Marty in the same double boxes as they have proven themselves very durable.
There's just enough room for this larger 9.5" rear 3rd in these 16x12x12 boxes.The steel lips of the 3rd
resting on another box. lots of cushion. No bust-thru.
|
|
|
|
|
................
|
|
|
|
|
Back to Wisconsin :)
|
|
|

|
|
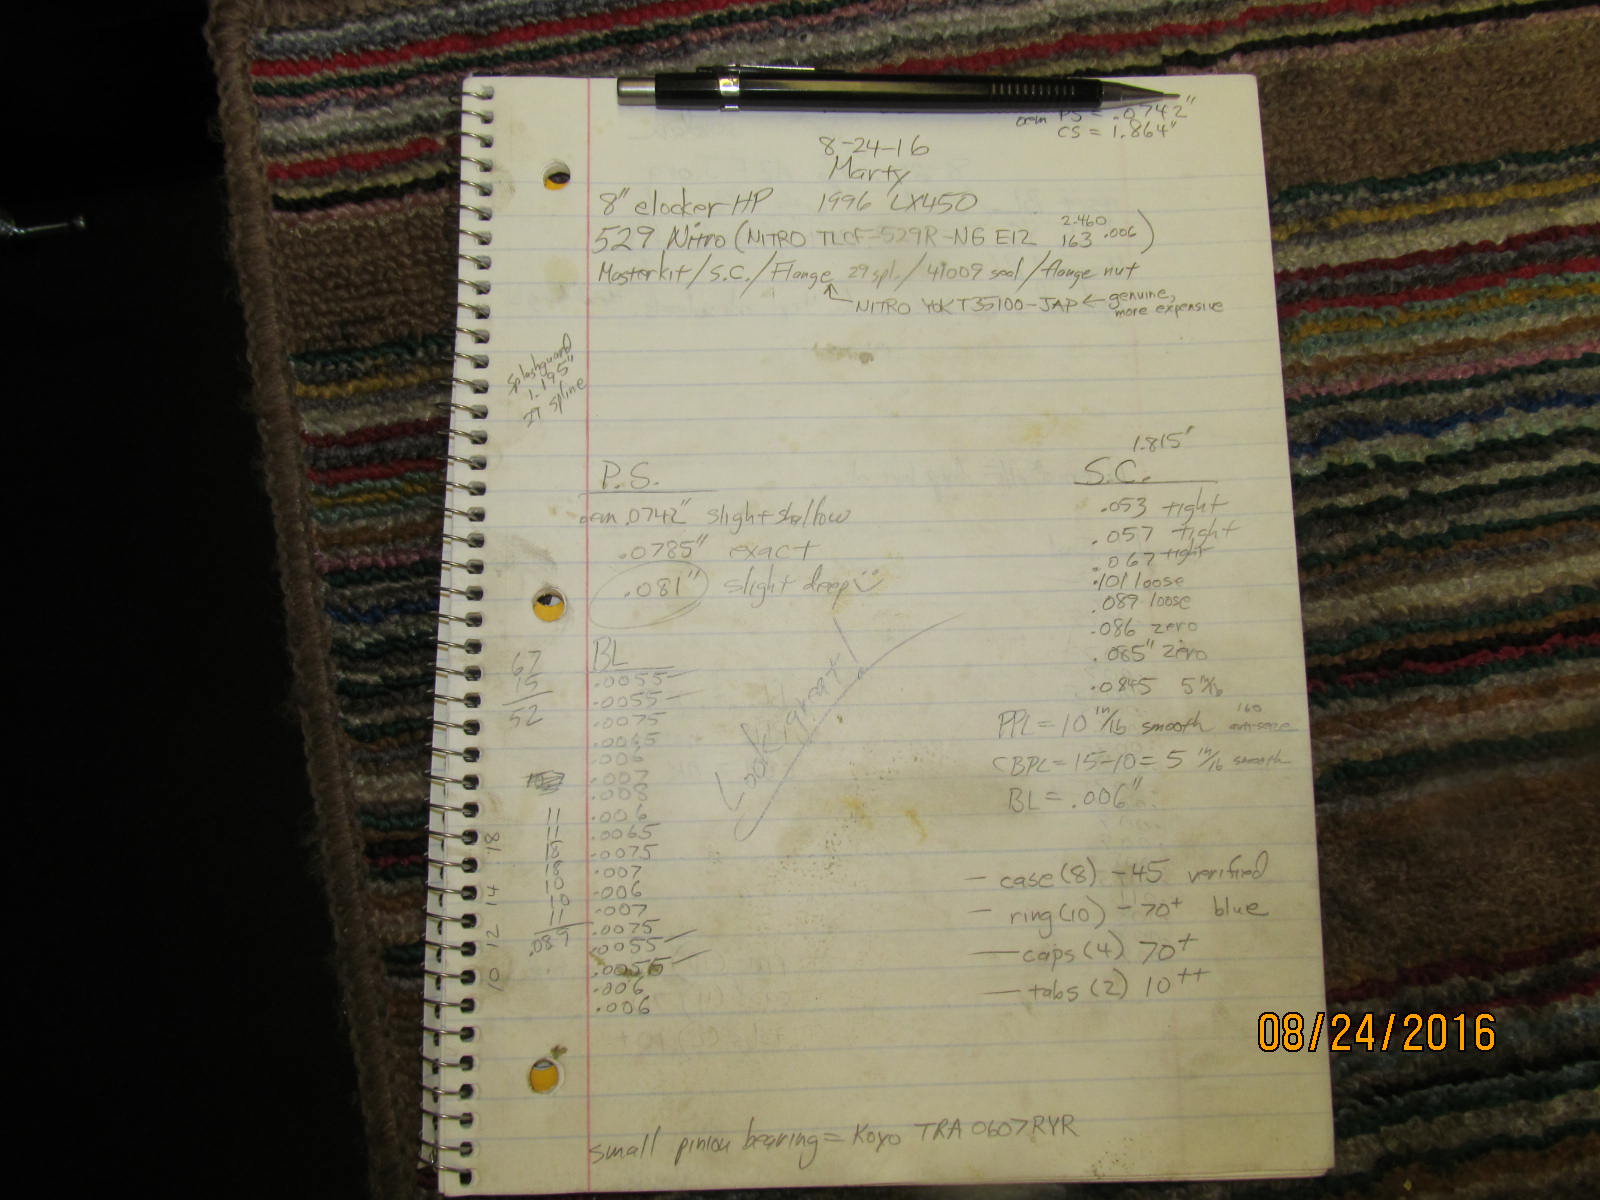
Everybody gets a snapshot of the final assembly notes.
|
|
|

|