|
|
|
|
|
|
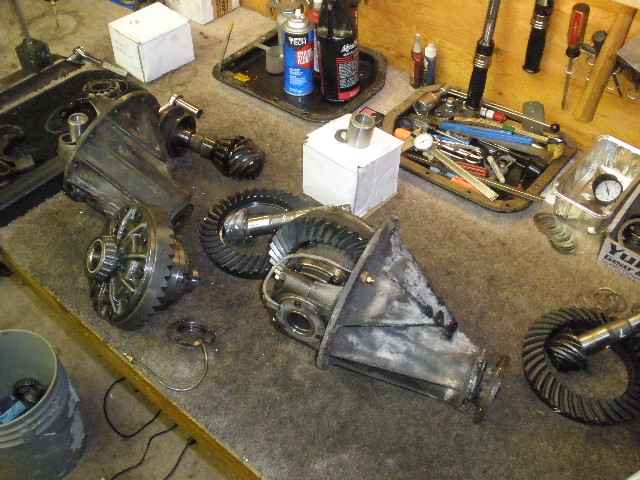
Matt, from Bakersfield CA, shipped me two 4-cyl 3rds that have the old style RD01 ARBs(45mm journals) in them already. The plan is to break-down the ARBs and convert them both to RD23(50mm journals) for installation in a rear V6 carrier and a brand new HP carrier from Allpro. This link is only for the hi-pinion install. 529 Nitro Gears from JustDifferentials.com are also going in. |
|
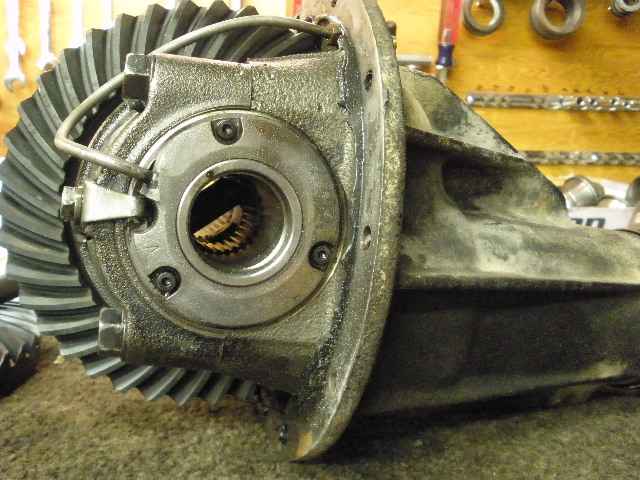
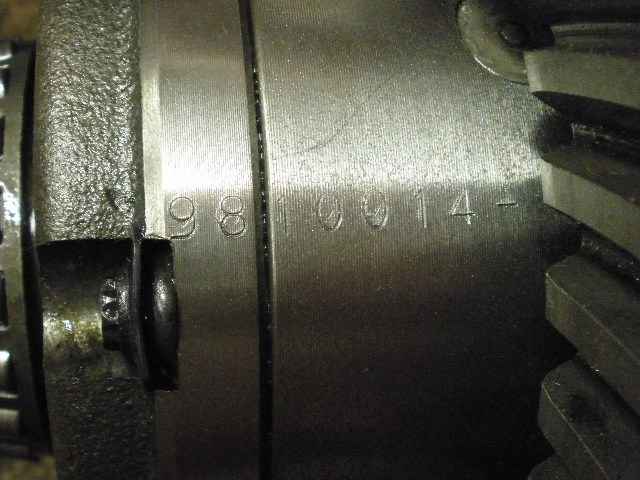
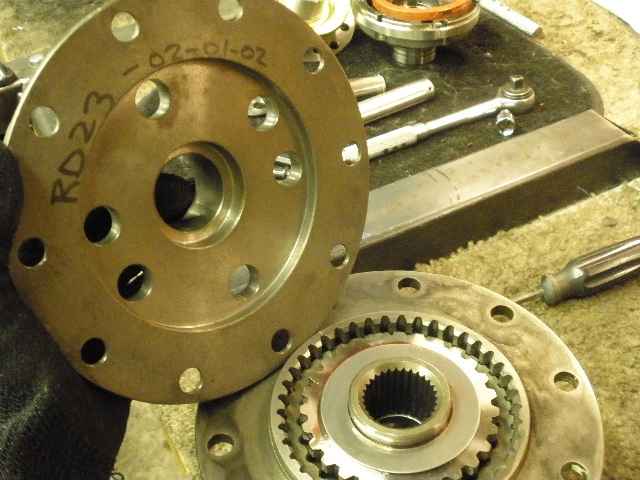
Old style 4 cylinder RD01. |
|
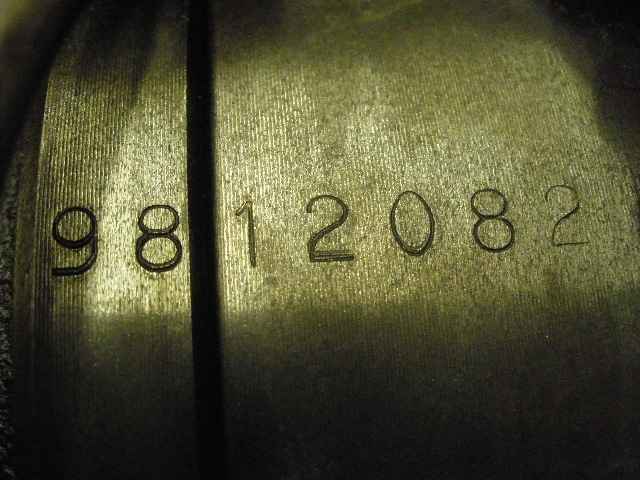
serial numbers on the case. |
|
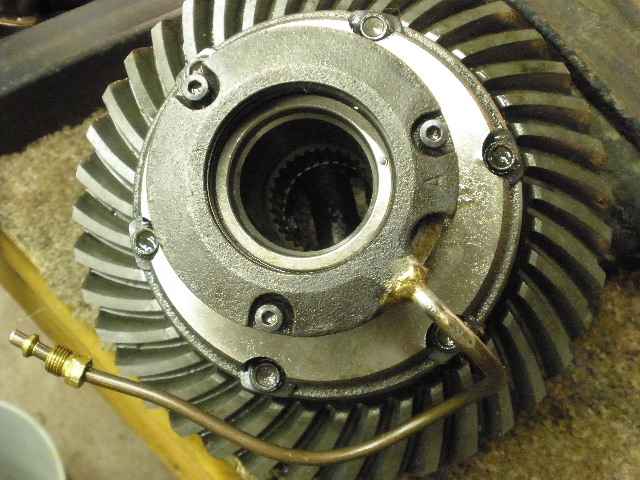
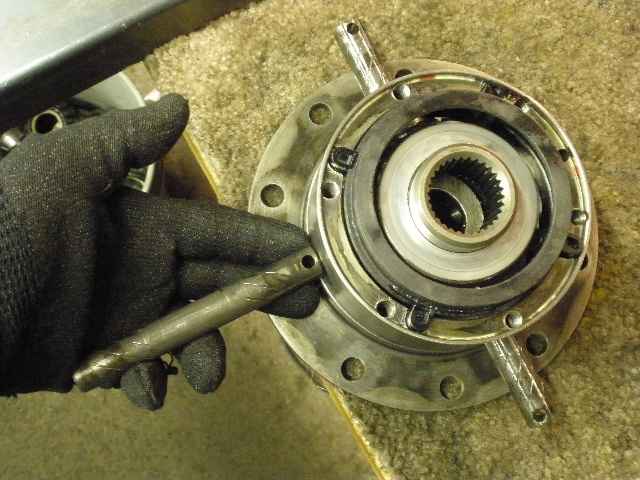
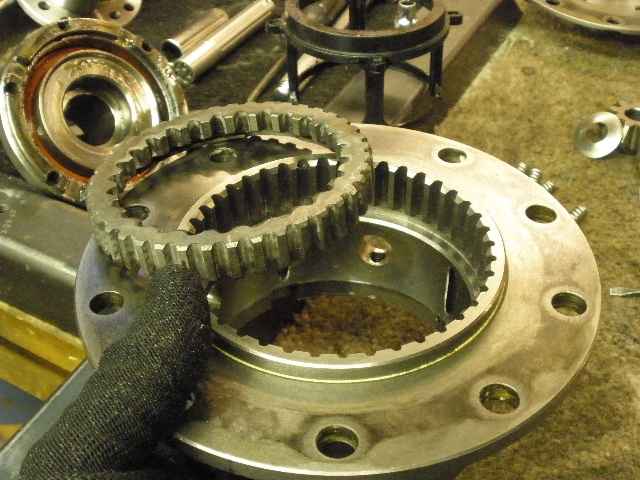
The arb is removed from the 4 cyl carrier. |
|
... |
|
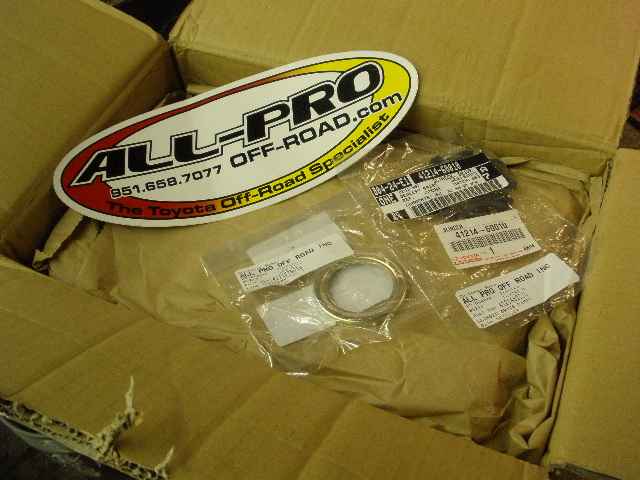
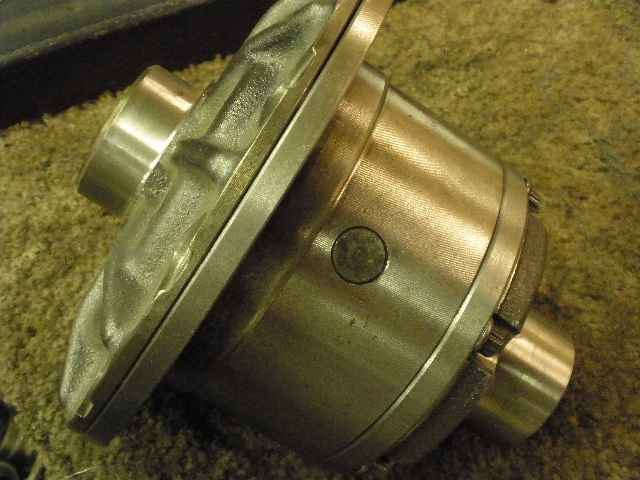
As received from Allpro. |
|
... |
|
... |
|
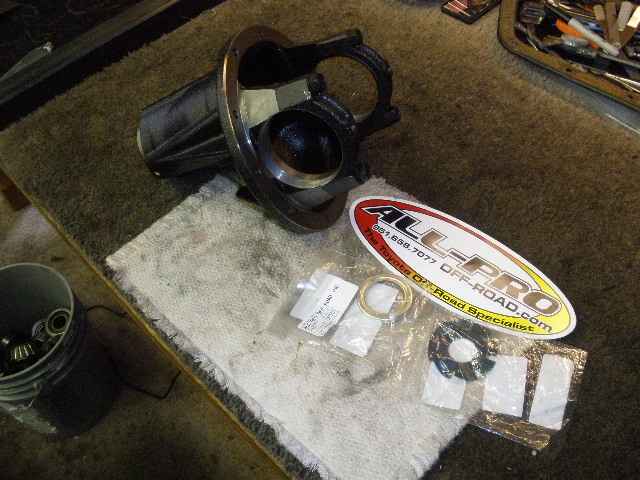
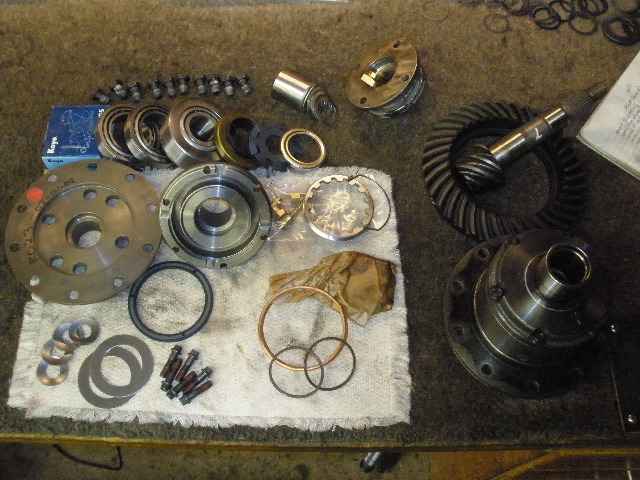
Everything is here to do the change-over. |
|
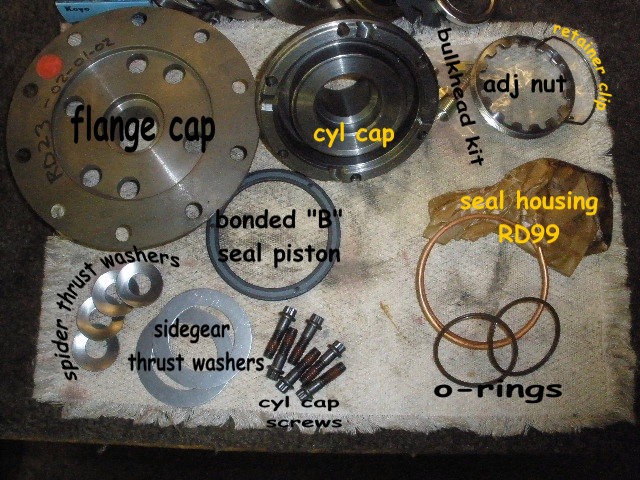
This is all the stuff sent from ARB to convert it for use in a V6 carrier. |
|
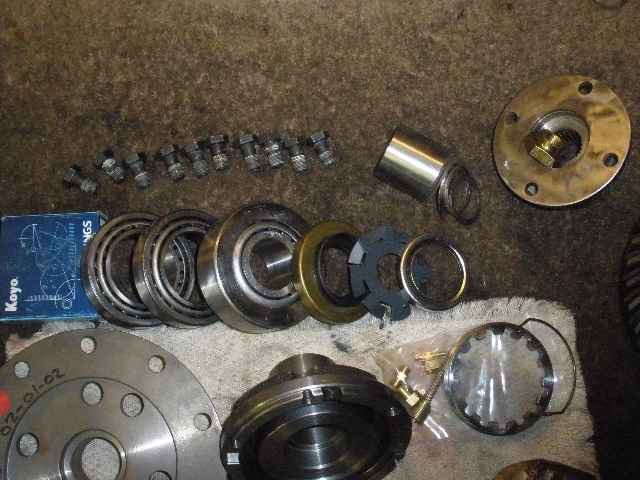
Here's the master install kit. The 4 bearings have been cryo treated for superior life. |

|
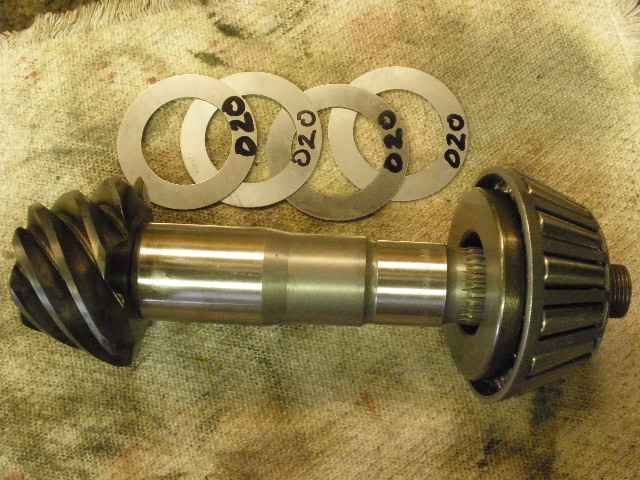
The RD01 has the smaller 45mm journals in order to fit the 4 cylinder carrier bearings. The ends (lid and flange) will be replaced to allow 50mm V6 bearings to fit. Shown is the 529 reverse cut Hi-pinion Nitro Gears that have been both HEAT and CRYO treated. |
|
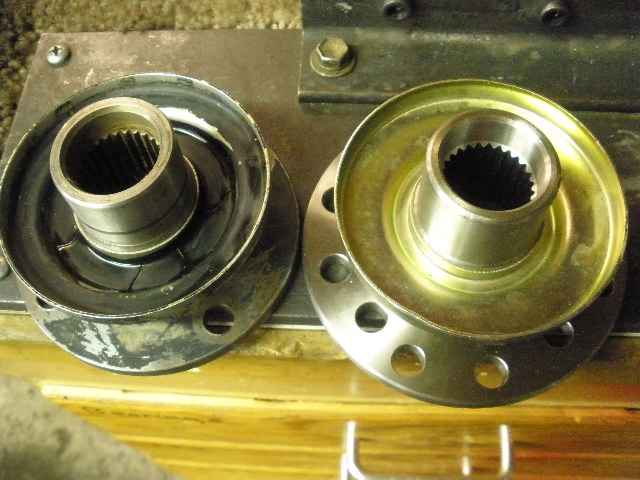
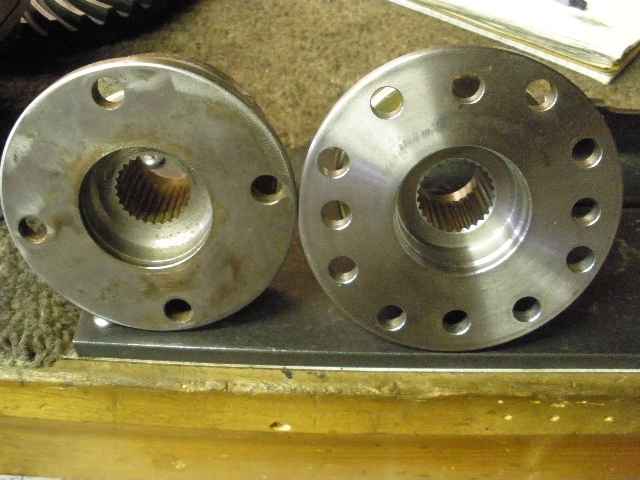
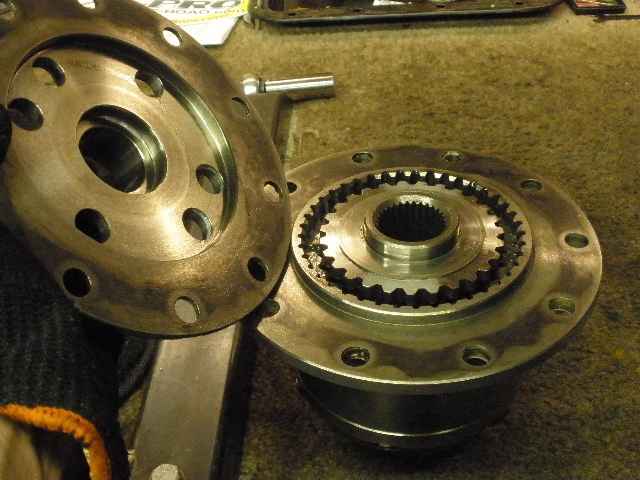
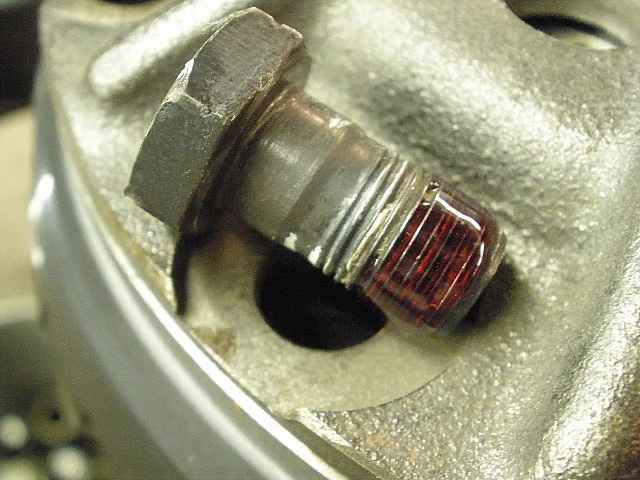
The old oem pinion flange will be replaced with a new multi-drilled flange. |
|
... |
|
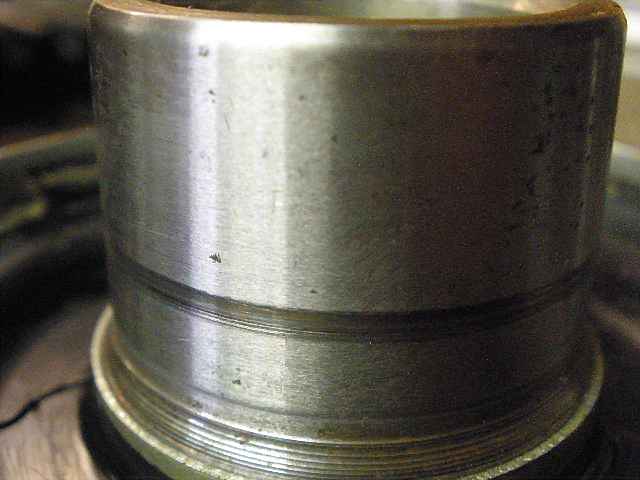
The old one had a fair groove in it and I was concerned about a potential leak. |
|
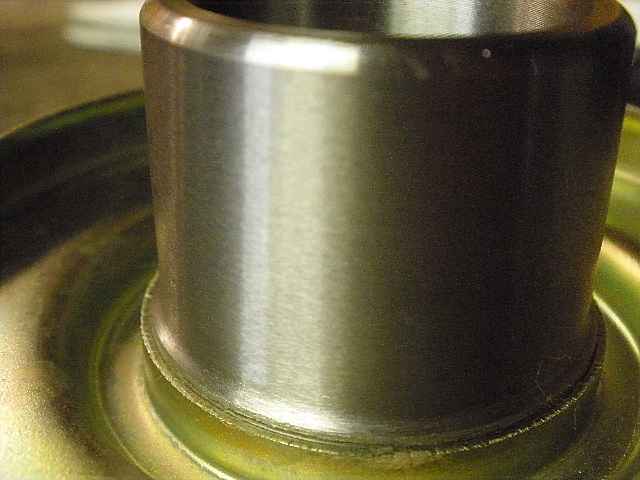
The new one is....new :) |
|
The old flange cap is removed. |

|
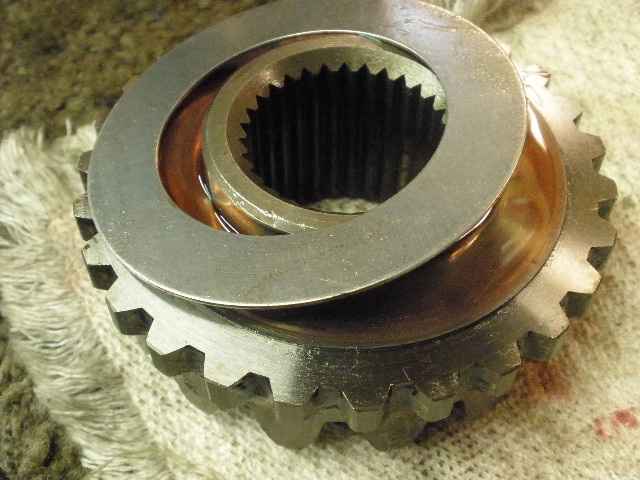
The splined sidegear is next. |
|
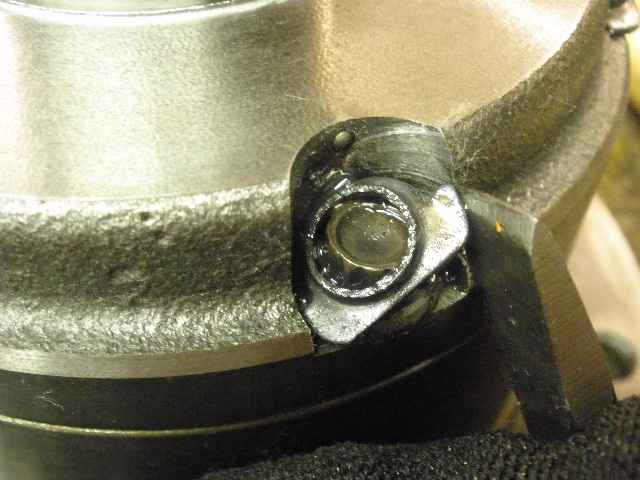
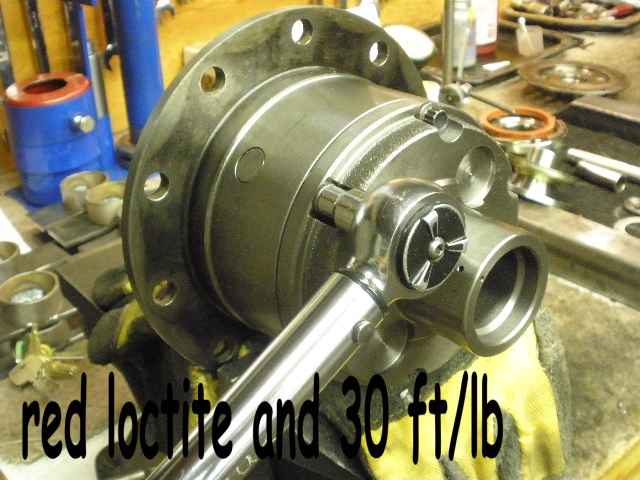
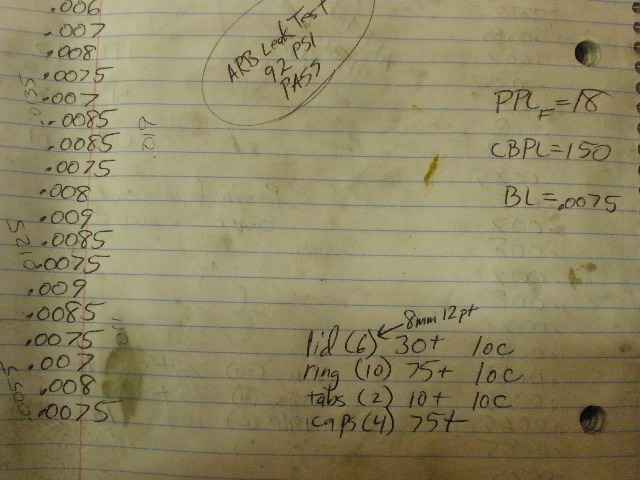
Now to flip it over and remove the arb lock tabs. Red loctite will be used instead of these tabs upon re-assembly. |
|
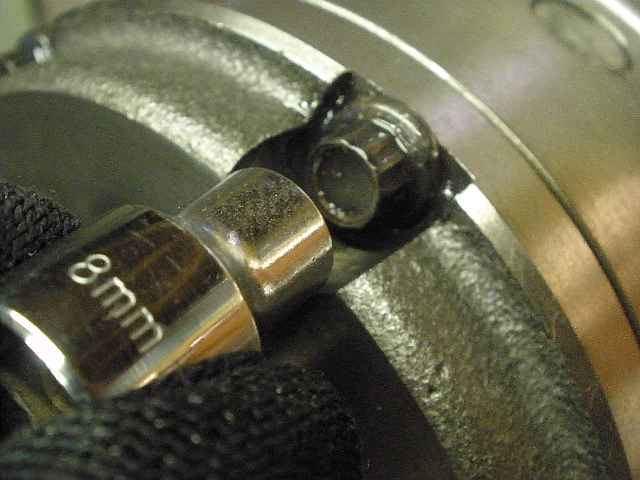
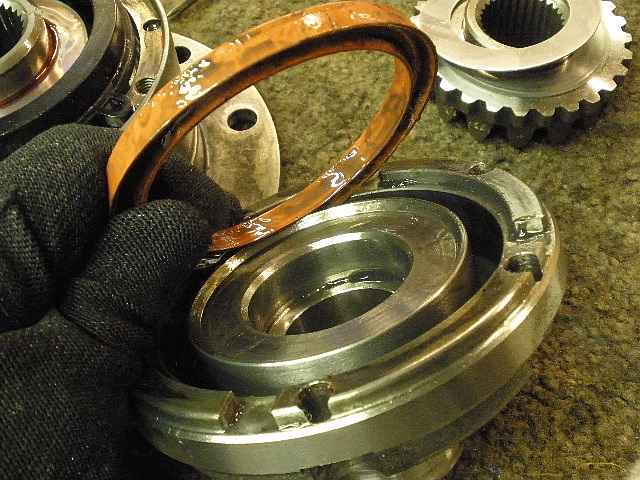
An 8mm 12 point socket easily takes off the 6 bolts that hold the cylinder cap on. |
|
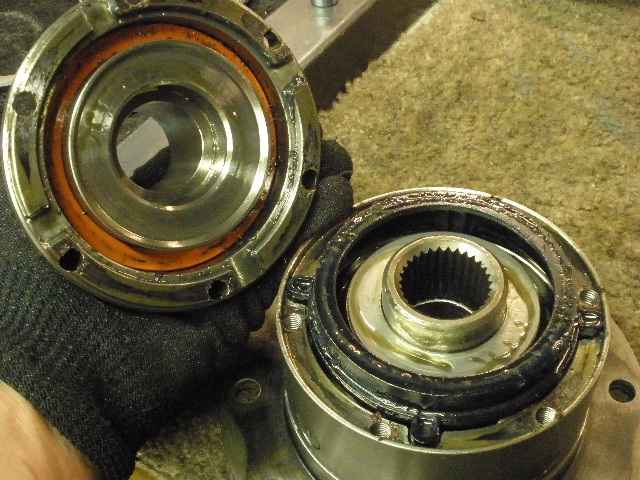
The orange piston seal can be seen on the left...the sidegear and plastic piston are on the right. |
|
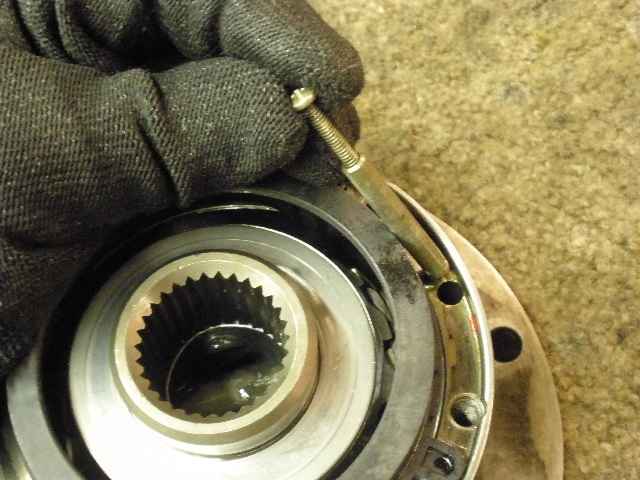
The 3 soft metal retaining pins come out easy. |
|
The 3 cross-shafts can now be removed. |
|
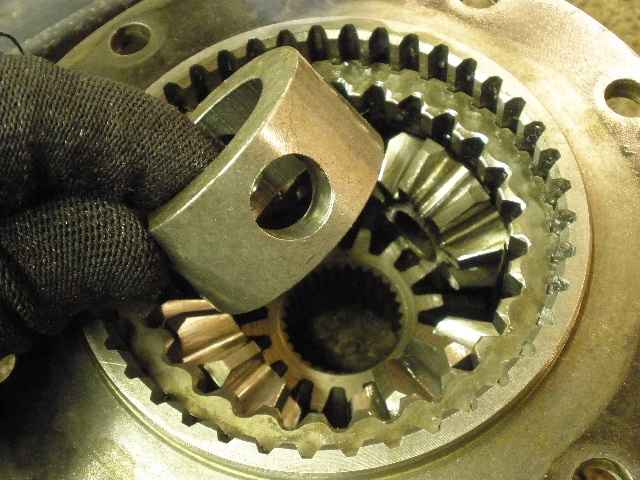
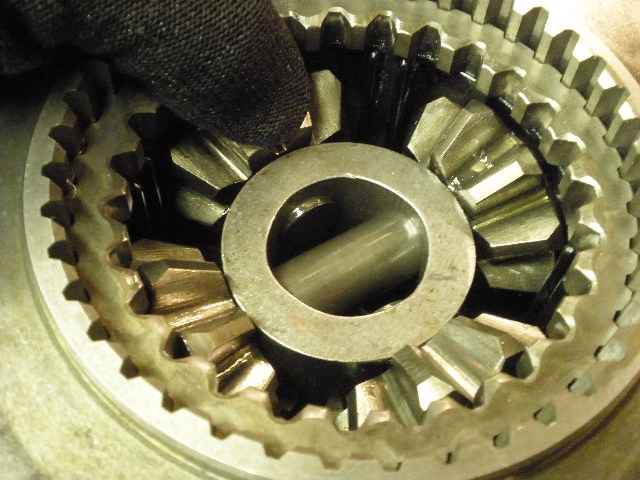
The spider block now comes out... |
|
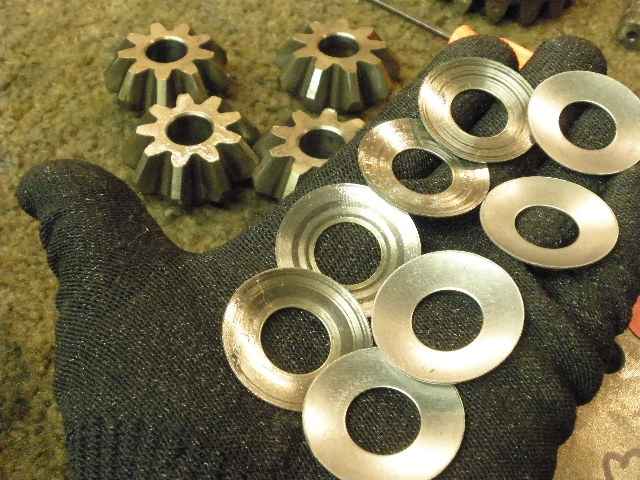
...and so do the 4 spiders with the worn thrust washers. |
|
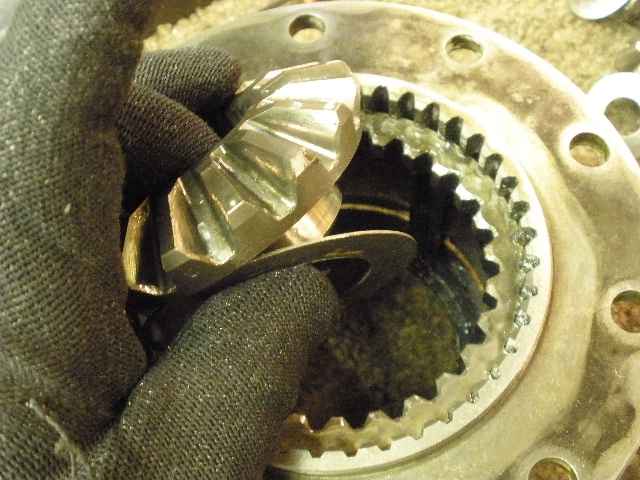
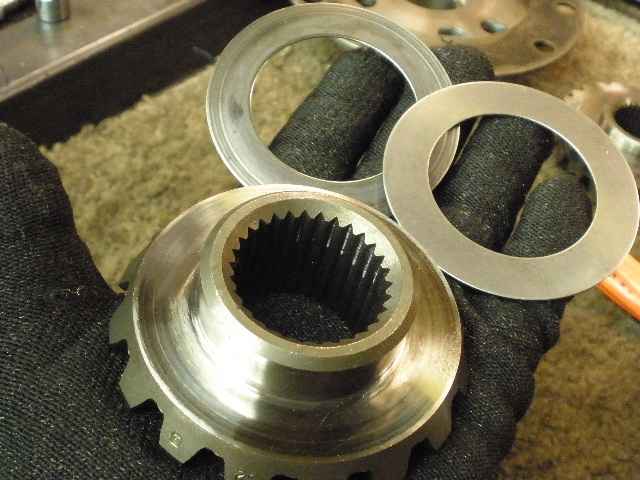
Last, but not least, the sidegear and thrust washer. |
|
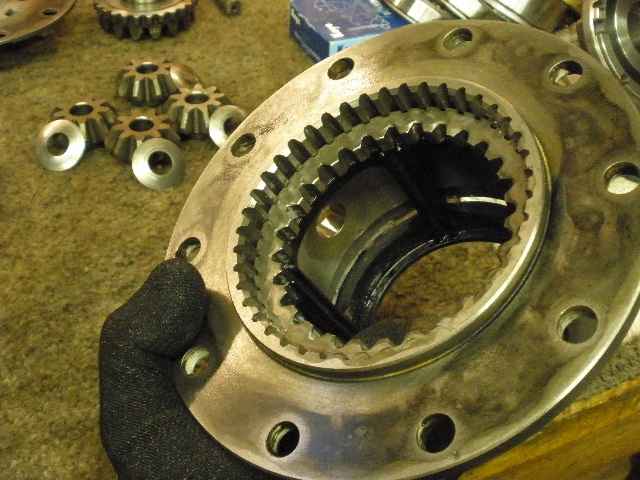
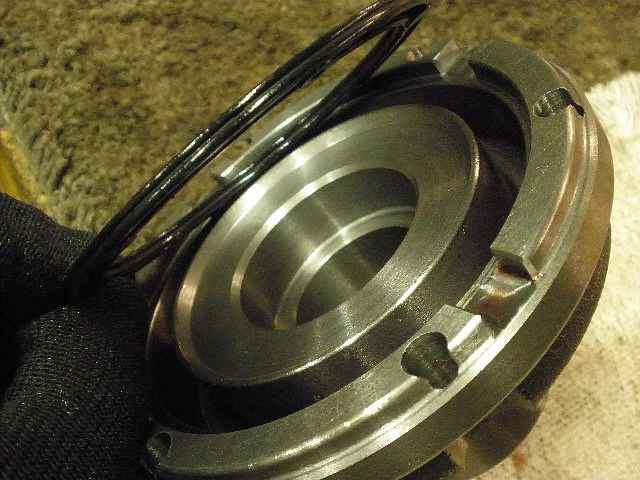
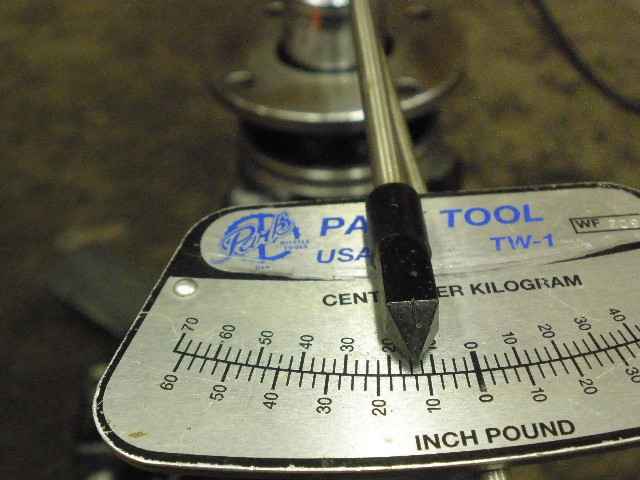
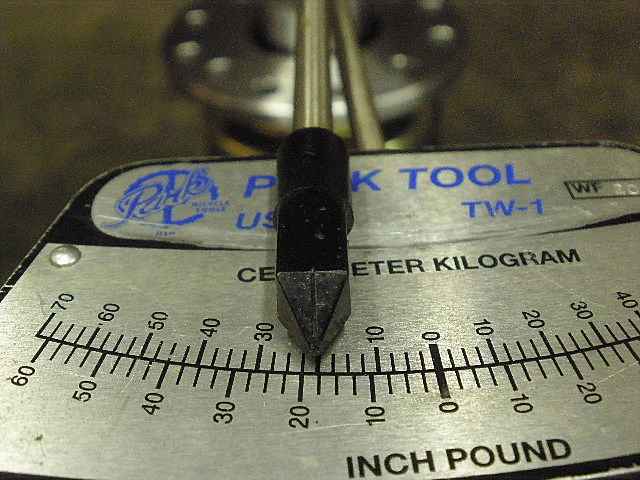
That pretty much does it but I was curious what the return springs looked like that keep the plastic piston in the unlocked position with so much determination. |
|
To me, it feels like it takes 80 pounds of physical force to push the piston down(about 1/2") into the locked position. |
|
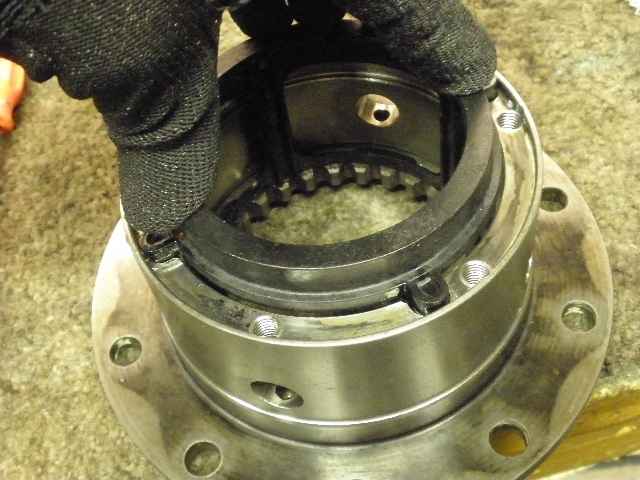
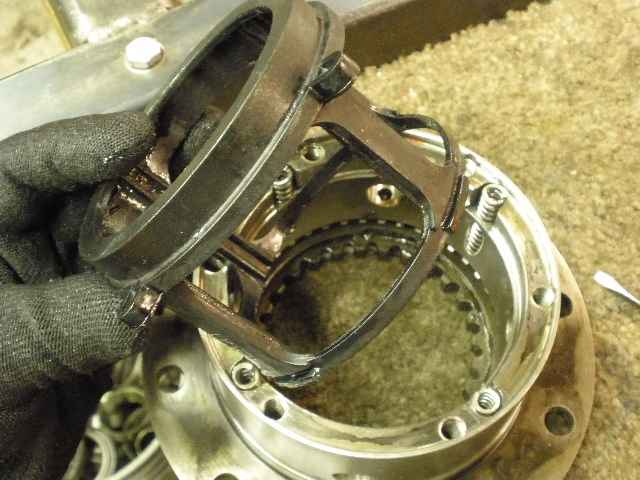
A simple twist, a light pull, and it comes off. |
|
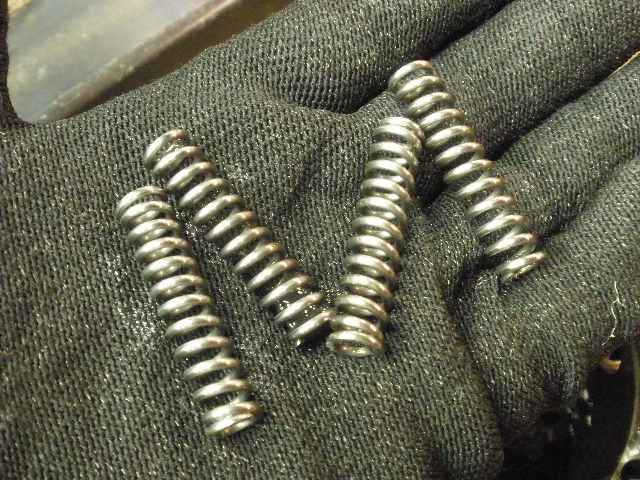
These are the 4 springs that return the arb to the unlocked position when the air is released. |
|
This clutch gear is what actually couples and locks it together. |

|
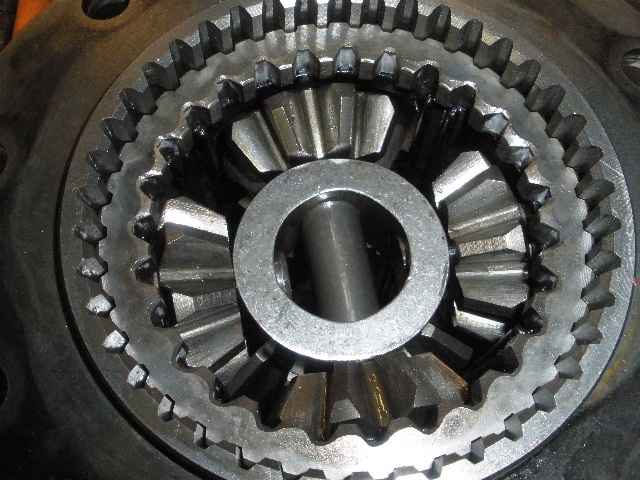
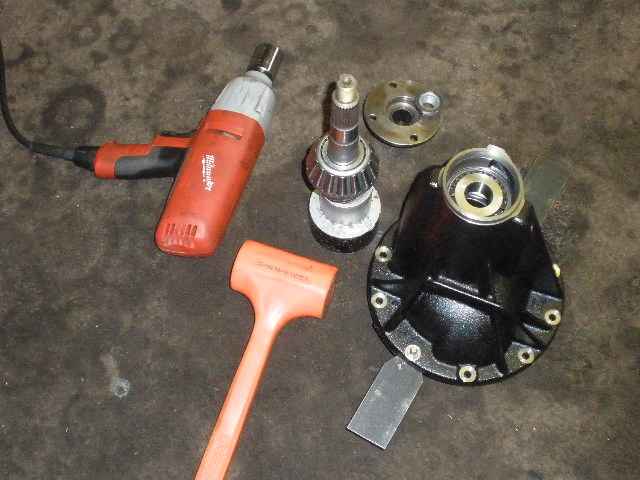
This main center section is now fully stripped down and now to put it all back together with new thrust washers and end caps. |
|
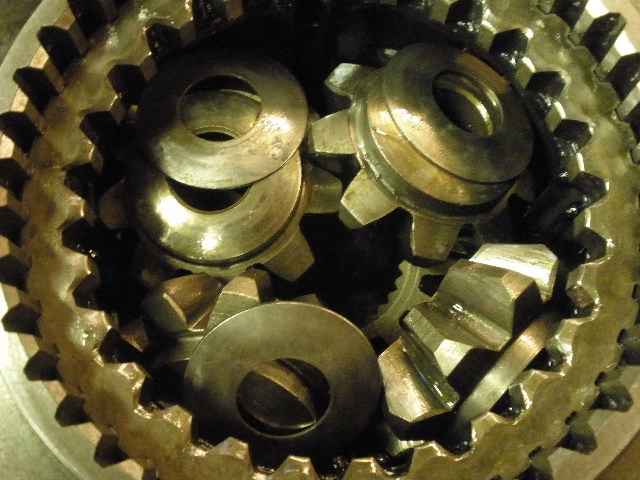
New thrust washers for the pinions (spiders)... |
|
...new thrust washers for the sidegears. |
|
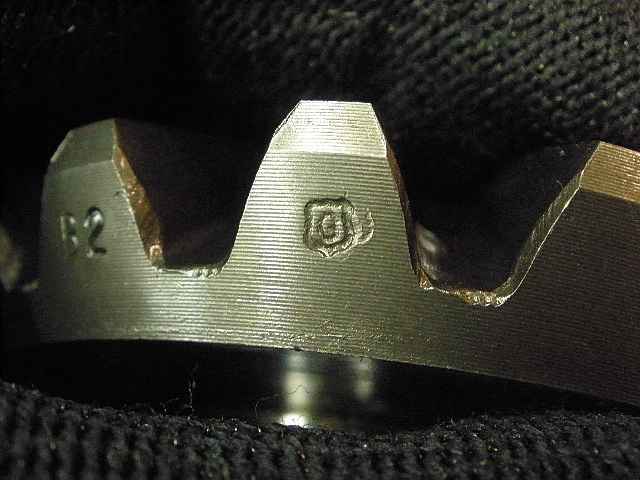
This looks like the US GEAR logo on this sidegear. |
|
Grease helps hold the thrust washers in place. |
|
With some fumbling, the pinions can be aligned and the 3 cross-shafts will slip through... |
|
...and success was eventually accomplished. |
|
The 3 retainer pins just drop in place with gravity. |

|
Some new oil for the thrust washer. |
|
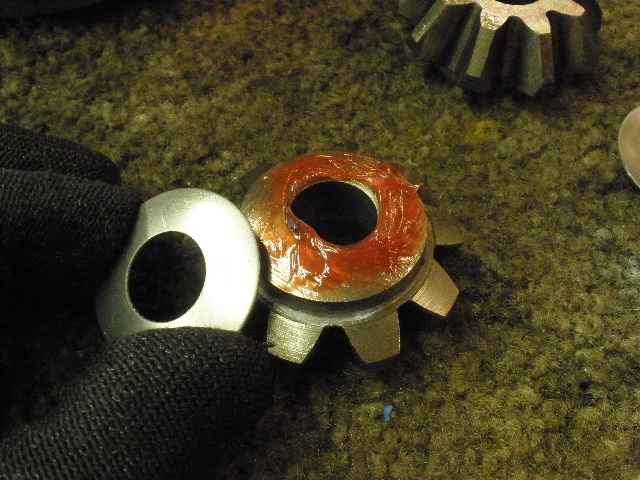
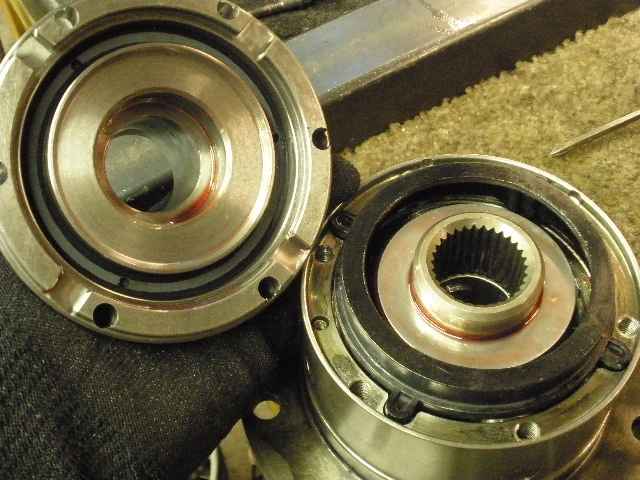
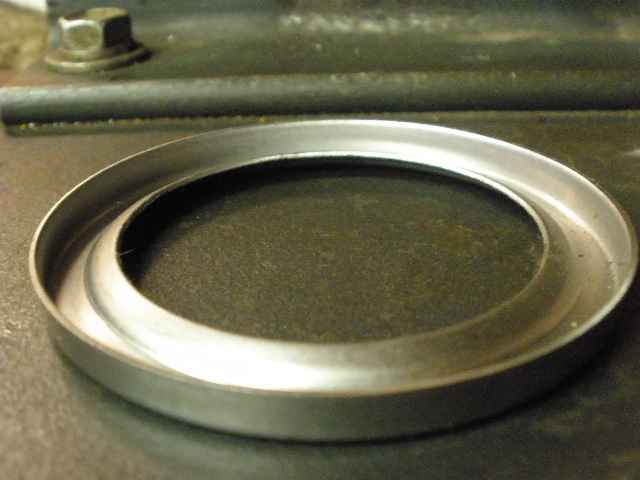
This is the old cylinder cap with the soft orange piston seal. |
|
The new design involves an upgraded cap with a 'bonded' piston seal. |
|
Now the cylinder cap covers it. |
|
Red loctite is applied to the threads. |
|
... |
|
New gear oil and a new thrust washer on this splined sidegear. Look closely and notice that I did not notice the
old washer was still on the sidegear. |
|
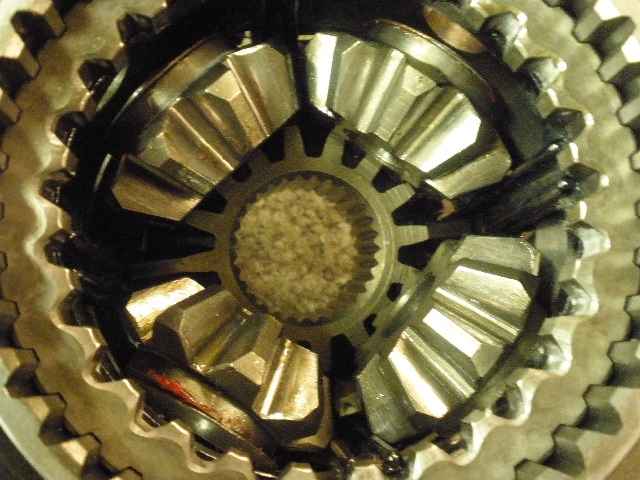
One more check...the spiders all turn very smoothly. |
|
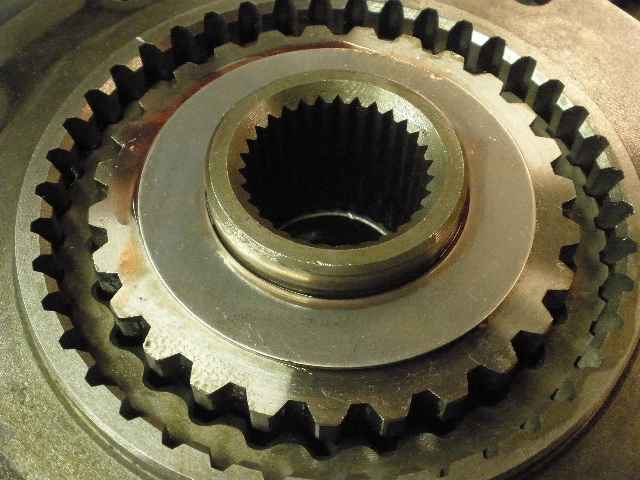
Sidegear is layed in place... |
|
The flange cap is lined up... |
|
hmmm....a slight gap. Then I discovered that I had 2 thrust washers on that sidegear. Problem corrected and then the lid went on all the way and the sidegear would actually turn when I reached my finger inside the journal. All was good now. |
|
The ring gear required a little coaxing. |
|
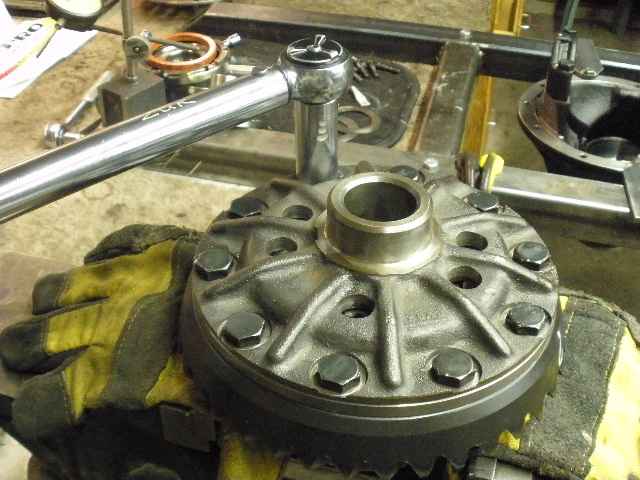
The flange cap was fitted in place and red loctite was applied liberally to the 10 ring gear bolts. |
|
Cross-tightened with 75 ft/lbs. |
|
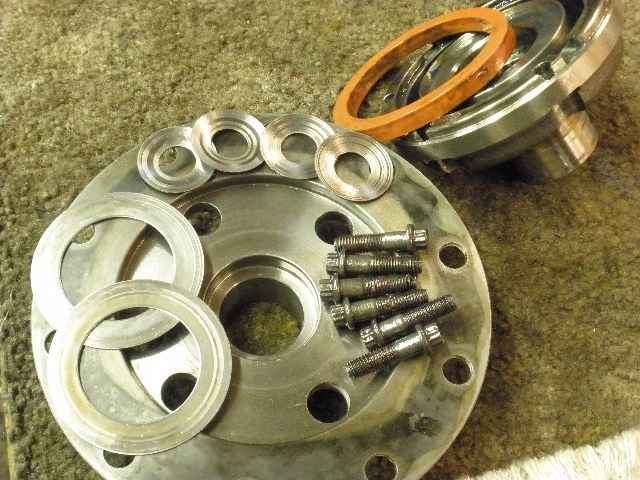
These are the parts I replaced to convert the rd01 to an RD23(45mm to 50mm). |

|
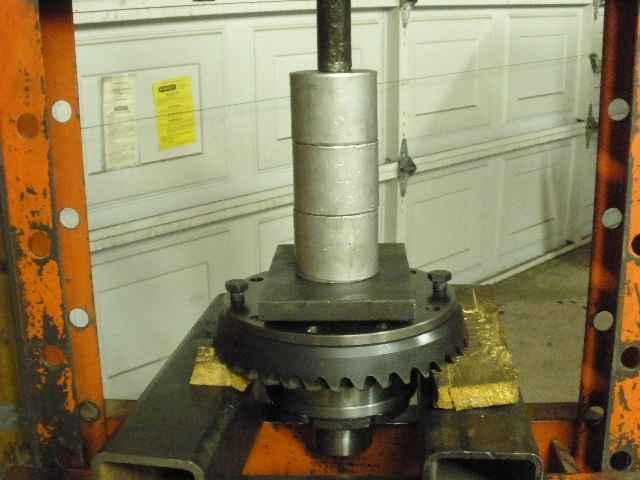
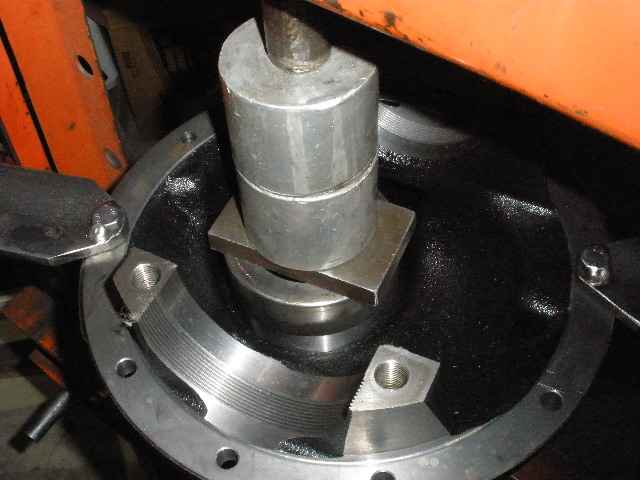
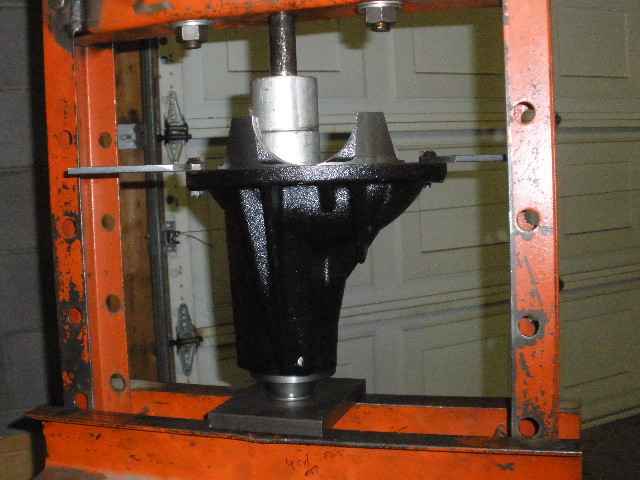
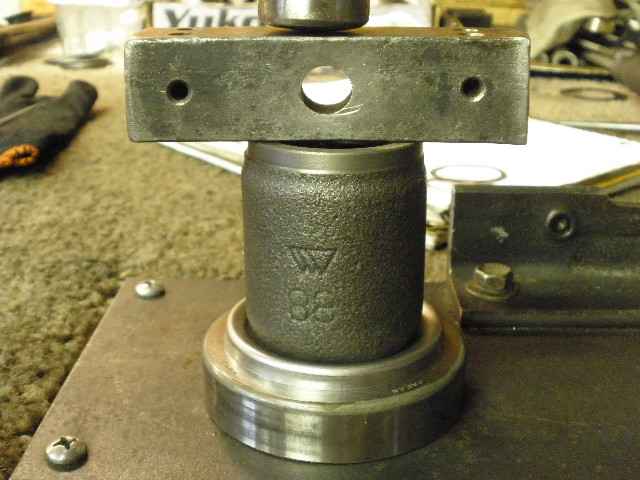
The carrier bearings were a very tight fit but the press made easy work of it. |
|
The new races(cryo treated) were also pressed on. |
|
... |
|
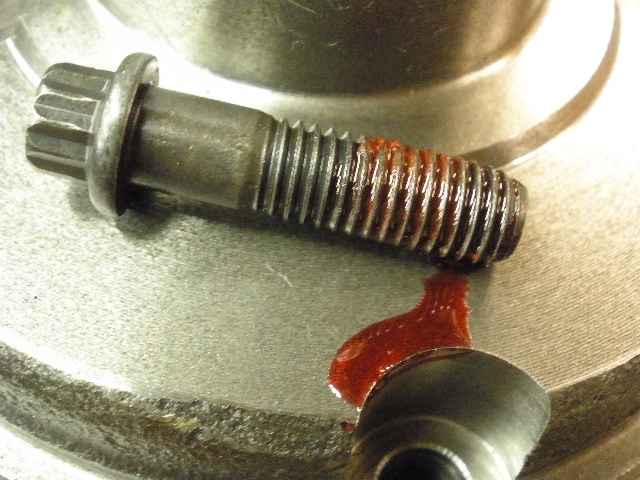
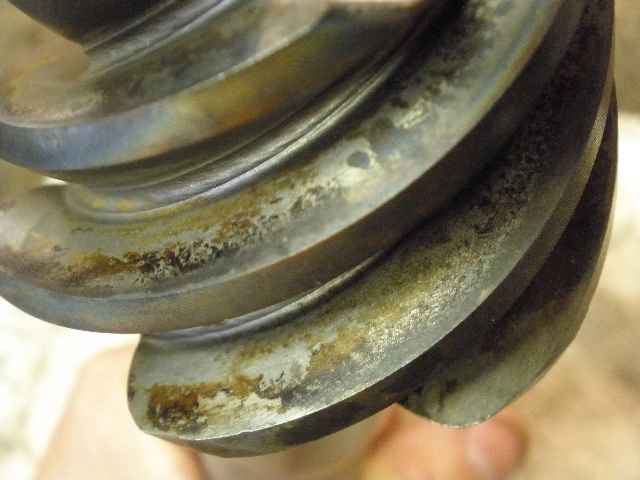
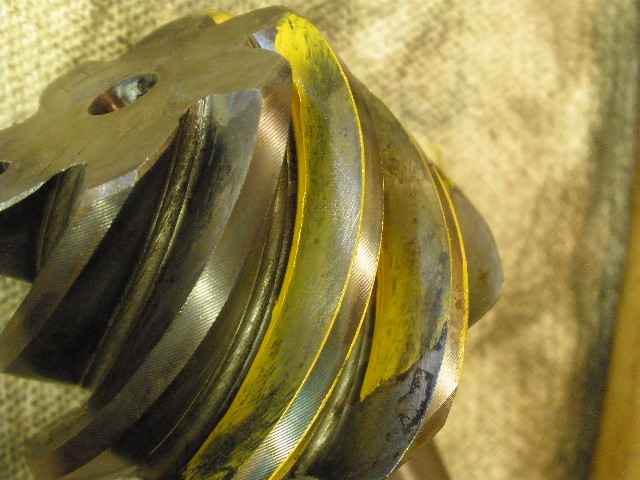
The protective coating on the pinion was burned off during the heat treatment process but it left some residue. |
|
... |
|
I will press on the new cryo bearing with a .080" shim for the first try. |

|
... |
|
I can install the pinion now without any sort of crush or solid collar and tighten the pinion nut until about 10~15 in/lb is reached for PPL. |
|
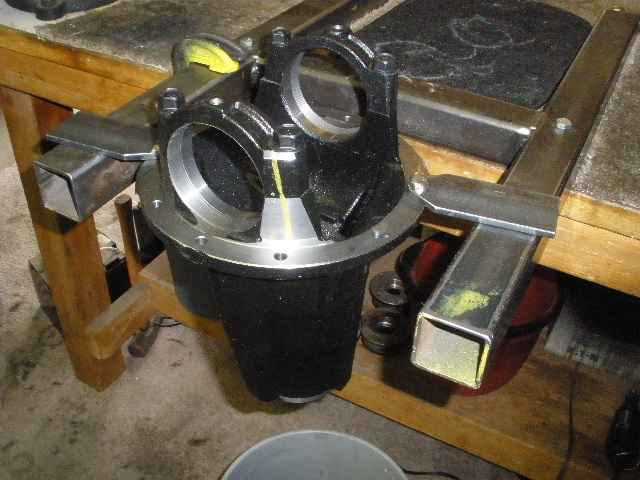
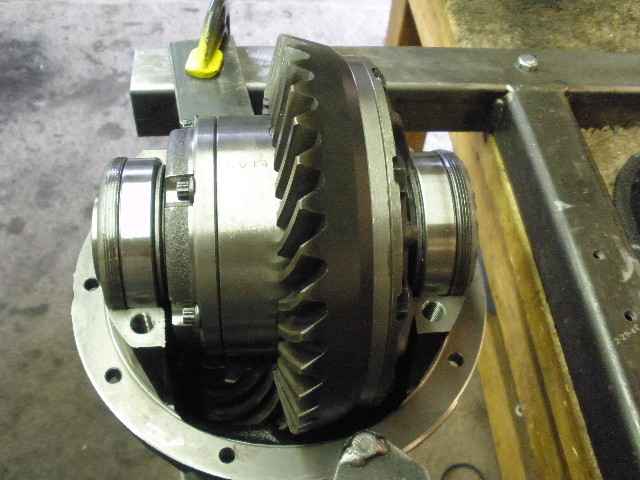
The ARB case is installed and the bearing caps are tightened down in preparation for a pattern check. Minimal carrier bearing preload is set and backlash is set in the ballpark of .008" for this preliminary check. |
|
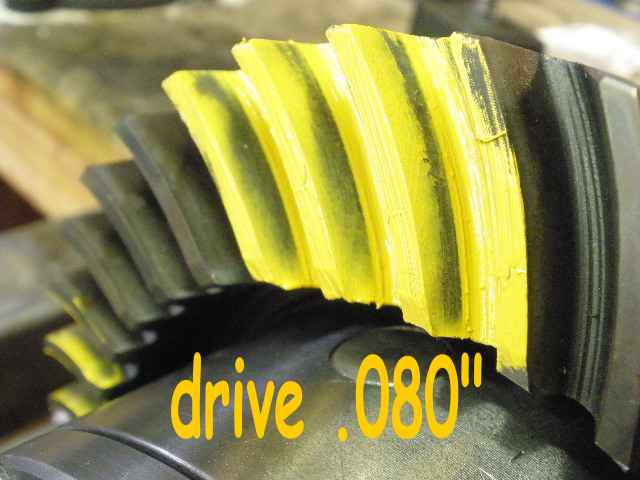
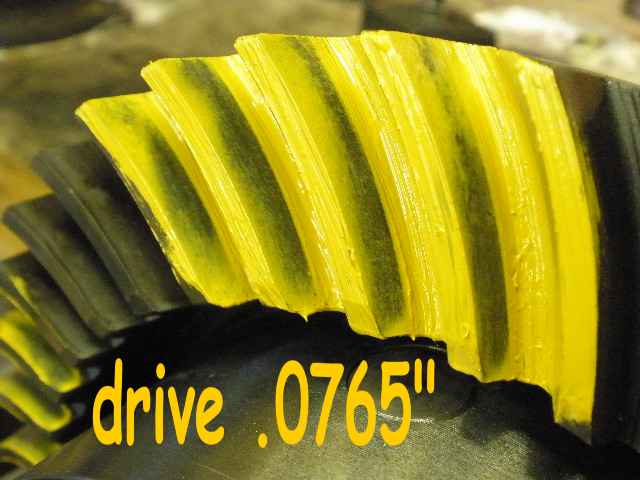
A nice, wide load bearing but it's too deep...need to remove some pinion shim. |
|
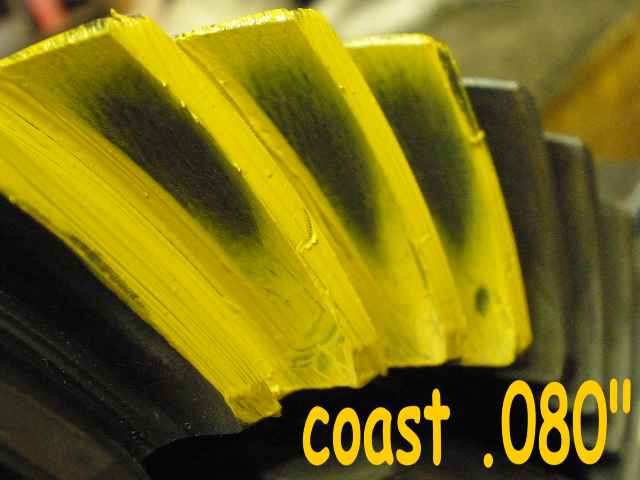
coast |

|
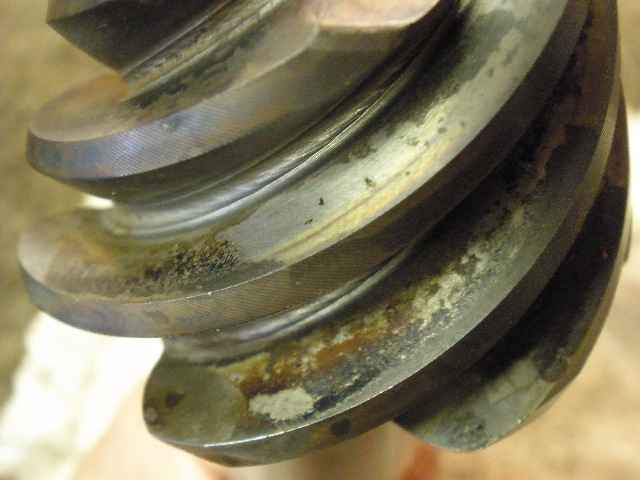
The pinion tooth looks to be favoring the outer edges. Shallow on the pinion means deep on the ring tooth. |
|
The load bearing is favoring the edges...that means shallow here and implies deep on the ring tooth. |
|
I pulled it apart and removed .0035" worth of pinion shim. This is overall good. The patterns are varying from tooth to tooth which I have no control on. |

|
The coast is good. |
|
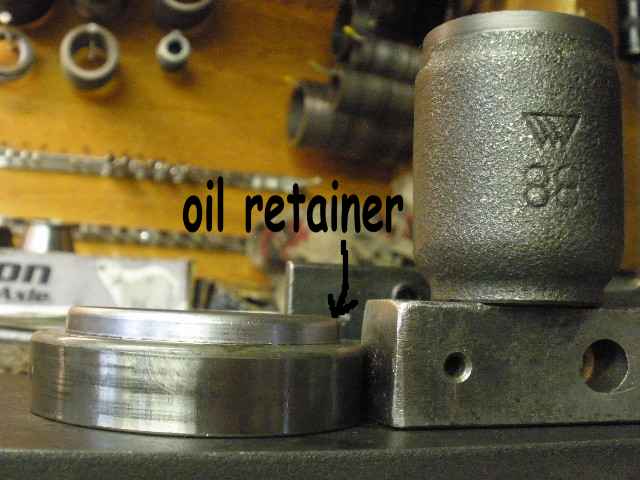
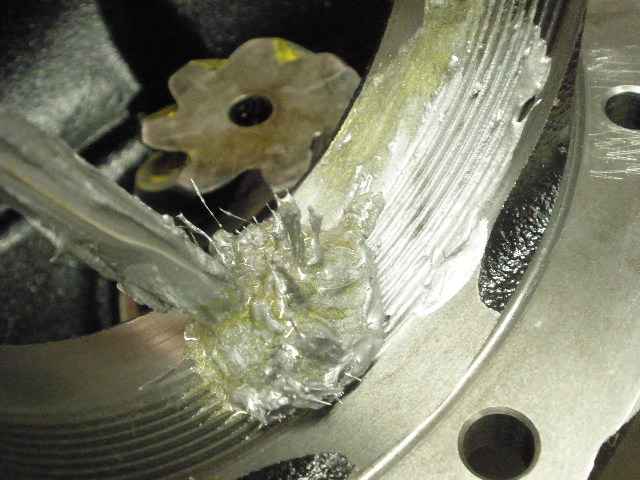
Because of the low shoulder design of the solid collar, I had to clearance the inside of the oil retainer. |
|
I made use of an oem Toyota solid collar because of the bell shape. |
|
Now the solid collar will not rub on the retainer. |
|
It took 4 tries to get the right shim thickness for the collar. |

|
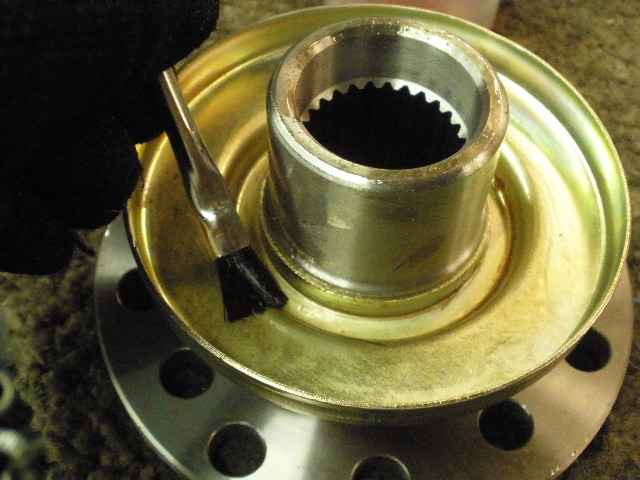
Now the shop flange can be removed and the new seal installed. |
|
A light coating of gear oil on the flange underside will minimize the added drag of the seal's dust cover. |
|
RTV was added to the flange splines to prevent any possible oil from sneaking up the splines. Loctite on the pinion nut is added insurance. |
|
By tightening the nut extra tight, I was able to get the PPL preload close to the upper limits. |
|
Ding the nut and this end is done. |
|
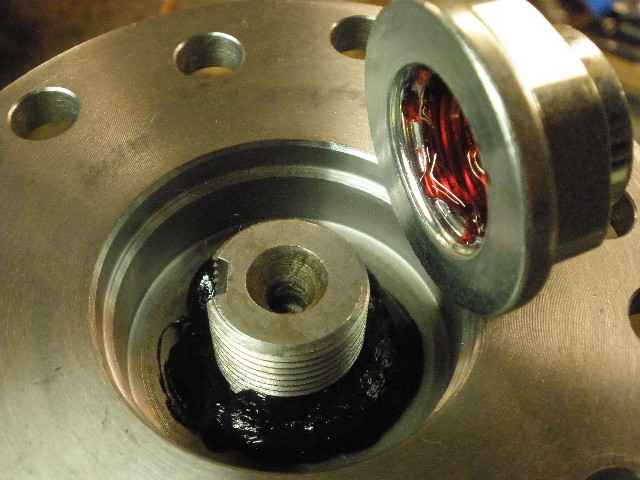
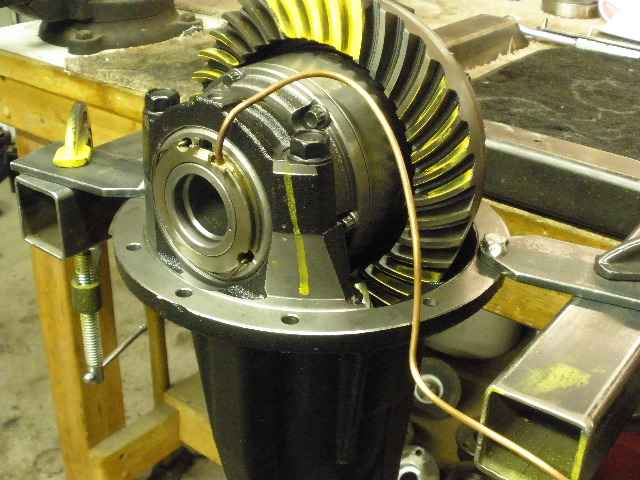
The ARB case is installed and the bearing caps are temporarily bolted in place. The oil seal assembly was lubed up and carefully wiggled in place. |
|
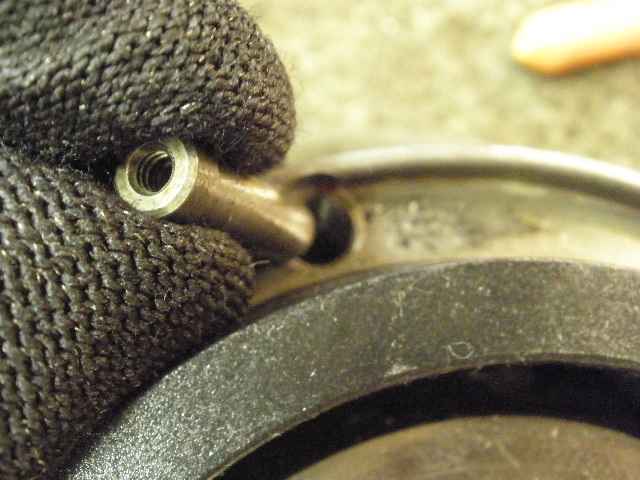
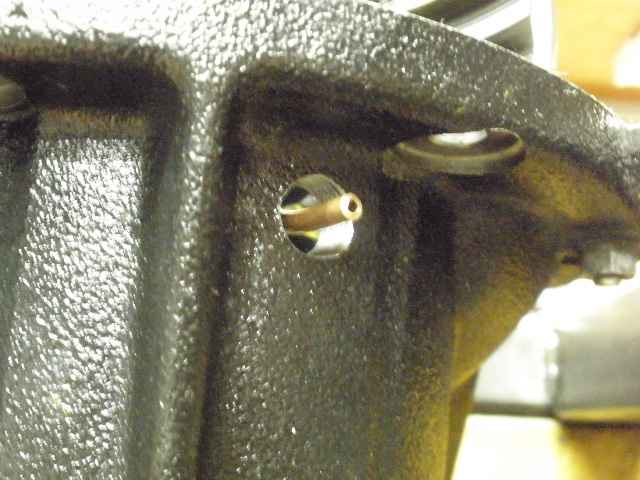
The soft copper line is gently routed in the neatest possible fashion. |
|
... |
|
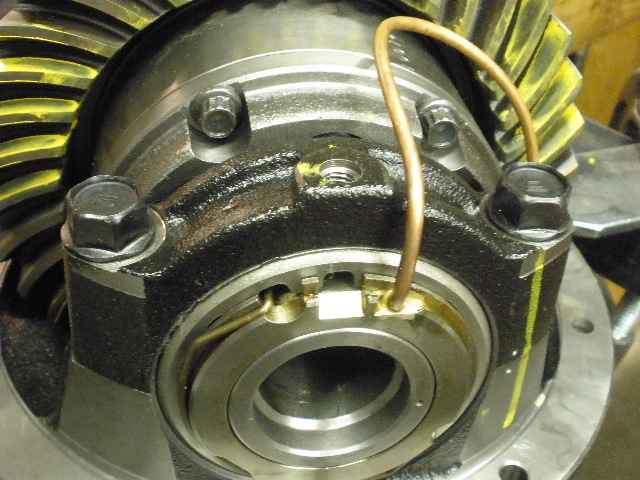
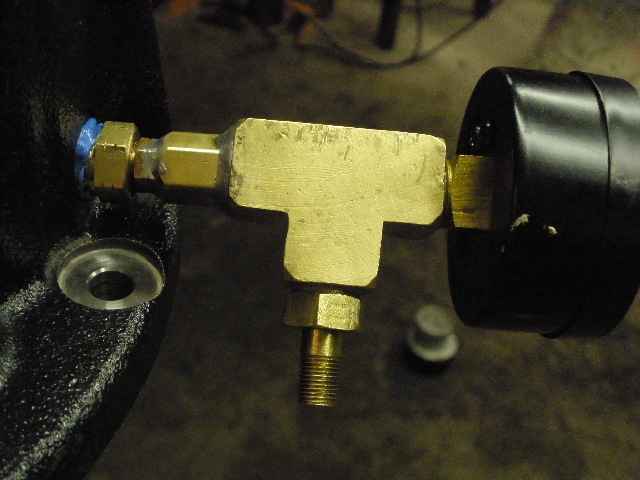
It's alot easier to route the copper without the brass bulkhead hindering things. |

|
The copper line is nicely centered. |
|
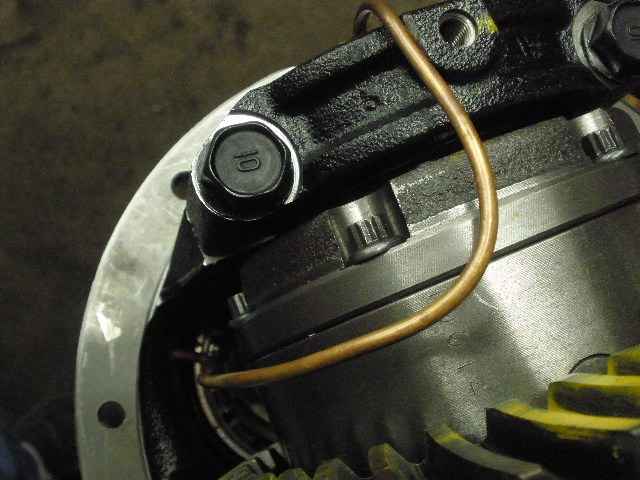
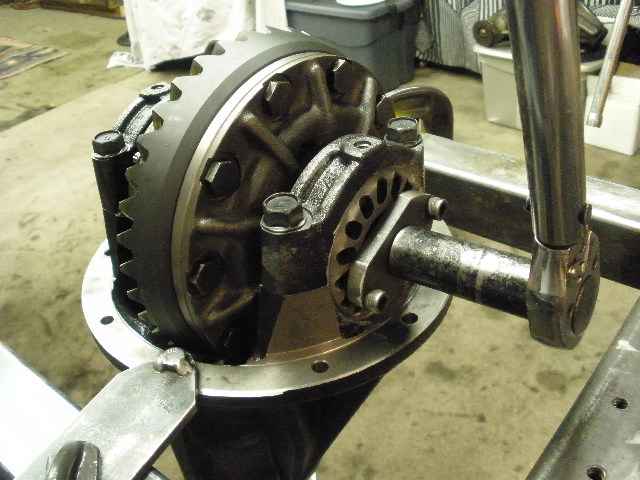
With the copper line routed and cut to length, now the ARB case can be permanently installed. Anti-seize is generously splashed on all the threads. |
|
The 4 cap bearing bolts are tightened to 75 ft/lb and the wheel adjusters are tightened to 150 ft/lbs while guiding the backlash to .007 or .008". Remember from my earlier links that 150 ft/lbs on the wheels translates into 15 in/lbs of actual CBPL carrier bearing preload. |

|
120 in/lbs on the lock tabs....with loctite. |
|
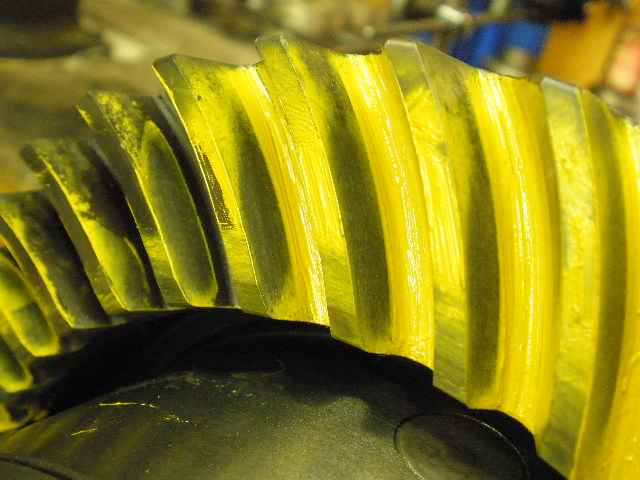
One more pattern check...looks even better than before. |
|
coast is good. |
|
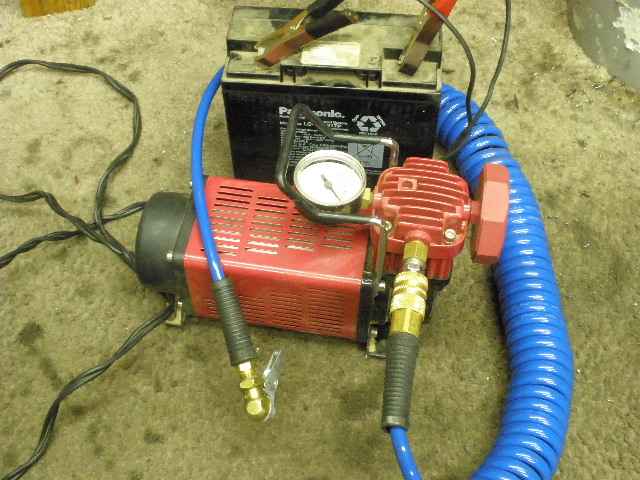
This is my compressor that I use to air up my tires after the trail rides. It also sees ARB leakdown test duty. |
|
... |
|
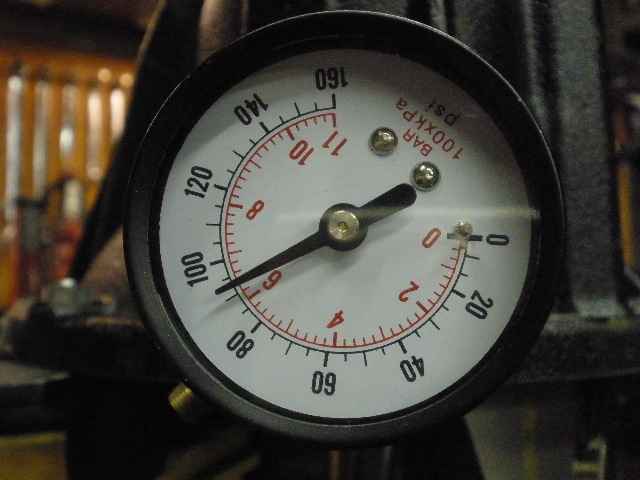
Did not budge a smidge even after 30 minutes. |
|
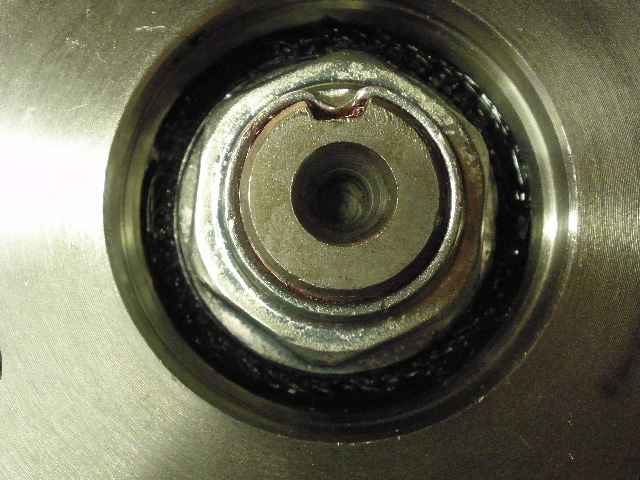
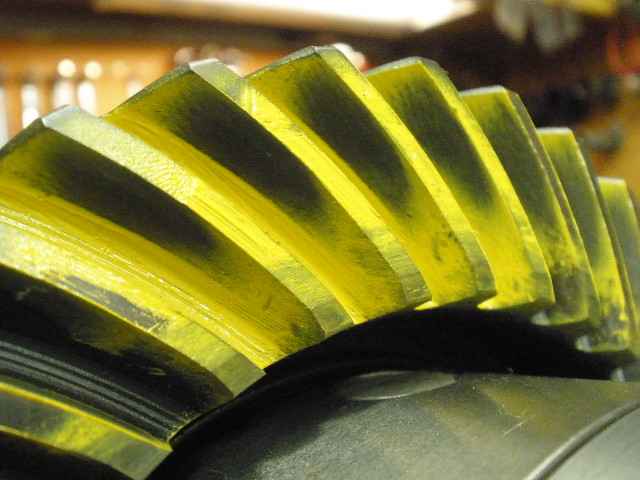
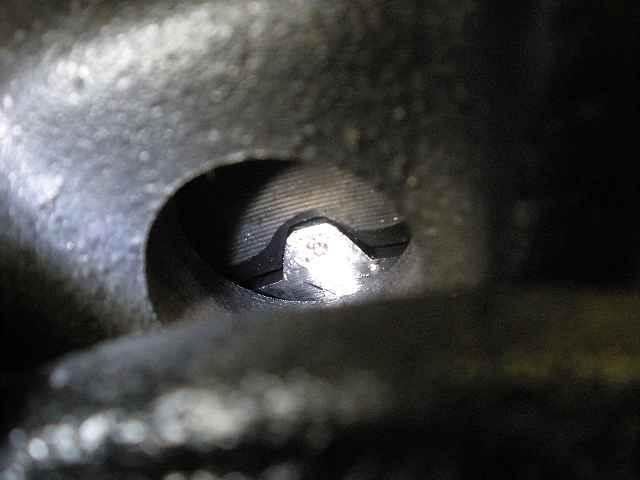
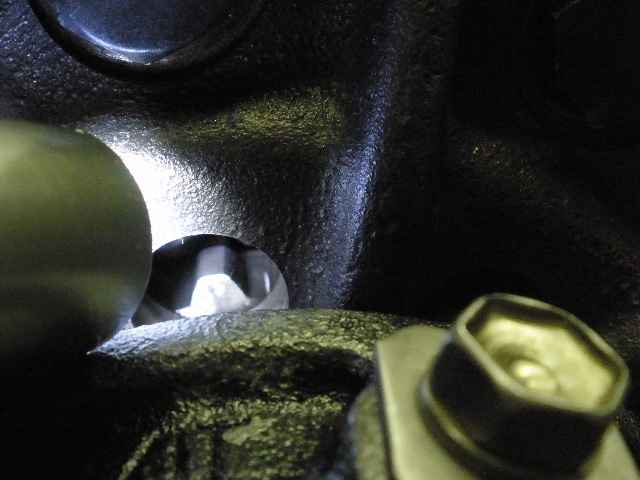
Through the case, I can see the locker teeth engage.... |
|
...and dis-engage when the air was released. |

|
Just a final BL check on every other tooth for about 21 measurements. |
|
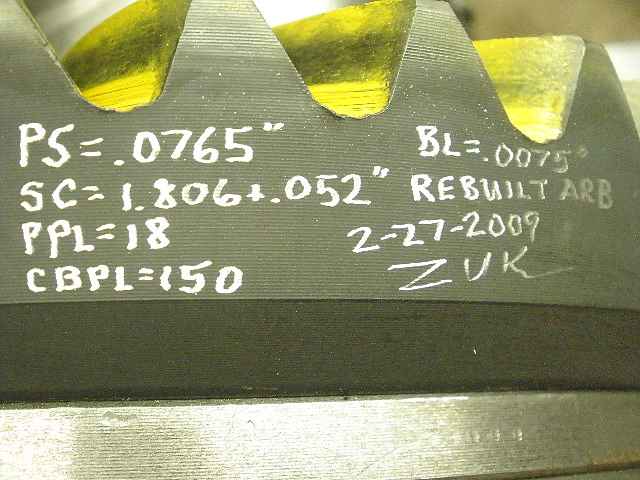
Some documentation... |
|
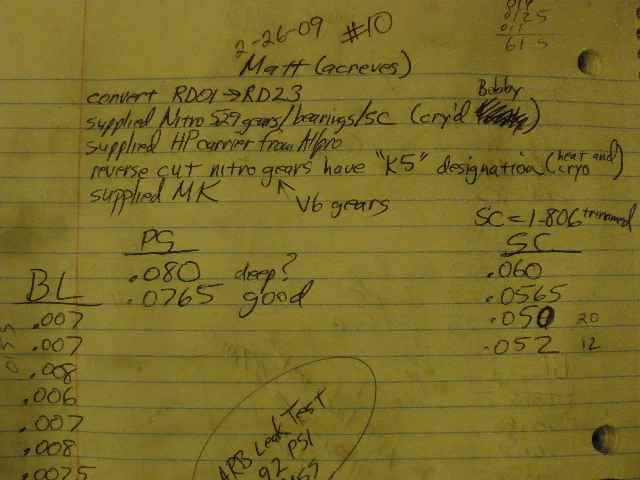
...some more documentation in the form of the notes I took during the rebuild process. |
|
Done. |

|
