|
|
|
|
|
|
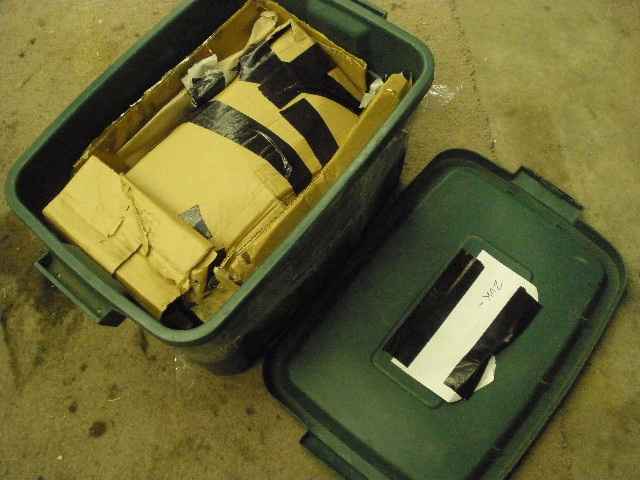
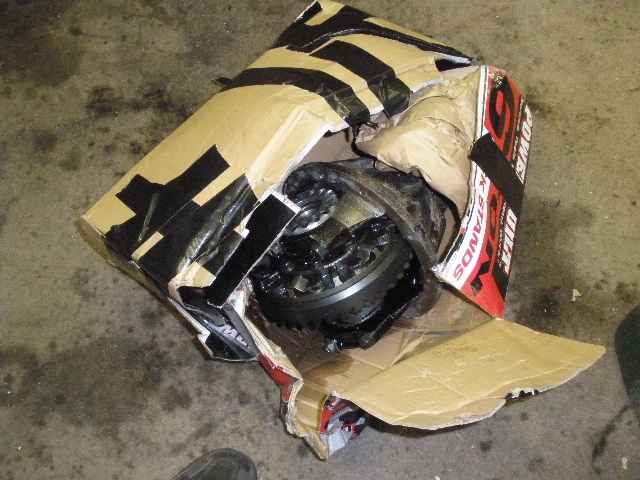
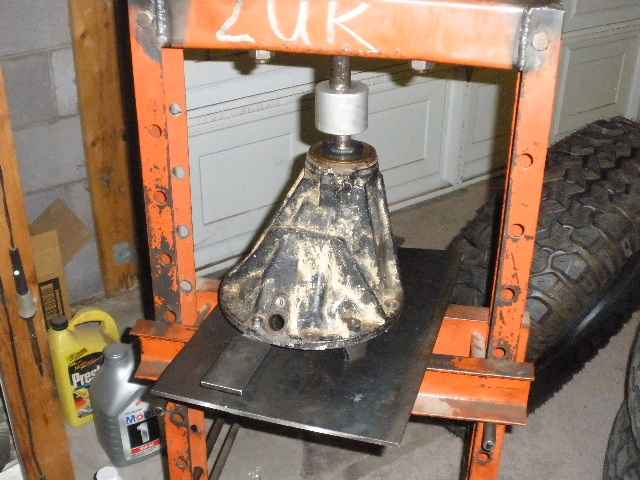
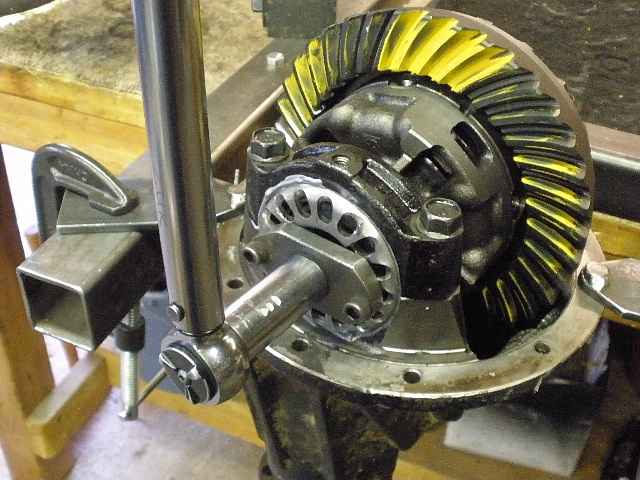
Michael, from Magalia CA, recently had some gear re-work on his 1990 4Runner V6 rear 3rd. There were pattern issues so Michael boxed it up and sent it my way. There is a Lockrite in it and that will be inspected also. |
|
.... |
|
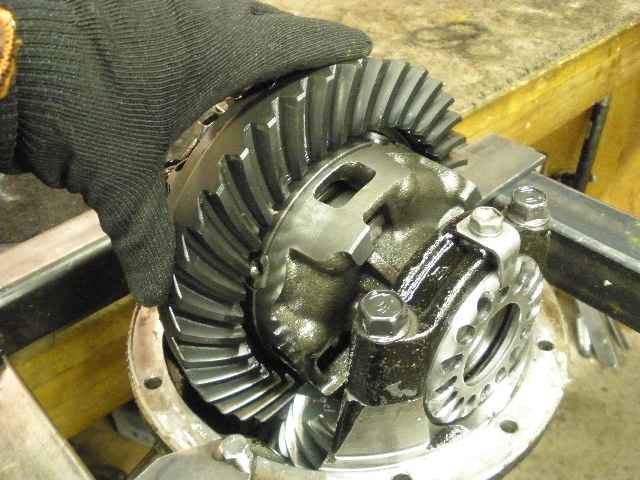
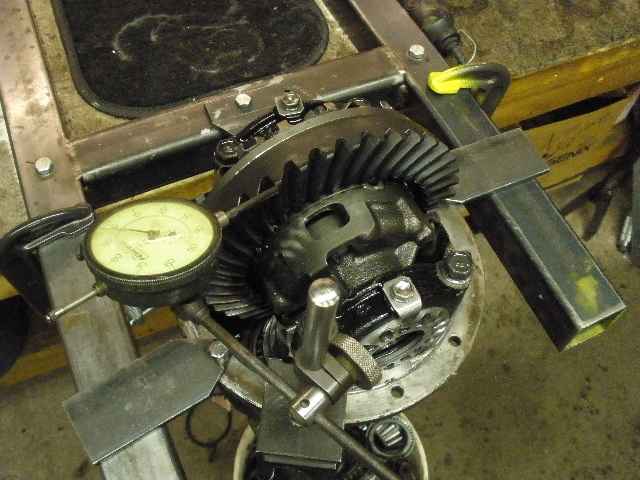
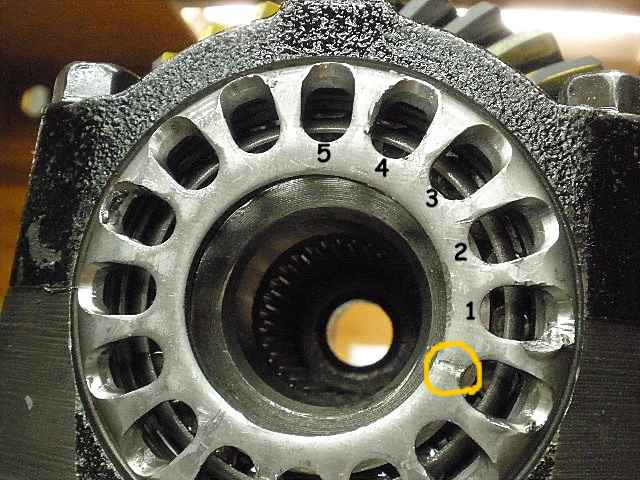
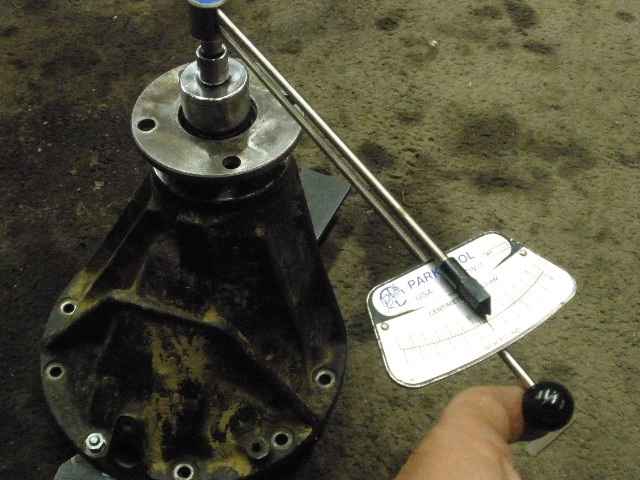
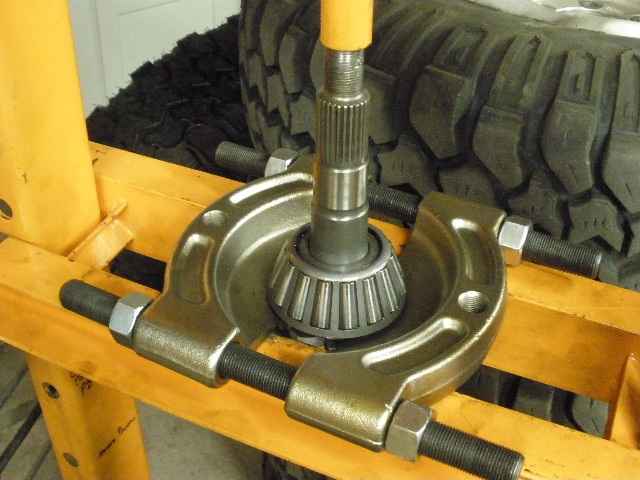
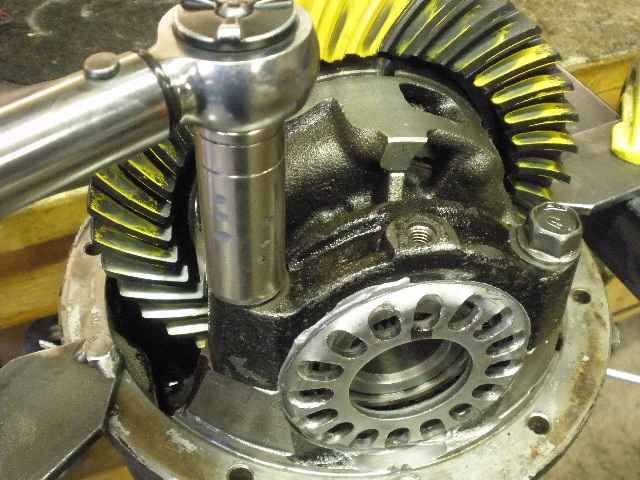
I already knew the tooth pattern was too deep from pics that Michael posted on a bulletin board so I figured I'd give it a more thorough health check at the same time. This rebuild has only 300 miles on it but there was already a total lack of Carrier Bearing Pre-Load (CBPL)...I felt no resistance when I wiggled the ring back and forth as shown in the pic. |
|
Pinion Pre-Load (PPL) was also zero...It wasn't 'wobbly' and no up/down left/right play but it wasn't very far from it. |
|
A backlash check of every other tooth shows an average BL of about .009" which is ok. |
|
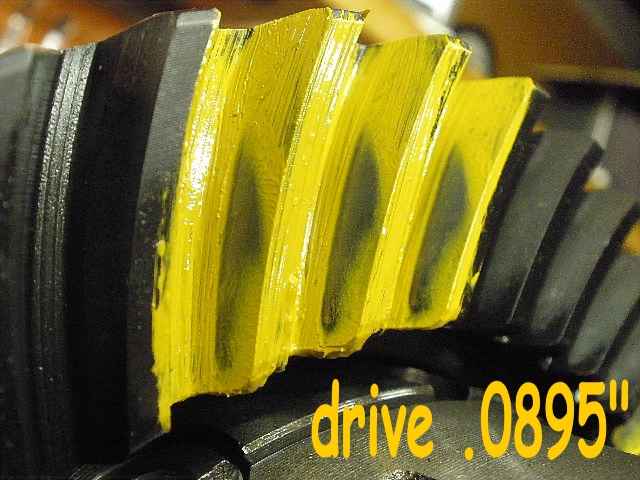
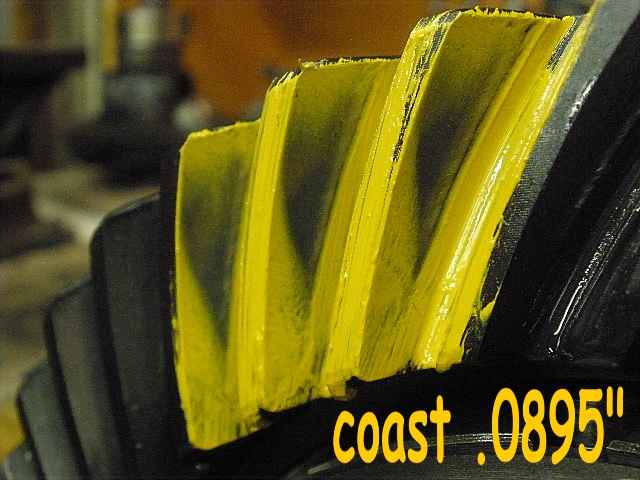
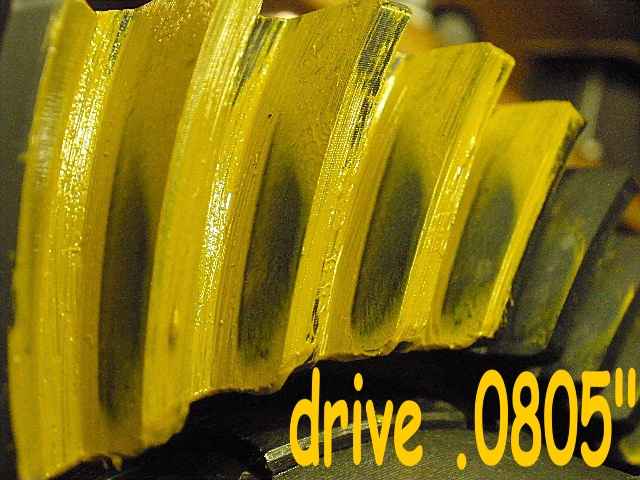
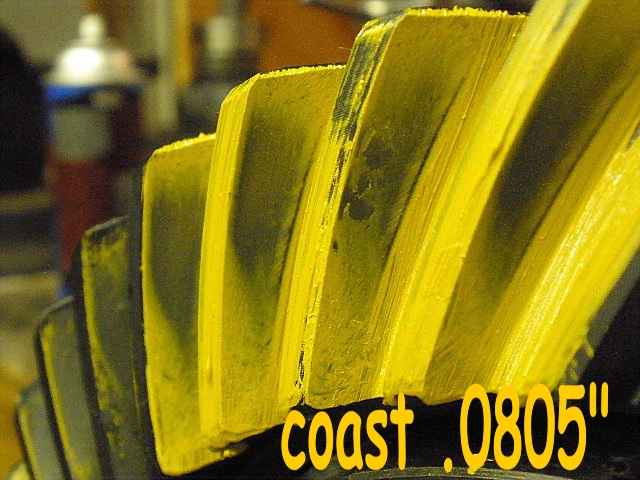
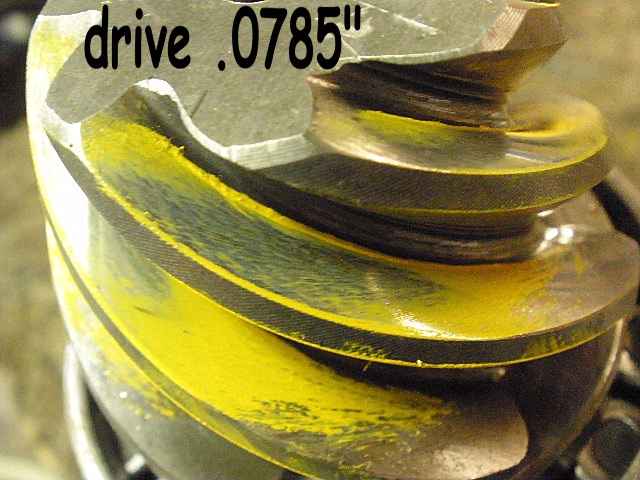
The teeth were painted and this shows that the pattern is too deep (too much shim behind the pinion head). |
|
........................... |
|
Both adjuster wheels were marked as a reference point. |
|
I discovered that BOTH wheels could be tightened up about 5 notches before good CBPL was reached. |
|
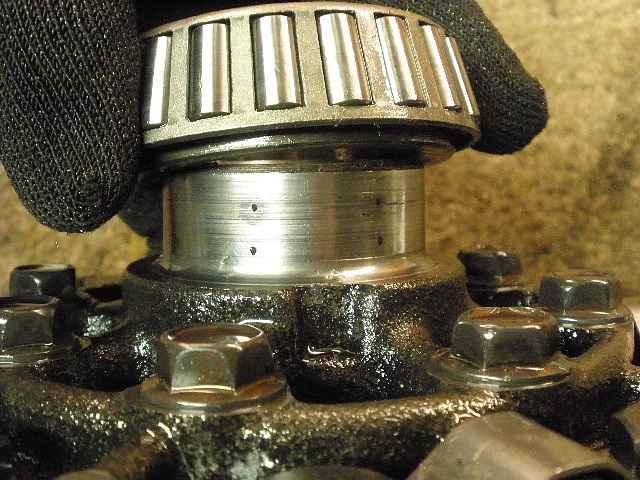
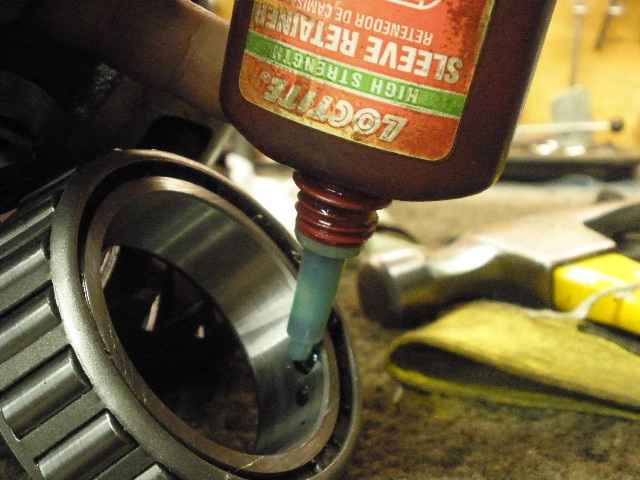
The carrier bearing on the ring side just came off with finger power. Someone attempted to correct this loose fit by evenly spaced dimple marks made with a punch and hammer. There were signs of red Loctite also. Neither one works for this. What does work is cleaning the surfaces,light sanding to rough it up and SLEEVE RETAINER compound. |
|
The other side required the 2-jaw puller. There was alot of red Loctite on this side. The journals on both sides had some spun damage but were still ok to use. |
|
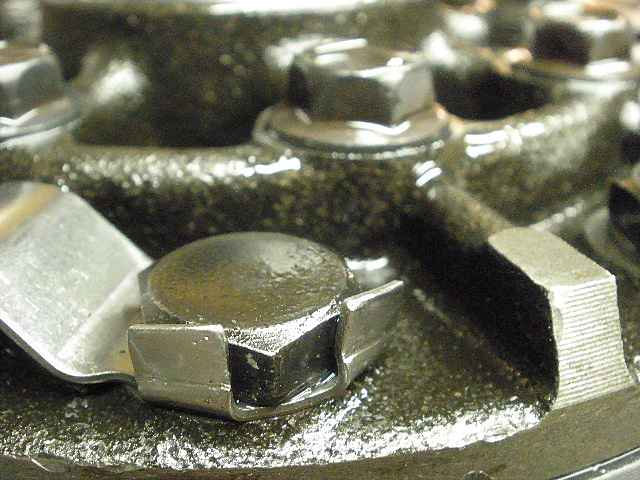
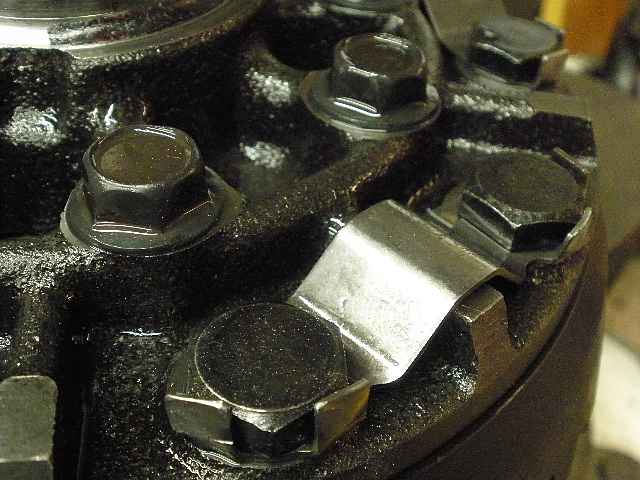
The factory lock tabs had been re-used on the ring gear bolts. Those will end up in the garbage and red Loctite will be used on the ring bolt threads upon re-assembly. |
|
..... |
|
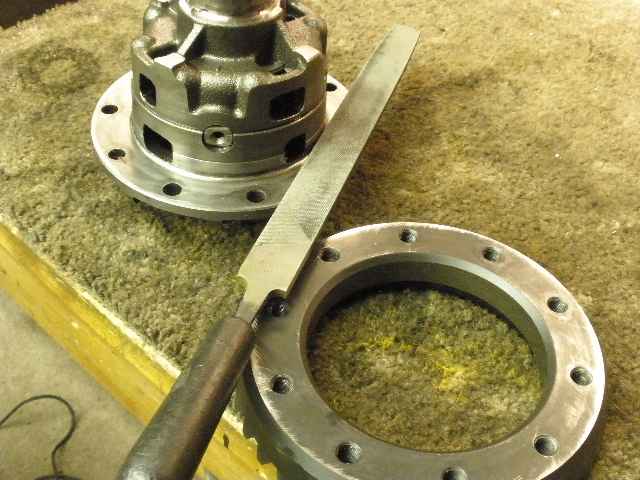
The ring gear was removed and both surfaces filed. No unusual irregularities found. |
|
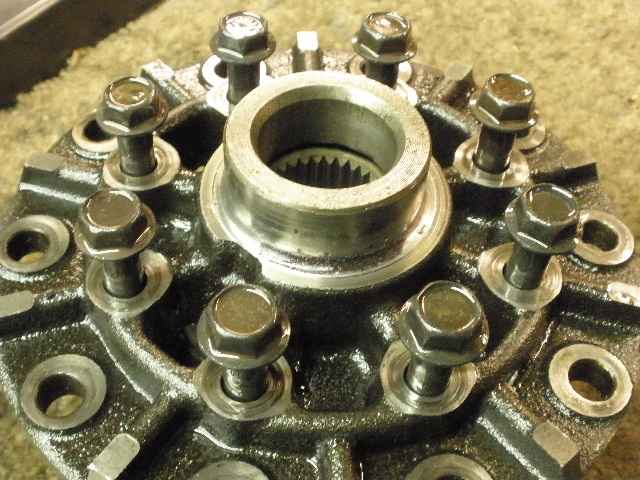
The 8 long bolts are removed from the case... |
|
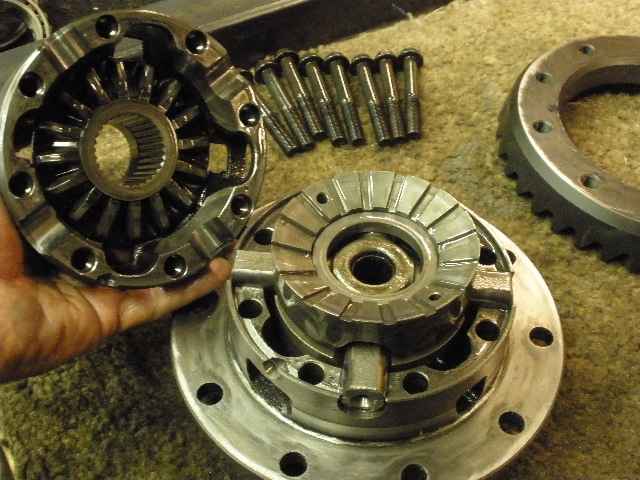
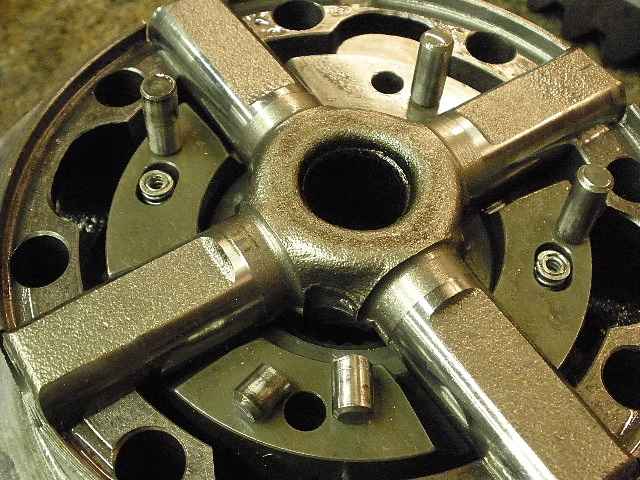
...and the case is separated to reveal the Lockrite. |
|
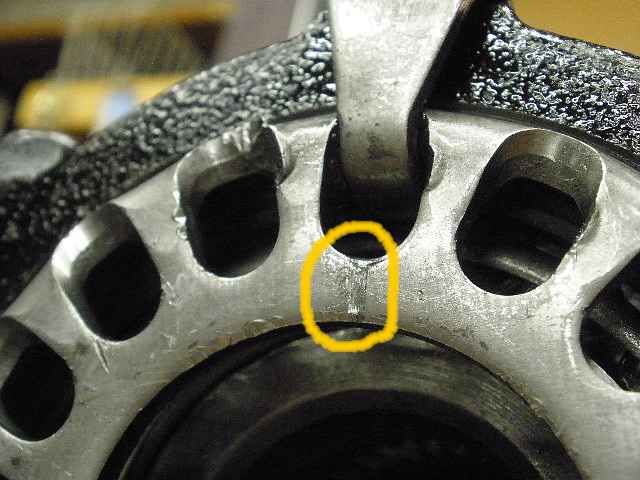
One broken pin. Fortunately, I have a few spares. The rest of the locker appeared to be ok. |
|
Case bolts are torqued to 50 ft/lb. |
|
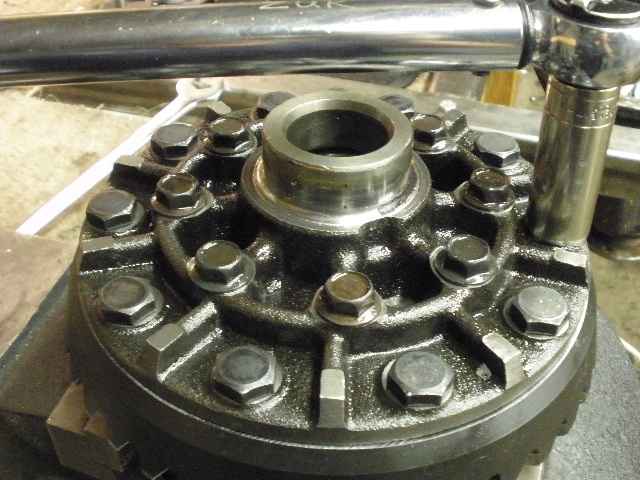
Now the ring gear can be mounted and the 10 bolts have red Locktite applied and torqued to 75 ft/lb. |
|
Back to the pinion end of things, the torque wrench has verified that there is no measurable drag. |
|
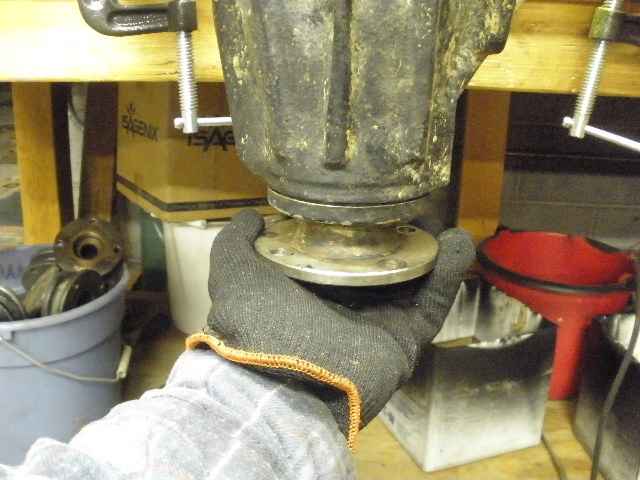
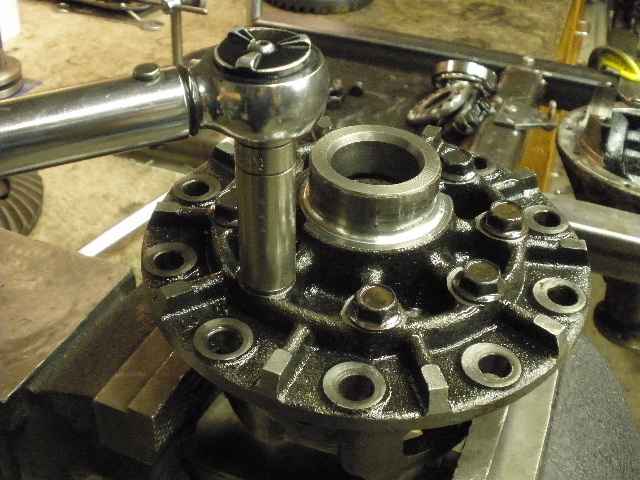
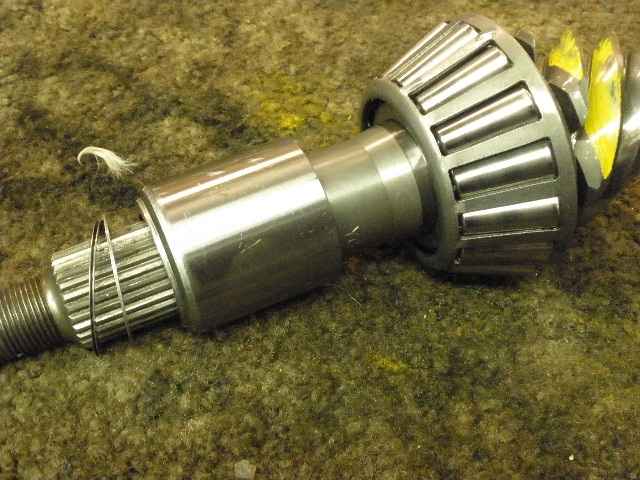
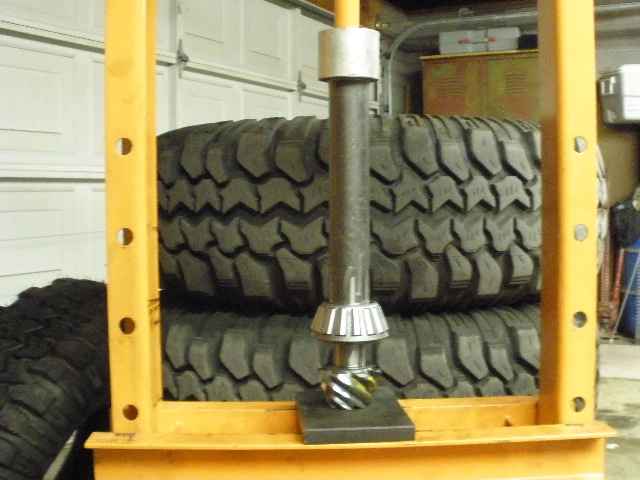
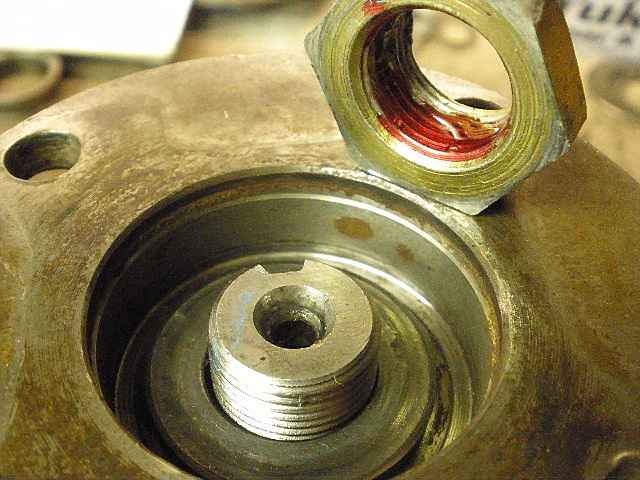
The flange has been removed and the pinion pressed out. |
|
And there is indeed a solid collar in there. |
|
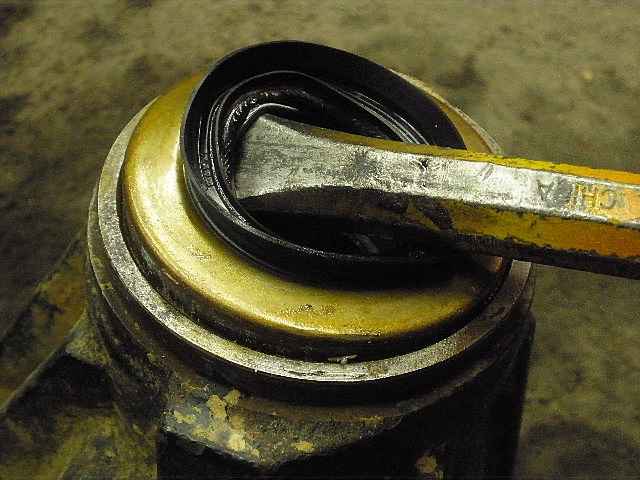
The seal is removed... |
|
Both pinion races are in "like new" condition and are verified to be fully seated. |
|
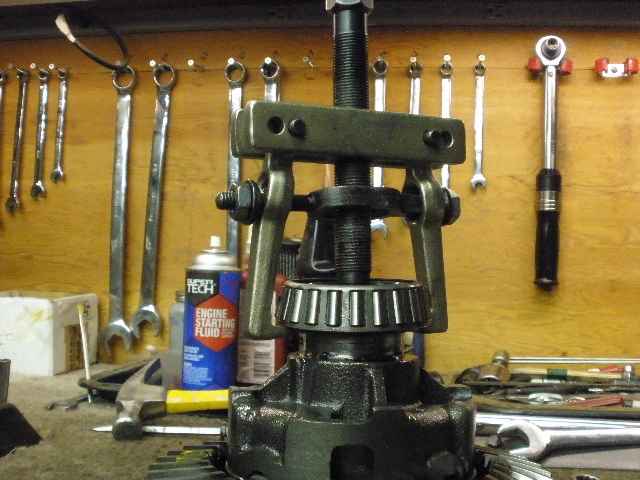
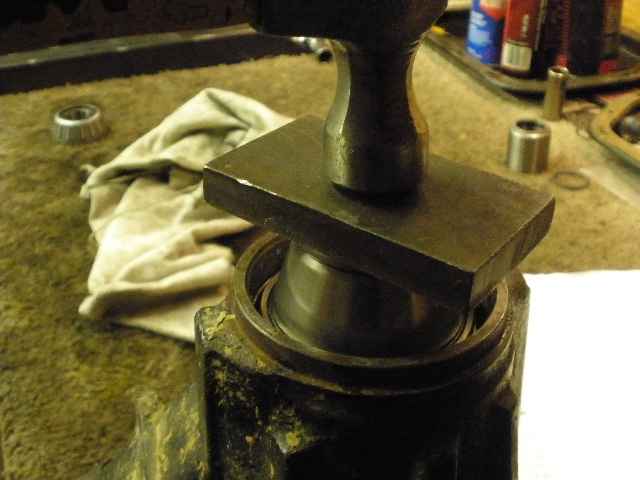
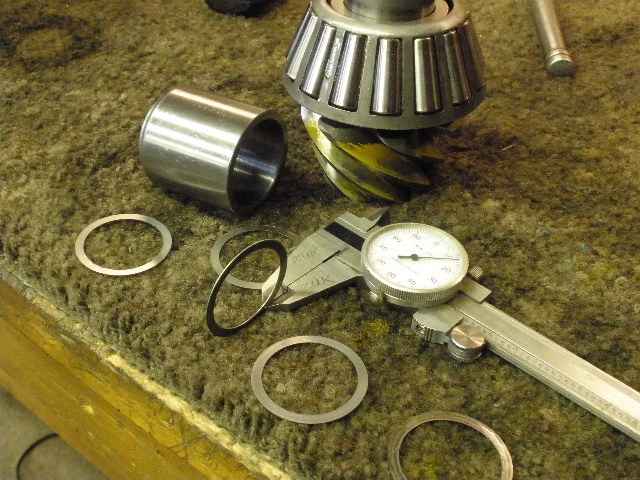
To get access to the pinion shim, the bearing must be pressed off...an easy job for this over-sized bearing splitter. |
|
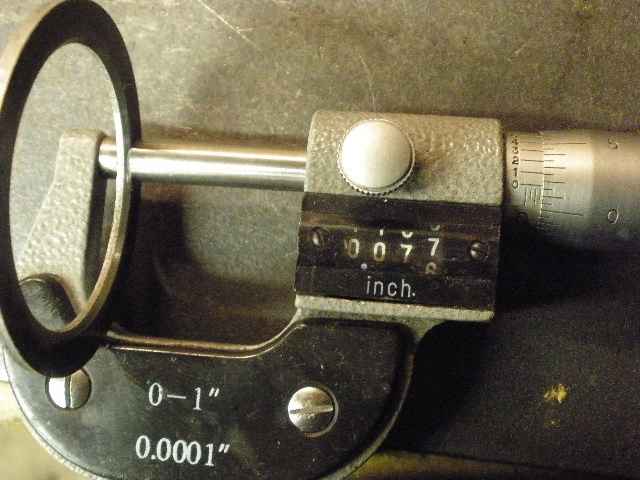
The micrometers can accurately measure the shims. |
|
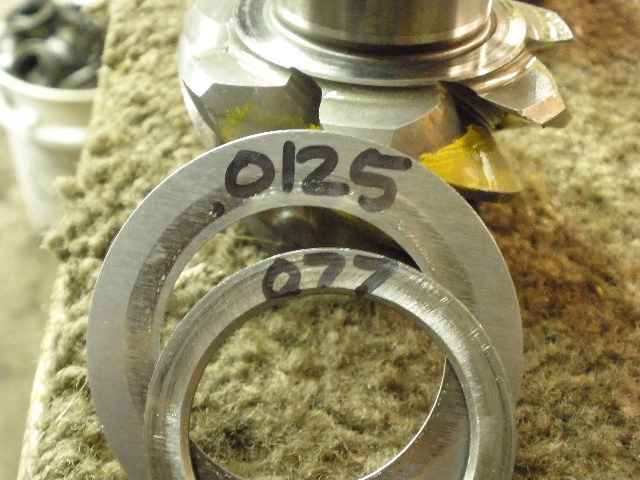
2 shims were found on the pinion head...an OEM thick shim of .077" and a thinner after-market shim of .0125" for a total of .0895". |
|
A new pinion shim of .084" is pressed on with the bearing. |
|
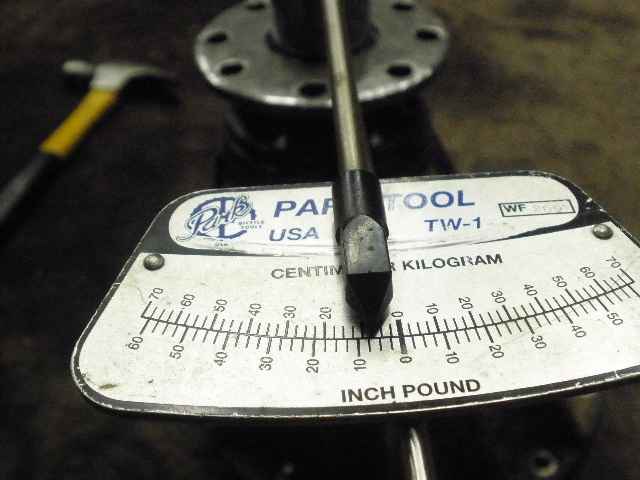
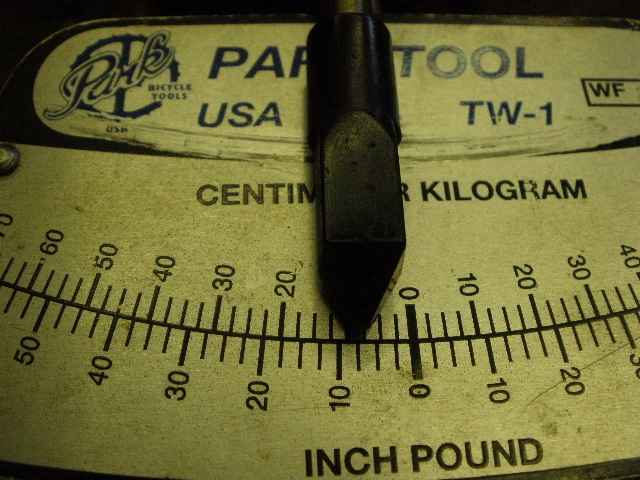
The pinion is re-installed without the solid collar and the pinion nut is tightened until about 8 inch/pounds has been reached. |
|
Before the case can be mounted, the issue with the loose fitting bearings has to be addressed. All surfaces are cleaned and Loctite Sleeve Retainer is applied and thoroughly smeared on to the surface. The journal surface is roughed up with course sandpaper and the bearings are tapped on...the gear install can continue while they are setting up. |
|
The pattern is still too deep. |
|
... |
|
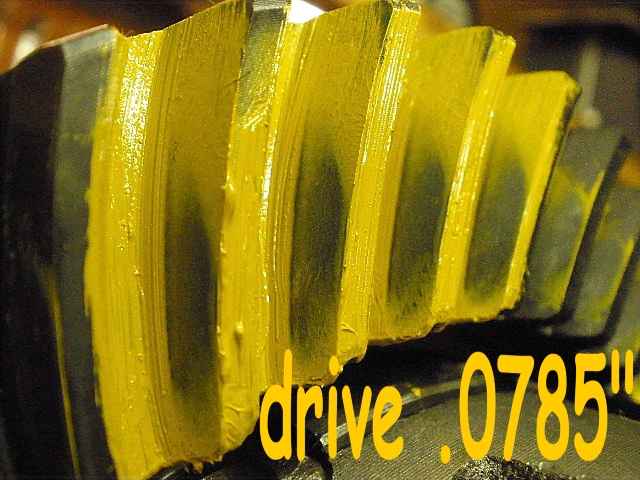
The teardown process is repeated and another .004" was subtracted from the shimpack...very close but still a touch too deep. |
|
....................... |
|
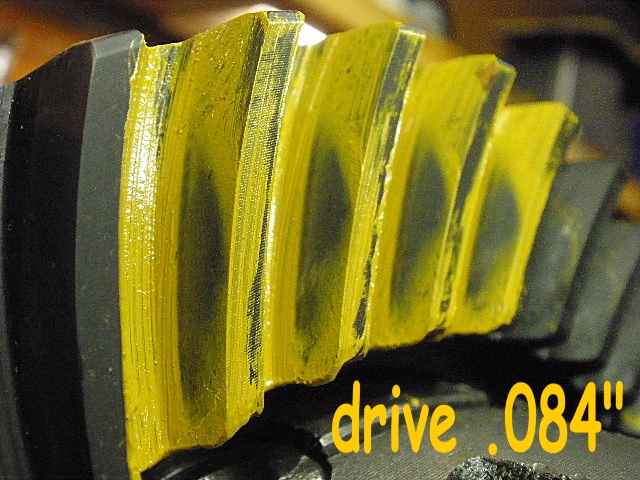
another .002" was removed from the shimpack and this is good to go :) |
|
... |
|
The drive side on the pinion itself agrees. |
|
Now to break it down one more time and install the solid collar. The PPL was basically zero so by reducing the total shim thickness here, the proper PPL value will be achieved. It took only 2 tries and about .005" was effectively removed from the pack. See the data sheet at the end. |
|
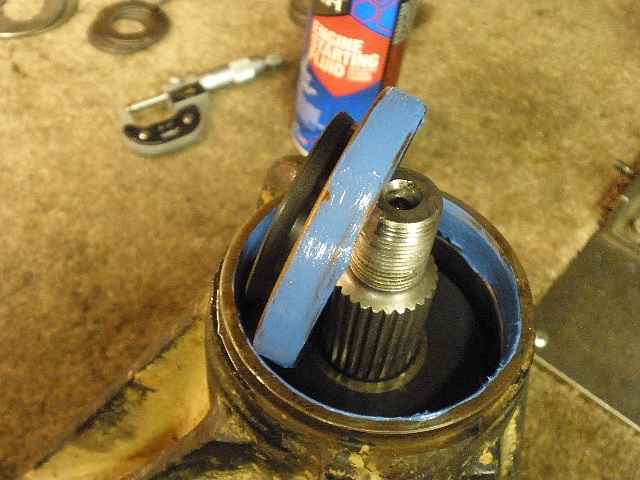
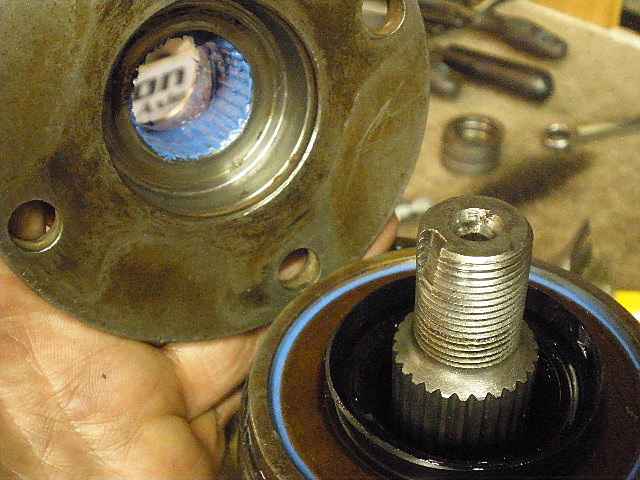
The new seal has a thick grease applied to the tiny coil and RTV on the outer edge of the seal. |
|
RTV can also be applied to the splines for any gear oil that tries to wick its way up the pinion and sneak by the pinion nut and washer. |
|
Red Loctite has its place and it's on the clean threads of this pinion nut. |
|
8 inch/pounds on slightly used bearings... |

|
Take note of where the the old notch is now and where it used to be. That's just over 1/4 of a turn to develope the much needed 8 inch/pounds of PPL. |
|
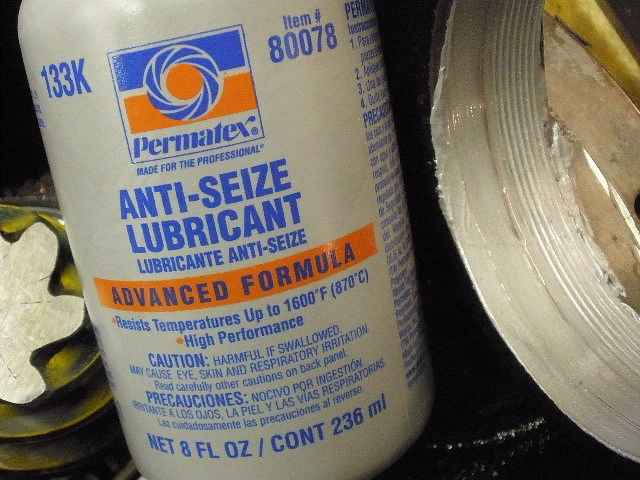
My favorite is the aluminum based anti-seize from Permatex. This allows for greater effective CBPL with less turning effort from the adjuster wheels. |
|
I start, by ever so lightly, bringing the cap bolts to 'snugness' with light hammer raps. The threads on the lower half (carrier) are now 'in sync' or in proper alignment with the threads of the upper bearing cap. This just means that the 4 cap bolts can now be tightened to the full 70~75 ft/lbs and the adjuster wheels will still turn with relative ease. |
|
Both wheels are tightened evenly to maintain the .008" backlash and to increase the bearing pre-load to a 100 ft/pound minimum...100 ft/pounds on the wheel adjuster is equivalent to 10 actual inch/pounds of real bearing drag. See this demonstration. |
|
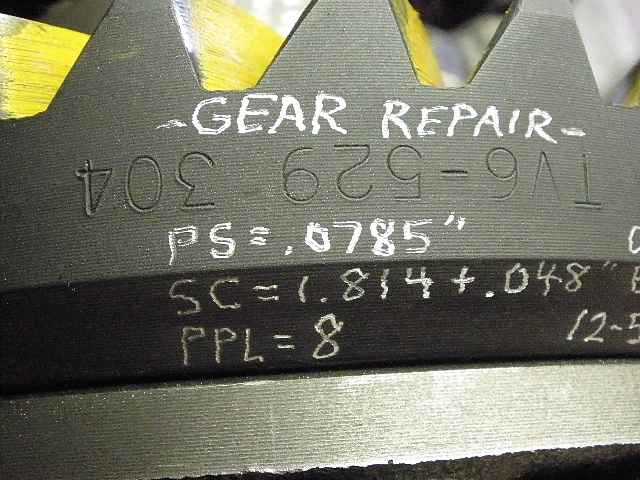
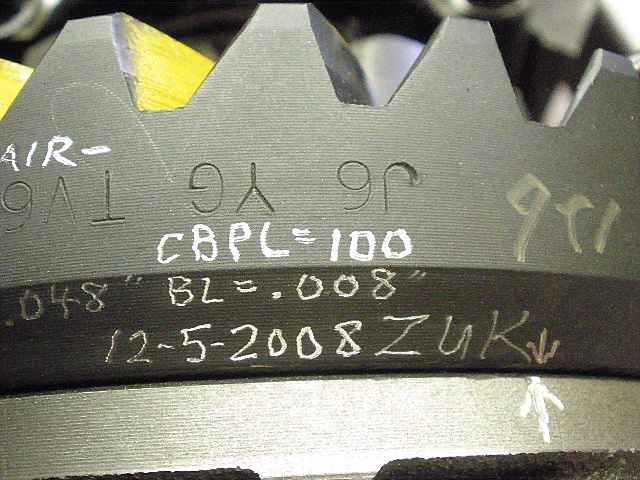
Basically done at this point...just have to loctite the 2 lock tabs in place and dremel scribe the applied specs on the ring gear. |
|
This actually turned into more of a full blown gear install instead of a simple repair but that's ok. Things done
to this 3rd-----
|
|
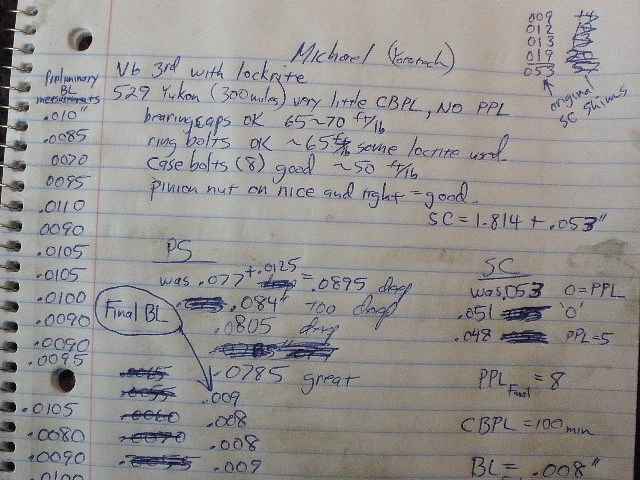
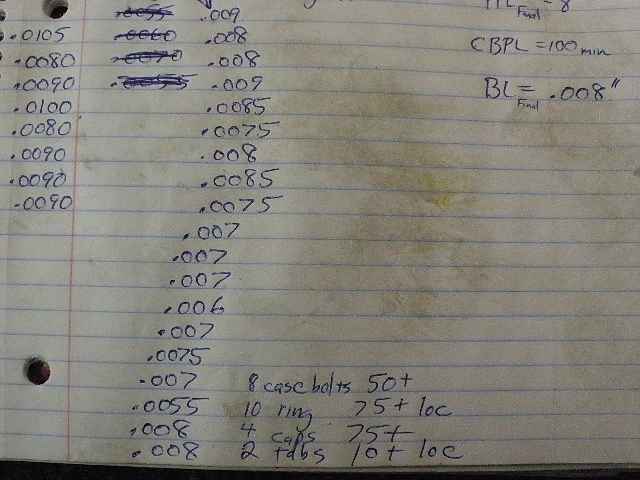
Notes taken during this repair. |
|
....................... |
|
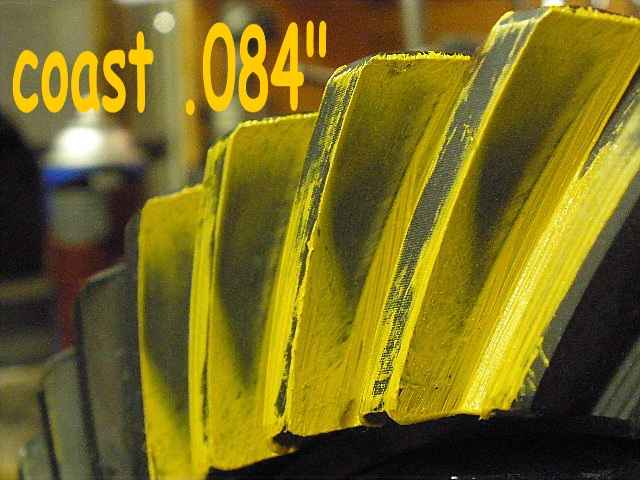
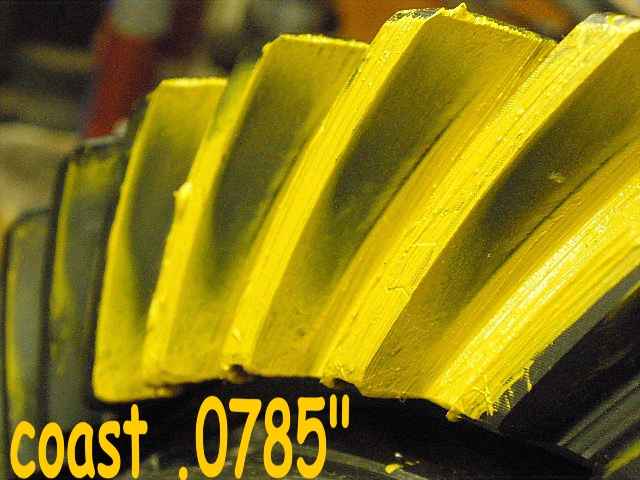
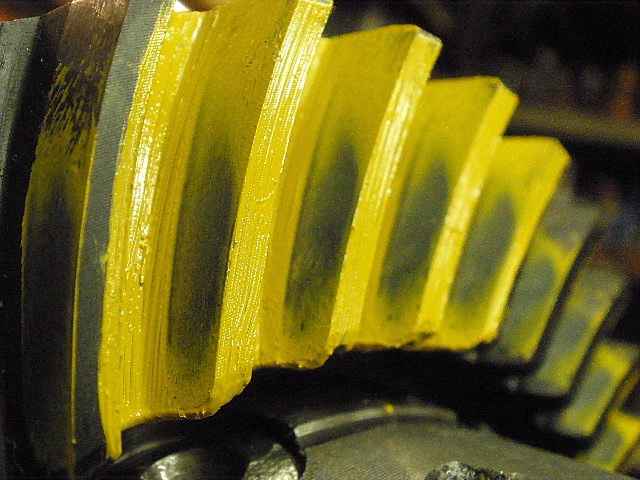
One more final pattern check....drive side. |
|
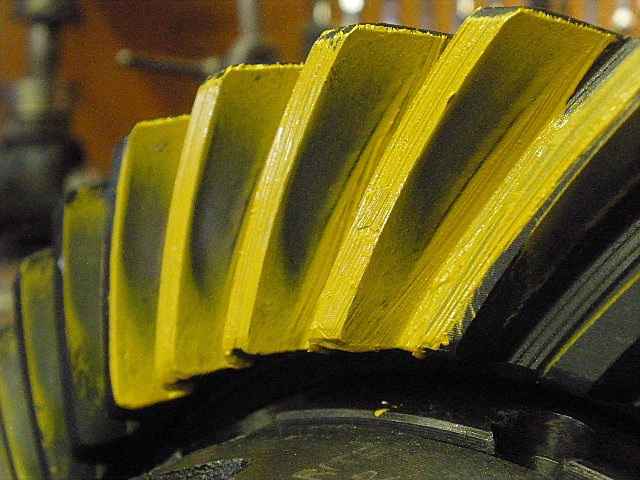
coast. |
|
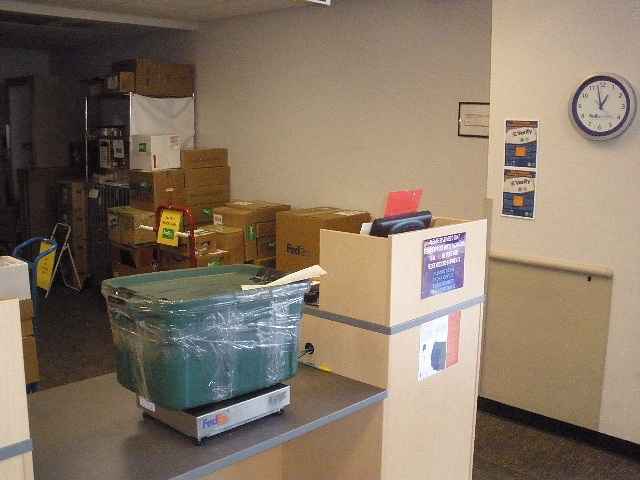
72 pounds on the Fedex scale ready to head back to Michael. |

|
