|
|
|
|
|
|
Kevin, aka "mudrunner88", is up in Cheshire, Massachusetts. He does all his own work on his 85 22RE Runner. He made an exceptional exception and sent both differentials to me in sunny Chandler, Arizona ;) |
|
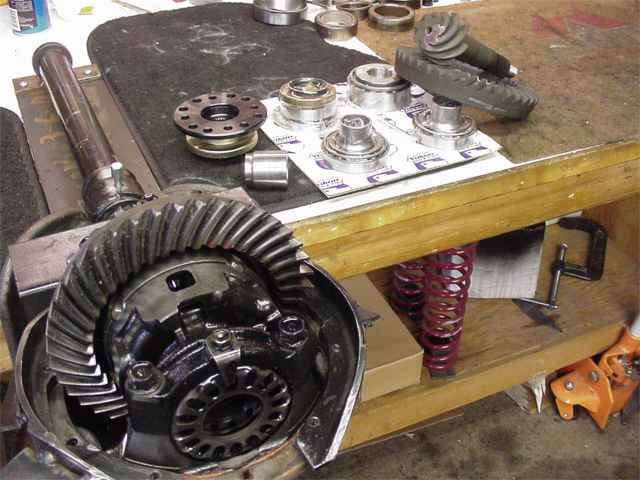
These are the parts he sent me for the V6 rear end. Not shown in the pic is the front 3rd with all the associated parts...that link is reachable at the end of this page. |
|
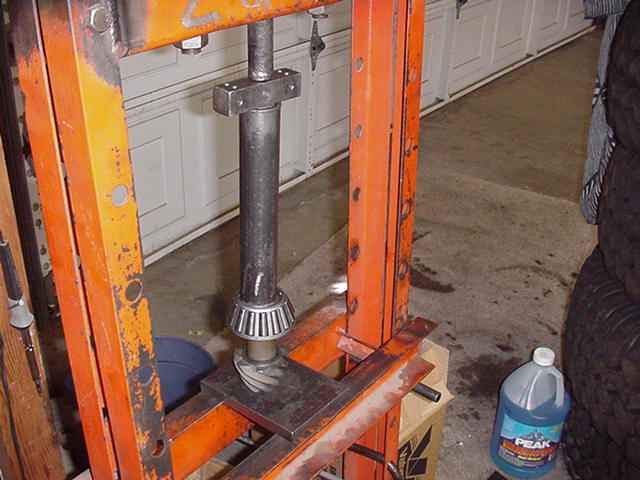
Step 1 is complete teardown... |
|
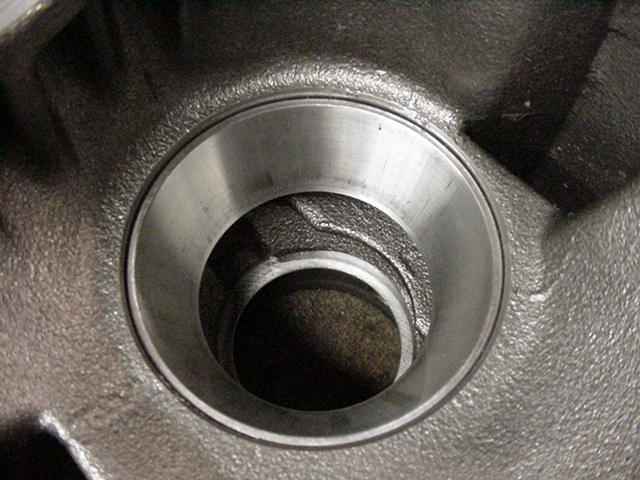
clean up the carrier and tap the new races in... |
|
I re-used the factory .078" shim and pressed the new V6 bearing on. |

|
I was noticing that the bearing was pressing on very hard so I removed the bearing and wet sanded off the coating that Richmond seems to place on many of their pinions....then it pressed on with normal force. |
|
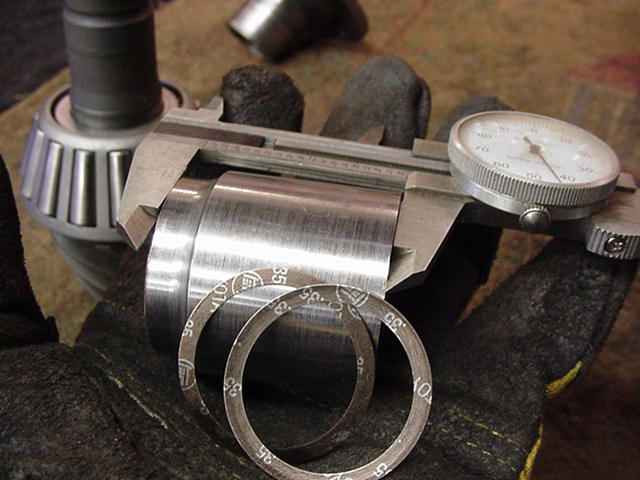
This looks like a quality Marlin collar. I measured the length and determined that .028" would be a good starting point. |
|
I had to press it out twice before settling on .023 for a final value of 12 in/lb pre-load. |
|
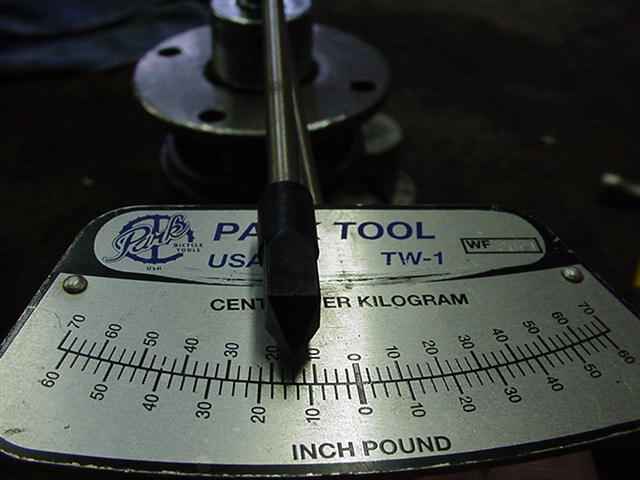
This simple little beam style torque wrench is so invaluable for this operation. |
|
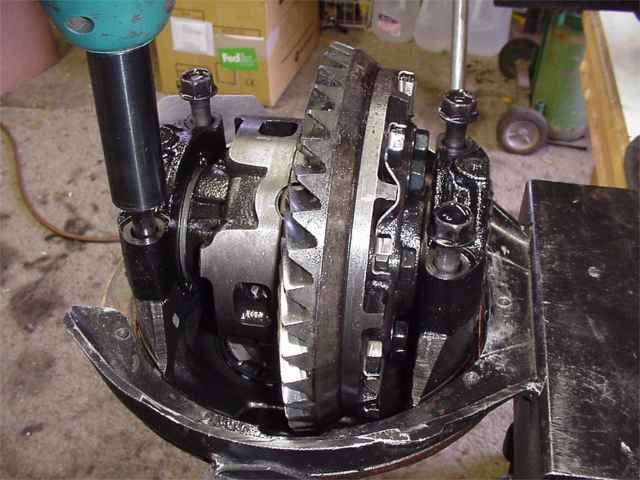
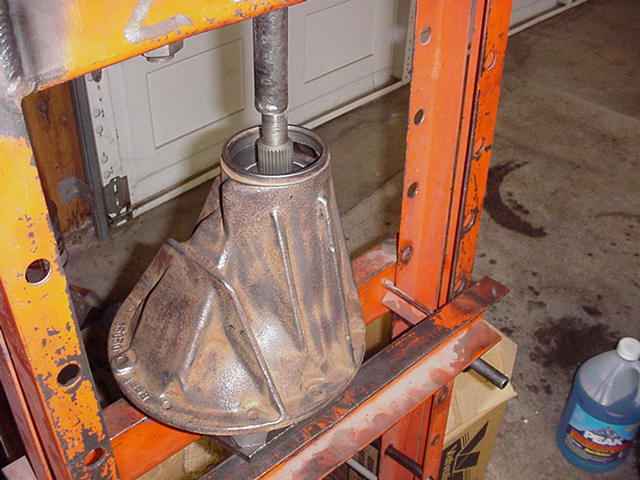
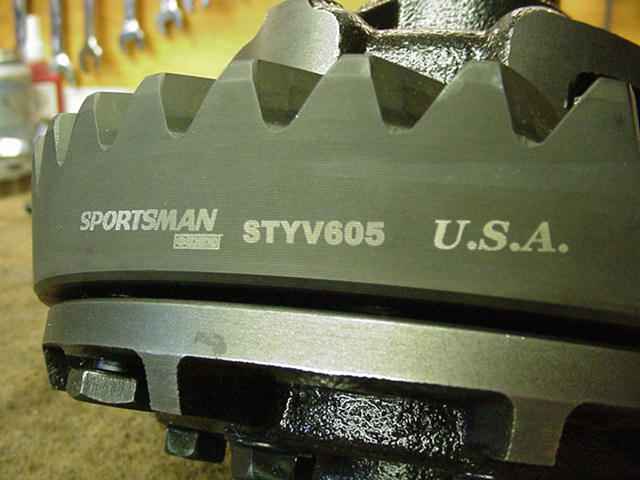
SPORTSMAN is a a line of gears from Richmond Gear ...made in the USA in Liberty, South Carolina. I liked the fact that this ring dropped onto the open case mostly by hand yet it still was a snug fit....a "just right" fit. |
|
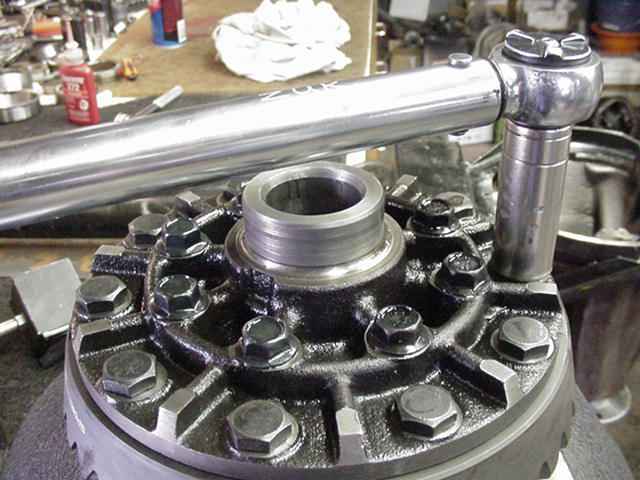
As usual, red loctite and 75 ft/lb. Once using a cross pattern approach and once around in a circle to make sure I did not miss a bolt. Nothing worse than having one or more loose bolts work their way out and destroy a good set-up. |
|
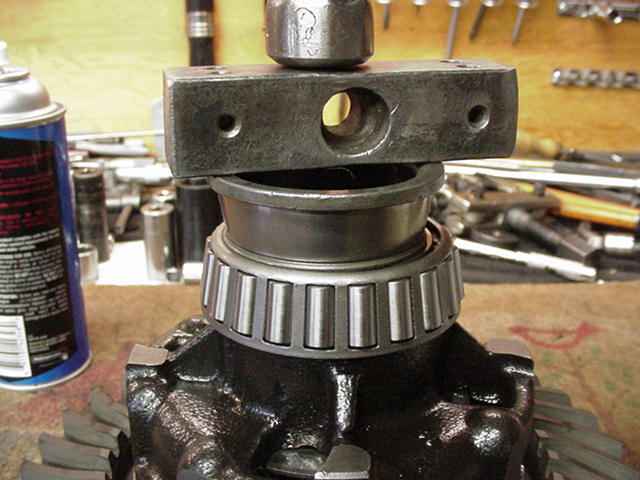
Tapping the new V6 carrier bearings on... |
|
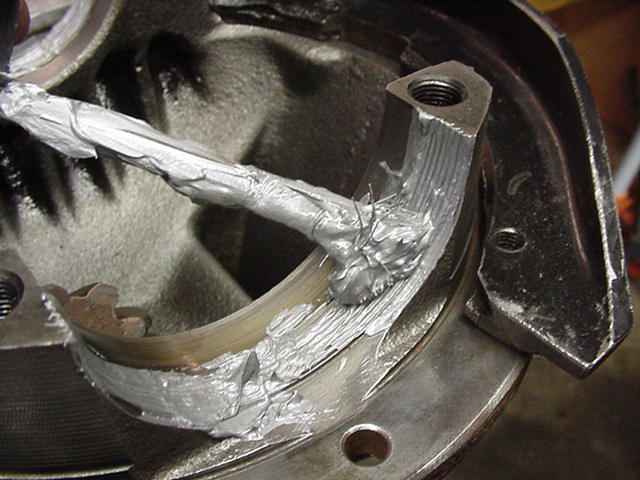
Using anti-seize on the threads allows me to get good CBPL without damaging the threads. It also probably adds to the "silver look" of the gear oil. c'est la vie |
|
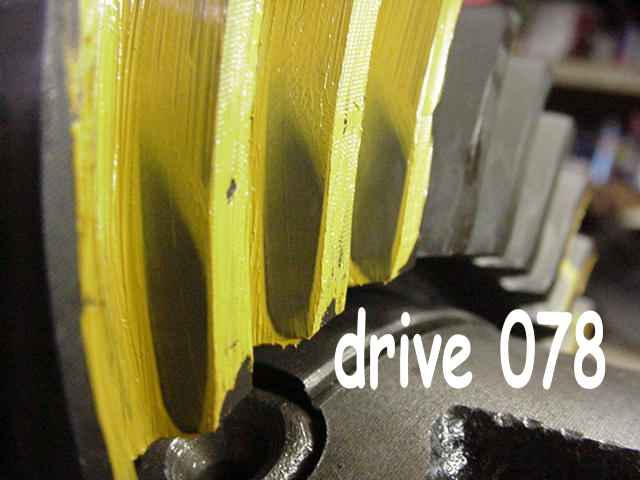
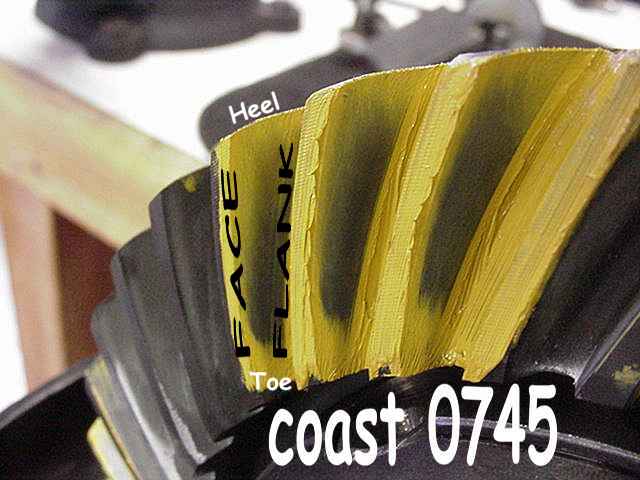
With the carrier bearings tight and about .010" for backlash (BL=010 per Richmond instructions), the first paint looked like this. Highly favoring the toe and this is typical of Richmond to use this competition style load bearing pattern. Richmond gears are known to be a little noisy even on a good install...a slight whistle that goes away with time. |
|
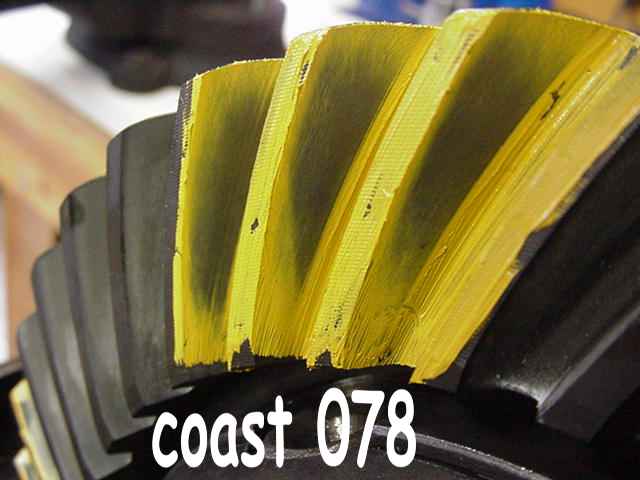
The coast side is the one that will give us the most information in this case...this says a little deep. |
|
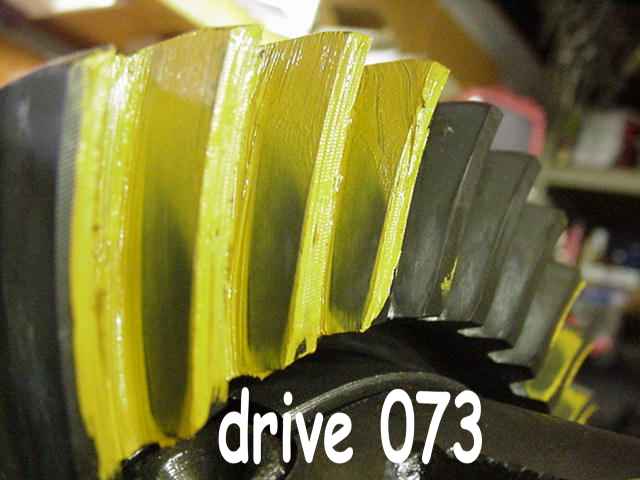
Complete teardown and re-shim to 073. No obvious change. |
|
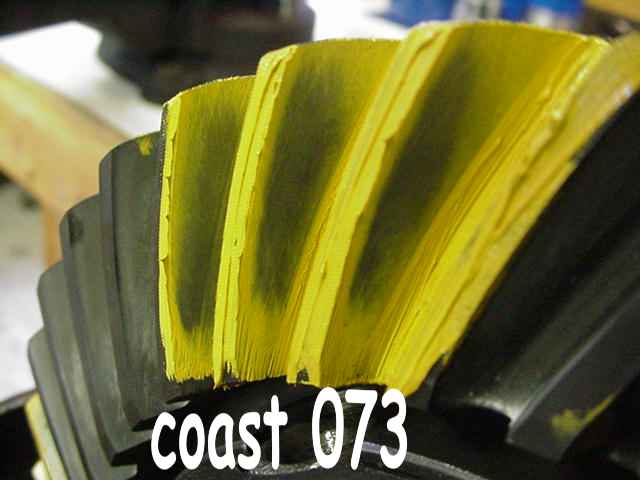
Coast says a touch shallow this time. |

|
Made it slightly deeper with .0745...hard to see changes. |
|
Coast looks like it's in the sweet spot. I'm not concerned about toe to heel although this one is well centered. I am concentrating on the Face to Flank...topland to root of tooth. That is the most important consideration. This Richmond ring and pinion has been "optimized". |
|
Not much has been written about the importance of proper CBPL although Randys Ring and Pinion has added confirmation. |
|
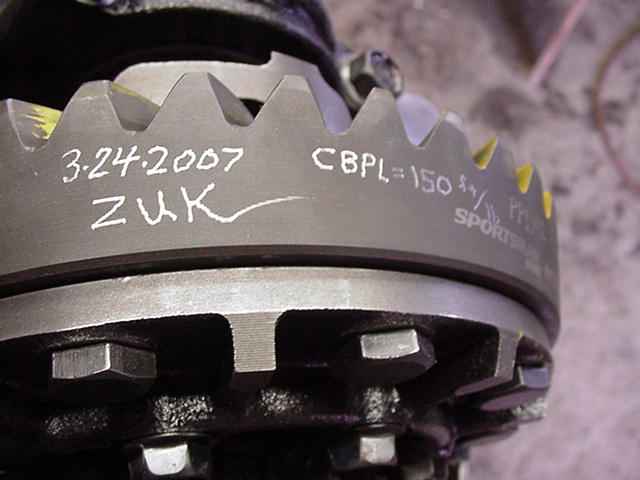
date coded... |
|
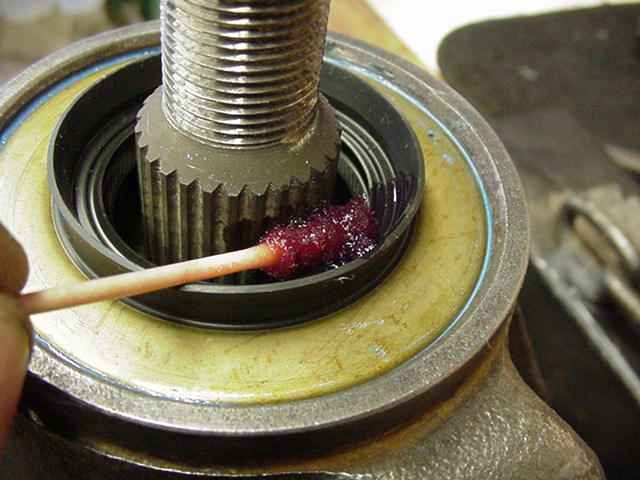
I use Ultra Blue RTV to help the seal on its steel outer edges during the tap-in process. Some gear oil on the rubber lip to prevent a dry start-up. |

|
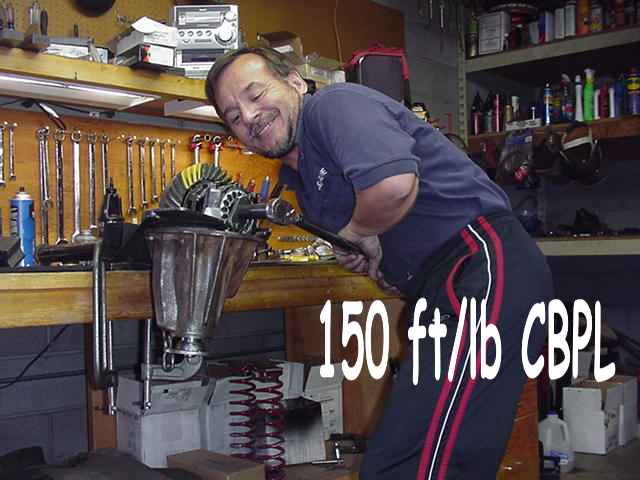
Between the red Loctite, 200 ft/lb, and staking the 30mm nut, the chances of it loosening up are about 1 in a googleplex ;) |
|
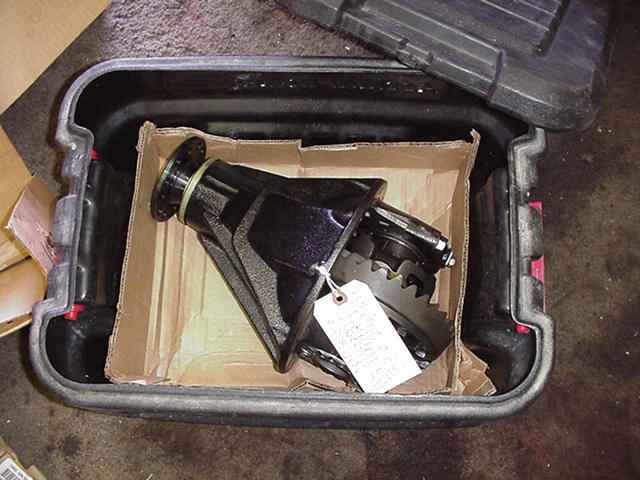
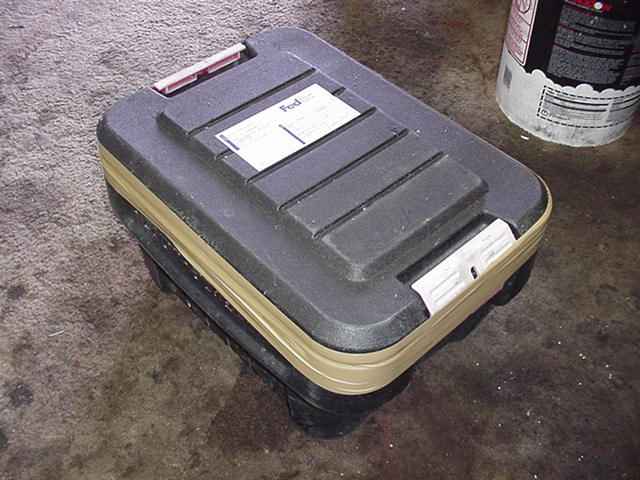
I used the same thick plastic lockable tote that mudrunner sent it to me in. These things are a good idea :) I added some cardboard on the bottom and packed it on the side with cardboard and newspaper and the the 3rd is well secured. |
|
64 pounds insured for 300 and $47 for the long trip back to MA. |
|
|

|