|
|
|
|
|
|
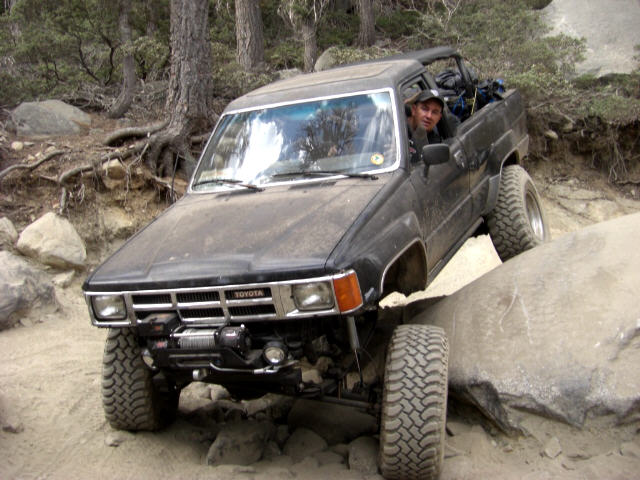
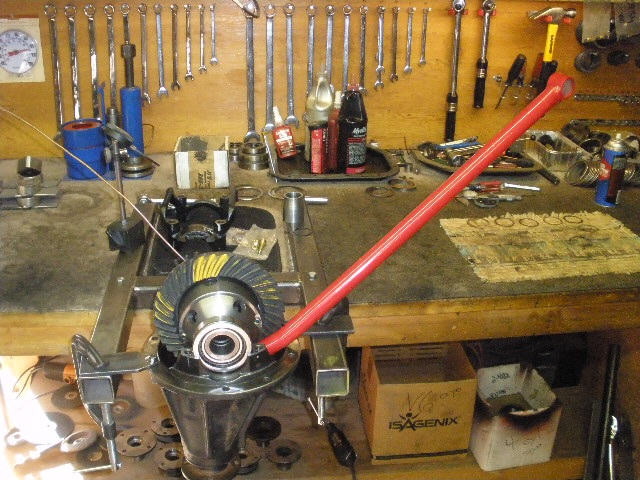
Pat's rig...from the Berry Creek, CA area. |
|
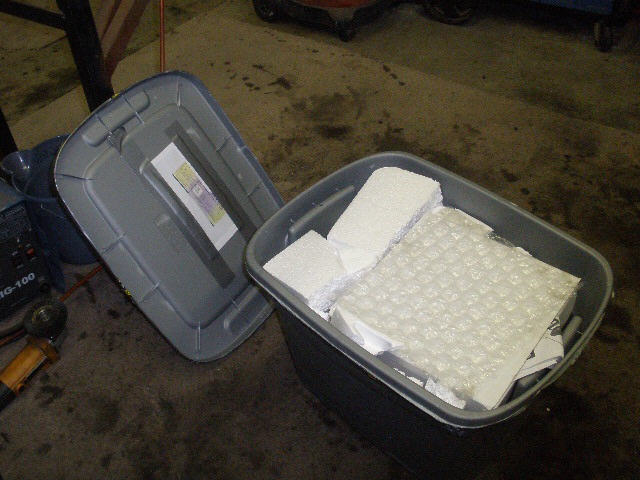
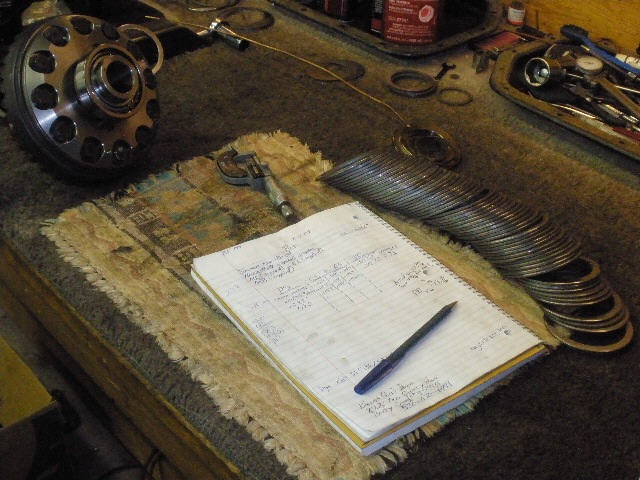
The tote as received. |
|
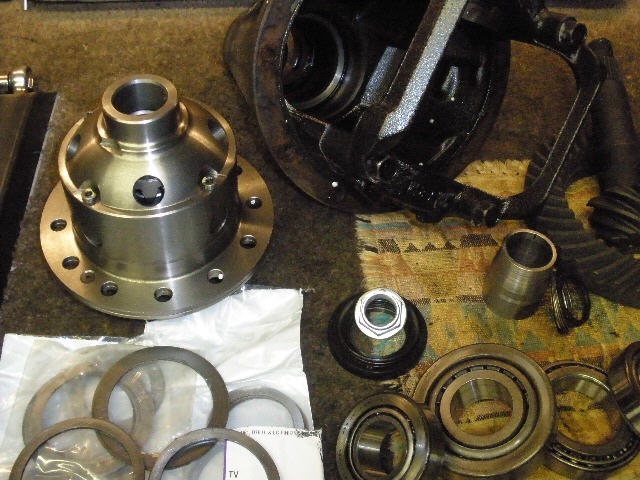
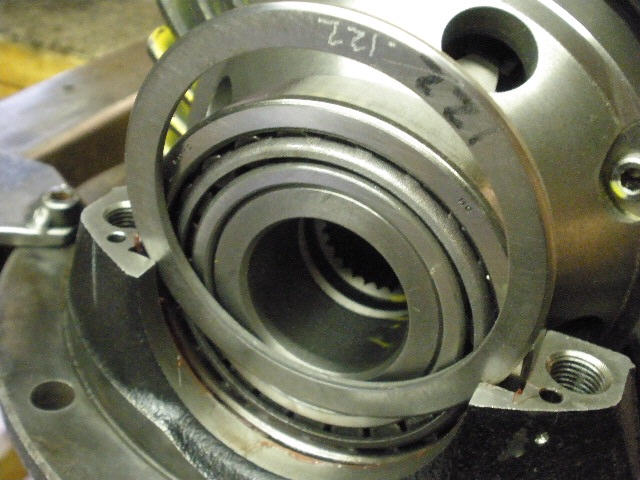
New bearings with a solid collar are also going in. |
|
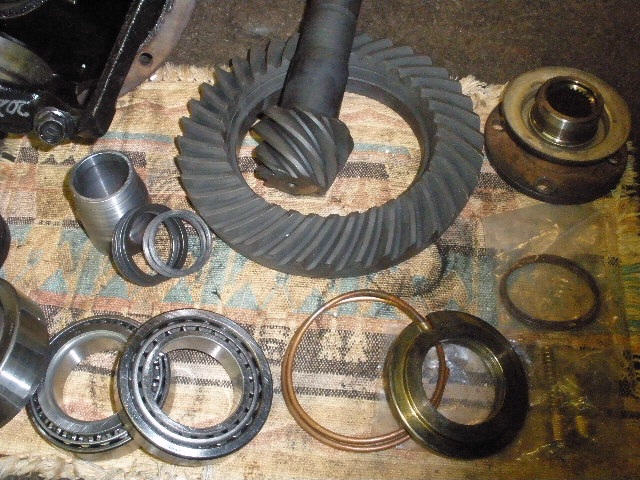
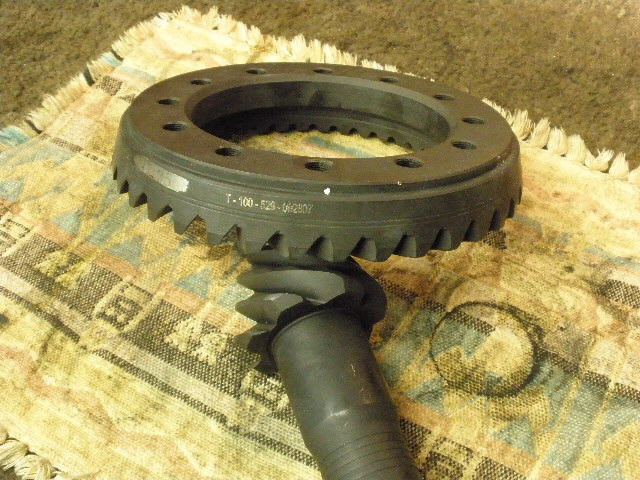
The Motive 529 gears are one of my favorites to install. |
|
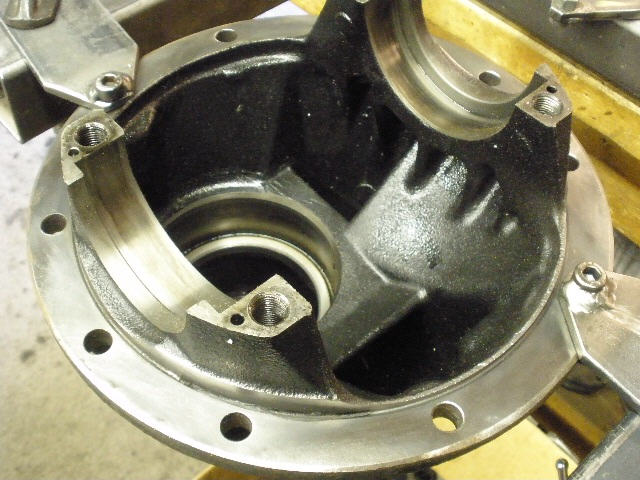
The carrier cleaned up nicely. |
|
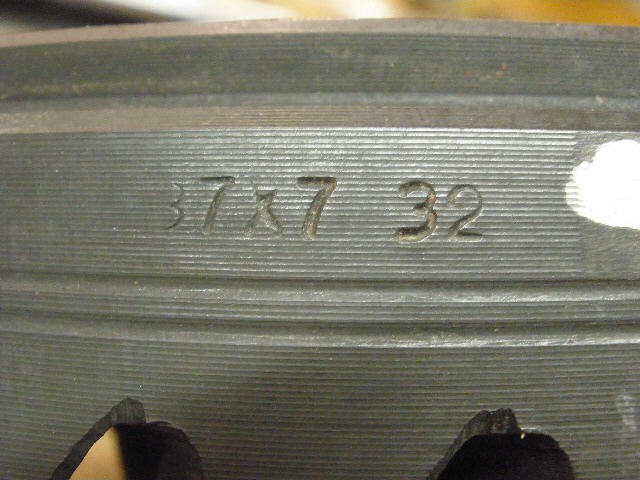
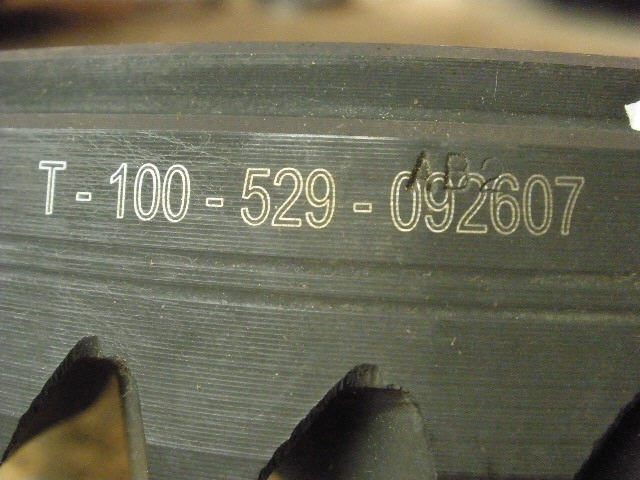
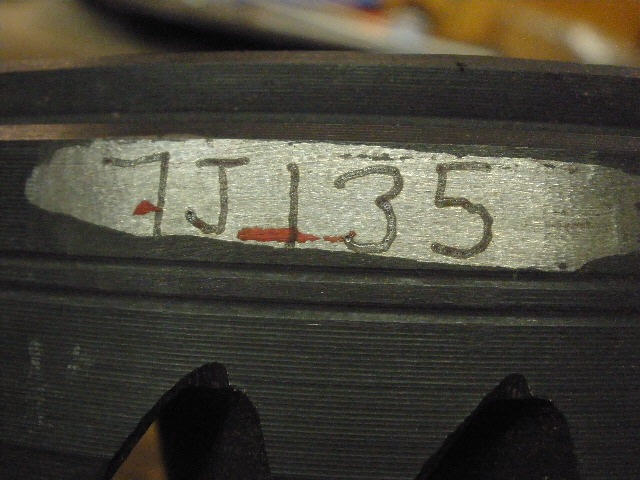
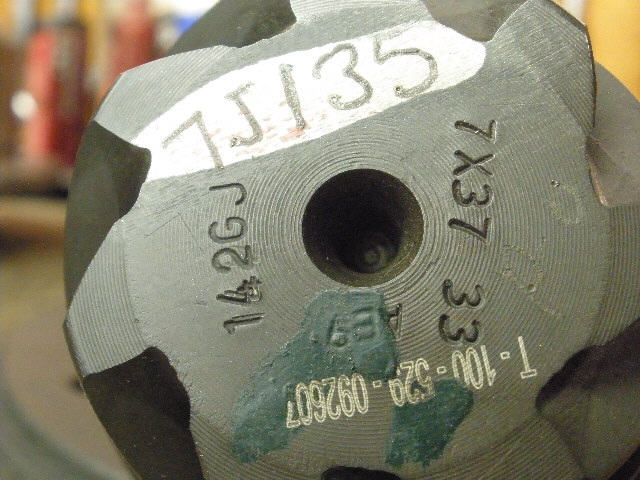
Some markings that are found on the Motives. |
|
... |
|
... |
|
... |
|
... |
|
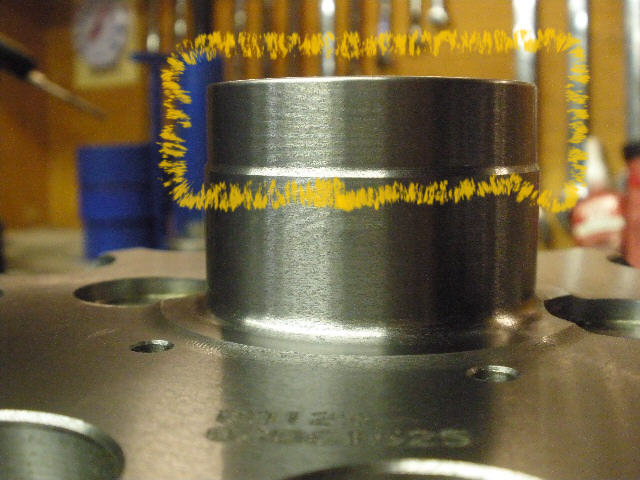
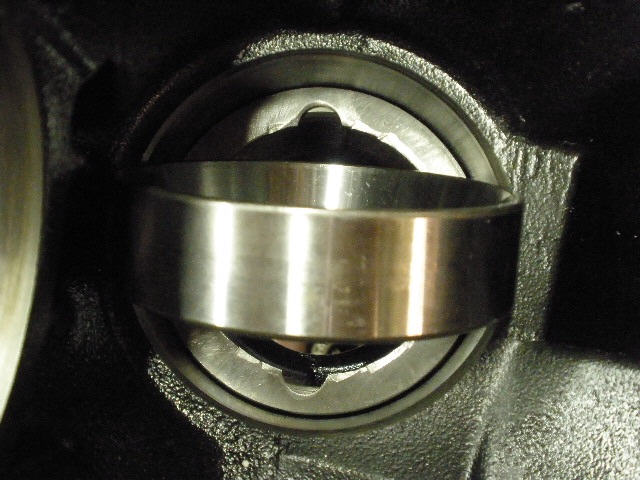
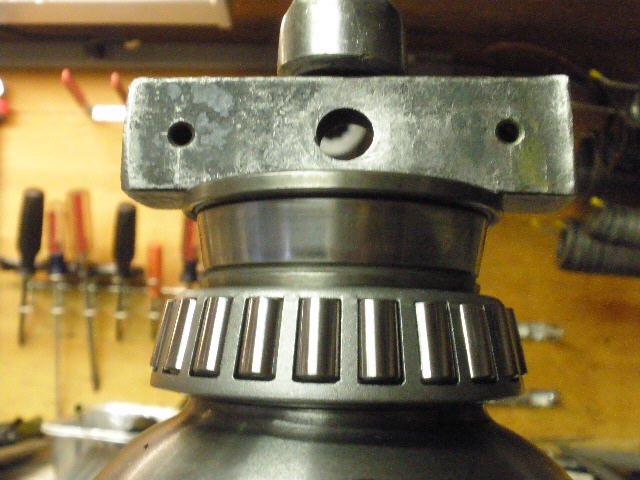
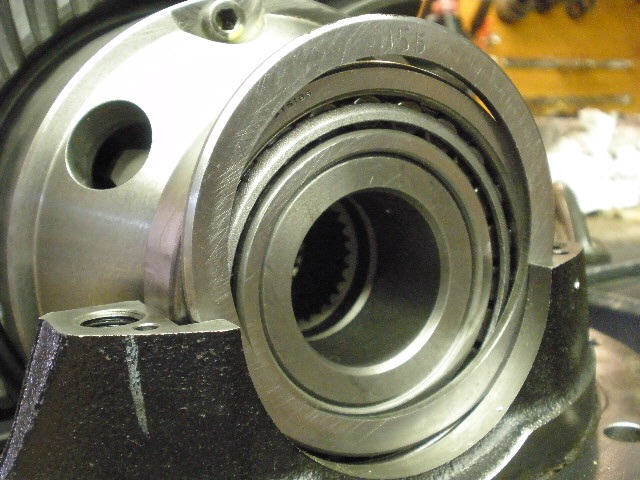
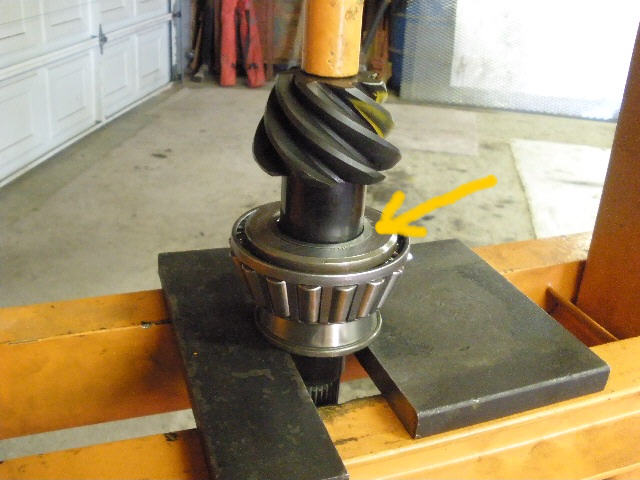
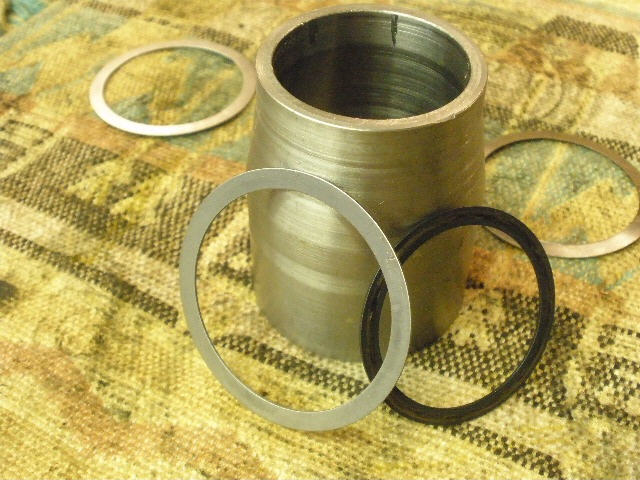
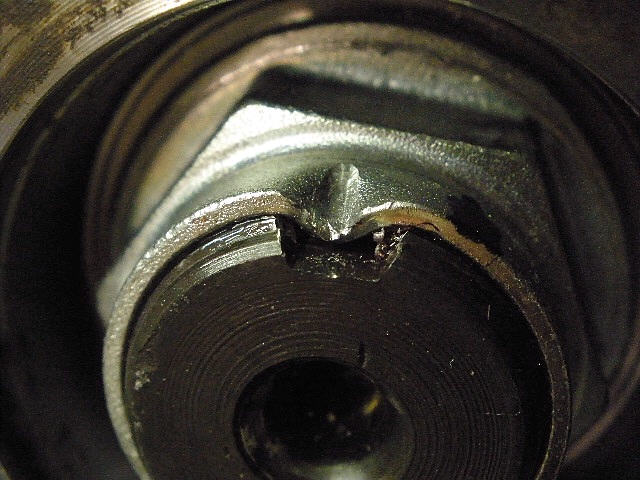
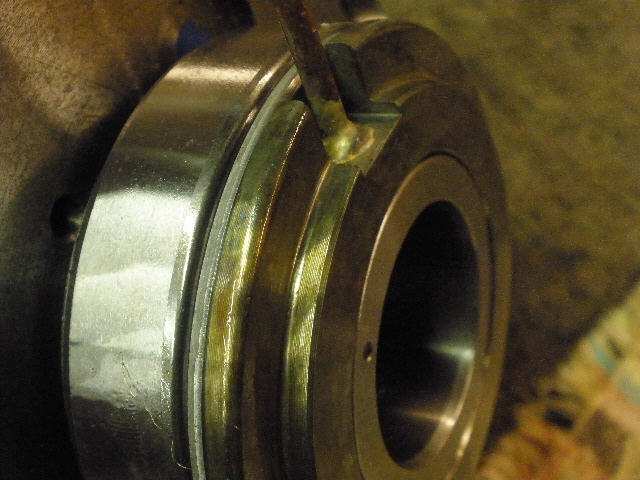
The area outlined in yellow is where the seal housing with 2 x-rings rides. Extra caution is used when handling the ARB and protect this area from accidental dings and scrapes. The steel is not very 'hard'. |

|
The factory pinion shim washer had some cosmetic damage that is unavoidable from the removal process. It's easy to grind away the chingered area and make it as good as new. |
|
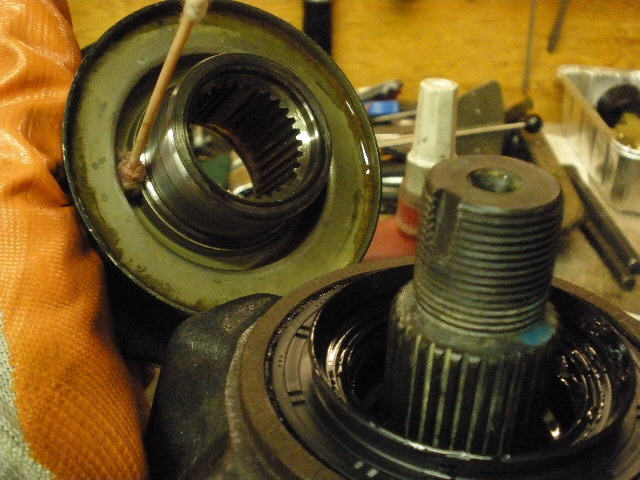
The new bearing is pressed onto the Motive pinion....no pinion shim here. |
|
The pinion shim washer is located behind the inner race from the factory....so I will do the same. |
|
The inner race is pressed in place. |

|
Surfaces are checked with a file. |
|
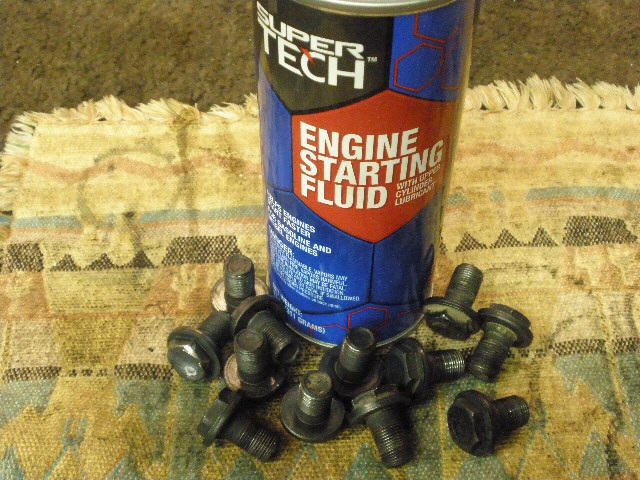
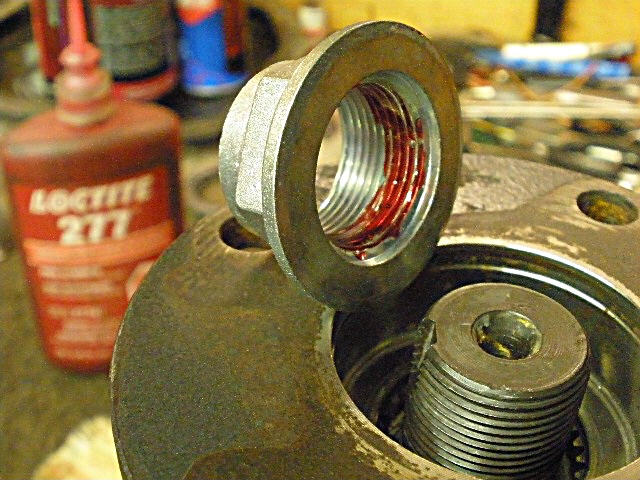
I like to use common starter fluid to clean the oil from the threads. |
|
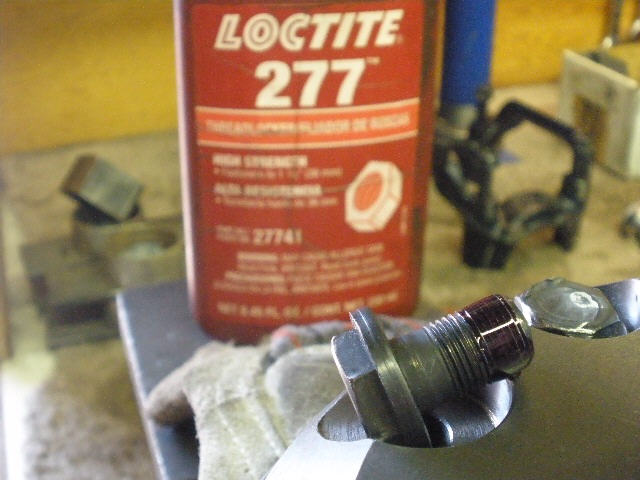
Red loctite on the threads... |
|
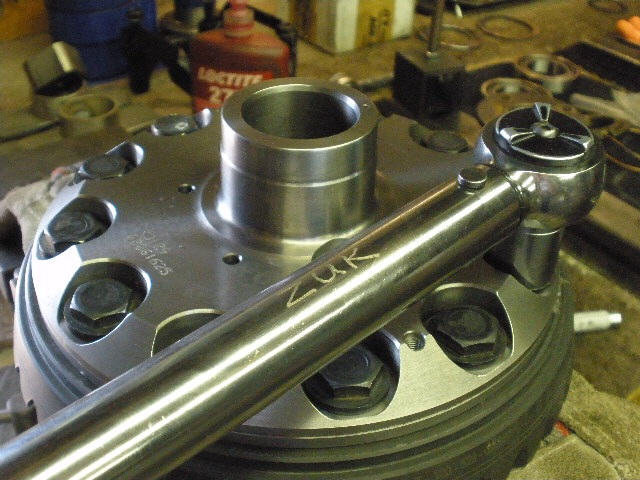
...and 80 ft/lb on these high quality cap-bolts. |
|
New carrier bearings are pressed on. |
|
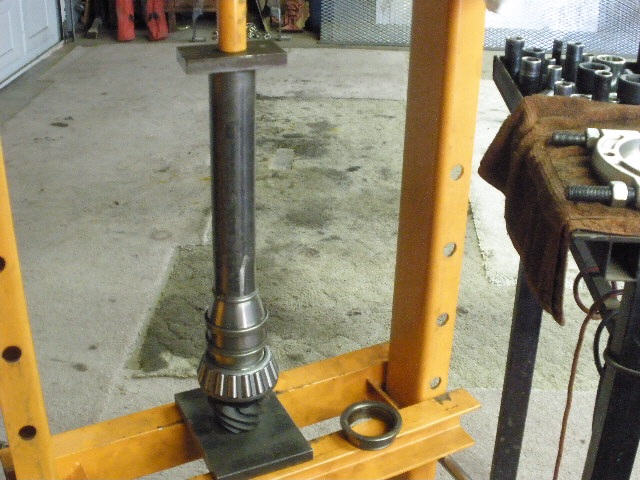
The pinion end is now assembled without a crush or solid collar at this time. The nut has been tightened enough to result in about 12 inch/pounds of drag. |
|
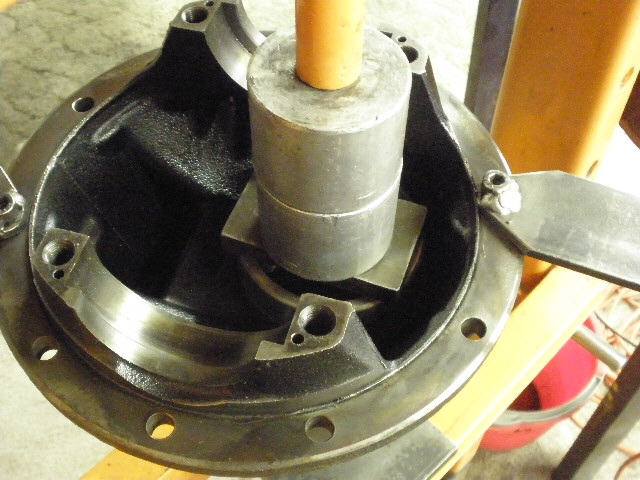
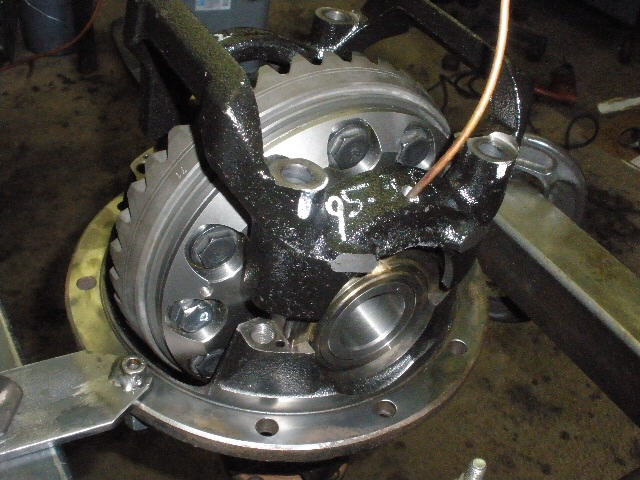
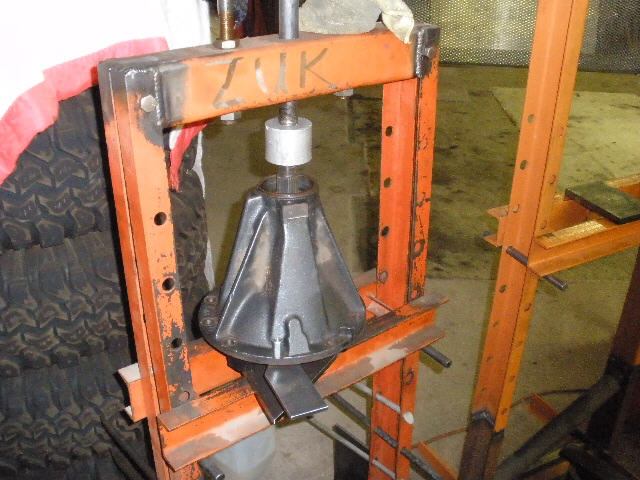
Now the case is dropped in place with the air bearing. |
|
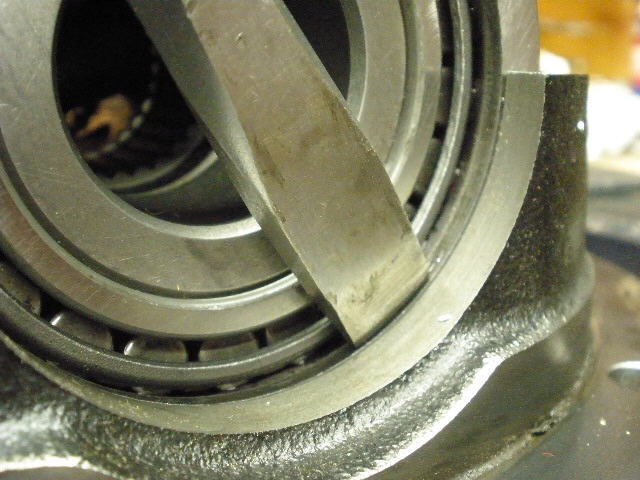
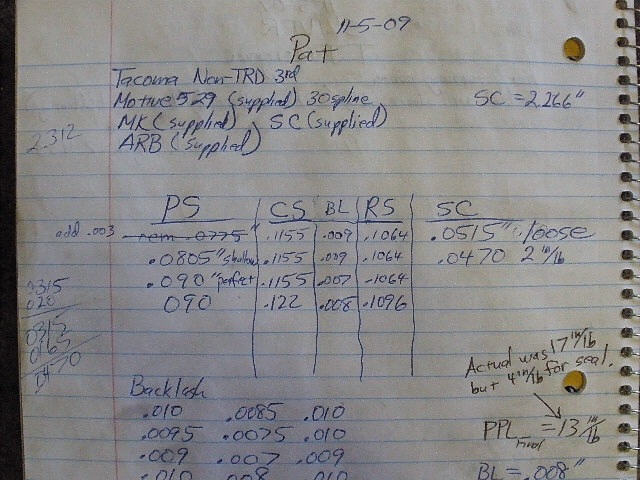
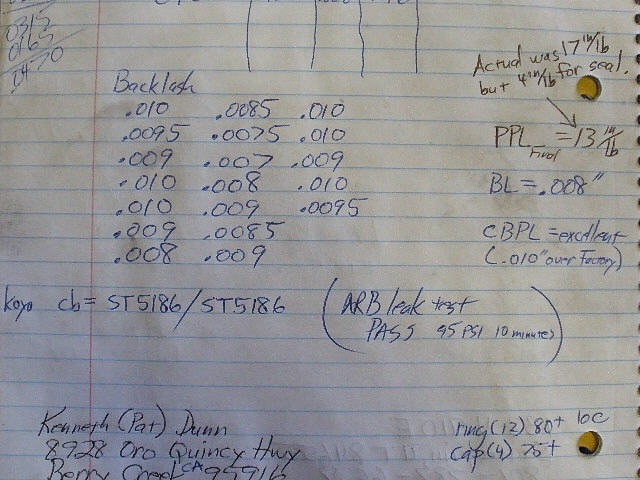
Washer plates were swapped around until there was some pre-load with about .008~.009" of backlash. |
|
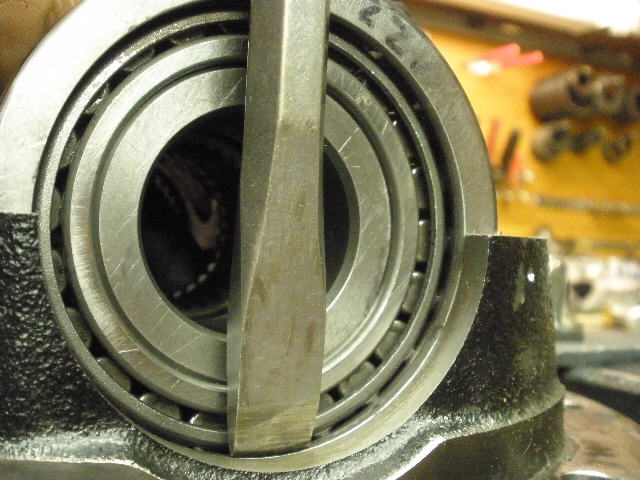
The washer plate can take a bit of coaxing to seat it all the way down. |
|
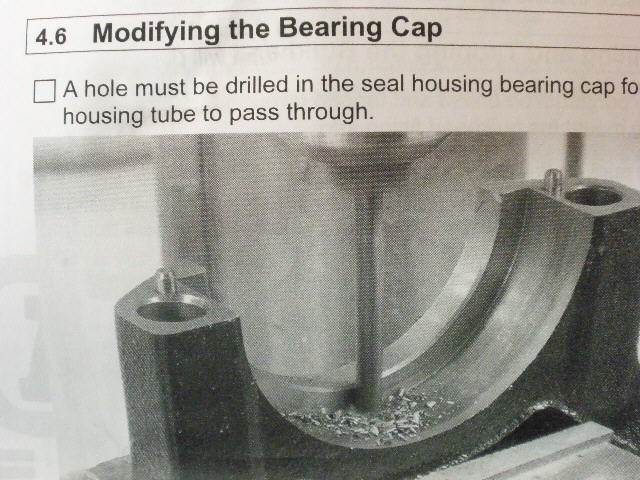
Now to drill the 1/4" hole in the cap assembly. This is a snapshot right out of the ARB instruction manual. |
|
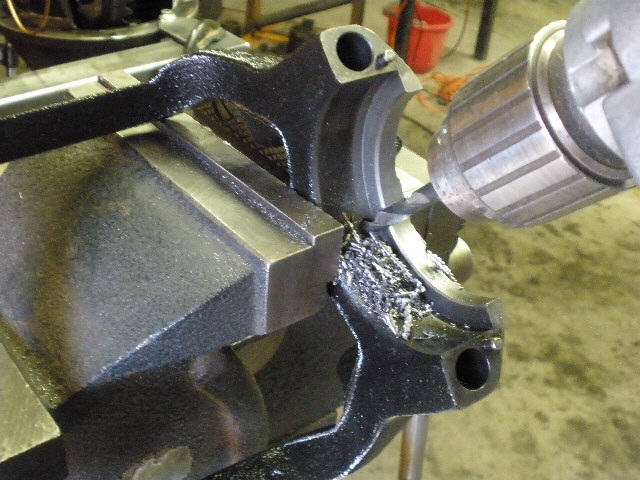
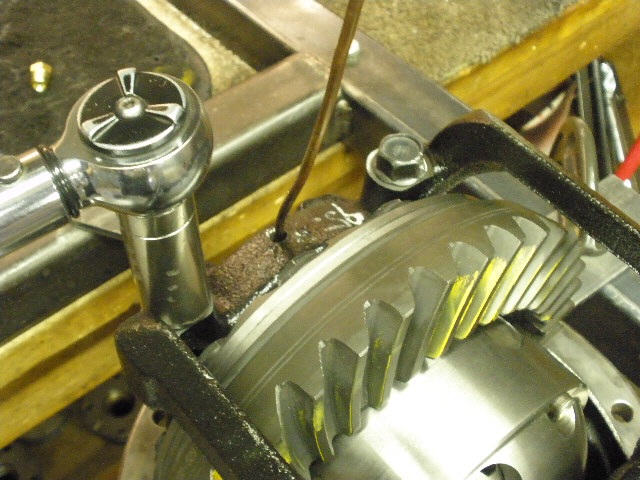
Drilling the hole is actually quite easy. Here, I used a hand-drill to drill in the center as close to the inside edge as possible. |

|
... |
|
The soft copper line is carefully guided through and the cap is tapped down lightly with a hammer. |
|
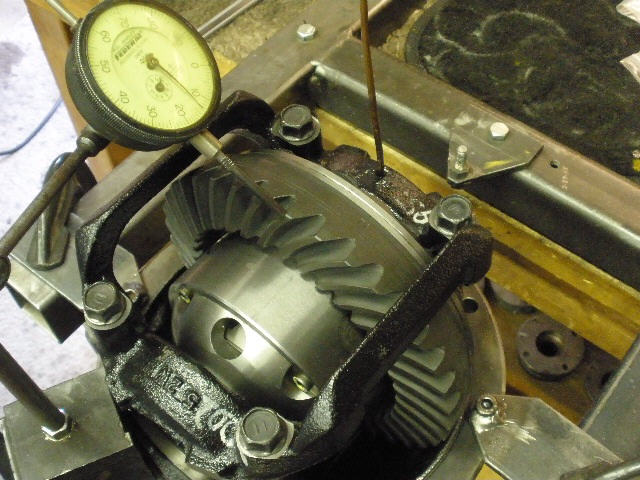
Backlash is verified to be about .009" in a few spots. |
|
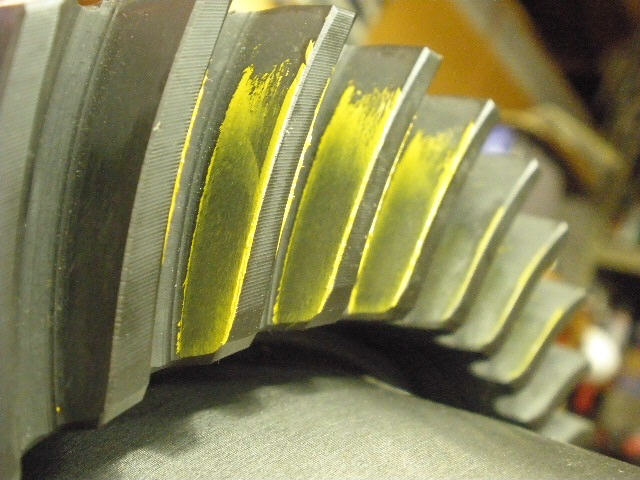
A quick pattern check reveals the drive side is far too shallow...needs more pinion shim. |
|
... |
|
Everything gets torn down... |
|
Instead of banging the race out with a hammer to add more shim, I can also just press the bearing off and add it there. |
|
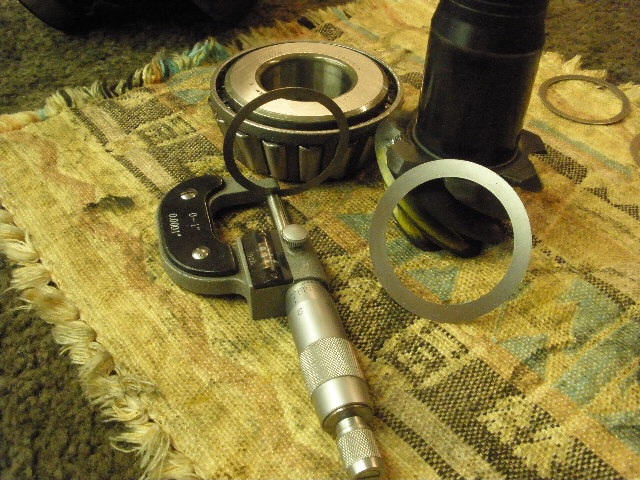
I had a good selection of thin shims that would fit over the fat pinion nicely. The micrometers are typically more accurate than the typical dial calipers. |
|
A .010" shim was pressed on between the bearing and pinion head. |
|
Right on the money depthwise. It favors the toe a bit but this is usually preferable anyways. |
|
... |
|
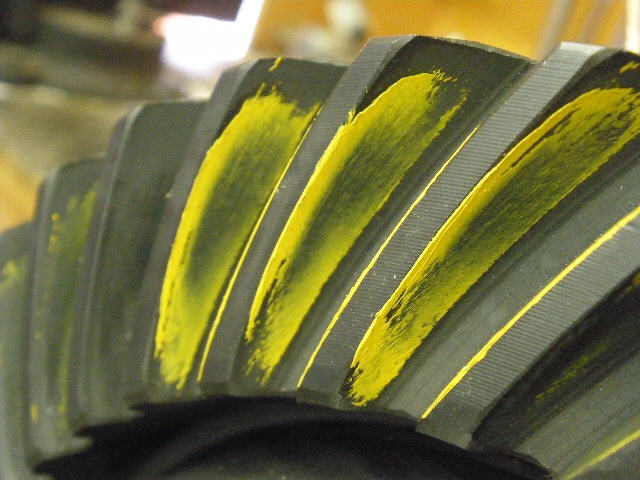
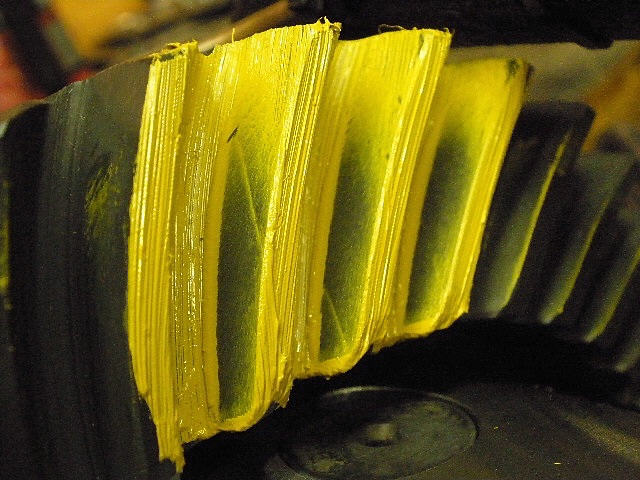
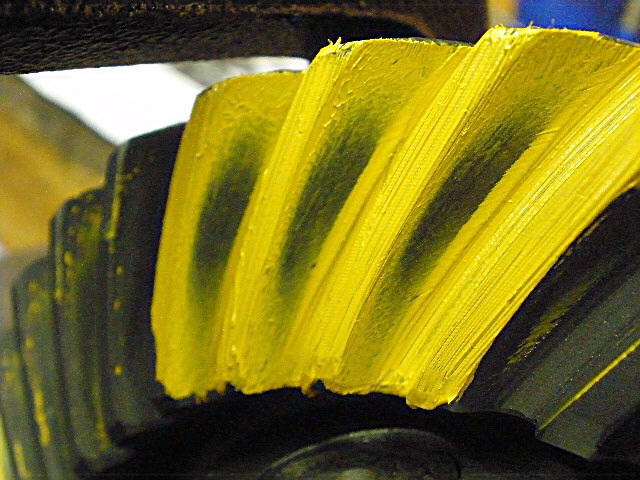
Reverse painted teeth a-ok. |
|
... |
|
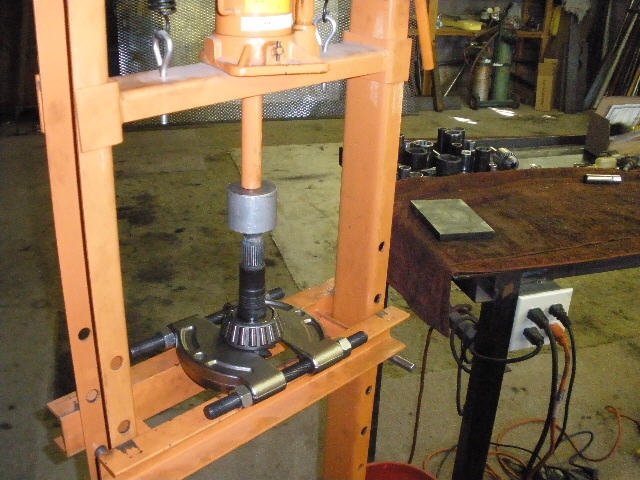
Now the ARB case is removed. |
|
The solid collar is now ready to install. I got lucky and found the right shim on the 2nd try. |
|
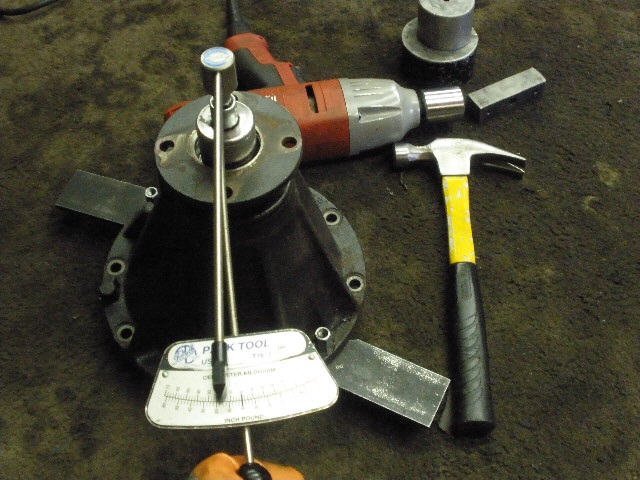
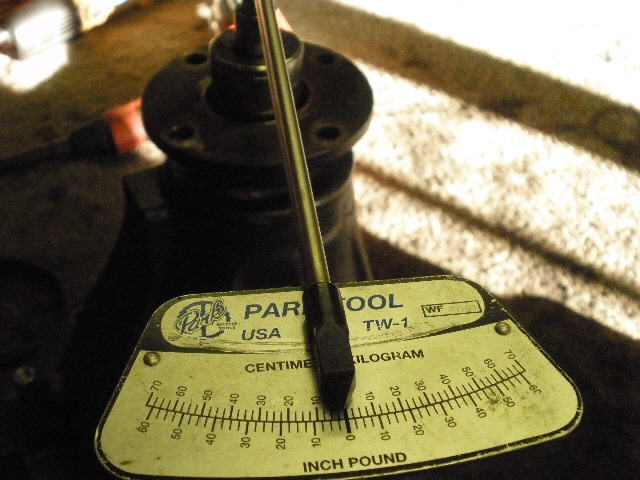
The pinion nut was tight yet it showed only a couple of inch/pounds of pre-load. I knew this would change once I tightened the nut extra tight with a cheater bar. |
|
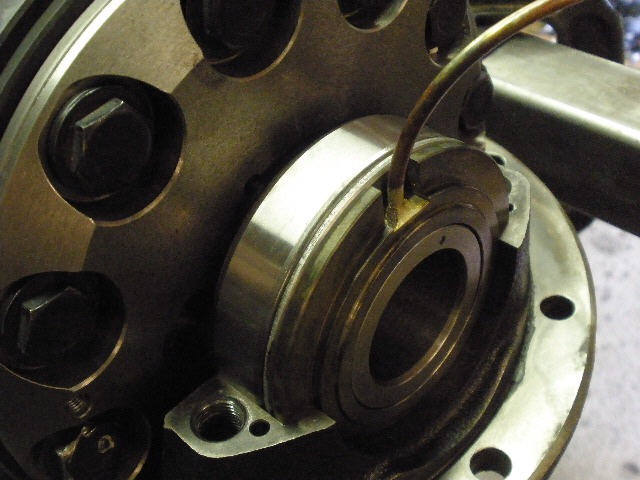
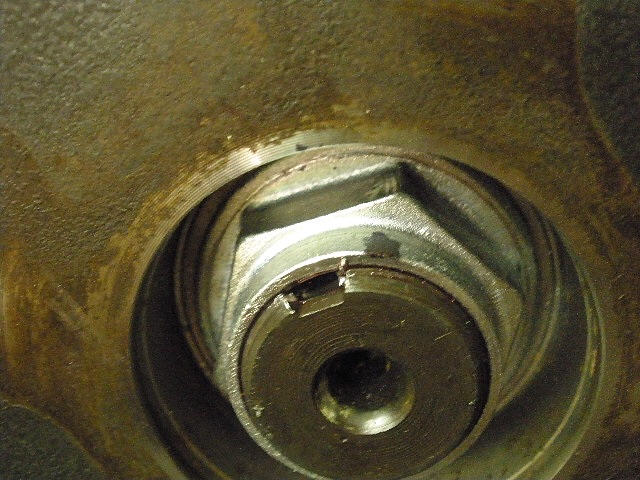
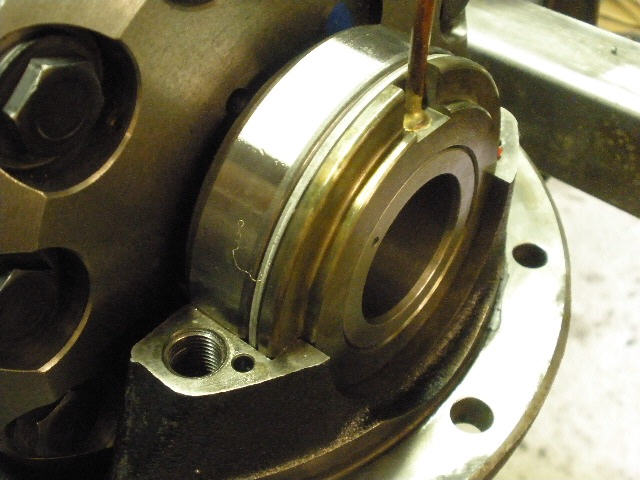
Pinion nut is removed, flange comes off, and now the seal can be installed. |
|
The flange is cleaned and some gear oil is lightly spread around. |
|
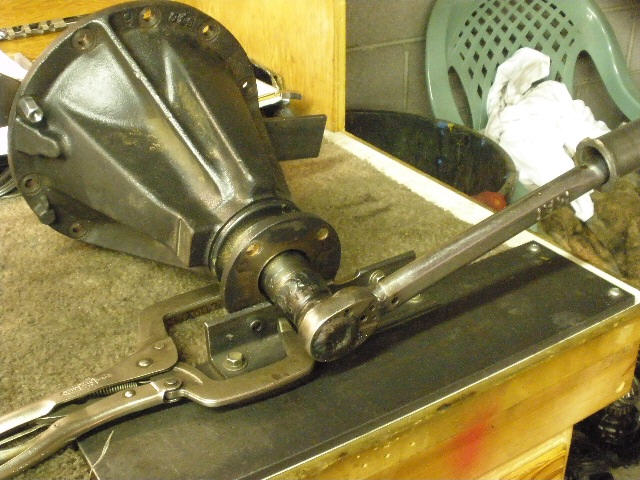
Red loctite on the new flange nut. |
|
My electric impact has tightened the nut to about 150~200 ft/lbs and that results in about 3 or 4 inch/pounds of PPL. The cheater bar will tighten it even more resulting in the solid collar actually giving/compressing just enough to add another 10 in/lbs of pinion pre-load. |
|
The cheater was able to tighten the nut about another 1/4"....ppl measured at about 13 in/lb which is right-on. |
|
Ding and this end is done. |
|
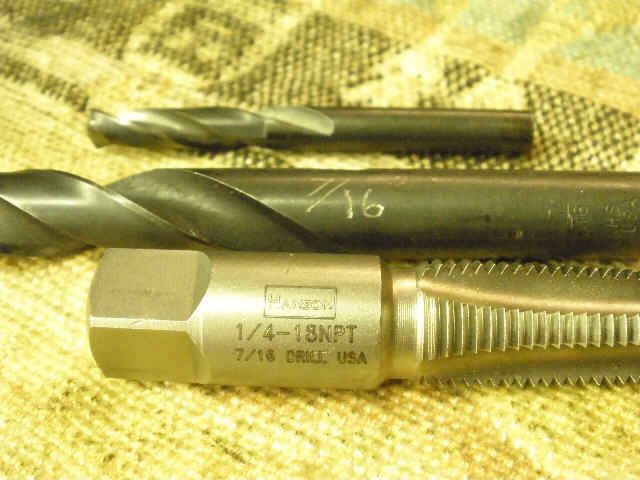
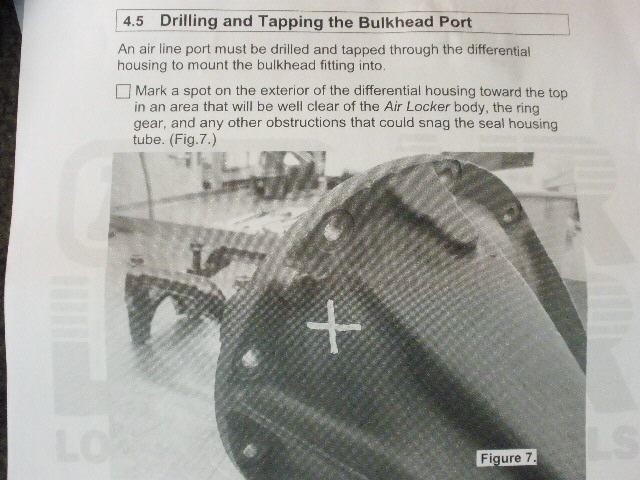
Now to drill/tap the hole for the brass bulkhead body. |
|
... |
|
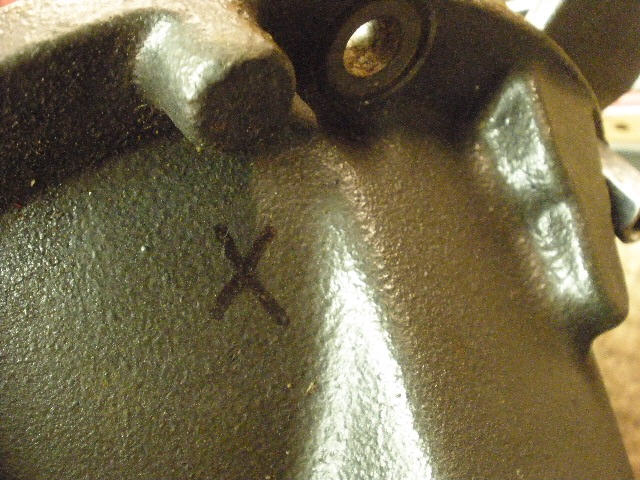
The pic shows to drill here. |
|
Names of the related parts. |
|
After feeling both sides, it looks like this is the best spot. |
|
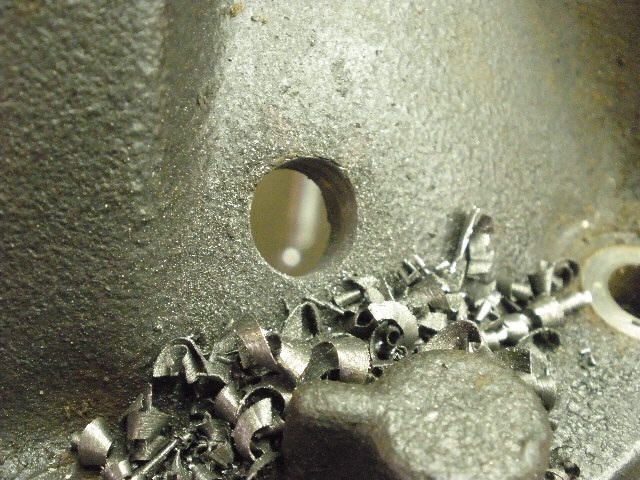
7/16" hole. |
|
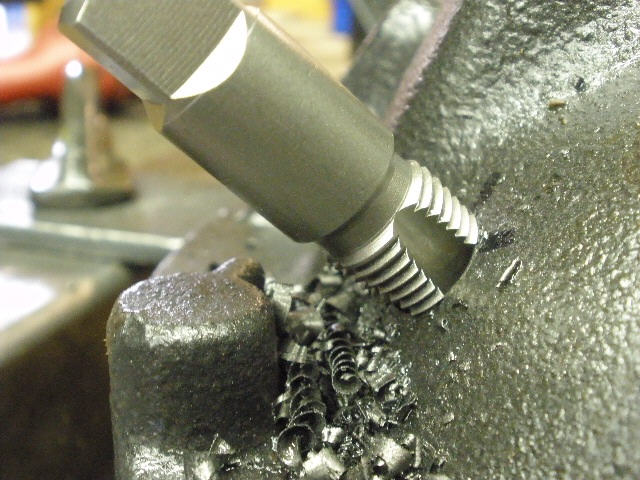
The NPT tap is tapered so it's possible to tap it too deep resulting in too large of a hole. I leave about 6 threads showing and that works out perfect. |
|
It's good to have a full selection of washer plates to fine tune the backlash and carrier bearing pre-load. |
|
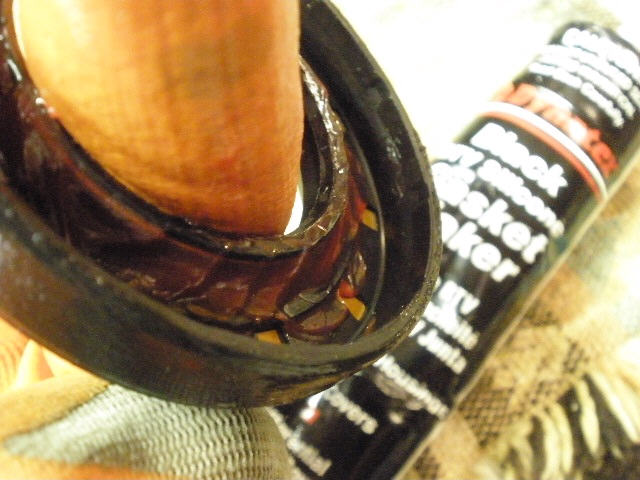
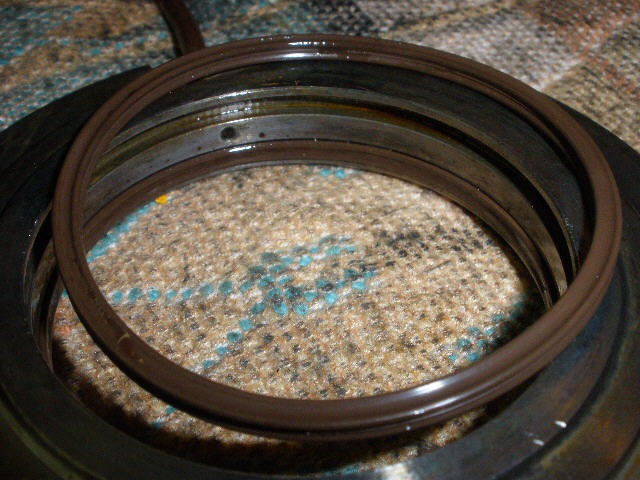
The nitron x-rings are lubed and placed in the grooves. |
|
I wanted to add about .001" to the BL and to really step up the CBPL. I think that's very important with this Toyota cap design....so I stepped the washer plate up to .1096" on this ring-side(.003" added)... |
|
...This end drops into the carrier so nicely... |
|
I added another .006" to this case-side. It was a tight fit before I added a total of .009" to the total washer plate thickness. It will take some real persuasion to get this last plate in now. |
|
This rounded chisel did the trick. |
|
The cap was a nice tight fit over the top. The caps are torqued to 75. |
|
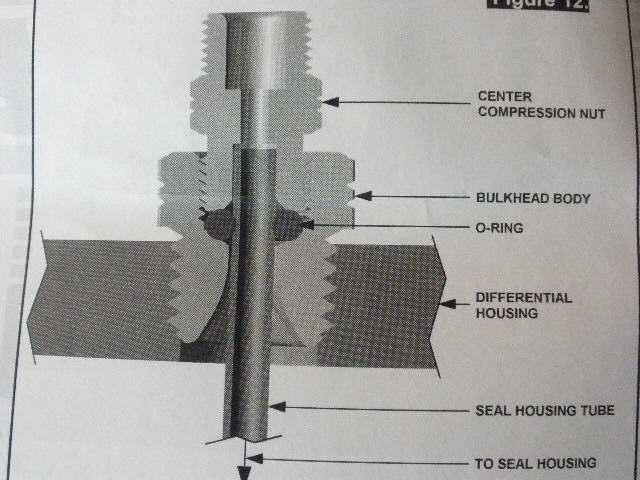
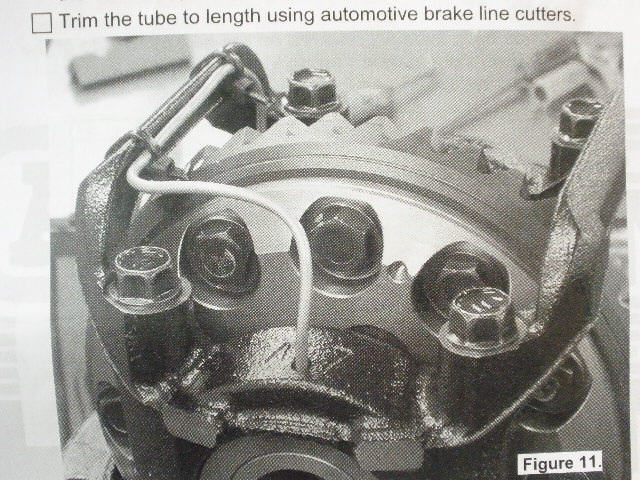
Here's the pic of the routing from the manual. |

|
... |
|
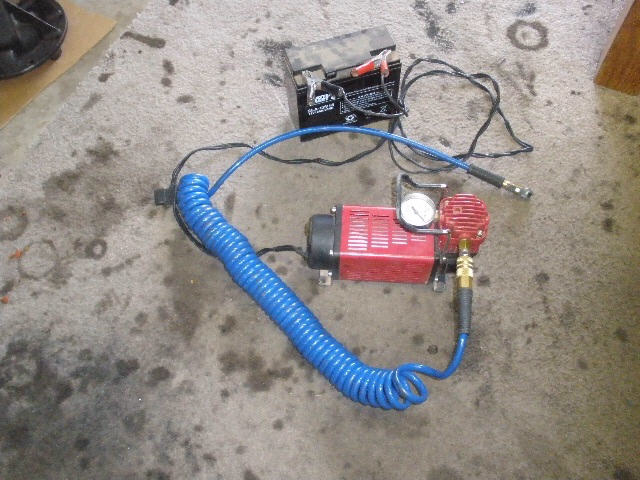
This is my 12vdc air pump....it serves double duty as my air-up compressor at the end of the trail. |
|
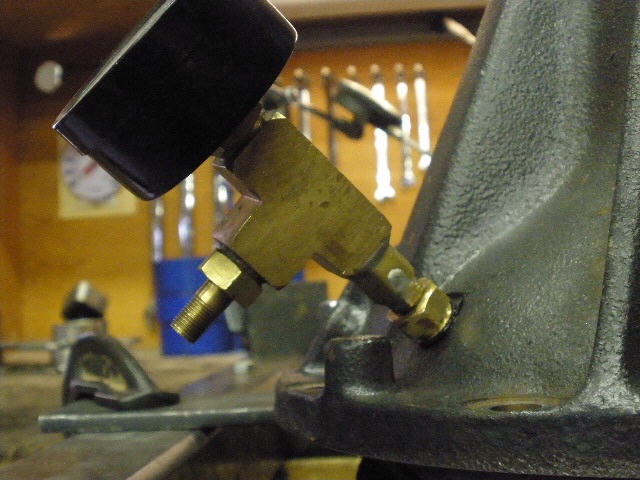
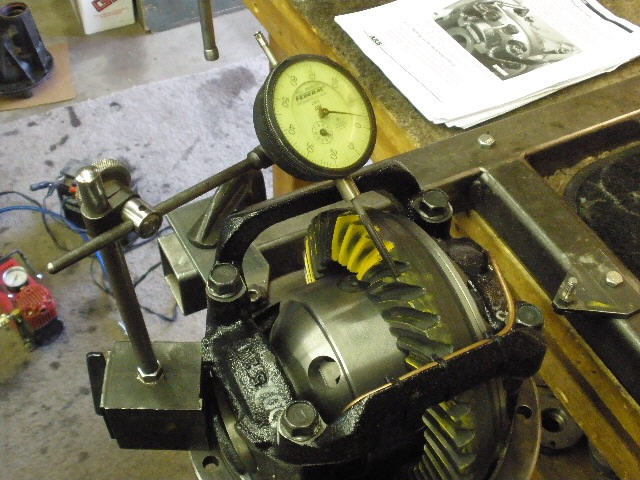
I made my own test fixture with a 3-way brass T. This simple design has served me well. |
|
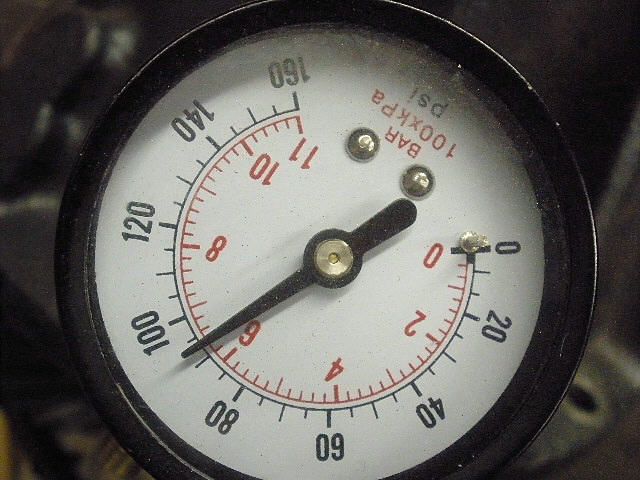
I pumped it up to over 90 psi and it never budged for the 30 minutes it was there. |
|
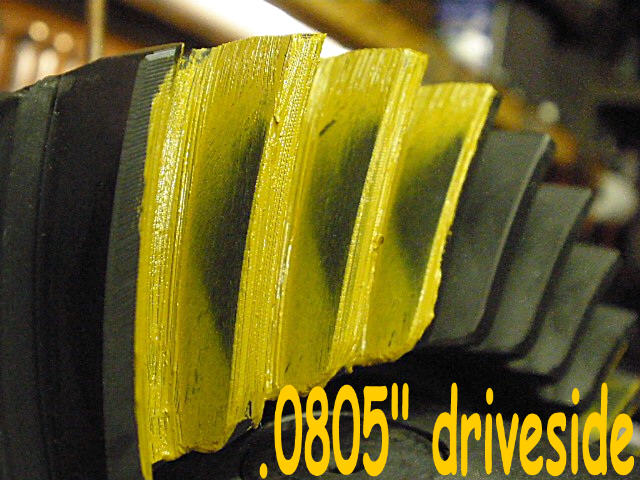
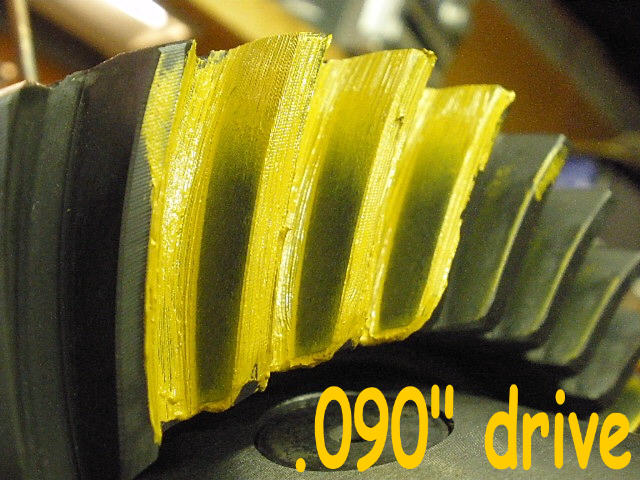
Final pattern check....nice depth.....not shallow in the least and a touch deep. |
|
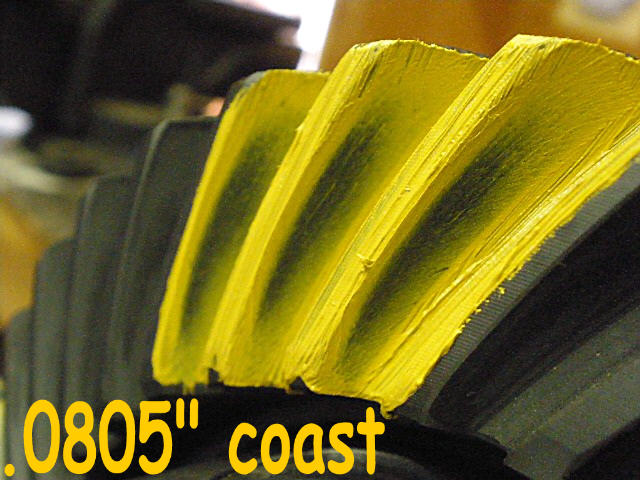
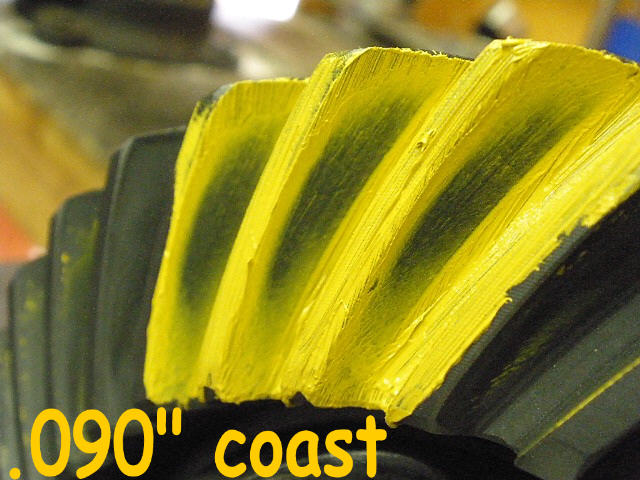
The coast is pleasantly centered from toe to heel. |
|
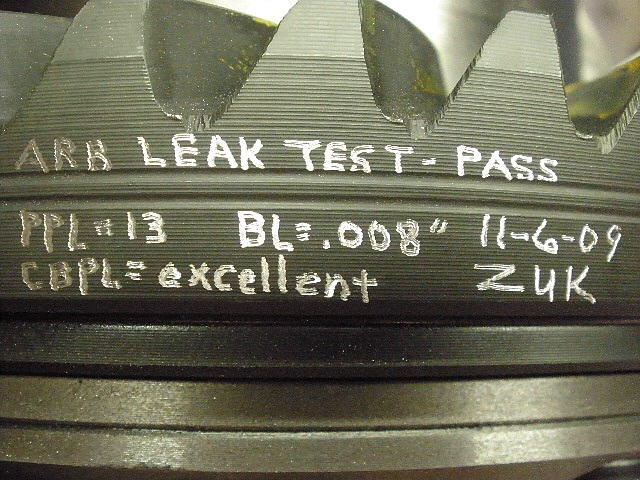
Backlash is a nice .008" |
|
``` |
|
``` |
|
Done |

|
