|
|
|
|
|
|
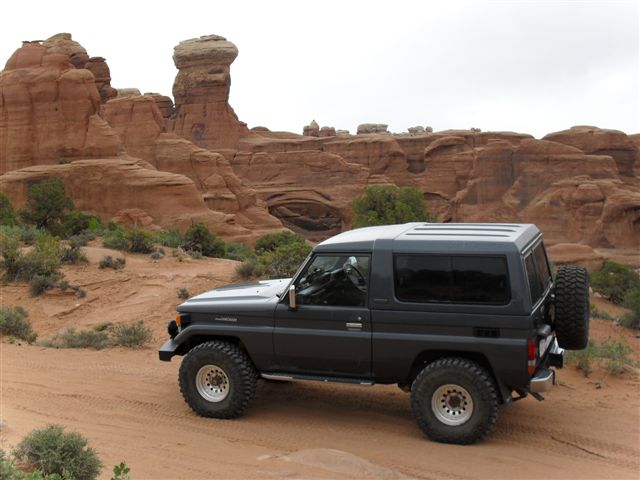
Tower Arch, Moab Utah |
|
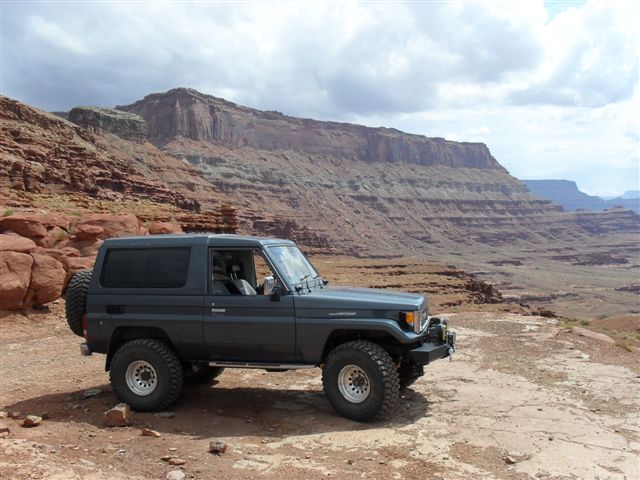
At the highest spot of Hurrah Pass. |
|
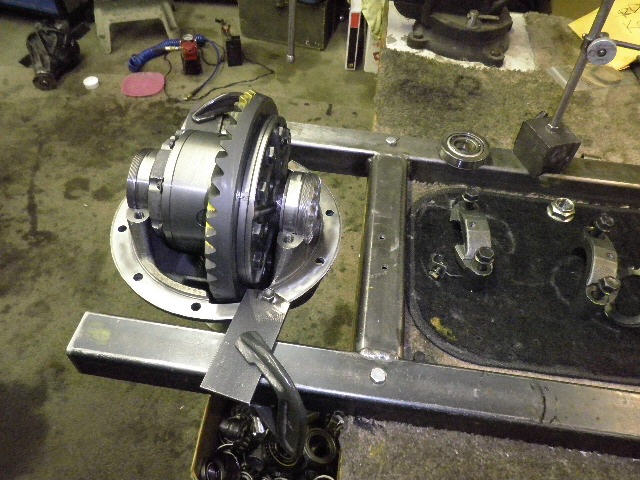
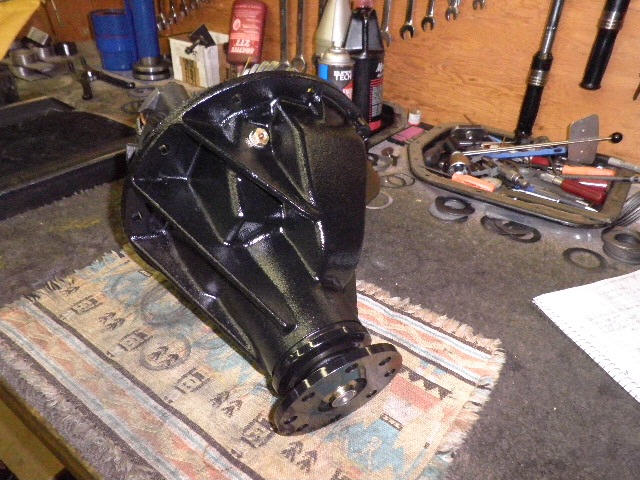
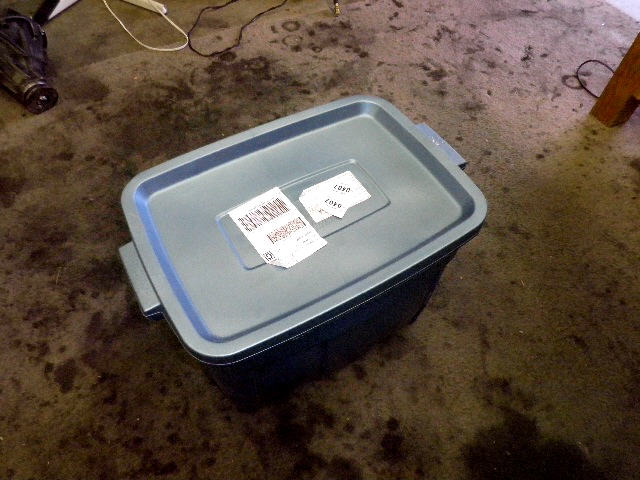
Those first 2 pictures are of Preston enjoying the outdoors in Moab with his 1989 BJ74. Preston is located in Alberta, Canada and had some bad luck trying to get a "not so local" shop to properly install an ARB air locker into his rear 9.5" 3rd. The gears made a loud rumble and, after 3 attempts, the 3rd ended up here in Chandler AZ. |
|
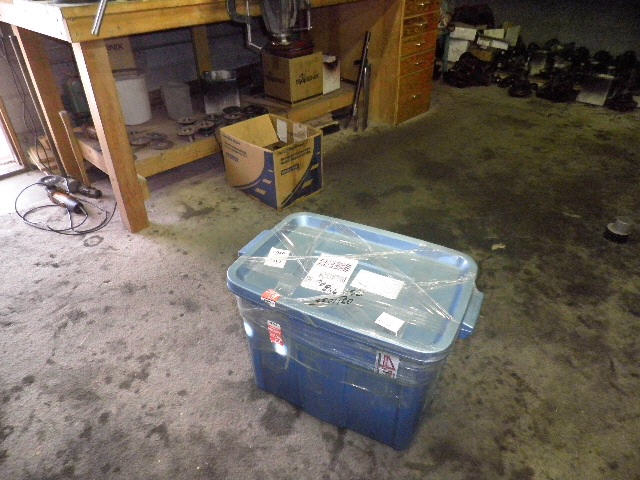
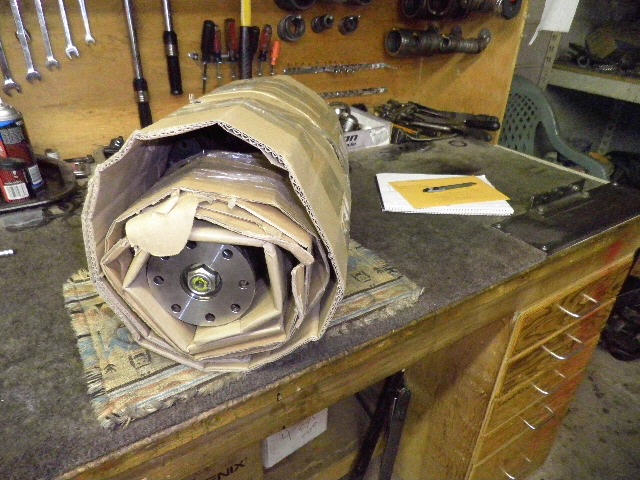
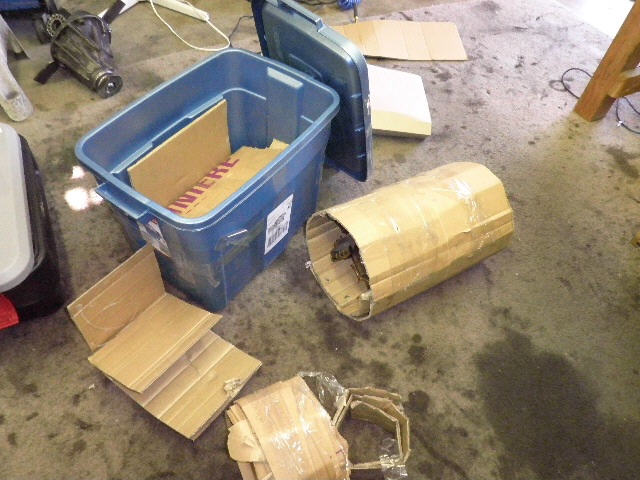
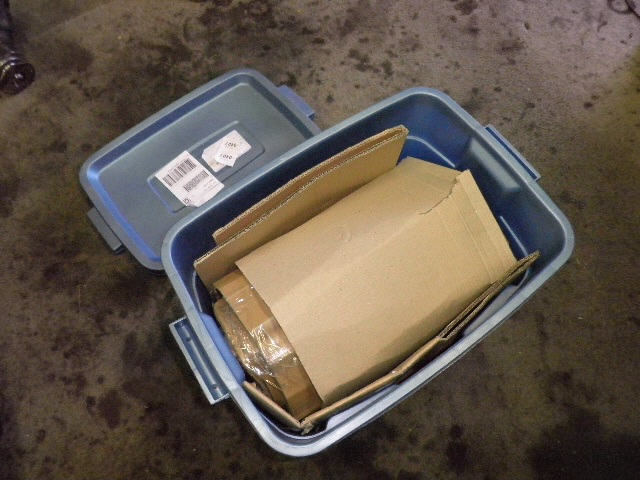
Lots of cardboard prevented the heavy 9.5" from punching through the outer plastic tote. |
|
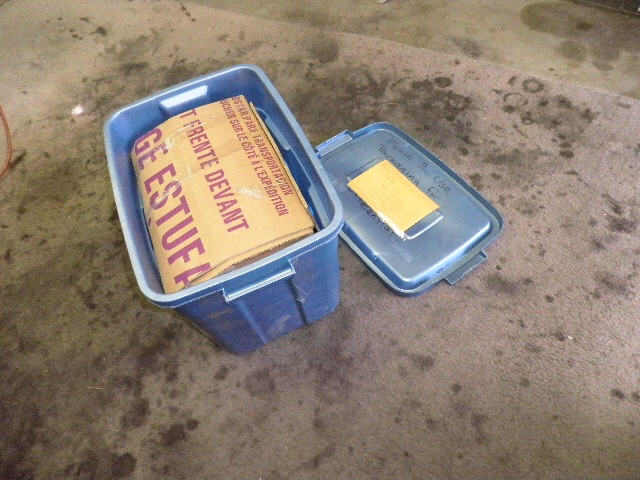
Nice job there, Preston, of the burrito wrap |
|
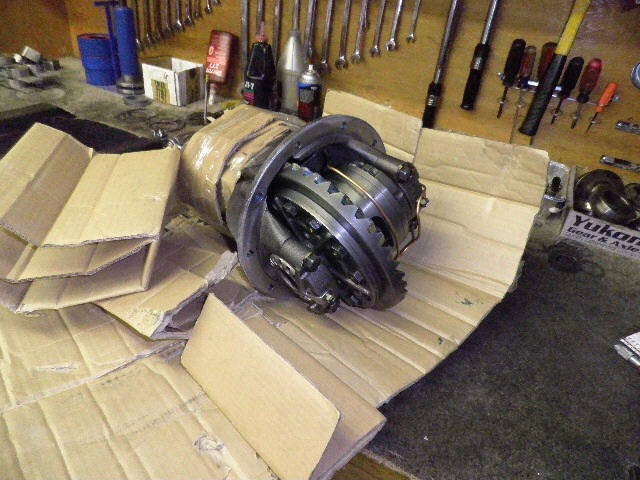
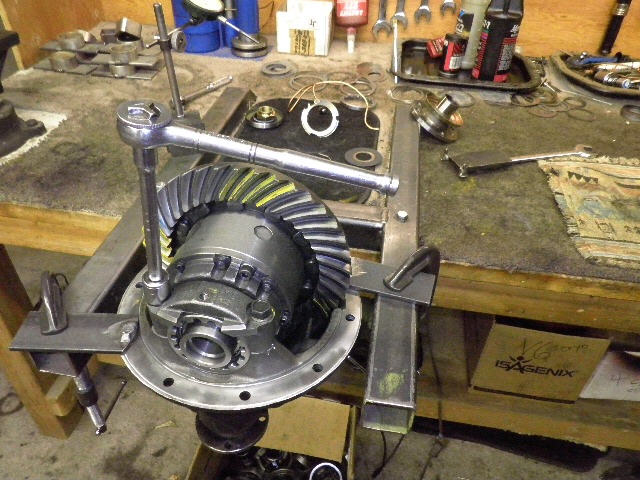
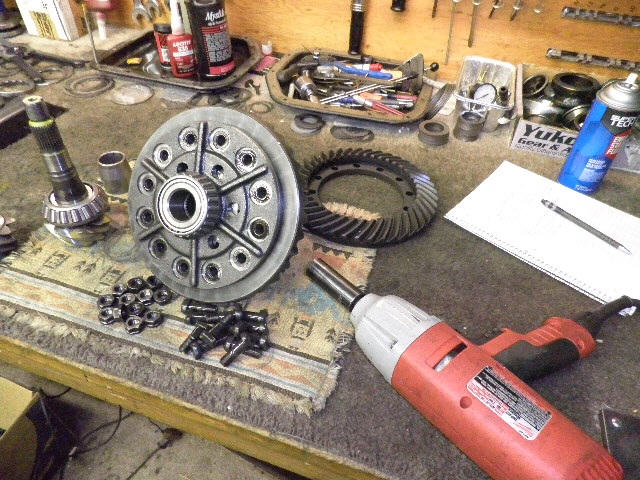
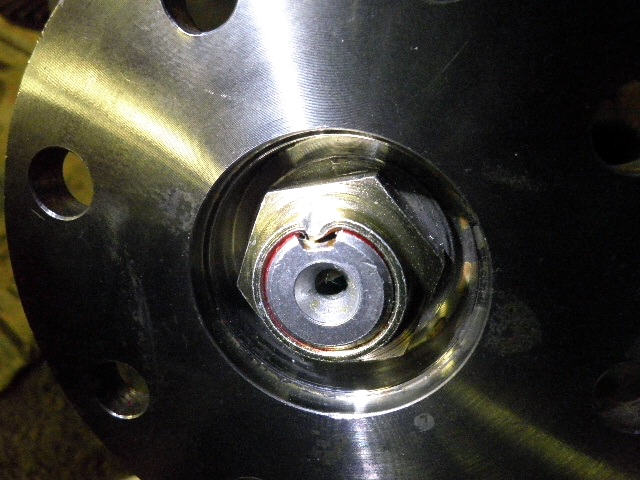
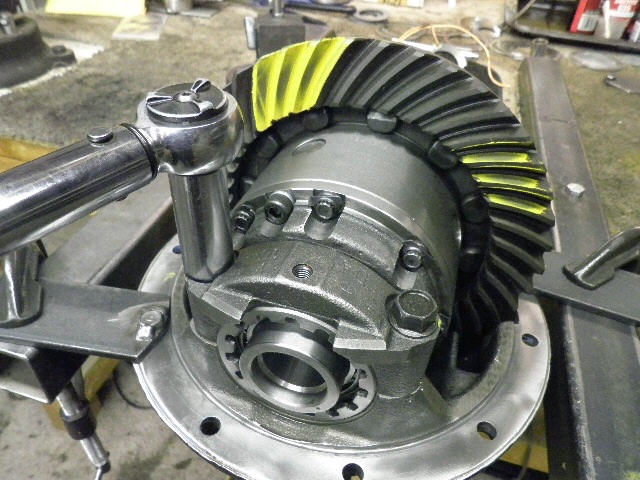
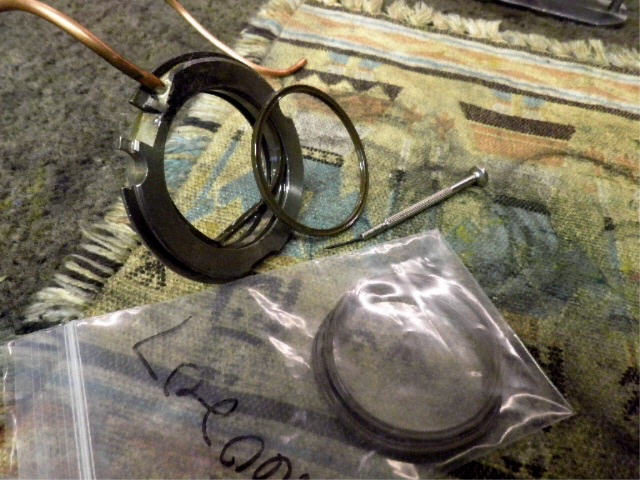
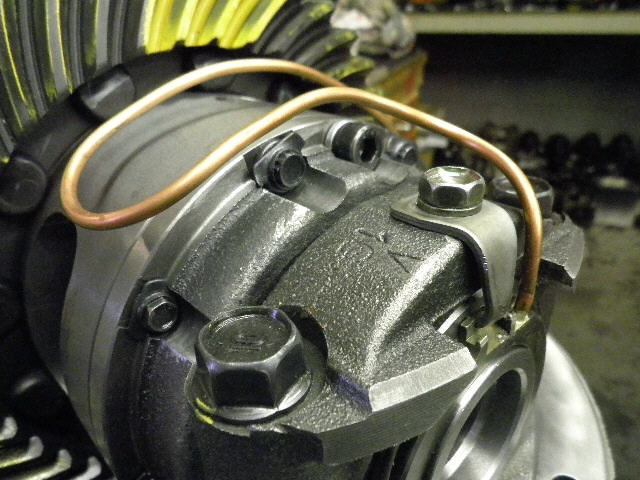
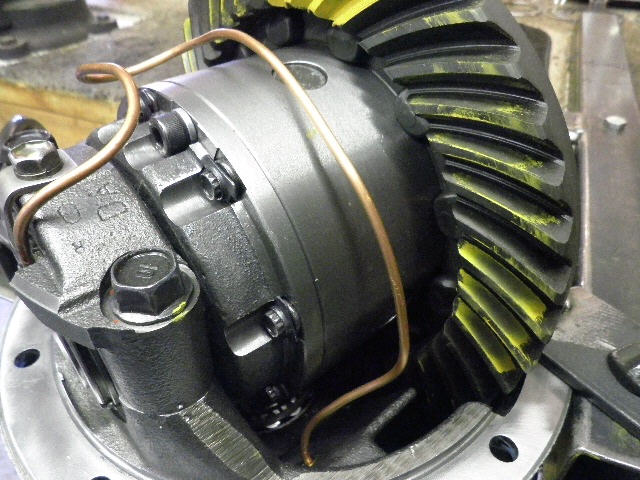
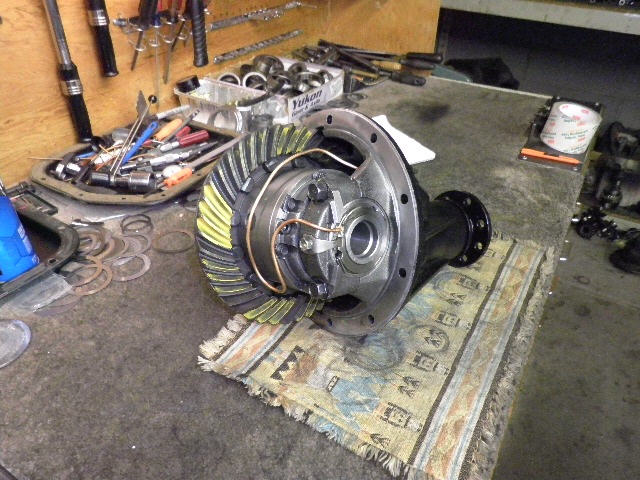
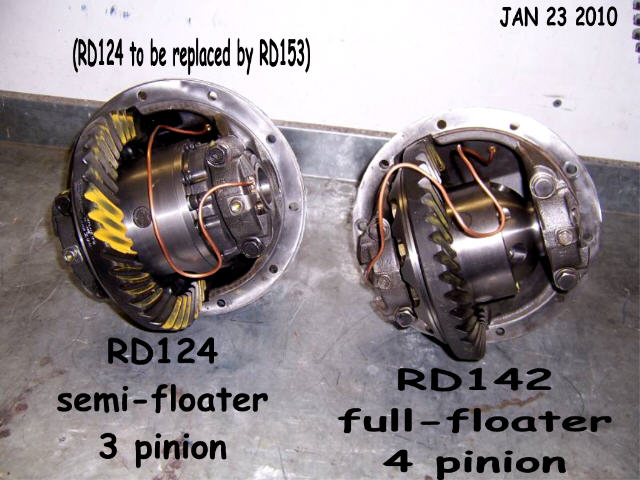
The soft copper line is totally untouched/undamaged. By the way, this is an RD124 which is called out for semi-floating rear-ends. It has 3 pinions and has the copper tubing on the same side as the ring teeth. The RD142 is normally used for the full floaters like what Preston has. Either works....but the RD142 has 4 pinions so, in theory, it's stronger but there are no reported breakages of the 3 pinion RD124 fyi. see this pic here. |

|
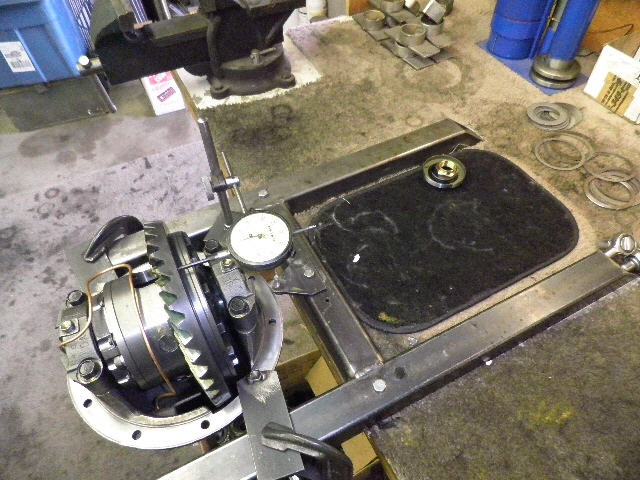
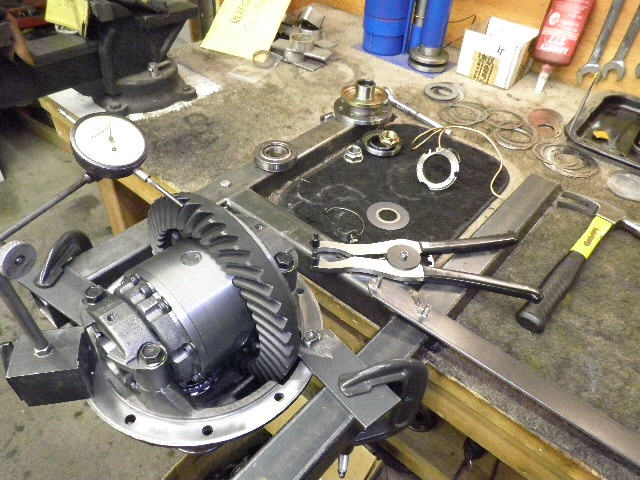
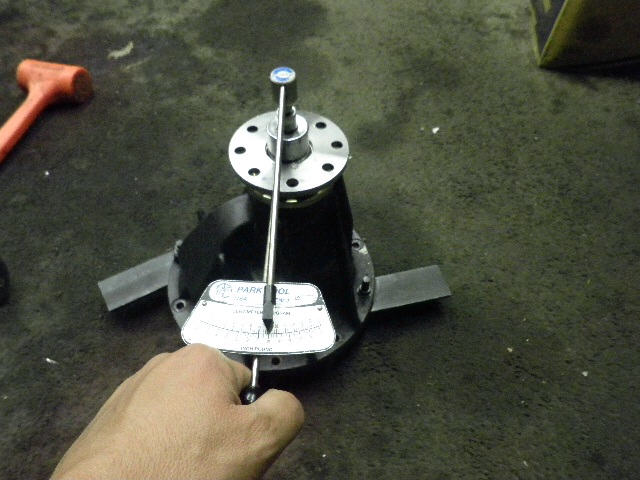
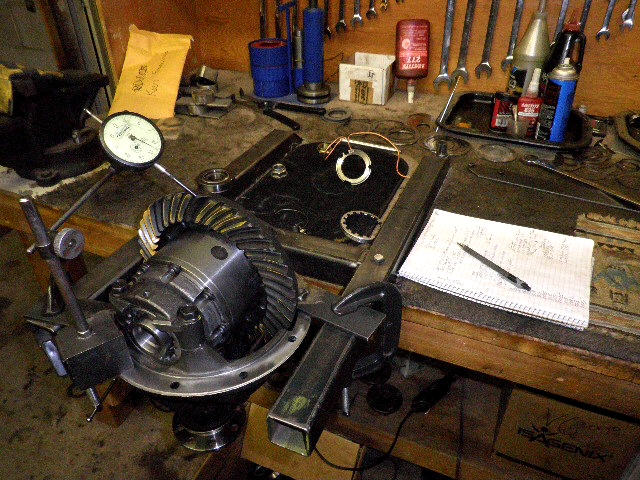
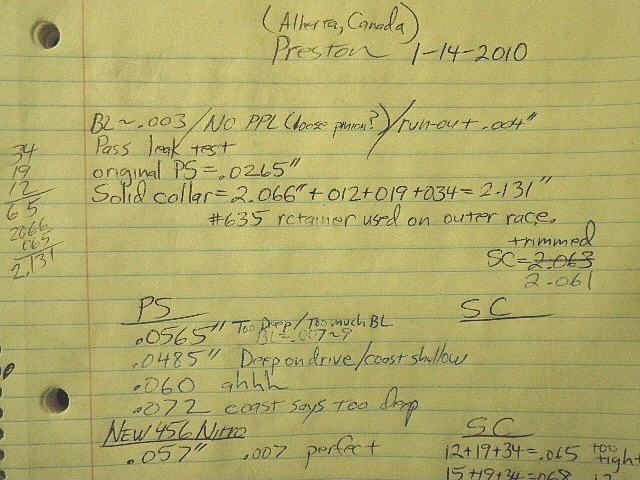
Backlash was checked and was too tight measuring around .003~.005" |
|
There was no pinion pre-load of any sort. I couldn't see the slop with my eye but I could feel something that felt like a tiny bit of slop or play. |
|
Ring gear run-out measured worst-case around .004". |
|
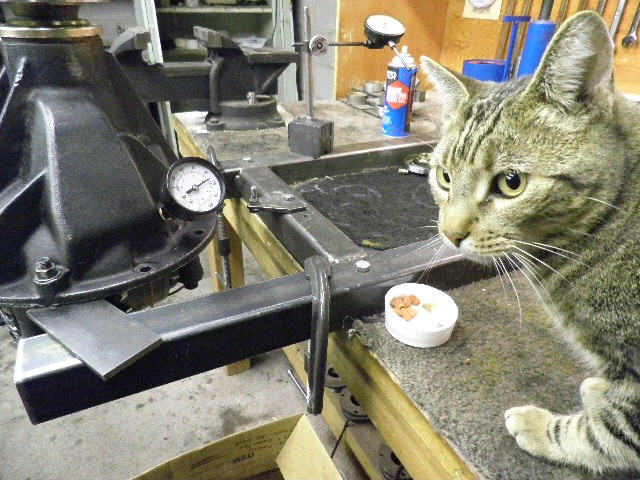
The ARB did pass the 90 psi leak test...held all the pounds just fine. Bullseye is a good shop cat :) |
|
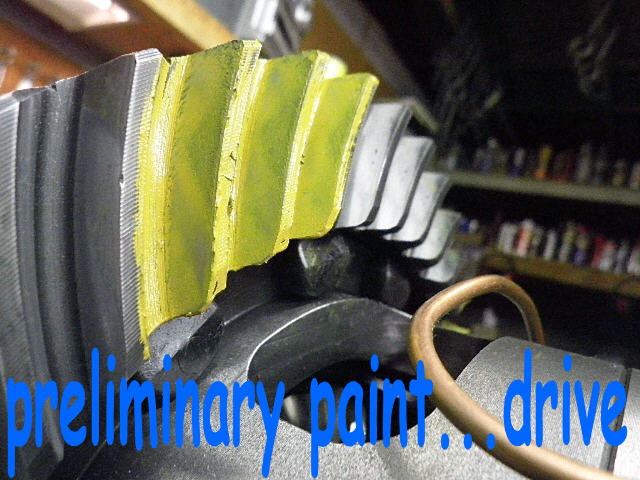
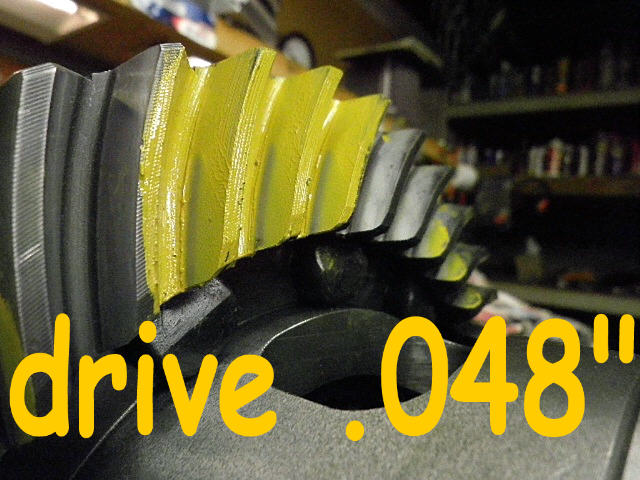
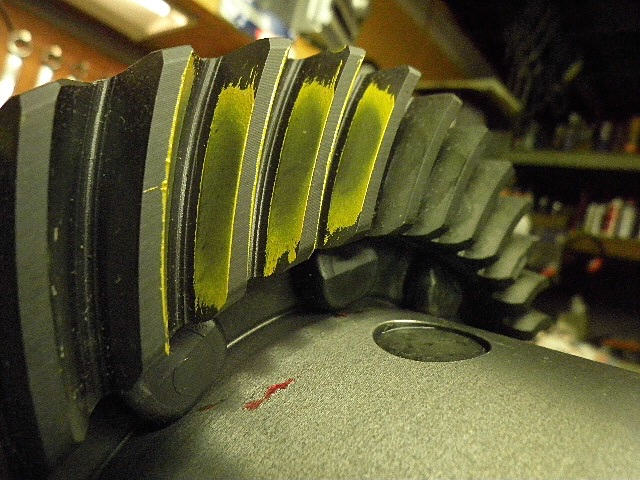
I did do a pre-paint check....driveside....the pinion depth is so far off that a pattern is hard to find. |
|
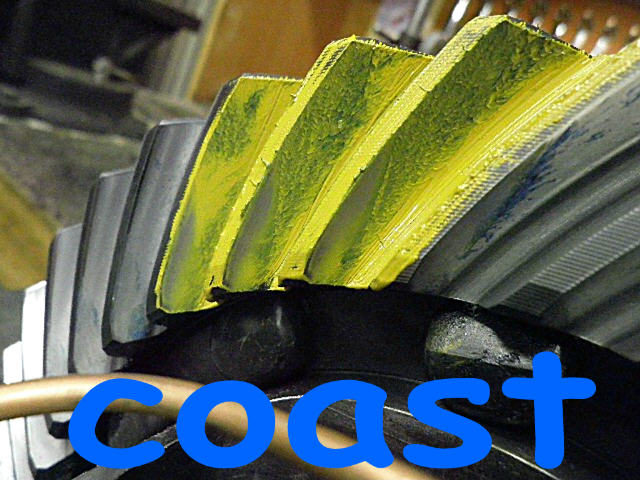
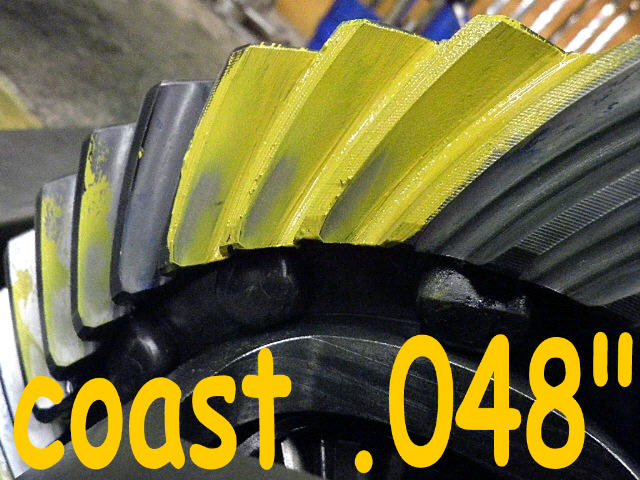
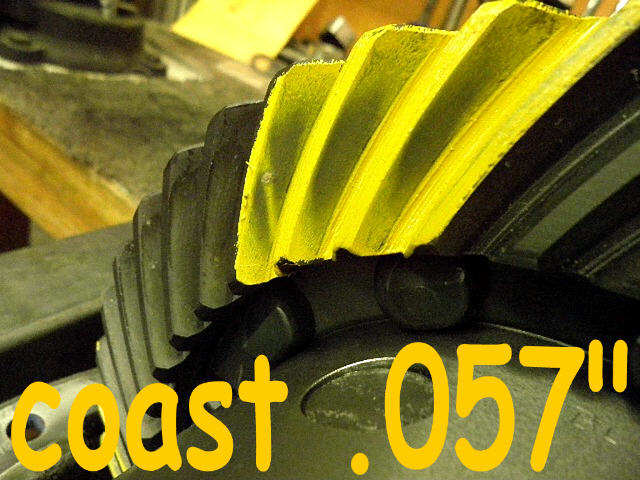
The coast is extremely to the tow end and very high face end. Terrible. |

|
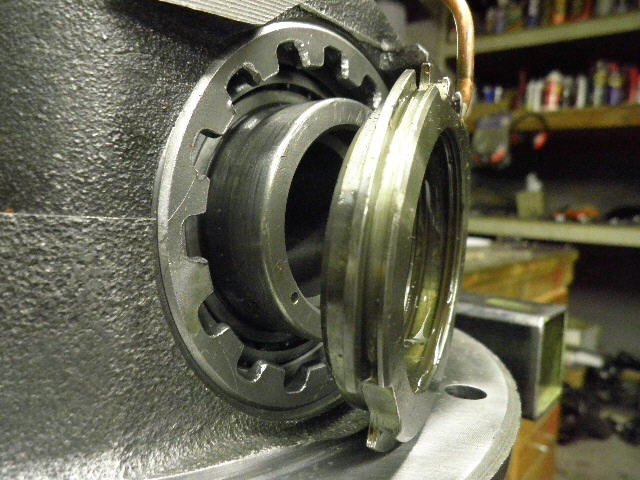
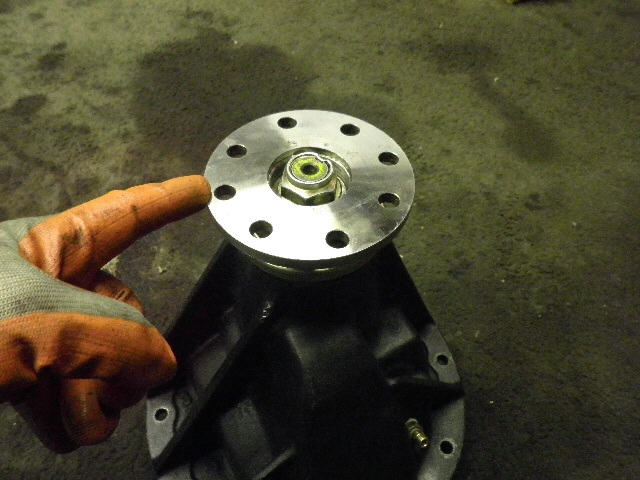
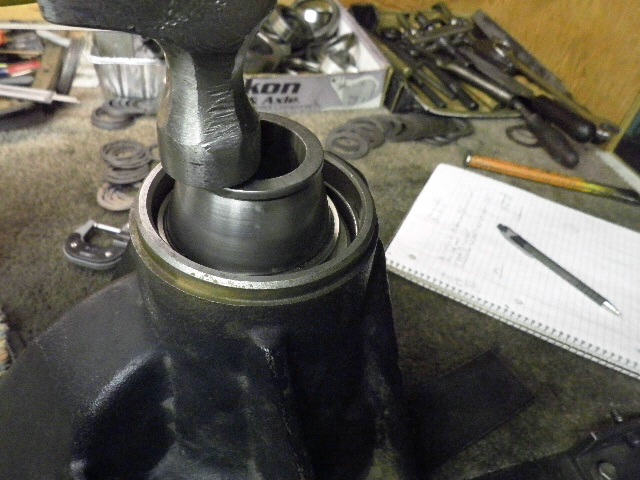
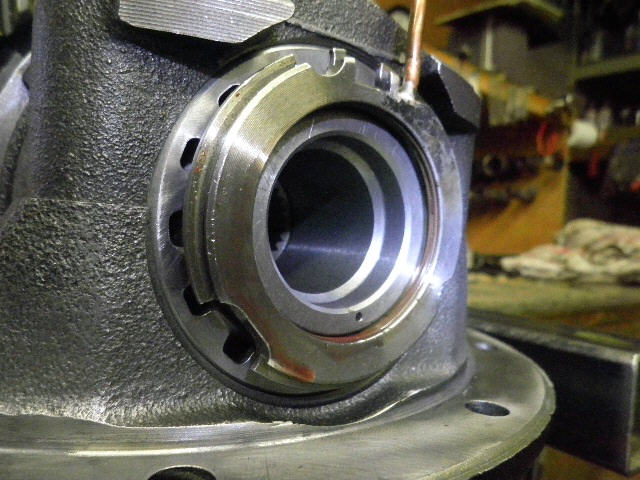
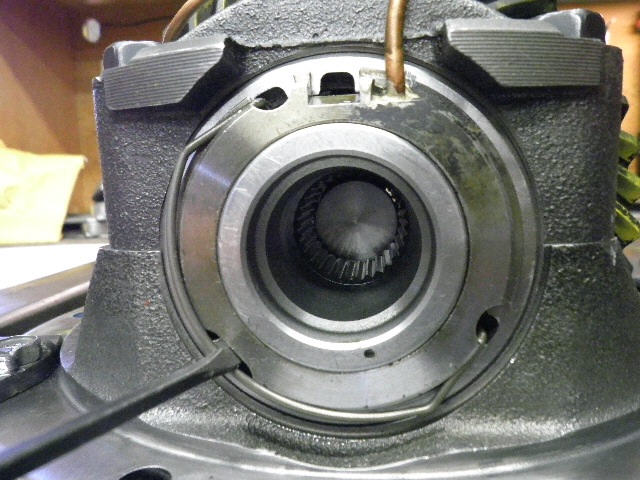
The seal assembly retaining clip is removed. |
|
The assembly is carefully wiggled off. I will likely re-use the assembly but replace the almost new x-rings. |
|
With the ARB case out, it's very easy to now tell that there is absolutely no pre-load at all...it spins with no effort at all. |
|
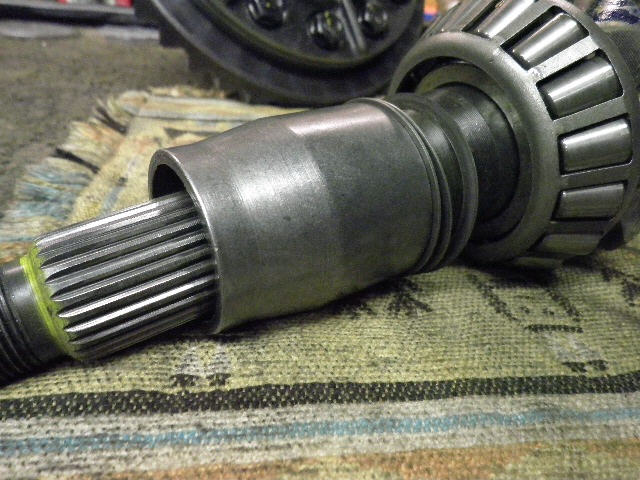
The solid collar was not properly shimmed. The shim pack was .005" too thick which is very significant. |
|
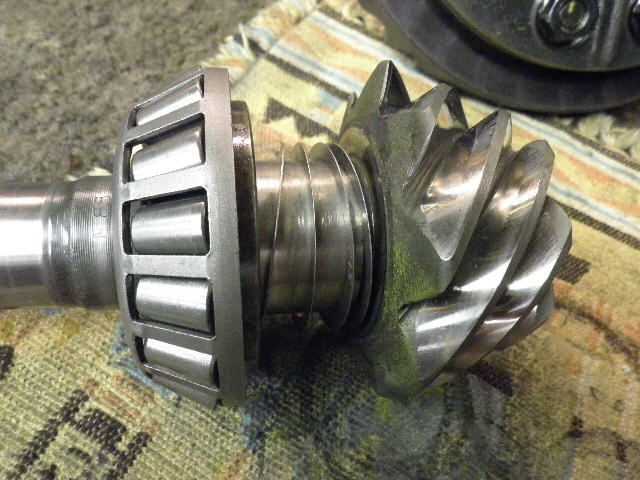
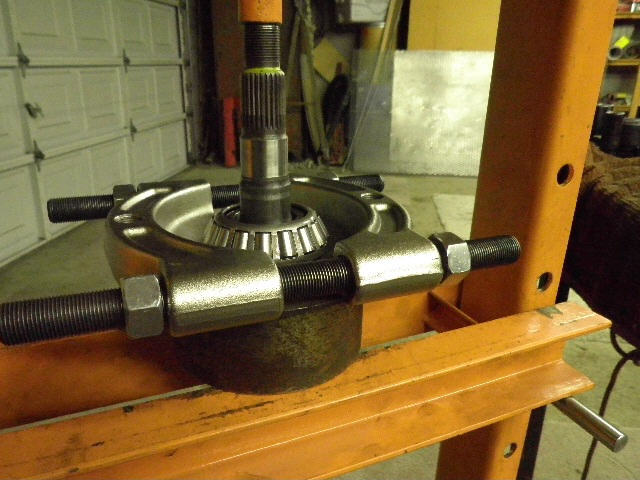
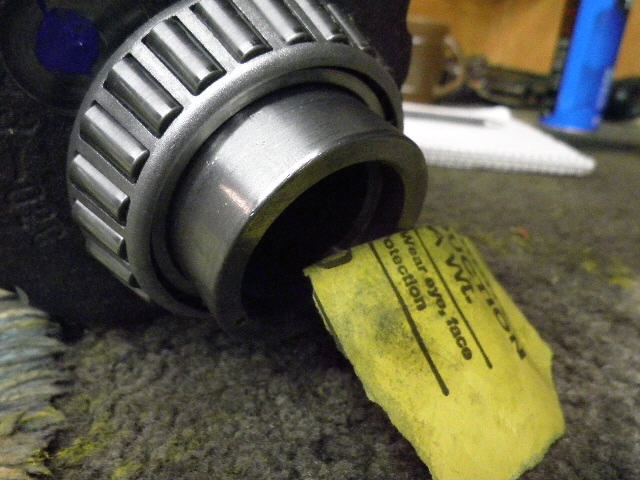
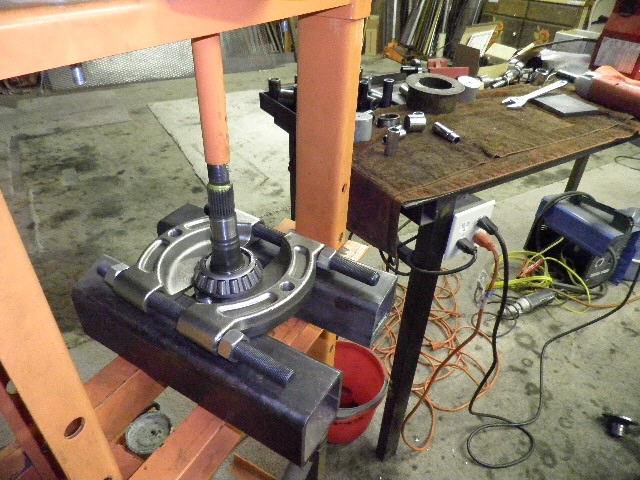
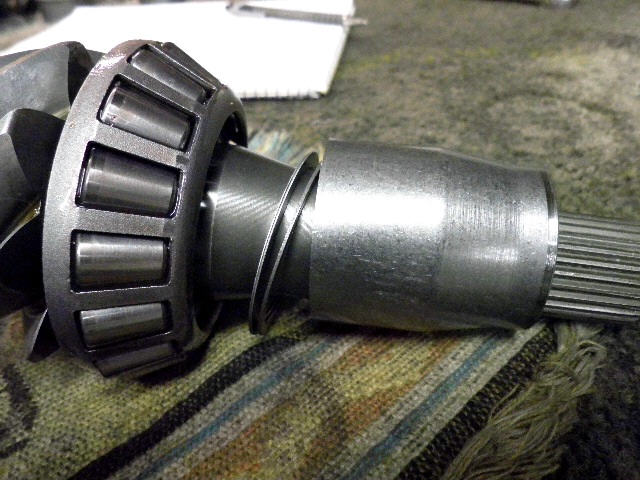
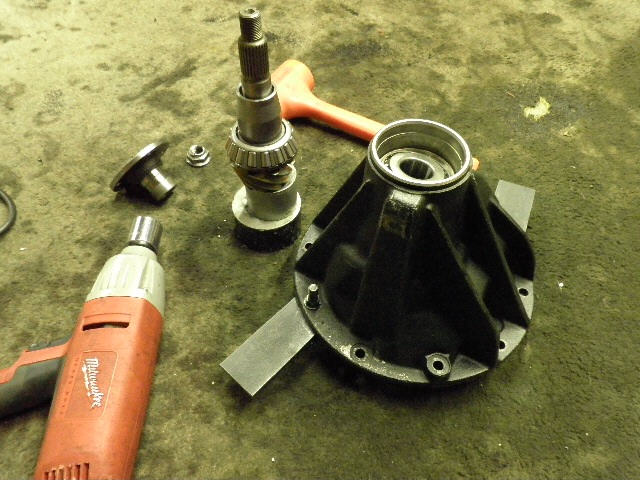
The bearing is pressed off to check the pinion shim value... |
|
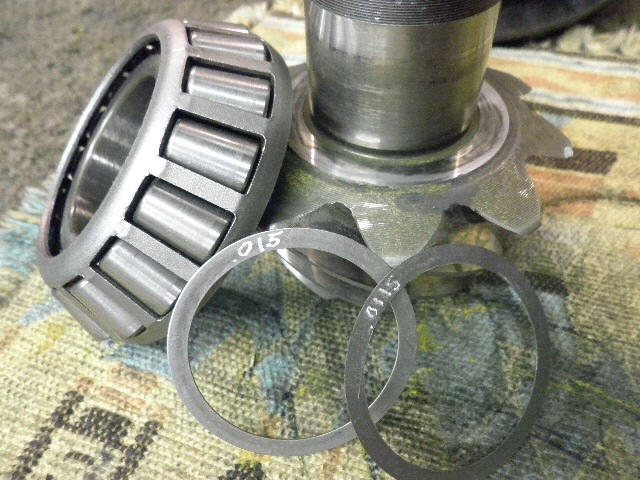
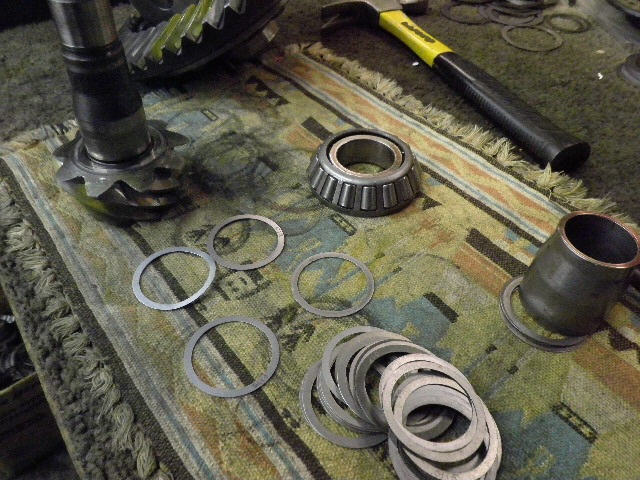
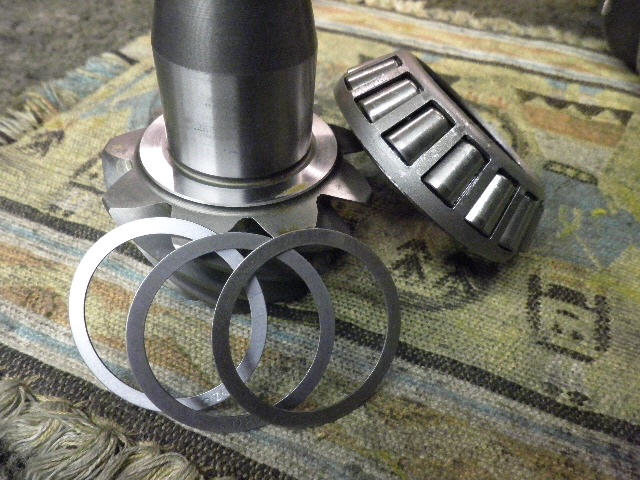
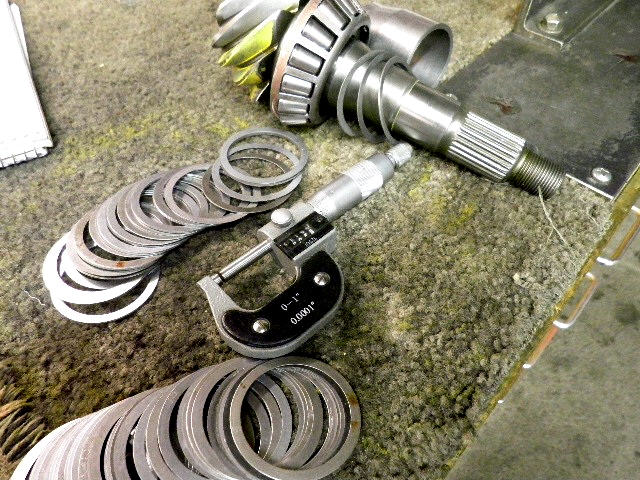
The typical pinion shim is .050"...this one is way too thin at .0265". |
|
Both races were verified to be solidly bottomed out. |
|
I added another .030" to the .0265" for a total of .0565". |
|
Old bearing inards are good for something. |
|
I assembled the pinion end and tightened the pinion nut until I measured about 10 inch/pounds of drag. Lots of gear oil was splashed on both pinion bearings to smooth out the readings. |
|
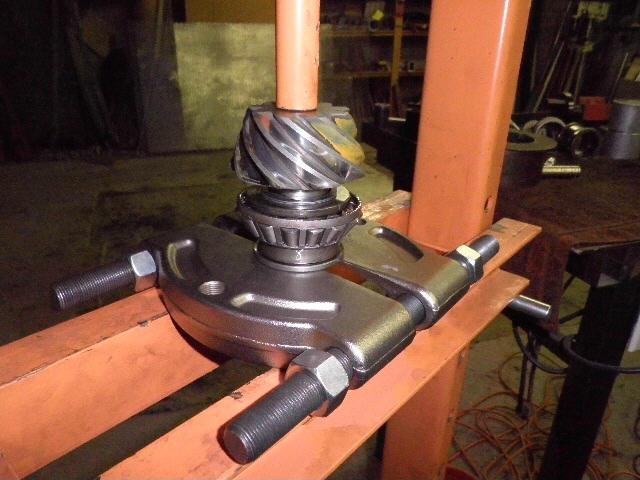
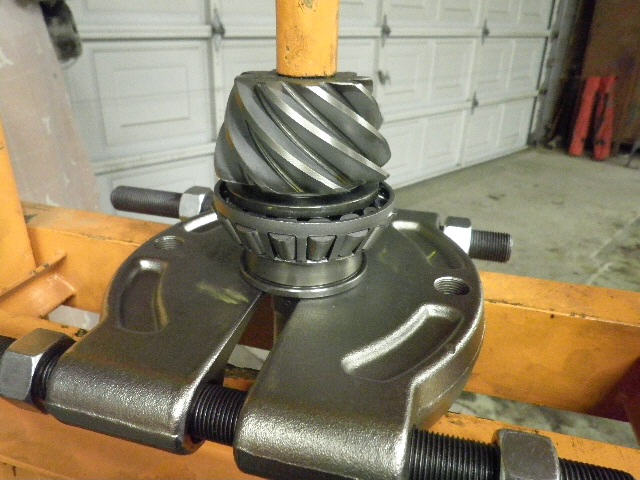
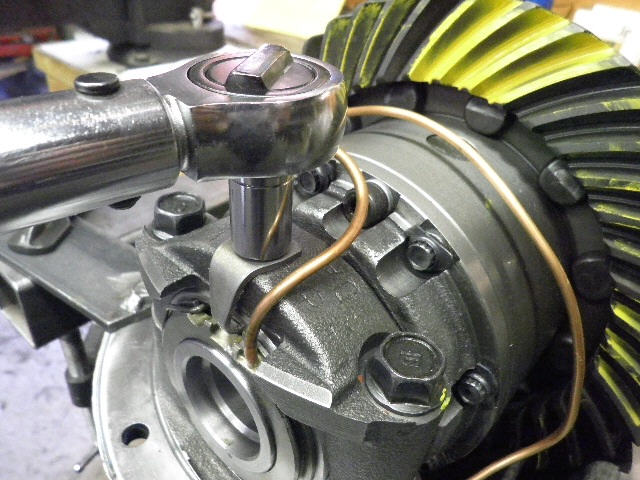
The ARB case is now installed and the bearing cap bolts are tightened close to the spec....as tight as this little ratchet will let me :) |
|
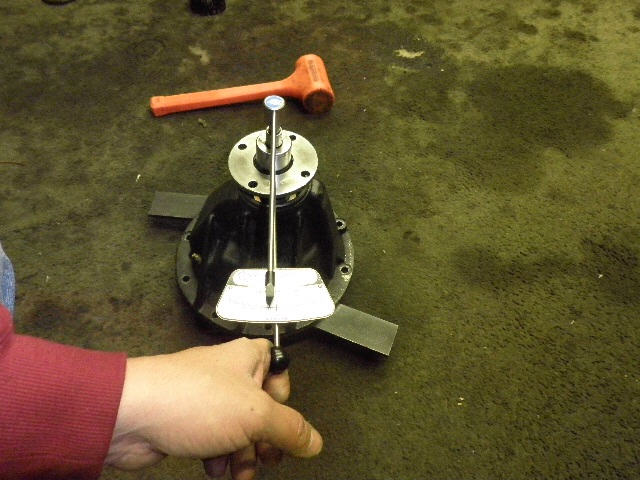
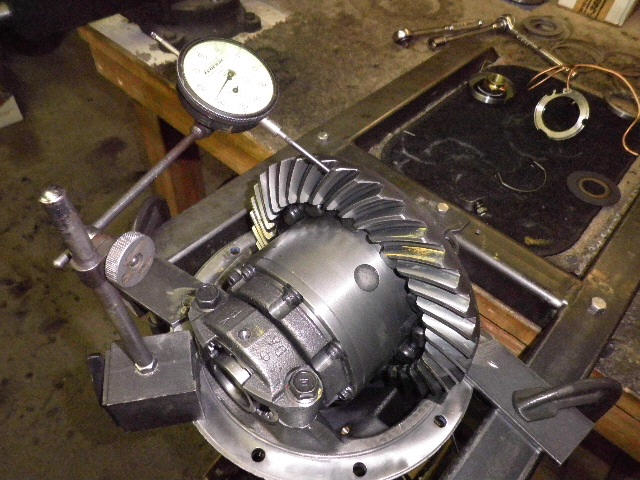
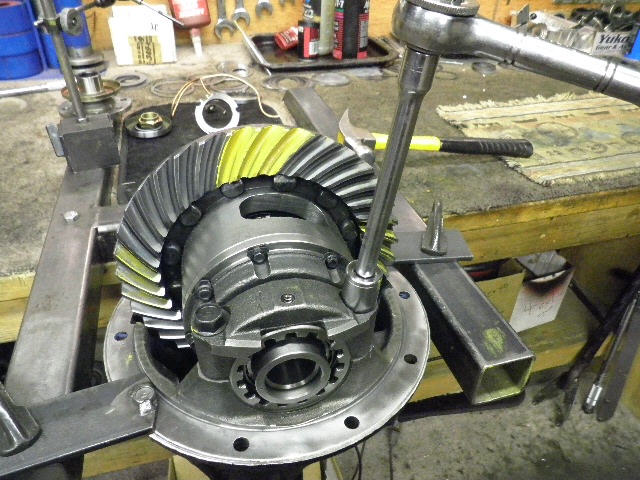
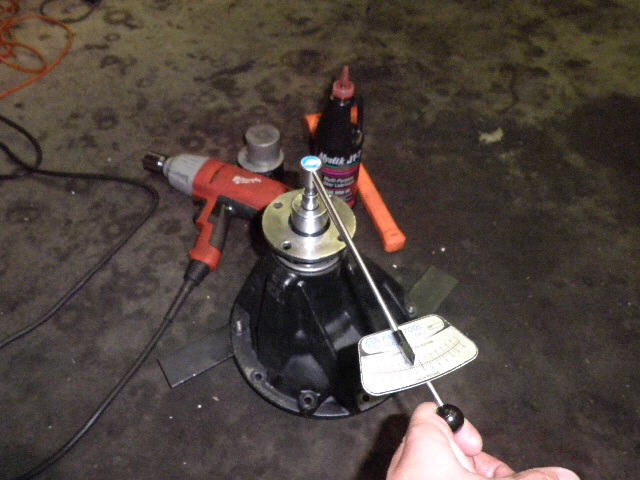
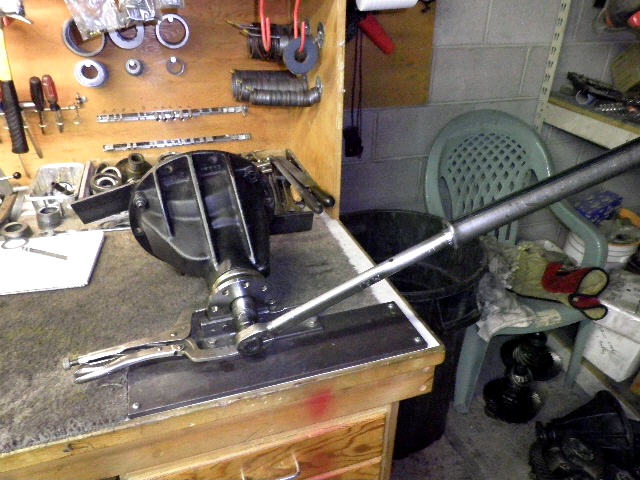
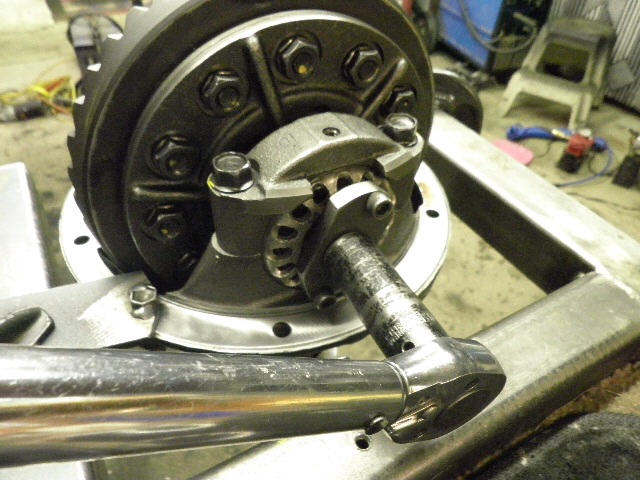
The carrier bearing pre-load (CBPL) is tightened up while the backlash is steered close to .008". The above dial indicator verifies the BL on every 4th tooth or so. |
|
The drive side shows a terrible paint...on the toe and riding too hard on the root of the tooth. |
|
The coast is too much on the toe end but the overall depth appears to be right on here. Used gears often show better results on the coast side due to this side seeing far less use (in the rear 3rds). |
|
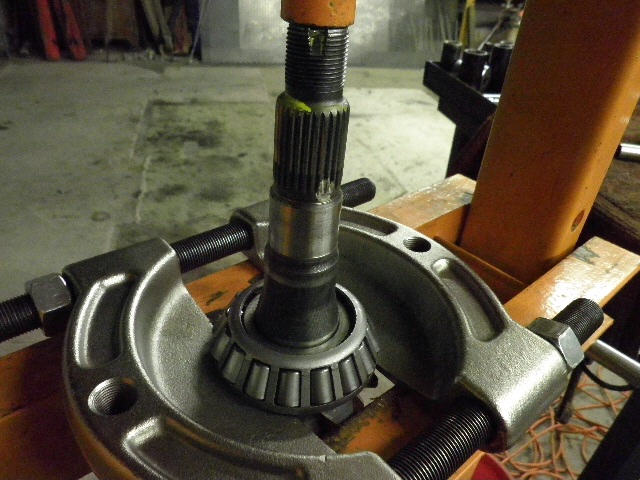
Teardown and push the bearing off... |
|
I have a good selection of shims for these 9.5" so this time I will go considerably thinner and try .0485" to see if the drive side pattern can be pulled out of the deep root of the tooth. |
|
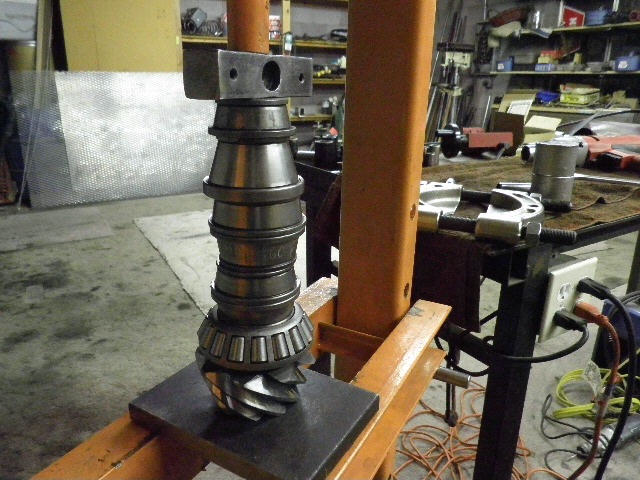
This monster bearing separator can remove bearings and also help press them on. |
|
Same as before...tighten the bearing caps. It's possible to screw up the threads on the wheel adjusters if care is not taken that they are meshed 100% properly. I have received 3rds in the past that have had cross-threaded wheels and it can result in the entire carrier being junk. |
|
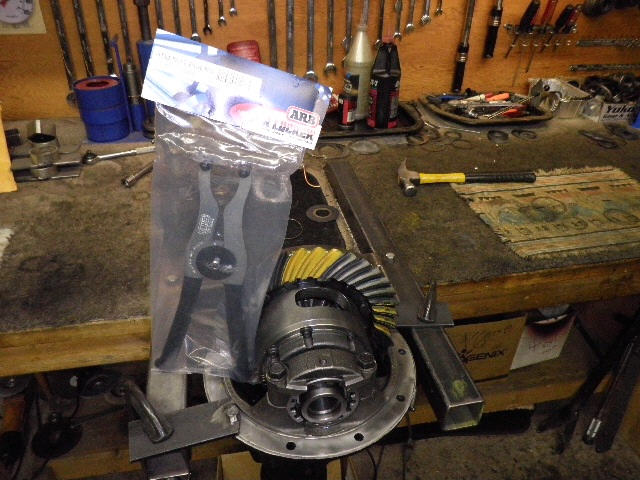
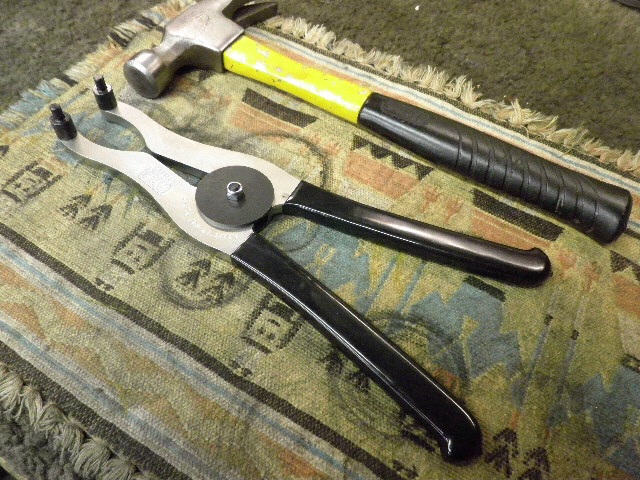
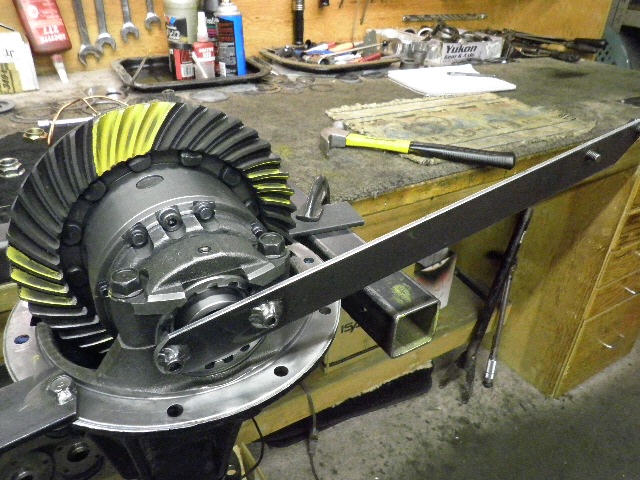
ARB has this nifty spanner tool. It's very large, has spring loaded handles, and fits the 4 cyl and V6 wheels perfectly. It does not open up large enough to fit the big wheel on the 8" E-Lockers. |

|
... |
|
... |
|
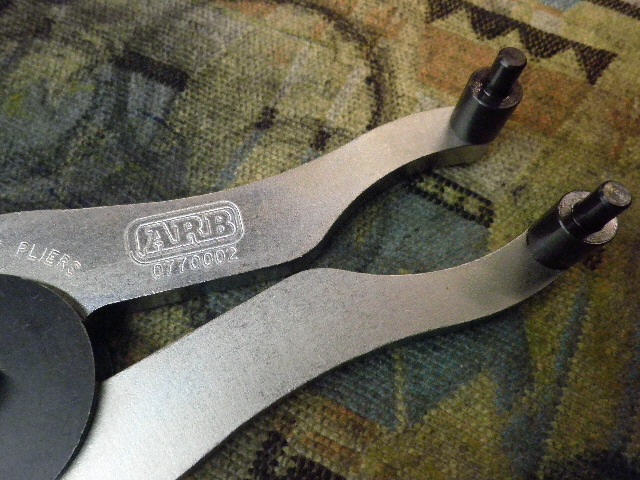
The removable tips are made from hardened steel. |
|
They do absolutely no damage to the ARB spanner wheels but note that the hardened tips are smooth and can slip. |
|
With some pre-load and BL set to about .007" the drive side is still hard into the root of the tooth. |
|
Coast is still on the toe end but is indicating a possible shallow condition as it should. |
|
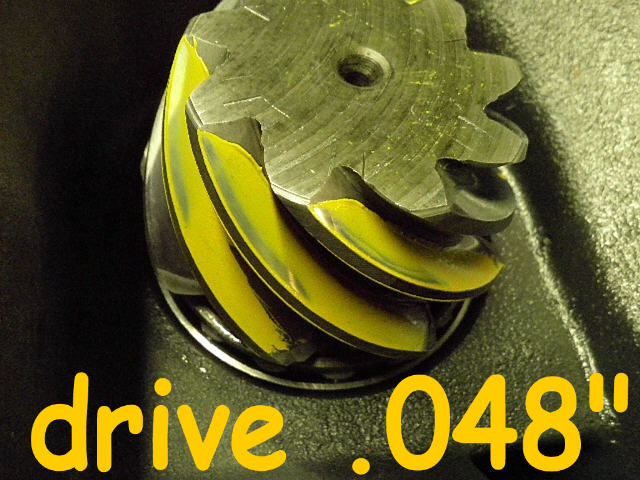
The pinion drive side terrible...on the tips of the tooth(the face). |
|
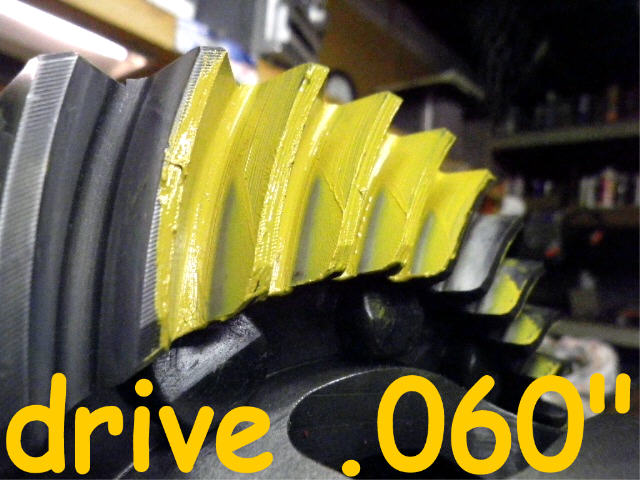
Another teardown and reset to .060"...the drive is still deep in the root. |
|
The coast is showing to be possibly too deep as it should. |
|
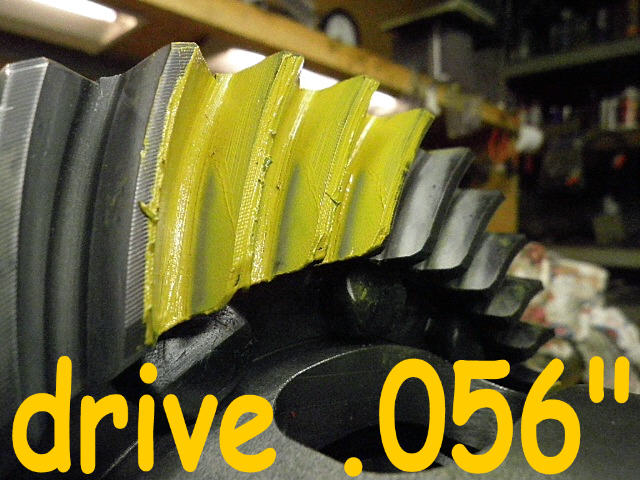
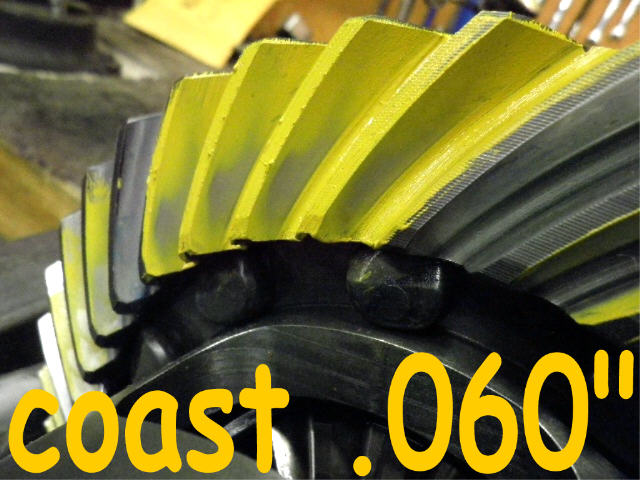
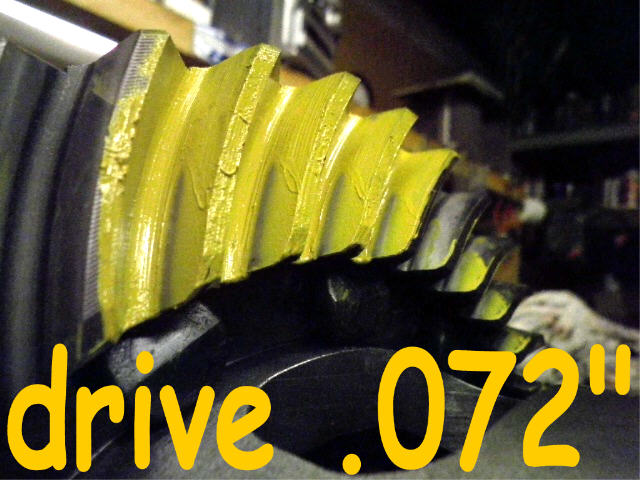
One more teardown and extra deep this time at .072"....that drive pattern never changes. |

|
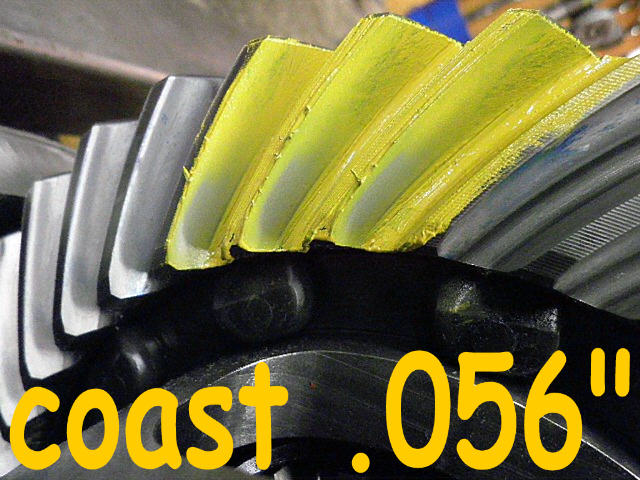
The coast is showing now to be way too deep...as it should. The conclusion is the drive side is destroyed due to "out of place" wear. The coast side saw very little use so it's damage was not nearly as bad. To set this pinion to the ideal depth of 056~058" would result in a loud whistle or jet noise while accelerating and quiet operation when letting off on the gas pedal. |
|
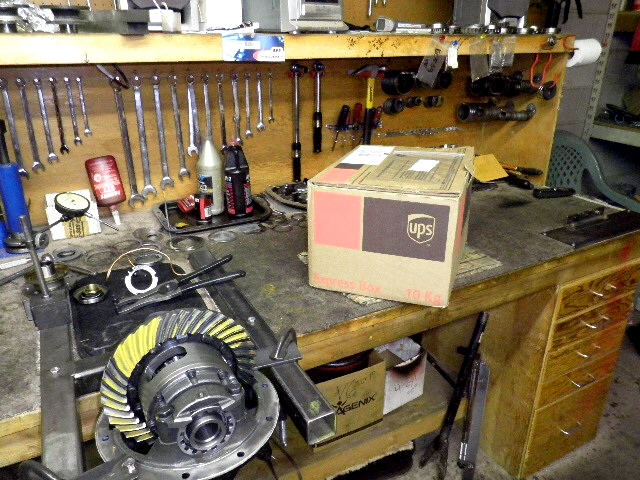
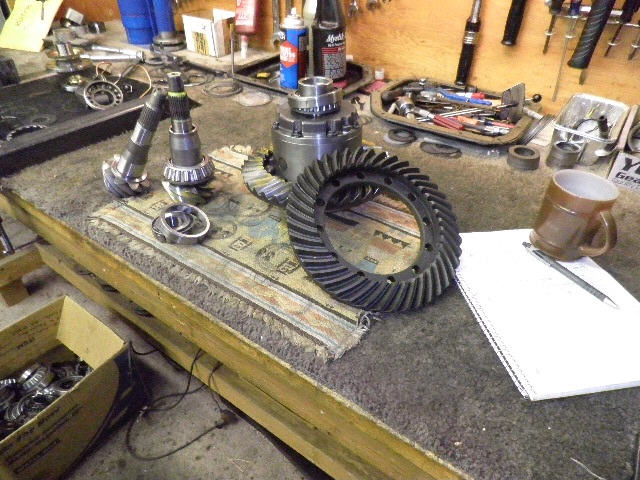
A couple days later this box arrived from justdifferentials.com. |
|
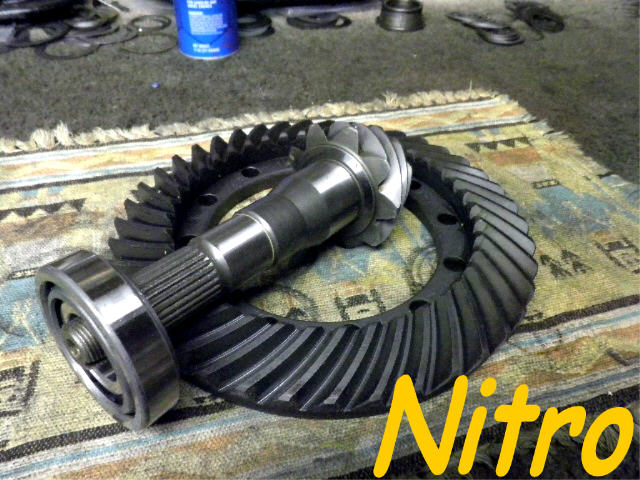
Preston opted to step up the gear ratio from 410 to 456 and to replace the small outer pinion bearing which is always a good idea. |
|
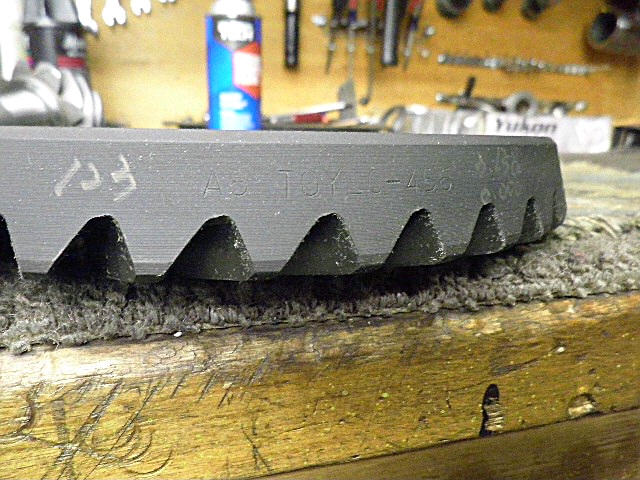
The stamping is on the light side but these Nitro 456 gears are known to set up nicely. |
|
... |
|
The plan is to swap ring gears and swap the used inner pinion bearing with the proper shim. |
|
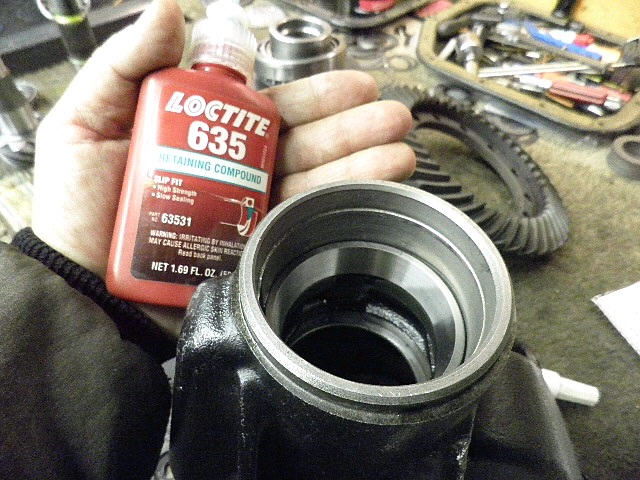
I noted the outer race was not as tight a fit as desired(somewhat rare on this race)....so surfaces were cleaned and 635 was dabbed on both surfaces. |
|
The 12 ring bolts had loctite on them but the electric impact with the 17mm impact socket made quick work of them. |

|
The ring was a tight fit on this one and took some patience to tap it off. |
|
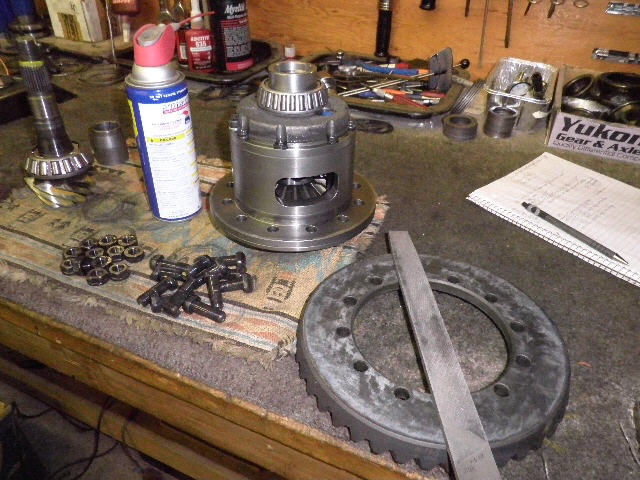
A new ring gear...so I try to always run a file over it and the mounting surface on the case to eliminate any high spots or burrs. |
|
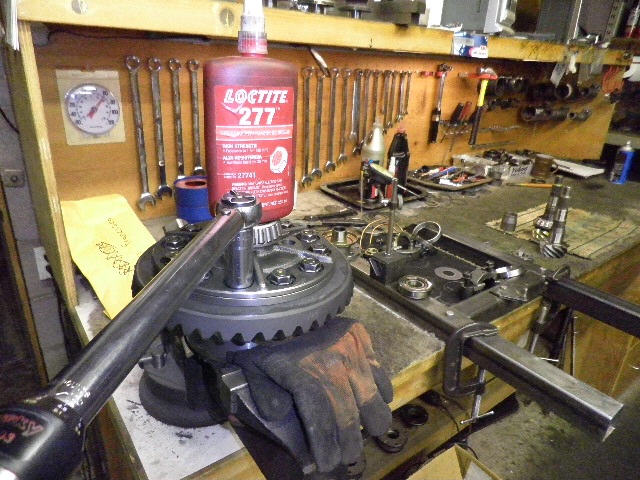
95 ft/lb and red loctite. |
|
I used some 800 sandpaper to smooth out the surface for the x-rings. I followed up with 1200 grit afterwards. |
|
Press the used bearing off... |
|
...and use that bearing on the new 456 pinion with a .057" shim. |
|
... |
|
The solid collar is left out until the proper depth has been established. Set it for 10 inch/pounds. |
|
Dial in some pre-load and get the backlash in the target zone of .007". |

|
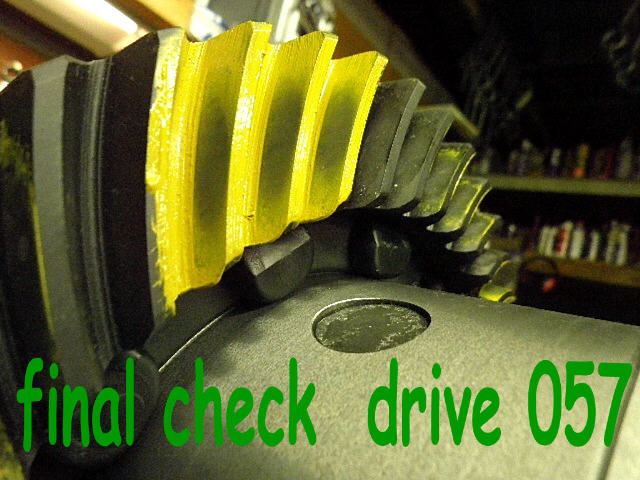
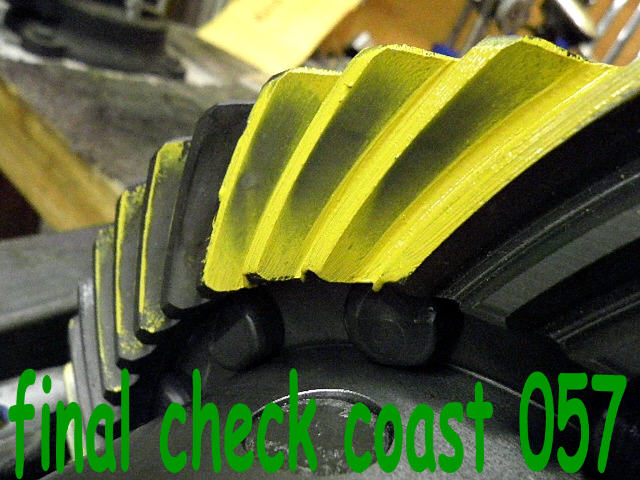
Bingo. Nice drive. Looks like 057 is the shim of choice :) |
|
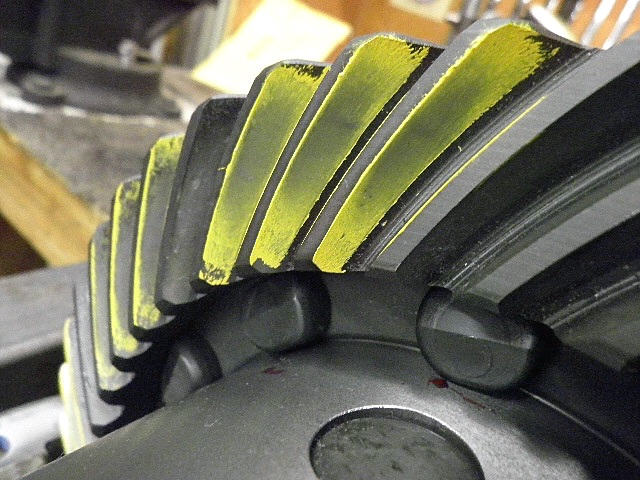
Nice coast...well centered and centered from face to flank. |
|
Here's the reverse paint on the drive. Nice. |

|
Sweet. |
|
Depth is right on so now the solid collar can be installed. |
|
As the notes at the end indicate, it took me 5 times to get the shimming right on. |
|
... |

|
The seal has grease applied to the inside of the seal around the tiny coiled spring. This is a big deal if you've ever had a spring pop off the seal....and then the seal leaks all the time. RTV on the outside. |
|
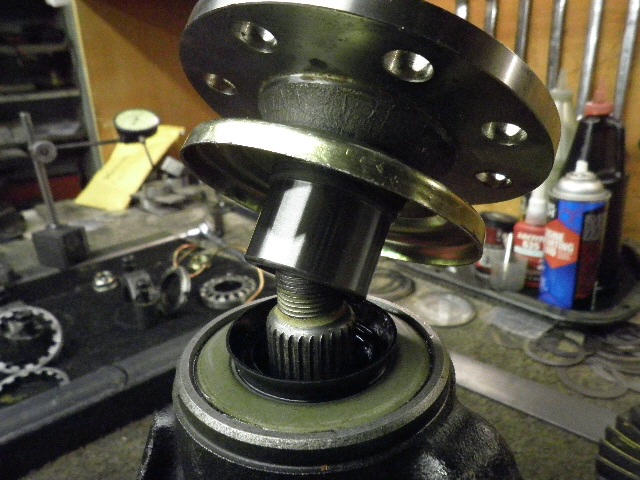
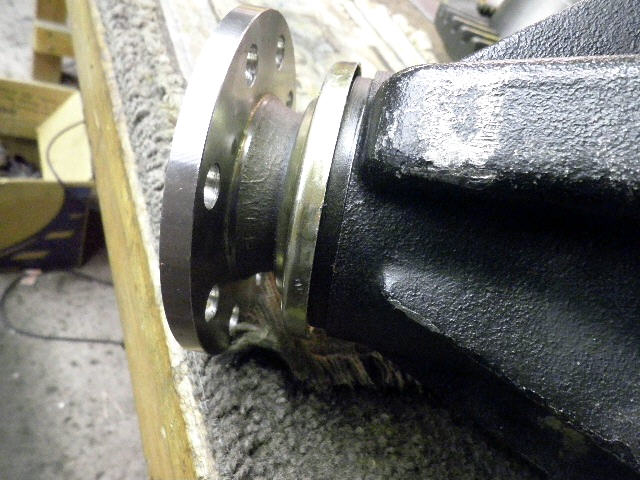
The double drilled flange is now slipped on. |

|
Red loctite on the clean threads is 'extra insurance' against a nut backing off. |
|
If the pinion pre-load was a little on the light side like this one was then a little twist on this set-up will actually compress the solid collar enough to make the pre-load pretty much what you choose. Solid collars are not "100% solid". |
|
10 inch/pounds is good with a new outer pinion bearing and a 1000 mile used inner bearing. |
|
This will never loosen up on its own :) |
|
This aftermarket flange leaves a little gap around the dust seal...this is a non-issue. |
|
Pinion end done...now the ARB case goes in. |

|
I will use a new arb wheel. I filed it just to make sure it was level. |
|
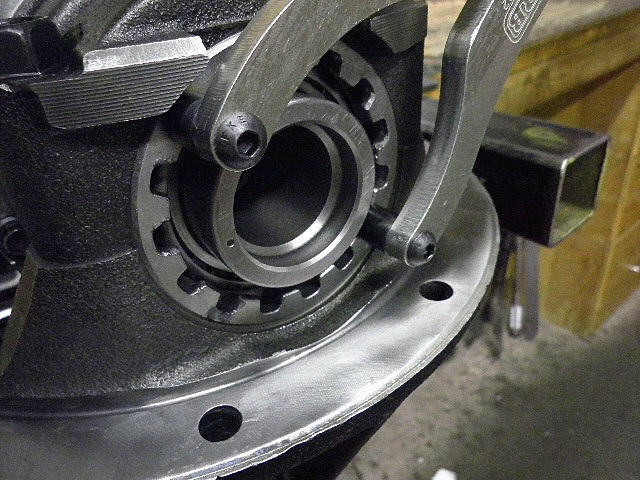
Wheels are in mesh and the cap bolts are torqued to 85 ft/lb. |
|
Caution is used on this side, in particular, so that the spanner wrench does not slip and deeply scar the journal surface. |
|
150 ft/lb would not budge it....good. |
|
oh yaaa. |
|
good. |

|
``` |
|
``` |
|
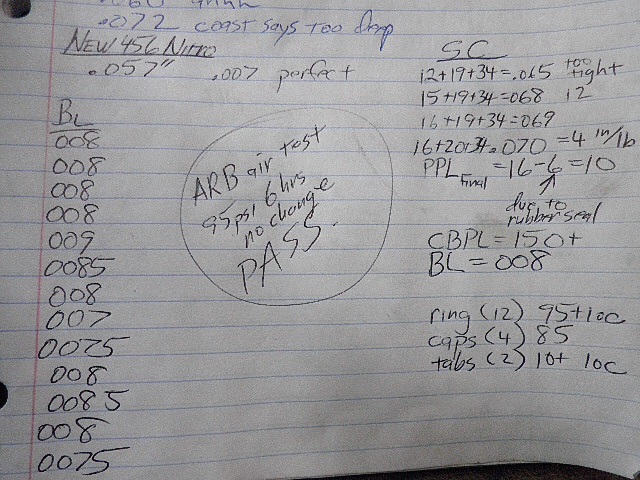
I recorded measured backlash on every 4th tooth. It averaged .008". |
|
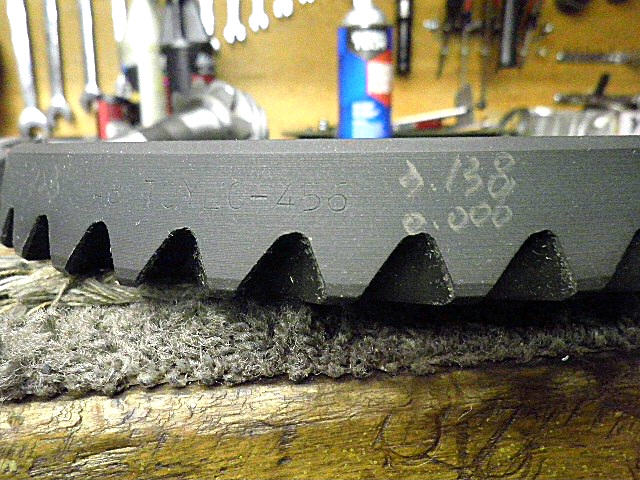
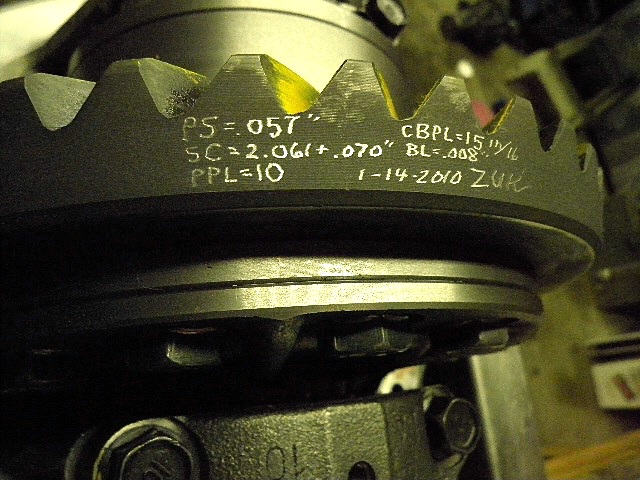
The specs are etched into the ring with a cheap diamond engraving bit. |
|
The old x-rings were just fine but new is better. |
|
``` |
|
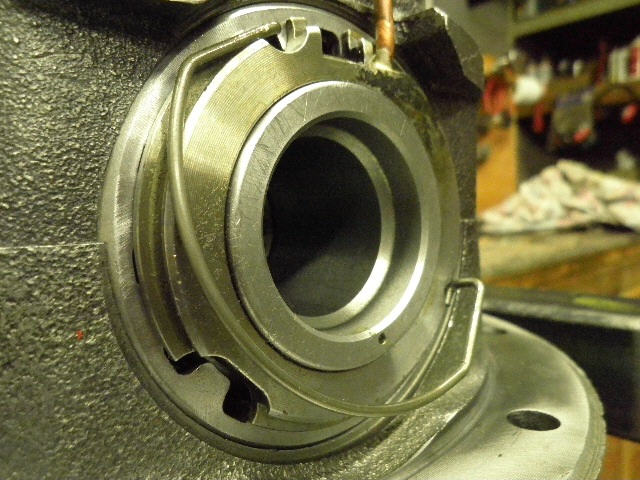
Add lots of gear oil and jiggle the seal assembly onto the 50mm ARB journal. |
|
The retainer clip is next. |
|
``` |

|
``` |
|
The lock tab is red loctited with 10 ft/lb. |

|
Verify that the bottom of the tab is not pushing on the seal assembly. |
|
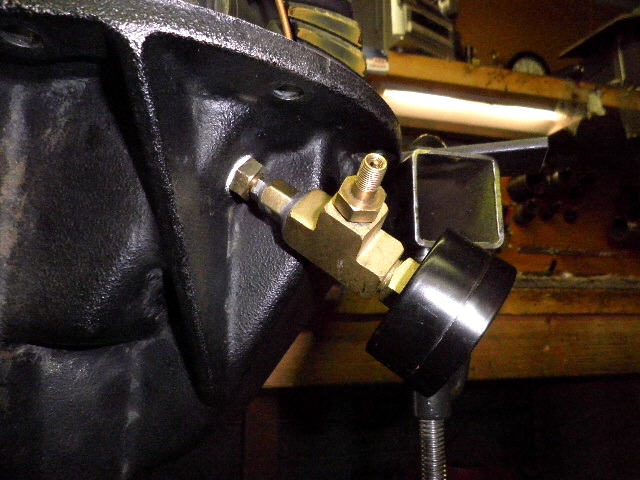
One last leak test... |

|
95 psi for 6 hours and not a pound lost (5 minutes is adequate). |
|
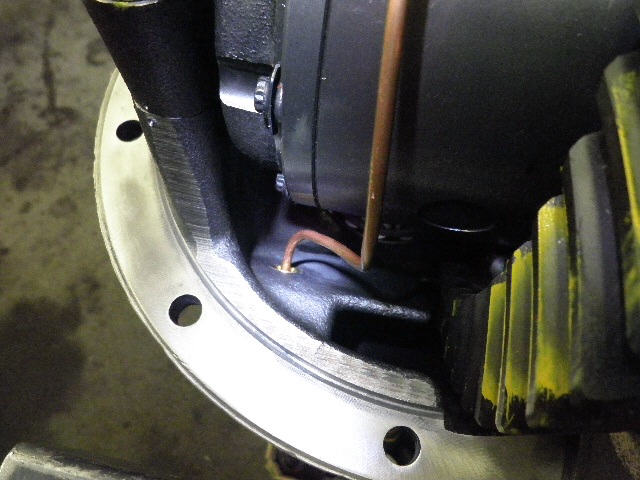
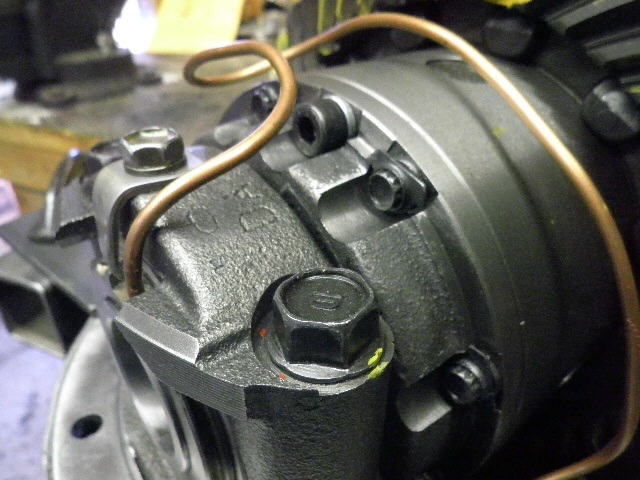
The copper lines moves a bit back and forth as the pinion flange is rotated. The routing of this line should be checked just before housing install to check clearances with the case and teeth. |
|
``` |
|
``` |
|
some documentation... |
|
``` |
|
``` |
|
``` |
|
``` |
|
``` |
|
Ready for the trip back to Canada....about $120usd total one-way costs including the duty charges. |

|
