|
|
|
|
|
|
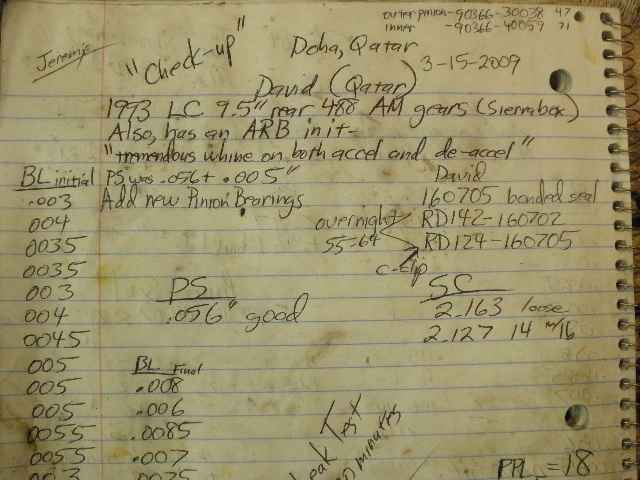
Here's a cut/paste from Dave's original email to me.....
|
|
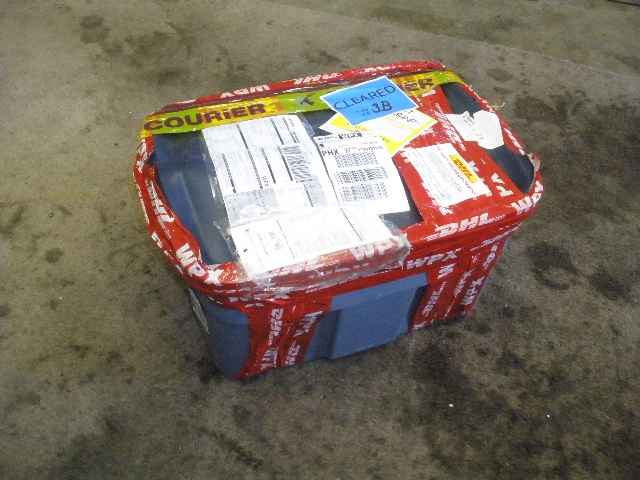
So, Dave sends it out on Saturday and I get it a couple days later on Tuesday! Surprisingly quick. By the way, shipping was almost $600 USD in each direction. Dave used DHL and I used Fedex. |

|
Lots of bubble wrap and cardboard to cushion the ARB equipped LC 3rd. |
|
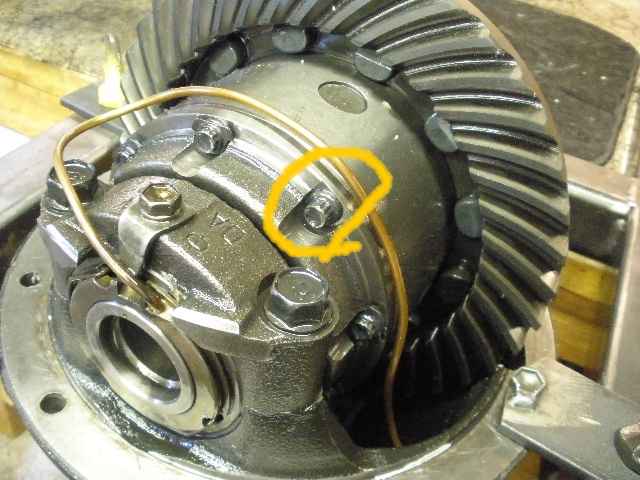
I noted that 2 of the lock tabs were missing...wonder where they went. |
|
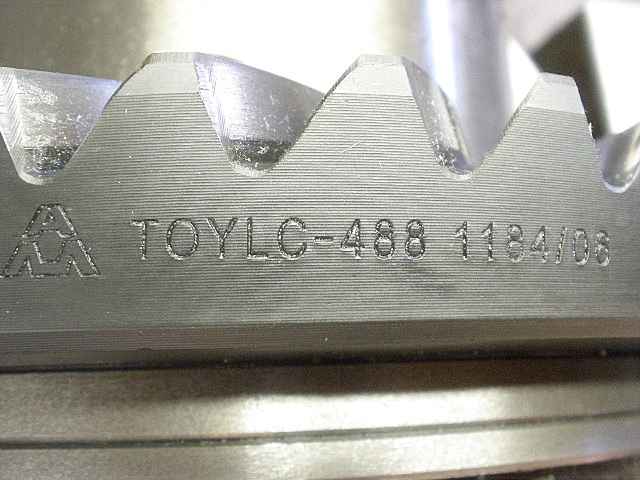
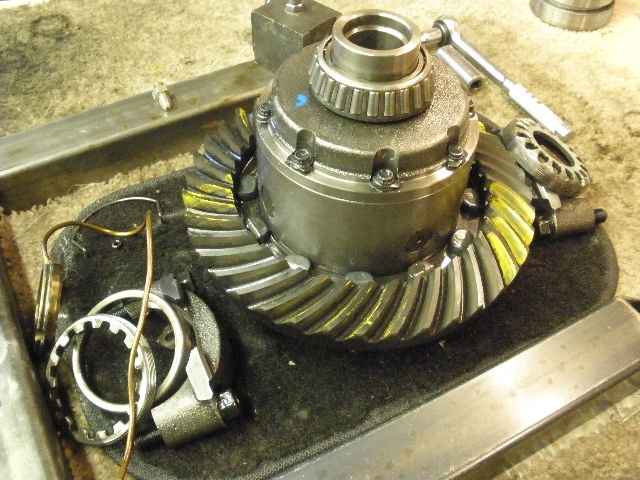
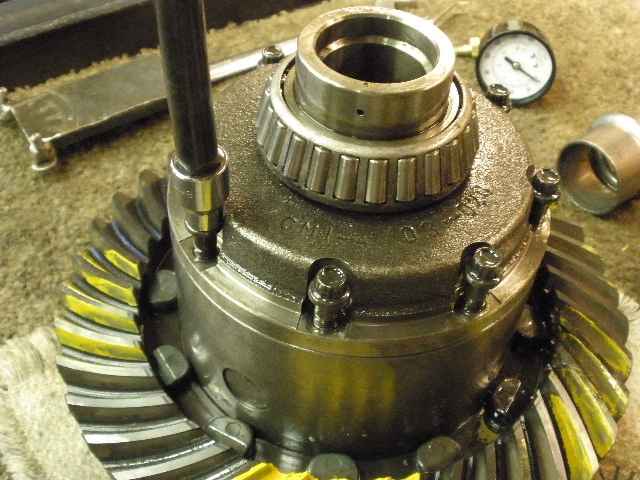
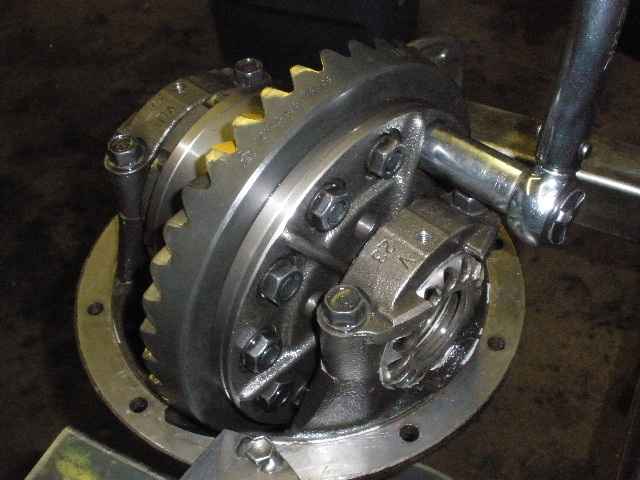
These are AM gears. Very nice quality. |
|
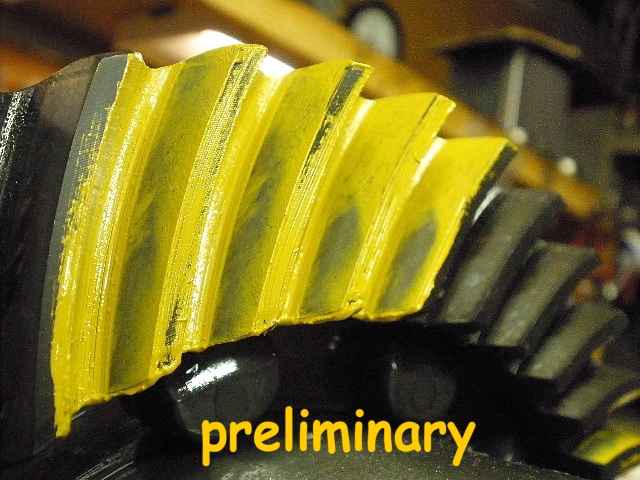
A pattern check reveals a somewhat deep pattern.
|
|
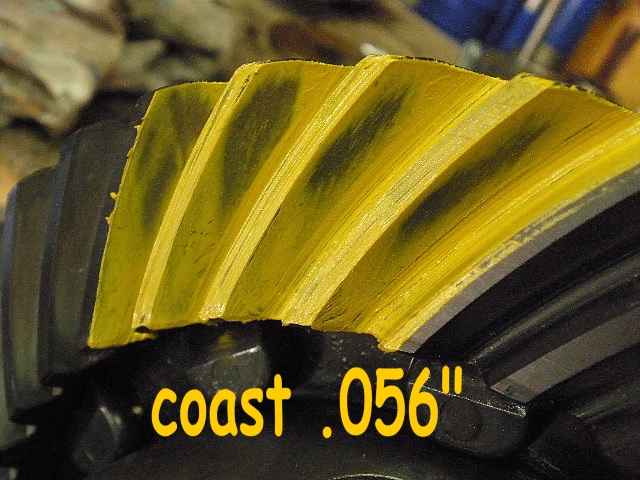
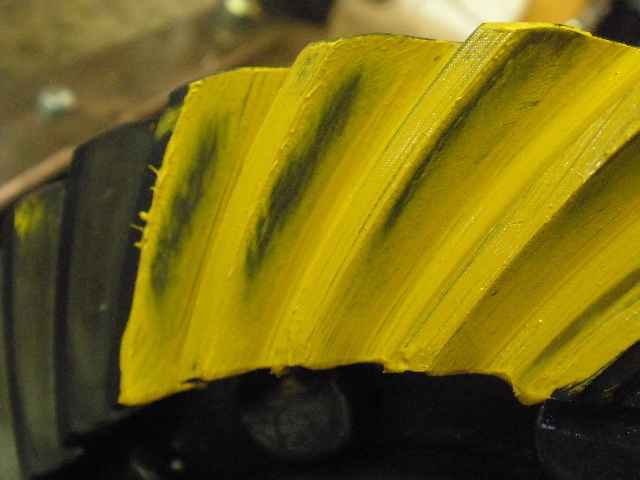
coast side |
|
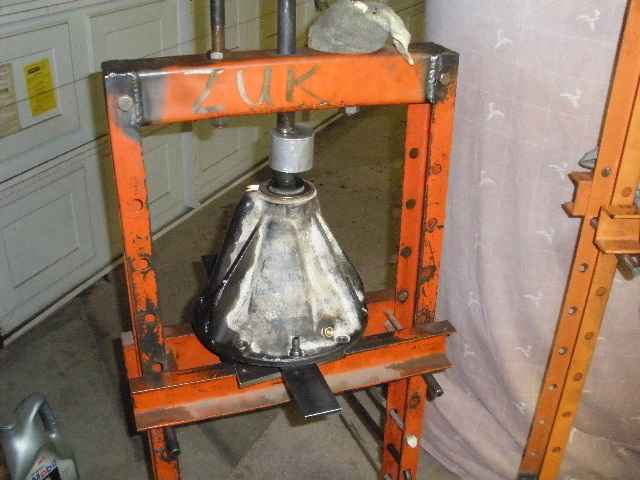
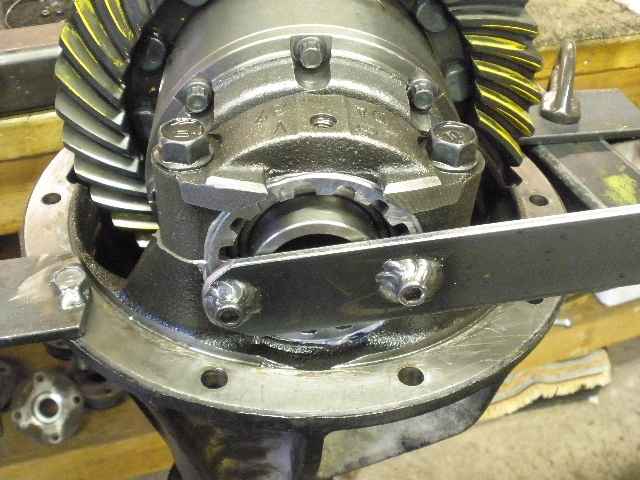
The ARB is removed now. |
|
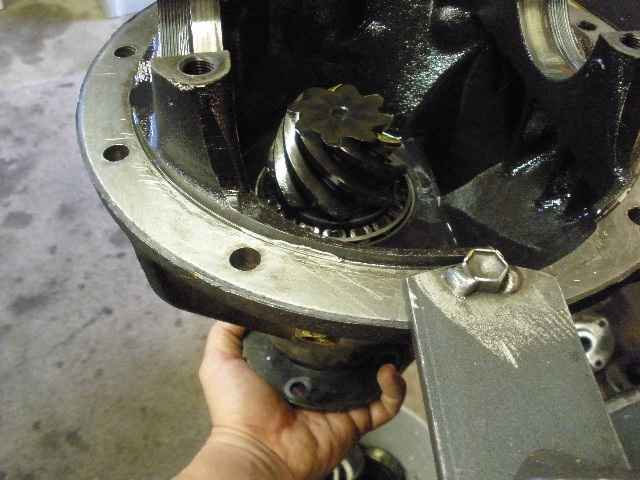
And now it's easy to tell that something is wrong on the pinion end. It was too tight and very rough. This usually means the outer pinion bearing has issues. |
|
Push the pinion out... |

|
...take races out and clean things up with your favorite cleaner....starter fluid works for me but be careful with it. |

|
The outer pinion bearing is self destructing. This is the cause of Dave's terrible whine. |
|
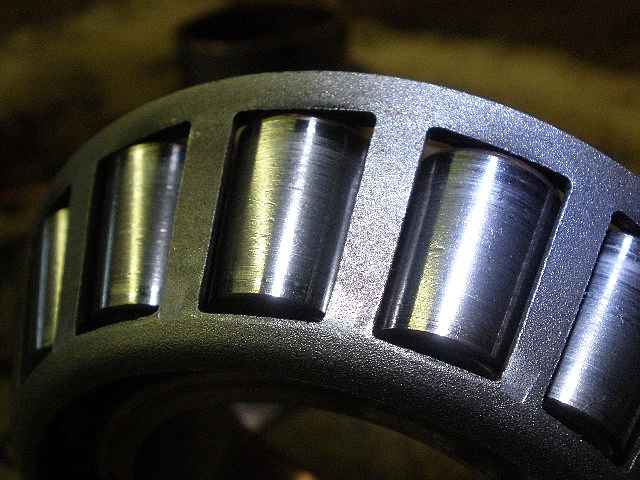
The larger inner pinion bearing has some pitting. |
|
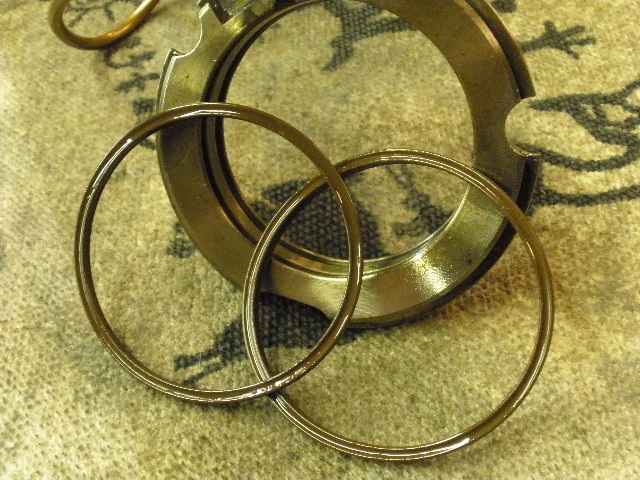
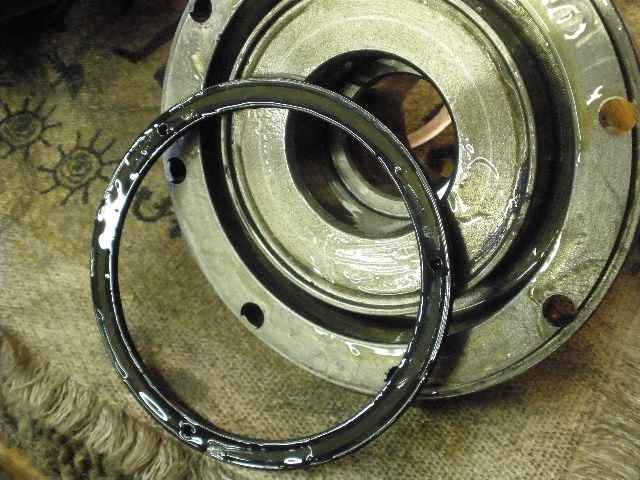
The relatively new viton x-rings appear ok. |
|
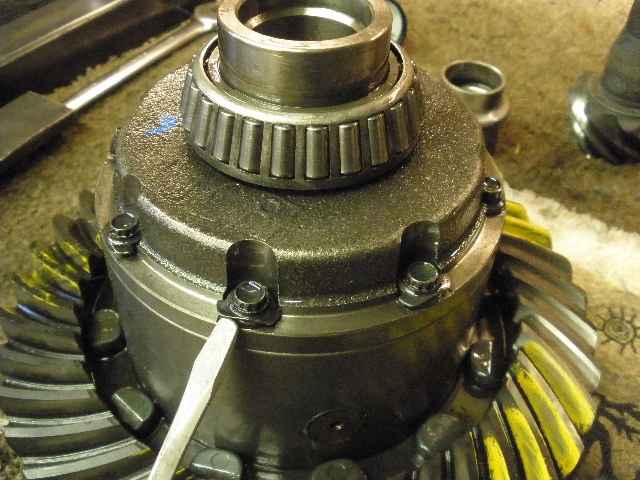
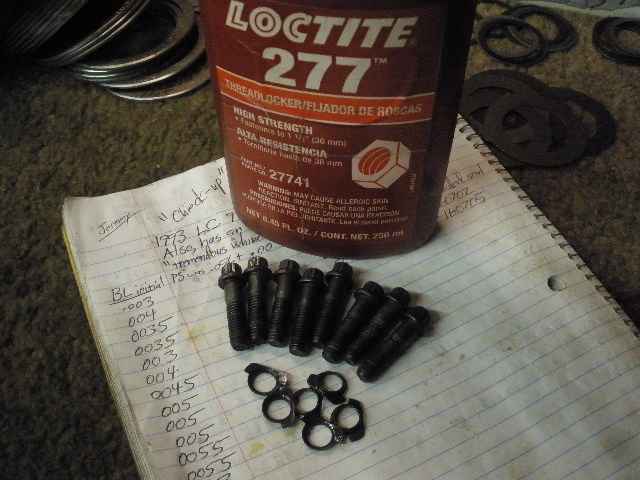
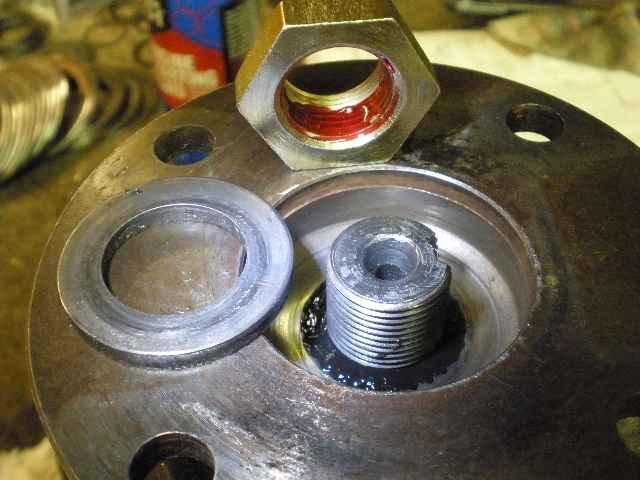
The lock tabs are tapped off. These are not re-useable. Red loctite will be used upon re-assembly. |
|
The 8mm socket did not have enough of a long neck to clear the lid corners so an 8mm closed-end wrench loosened them about 3 full turns each and then the socket could grab it. I'll have to do something different when it comes time to torque these bolts to 30 ft/lb minimum. |
|
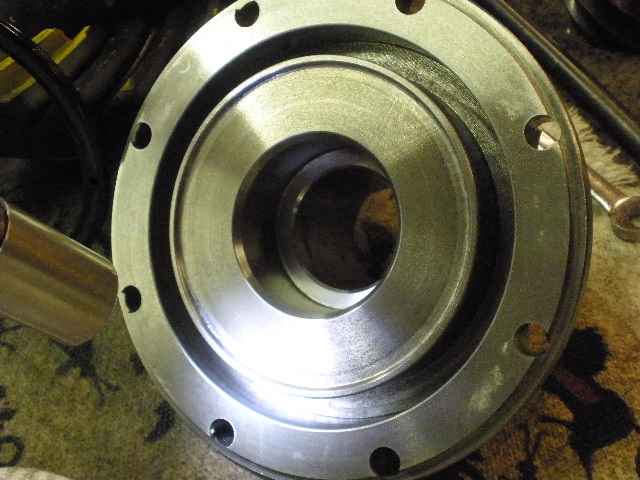
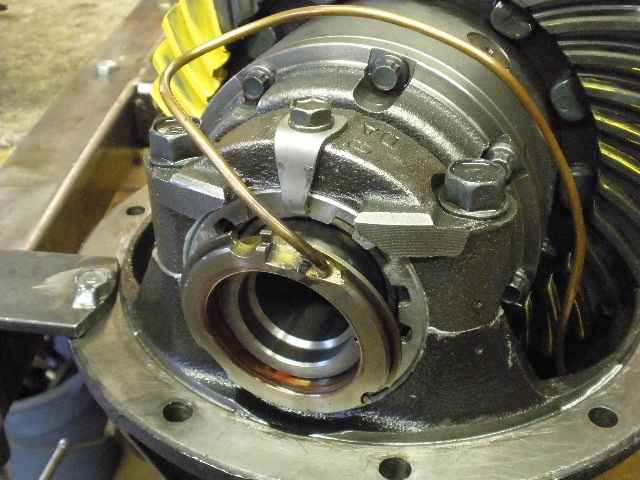
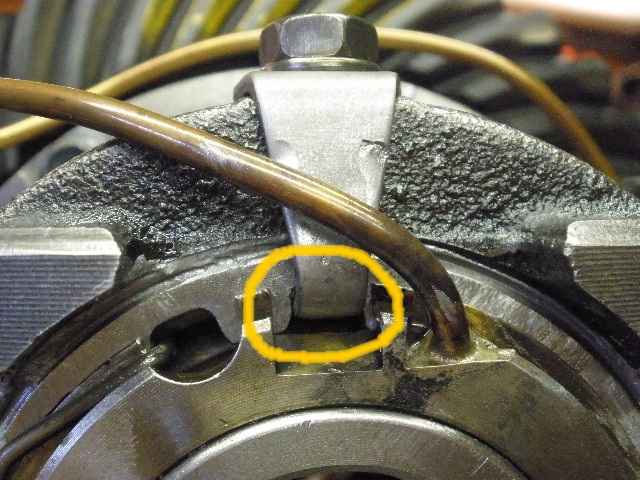
This is the suspect bonded seal that could be causing the air leak. |
|
Close examination of the seal surfaces reveals a perfectly smooth surface. No scratches or nicks. |
|
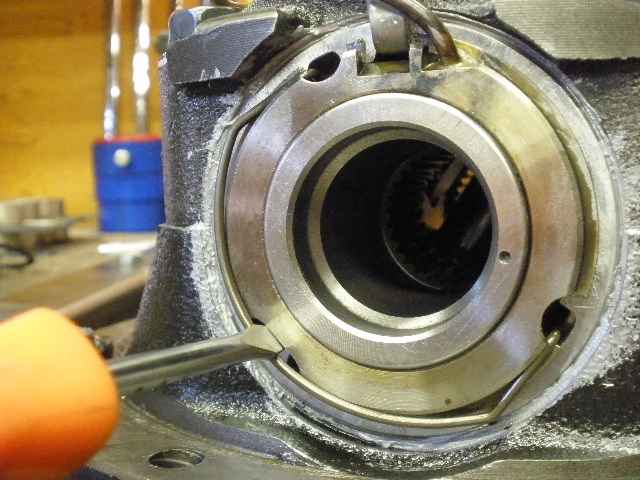
This new bonded seal is lubed up and pushed in place with finger power. It takes a lot of push to get the seal in place also. I don't let anything metal assist me as I don't want to chance a scratch of nick. |
|
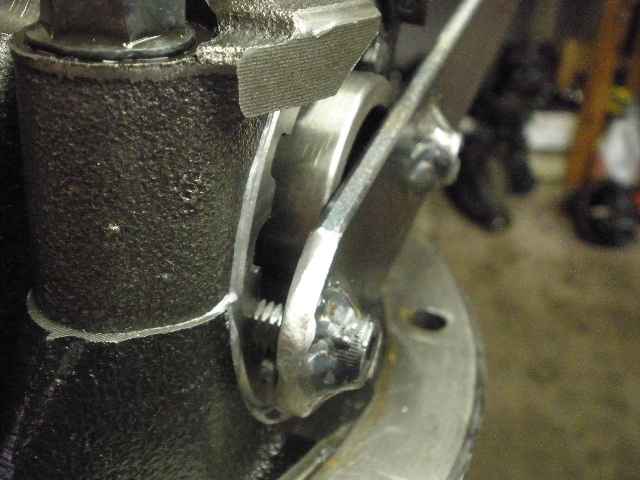
The threads on the bolts and in the case are cleaned in preparation for the red loctite. I can't see the merit in the metal lock-tabs used here. I see a possible issue with them "coming loose" when not tapped in place with the proper tooling. |
|
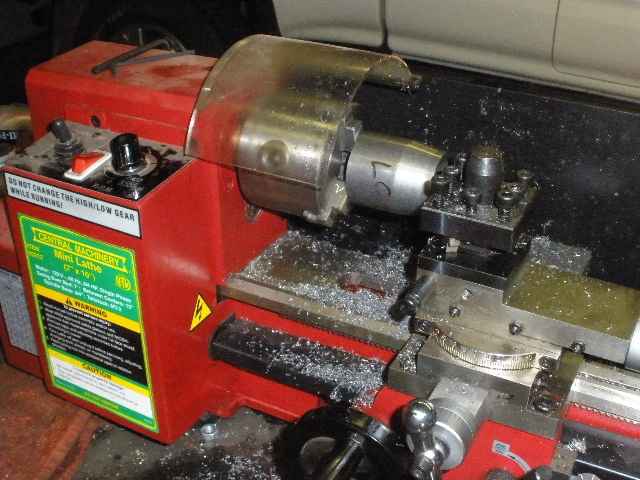
My 8mm socket was too fat to fit properly. Sure glad I have that mini-lathe to trim things up.
|
|
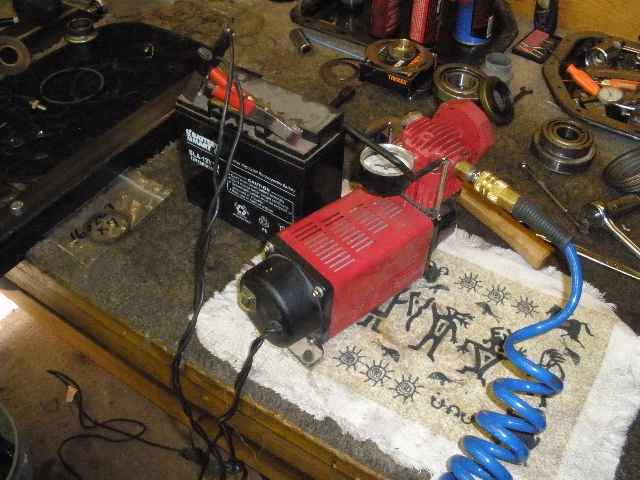
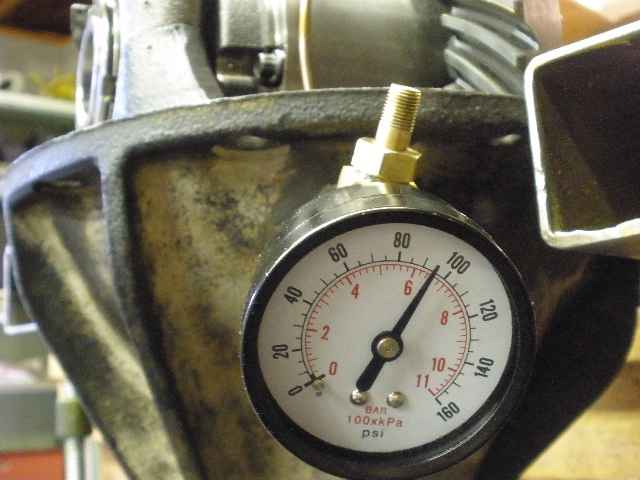
With the ARB case together again now I can run a quick leak test with my trail compressor. |
|
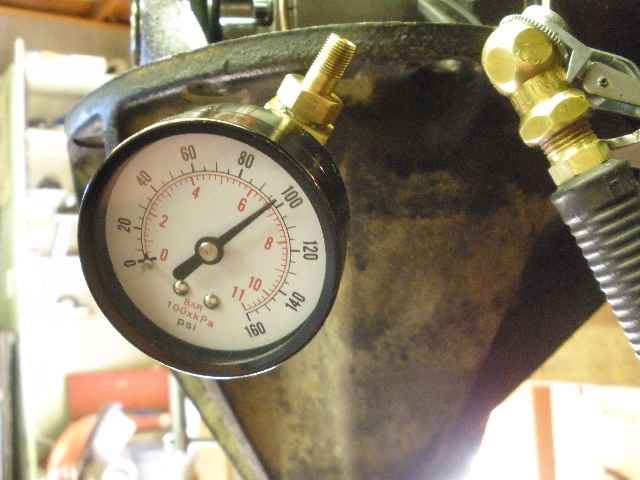
Cool. Now it actually pumps up and holds air. |
|
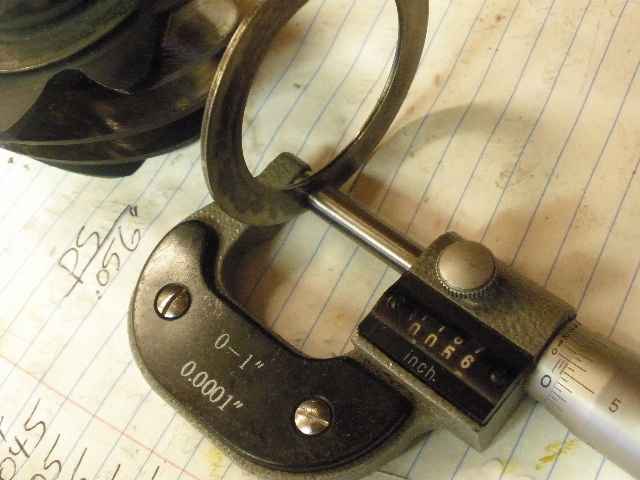
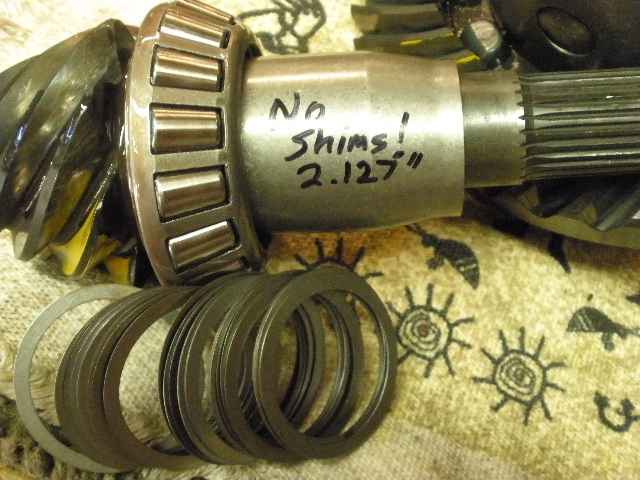
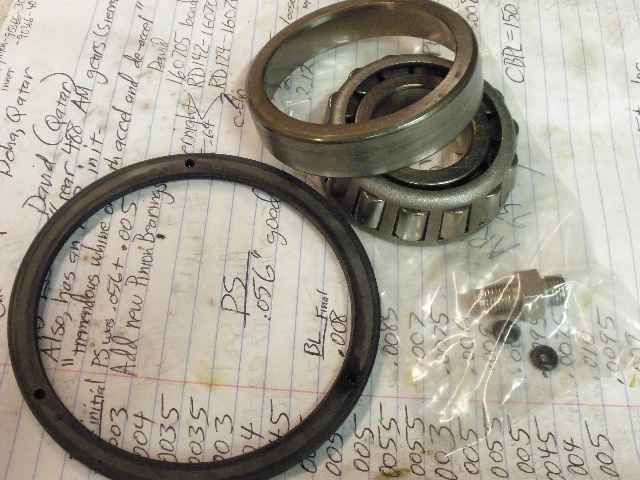
The factory .056" shim will be re-used without the extra .005" shim that was positioned under the inner race. |
|
The new inner bearing is pressed on with the shim. |
|
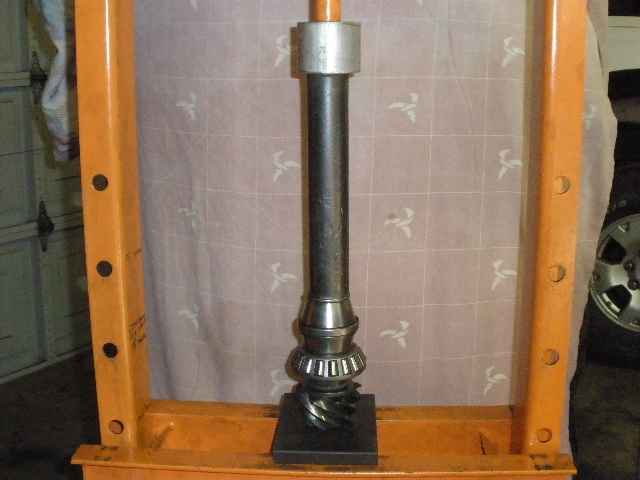
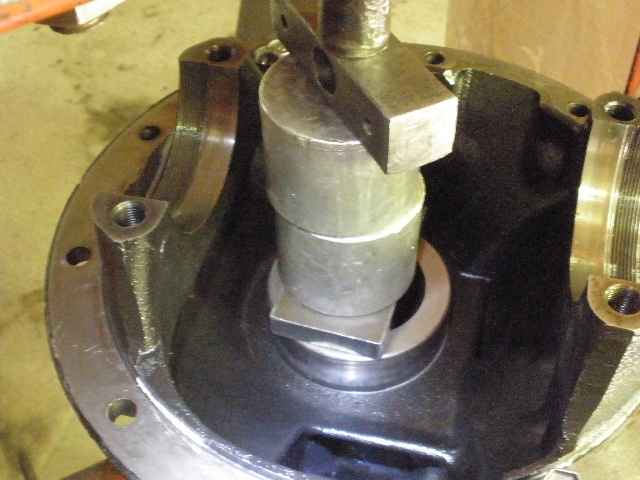
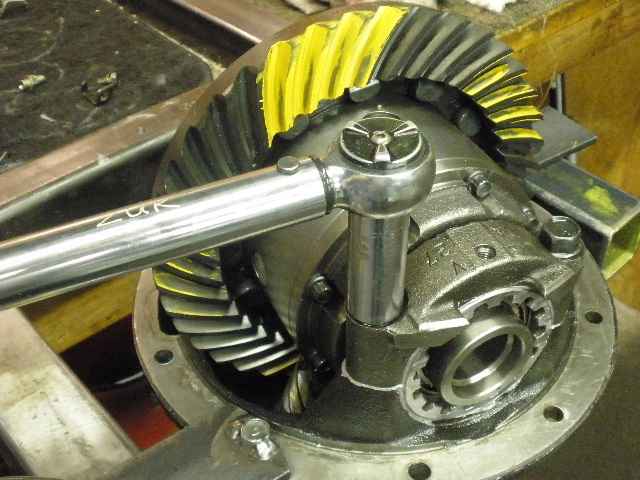
New races are pressed in place and the pinion is loaded up without the solid collar on this go-around. |
|
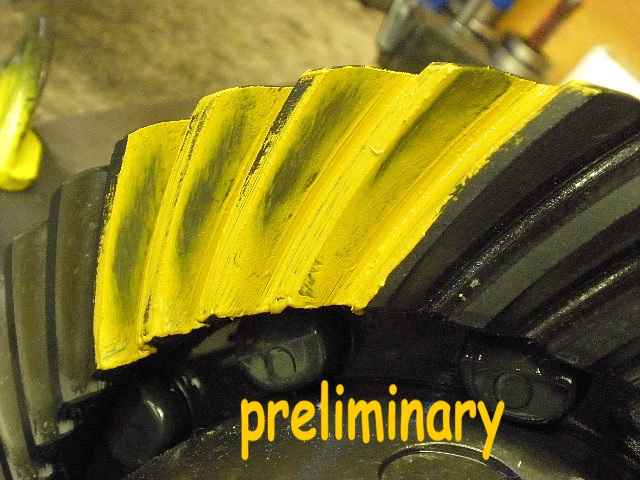
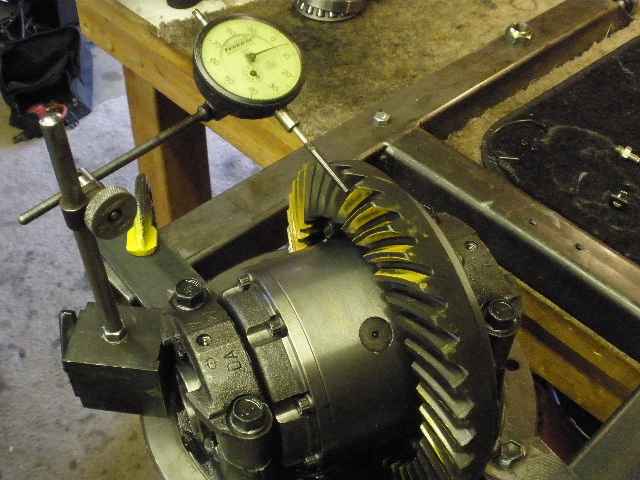
The pattern is a little ragged looking for a relatively new ring/pinion but the original bad pinion bearings could have something to do with this. Pattern quality will improve with wear. Depth appears correct at this point. |
|
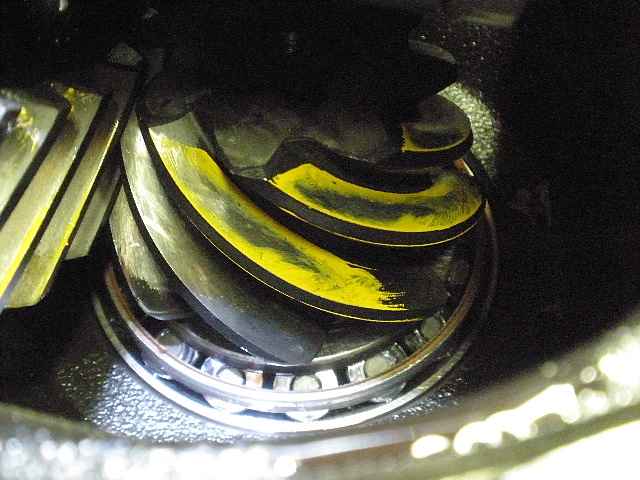
coast pattern |
|
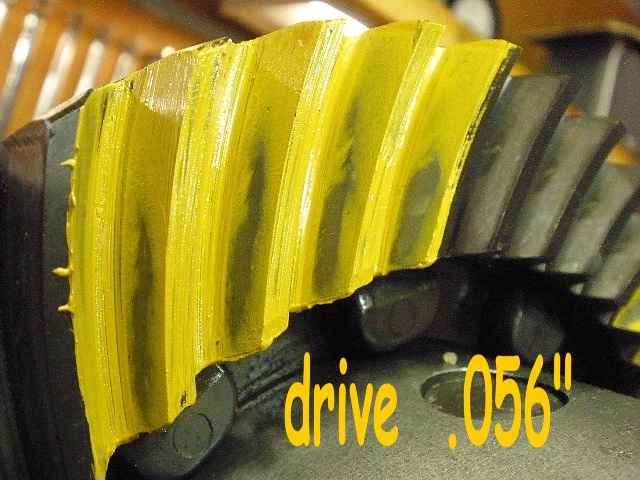
The pinion drive pattern confirms that the depth is correct. |
|
I then took a long solid collar used on the 8.4" 3rds and trimmed it down... |
|
...until it was the perfect length and no shimming would be needed. |
|
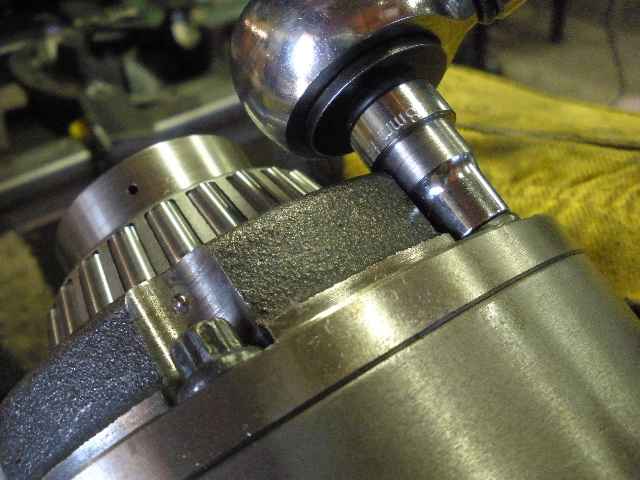
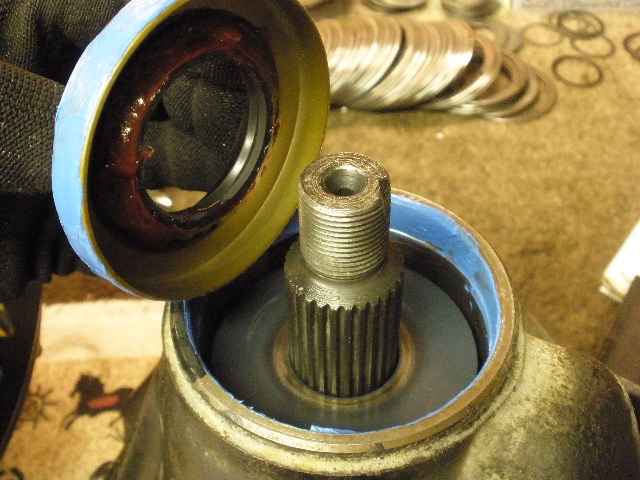
The solid collar is in place and now the seal can be inserted. |

|
A light coating of gear oil is wiped on the surface that the dust ring on the pinion seal is expected to contact. This helps reduce the drag effect of the new seal on my pinion pre-load measurements. |
|
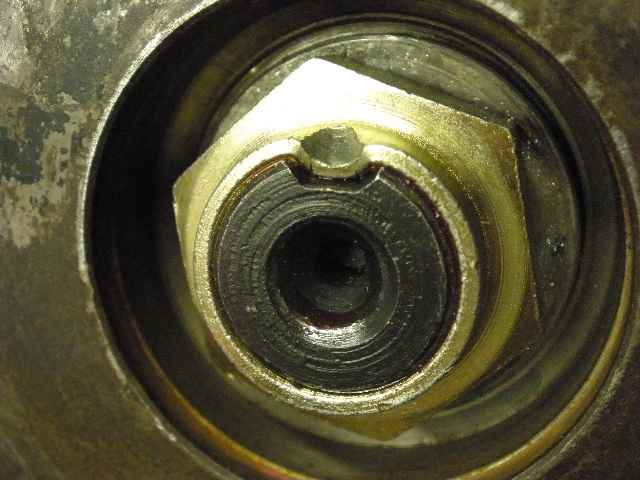
Red loctite on the pinion nut. |

|
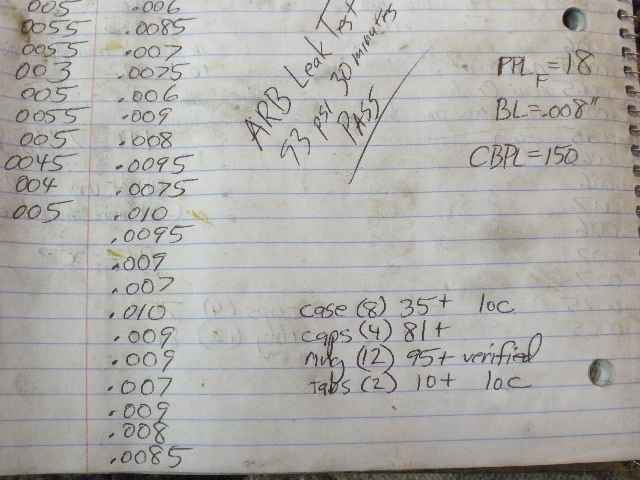
Final pinion bearing pre-load was at the upper end of the spec. |
|
Ding and this end is done. |
|
Lots of anti-seize on the wheel adjuster threads and the 4 bearing caps bolts are tightened to 81 ft/lb. |
|
I checked the ring gear bolts and all were at least 95 ft/lbs. All good here. |
|
I tightened both wheel adjusters a little at a time while dialing in the backlash to about .008" at the same time. |
|
... |
|
Backlash was checked on every other tooth for 21 check points. It varied from .006" to .010". |
|
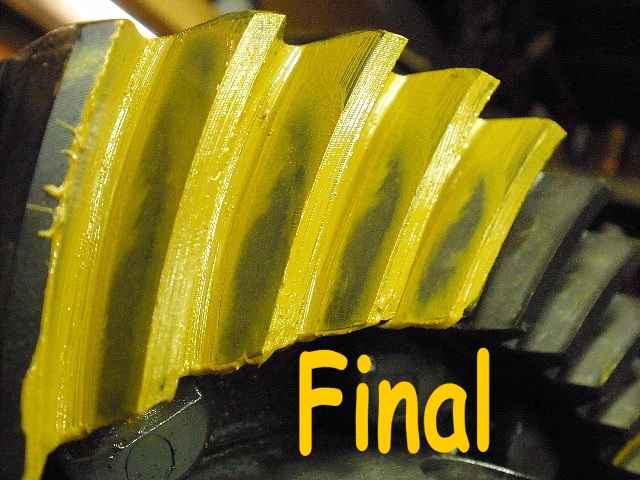
Drive side. |
|
Coast side. |
|
New viton x-rings are oiled up and installed in the seal assembly. The assembly is then carefully wiggled in place. |
|
The retainer clip goes on very easy. |
|
I made sure that the tab curled up enough to prevent physical contact with the seal housing. If the tab pushes too hard against the housing it will cause air to leak by the o-rings. |
|
Last leak test and PASS. |
|
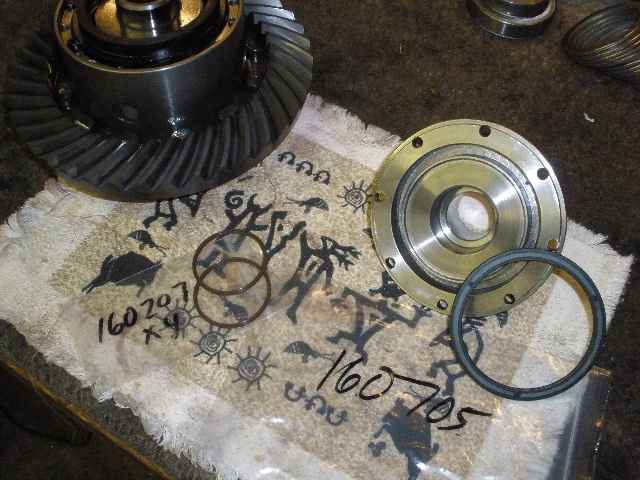
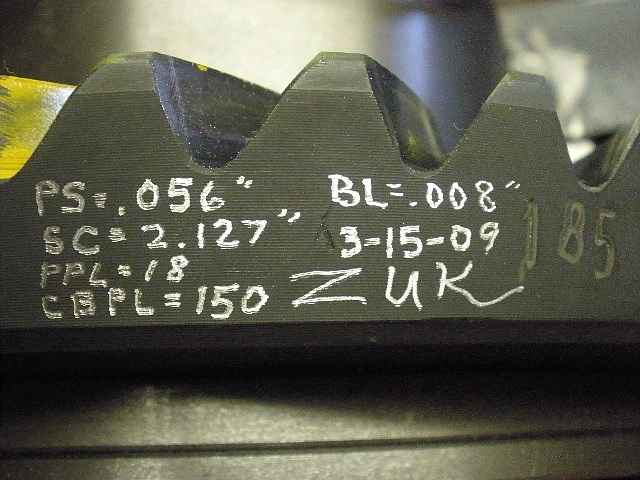
Specs used are scribed on the ring. |
|
Misc parts are being sent back to Dave. |
|
... |
|
|

|
 Red loctite and 30+ ft/lbs.