|
|
|
|
|
|
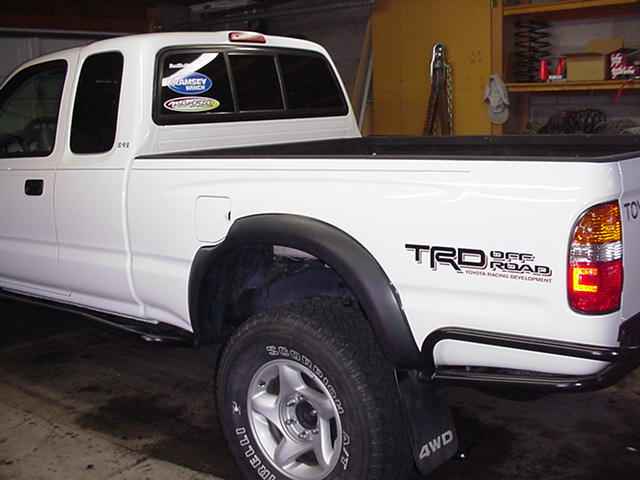
I bought my 2001 Taco just a few months ago in the summer of 2006...it had 72k miles originally and now
has almost 80k. Time to "re-fresh" the carrier bearing pre-load (CBPL). Just through normal wear the bearings
have loosened up. Tightening up the CBPL will greatly reduce ring gear deflections resulting in maximum gear strength.
This becomes a big deal when I have to pull my buddies out of a mudpit or something.
|
|
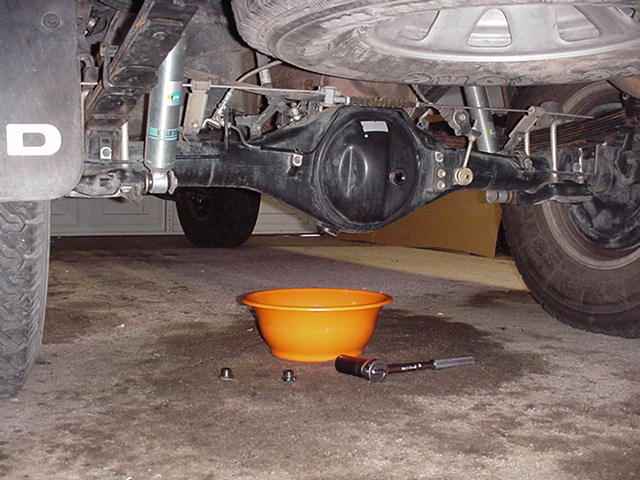
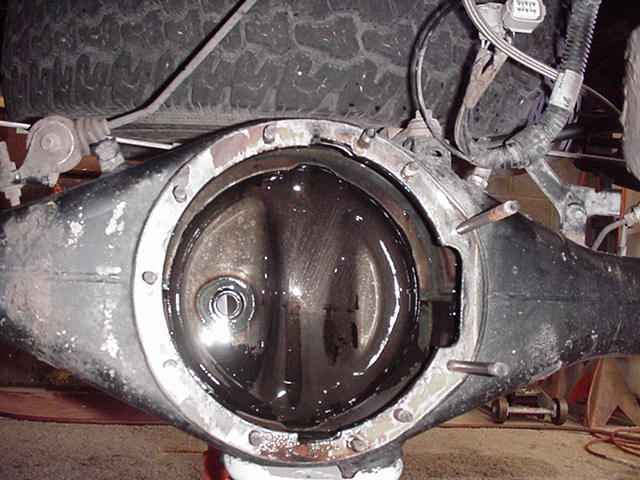
First, drain the gear oil...that's my salad bowl but I don't eat that many salads anyway. |

|
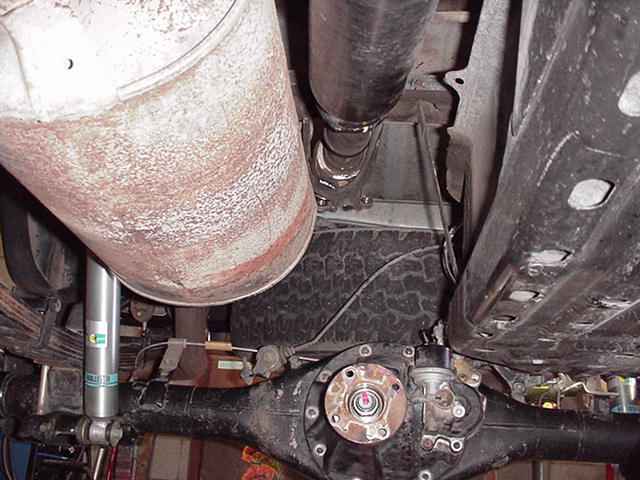
I chose to use a floor jack and 2 jack-stands to get the wheels off the ground. |
|
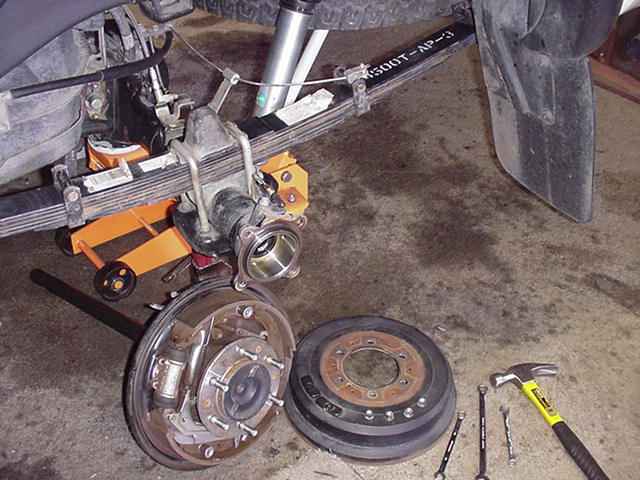
I removed the emergency brake cable...the drum...the 4 nuts on the backing plate...the hydraulic brake line connection and then the axle itself. Repeat on the other side. My shoes looked like new. No rust at all. Gotta love Arizona. :) |
|
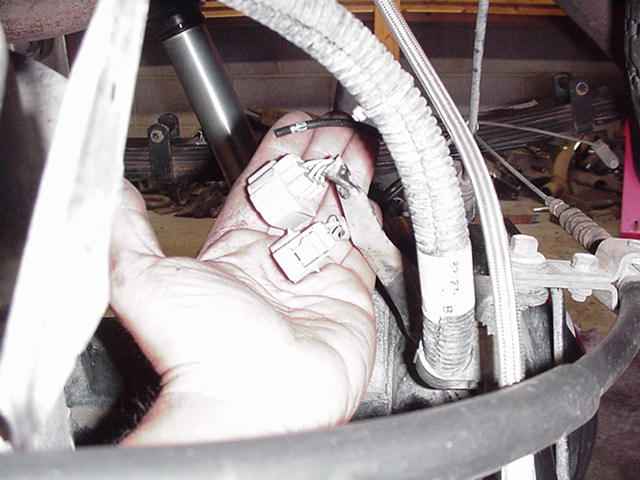
I dis-connected these 3 items on the top of my E-Locker... |
|
I tied the driveshaft up out of the way. |
|
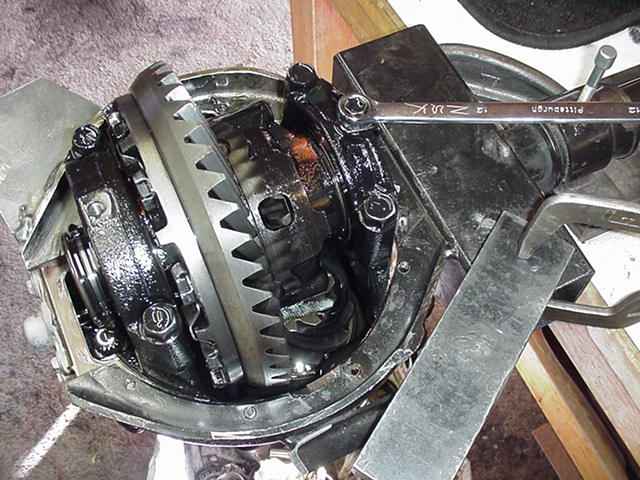
Remove the eleven 12mm nuts and remove the carrier. |
|
I removed the motor guard and noticed the 5 wires were compressed...anybody that has E-Locker issues should remove this cover and see if these wires have rubbed through, possibly causing a short. |
|
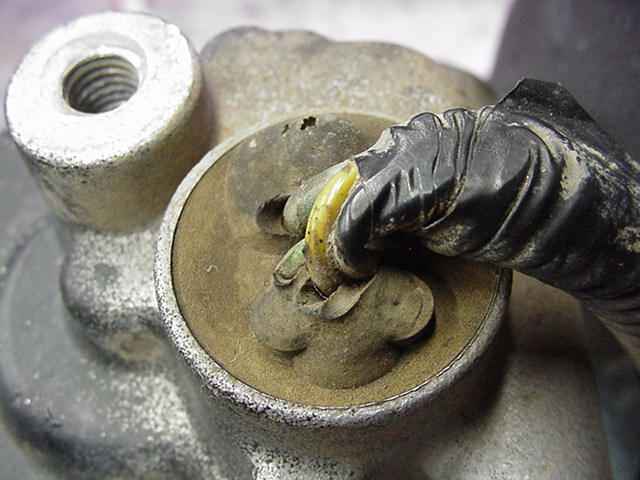
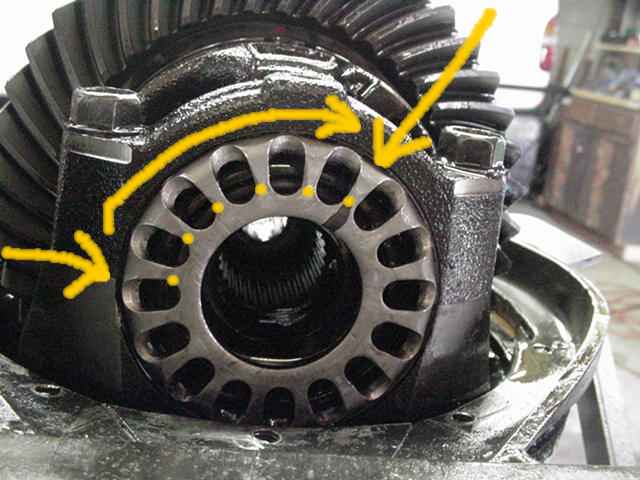
Oh ya....the E-Locker might not come out of the housing unless the locking fork shown here is in the LOCKED position (fork to the inside). |
|
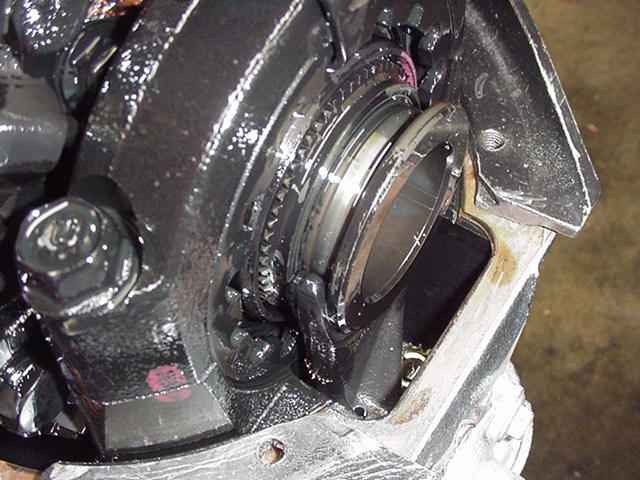
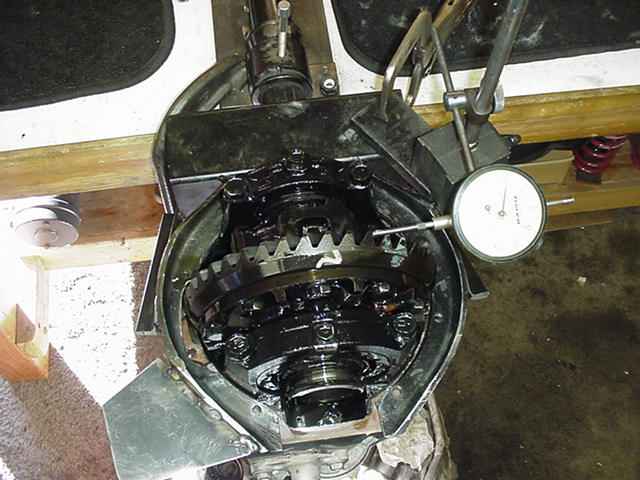
Not necessary but I chose to record the backlash. I measured 7 thou. |
|
Remove the 12mm locking tab bolts. |

|
I made up a tool to effectively tighten the spanner adjusting rings. I was able to get 5 notches in tightness. I tightened it to about 100 ft/lbs torque....100 foot/pounds on the wheel adjuster is about 10 INCH/POUNDS on the carrier bearings themselves. |
|
The other side was tightened the exact same 5 notches. 5 Notches on each side sure seems like a lot.
I now have some confidence that I can strain the hell out of this rear diff and
it will survive. :)
|

|