| Rex's 2017 Tacoma had an annoying leak from the front clamshell area after a 529/elocker install |
|---|
| (60 BIG pics loading) |
|---|
| May 5 2022 |
|---|
|
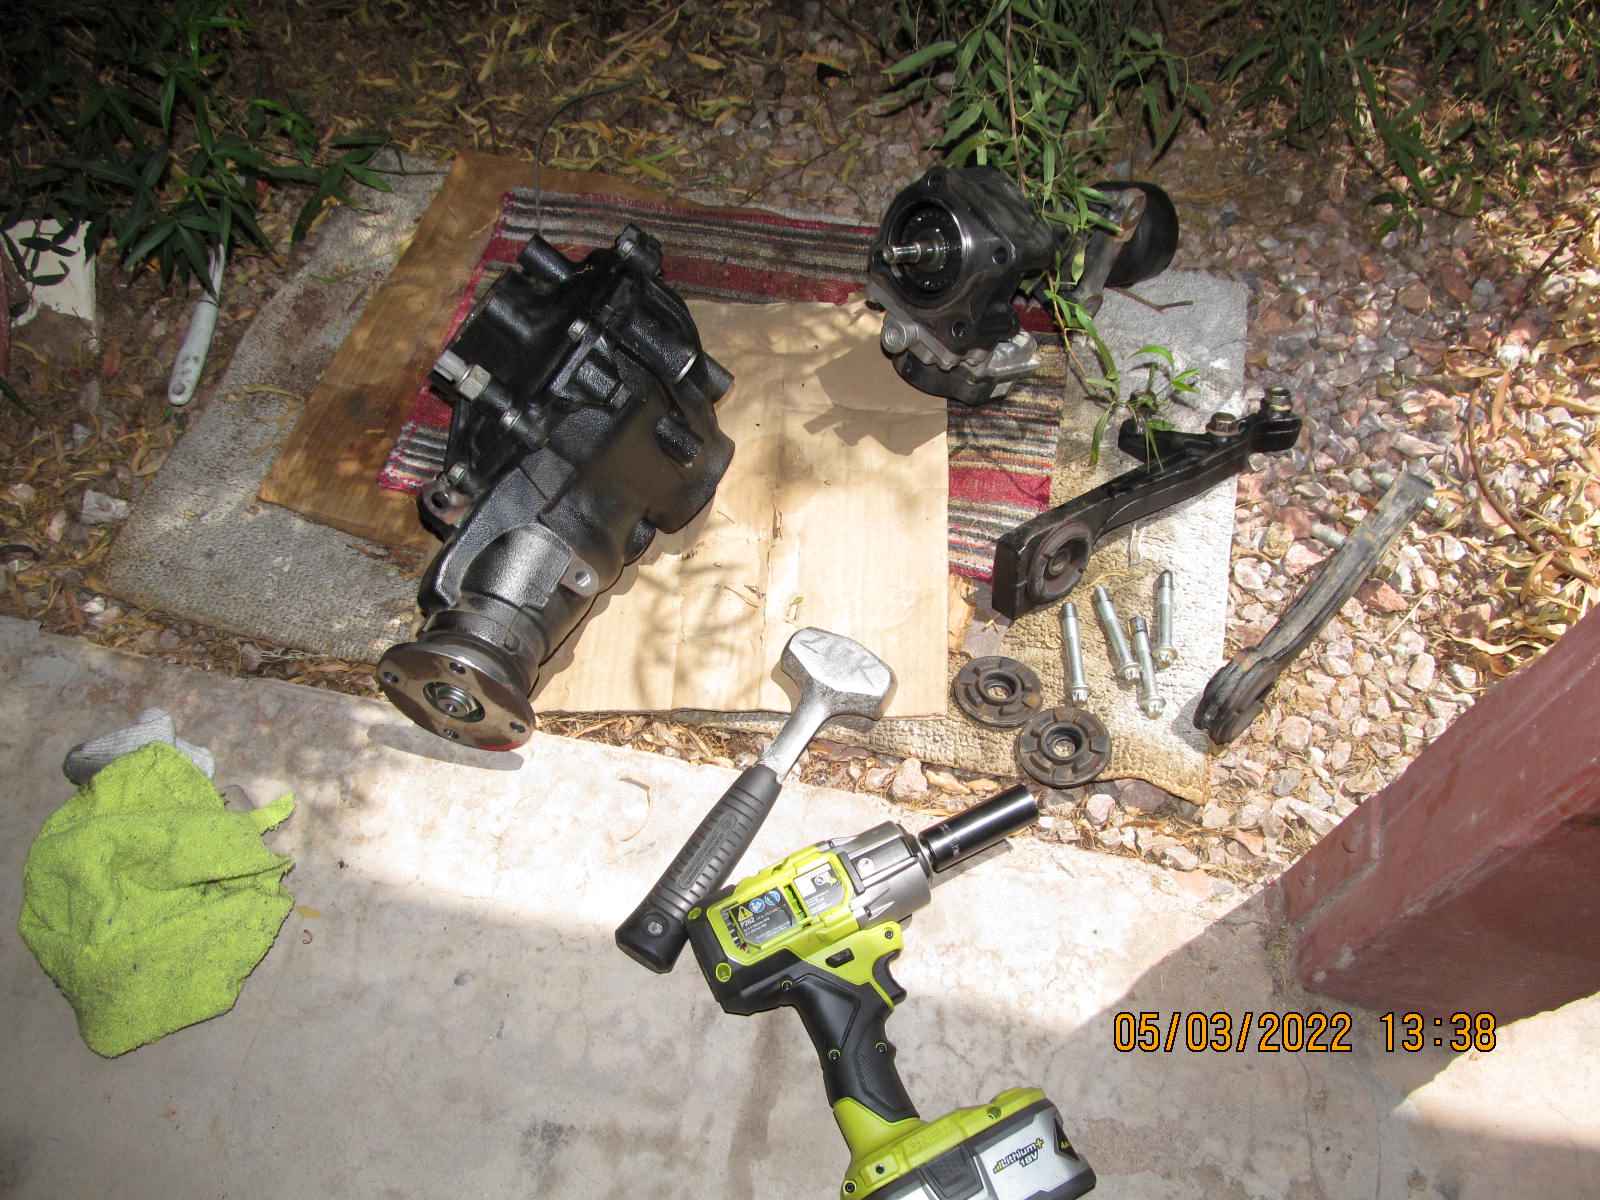
That's the basic jist of it....another shop installed 529 gears and an elocker in the front 8" clam and Rex noticed a small gear oil puddle
every couple of days. The clam was removed and brought to my humble shop.
The tube extension and clam support arms were removed first. |
|---|
|
|
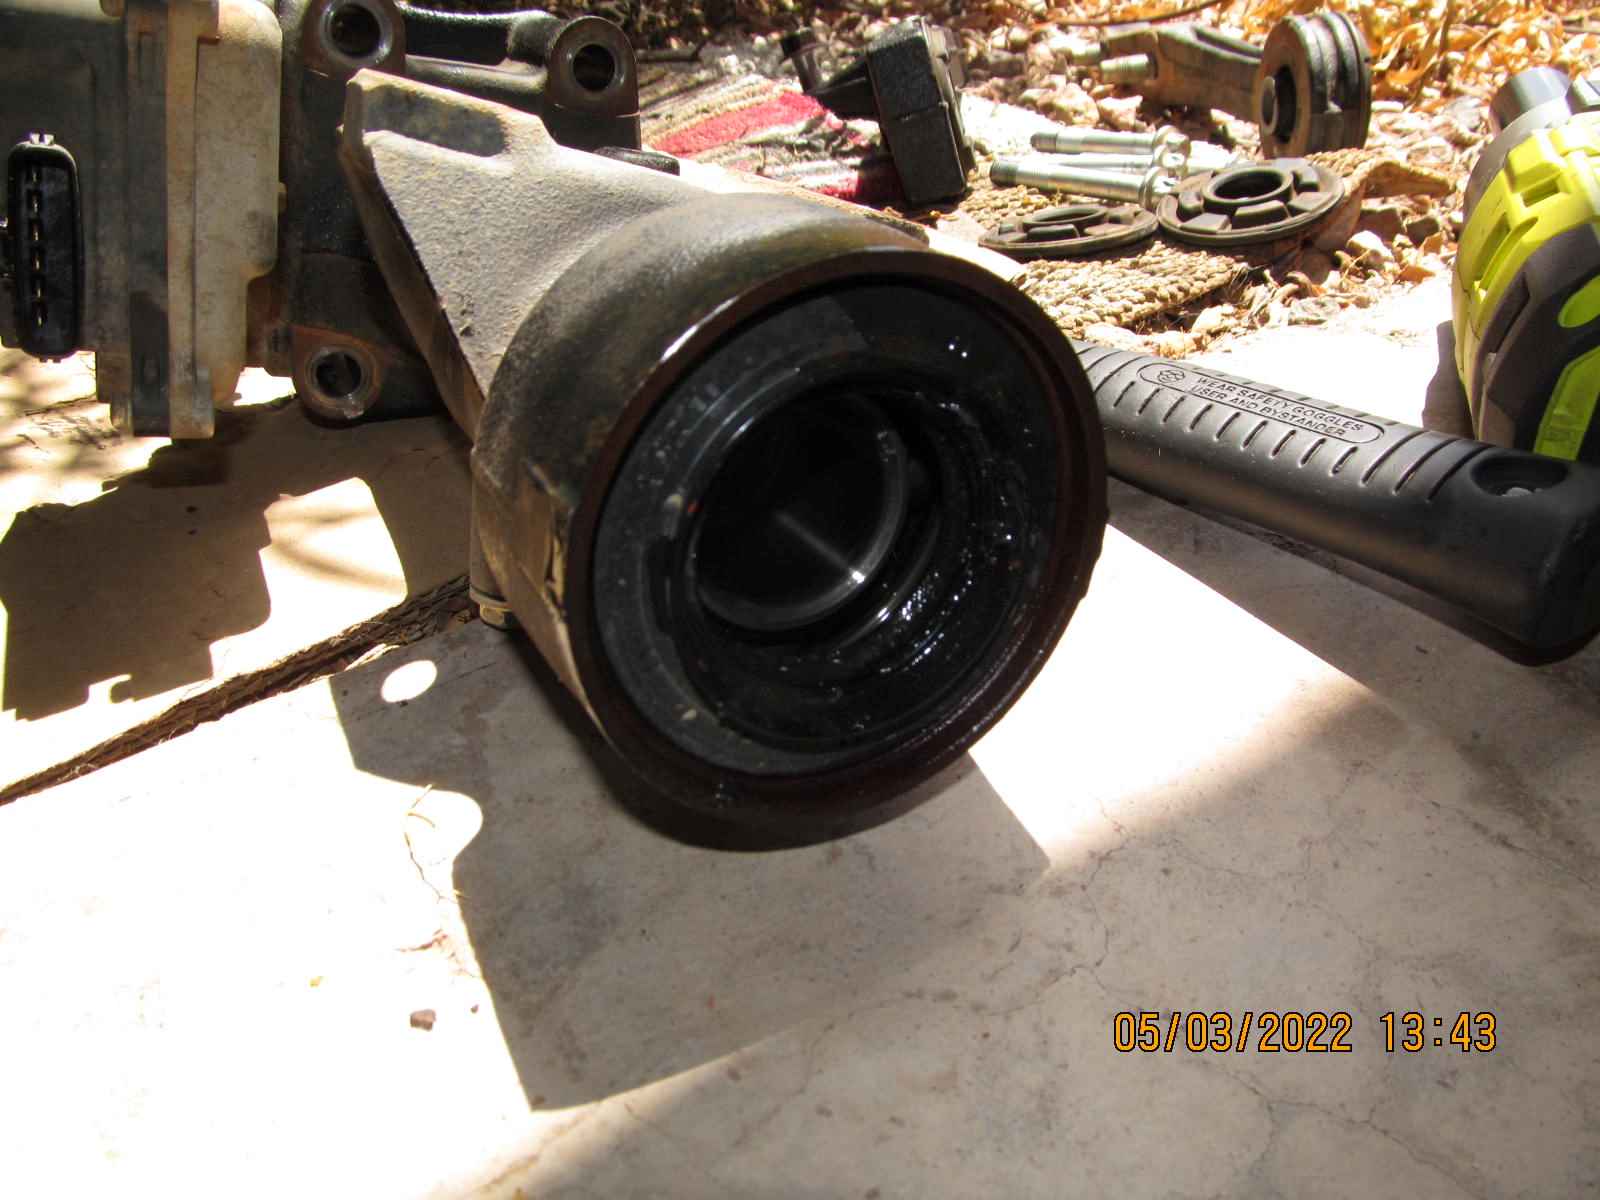
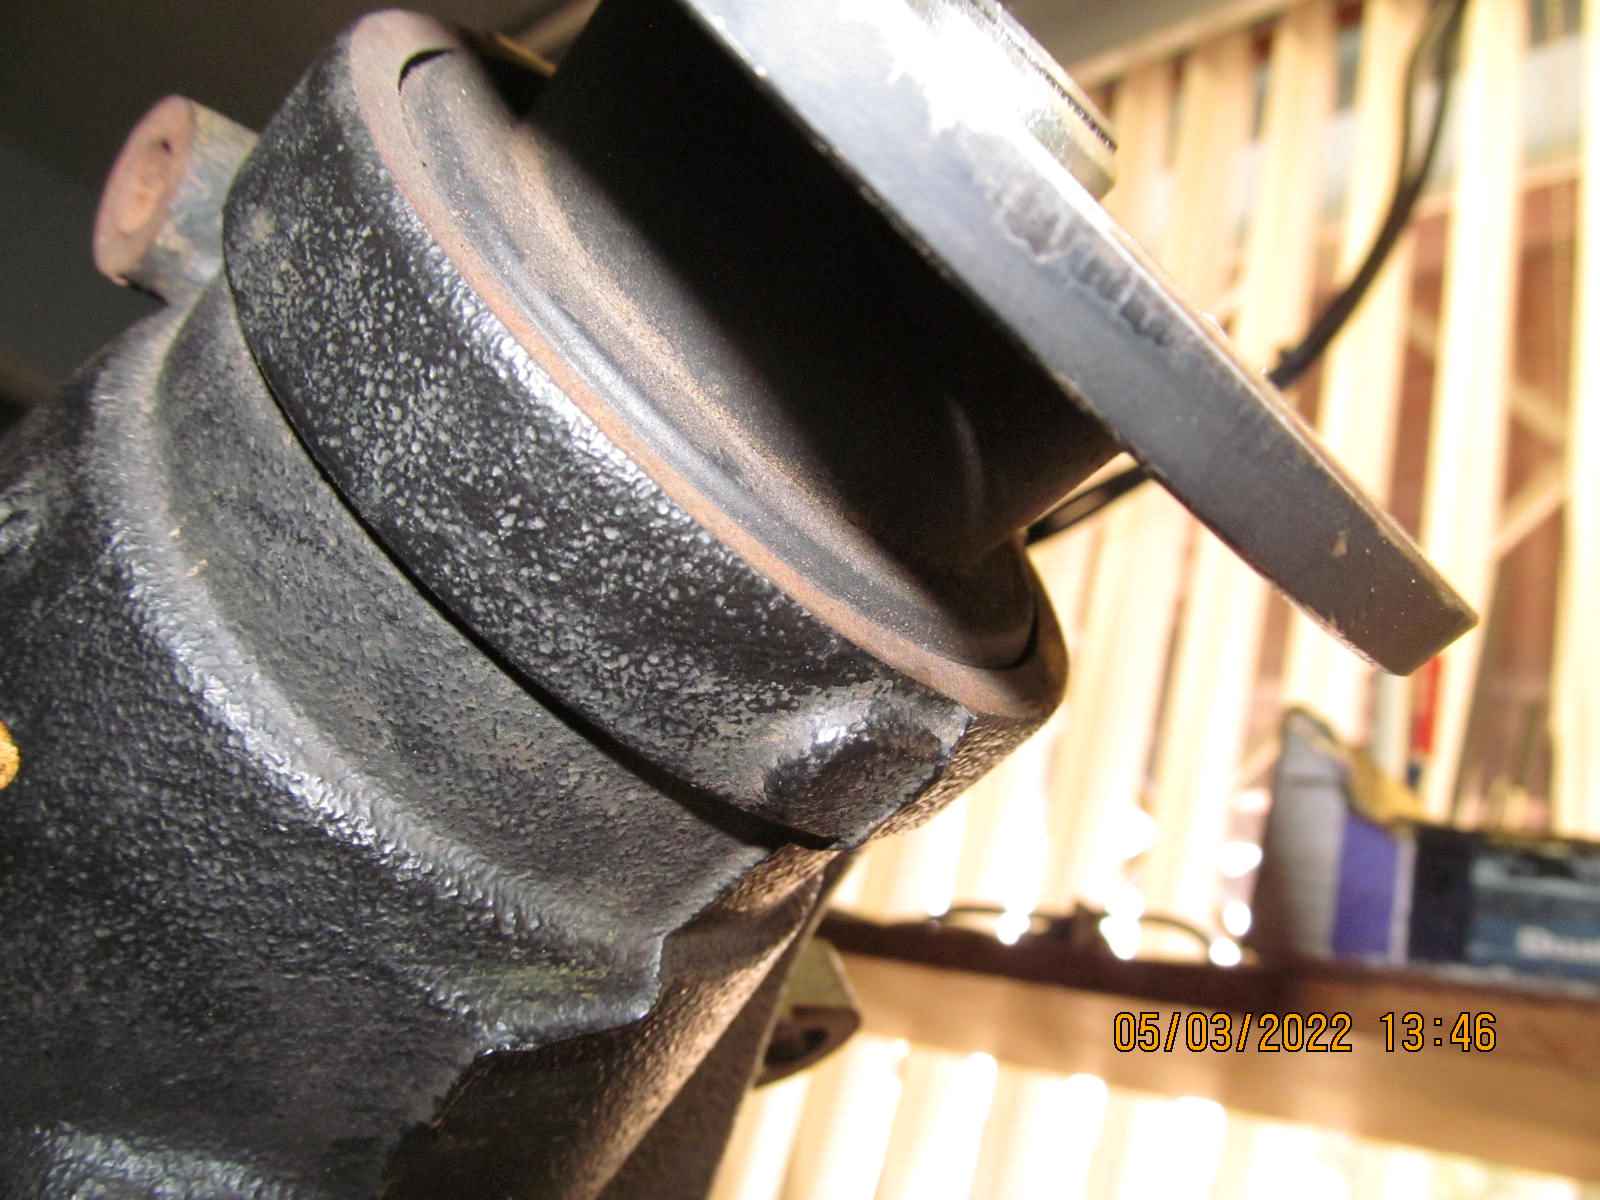
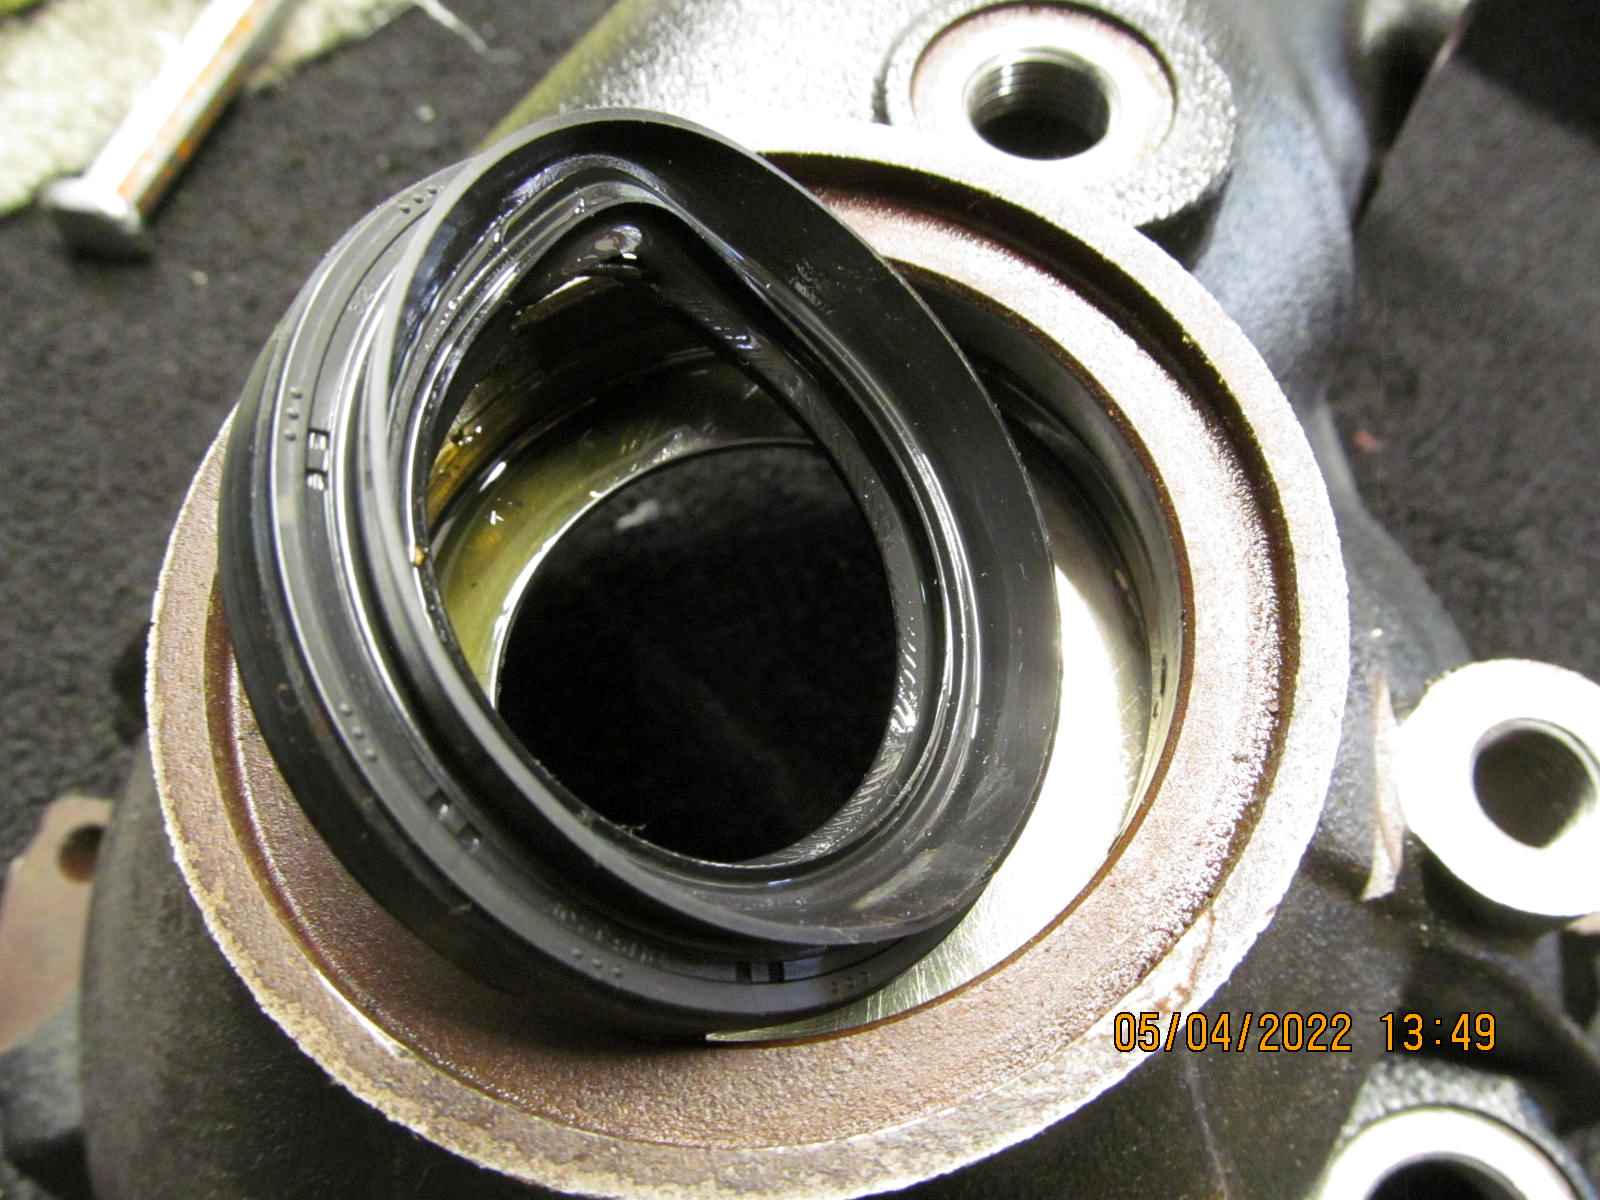
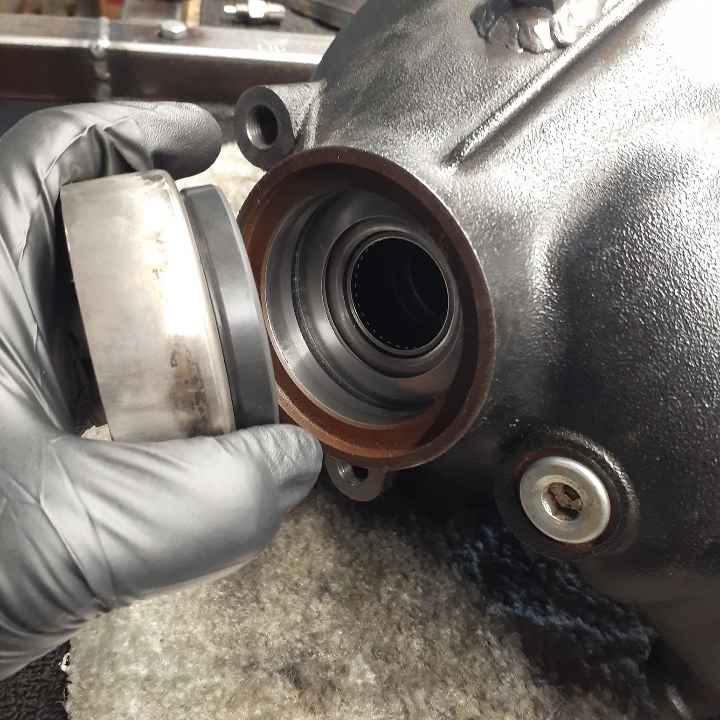
| The outer seal on the passenger-side tube extension flange was suspect but hard to say for sure. |
|---|
|
|
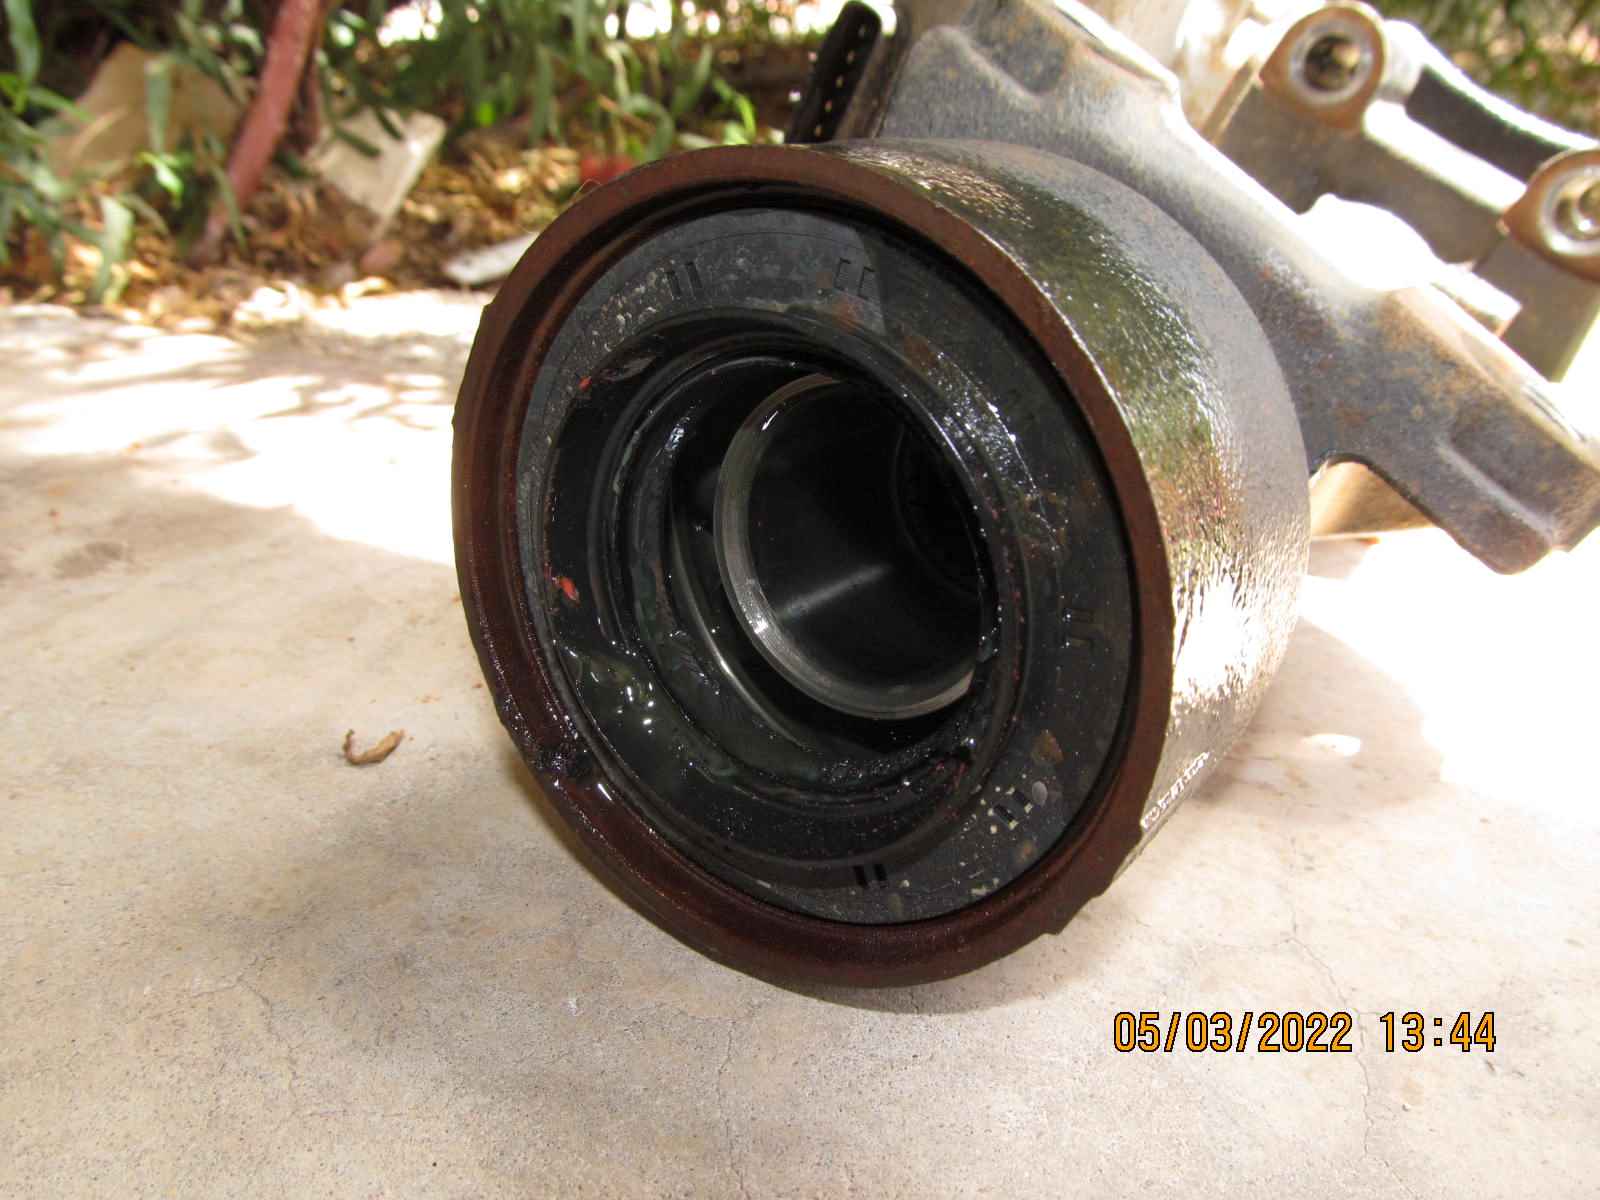
| There was gear oil spilling out but kind of expected it here. It will see a new factory seal. |
|---|
|
|
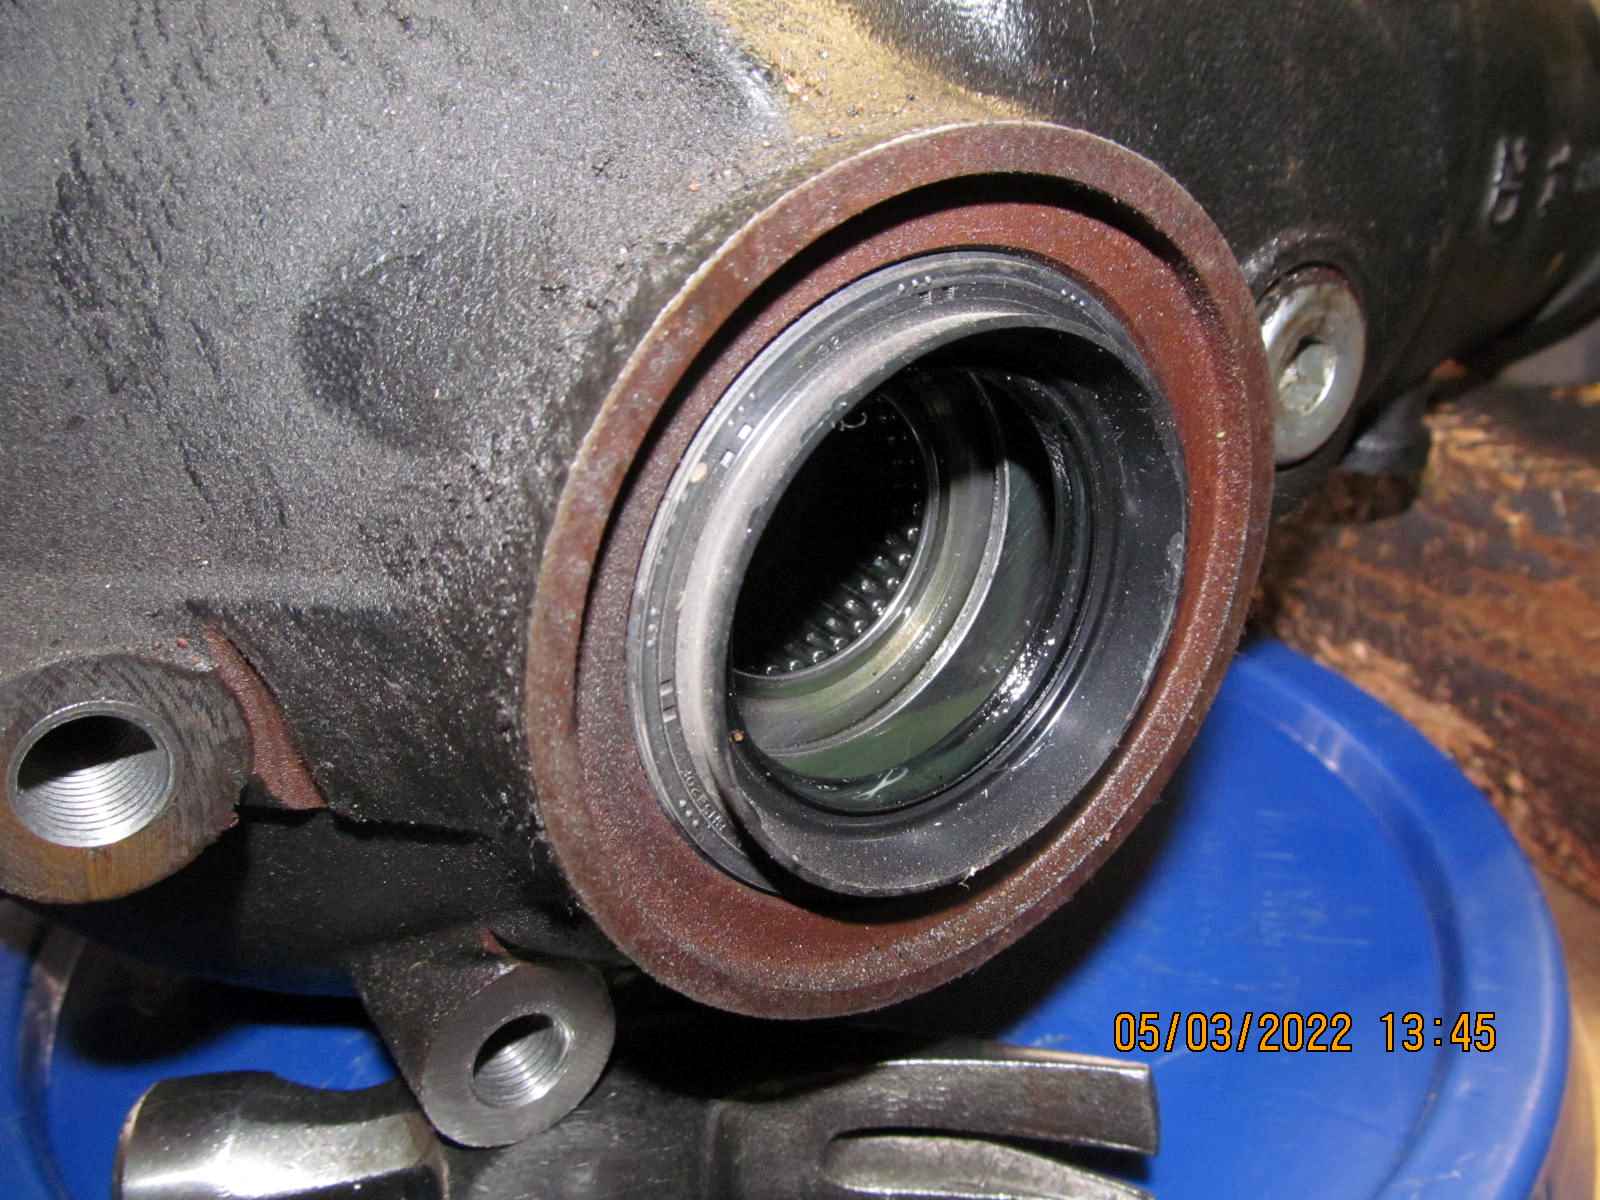
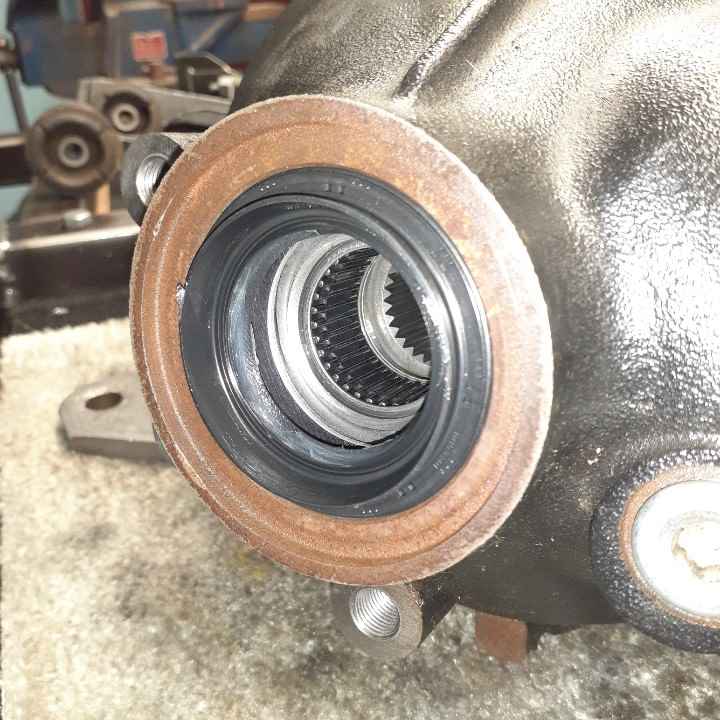
| The driver-side seal for the stub axle looks ok....a new factory seal will replace it. |
|---|
|
|
| The pinion seal does look perfect....don't think it was coming from here. |
|---|
|

|
| No sign of any oil. |
|---|
|
|
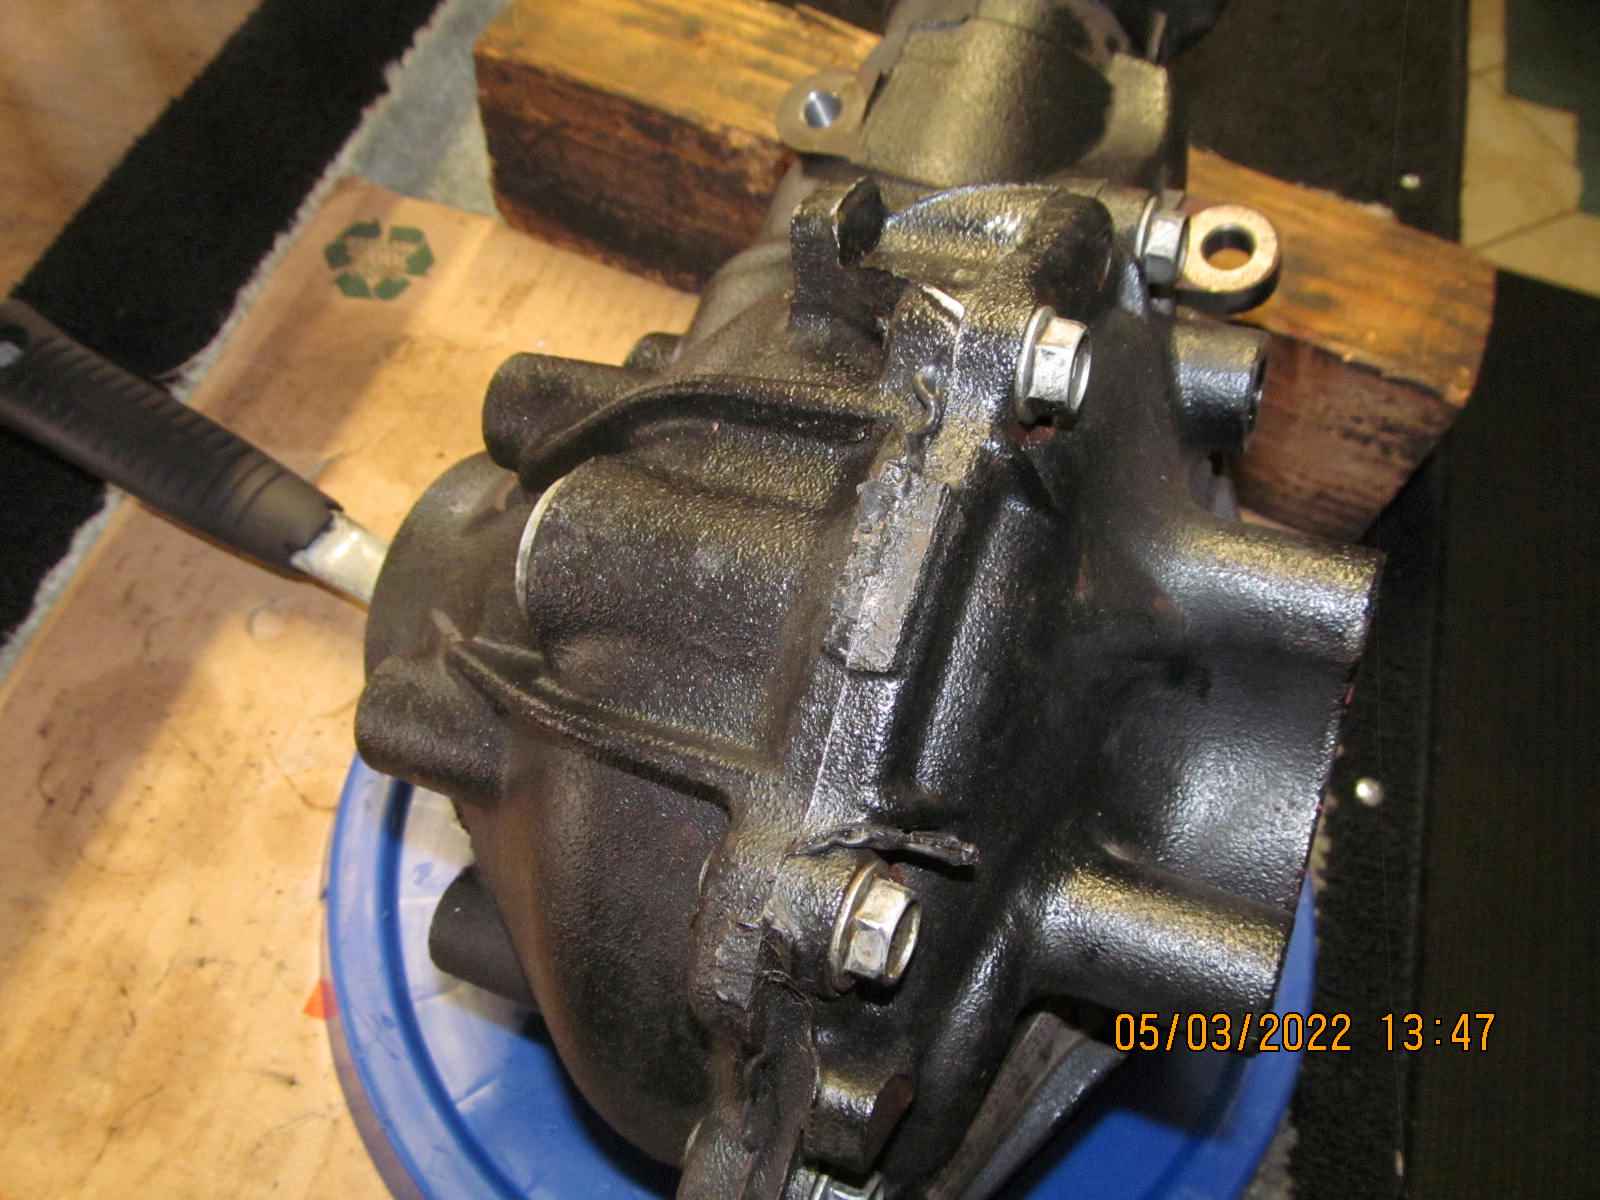
| This shows the bottom of the clam and the generic black silicon RTV makes me wonder if this is the leak. |
|---|
|
|
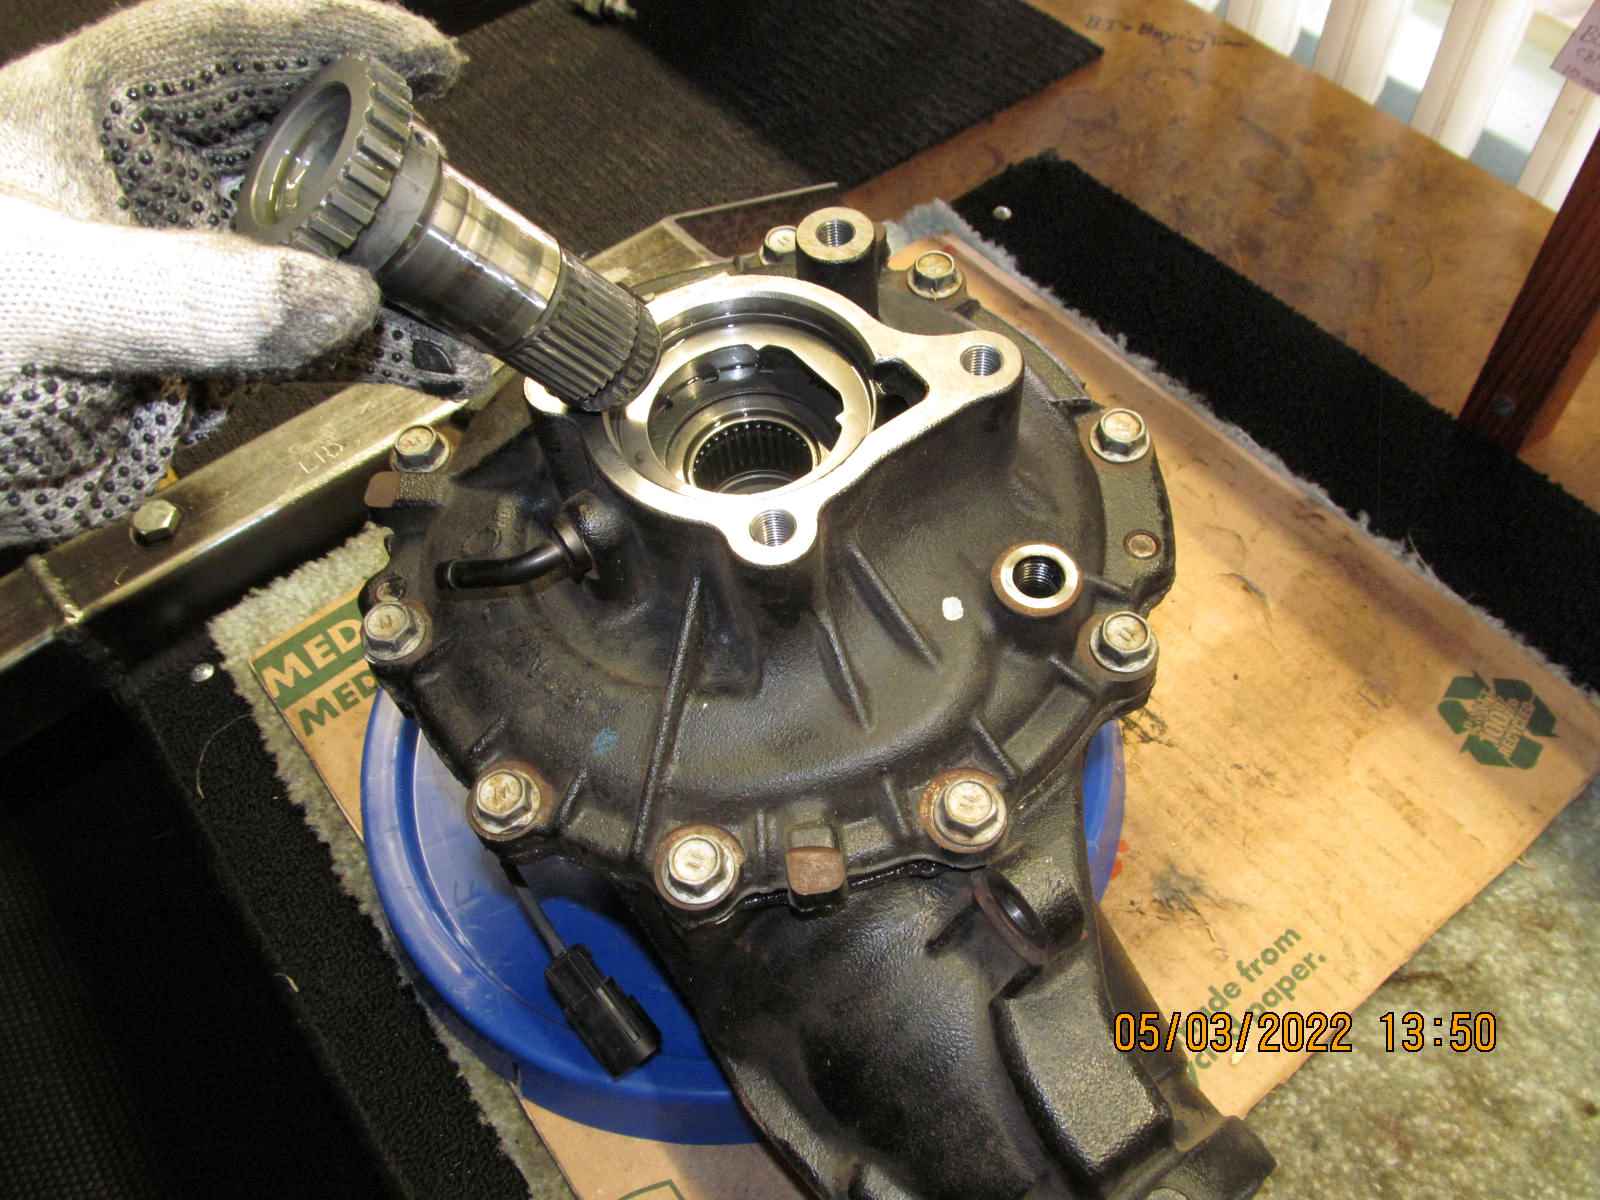
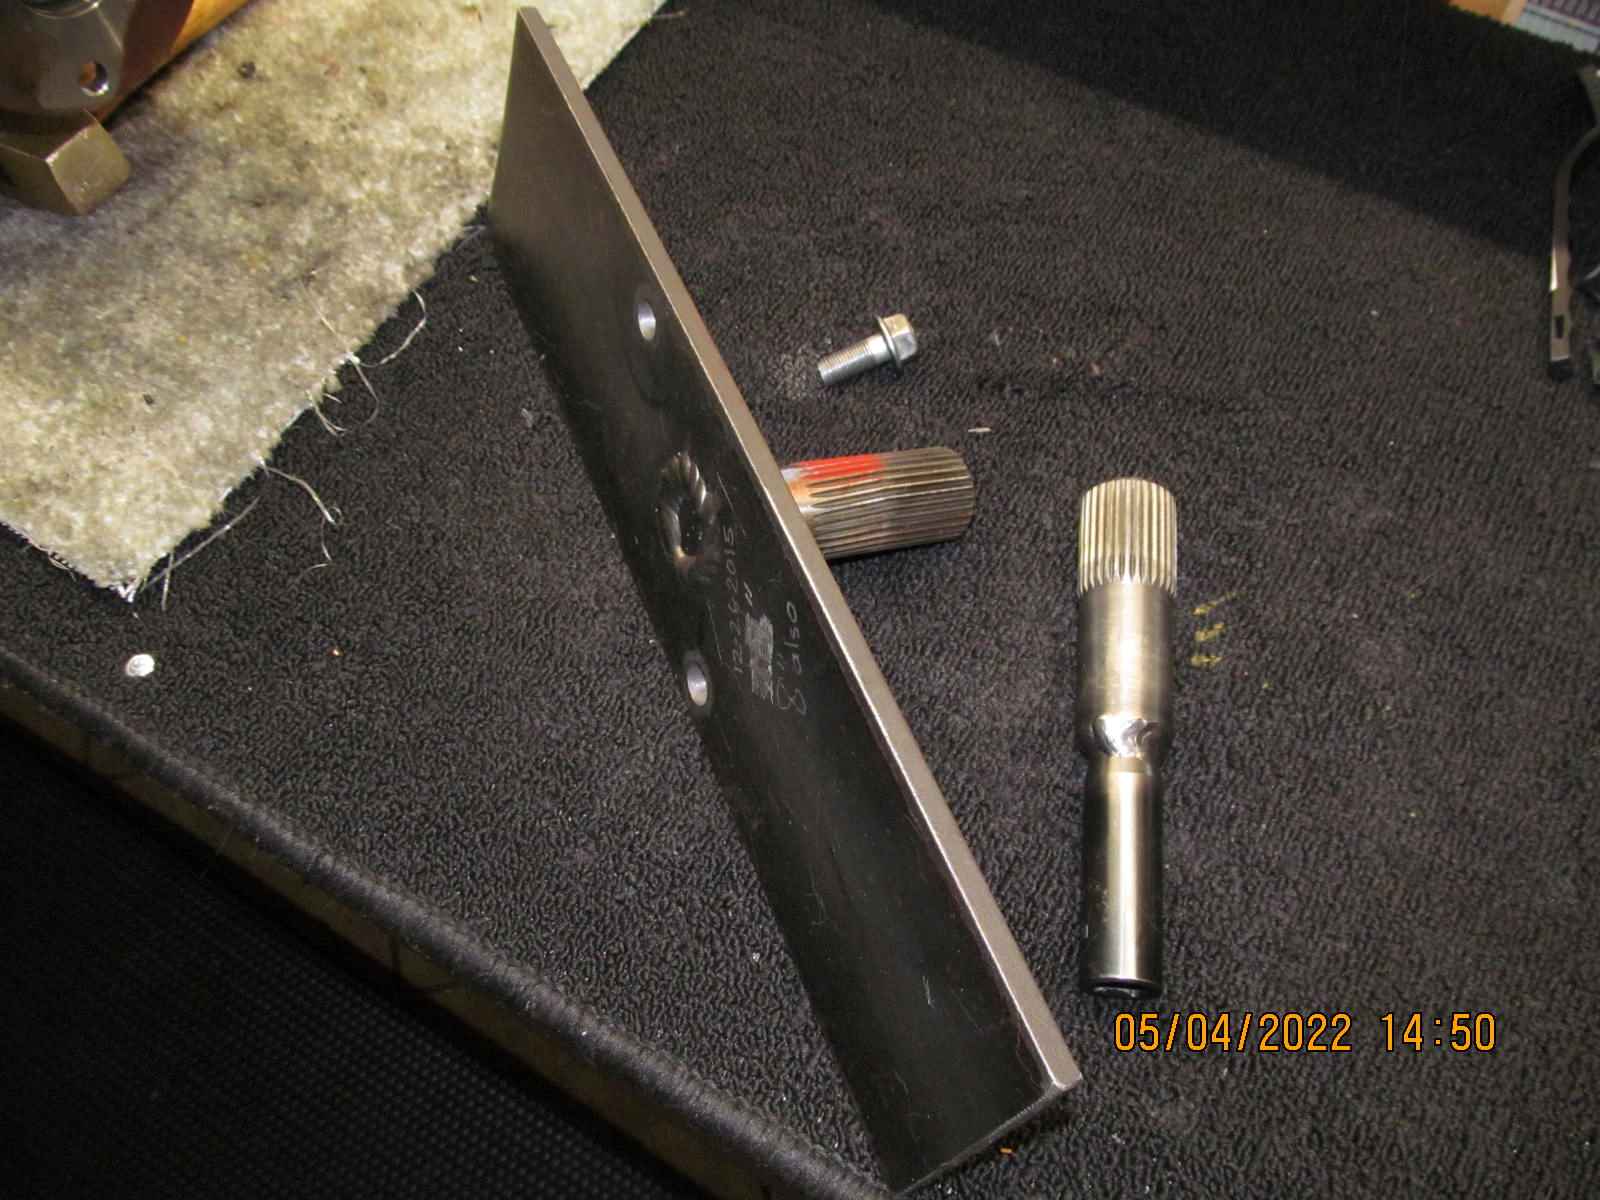
| Let's take out the inter-shaft... |
|---|
|
|
| 2 heavy duty screwdrivers and a tap-tap in the middle will allow the axle clip to pop out. |
|---|
|
|
| Easy peasy. |
|---|
|
|
| A sloppy Ding mark.... |
|---|
|
|
| .............. |
|---|
|
|
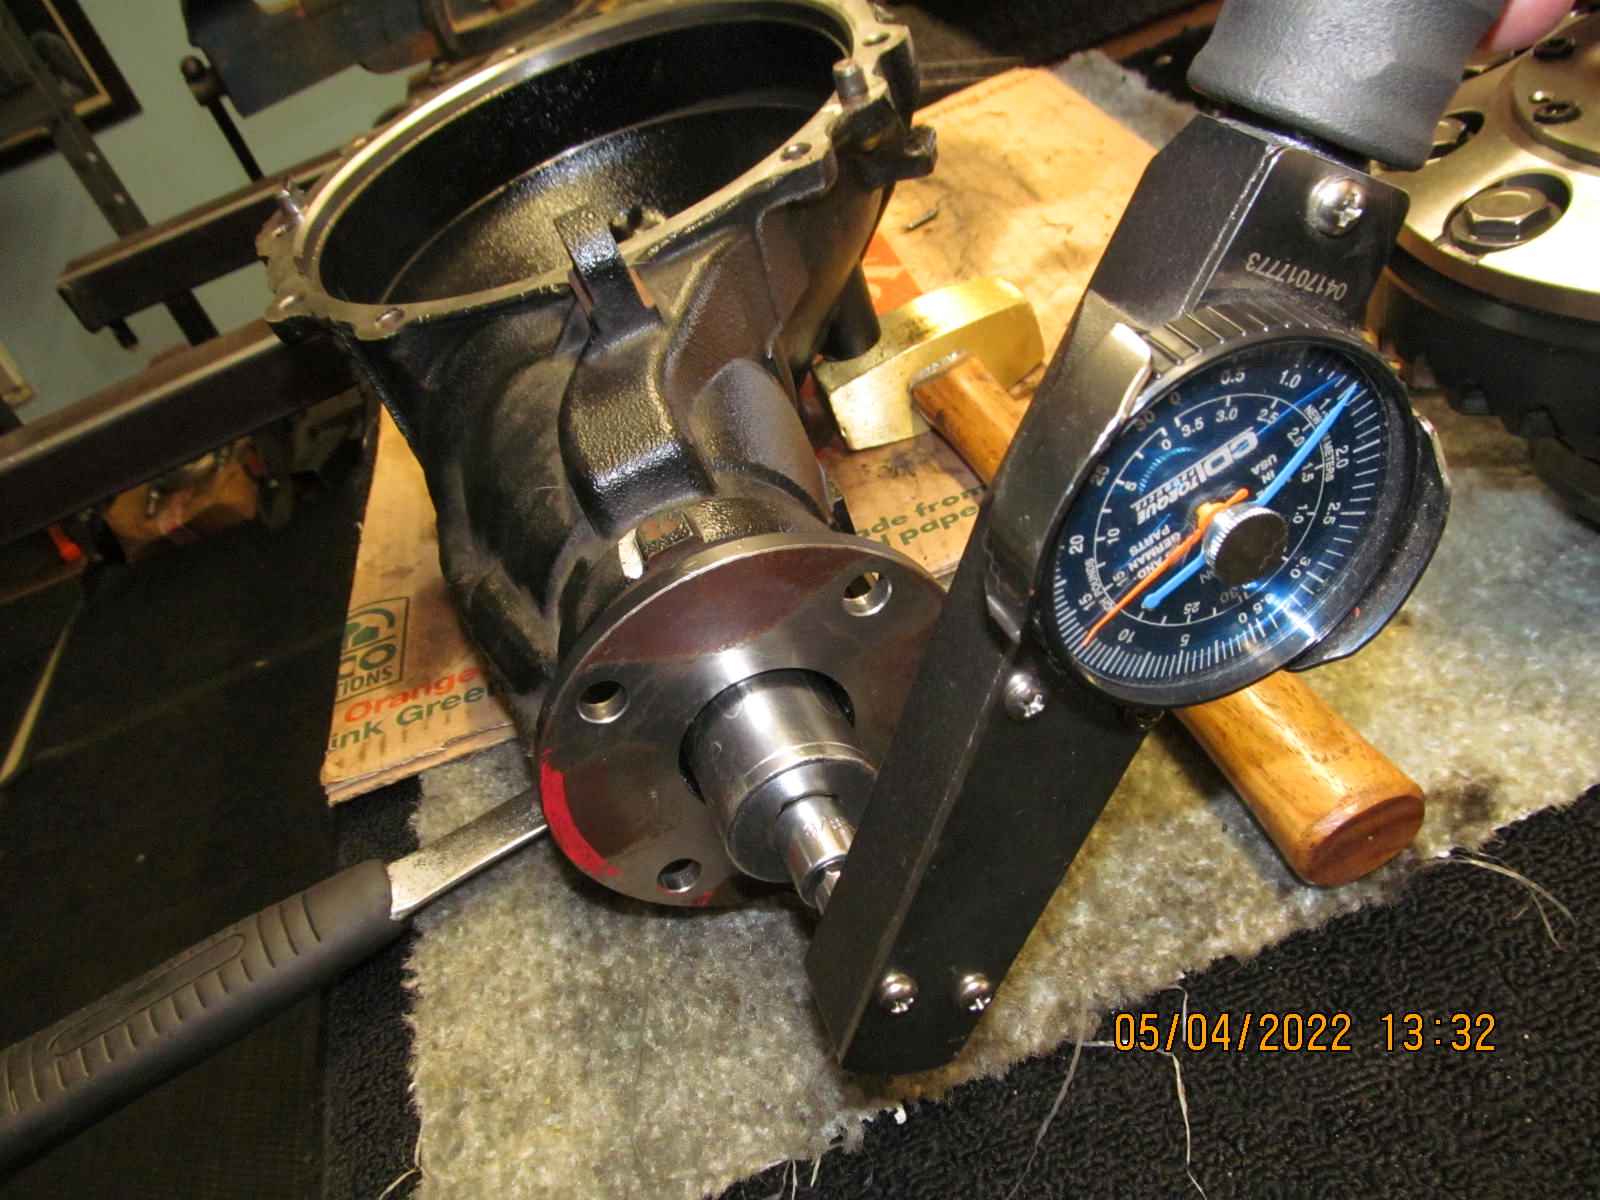
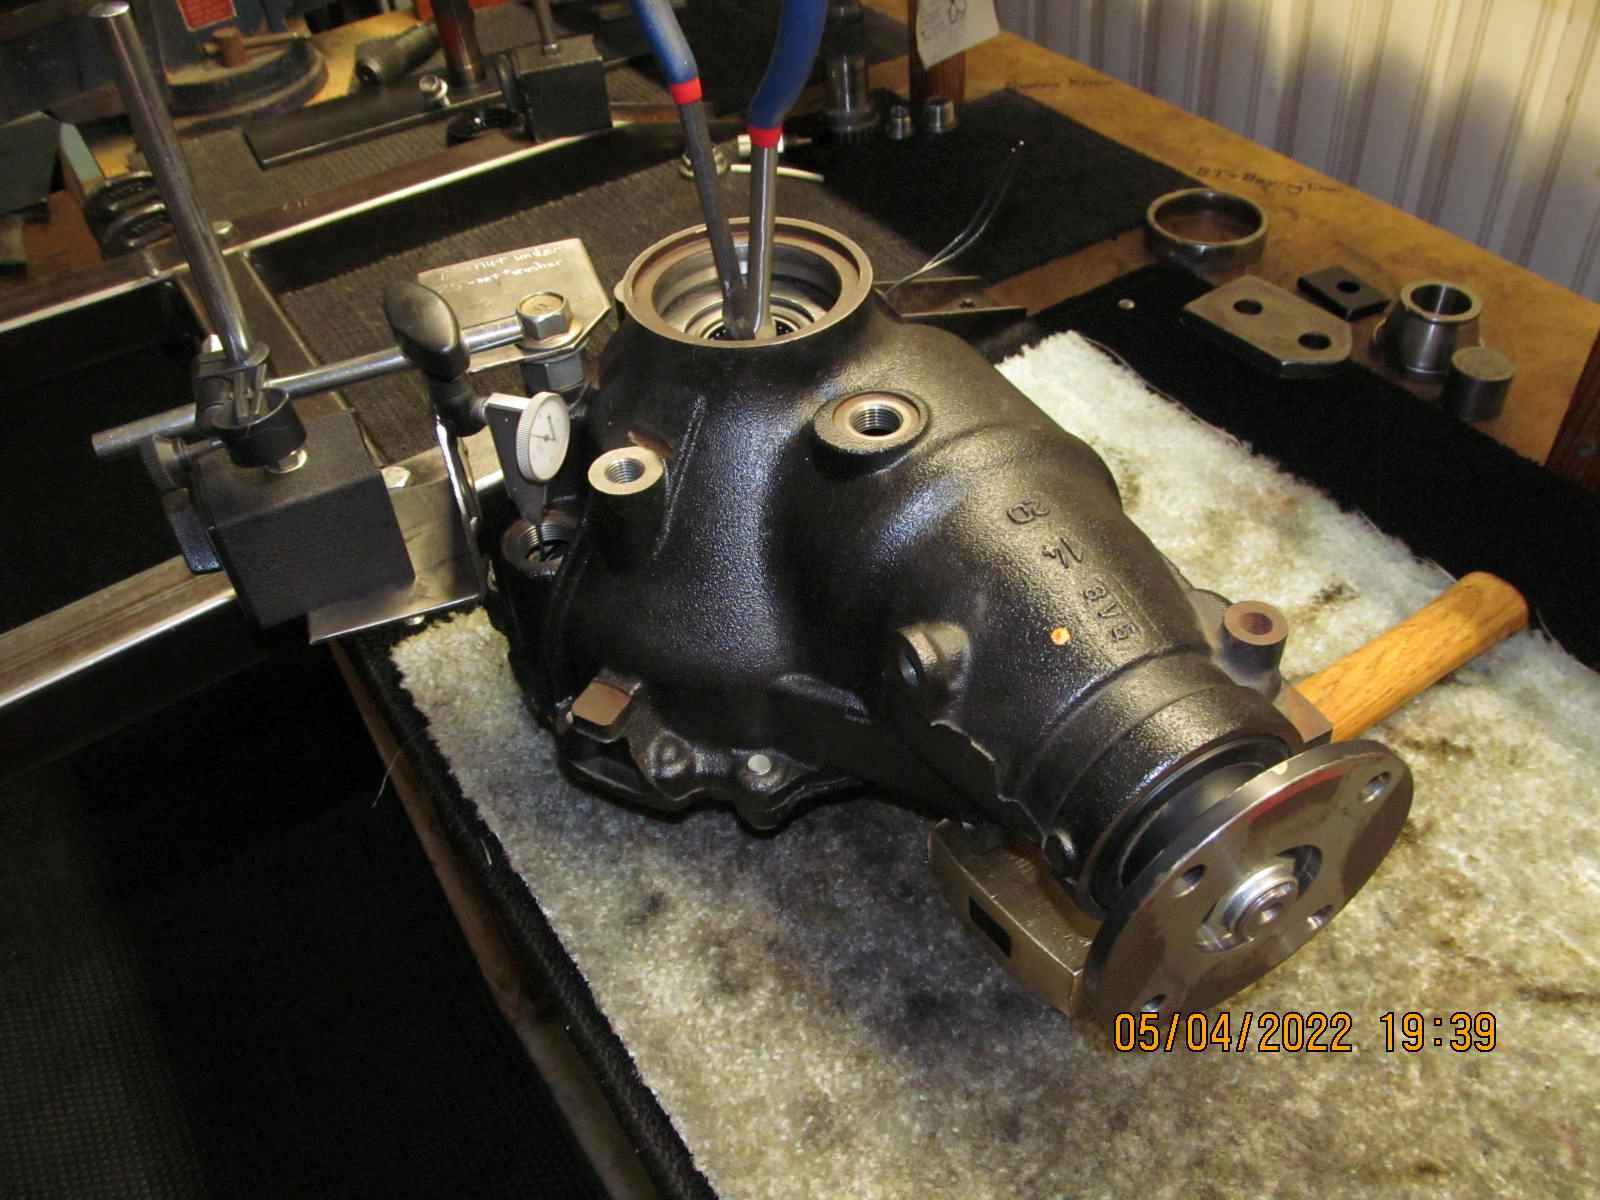
| A quick check of total bearing preload and it is very high...about 40 inch/pounds. |
|---|
|
|
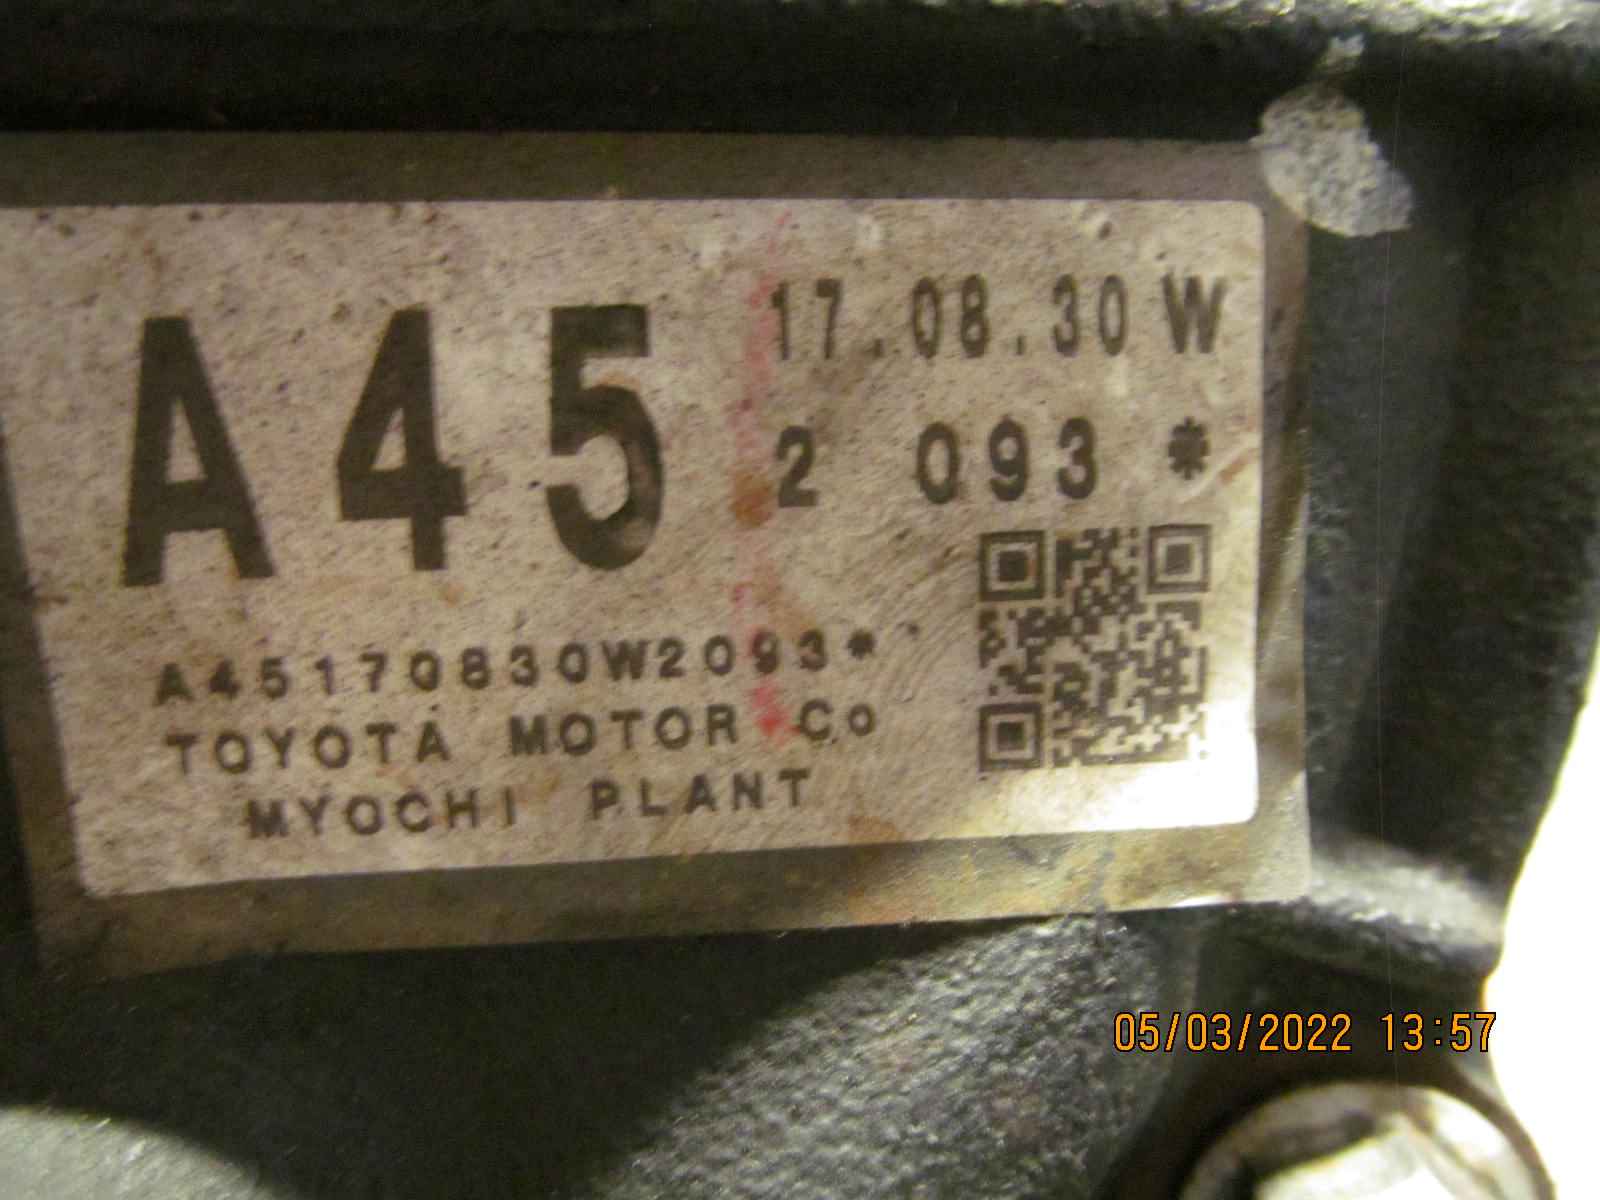
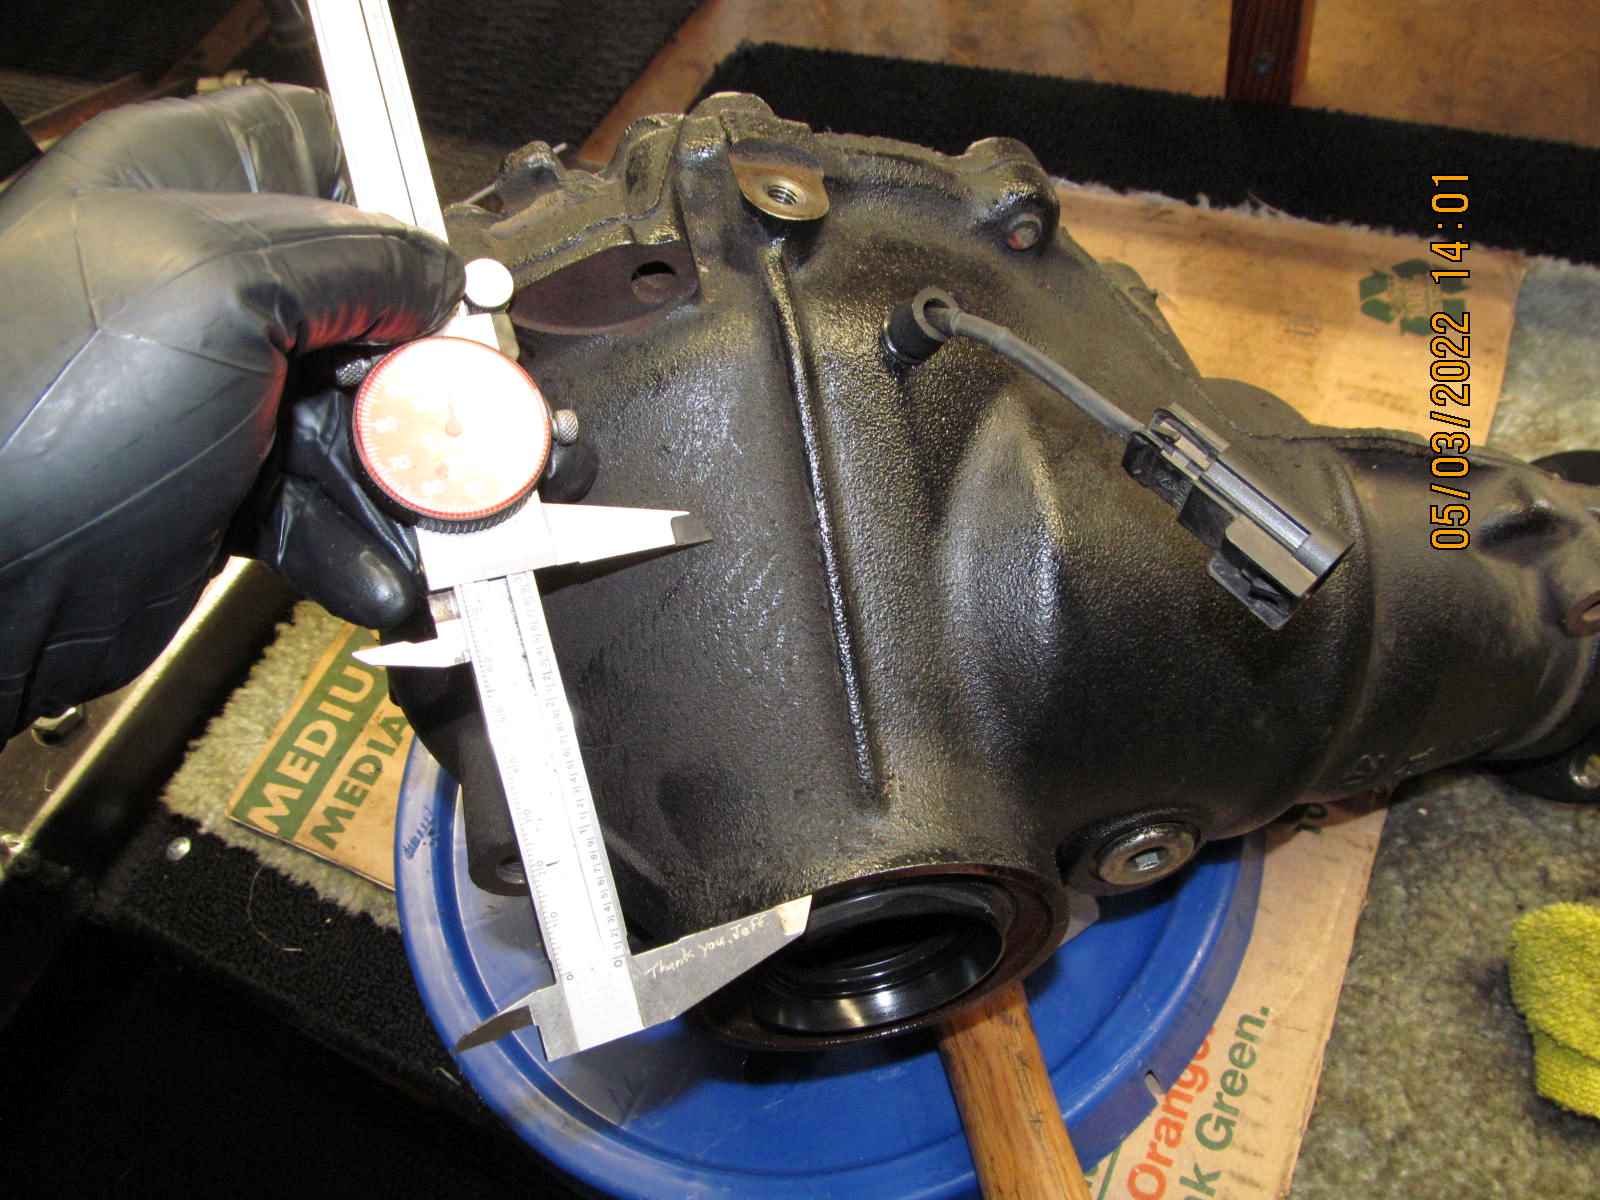
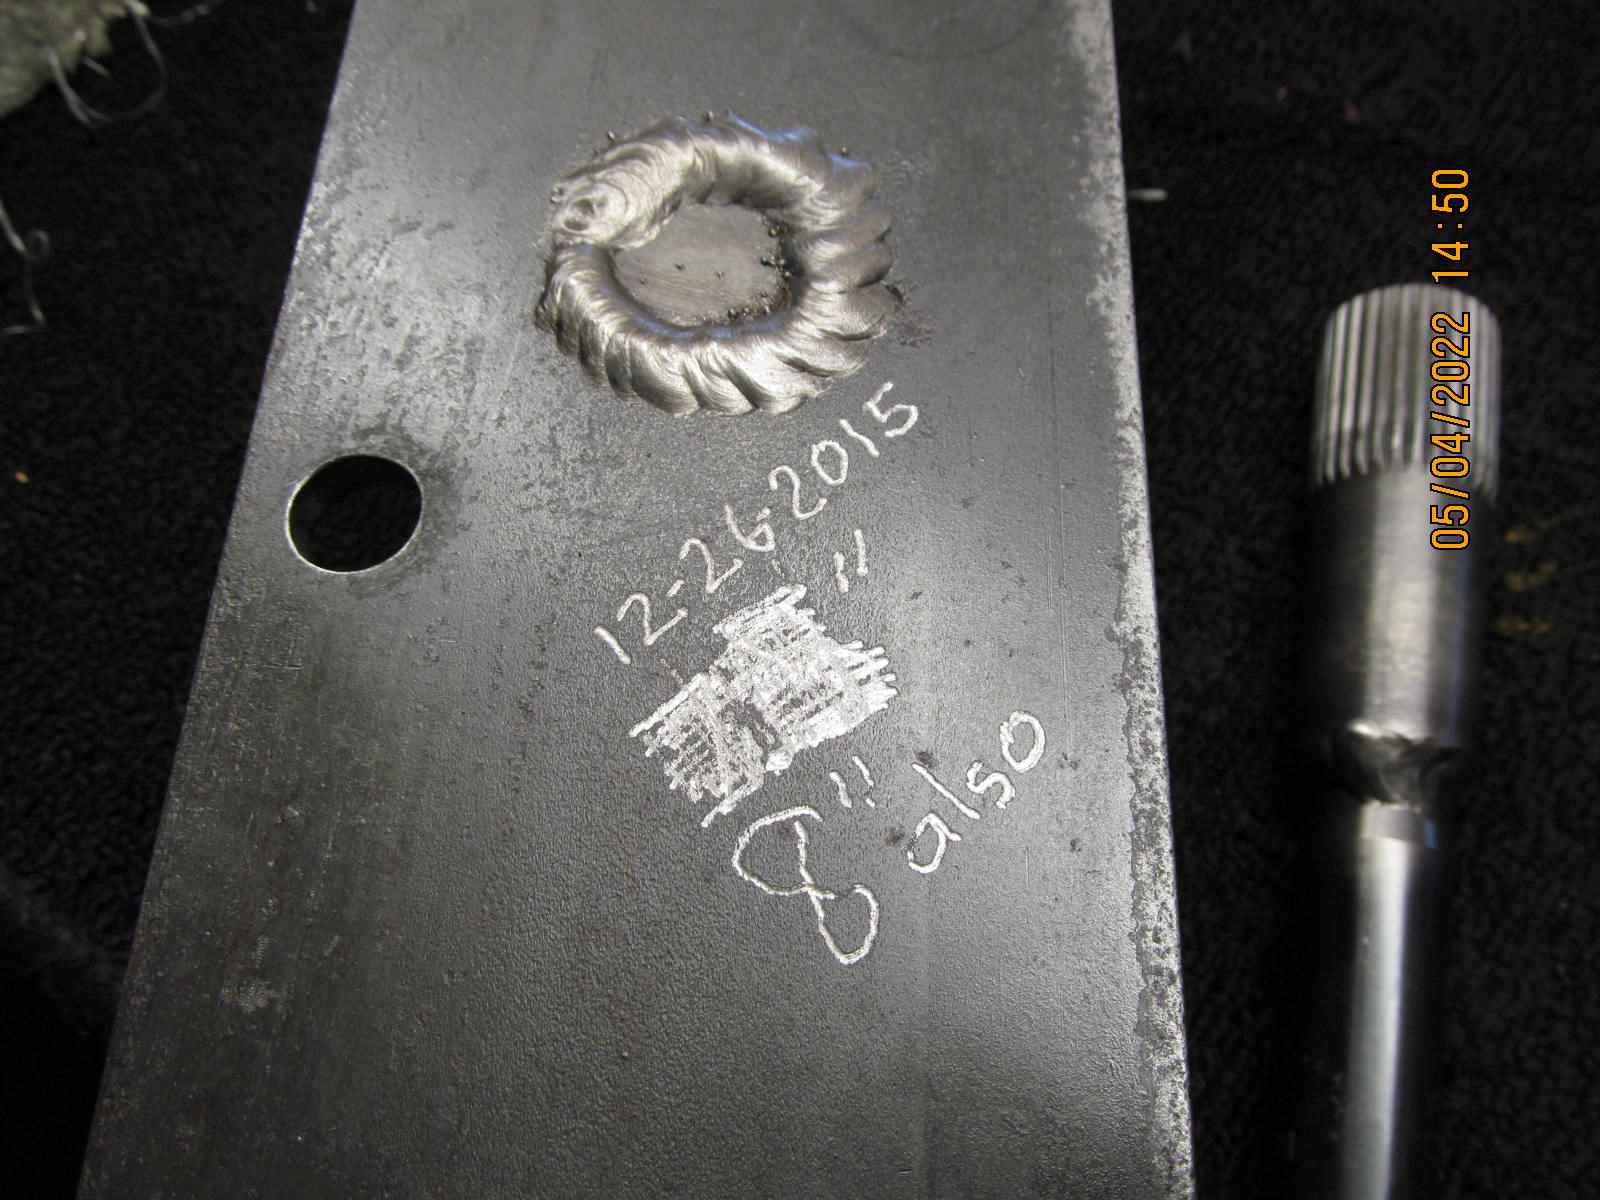
| This clam made on August 30, 2017. |
|---|
|
|
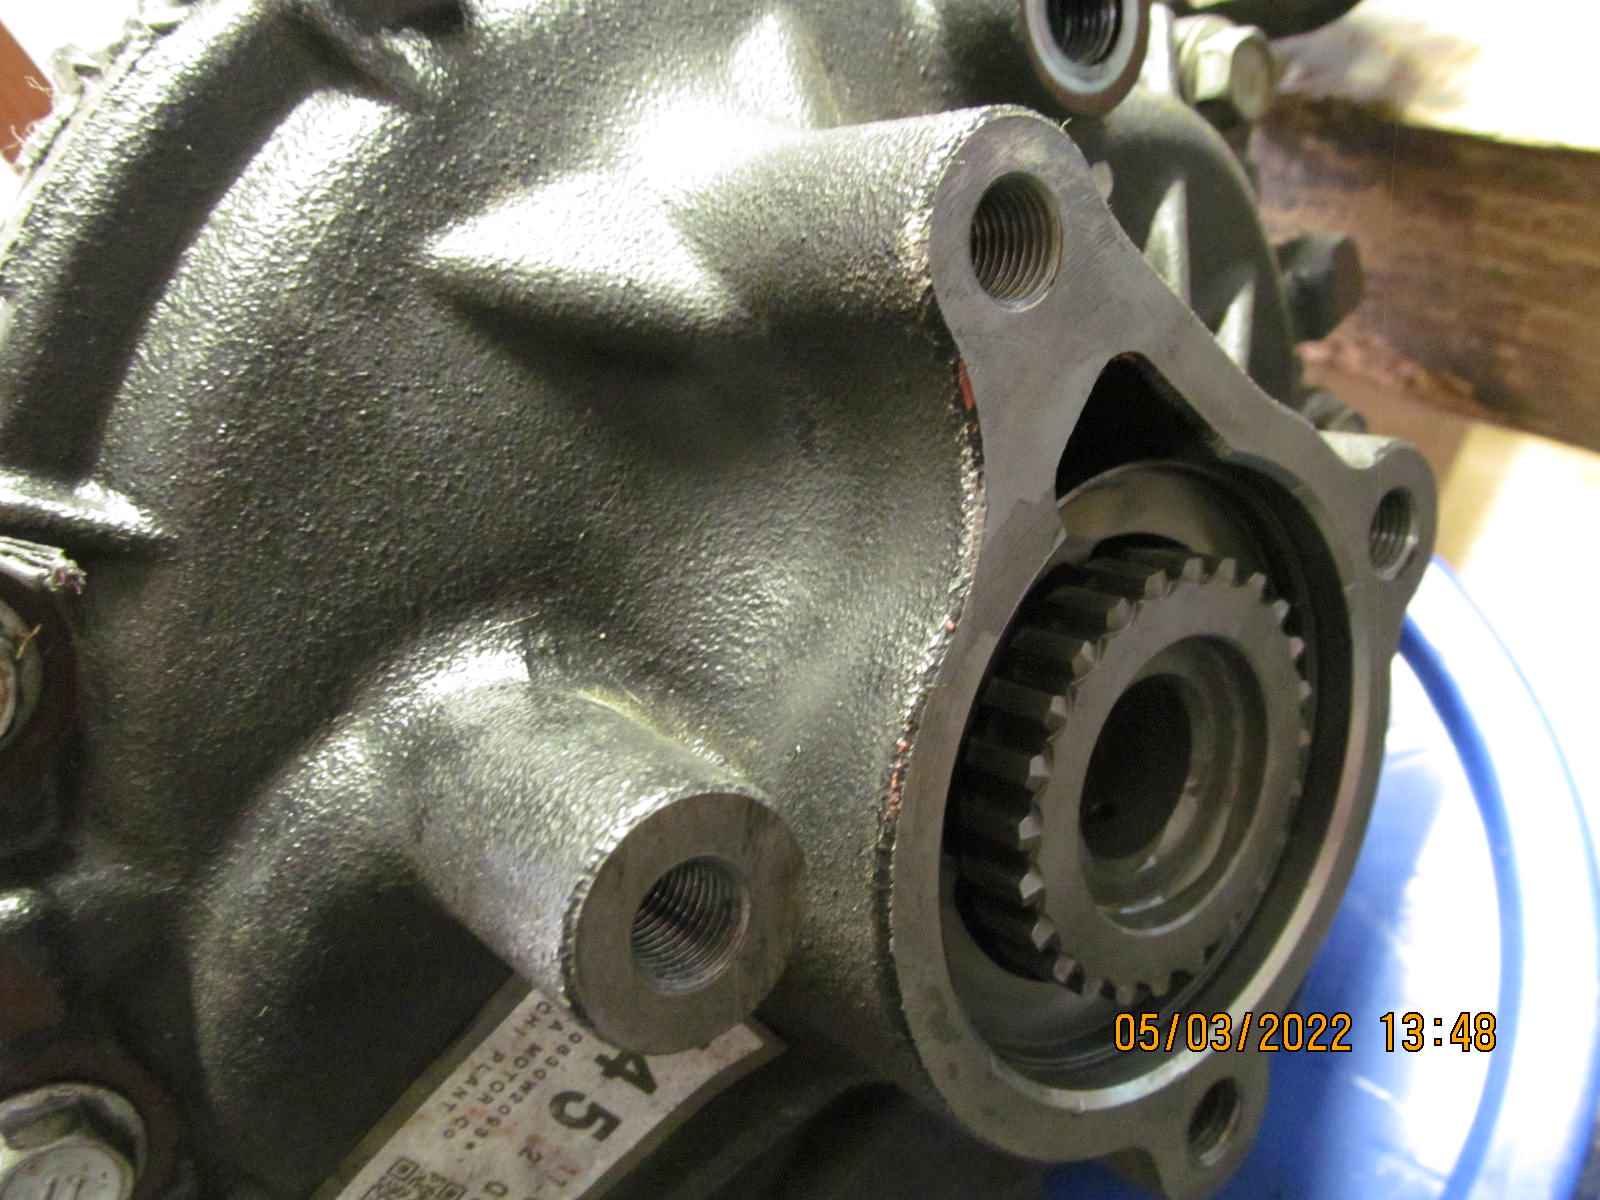
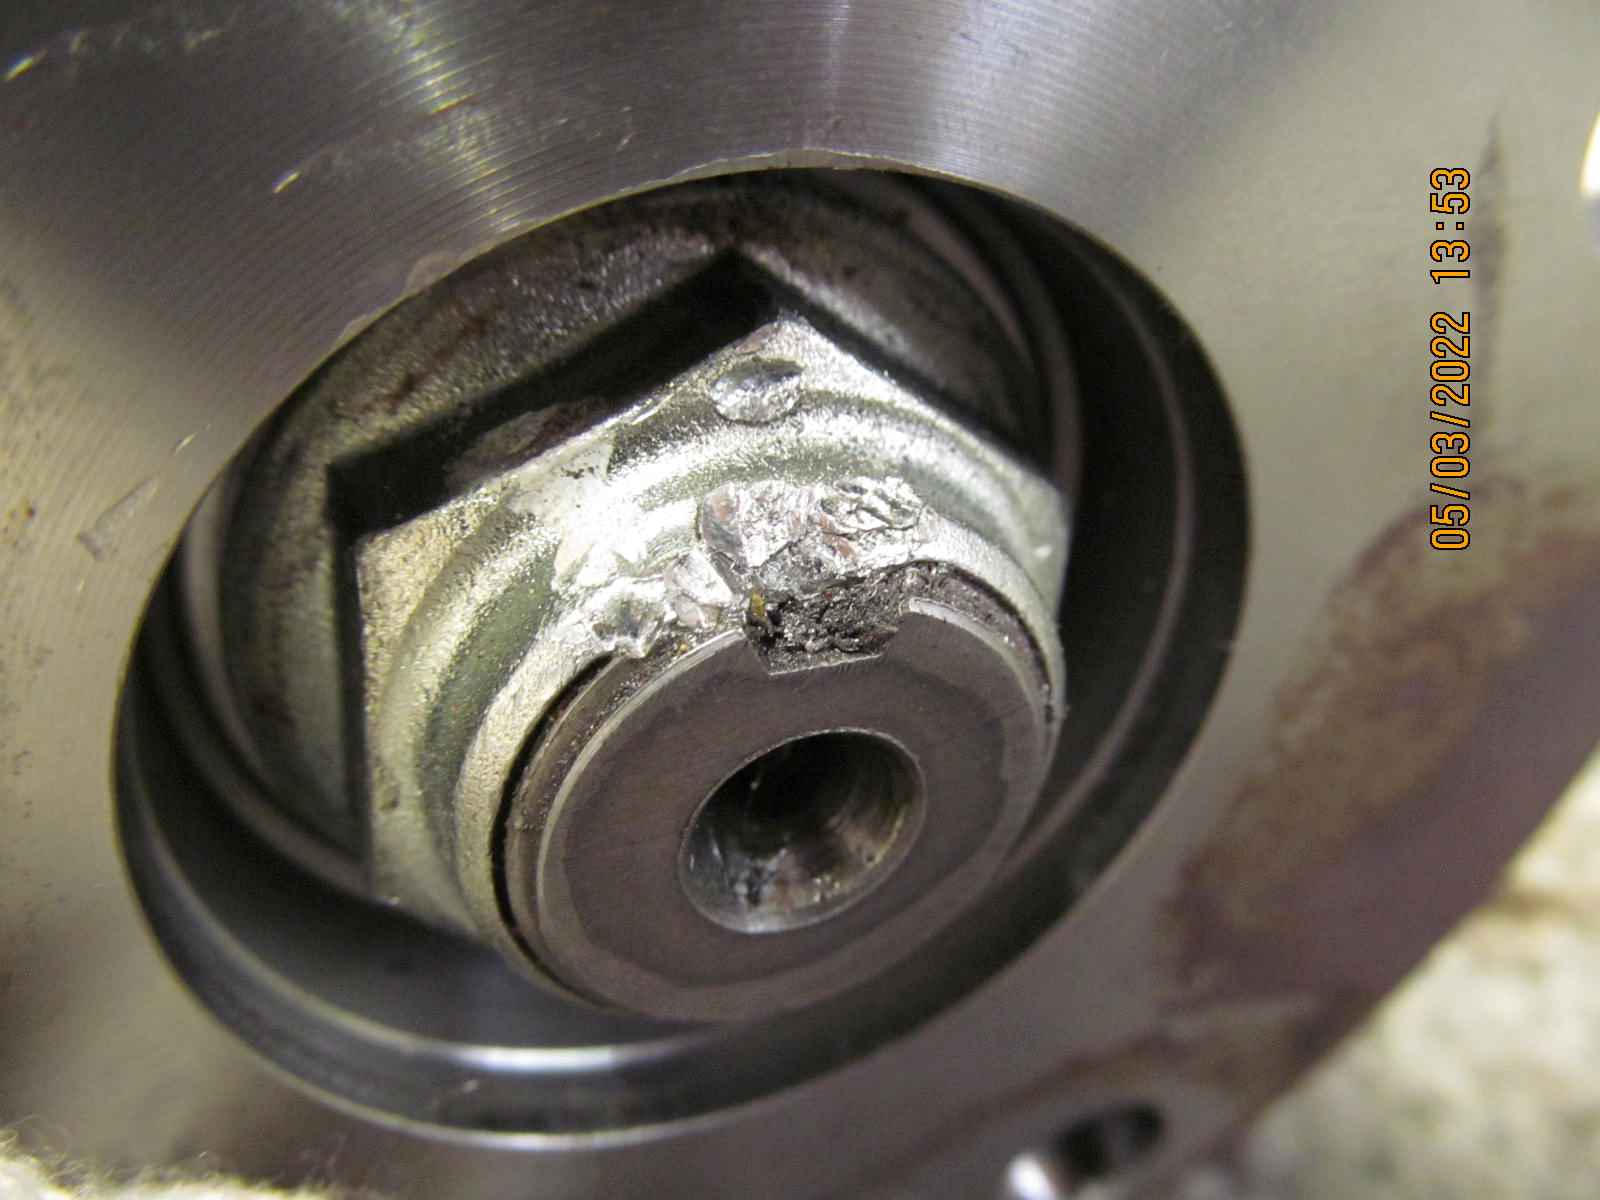
| Seems like every clam I get with the elocker in it has no steel bushing welded over the hole for rubber grommet support. |
|---|
|

|
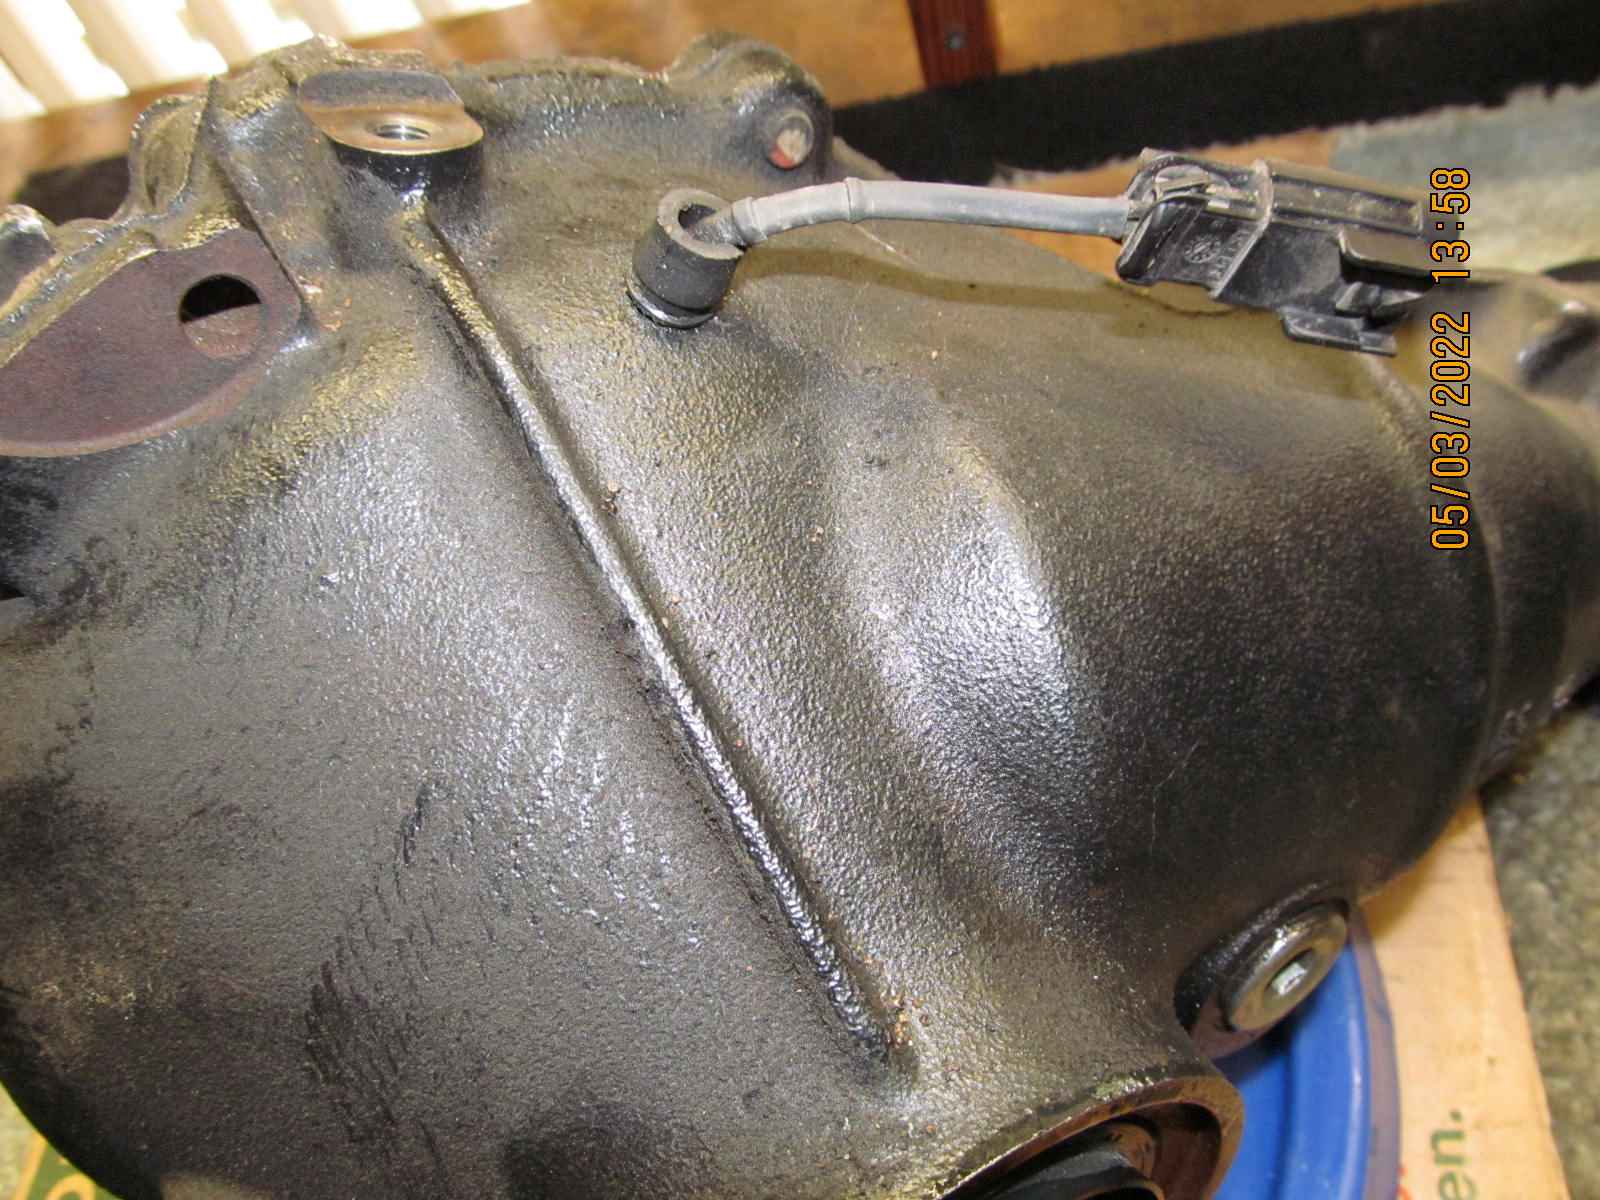
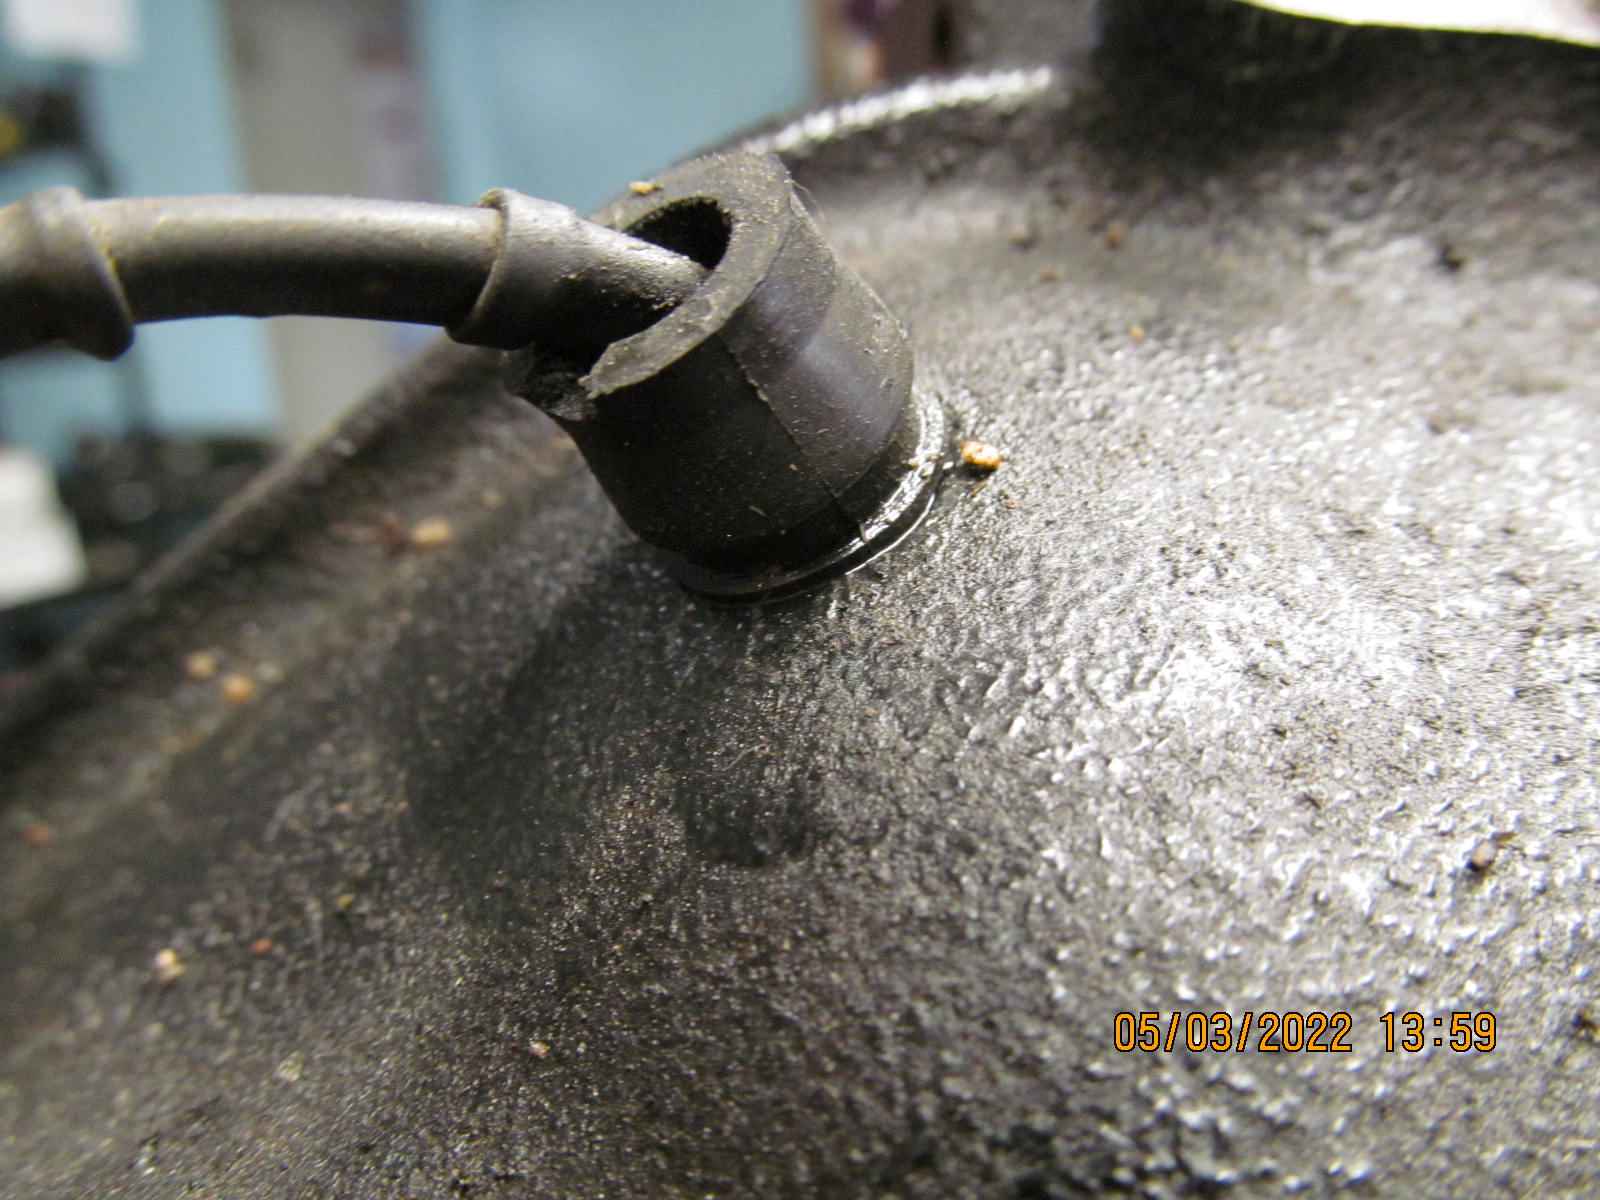
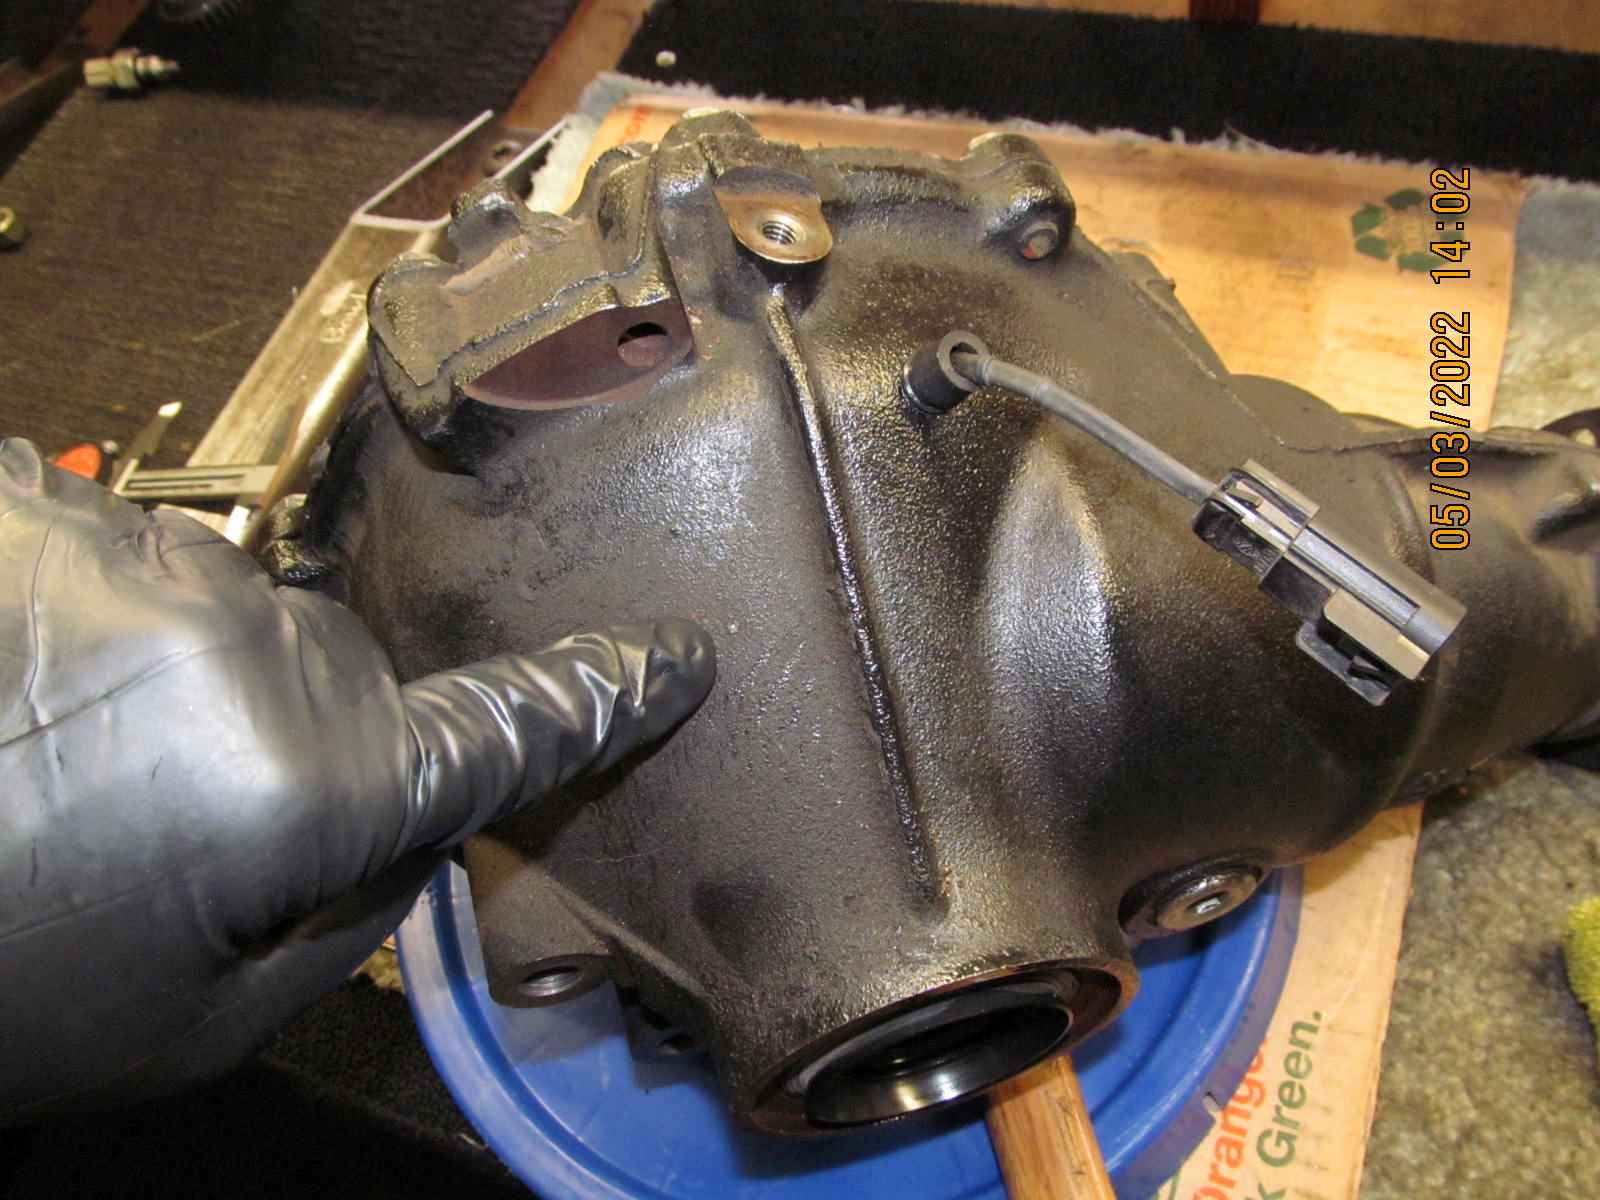
| This is the spot where I think the oil was seeping out... |
|---|
|
|
Ohh ya....it's been mentioned before but there are 2 issues going on here.
1---the hole was "over-drilled" with a .500" drill bit....should have been .463"
2---No steel sleeve has been MIG/TIG welded on for sealing support.
To me, it looks like gear oil was seeping out here. |
|---|
|
|
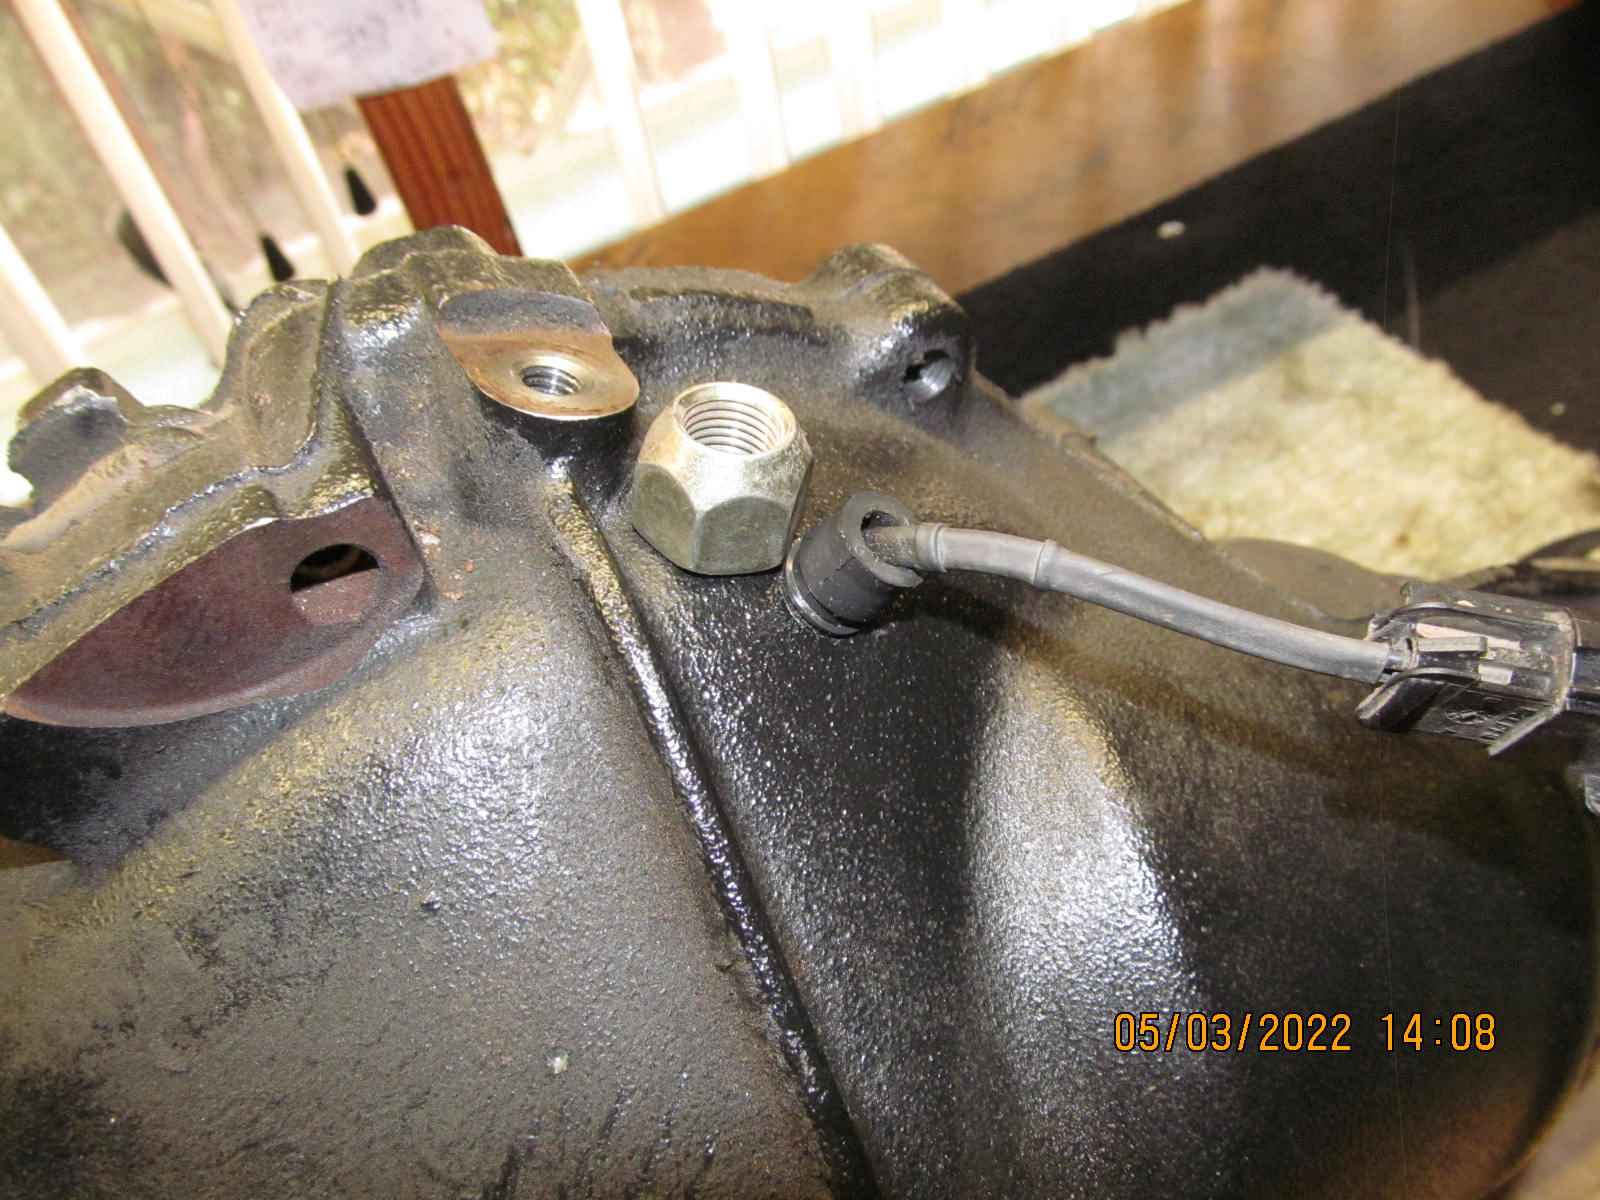
This is the spot where I will drill the .463" hole...left side of the rib is the Cow Pasture. 3" up and about 1 1/8" left of the rib.
Right side of the rib is the Valley. That hole is drilled way too high up the valley. Too close to the crown teeth. |
|---|
|
|
| The cow patty marks the desired spot :) |
|---|
|
|
This is my humble "steel sleeve" that I have welded on many clams that get the elocker.
It's just a lug nut and when the .463" drill bit passes thru it, almost all traces of the threads disappear. |
|---|
|
|
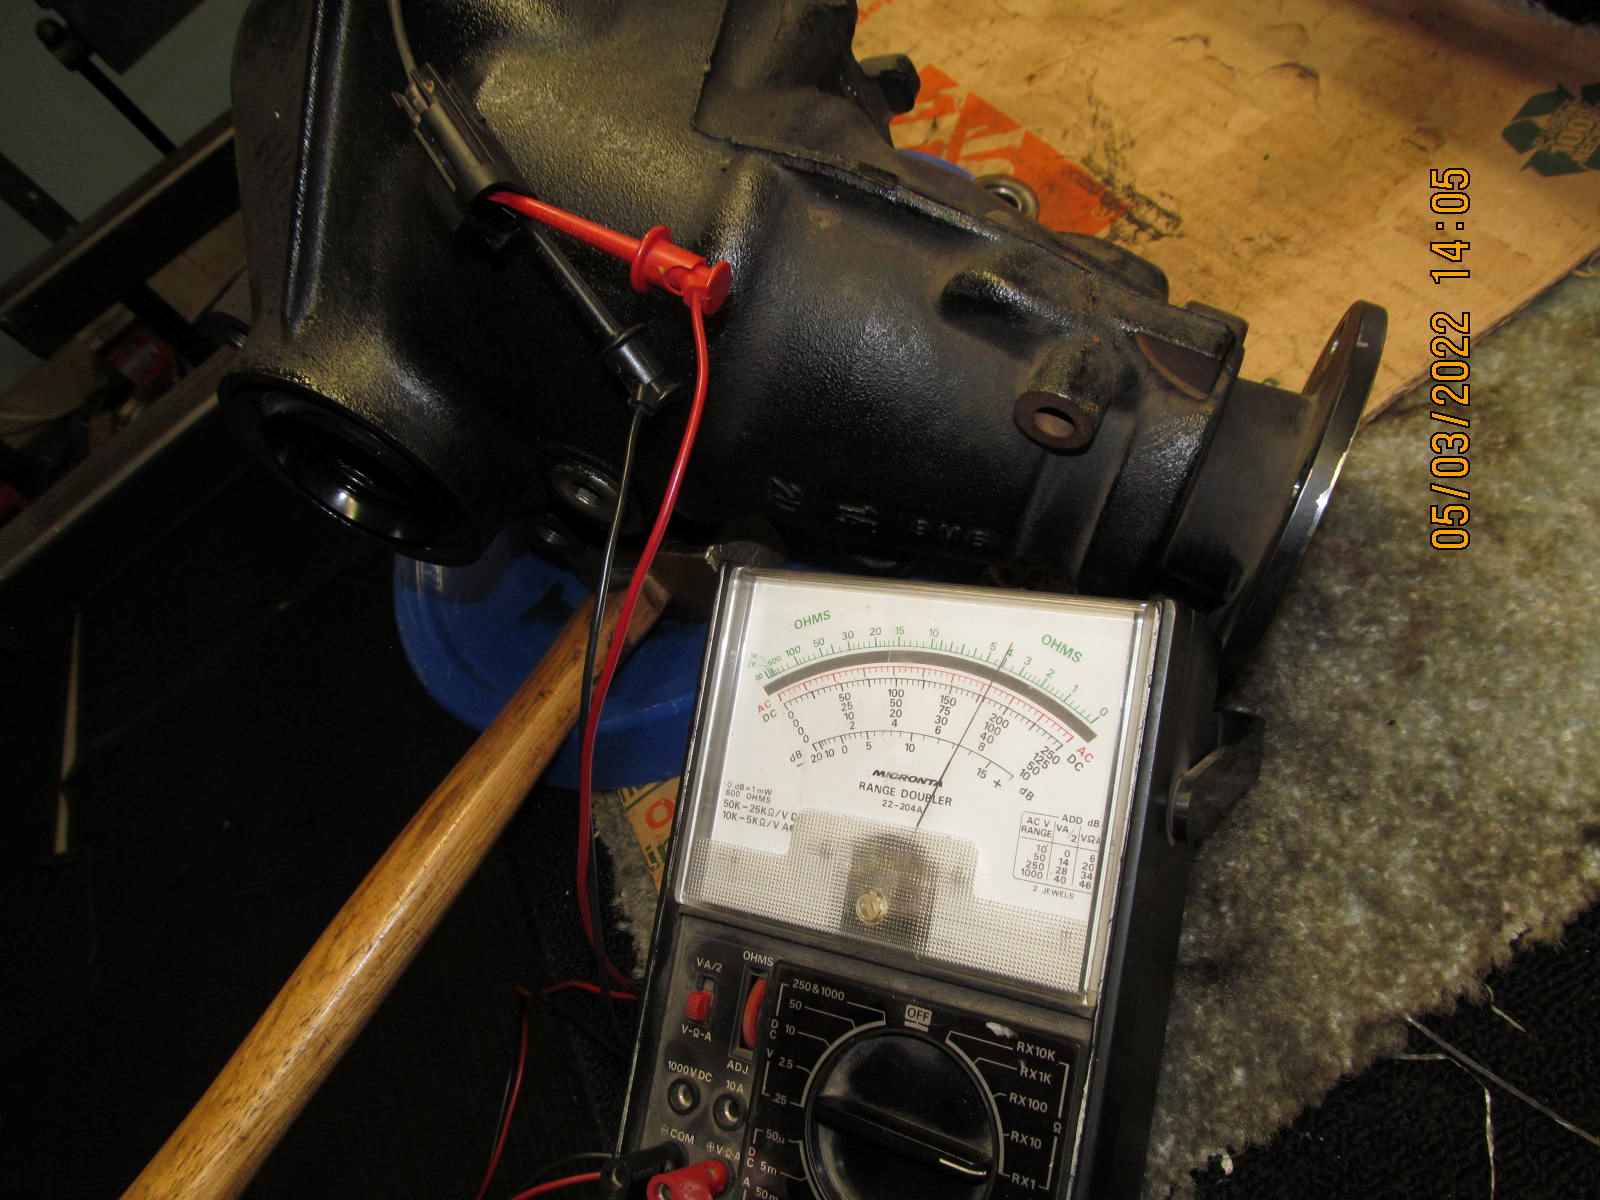
| A quick check with the ohm meter shows about 4 ohms across the magnetic coil which is good. |
|---|
|
|
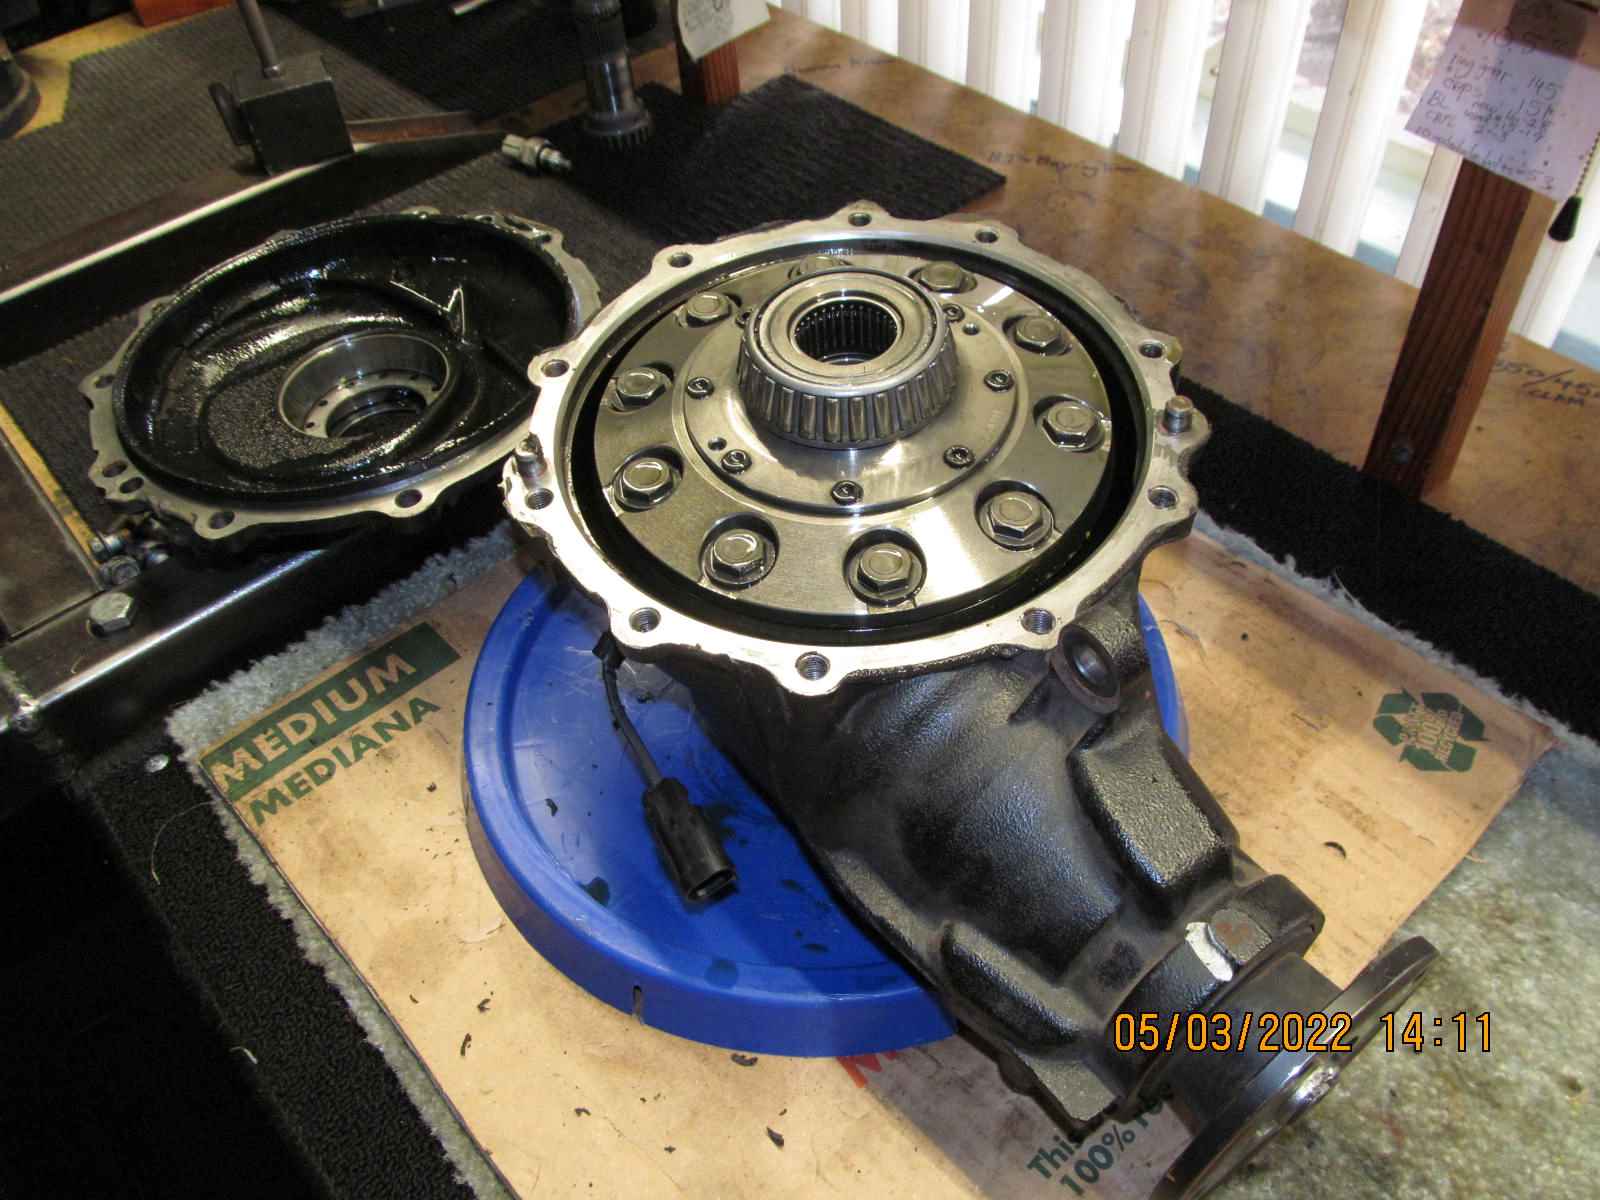
| Back to the teardown.....the lid has been removed. |
|---|
|
|
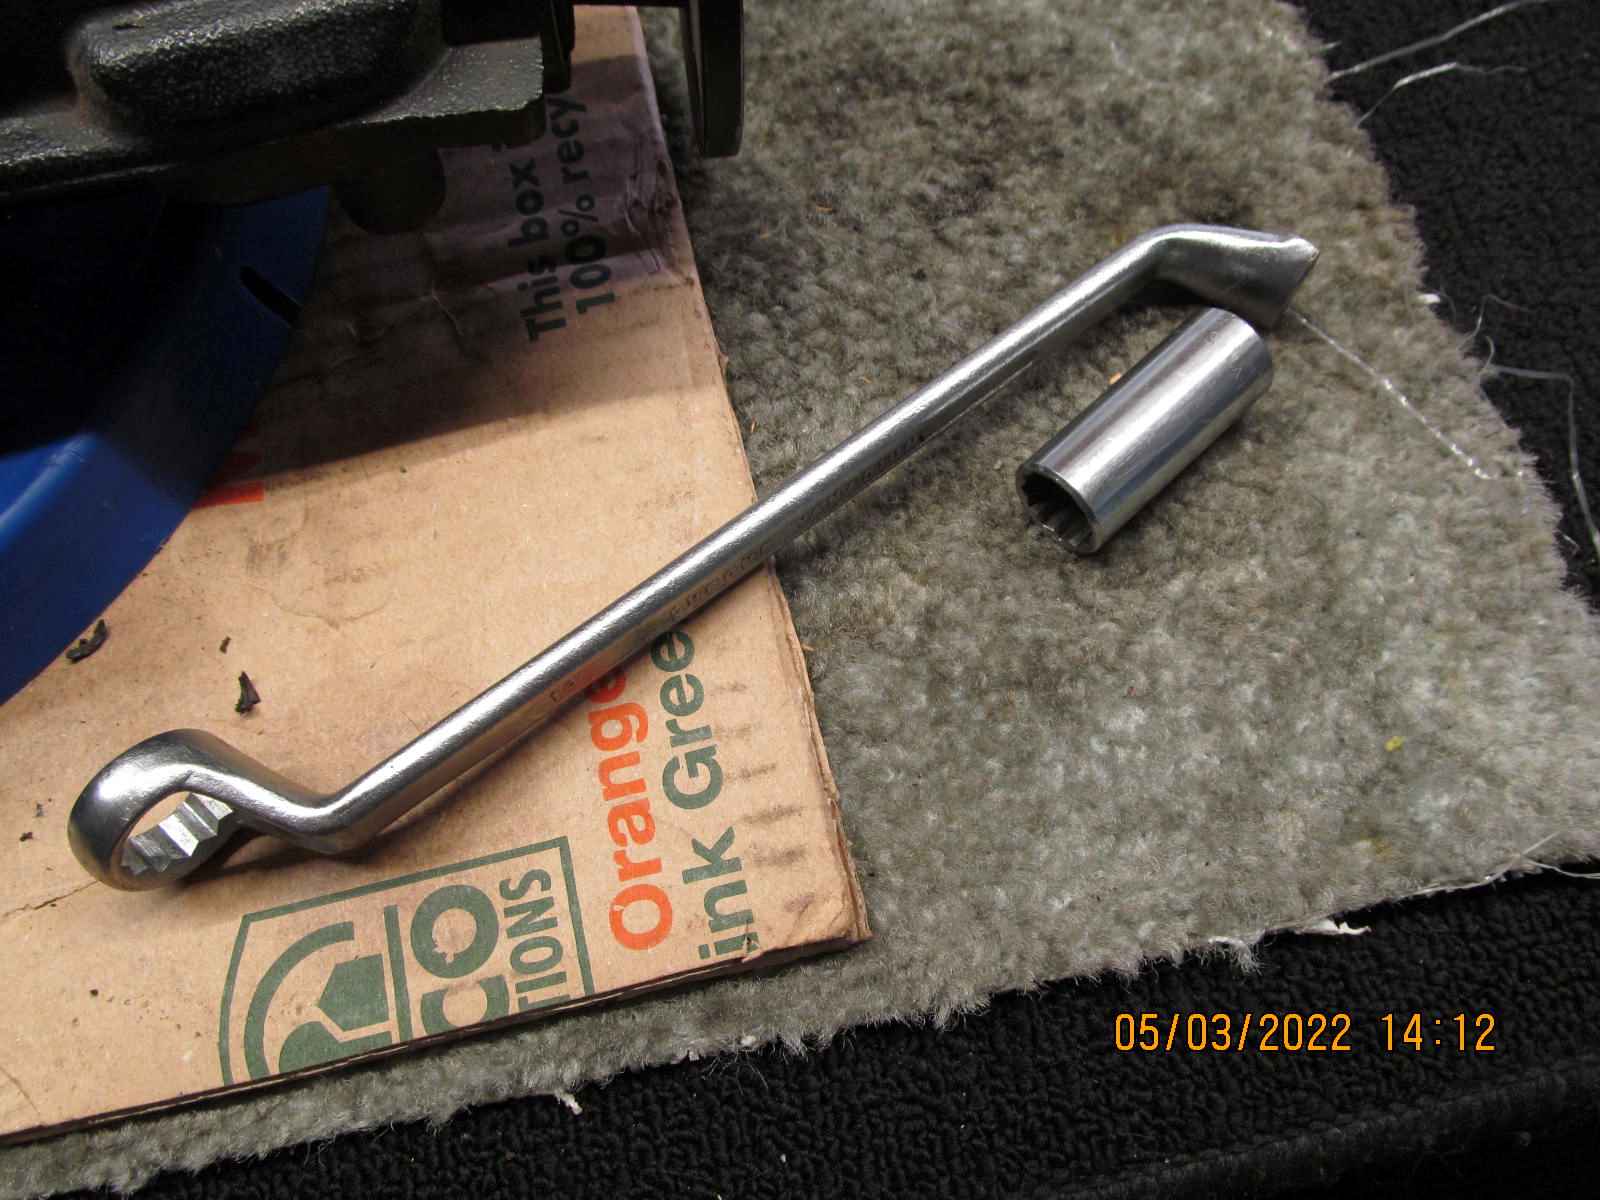
| Another simple tool for the clams.... |
|---|
|
|
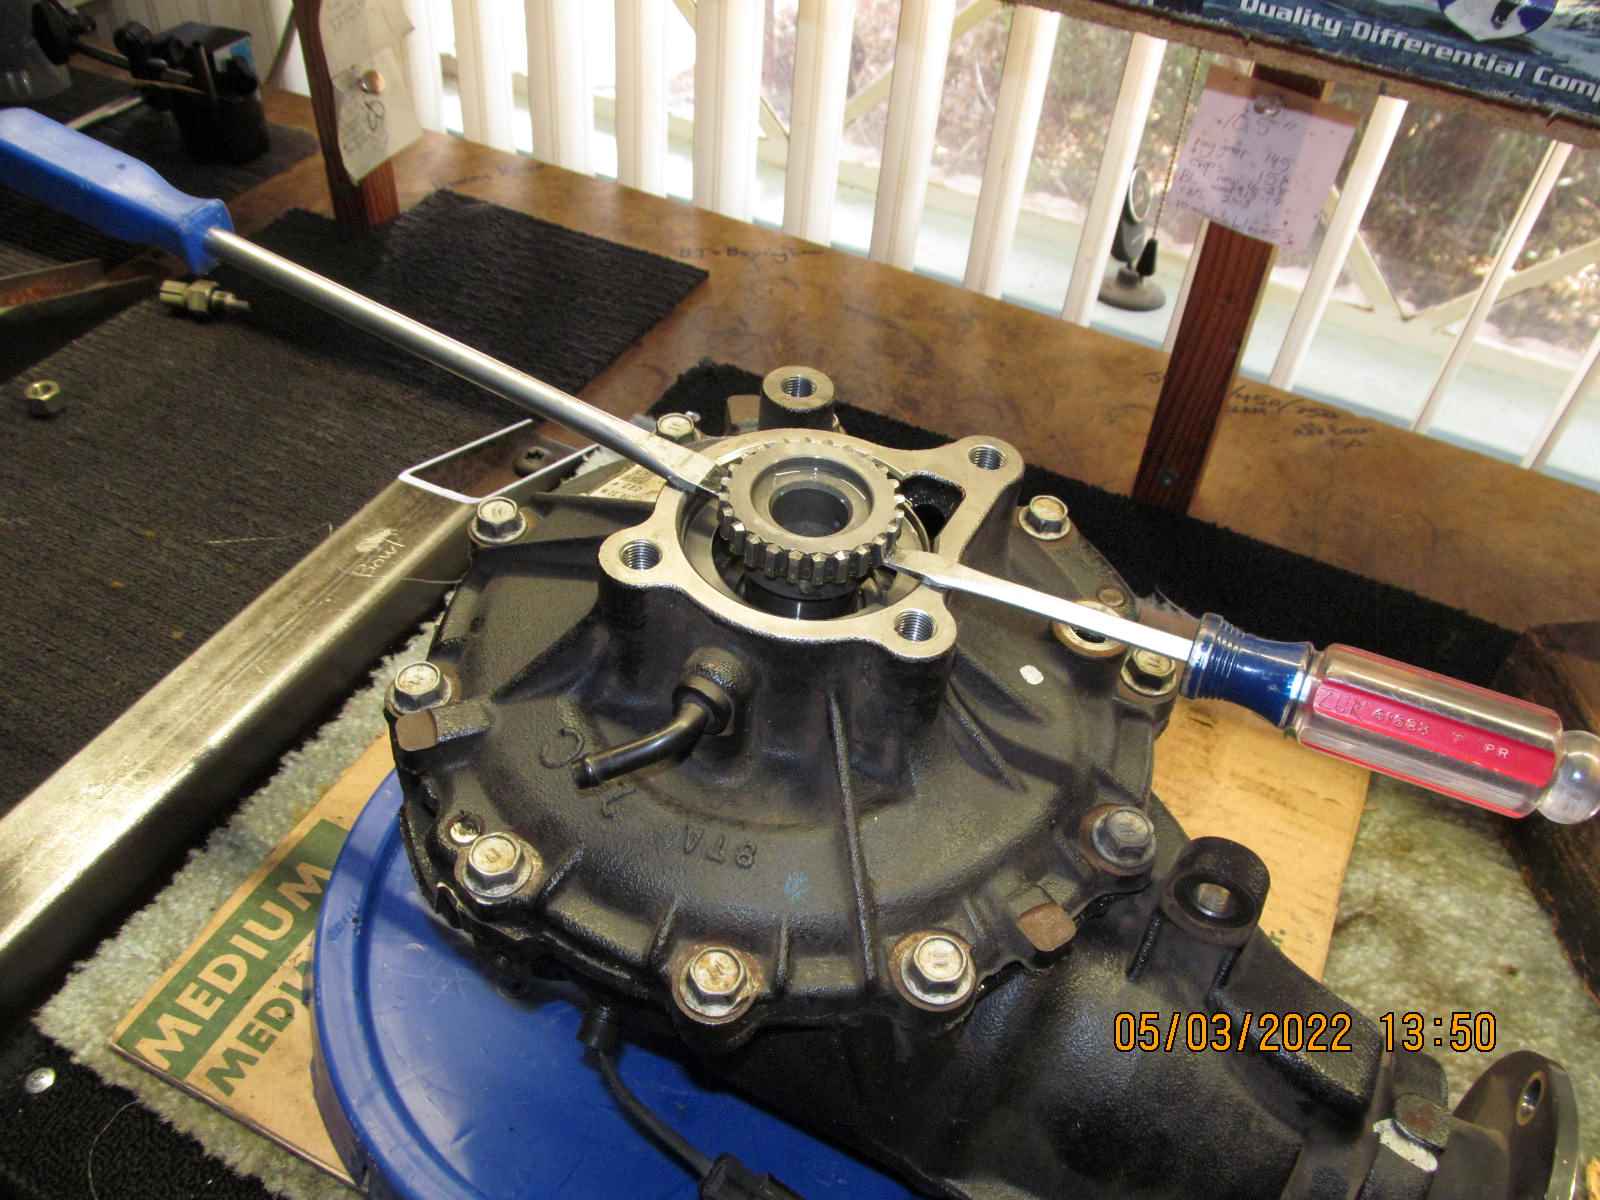
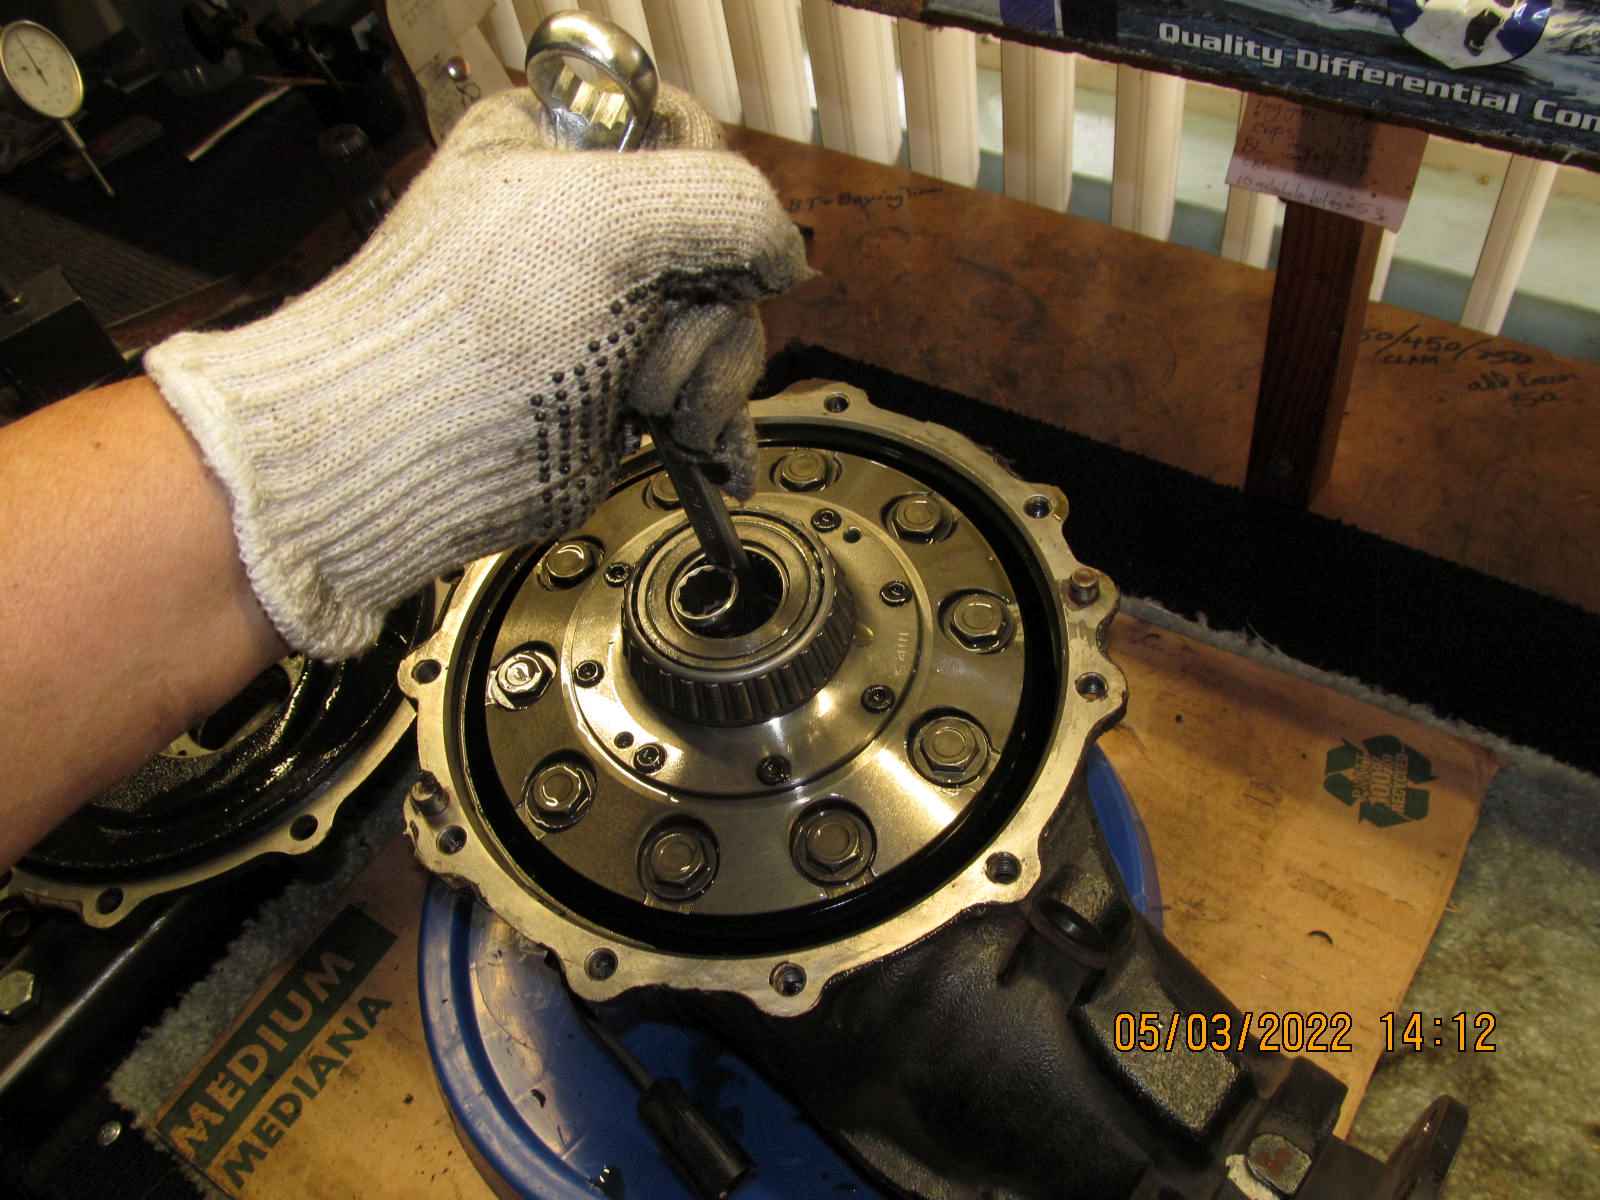
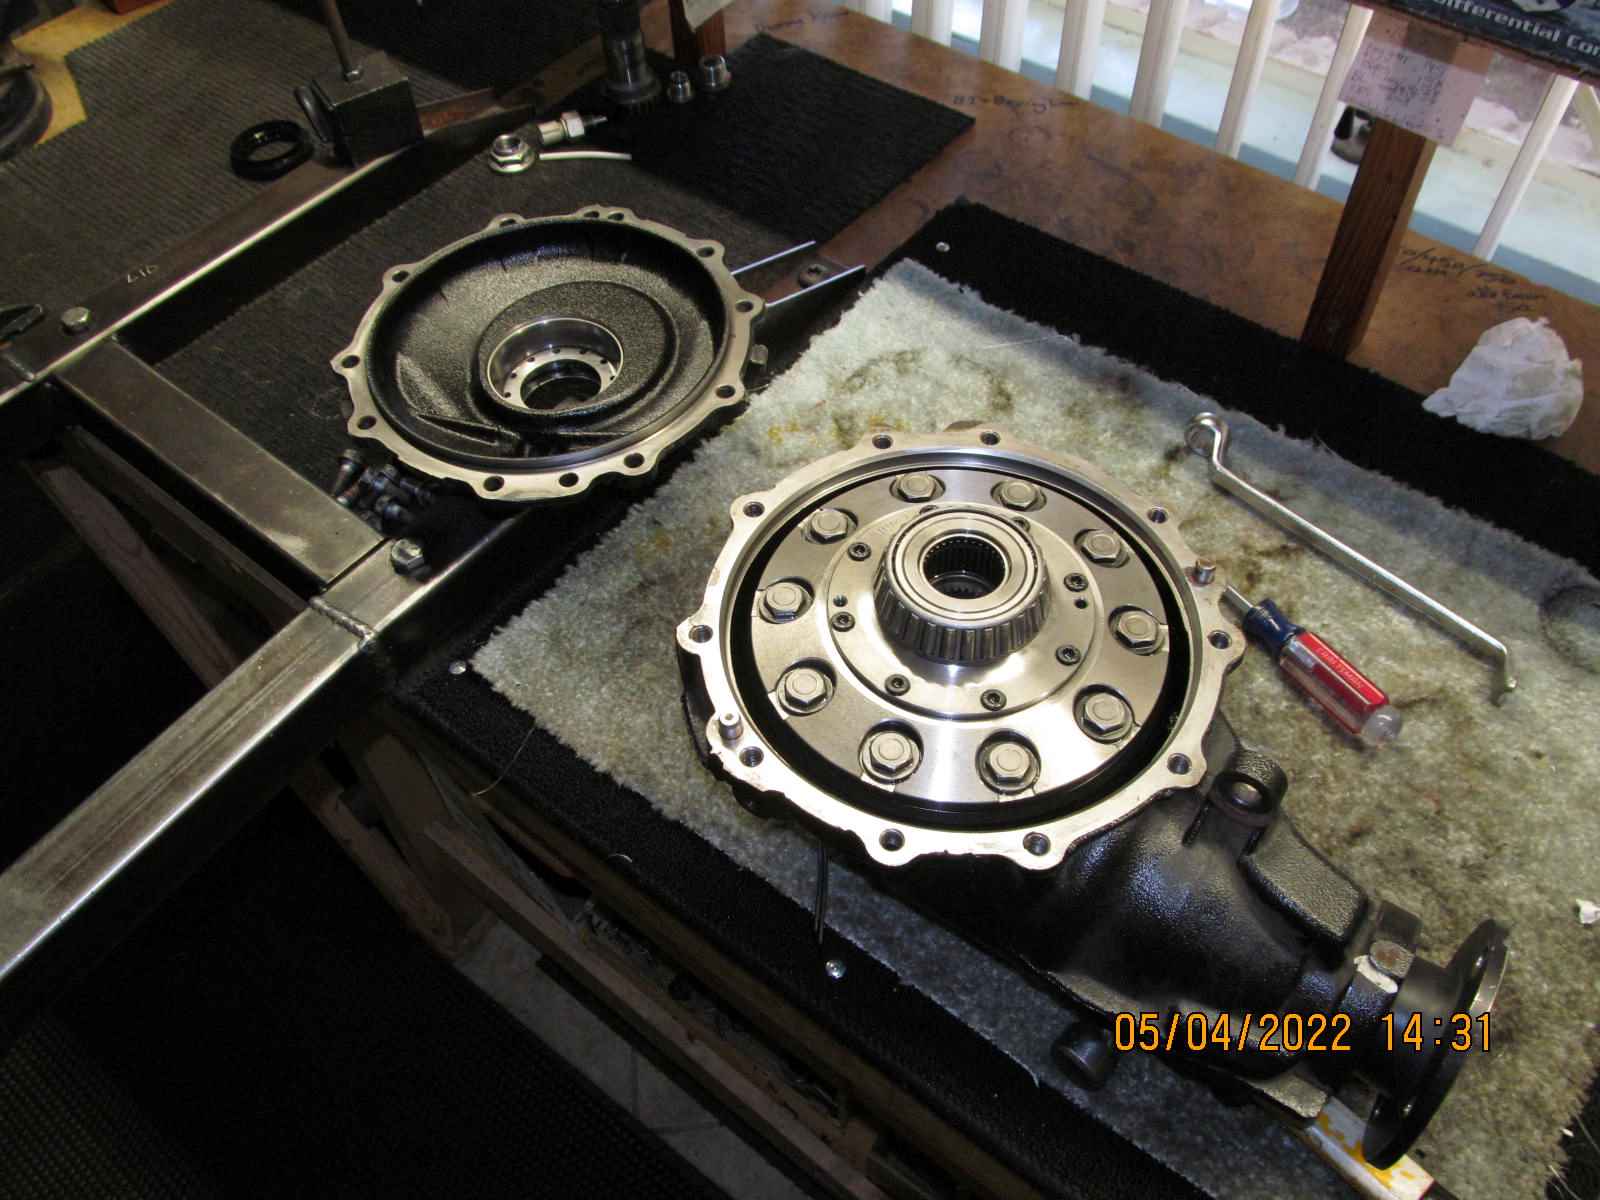
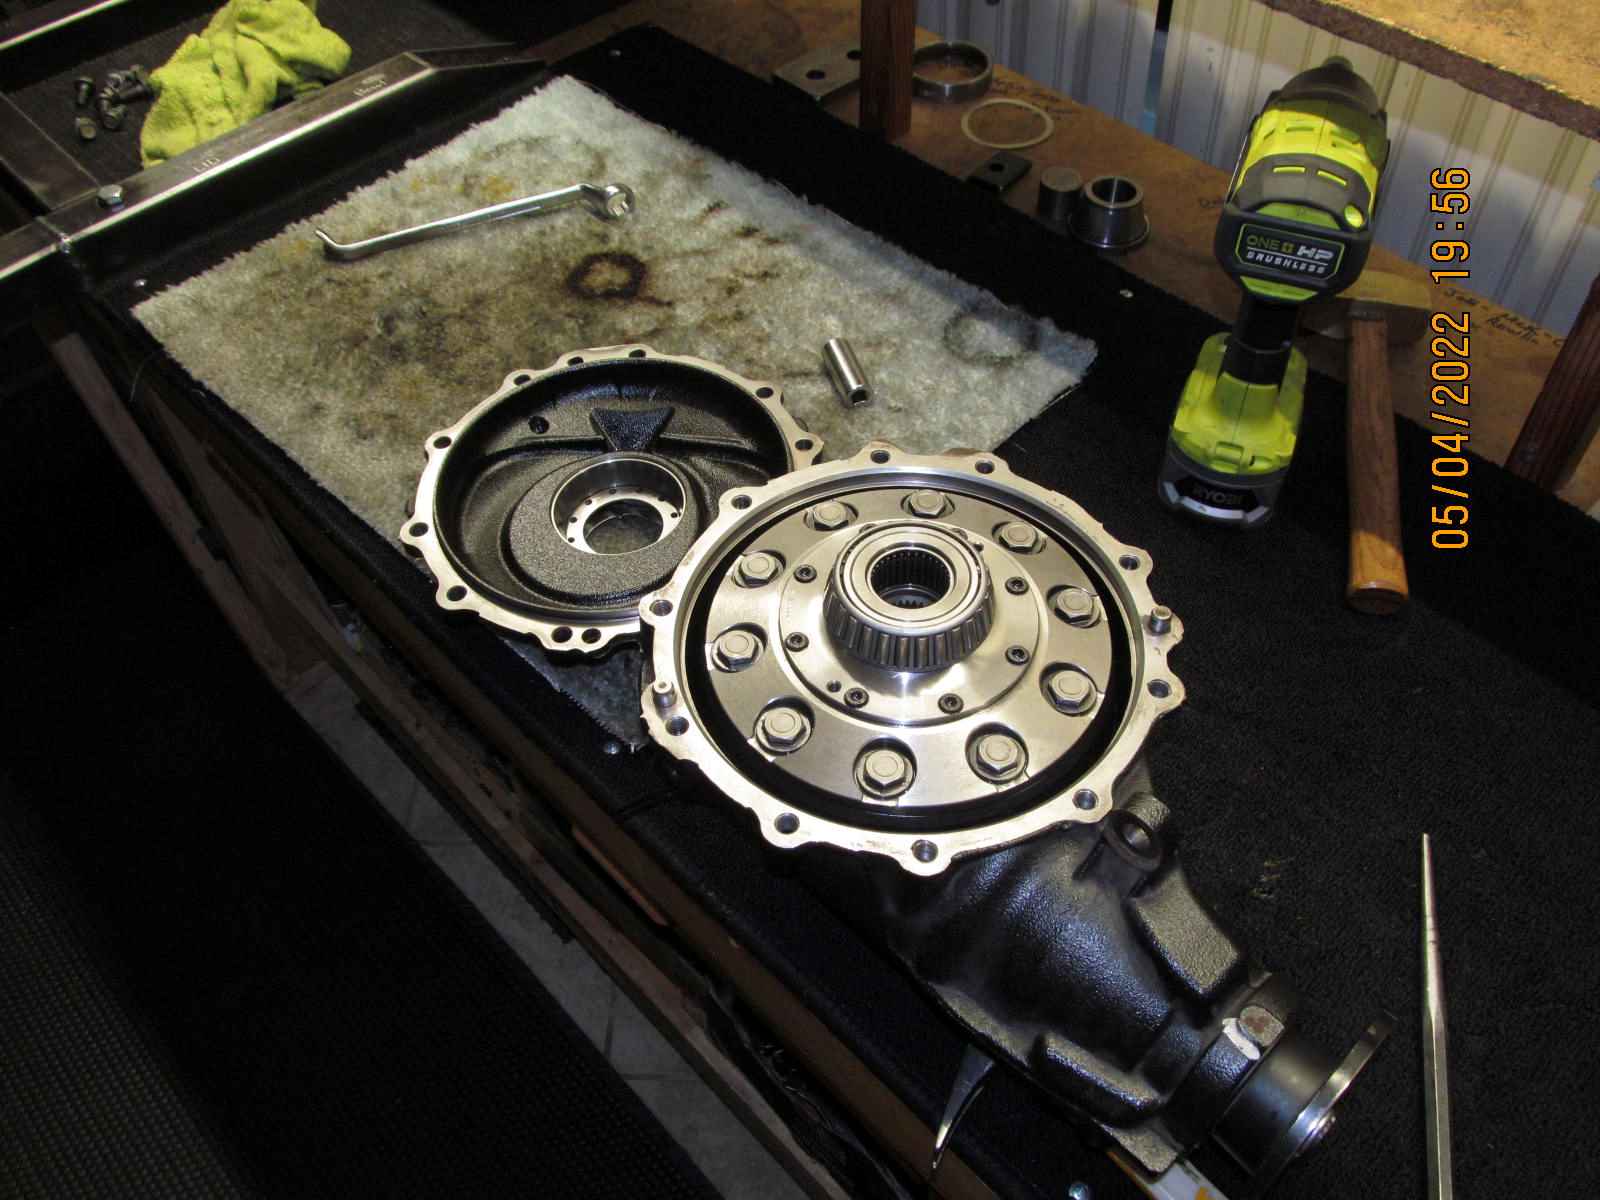
| Now the heavy center carrier can be easily pick up and moved out of the way. |
|---|
|
|
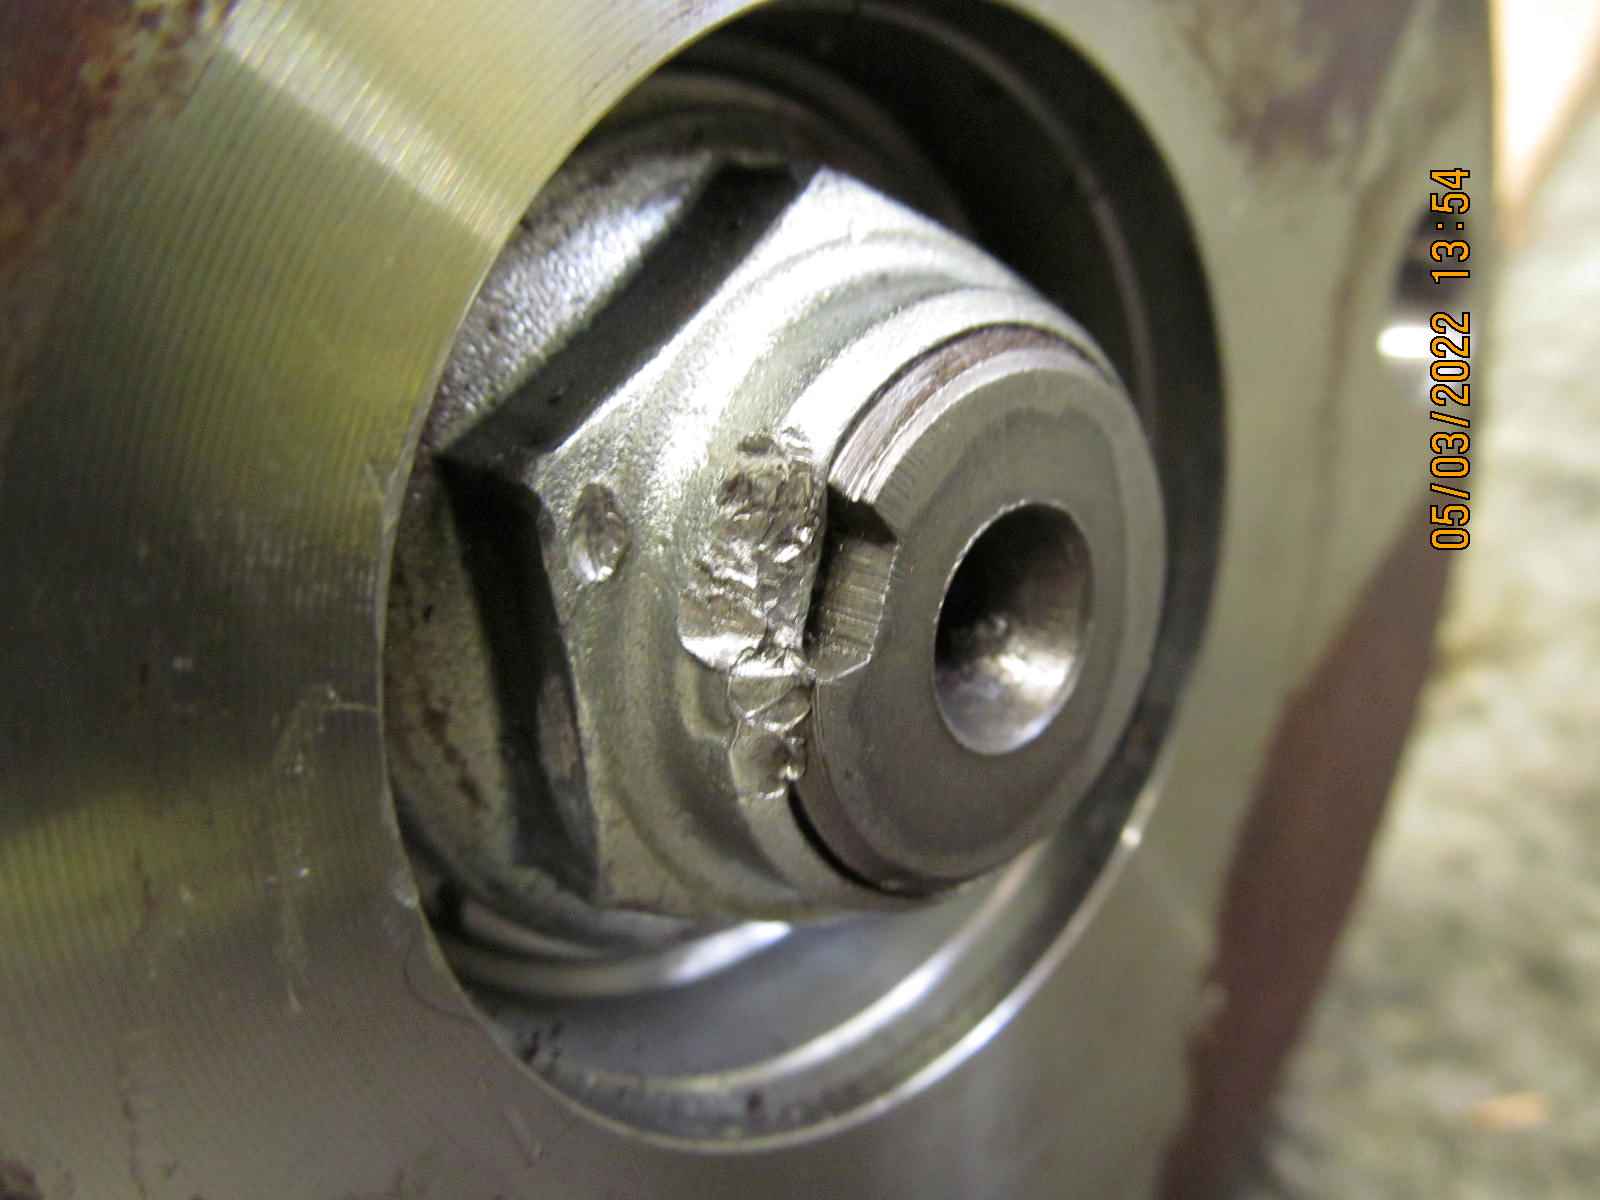
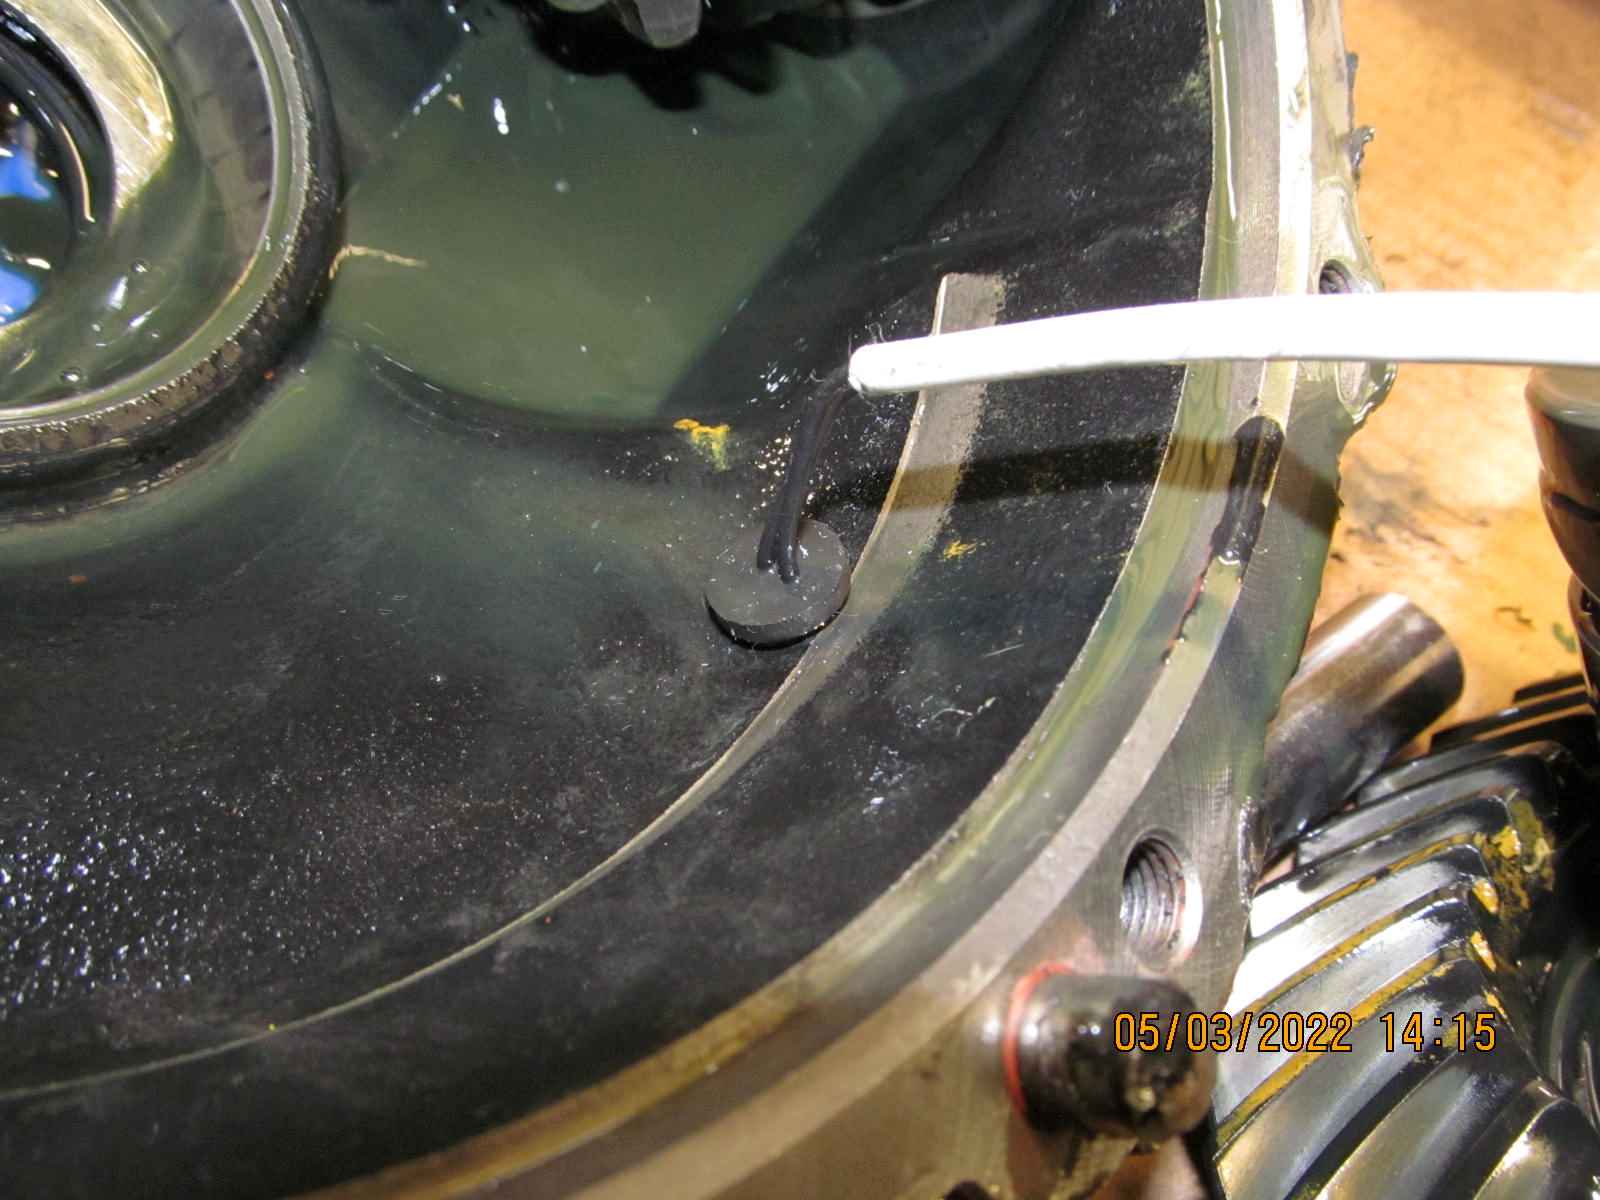
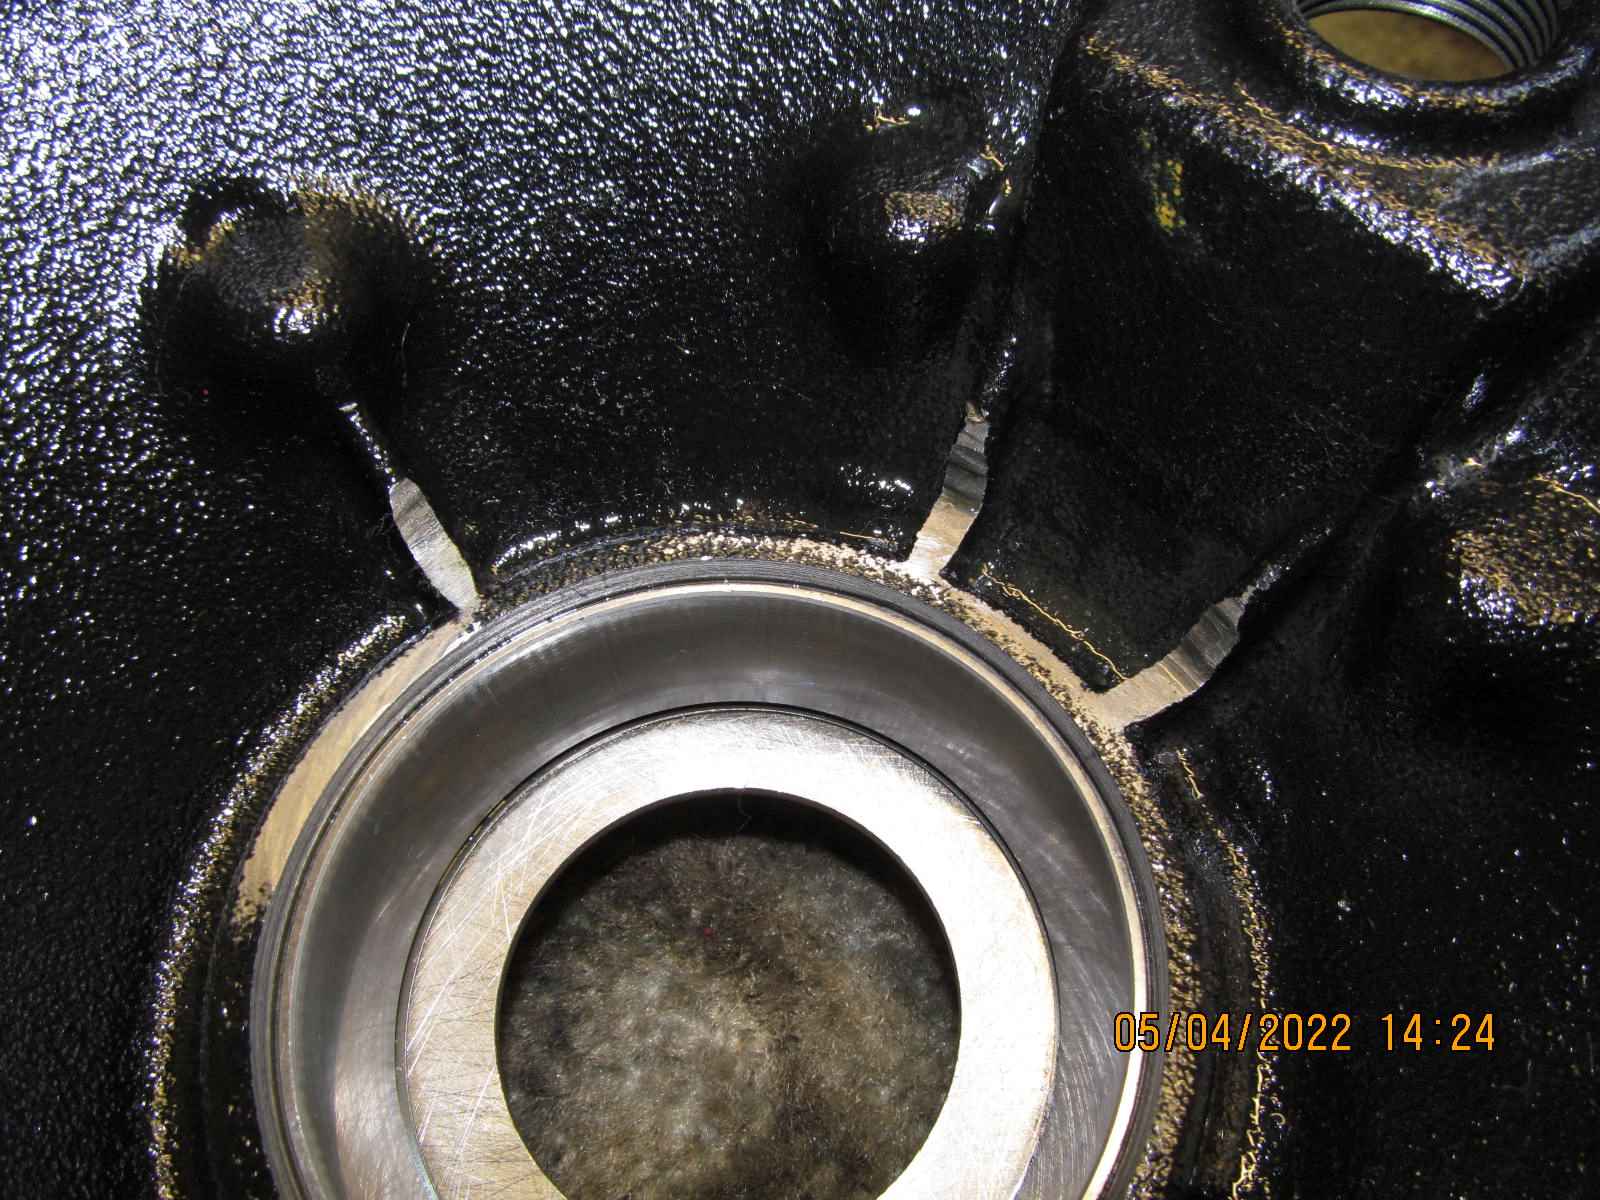
| That grommet is drilled very close to where the ring gear teeth are. |
|---|
|
|
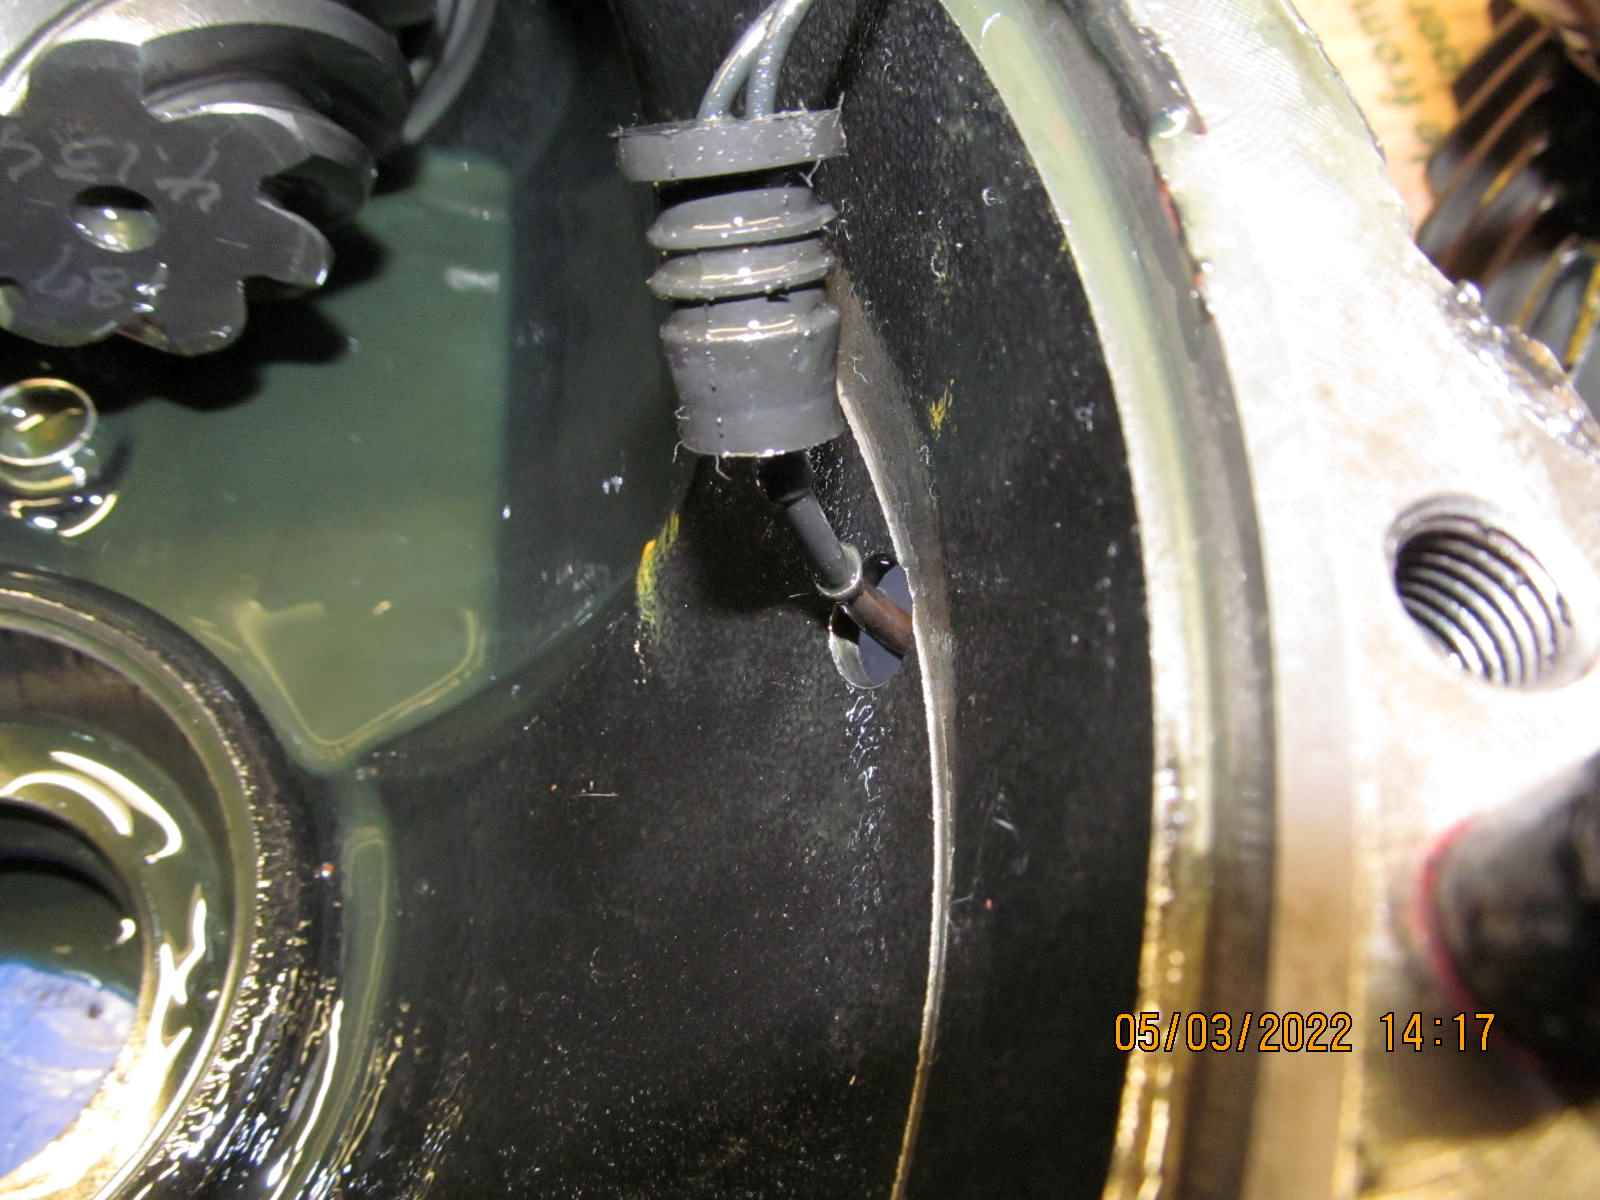
The rubber grommet basically came out with no resistance at all......it fell out.
As can be seen, the wall thickness of the drilled hole is maybe 1/8"...
and the rubber grommet was really not sealing in the gear oil very well. |
|---|
|

|
| Draining out as much of the oil as possible.... |
|---|
|
|
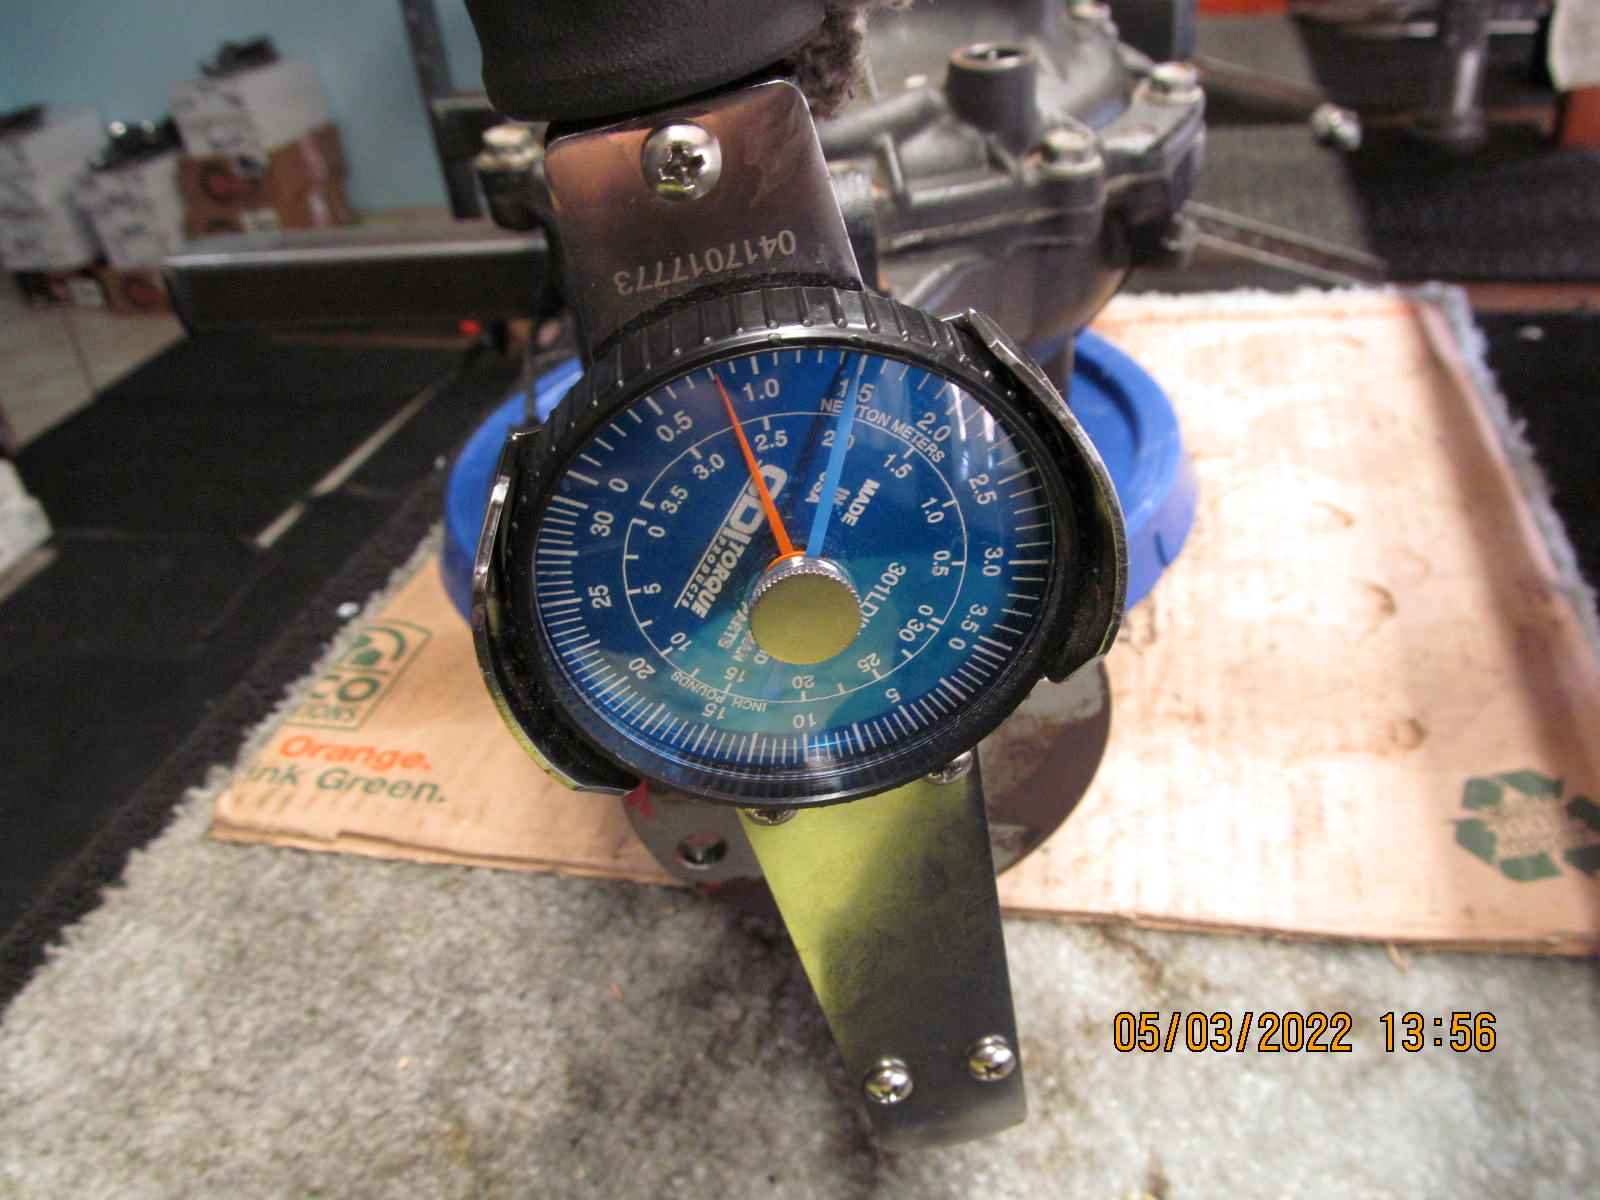
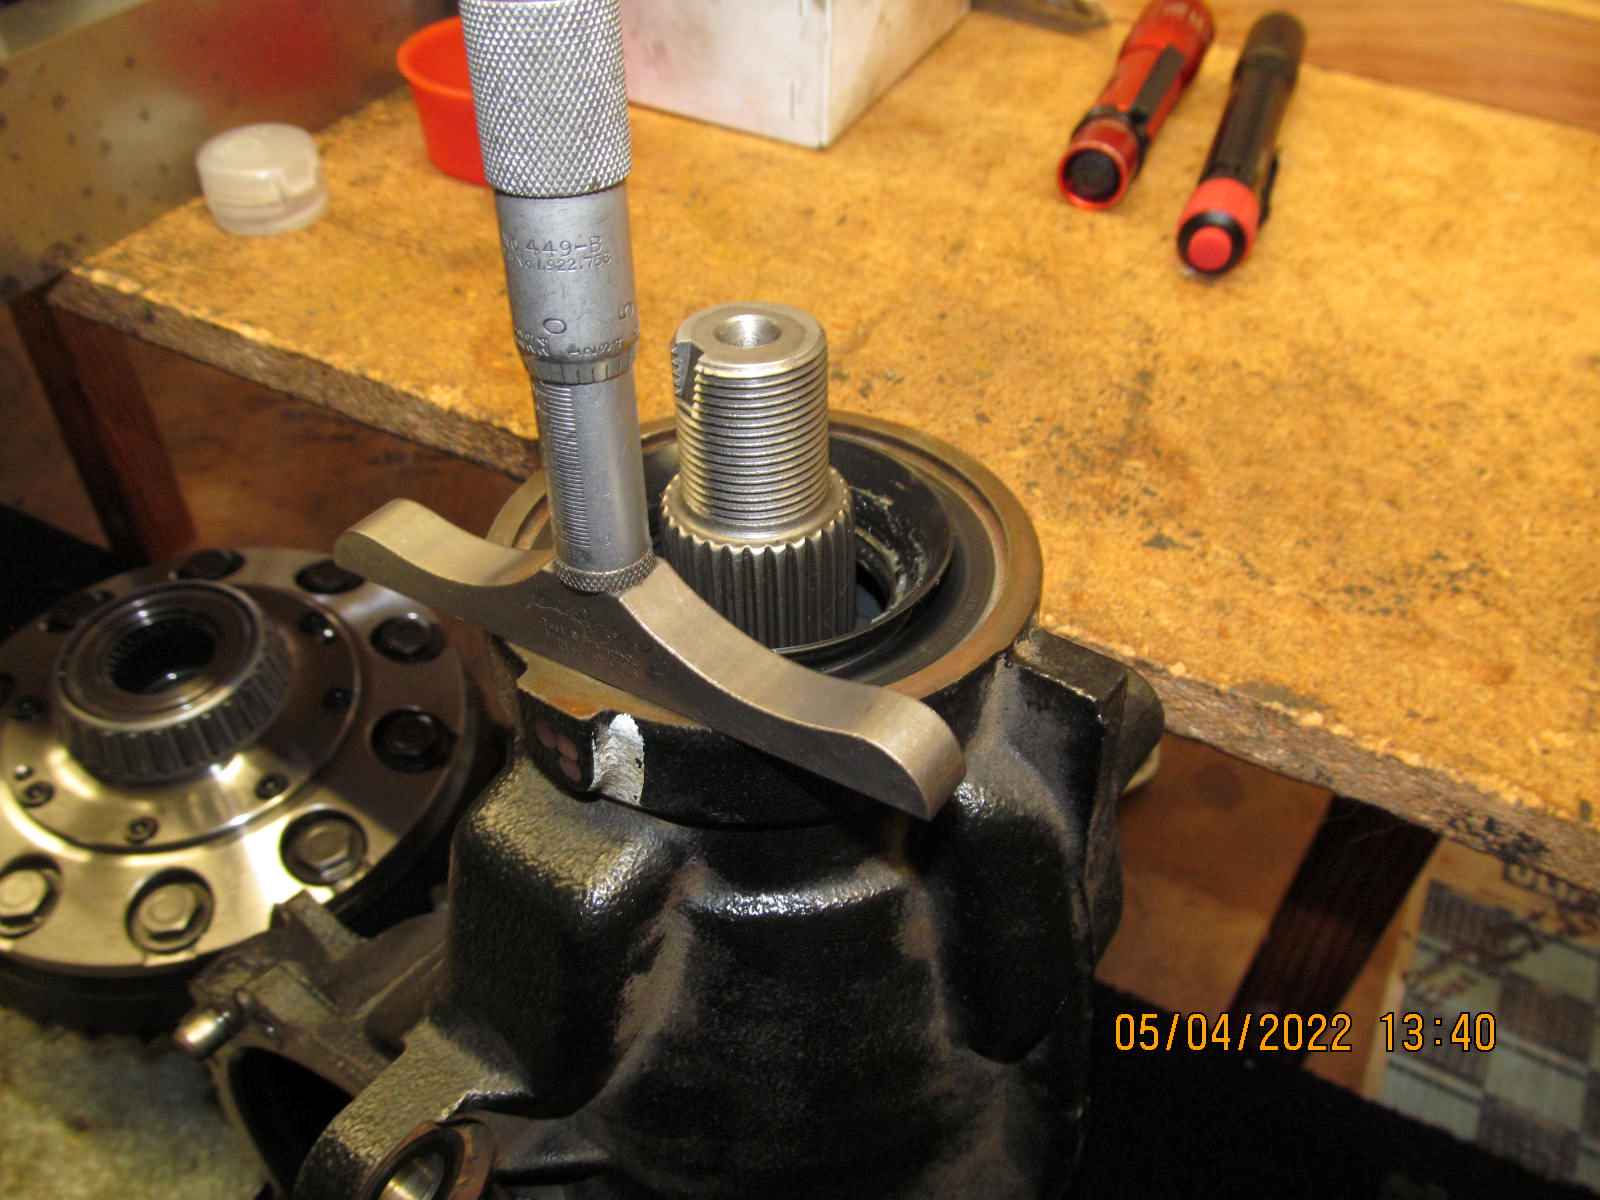
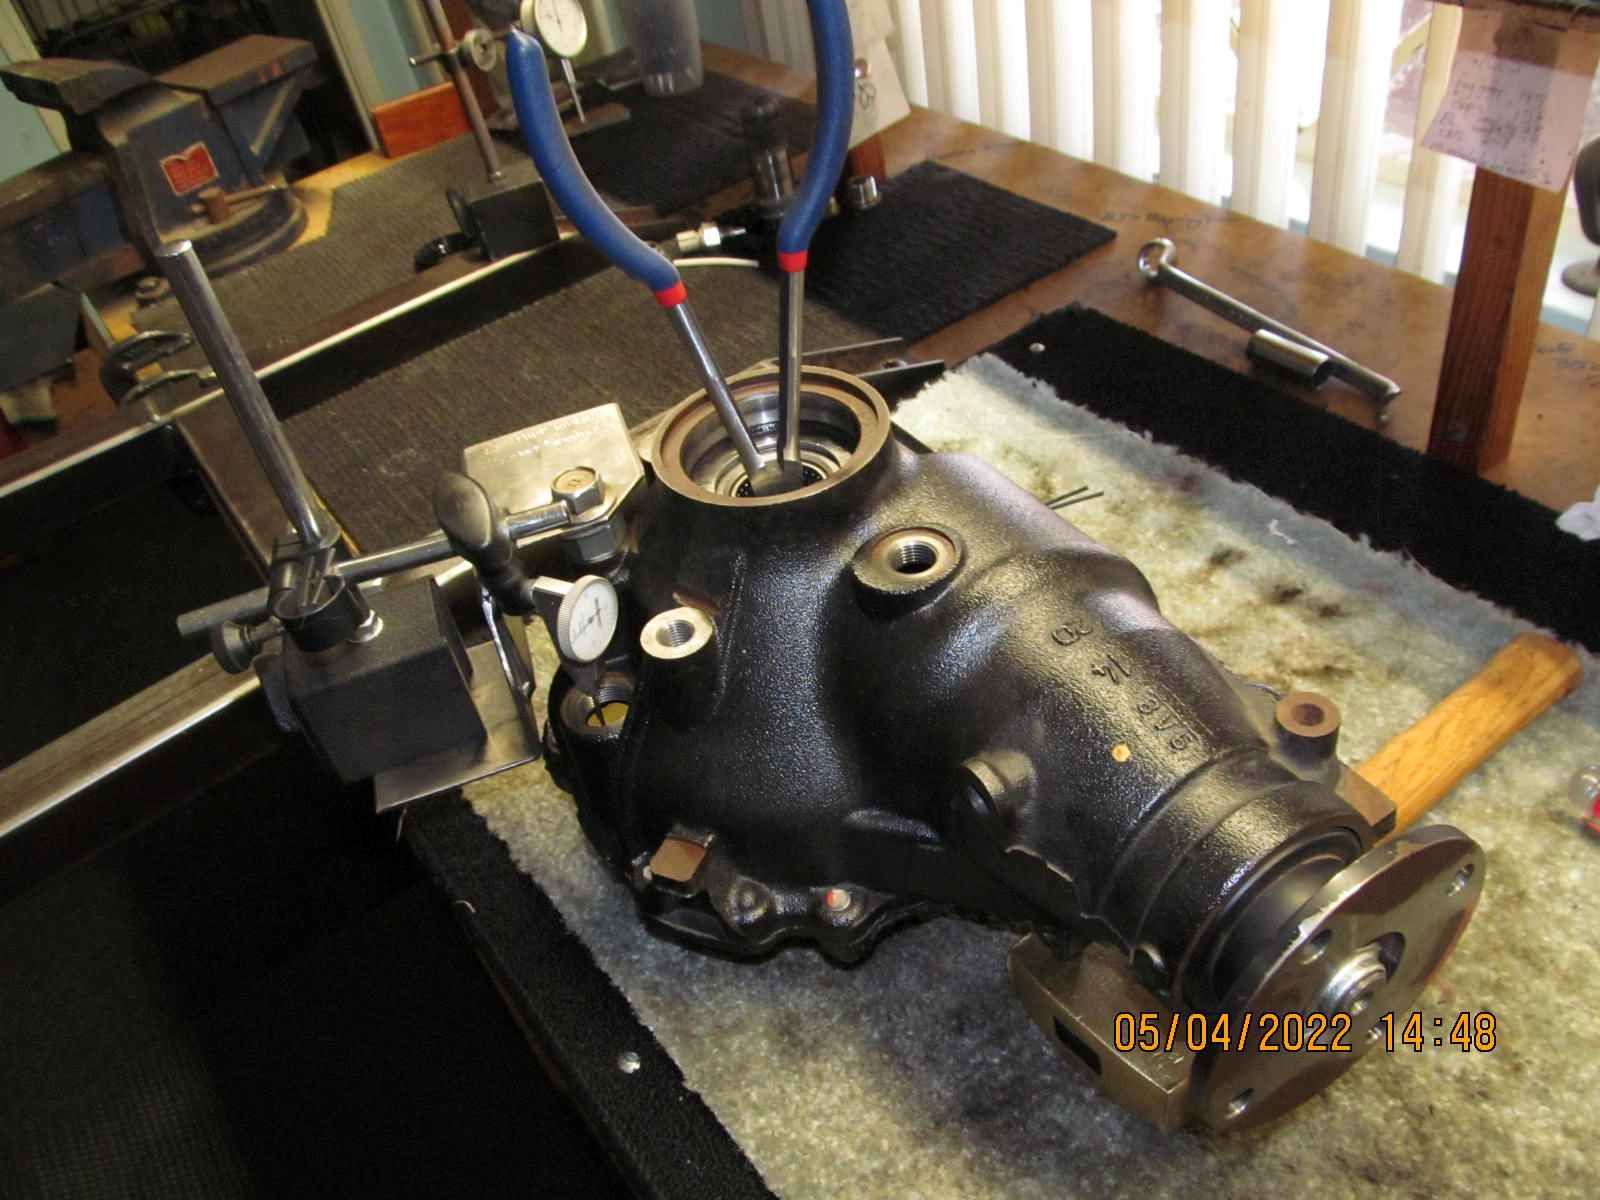
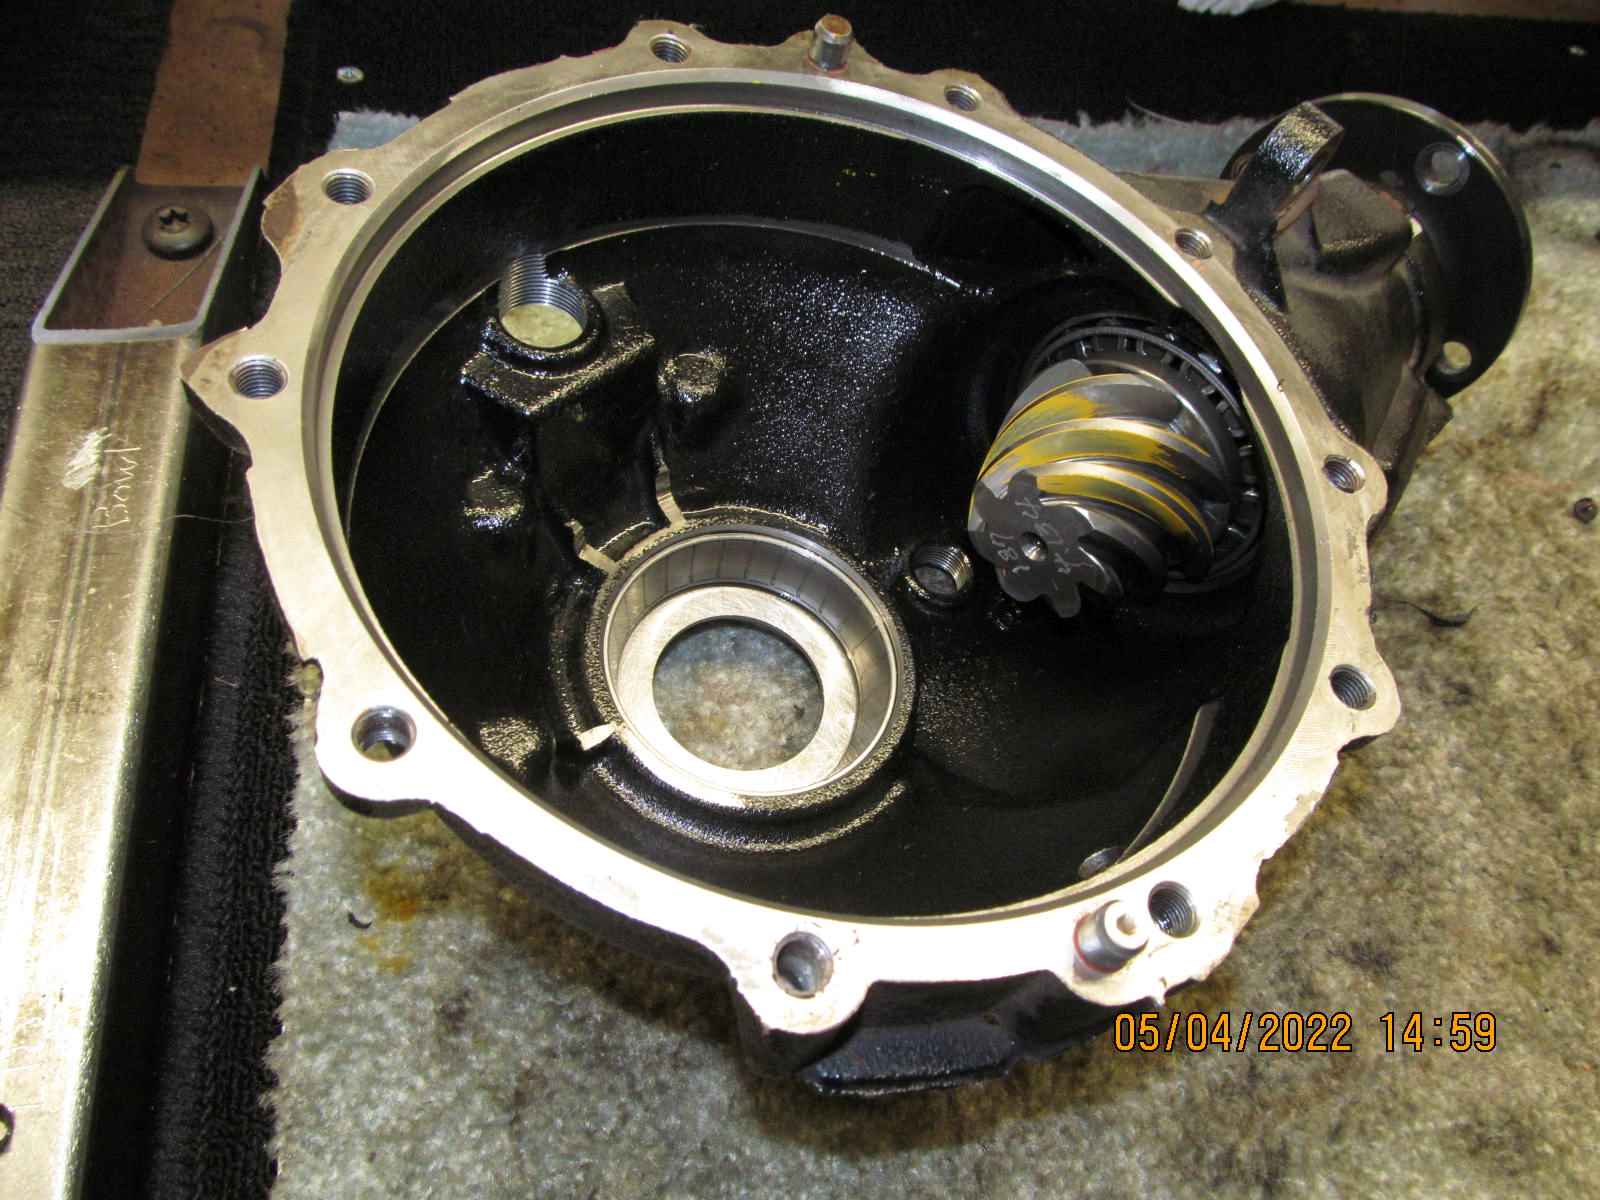
A check of pinion preload shows maybe 13 inch/pounds which is a good solid number.
This means the carrier bearing preload is excessive with about 30 inch/pounds.
That will change shortly. |
|---|
|
|
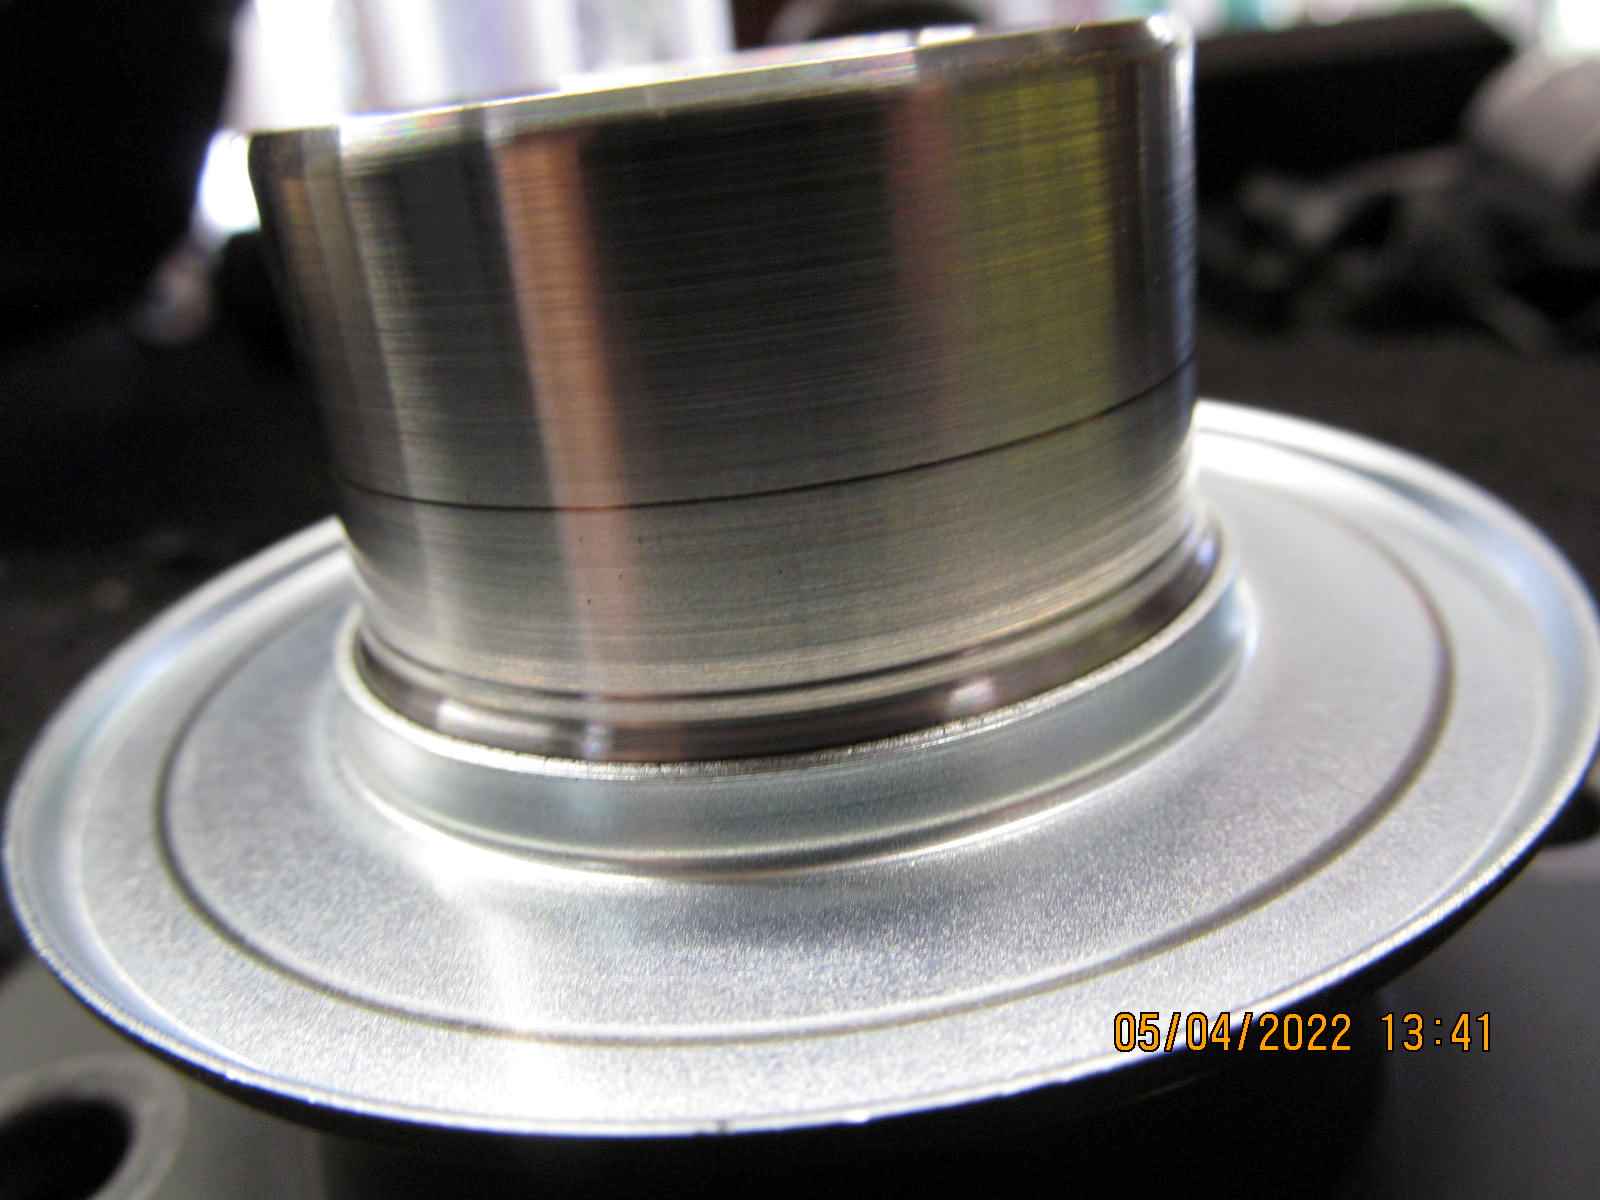
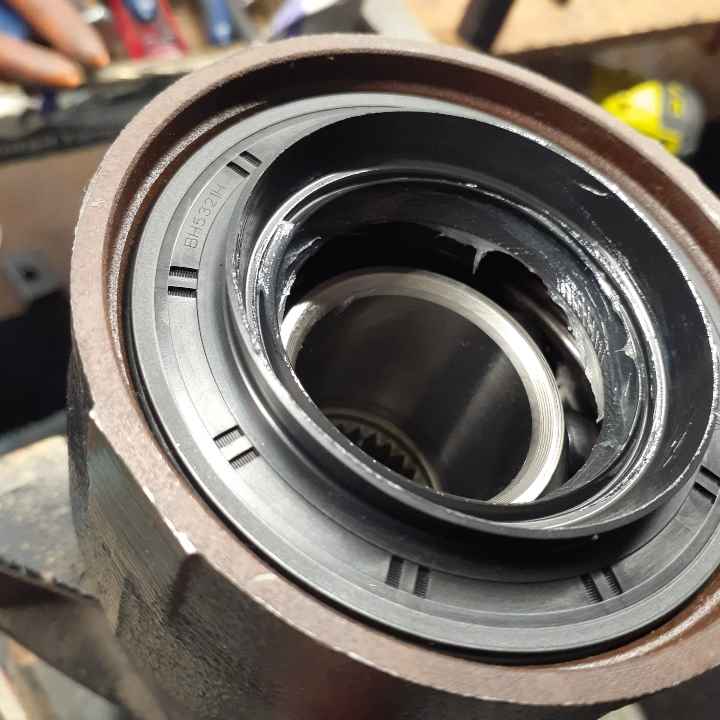
| I don't think the shop changed out the factory seal....still the genuine part number and recessed the usual .120" |
|---|
|
|
| The pinion flange looked almost brand new. |
|---|
|
|
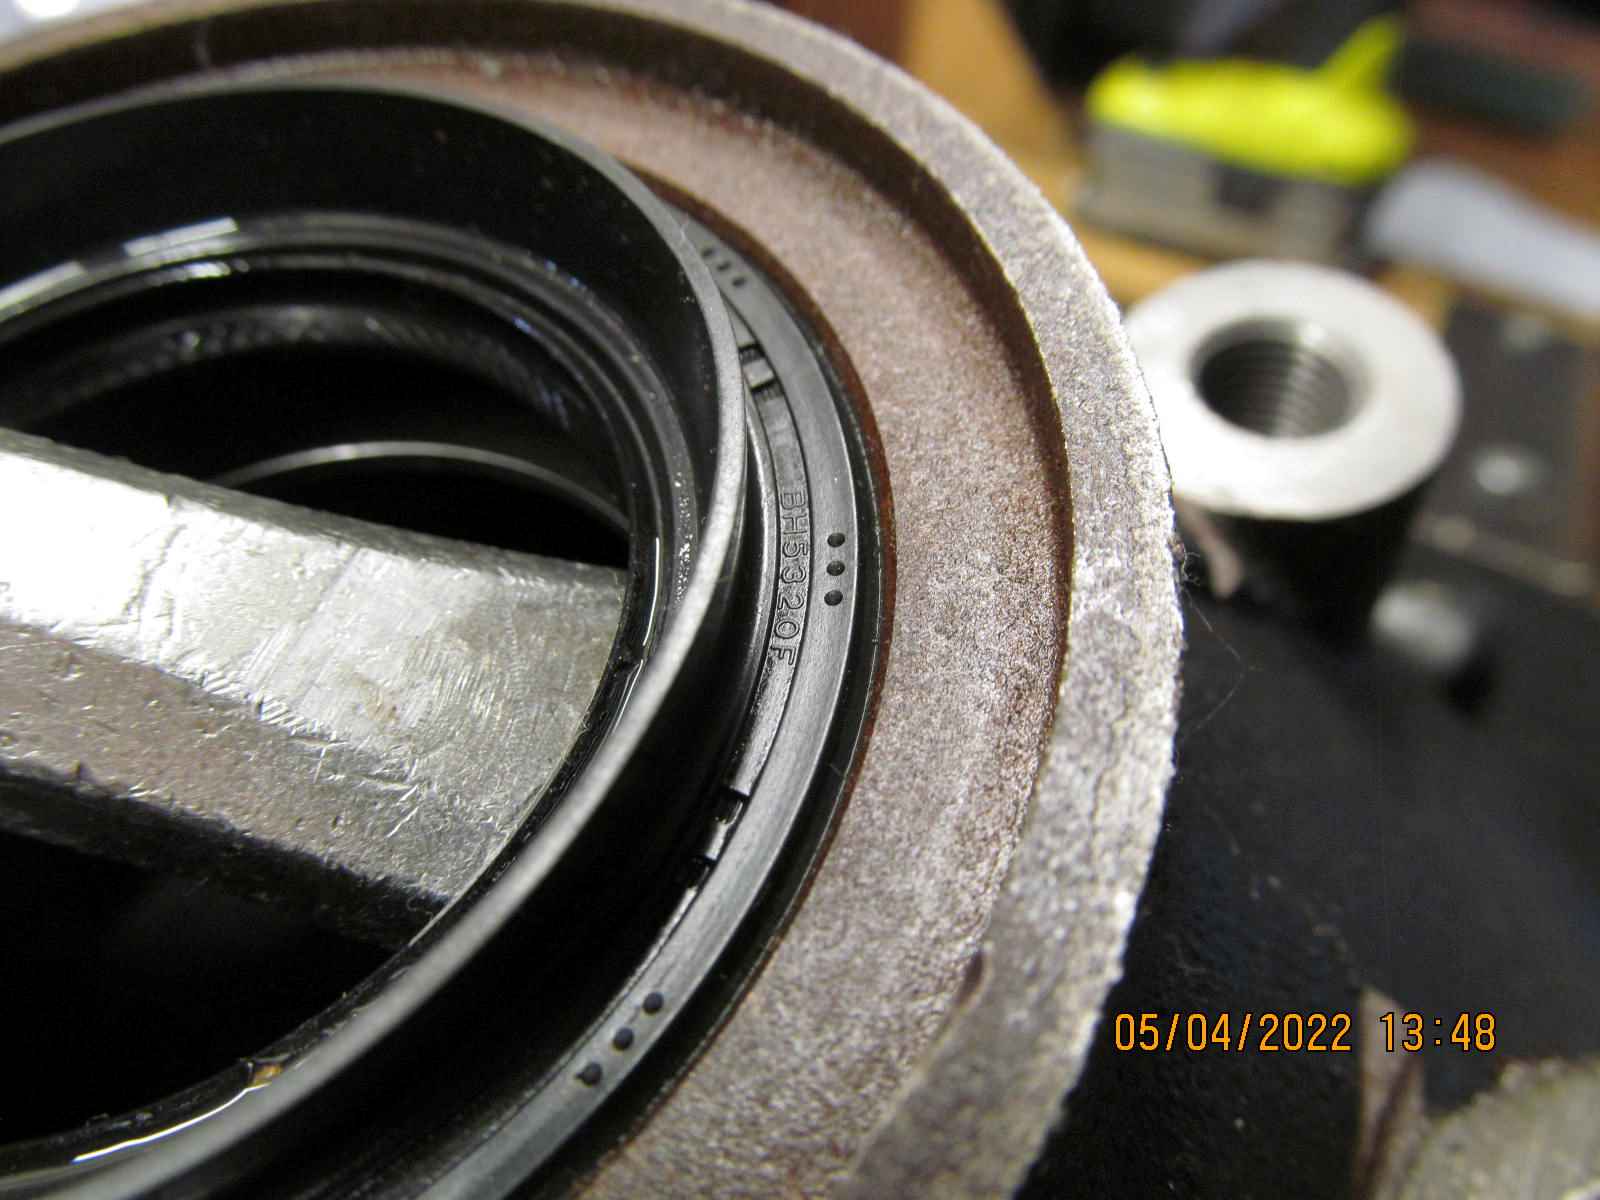
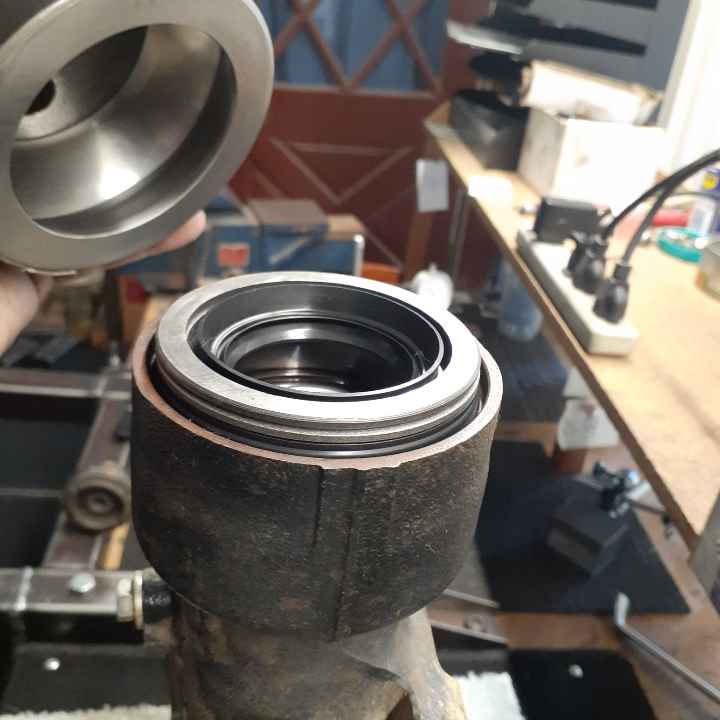
| The factory NOK driverside seal is coming out... |
|---|
|
|
| Almost no damage :) |
|---|
|
|
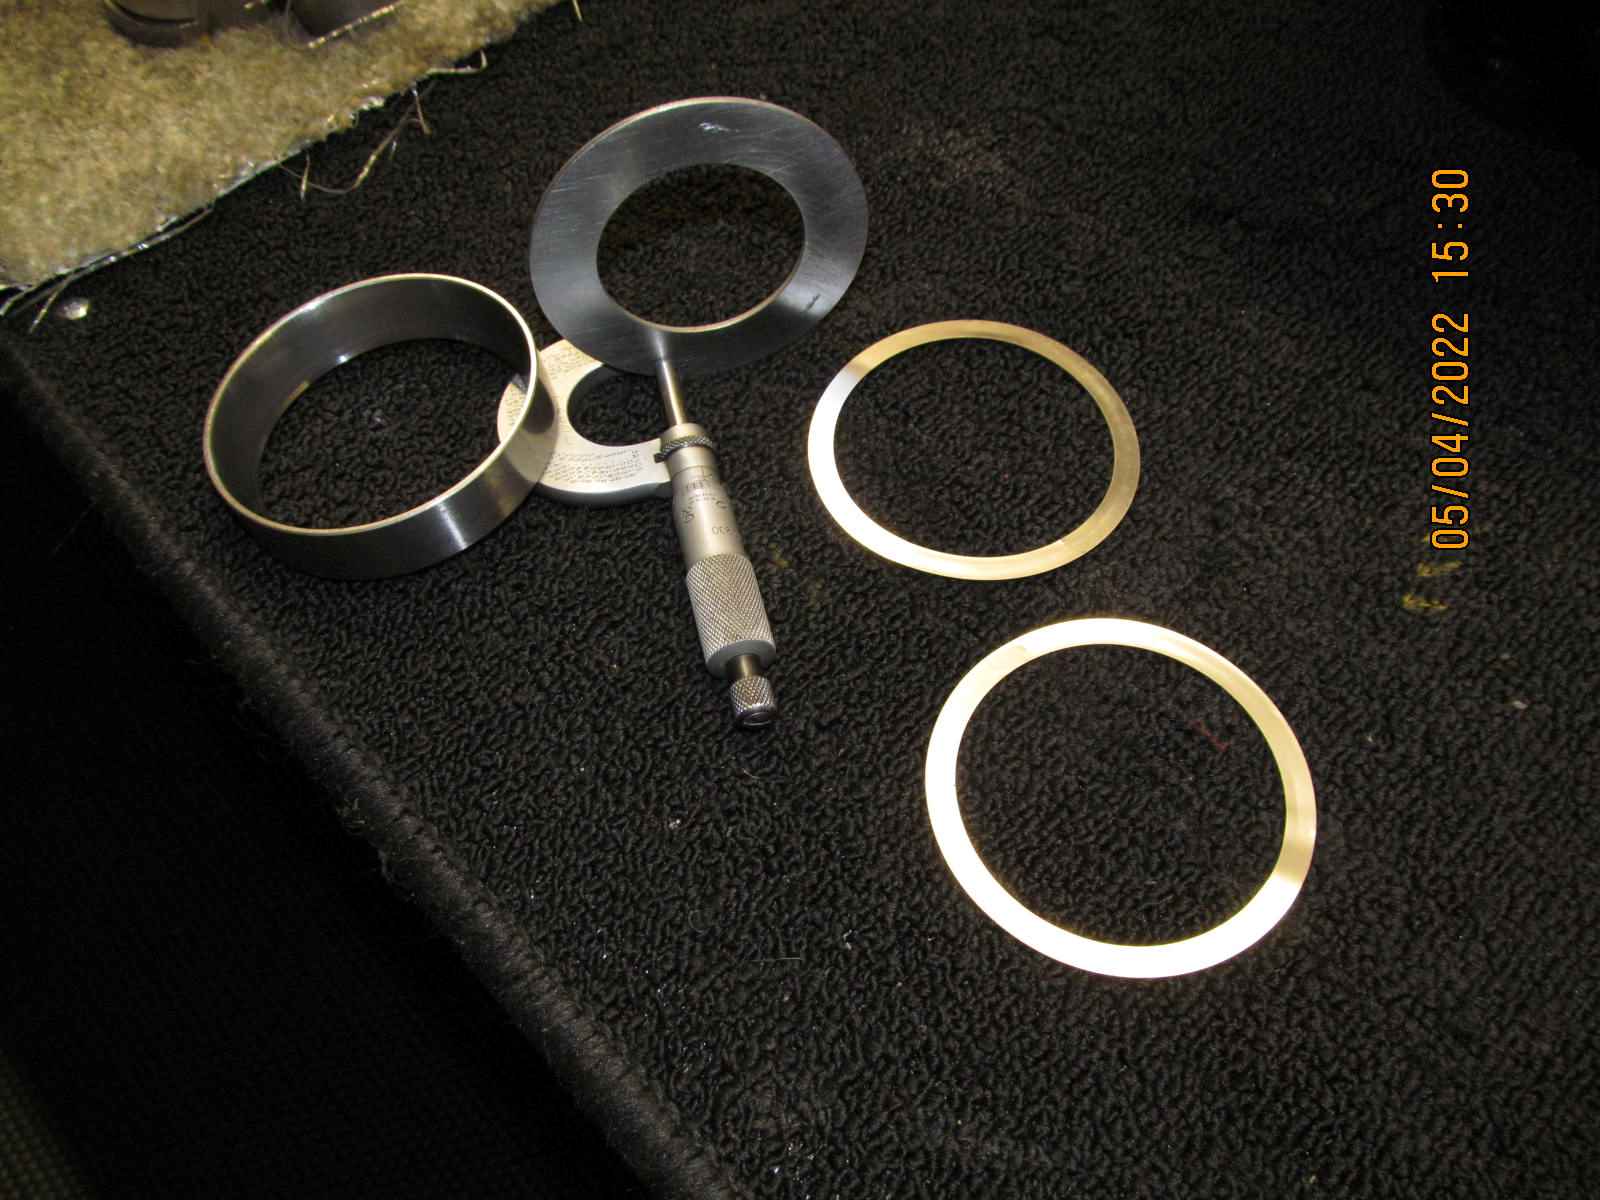
Kudos to the shop for clearancing the 3 ribs properly.
This shown washer plate (.074") in the bowl was back to back with a .010" shim.
That shim resulted in excessive carrier bearing preload.
A washer plate (.078") was located from my collection that was only .004" thicker
and gave the proper CBPL with the right backlash. |
|---|
|
|
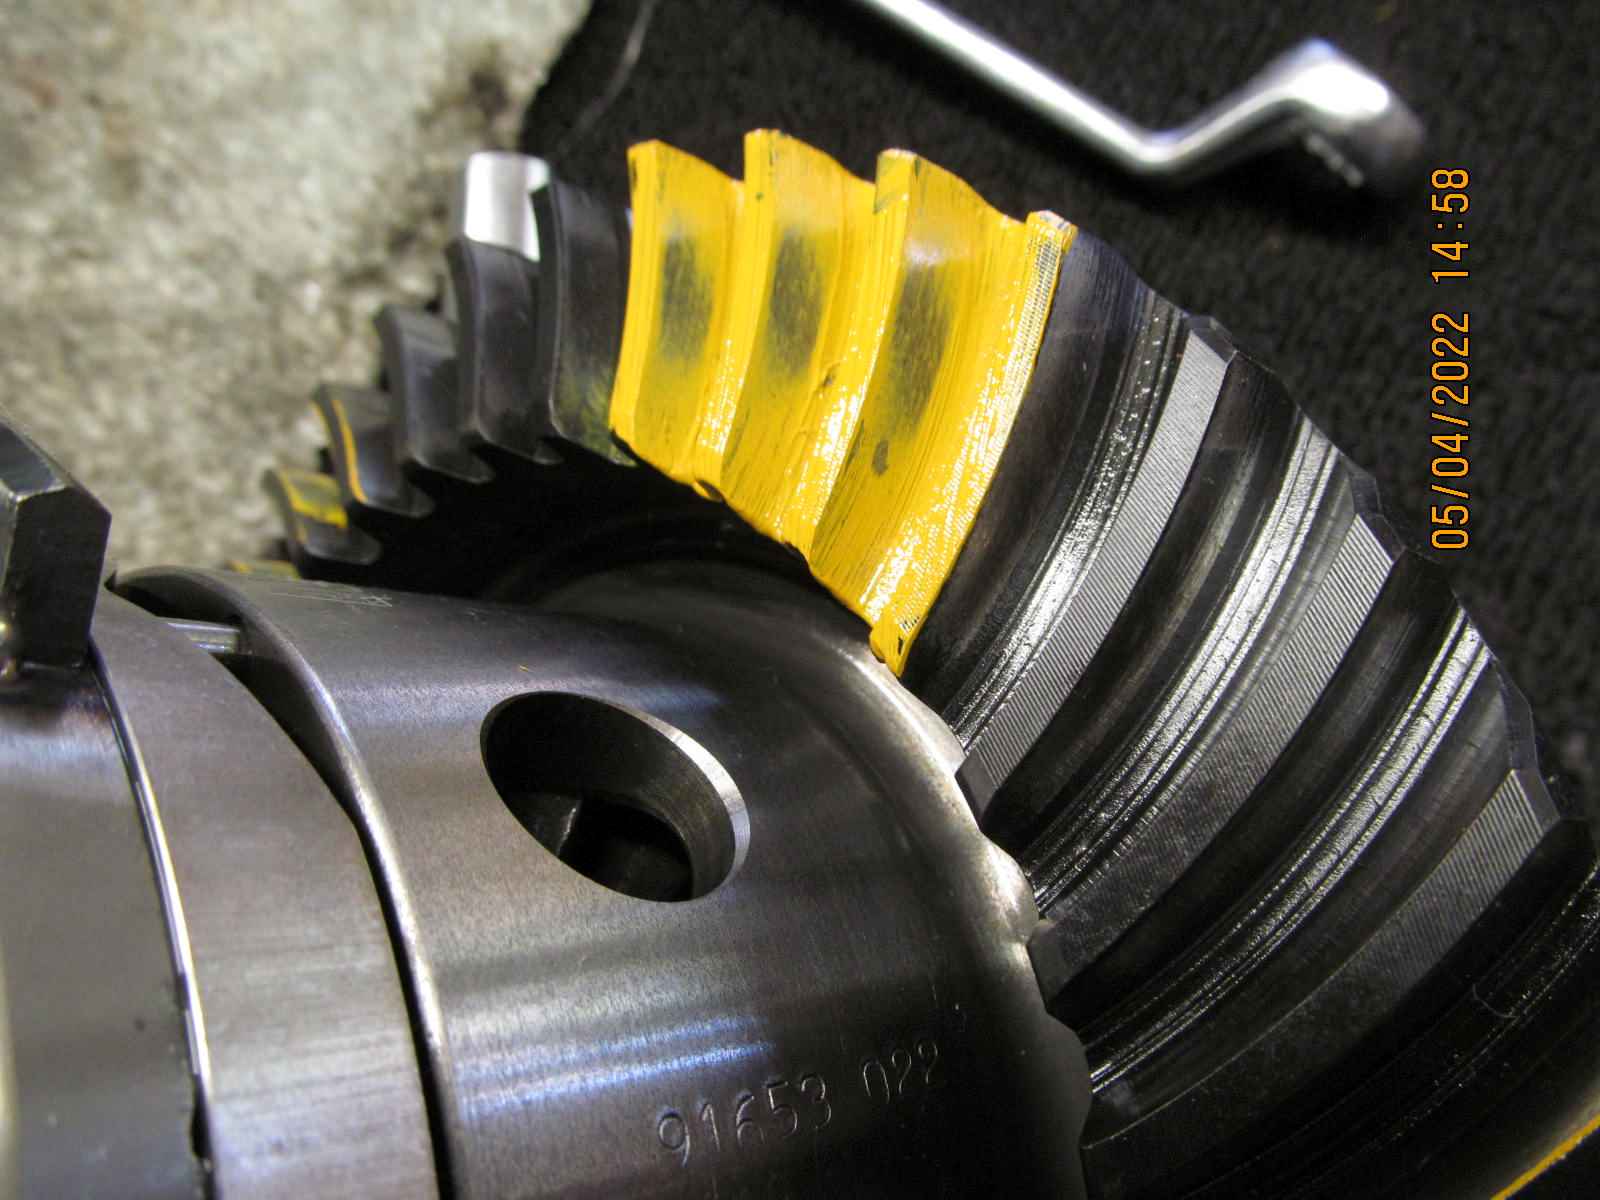
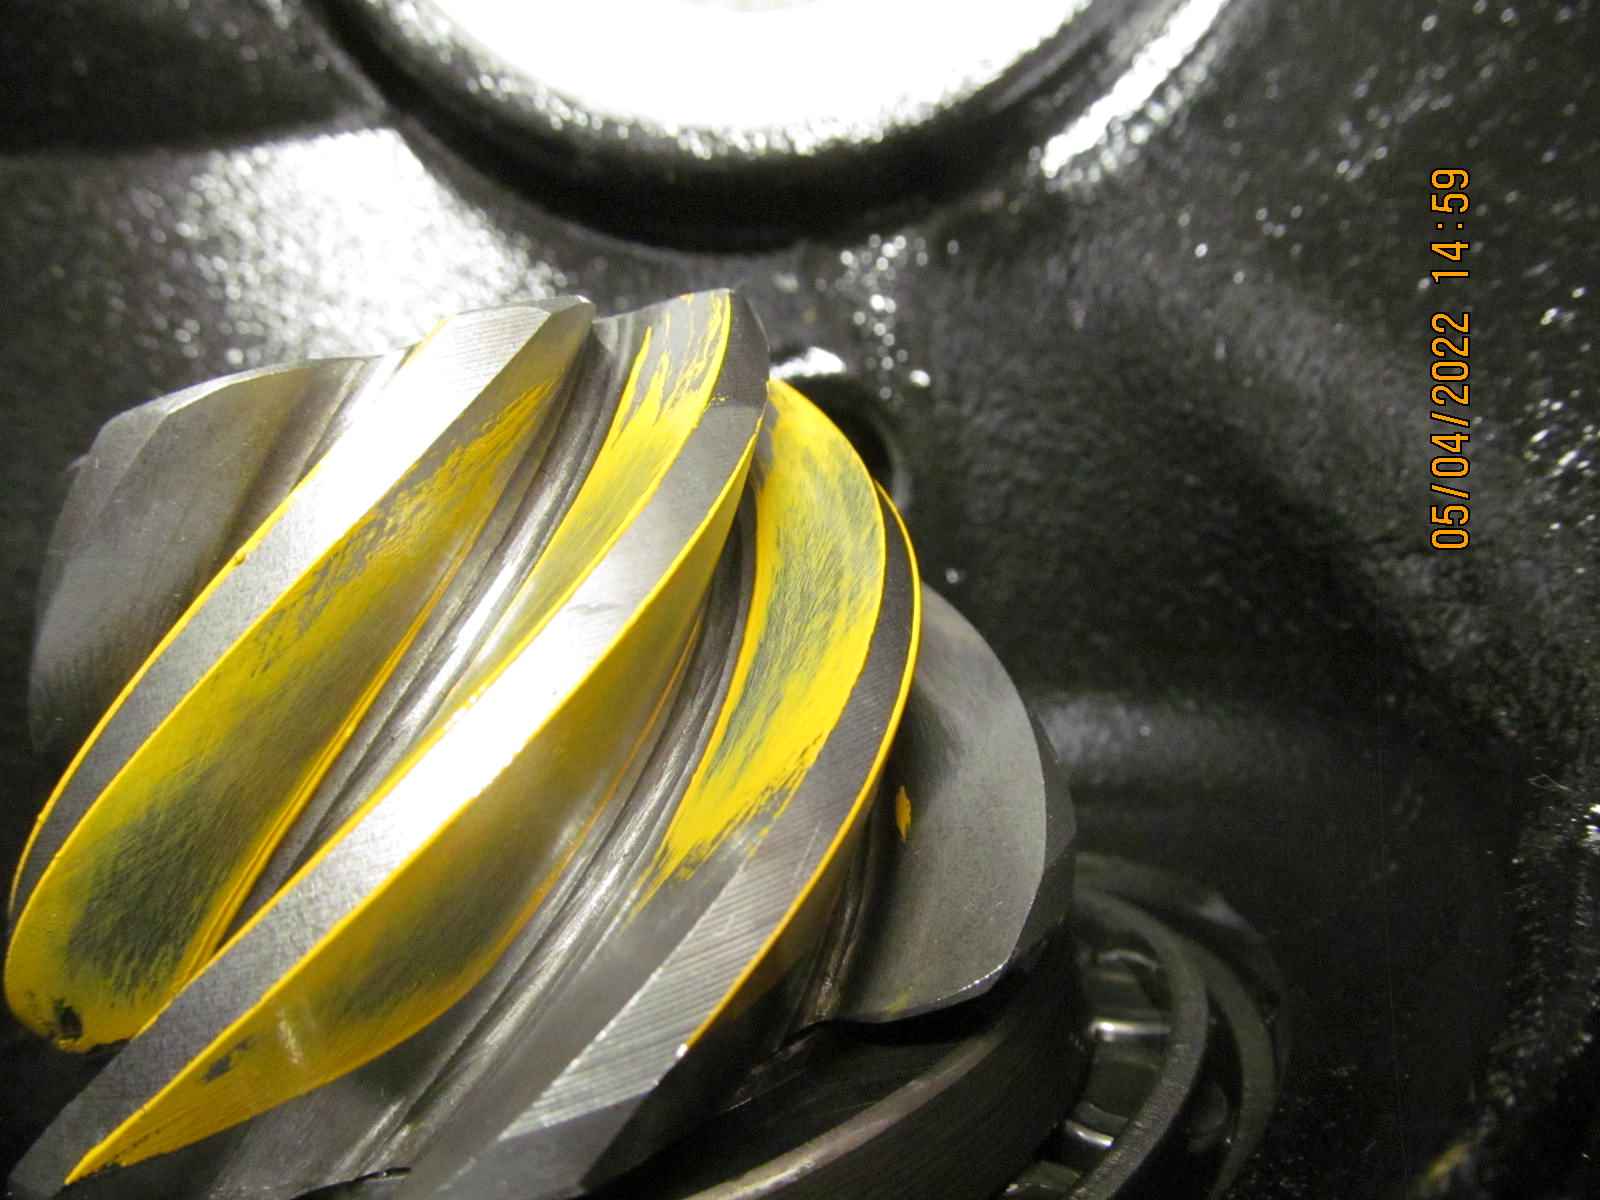
| Paint was applied to a few teeth and re-assemble it. |
|---|
|
|
| Backlash and bearing preload were spot on. |
|---|
|
|
| A tool that allows for doing good, easy to read paint checks. |
|---|
|
|
| ......................... |
|---|
|
|
| ;;;;;;;;;;;;;;;;;;;;;;;;;;;;; |
|---|
|
|
| Apply a small resistance to the pinion flange and turn the ring gear via the upper side gear. |
|---|
|
|
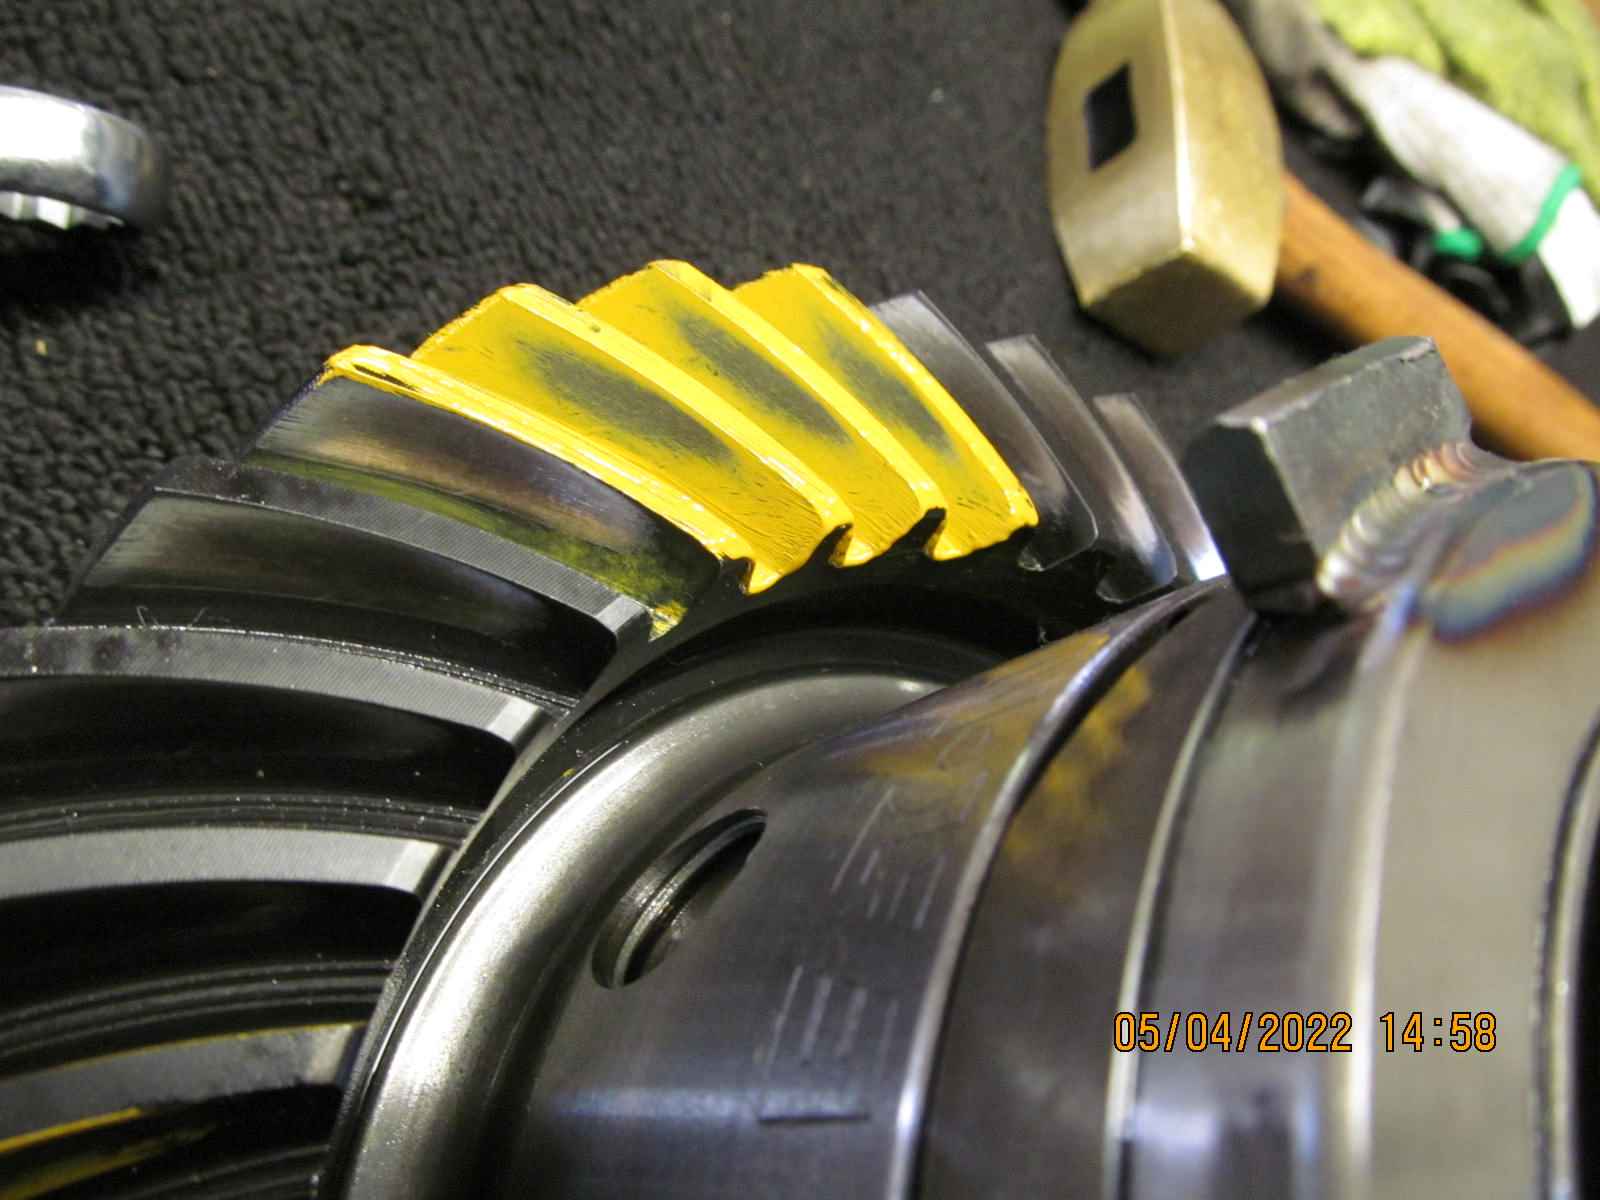
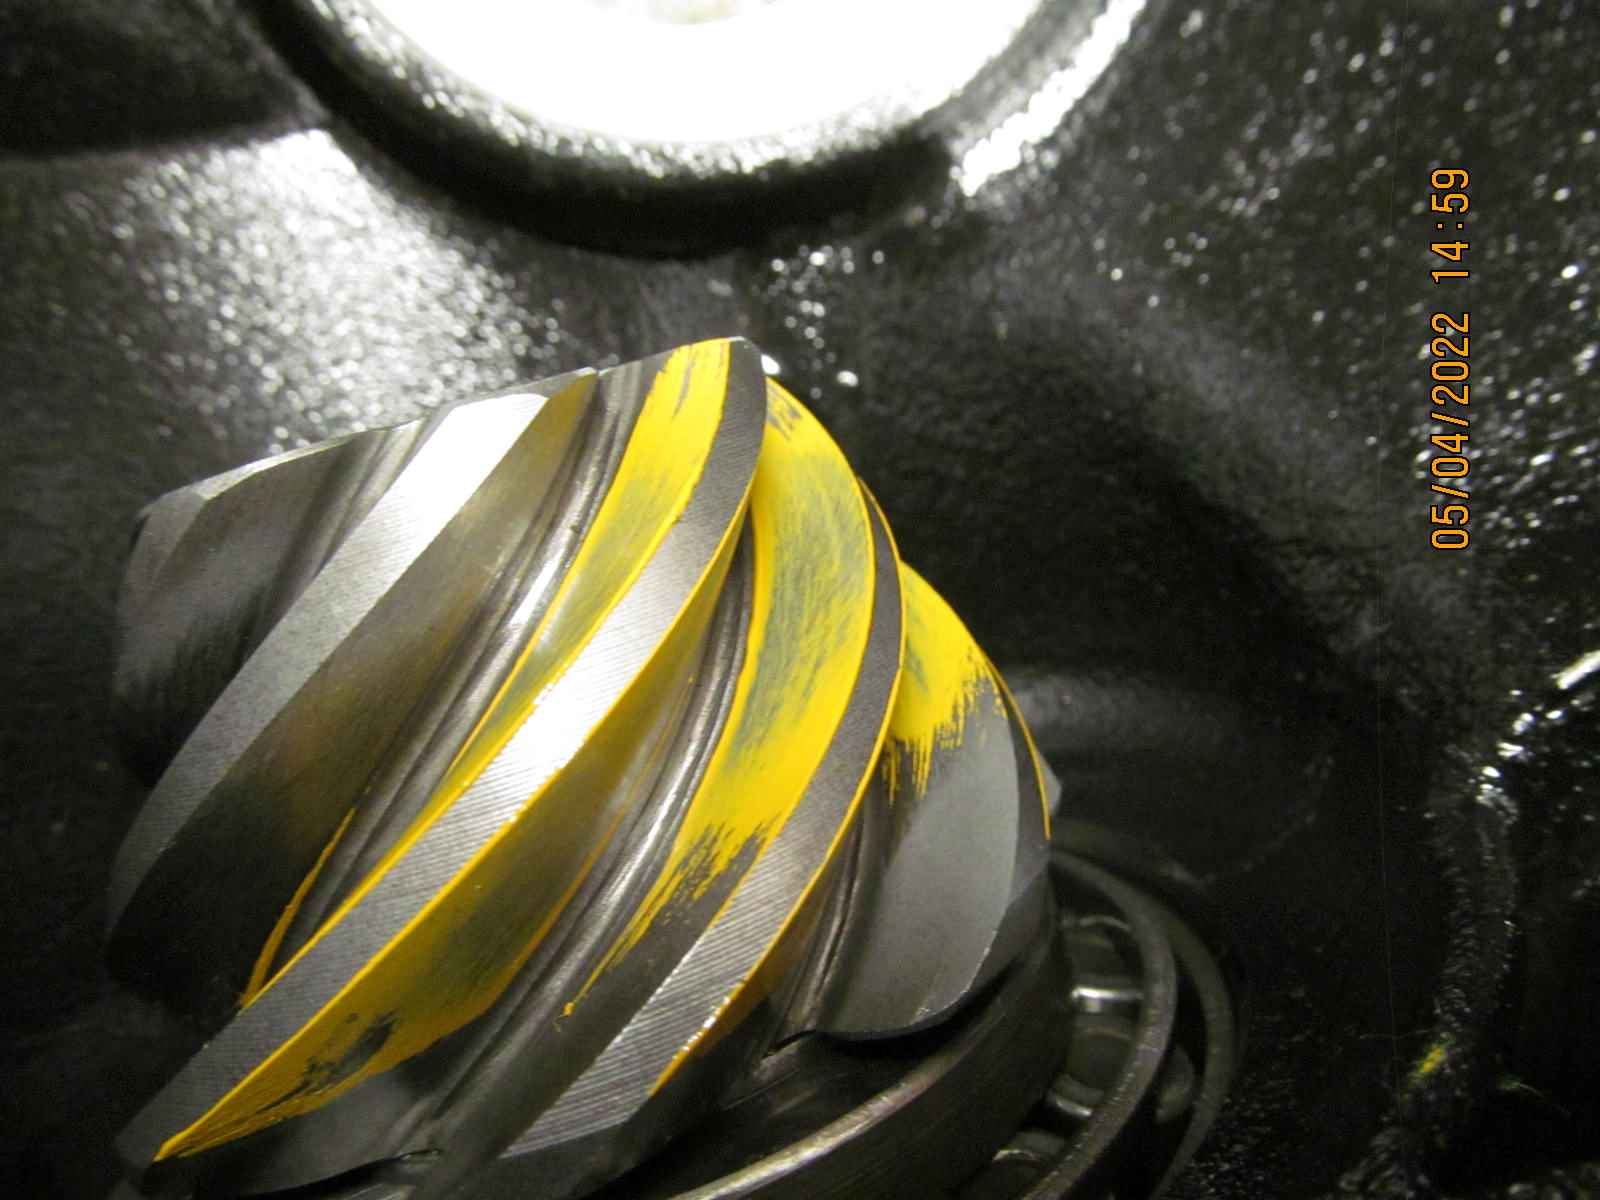
Drive side....beautiful....the shop nailed it right on.
As shown in the pic above, this is the pattern for the quietest running gears.
It's not the left/right position that is the most important....
It's the up/down that is the most important parameter. |
|---|
|
|
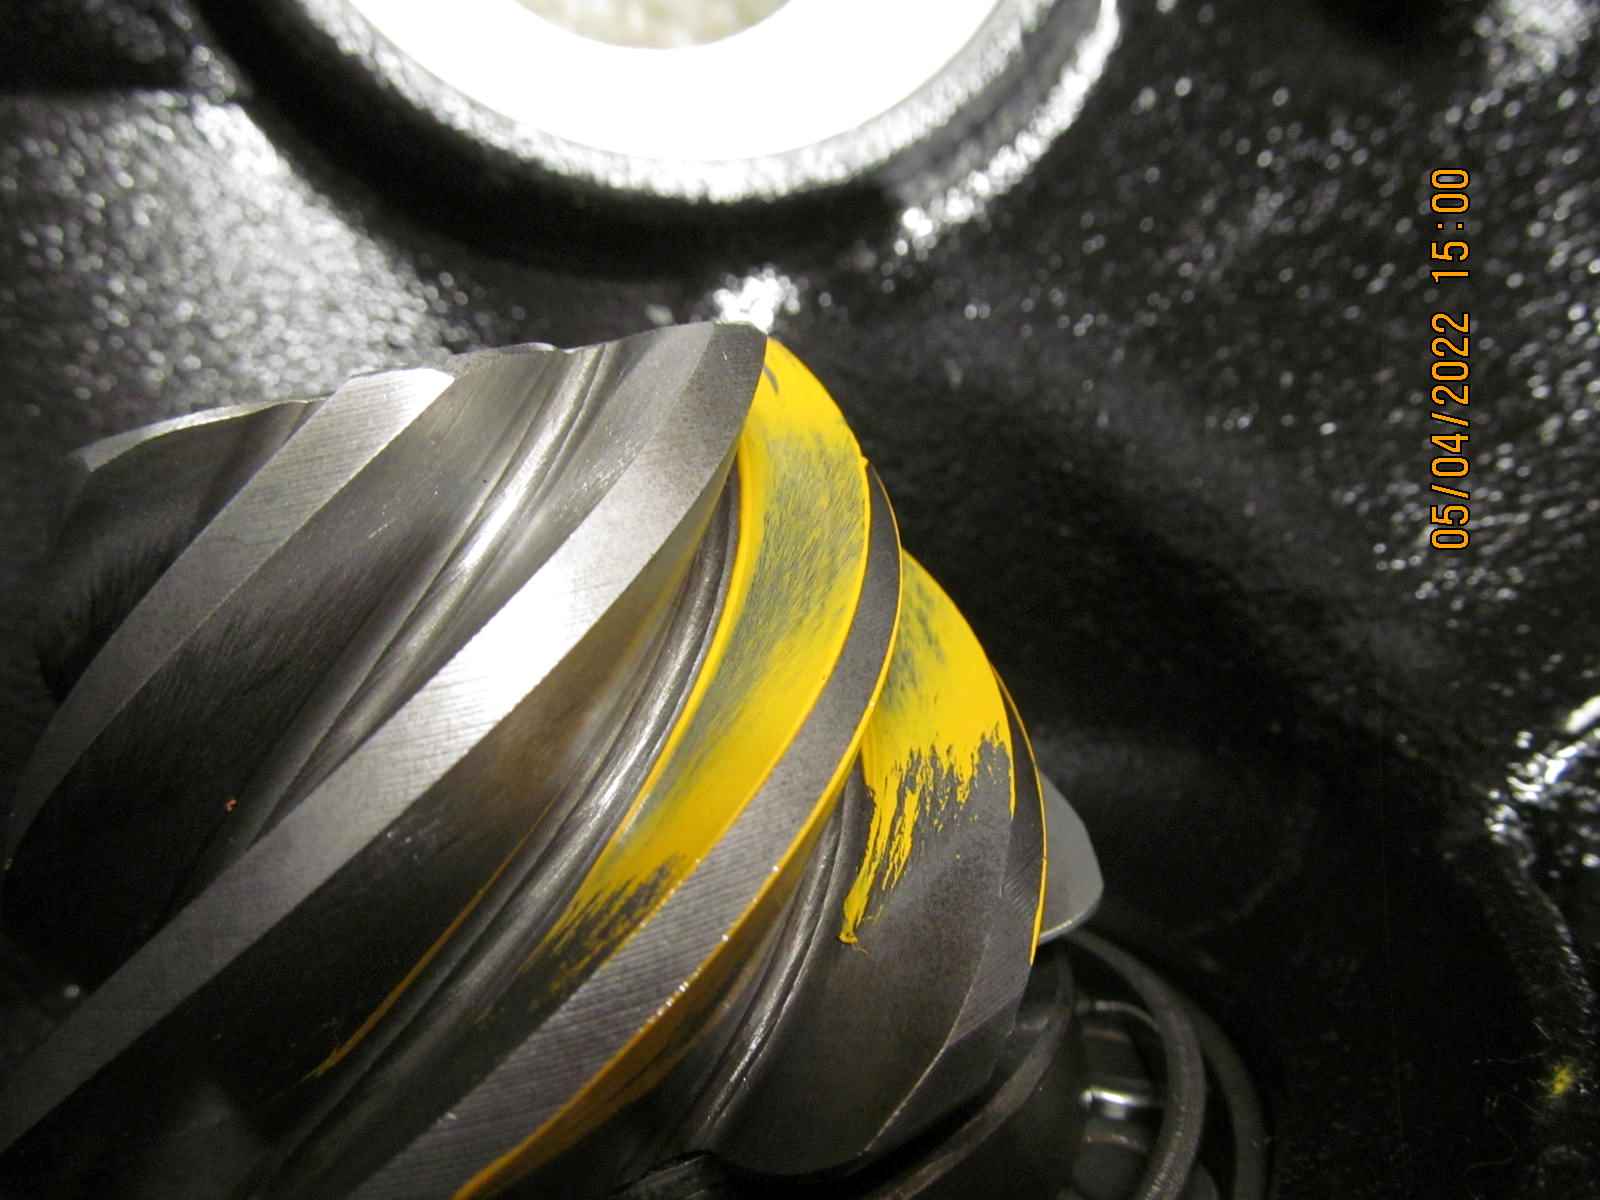
| Coast is ok. |
|---|
|
|
| The pattern on the pinion teeth look great. |
|---|
|
|
| '''''''''''''''''''''''' |
|---|
|
|
| ;;;;;;;;;;;;;;;;;;;;;;;;;; |
|---|
|
|
| ////////////////////// |
|---|
|

|
| This is showing the part where the washer plate was pressed out...... |
|---|
|
|
| ....and the new washer plate that is only .004" thicker. |
|---|
|
|
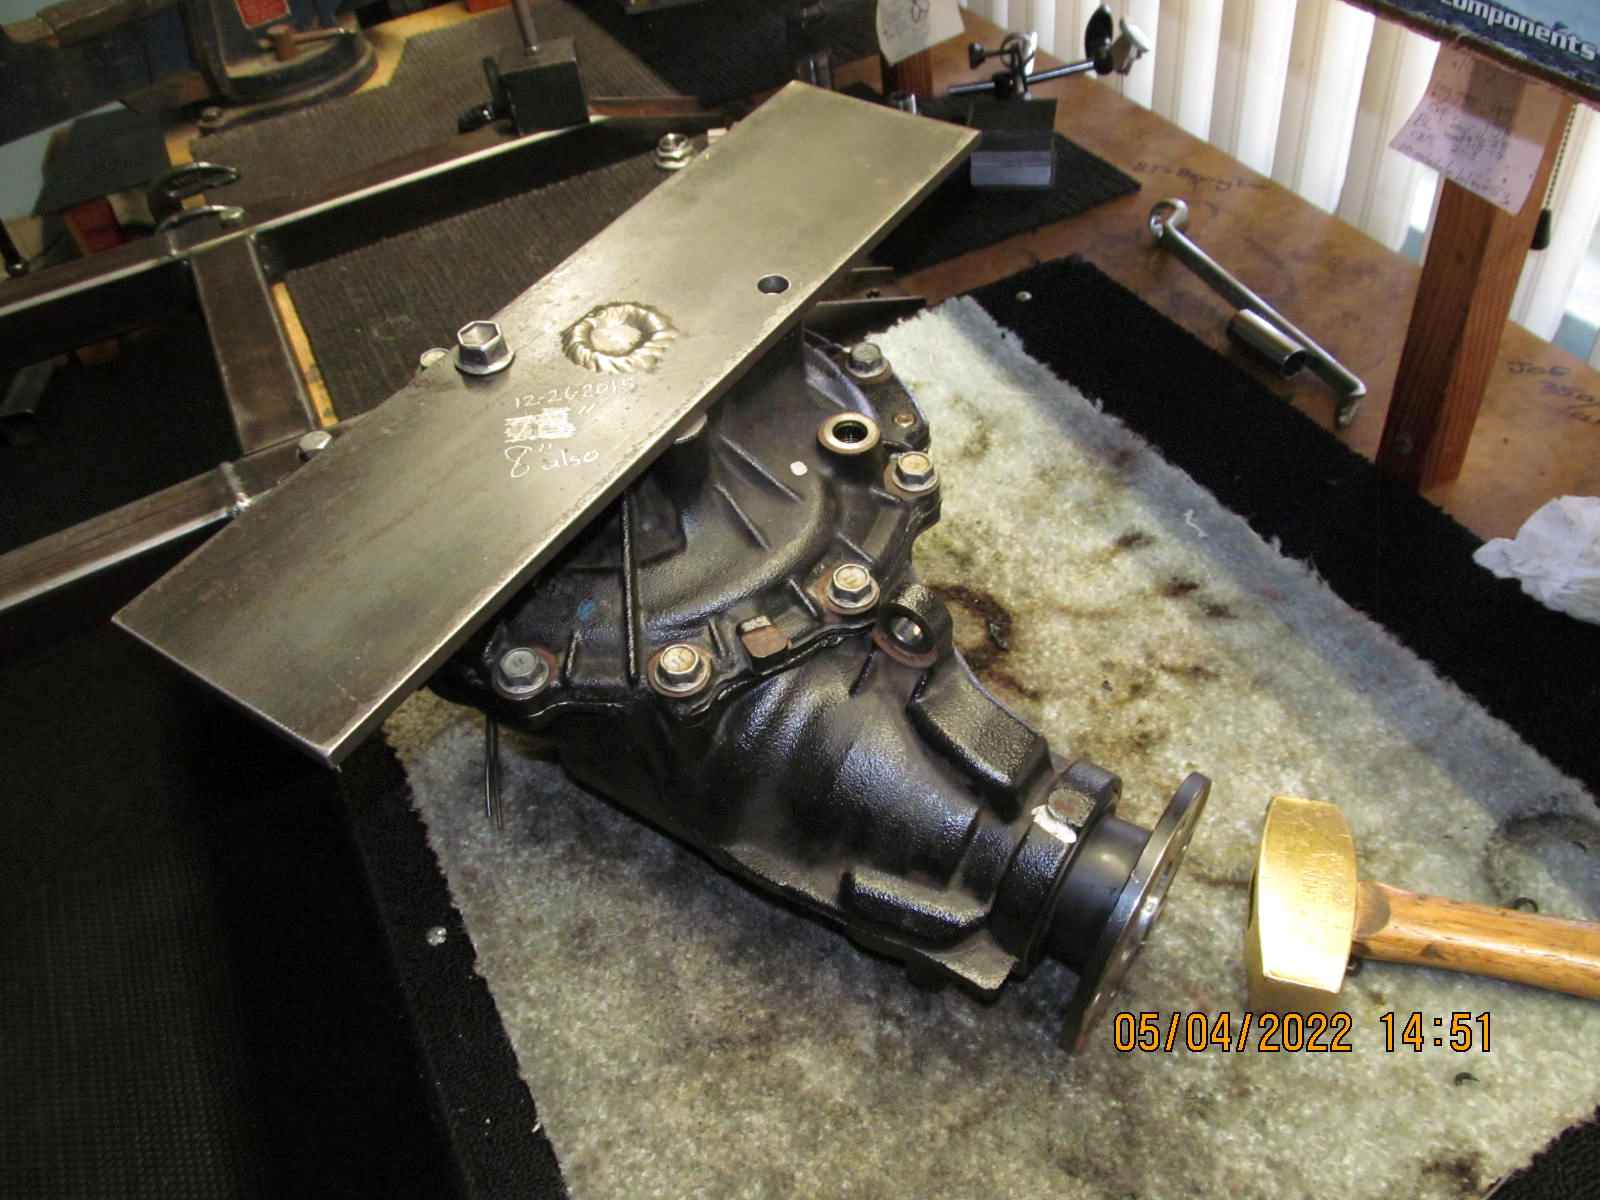
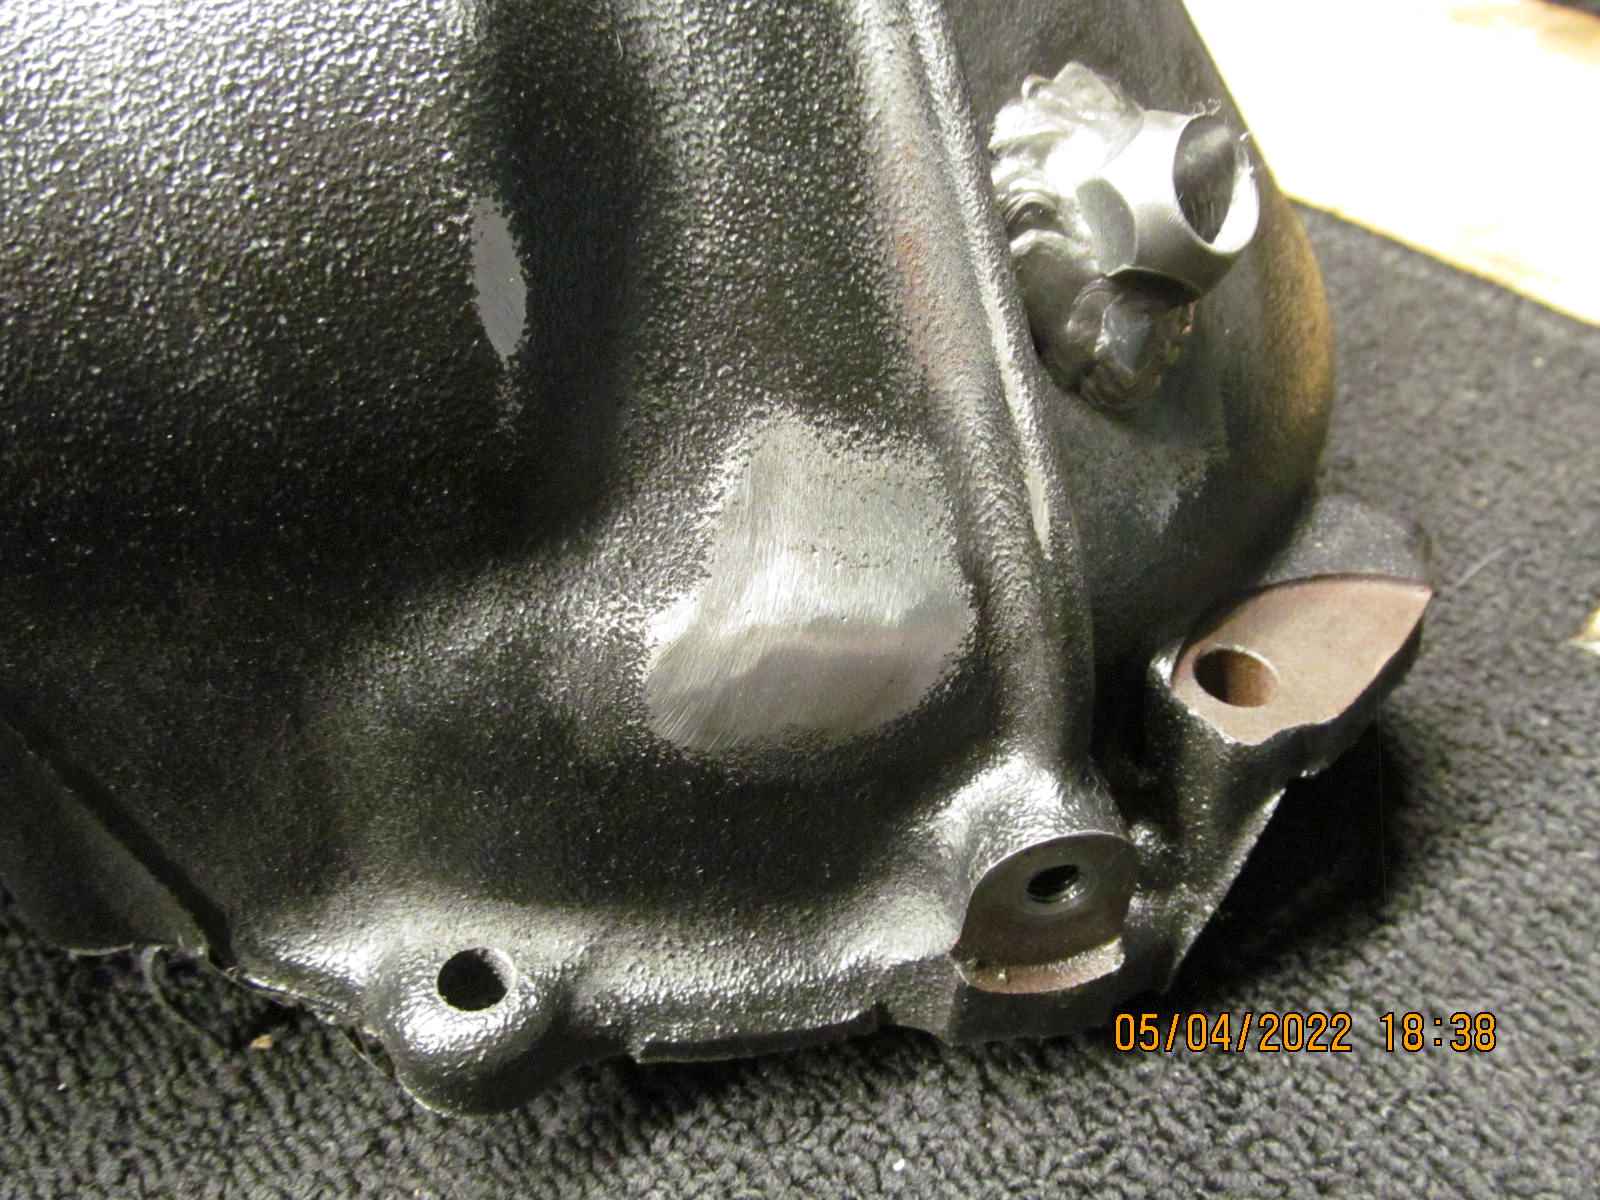
| The filled in hole and the hole in the cow pasture with the 'sleeve' MIG welded on. |
|---|
|
|
| Last checks on backlash and all is good. |
|---|
|
|
| Lid is removed and cleaned of oils. |
|---|
|
|
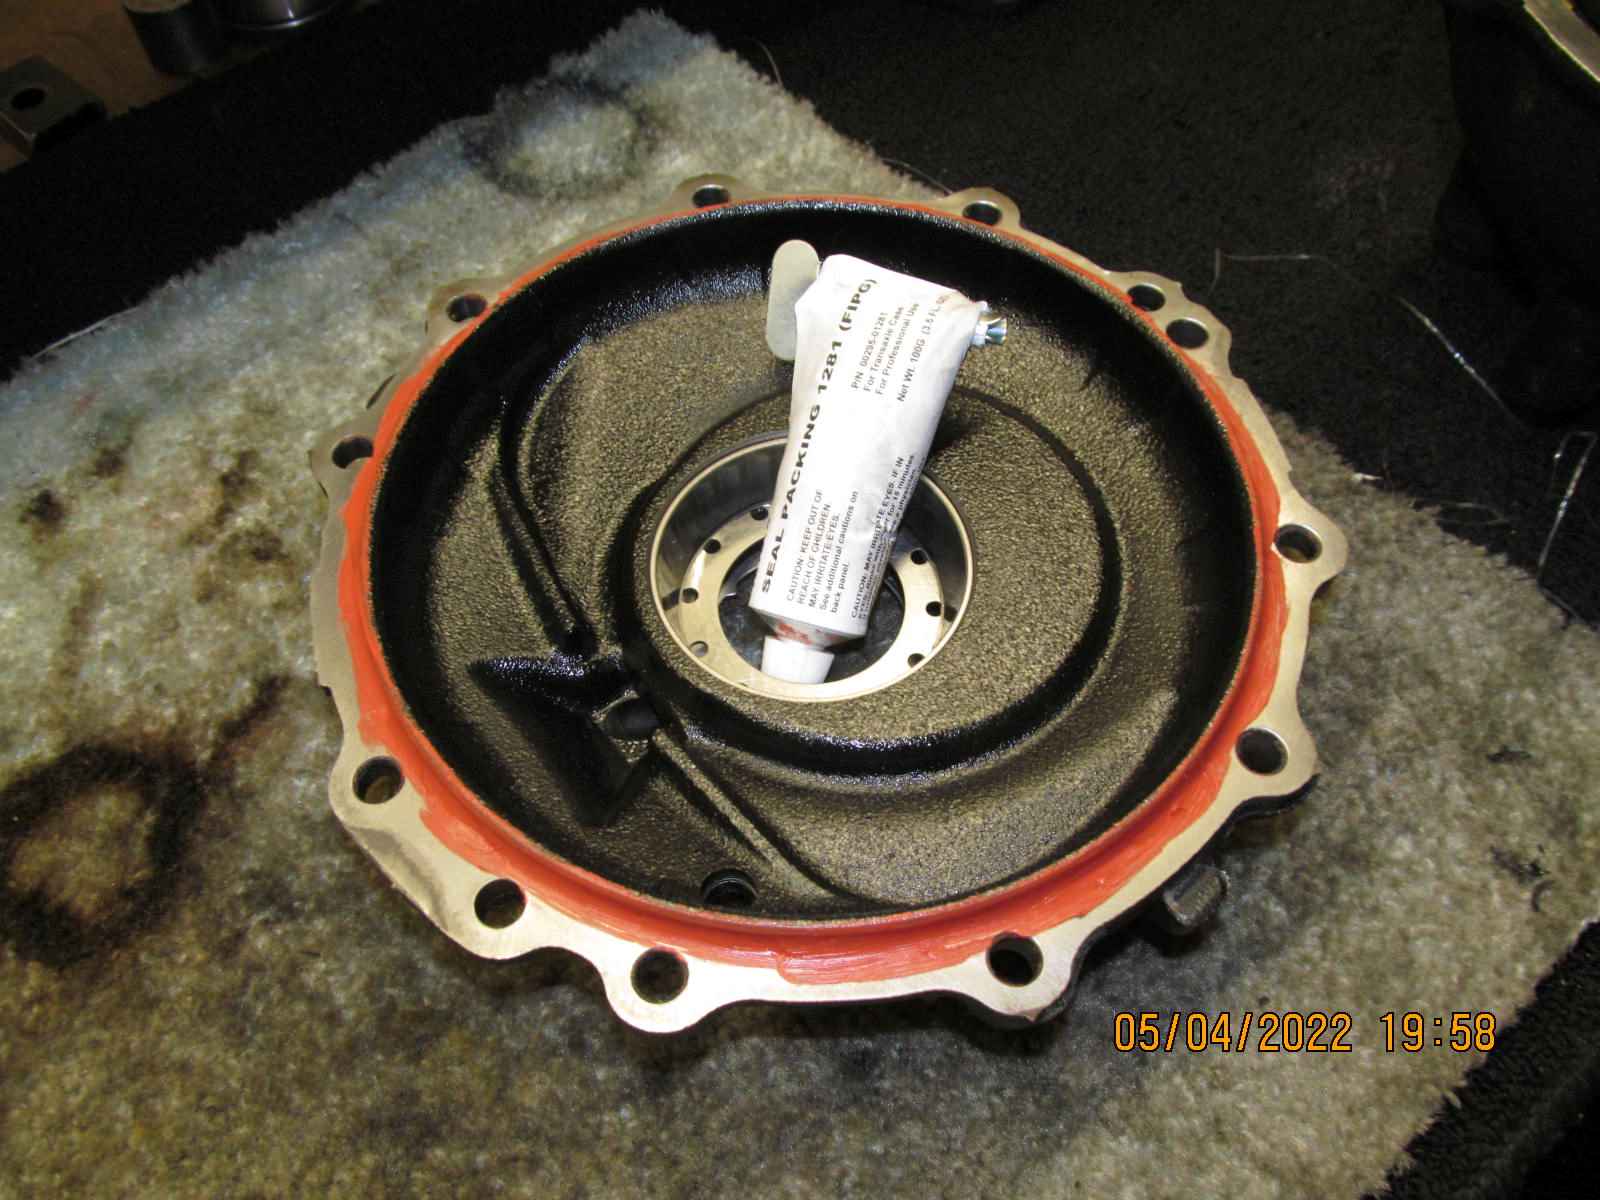
| The factory orange FIPG is applied. |
|---|
|
|
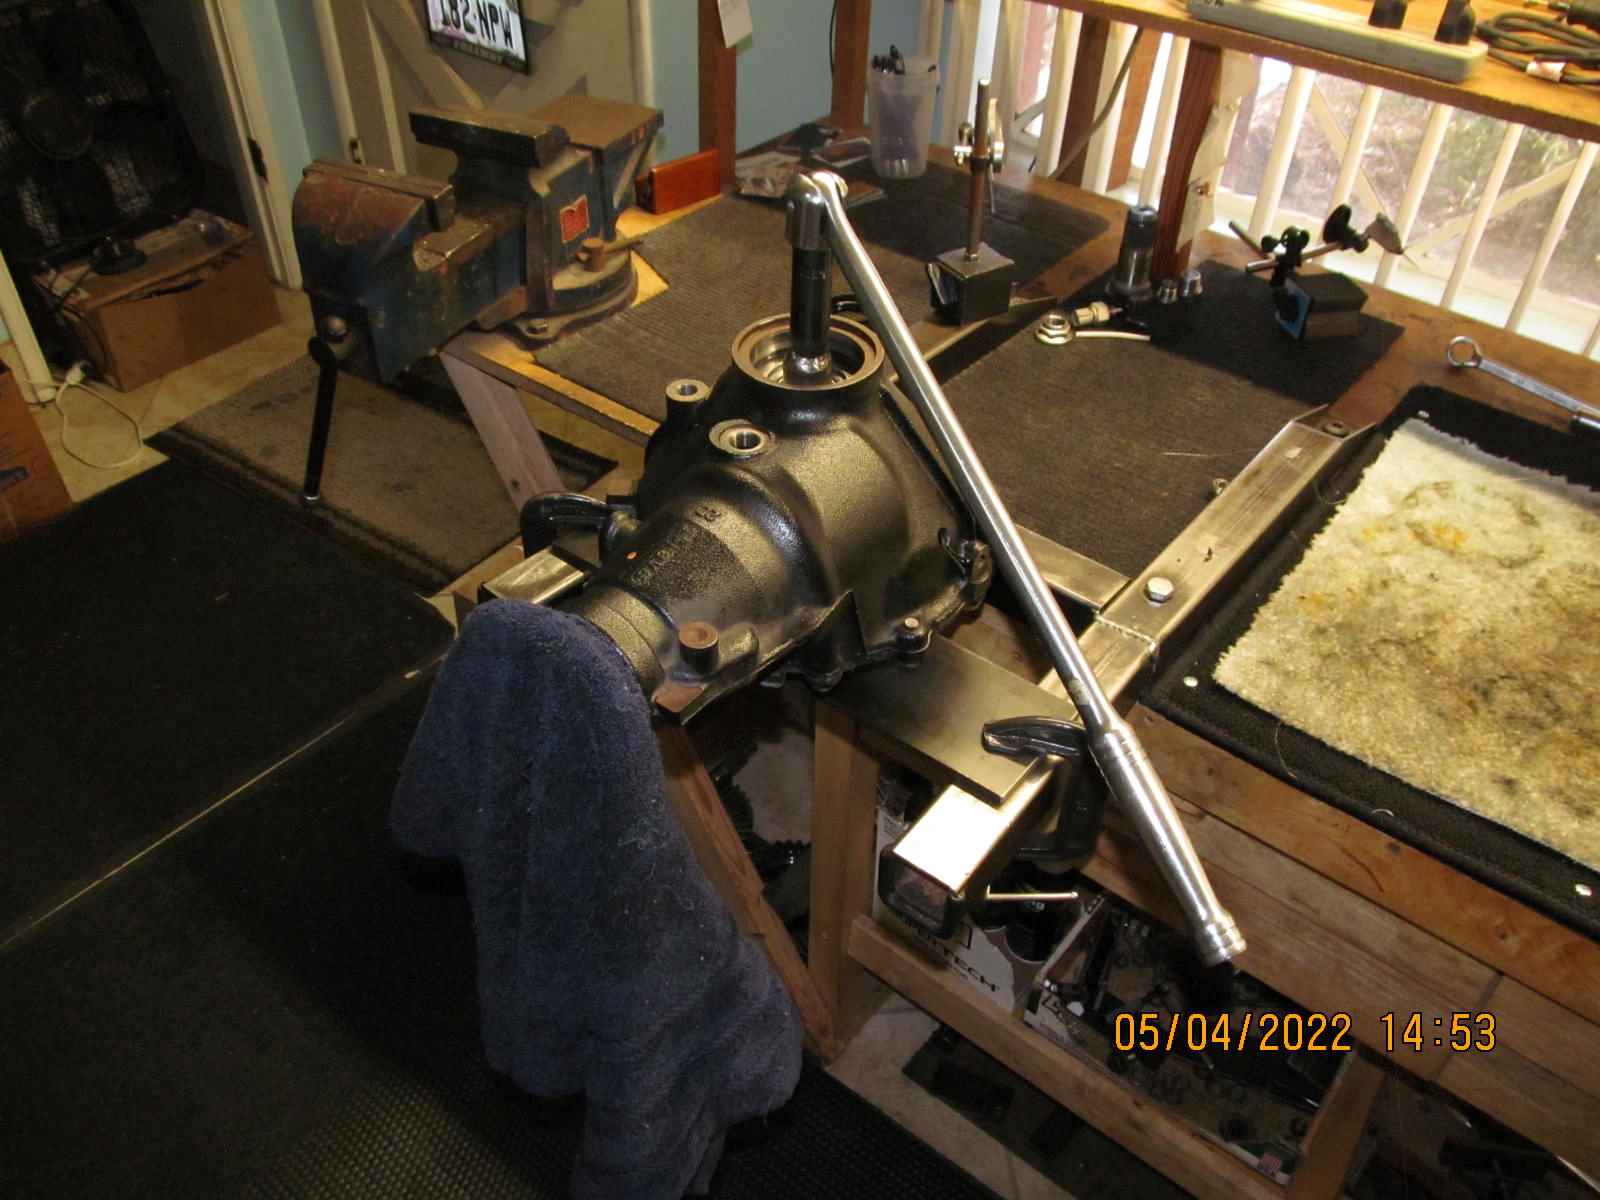
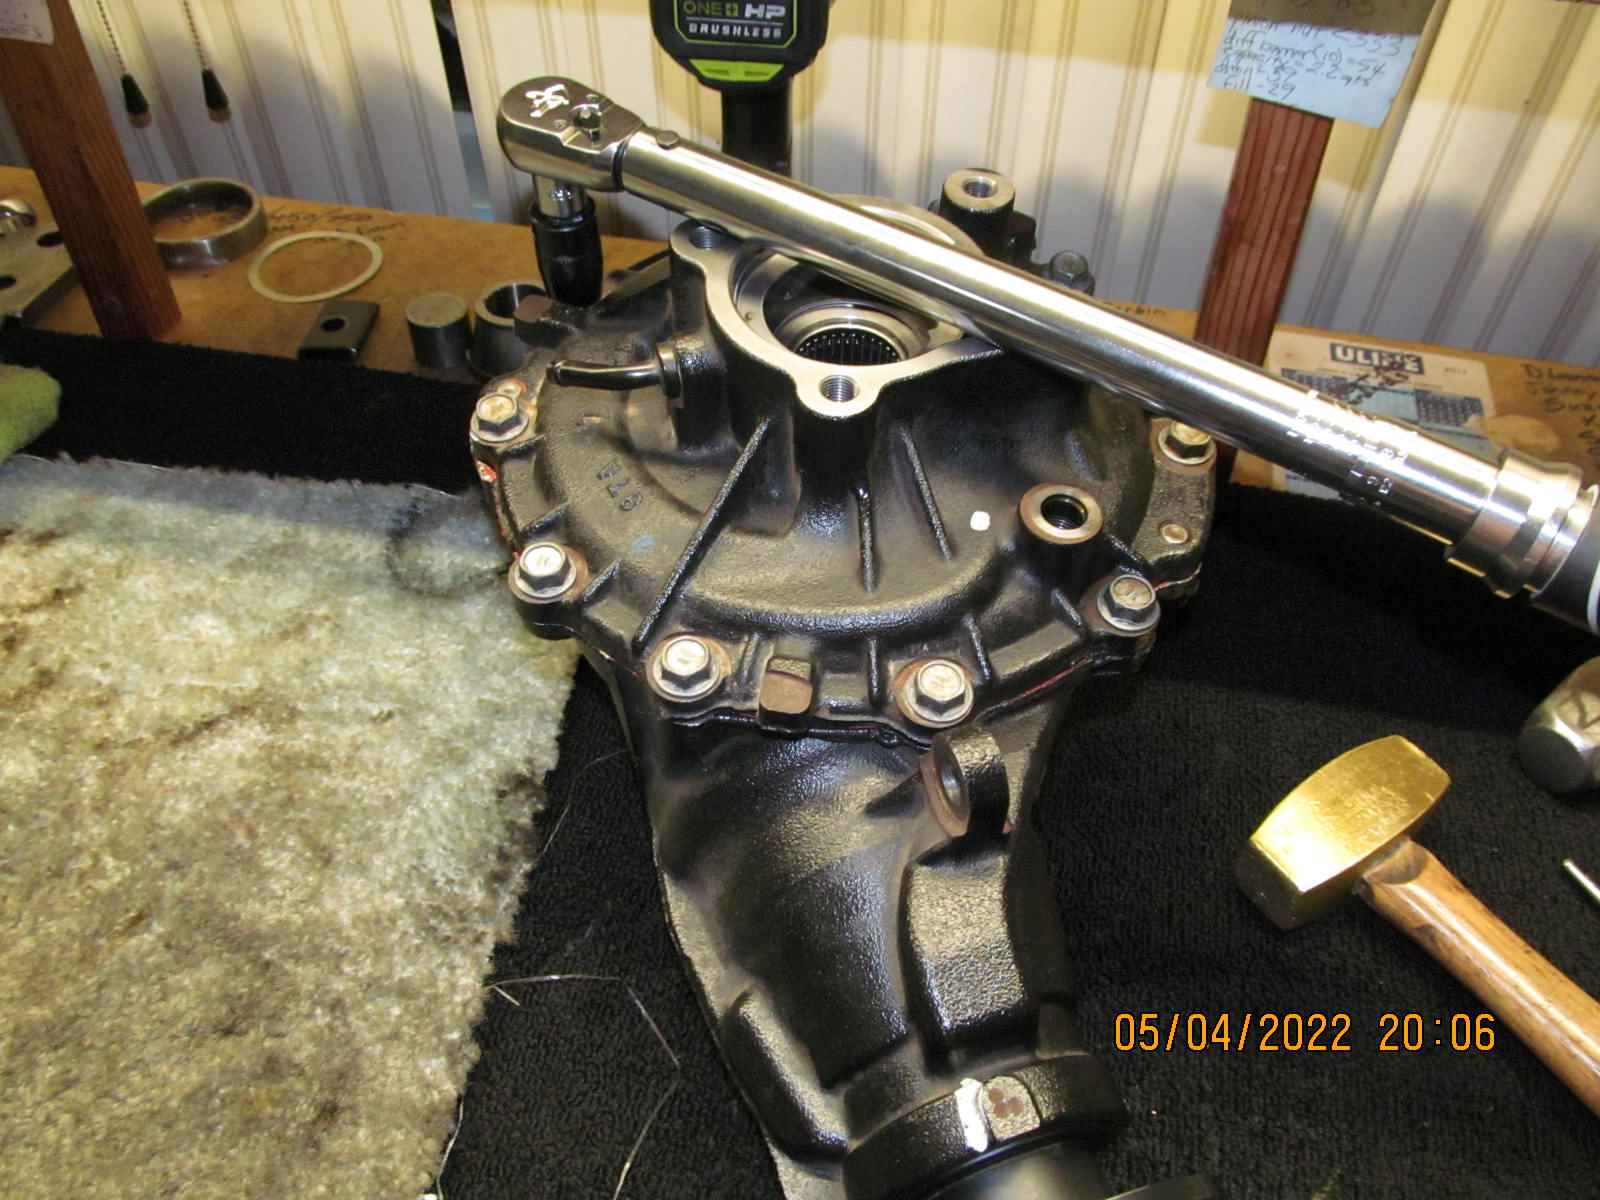
| ....and the 10 bolts are final torqued to 37 ft/lb. |
|---|
|
|
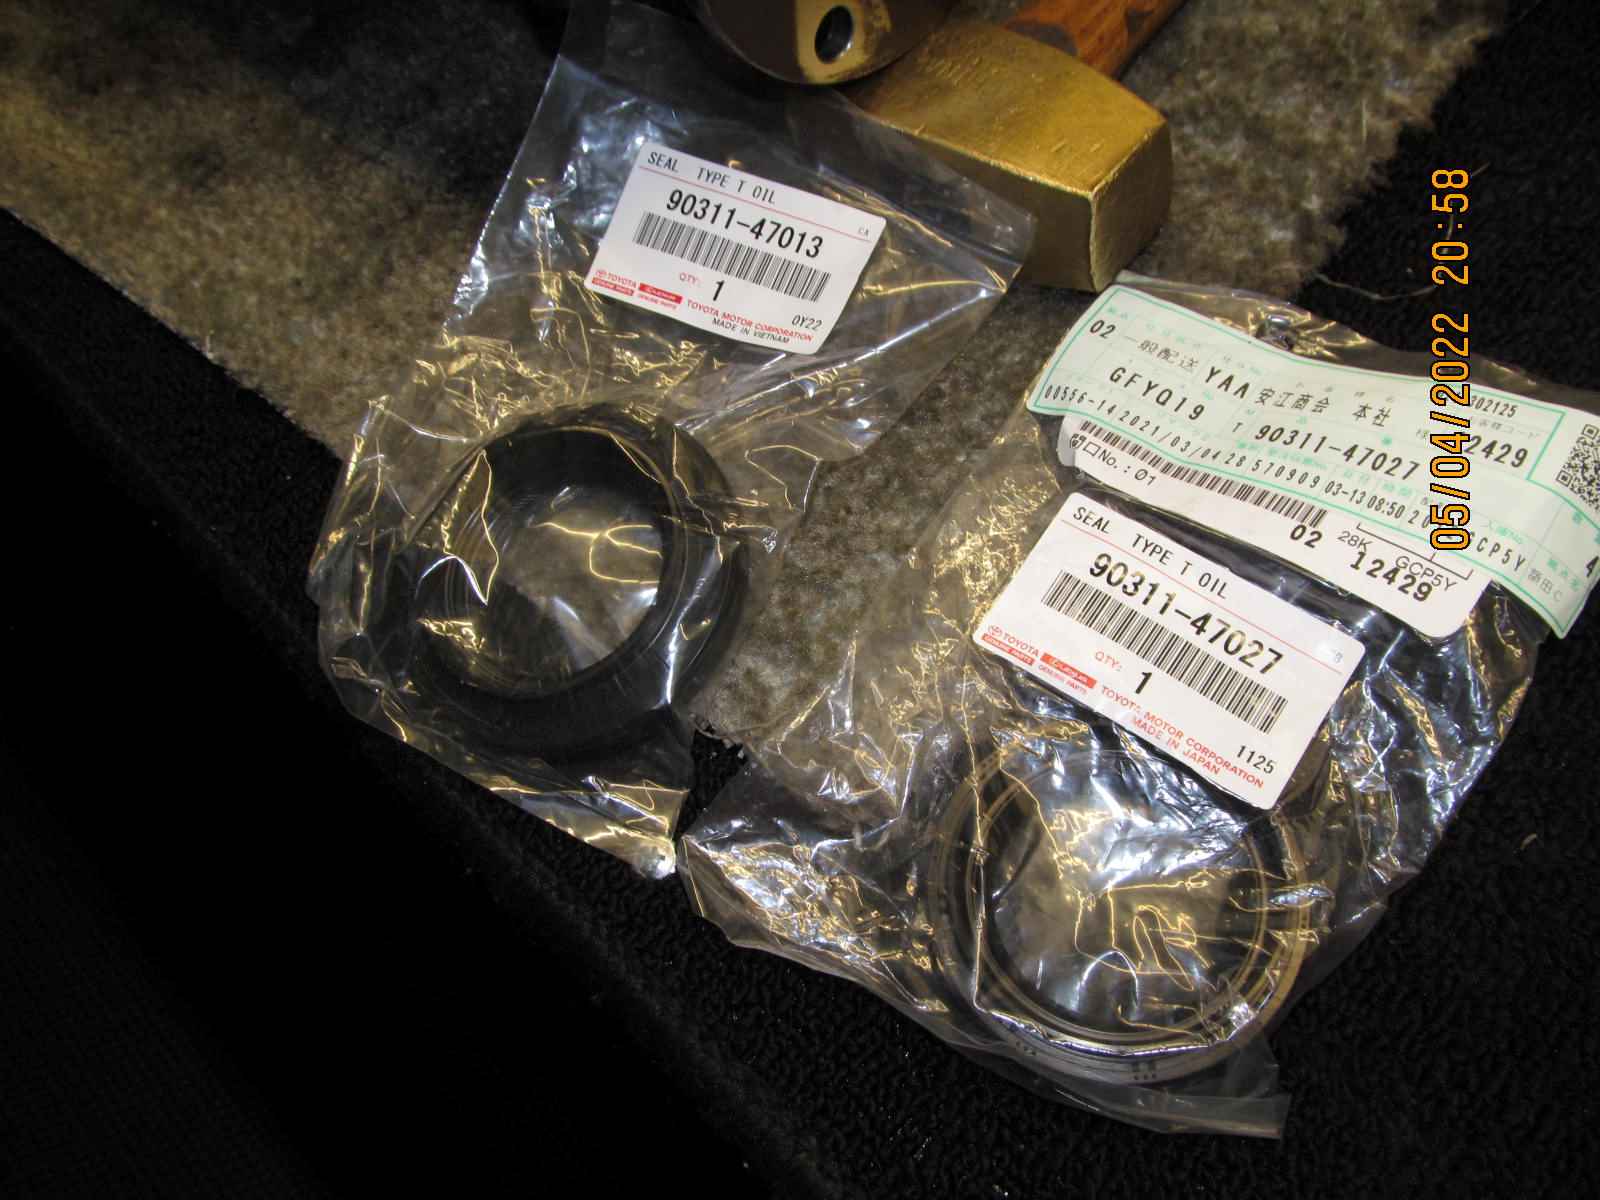
| Generally best to stay away from the generic seals that are supplied in the after-market kits. Factory is best. |
|---|
|
|
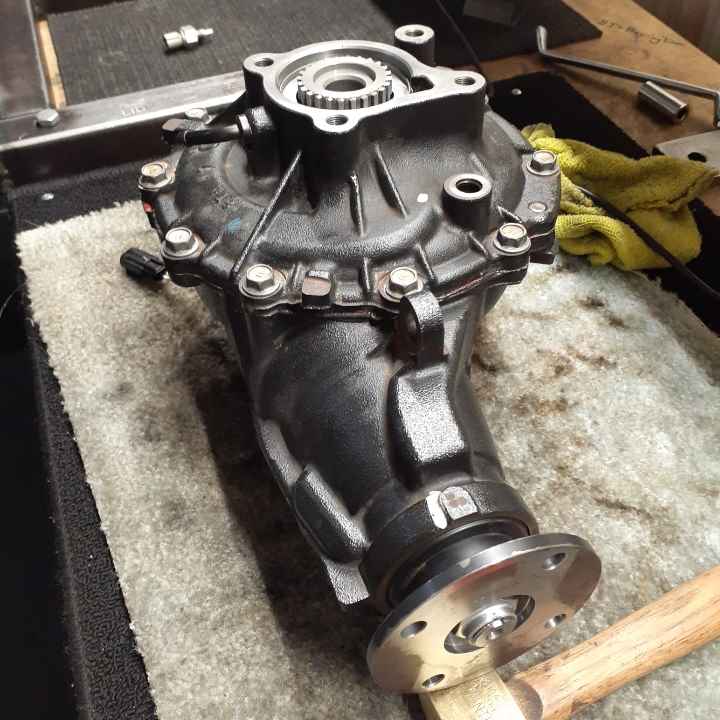
| Done |
|---|
|
|
| ;;;;;;;;;;;;;;;;;;;;;;;;;; |
|---|
|
|
| '''''''''''''''''''''''''' |
|---|
|

|
| ............................ |
|---|
|
|
| ;;;;;;;;;;;;;;;;;;;;;;;;;;;; |
|---|
|
|
| ,,,,,,,,,,,,,,,,,,,,,,,,,,,,,, |
|---|
|
|
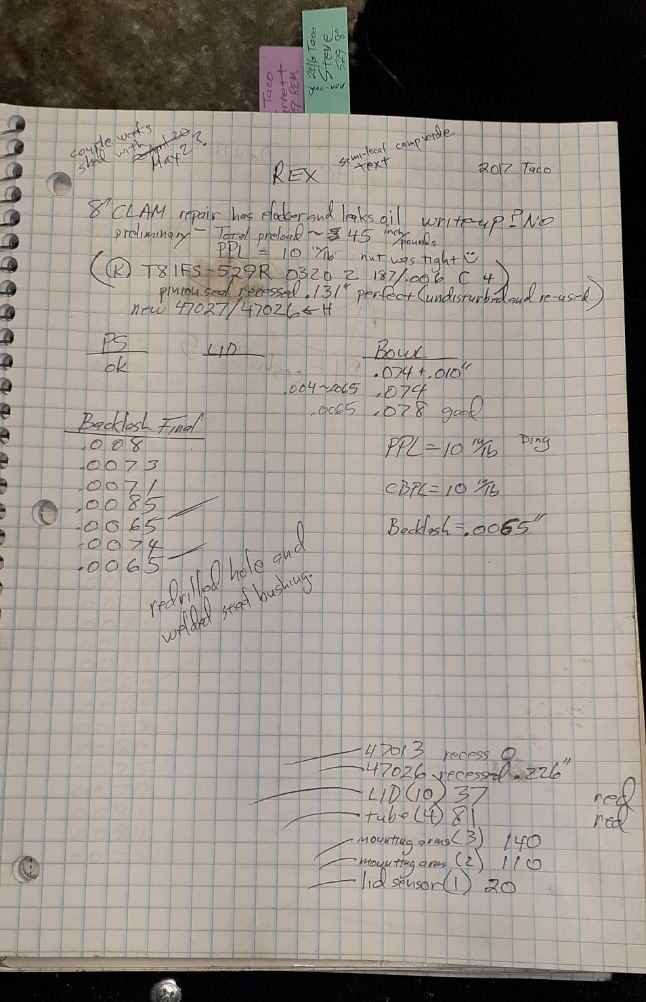
| A snapshot of the notes. |
|---|
|
|

|