|
|
|
|
|
|
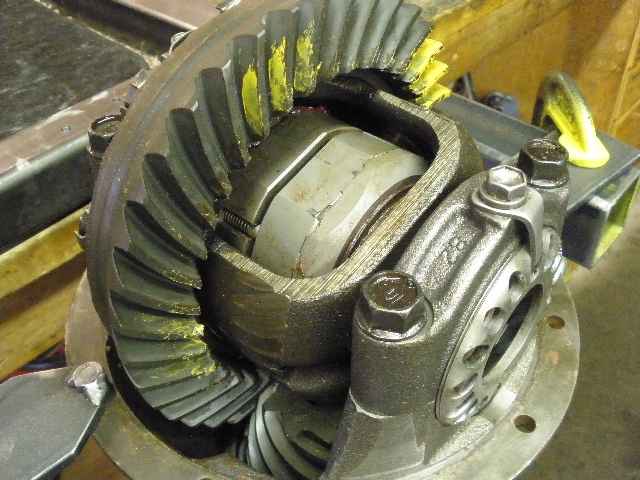
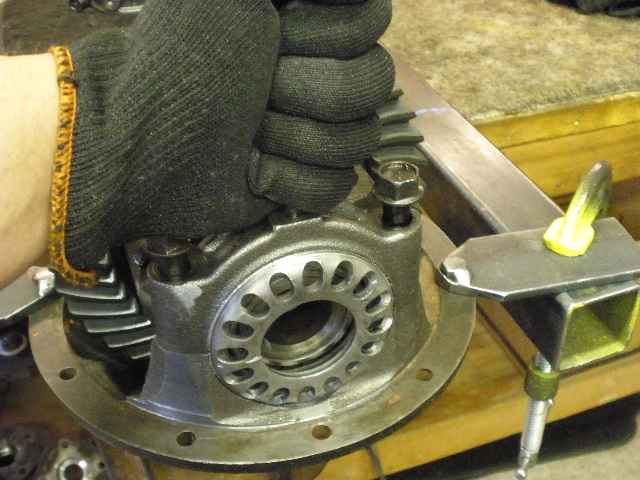
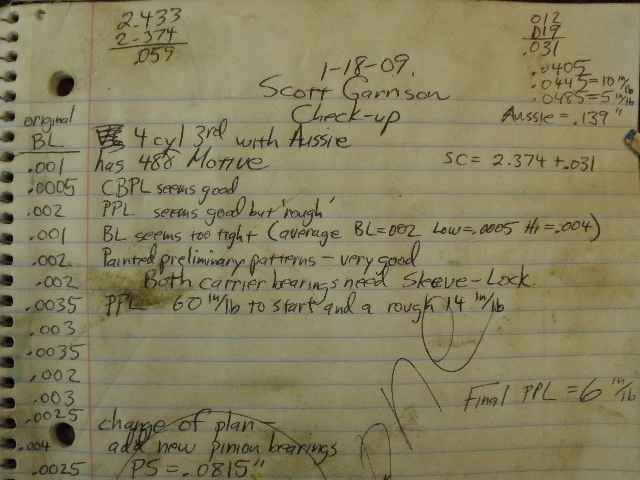
The same Scott from Fort Lewis, Washington also sent me this 4 cylinder 3rd with Aussie for a similar check-up. Usually, these check-ups turn into much more than just that...tolerances are changed/improved and bad bearings are often replaced. Scott supplied the new MOTIVE 488, a solid collar, and a new master kit that includes all 4 bearings to an individual that he thought could do a good gear install. Scott didn't like the way the backlash felt so off to me it heads for a check-up. |
|
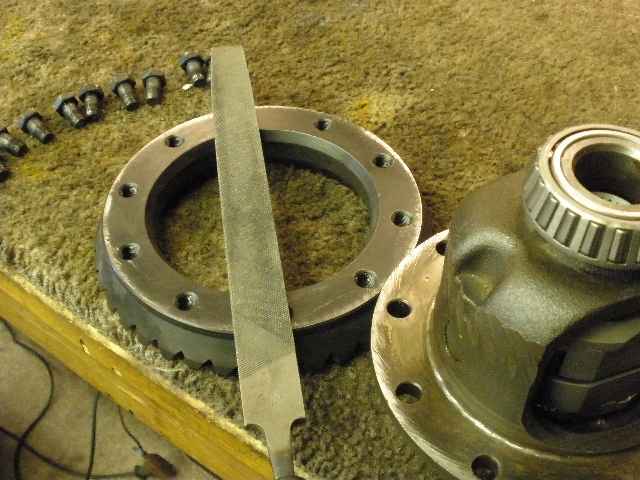
These re-used weakened ring gear bendable tabs will be the first thing to go. Red Loctite will be used. |
|
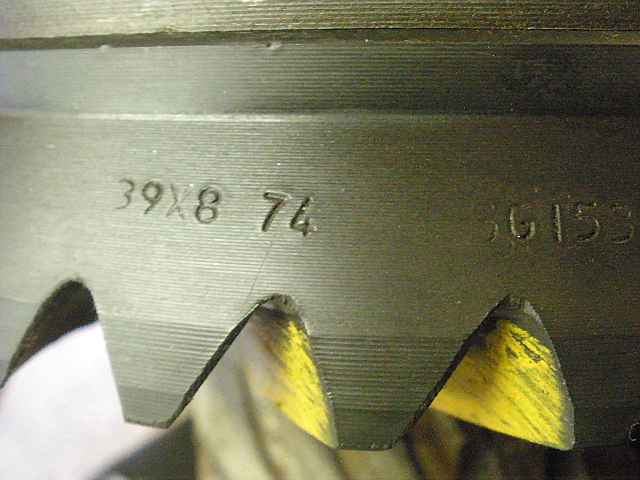
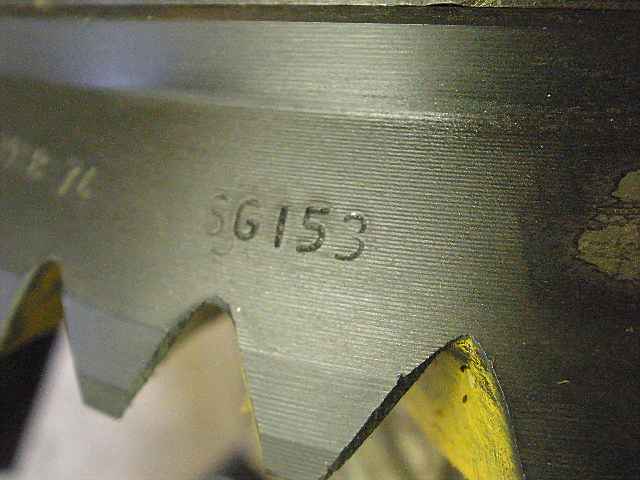
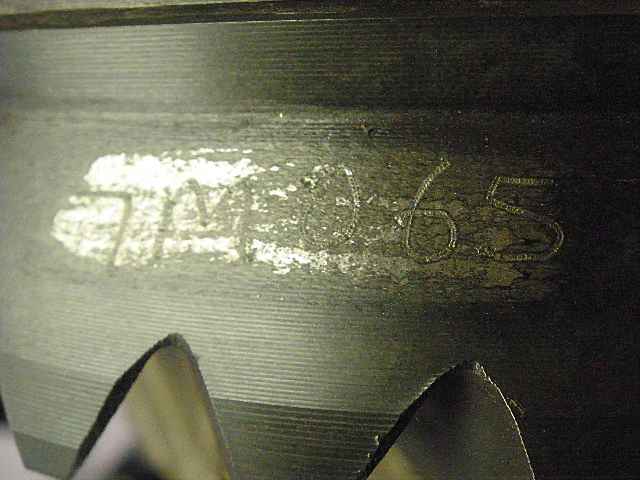
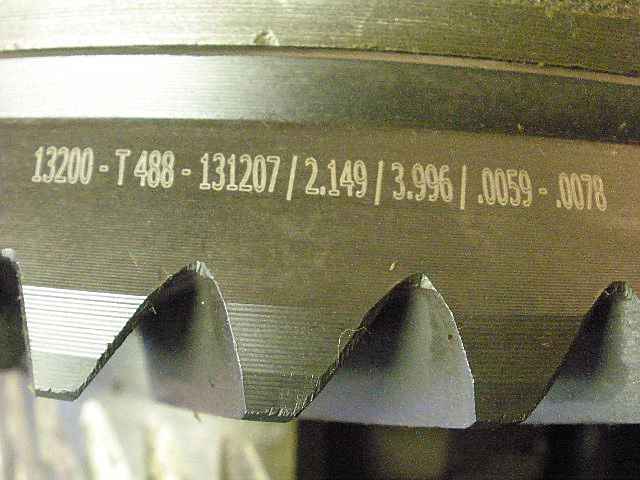
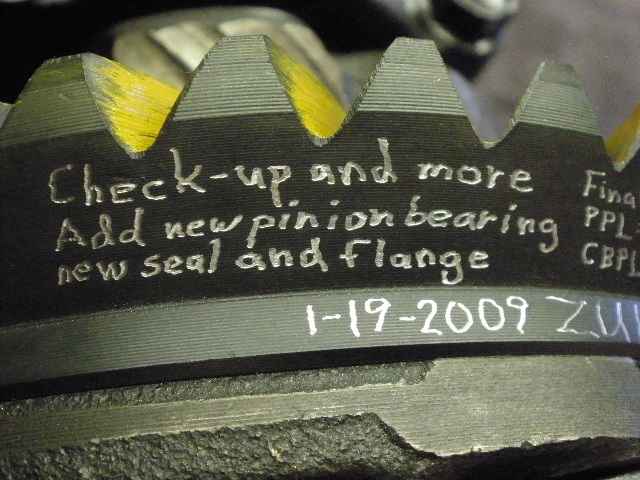
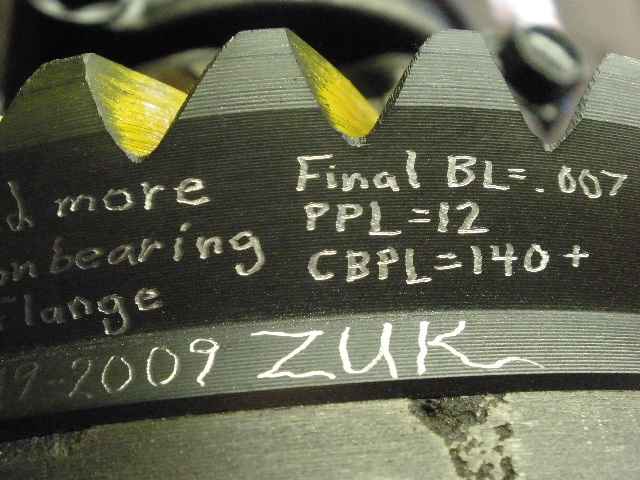
Markings found on this Motive ring gear. |
|
... |
|
... |
|
Motive is one of my favorites. |
|
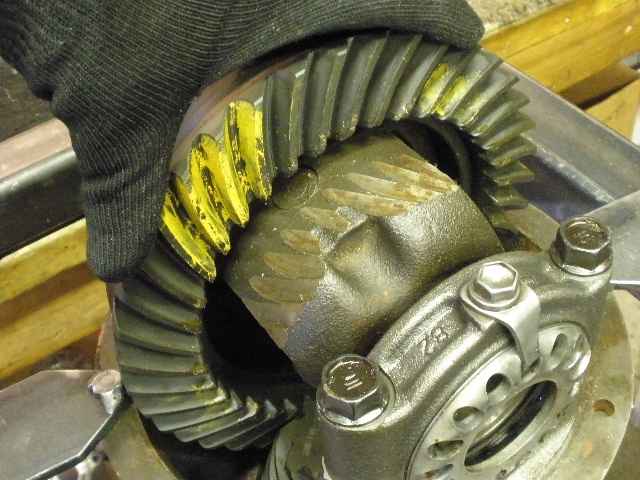
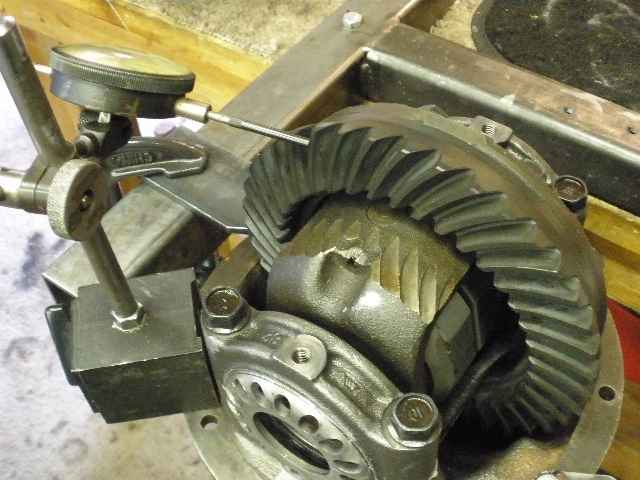
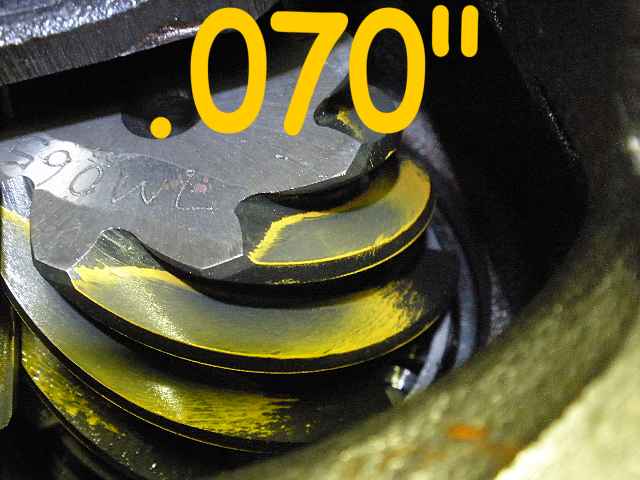
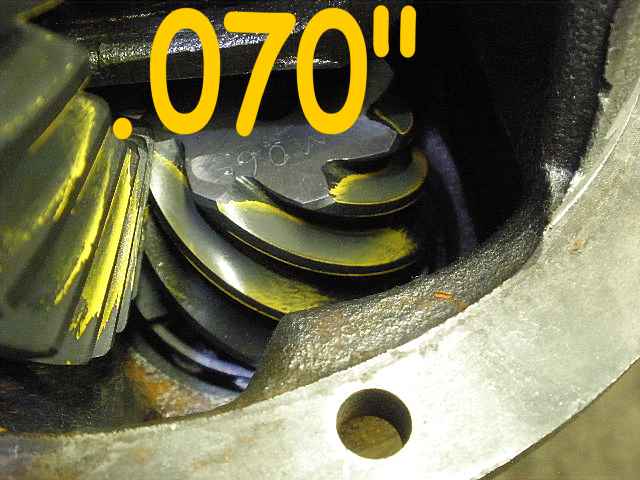
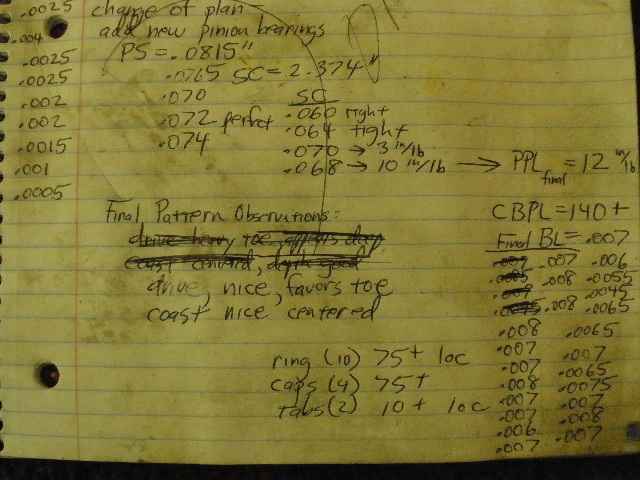
The first thing I noticed was the small amount of CBPL. These carrier bearings will be properly tensioned at the end of this link. I checked the backlash and it varied from almost zero (.0005") up to only .0035"(see the snapshot of my notes at the end of this link). This backlash (lack of) does nothing for strength and will just end up burning the gears up on the pavement. I'll re-adjust this later. |
|
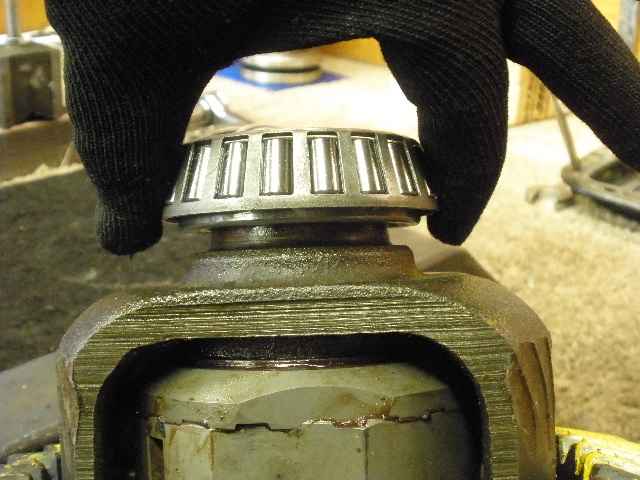
Checking the pinion end, the bearings feel tight...too tight...and also felt rough on start-up. When the pinion is removed, this will be looked at closer. |
|
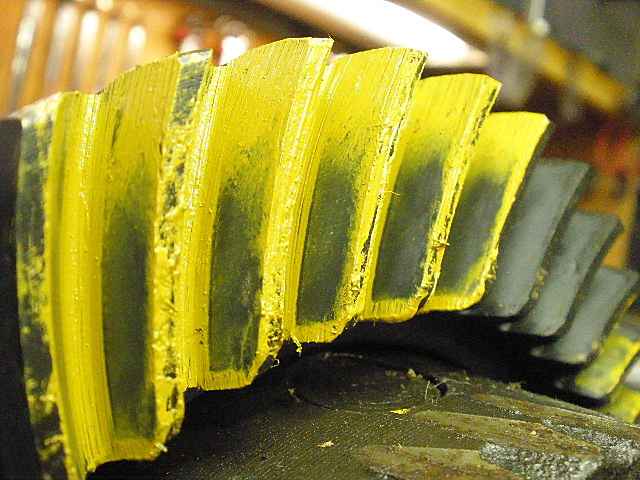
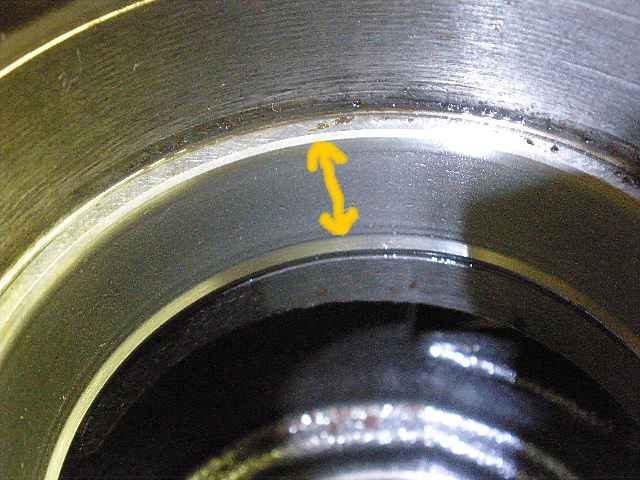
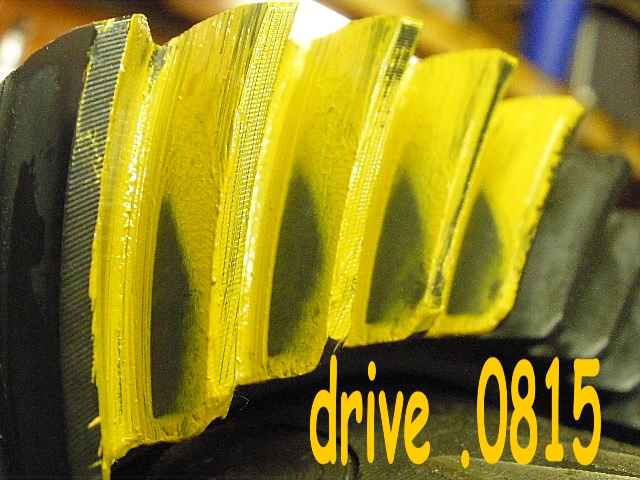
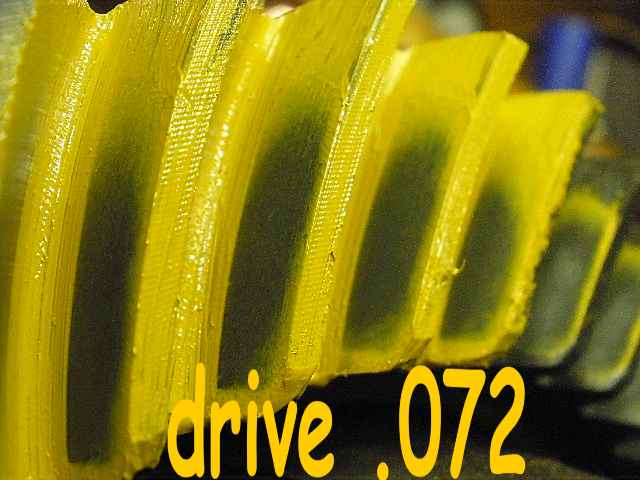
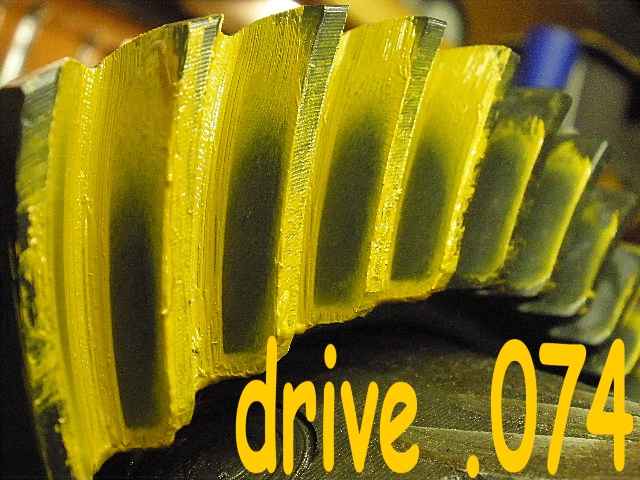
I applied yellow marking paint and the drive depth appears correct. Pattern is heavy on the toe(inside) and it might be possible to open up the backlash a little to help move it a little closer to center. |
|
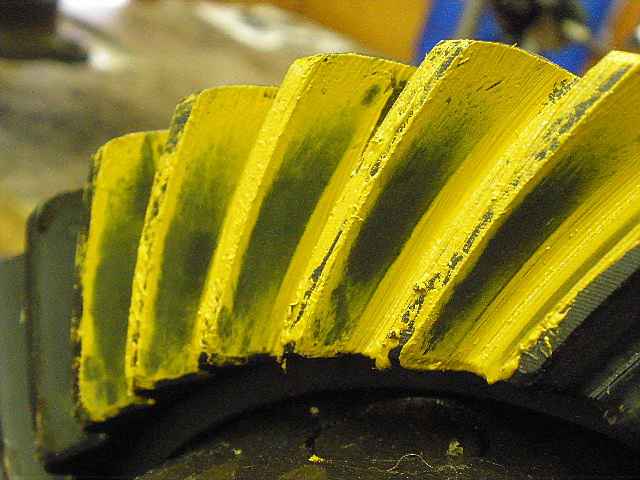
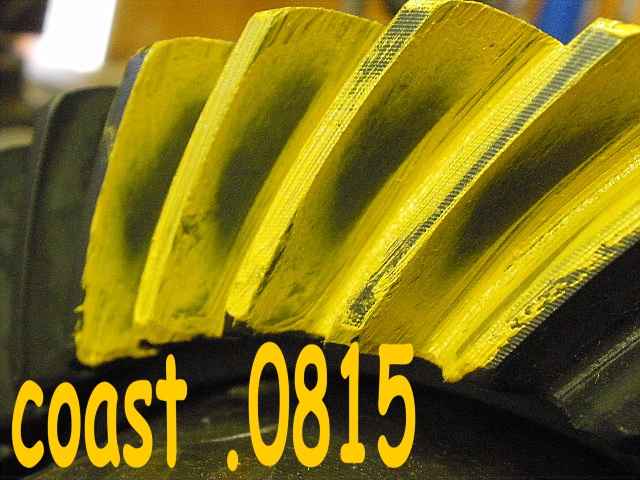
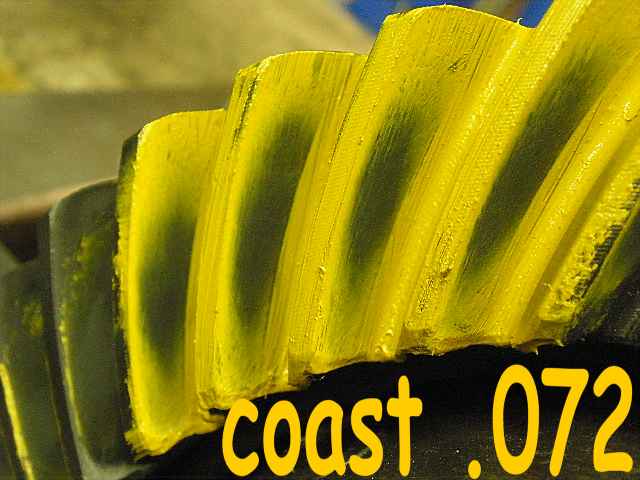
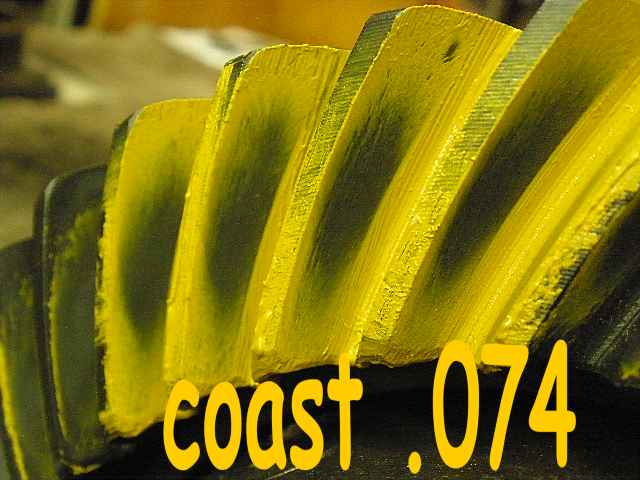
Coast side appears ok...a slight grainy look to it just like the drive side.. |
|
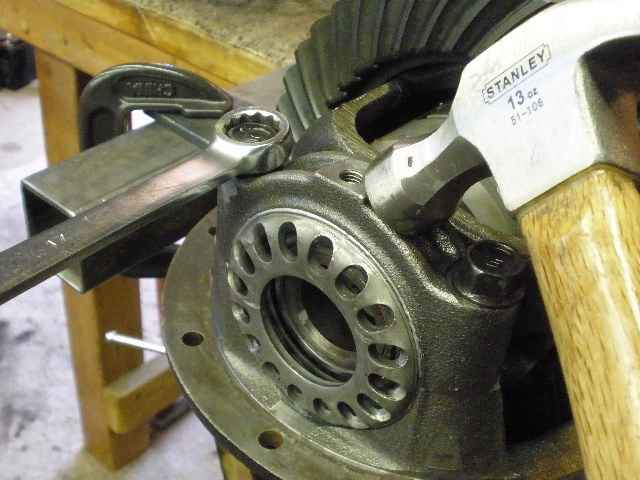
I always make a discrete mark on both adjuster wheels in case I need to reference them. By the way, not shown but I was able to, with little effort, tighten each wheel 3 notches with my spanner indicating that these wheels were simply too loose. |

|
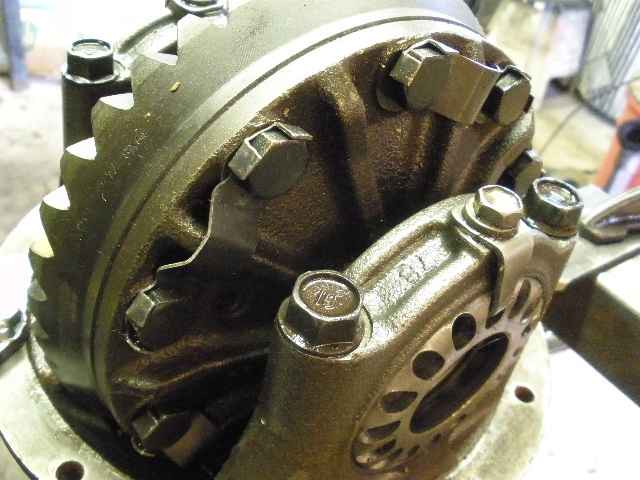
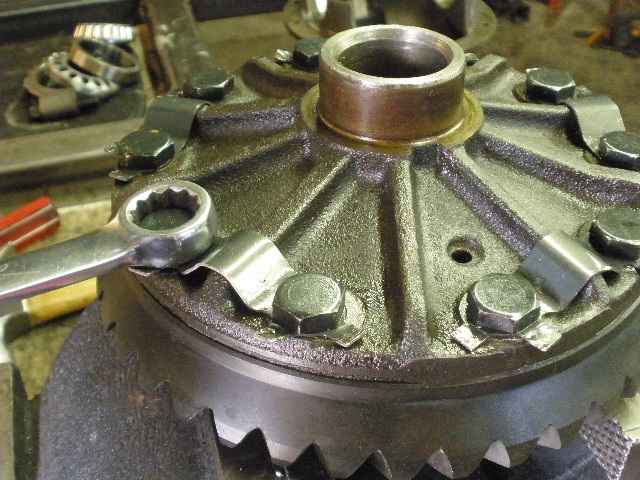
As expected, the carrier bearings/races are brand new. All looks good here except for..... |
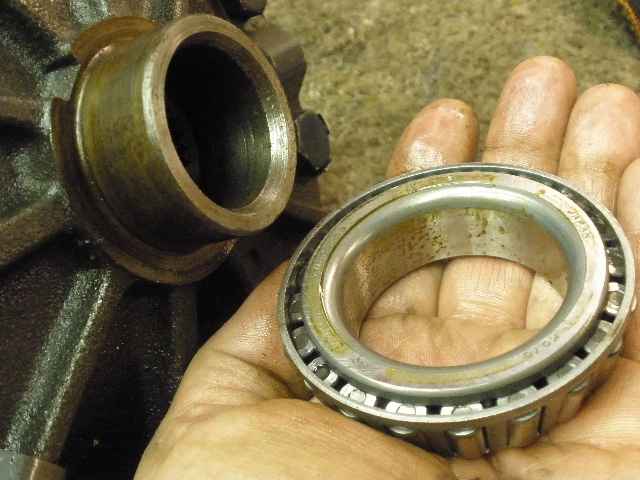
|
...the new bearing fell off the journal into my hand. |
|
Same issue on the other side...bearing came off with 2 fingers. There is a good fix for this and that will be shown in a few more pics down. Not addressing this will result in excessive spun damage to the journals which causes the case/ring gear to wobble around and then teeth edges break off the end of the ring tooth (heel end). |
|
Ring bolts are removed and the tabs thrown away. |
|
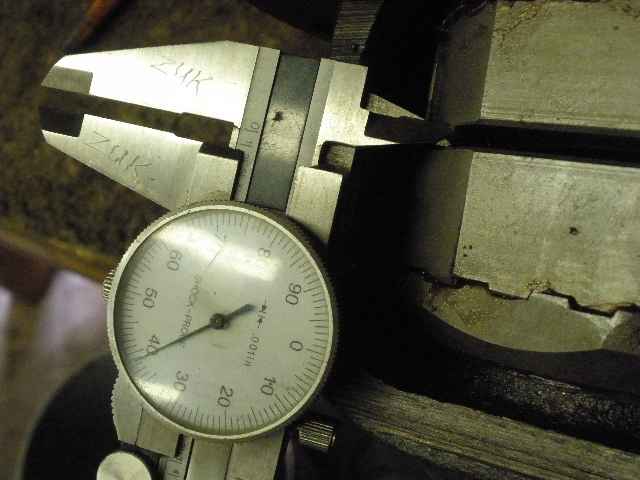
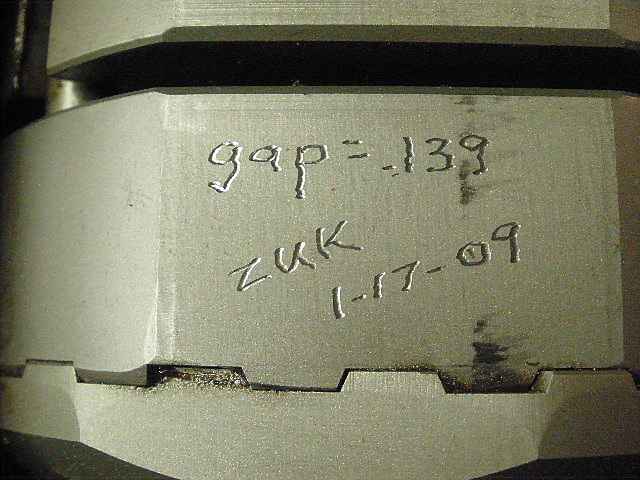
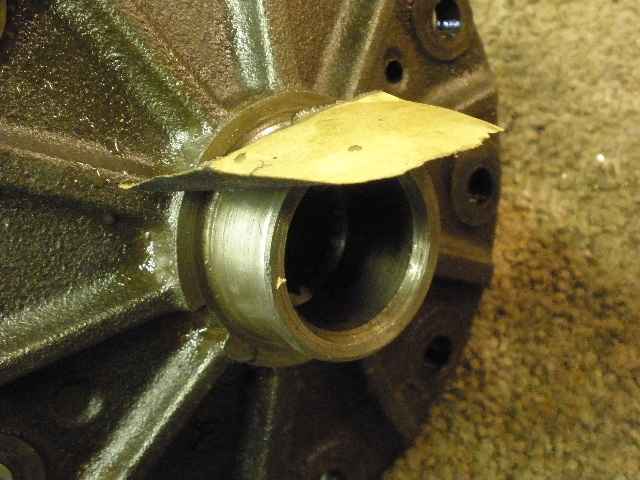
With the ring out of the way, I can measure the Aussie gap at .139". |
|
I inscribed that on the Aussie. |
|
To fix the loose bearing on journal problem, I first roughed up the surface with 240 sandpaper. I did the same to the inside of the new bearings also. I then cleaned all surfaces of oils and applied SleeveLock made by Loctite and thoroughly smeared it on both surfaces 100%. |
|
I applied some casual weight on it and let the SleeveLock set up overnight. Problem fixed. |
|
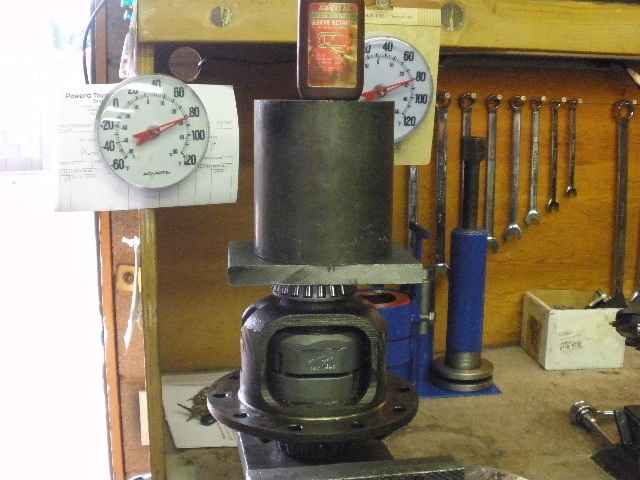
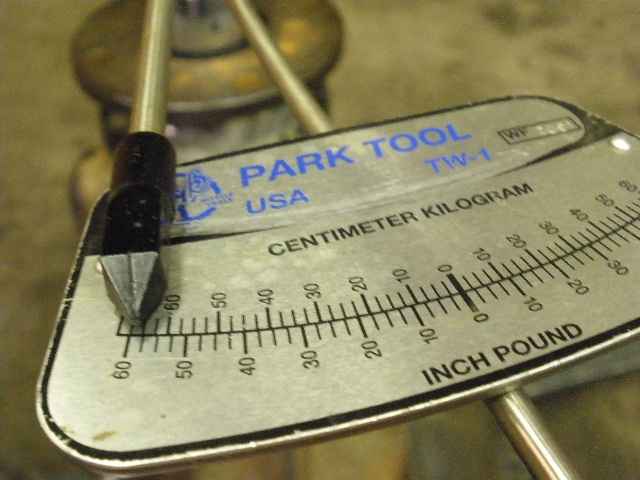
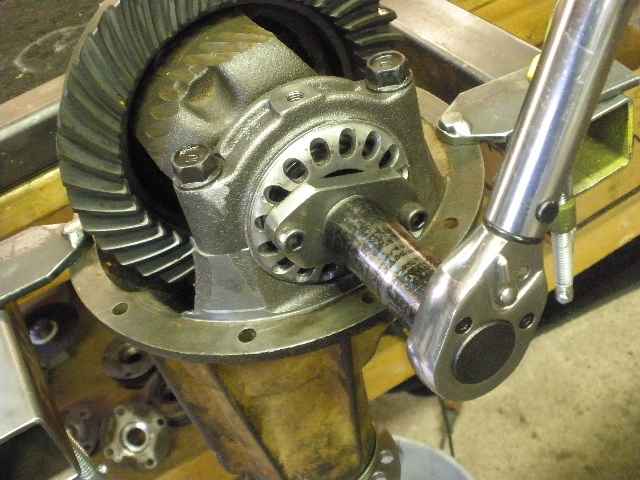
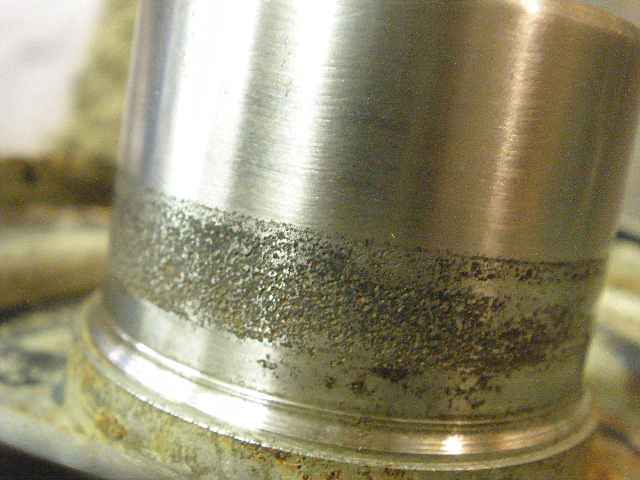
With the case out, now I can take a closer look at the rough turning pinion bearings. Turning the torque wrench slowly, it took 60 inch/pounds before they started to turn. That's excessive. |
|
Then, once it was turning at a reasonable speed, it took 14 in/lb to maintain that speed. The pointer needle was violently moving back and forth from about 10 to 20 but it seemed to center around 14 if it was averaged. That's too much "oscillation". |
|
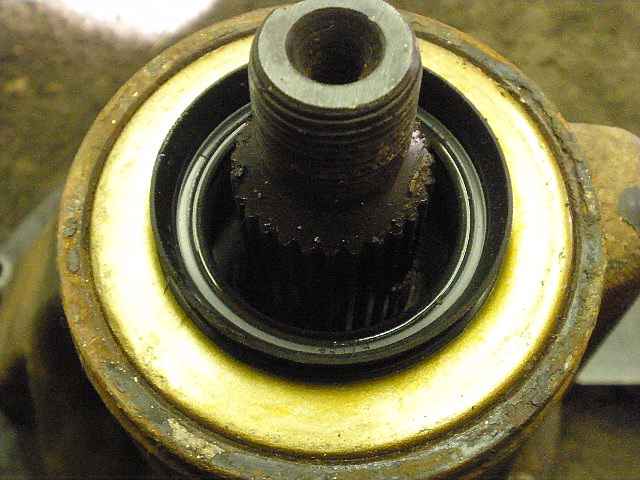
The brand new pinion nut and flange are removed. |
|
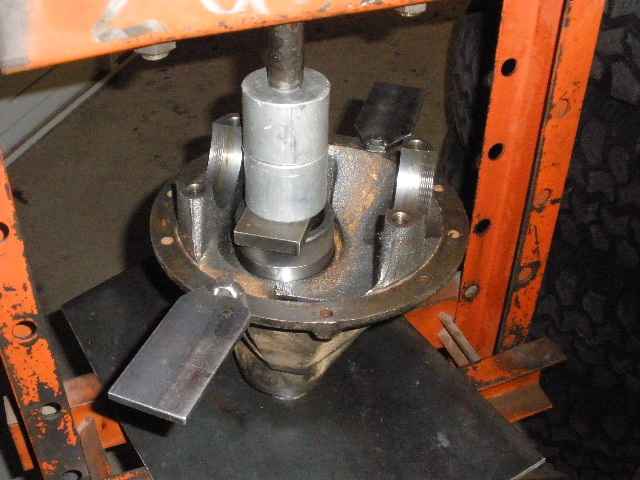
The pinion is pressed out... |
|
...and it is not a new bearing. |
|
The other pinion bearing is also used... |
|
...so are both of the races. |

|
... |
|
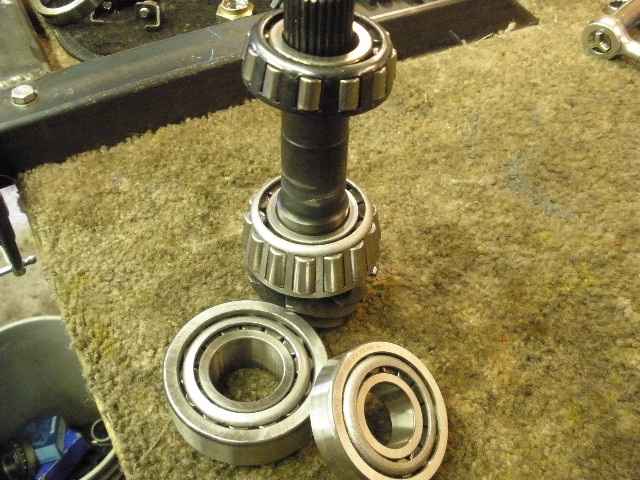
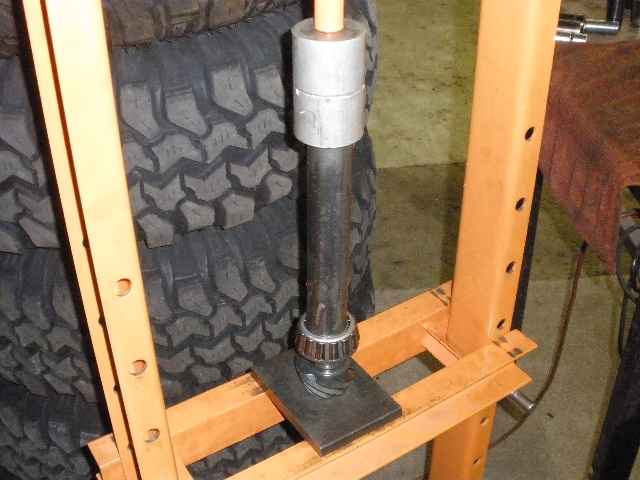
New pinion bearings will be pressed on. |
|
The press smoothly installs the new races. |

|
The old inner bearing comes off nicely with the proper bearing splitter. |
|
Installing the new bearing... |
|
Time to put the ring back on but first run a file over both surfaces to check for burrs and high spots. All looked good. |
|
Red loctite and 75 ft/lb. |

|
As usual, lots of anti-seize on the wheel thread surfaces. |
|
I pay careful attention to making sure the threads are in mesh. |
|
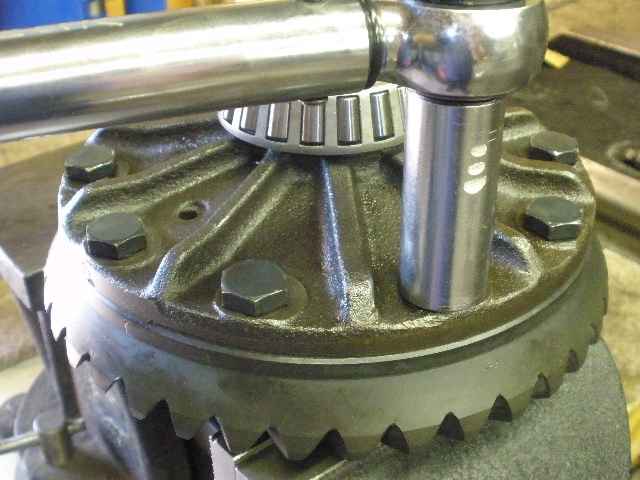
What I do here is hover the bearing cap while screwing the 2 bolts in 3 or 4 full turns. |
|
Then settle the top cap down slowly and give it a rap with my fist. If it plants down firmly and securely, then I know all the threads are in good mesh. |
|
To align the upper threads with the threads in the lower assembly I tap the cap with a hammer while snugging the bolts. |
|
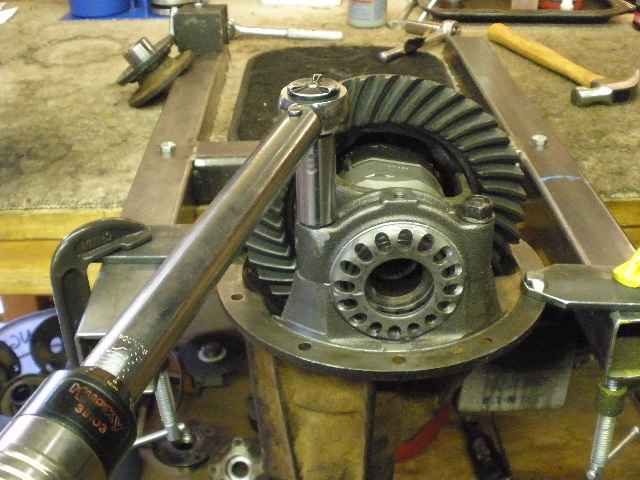
Then I can torque the bolts to the full 75 ft/lbs... |
|
...and the wheel will always turns easy. Some of you out there may have noticed that the 4 cylinder carriers have adjuster wheels that seem to be frozen up or at least hard to turn. All of my 4 cyl 3rds that I have used this method on turn as smooth as silk. |
|
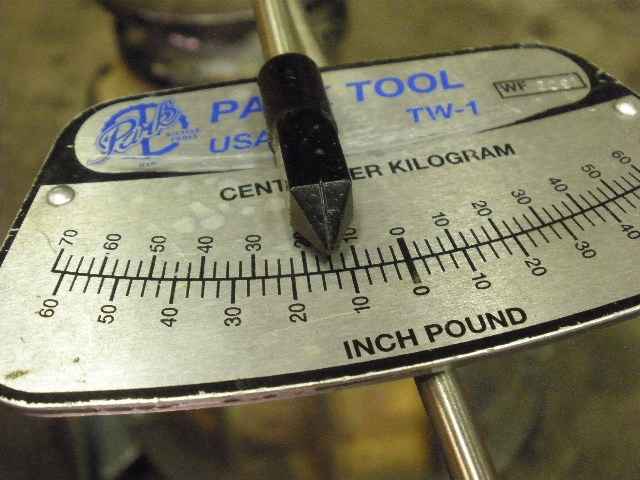
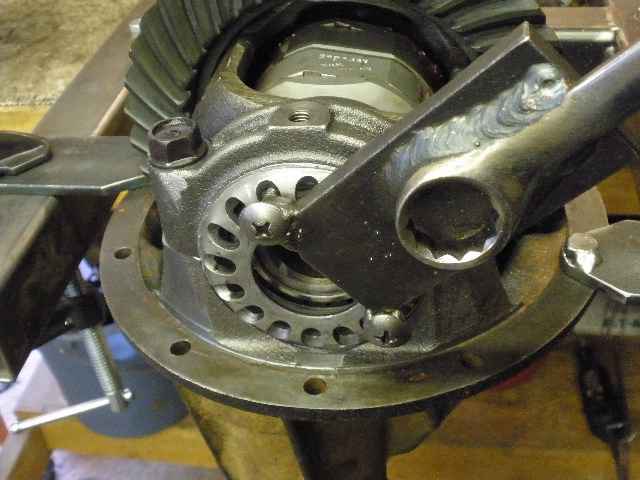
I monitored the backlash while torqueing the wheel threads to 140 ft/lb...that translates into an actual 14 inch/pounds of BEARING DRAG. |
|
Backlash was recorded on every other tooth. |
|
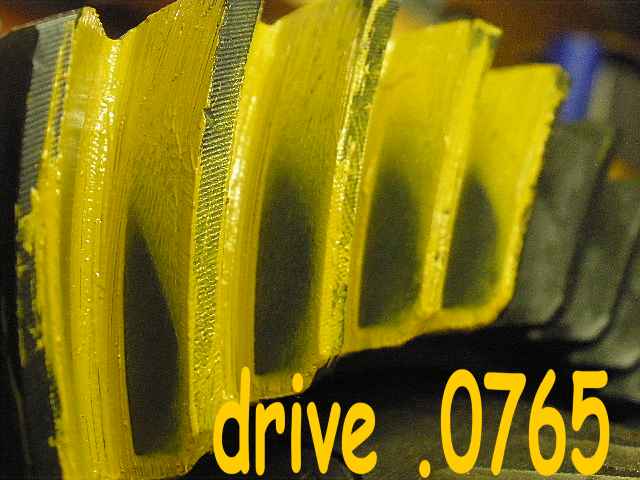
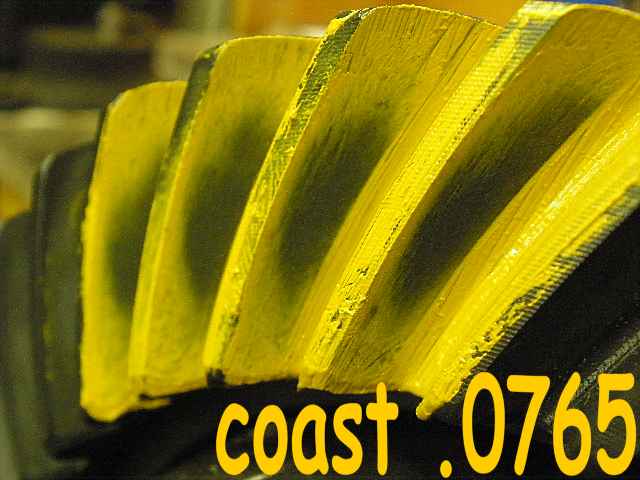
Guess I forgot to consider that the new bearing has more metal on it and this has the effect of pushing the pinion deeper into the ring gear. This pattern is too deep. |
|
coast. |
|
I tore it back down and took off .005" and it's still deep. |
|
coast. |
|
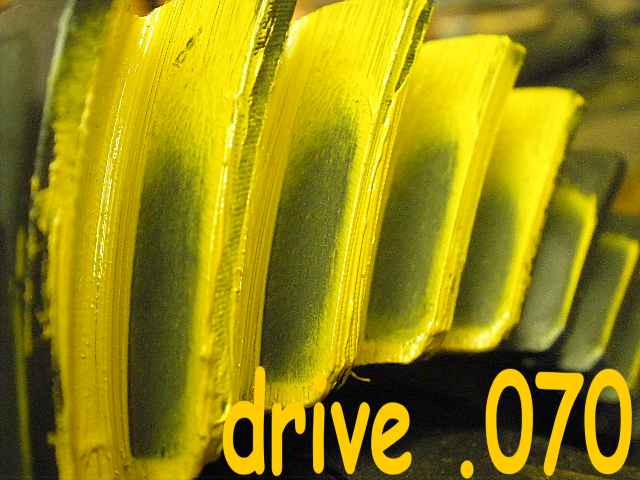
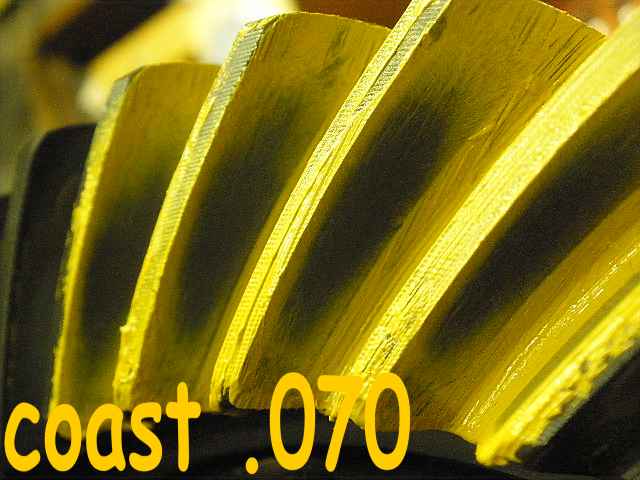
Another teardown and remove .0065". Now it looks a little shallow maybe. |
|
coast. |
|
...these pinions shots suggest also that the ring is still a touch shallow. |
|
... |
|
Teardown again...add .002"....I still want to see it a touch deeper than this. |
|
coast |

|
... |
|
Teardown and add .002" more....Now this I like |
|
nice coast |
|
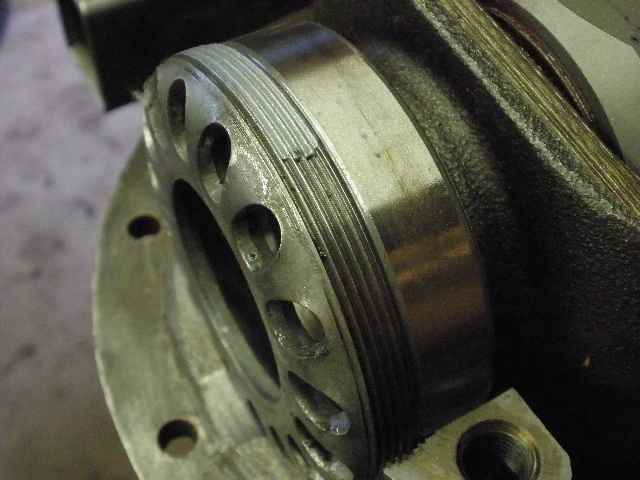
The seal is prepared and tapped in place. |
|
Even after sanding with fine sandpaper, the seal surface looked pitted and I thought it could still possibly leak. |
|
... |
|
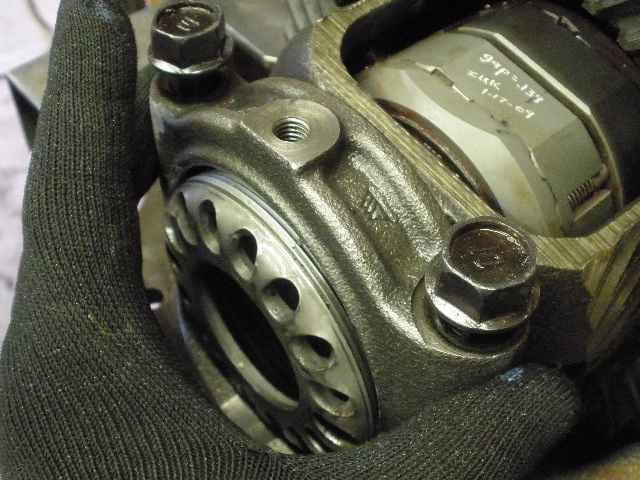
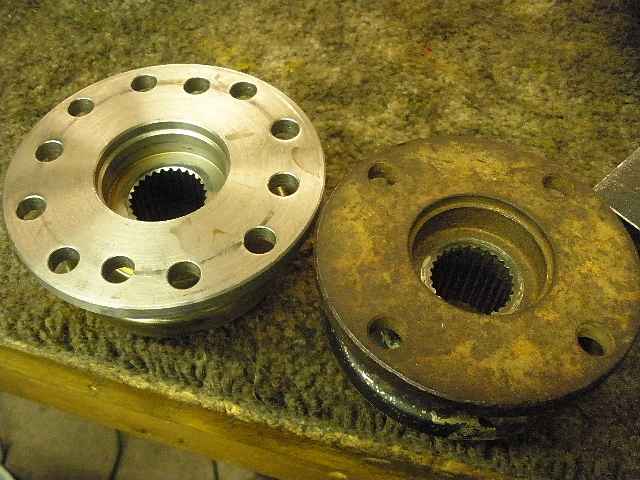
A new triple-drilled flange will be used. |
|
New is much better :) |
|
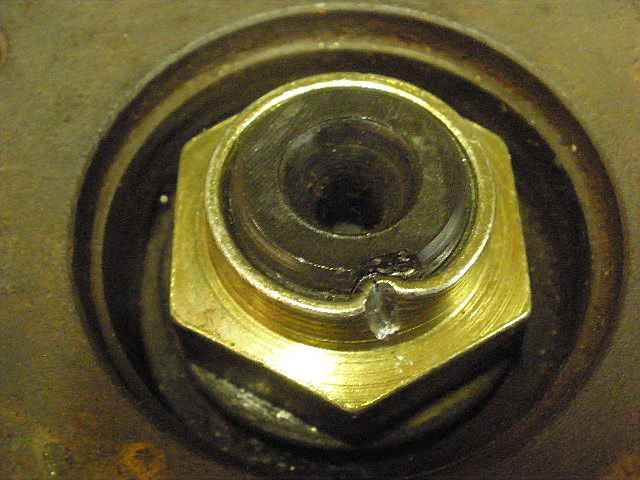
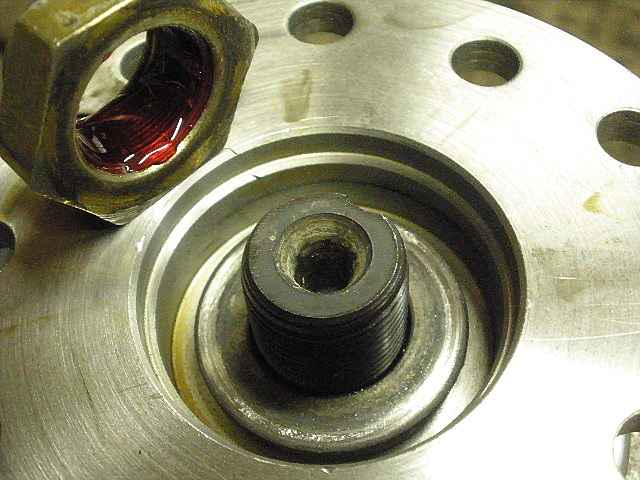
Hope I have enough loctite on this nut... |
|
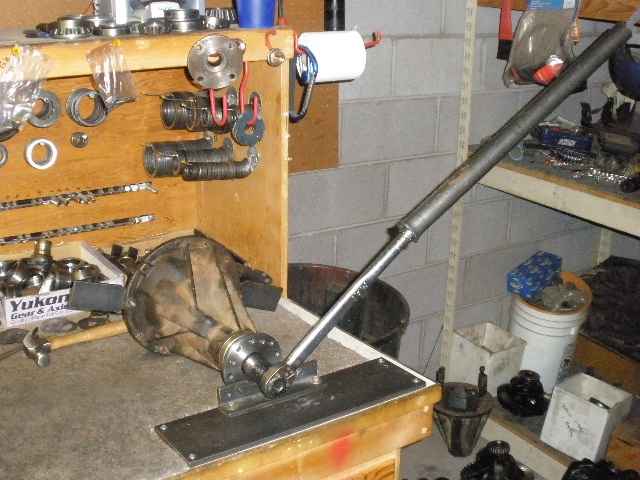
I have an electric impact wrench that pounds the pinion nuts on tight...but if I use this manual cheater bar, I can get between 1/16th and 1/8th of a turn more. |
|
... |
|
... |
|
... |
|
Done! ZUK :) |

|

