|
|
|
|
|
|
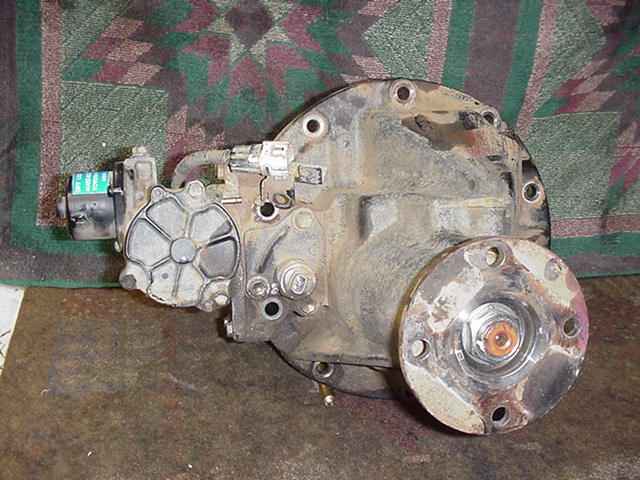
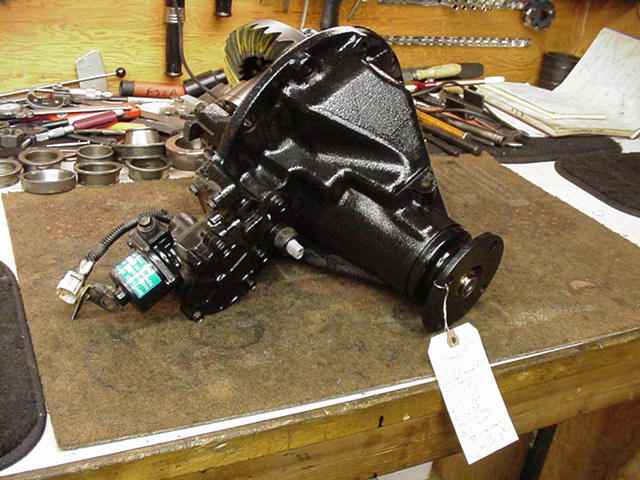
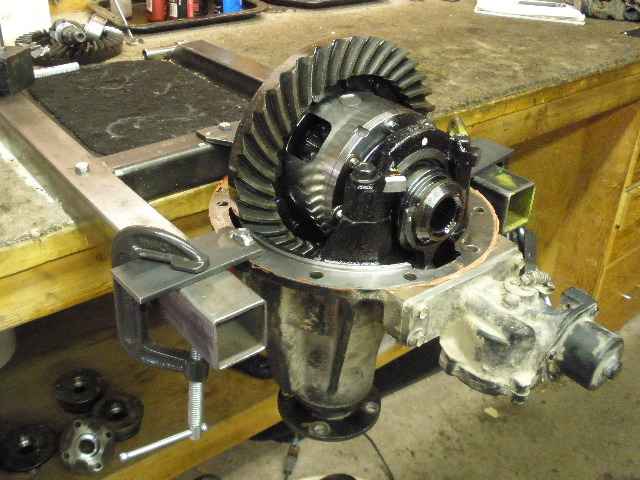
Steve is from San Diego, California and was in need of a re-gear for his 1997 Lexus LX450 which is the same as a
Toyota FZJ80. The front has a high pinion 8" E-Locker and the rear is a 9.5" E-Locker. This link is on the rear 9.5".
The 529 gears came from Bobby Long which were heat and cryo treated. The pinion bearings were also cryo treated(but not heat treated).
|
|
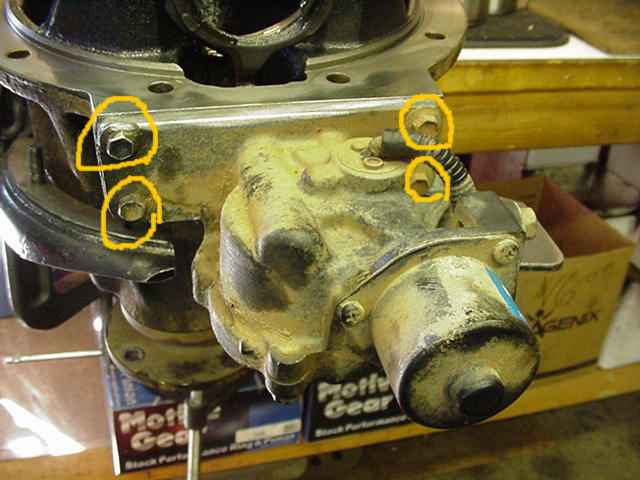
The motor is on the opposite side as compared to the 8 inch E-Lockers. |
|
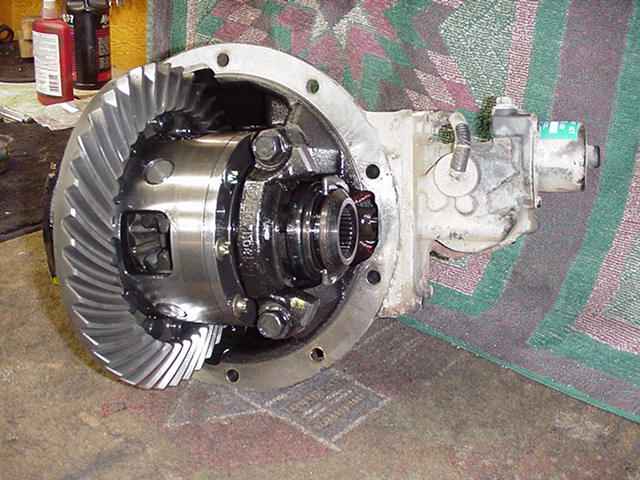
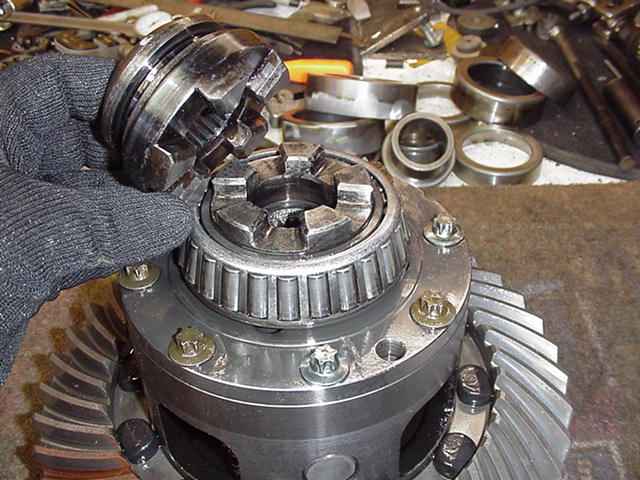
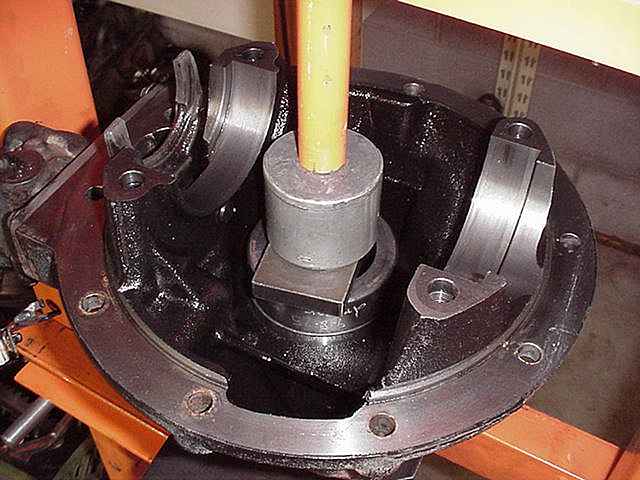
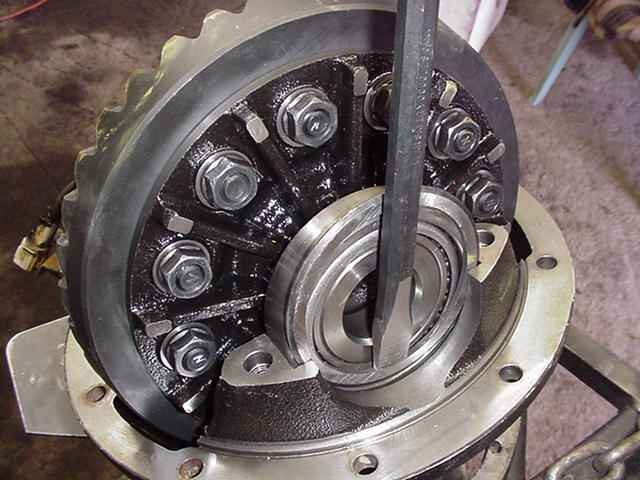
Step one is to remove the bearing caps. |
|
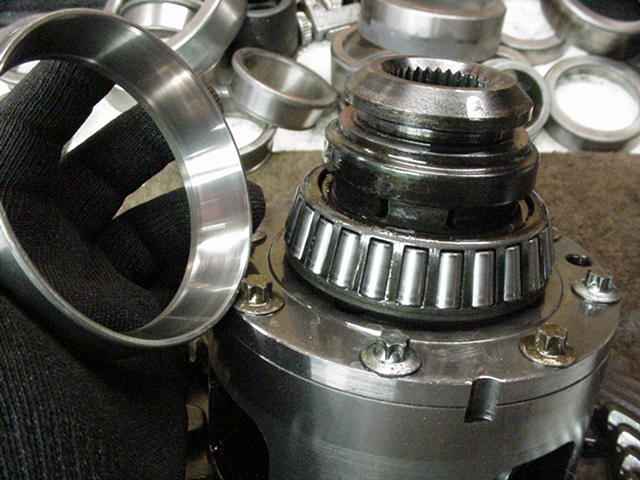
The carrier bearings have lost their pre-load through the years so the thick shims came out with just my fingers. |
|
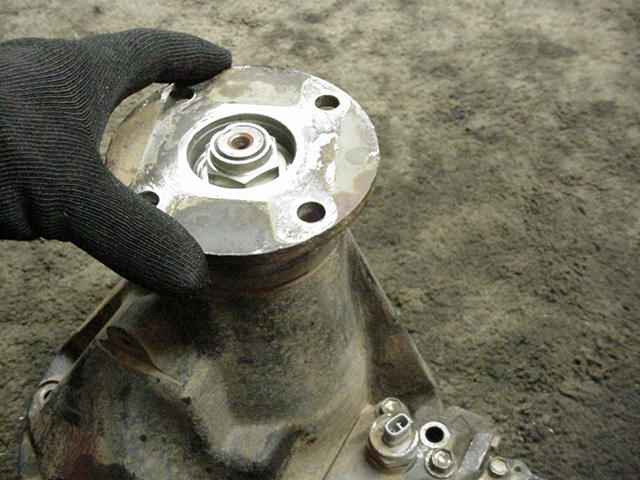
The entire motor assembly can be removed so that it's not damaged during shipping. There are 3 other small bolts on the bottomside that get removed also. |
|
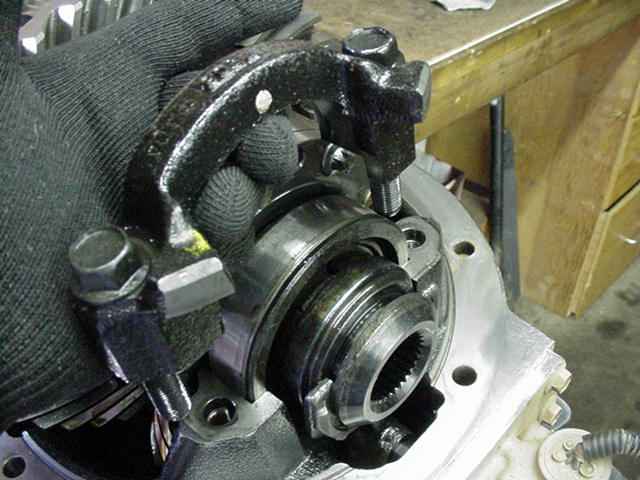
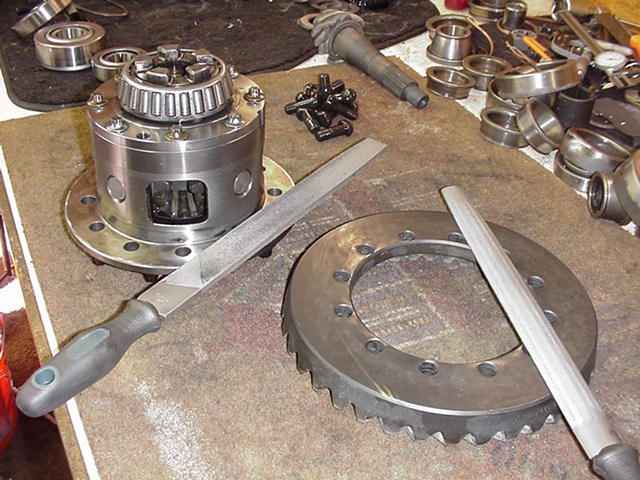
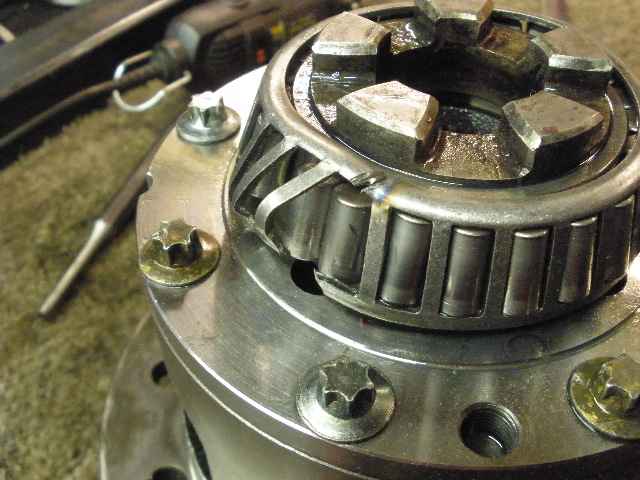
The master install kits do not include the carrier bearings. These bearings are massive and are ok to re-use. |
|
To replace this bearing on this side is more involved and requires removing the e-locker end-cap plate. Then the bearing is pressed off from the inside out. |
|
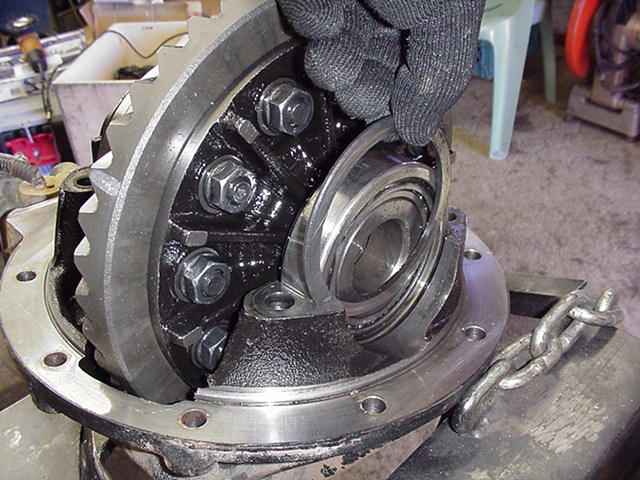
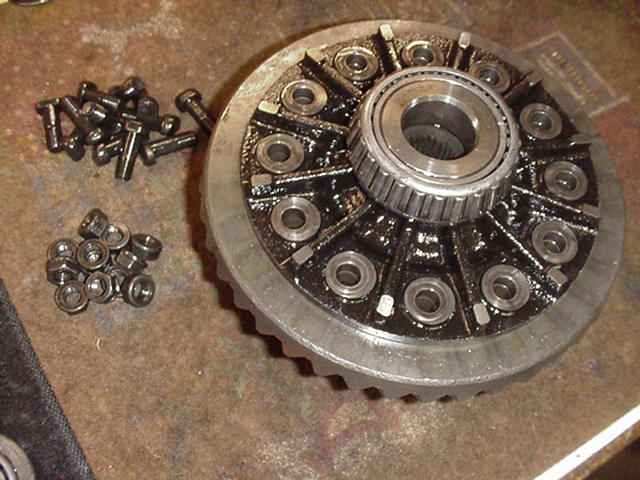
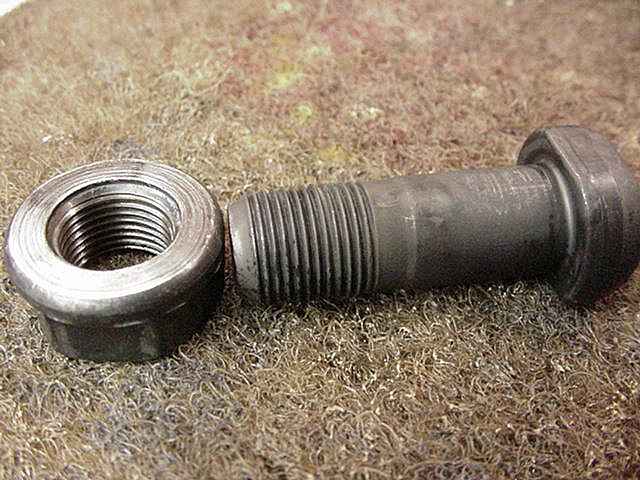
The master kits also do not include these expensive bolts/nuts. The OEM ring gear was a very tight fit on this case. |
|
The two surfaces are filed to check for ridges. |
|
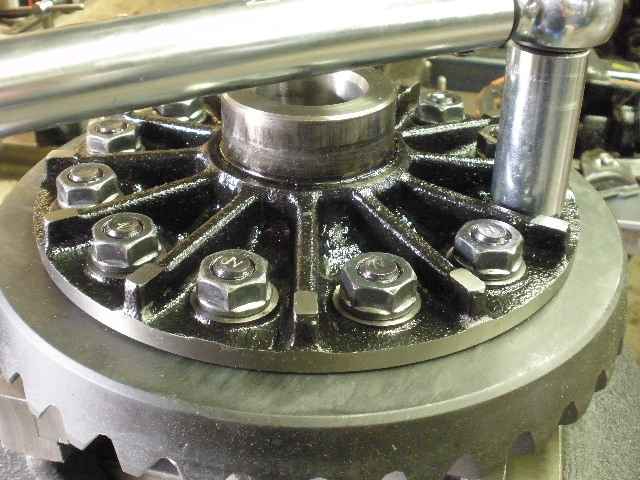
The ring gear bolts/nuts are cleaned in preparation for the red Loctite. |
|
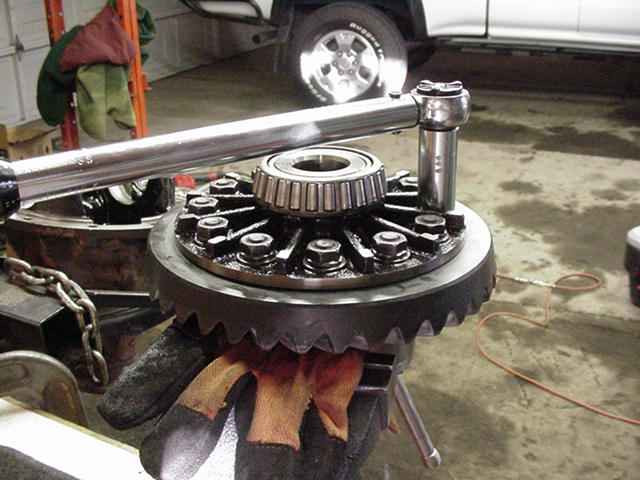
Bolts are torqued on. |
|
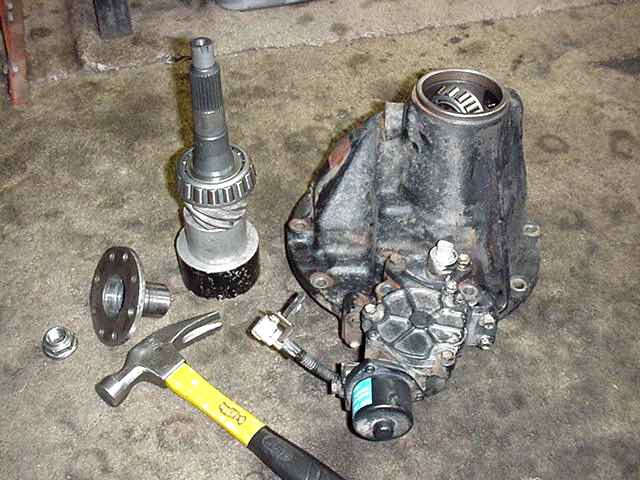
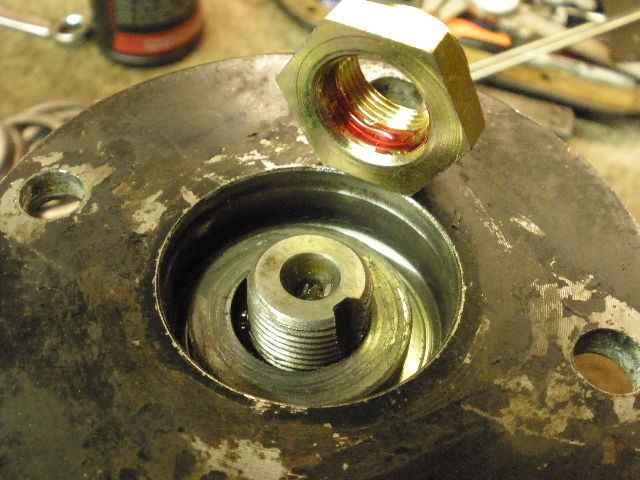
Attention is now turned to the pinion end...nut will be zapped off...flange removed...and pinion pushed out. |
|
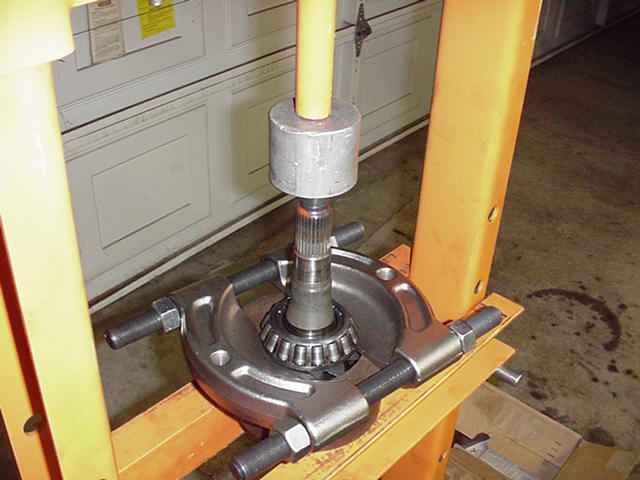
The big bearing is easily pressed off. |
|
The factory shim is our starter shim. |
|
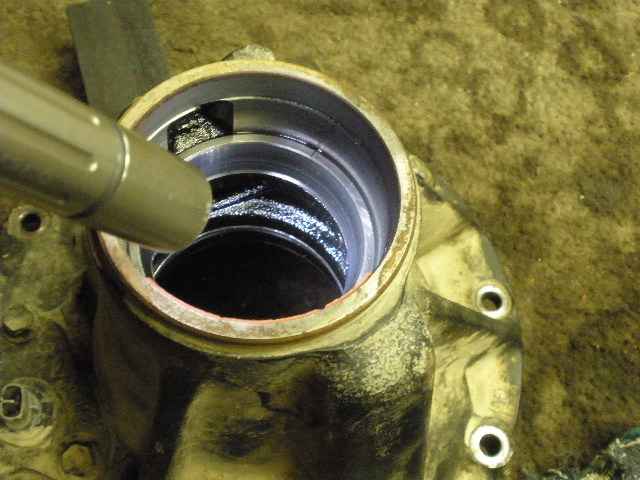
New races are pressed in. |
|
... |
|
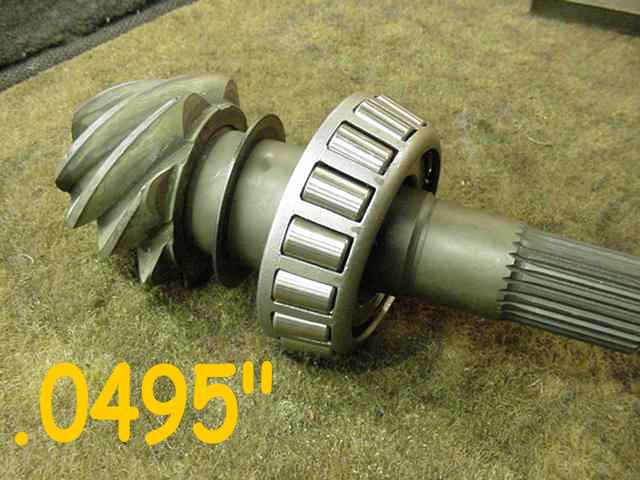
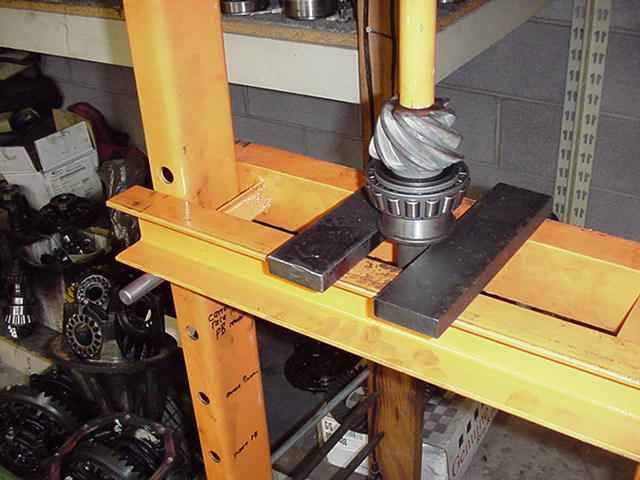
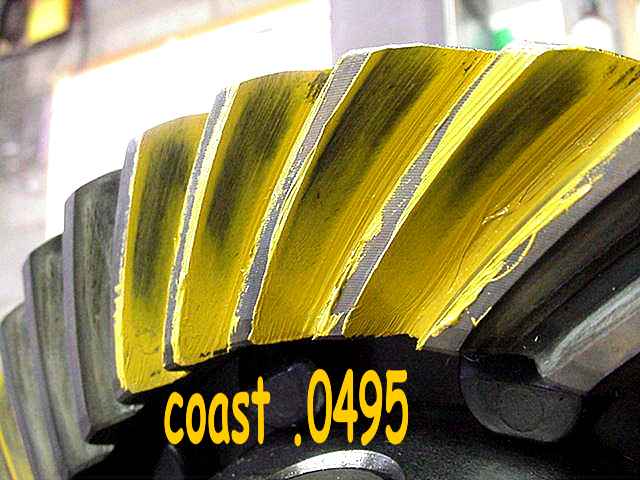
The new bearing is pressed on with the .0495 shim. |
|
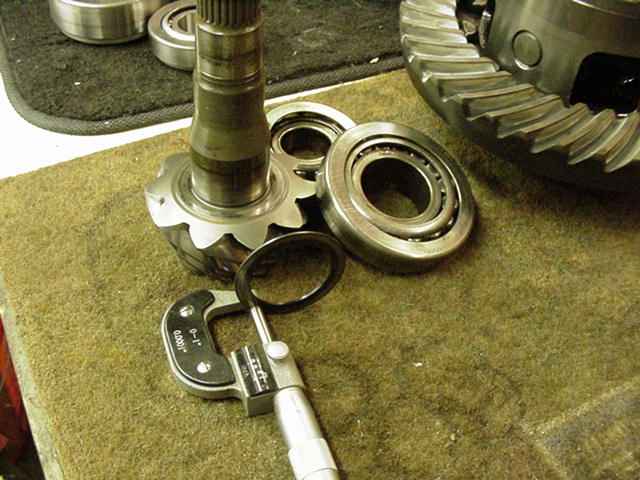
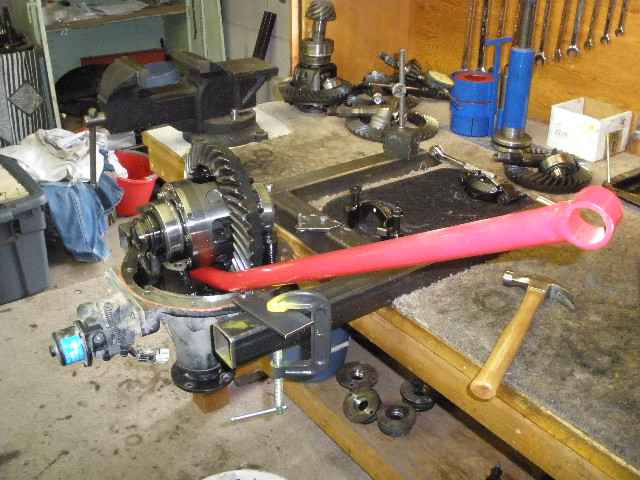
This is everything I used to install the pinion assembly. |

|
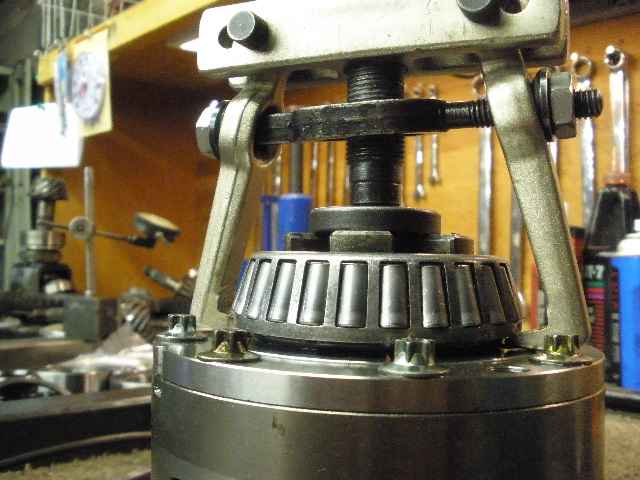
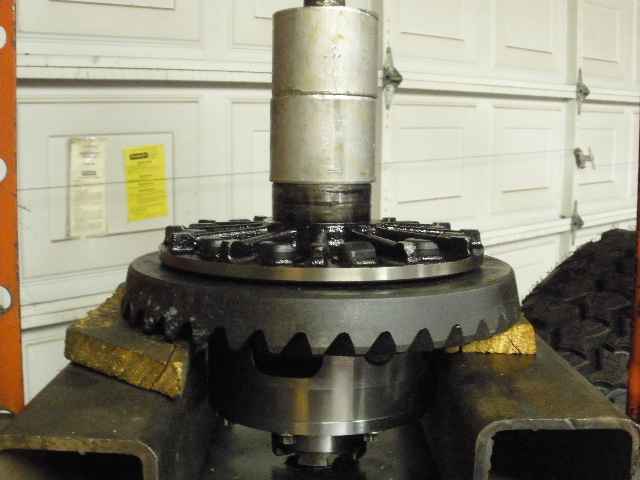
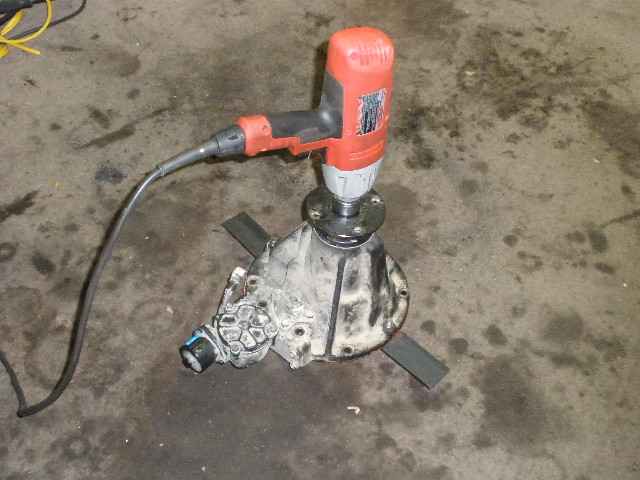
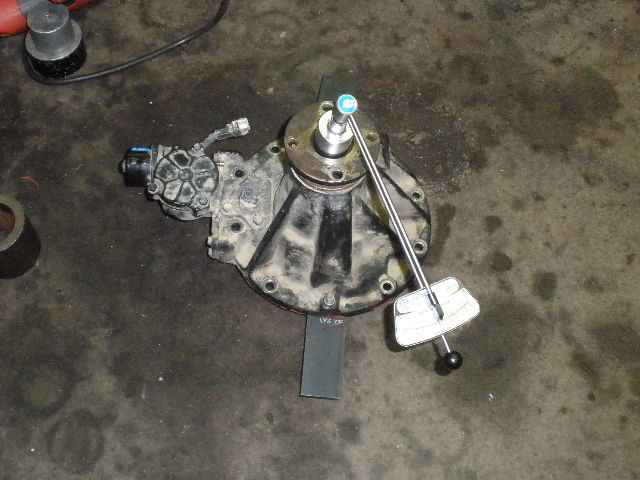
I employed my Milwaukie electric impact to run the nut on the entire distance. The bearings have lots of gear oil on them and the nut can now be carefully impacted on until about 10~15 inch/pounds of drag has been reached. There is no crush sleeve or solid collar on the shaft....the solid collar will be added after the desired pinion shim thickness has been found. |
|
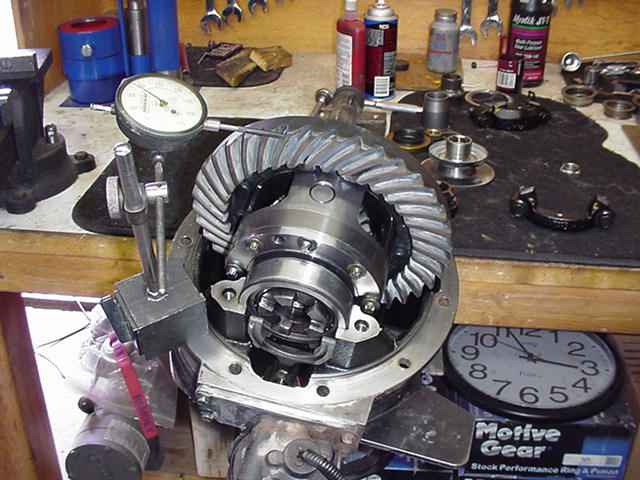
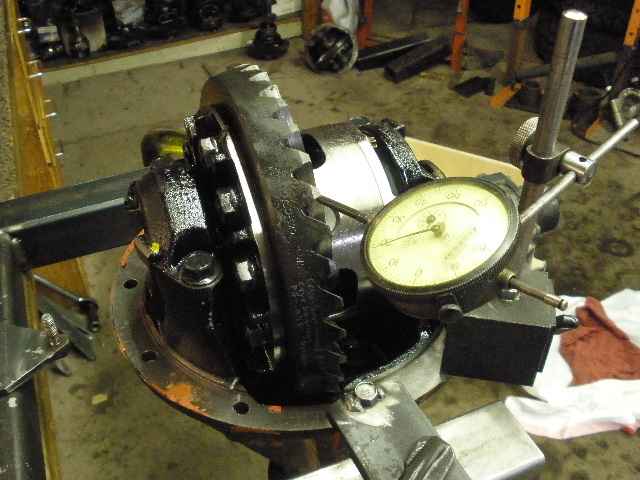
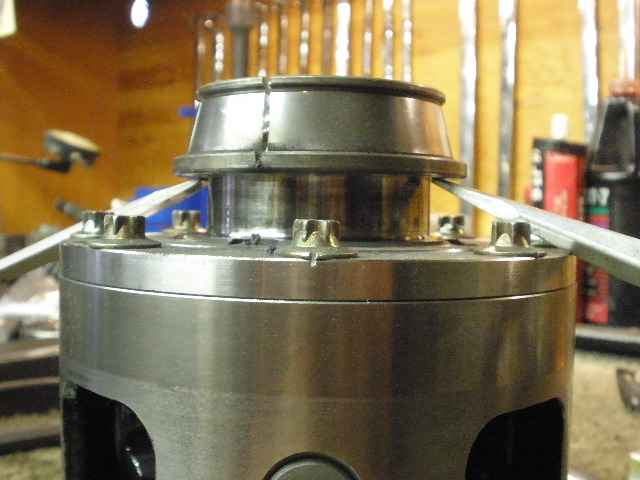
Using the factory carrier bearing shims, the backlash measured at 9~10 thou(good for a pattern check). |
|
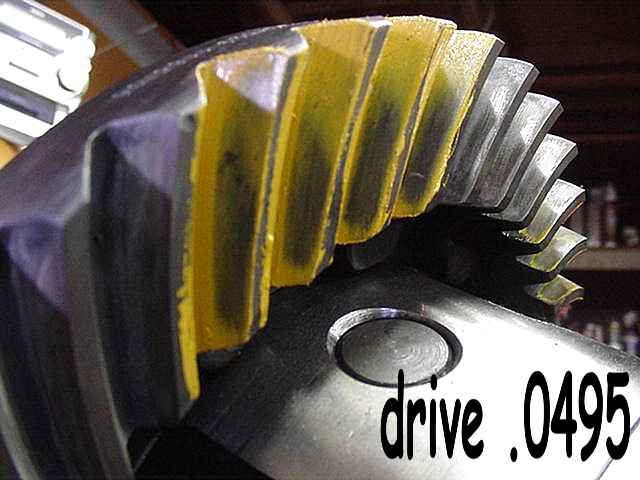
Driveside looks good but I could see that a little deeper might be better yet. |
|
... |

|
Carrier now has to be torn down all the way to change the pinion shim. |
|
... |
|
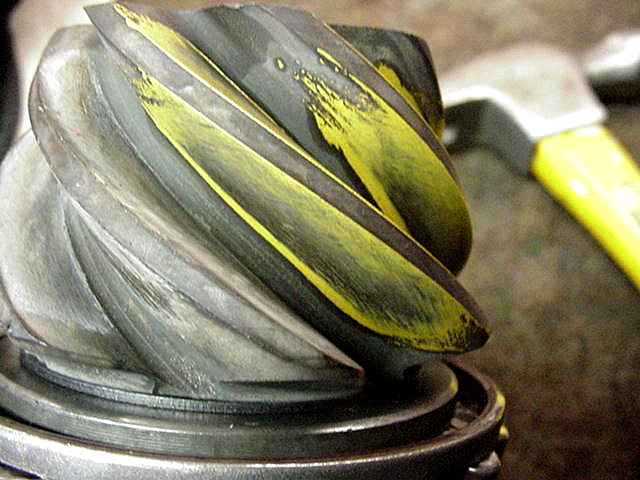
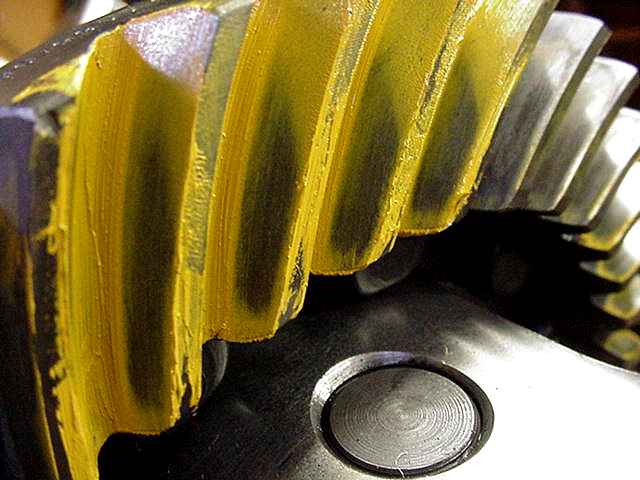
The pattern on the pinion tooth offers some insight about the ring gear pattern. The pattern here appears slightly deep... deep on the pinion tooth means the ring gear might be a touch shallow. |
|
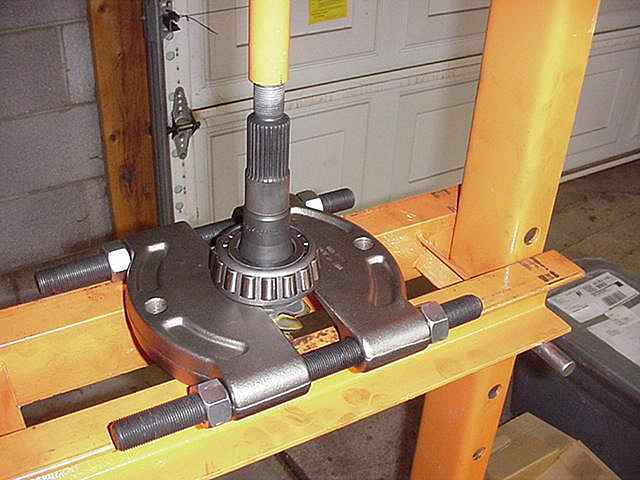
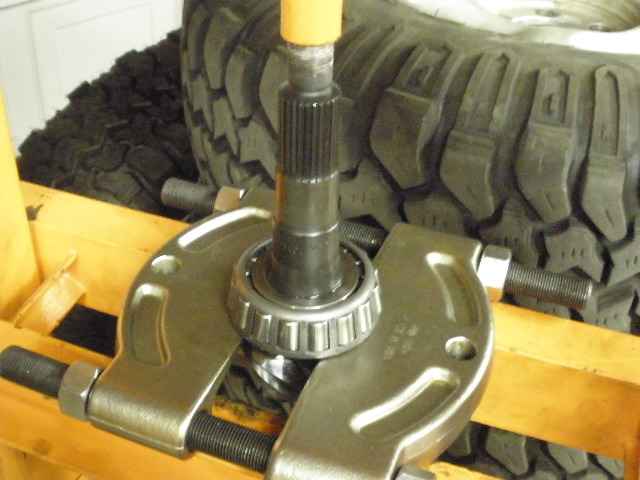
The pinion bearing is easy to capture/remove with the bearing separator. |
|
A .0035" shim is added to the .0495" original one. The bearing is now pressed on. |
|
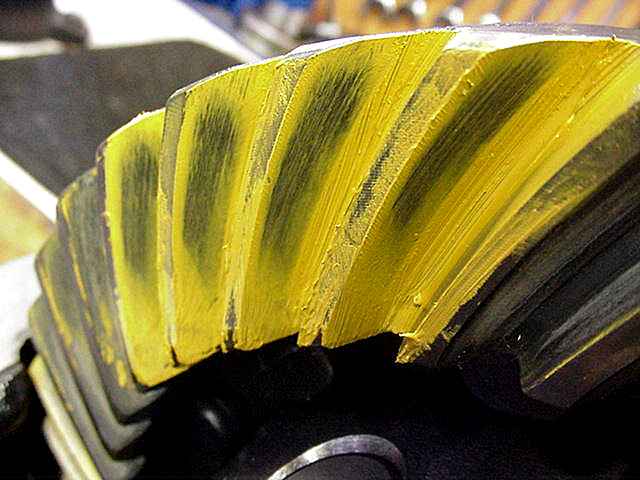
Very nice. |
|
I'd like to see it farther from the heel of the tooth but control is limited. |

|
With proper pinion depth established, now the solid collar can be installed. No solid collar is 'officially' available
for the 9.5" Landcruiser 3rds but a phonecall to ringpinion.biz might have good results.
|
|
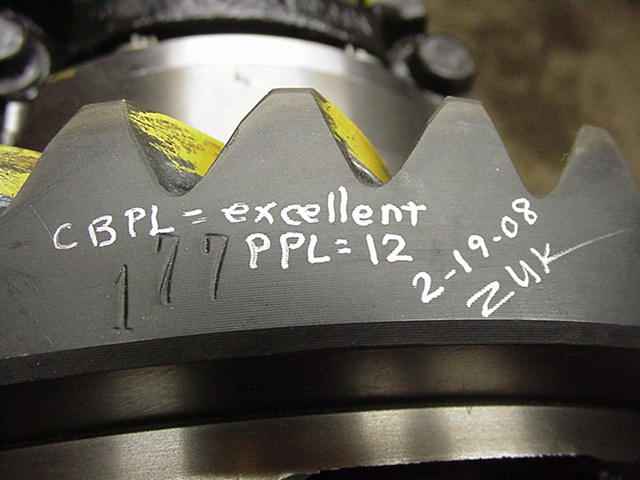
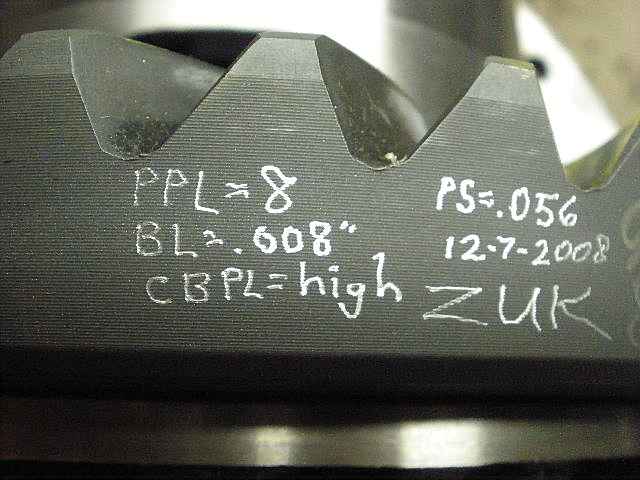
I ended up with .065" worth of shims and have 12 inch/pounds of PPL. |
|
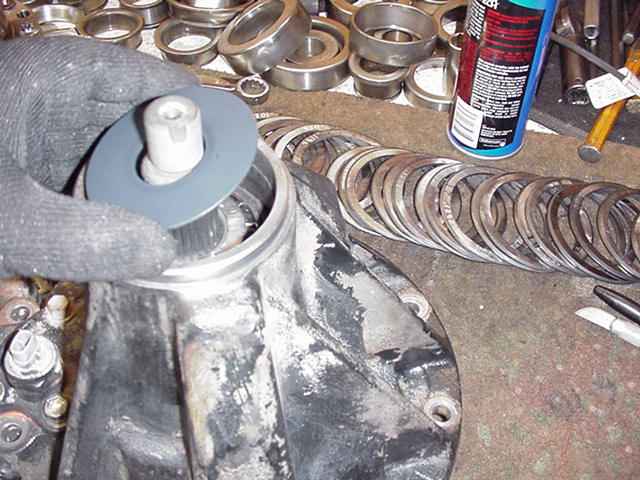
Splashguard is inserted. |
|
RTV is spread around the outside and a thick grease is packed around the tiny coil spring. This will prevent the spring from popping off when the seal is tapped on. |
|
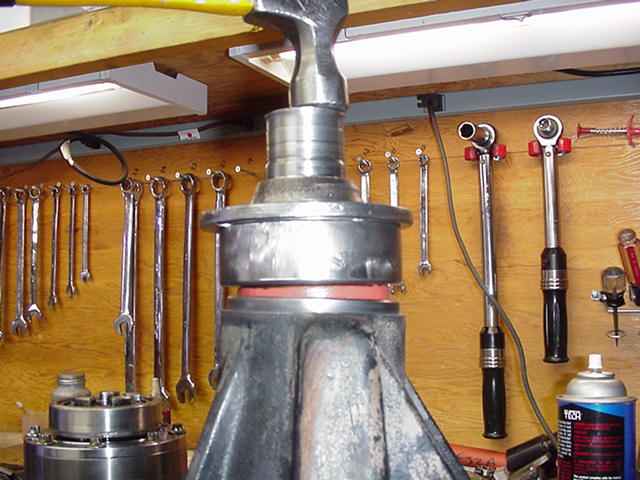
An old bearing race and beater flange is used to set the seal in place. |
|
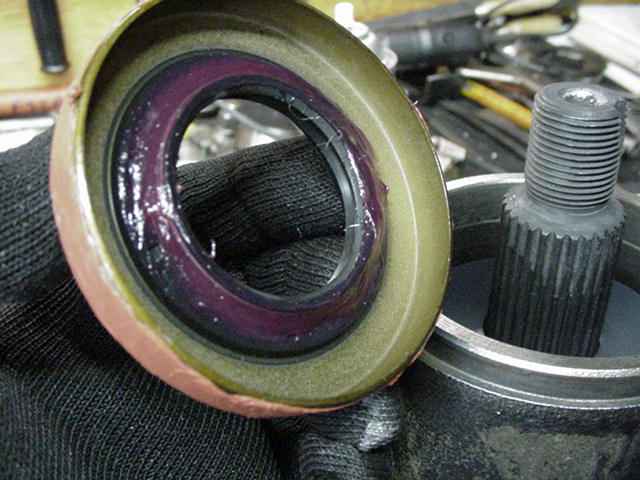
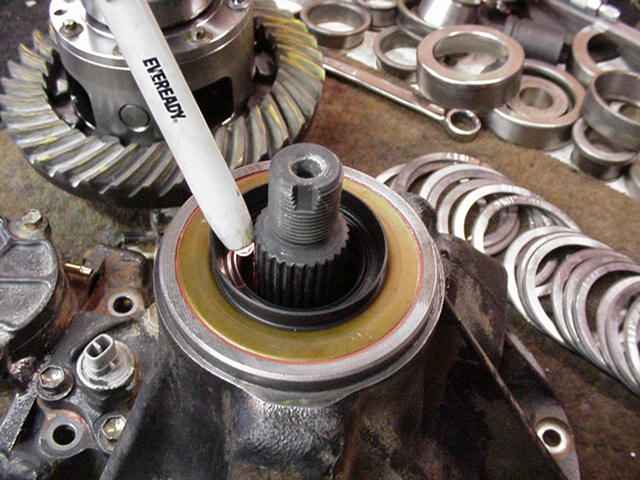
A penlight verifies that the spring is still in place. Since using the grease on the spring, I have not had one single failure. |
|
This chisel is curved and has soft corners. I am using thicker shims that take more persuasion to get in place. |
|
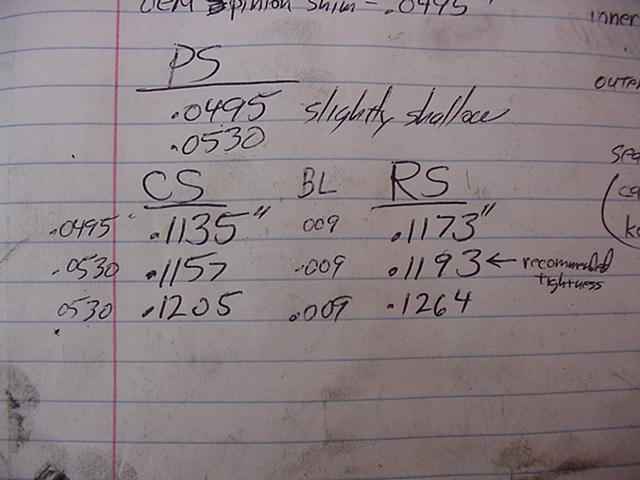
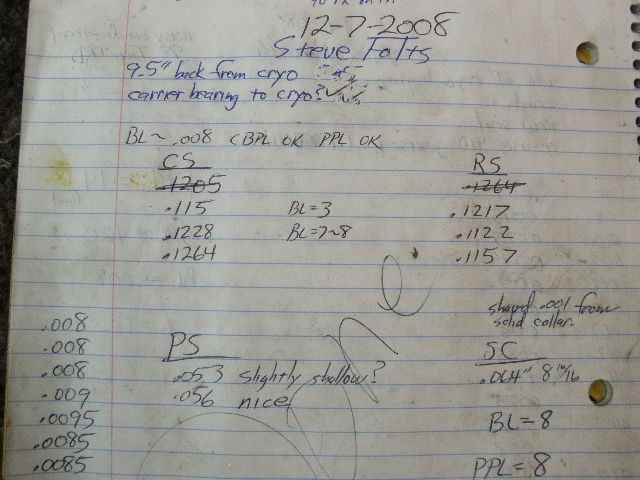
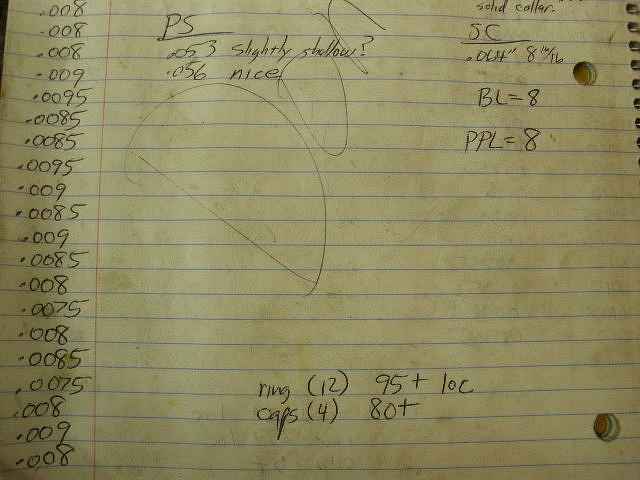
The factory shims were .1135/.1173....I added 2 thousandths to each side for new shim thicknesses of .1157/.1193 and this was just enough where I could push the shim almost all the way in place with just my fingers. This is the way the FSM factory manual shows as the "desired pre-load". I added about 5 thousandths more to each side to reach what I call the correct pre-load (.1205/.1264). |
|
One more final pattern heck...good. |
|
good. |
|
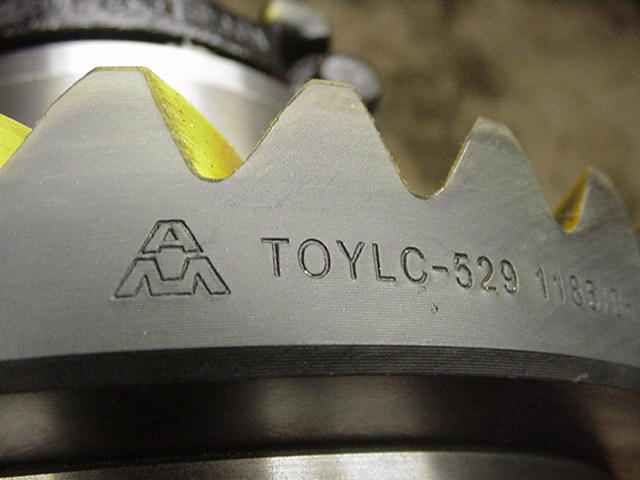
These are good gears...I just don't know exactly where they come from.
|

|
The ring is inscribed... |
|
...and date-coded. |
|
Back to CA. :) |
. . . . . . . . . . . . . . . . . . . . . . . . . UPDATED SECTION . . . . . . . . . . . . . . . . . . . . . . . |

|
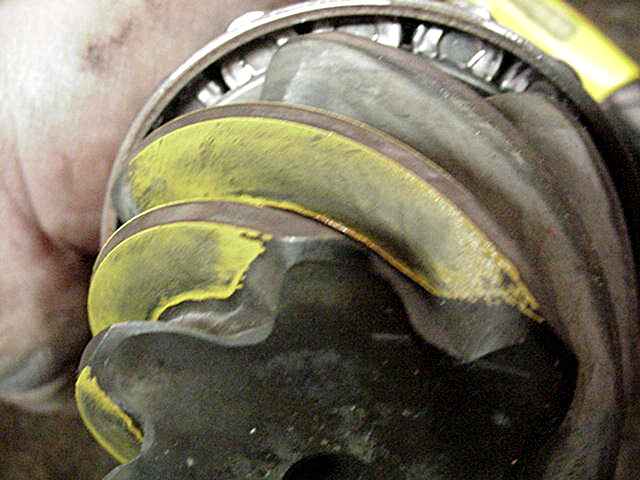
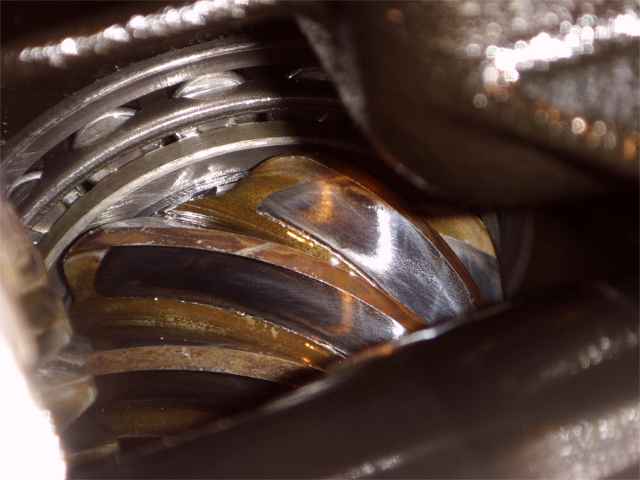
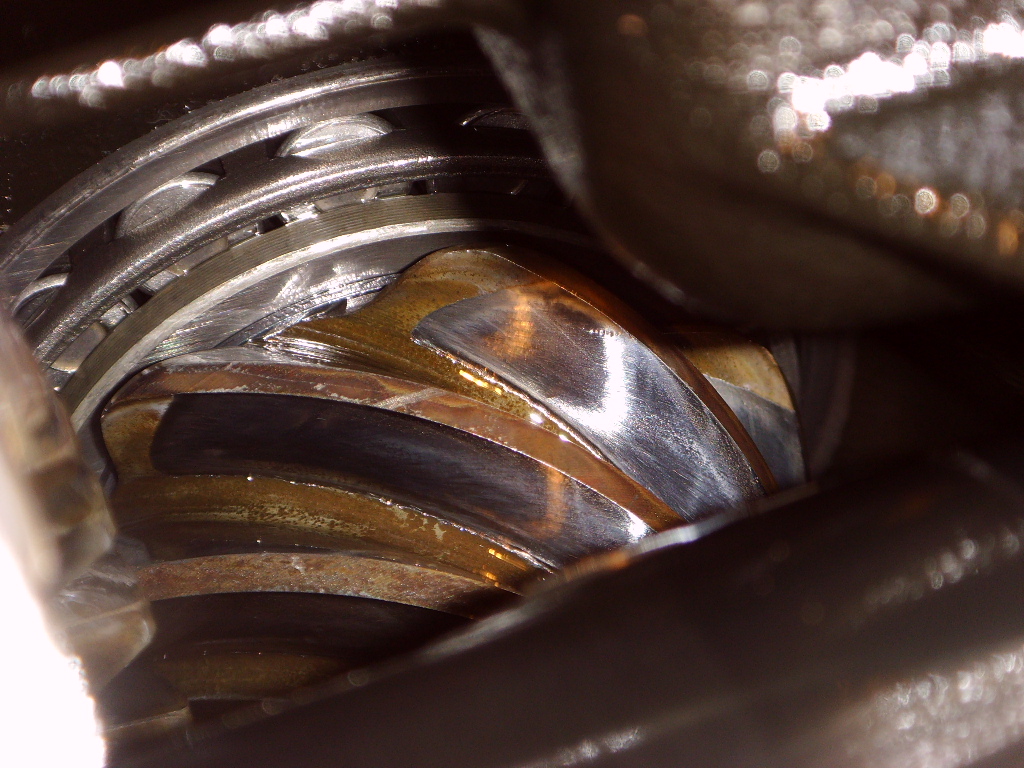
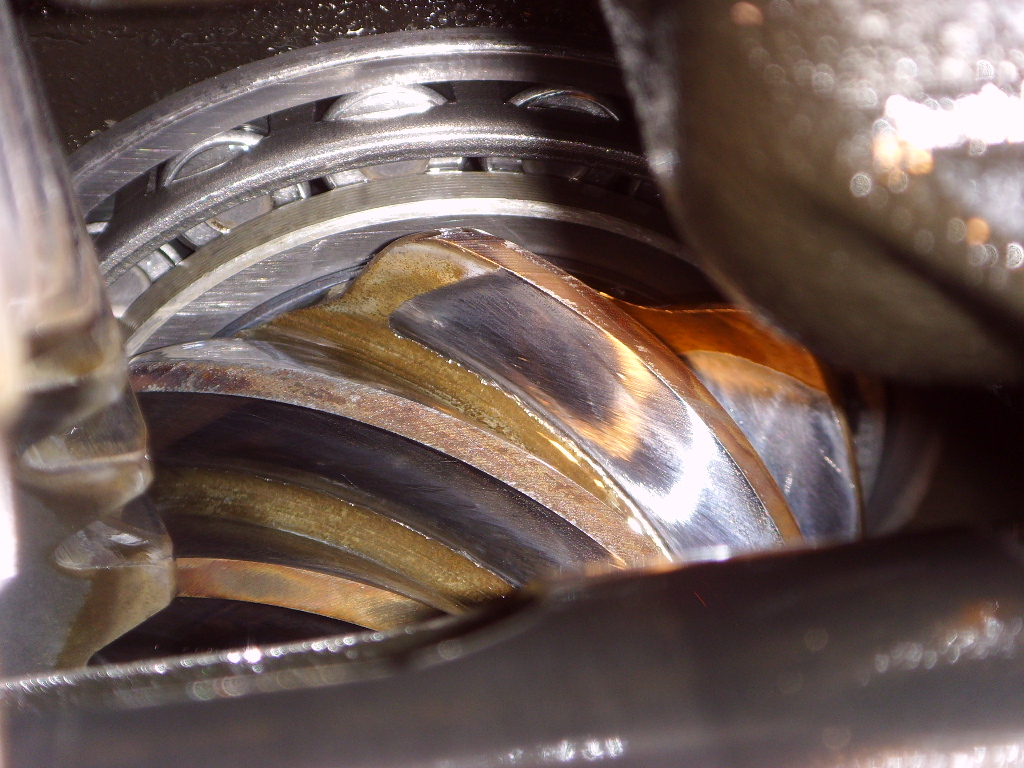
About 8 months later, Steve has been noticing a growling on de-acceleration. He locates the noise down to the rear diff and removes it to find unusual wear on the pinion. The gear install had been done correctly and Steve was very careful to use a good break-in procedure. See the better resolution 1024x768 pic here. |
|
Pic #2 click here. The ring and pinion had been heat treated and cryo'd... apparently, the heat treating softened the pinion a bit too much for the on-road use it saw. |
|
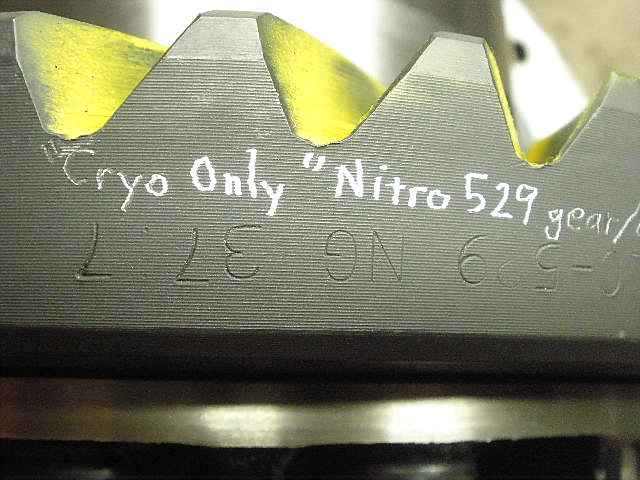
The new plan is to replace the ring and pinion with another high quality one. This one will be a different brand (Nitro Gear is JustDifferential's in-house gear). The new gear was also cryo treated. Cryo does not soften or harden a gear...it basically makes it tougher and stronger and allows it to wear longer. Additionally, the 'old' carrier bearings will be replaced with new ones that are cryo treated. I am fortunate to have a cryo business located only 30 miles from me that performs the process to the limits of the industry. Cryogenics International |
|
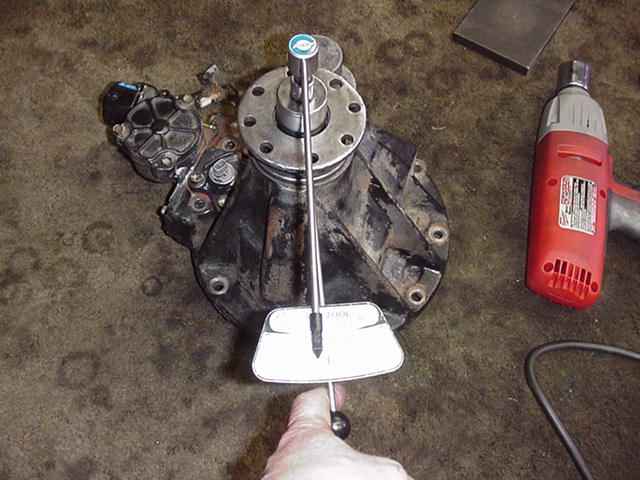
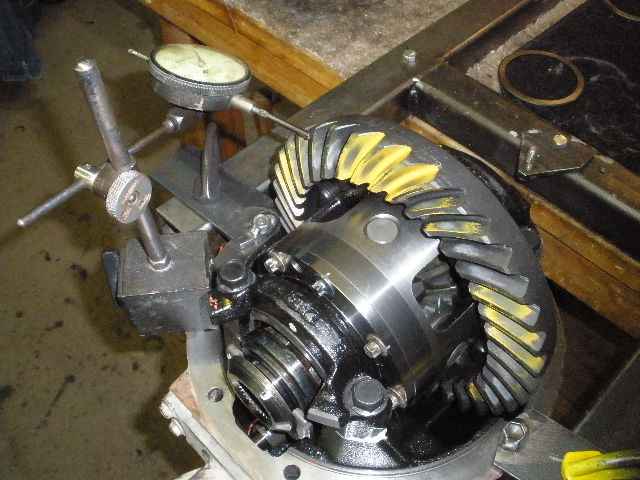
First step is to check out the 3rd before tearing it apart...backlash is still around .009" and CBPL was still there. |
|
It still took considerable effort to remove the case. |
|
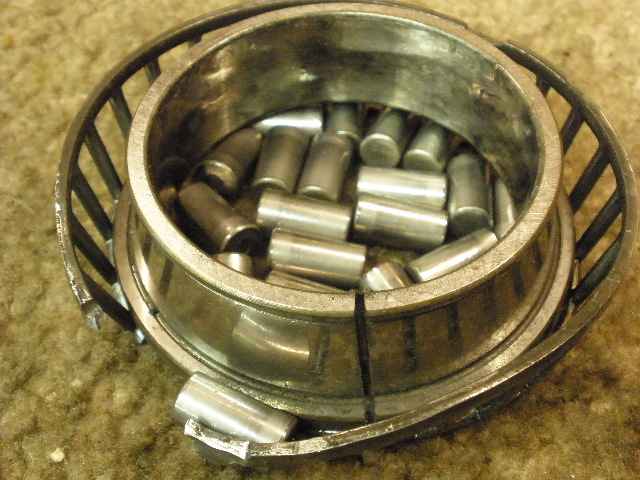
To remove the bearing on this side involves removing the lid and pushing the bearing off from the backside. The E star bolts were on impossibly tight and there was no way to get under the cage to reach the main bearing body... |
|
...so it's a matter of destroying the cage... |
|
...and using a 10,000 rpm dremel drill with a mini cutting wheel to persuade the rest of it to come off. |
|
I was actually impressed with how easy this was with the dremel. |

|
The other side was reachable with the puller. |
|
Both surfaces were checked with a file and had no irregularities. The ring had to be coaxed on. |
|
Red Loctite and 95 ft/lbs... |

|
New cryo bearings are pressed on. The Toyota part number for these are 90366-60002 and are a rather pricey $81 each(retail). |
|
Usually, my electric impact wizzes these pinion nuts off with little effort but this one was not giving. Ahhh, now I remember....I was the one that put it on with red loctite and an extra twist of the 3 foot cheater. :) |
|
It finally came loose with this method. |
|
The re-usable bearing is pressed off along with the .053" shim. |
|
Races were in good shape....some minor pitting due to the metal debri in the oil. |
|
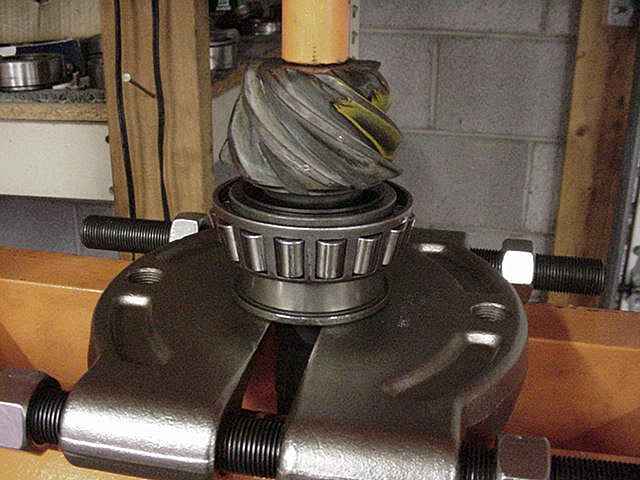
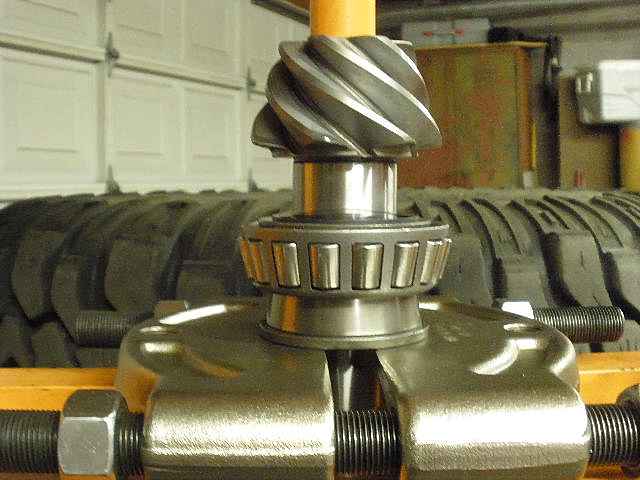
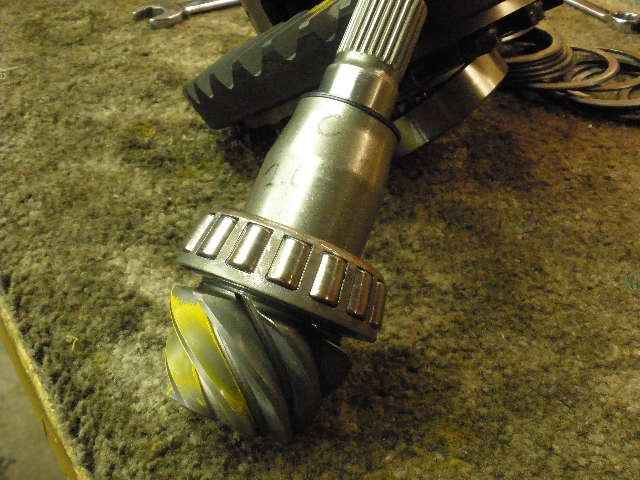
The bearing and the .053" shim are pressed onto the new pinion. |
|
The solid collar is left out until the correct pinion shim is found. The pinion nut is tightened until about 5~10 inch/lbs of PPL is measured. |
|
Very close....hard to say if it needs to go any deeper. |
|
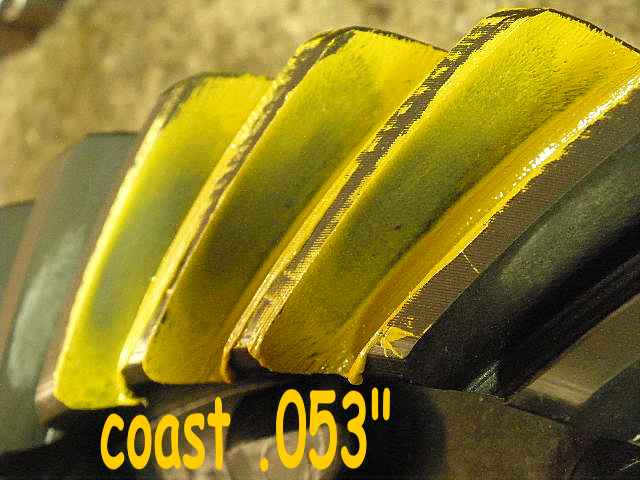
The coast is telling me to go a little deeper. So, everything is torn down and .003" is added to the pinion shimpack. |
|
I see a better symmetry here. |
|
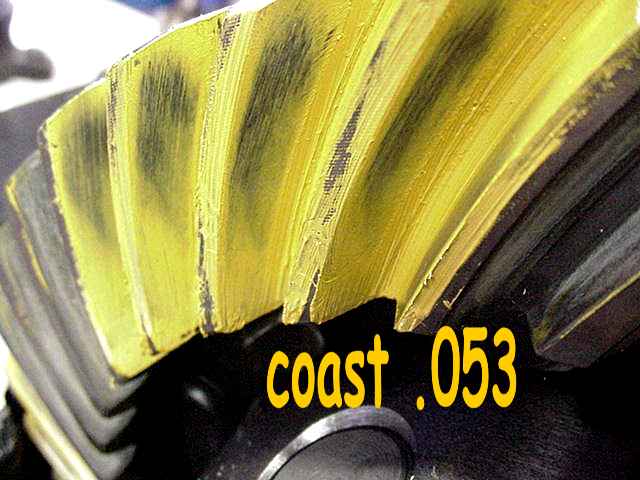
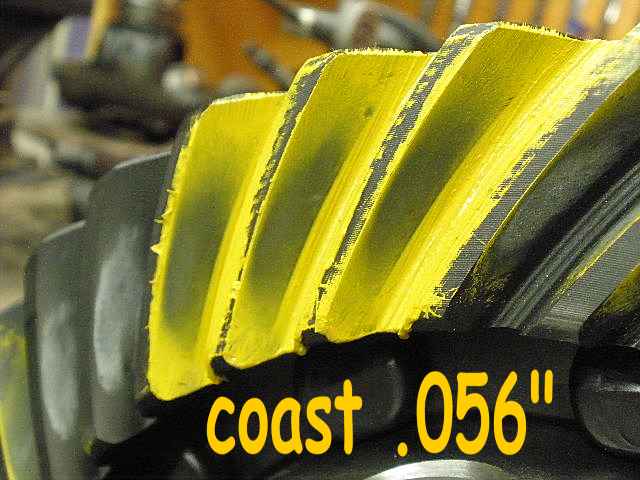
The coast is looking excellent here. |
|
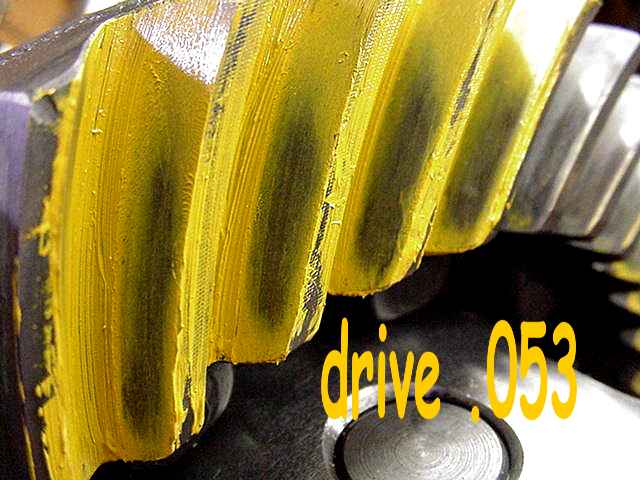
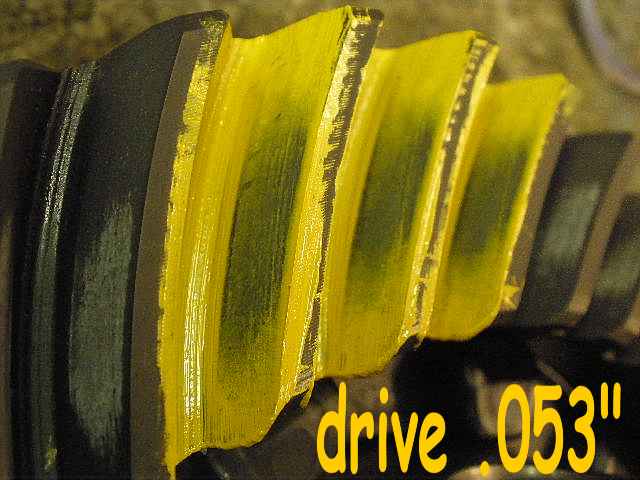
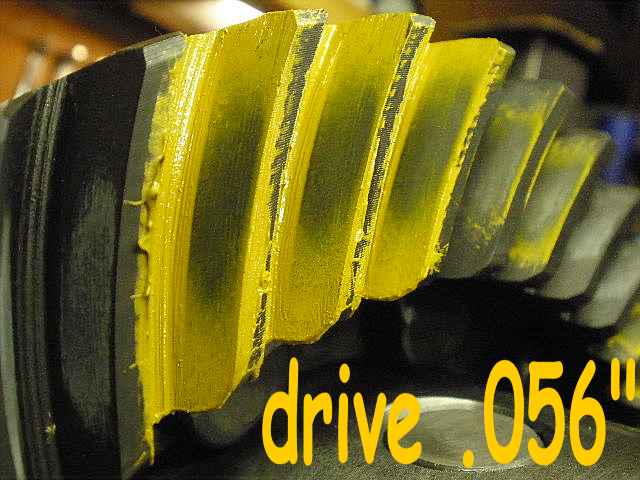
The drive pattern on the pinion is good. Proper depth has been established. The solid collar is now installed. I trimmed off about .001" from the collar on my mini-lathe to sweeten up the PPL to 8 inch/pounds. |
|
Loctite was used on a new nut. |
|
With a new ring and pinion, the shims on the carrier bearings will change. As seen on the pic below, after the 3rd try, the backlash was established at .008" and CBPL was excellent (tight). |
|
....... |
|
....... |
|
....... |
|
|

|
