|
Supra 7.5" LSD Rebuild for a 1986 Corolla Project
|
|
(74 BIG pics loading)
|
|
FEB21 2016
|
|
|
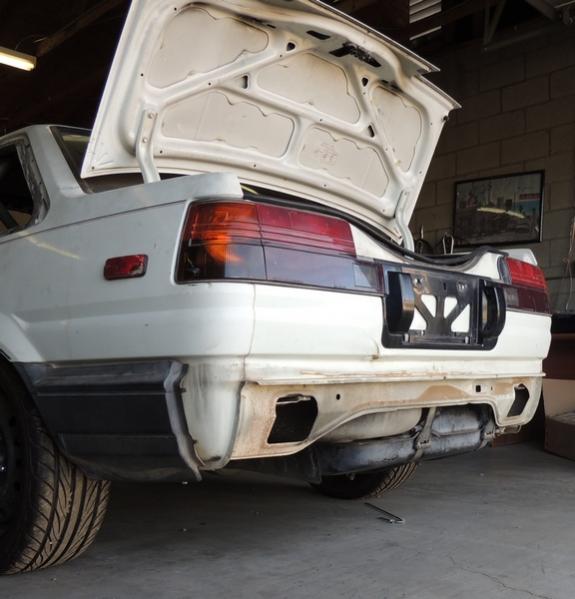
Tim is local to me and is working on a 86 Corolla build.
To be used in Drift competition.
|
|
|
|
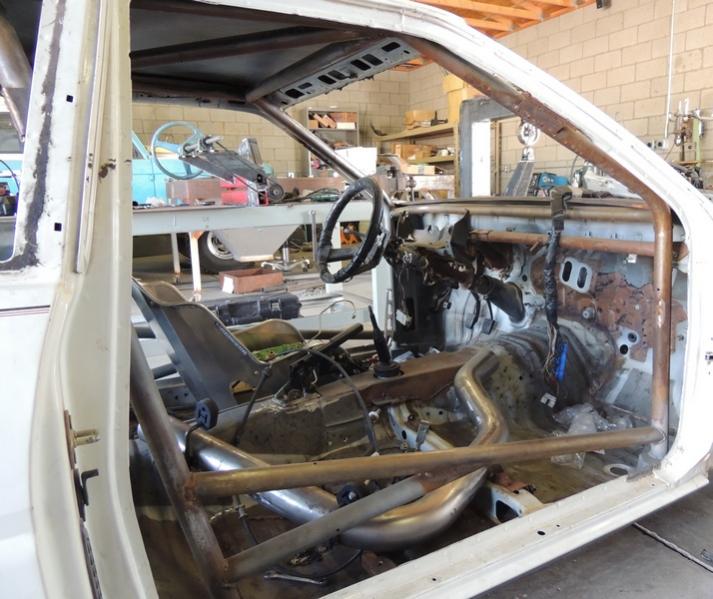
Not your typical daily driver car.
DOM tubing 1.5" x .095"
|
|
|
|
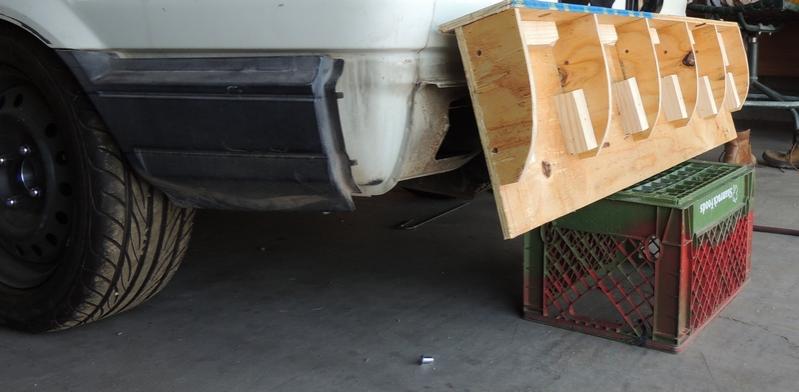
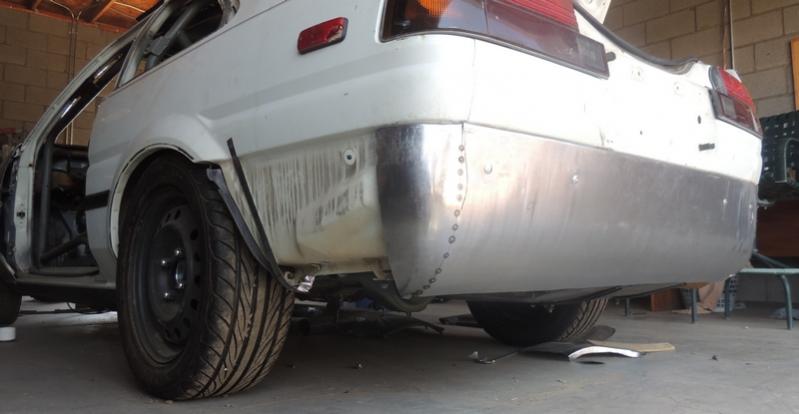
He is a craftsman of sorts....a metal shaper in his hobby trade.
A link to Tim's build-up.... allmetalshaping.com
|
|
|
|
The rear axle assembly is out of a
1st gen Supra MK1 (7.5" removable 3rd).
|
|
|
|
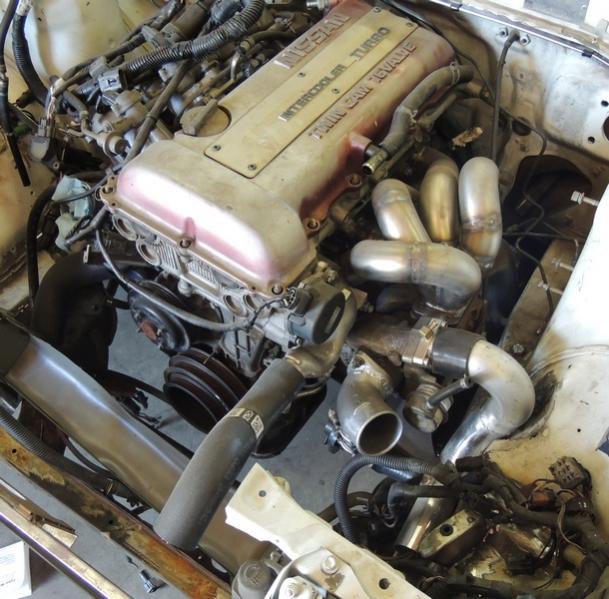
The engine is a NISSAN SR20DET....stock internals and turbo for now.
It has a front mounted Precision intercooler, JSP tubular exhaust
manifold, Ron Davis radiator and dual rear brake calipers. The
extra set of calipers are connected to the hand lever. Custom
3" side exit exhaust system.
|
|
|
|
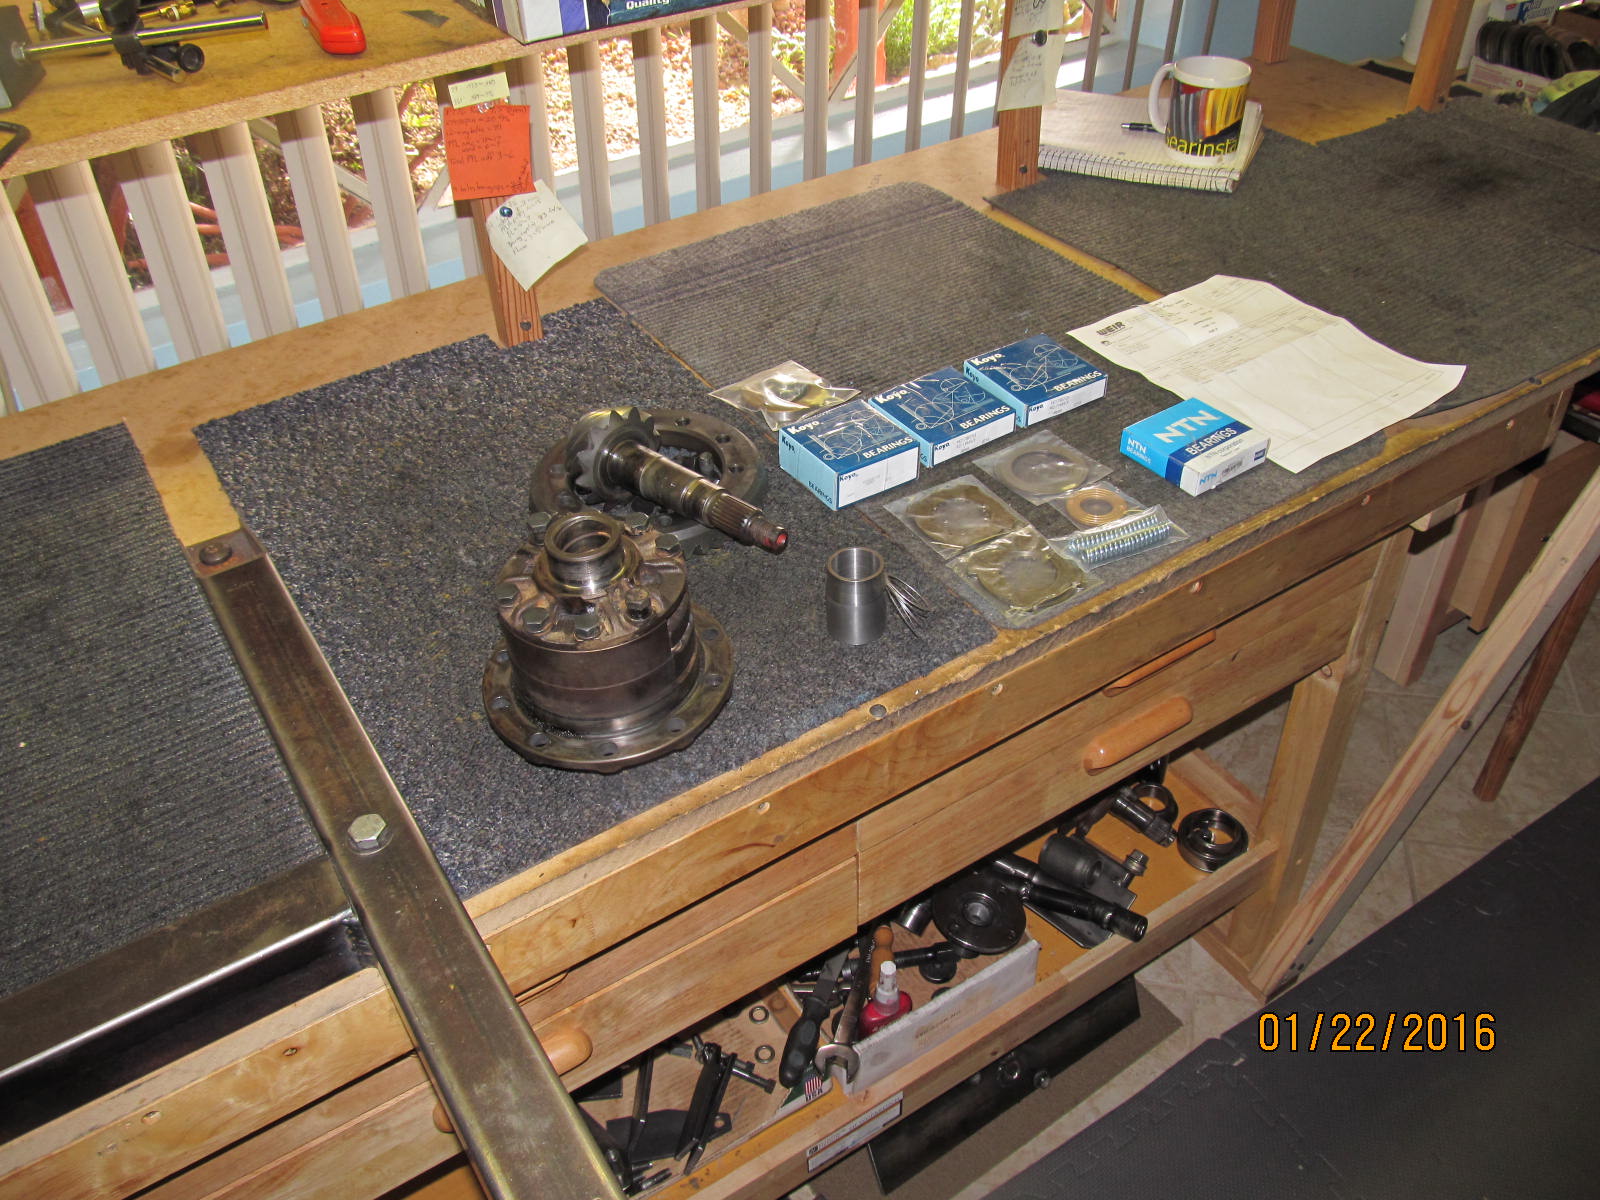
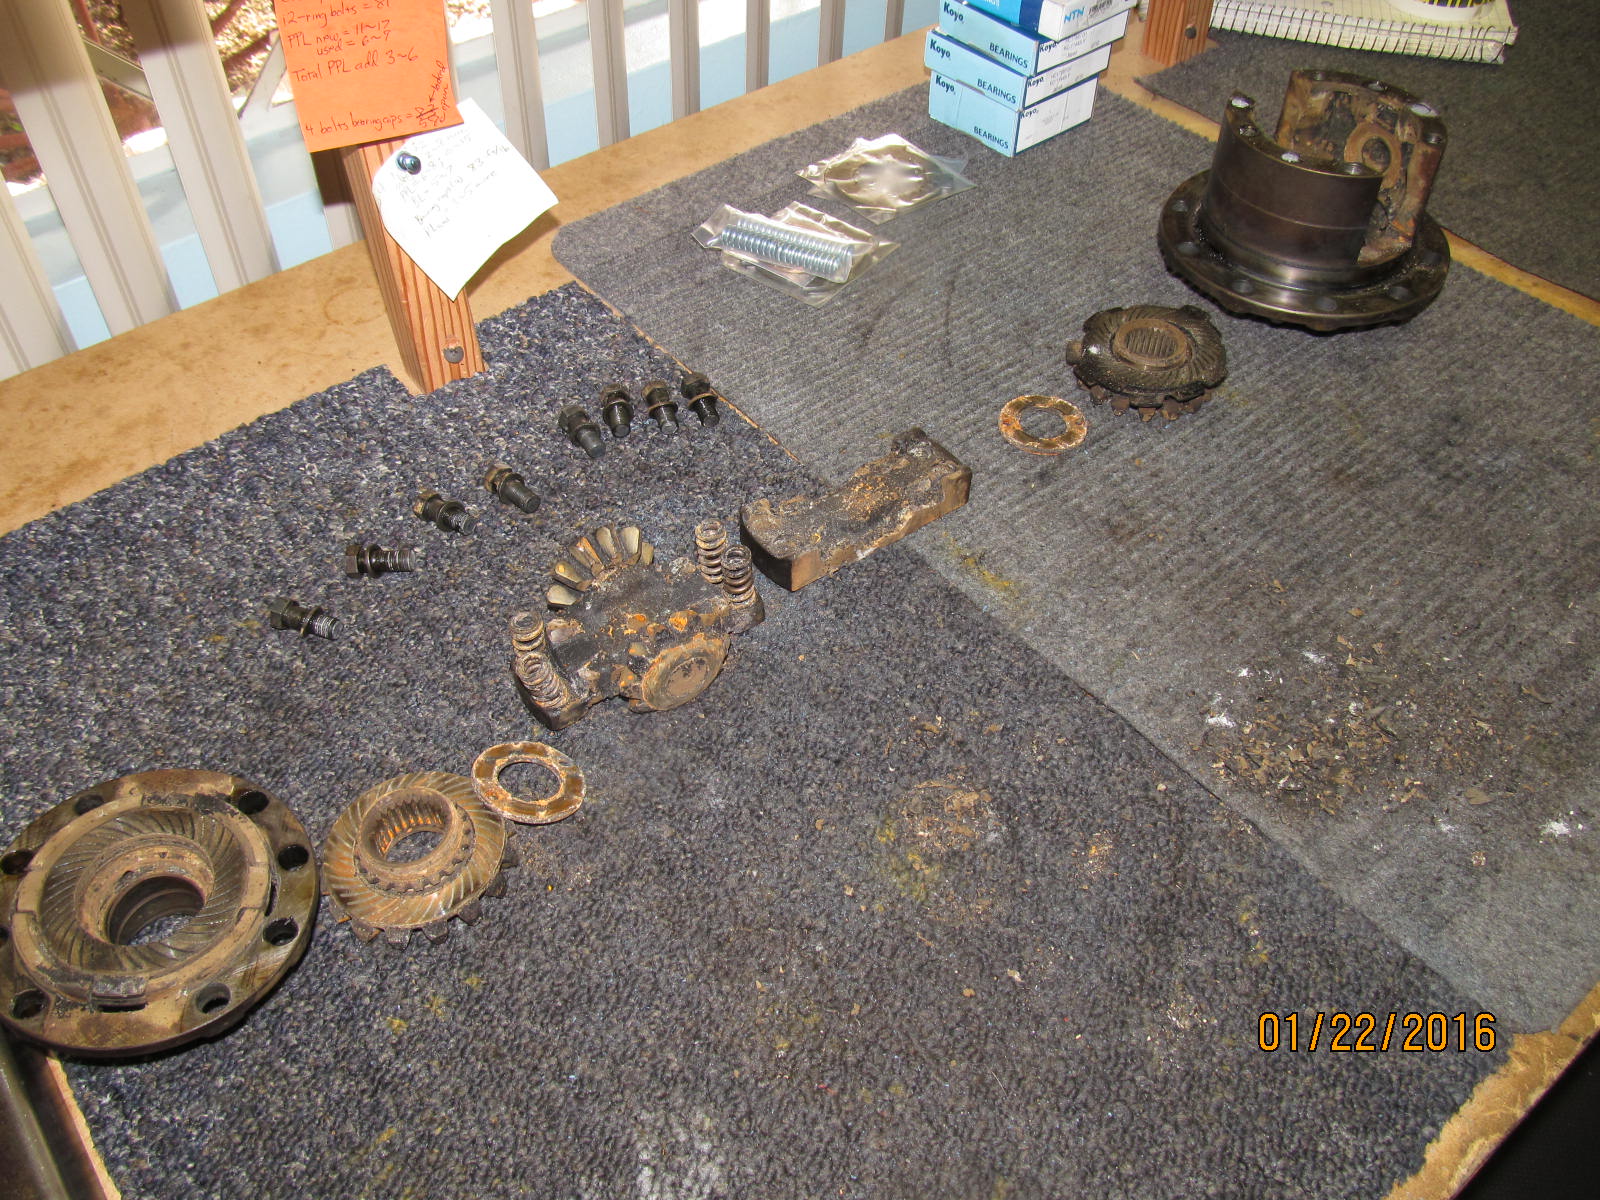
Parts are laid out on the bench. The LSD is out of a Supra MK2. The LSD rebuild kit as well
as the bearings/solid collar came from WeirPerformance.com
|
|
|
|
|
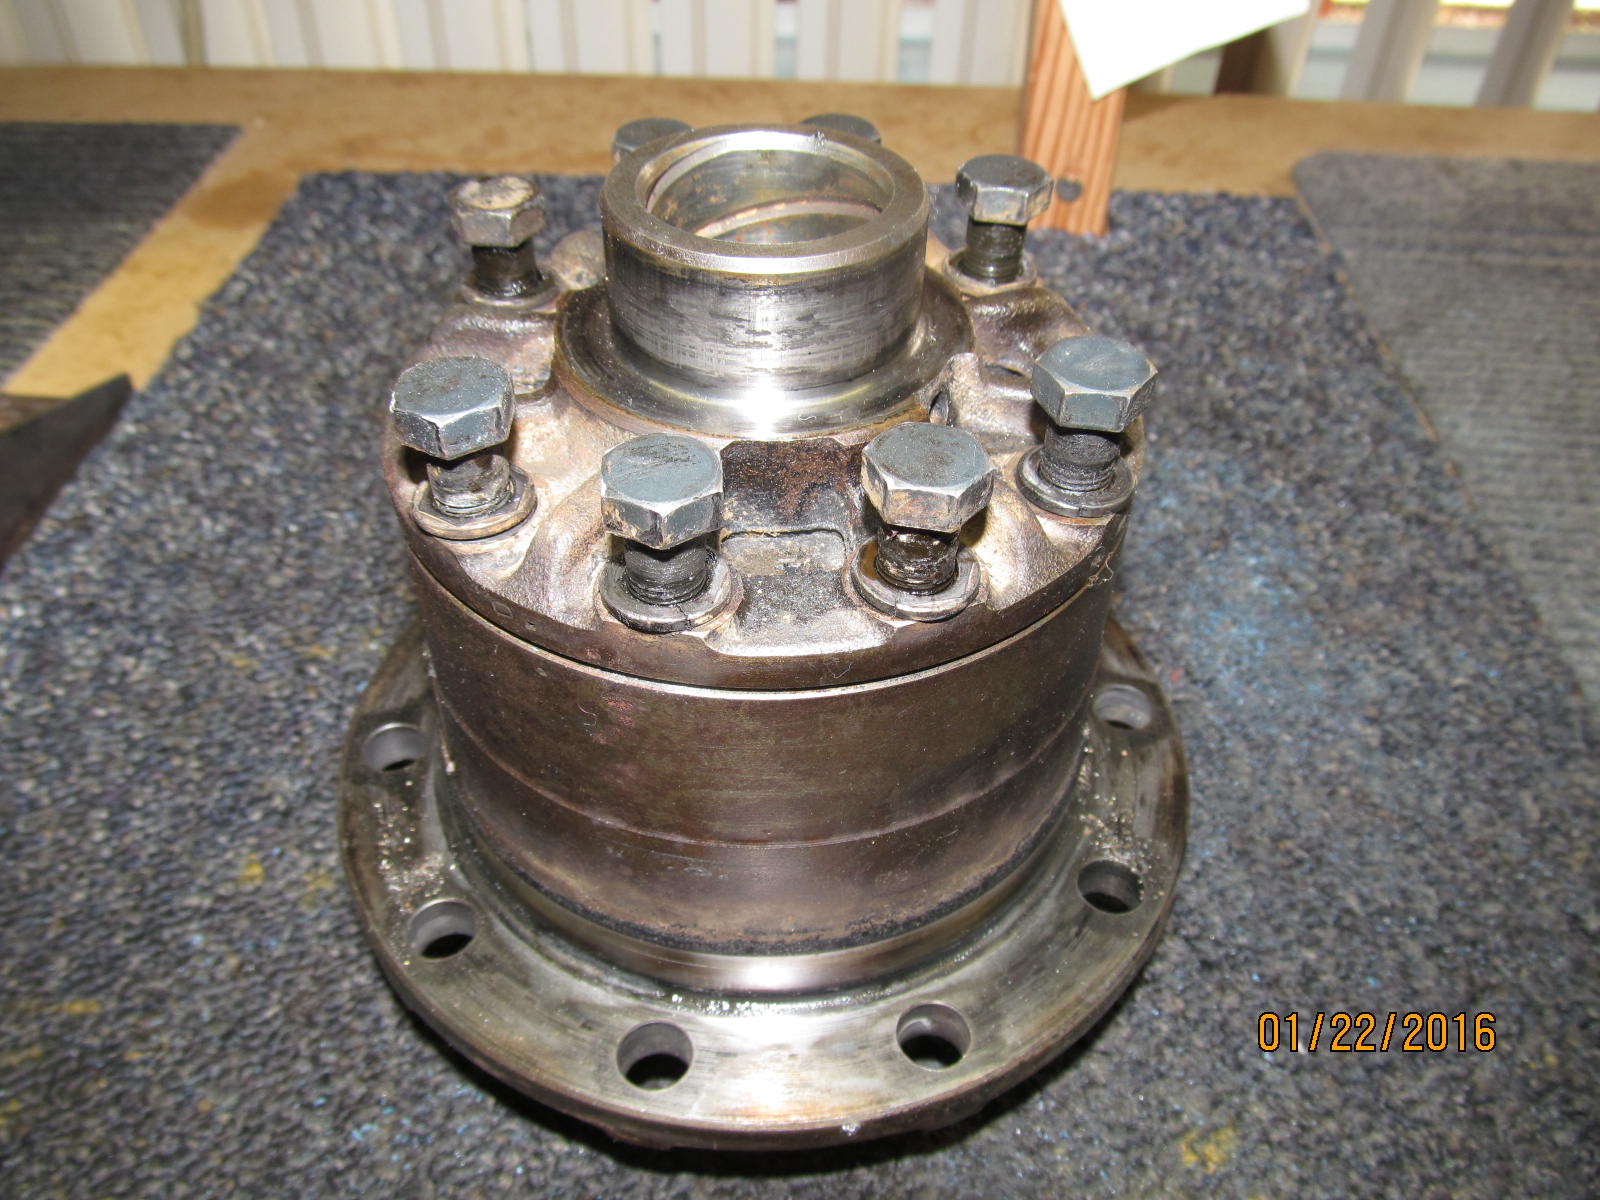
The Supra lsd has a little bit of grit and sand on the outside.....
|
|
|
|
|
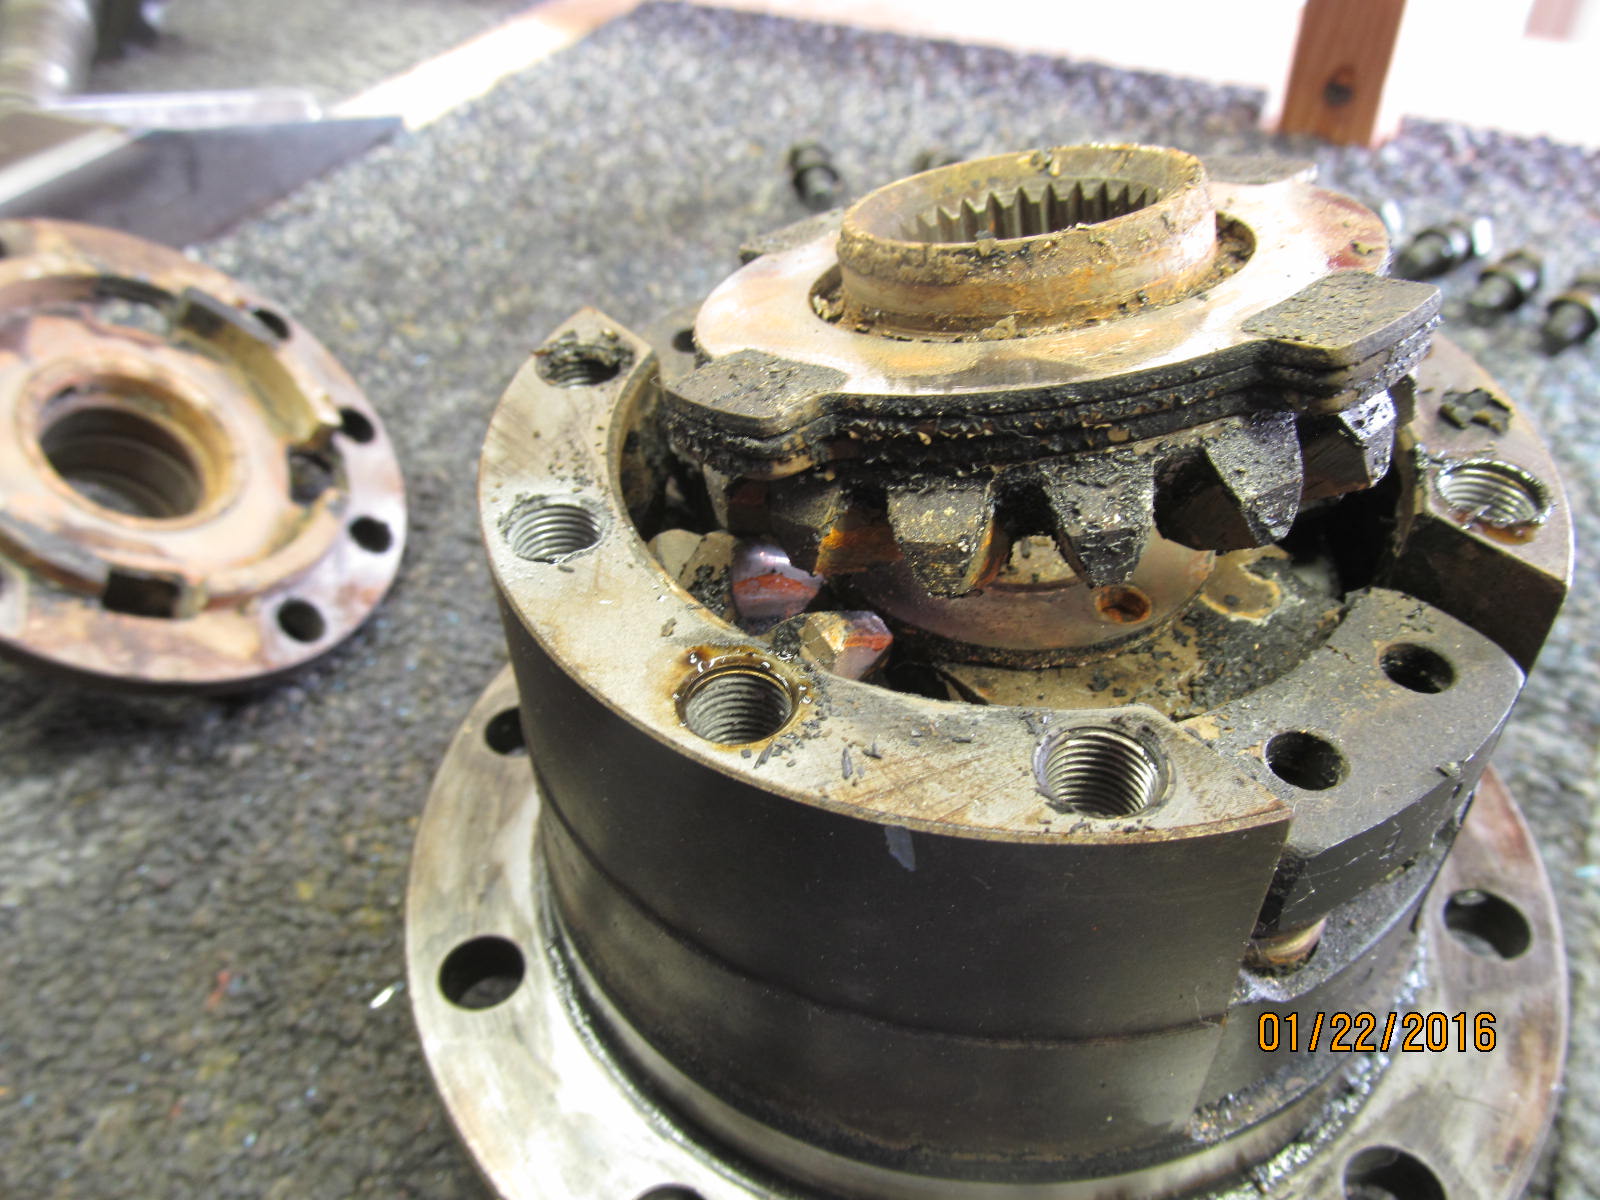
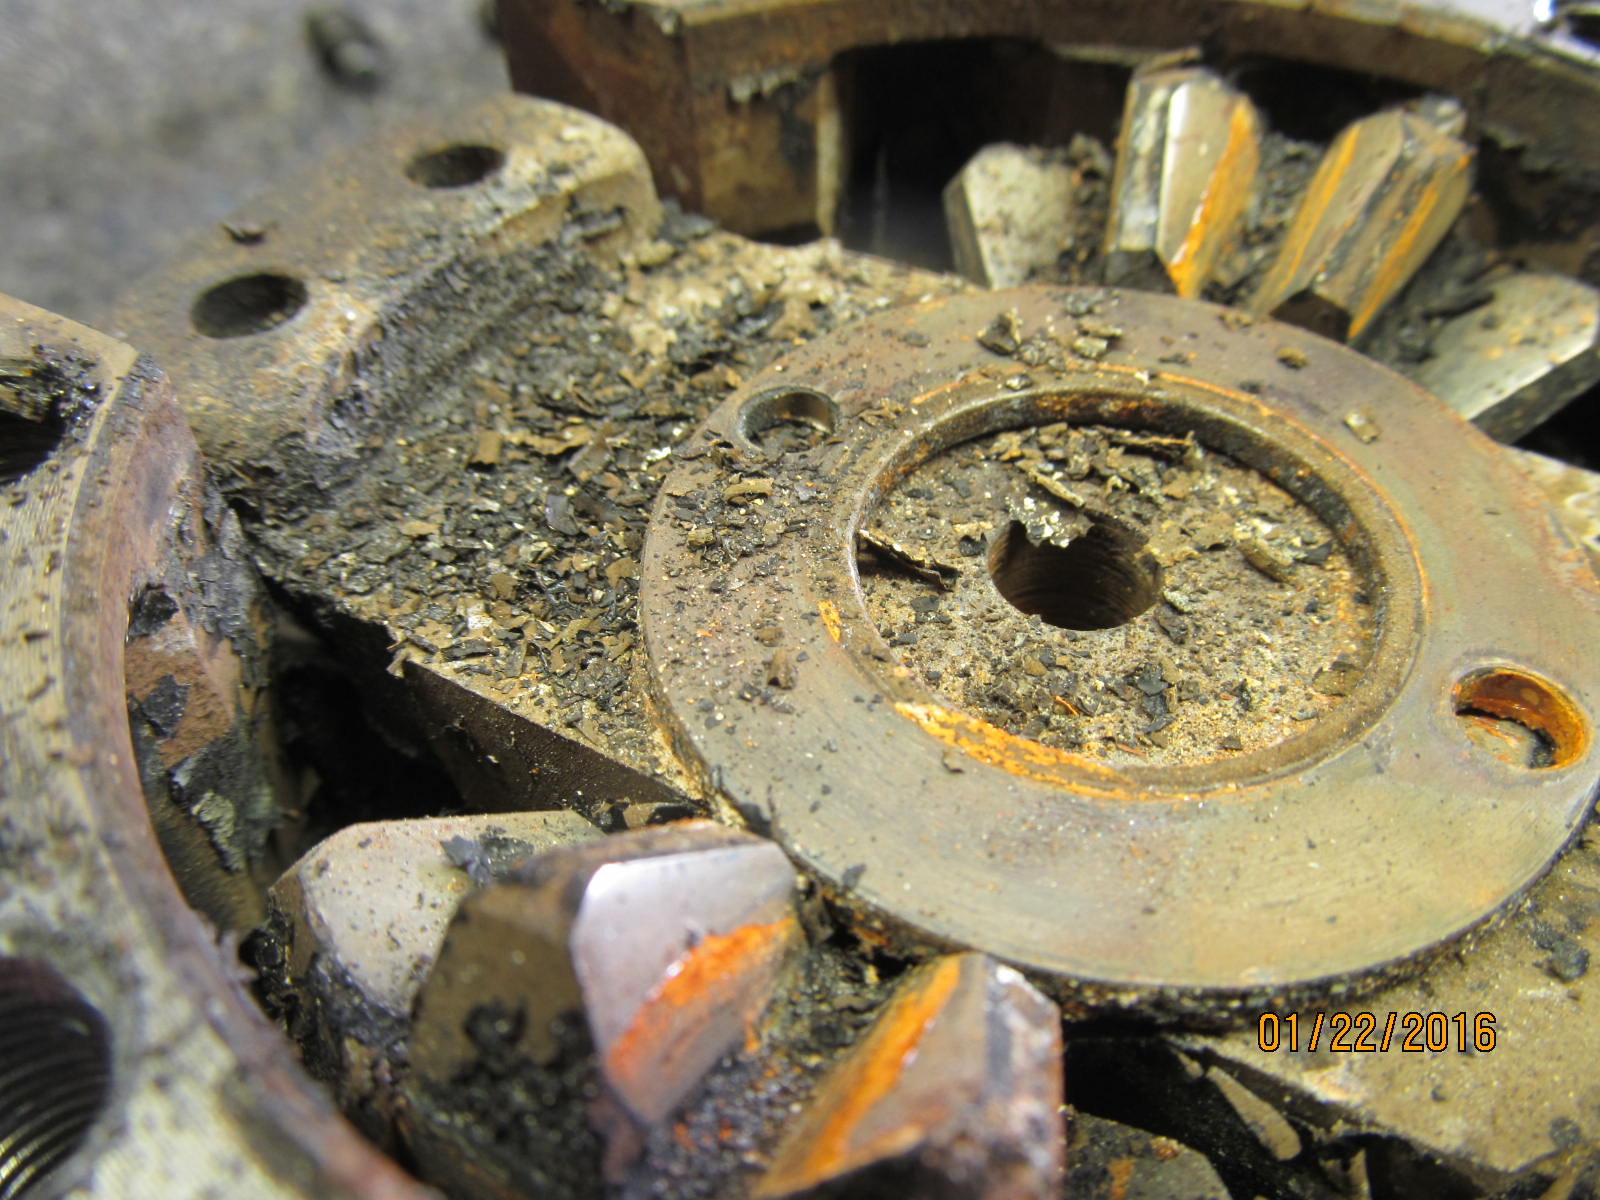
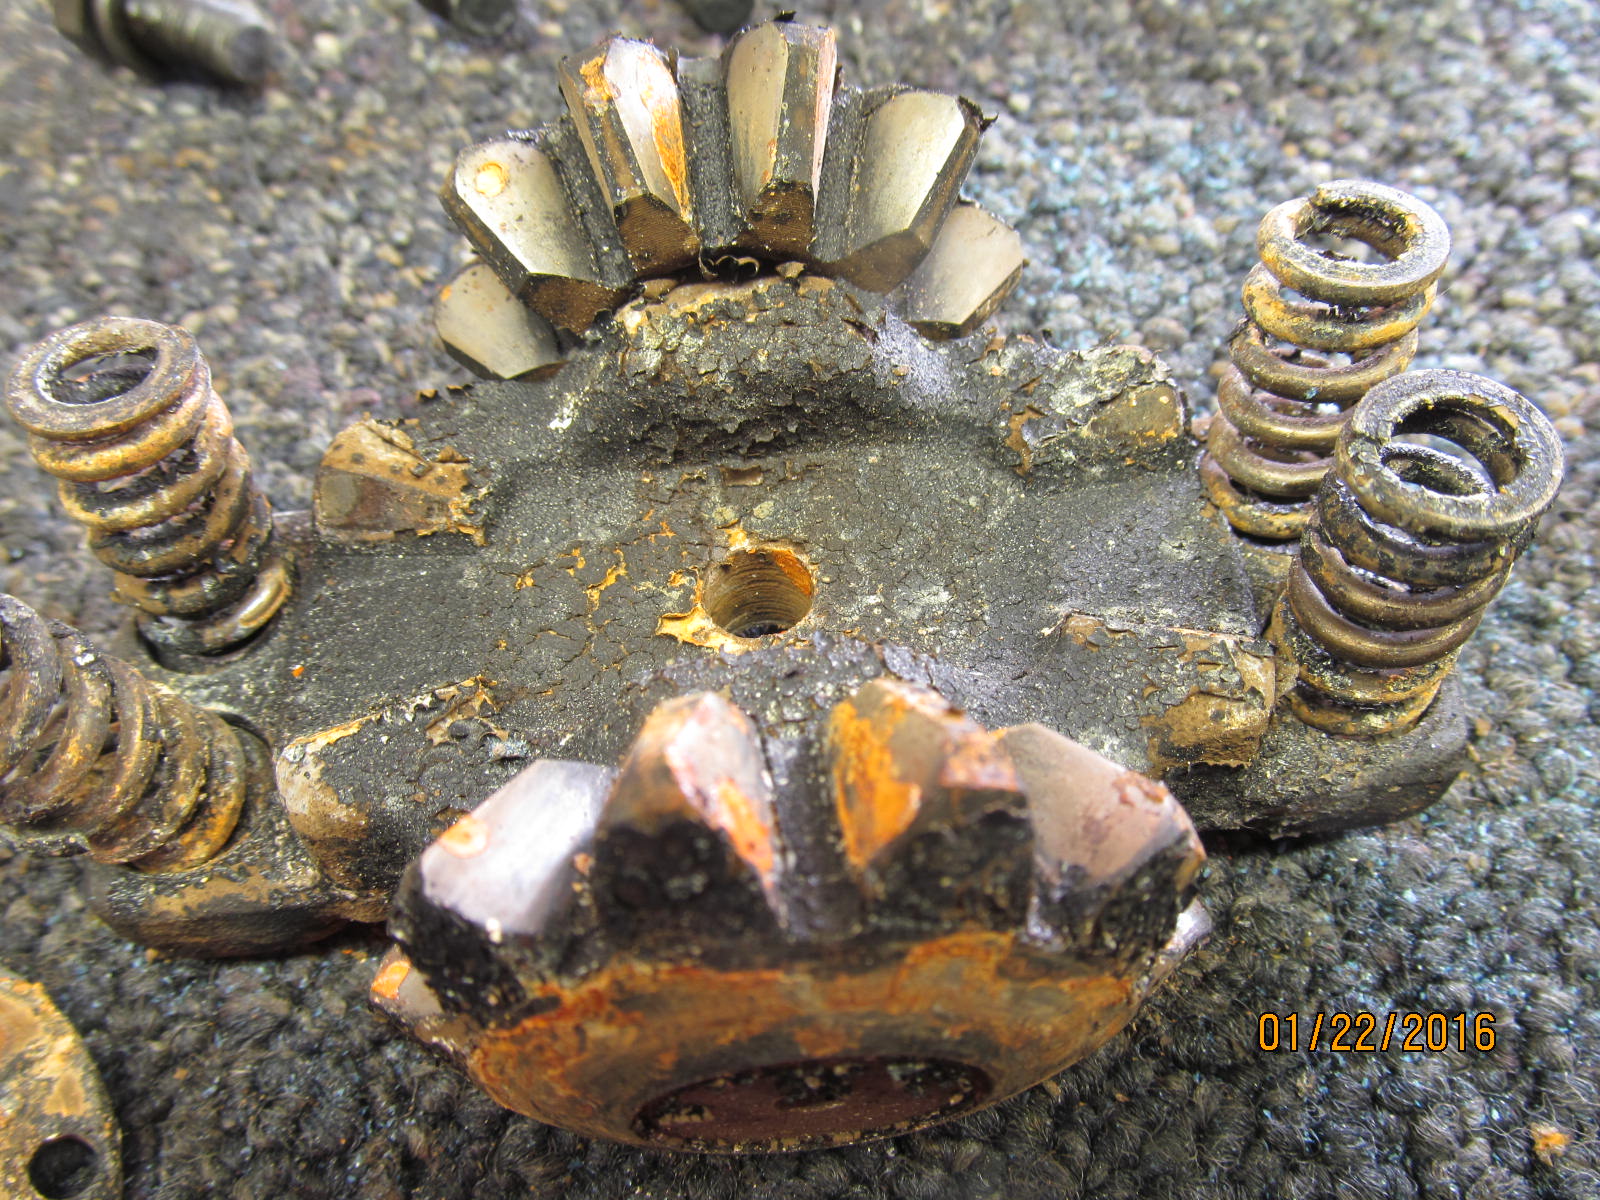
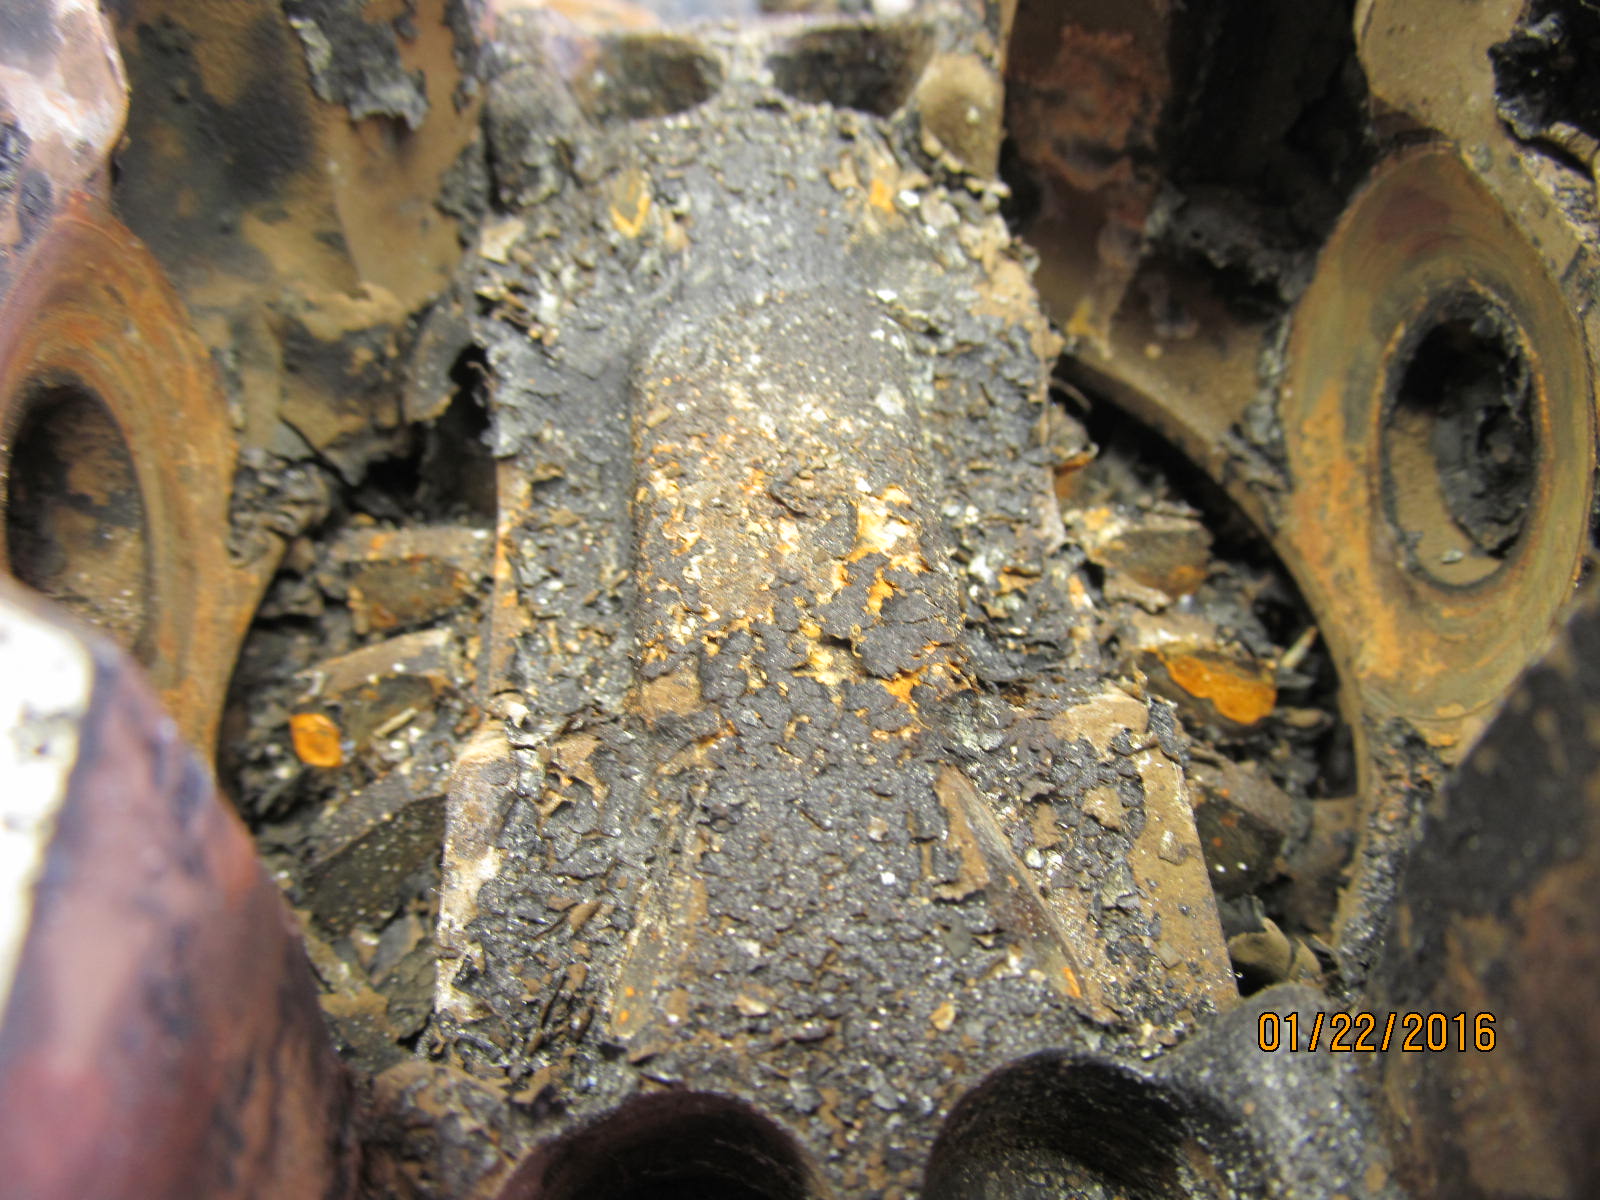
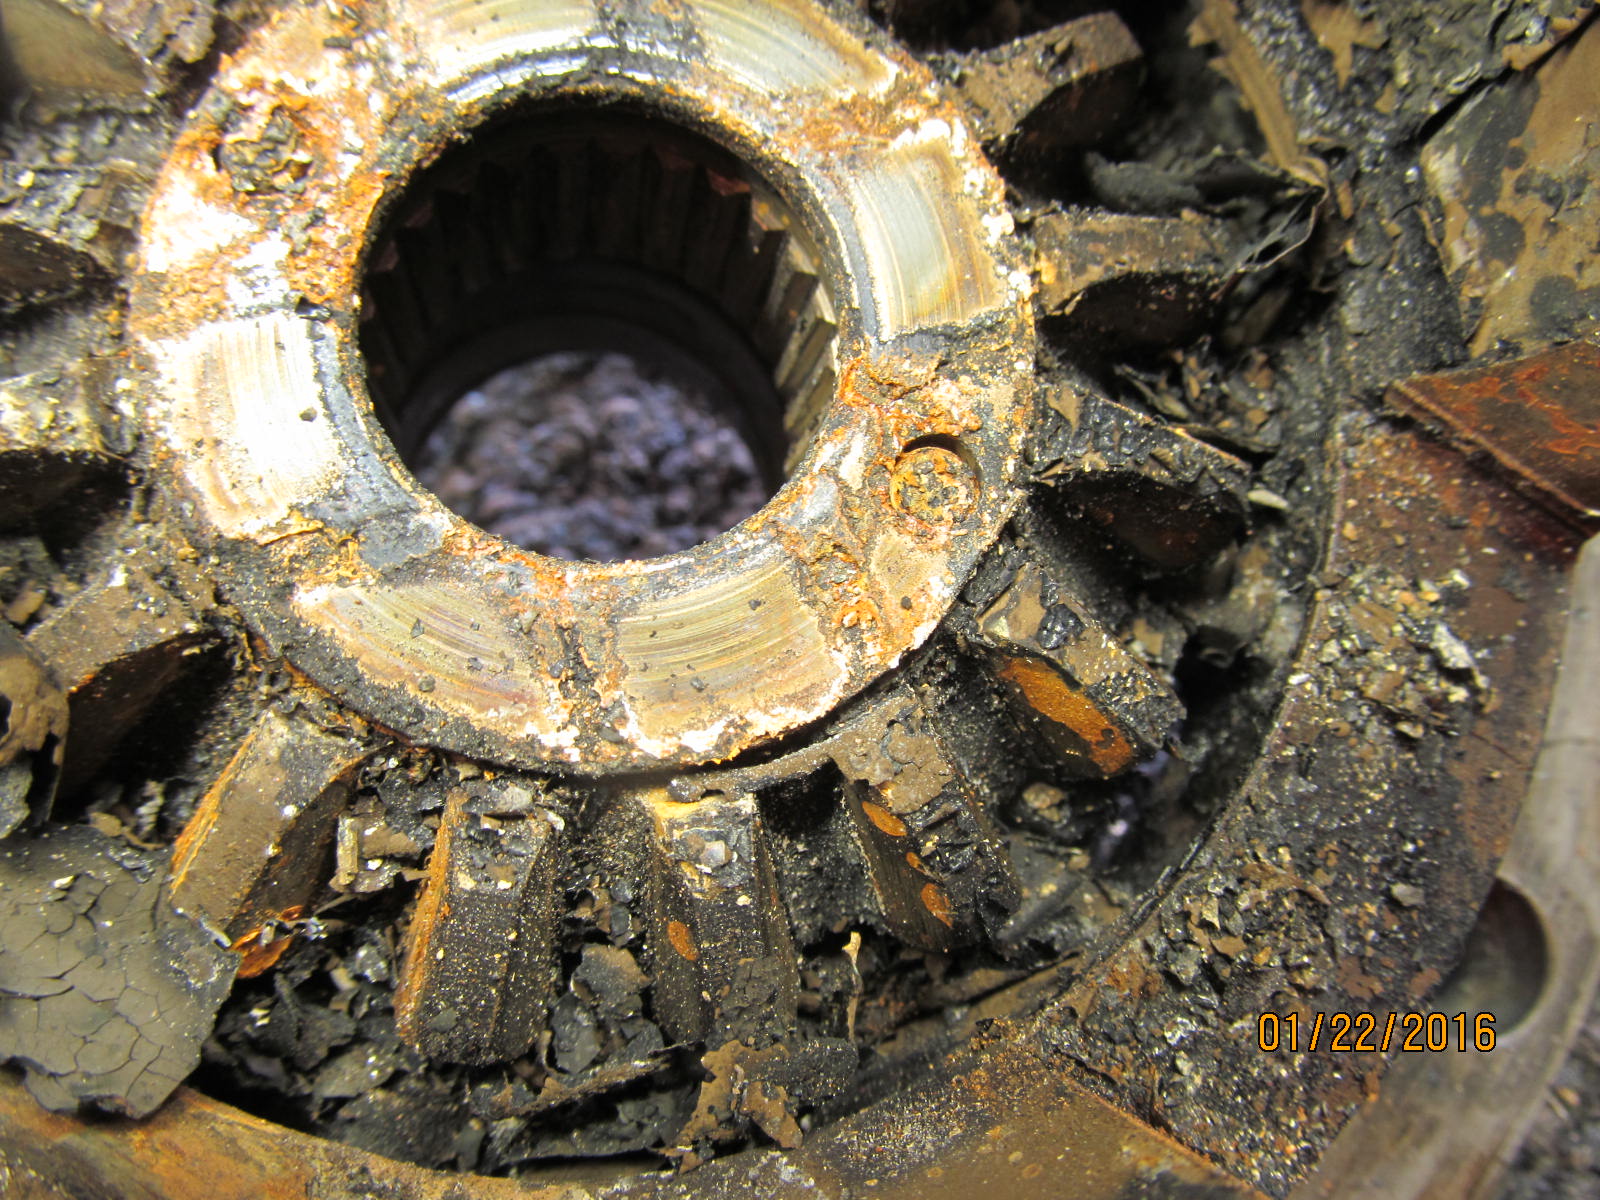
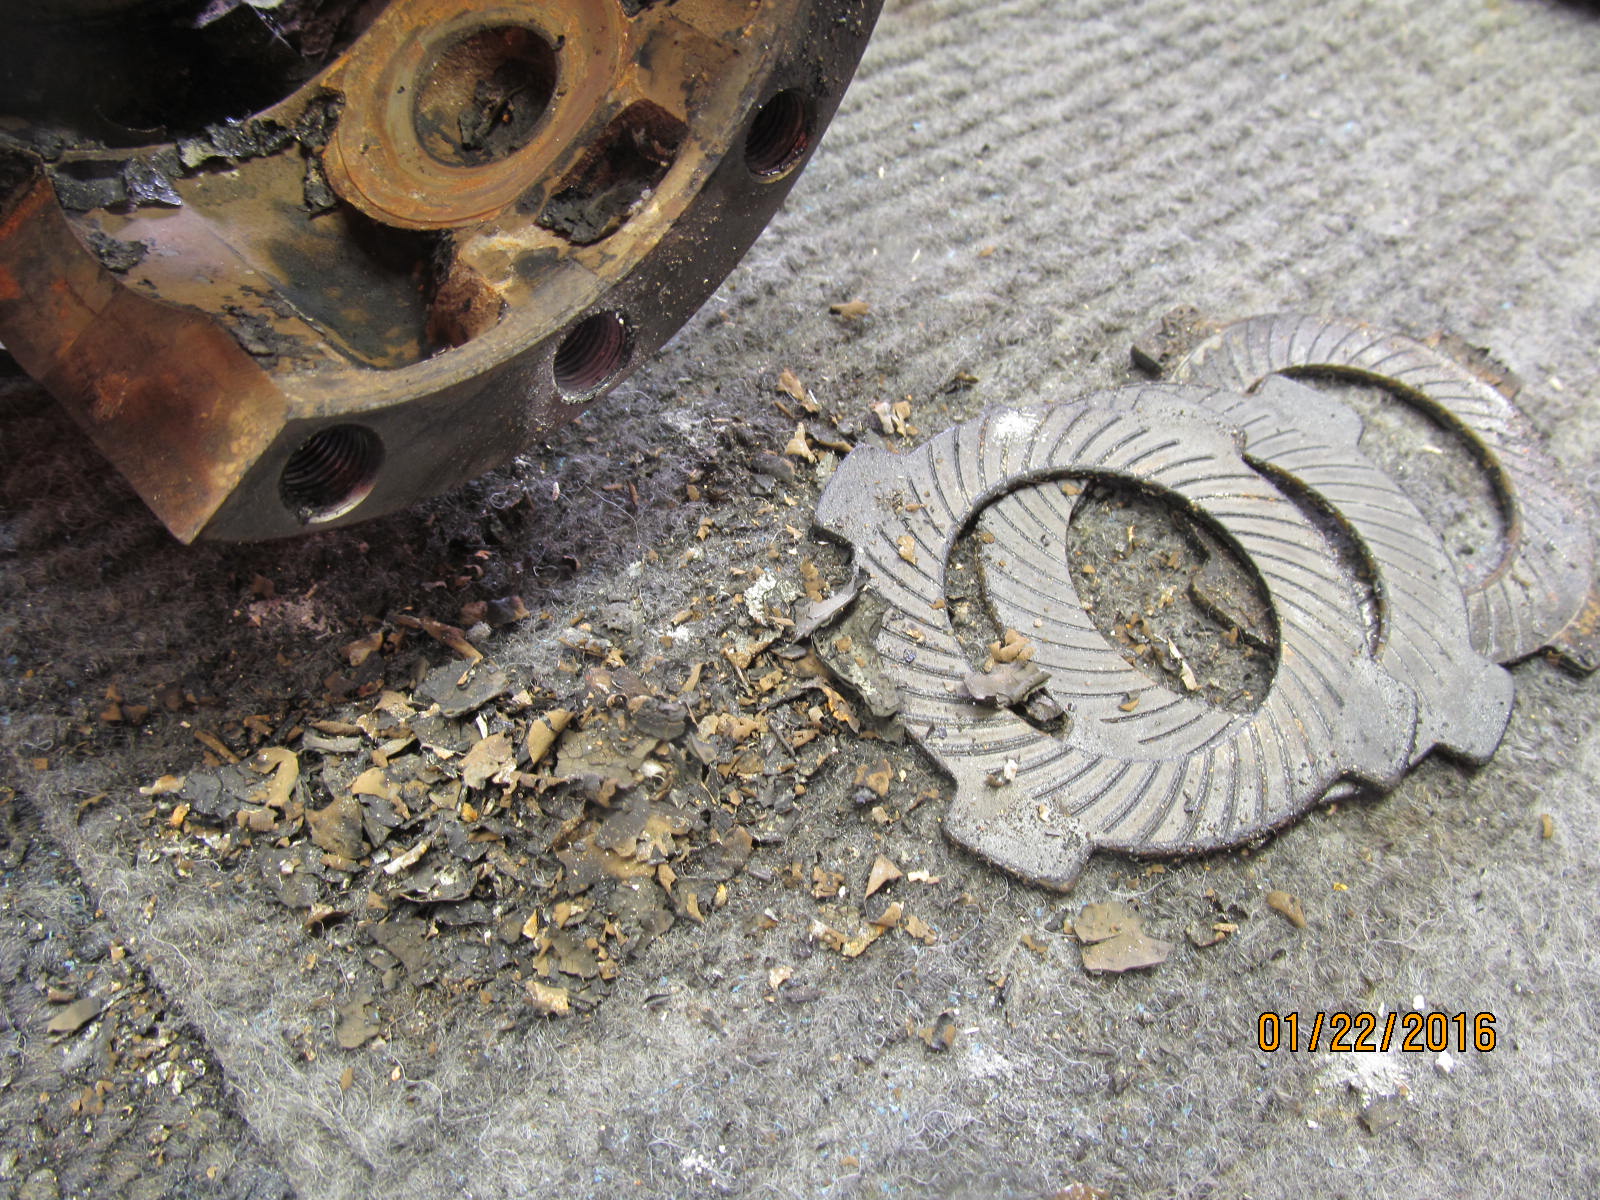
....but the inside had a tremendous amount of surface rust and gravel...more than I have seen in a long time.
|
|
|
|
|
amazing
|
|
|
|
|
=========================
|
|
|
|
|
===================
|
|
|
|
|
=======================
|
|
|
|
|
====================
|
|
|
|
This is beyond a washdown with a wire brush......a good beadblasting could make it look like new maybe.
Well, kind of a big maybe but it could.
|
|
|
|
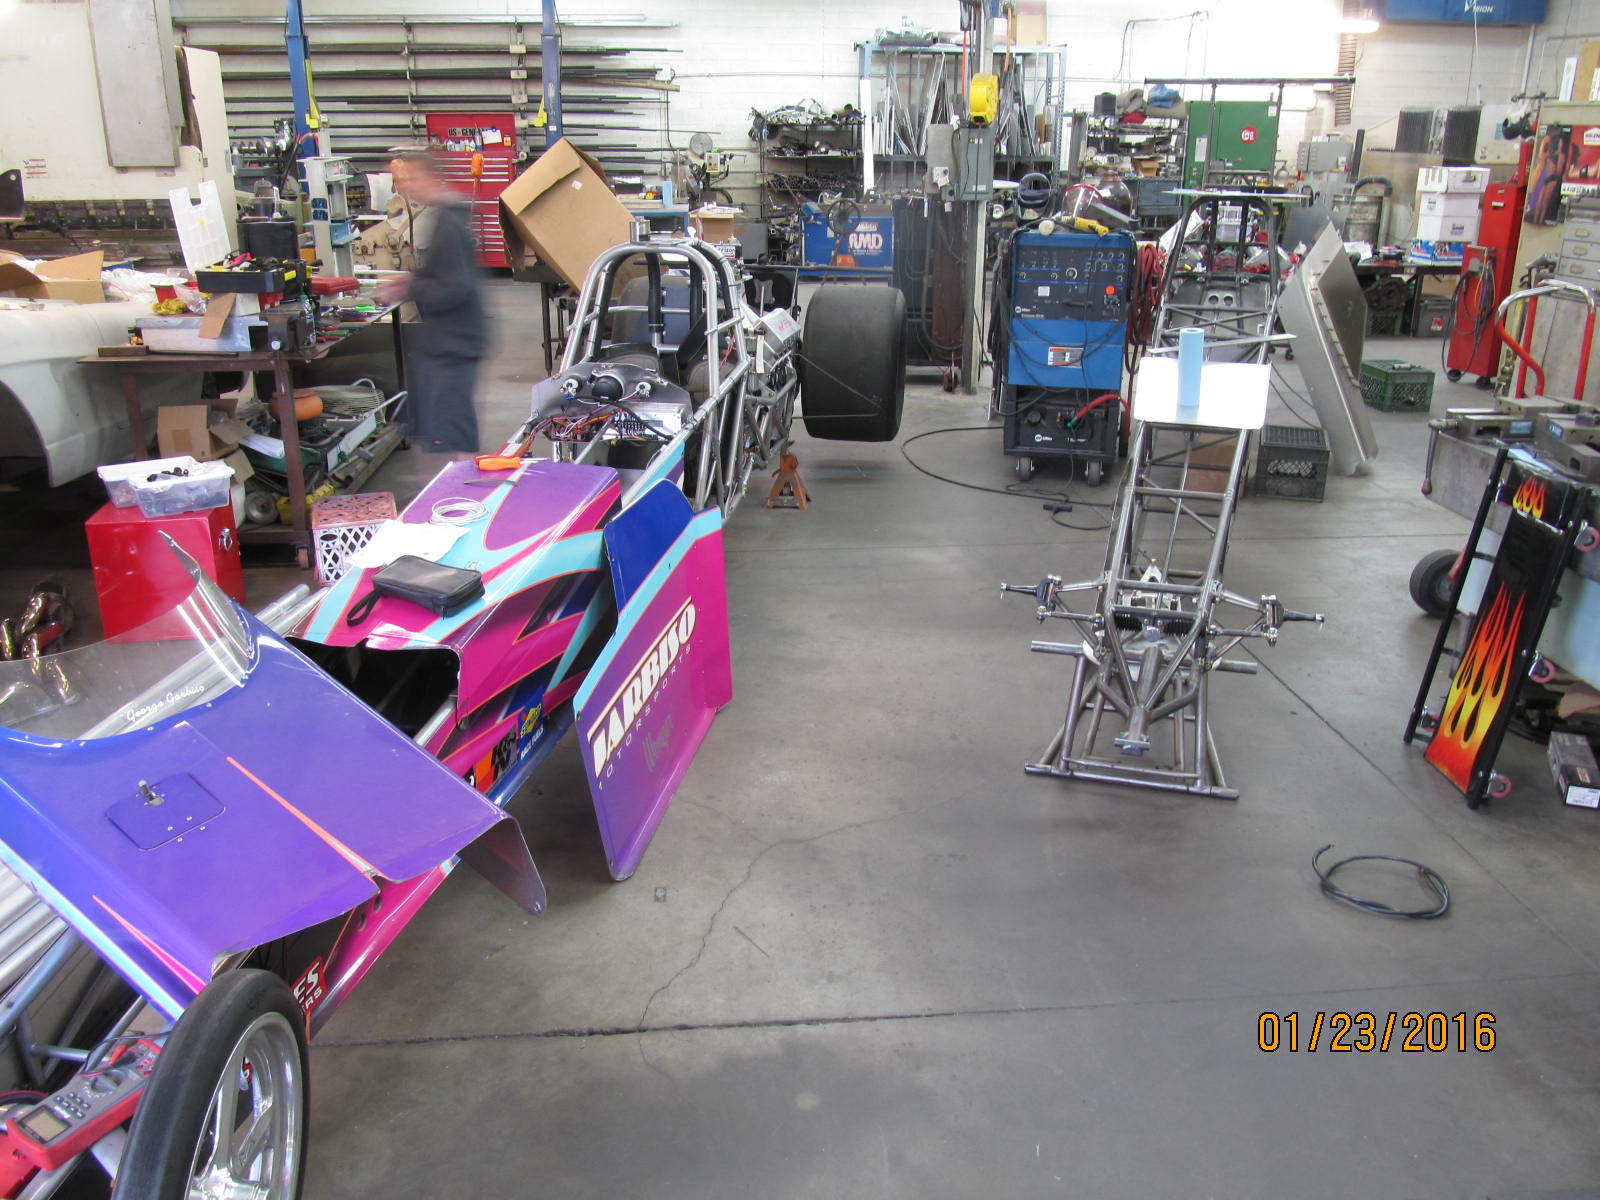
Down the street from me about 4 miles is Tom Yancer Race Cars
which is located right next to the small runway of Chandler Stellar Airpark.
|
|
|
|
|
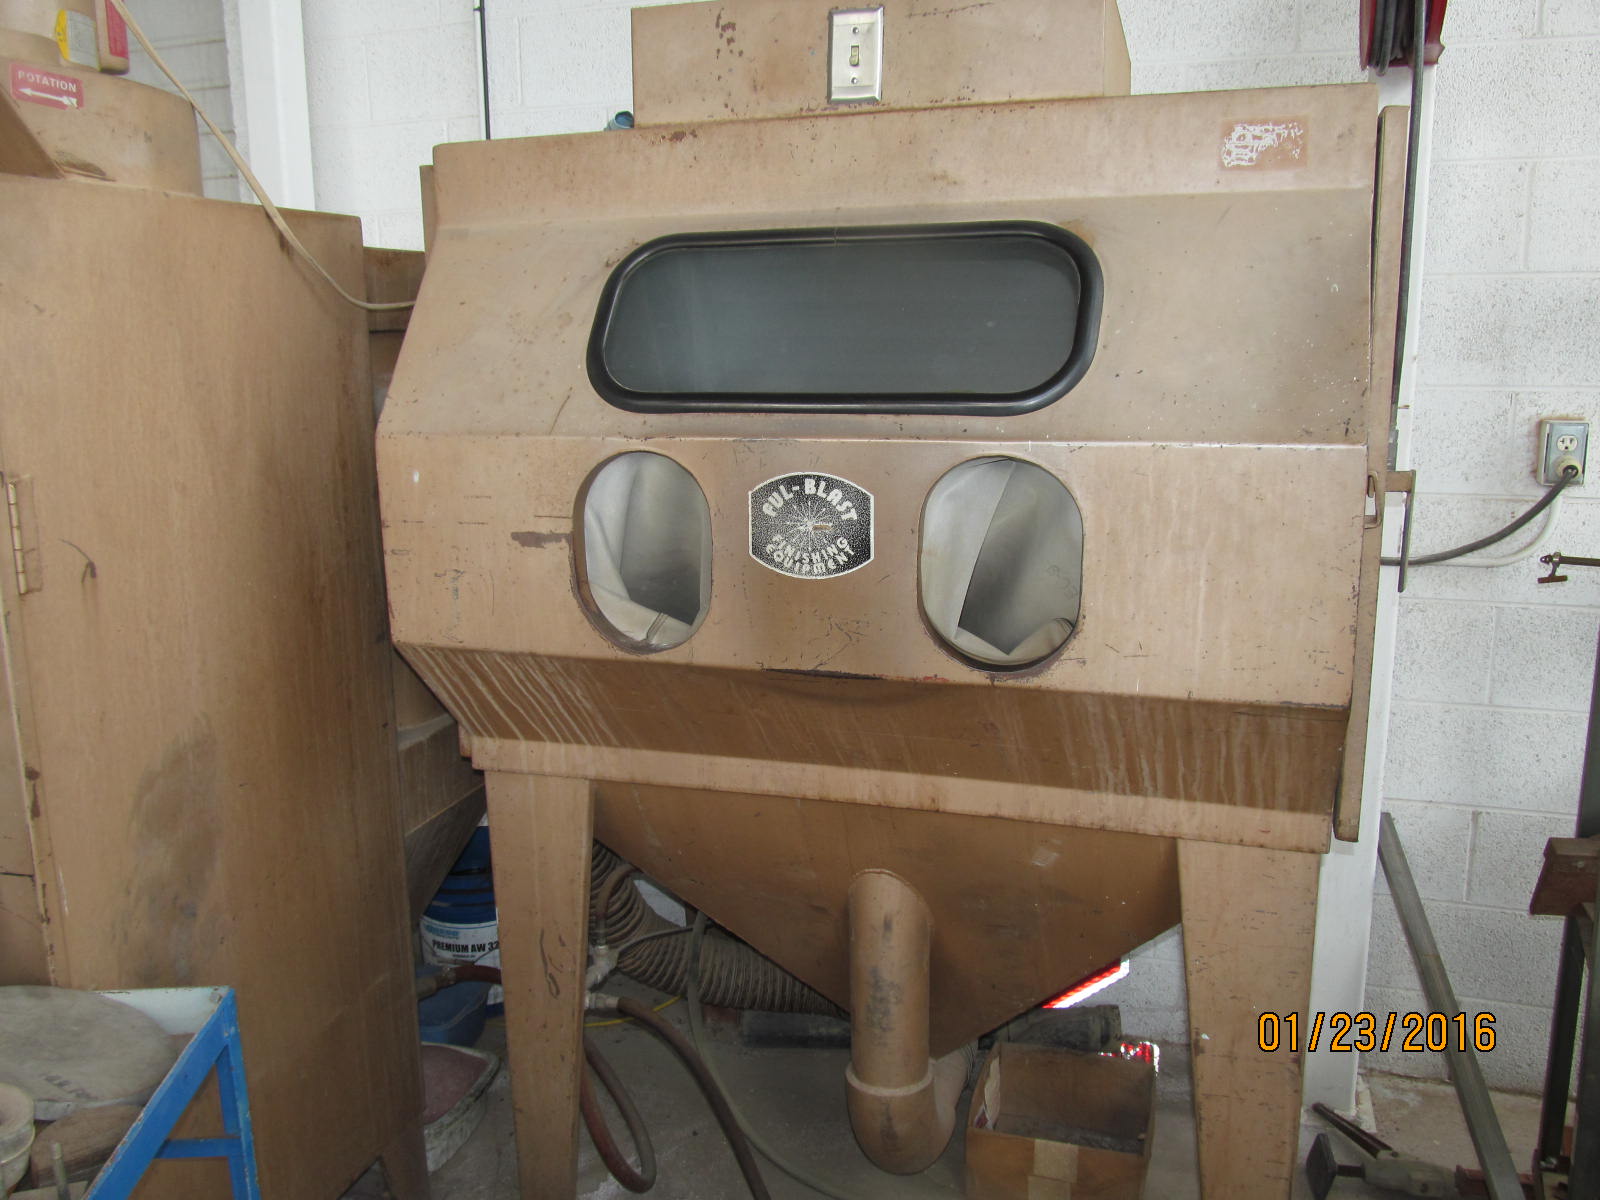
It's big and ugly but it sure did save the day for me.
|
|
|
|
|
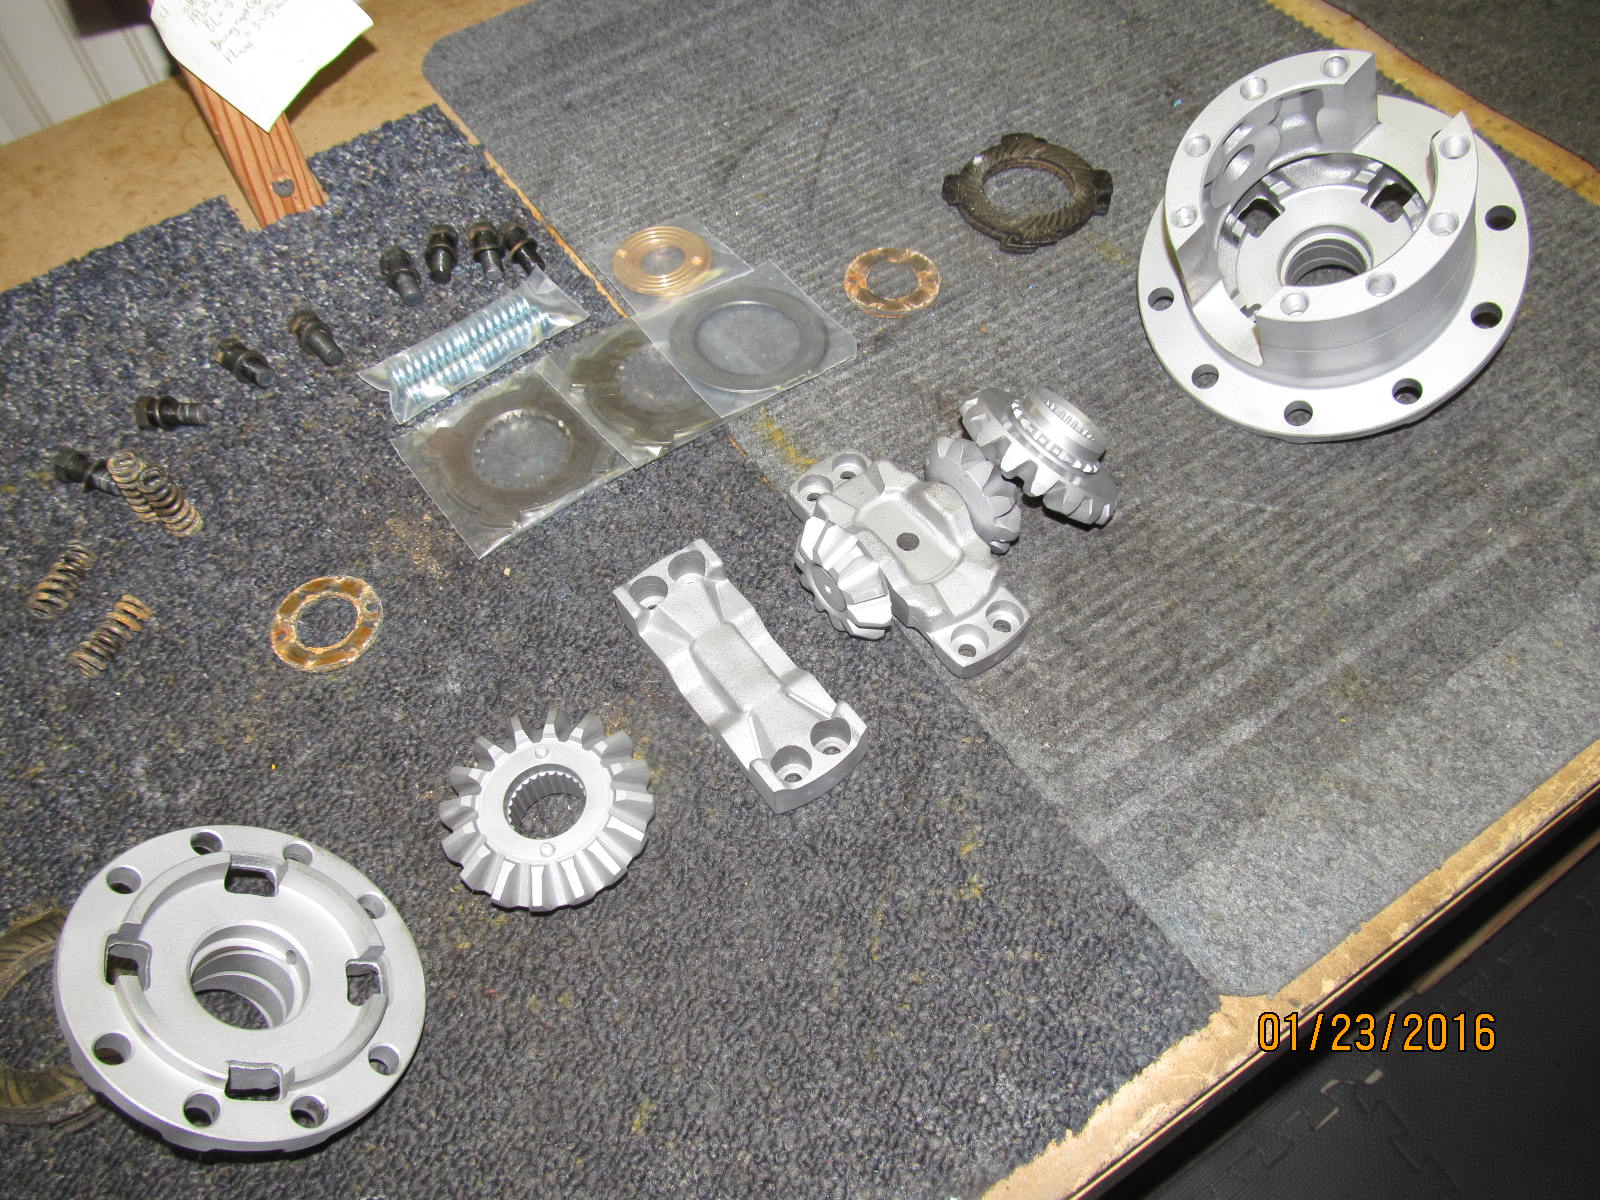
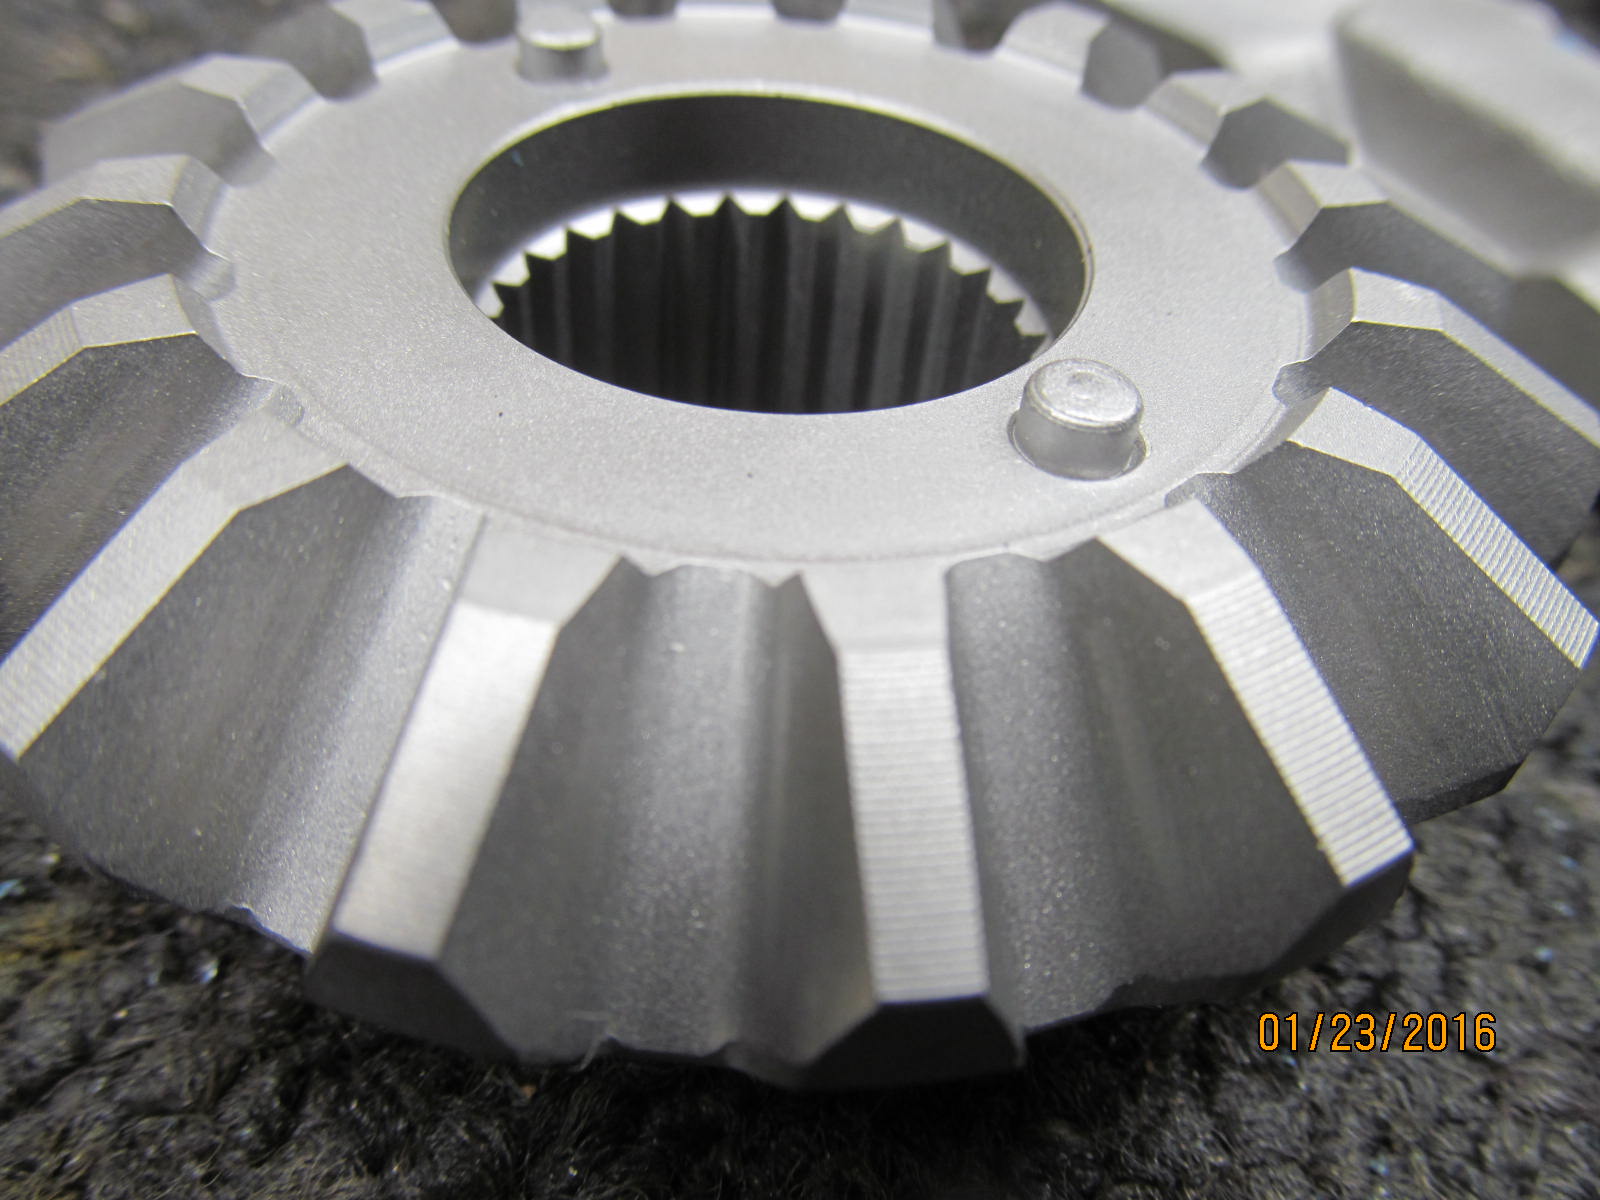
Small glass beadblasting removes far less good material from the lsd than would abrasive sand.
|
|
|
|
|
=============================
|
|
|
|
|
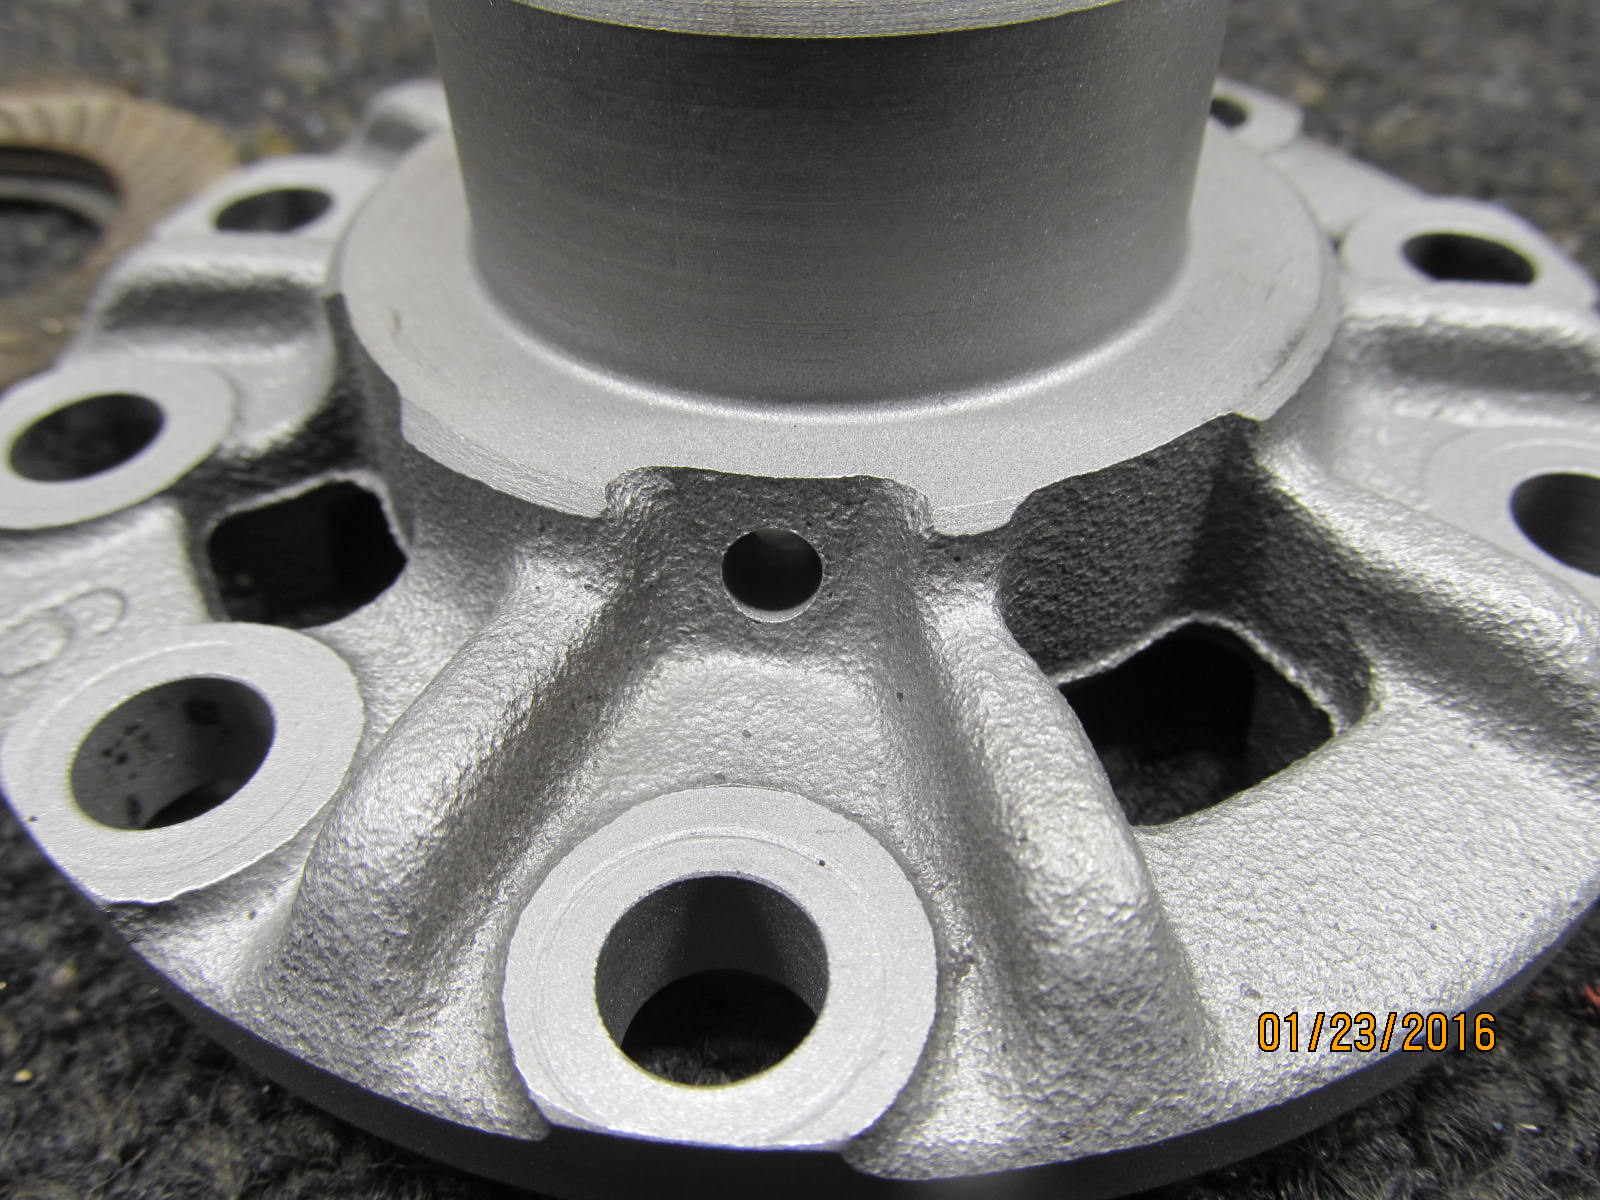
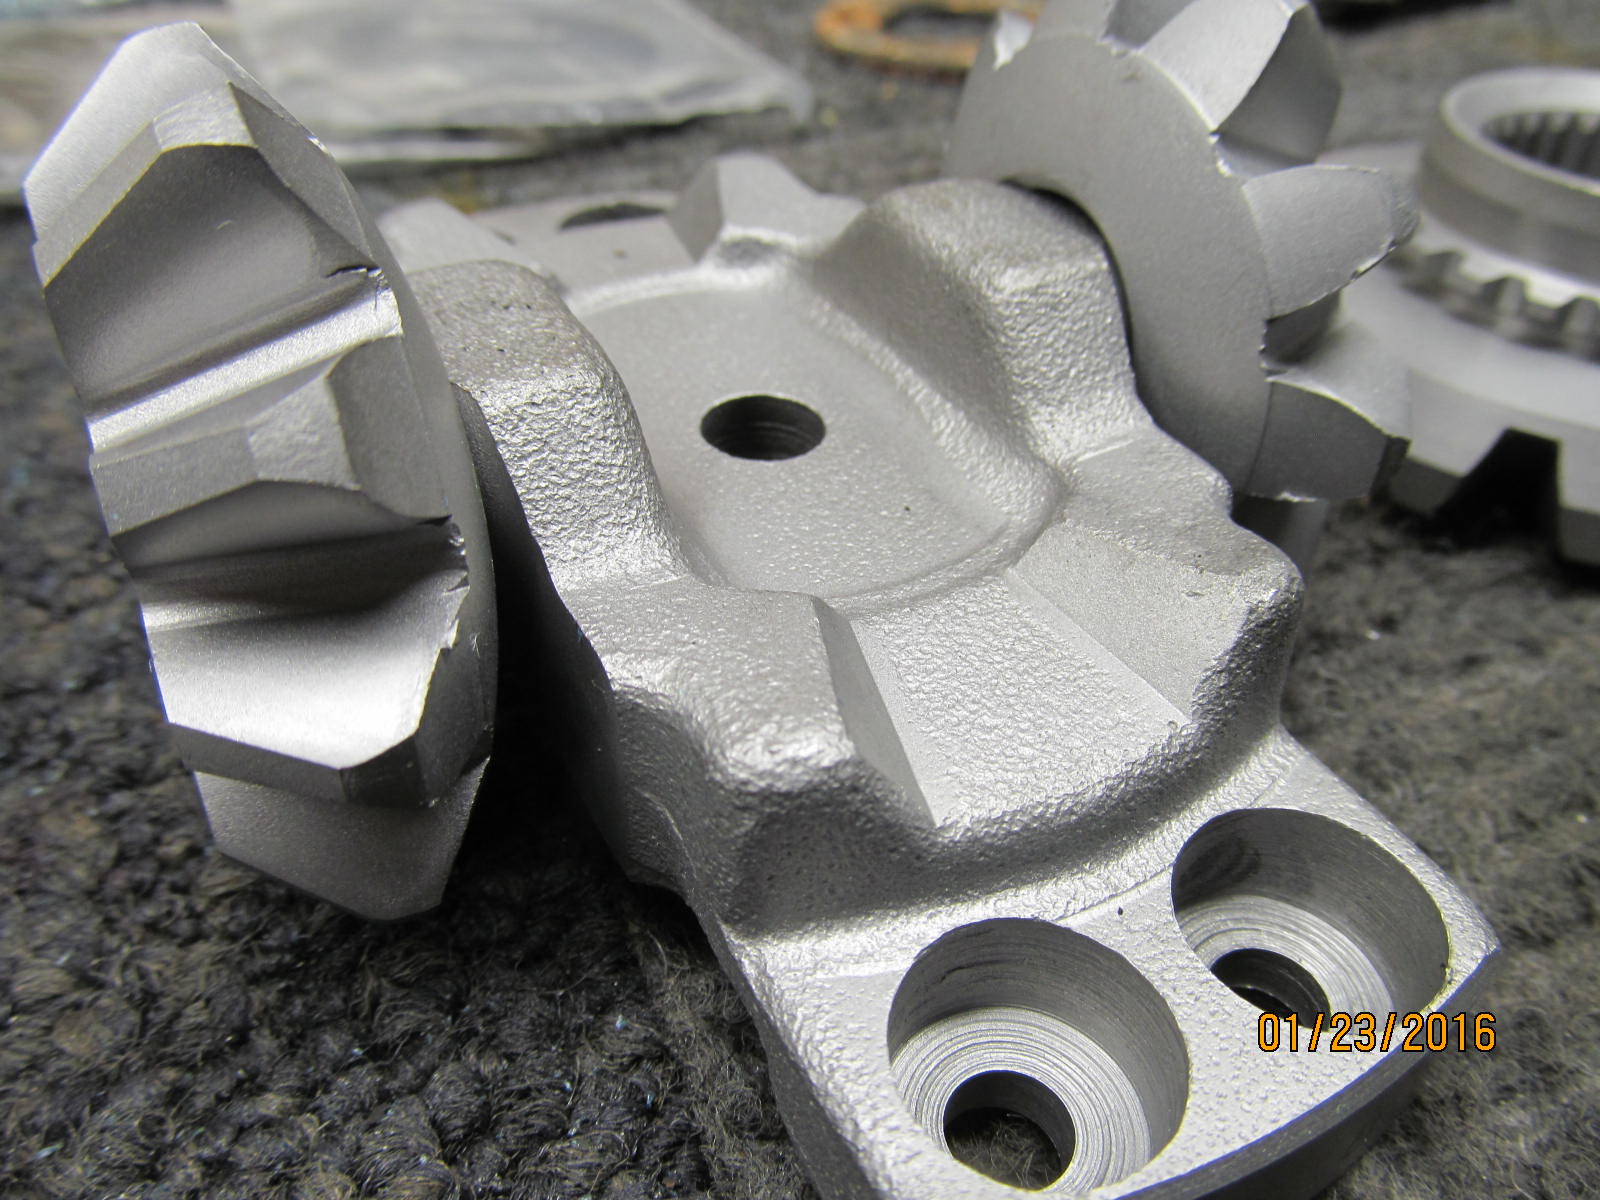
Nice.
|
|
|
|
|
=============================
|
|
|
|
|
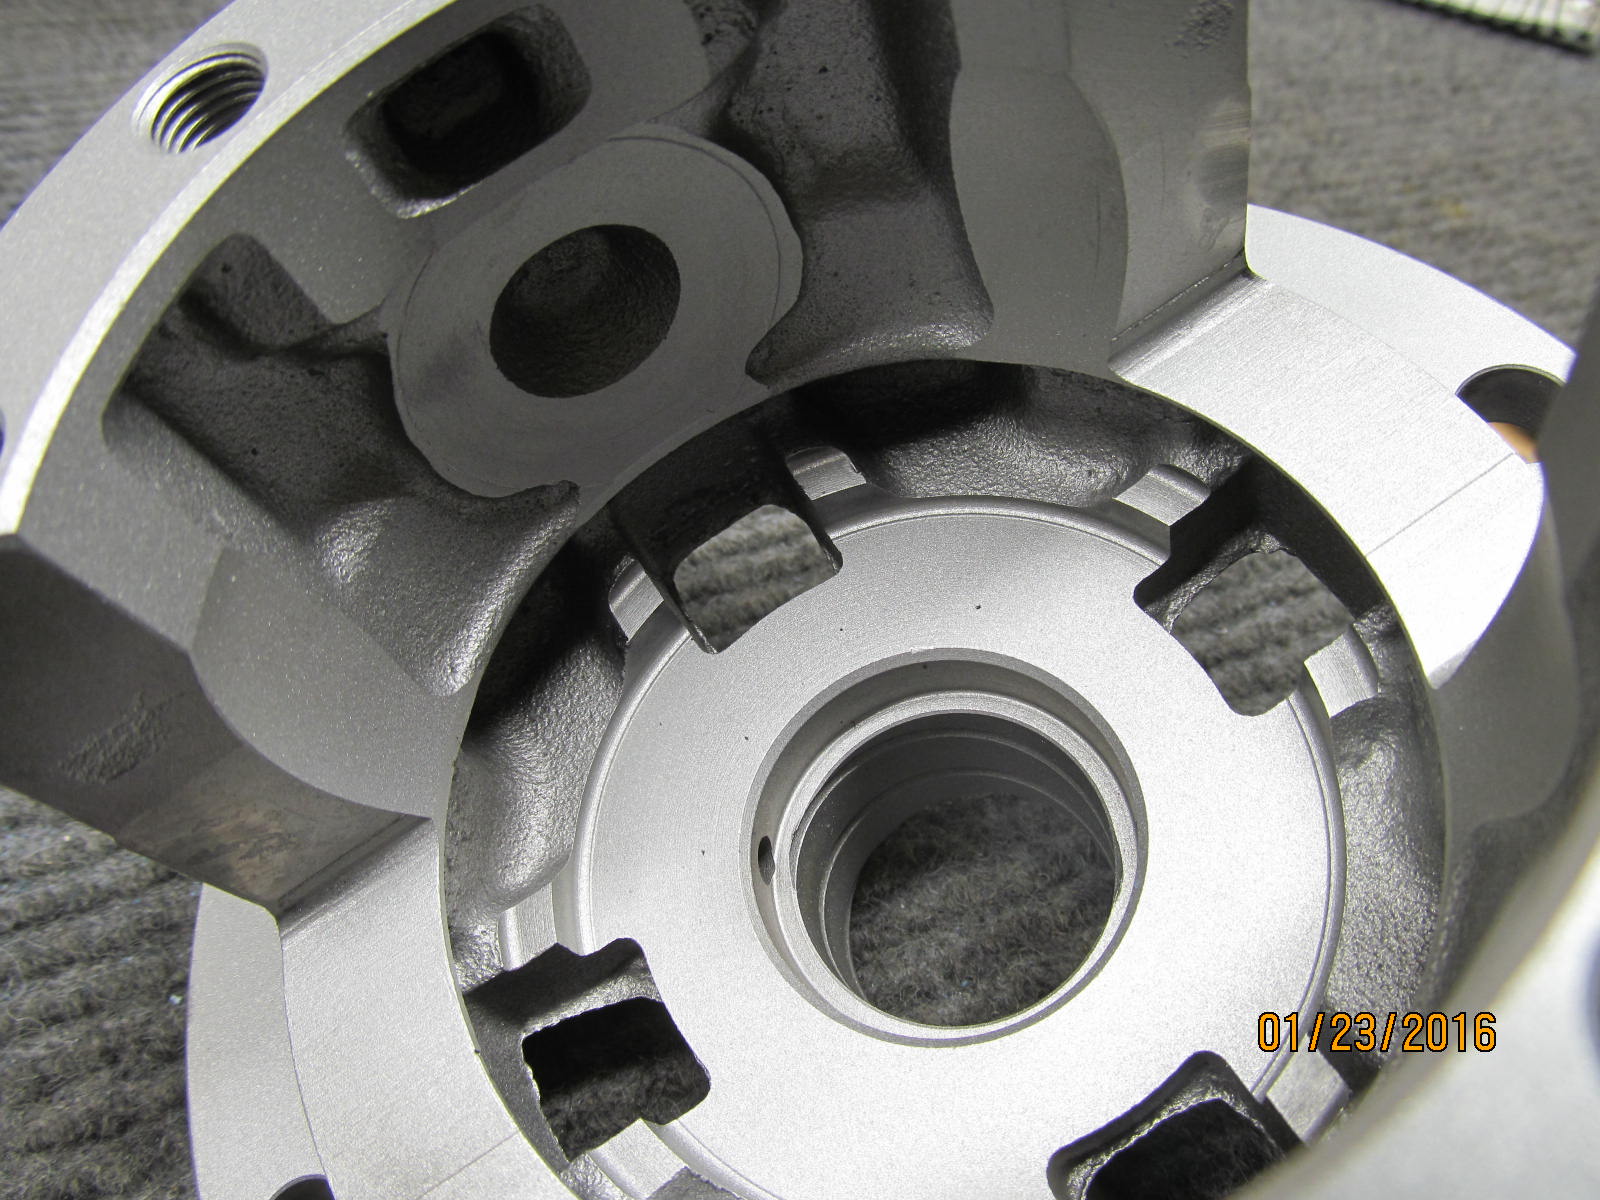
Even got the rust out of the nooks and crannies.
|
|
|
|
|
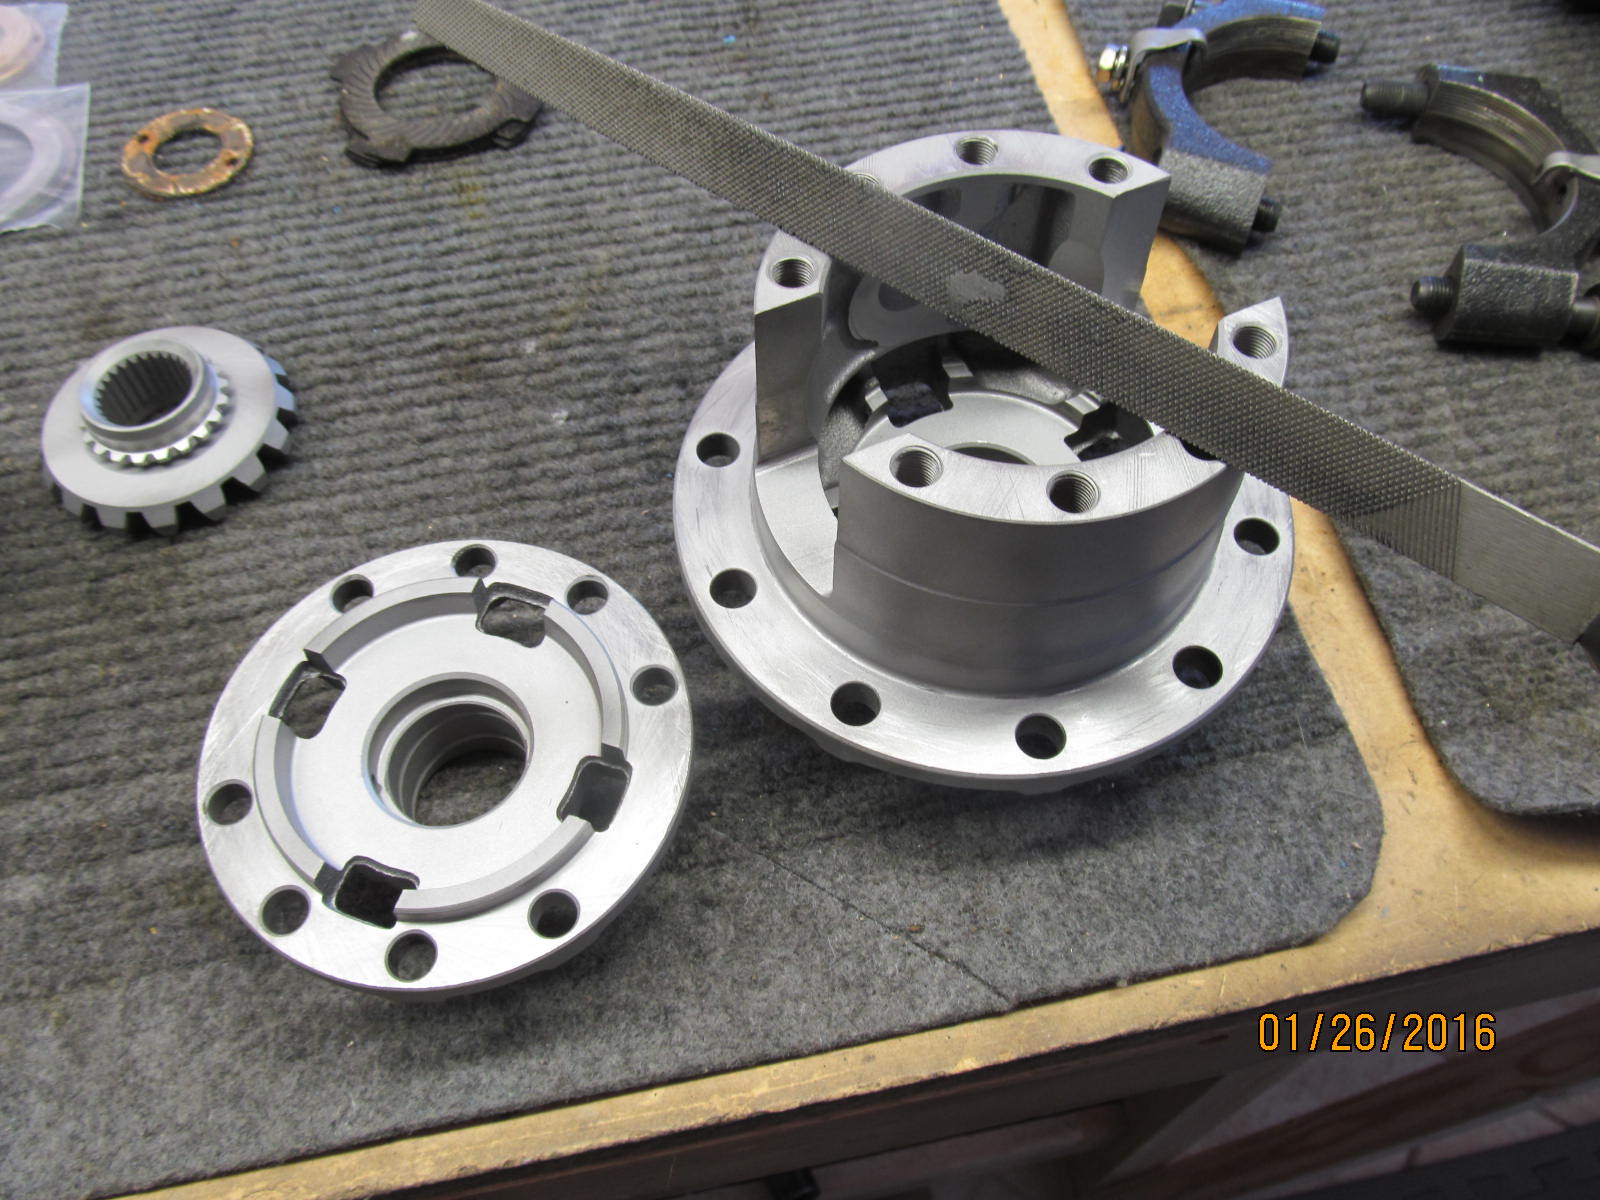
Lid surface check. 100% flat now.
|
|
|
|
|
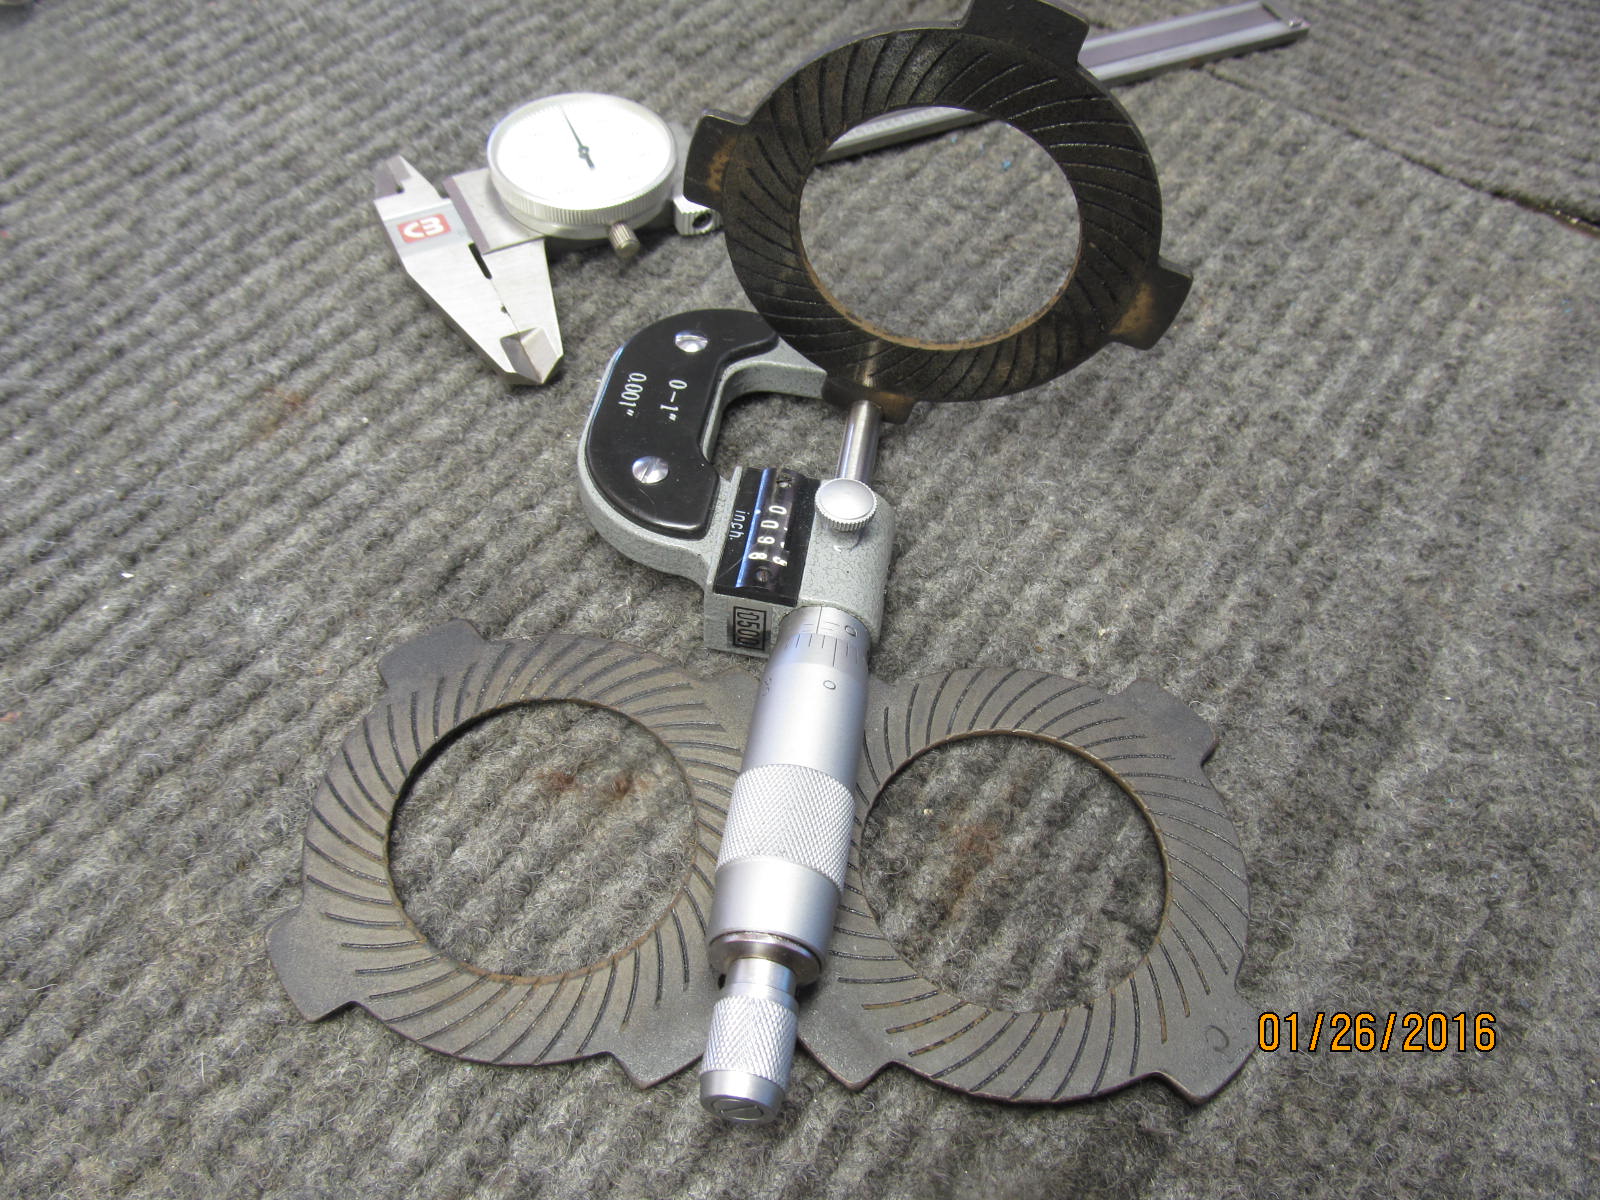
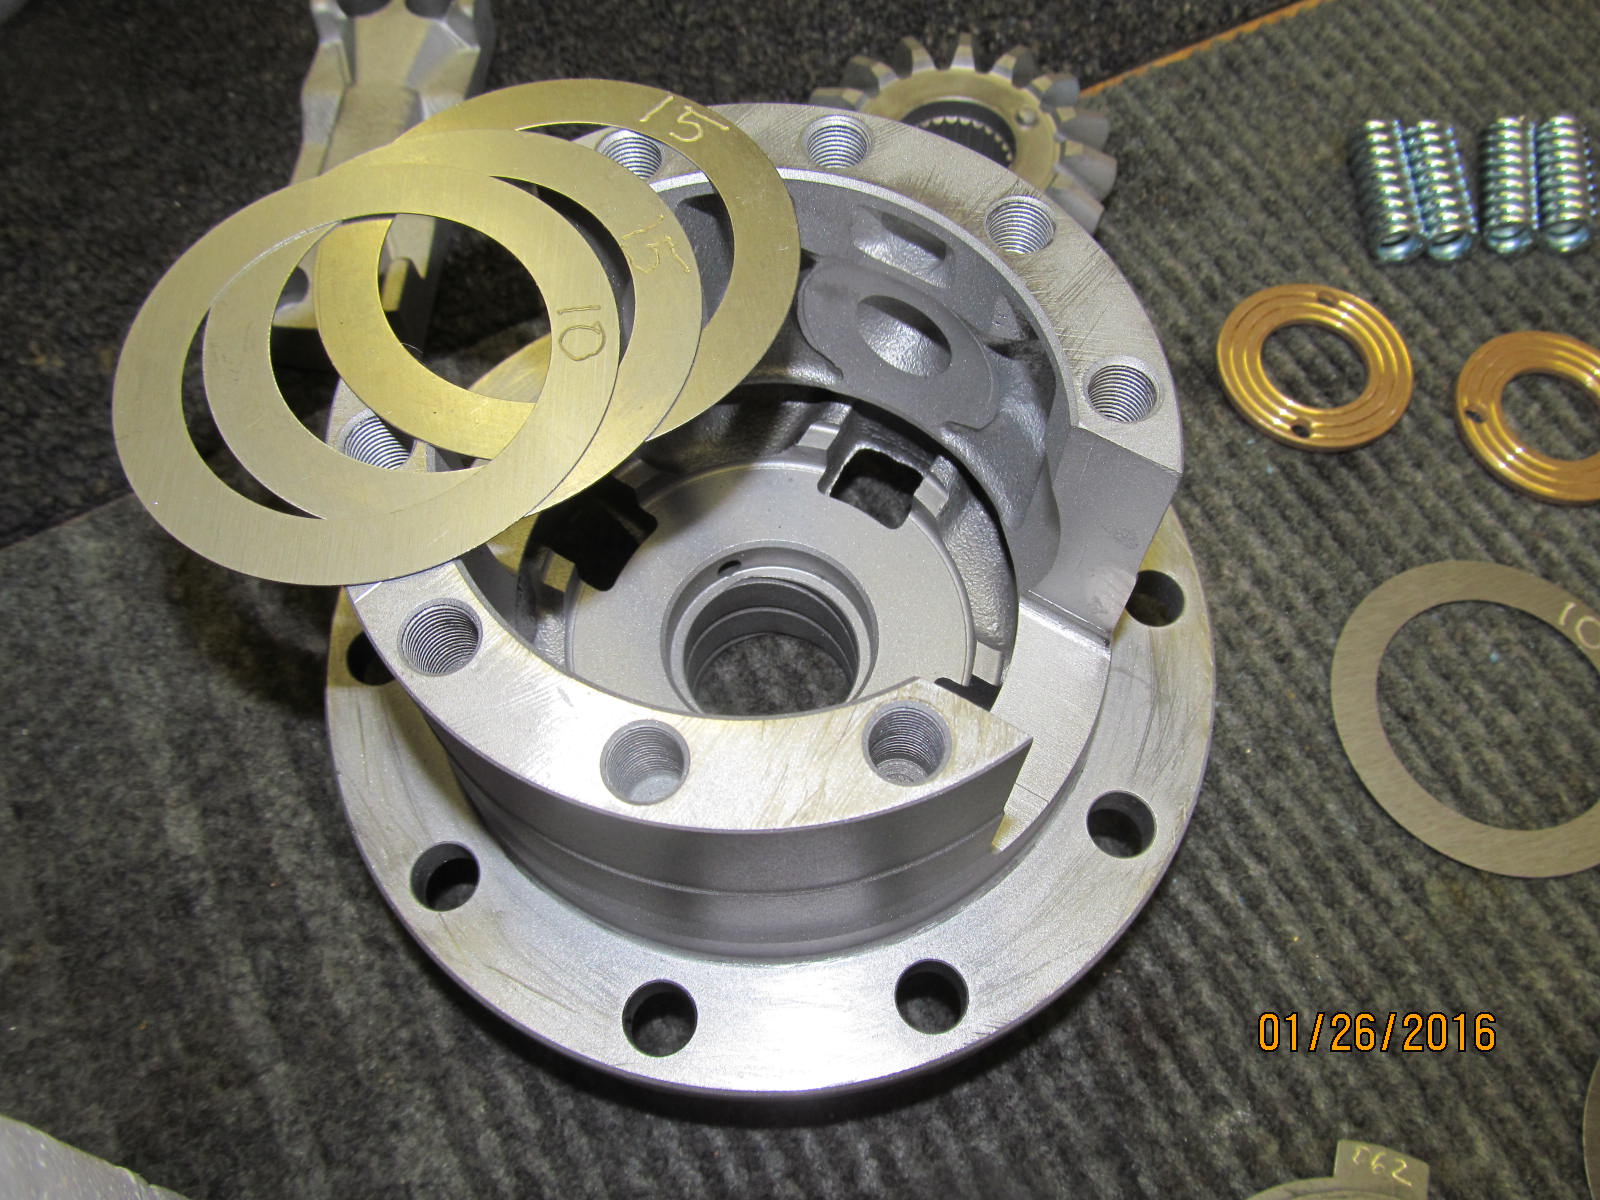
The inner 3 plates and the outer 3 plates were measured as precisely as possible.
|
|
|
|
|
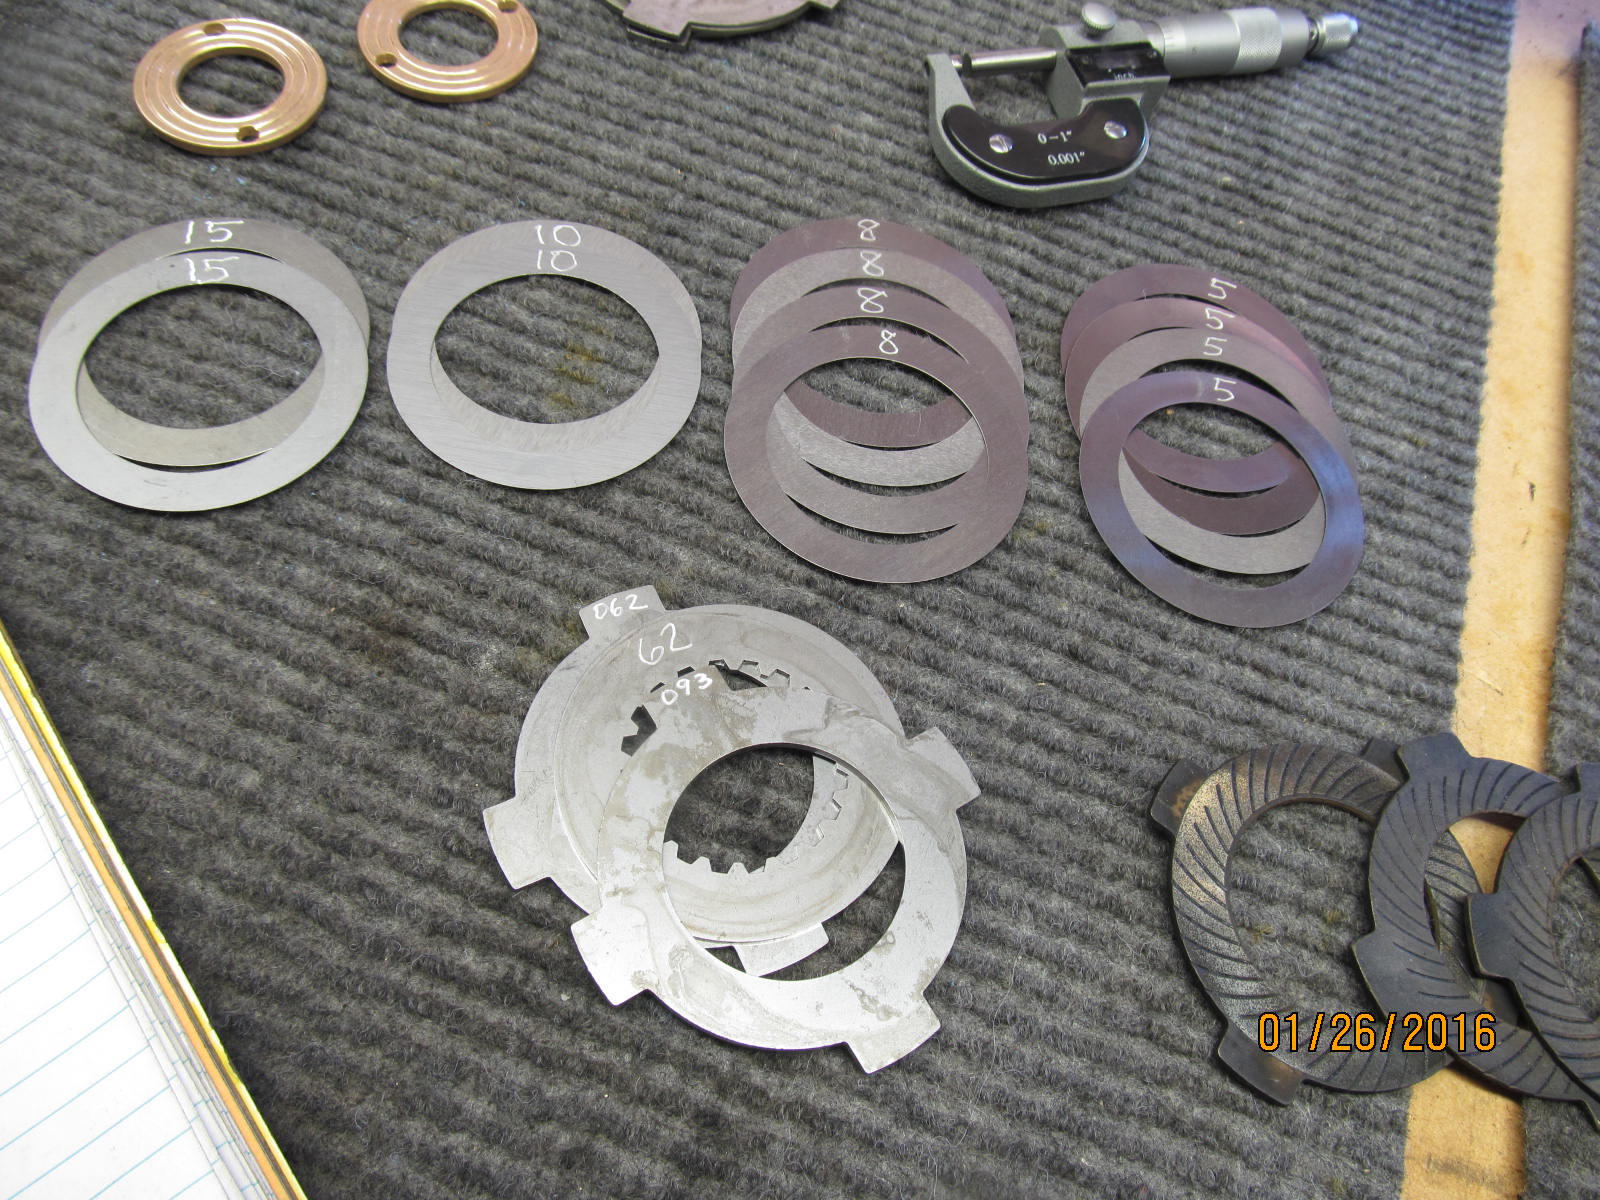
The parts in the lsd kit were also measured and marked accordingly.
|
|
|
|
The old stack on the inside pack of 3 measured .257"
The new metallic pack of 3 measured .217"
Doing the math..... .257 minus .217 is .040" so that's the shim thickness to use on the inside.
|
|
|
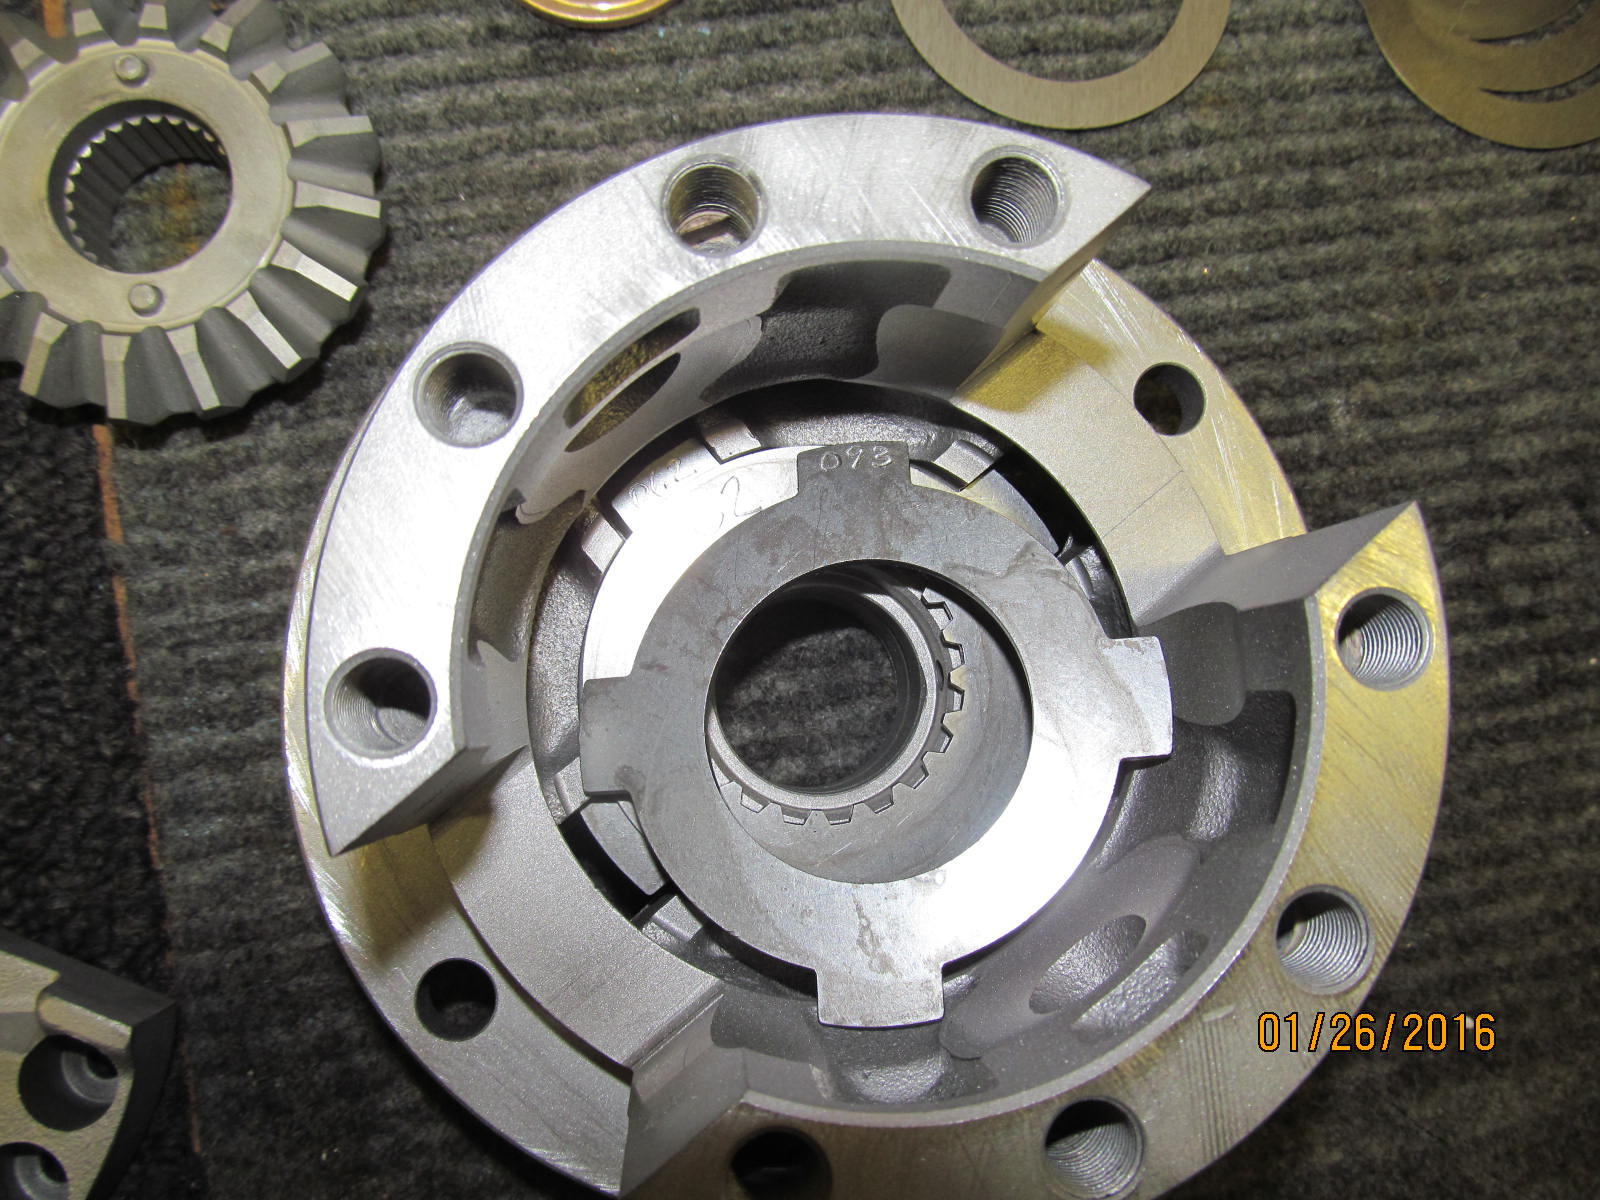
|
|
.040" shims go in first then the 3 metallic plates shown above....
|
|
|
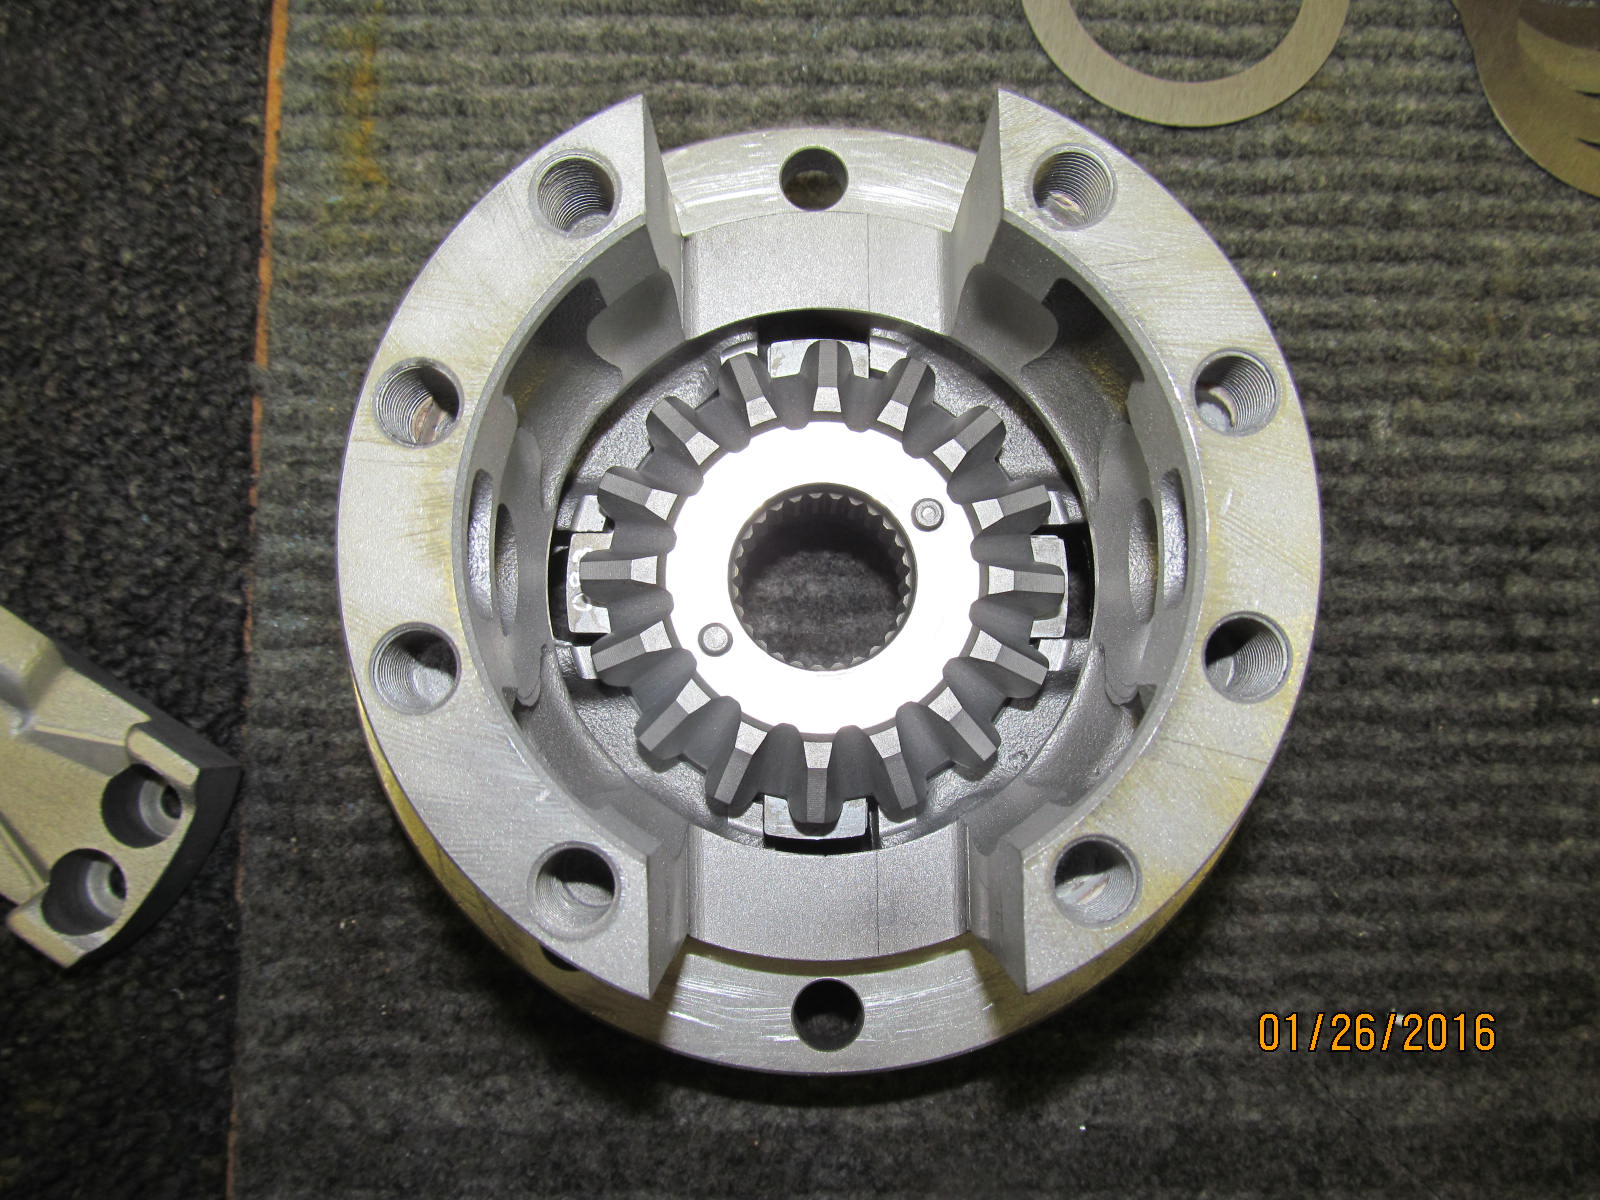
|
|
...then the inner sidegear next. So nice when all is perfectly clean.
|
|
|
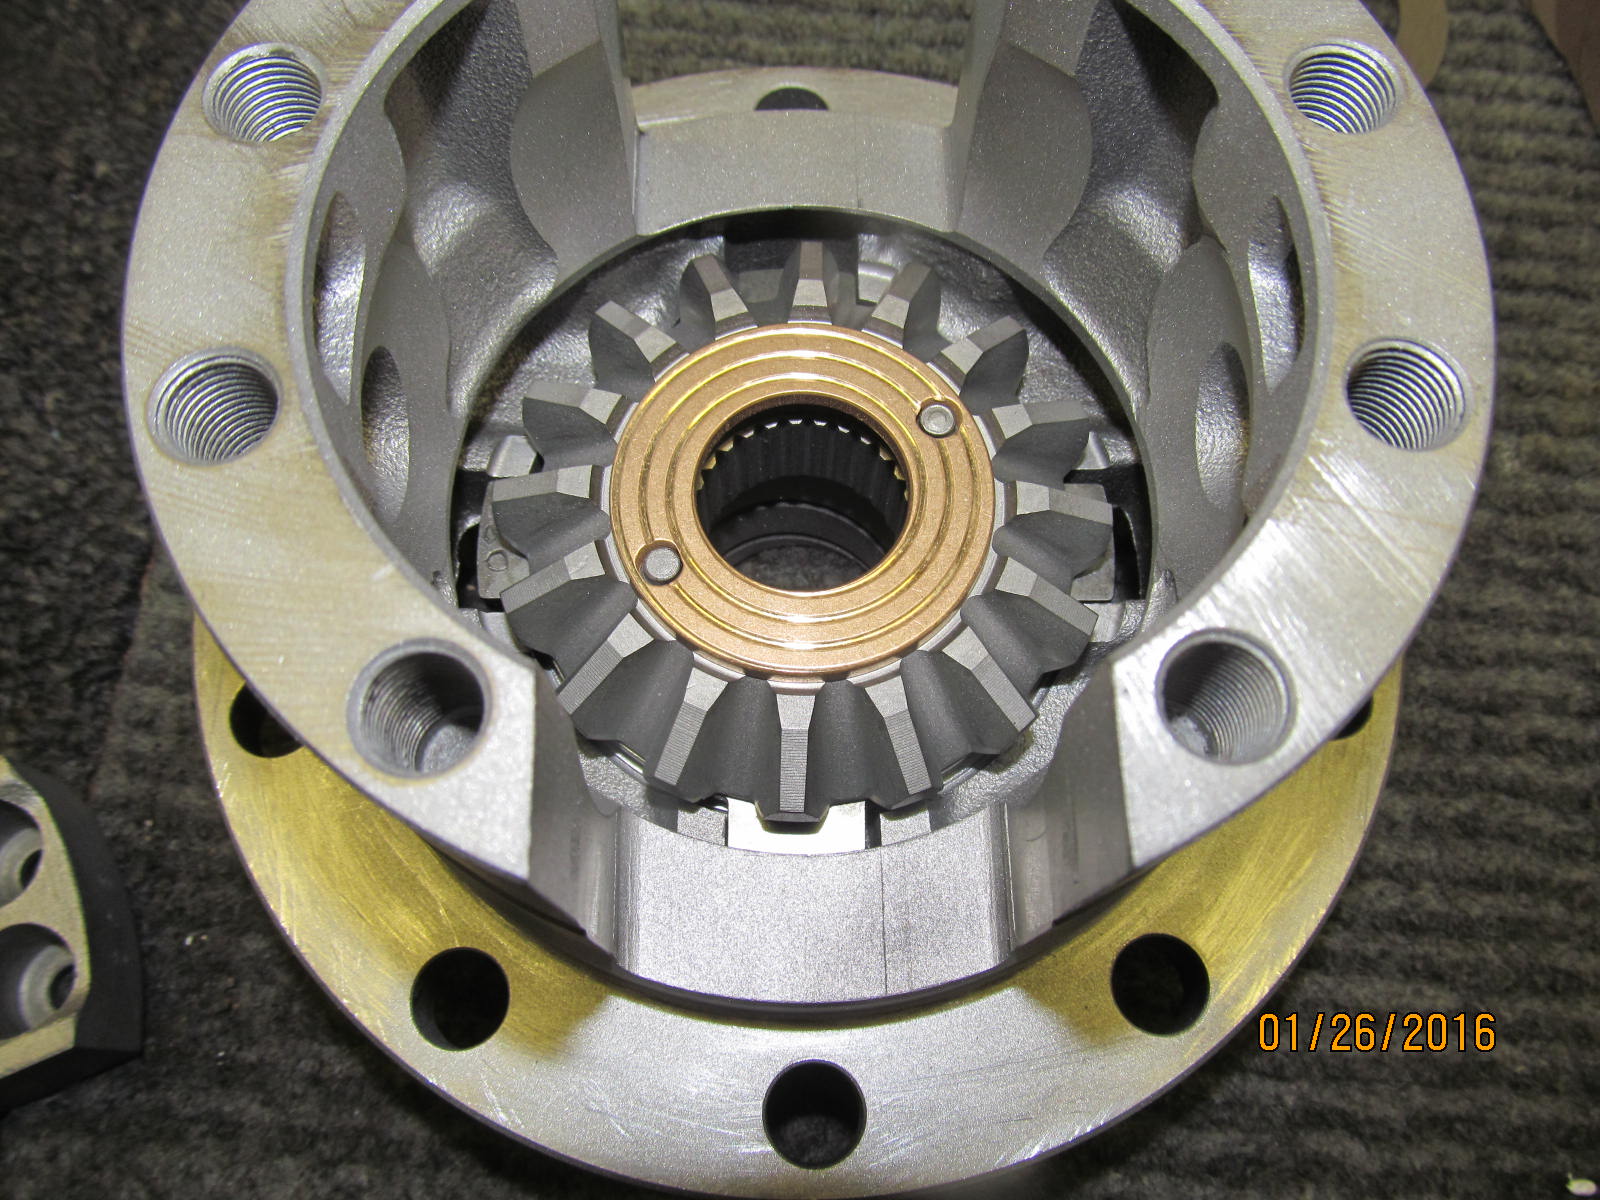
|
|
=========================
|
|
|
|
|
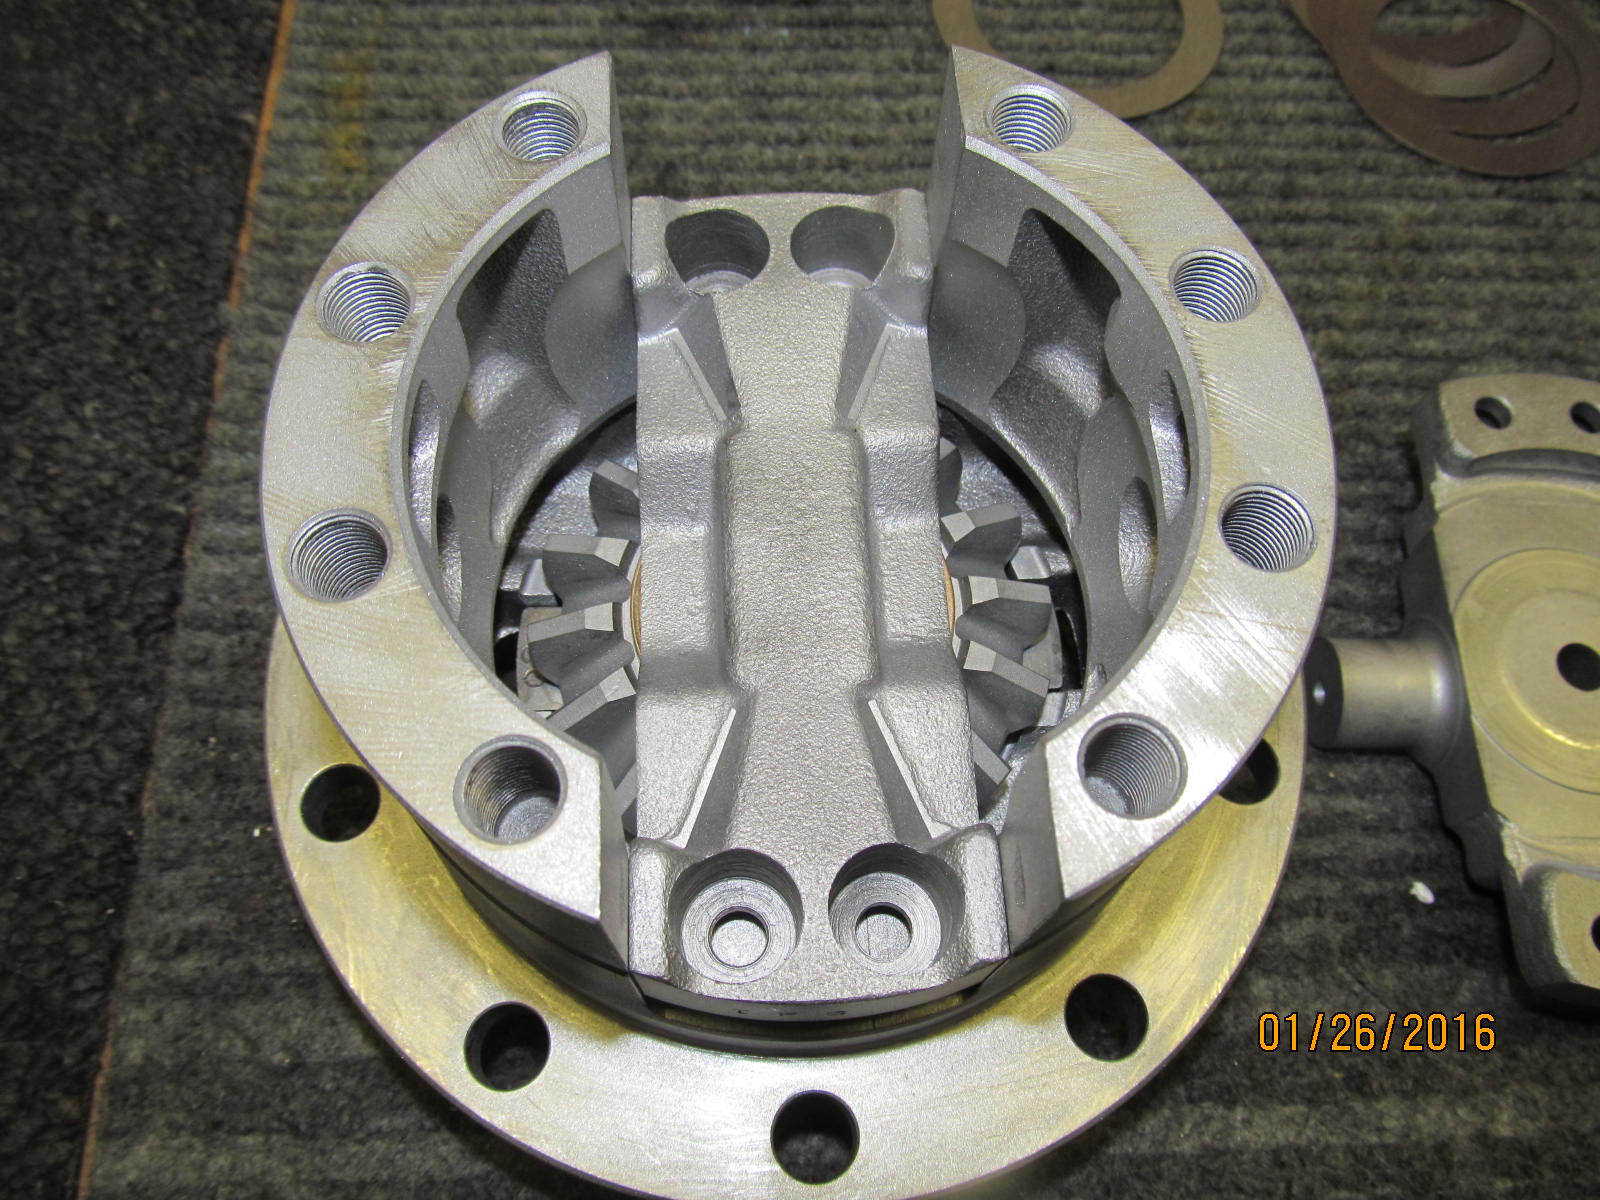
Then the lower spring assembly.
|
|
|
|
|
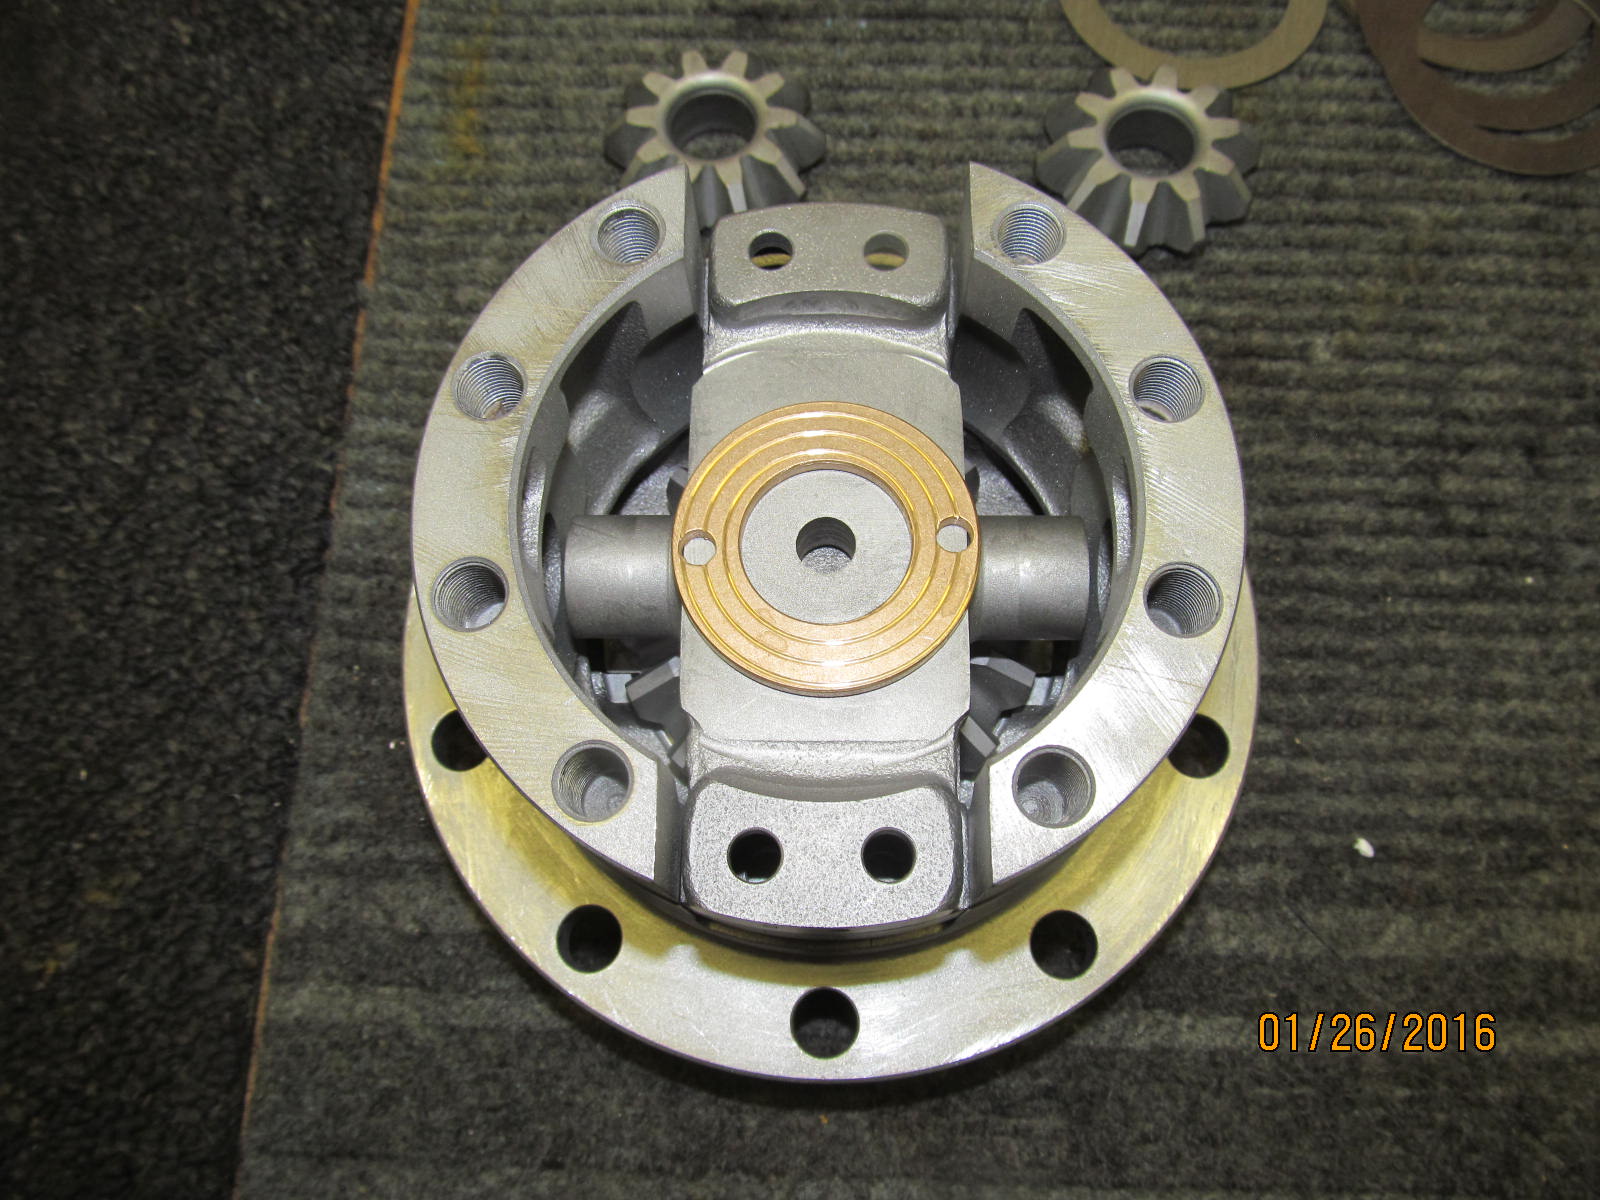
Followed by the upper spring assembly.
|
|
|
|
|
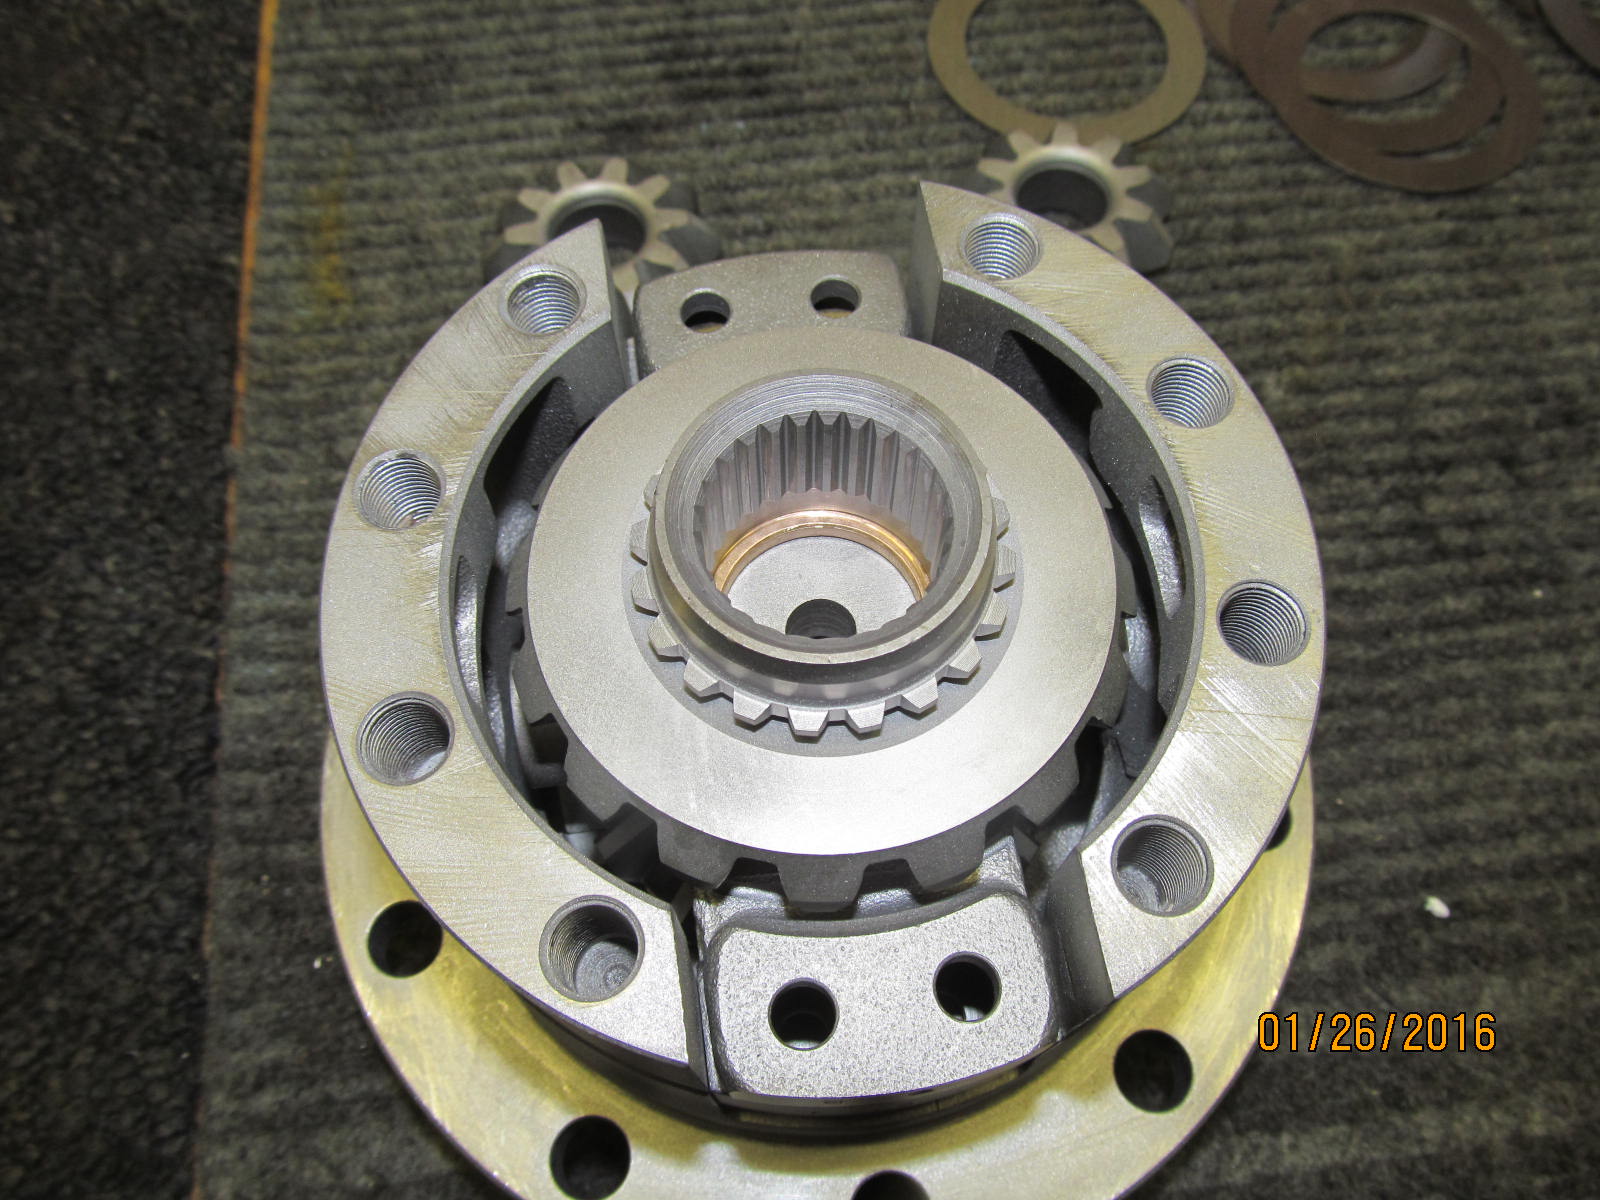
outer sidegear next.
|
|
|
|
|
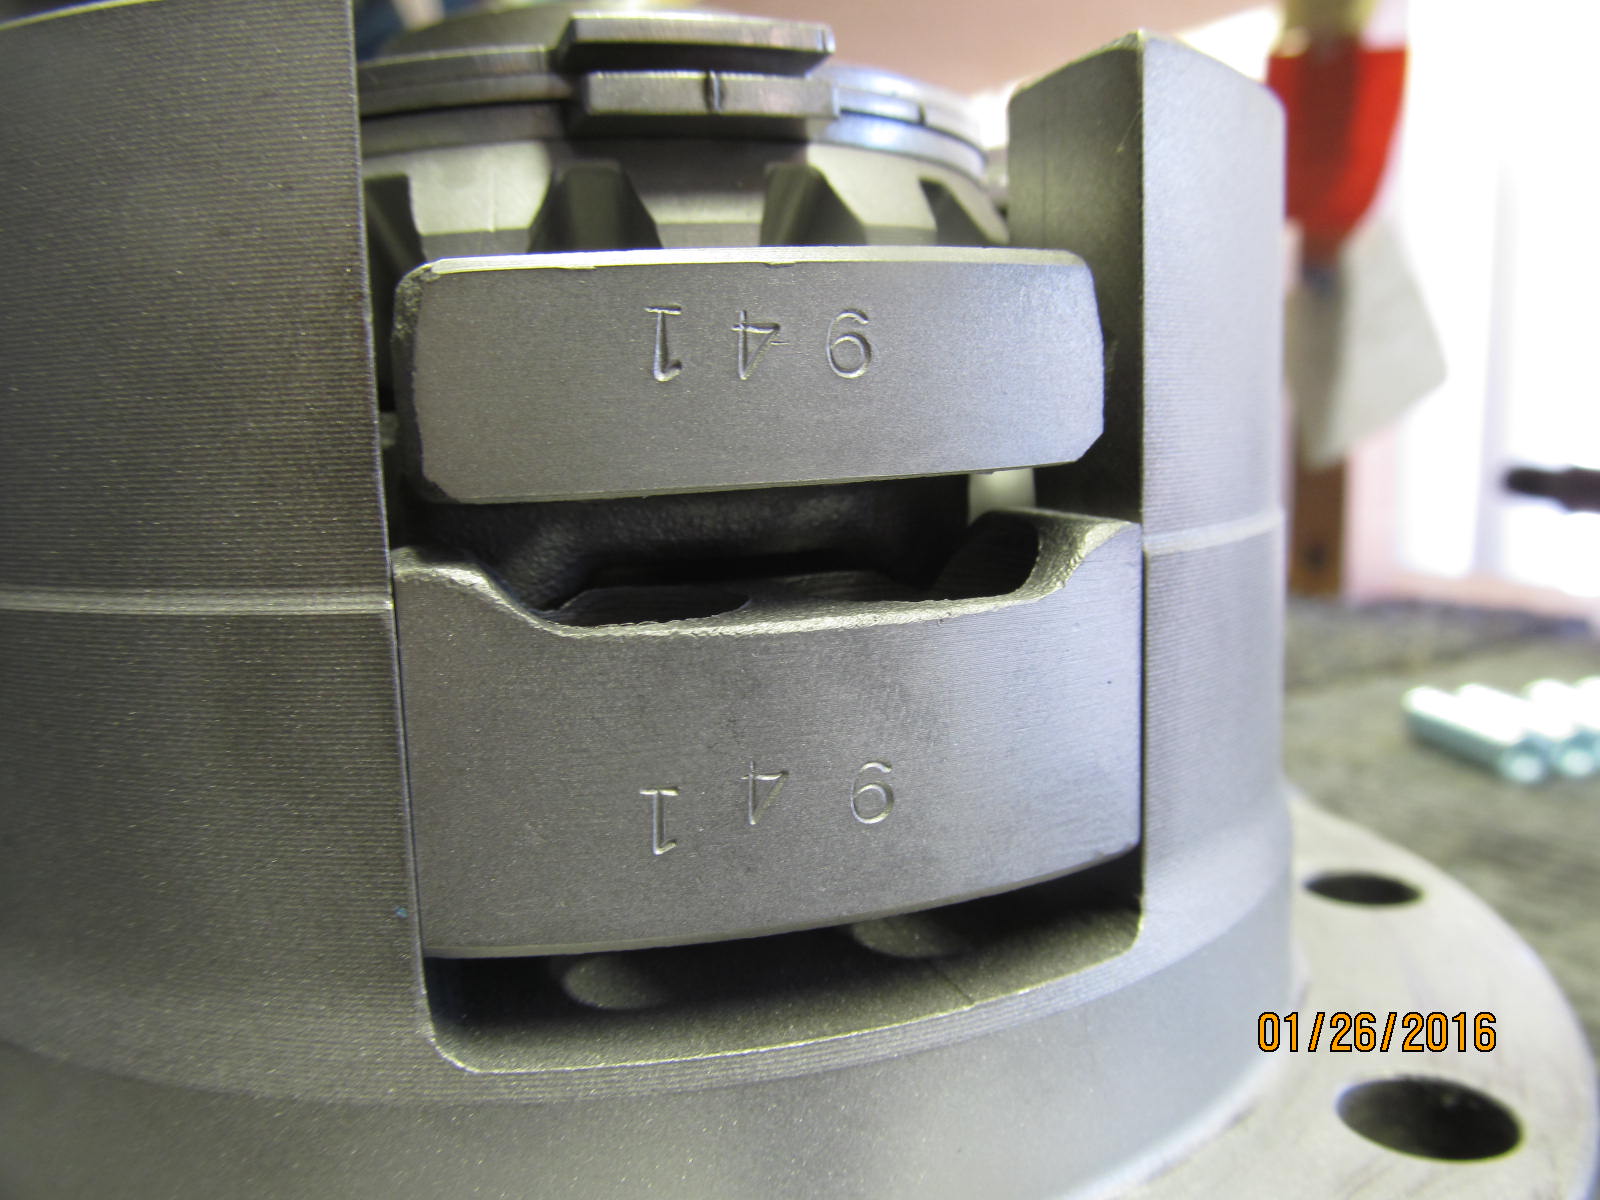
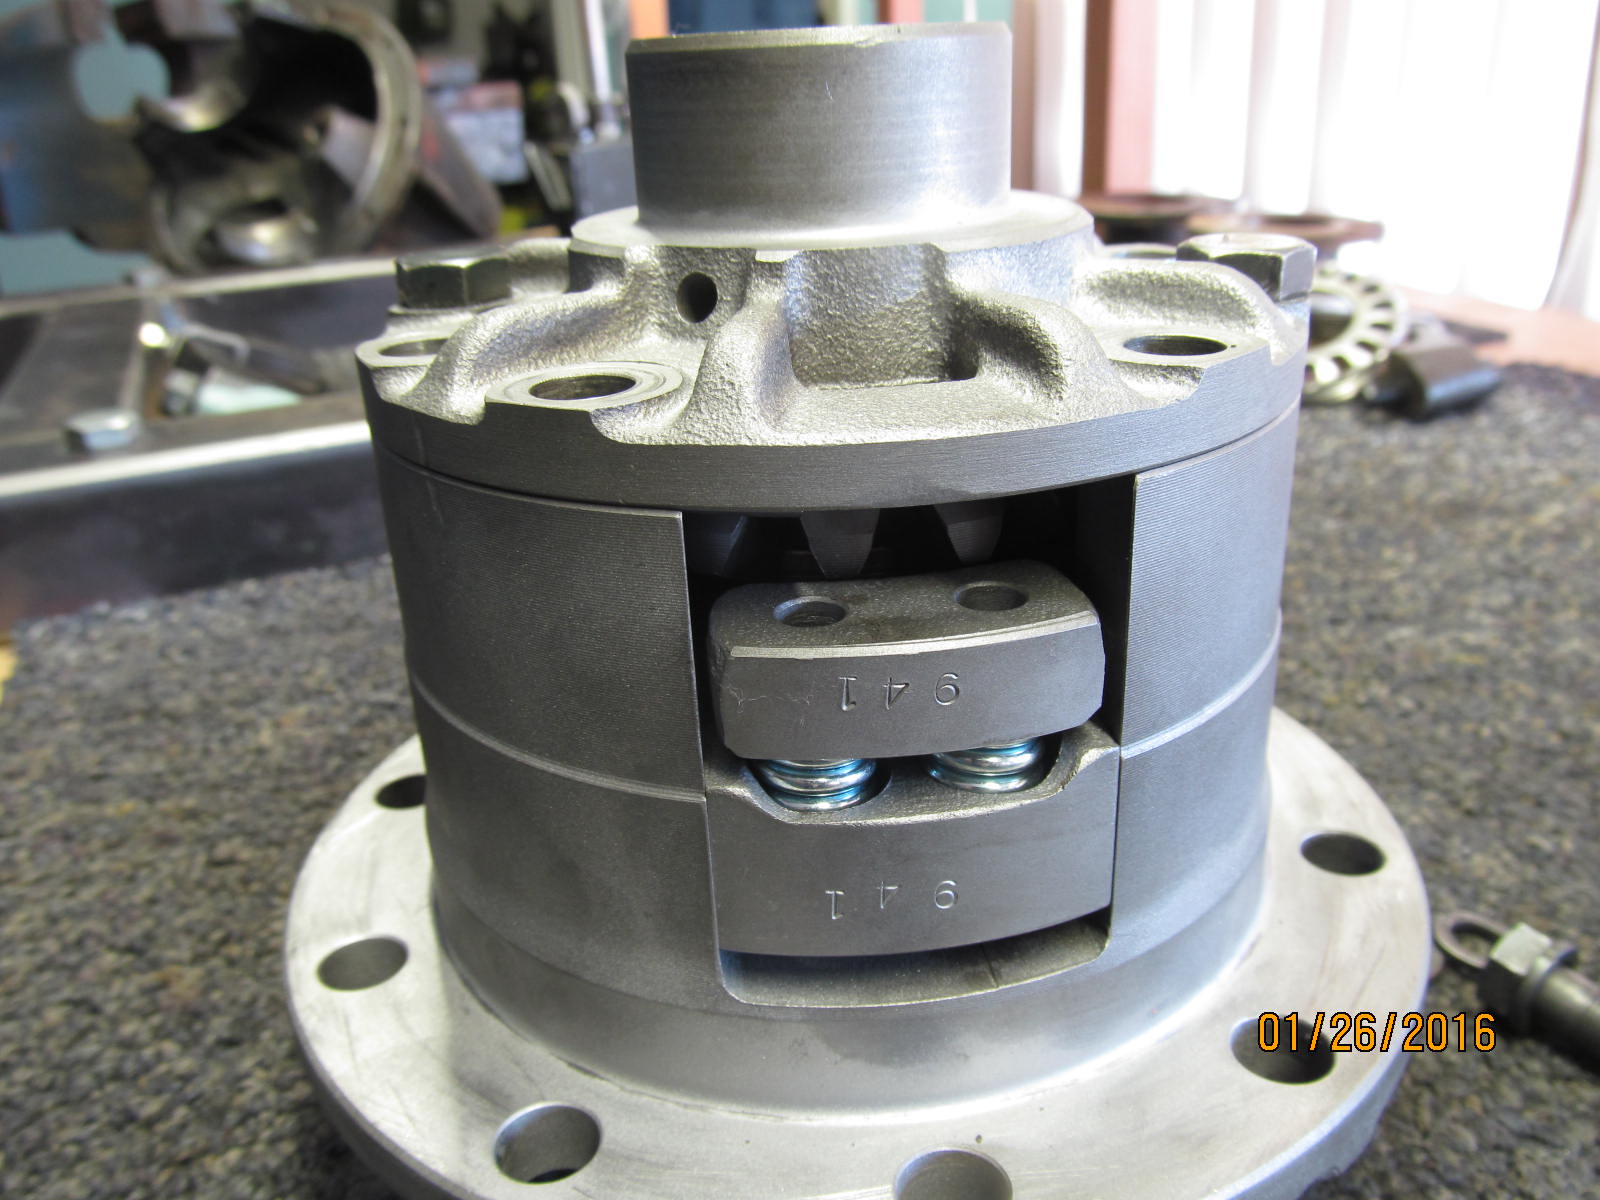
Note that upper and lower assemblies are marked.
|
|
|
|
|
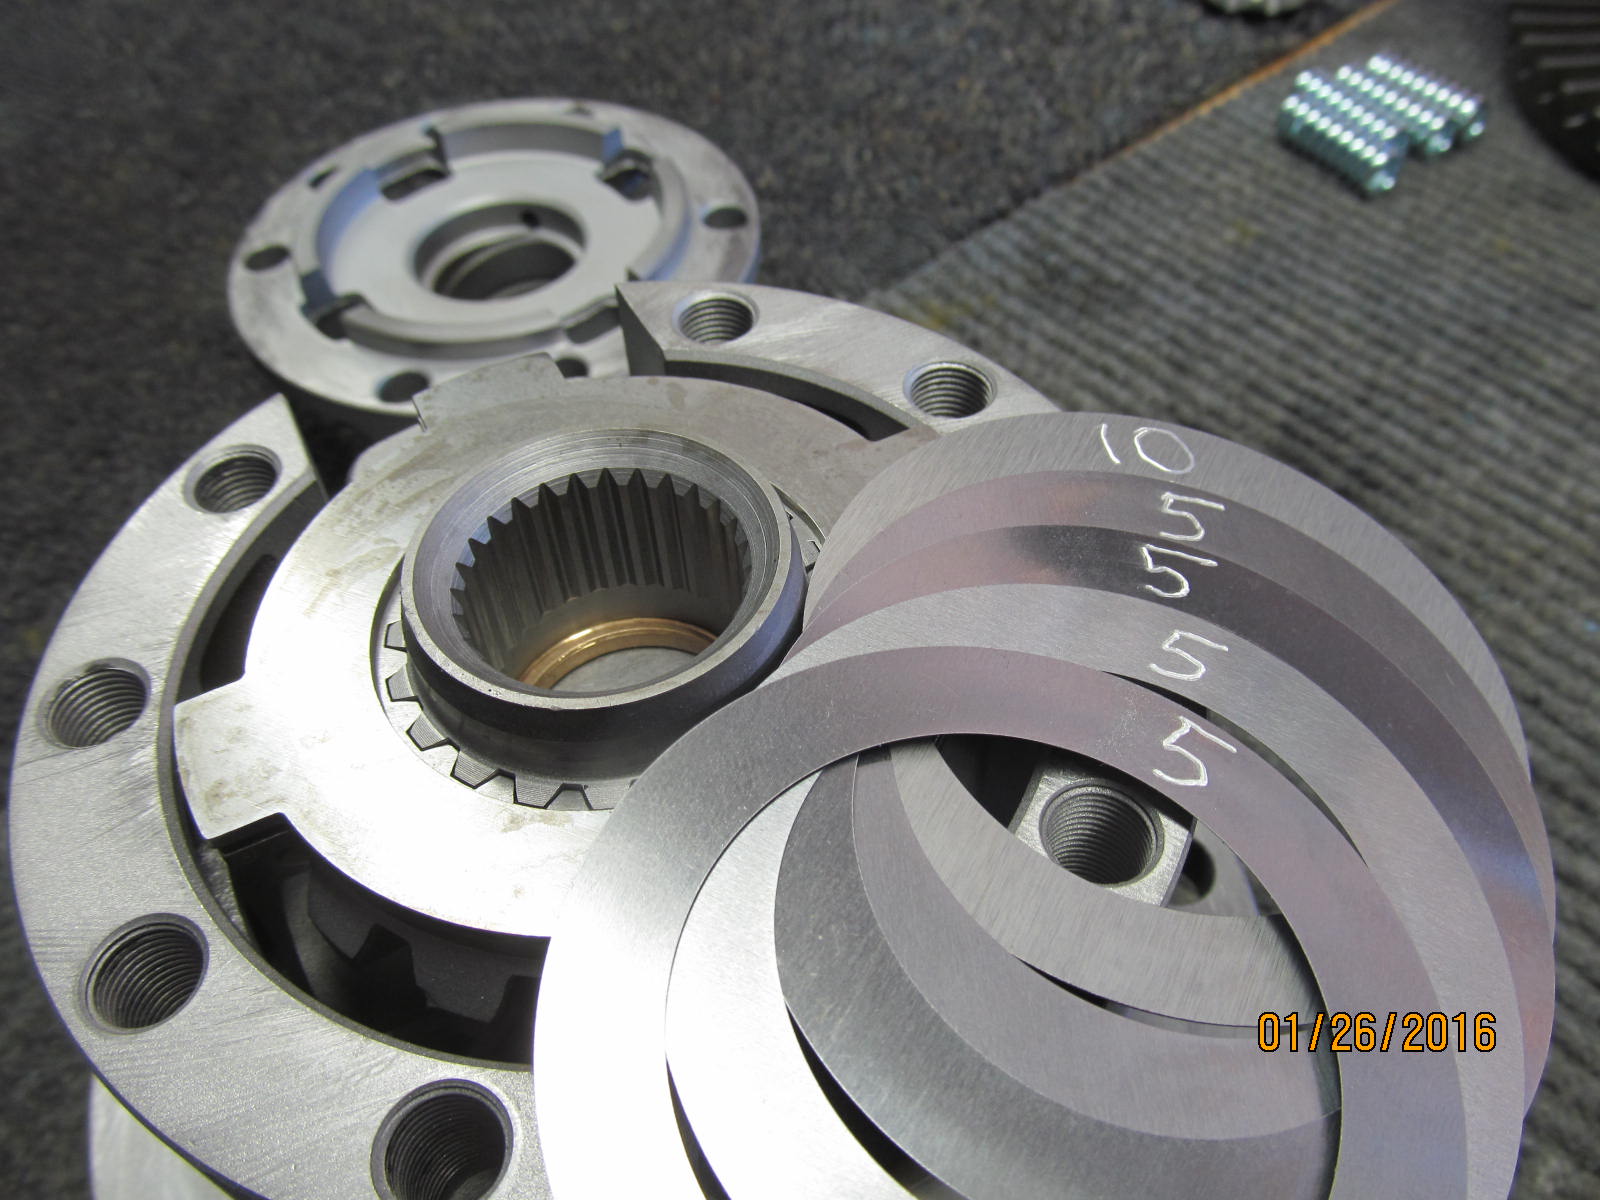
The upper stack of 3 metallic plates followed by the arbitrary shim stack. I chose .030".
|
|
|
|
|
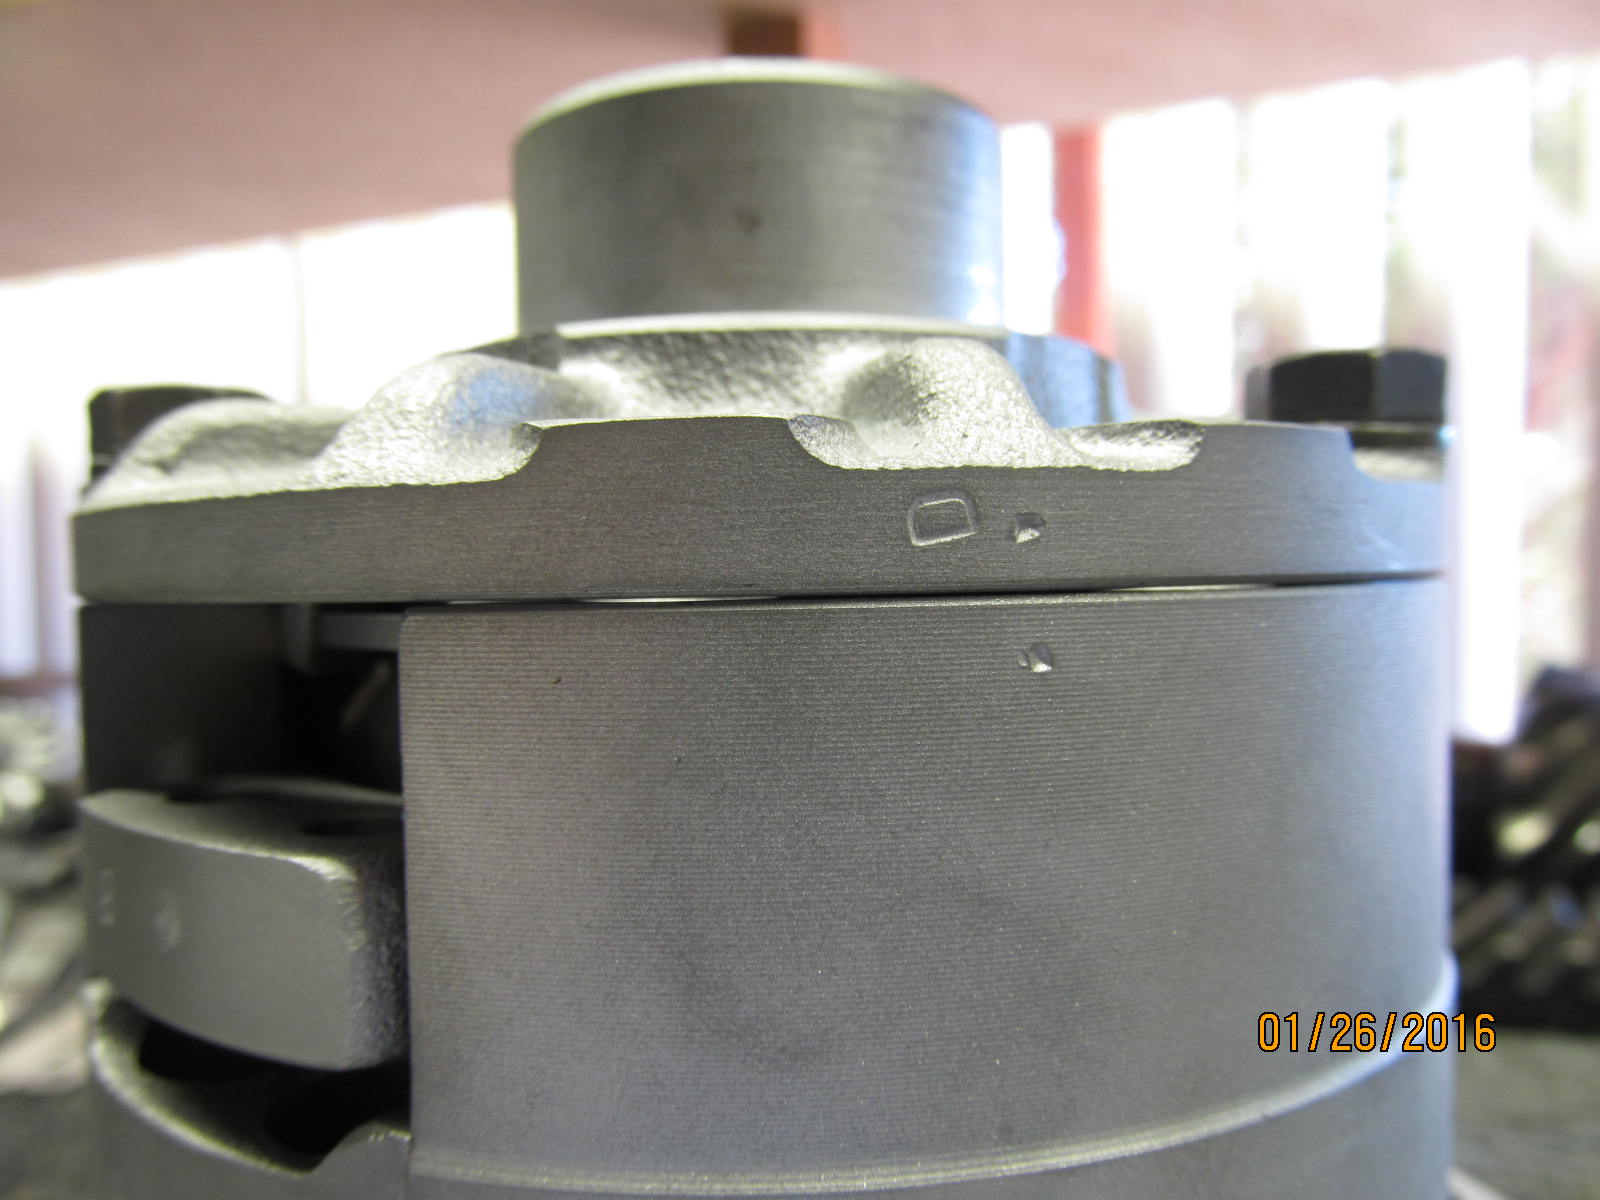
Lid next. Not all lids have punched alignment marks but this one did.
|
|
|
|
|
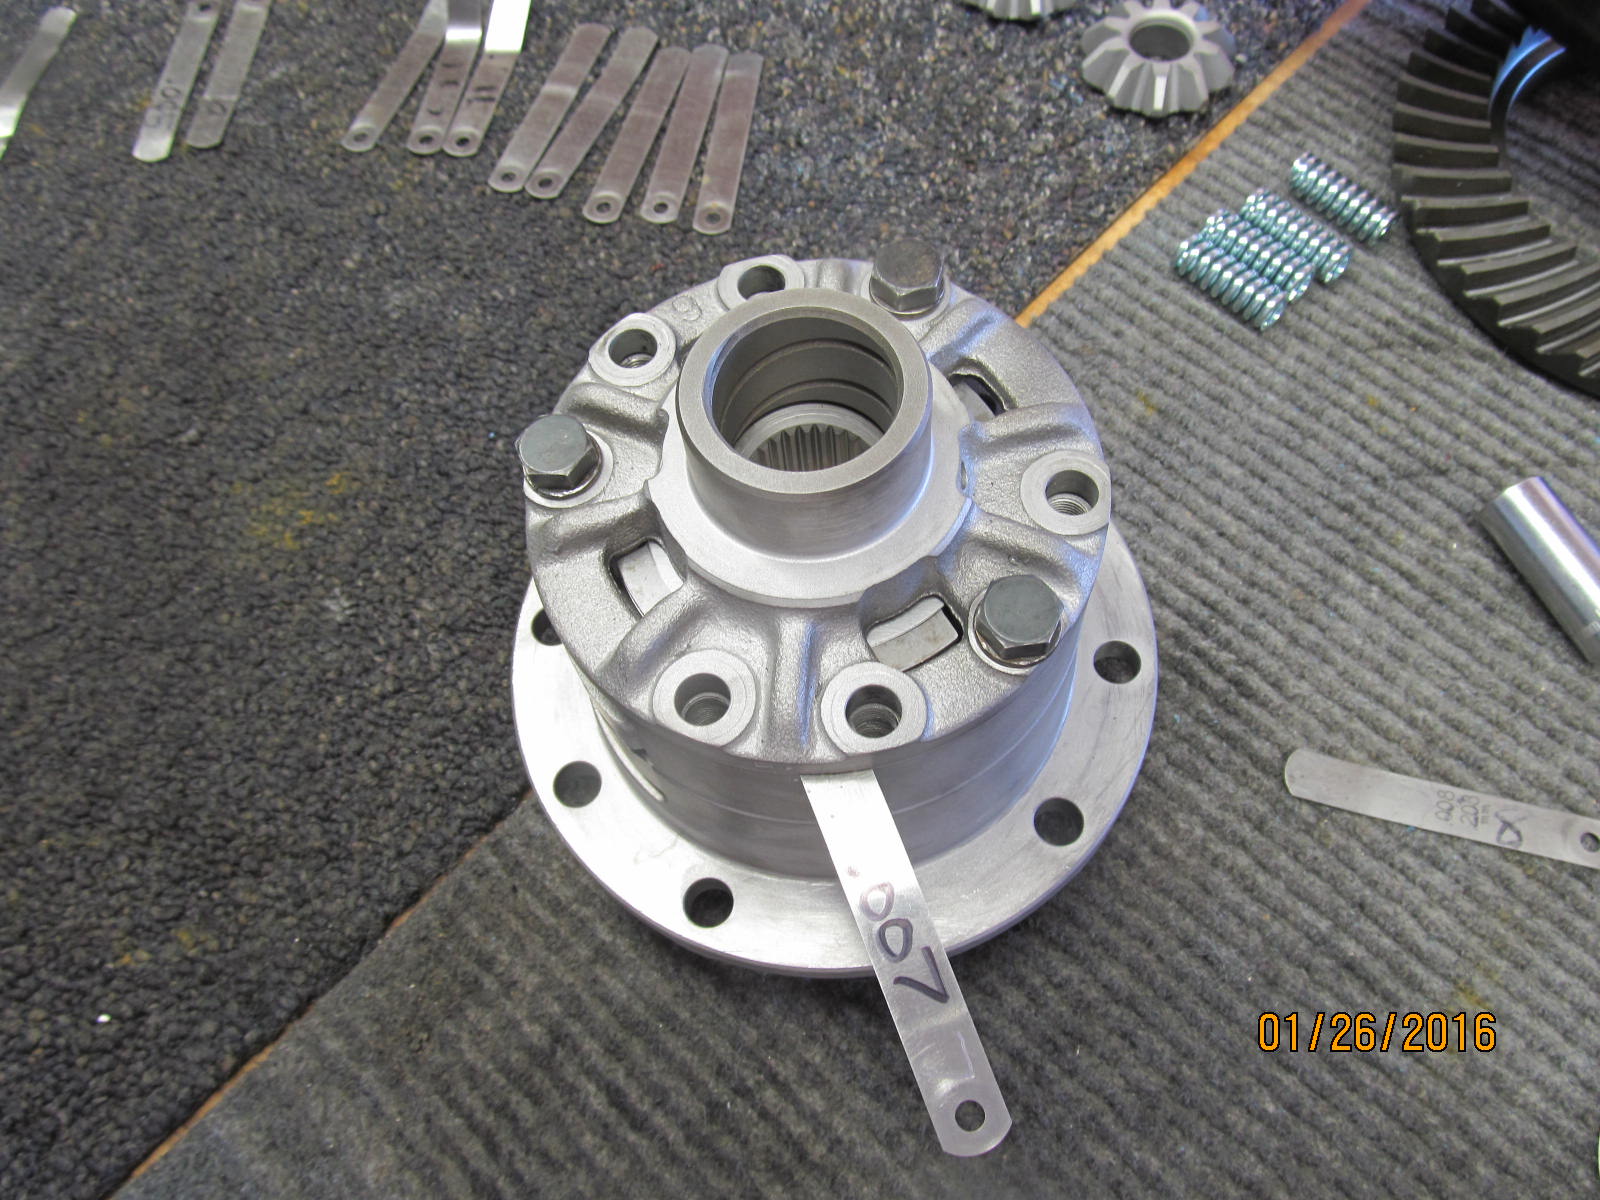
Average lid air gap is .007" all the way around.
|
|
|

|
|
So, then substract .007 to get the zero clearance value and subtract another .008 to get the final working value.
|
|
|
|
|
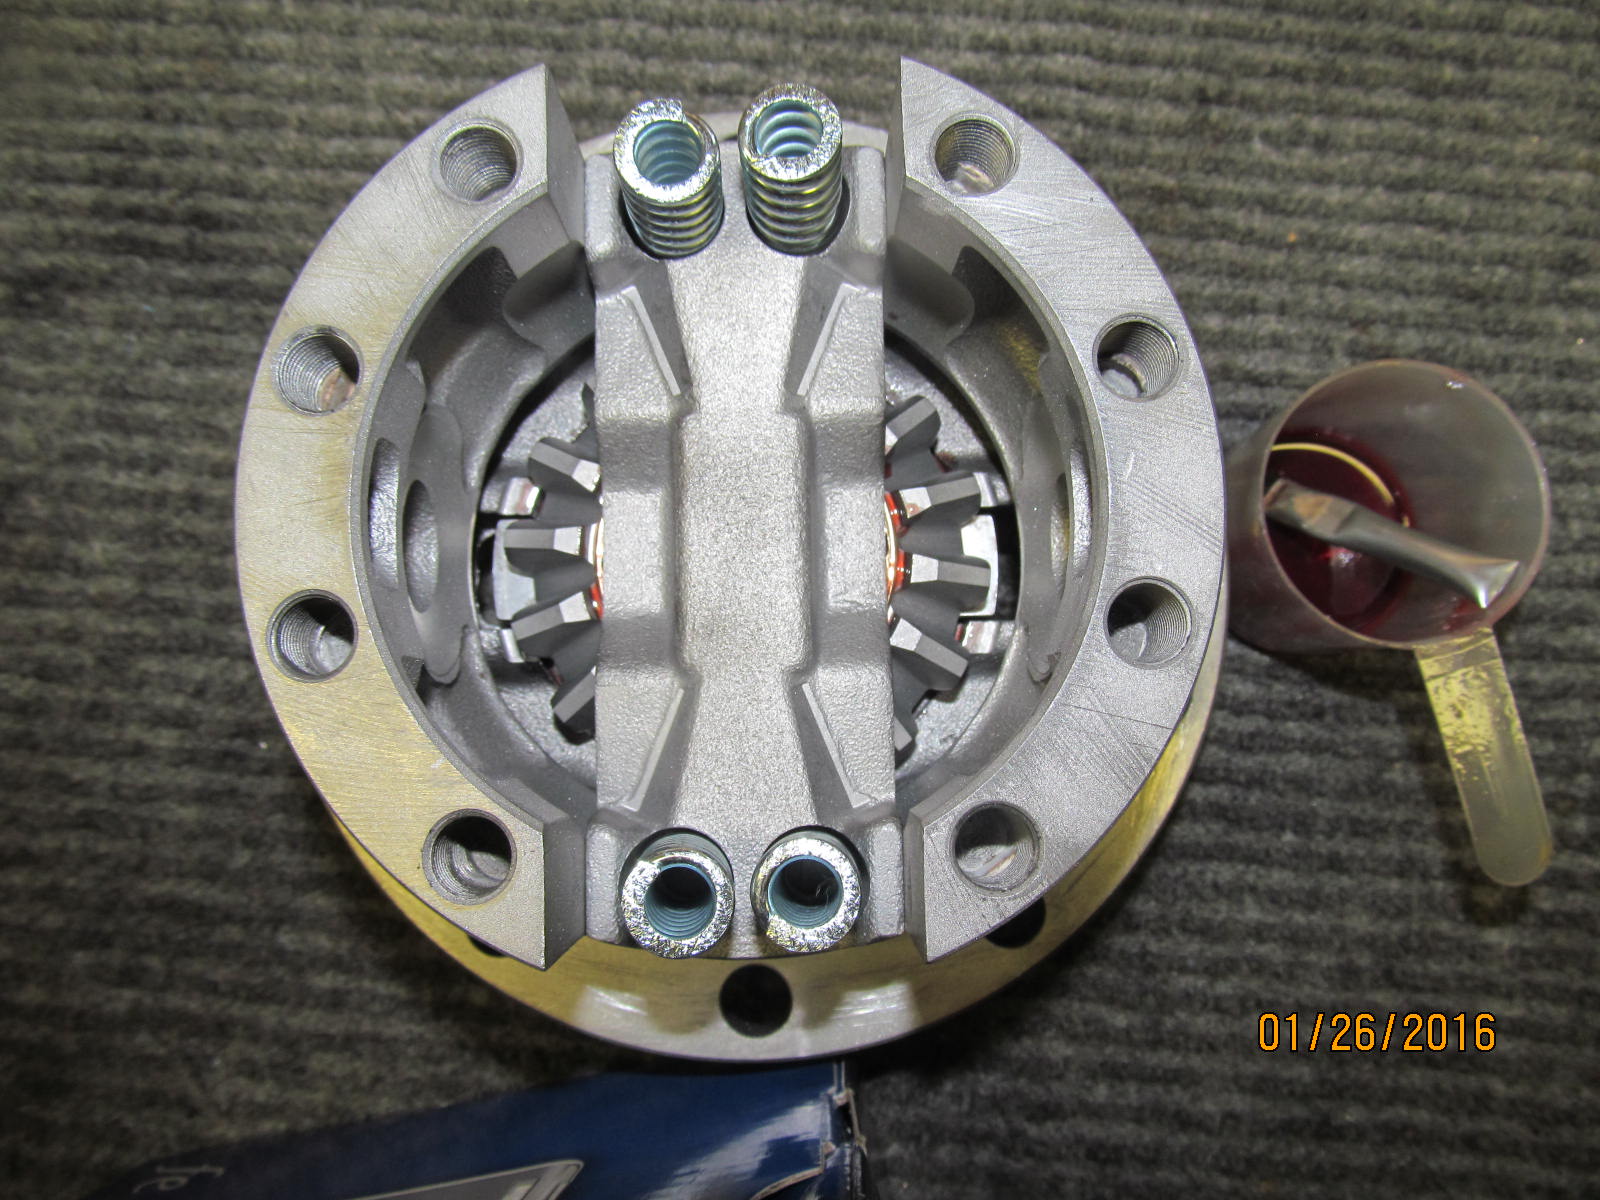
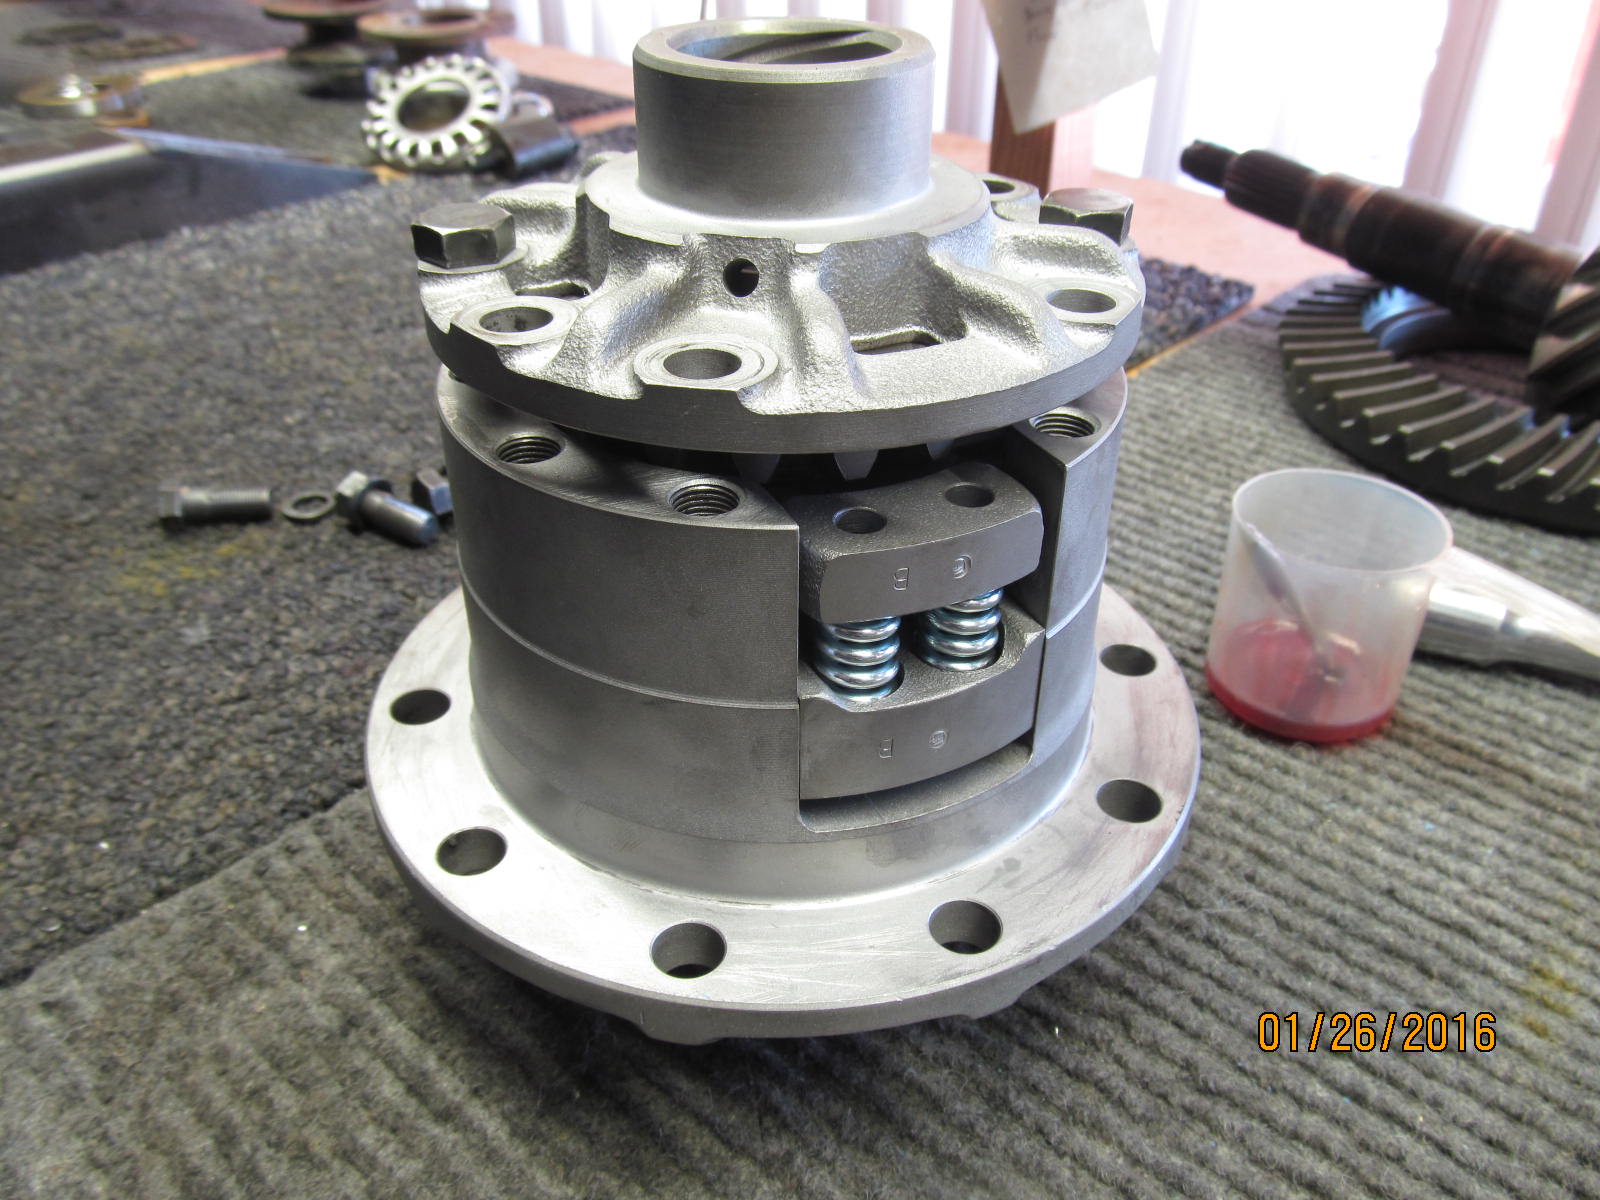
Now to fully dis-assemble again but use gear oil on all surfaces. The 2 spiders and springs are now installed.
|
|
|
|
|
Using some good sense and care, the 2 bolts can be tightened evenly to bring the lid down all the way.
|
|
|
|
|
=========================
|
|
|
|
|
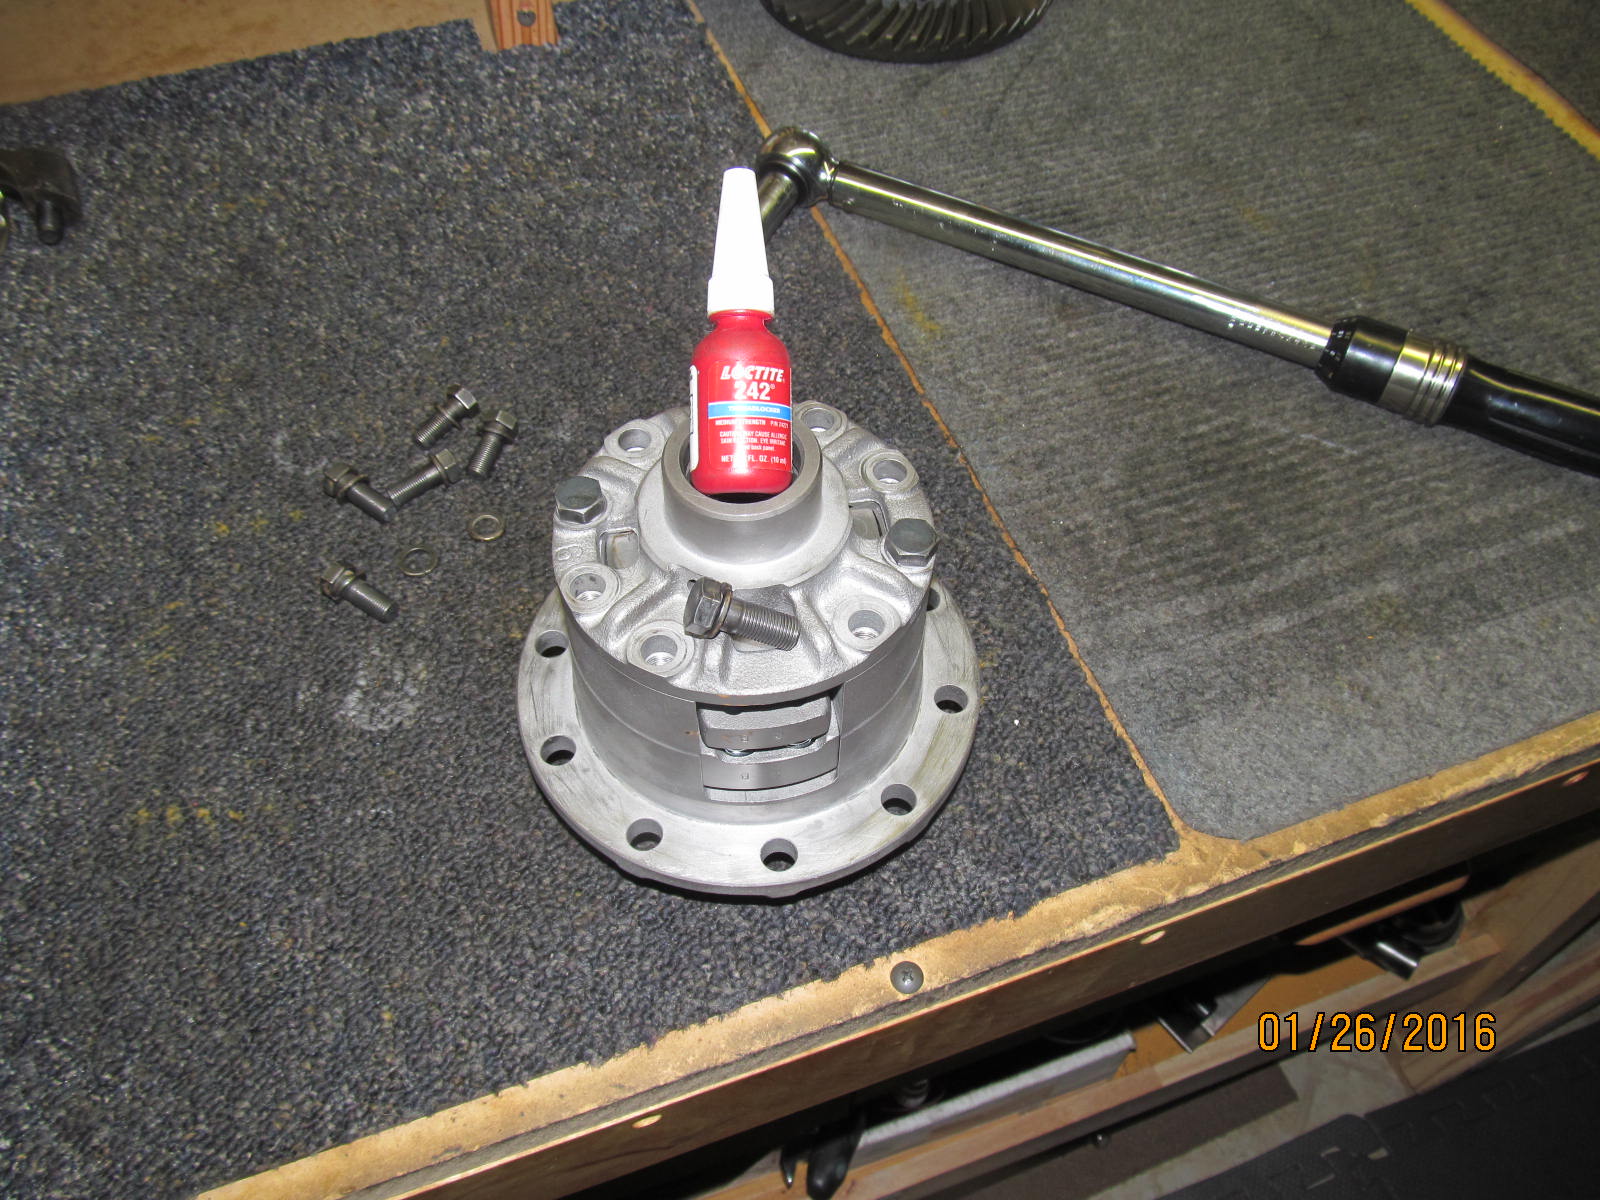
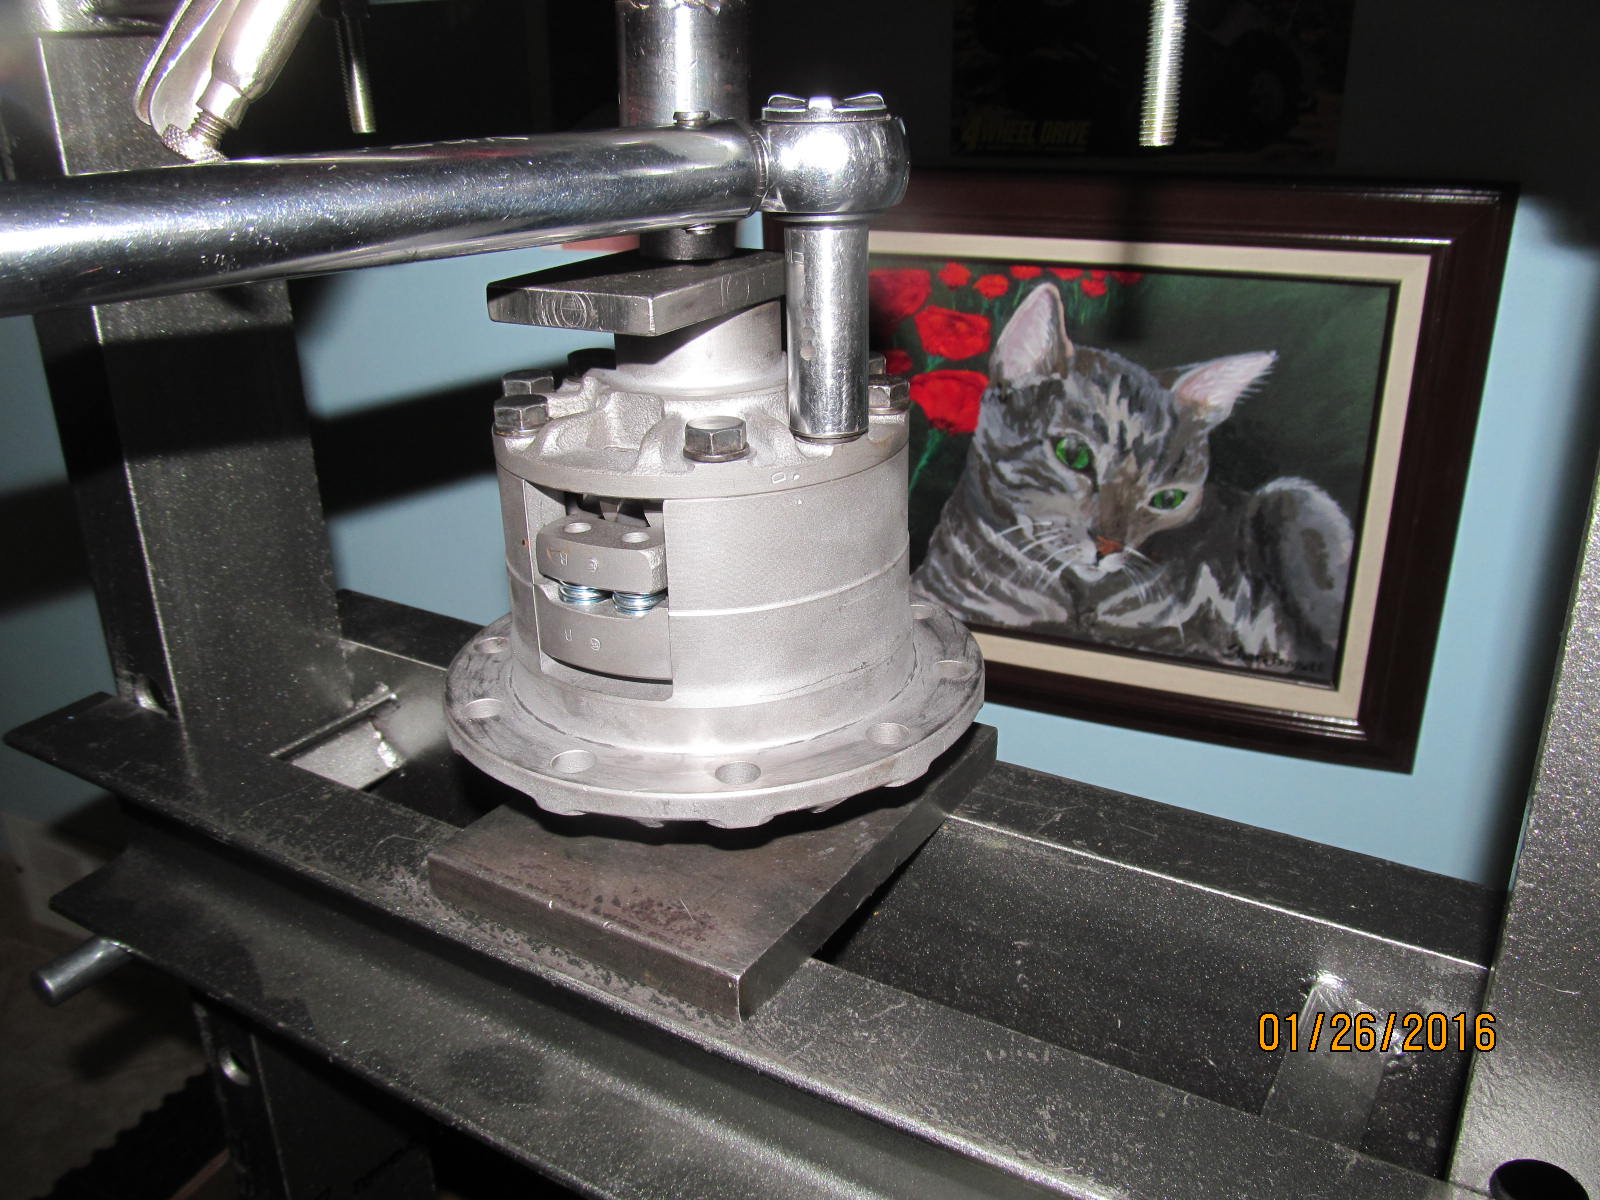
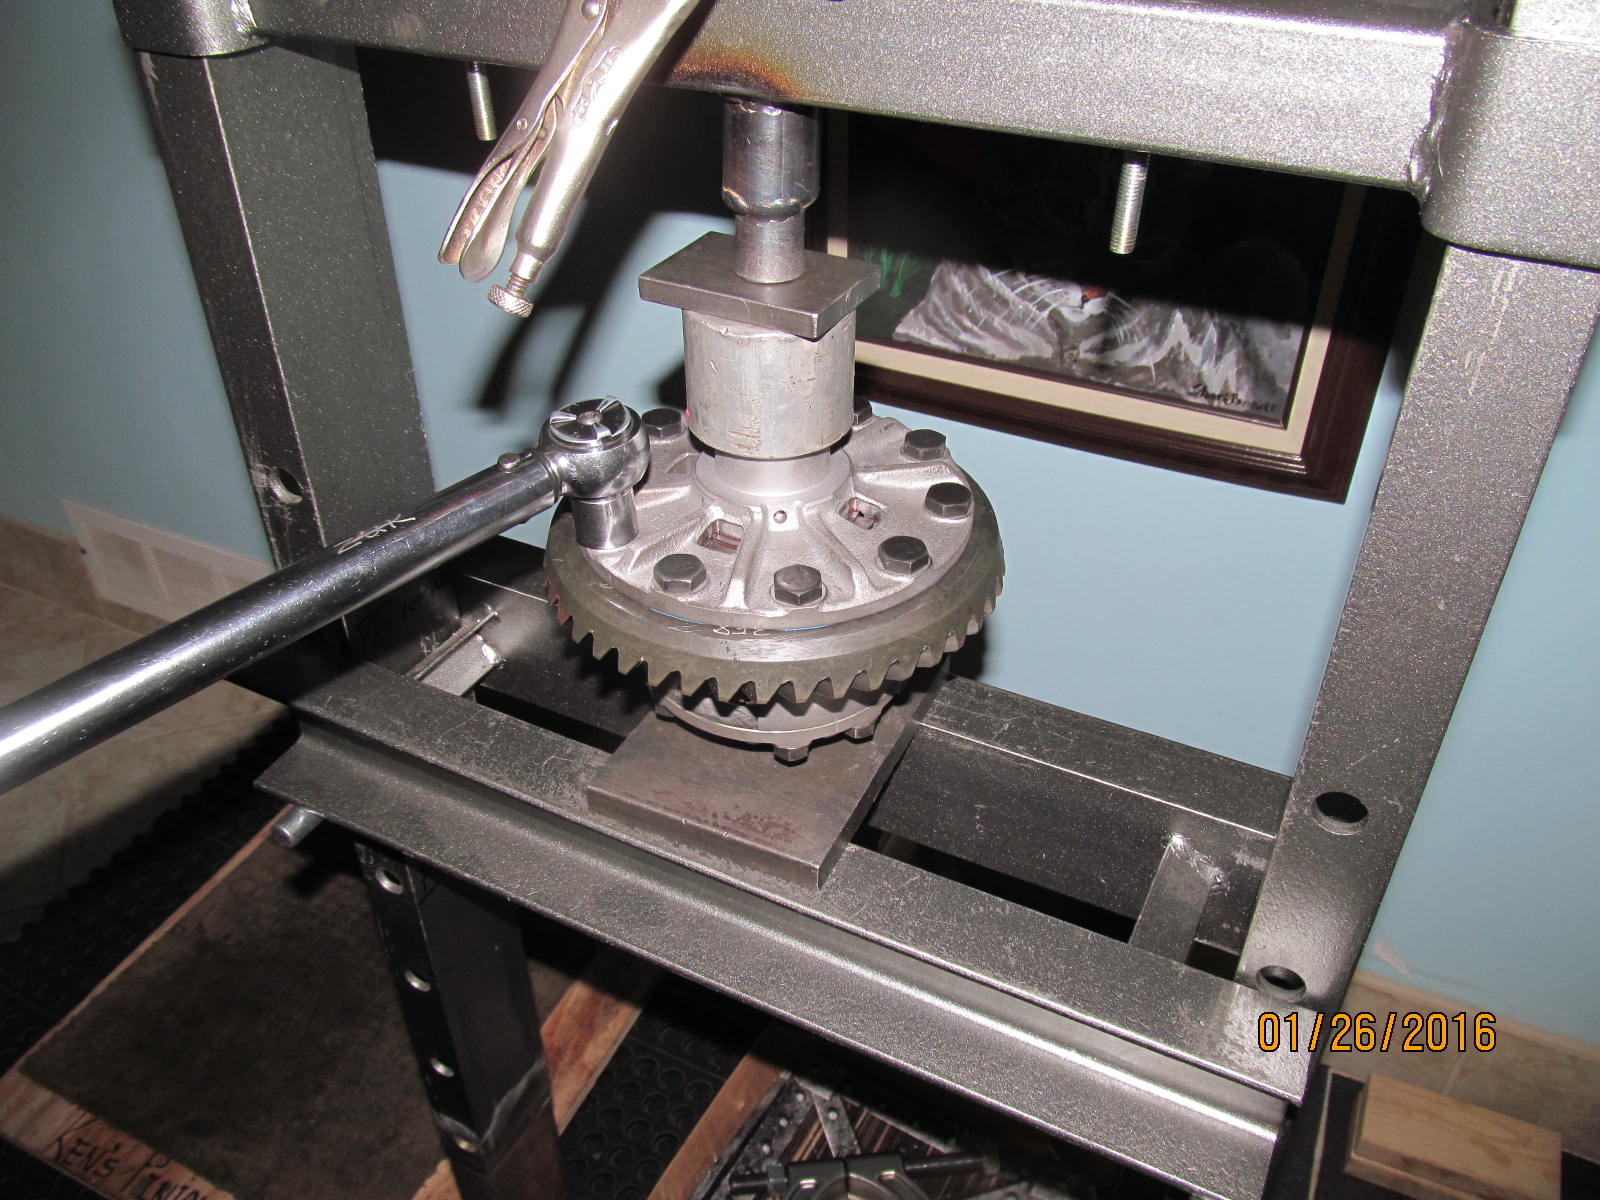
Blue loctite and 35 ft/lb on all 8 of the lid bolts.
|
|
|
|
|
My sister painted that cat. Pretty good I think. Sis might take requests.
|
|
|
|
|
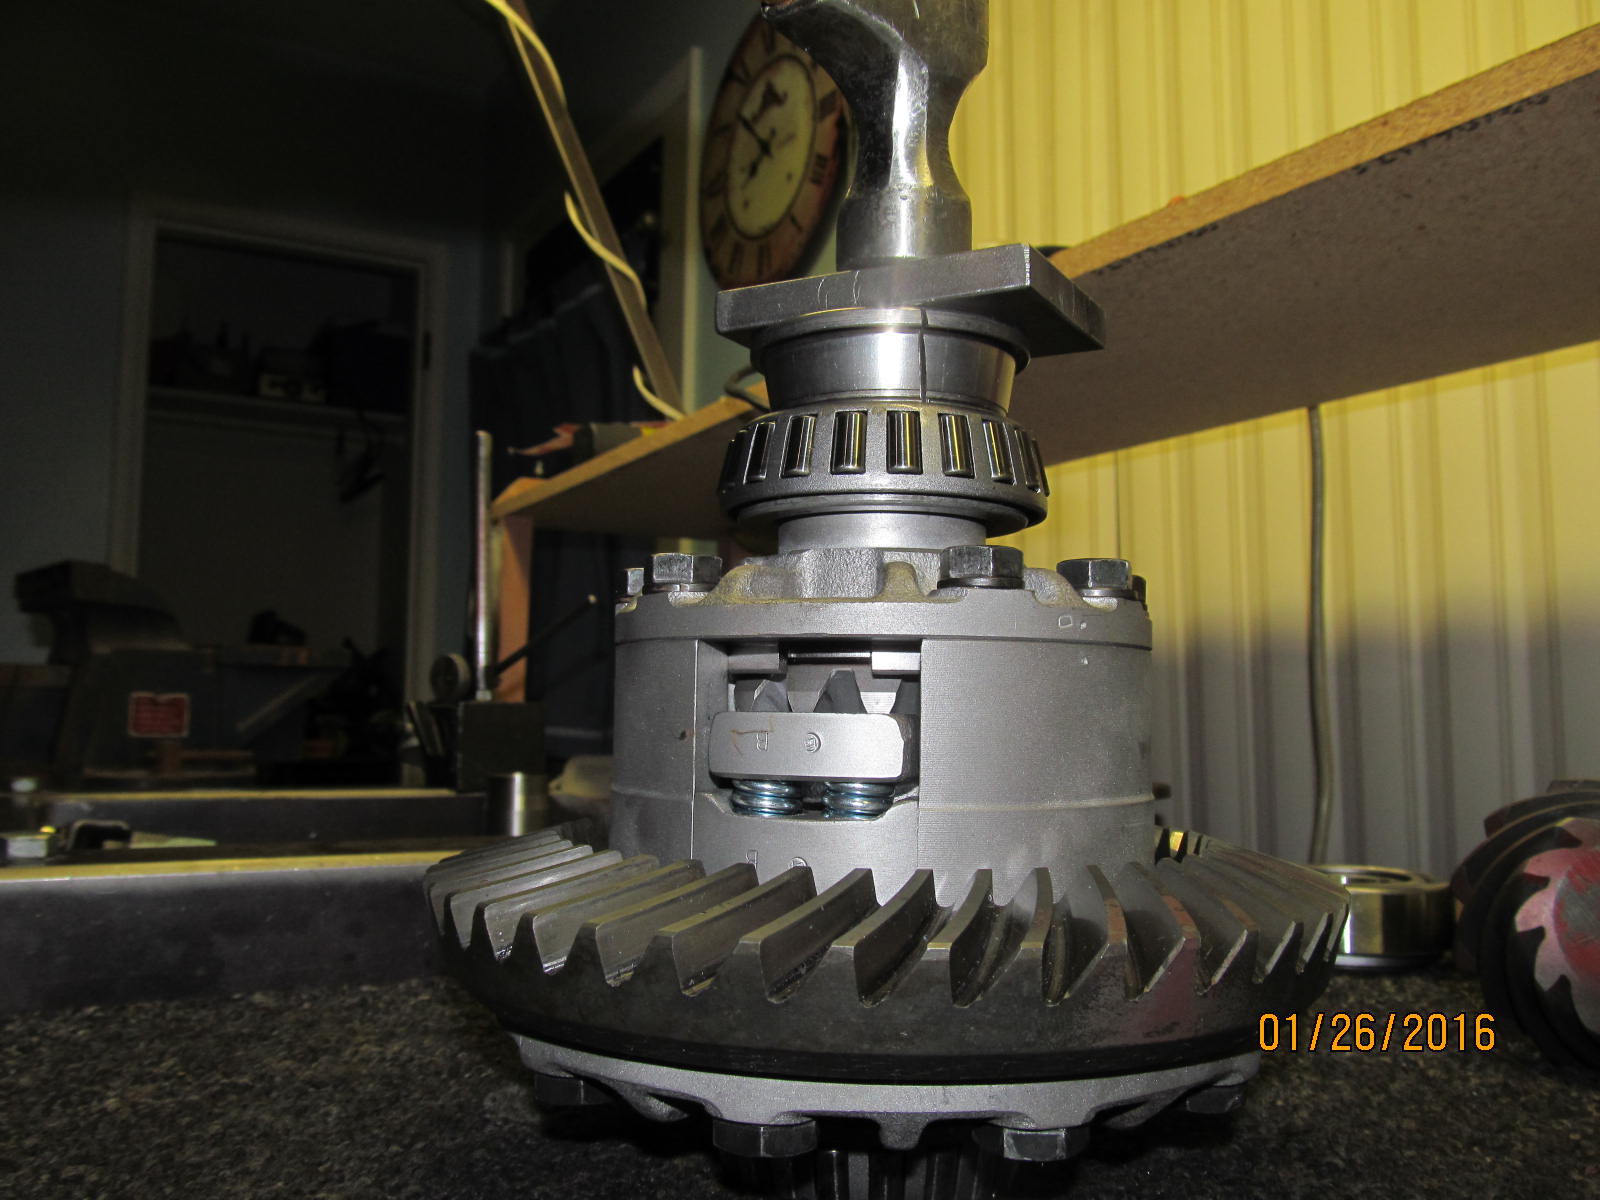
The 3.58 ring gear gets 70 ft/lb on all 10 bolts.
|
|
|
|
|
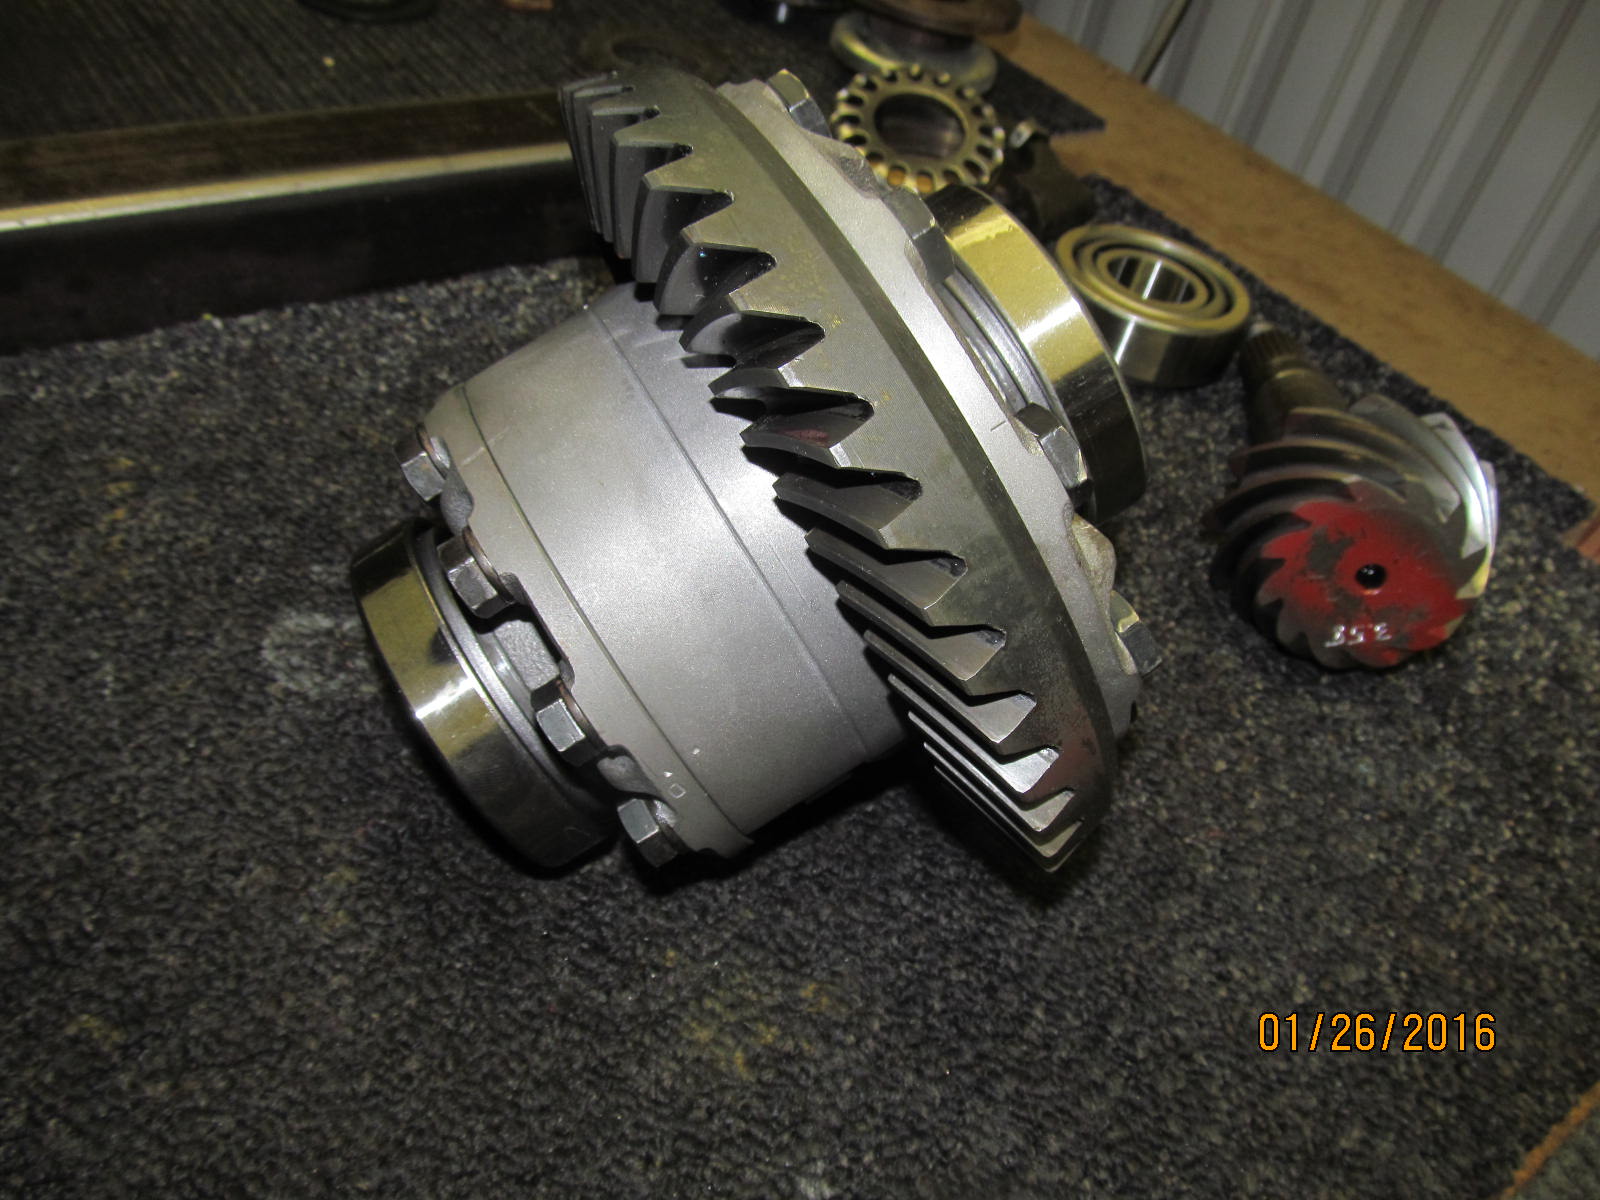
New carrier bearings supplied by Weir Performance are pressed on.
|
|
|
|
|
This end is complete.
|
|
|
|
|
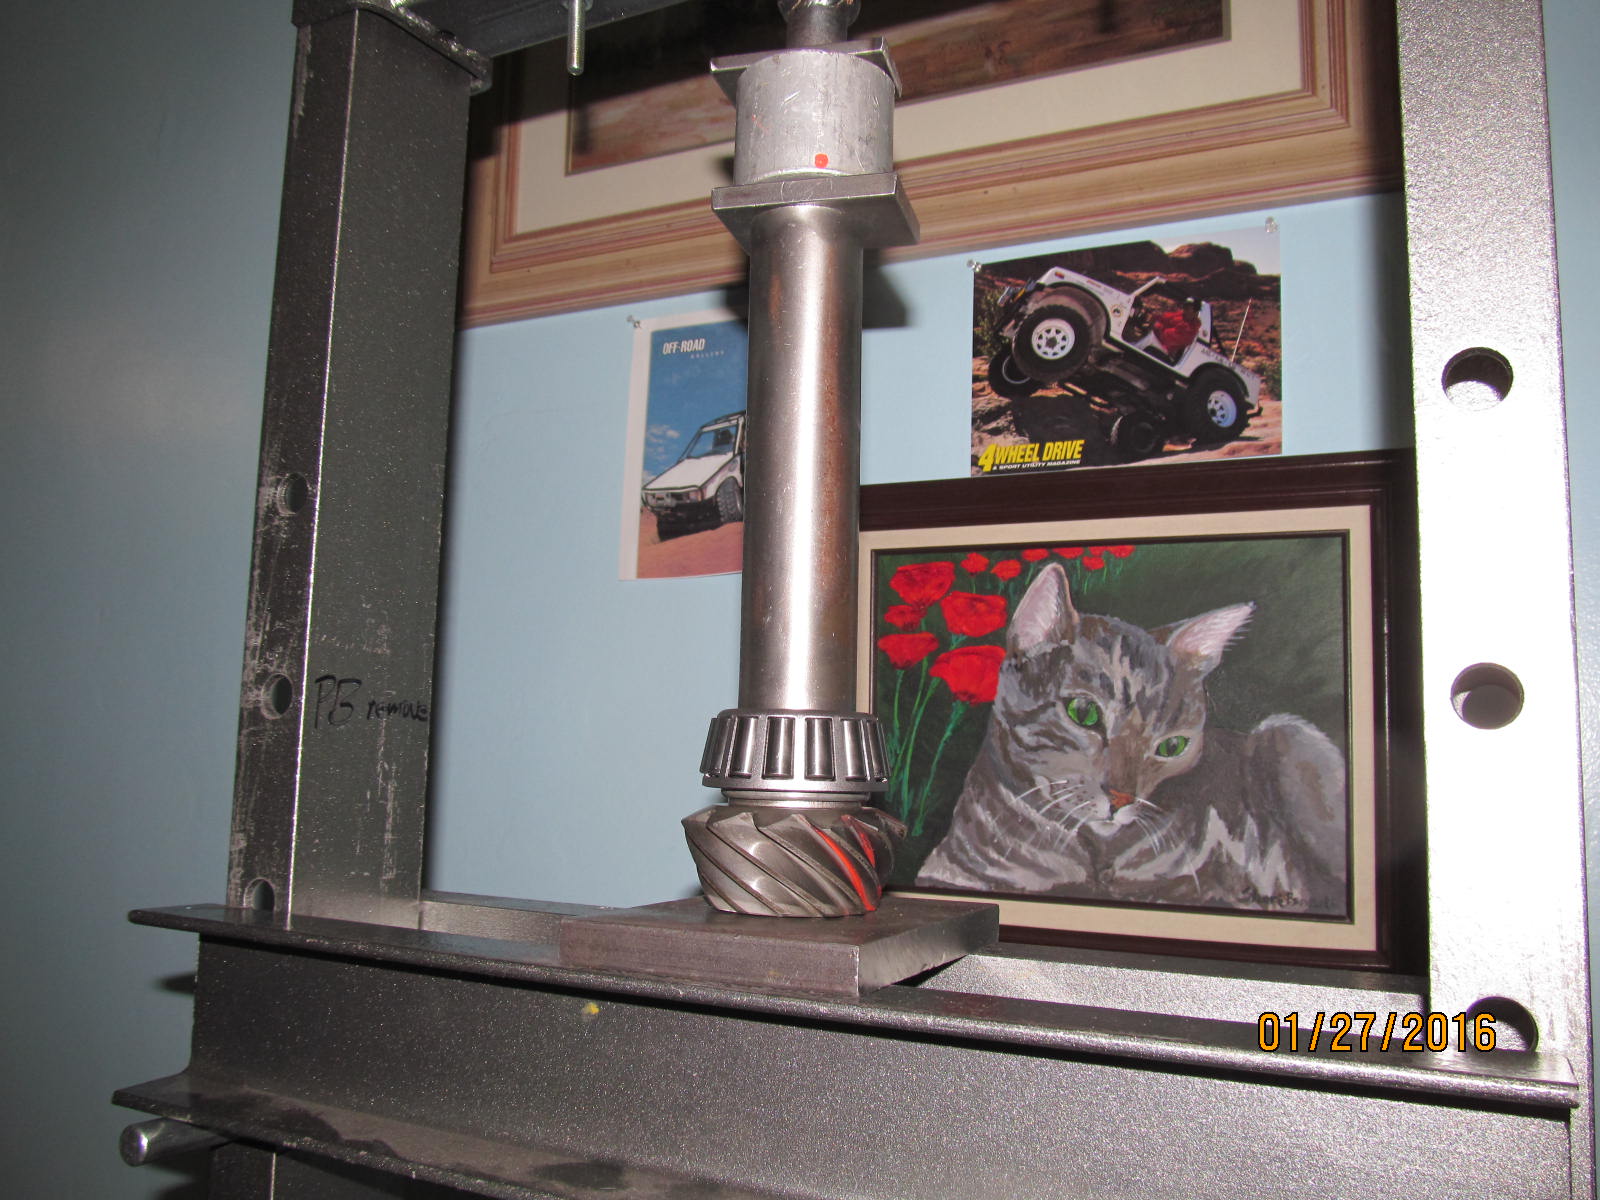
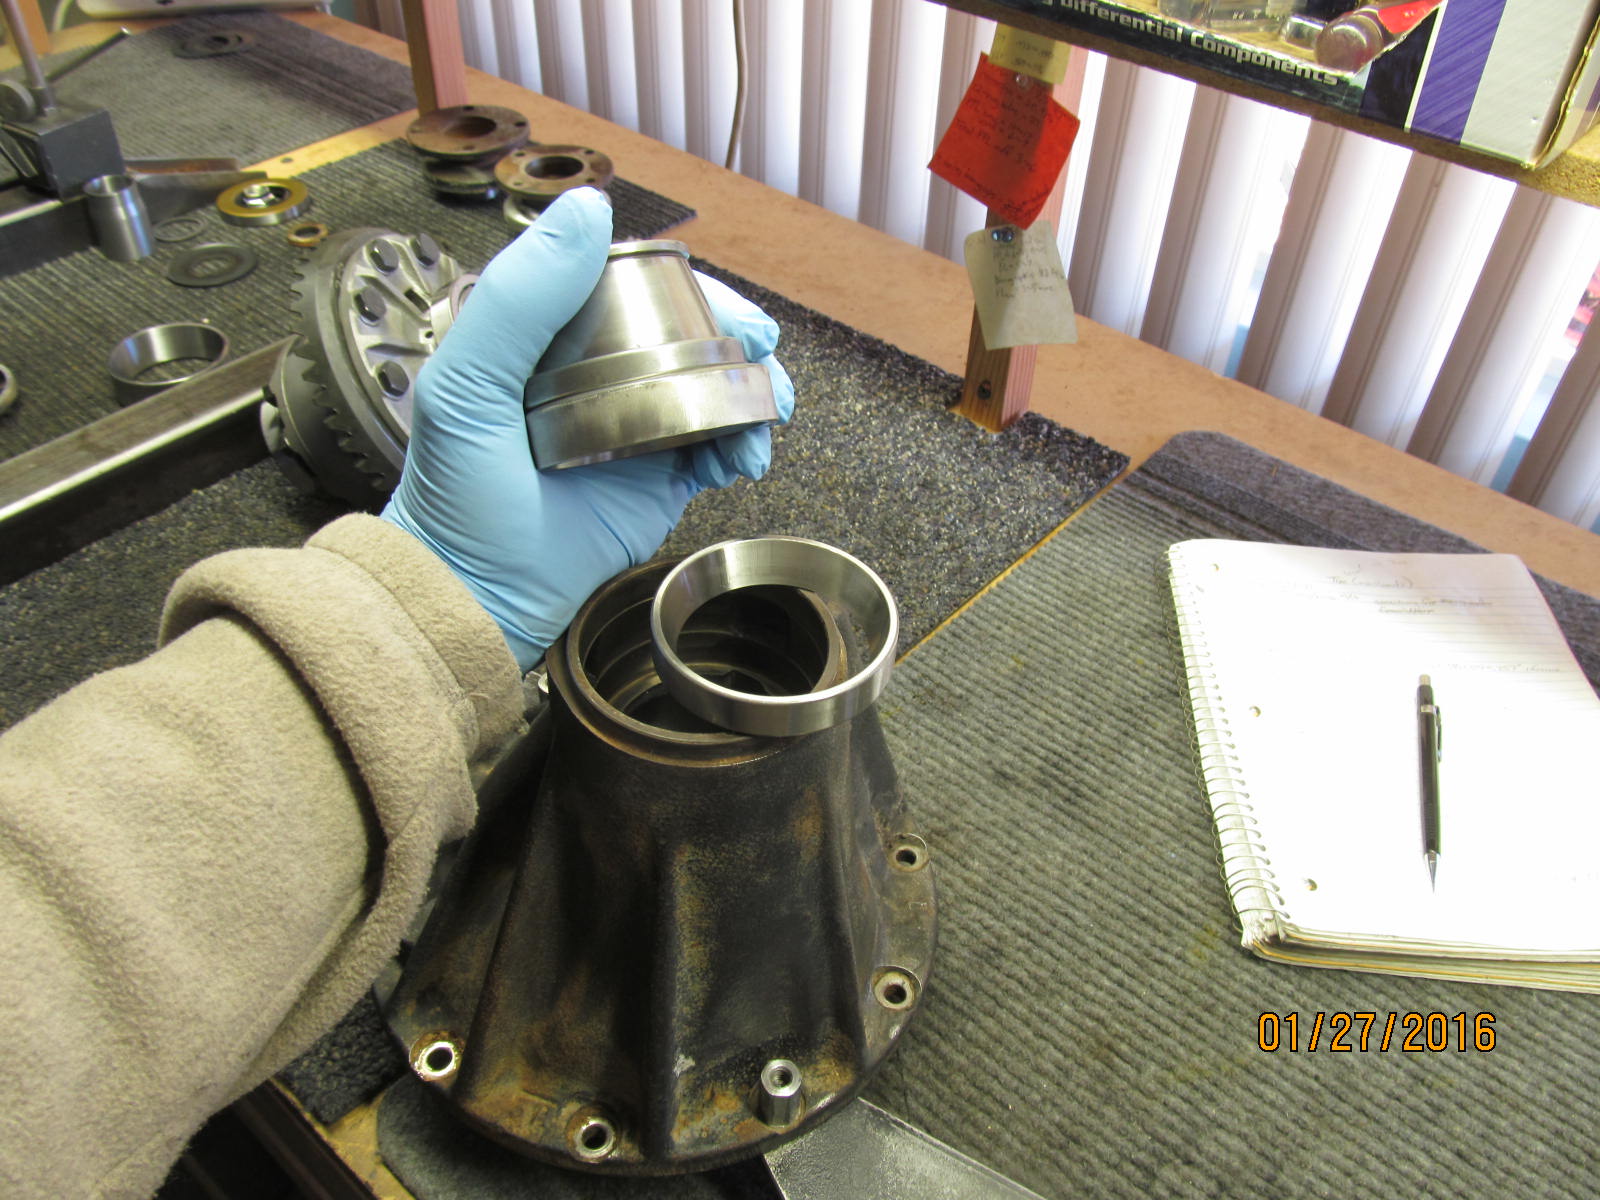
A .098" pinion shim is pressed on with the new bearing.
|
|
|
|
|
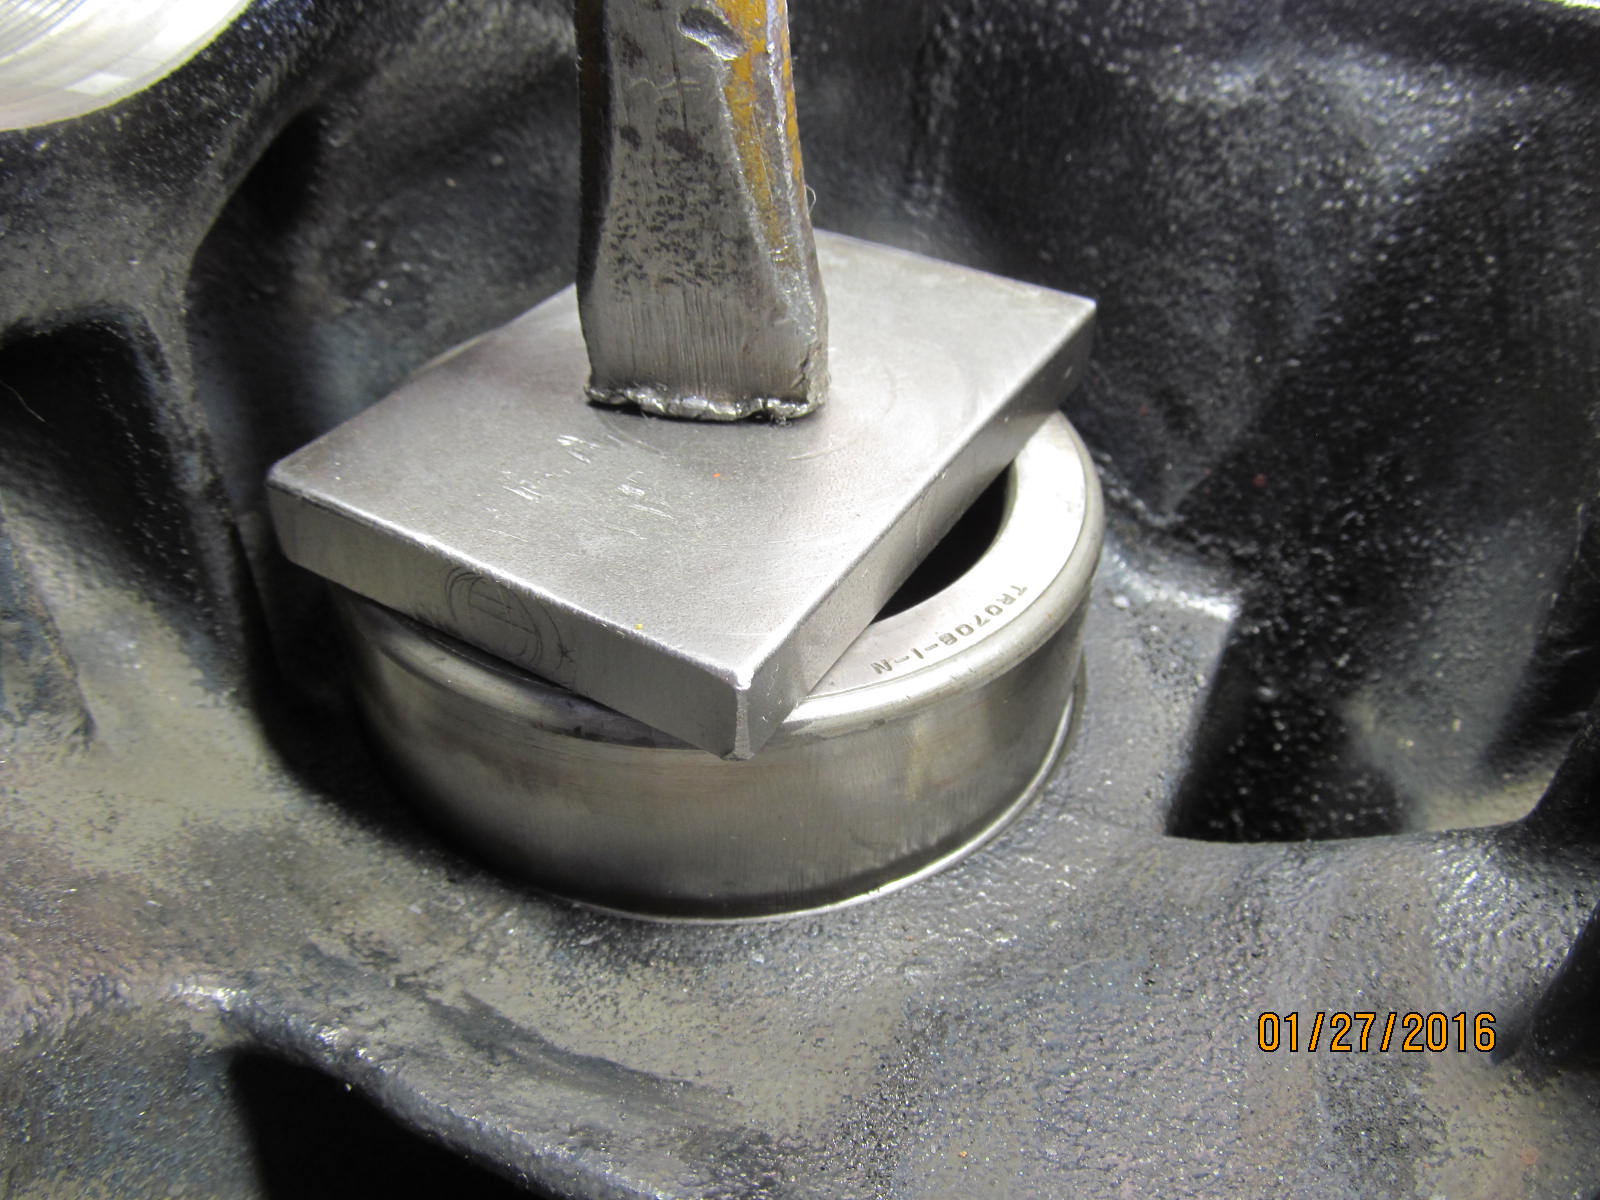
Races go in now. The outer race is easy to tap in.
|
|
|
|
|
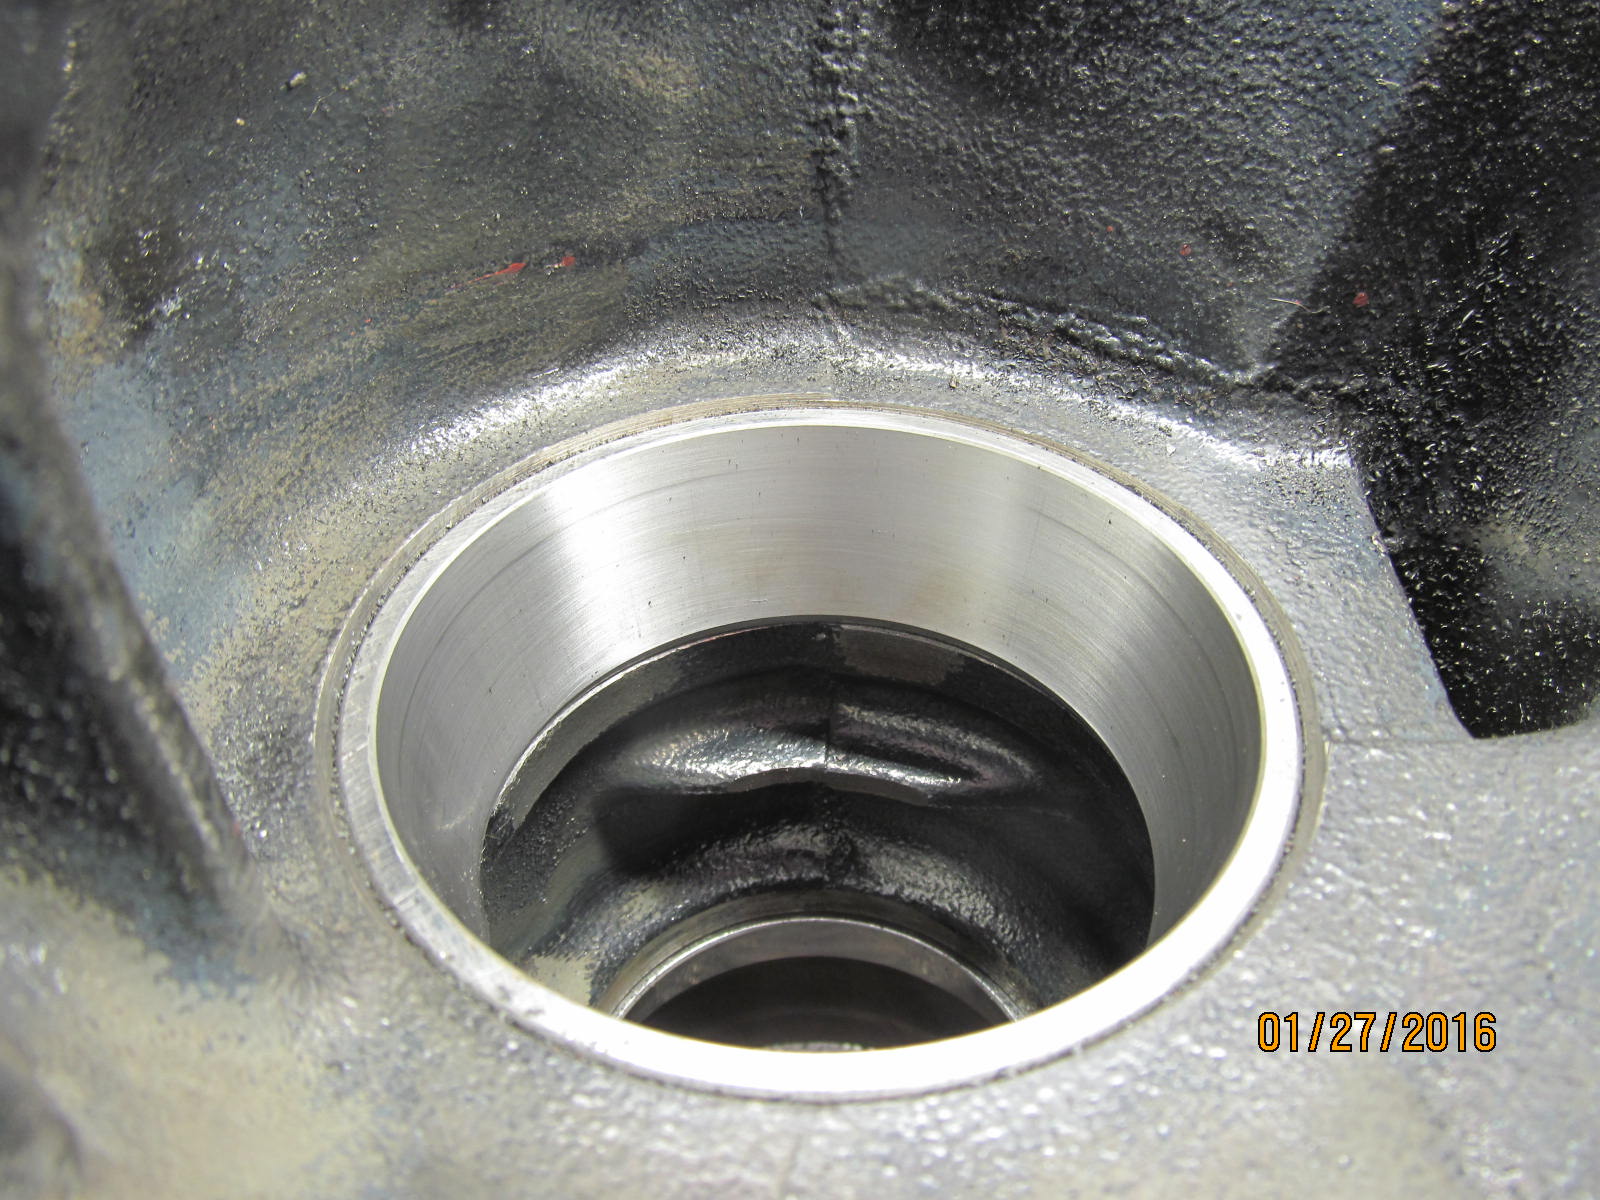
The large inner race is usually a little more trouble but this one was being good.
|
|
|
|
|
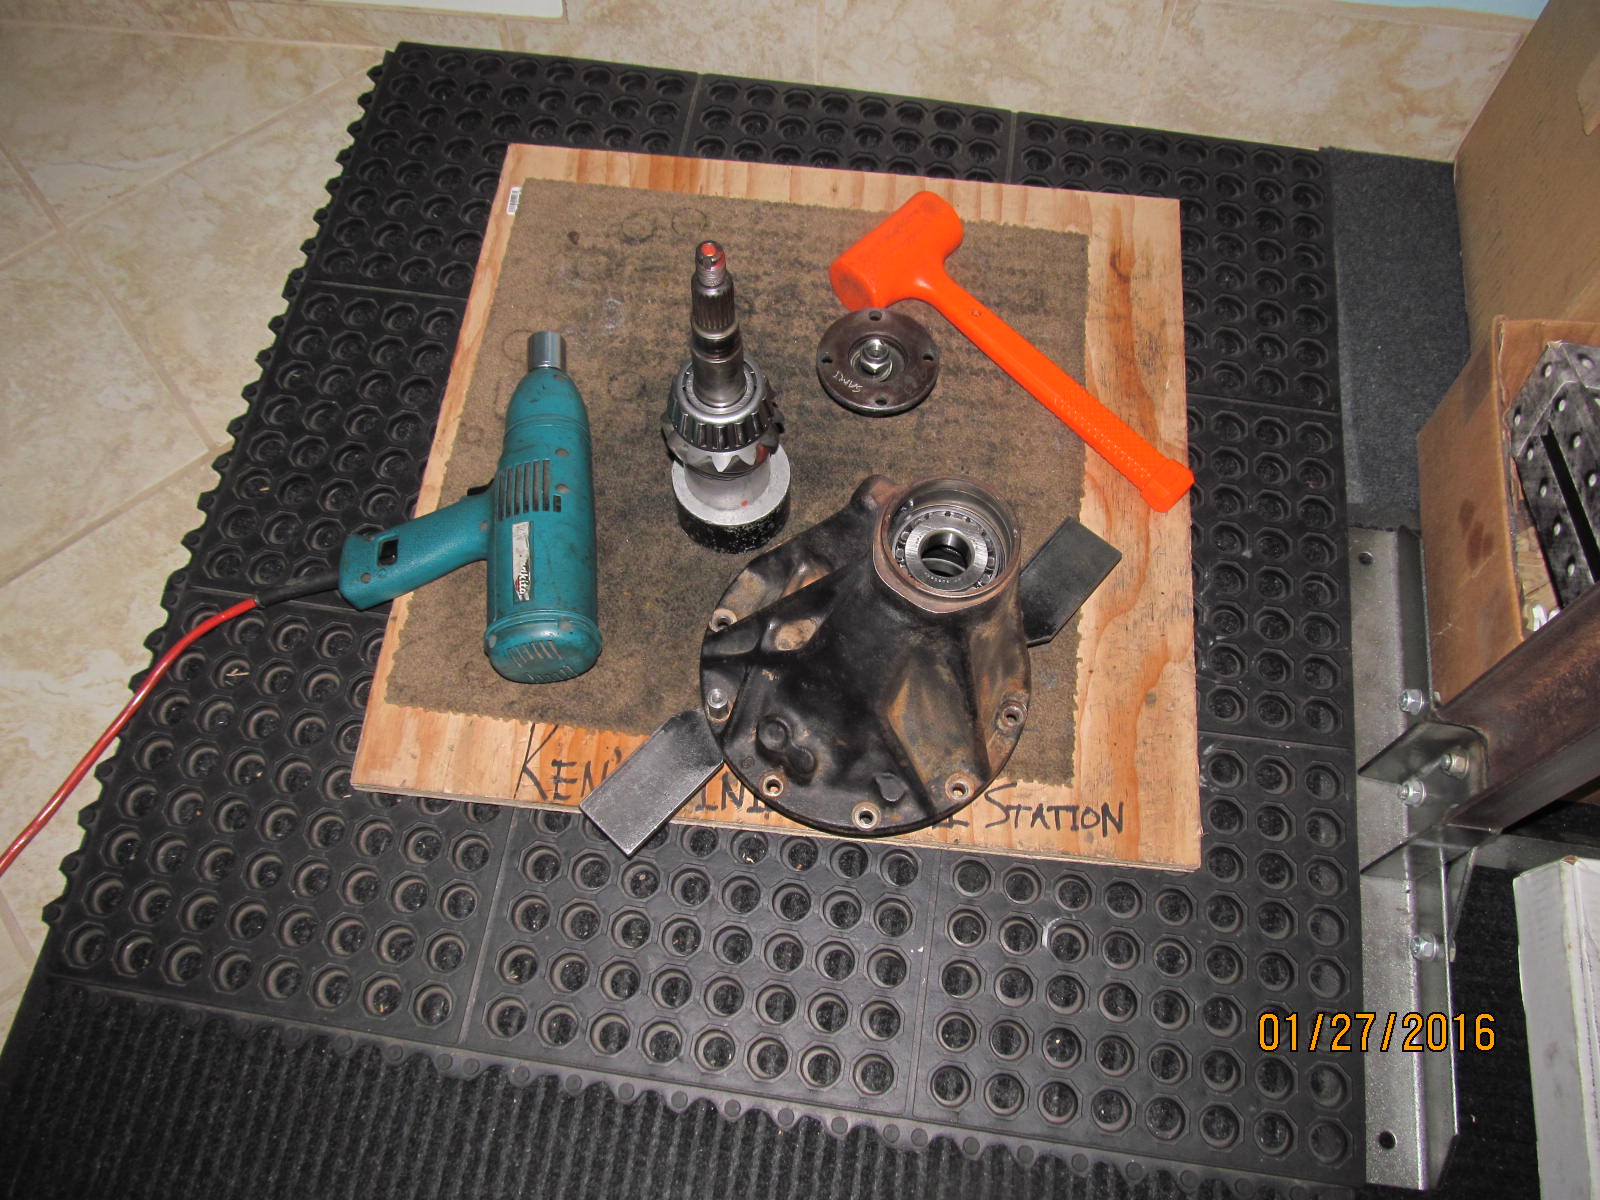
100% fully on.
|
|
|
|
|
Loading up the pinion...
|
|
|
|
|
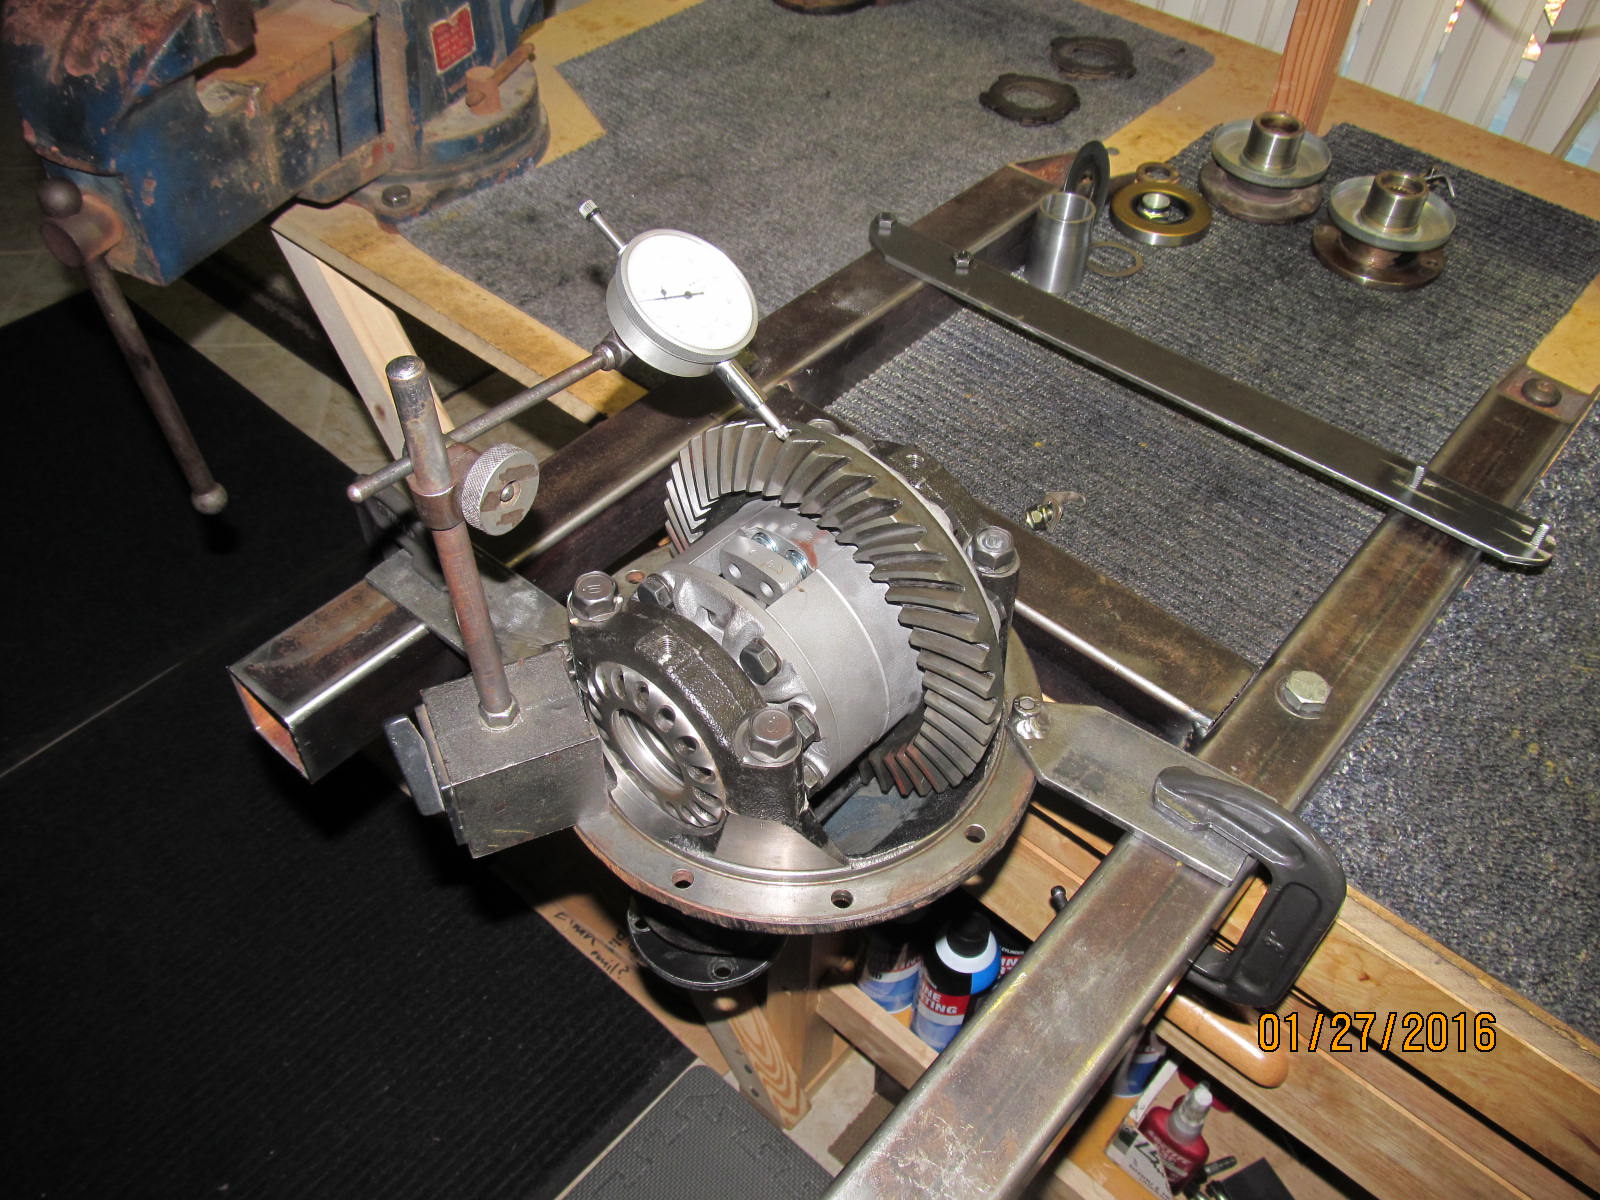
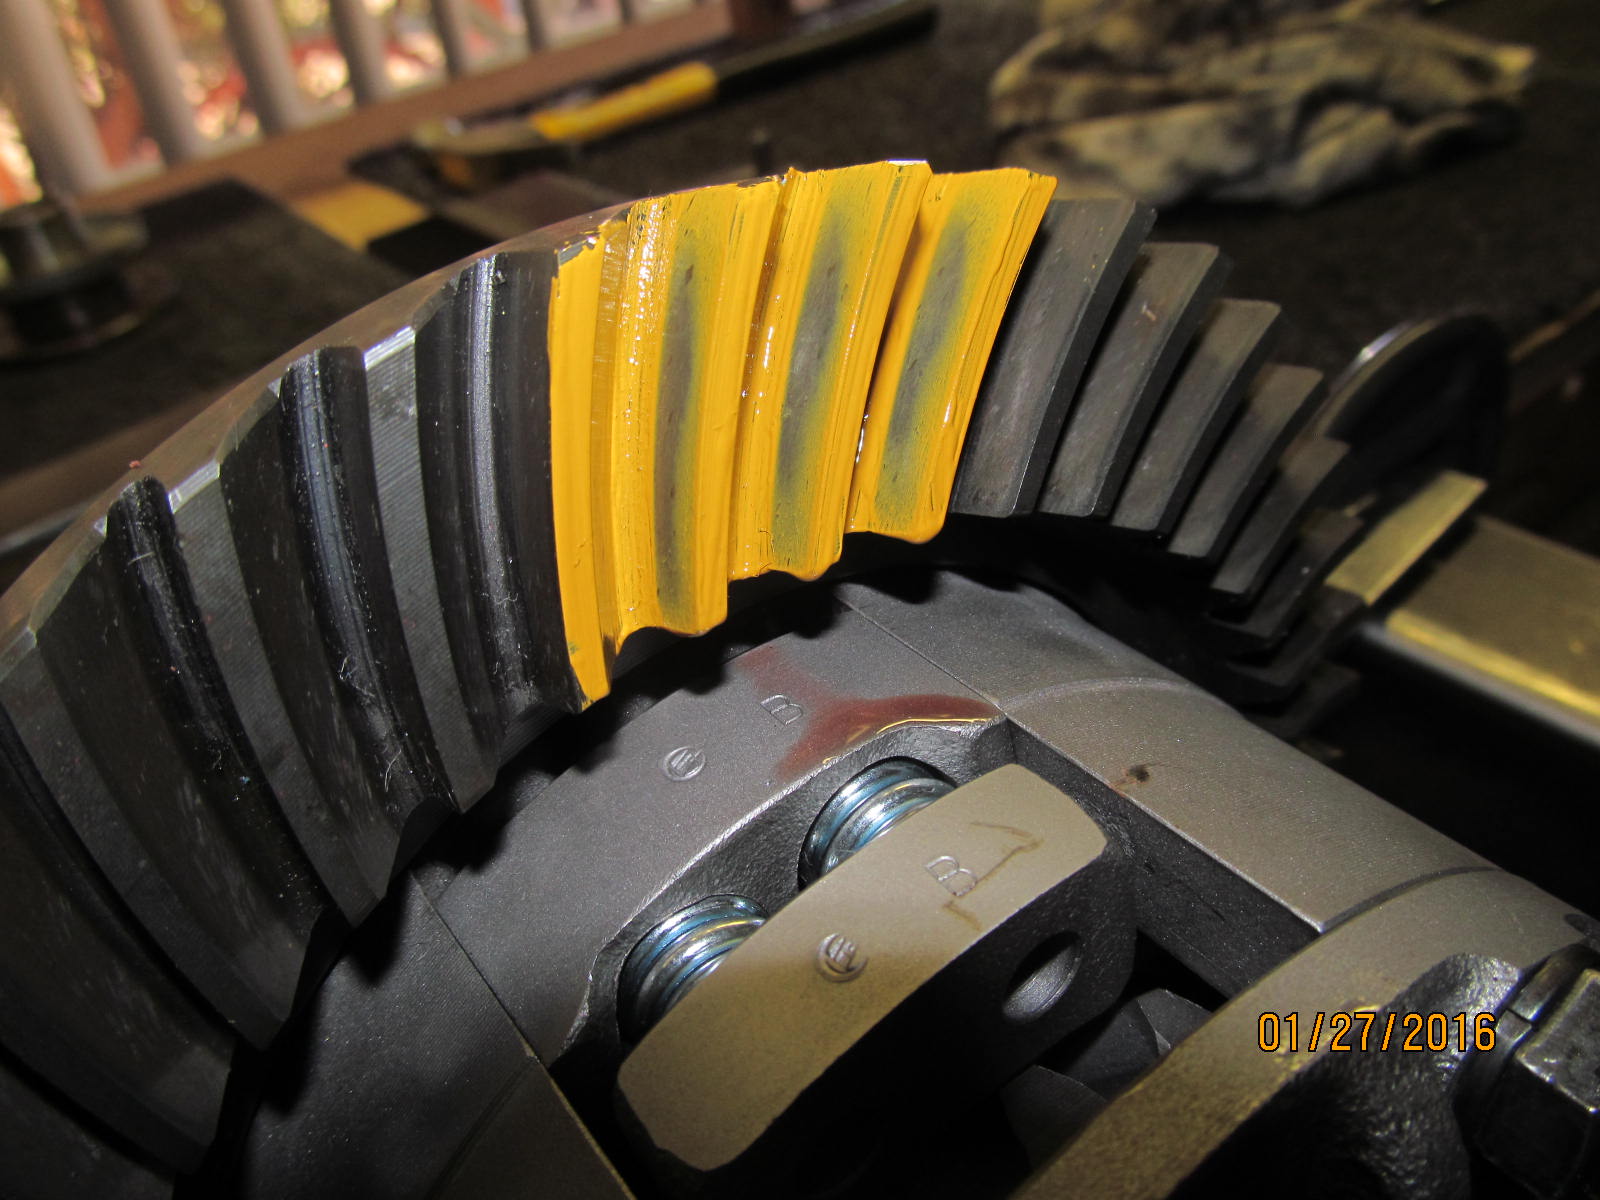
Some carrier bearing preload and backlash needs only to be approximate. This is only a paint test.
|
|
|
|
|
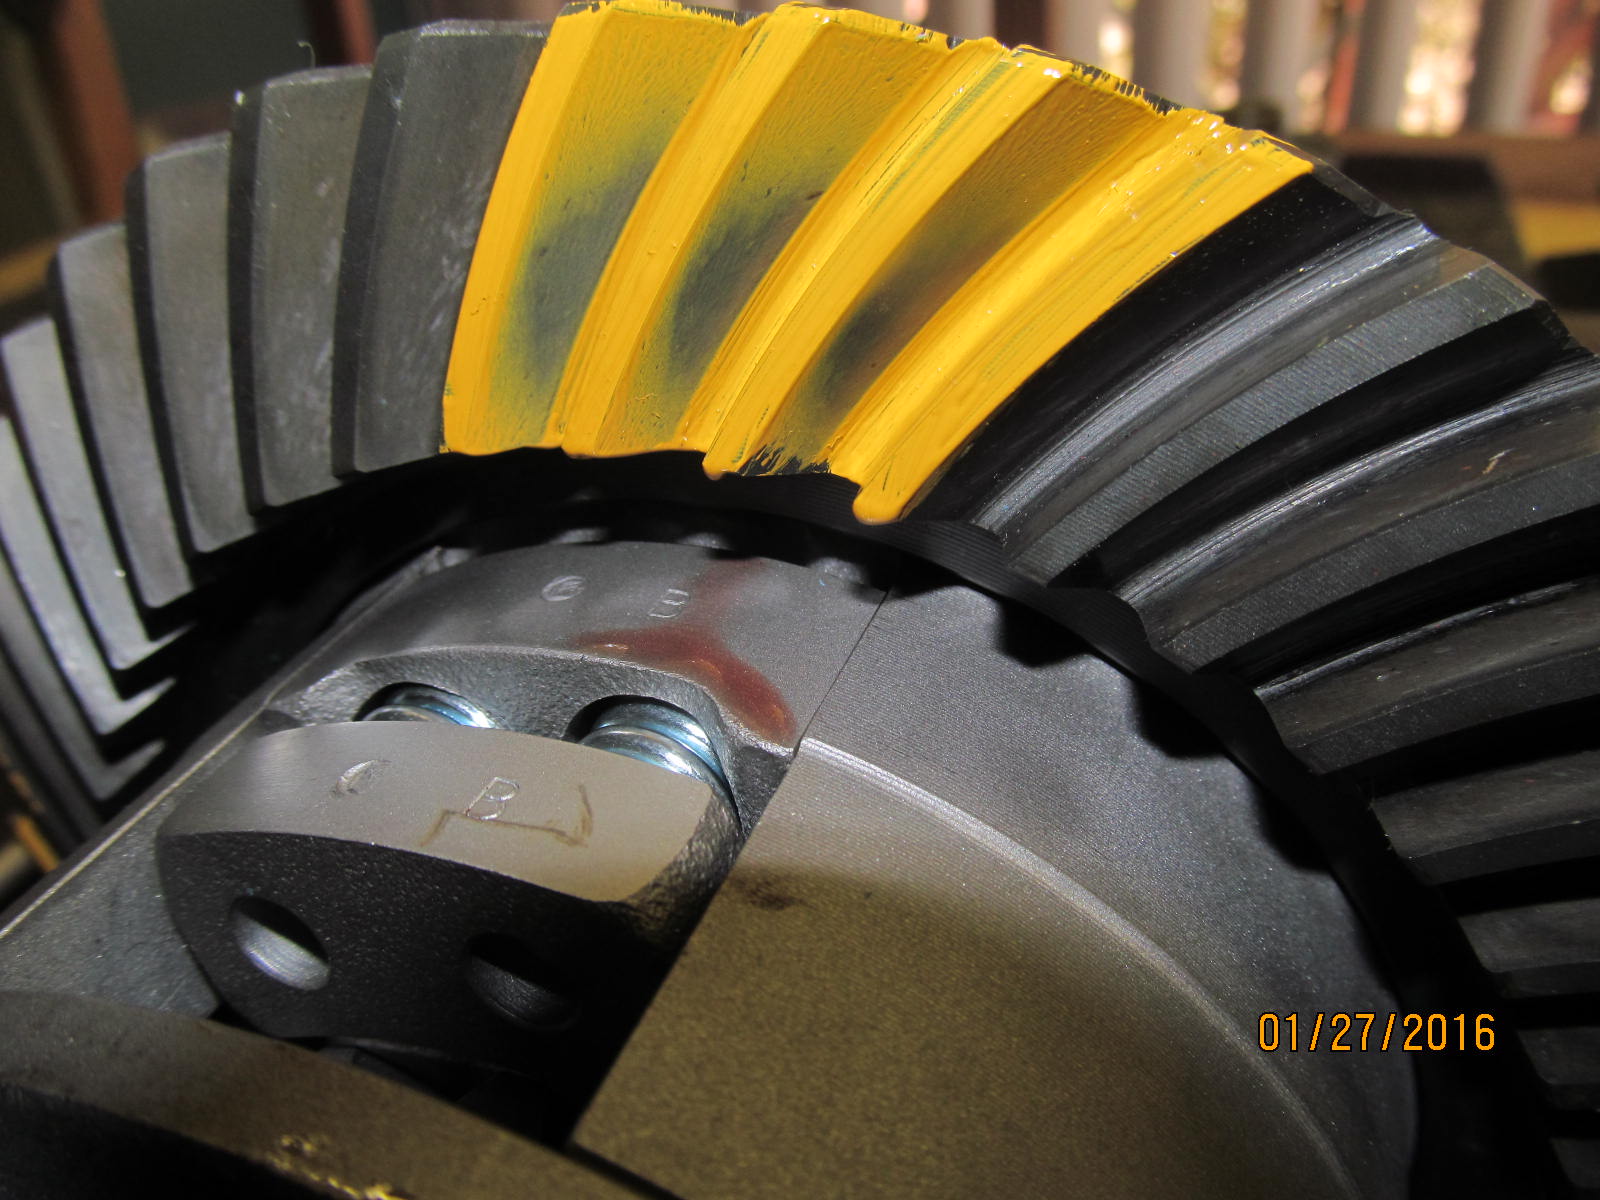
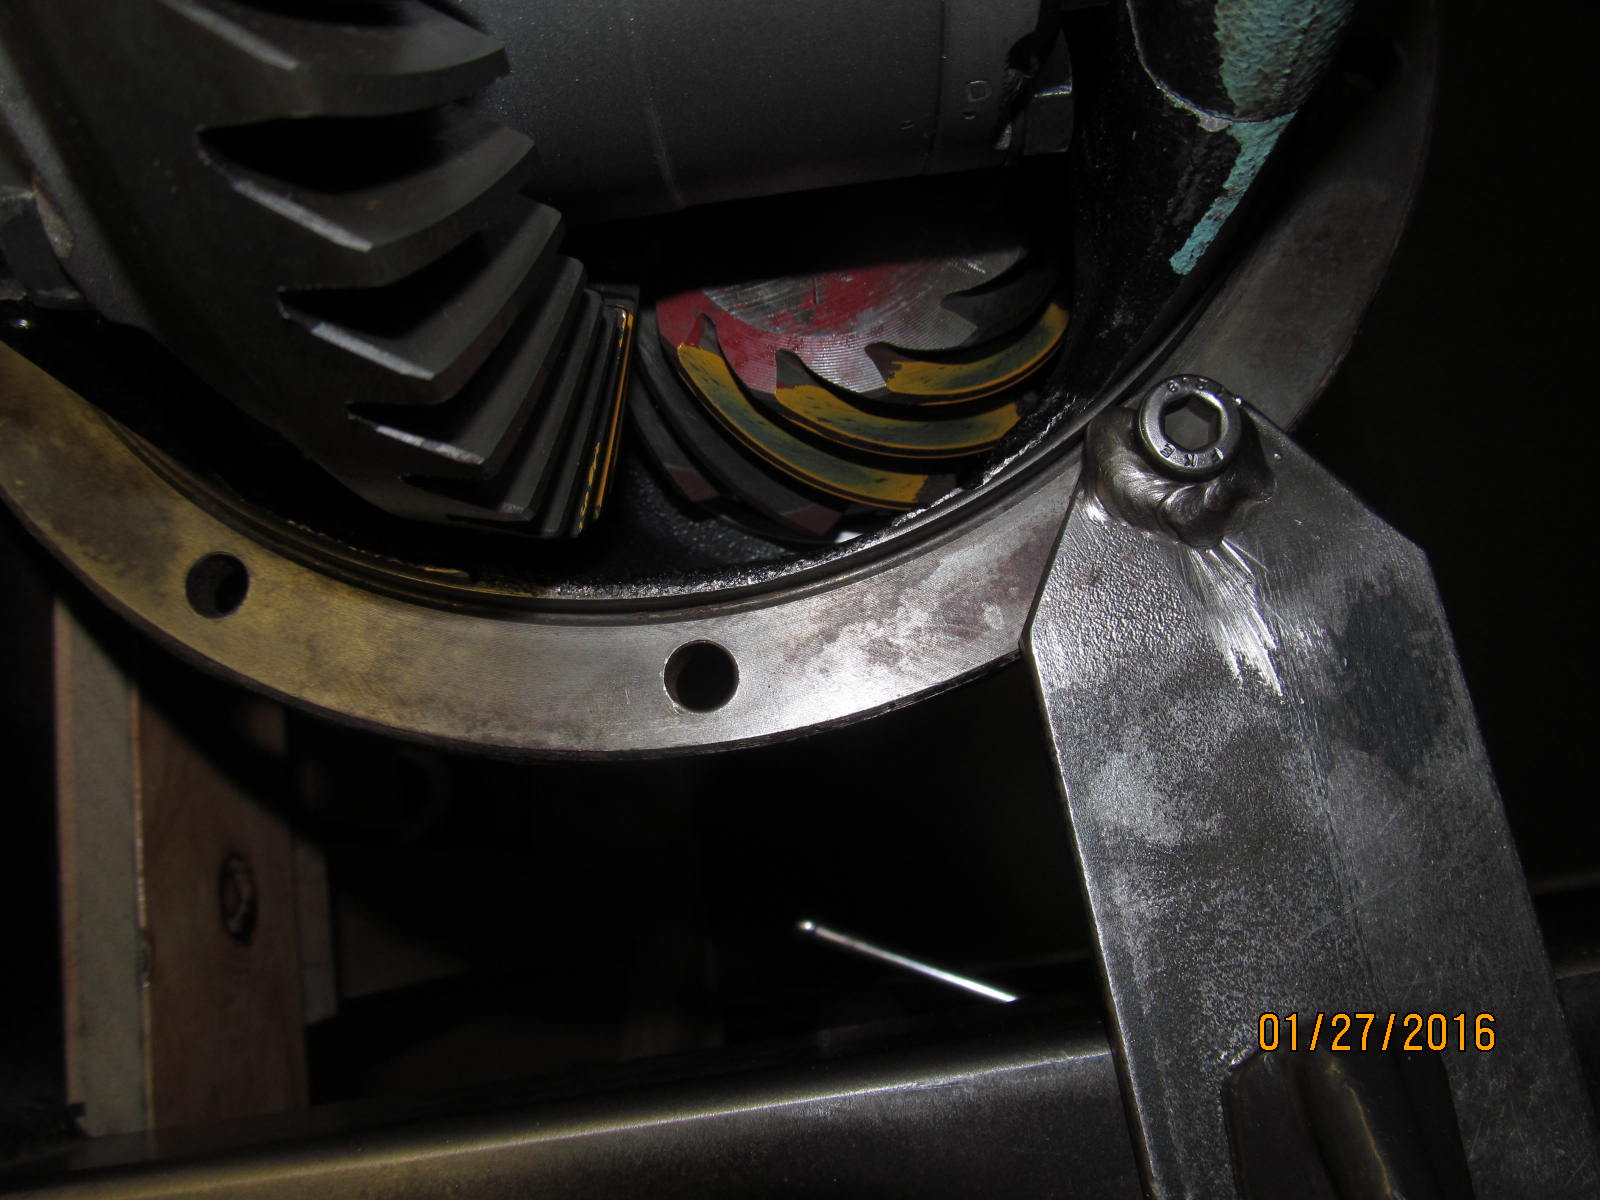
Excellent. Nice resultant drive pattern.
|
|
|
|
|
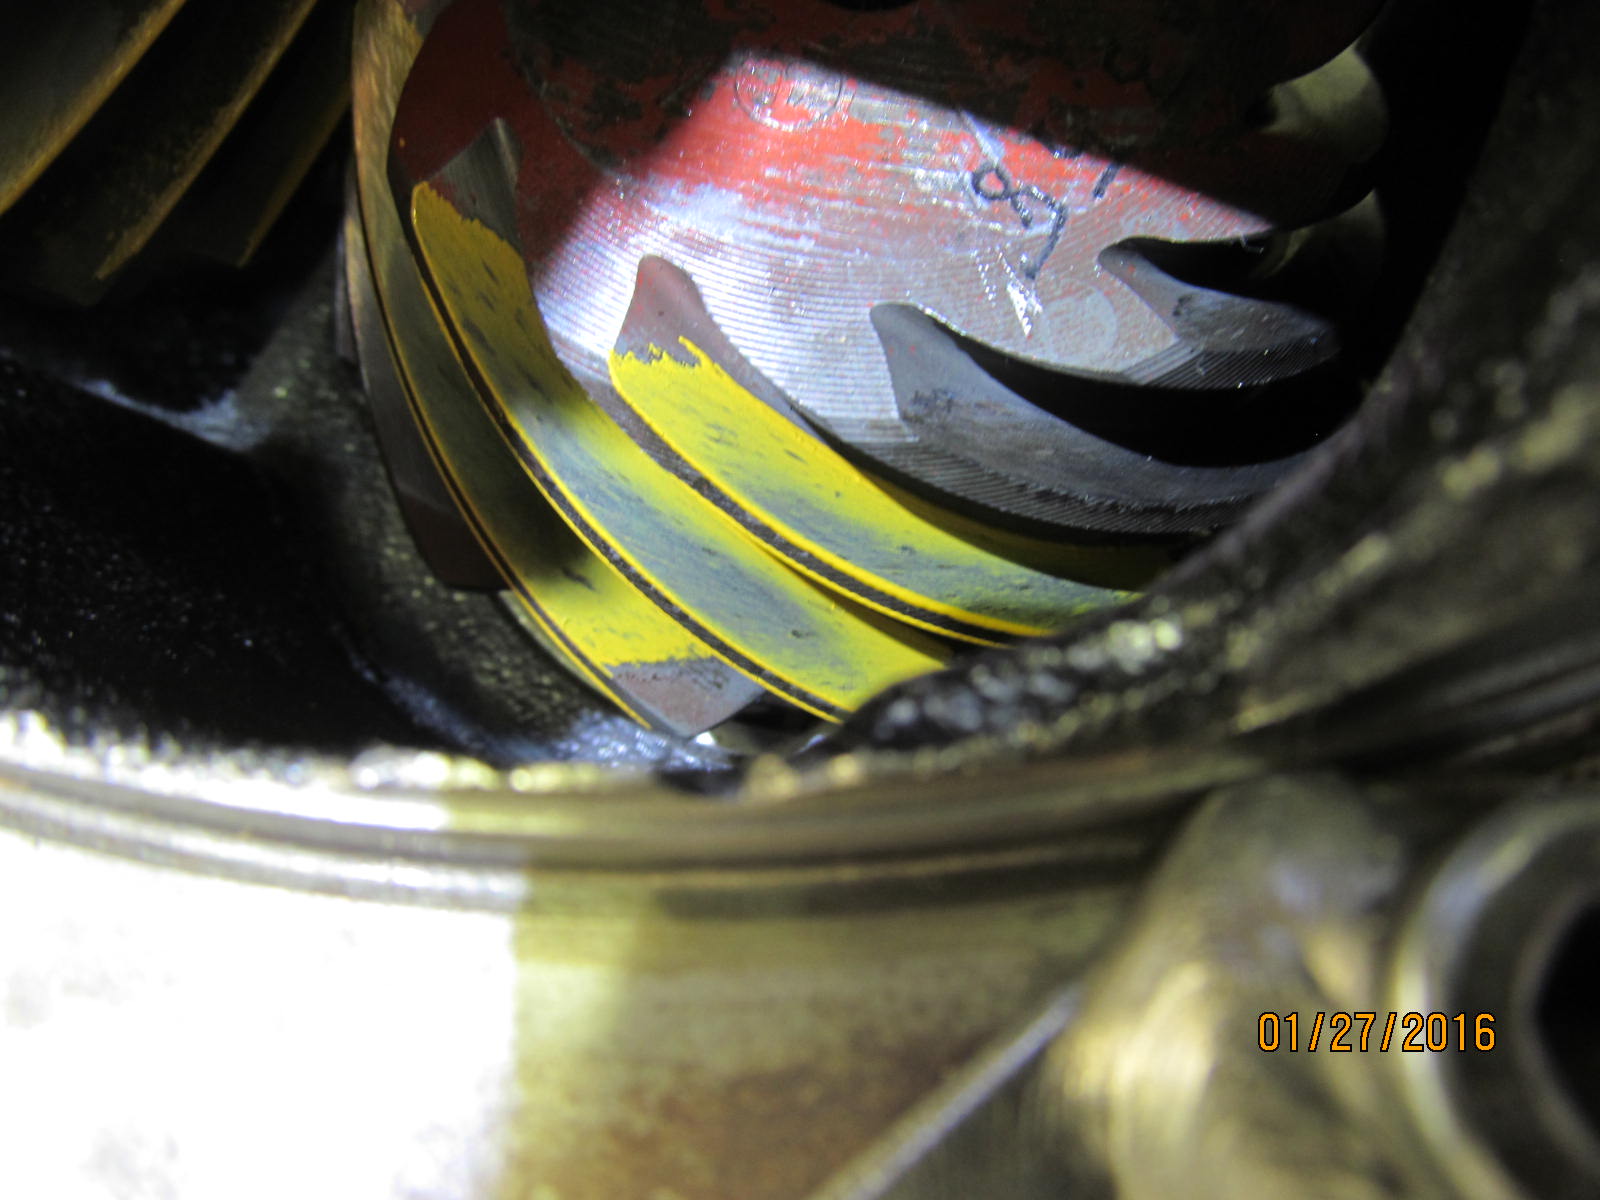
Coast is beautiful.
|
|
|
|
|
Comet tail is right in the middle.
|
|
|
|
|
=========================
|
|
|
|
|
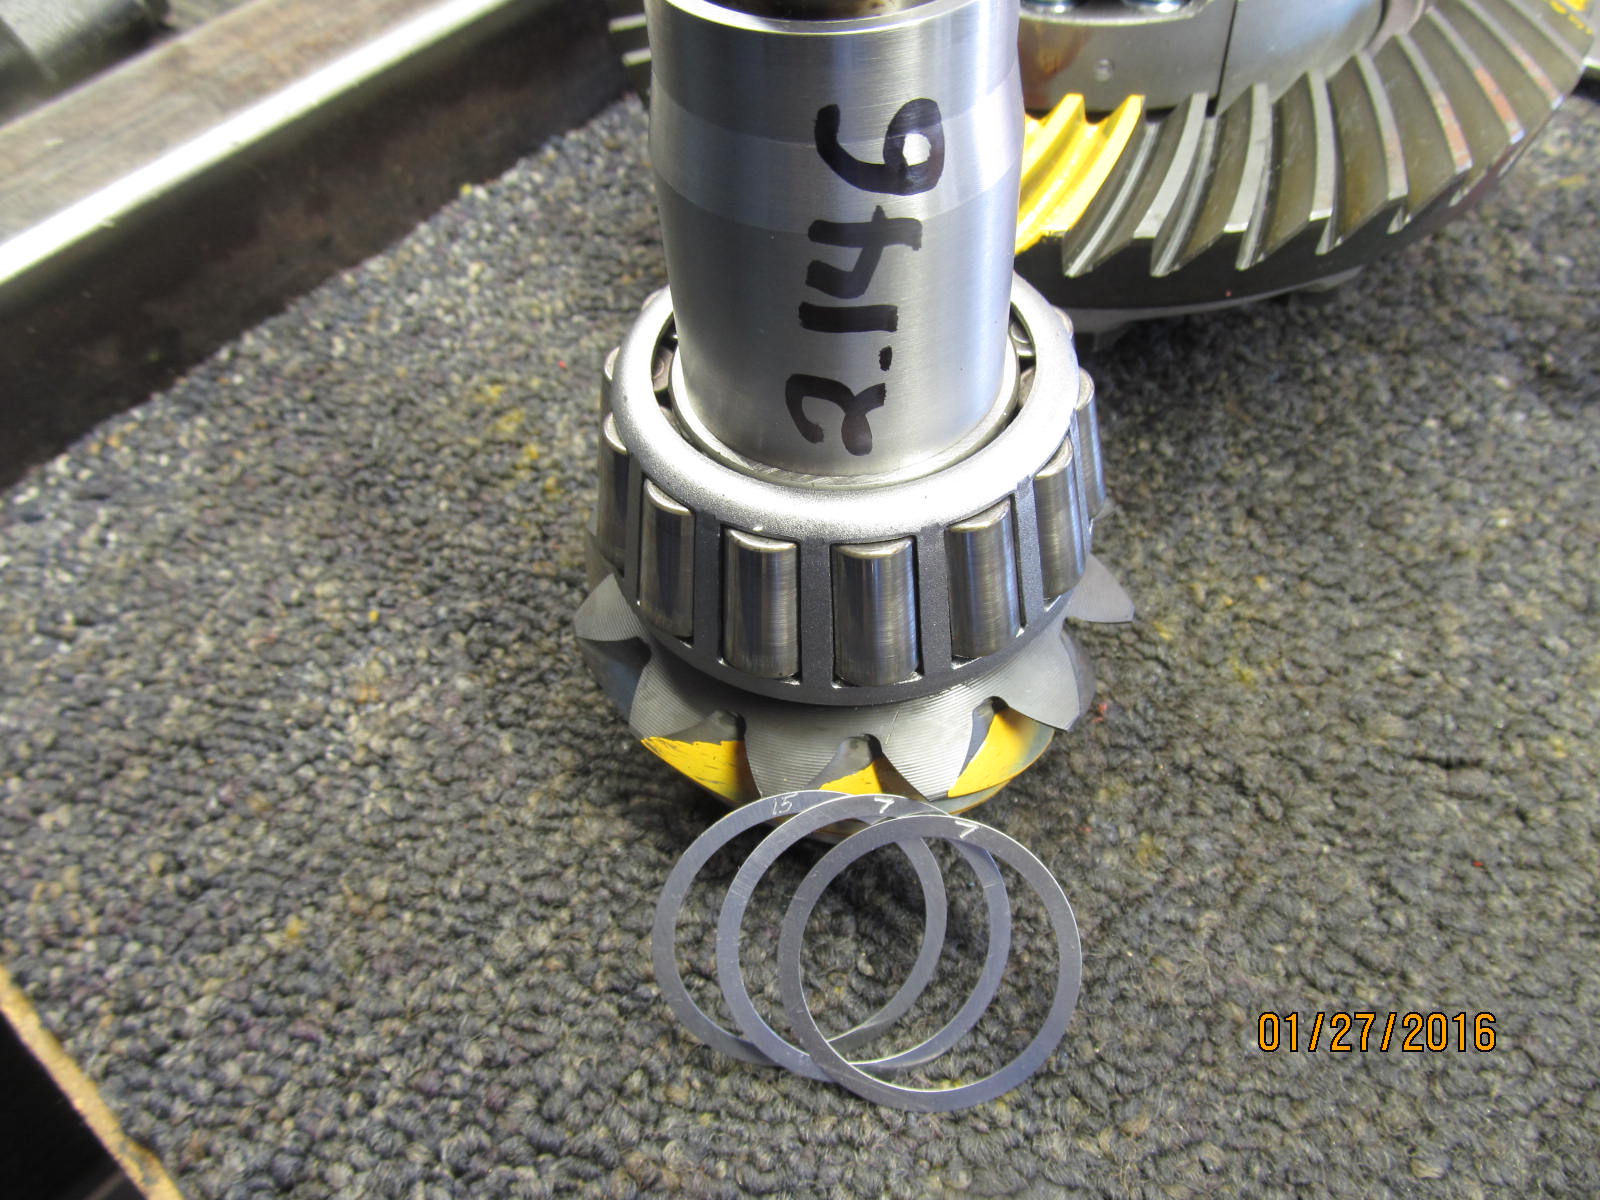
Dis-assemble and put the high quality solid collar in this time.
|
|
|
|
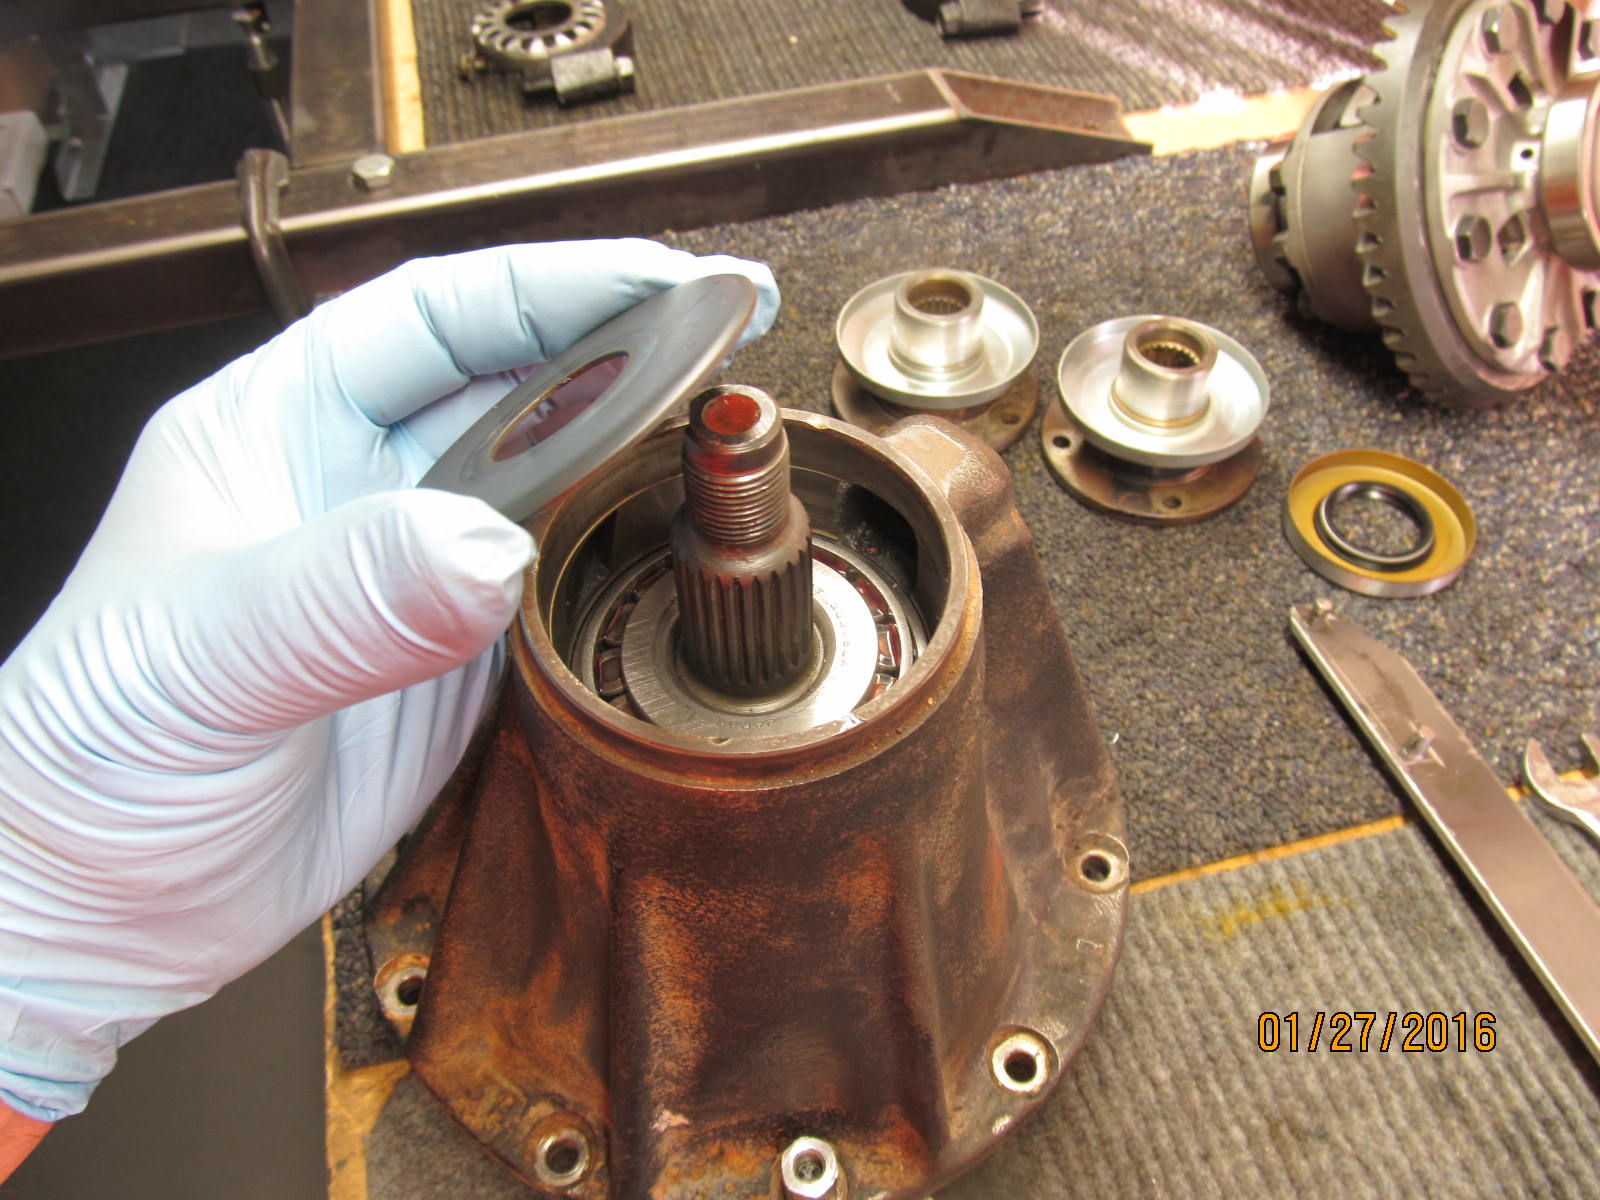
On the 4th try, the solid collar was shimmed precisely. Final lube of the pinion bearings and put
the splash guard in place.
|
|
|
|
|
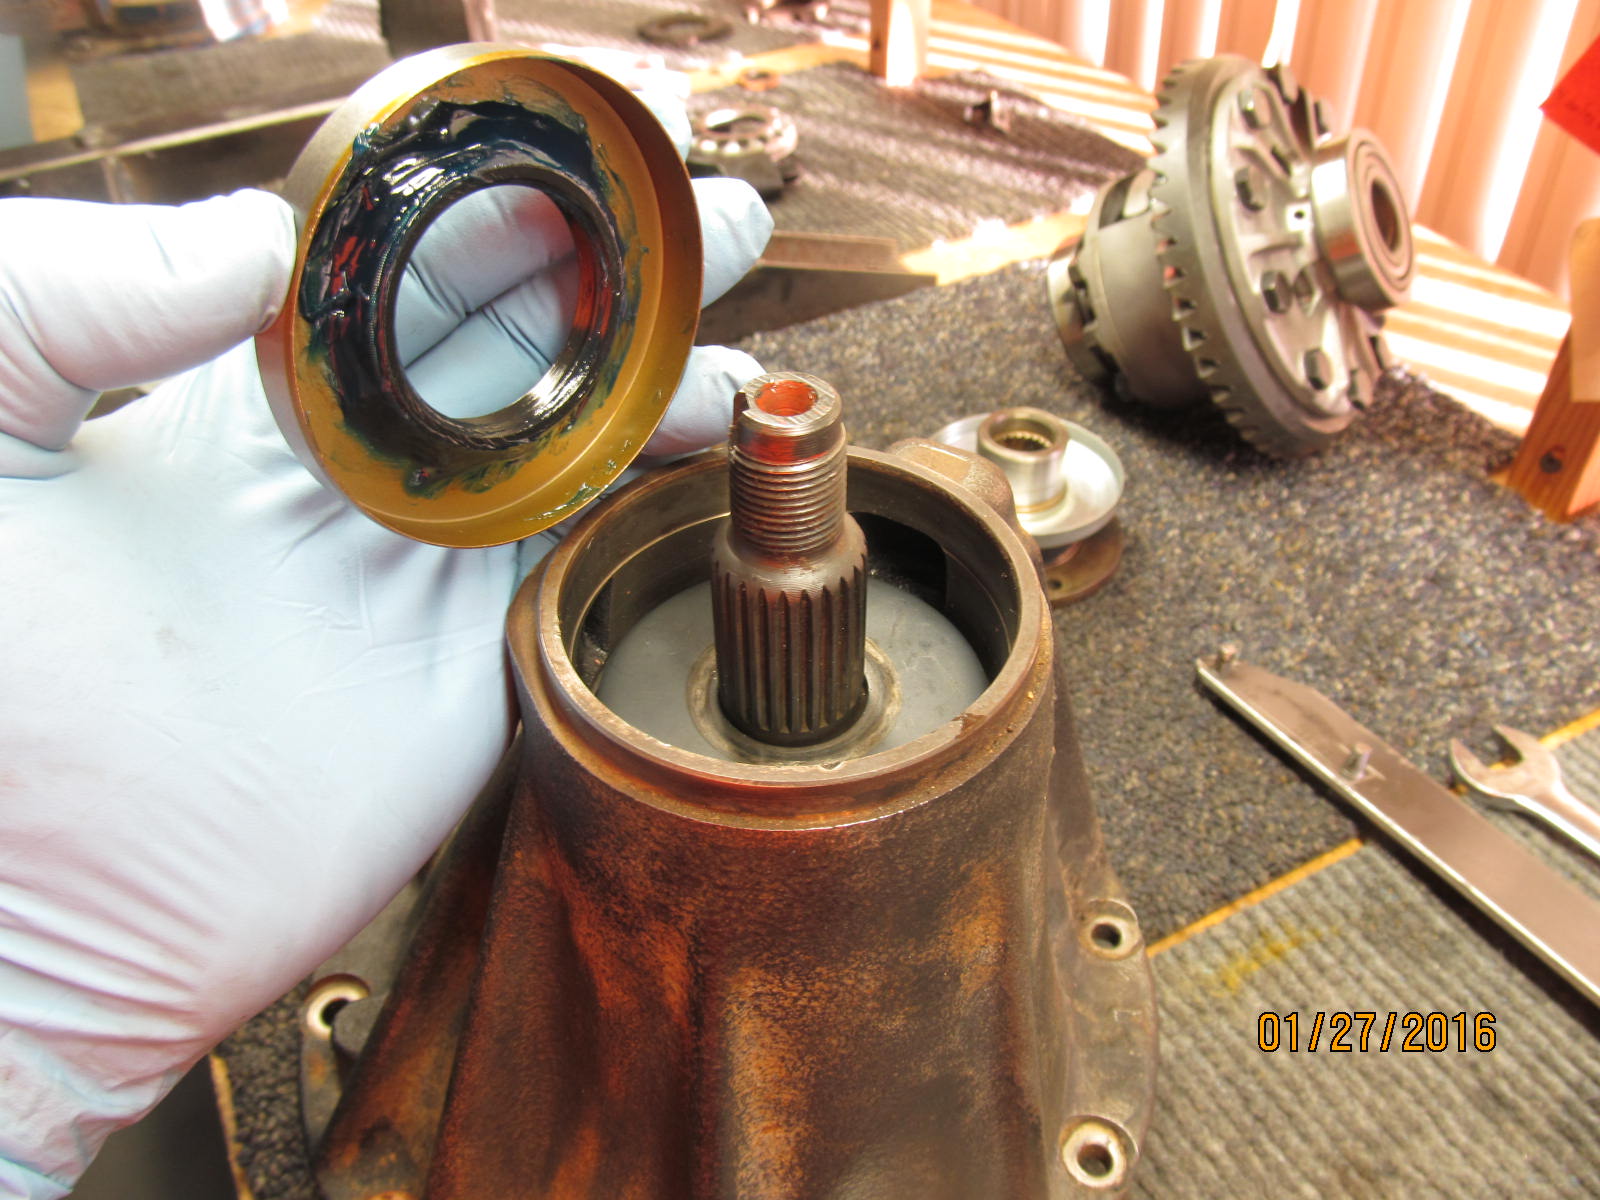
Install pinion seal.
|
|
|
|
|
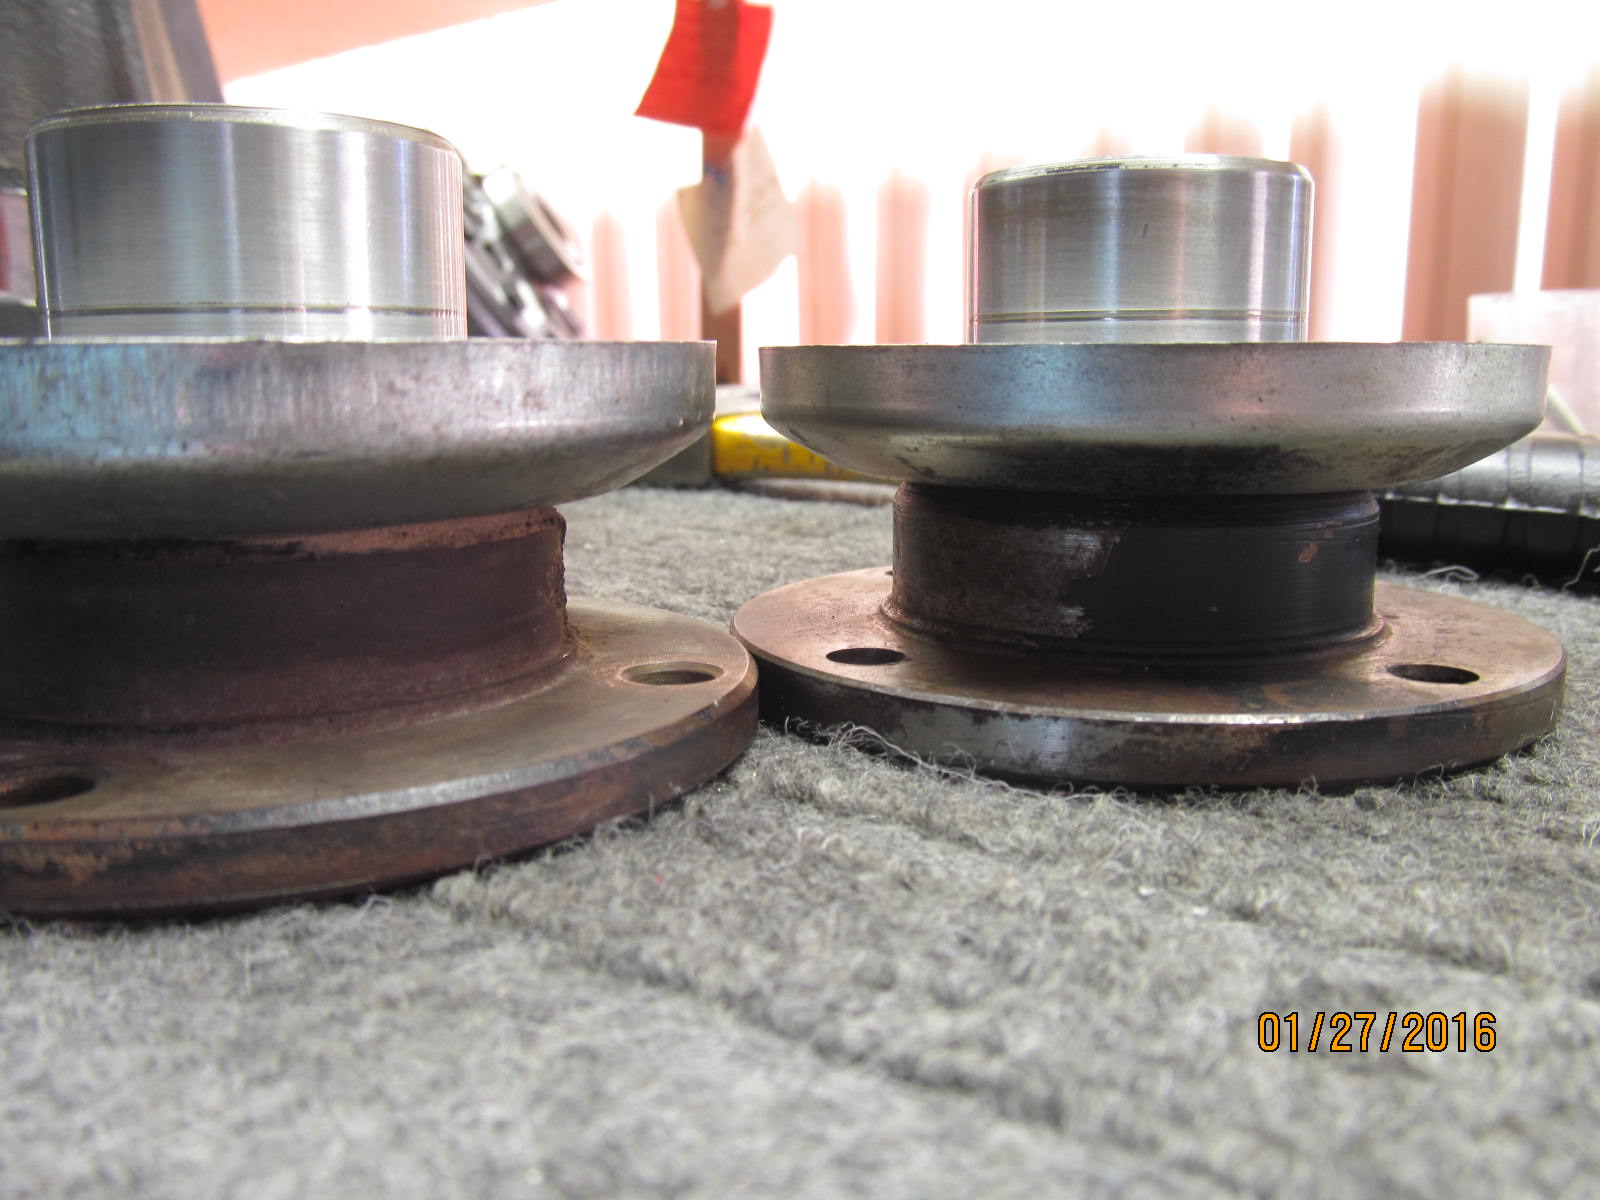
Tim supplied 2 flanges.
|
|
|
|
|
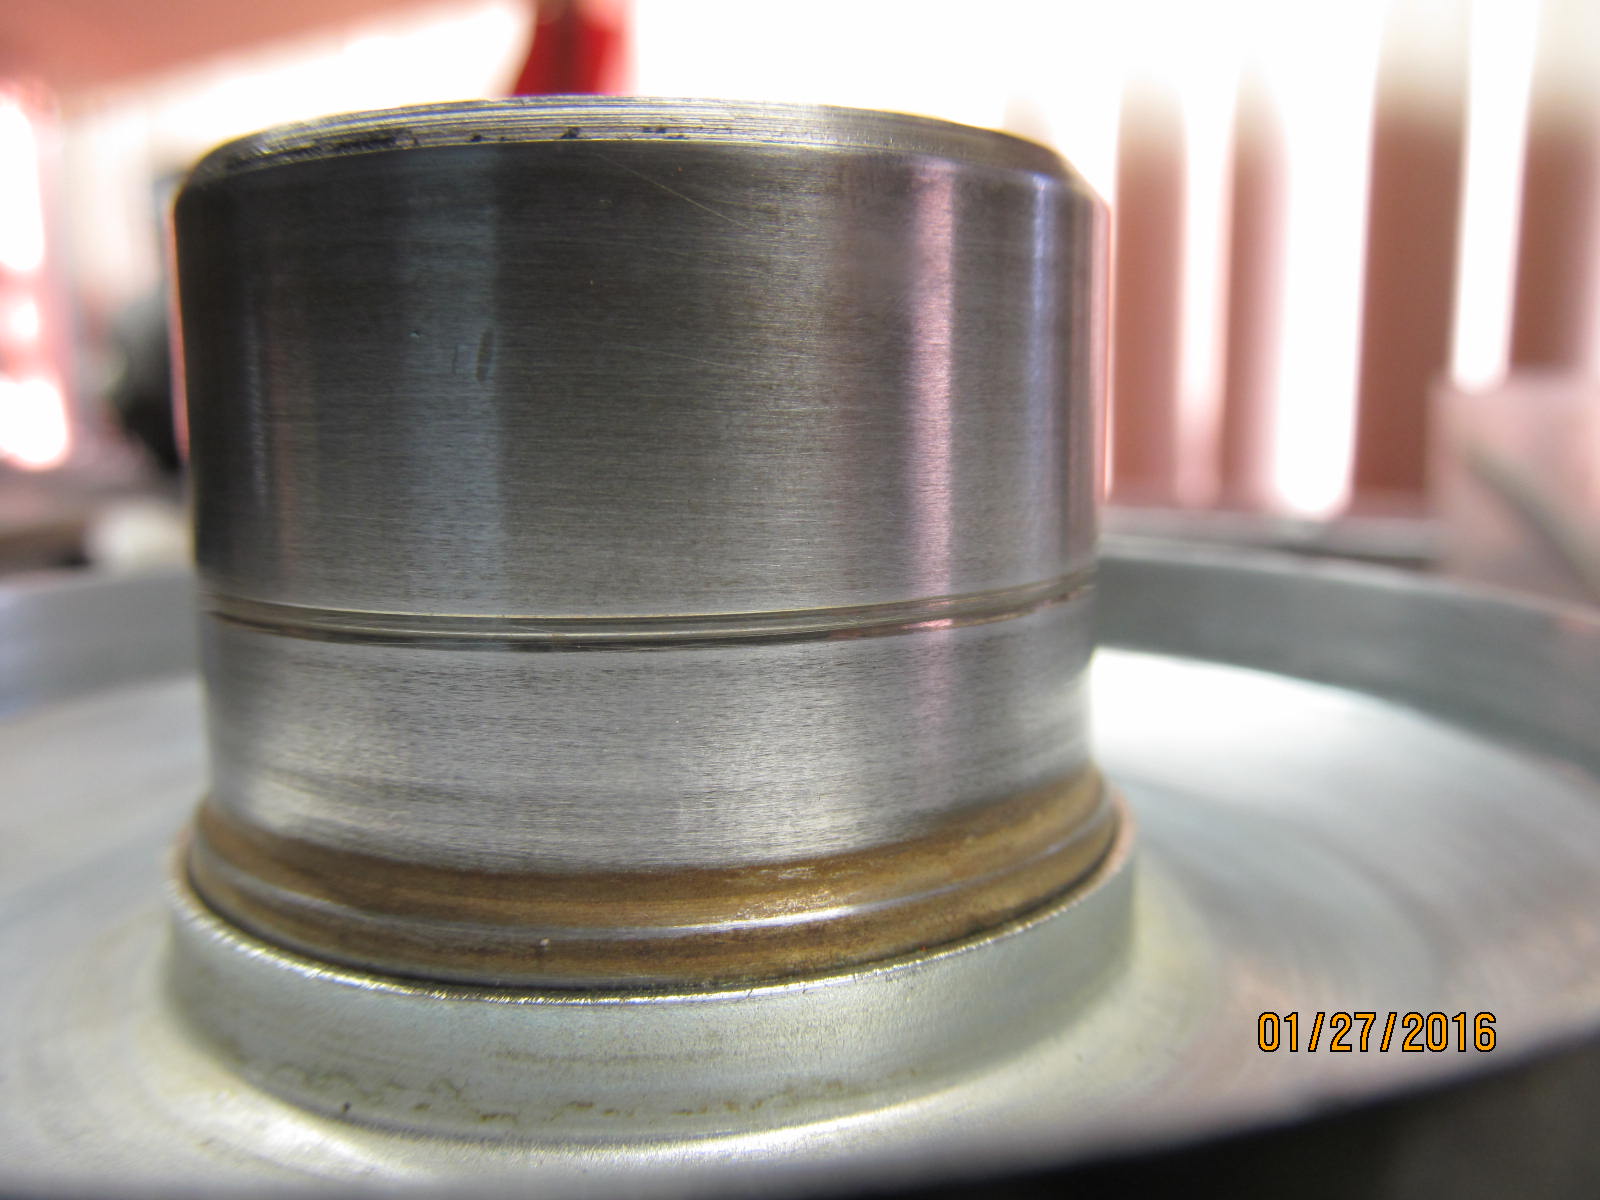
Close examination of this one shows a groove.
|
|
|
|
|
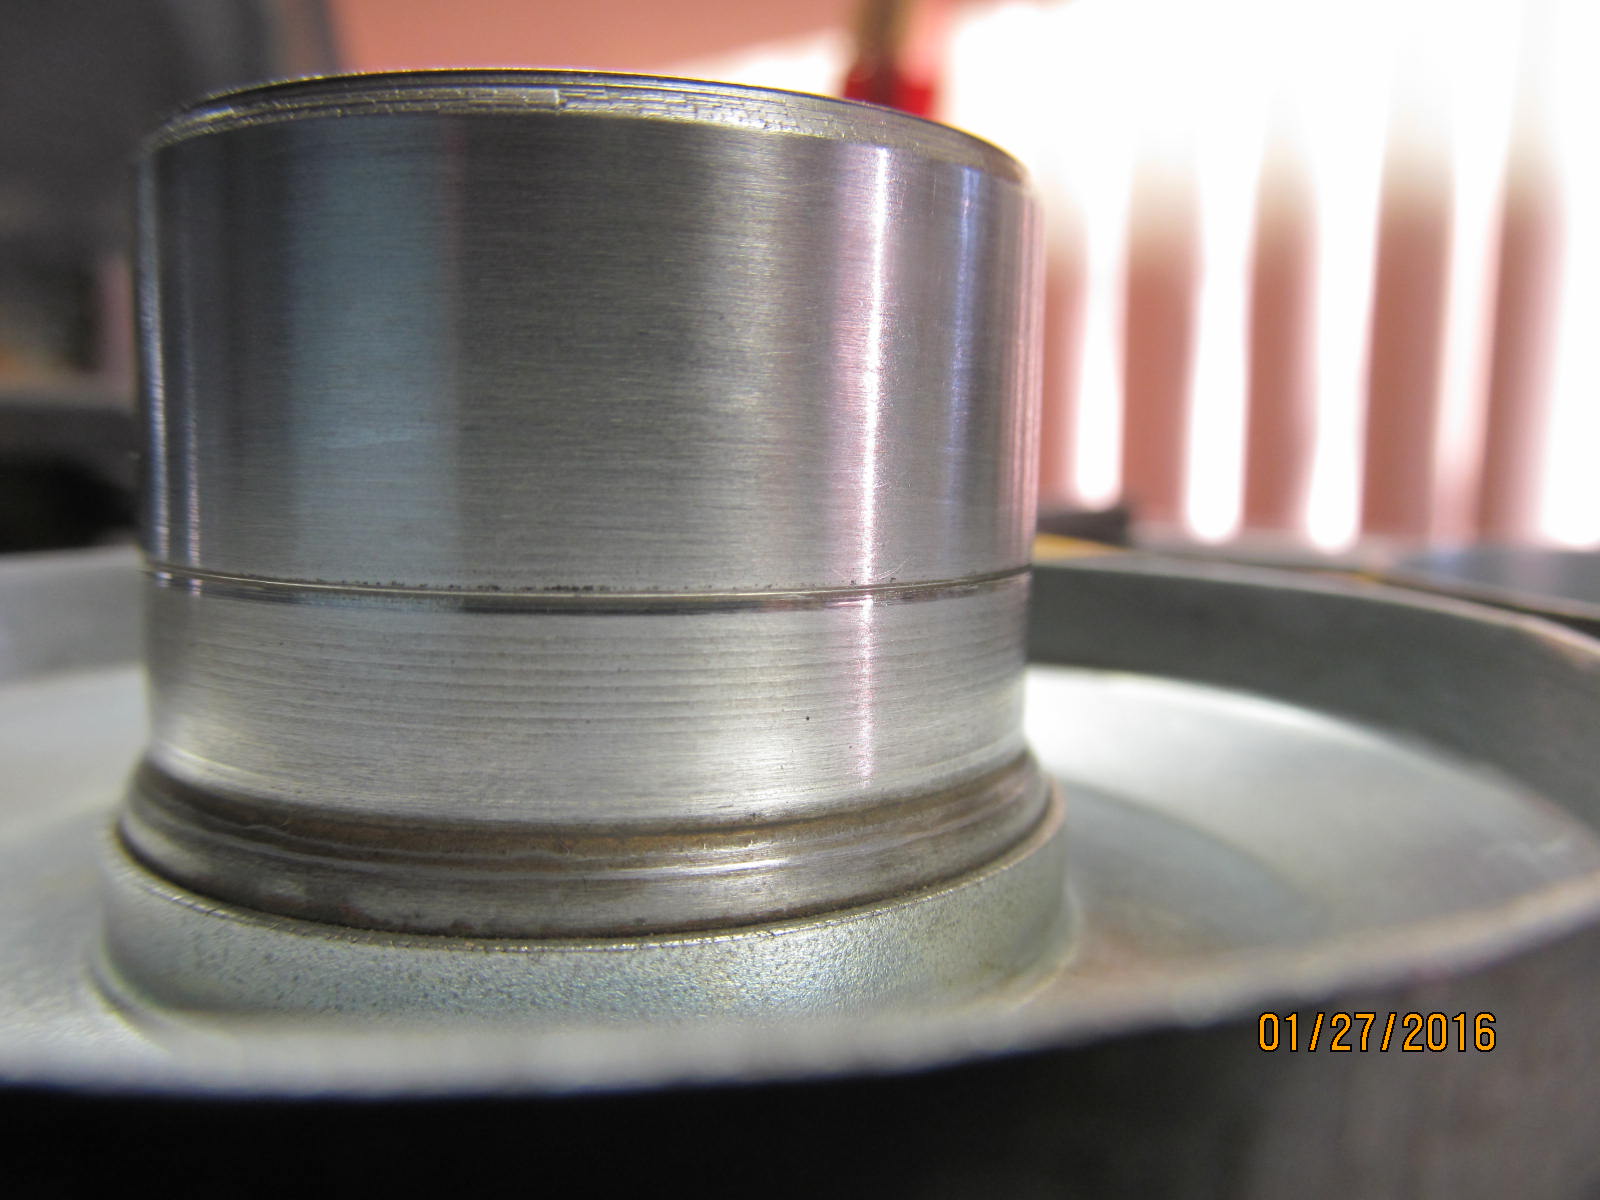
This one has a groove also but it's not as deep. This one is the choice one.
|
|
|
|
|
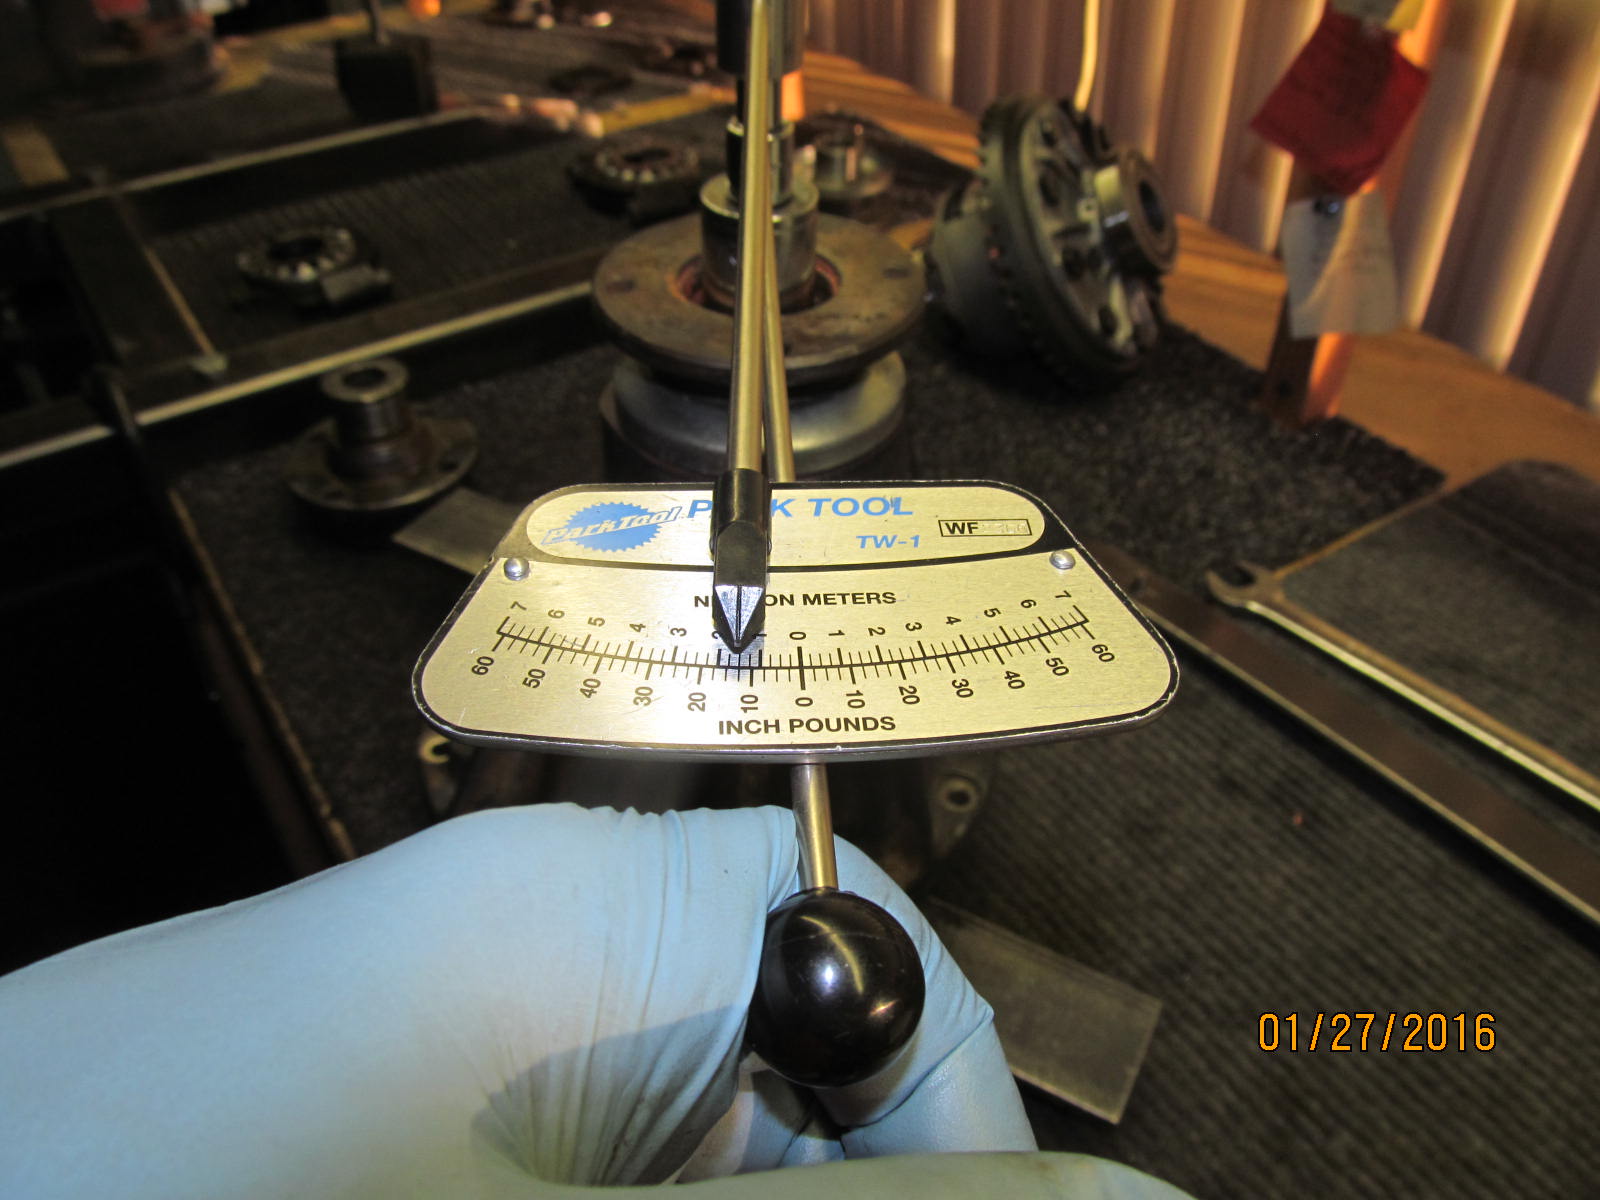
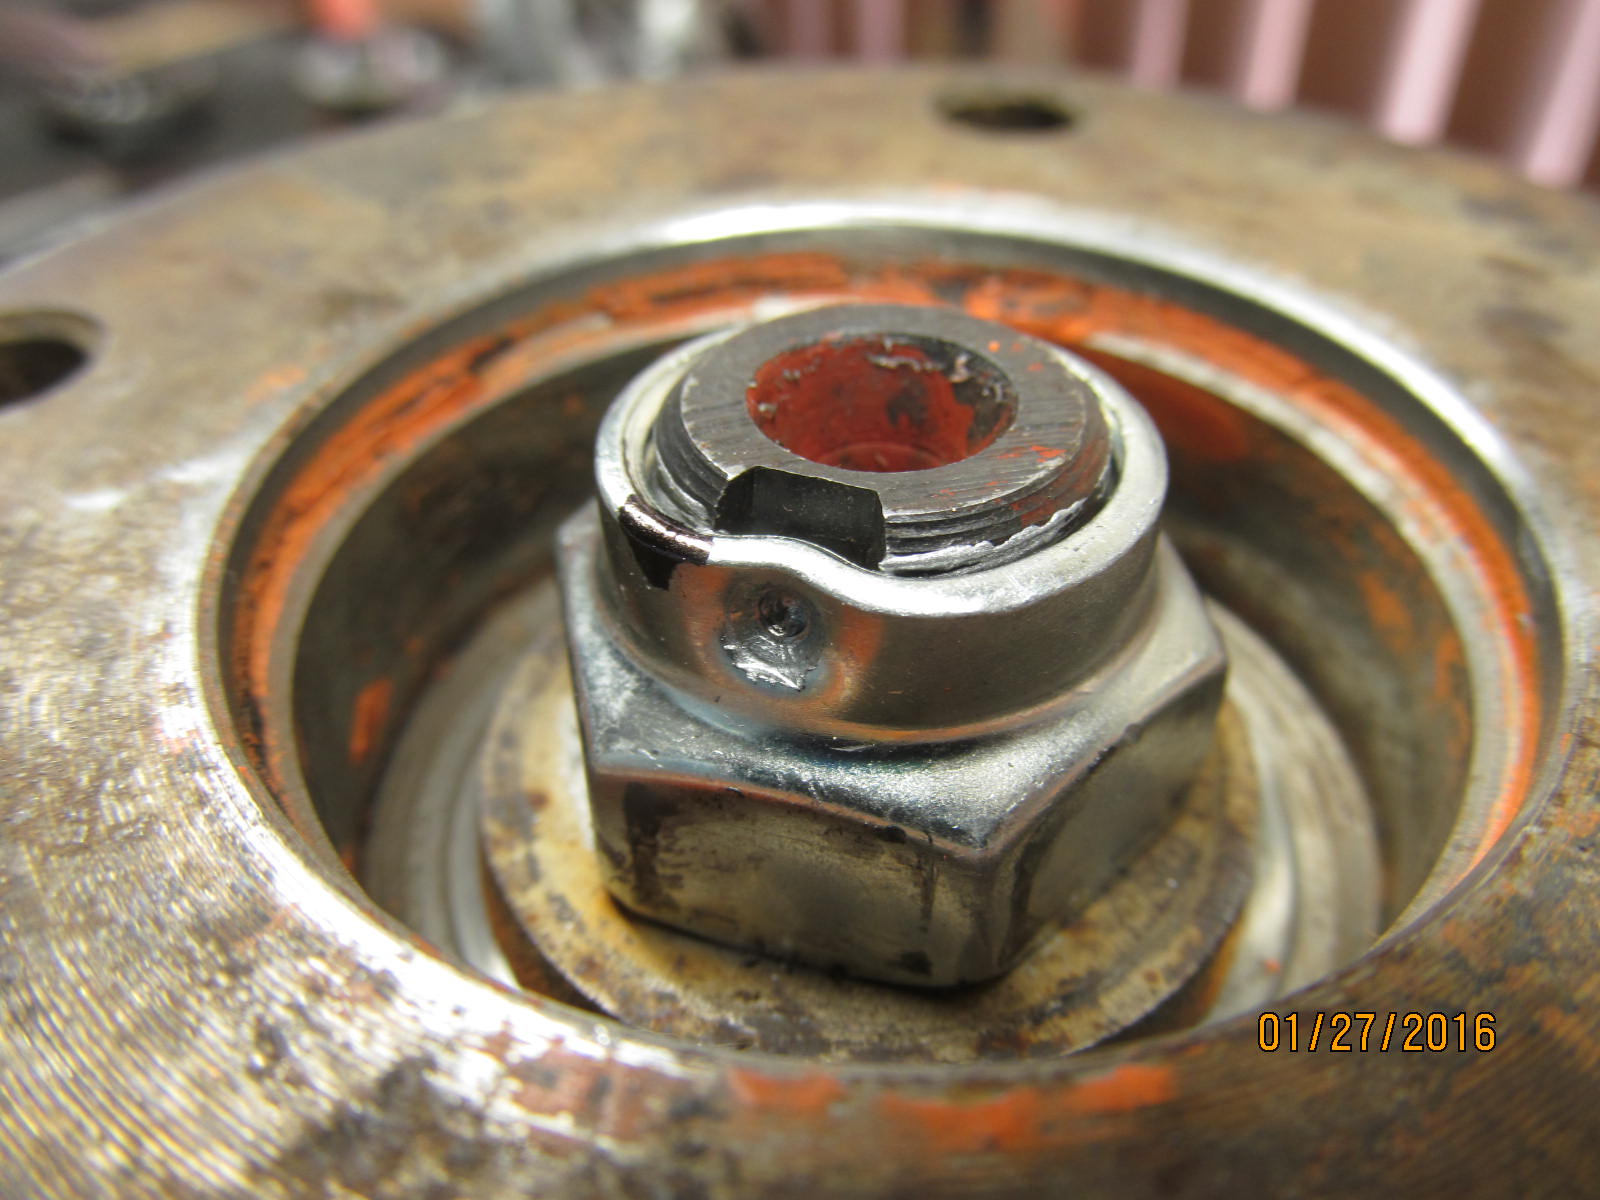
Pinion nut was cranked tight to 150 ft/lb. The PPL measured 12 in/lb start torque.
|
|
|
|
|
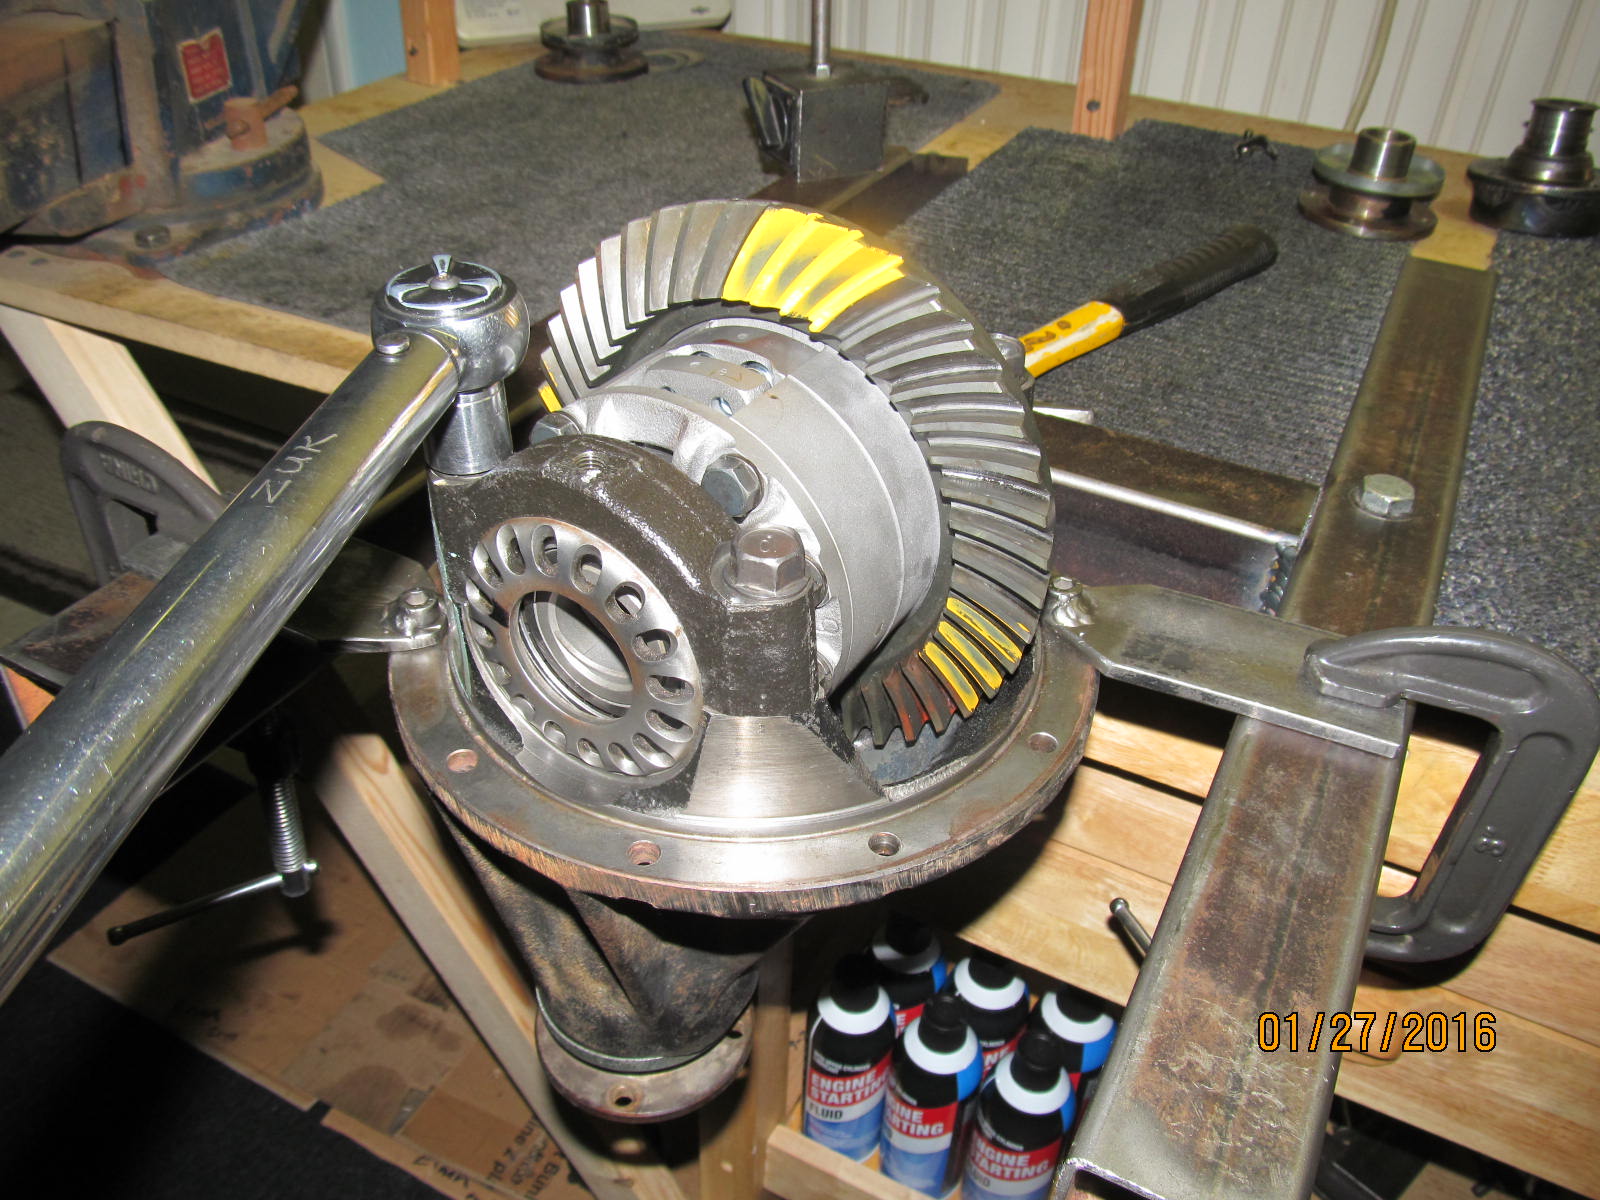
DING! and this end is officially complete.
|
|
|
|
|
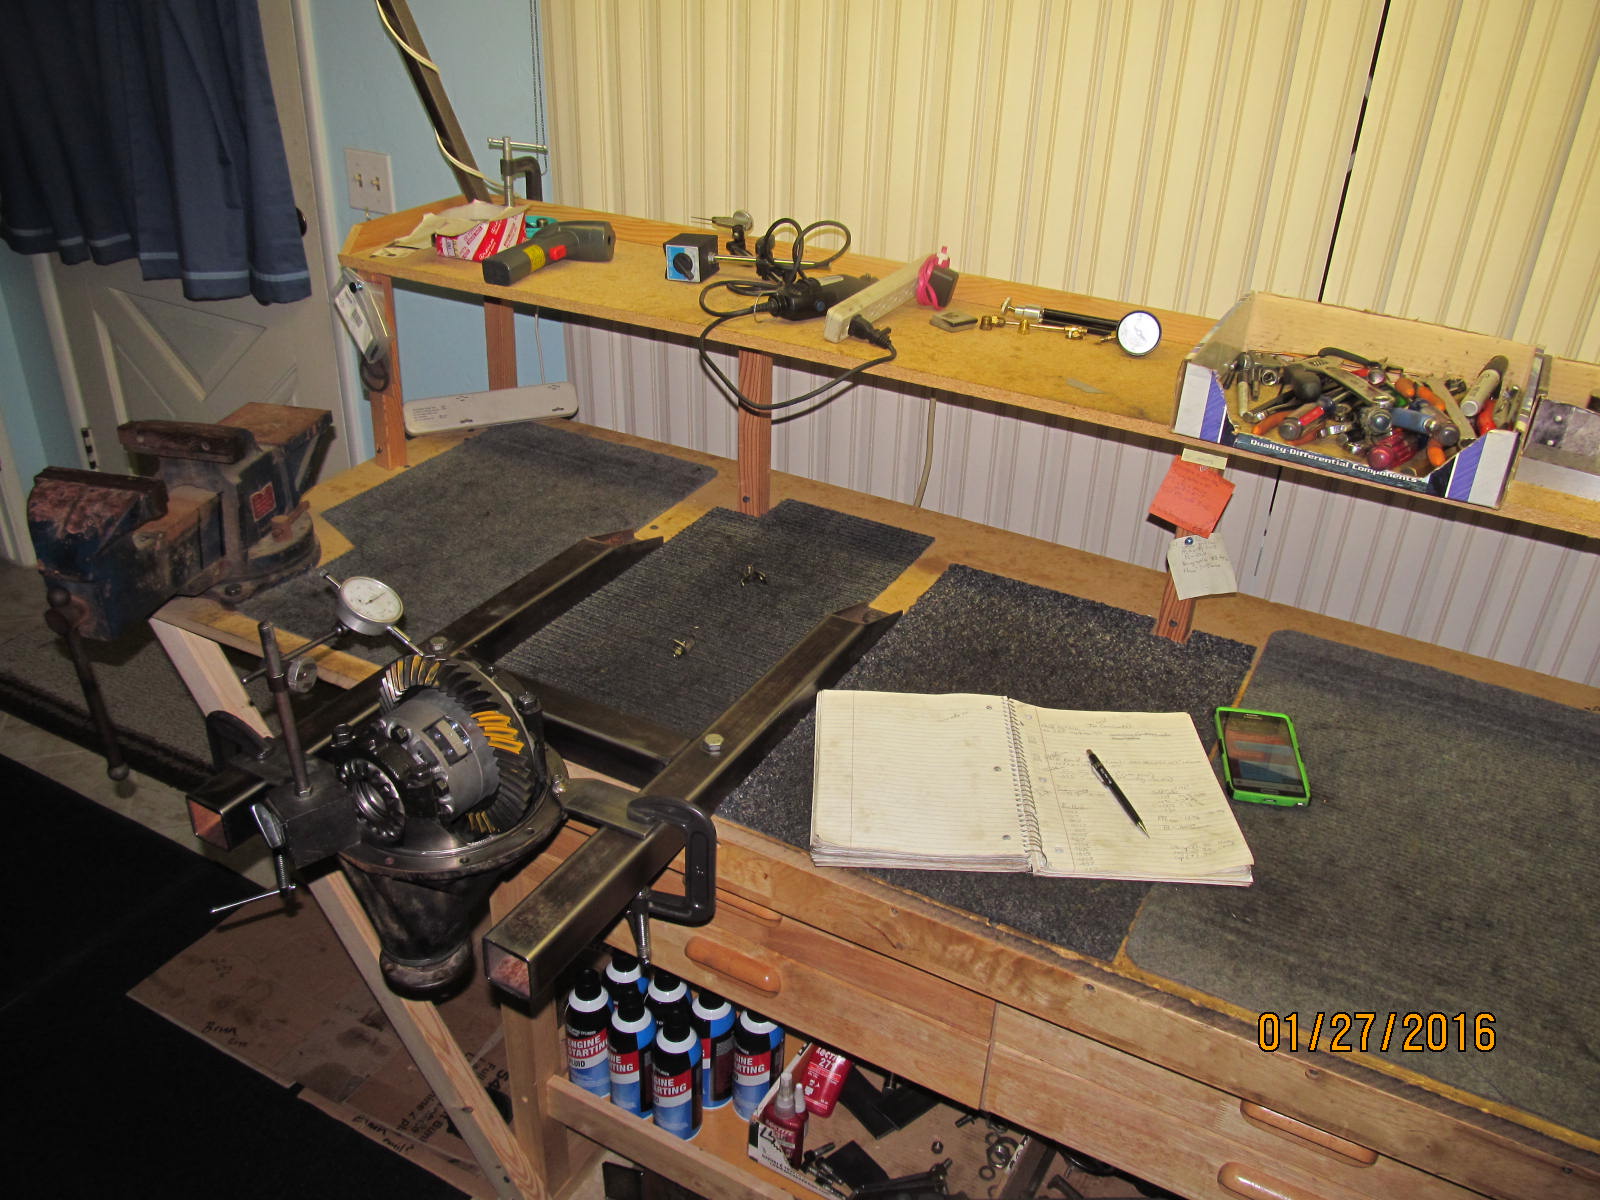
Bearing caps are verified to be in complete alignment with the wheel adjuster threads and tightened to 70 ft/lb.
|
|
|
|
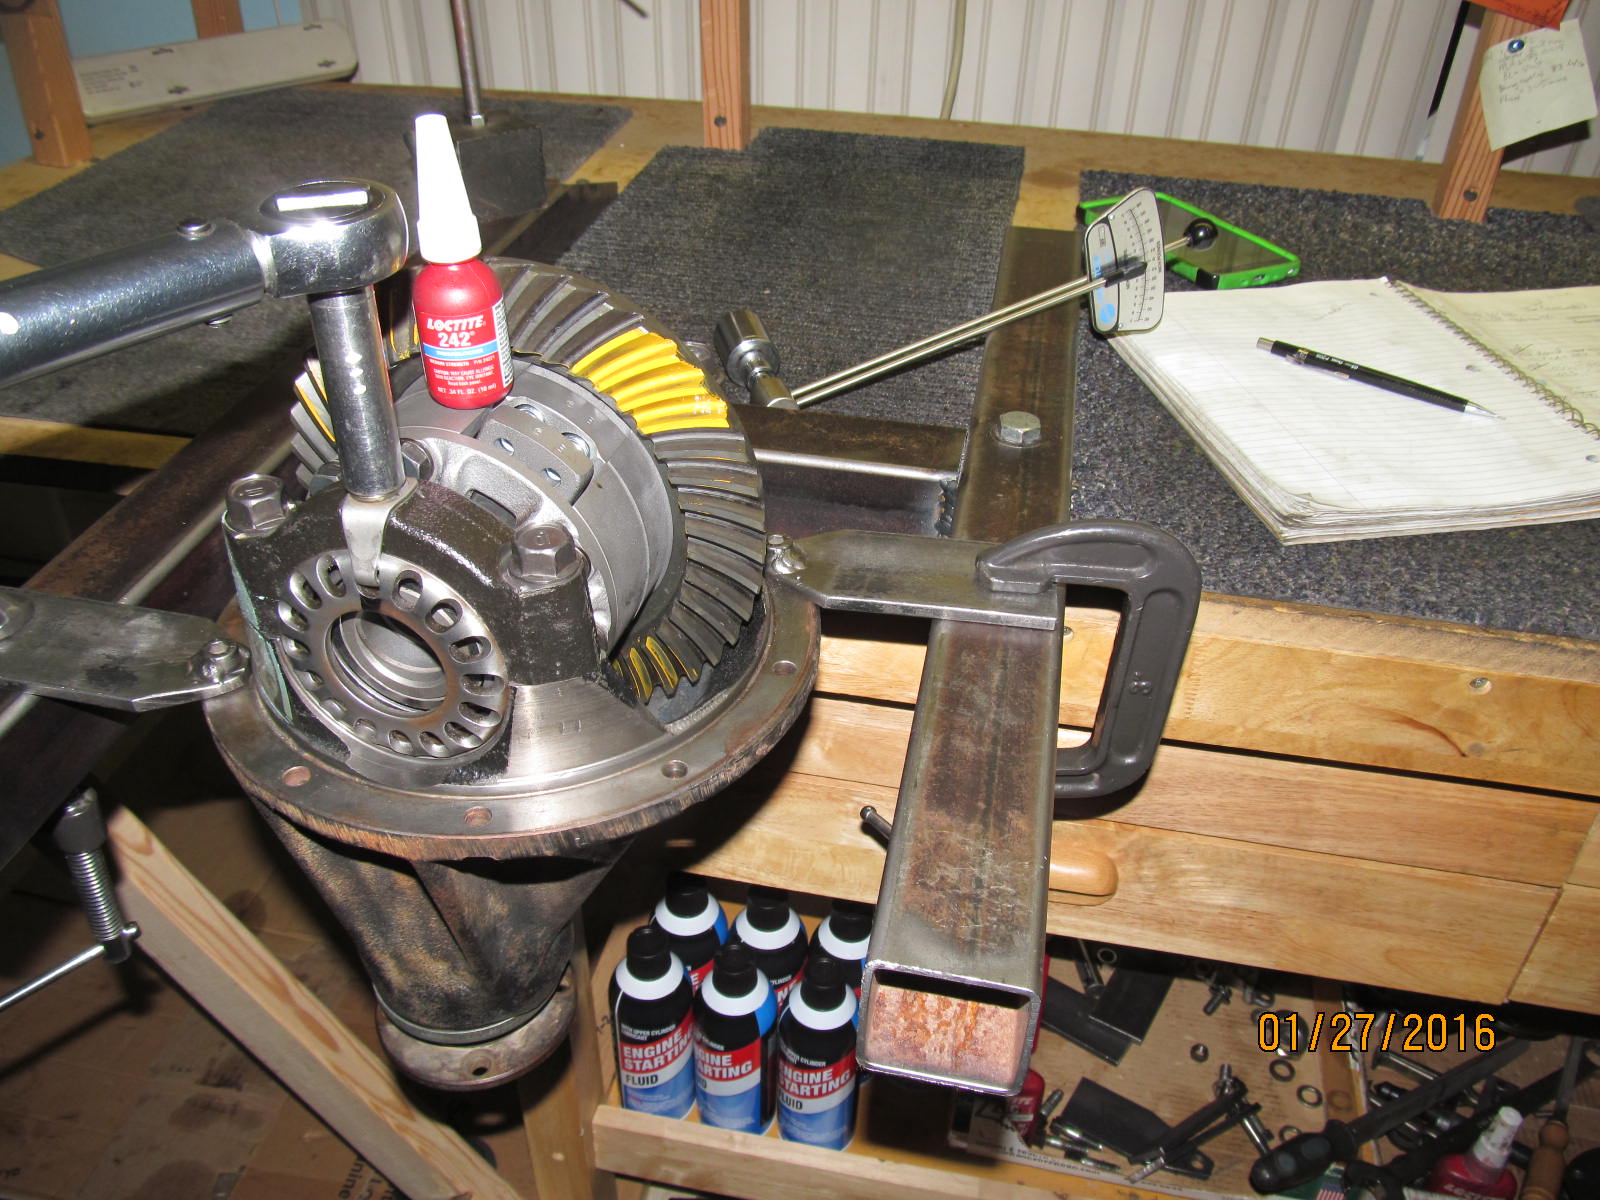
Backlash is measure on about every third tooth while, at the same time, assurring enough
carrier bearing pre-load.
|
|
|
|
|
Some blue and 10 ft/lb.
|
|
|
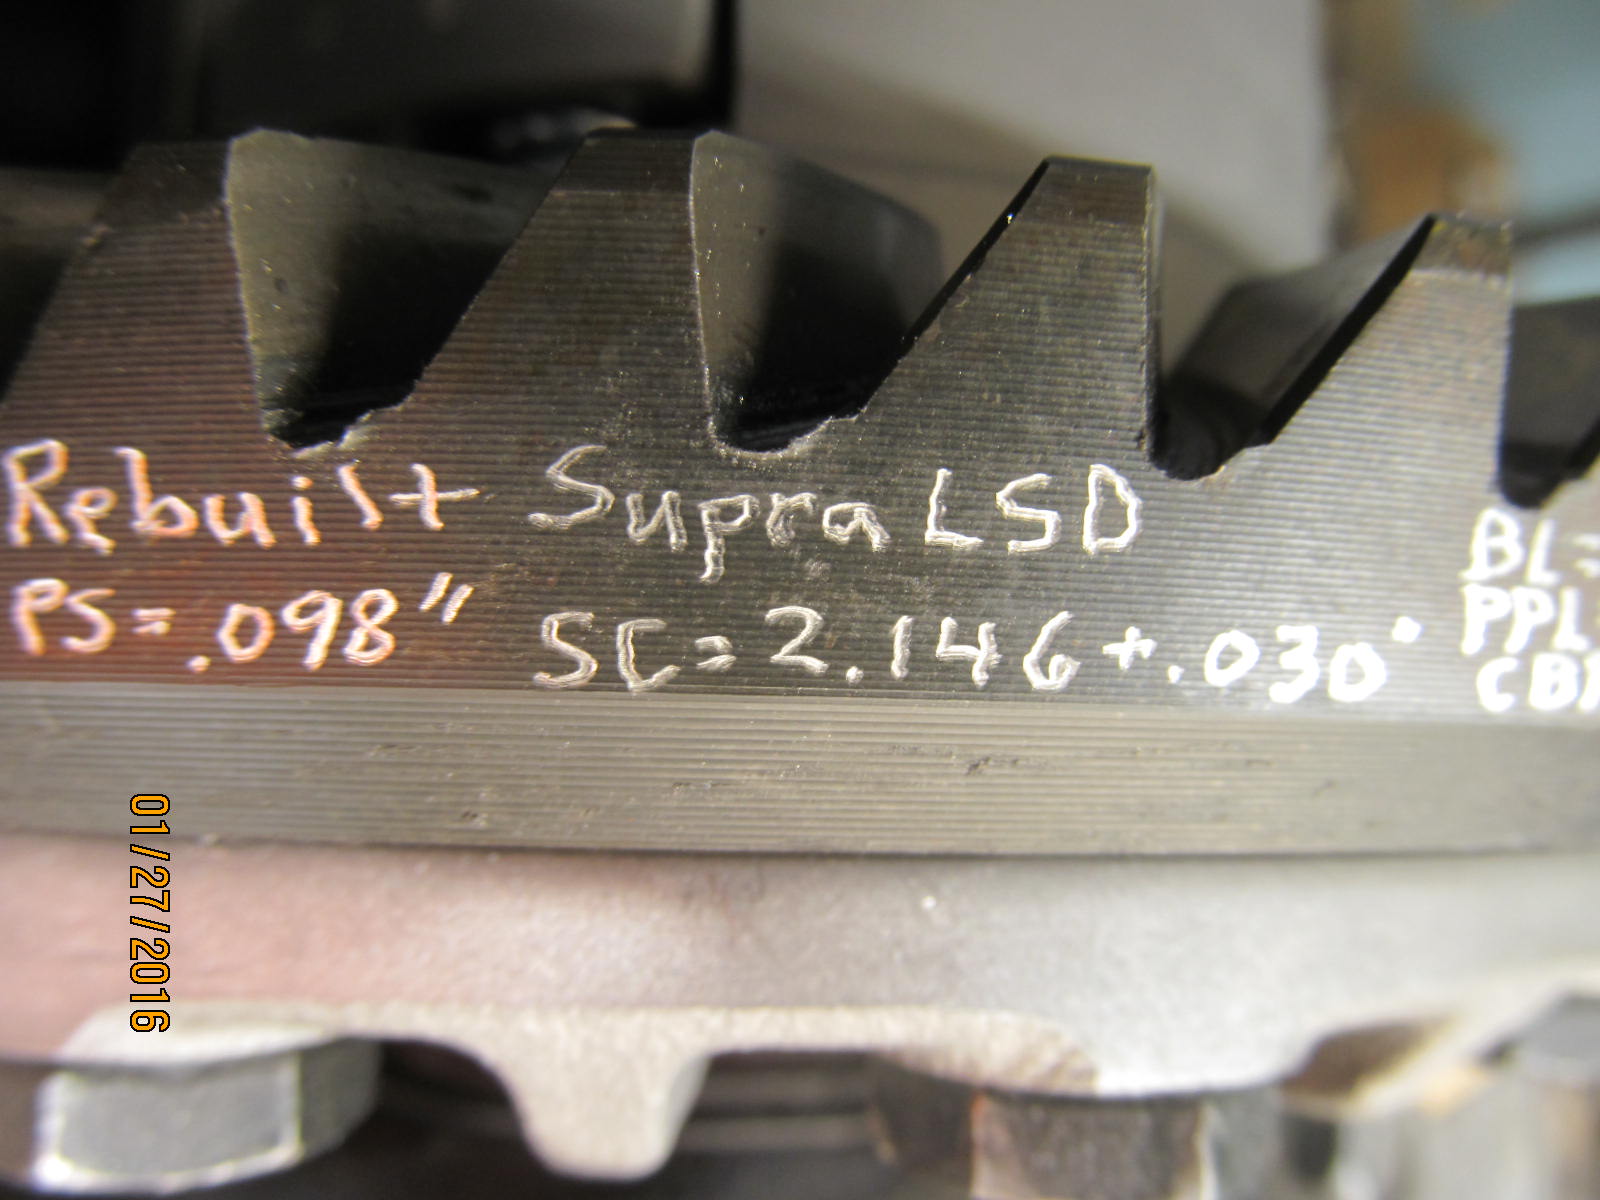
|
|
................
|
|
|
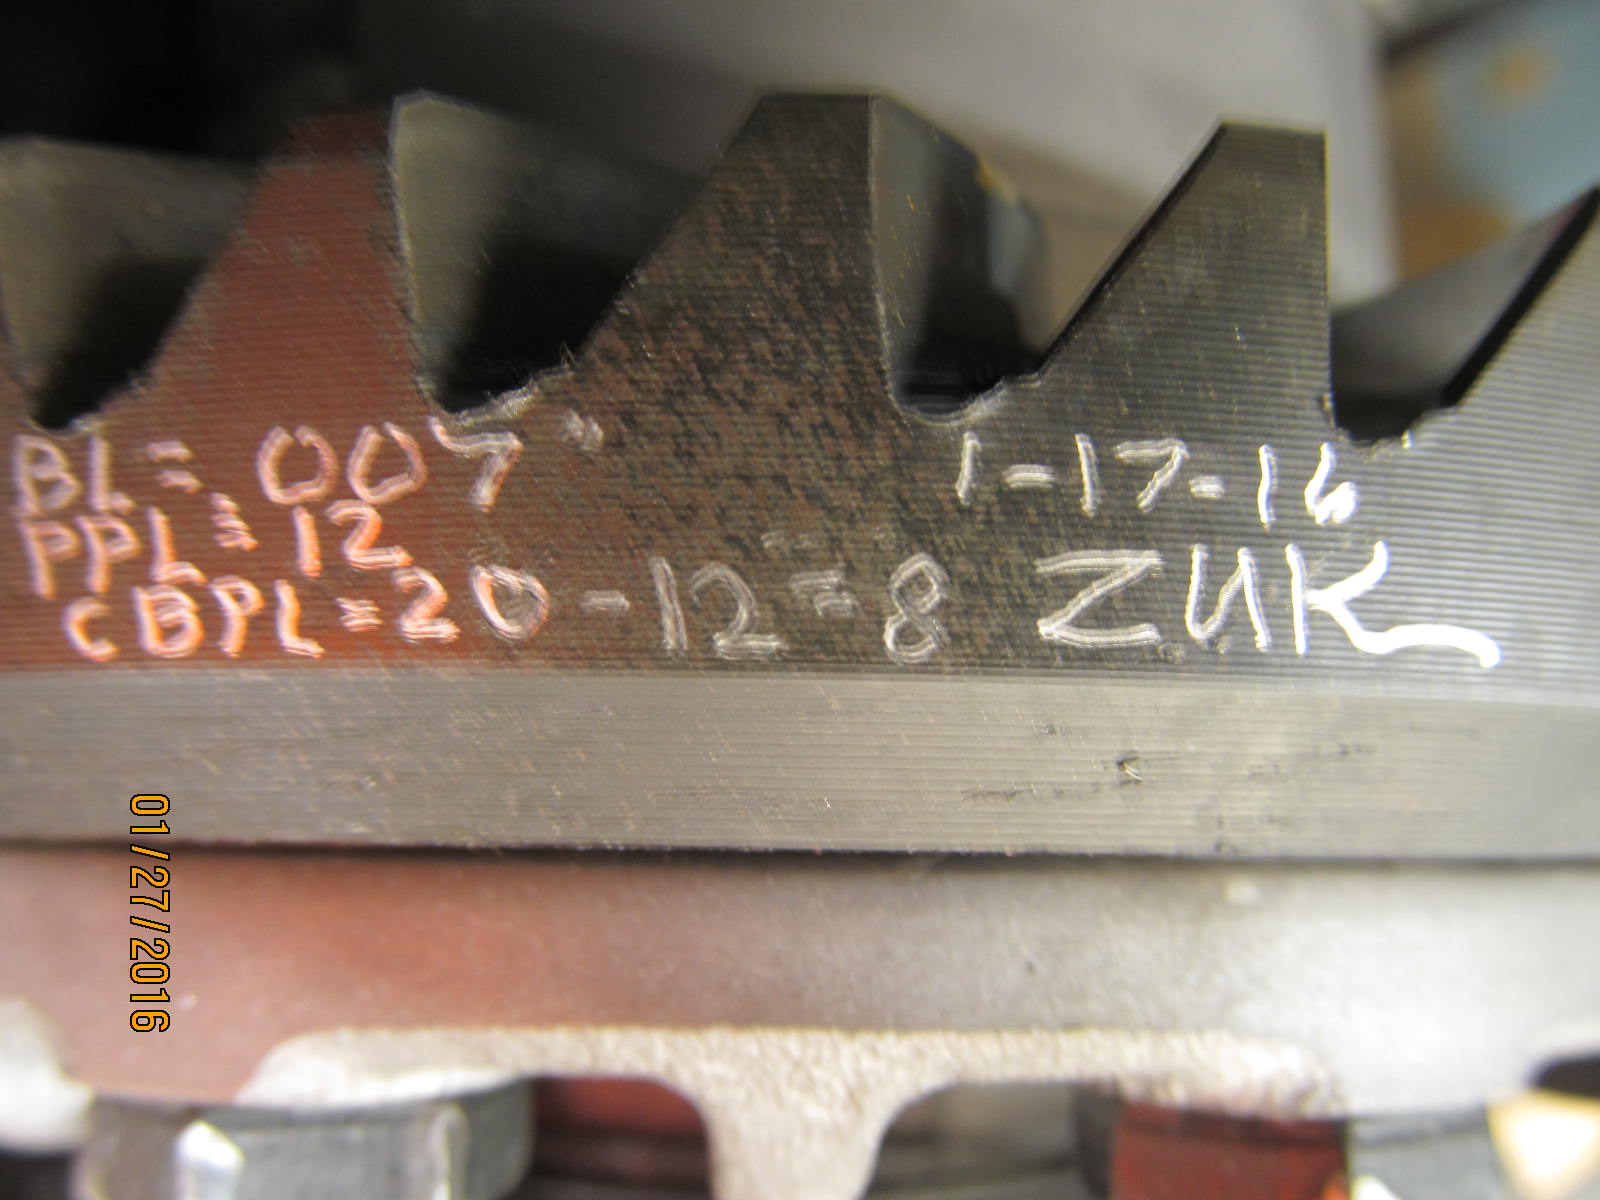
|
|
Done....ready for Tim to pick up.
|
|
|

|
