|
|
|
|
|
|
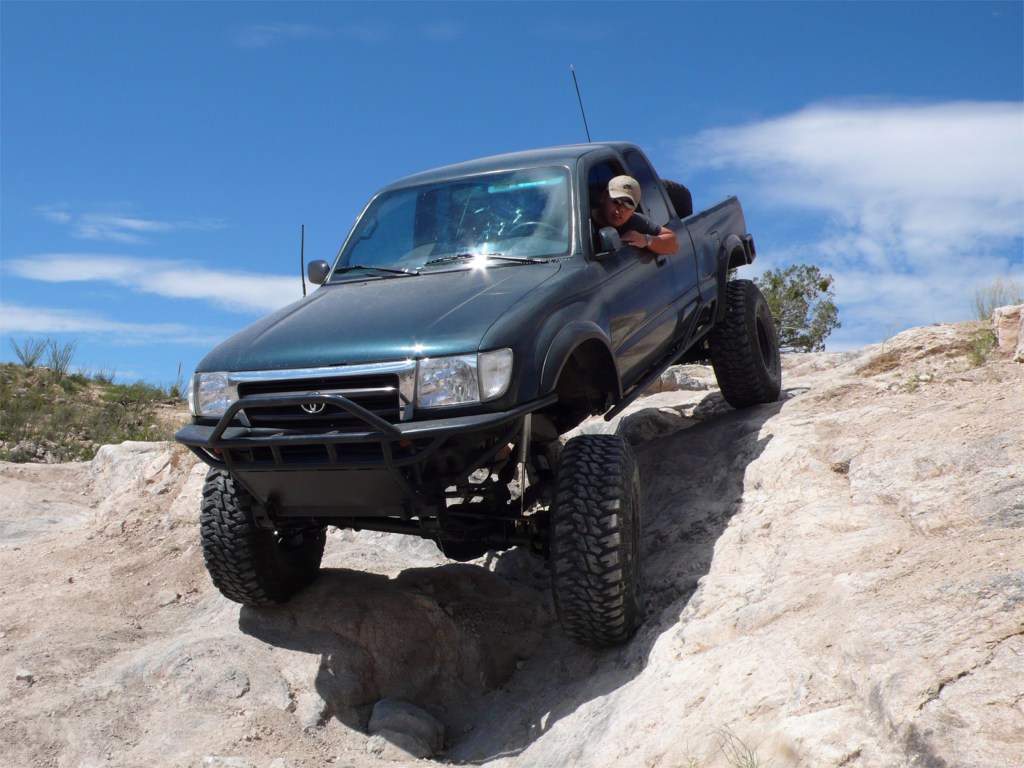
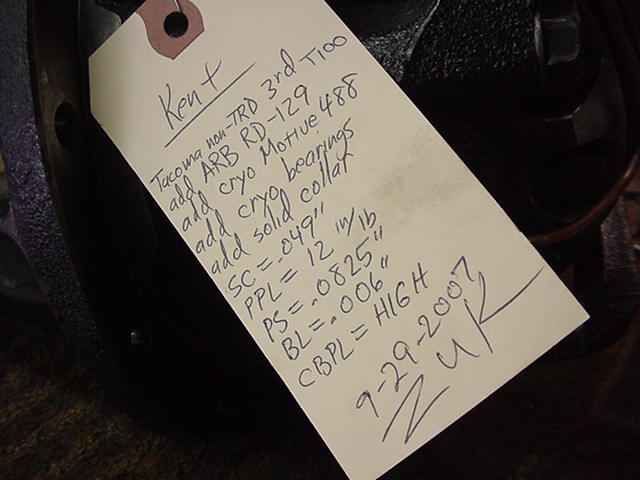
Kent lives about 5 miles from me and has been running an old set of 488 gears on his 98 Taco Extra-cab 2.7 liter 5 speed. Here's a list
of the mods Kent has now.... |

|
Both of these wheelin pics were taken on the last 1/4 mile approach to Chivo Falls out in Reddington Pass, East of Tucson. |
|
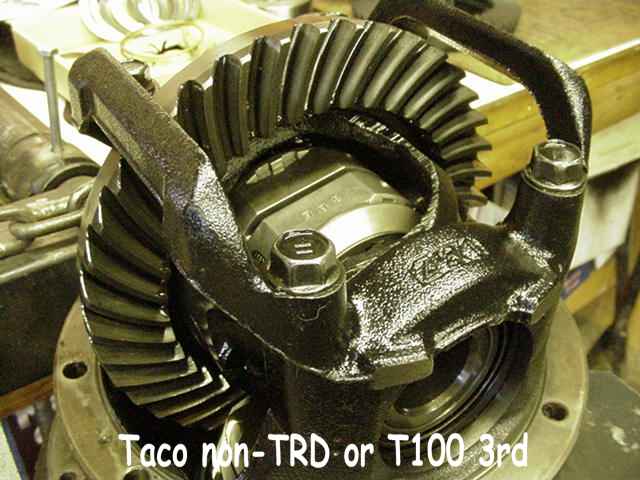
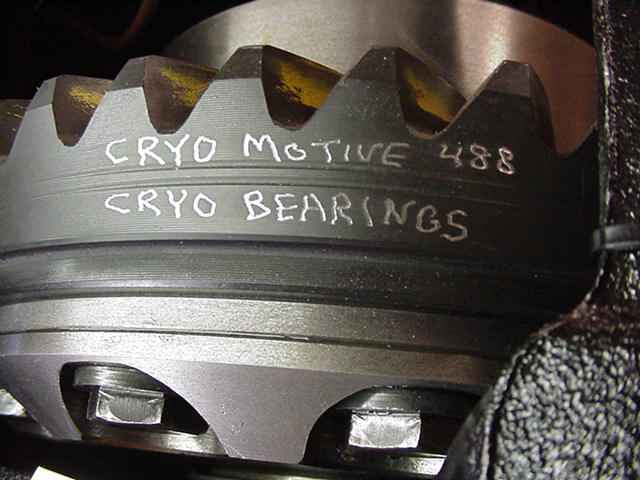
Kent dropped off the Taco T100 style 3rd (the one with the brace over the bearing cap assembly). The plan is to install 488 high quality Motive gears with new bearings....the bearings and ring/pinion have been cryo treated also. This gives the ring/pinion greater strength and dependability. For the bearings, it will basically lower the wear factor by a factor of about 300%. This means the pre-loads stay much longer for greater overall ring gear strength. See this for more info on the cryo process Cryogenics International. This process is recommended for those that run the big tires with big gears and want to get to the trail and back without the tugstrap ;) |
|
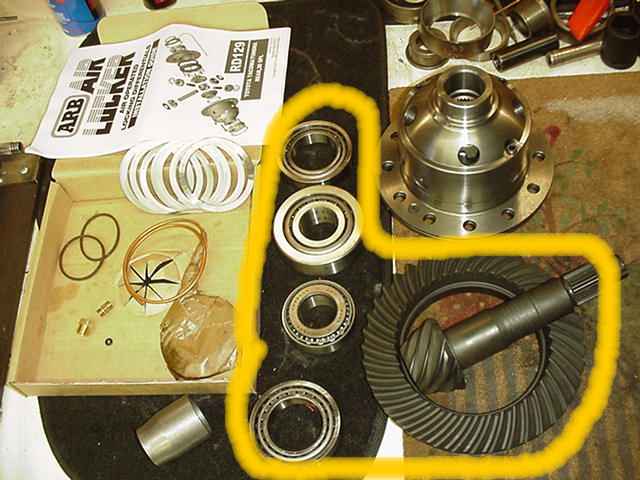
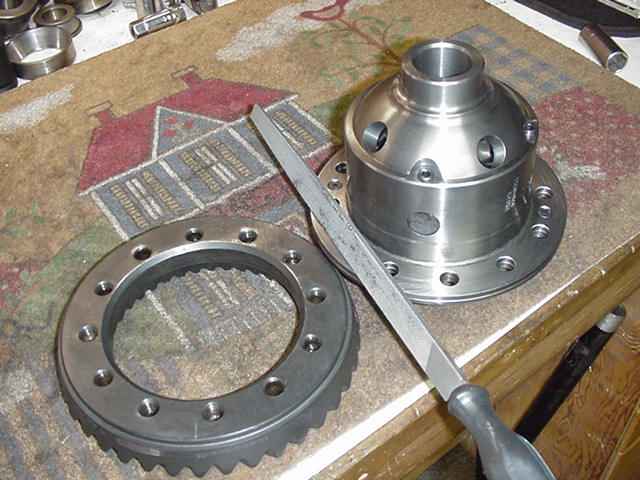
The improved RD-129 ARB is ready to go in. In the lower left of the pic is the solid collar. The Motive ring/pinion
and bearings have been professionally cryo-treated locally here at
Cryogenics International. Charles is the owner and I know he
takes pride in his operation. His process is computer controlled and takes about 72 hours....roughly 18 hours to get down to
about -320F and soak there for 24~36 hours and about 18 hours to slowly come back up to room temp. This recipe takes more LN2
but the results are worth it.
|

|
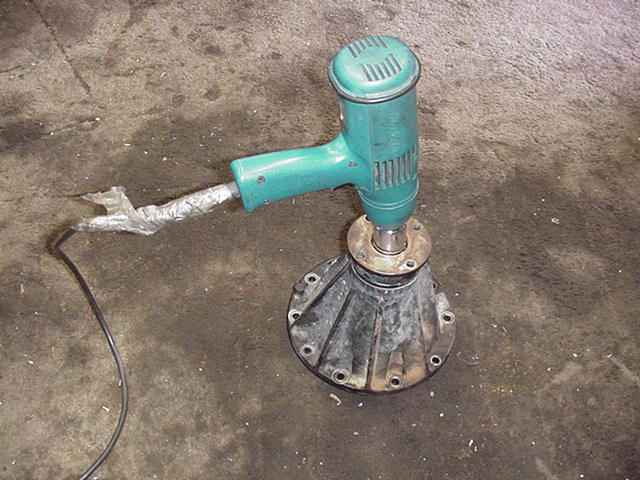
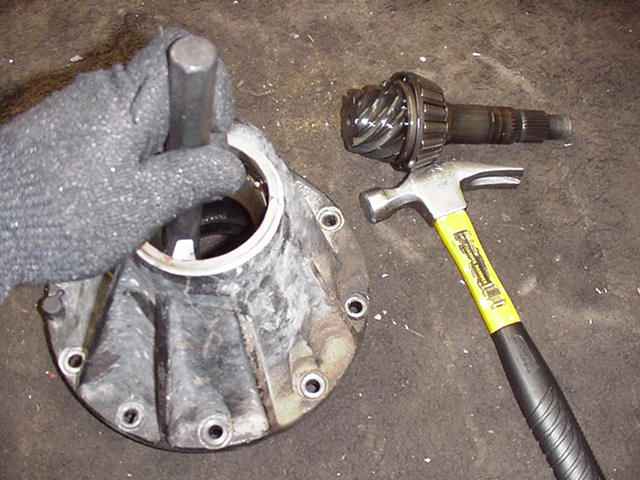
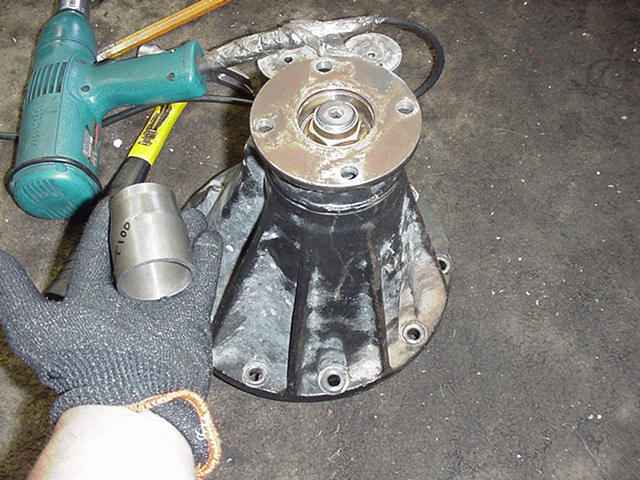
Step one is to mark and remove the bearing cap assembly....4 bolts and it taps off easy with a hammer. |
|
I make notes of all the shims I remove. In this case, it's a "don't care" situation because of the new ARB case and the air bearing will change the shim values drastically. |

|
It all gets documented on paper...sometimes on the internet :) ..and it is a must to have precision measuring tools like these micrometers. |
|
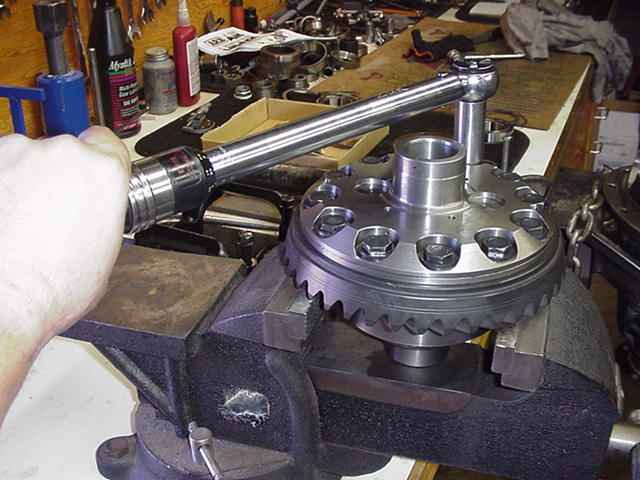
I don't care for noisy air tools....love my Makita electric impact :) ...one of these days, I will get a new cord for it. |
|
The old races are carefully tapped out. |
|
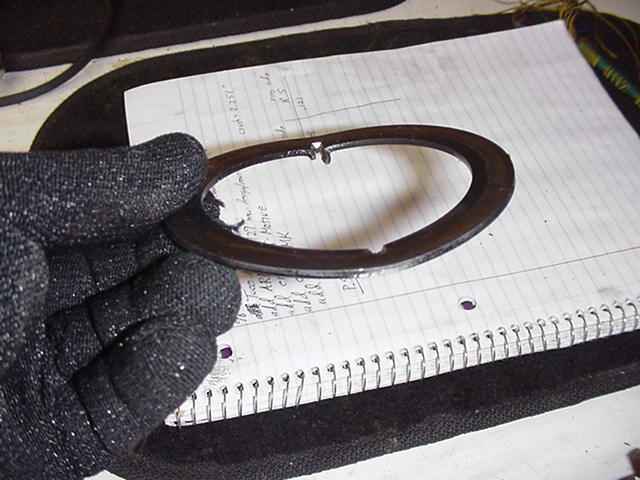
The thick pinion depth shim is located behind the large inner race and it is impossible to get the race out without a little cosmetic damage to the shim. |

|
...and with some filing and straightening with a small hammer, it can be made 100% functional again. |
|
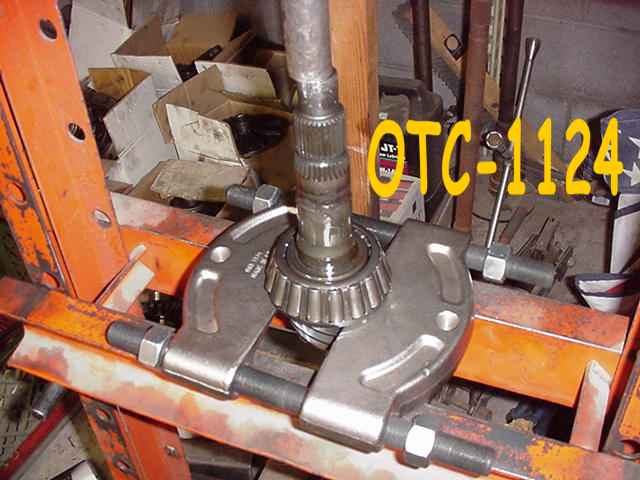
I find that this $110 bearing splitter is very versatile in removing pinion bearings. This splitter is much bigger and heavier than the large Harbor freight version. This one has better "bite" and seems to capture the bearing better. At the time of this typing, I noticed that ebay has the best deal I've seen so far....89.95 plus 12.50 shipping. Just go to ebay and input otc-1124 in the search bar. Neither the pinion or this pinion bearing will be used....I am just saving these parts for Kent. |
|
I will have to re-use these high quality cap style bolts because the master kit does not include them for this application. |
|
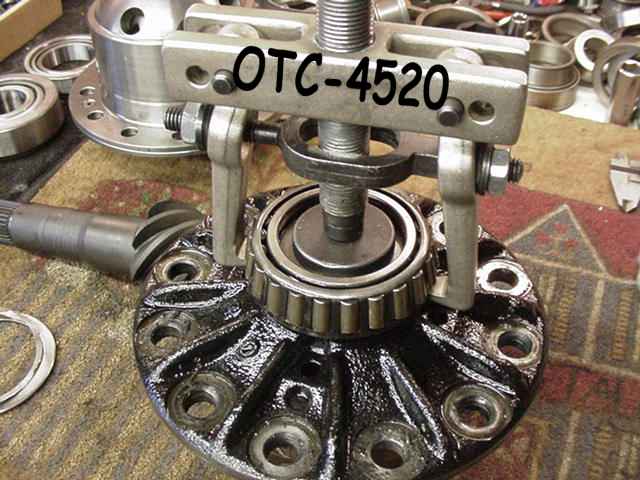
Another OTC tool that makes removing carrier bearings a breeze. This one was a must have for me. |

|
These are the parts I am returning to Kent. The Taco Lockrite is in good shape....the 488 Motive ring/pinion is also in good shape... the bearings are in fair~good shape. Kent says make him an offer...he can be reached at nek218@hotmail.com |
|
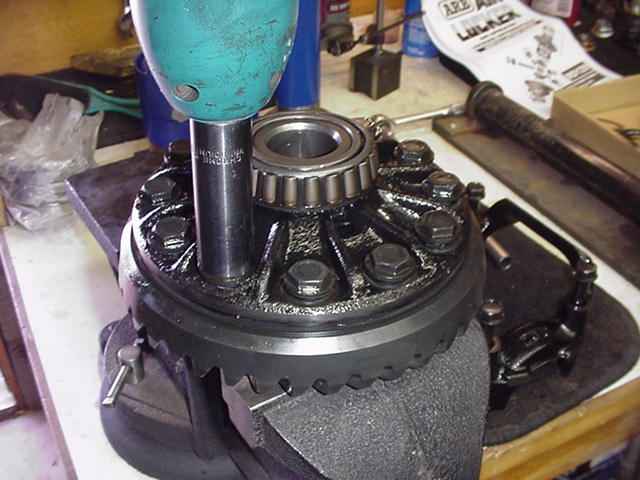
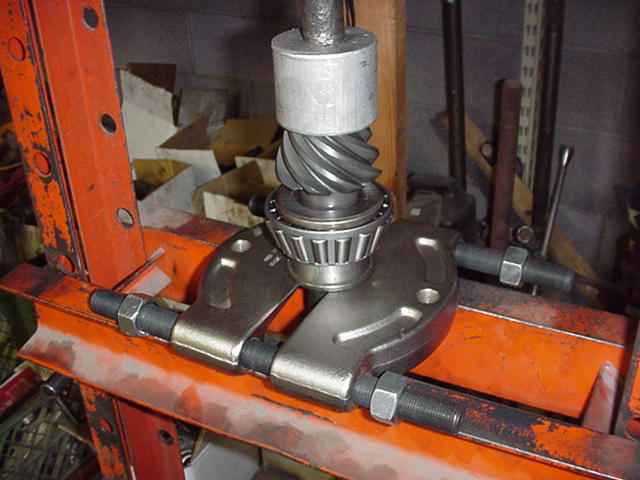
Here I am pressing the new cryo bearing onto the cryo 488.....no pinion shim between them because the shim is located behind the inner pinion race. |
|
I have re-assembled the pinion without the solid collar first time around. I will save the solid collar install 'til after I get the pinion depth right. The nut is carefully snugged up 'til about 14 inch pounds of pinion drag is reached. The bearings must be oiled up with gear oil to make it turn smoothly. |
|
As usual, the surfaces are filed to check for burrs or high spots....none found. |
|
The ring gear slipped on nicely....red loctite and about 85 foot/pounds. |
|
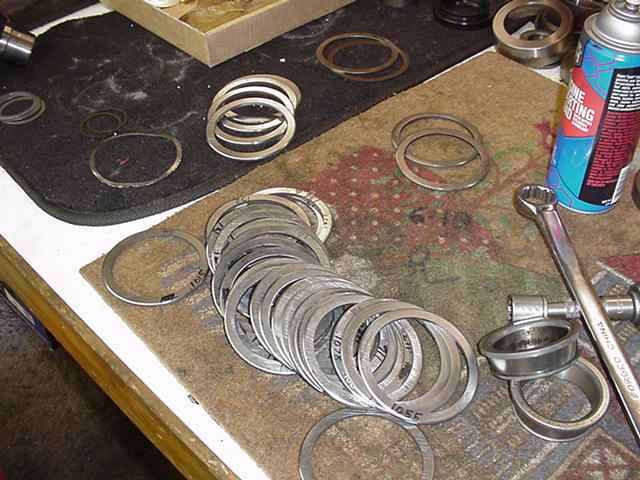
I basically have a full selection of Taco carrier bearing shims. Anybody attempting their own install will have a heck of a time without a good selection most likely. |
|
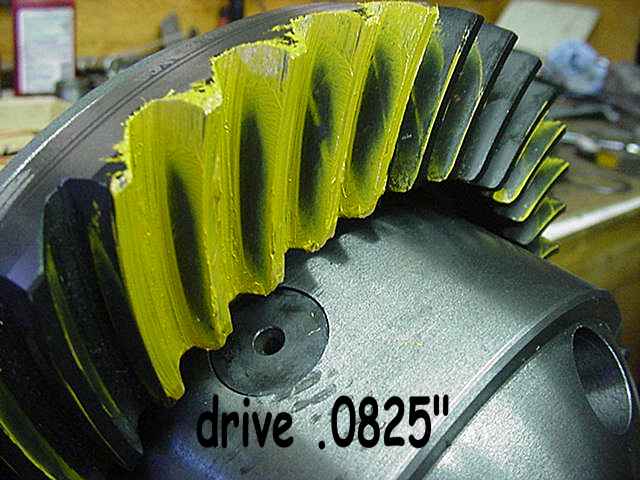
I'm just going for a pattern check so I left the ARB air bearing off and substituted the correct shim-pack in. |
|
I'm very pleased with this depth....it may be 1 or 2 thou deep and I tend to favor this slightly deep condition... especially for guys running the big tires. |
|
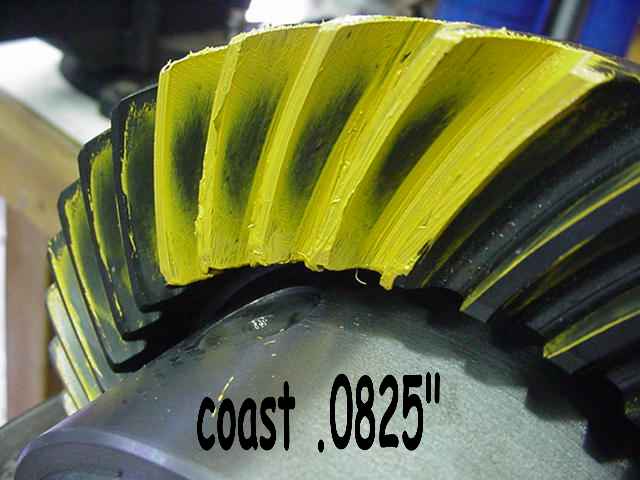
The coast looks nice also. |

|
Even the pinion pattern is nice. |

|
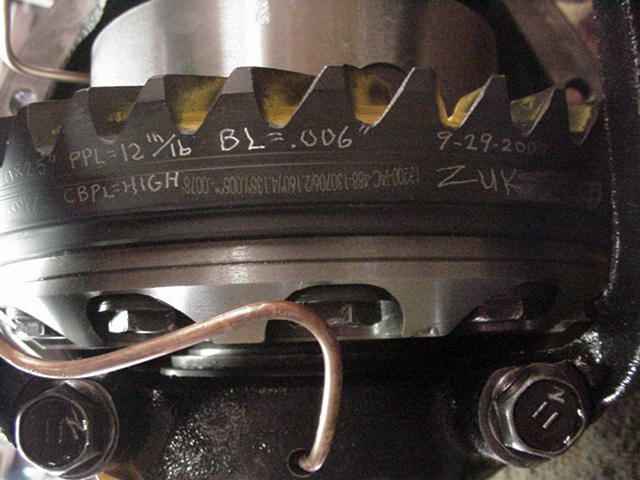
With the pattern set, now I can fully assemble the upper end. I installed the solid collar and found that a shim of .049" resulted in 14 inch/pounds of drag. The solid collar I used was exactly 2.276" long....add in the .049" shim for a total length of 3.325". That is a good starting point for anybody installing their own solid collar.....3.325". |
|
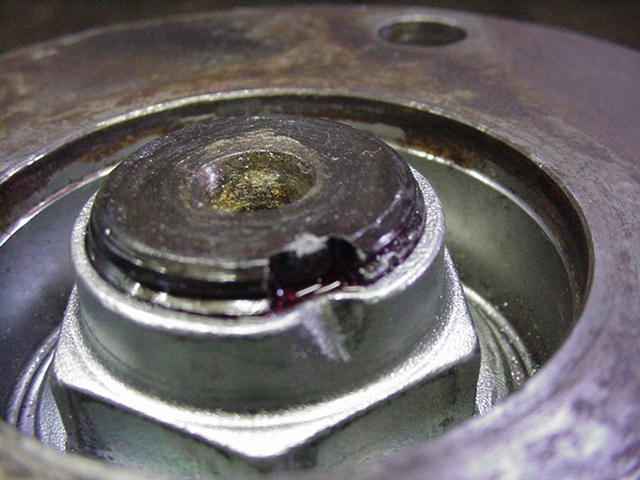
The Tacomas make use of a high quality black rubberized pinion seal. It went in with little fanfare. The pinion nut sees red locktite and the nut is tightened with a 4 foot cheater bar. I can actually crush the shims a little extra to get more pinion drag so I can have some influence on the final drag even with a solid collar. This is a good thing :) |
|
I don't think it is possible for this nut to "loosen on its own" :) |
|
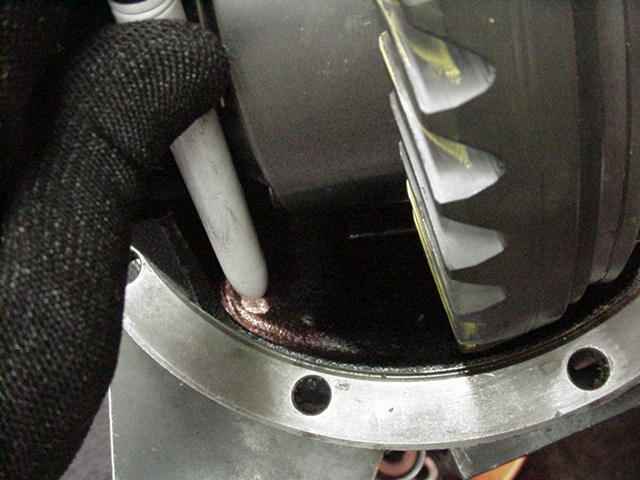
The ARB case/ring gear is temporarily mounted to find the best location for the air line. |
|
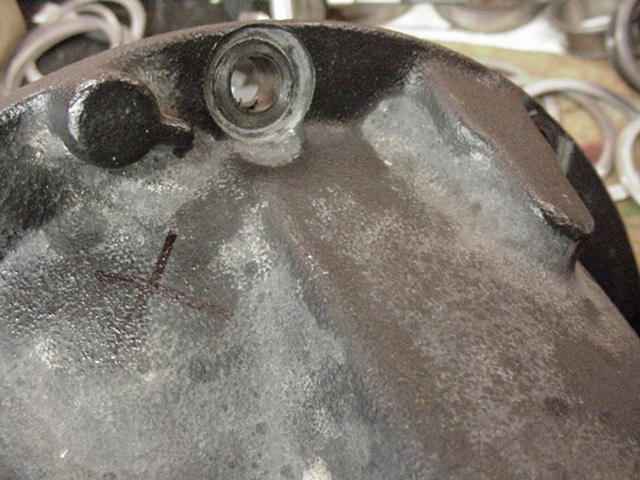
X marks the spot...same spot they show in the ARB instructions. |
|
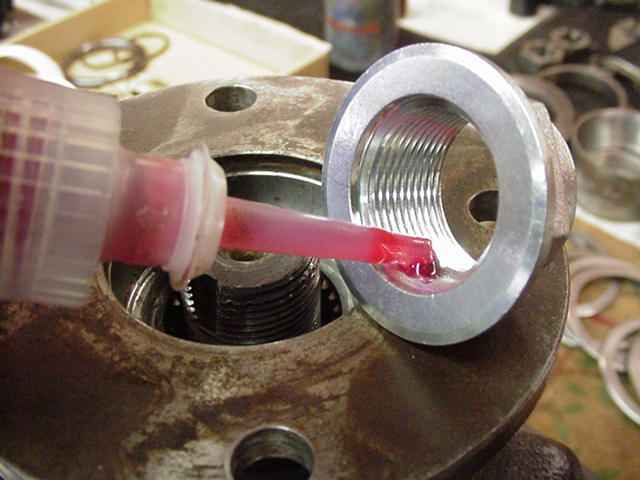
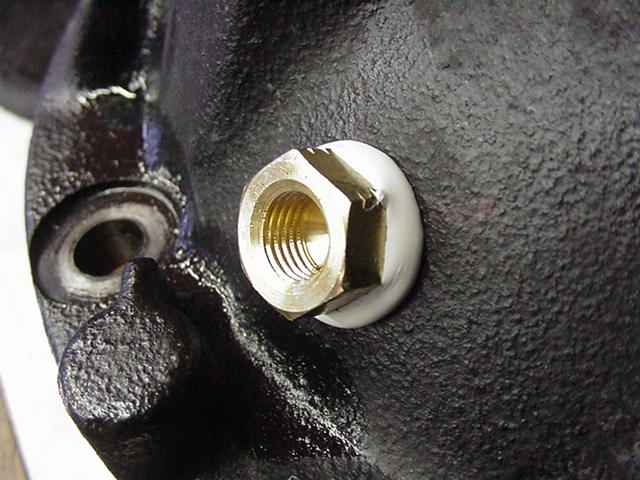
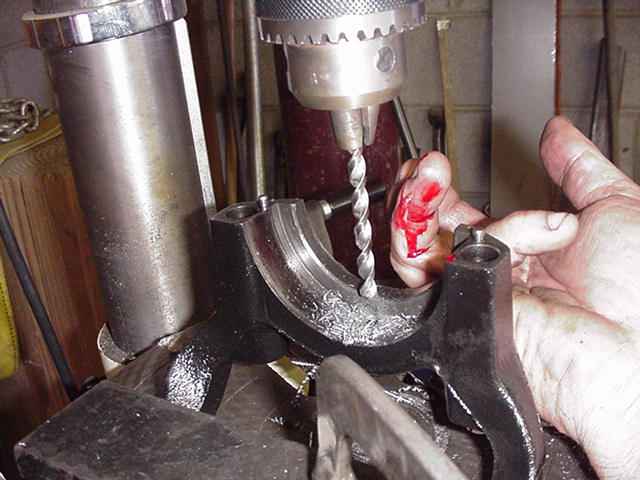
A 7/16" hole is drilled and tapped for 1/4" NPT. Liquid teflon seal is splashed on the threads before insertion. |
|
.............. |
|
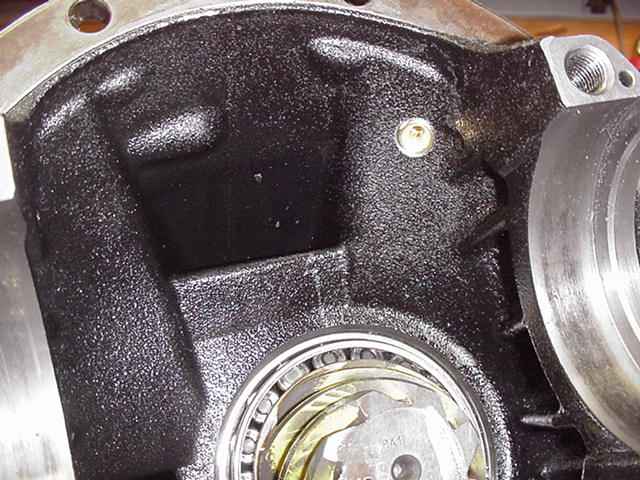
Now a 1/4" hole is drilled for the air bearing line to pass thru per the instructions. The cheapy chuck key slipped while I was tightening it...that ain't Locktite. |
|
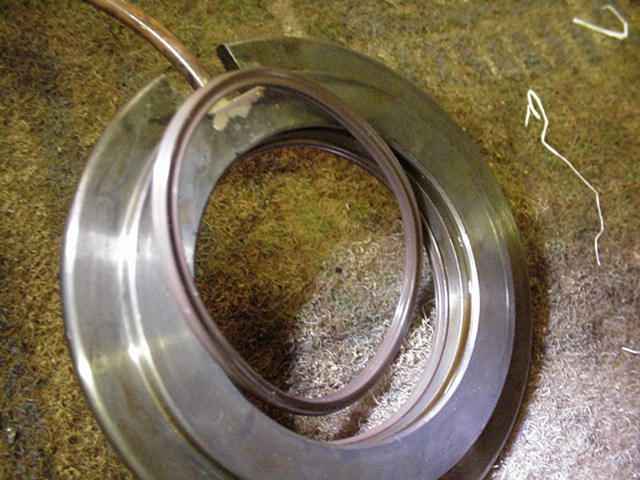
This is the new and improved brown squarish seal 0-rings. Lotsa oil and extra caution when twisting the air bearing onto the journal. |
|
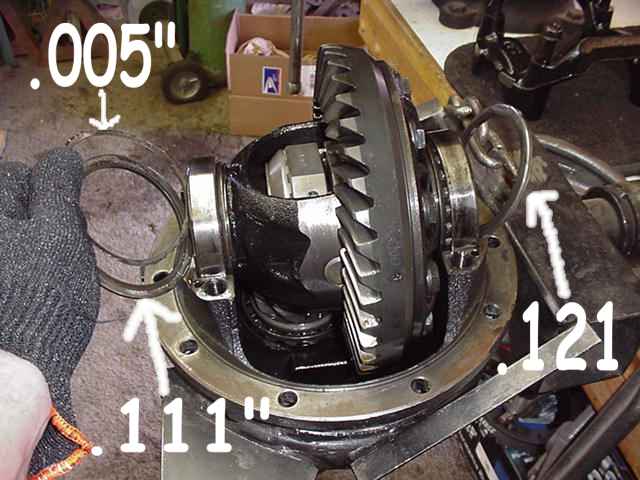
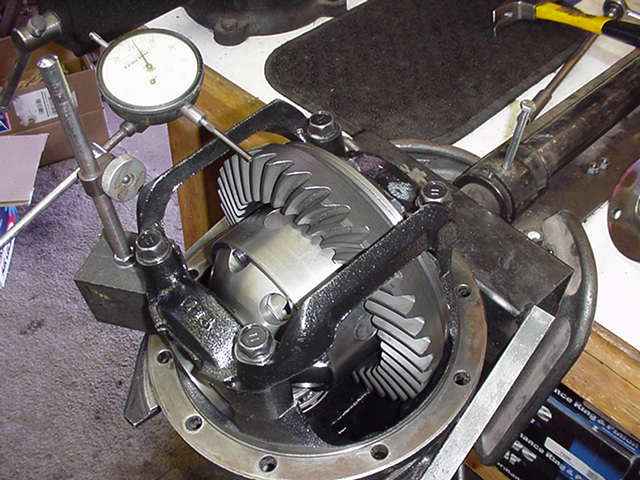
I skipped over it here but before bending and routing the copper line I had to get the carrier bearing pre-load in balance with the
backlash. This took some time. Glad I had a full shim selection to work with. I ended up using a .118 shim on the case side and a
.124 on the ring side. The pre-load was heavy and took considerable effort to get the shims in and the bearing cap in place. Good
carrier bearing pre-load is critical to gear strength....without it and it doesn't make a bit of difference how nice the pattern is.
This is the exact reason to cryo-treat the carrier bearings.....they wear alot longer and will keep their pre-load about 3 times longer.
|

|
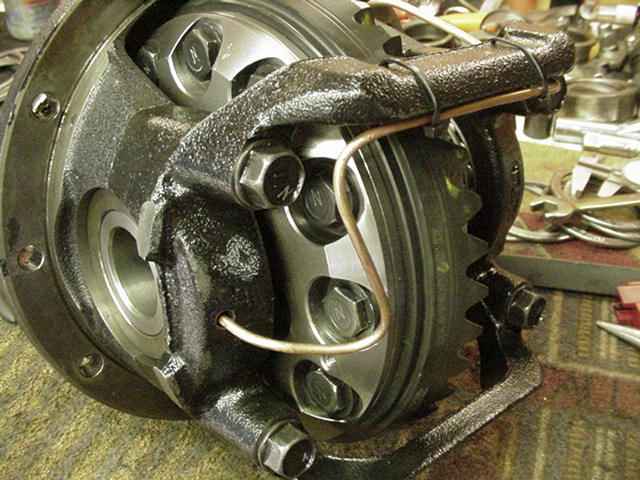
Routed just like the manual... |
|
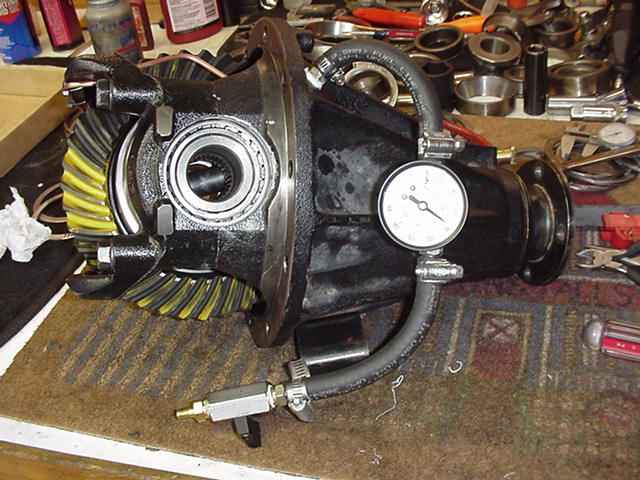
I used my air compressor to get the pressure up to about 75 psi and locked it in place....30 minutes later, still had 75. |
|
................................................. |
|
.................................................... |
|
Ready for Kent to pick up. :) ZUK |

|