|
Tanner's Hi-Pinion Front gets Nitro 488 and ARB RD132
|
|
(57 BIG pics loading)
|
|
JULY 7 2016
|
|
|
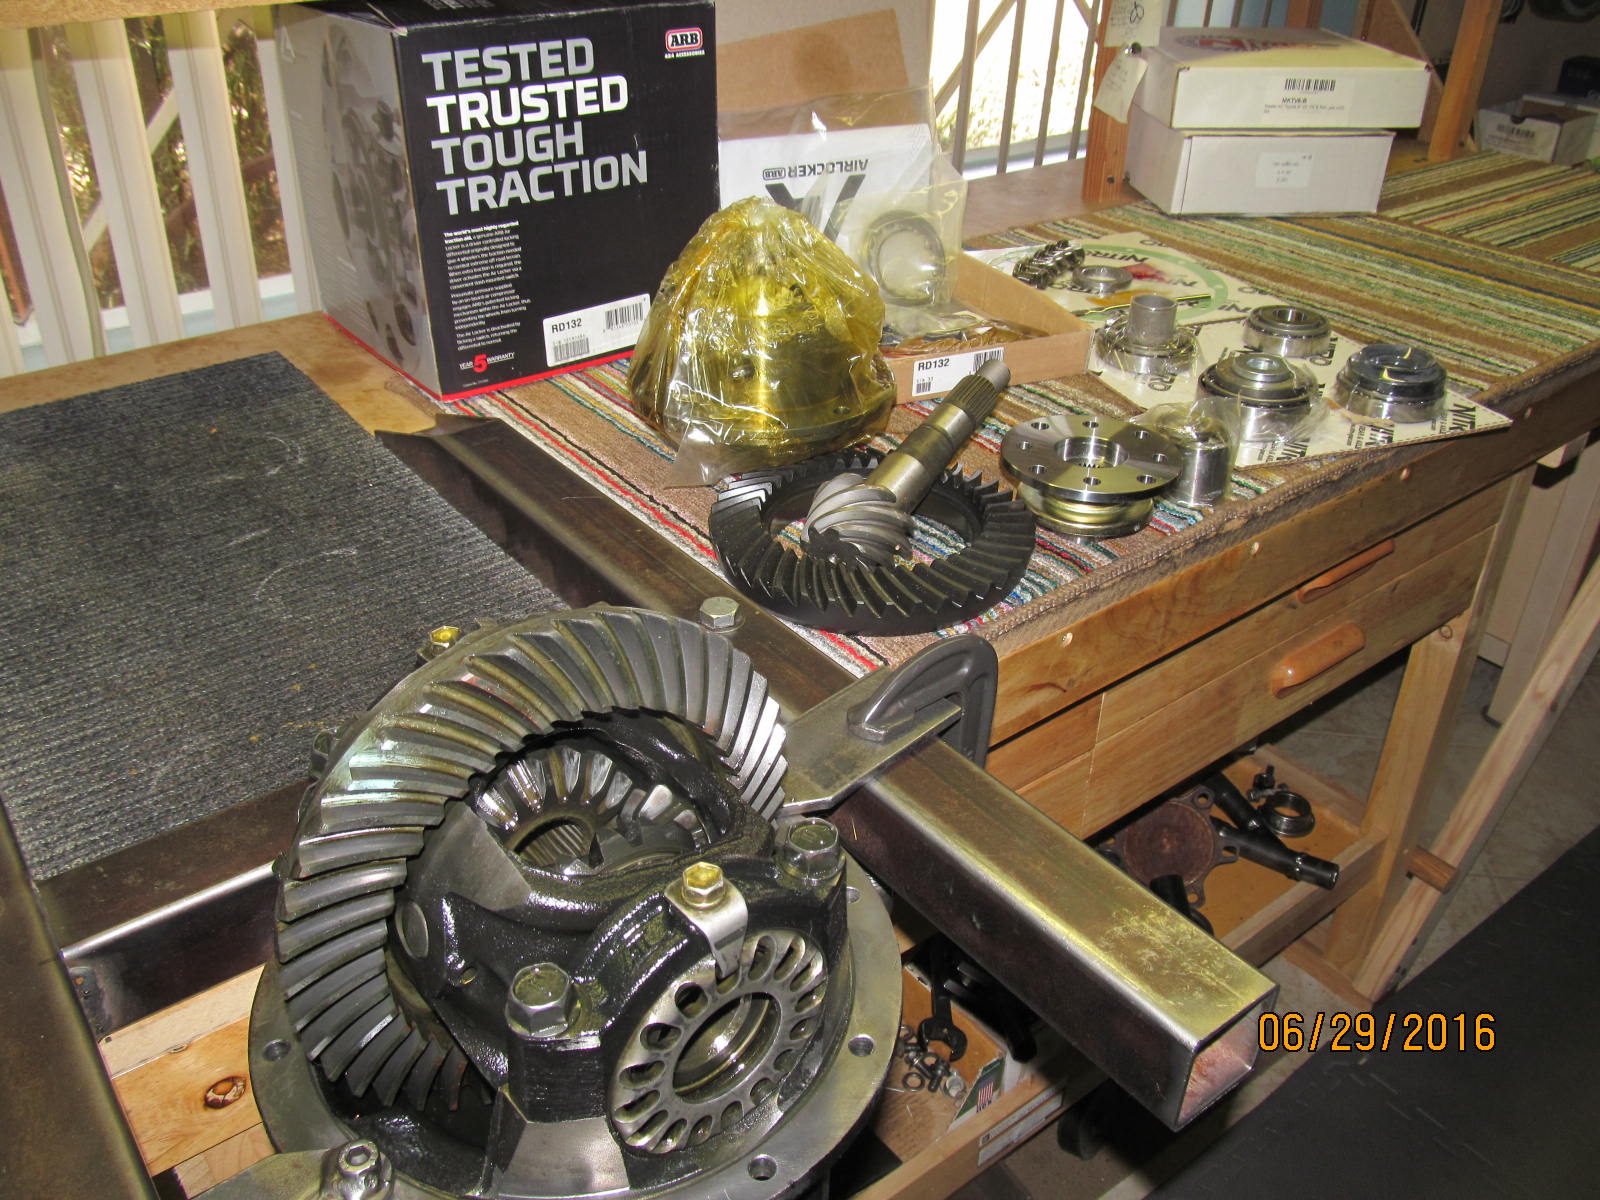
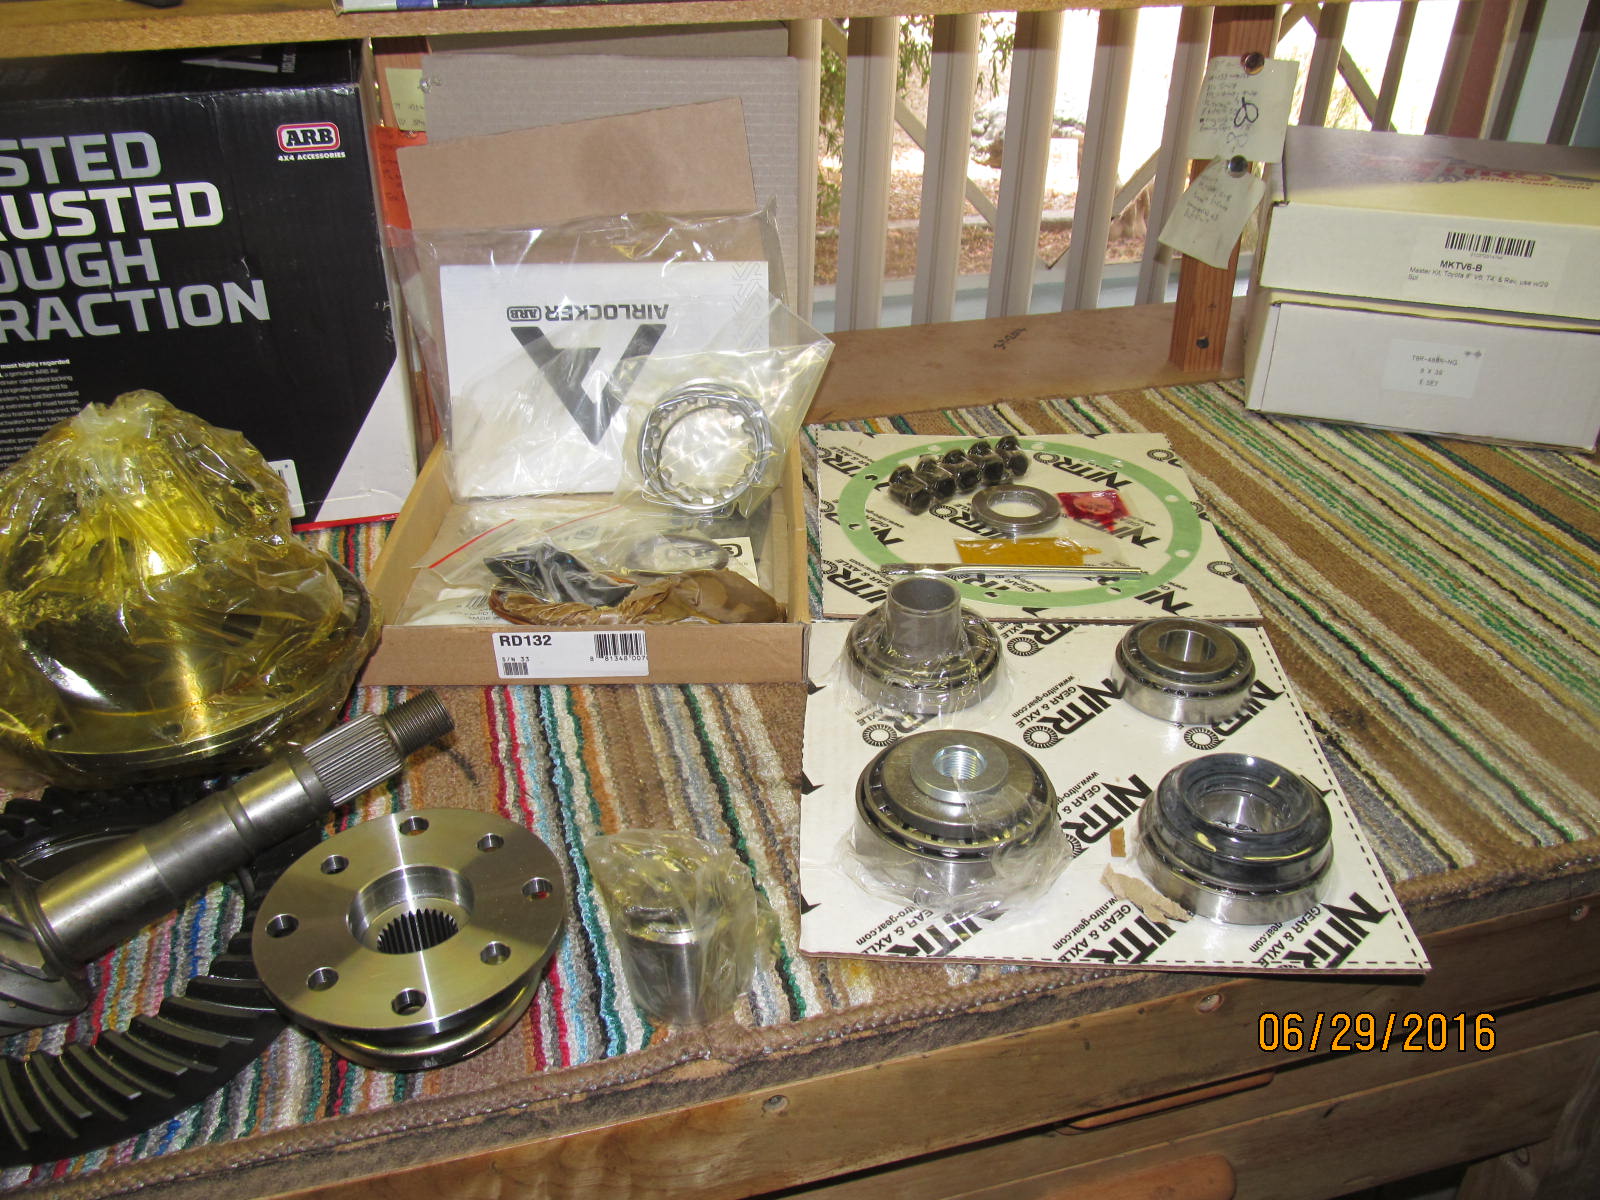
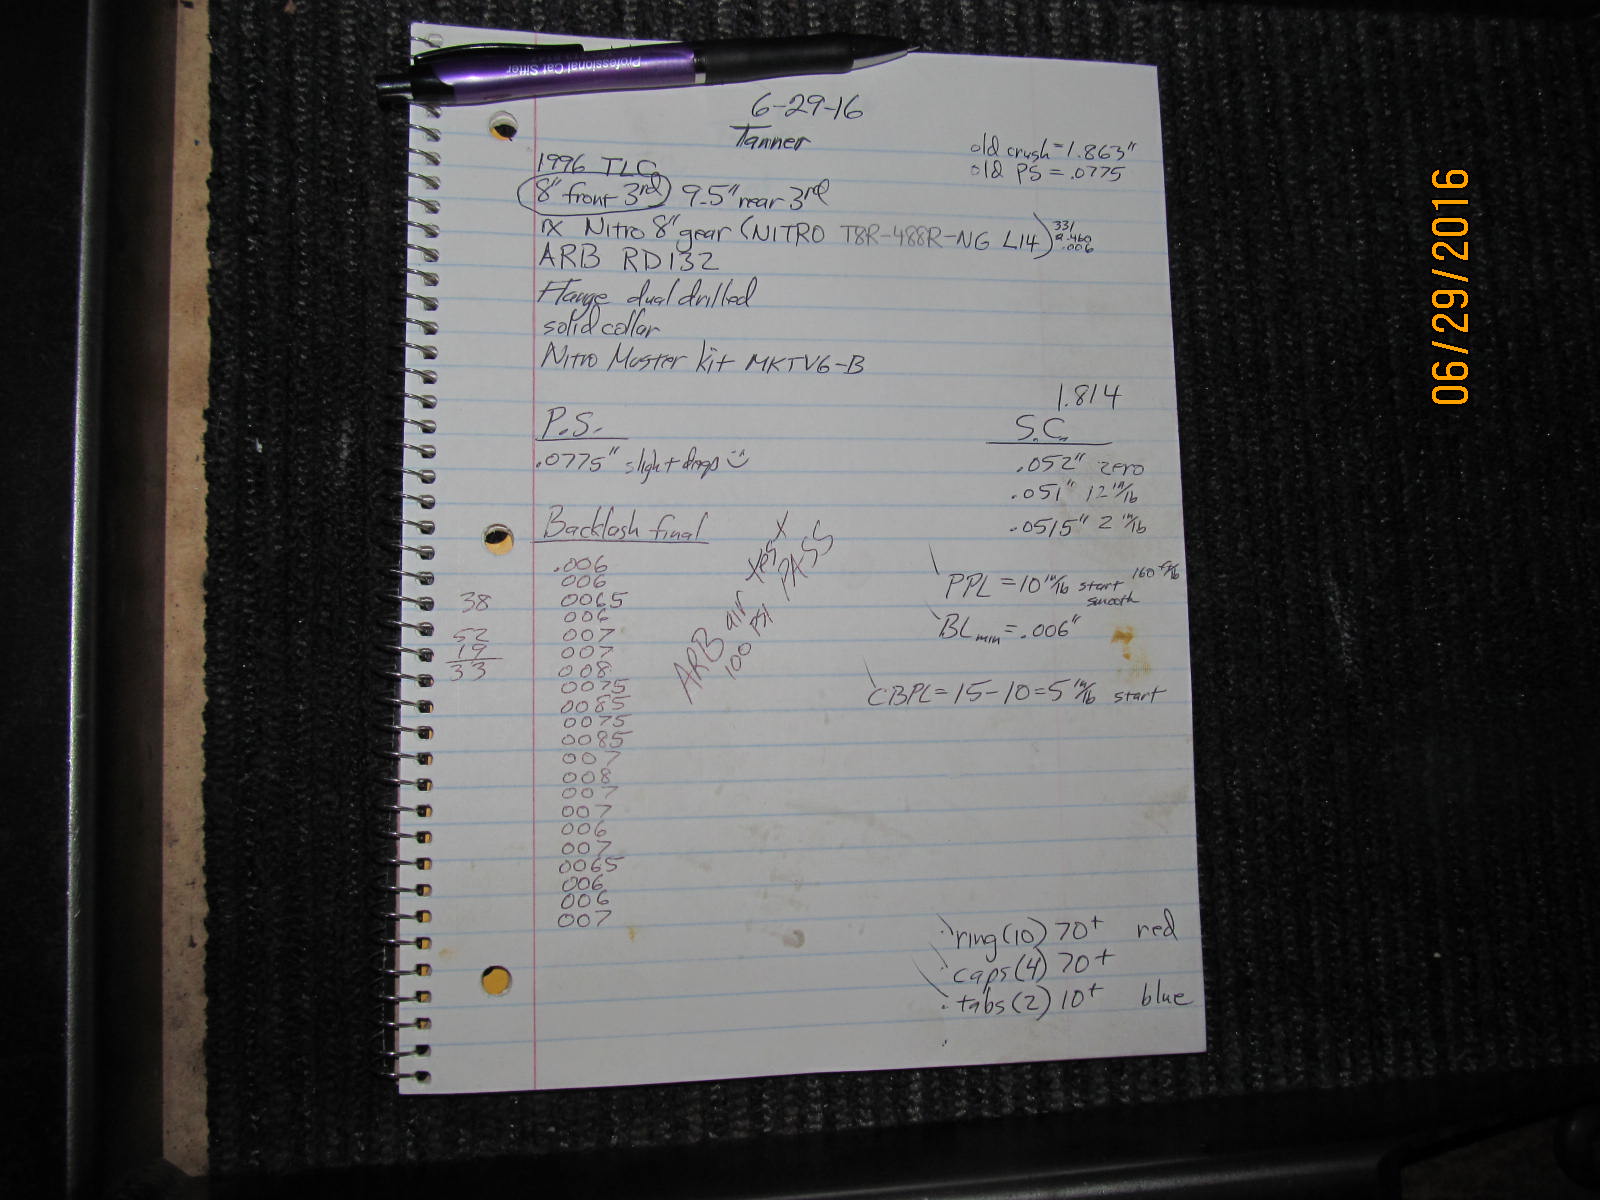
Tanner's front hi-pinion in his 1996 TLC is getting Nitro 488s, RD132, master install kit with a .....new 29
spline flange and a solid collar.
|
|
|
|
|
......................
|
|
|
|
|
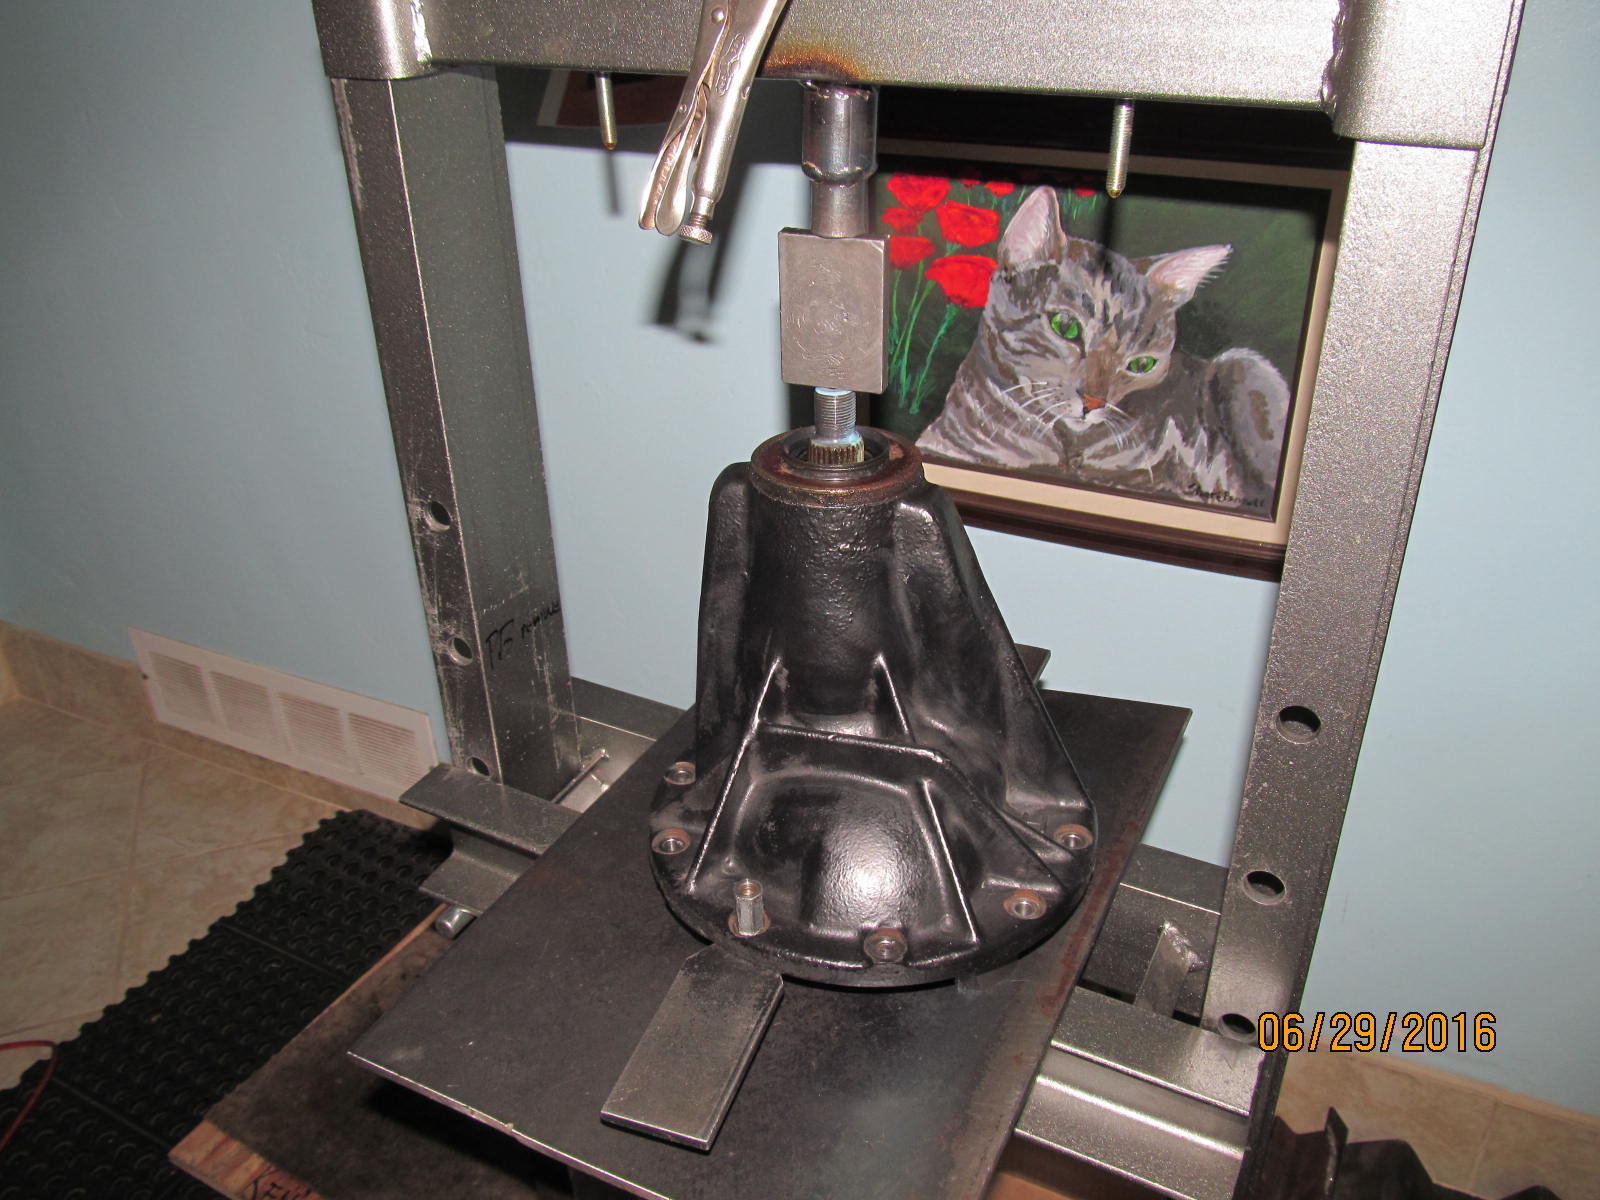
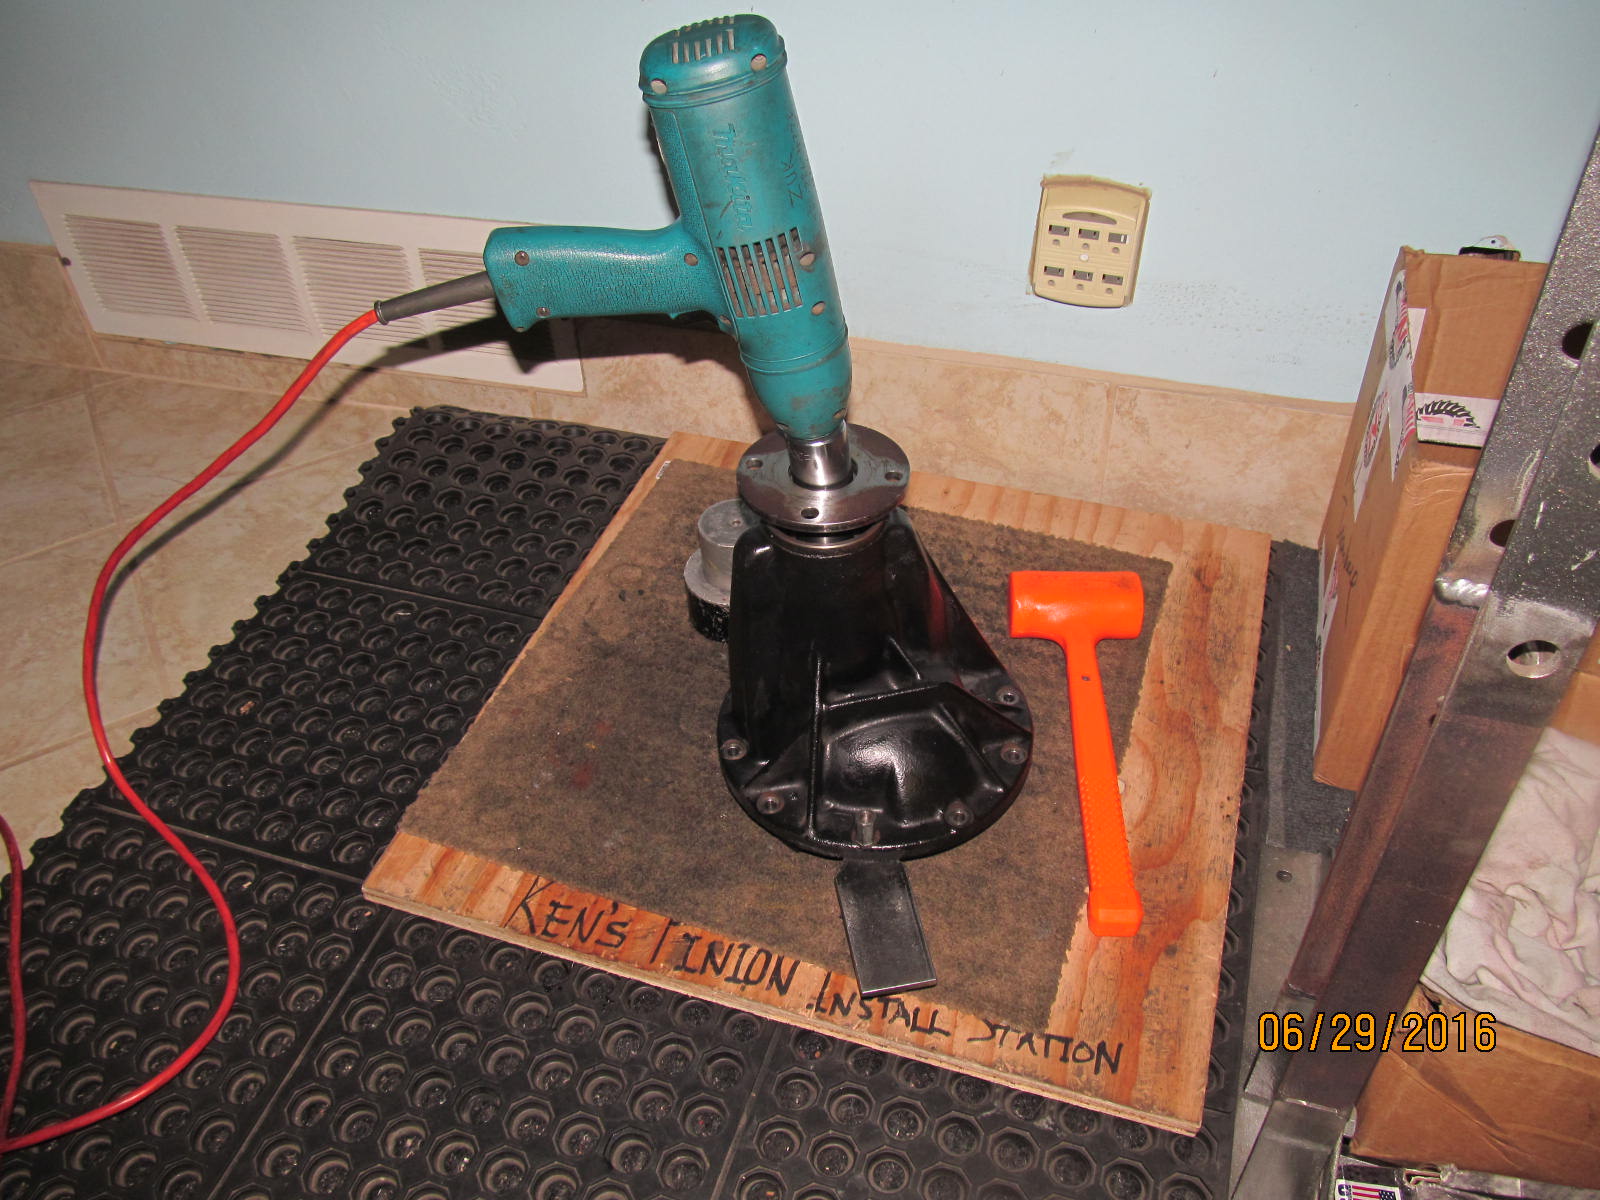
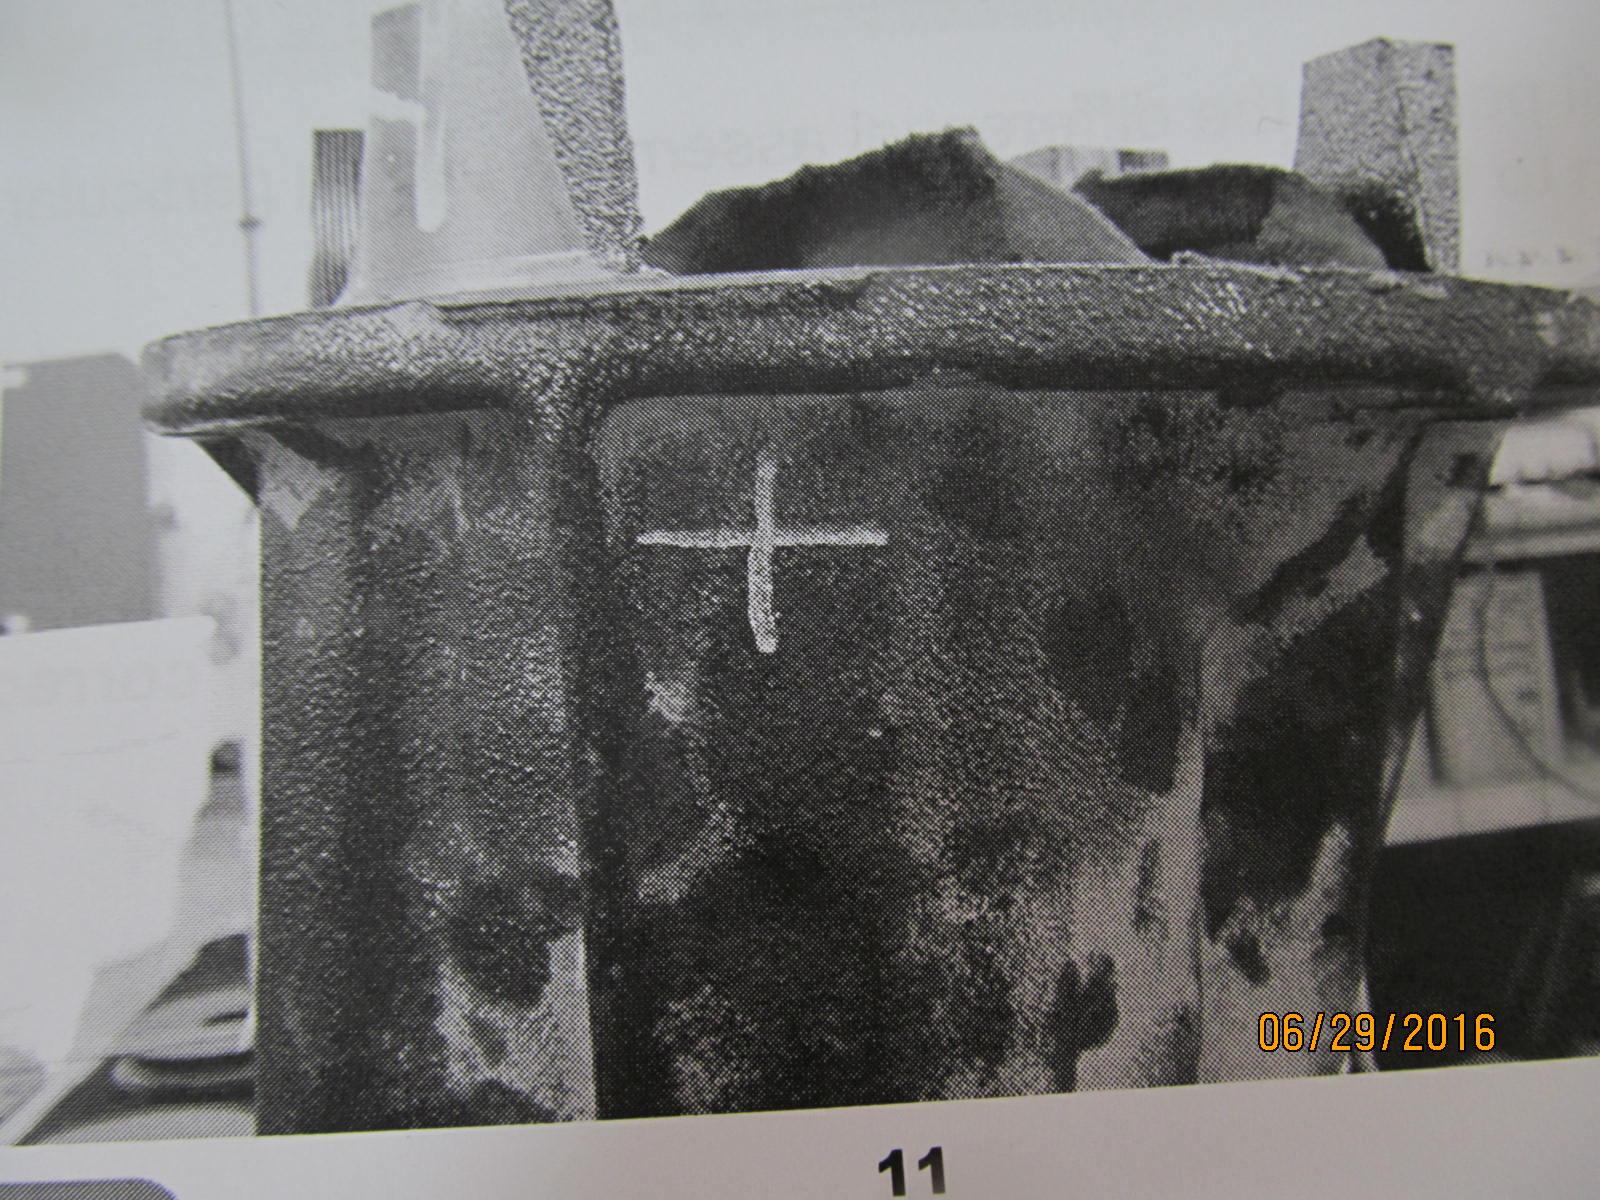
Front 3rd is secured to fixture.
|
|
|
|
|
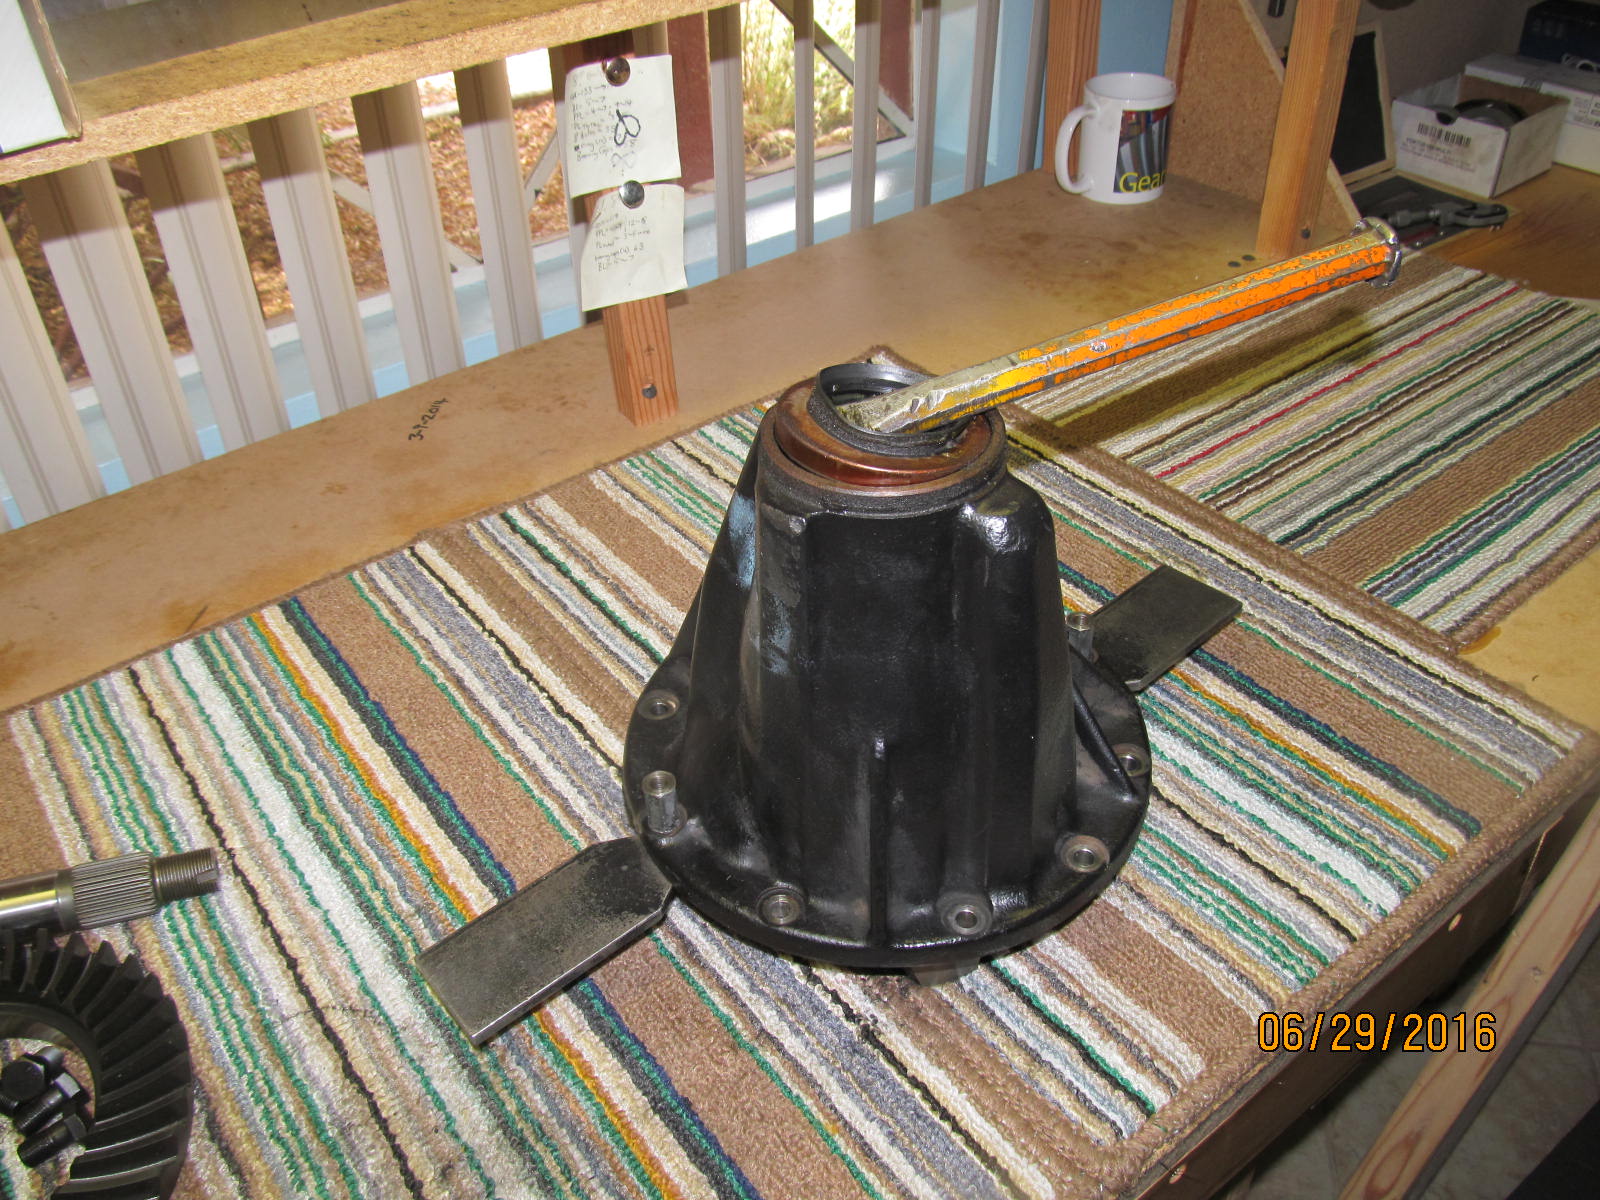
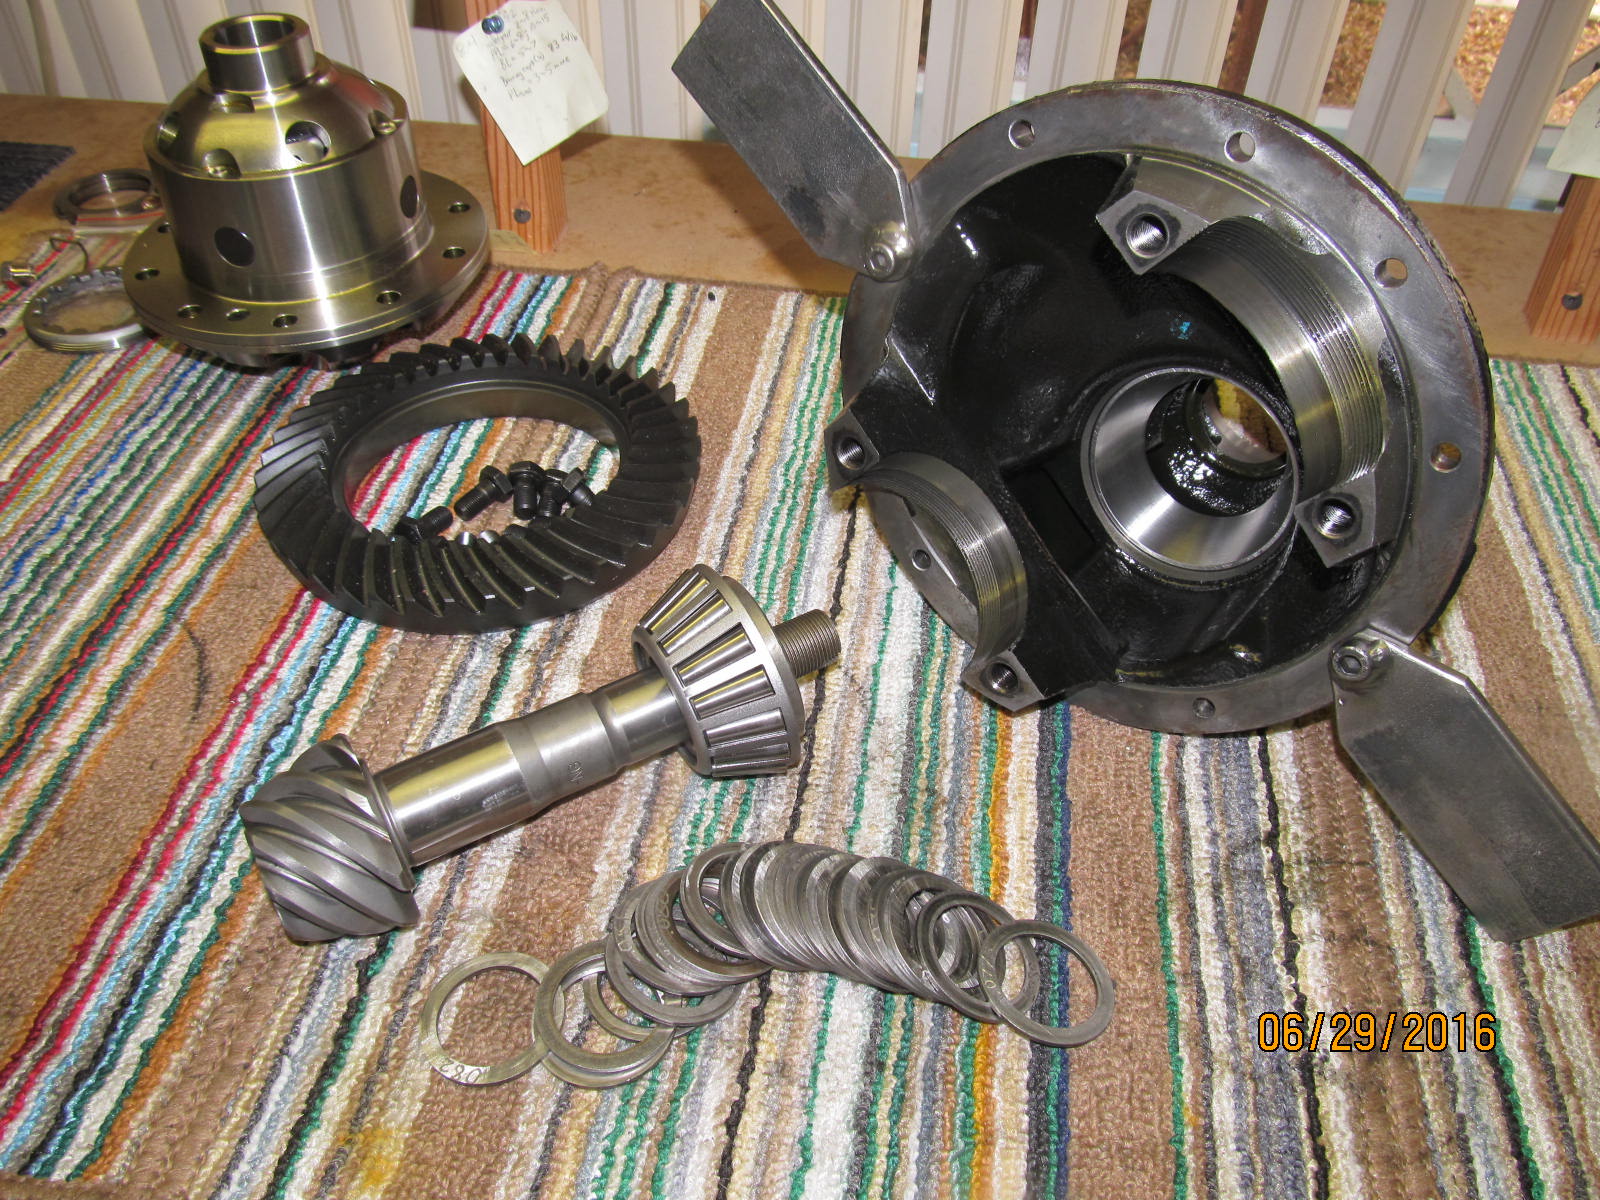
Open carrier is removed.
|
|
|

|
|
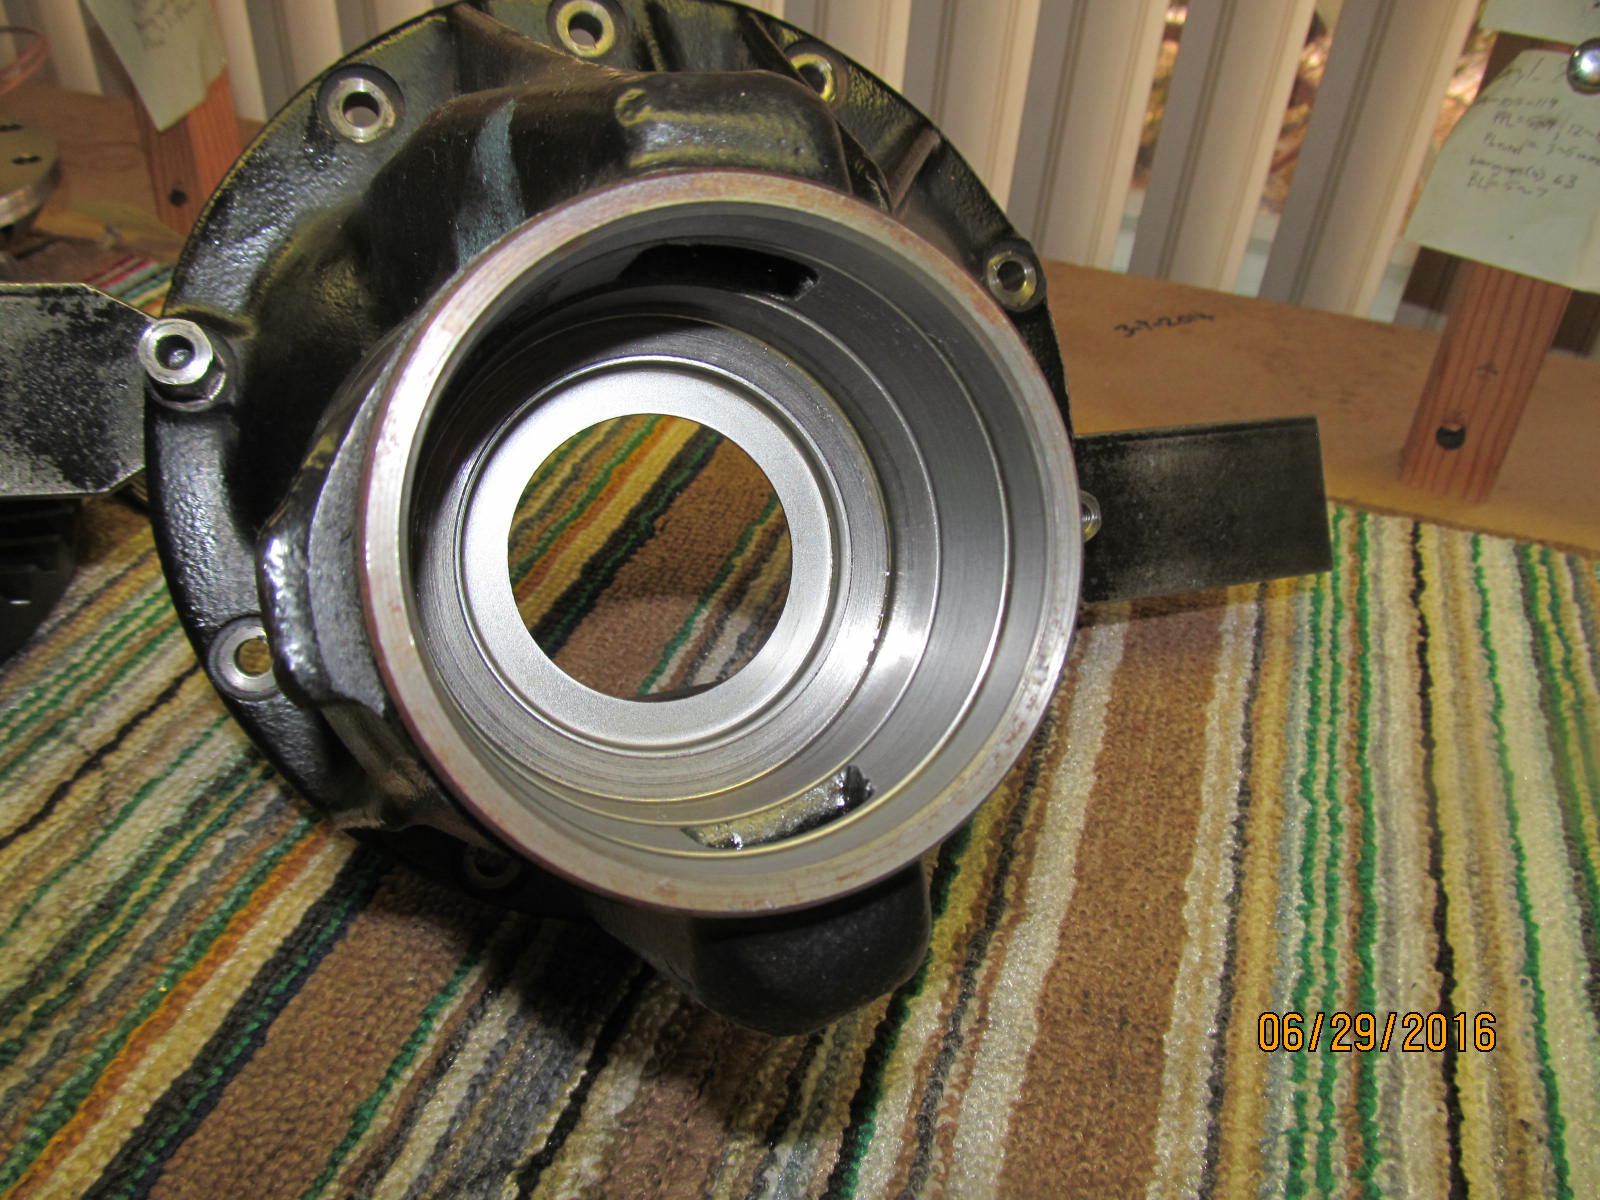
Pinion end is now dis-assembled. Taking the flange off.
|
|
|
|
|
Pressing the pinion out.
|
|
|
|
|
Seal is removed.
|
|
|
|
|
Oops...flash did not go off.
|
|
|

|
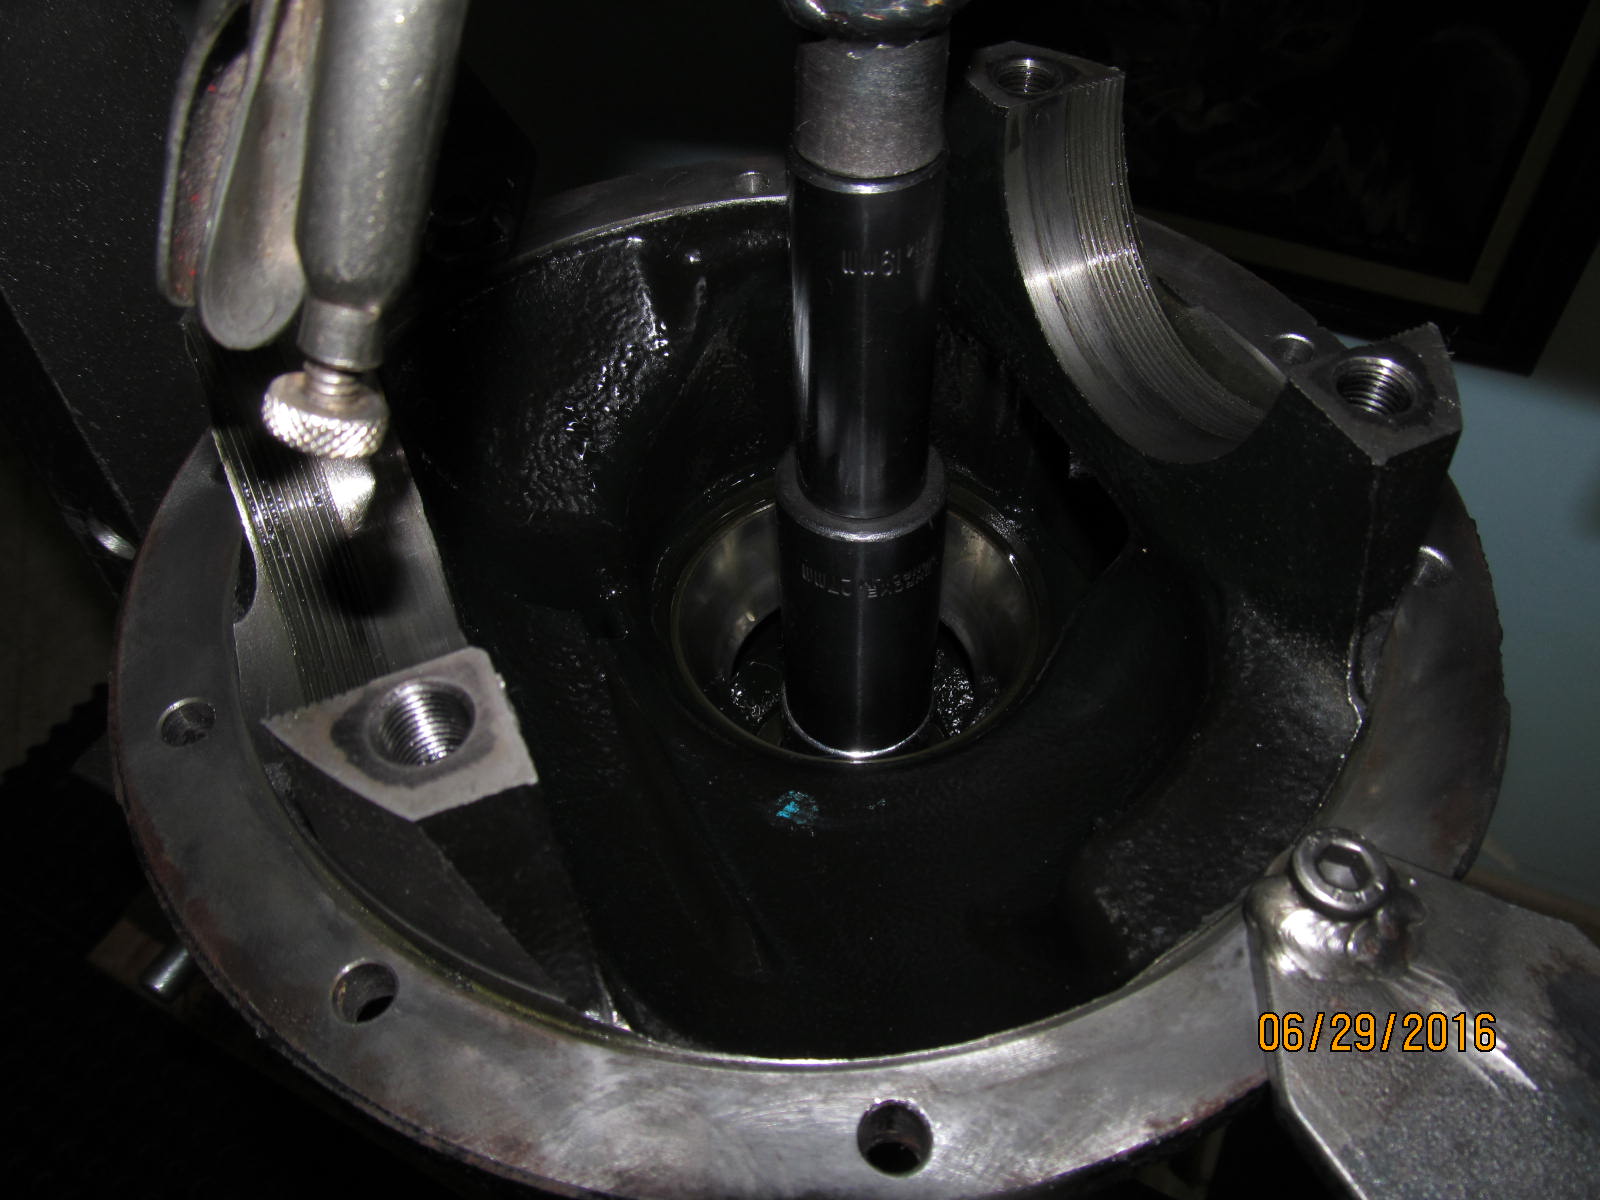
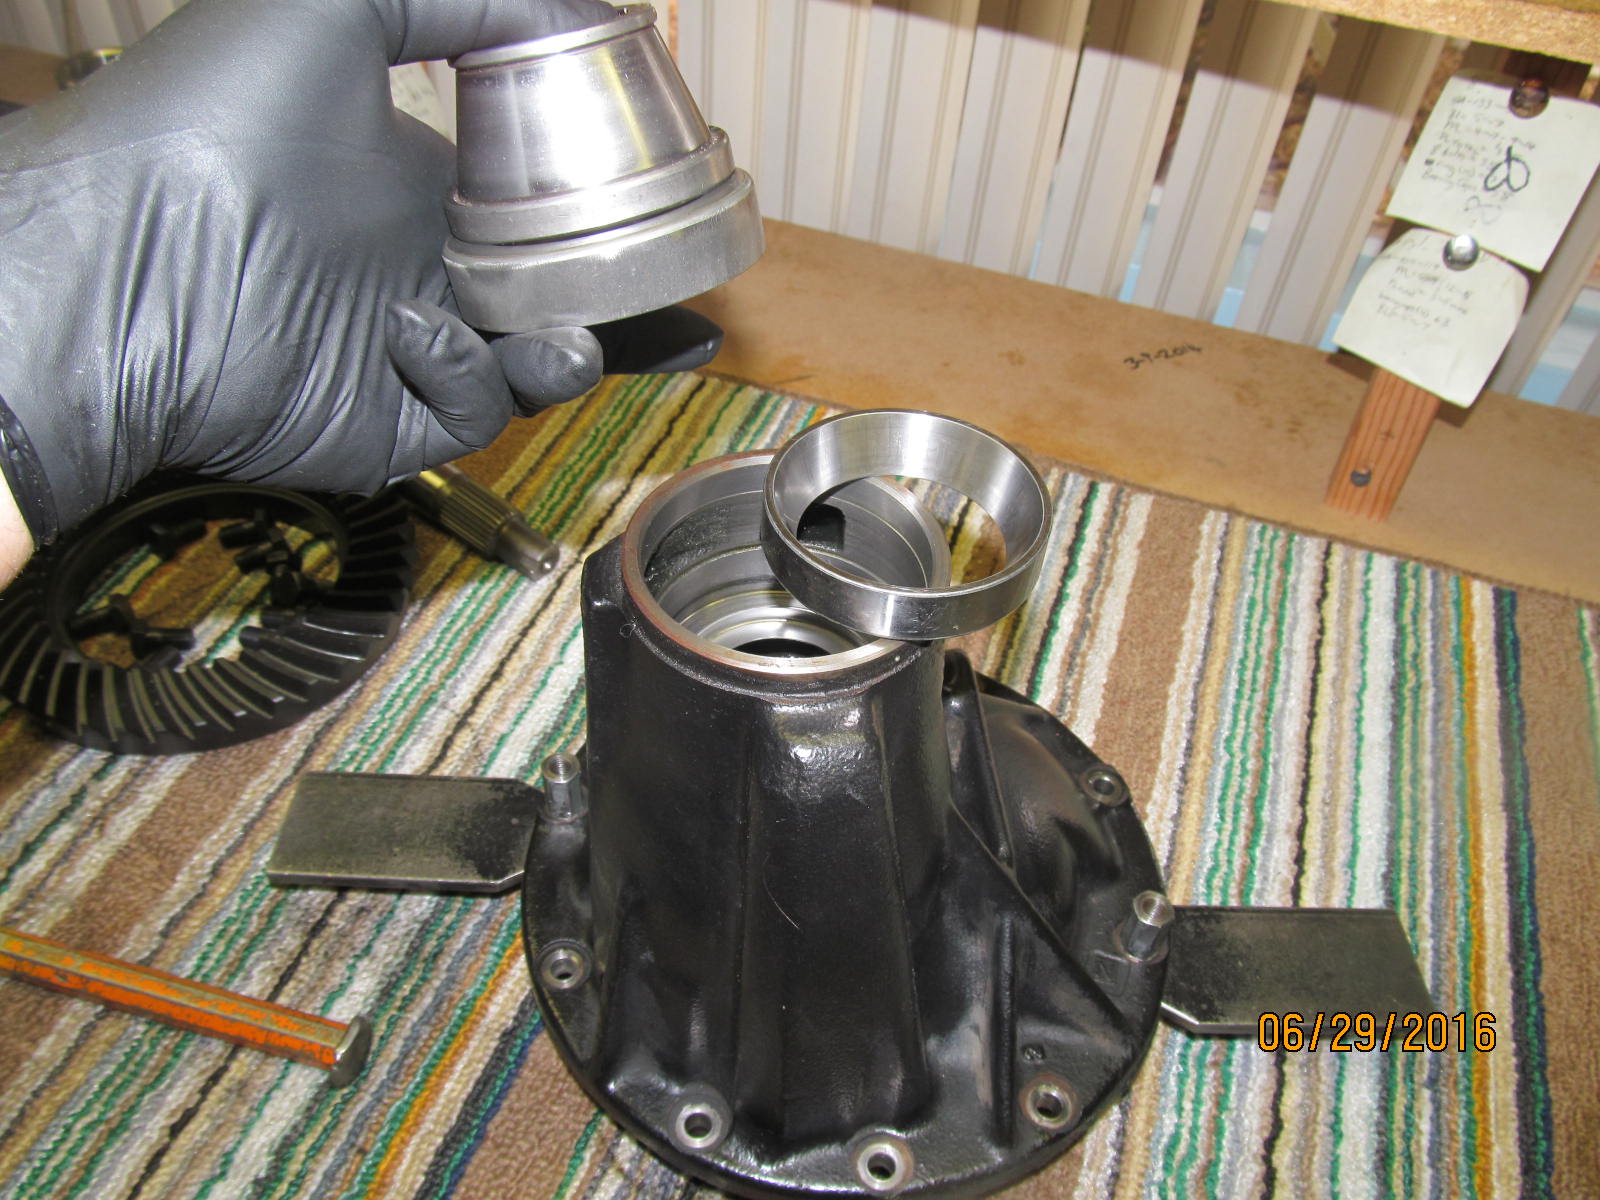
Much better...the trick is to remove the old outer pinion race without damaging or destroying the
oil retainer next to it.
|
|
|
|
|
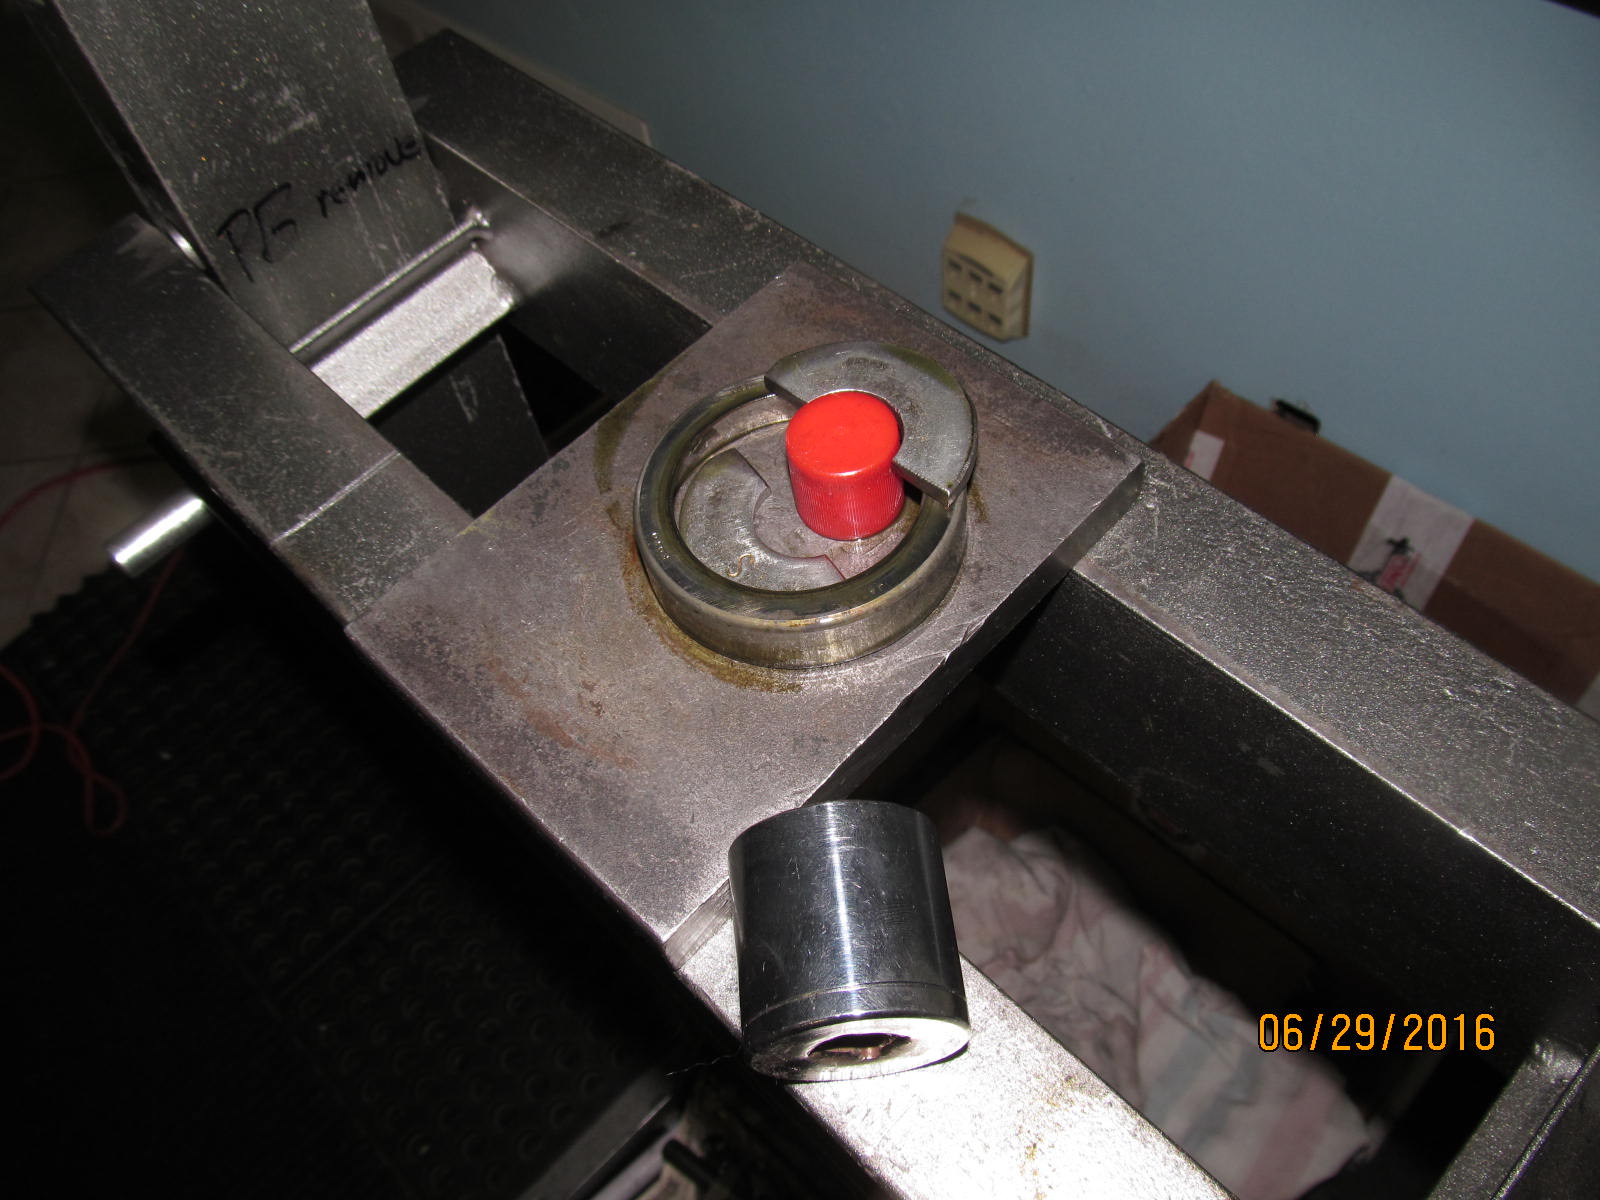
A large washer cut in two and a plastic bottle cap work amazingly well to do just that.
|
|
|
|
|
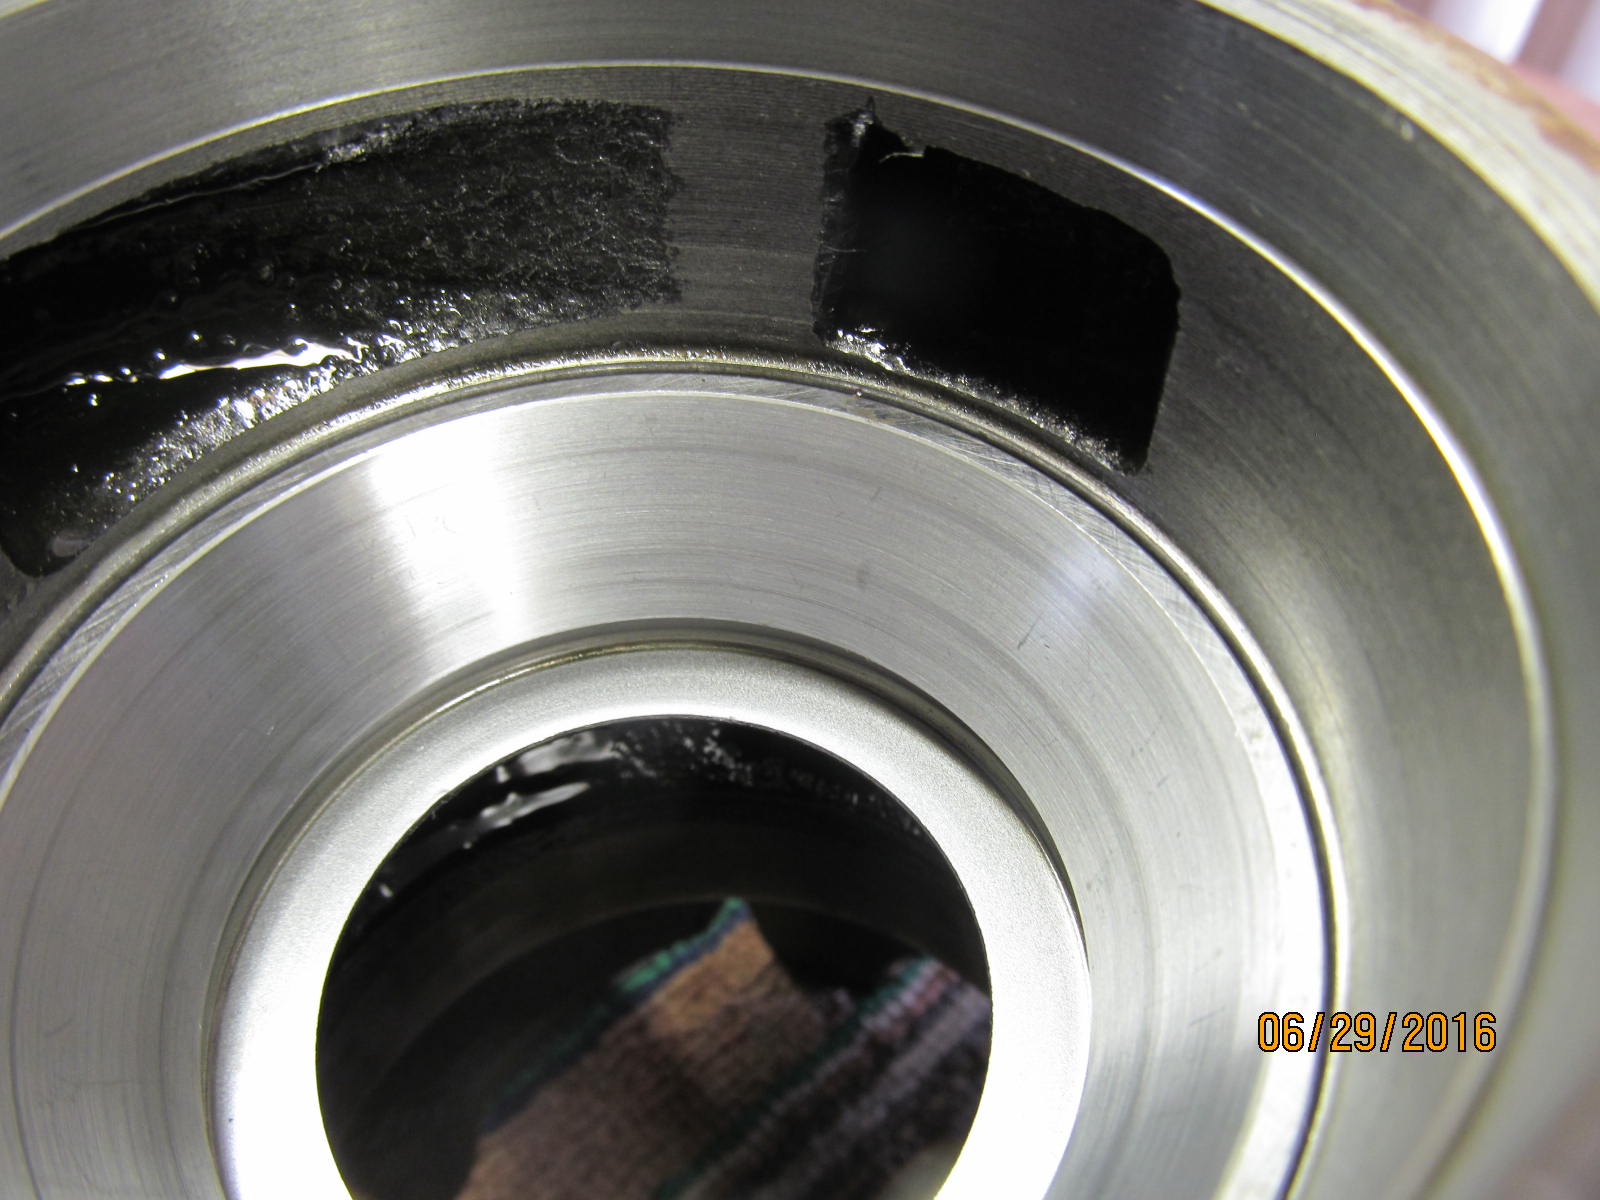
Oil retainer undamaged.
|
|
|
|
|
New race to be inserted.
|
|
|
|
|
Tap tap and this end done.
|
|
|
|
|
Seated 100% new race.
|
|
|
|
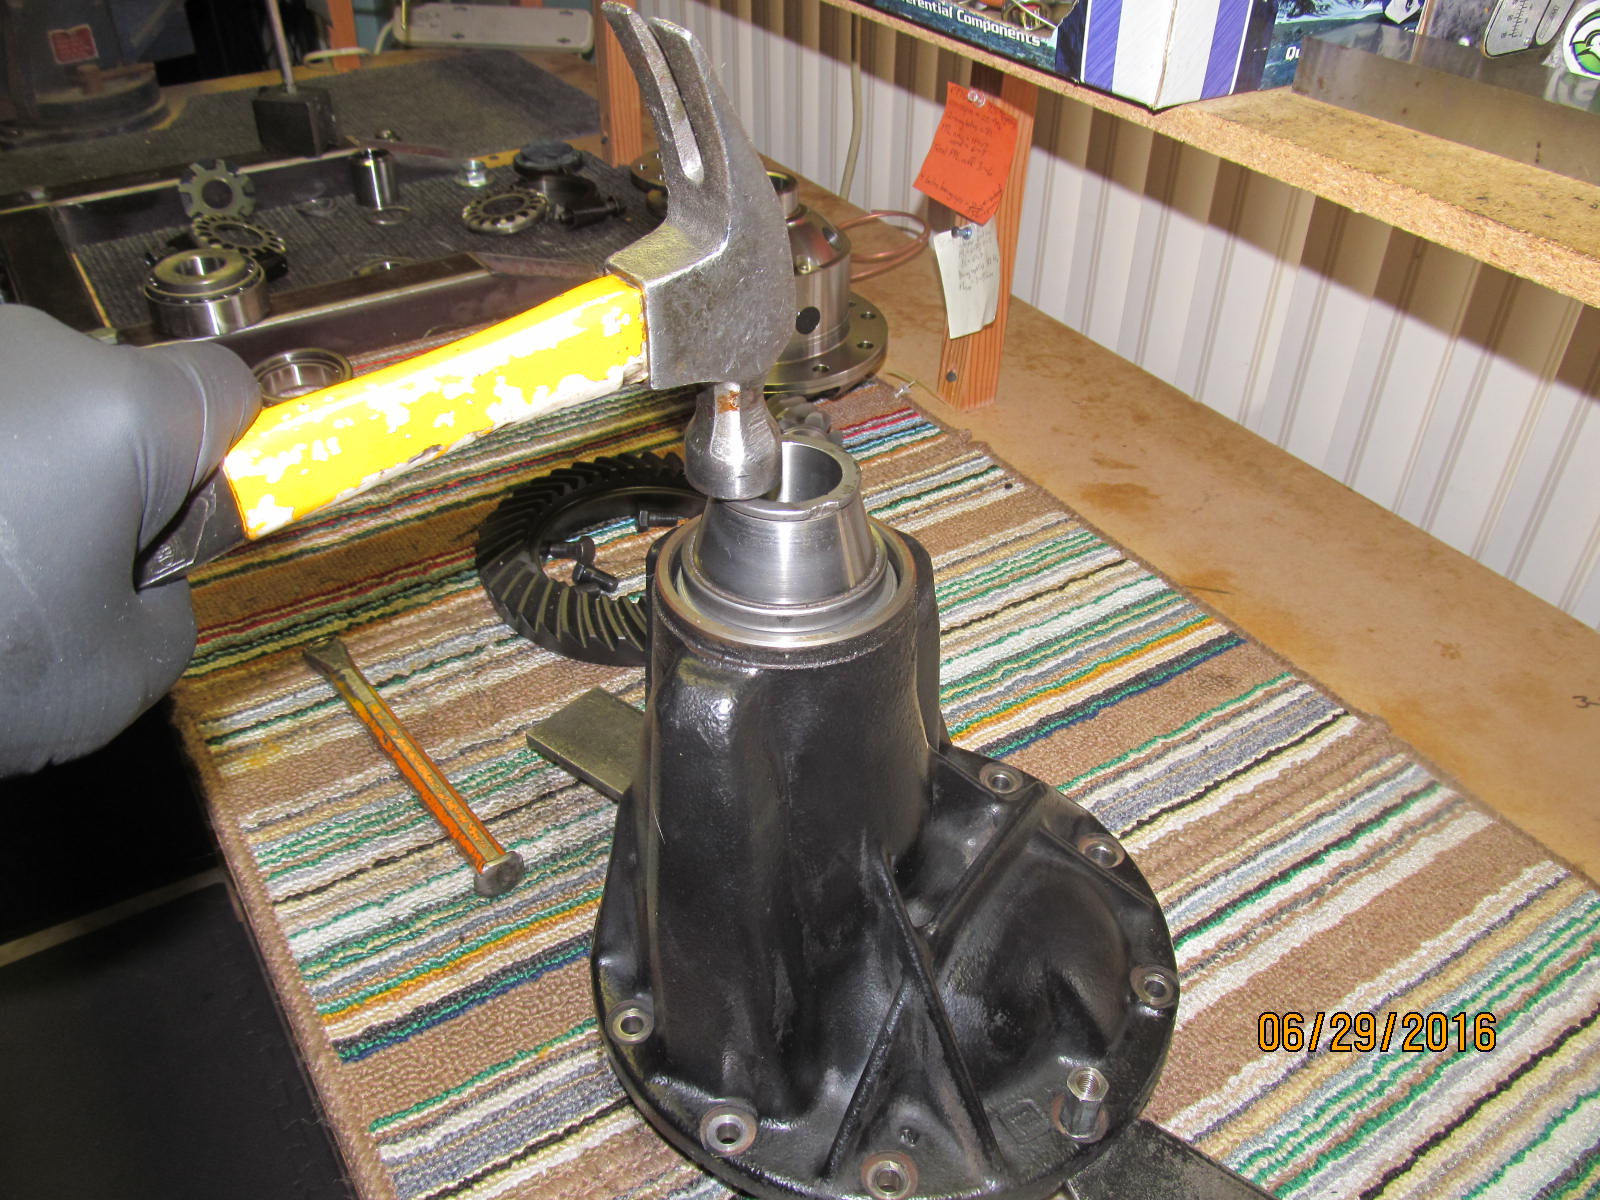
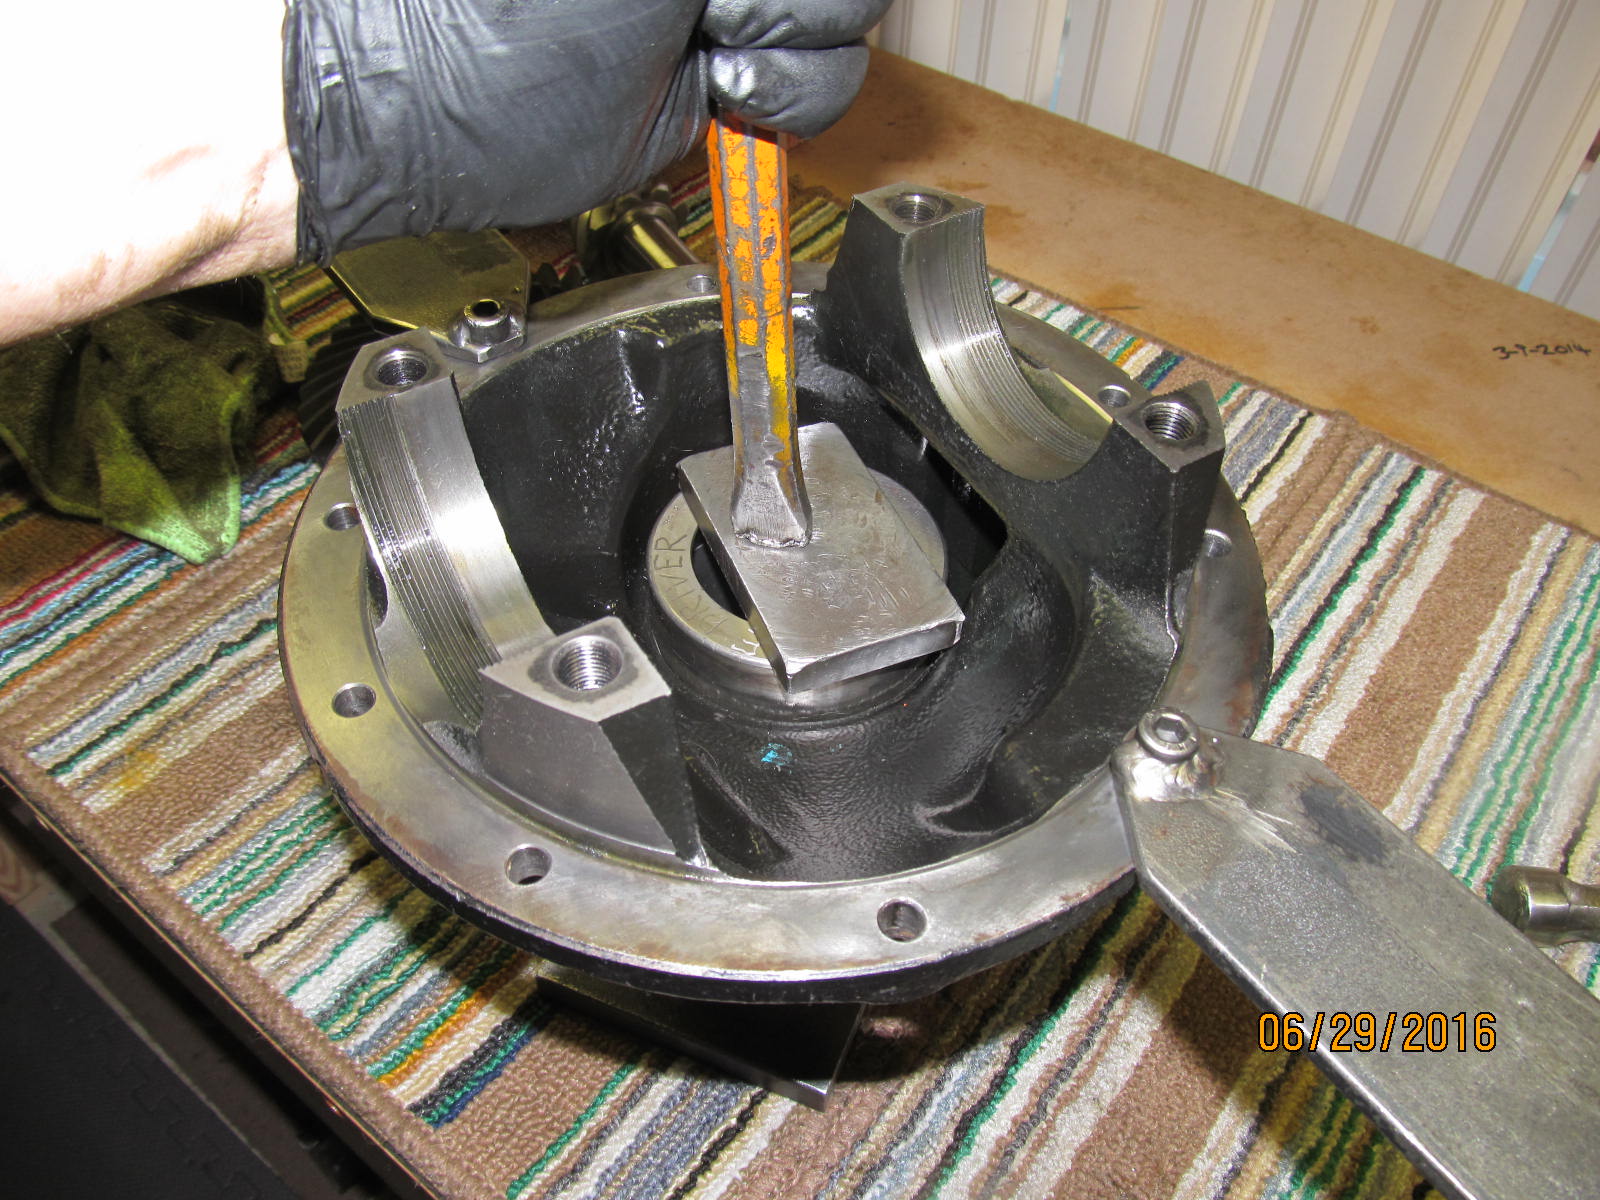
The large inner race can be hammered in with a chisel but more "indirectly" than the way I used to do it
in the distant past. New races and direct contact with a chisel is to be avoided.
|
|
|
|
|
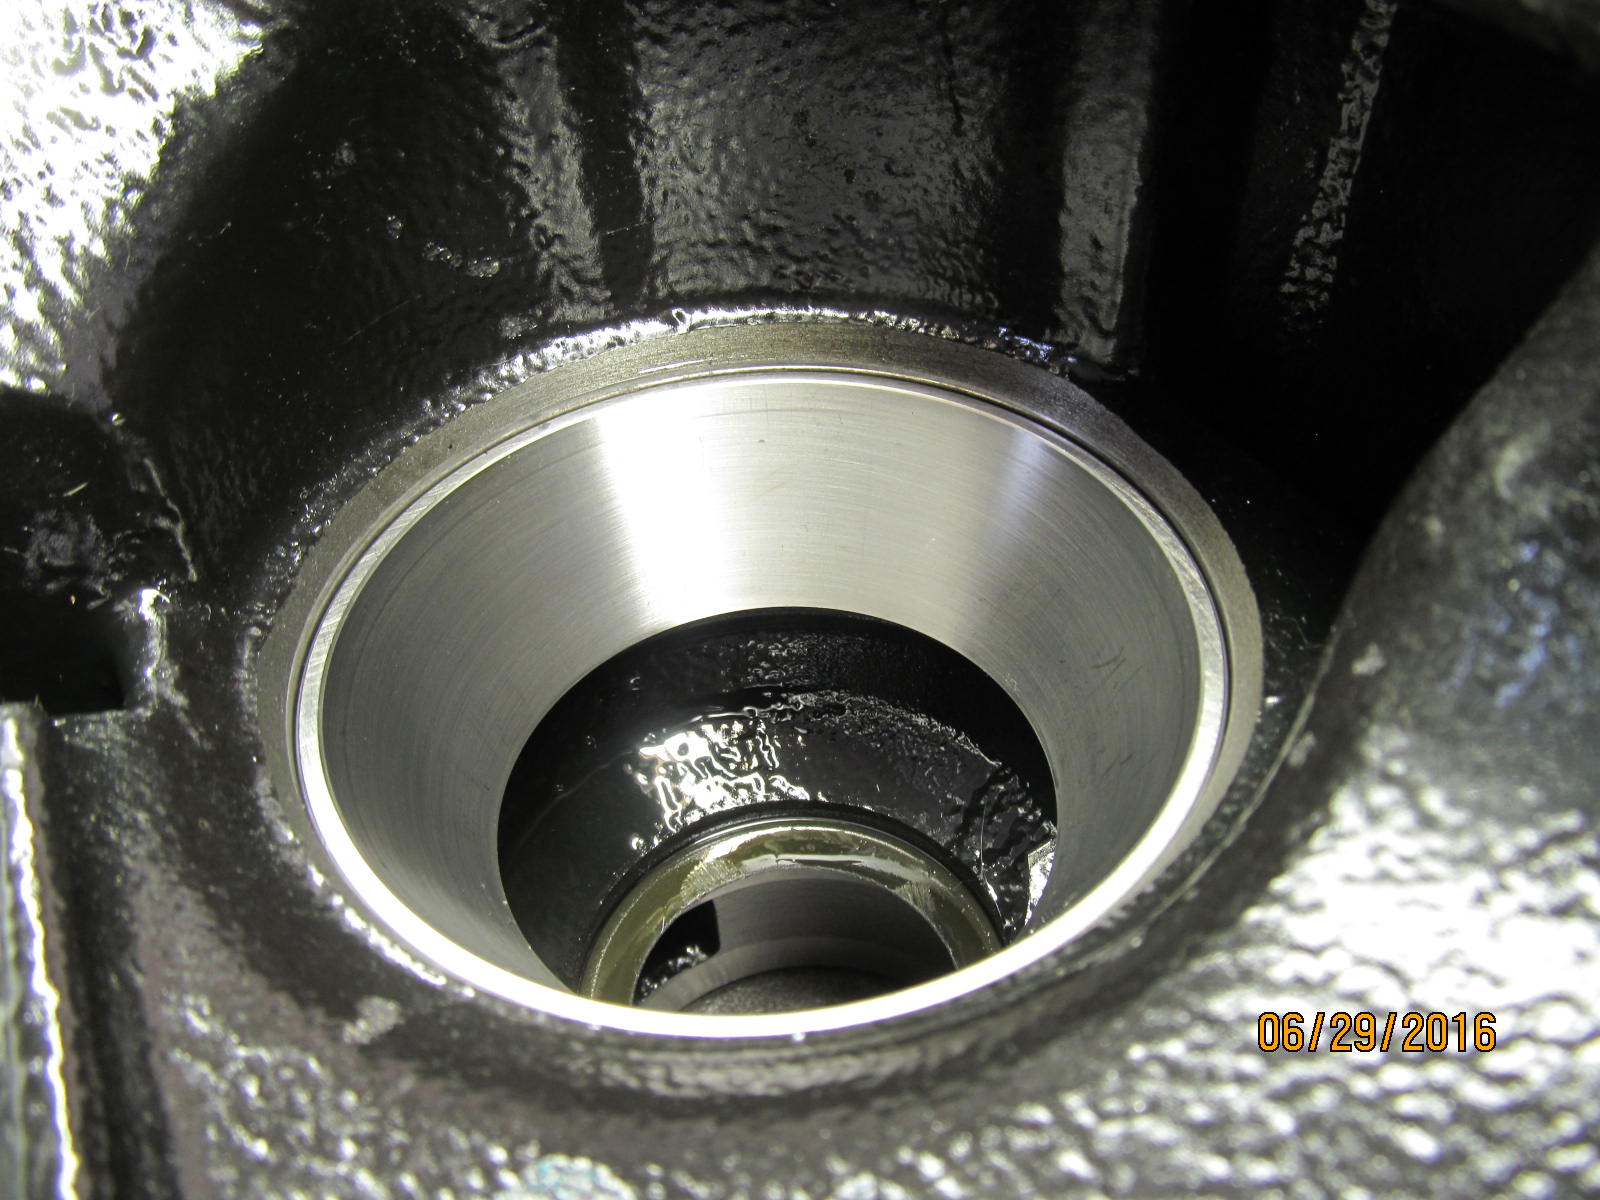
Big race is 100% seated.
|
|
|
|
|
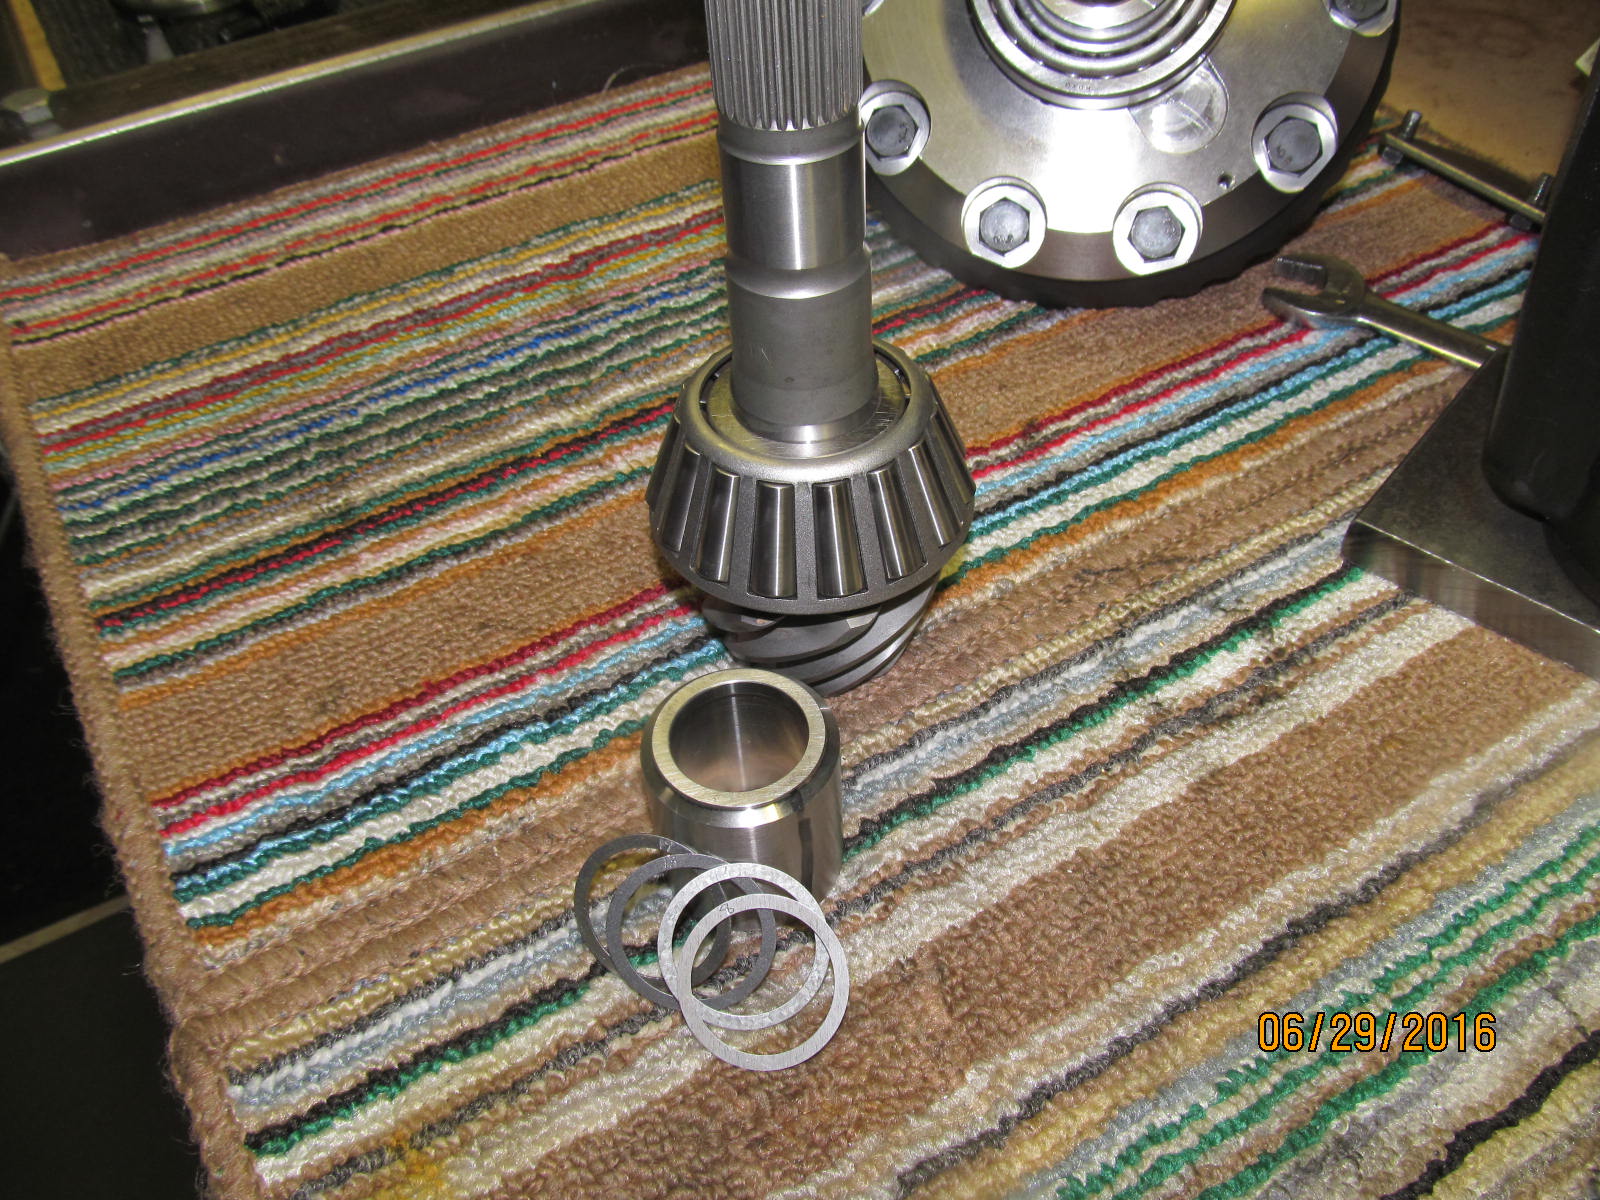
Now onto the pinion itself....starter shim will be a .0775" oem shim.
|
|
|
|
|
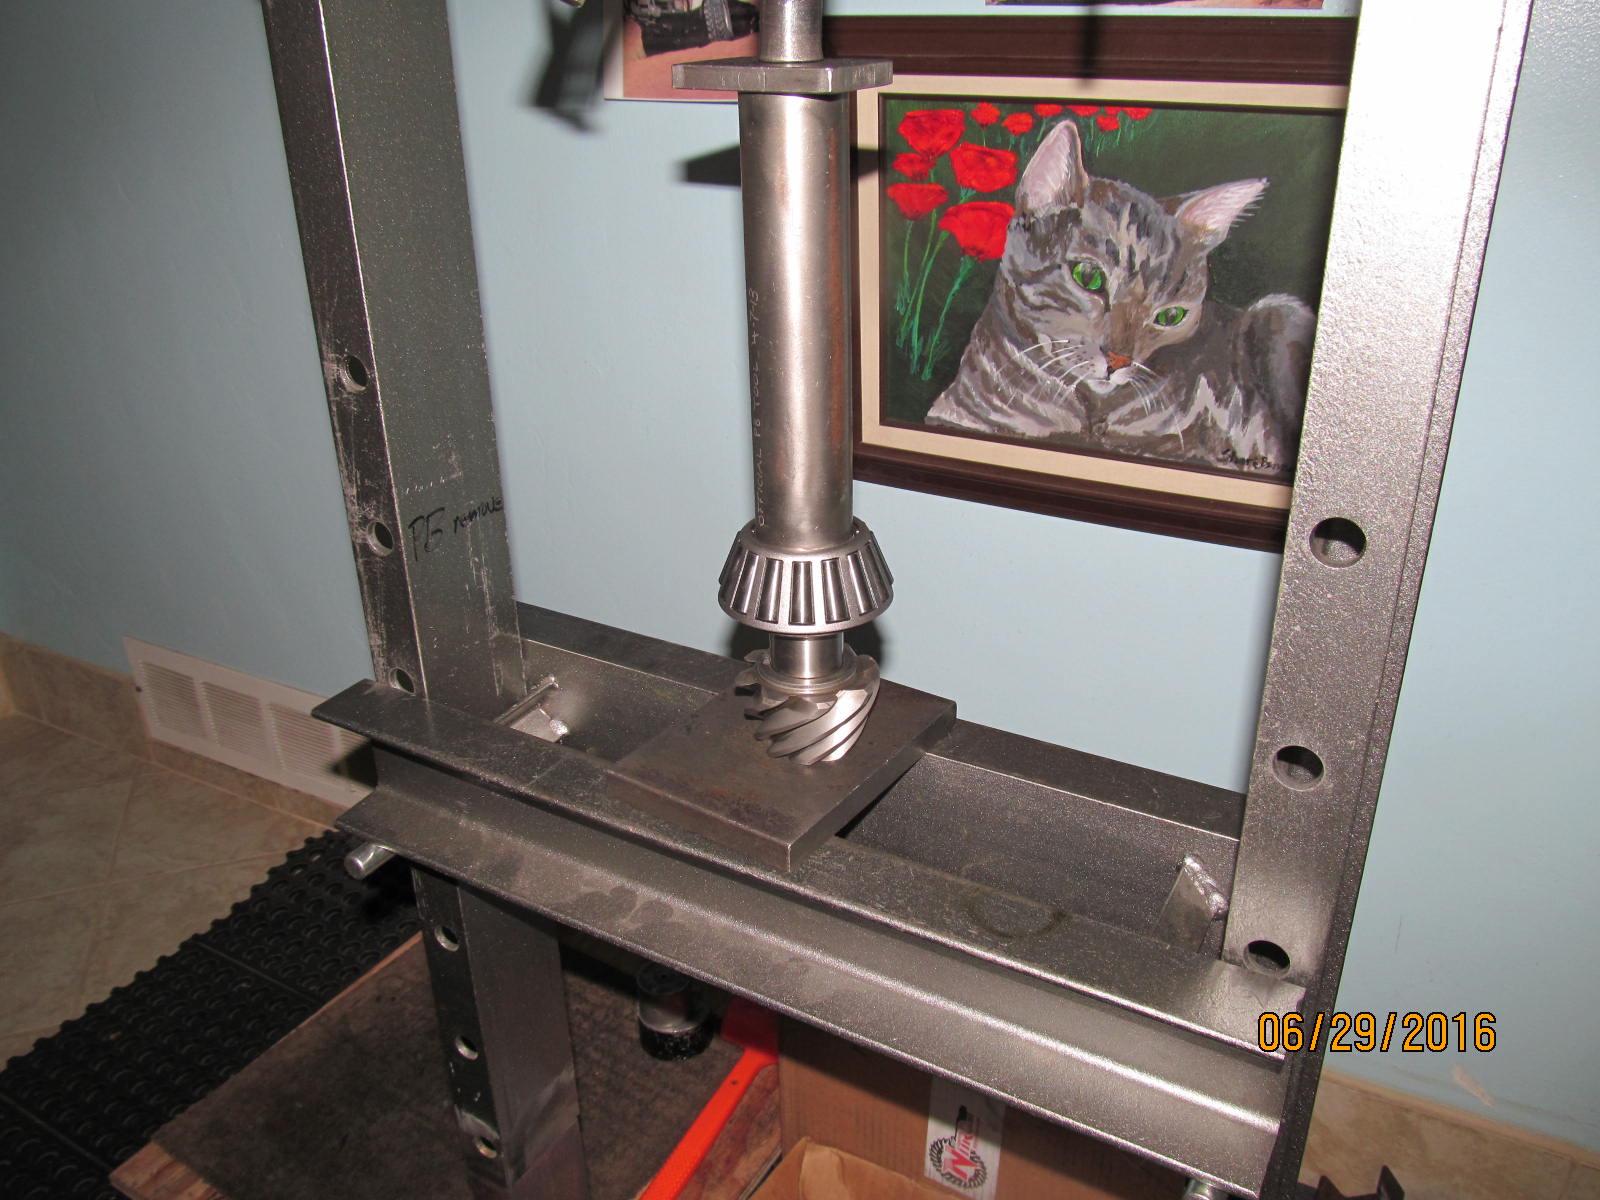
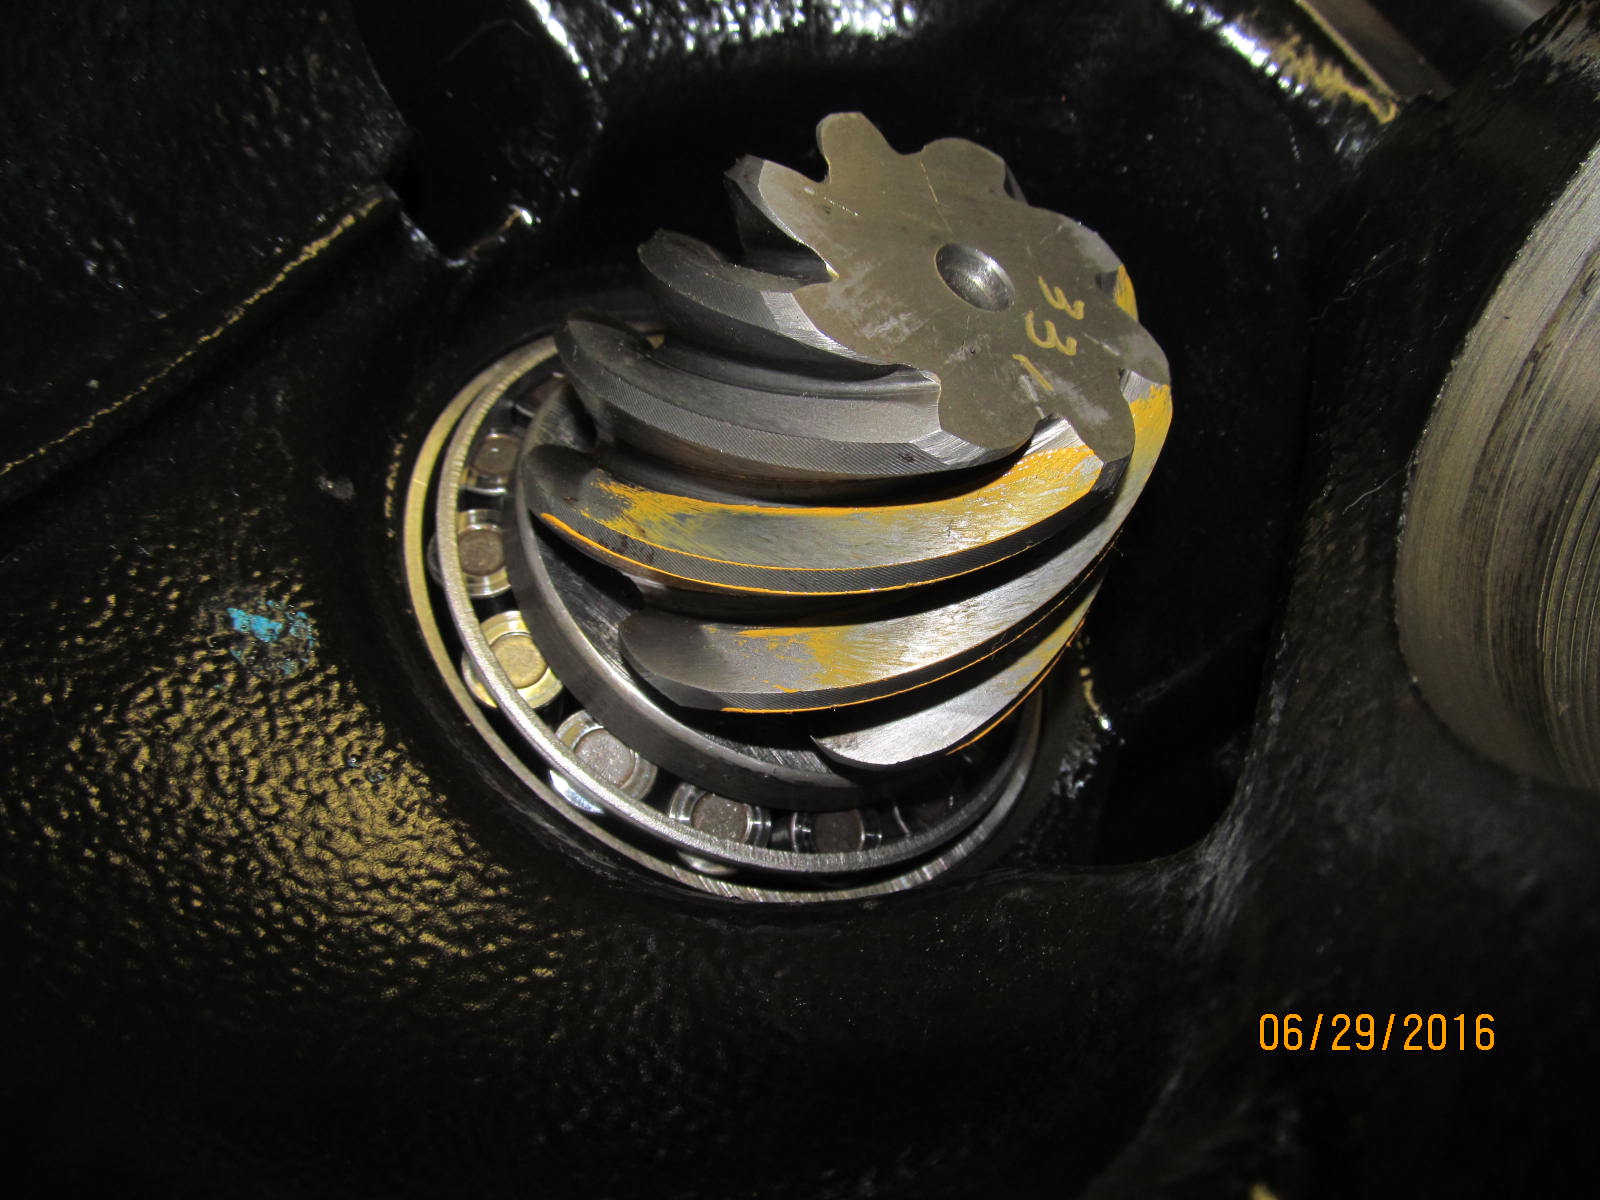
Press on the new Koyo bearing and shim with the 12 ton HarborFreight press.
|
|
|
|
Impact down the pinion nut til some resistance is felt but not so much that the flange becomes hard to turn.
This is only for a paint test so being exact is not critical.
|
|
|
|
|
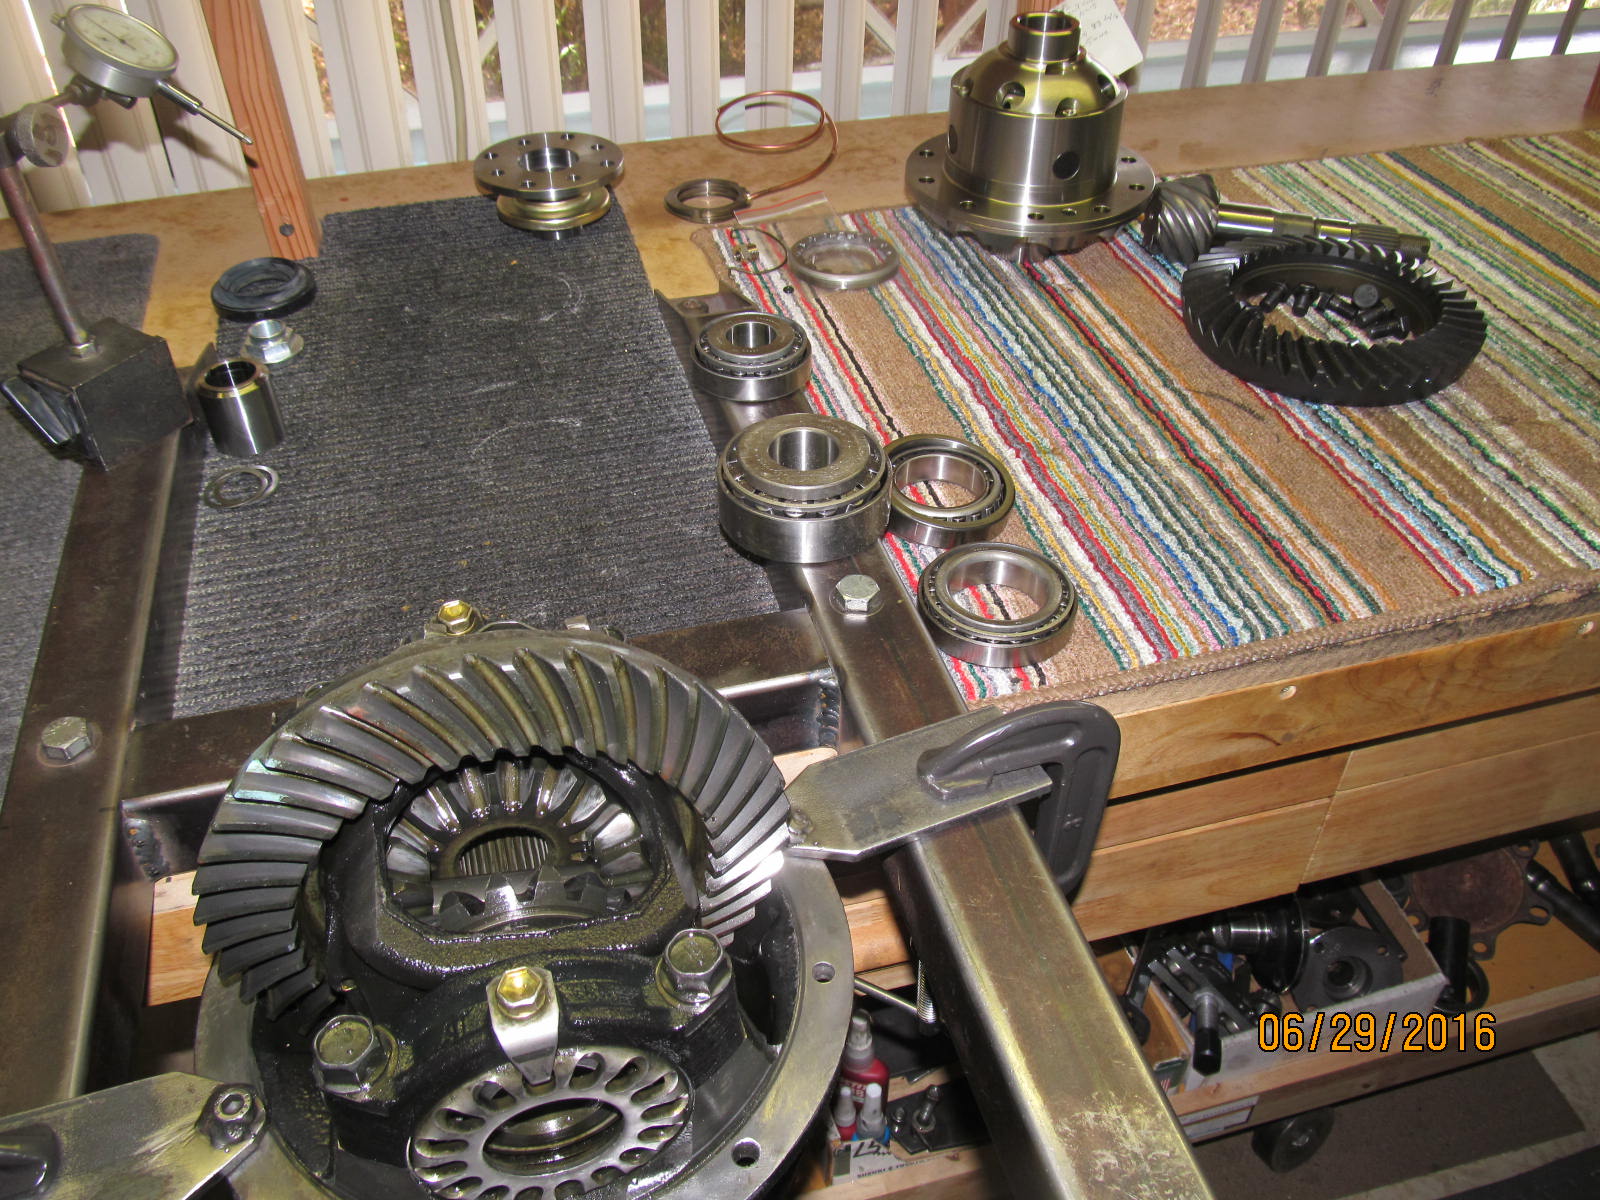
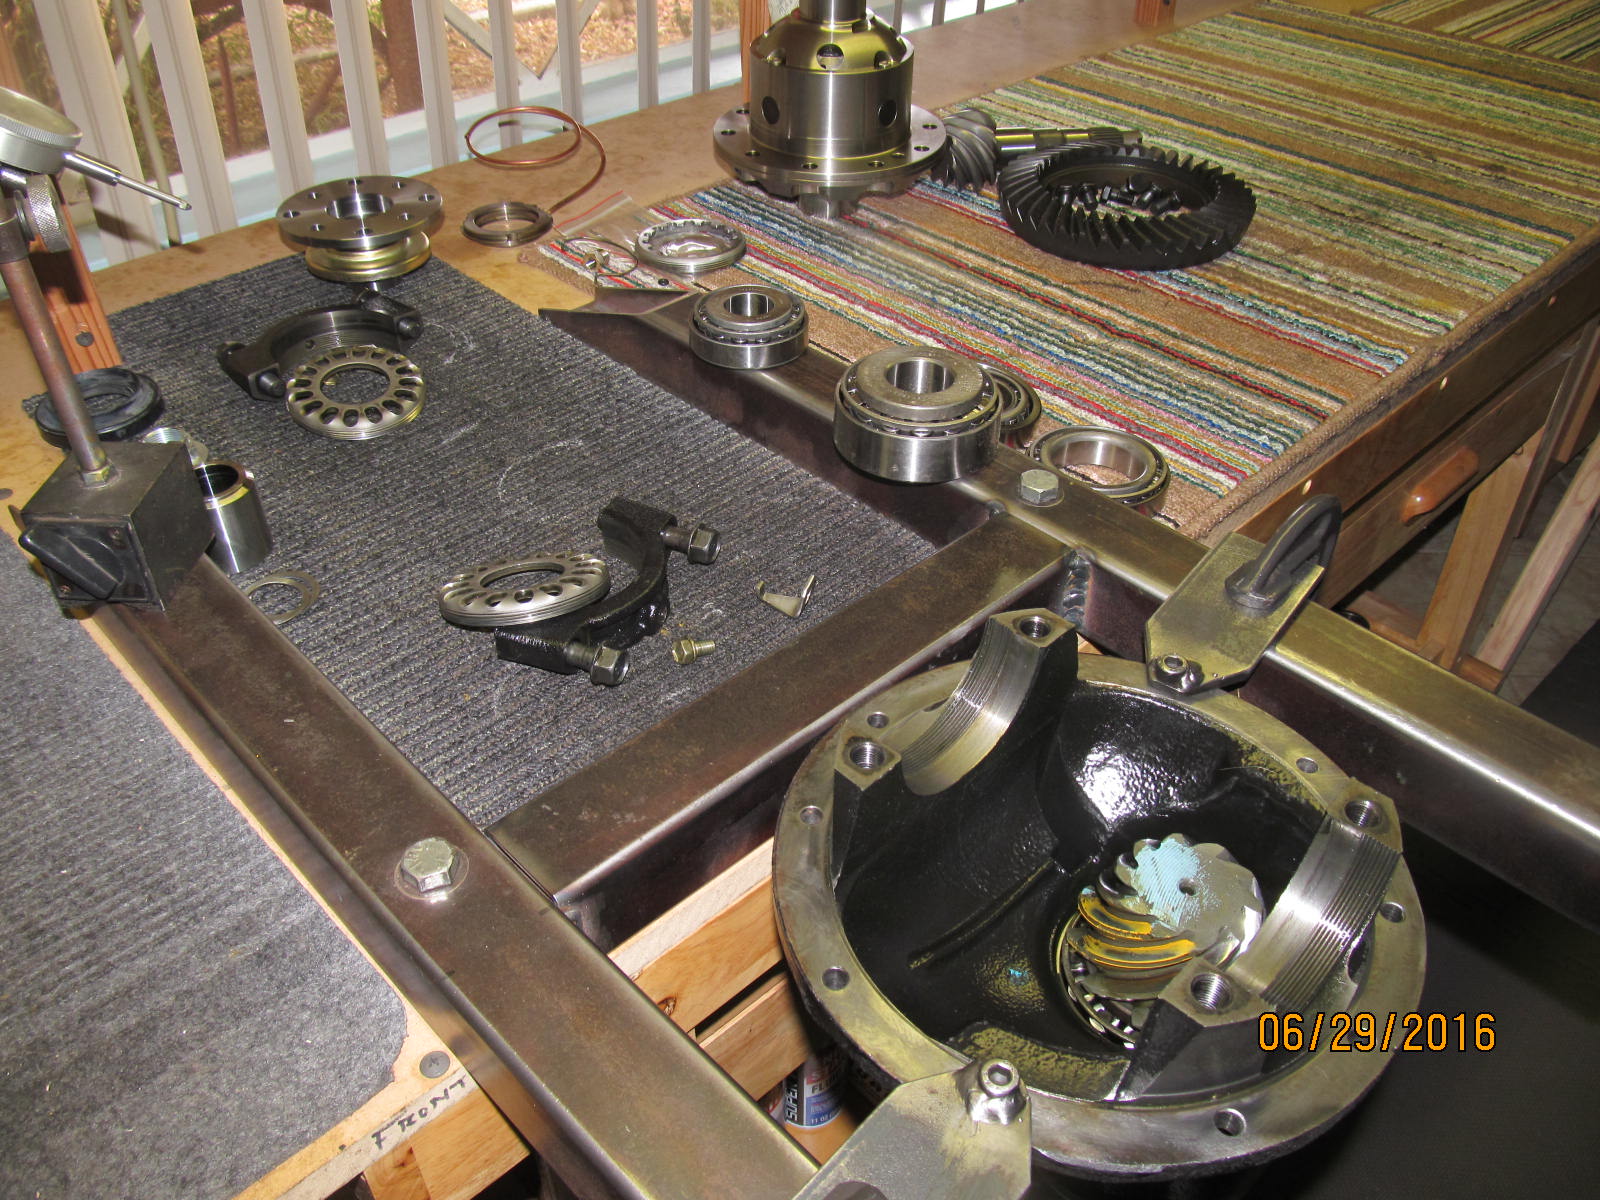
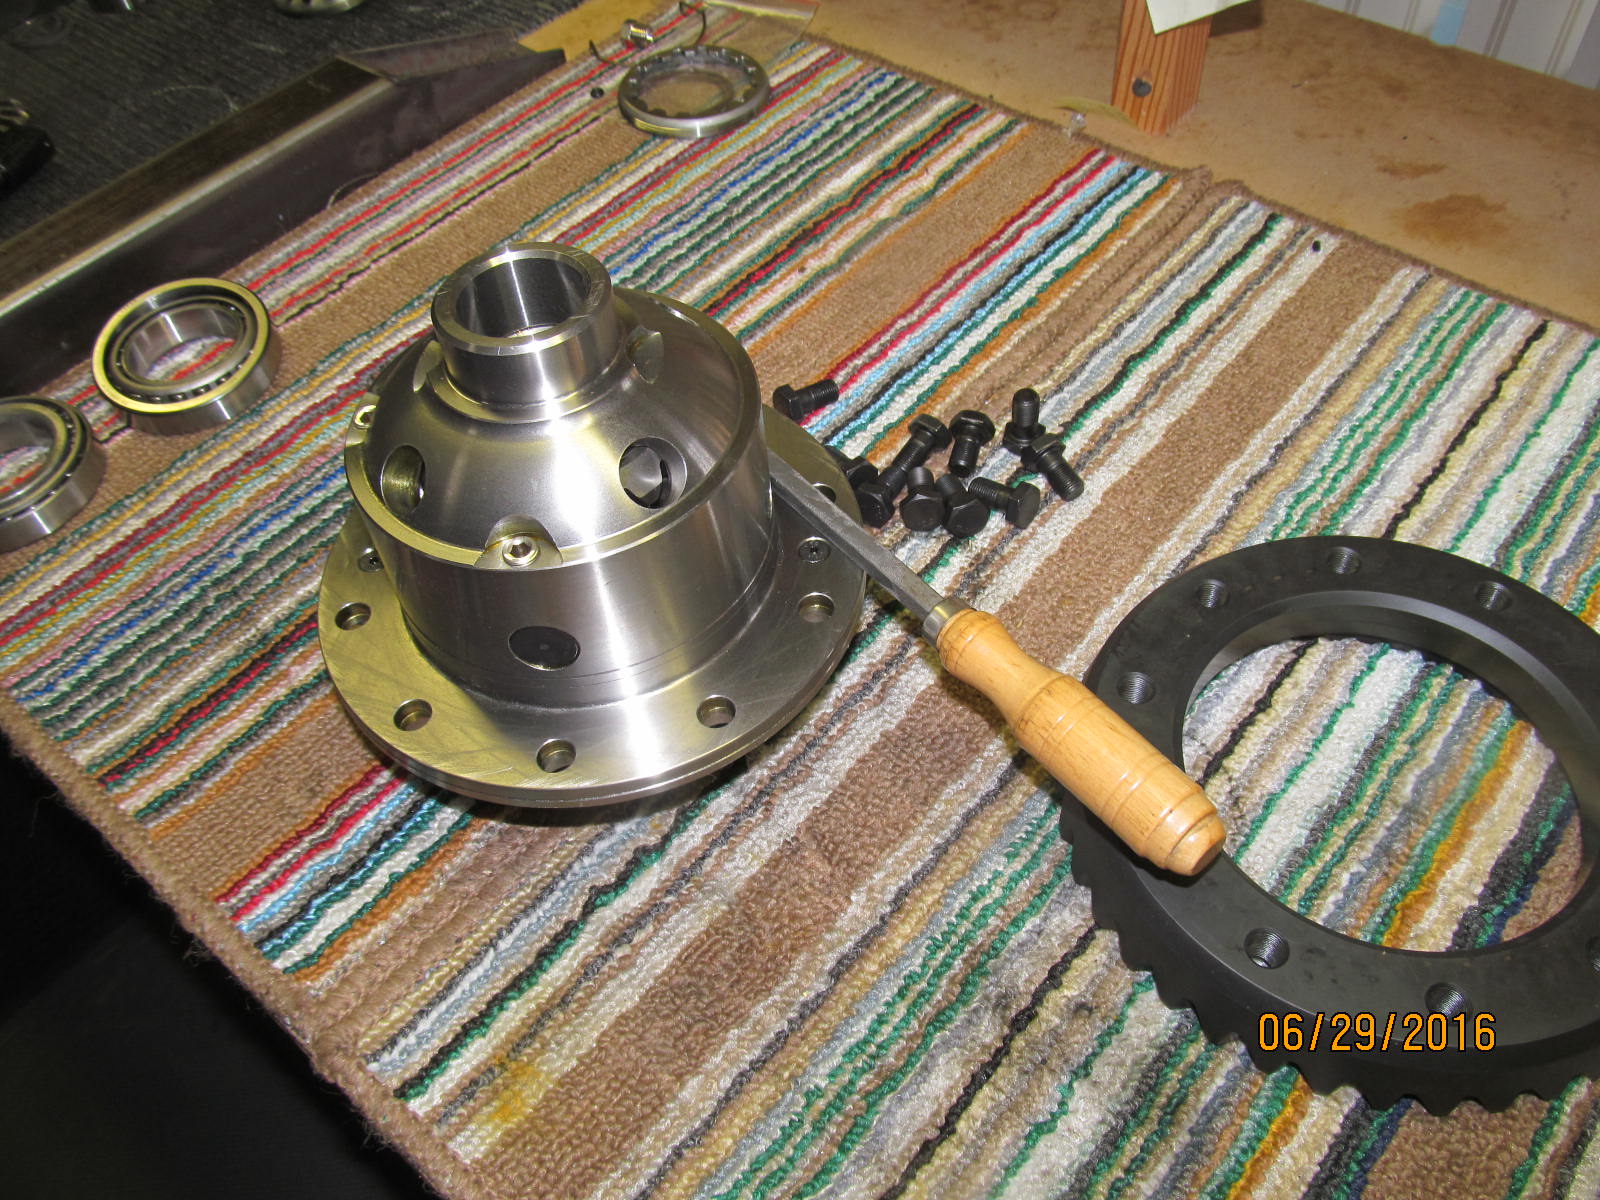
Now onto the ARB carrier end of things...surfaces are checked for burrs/high spots and all appears fine.
|
|
|
|
|
I was able to not have to use the press and tap the Nitro 488 ring down just fine here.
|
|
|
|
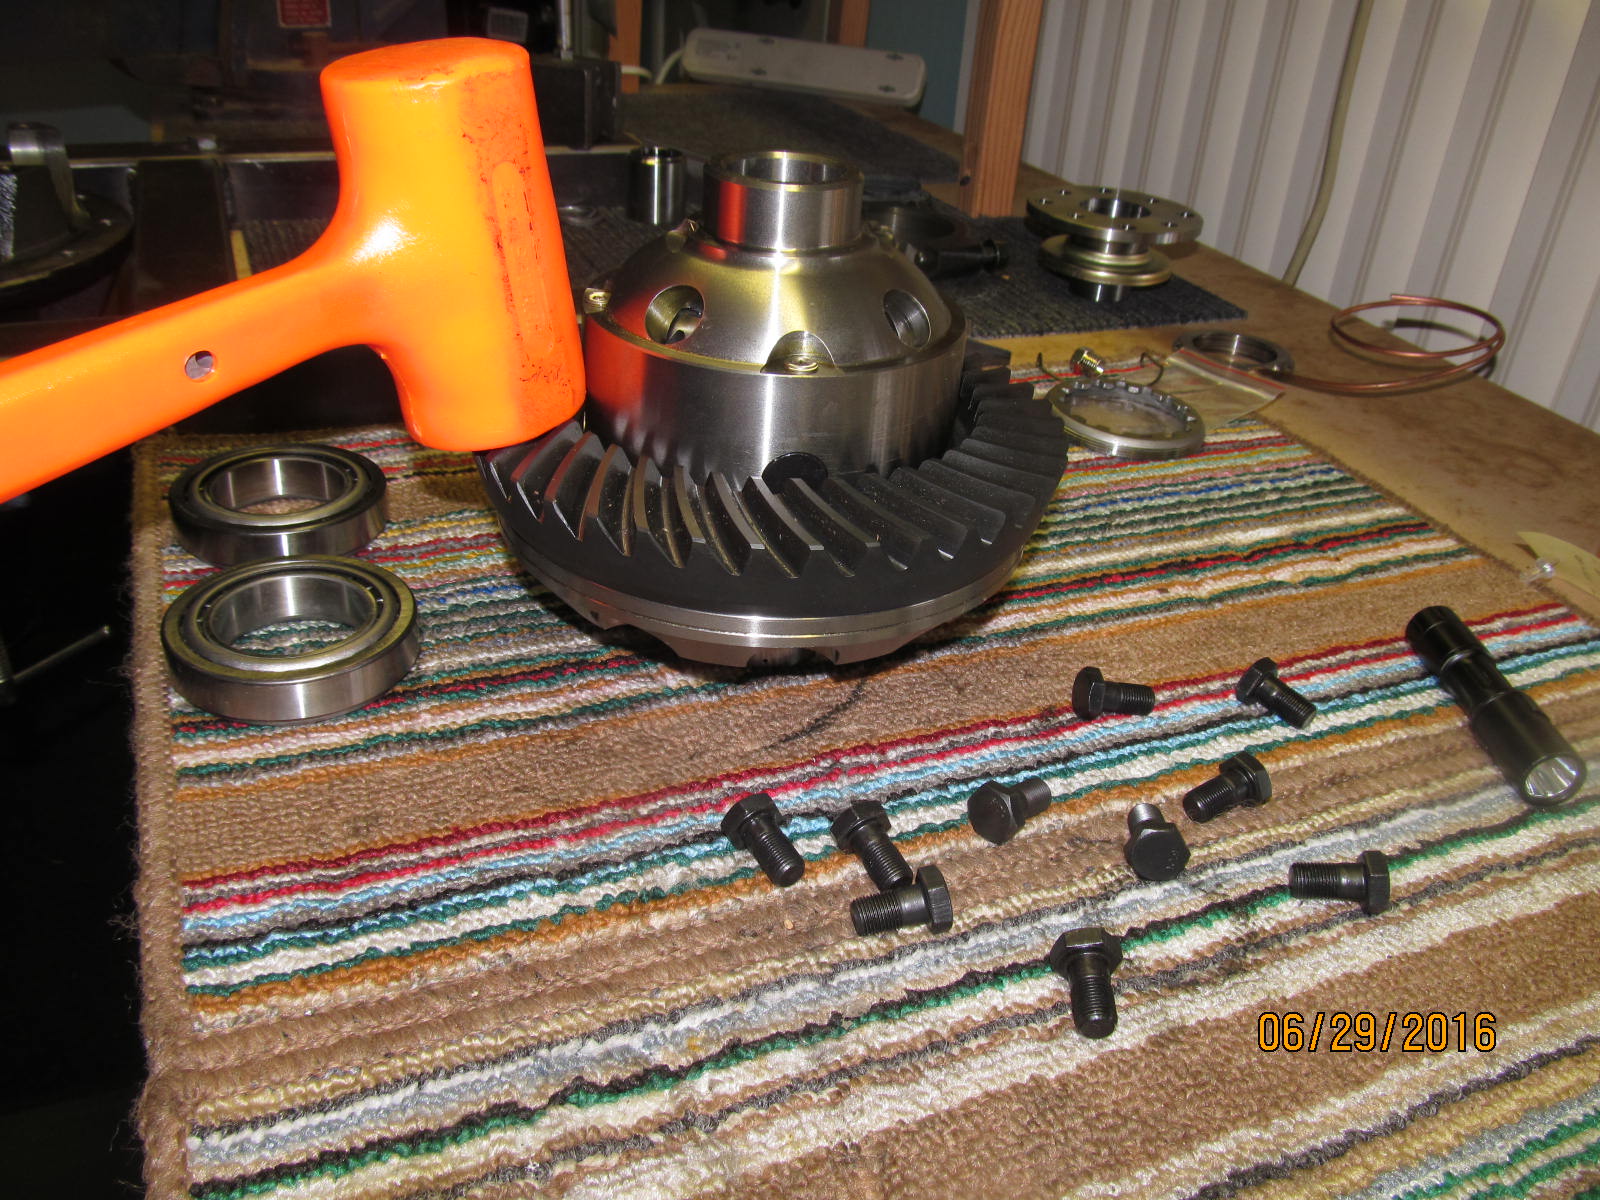
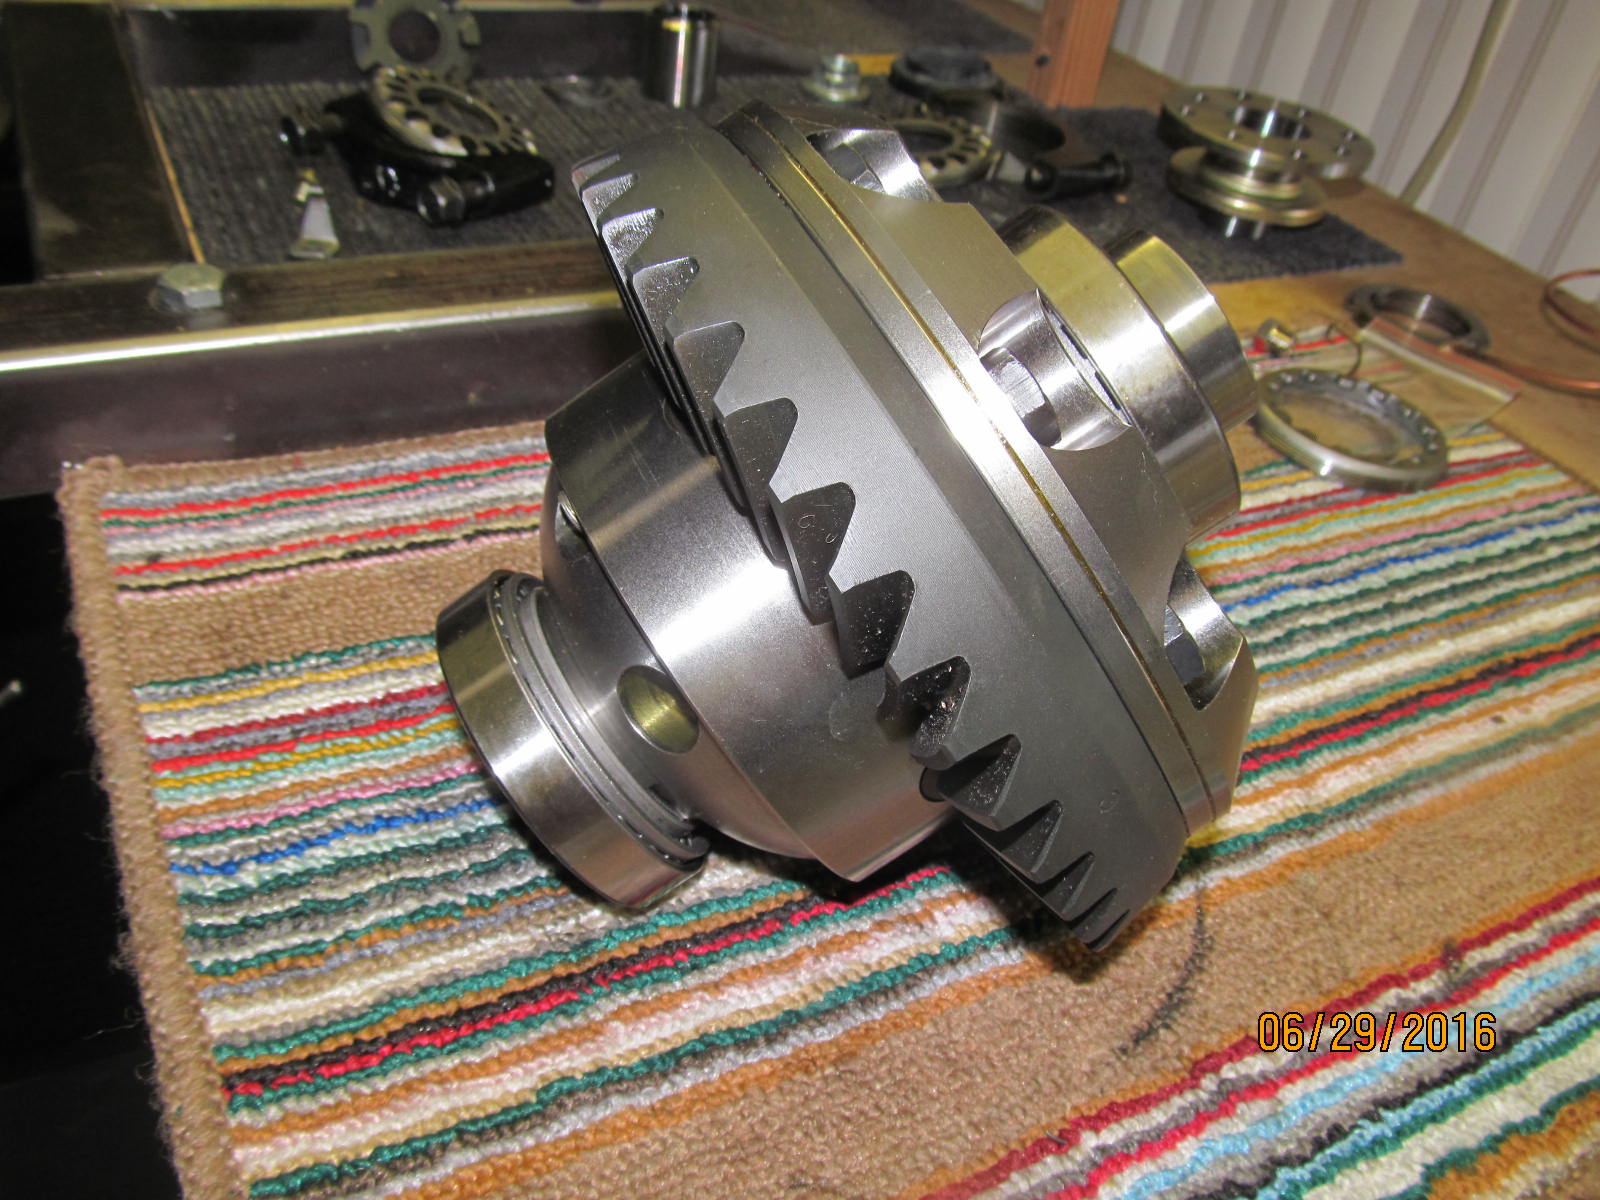
Carrier bearings were pressed on and it was very convenient to also tighten the 10 ring gear bolts
to the specified 70 ft/lb.
|
|
|
|
|
This end is done.
|
|
|
|
|
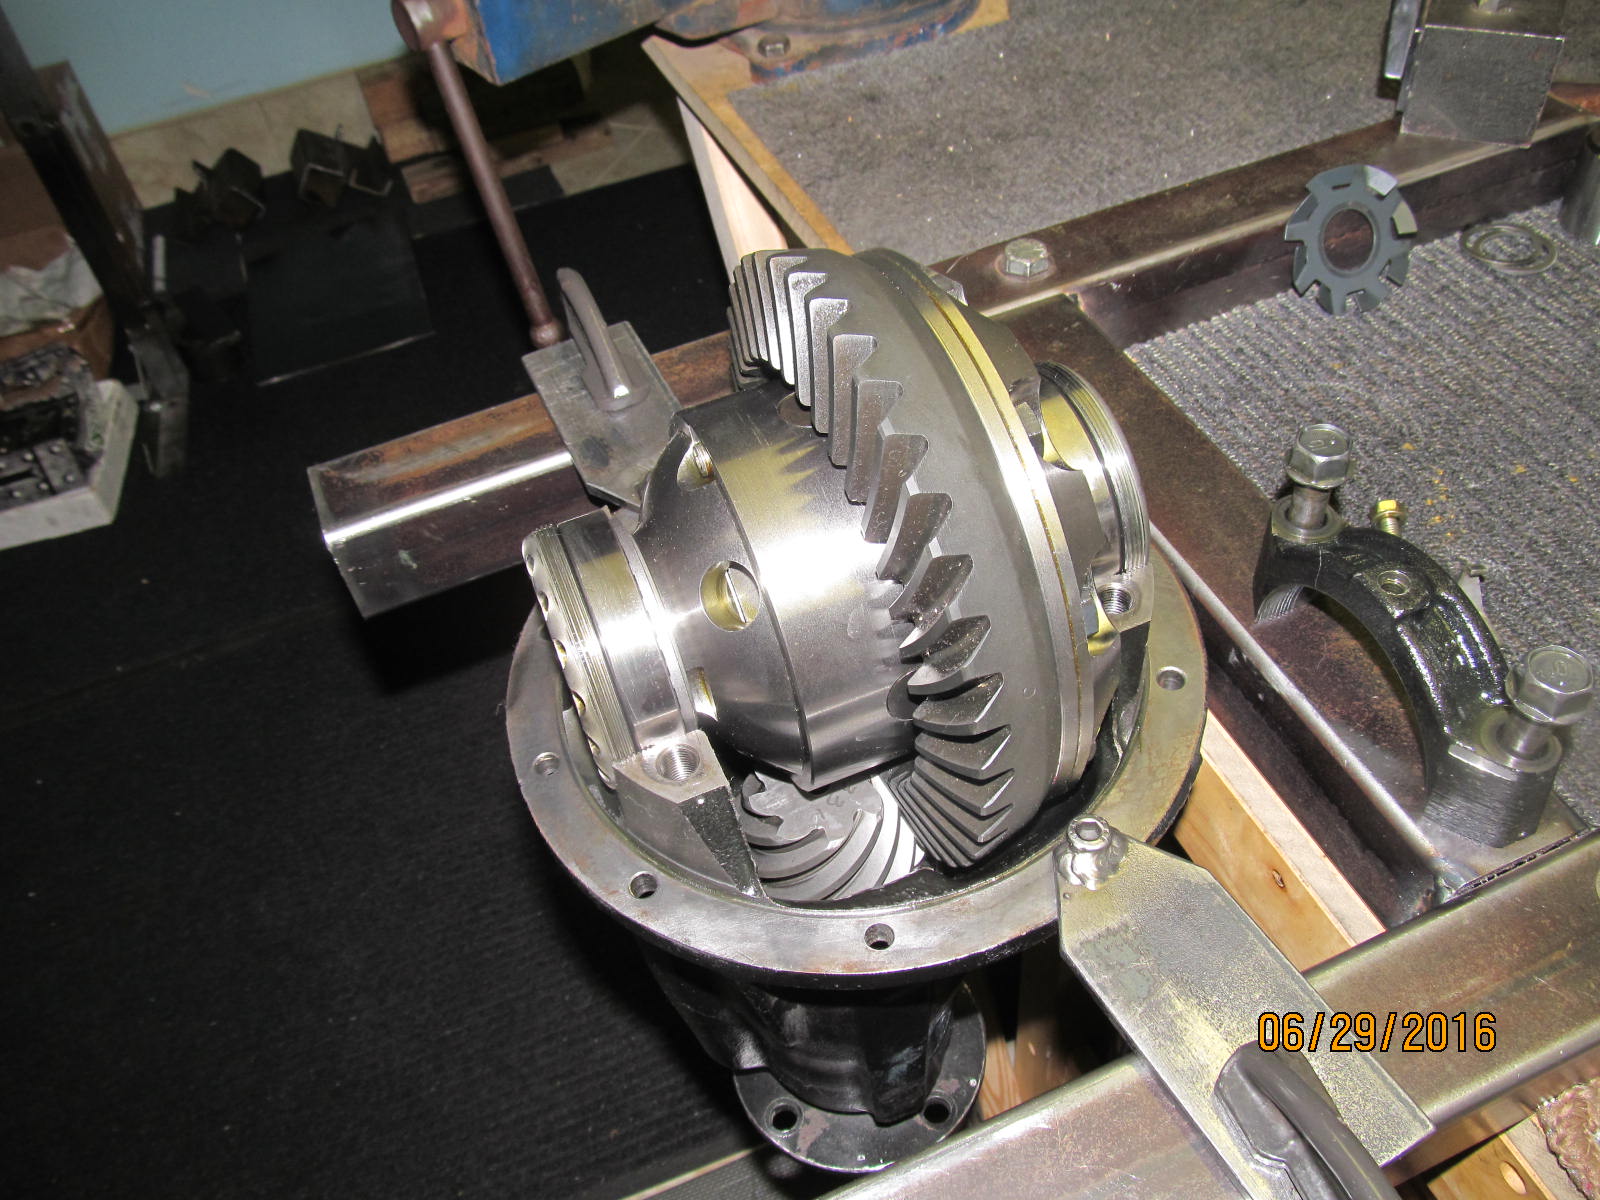
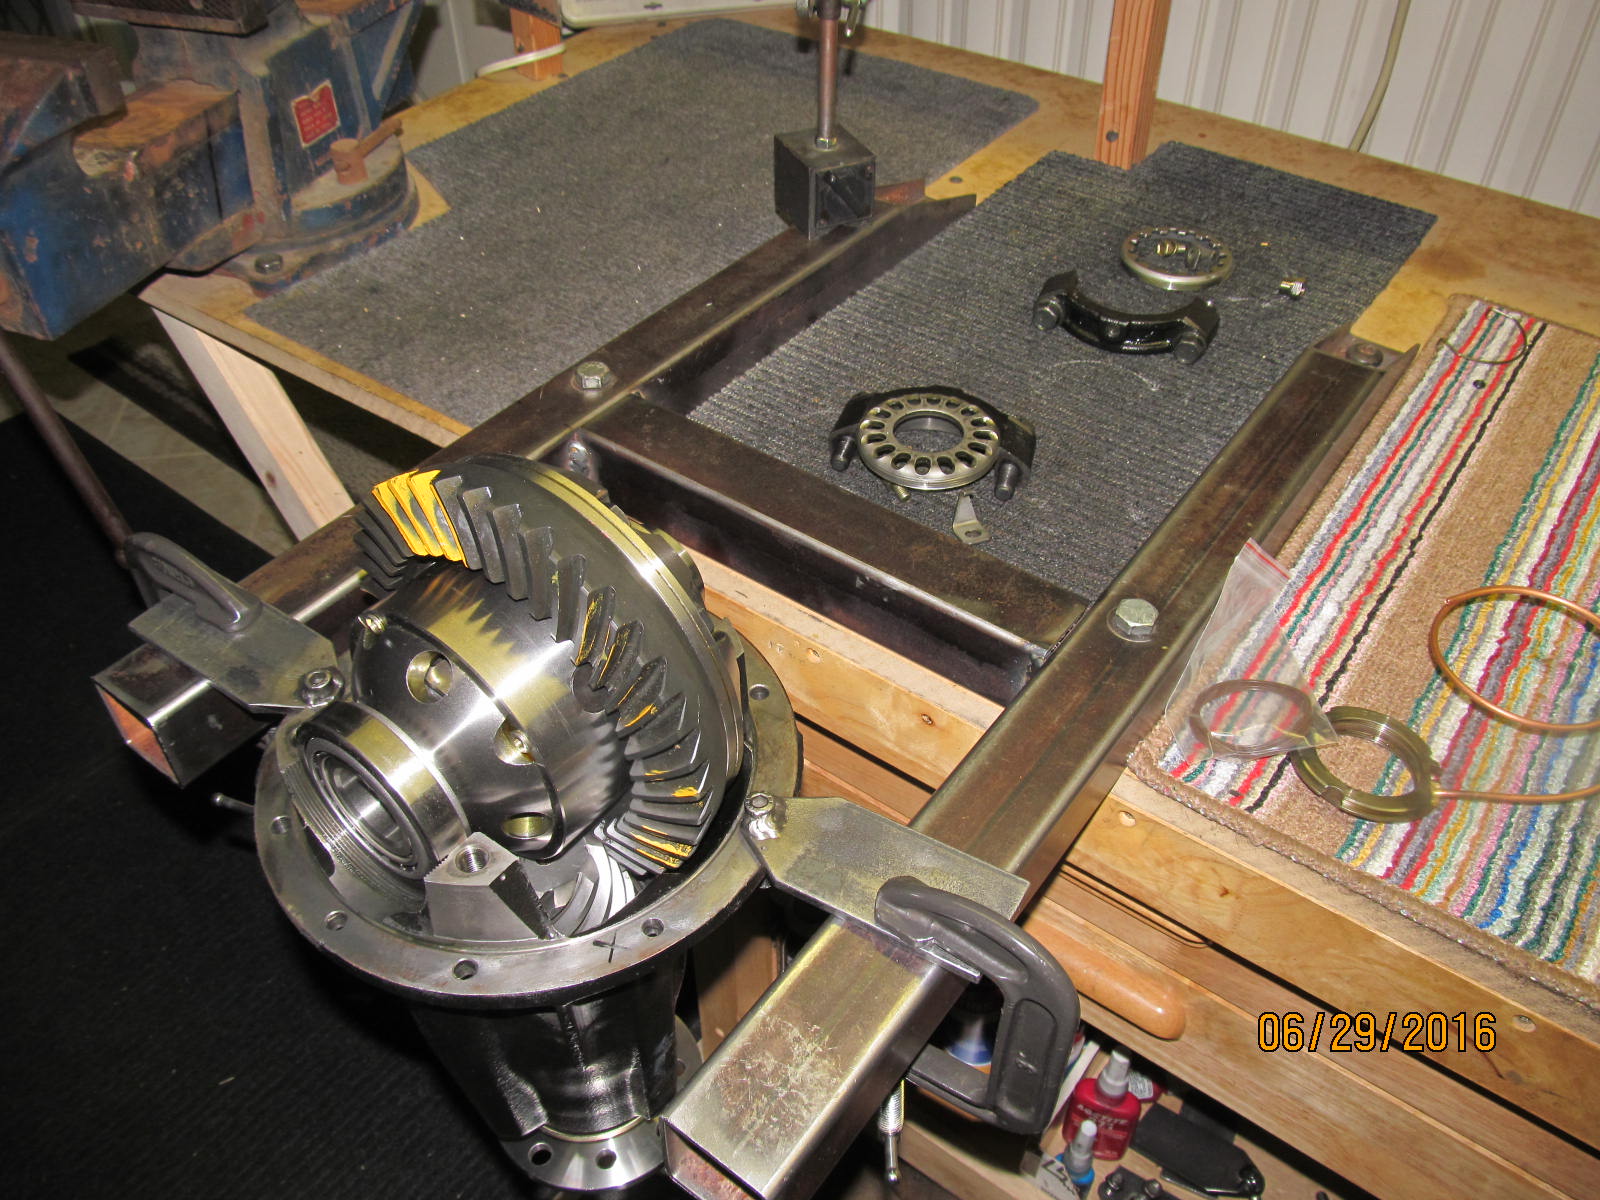
ARB is loaded in place and the wheel adjusters are carefully meshed in the threads.
|
|
|
|
|
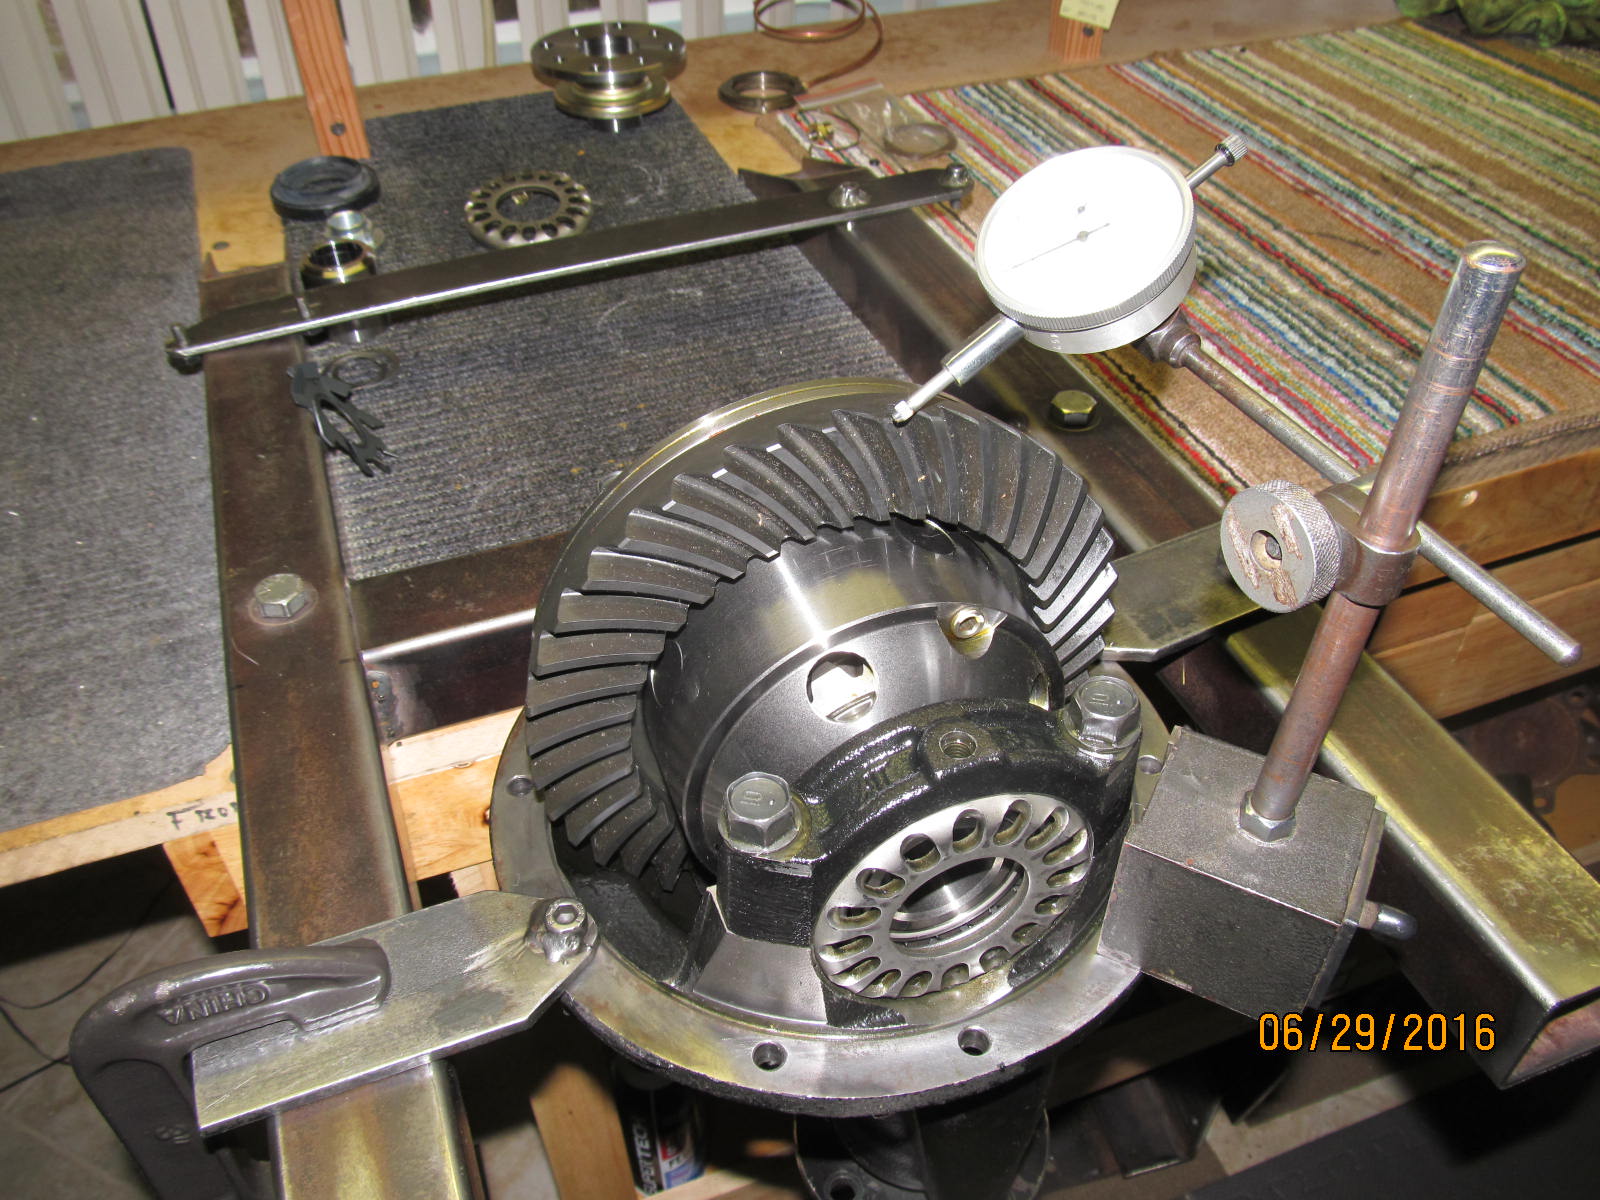
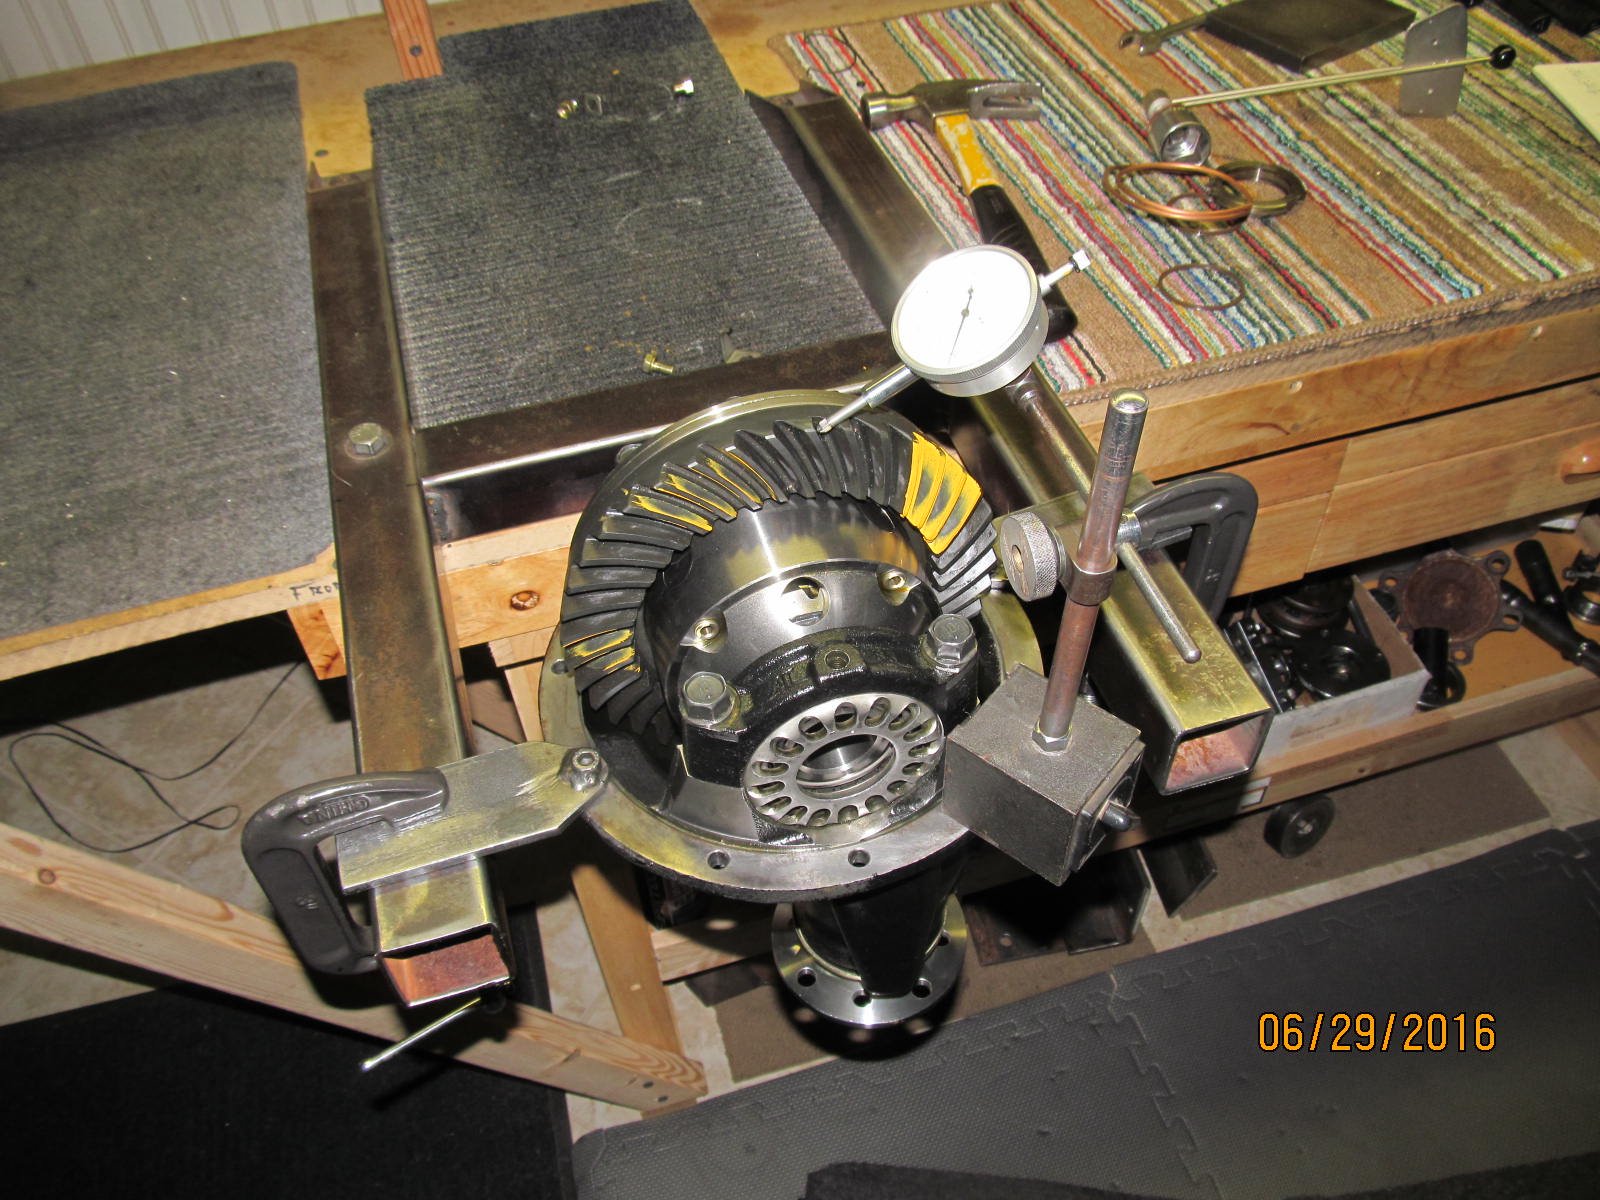
The 2 bearing caps are snugged up and backlash is set with a small amount of actual bearing preload.
|
|
|
|
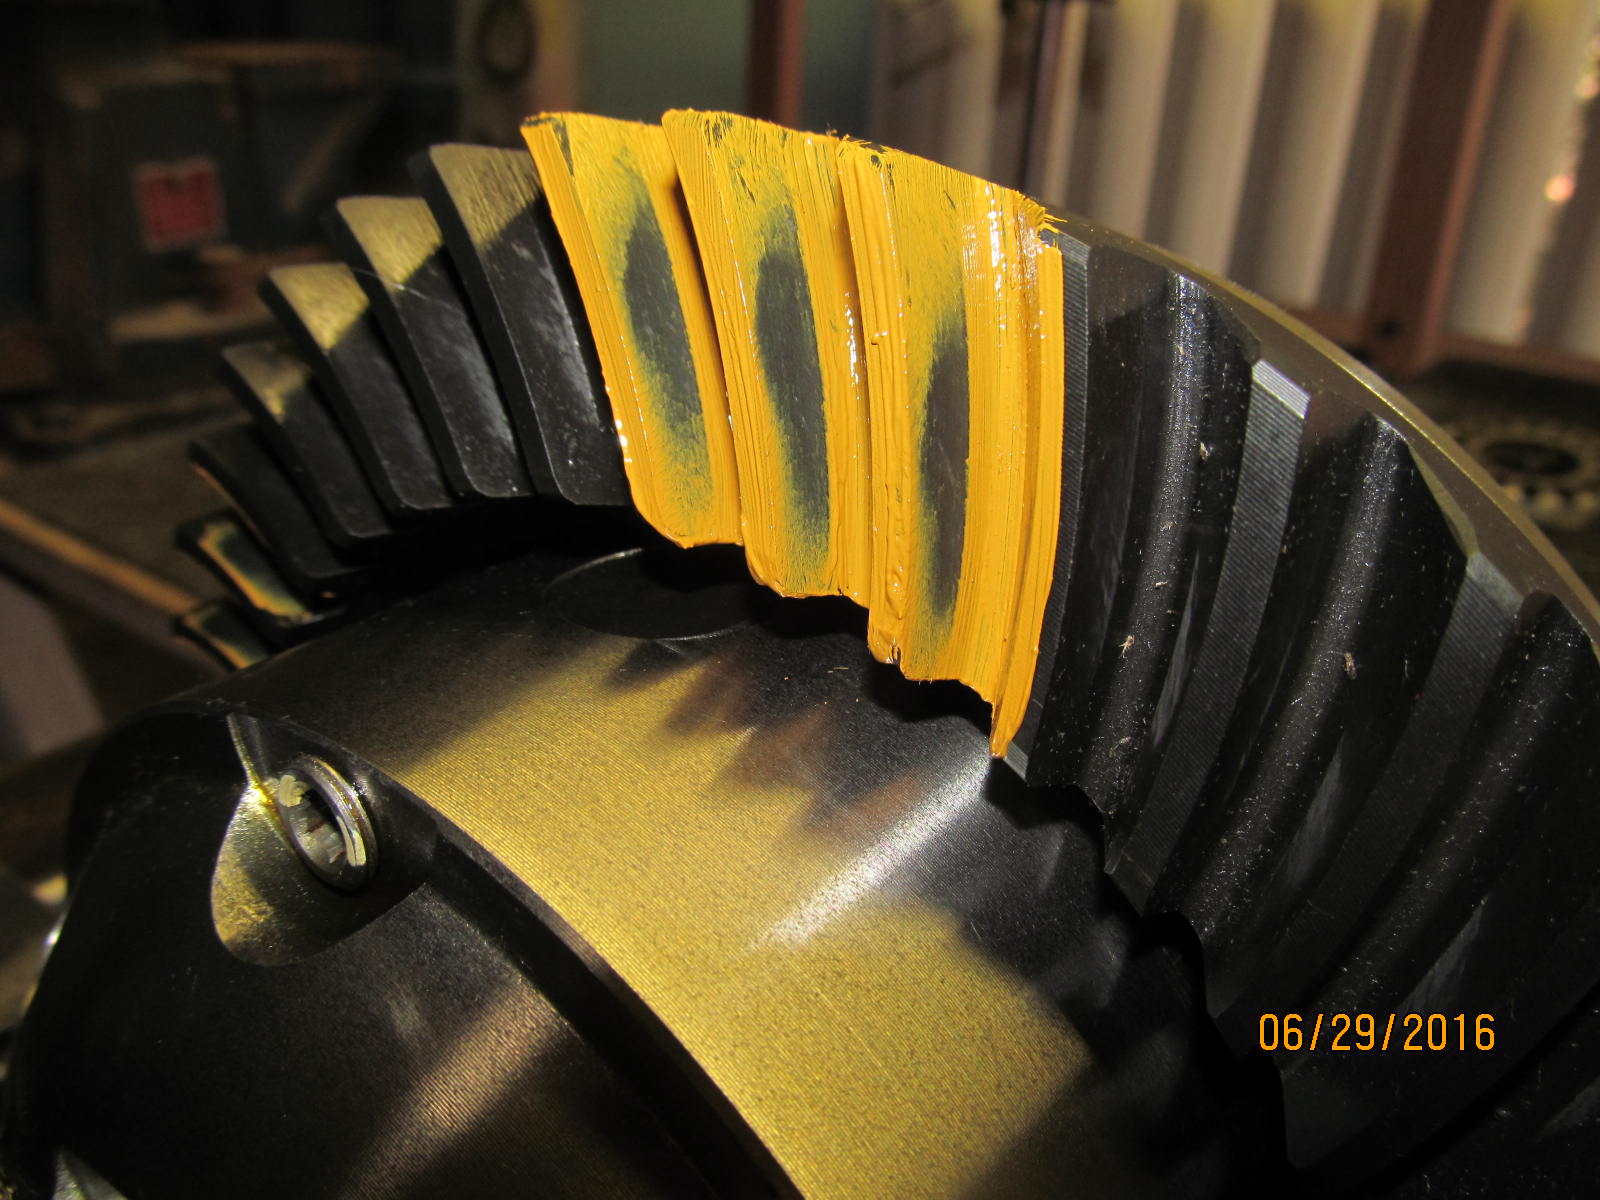
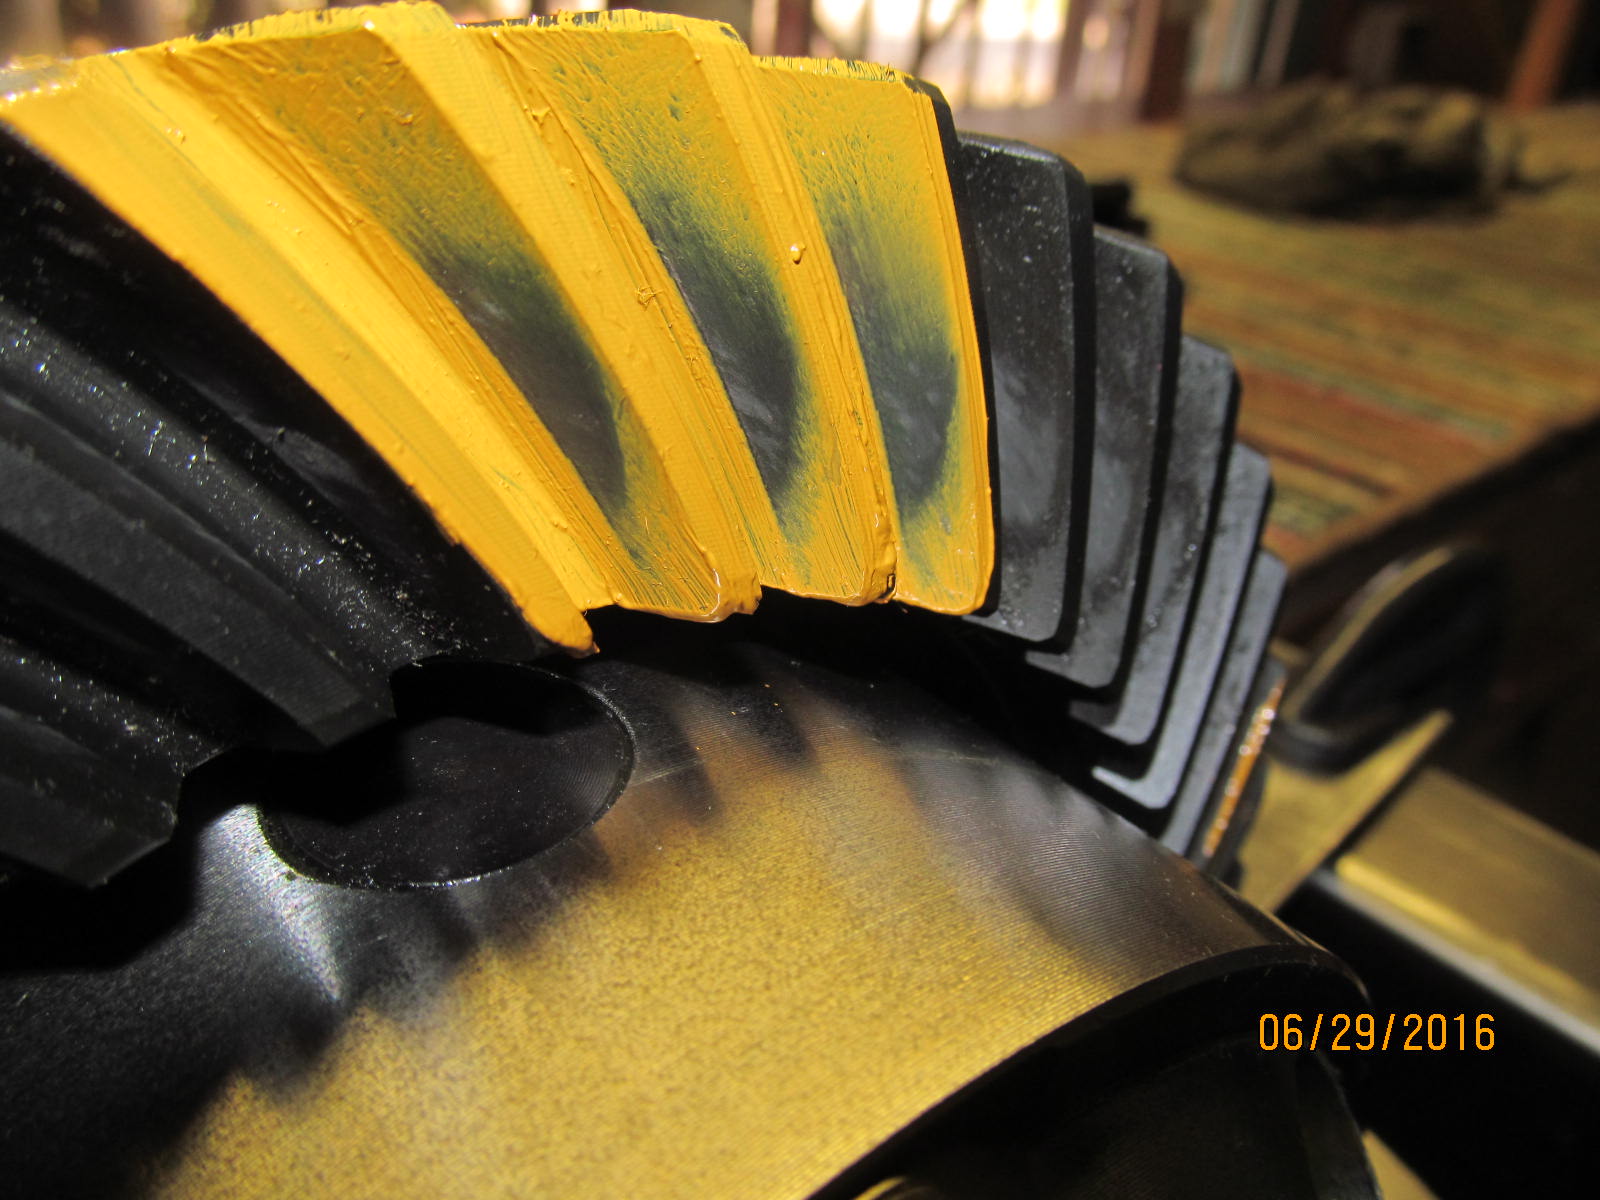
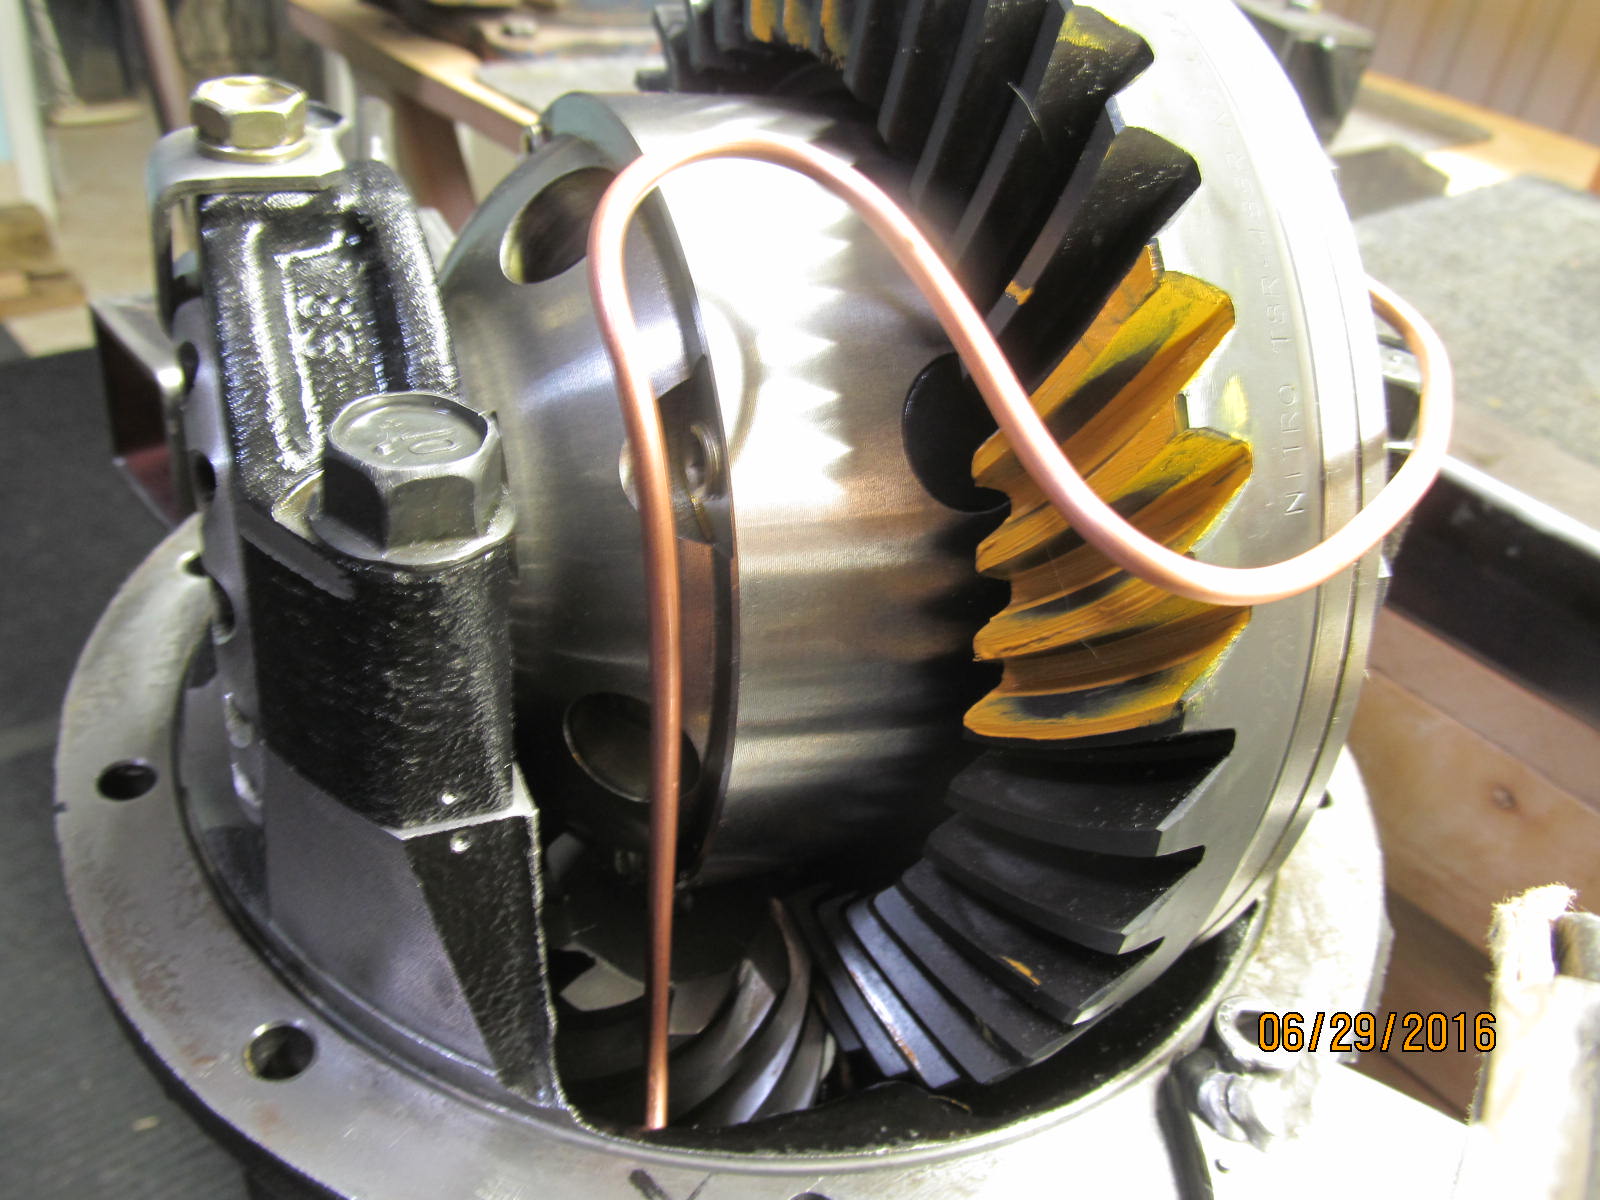
Paint test reveals that the perfect slight deep condition that I like has been achieved.
Favors the root and slight toe.
|
|
|
|
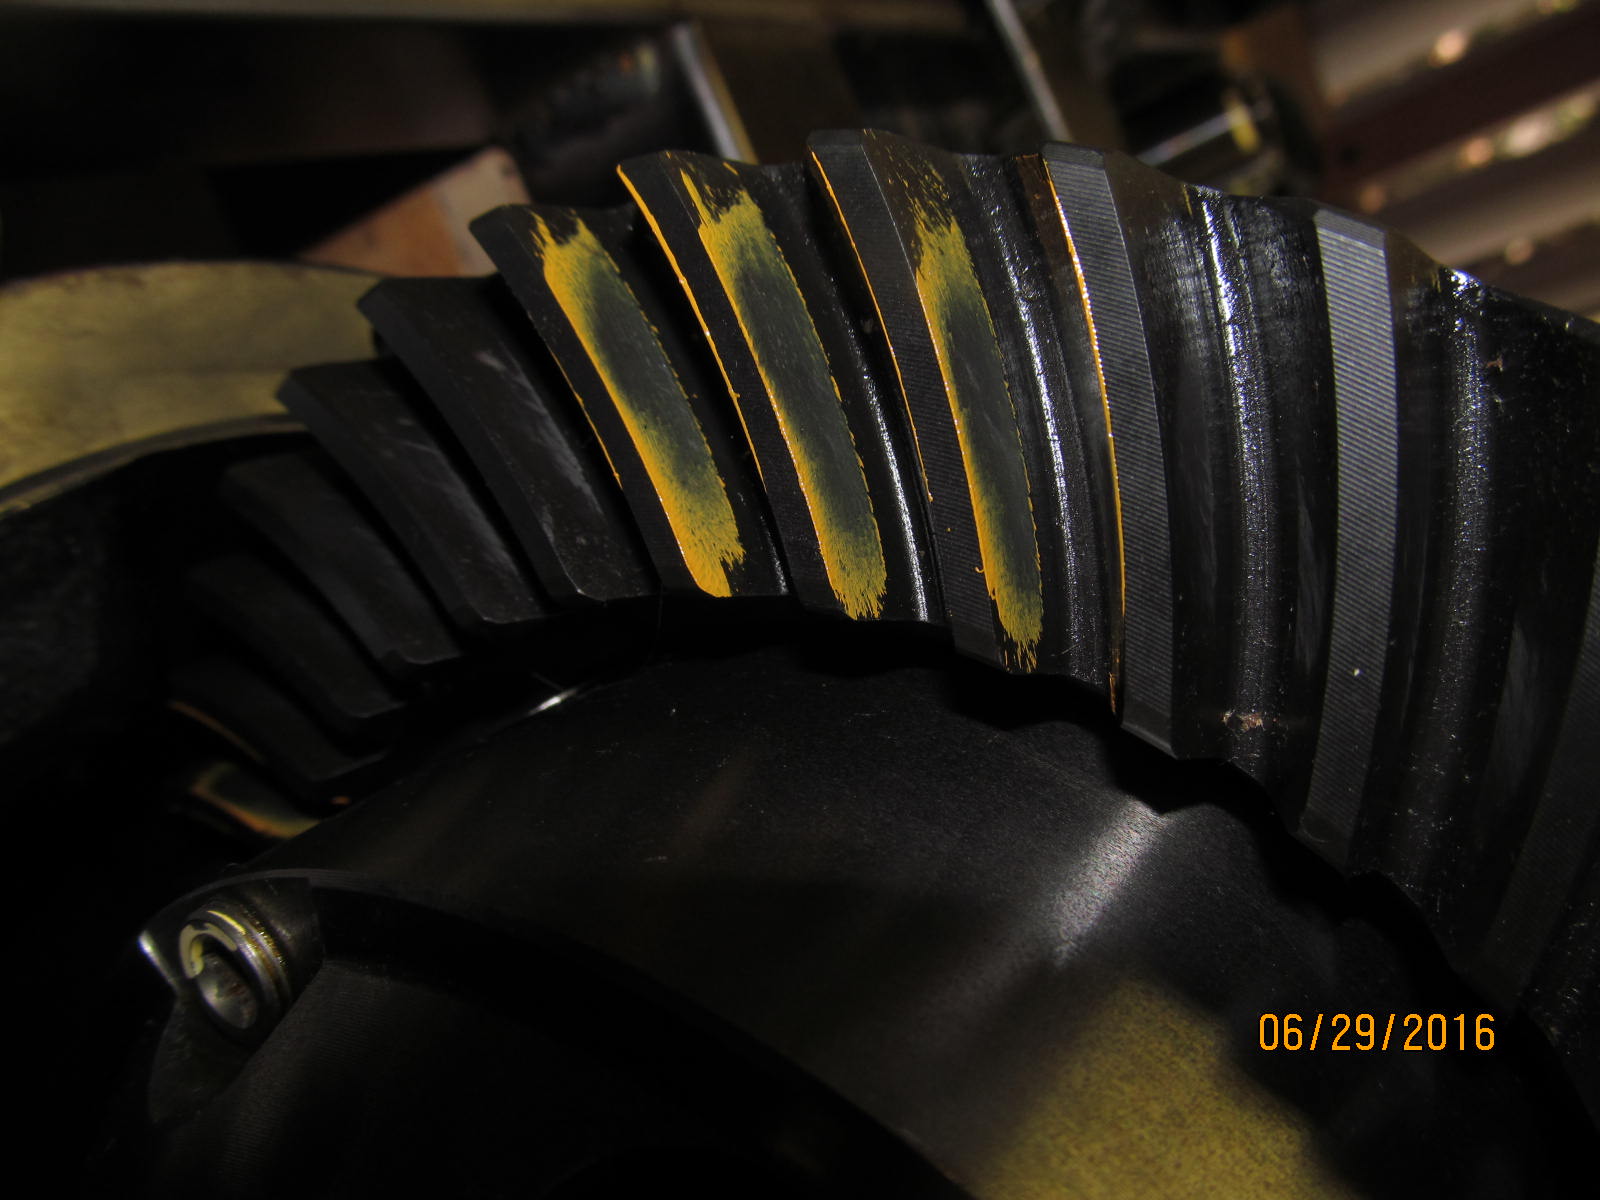
It's an added plus when the coast has the pattern favoring the toe also. The drive and coast patterns
are "synchronized" and that does not happen all the time.
|
|
|
|
|
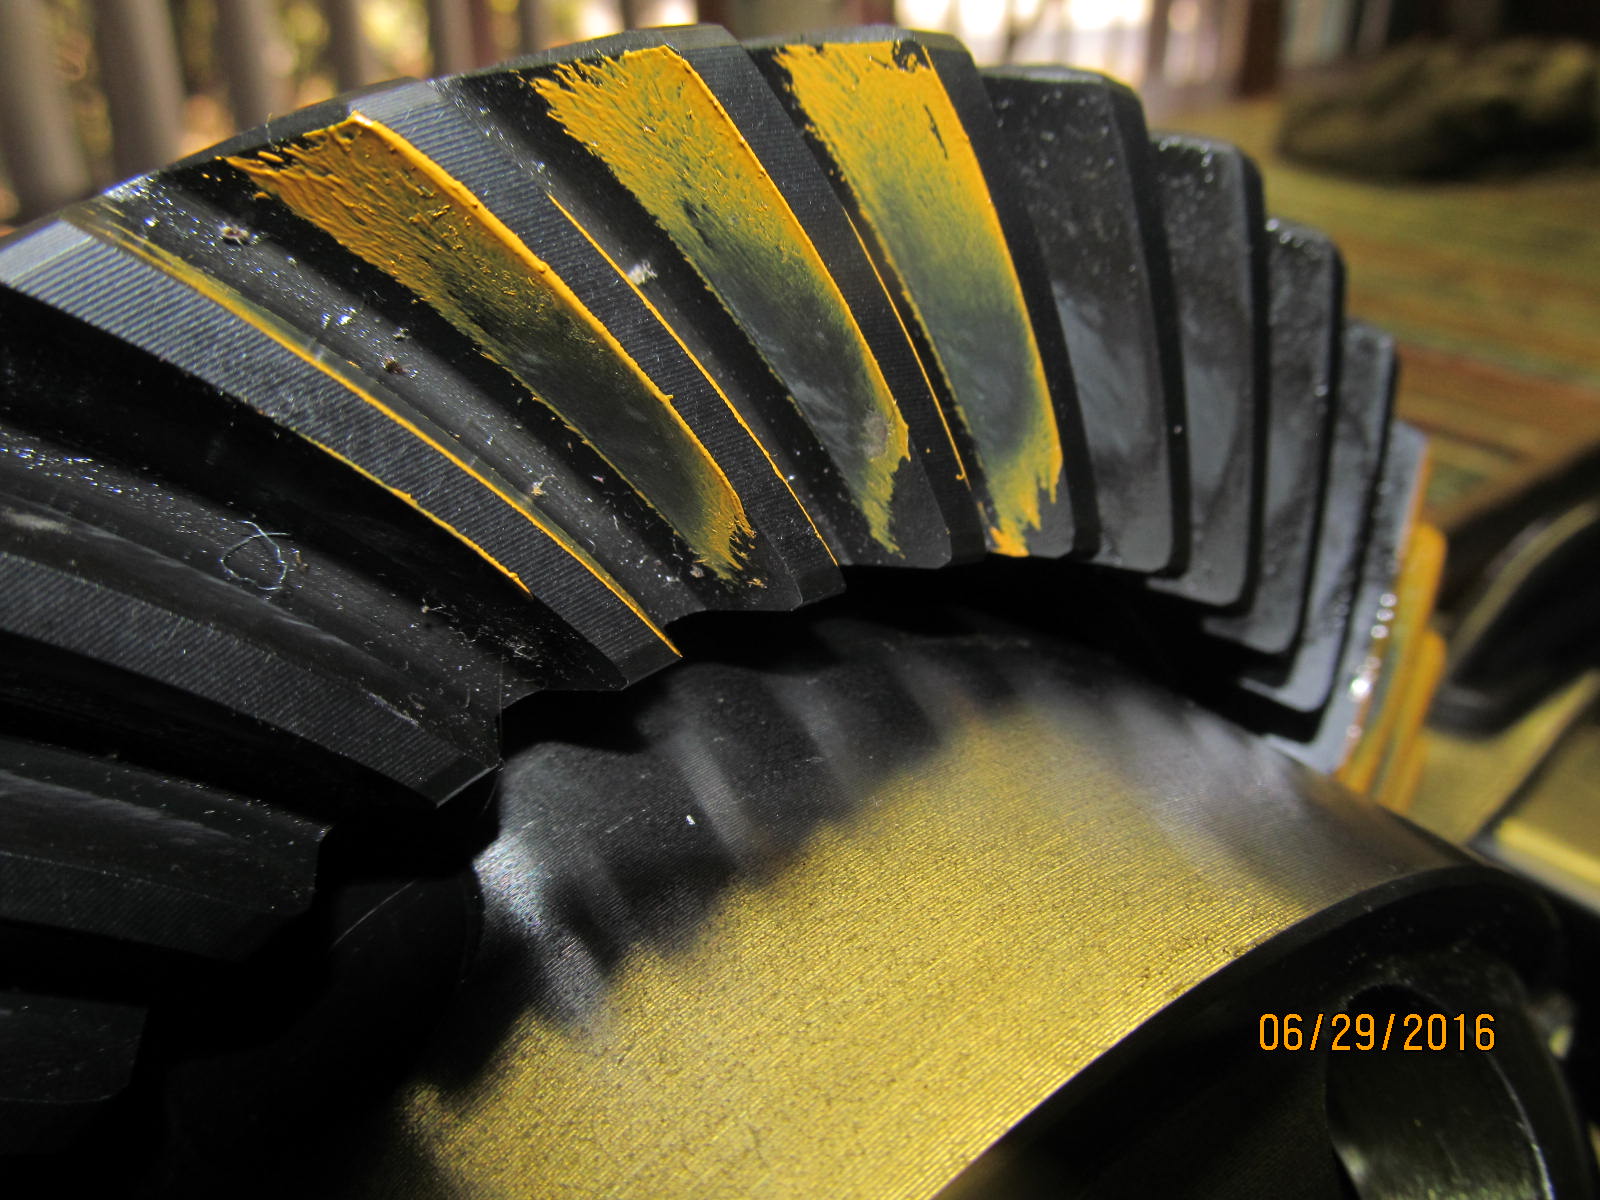
Drive, reverse painted. Looks great.
|
|
|
|
|
Coast, reverse painted. Nice.
|
|
|
|
|
Drive....comet is in the middle.
|
|
|
|
|
.................
|
|
|
|
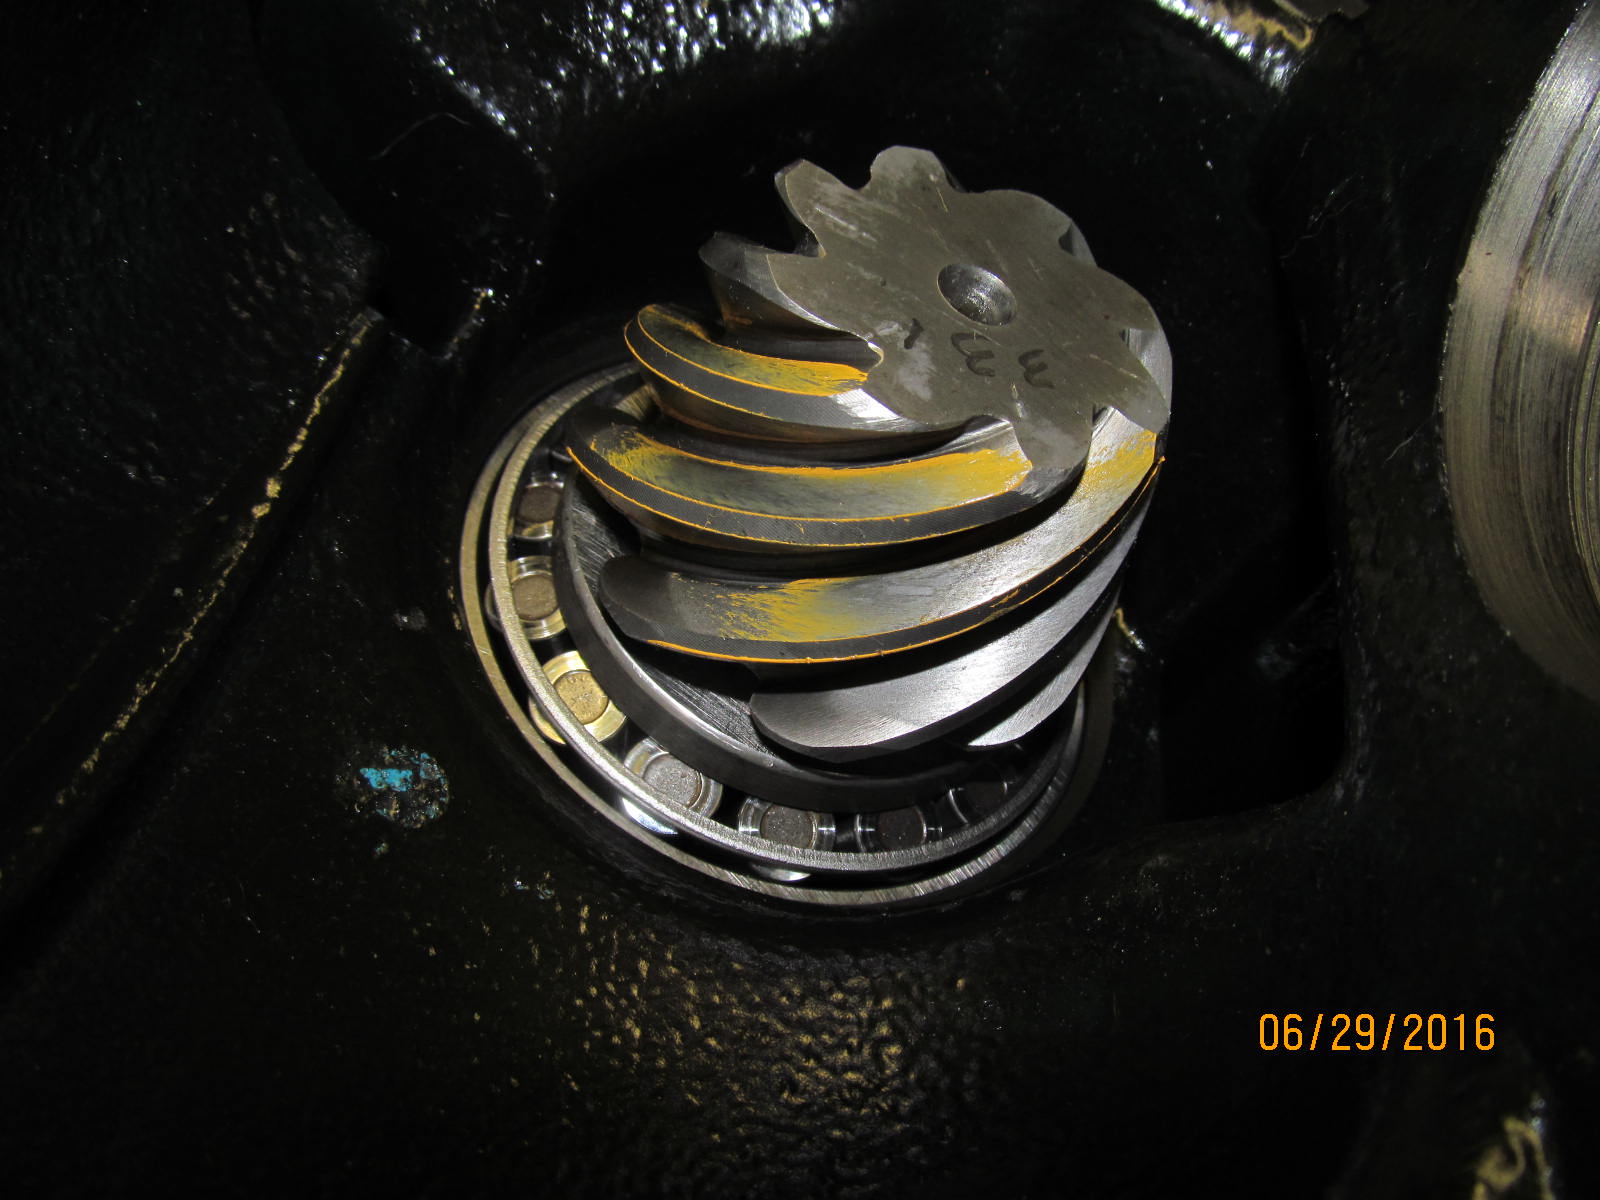
I noted the pinion was less than .020" from the ARB just before I removed it so now is a good time to
use the flapper on it.
|
|
|
|
|
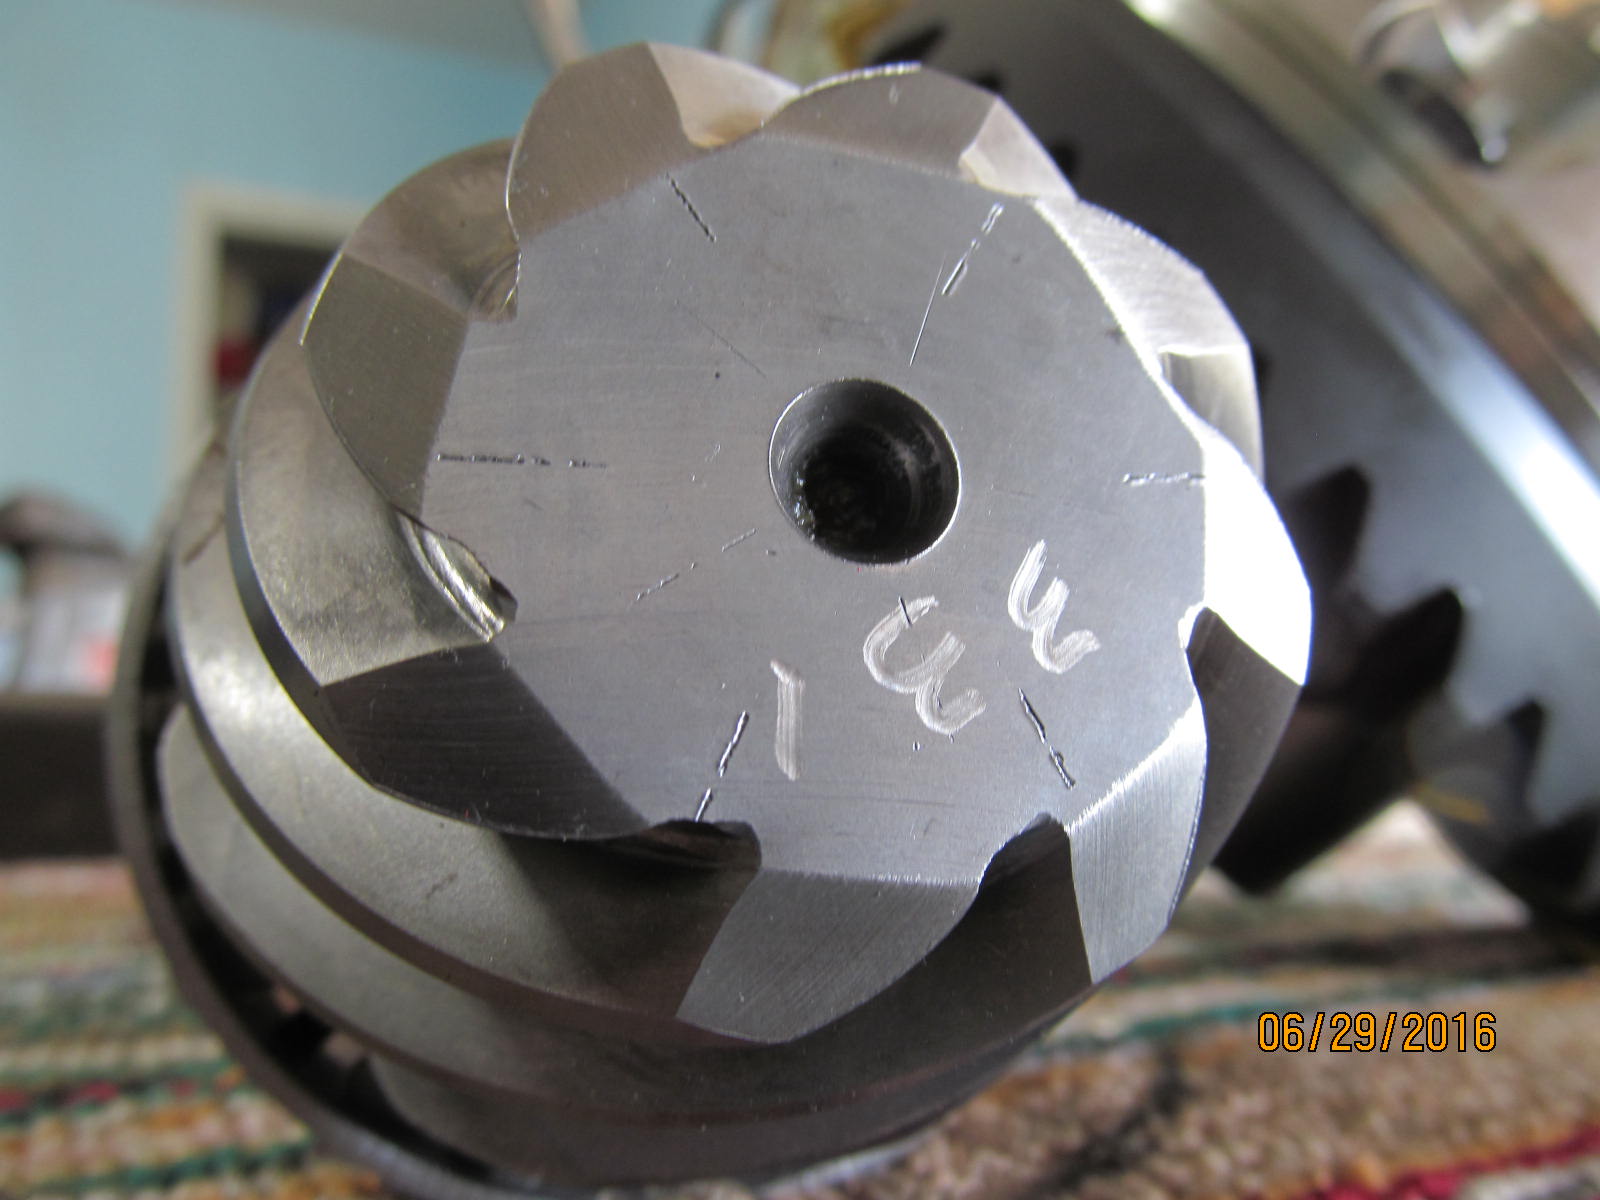
A flapper wheel takes off the material with minimal heat.
|
|
|
|
|
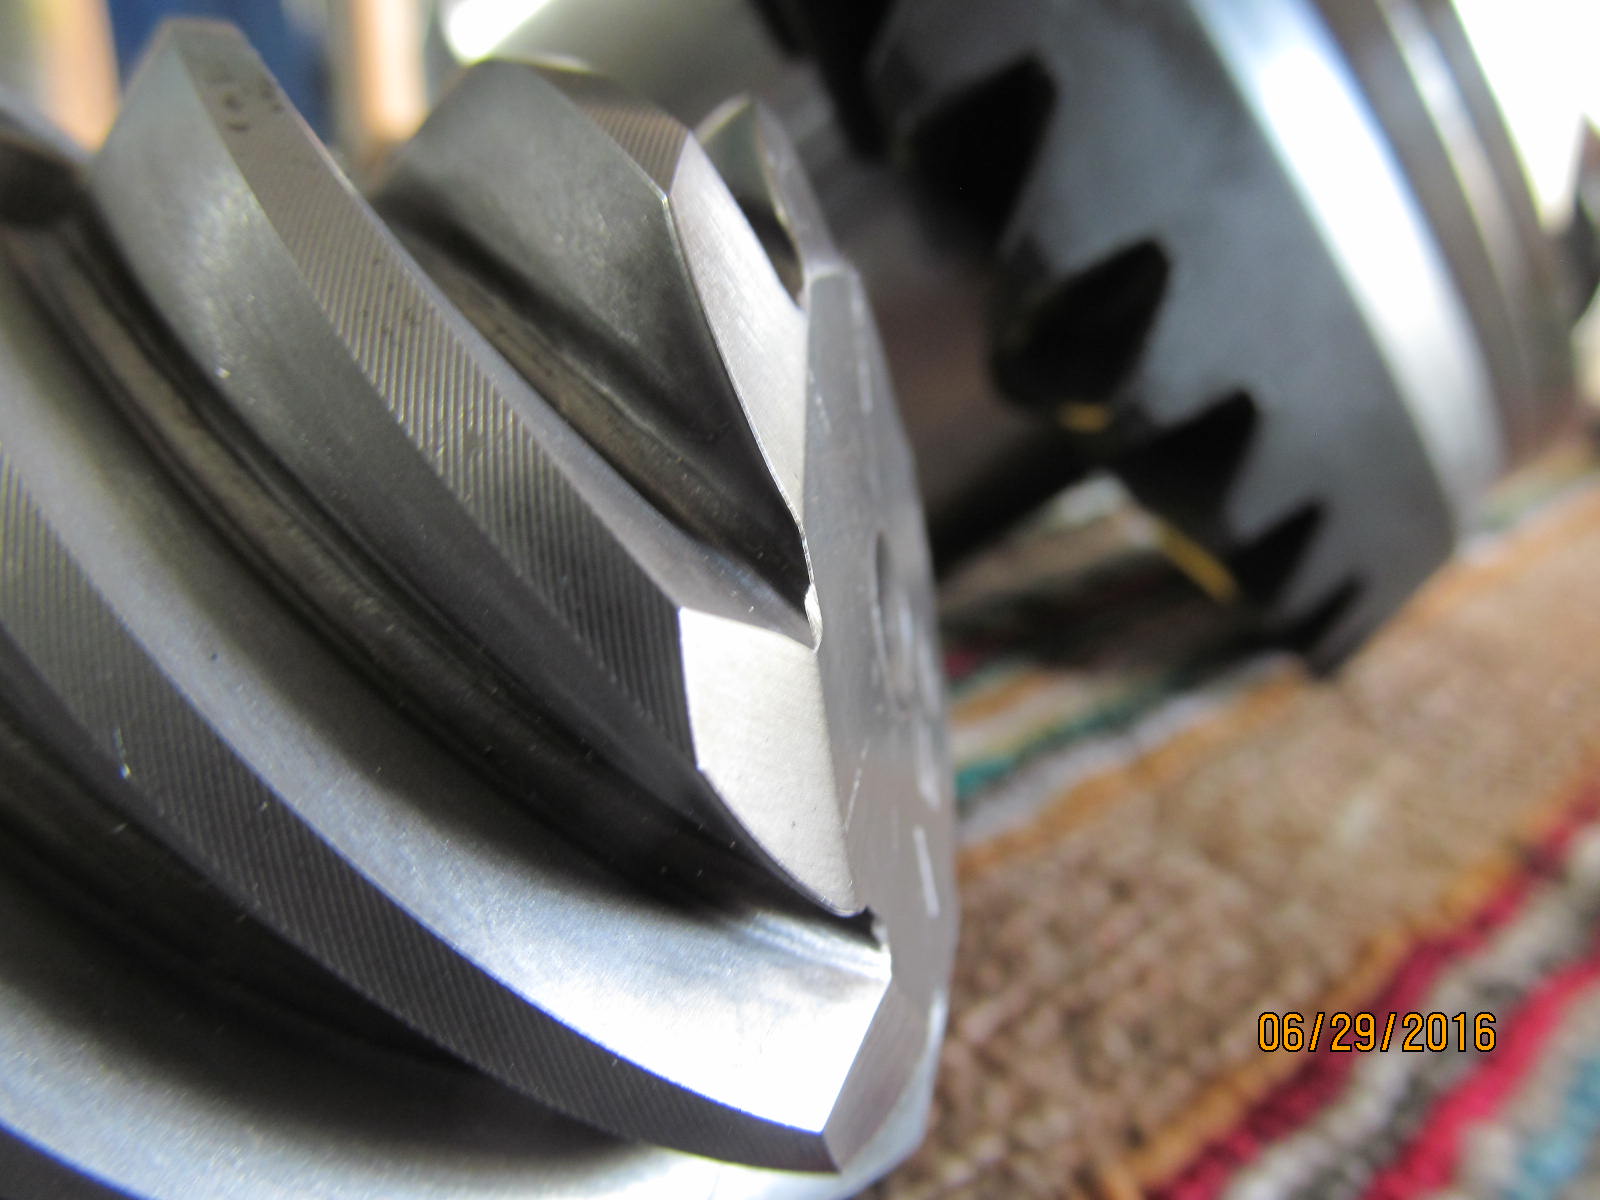
A high speed wire wheel cleans up the burrs on the edges.
|
|
|
|
|
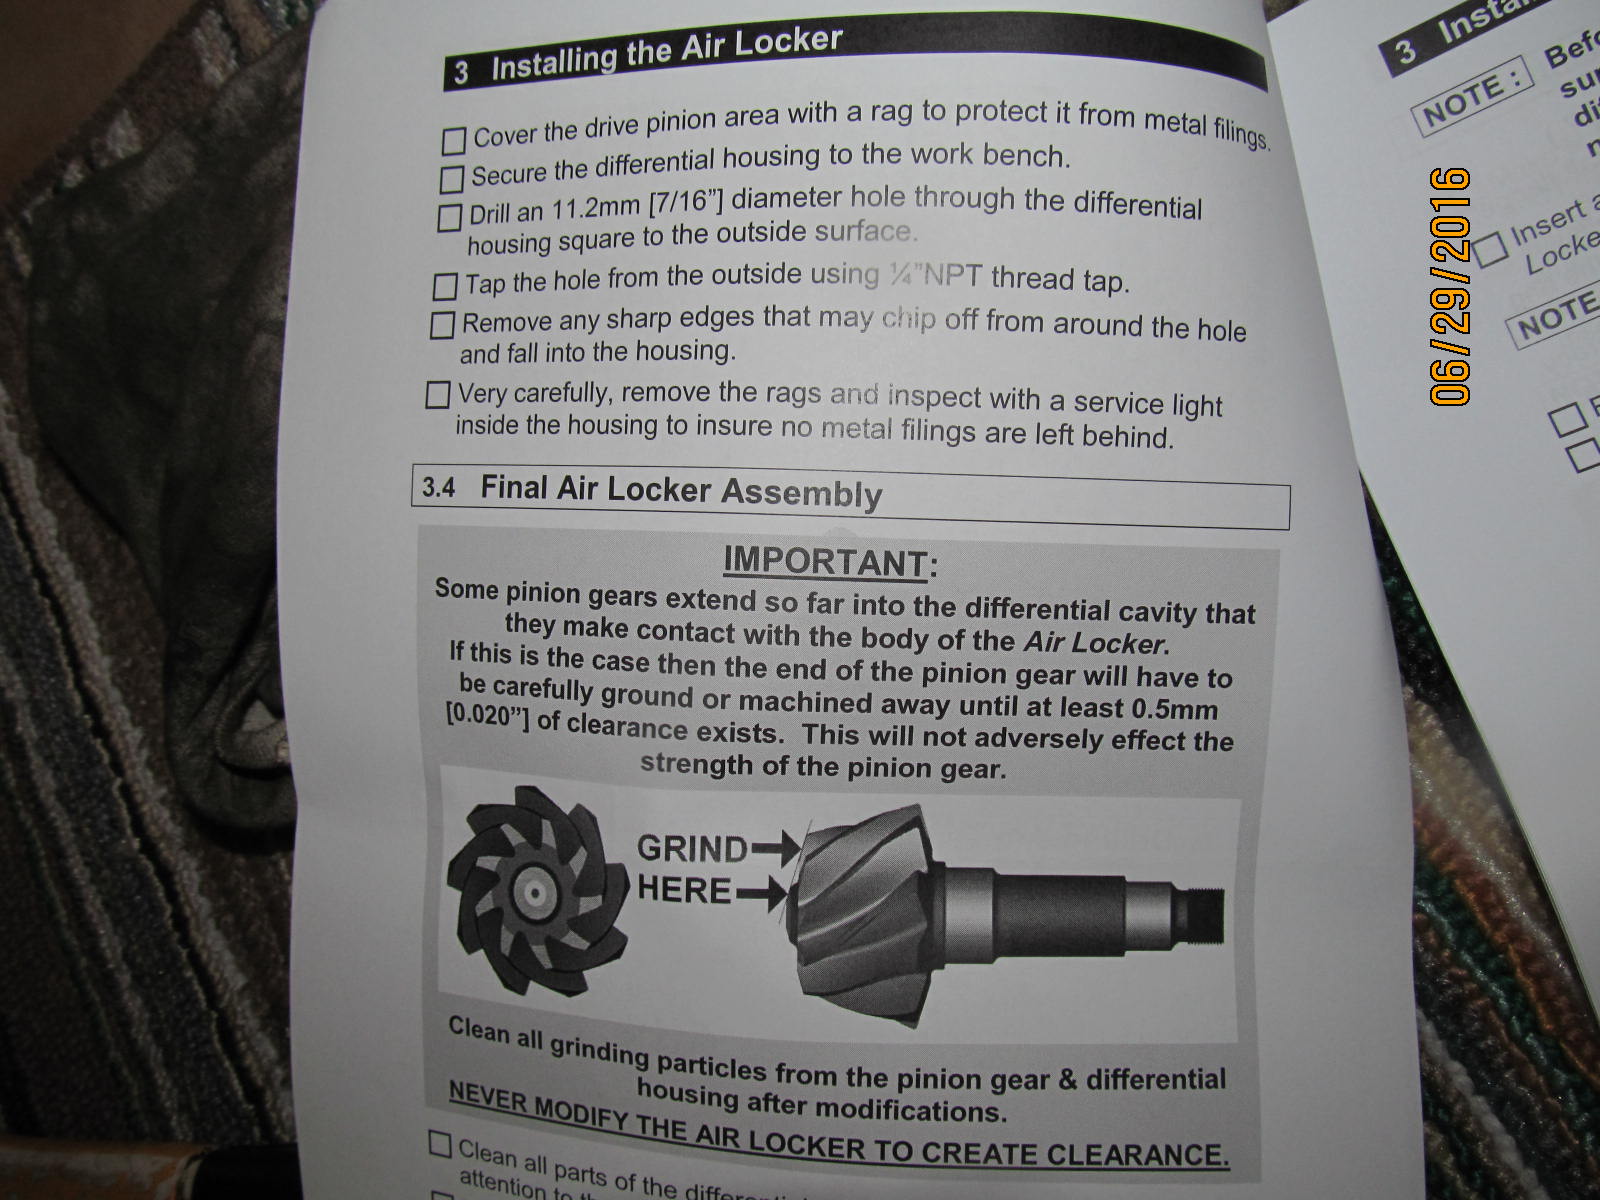
A snapshot of the ARB instructions on where to drill the hole.
|
|
|
|
|
The 7/16" hole I drilled ended up in nearly the same spot.
|
|
|
|
|
The solid collar can now be installed. Took only 3 times to get the shimming right.
|
|
|
|
|
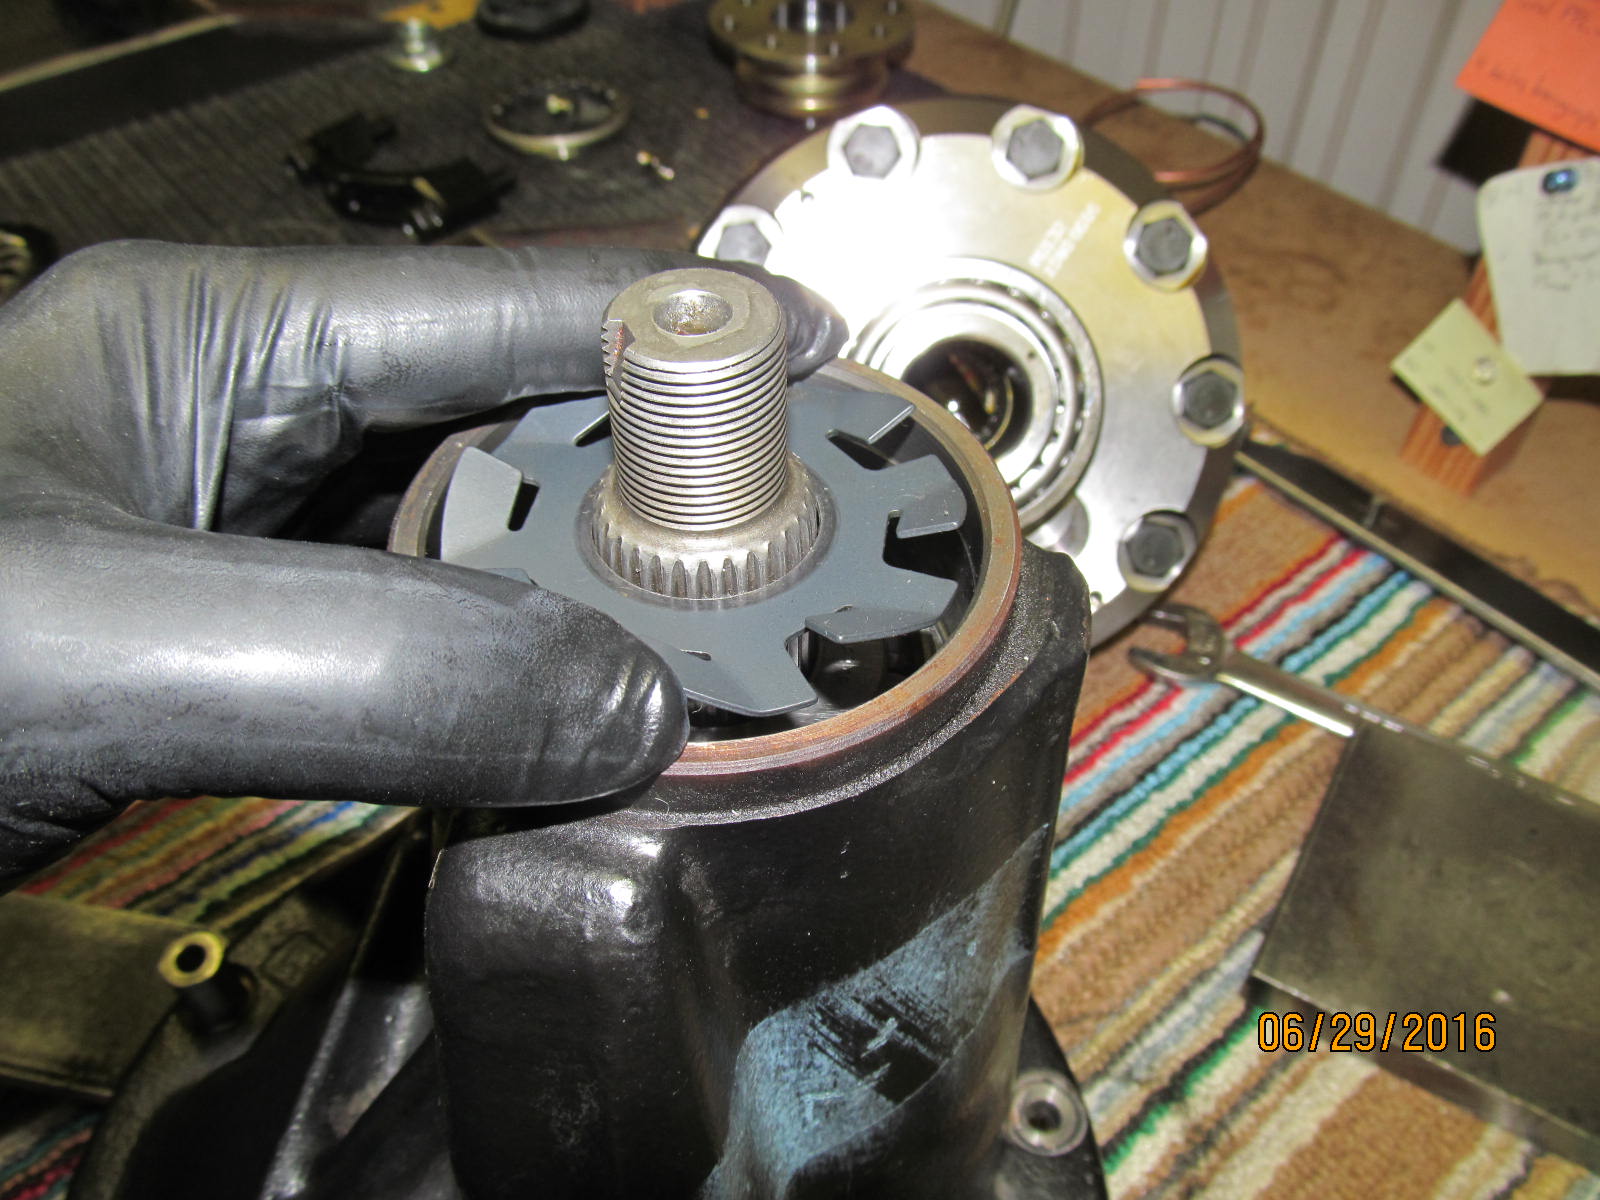
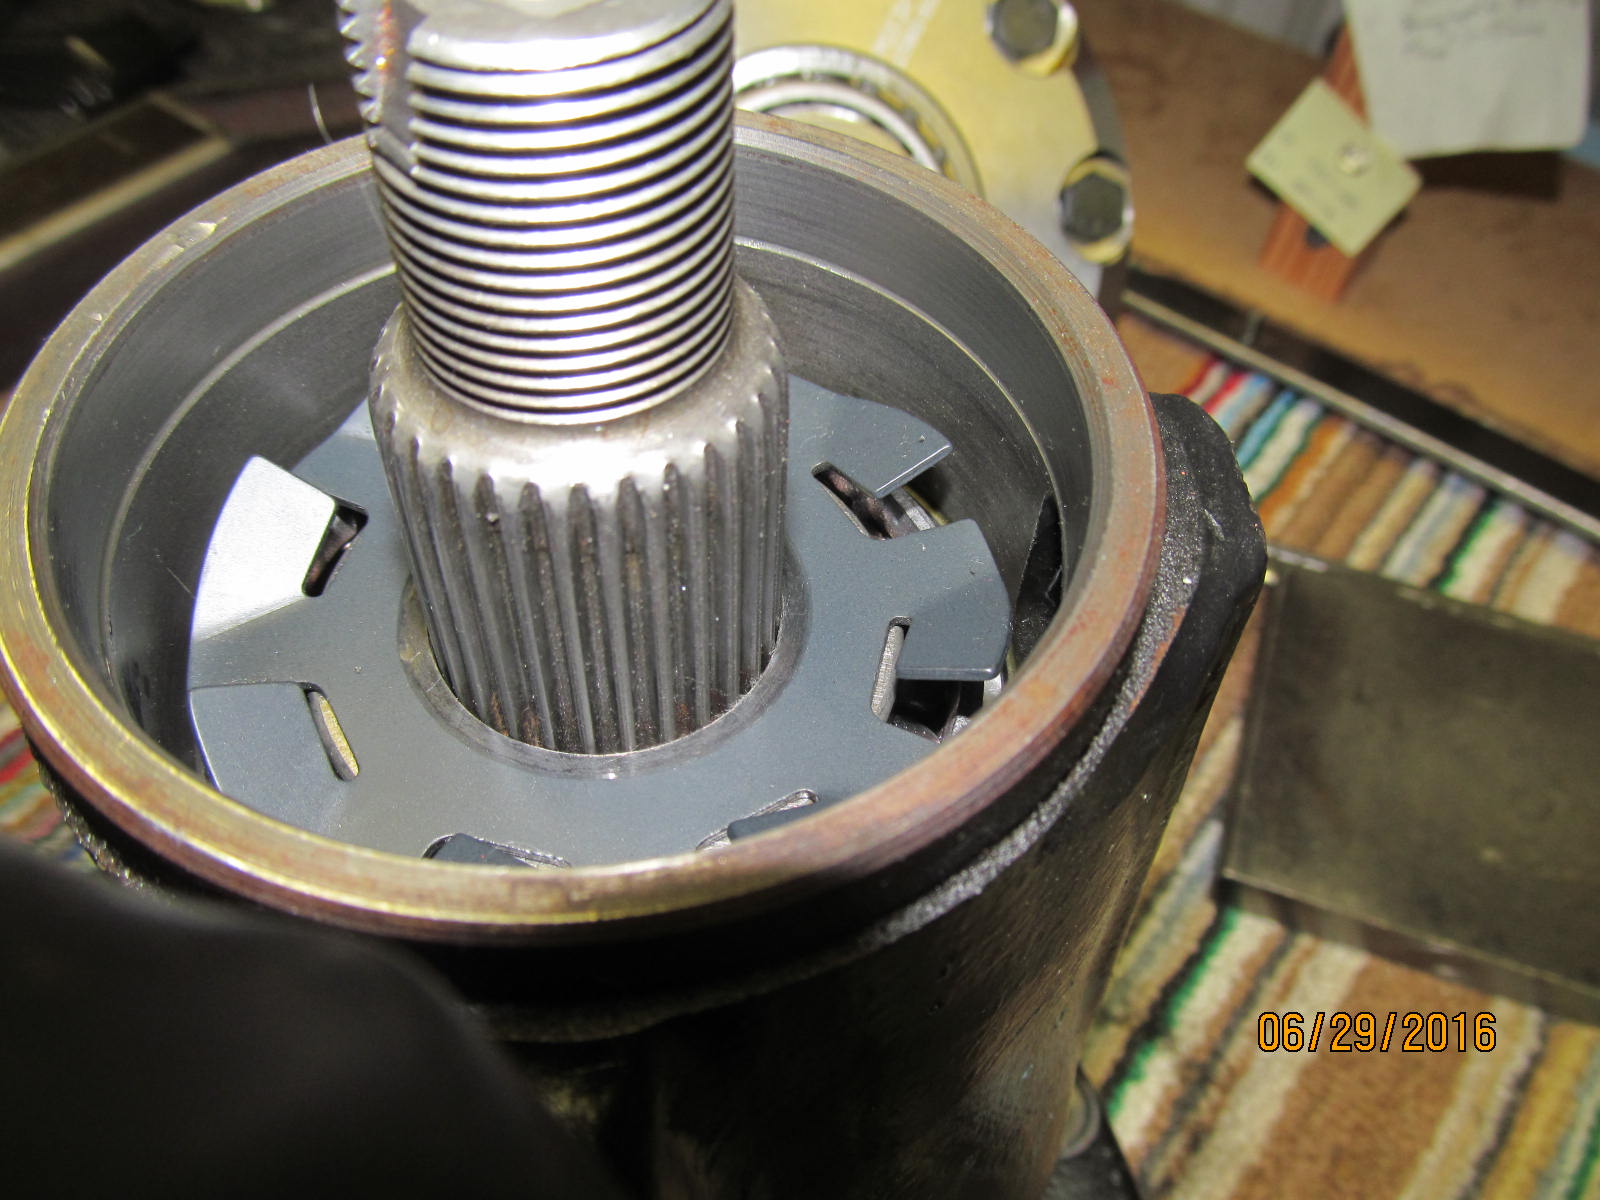
A high speed die grinder opened up the splashguard hole enough to slip over the larger 29 spline pinion shaft.
|
|
|
|
|
The die grinder operation only takes about 5 minutes or possibly less.
|
|
|
|
|
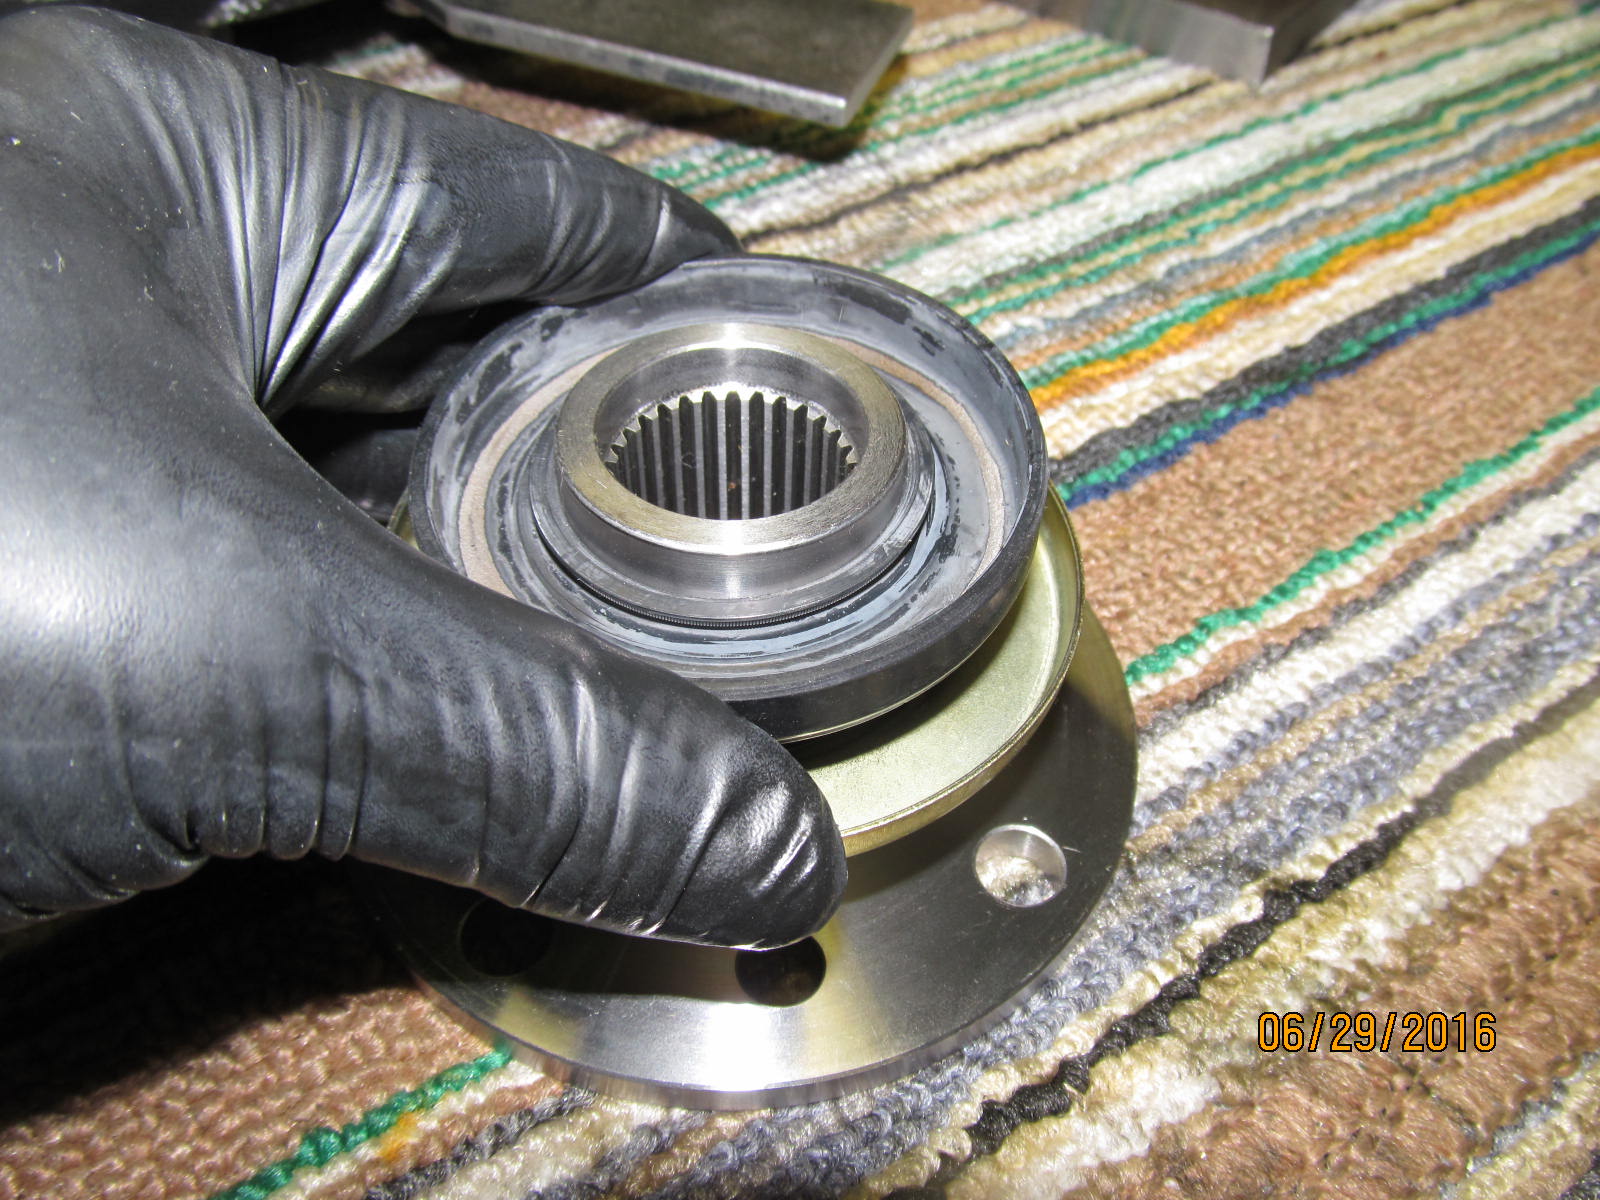
The rubberized seal is check for fit....plenty good on the tightness.
|
|
|

|
Seal is tapped in place....garter spring is verified to not have popped loose, and gear oil is applied
on all related surfaces.
|
|
|
|
|
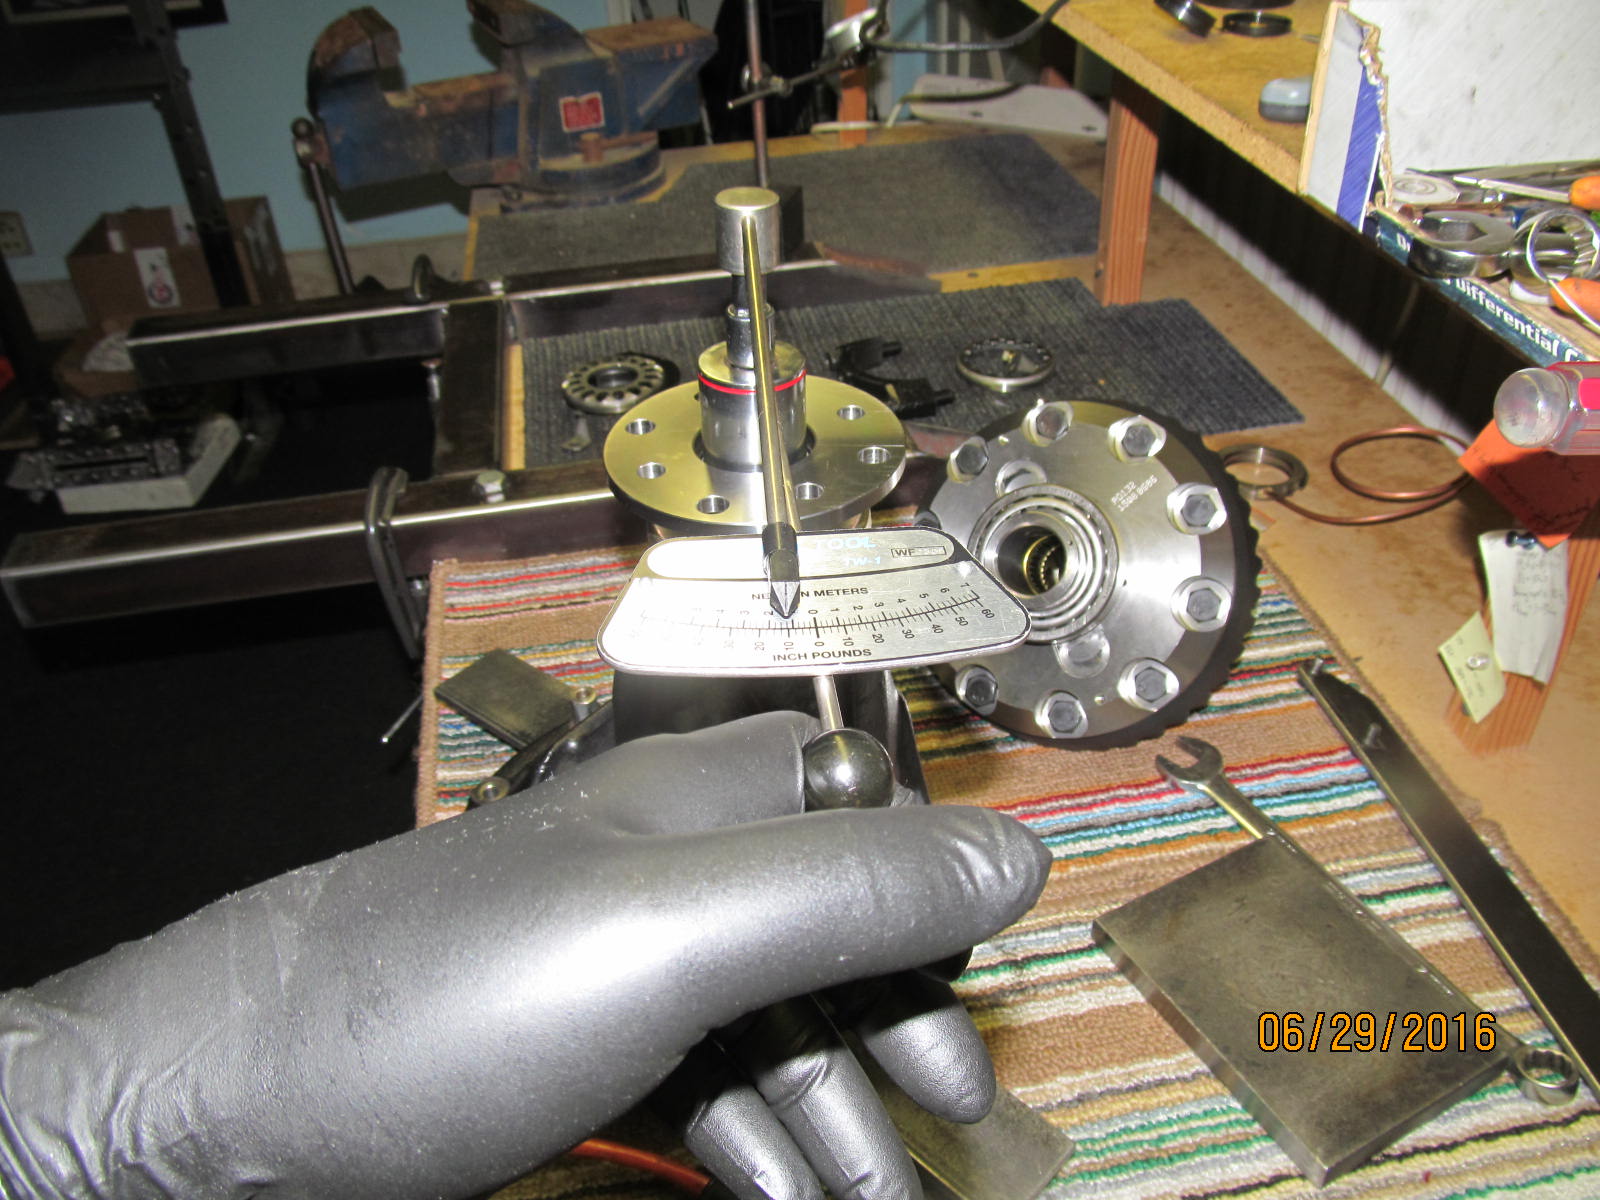
Pinion nut is tightened until the target 10 in/lb start torque is reached.
|
|
|
|
|
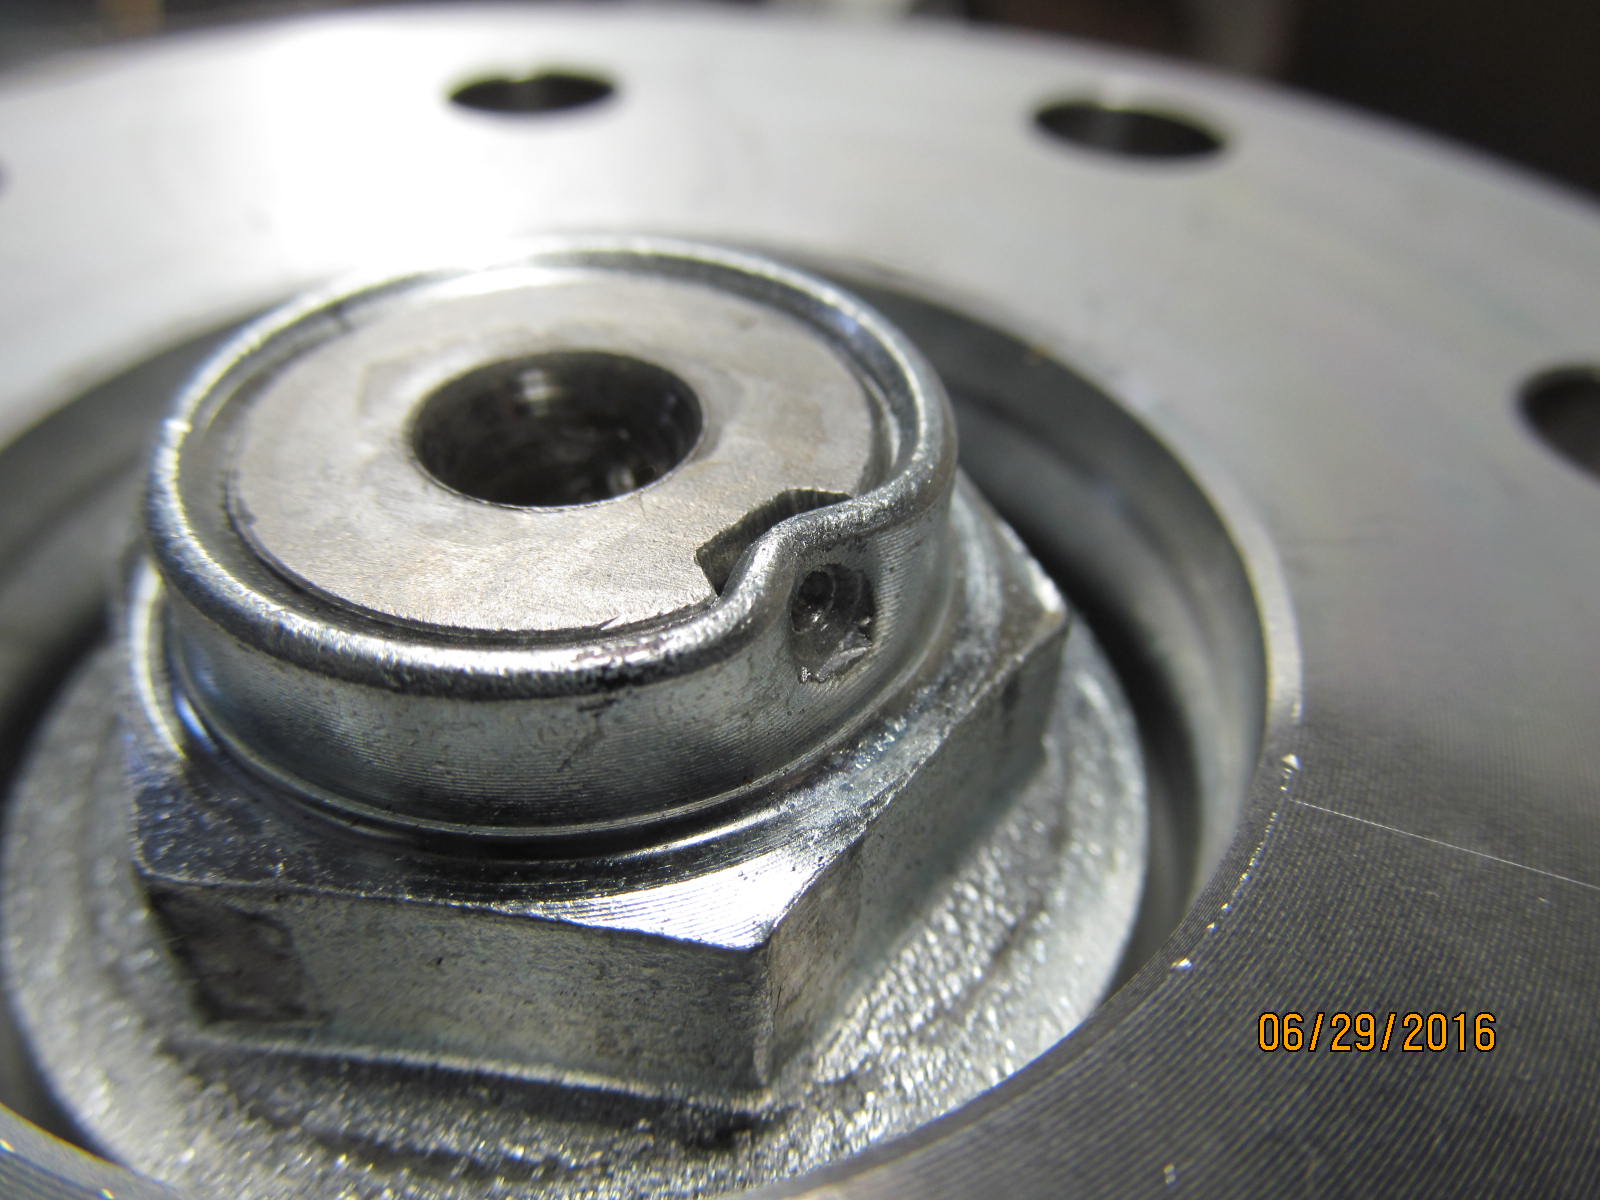
DING!! and pinion end is now complete.
|
|
|
|
|
ARB case is now loaded in place...
|
|
|
|
|
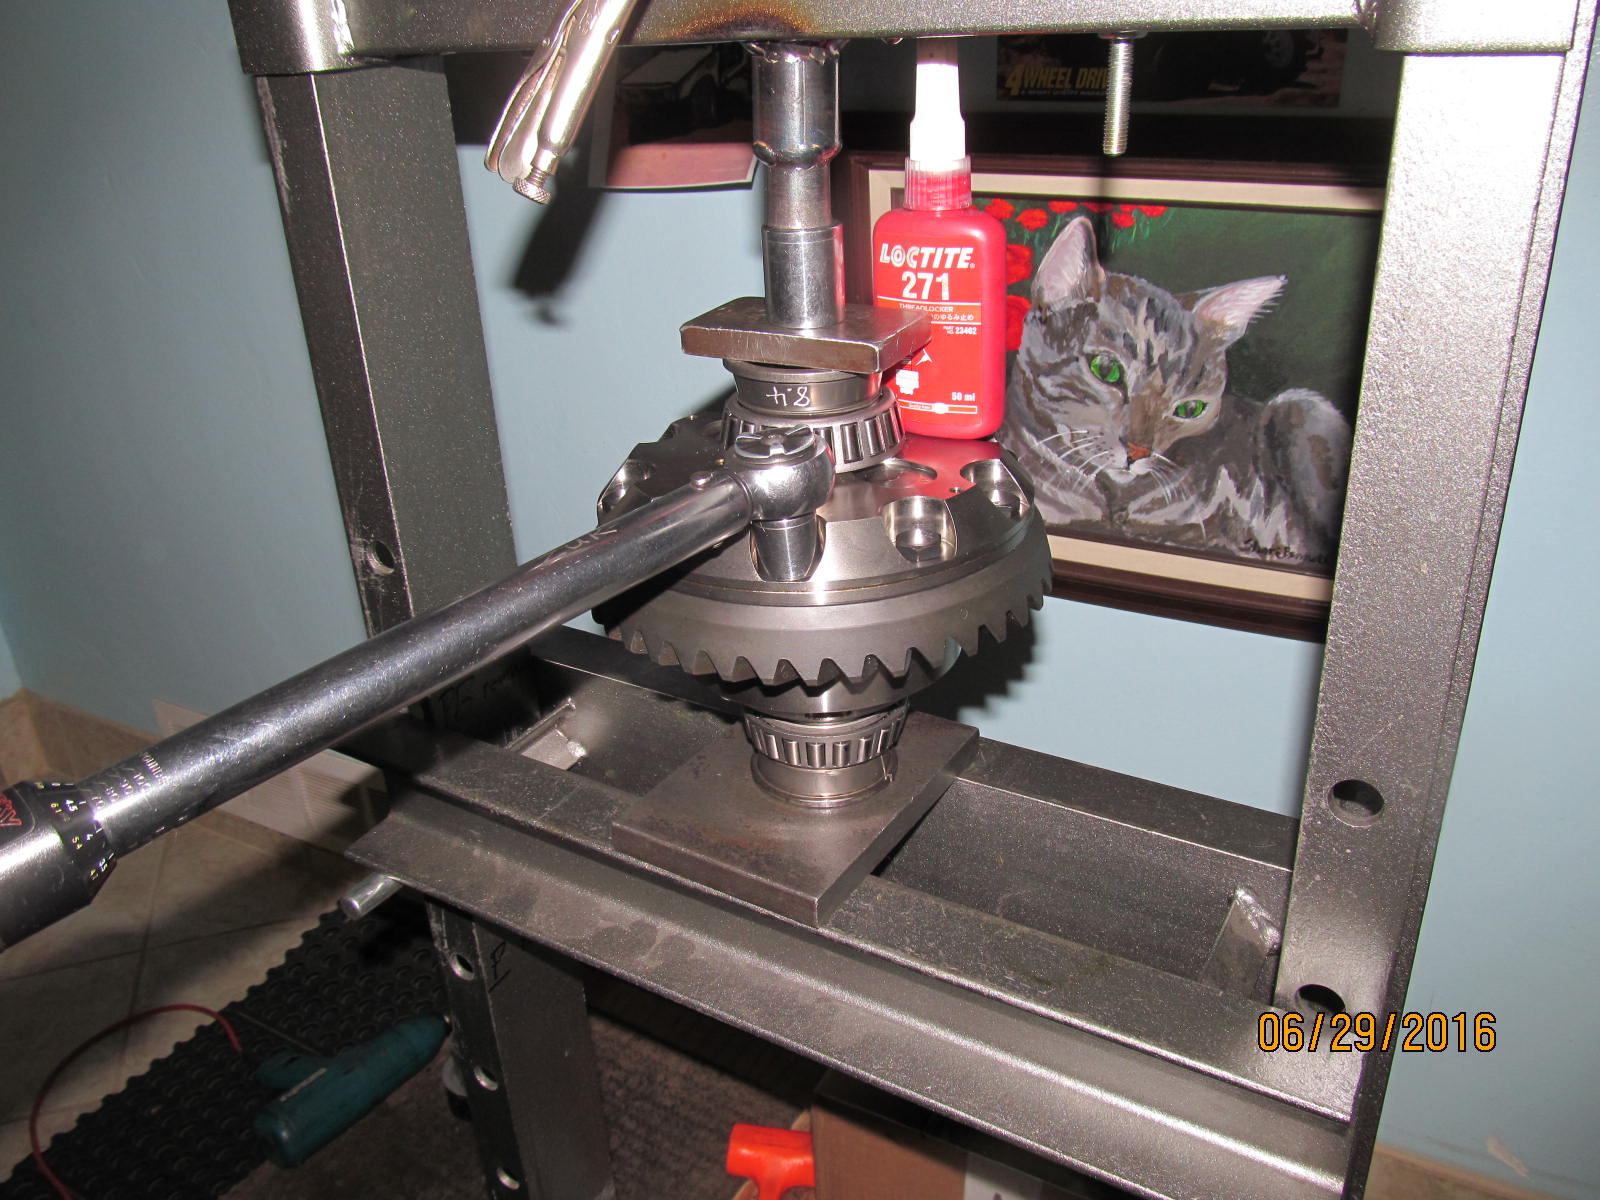
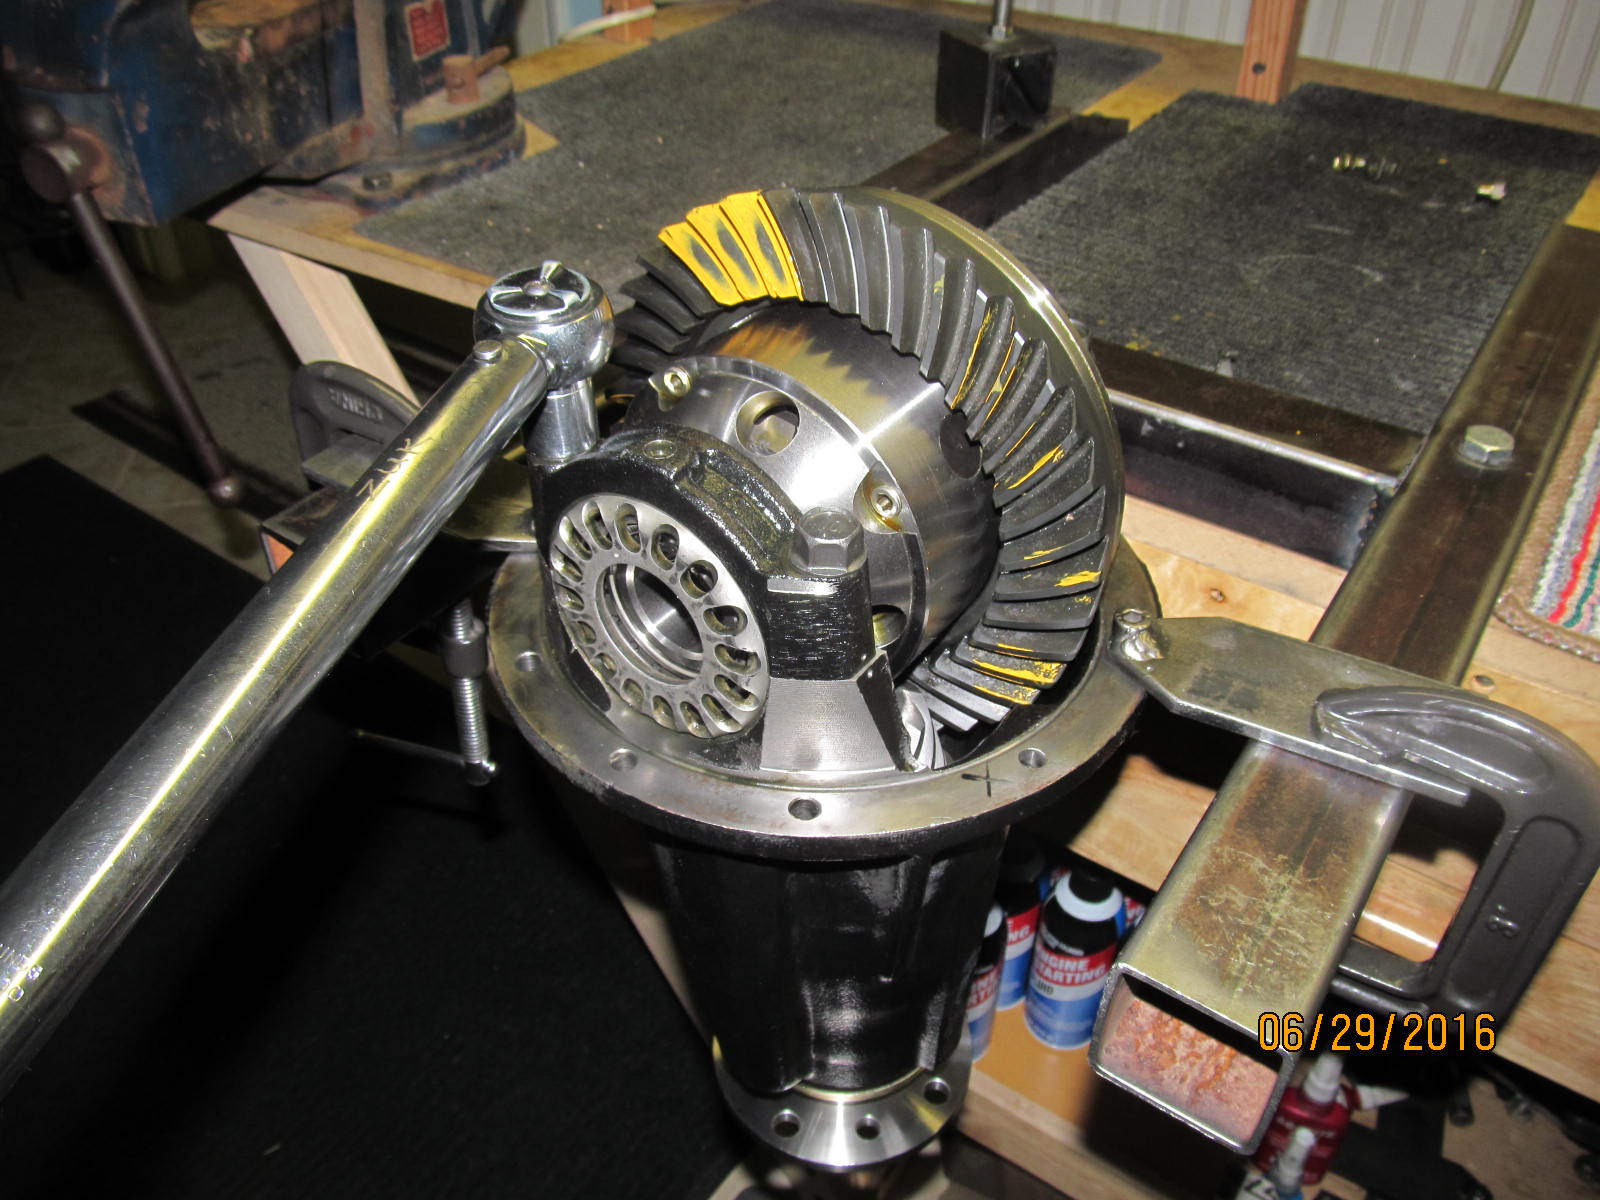
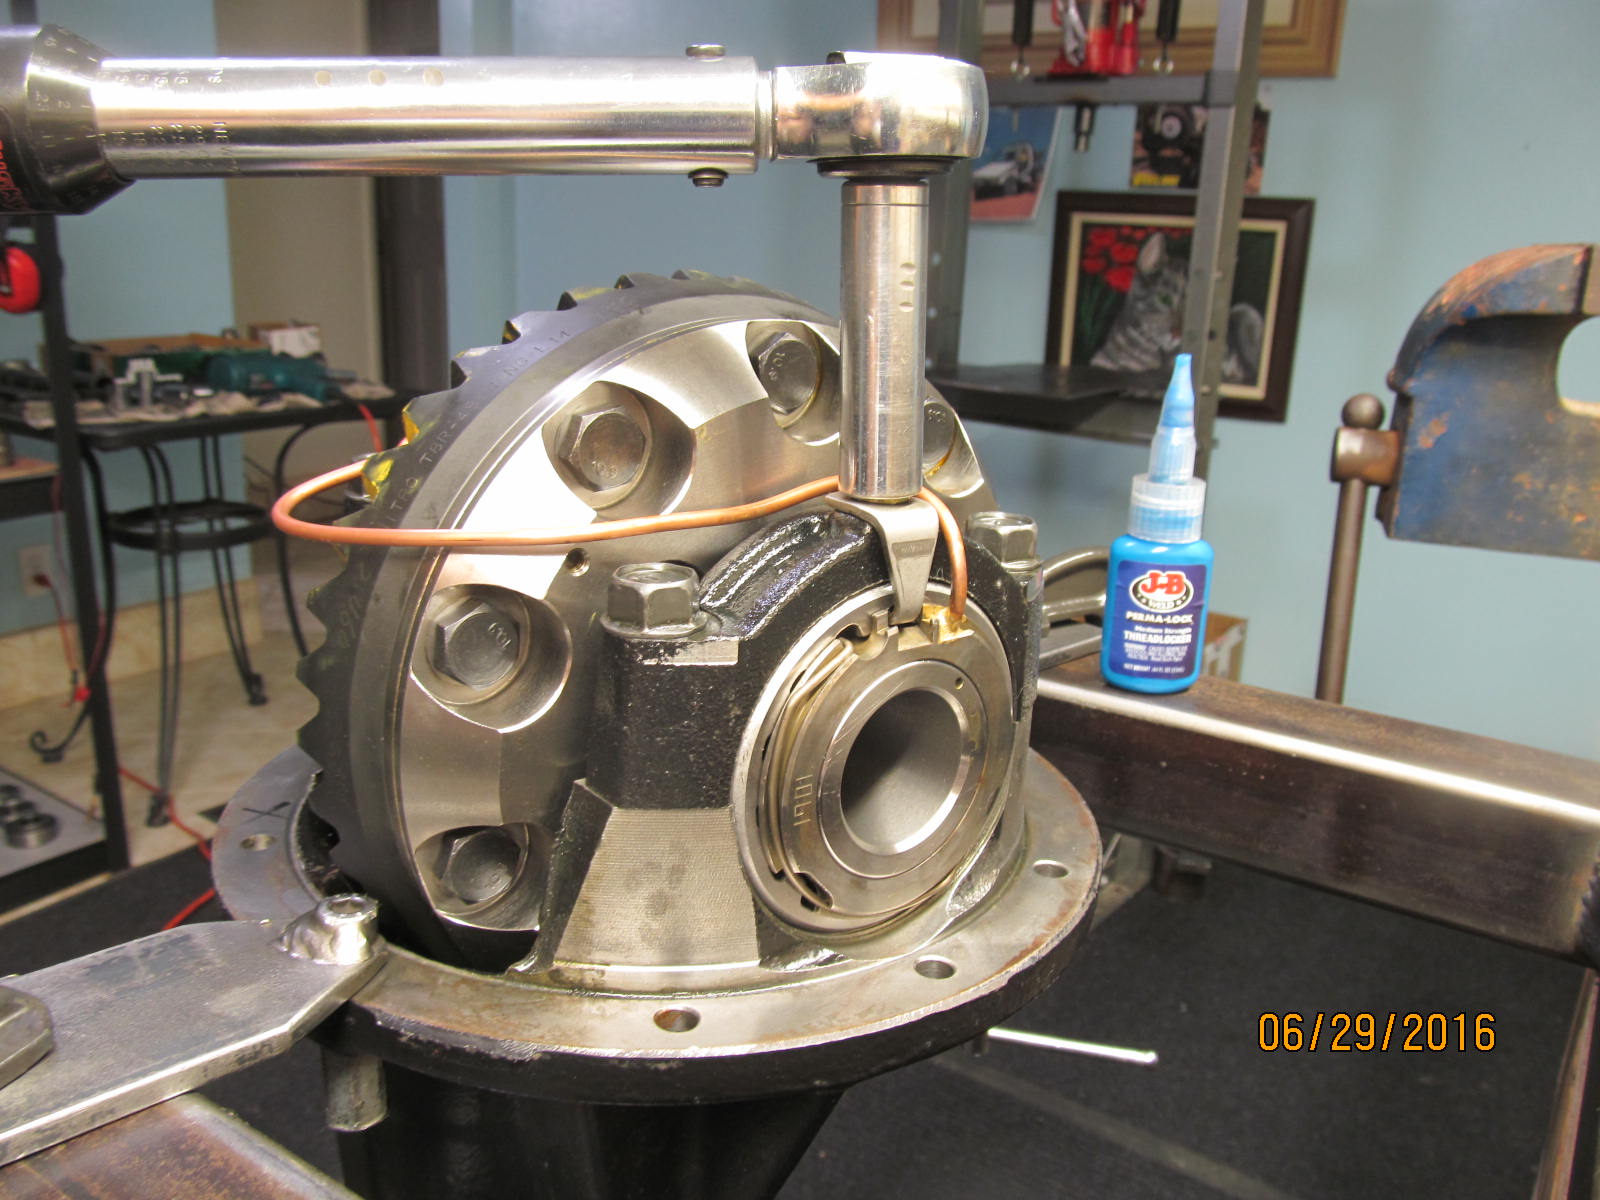
The 4 bearing cap bolts are torqued to 70 ft/lb.
|
|
|
|
|
Backlash is adjusted a pattern is painted and, as seen, looks excellent.
|
|
|
|
|
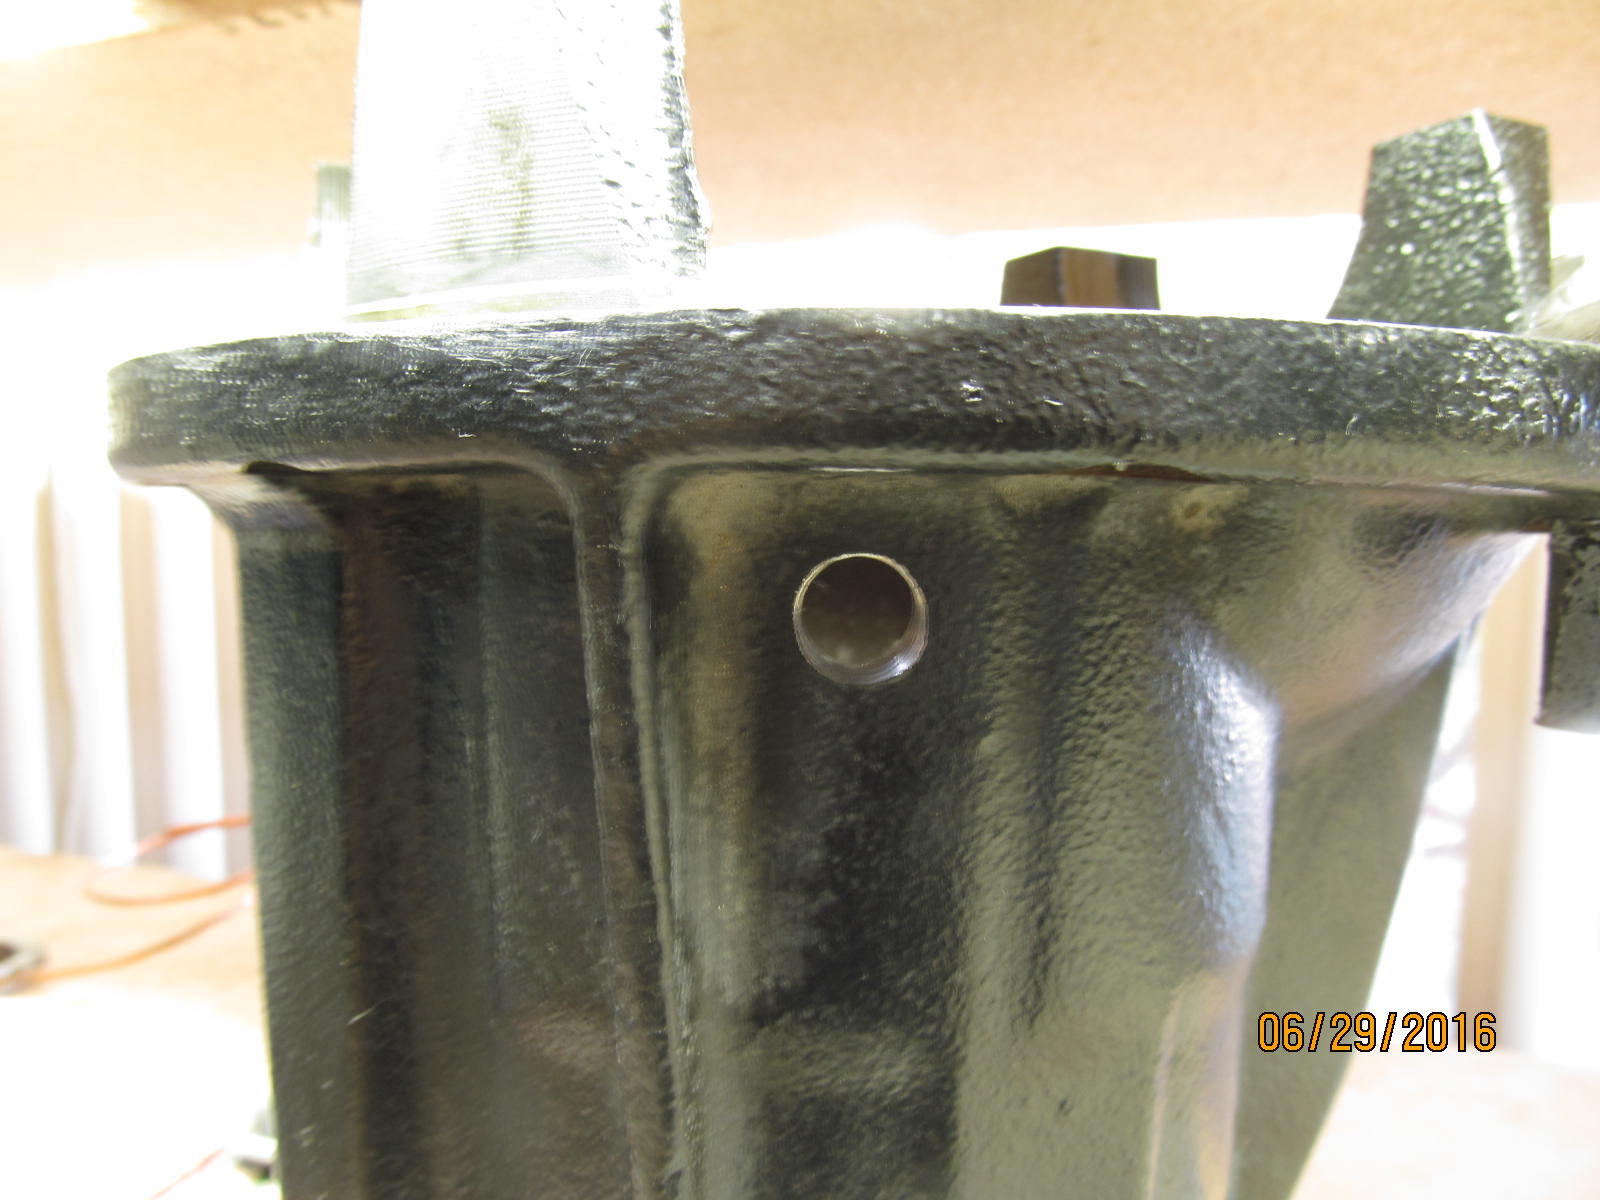
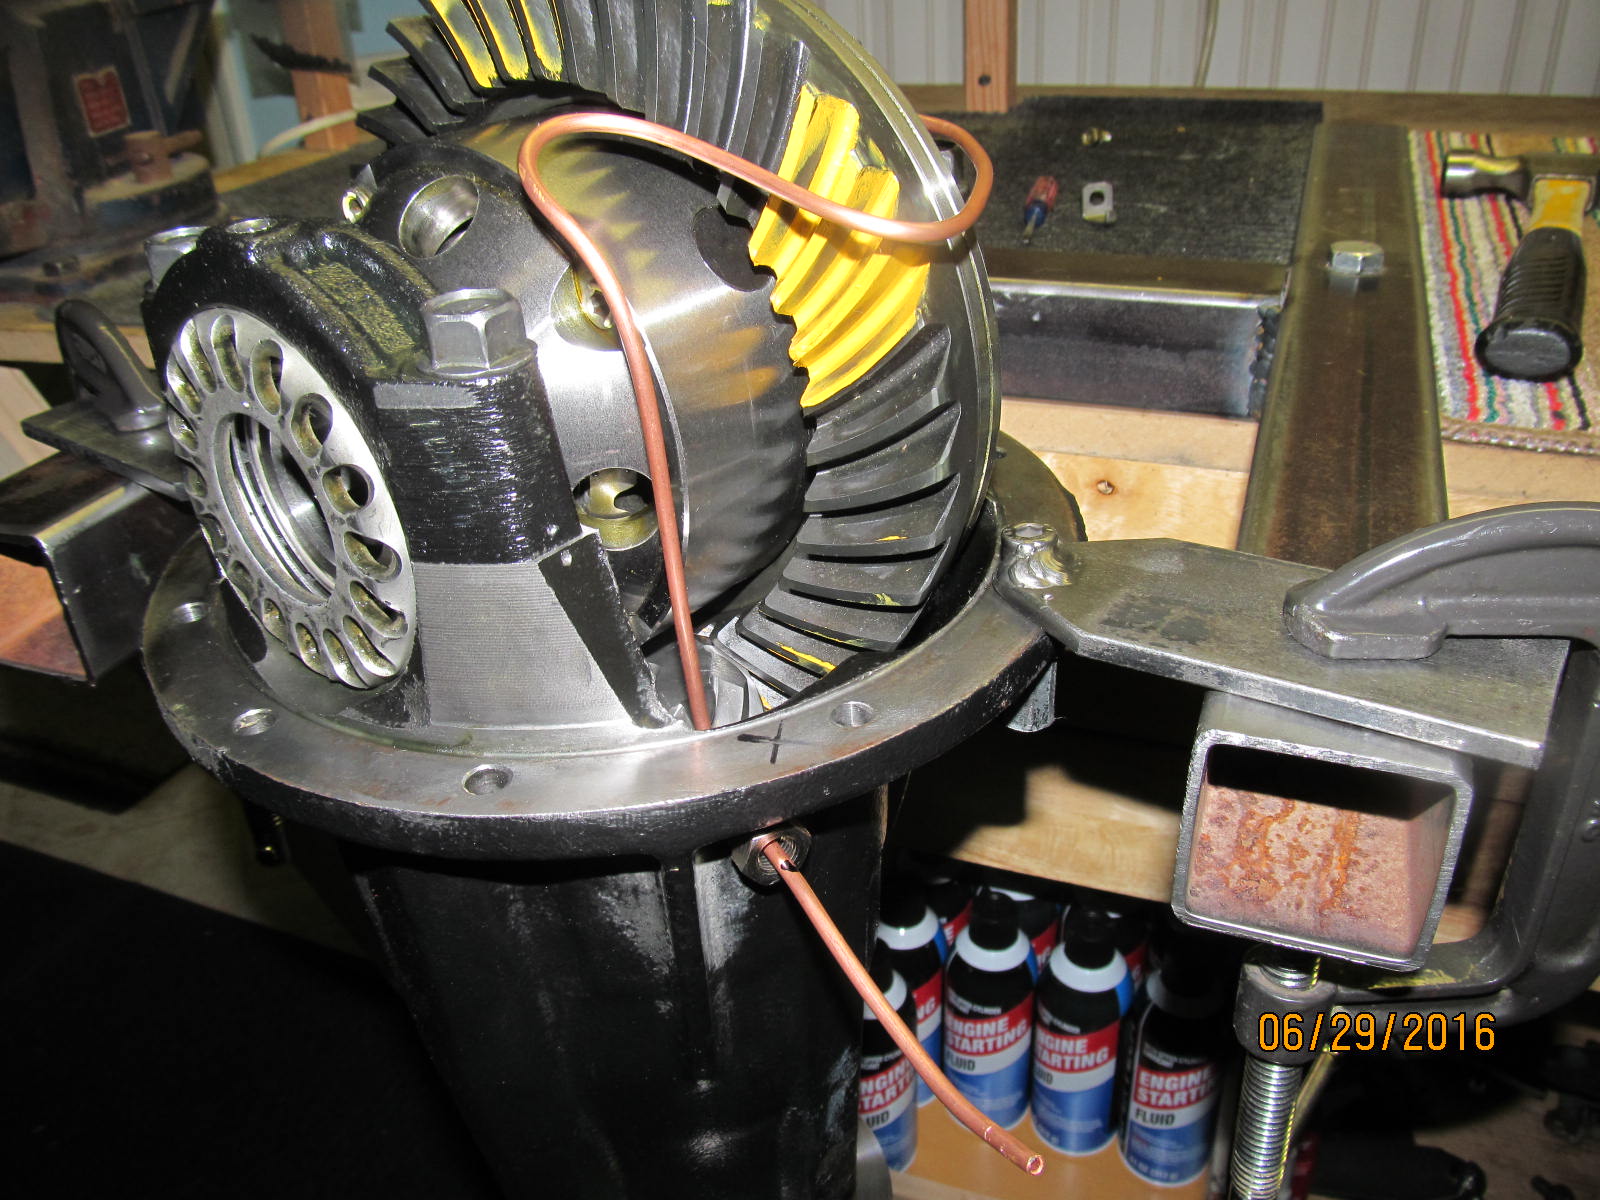
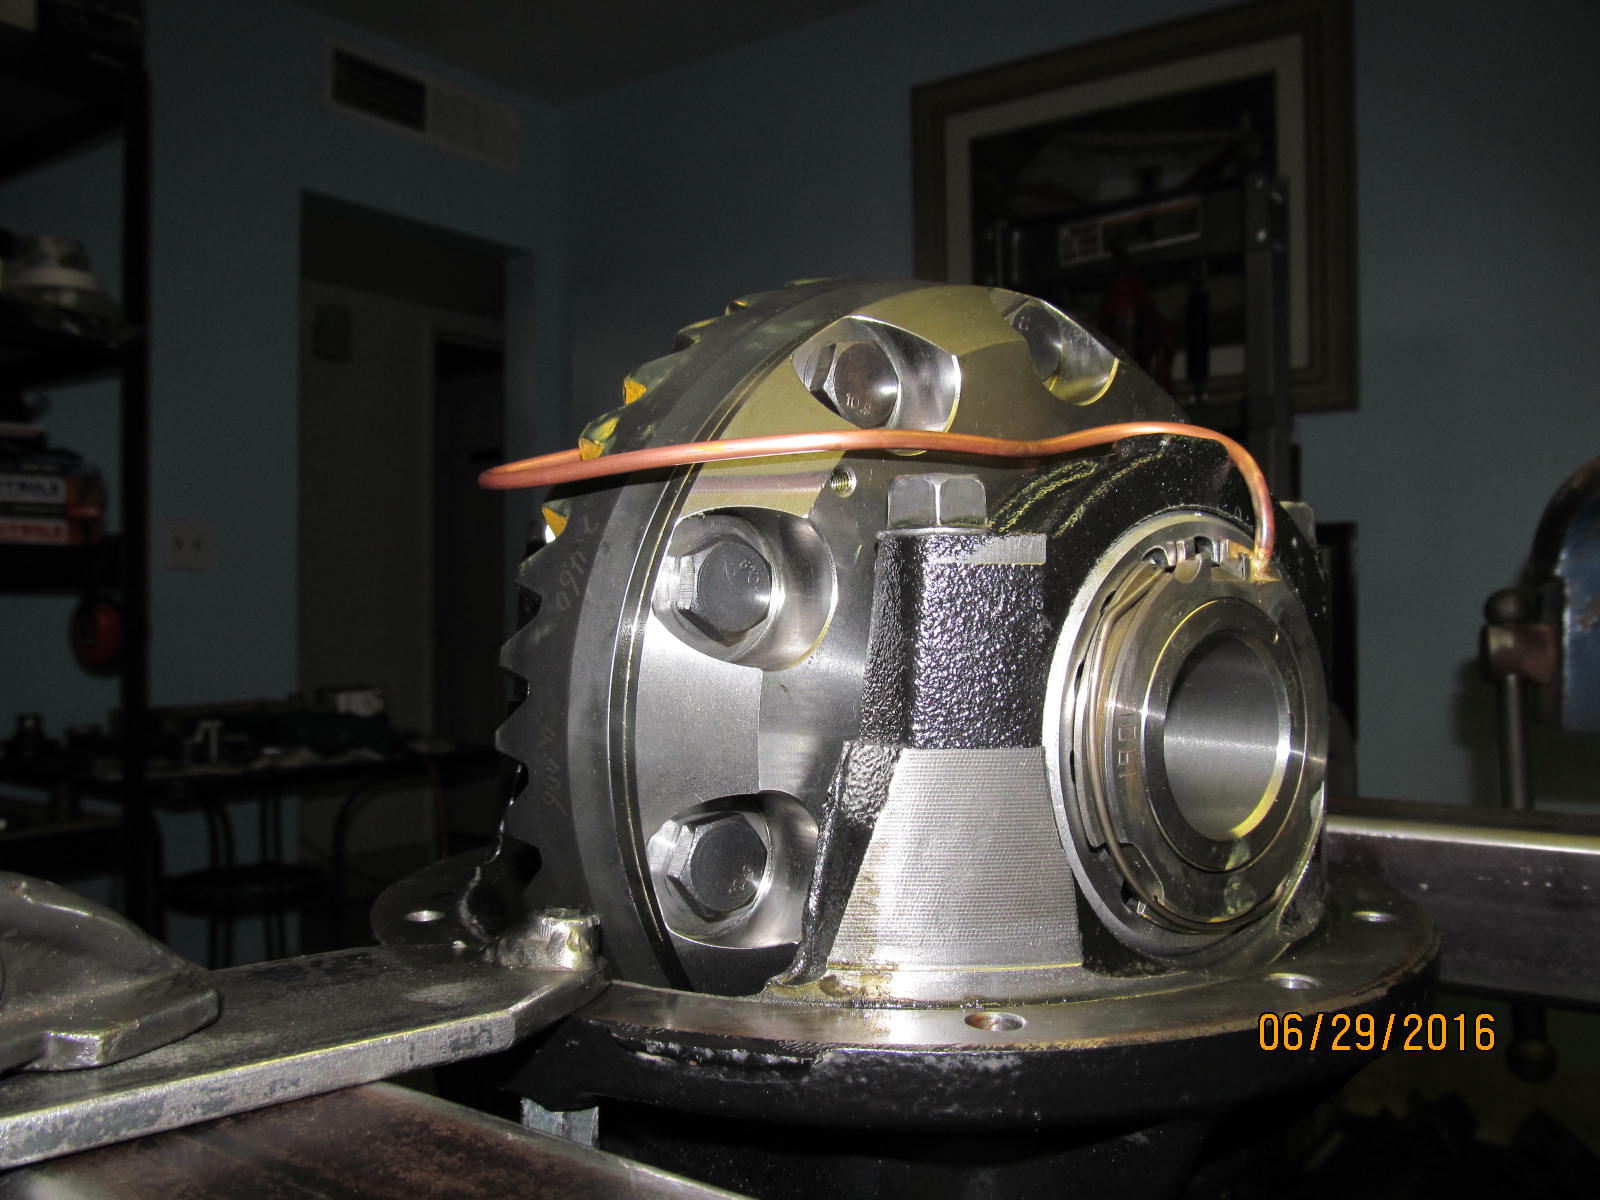
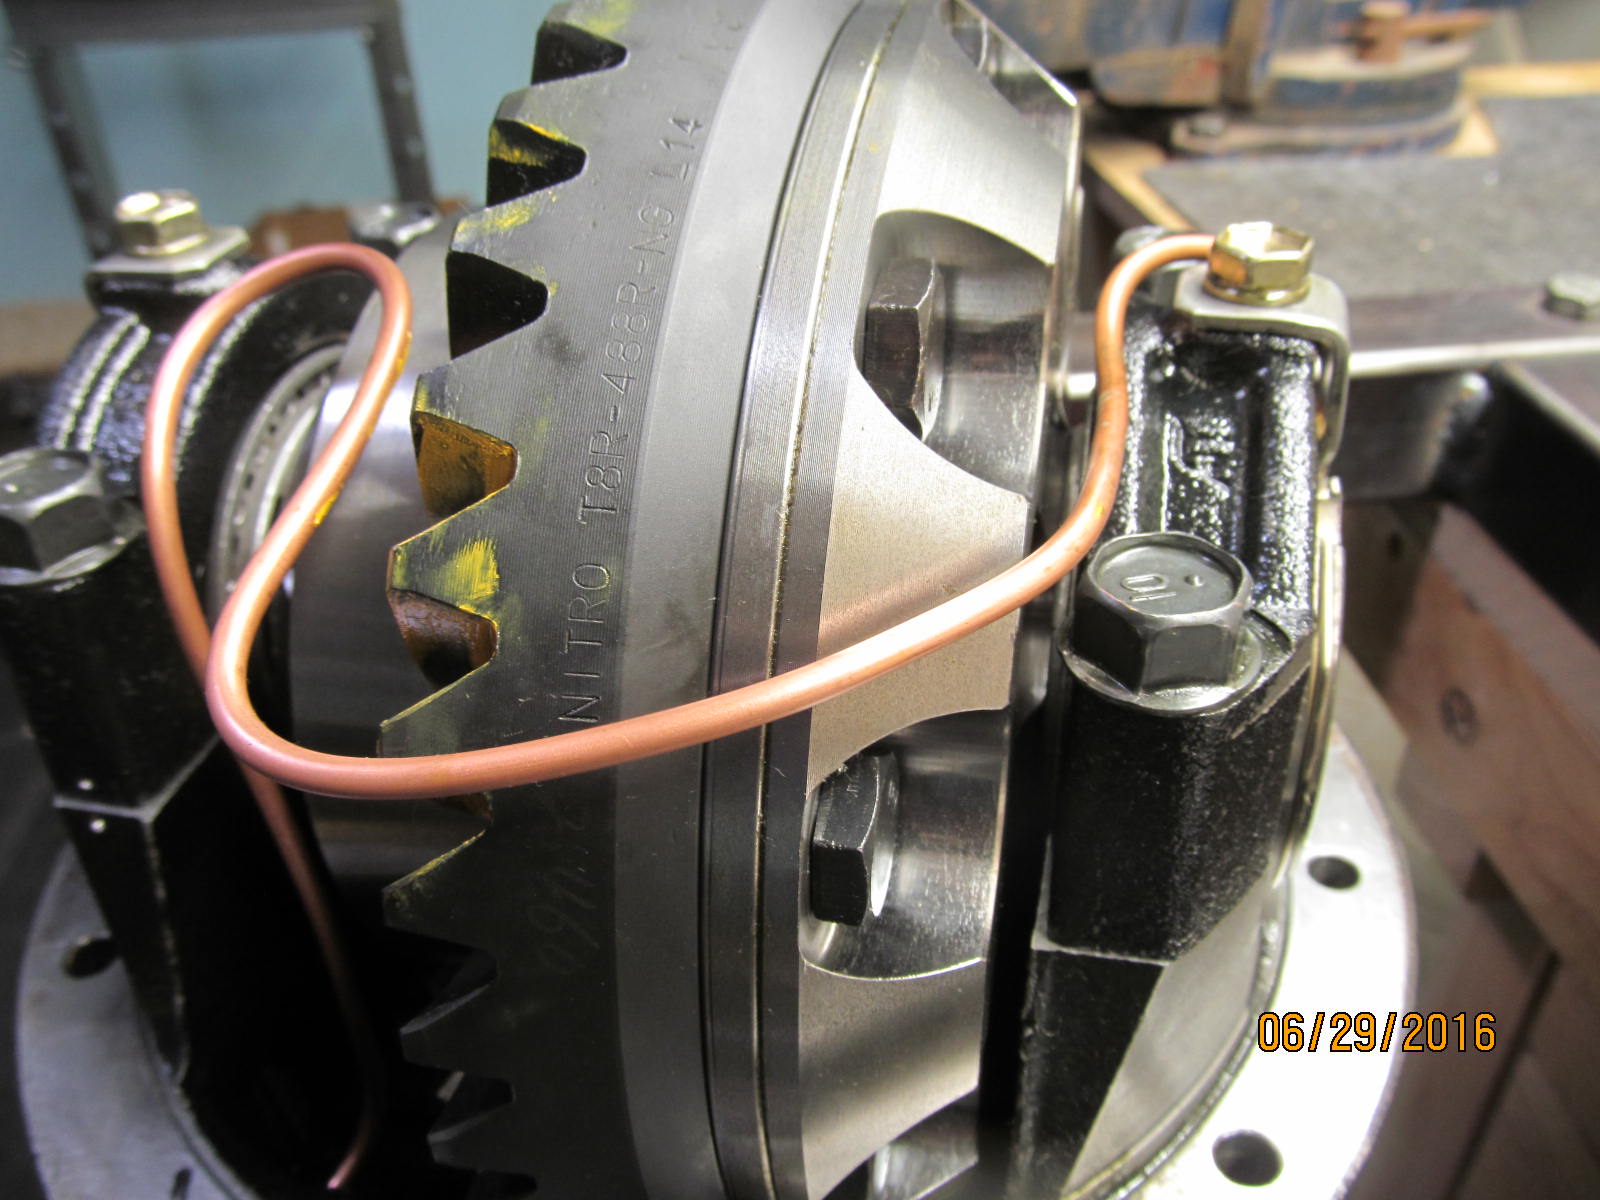
The hole is drilled and tapped...copper tube is form fitted.
|
|
|
|
|
...................
|
|
|
|
|
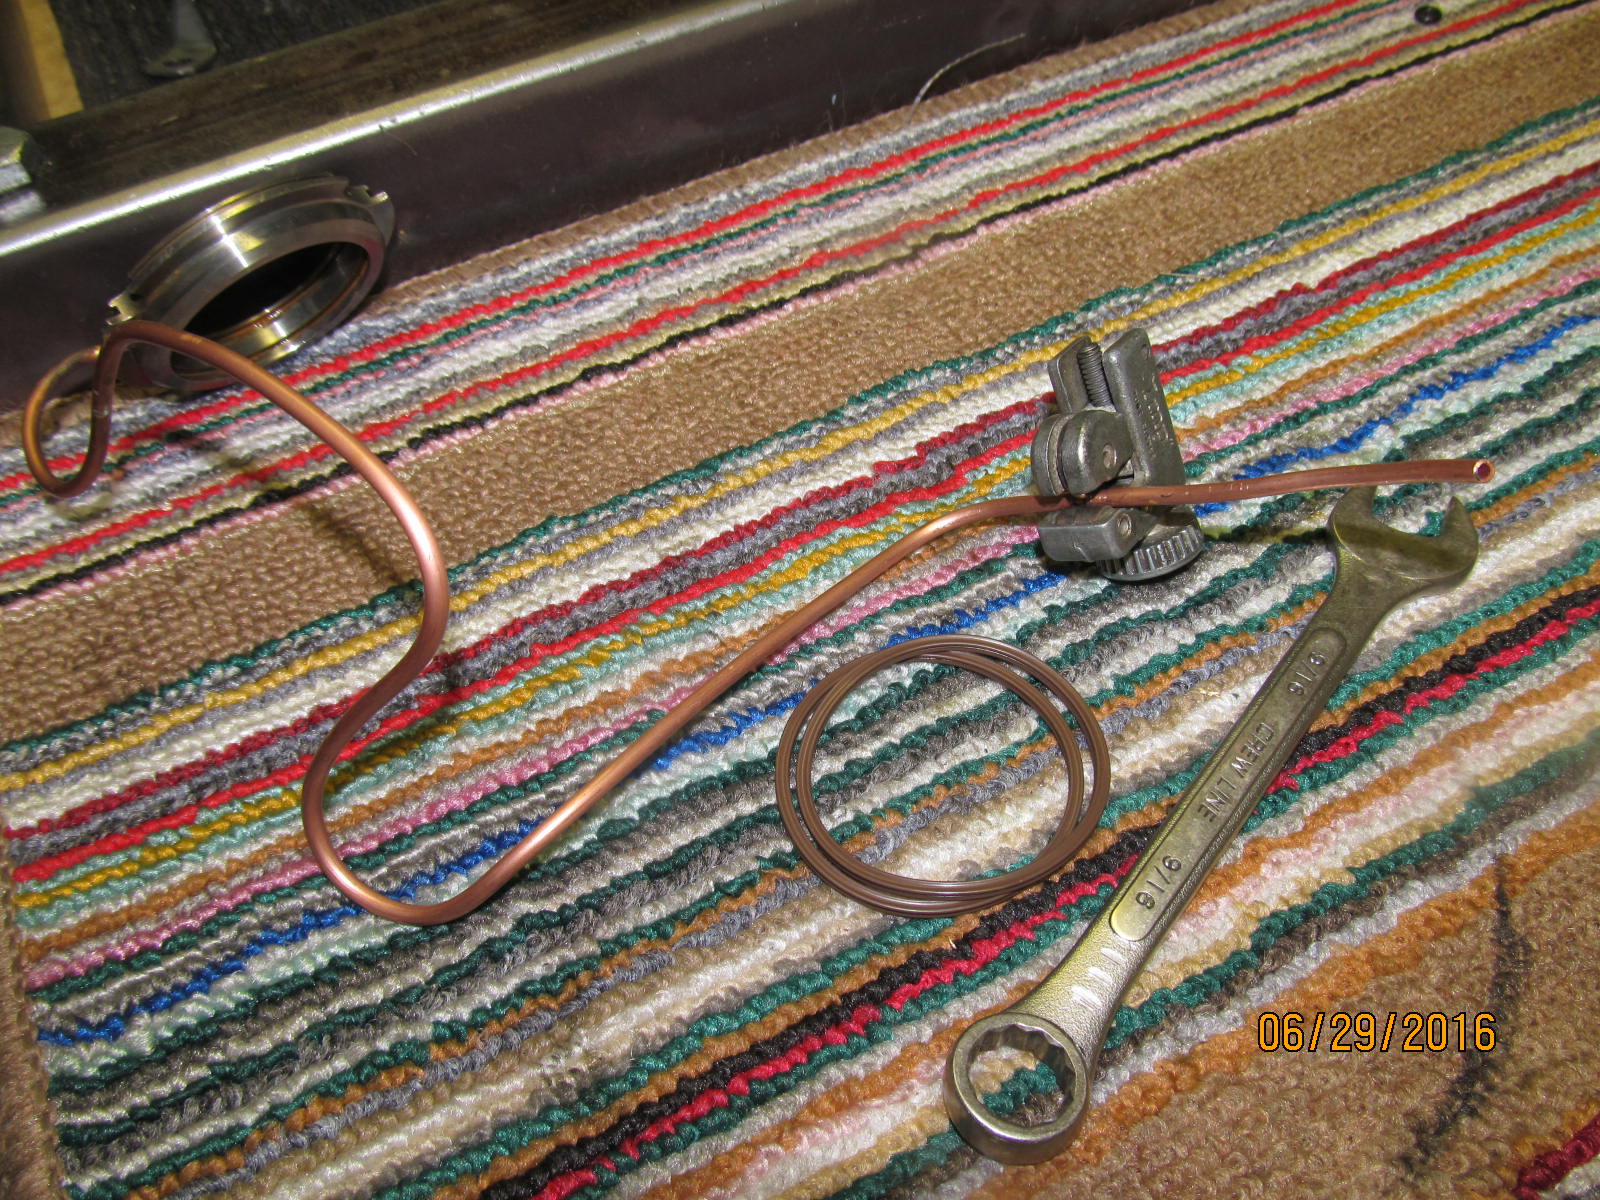
Excess is cut off.
|
|
|
|
|
The o-rings and seal housing assembly have just been installed. 10 ft/lb on the 12mm bolt.
|
|
|
|
|
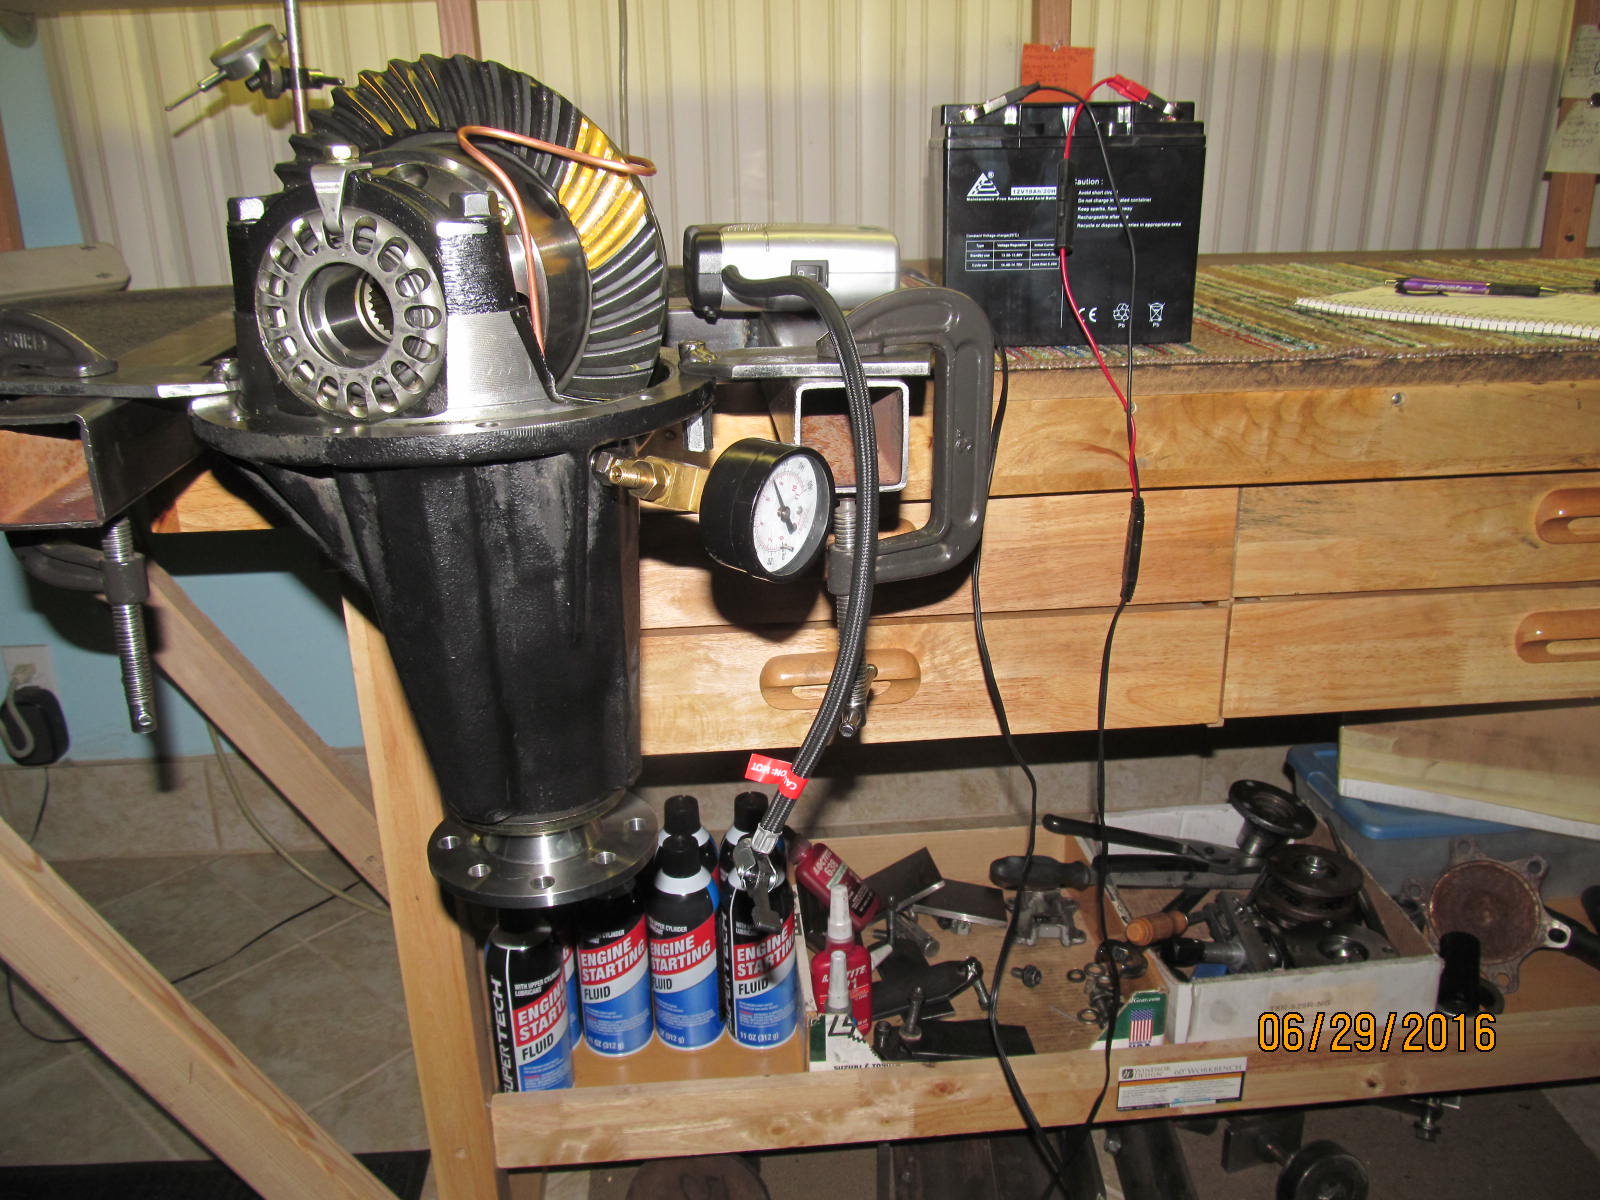
A tiny Pepboys compressor and a 12v battery are used to run an arb test.
|
|
|
|
|
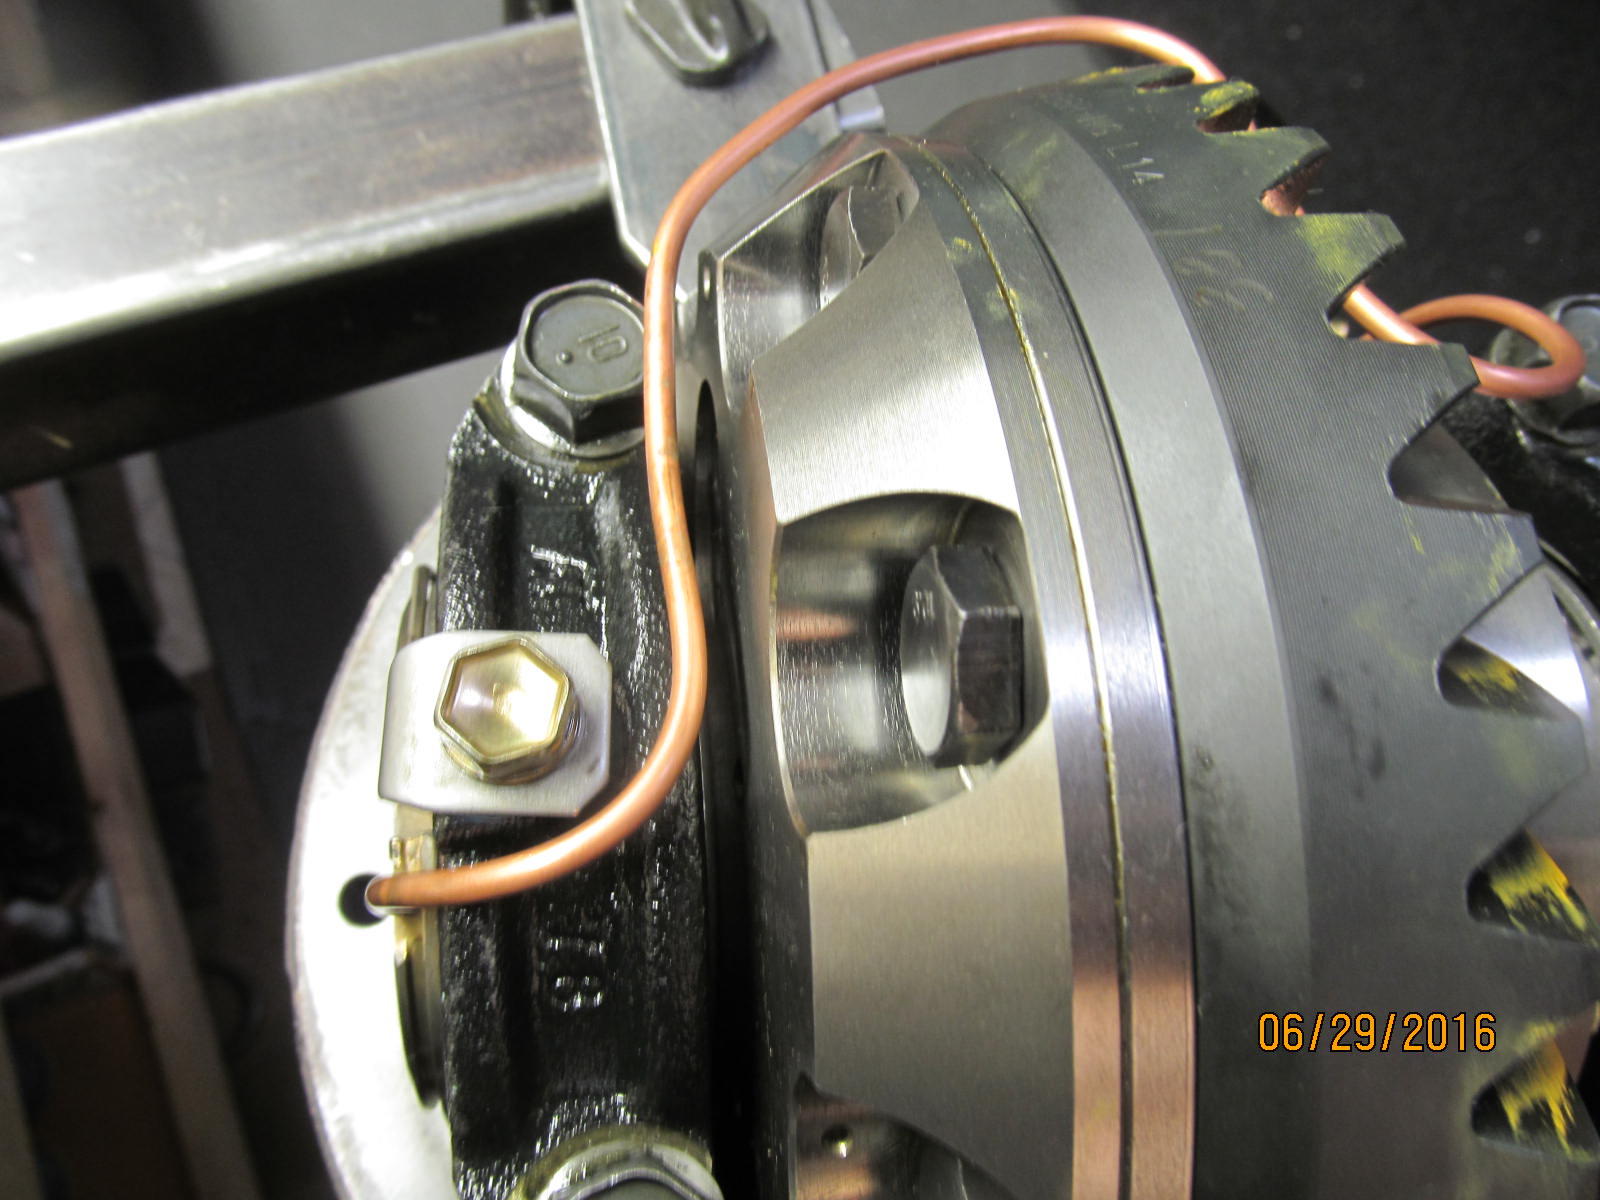
Routing is good.
|
|
|
|
|
The copper line is very soft so it can be tweaked to clear the corners to one's own preference.
|
|
|
|
|
................
|
|
|
|
|
,,,,,,,,,,,,,,,
|
|
|
|
|
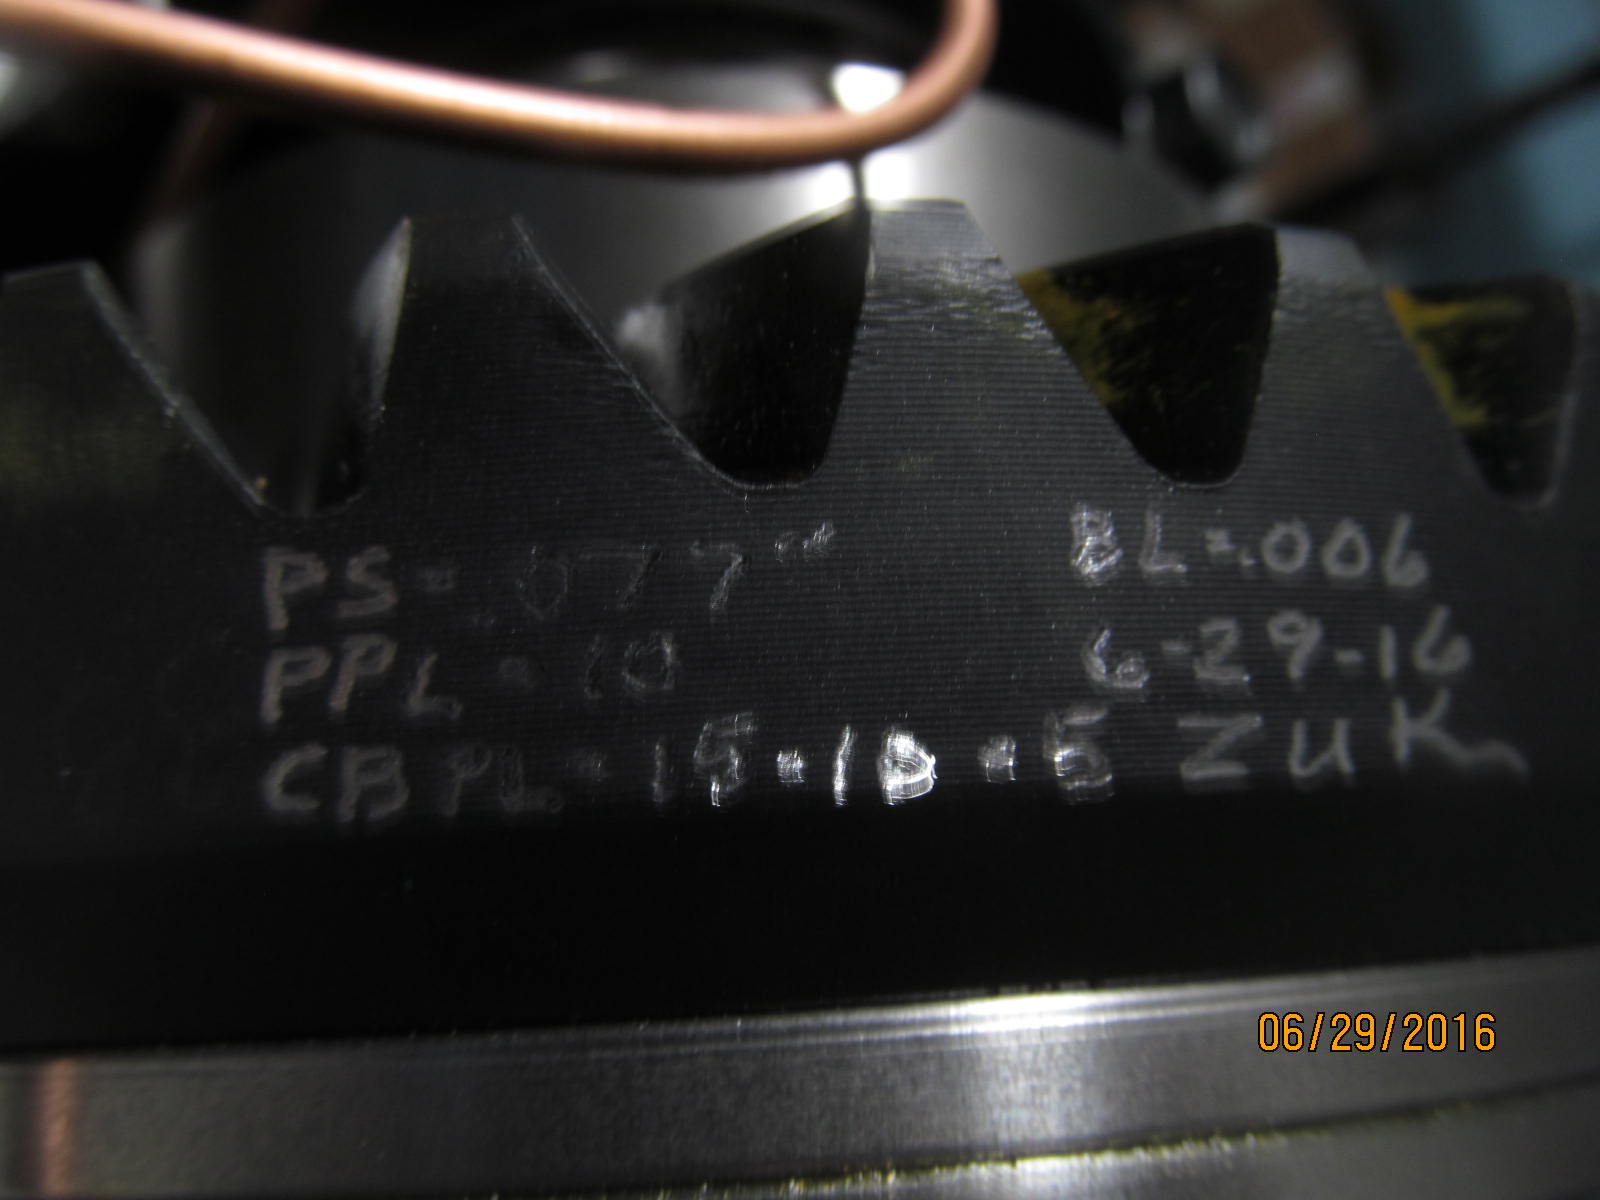
Final notes.
|
|
|
|

|