|
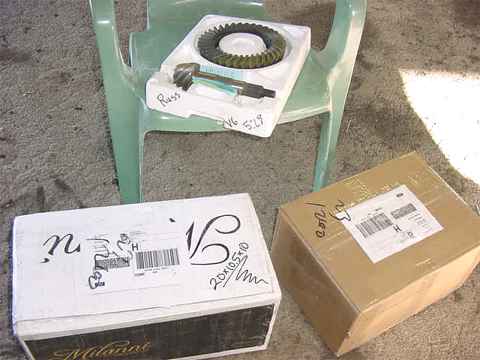
Russ sent me, all the way from Arkansas, a V6 truck chunk in a 20"x10.5"x10" double walled box. I was very impressed with the packing job. No rips/tears/damaged corners. This method seems much better than the 5 gallon plastic bucket. |
|
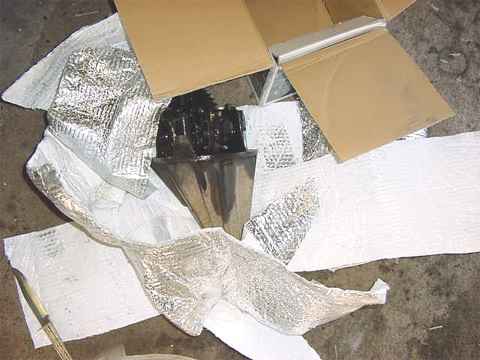
It was well cushioned in some automotive heat shielded bubble wrap stuff. |
|
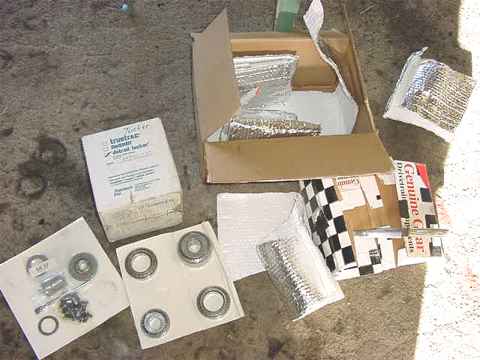
The other box had the rest of the goodies.... the Detroit Locker and the master install kit. Don't worry....the gears are not GENUINE. |

|
Everything needed to get started. The diff shell is cleaned, the Detroit SoftLocker, new bearings, ring bolts(10.9 grade), crush sleeve(not used, instead a solid collar), new seal, and the Precision Gear R/P. |
|
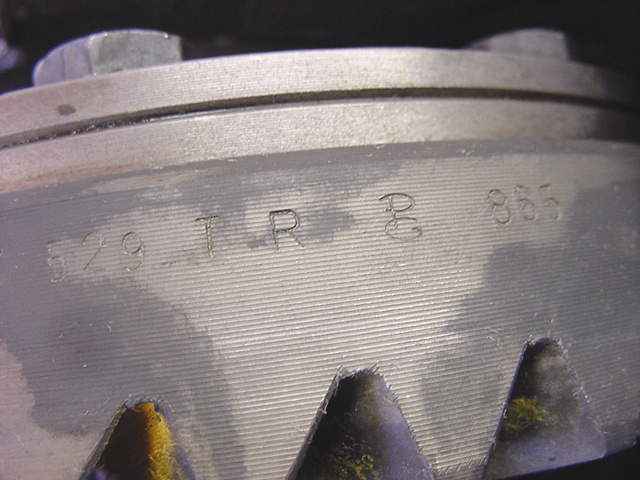
Precision Gear has the distinctive PG emblem. I might mention again that it's really cool having a digital camera that will zoom in to 1 inch! |

|
Just for fun, comparing the PG V6 pinion with the standard "4 cyl" pinion on the right(both are quality 529 ratios). |
|
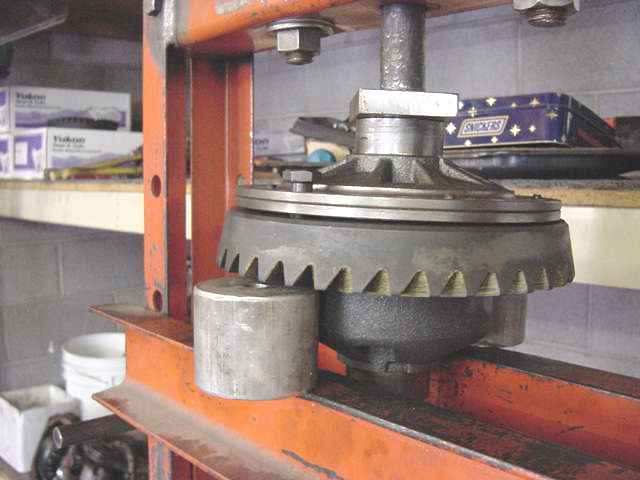
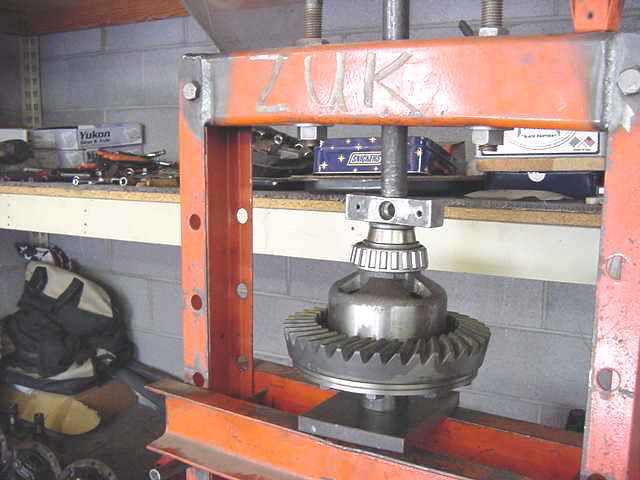
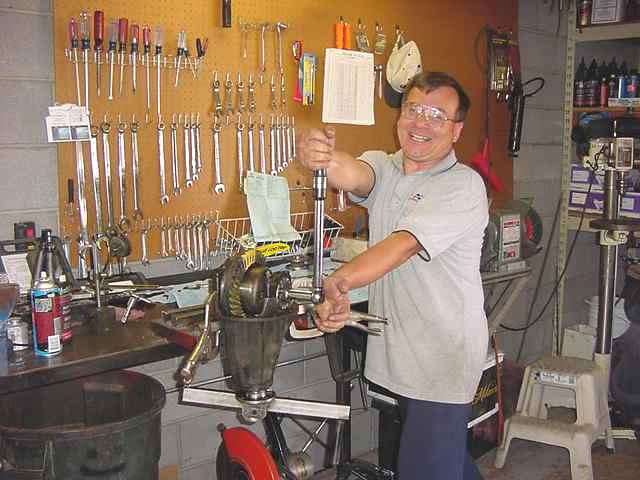
Normally, I can just tap the ring gear on and then use the bolts to pull it on the rest of the way... but this one was really tight so I made use of the 10 ton press but probably less than 1 ton of actual persuasion was used. Using aluminum pucks to prevent tooth damage in the picture. |
|
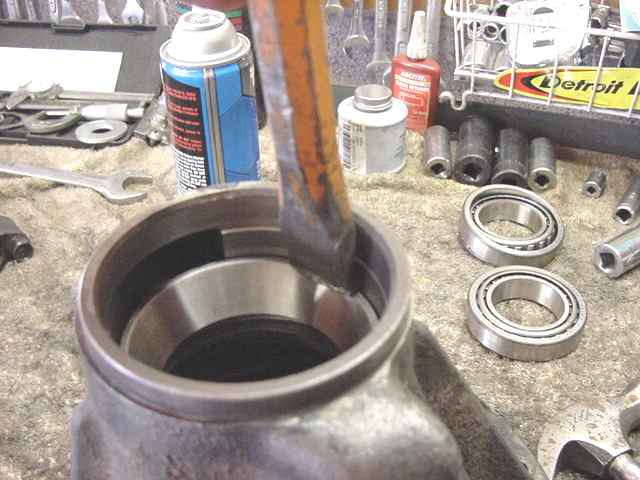
A mild steel chisel suffices for tapping the small pinion race in...
|
|
...the large pinion race requires more skill/caution as it does not want to align real easy. Best to use an old race to tap it in until it seats 100%. |
|
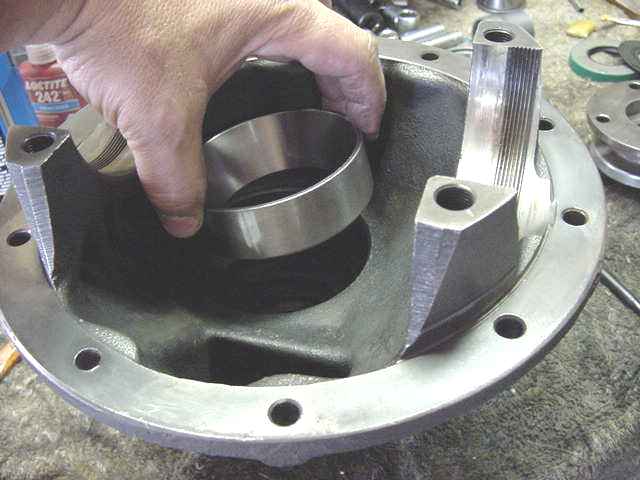
I started with a pinion shim of .095" for the first try. The 10 ton press easily moved the big bearing in place. |
|
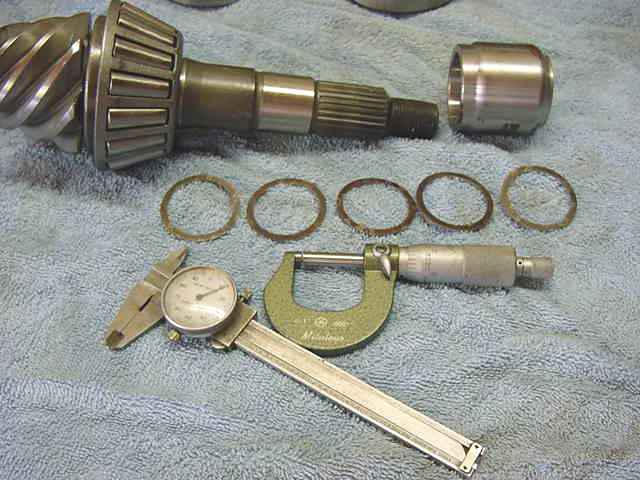
Since this is the rear diff that sees all the heat, speed, and torque, it only makes sense to use the best...in this case, a solid collar. The green micrometers are my 'fav' for accurate measurements. |
|
I started with .054" worth of shims but that was way too loose, then hit it right at .048". |
|
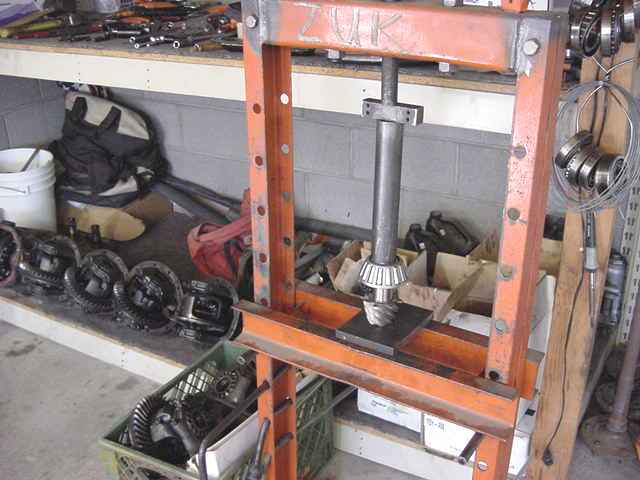
Now that the pinion has the starter shim of .095 and the pinion is secured in the housing, now I can turn my attention to the other half...usually I can tap the new bearings on with the hammer but this one was unusually tight again... |
|
...the press made easy work of it. Sometimes, it goes on sale for $99 from harborfreight.com. |
|
Carrier bearings are set very tight and the backlash is set to about .006". |

|
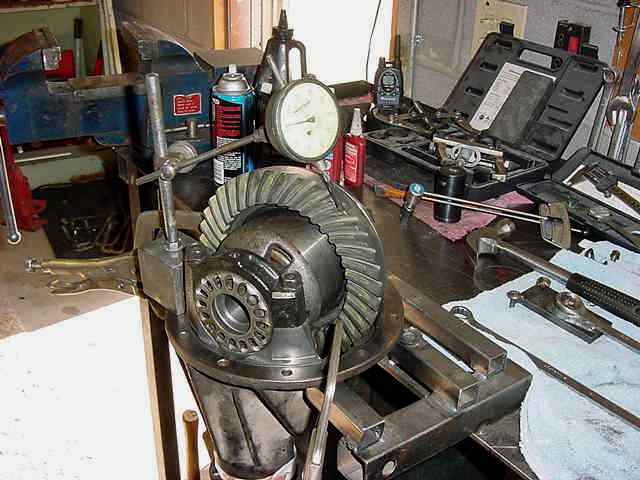
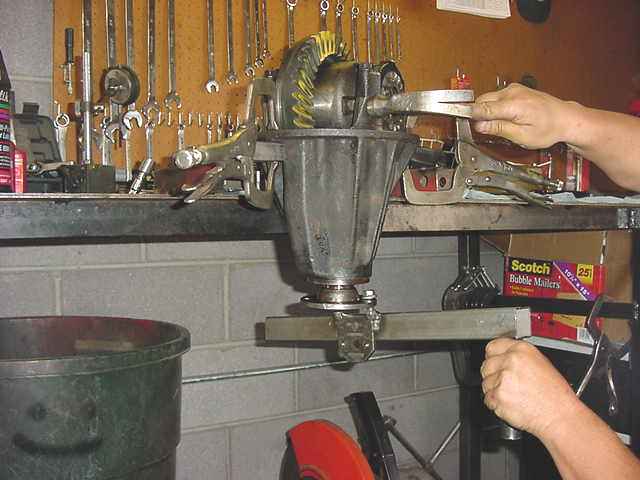
I've got a handle below for turning the pinion flange while the crowbar applies massive resistance to the ring gear. This gives excellent resolution on the painted patterns. |
|
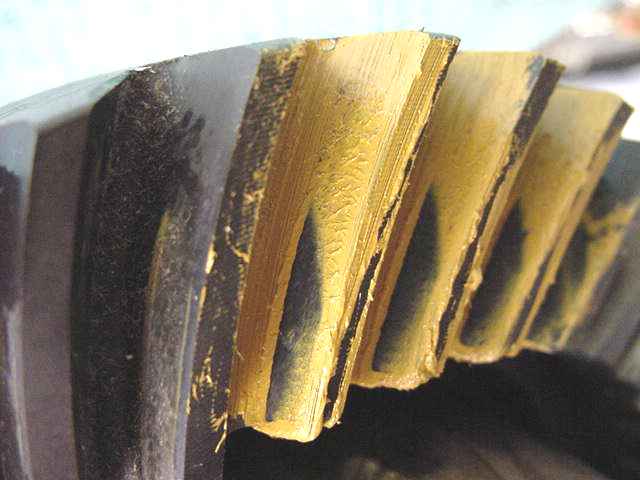
Driveside .095" shim. Heavy toe and way too deep. |
|
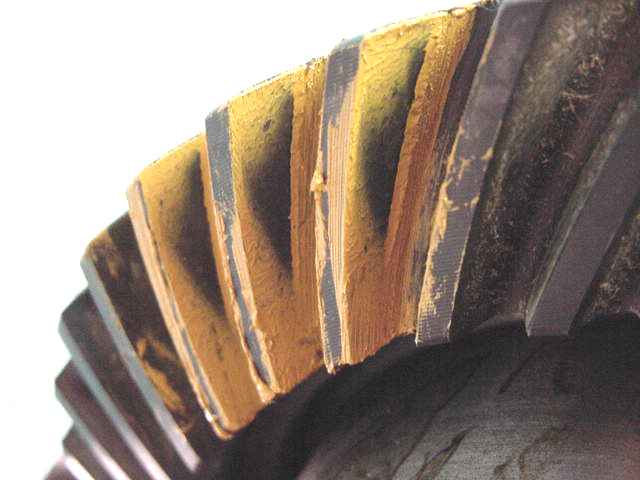
coast .095 on the heel side and too deep, of course. |
|
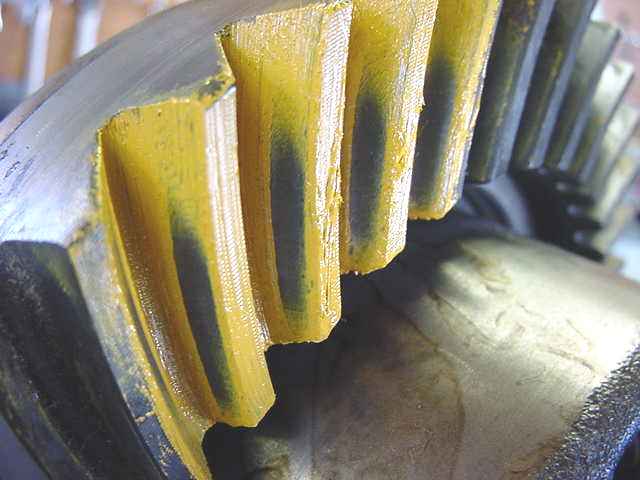
Tore it all back down and re-shimmed the pinion for .082"....nice. |

|
coast....nice. |
|
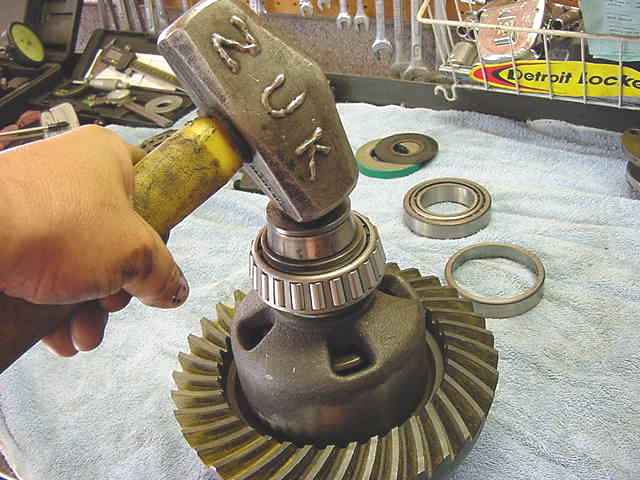
Now it's time to really tighten the carrier bearings down. This is not as straight forward as it appears but, at least I can do it with a smile on my face. 97% of Toyota gear installs mess up right here. Just tightening the bearings may not be enough. The trick is to rotate the pinion flange while rapping lightly with a hammer in the right place. This allows the bearings to find their "set". Not doing this means that the carrier bearings will lose some/most of their pre-load during the first few minutes on the road. And without that pre-load the ring gear will "move around" under torquey situations and teeth start breaking off the outside edge of the ring gear. |
|
After the bearings are really tight with the backlash in spec, the trick is then to rotate the pinion while rapping near the carrier bearings....after doing so, it will be discovered that the bearings are no longer tight. This may go on for 1 or 2 more rap sessions before things 'stabilize'. |
|
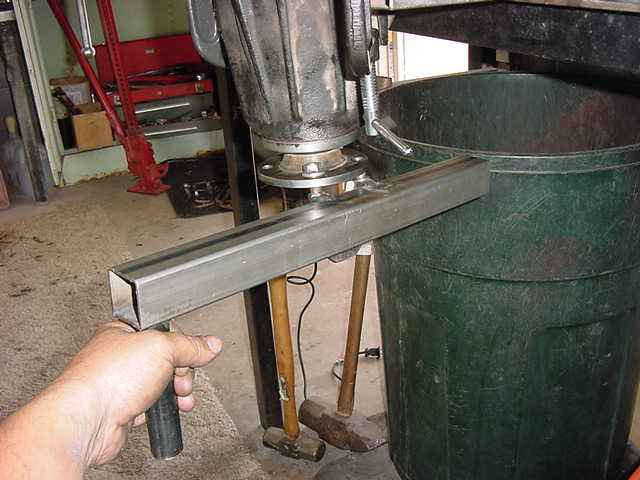
My handle is very simple. It sure helps to have a MIG welder. |
|
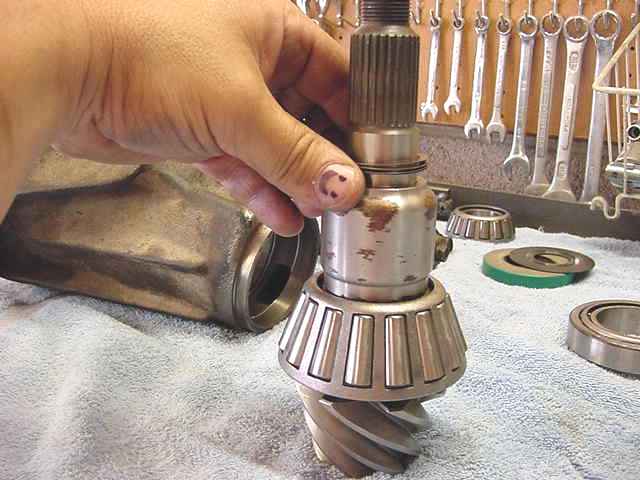
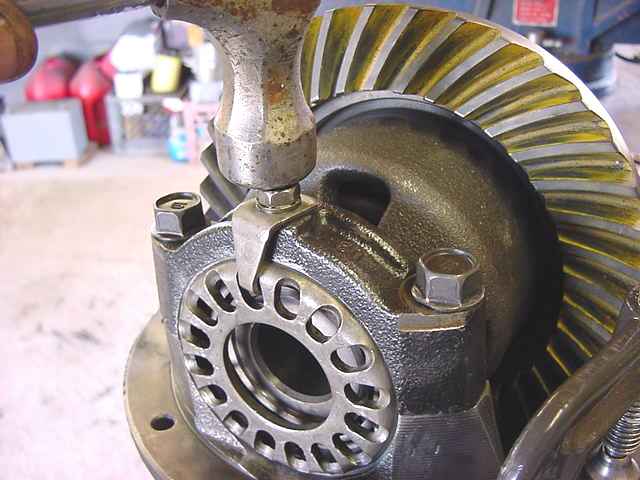
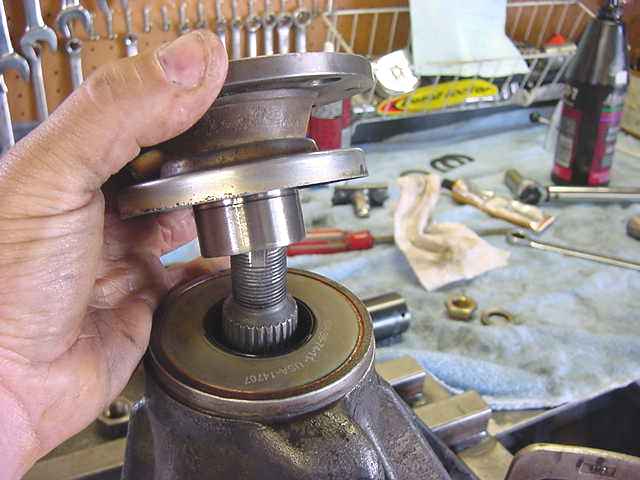
My preferred place to rap with the hammer is on top of the bearing caps. I did not hit the small bolt....the pic is just a mock-up of the area to hit WITHOUT the bolt and locking tang in place. |
|
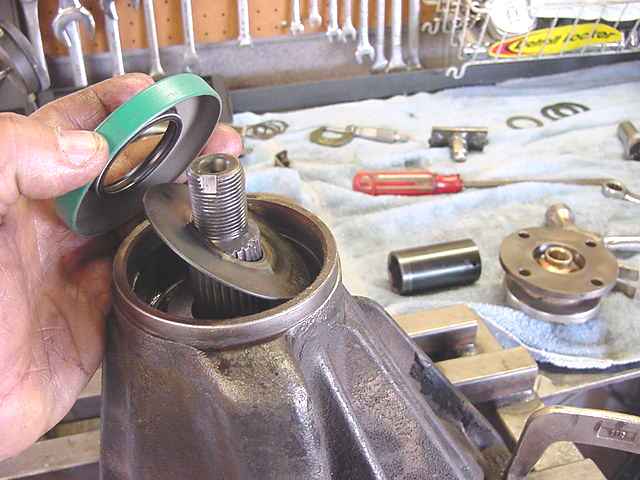
Now it's time to finish up the topside of the diff....splashguard in place and a new seal. |
|
Apply grease or gear oil to the rubber seal and install flange. I use Blue Loctite and about 200 foot/pounds in the form of a 3 foot cheater bar. |
|
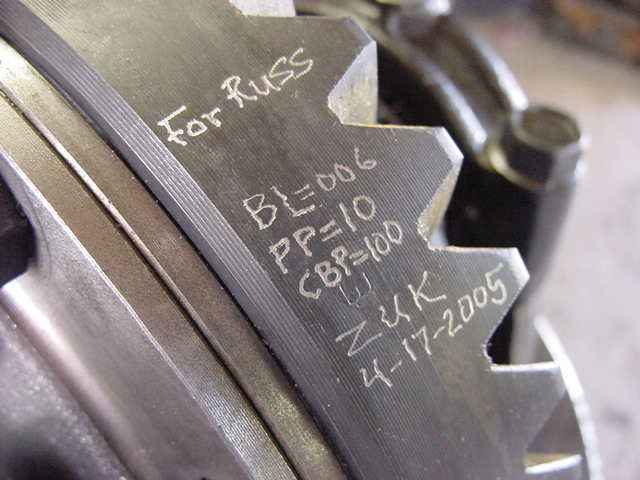
Some documentation.... |
|
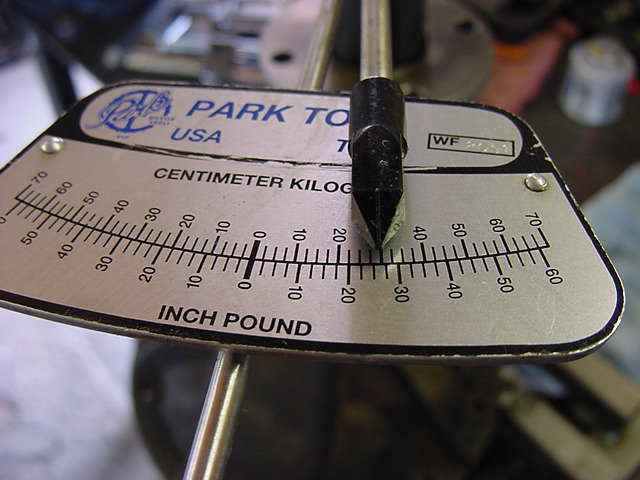
Just for fun, this is the entire pinion pre-load encountered turning the pinion bearings(10 in/lb)....the drag of the oiled seal(2in/lb)....and turning the ring gear(~12in/lb). |

|
Dinging the nut is optional due to the blue loctite. Done. |
|
|