|
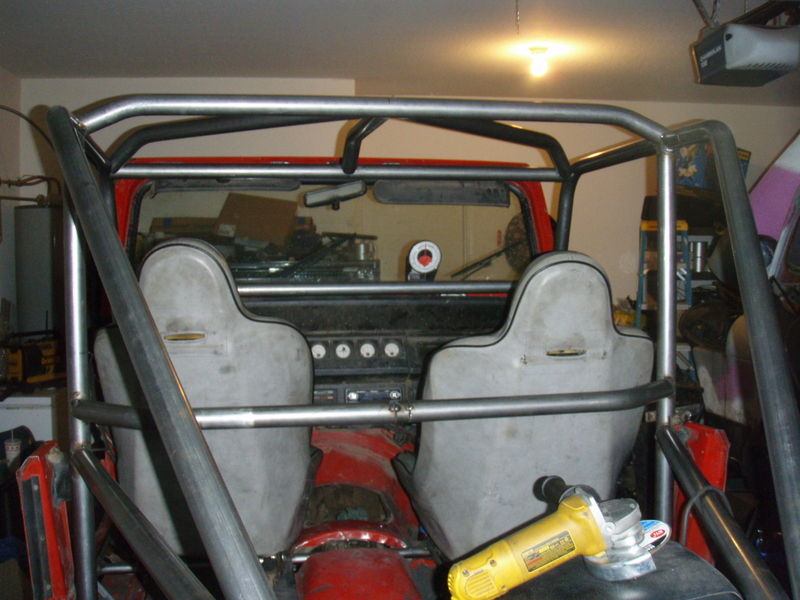
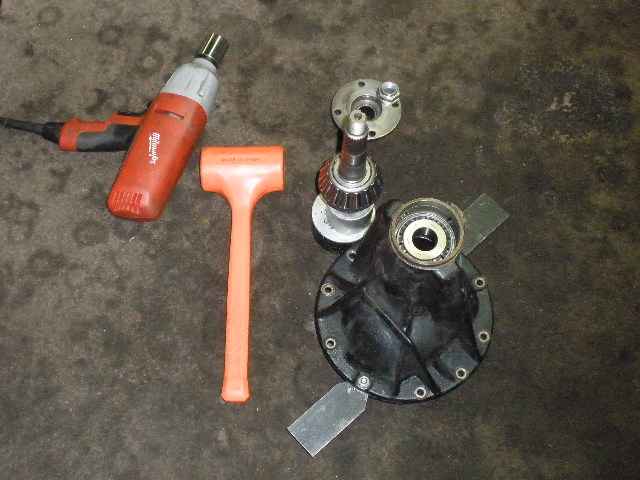
Ty brought over his somewhat greasy HP 3rd for an ARB and 529 gear install.
|
|
|
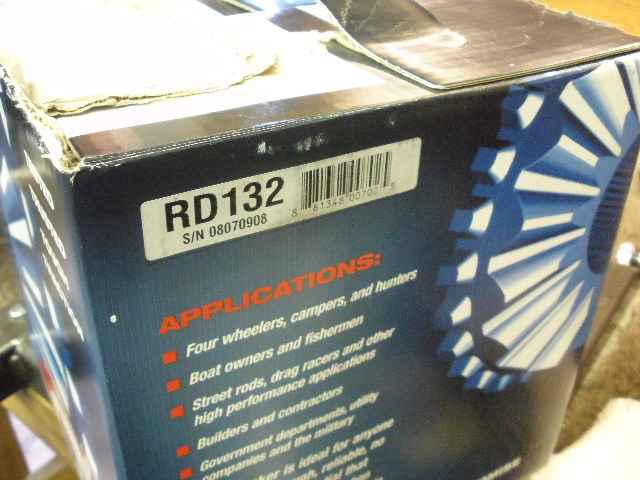
This is the ARB...
|
|
|
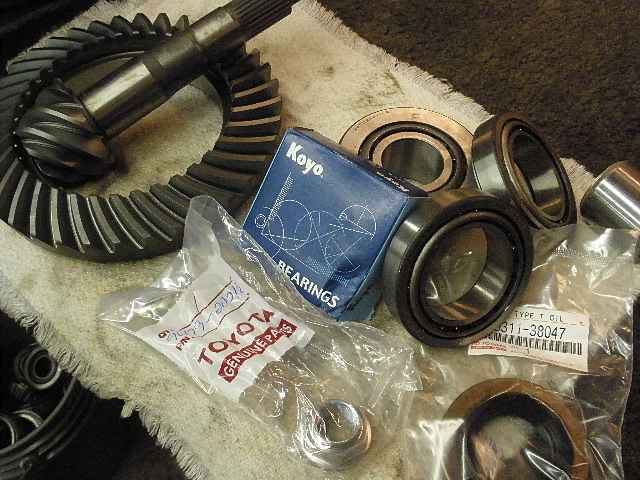
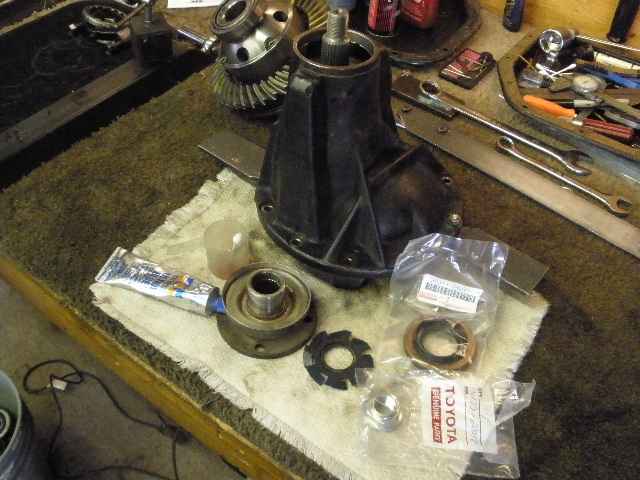
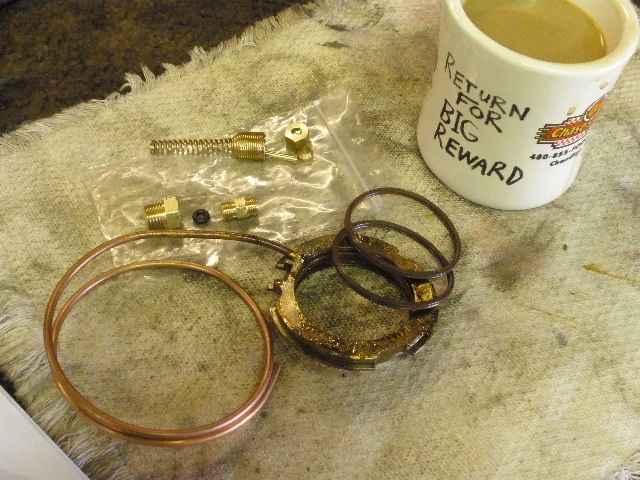
...and these are the Trail-Gear 529's and a master kit that I put together. The solid collar seen in the upper right is also going in.
The gears and all 4 bearings have been cryogenically treated by
Cryogenics International.
|
|
|
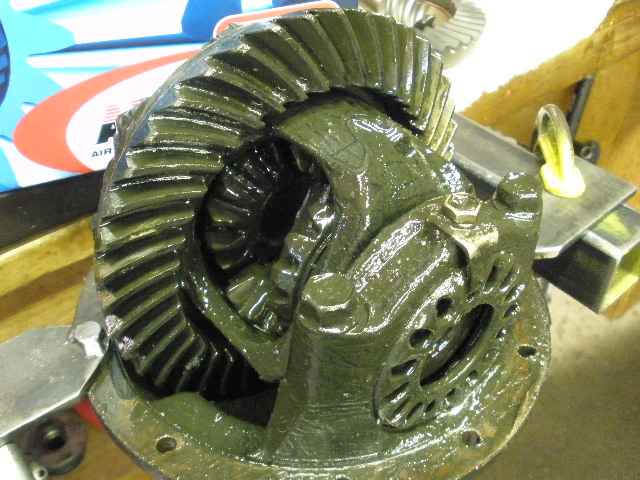
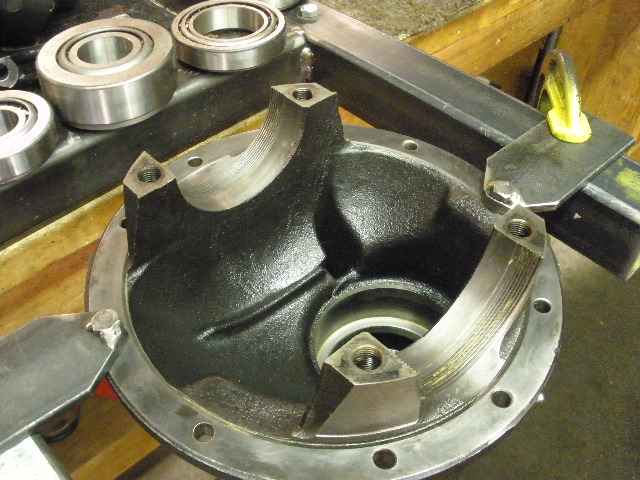
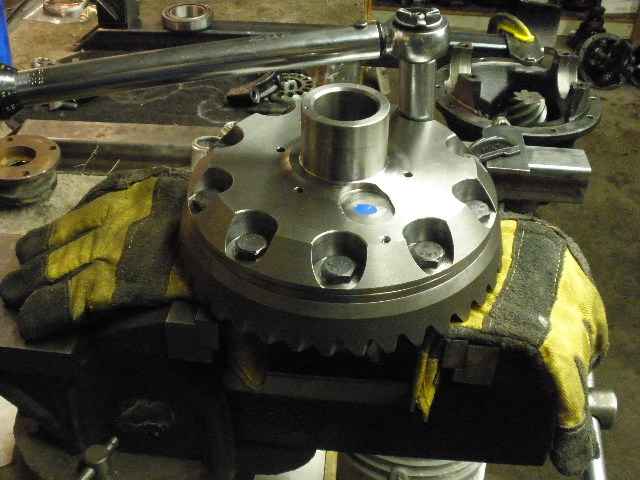
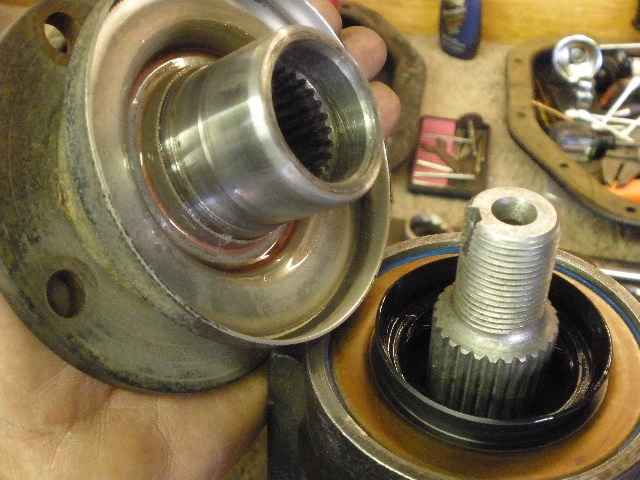
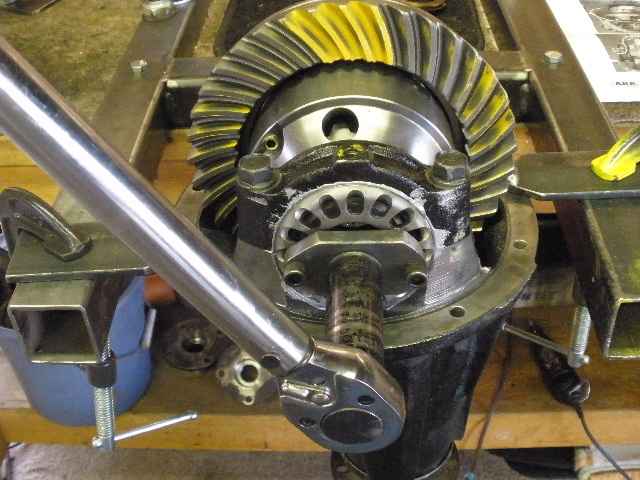
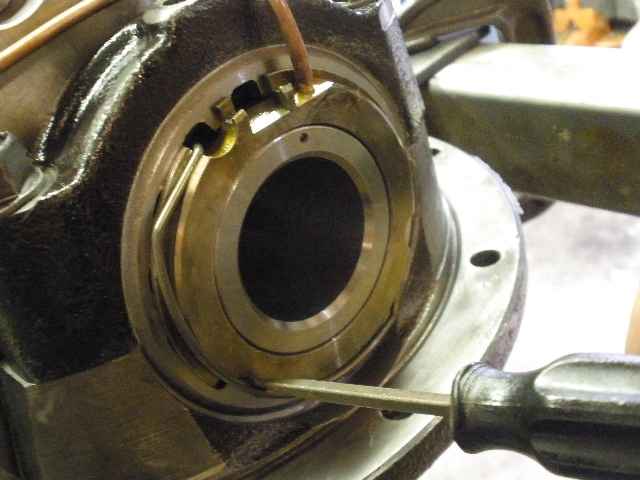
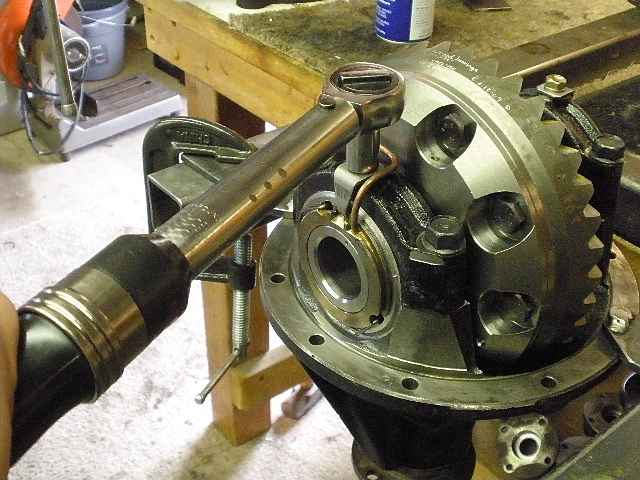
The HP carrier has been dis-assembled and cleaned of the grease mostly just using starter fluid.
|
|
|
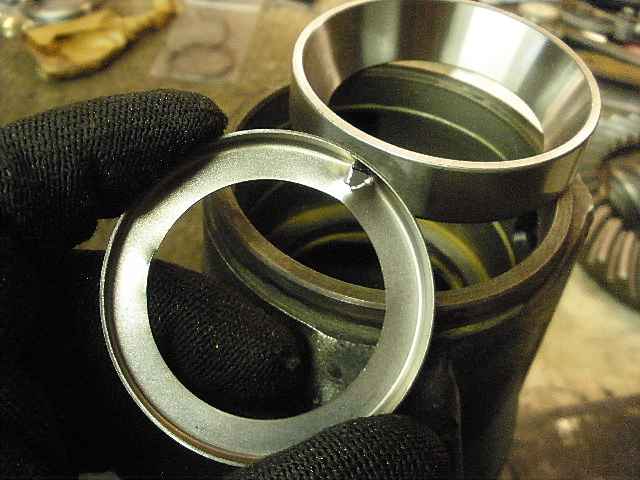
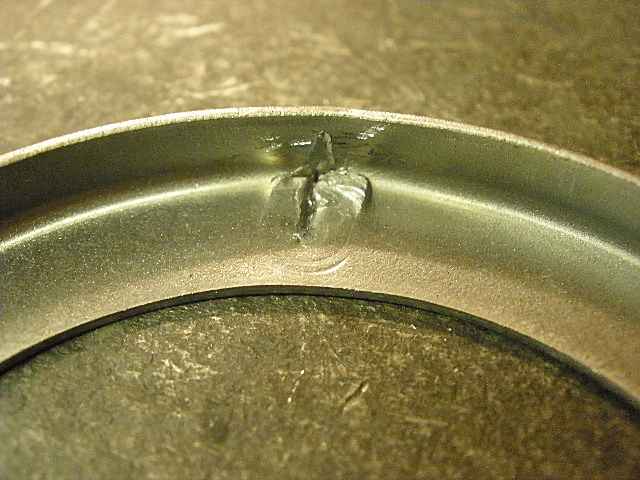
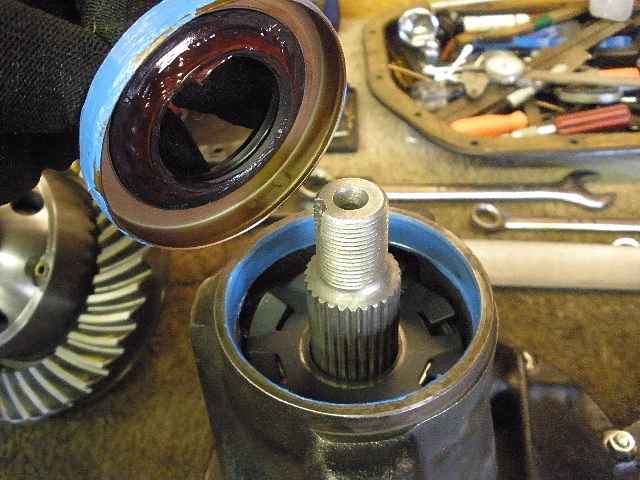
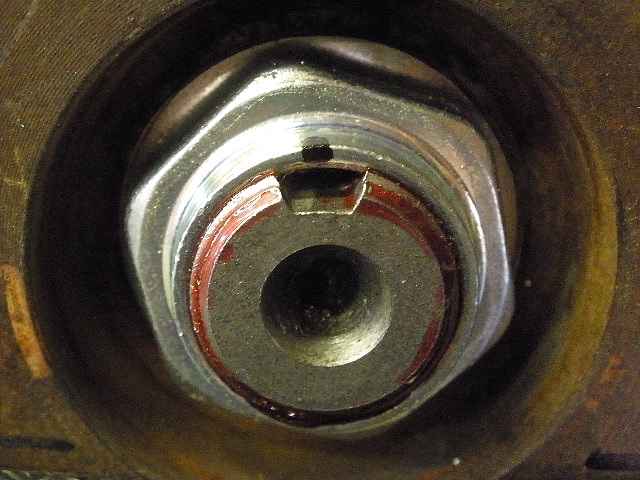
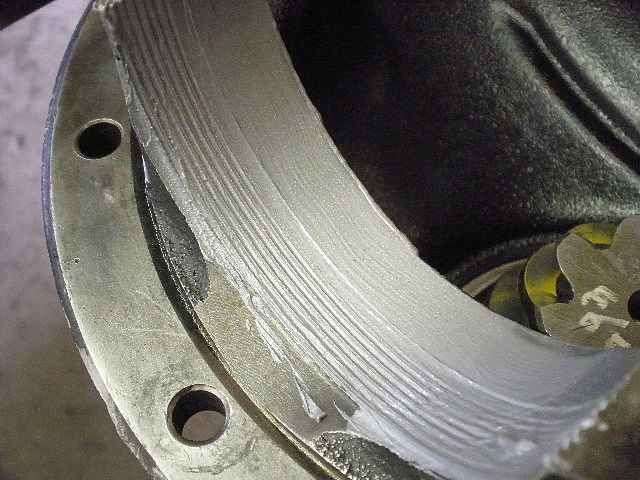
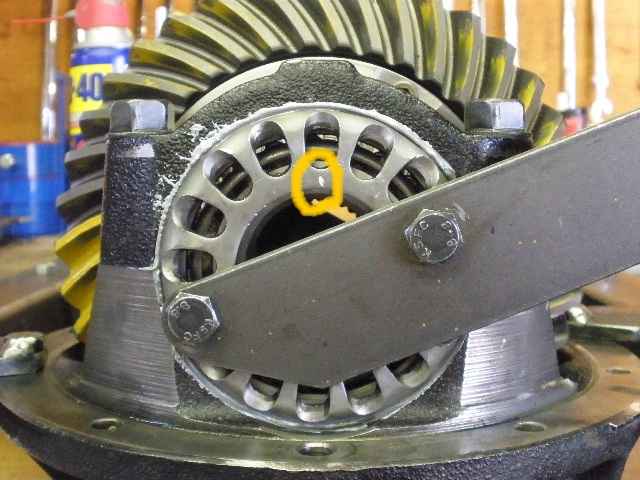
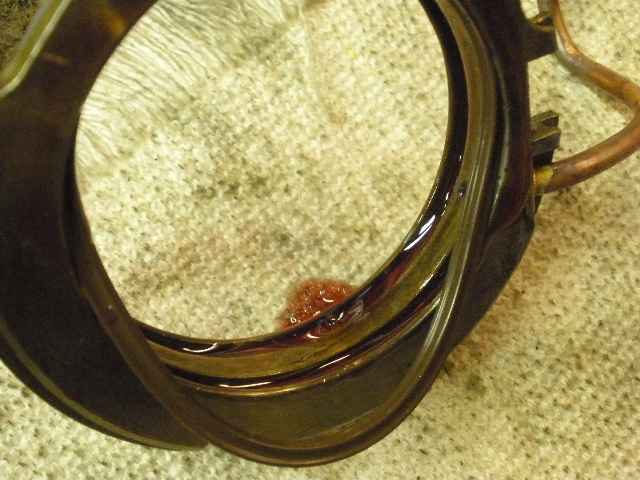
The old oil retainer was cosmetically damaged during removal but is easily salvageable with the right tools.
|
|
|
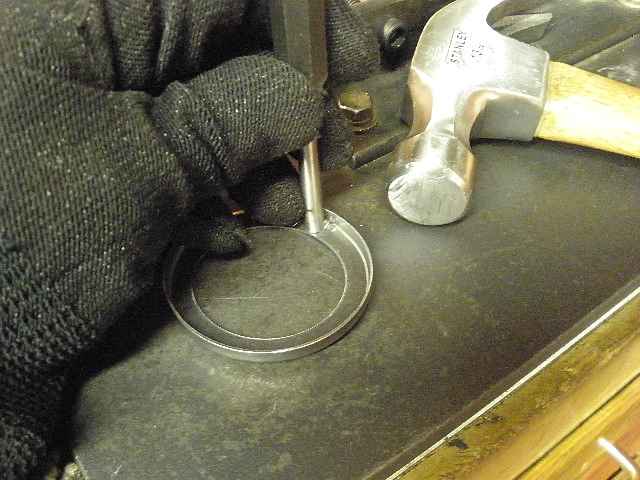
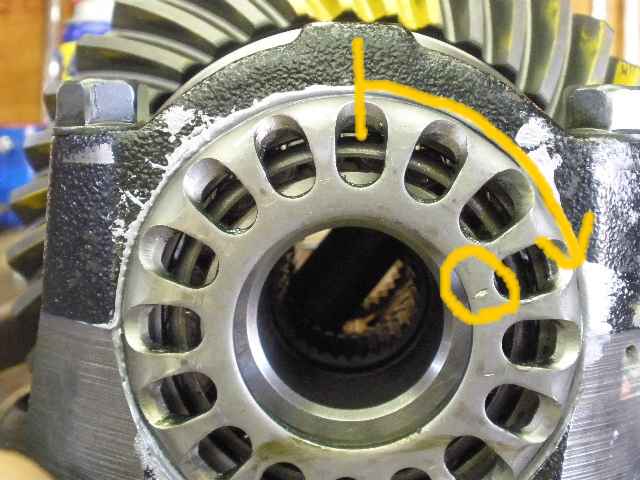
I just use a flat punch and tap the raised edges down level.
|
|
|
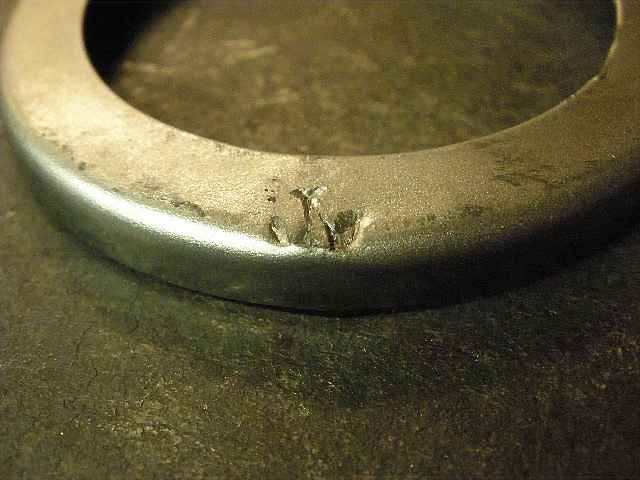
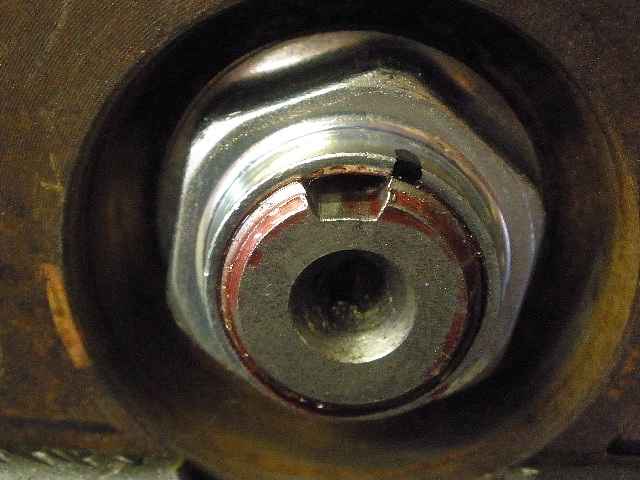
Almost factory new :)
|
|
|
...
|
|
|
Then just insert the retainer in the straight-up 12 o'clock position and tap it in. Done.
|
|
|
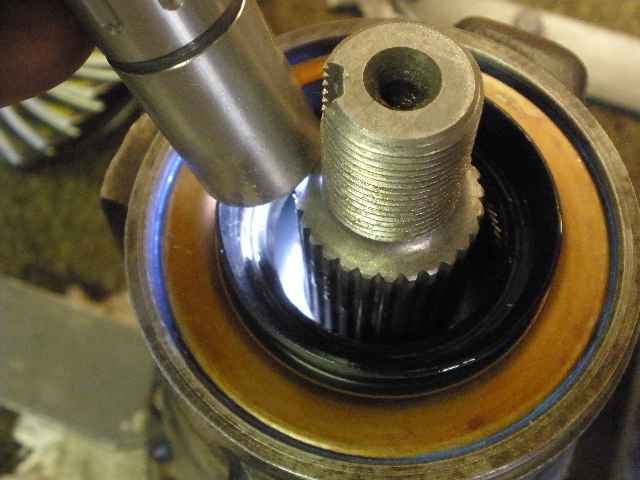
Now both carrier bearing races can be gently pressed in.
|
|
|
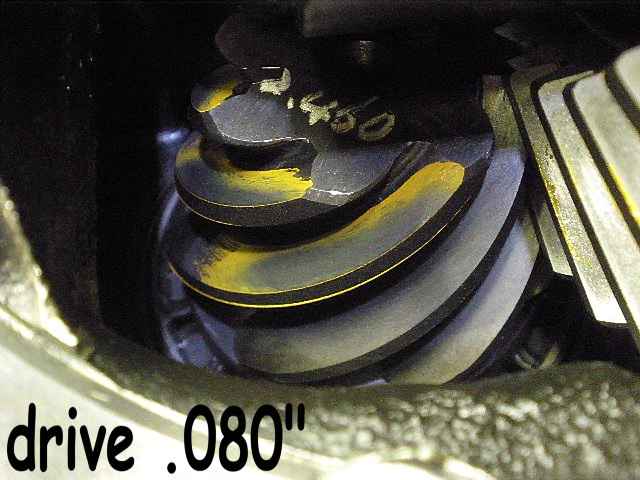
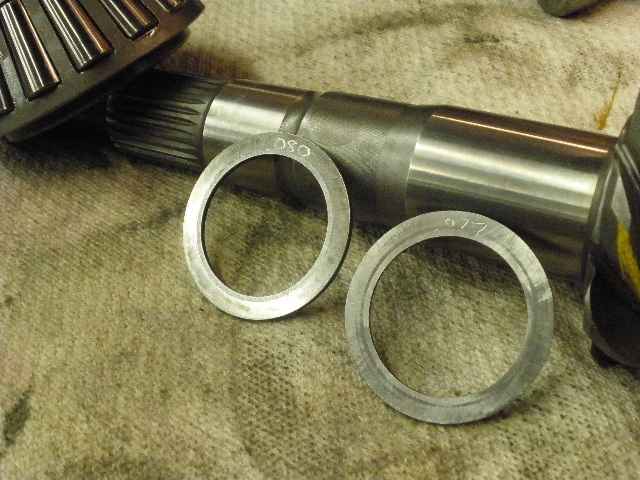
I'm going to start with a .080" pinion shim and the big bearing is pressed on with it.
|
|
|
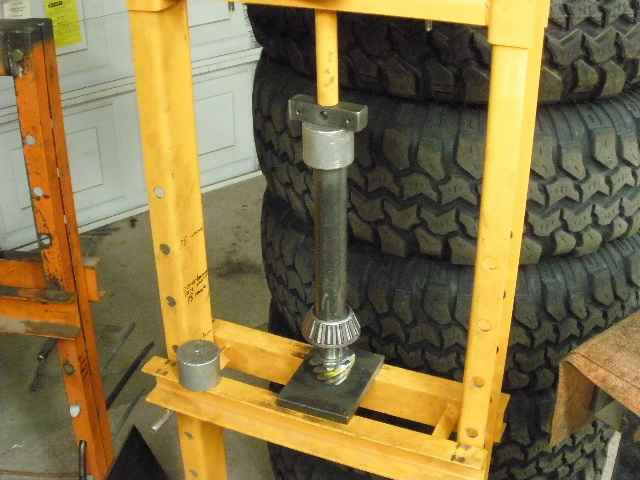
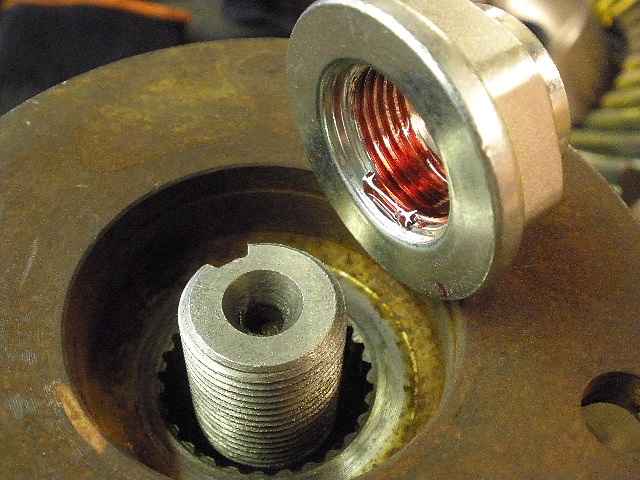
The pinion is now loaded up without a crush or solid collar. That won't be done until the exact pinion depth has been established.
|
|
|
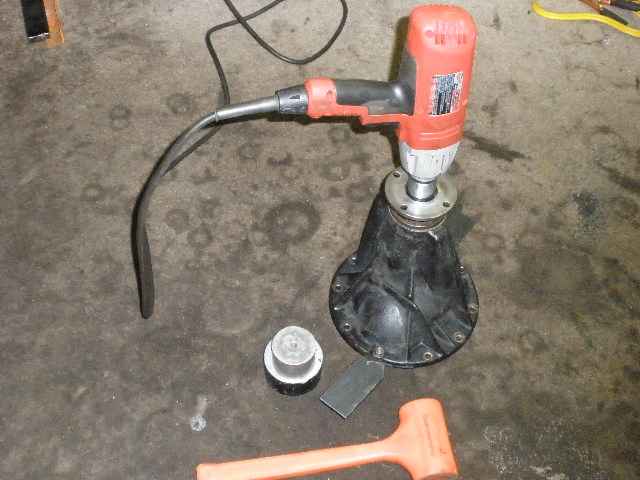
I don't have much gear oil on the bearings at the moment so I use the impact to get the nut 98% of the way there until
just a smidge of flange play is evident.
|
|

|
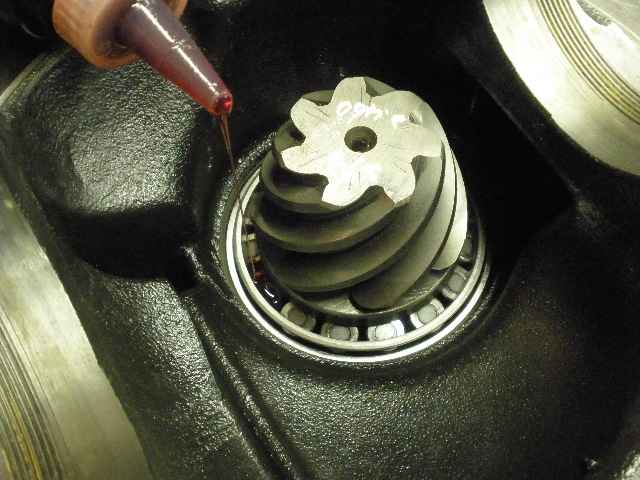
Spin the flange and add gear oil for a good soaking.
|
|
|
Same on the other side here.
|
|
|
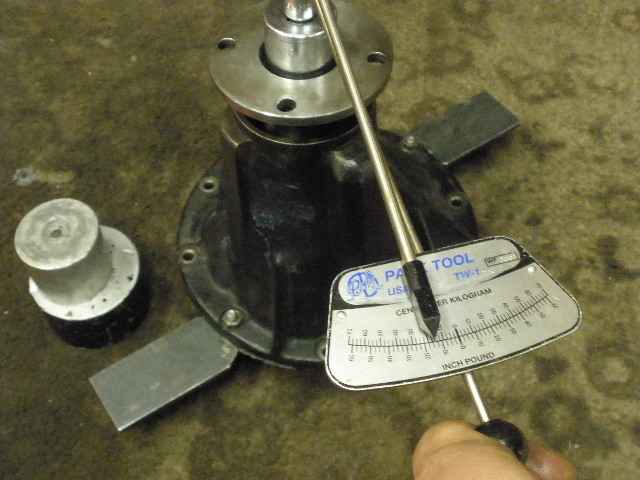
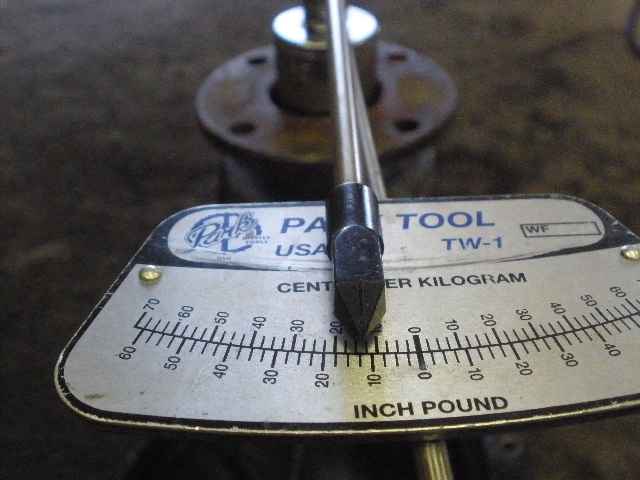
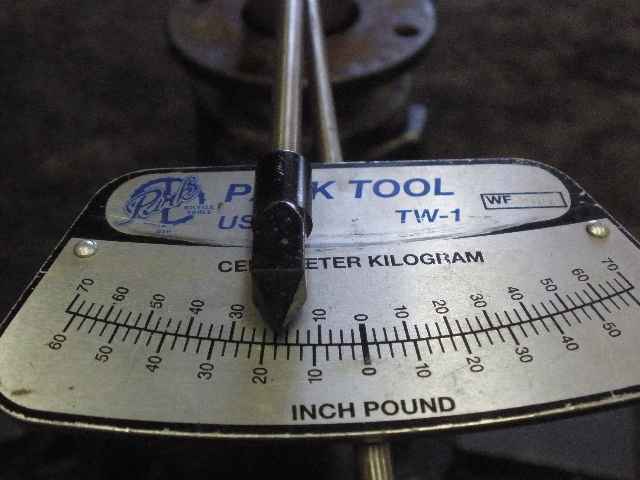
Now I can finish using the electric impact to nudge the nut tighter to about 10~15 in/lb pinion bearing drag
as determined by the torque wrench.
|
|

|
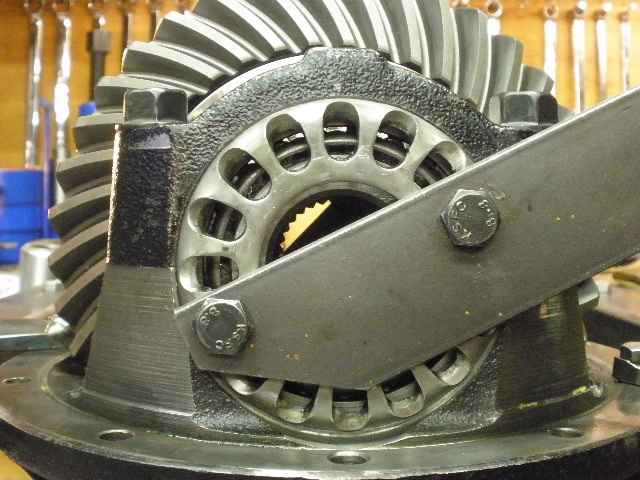
Surfaces are filed to check for irregularities and all is good here.
|
|

|
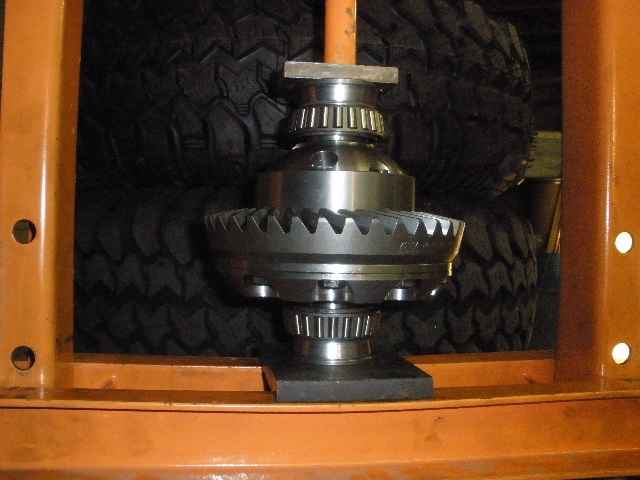
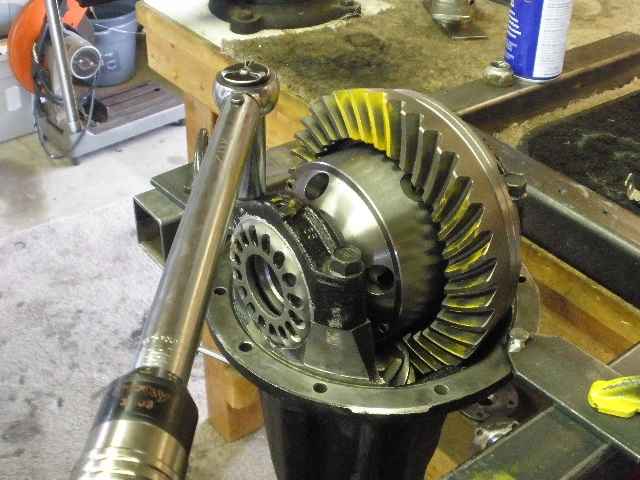
The ring gear dropped on with precision....just barely any detectable play at all.
|
|
|
Red loctite and 75 ft/lbs.
|
|
|
The new cryo bearings pressed on very firmly.
|
|
|
I pay close attention to make sure the wheel adjuster threads are properly aligned.
|
|
|
One side of my "spanner wrench" fits the ARB adjuster wheels perfectly...
|
|
|
...the other side fits the factory wheels.
|
|
|
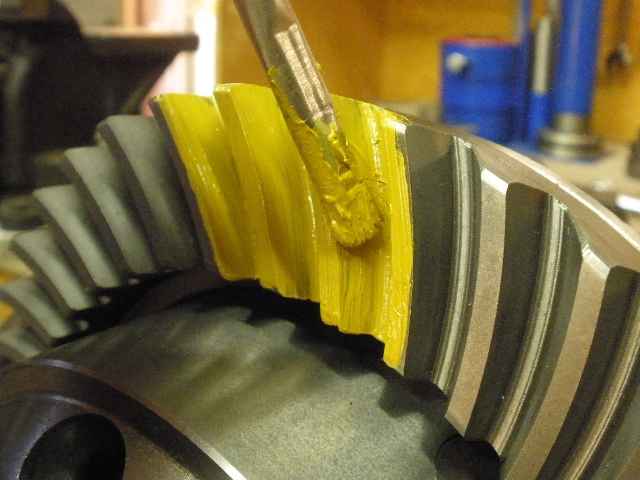
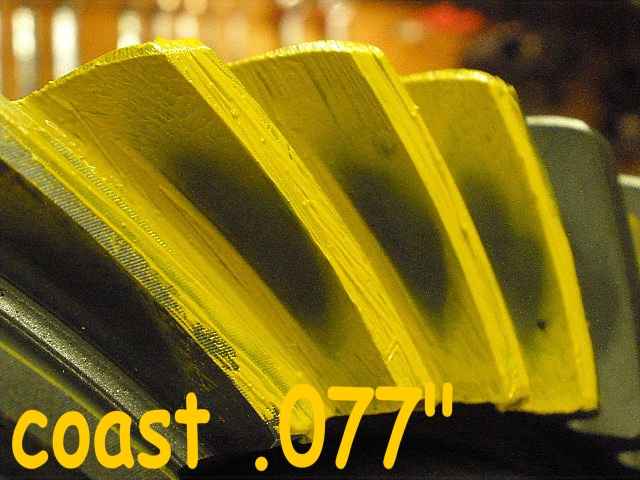
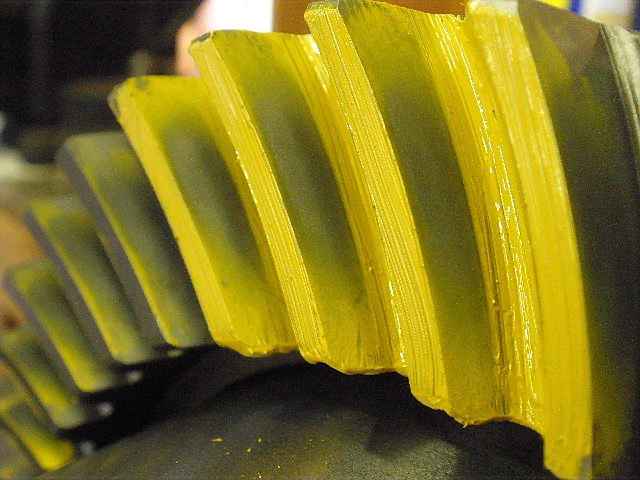
After some CBPL and BL is in the the .006~.009" area, now yellow gear paint can be applied.
|
|
|
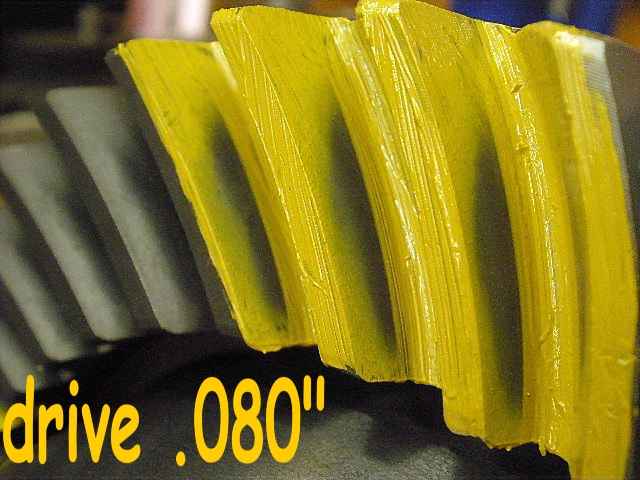
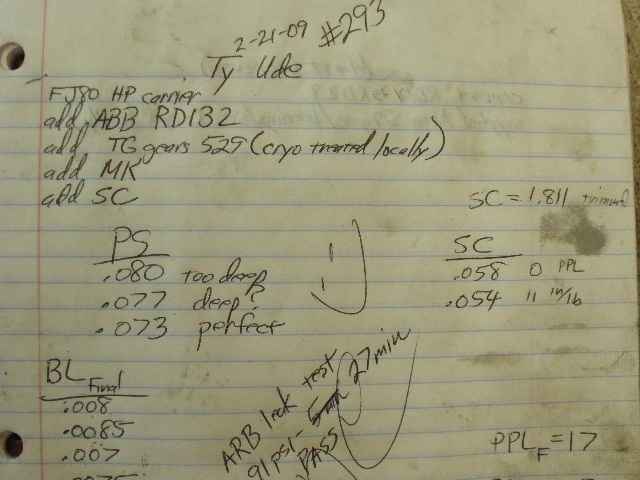
The pattern is too deep...less shim needed.
|
|
|
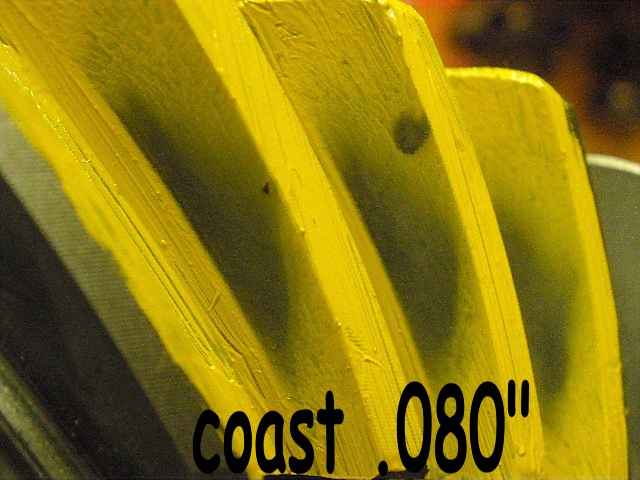
coast
|
|
|
Shallow on the pinion equals deep on the ring.
|
|
|
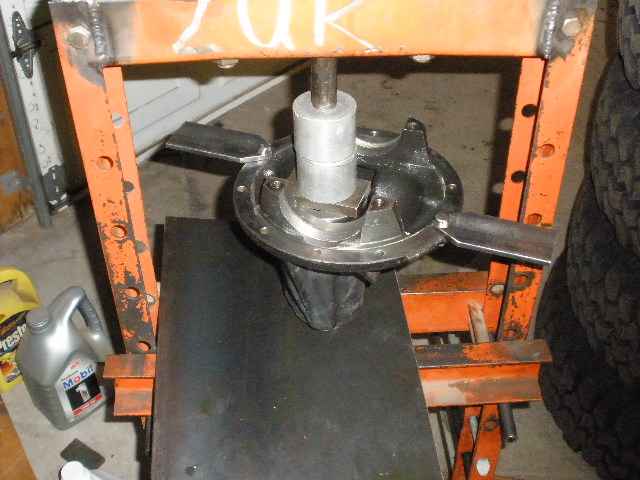
Basically, a complete teardown is needed to change the pinion shim...case is removed again.
|
|
|
Flange is removed.
|
|
|
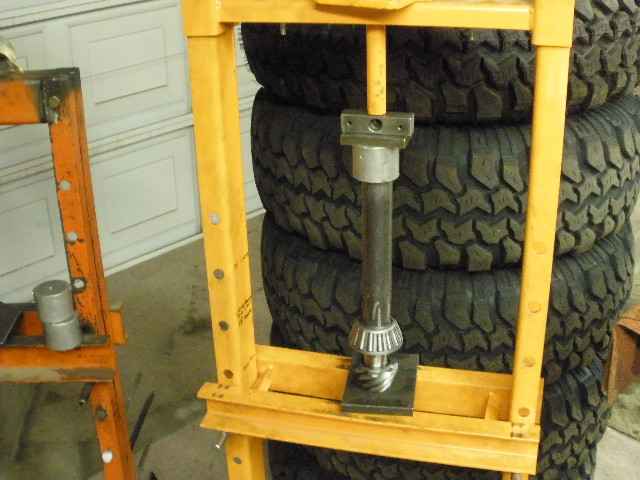
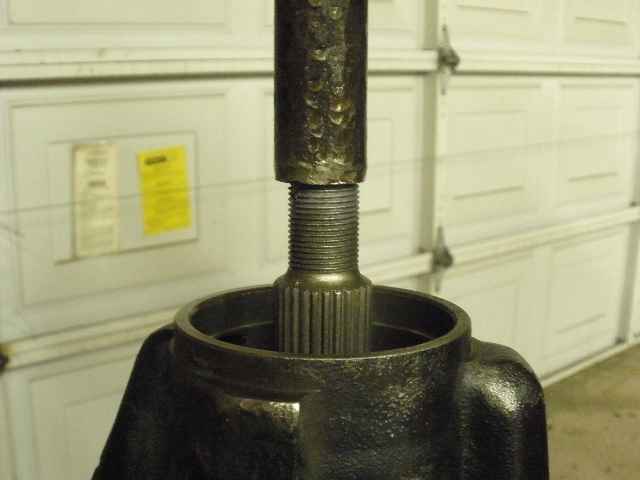
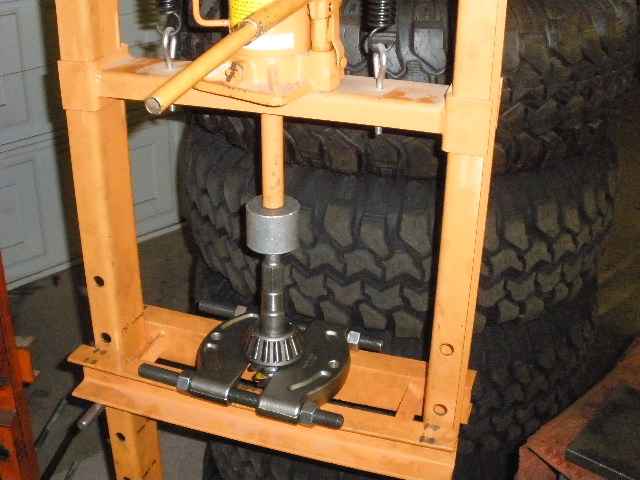
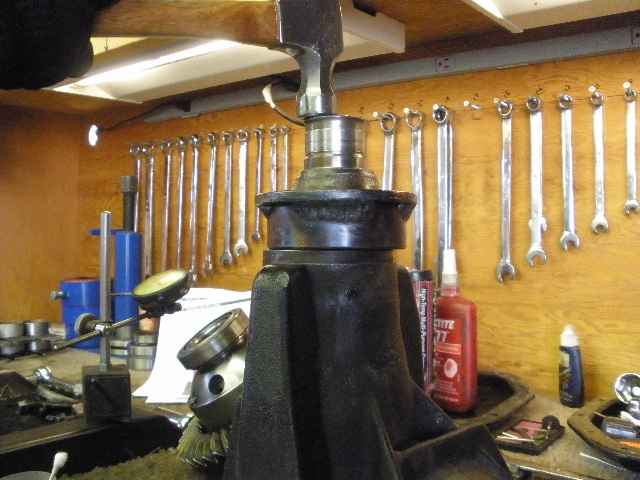
The pinion is pressed out.
|
|
|
The bearing splitter makes it easy to remove the pinion bearing.
|
|
|
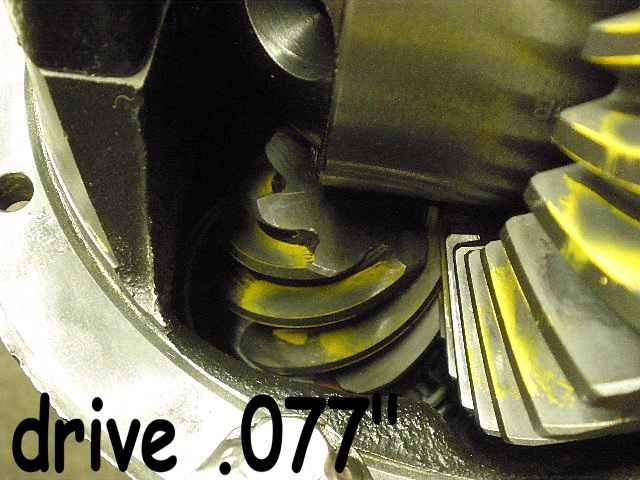
A thinner .077" shim will replace the .080" shim.
|
|
|
Everything gets put back together....
|
|
|
...and it's still a bit deeper than I can tolerate....but it's definately better than before.
|
|
|
coast
|
|
|
Pinion still has that shallow look. The contact areas favor the tips of the teeth.
|
|
|
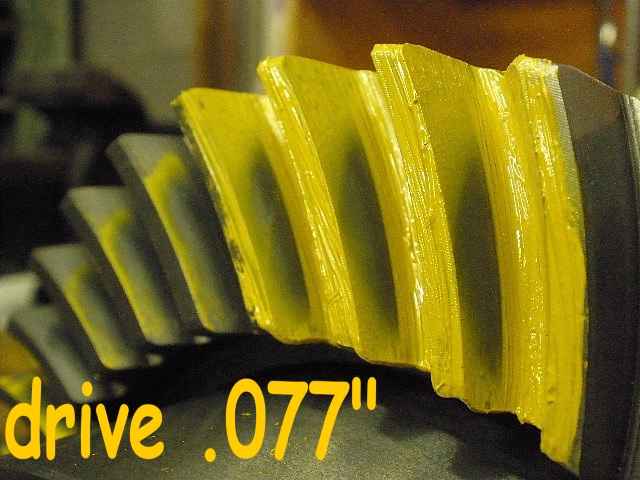
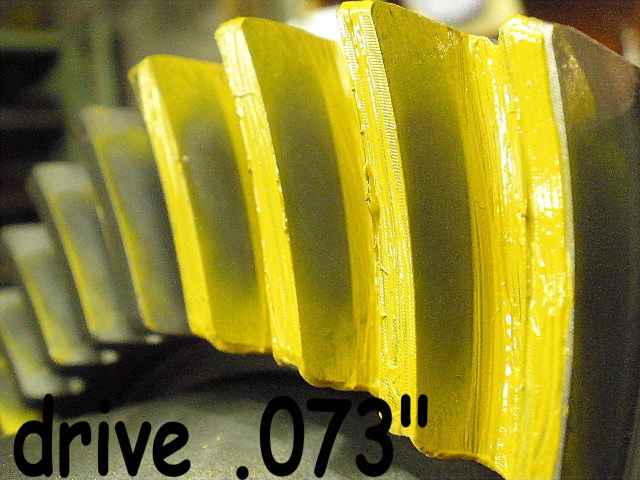
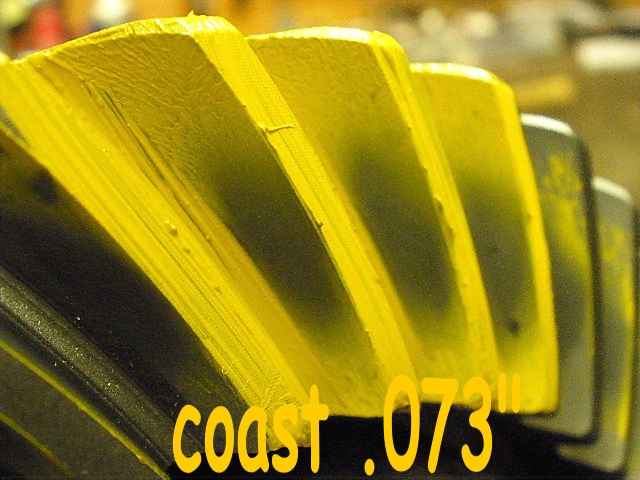
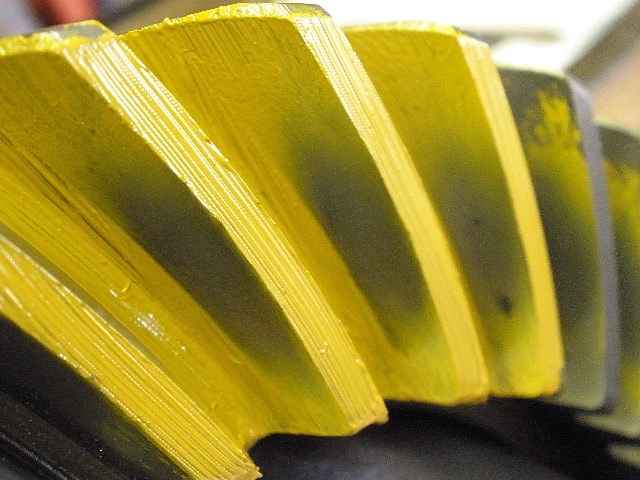
Teardown, subtract another .004", and re-install....and the pattern is beautiful.
|
|
|
coast
|
|

|
...
|
|

|
...
|
|
|
Using a dial caliper, I could see that there were 'irregularities' so I shaved
off a couple thou to true up the solid collar. Shims and pre-loads seem to give
more repeatable results on flat surfaces.
|
|

|
As the notes at the end of this link show, on the 2nd try with a shim of .054" I measured a nice 11 in/lb
of PPL.
|
|
|
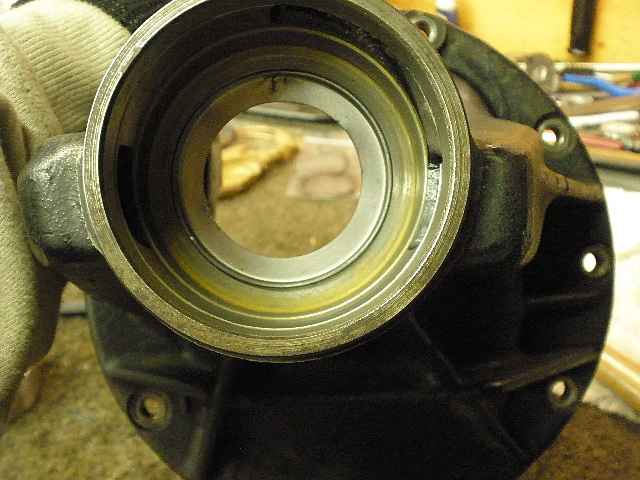
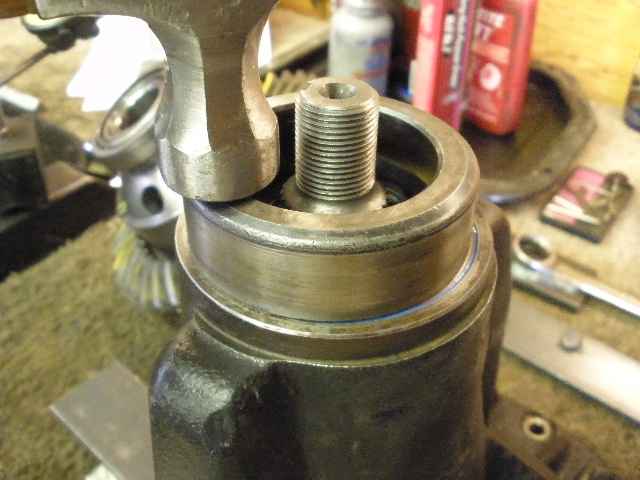
Now the pinion seal can be installed with the factory flange.
|
|
|
Install the oil splash guard, grease the seal, and add rtv.
|
|
|
My homemade seal installer works ok for me.
|
|
|
The seal can be tapped down a bit further. The facctory does it and there is a small ridge
that prevents it from going too far.
|
|
|
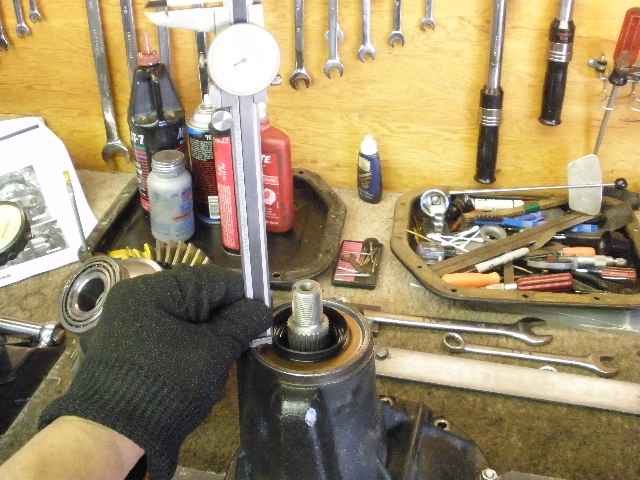
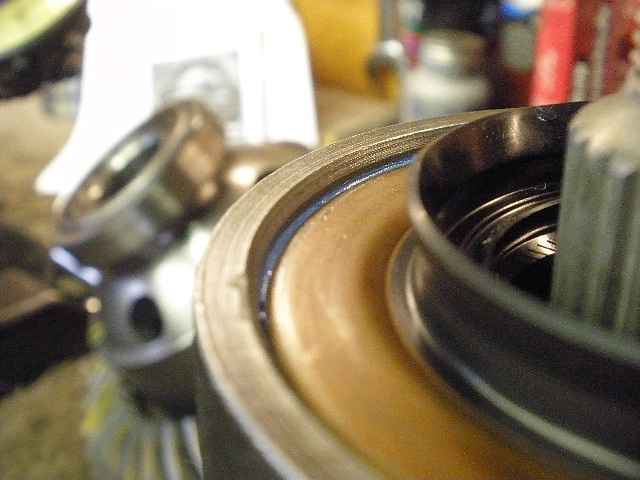
I measured about .090" recessed.
|
|
|
I prefer to recess it....I think it help prevent the raised lip of the seal from contacting the flange so harshly.
|
|
|
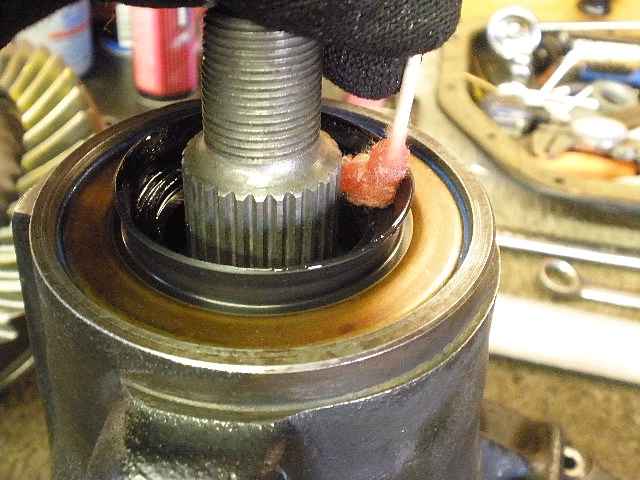
A little gear oil is applied to all of the seal surfaces...
|
|
|
...and some oil on the underside of the flange. But before the flange is actually installed...
|
|
|
...I like to check to make sure the tiny spring did not fly off during the seal install process. All is good here.
|
|
|
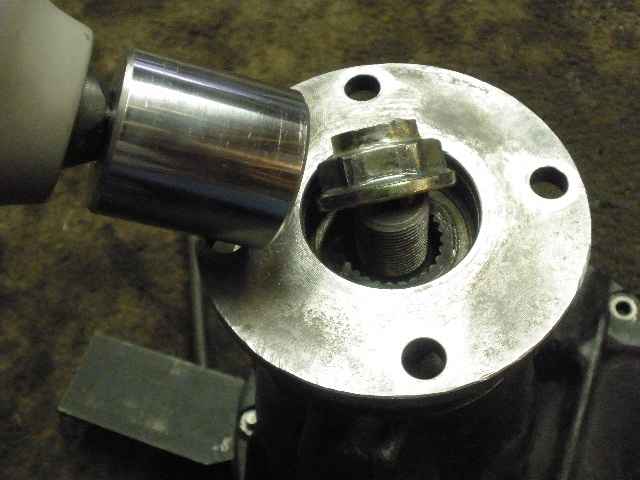
The electric impact can now tighten the genuine Toyota flange-style nut to about 200 inch/pounds.
That's high strength red loctite on the nut...not gear oil :)
|
|
|
The drag of the new seal might be adding a bit to the total PPL number but with all the gear oil used, it's been minimized.
I measure about 12 inch/pounds total but I can usually increase that a little more like I want to now.
|
|
|
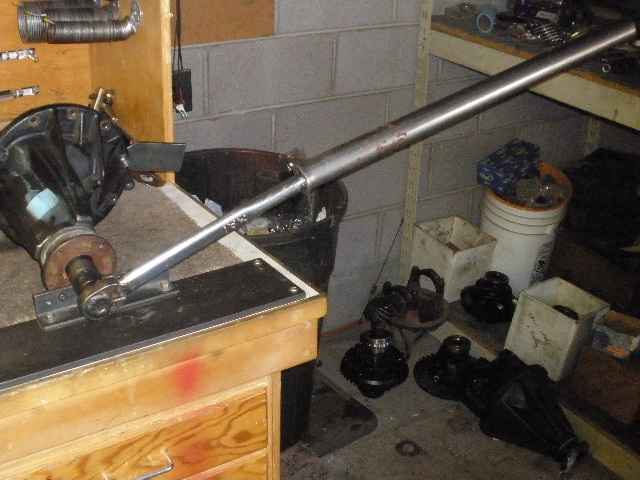
To show how much I can continue to tighten it, I mark it with a sharpie.
|
|
|
Then I add some muscle to the 3 foot cheater bar.
|
|
|
The nut has moved....
|
|
|
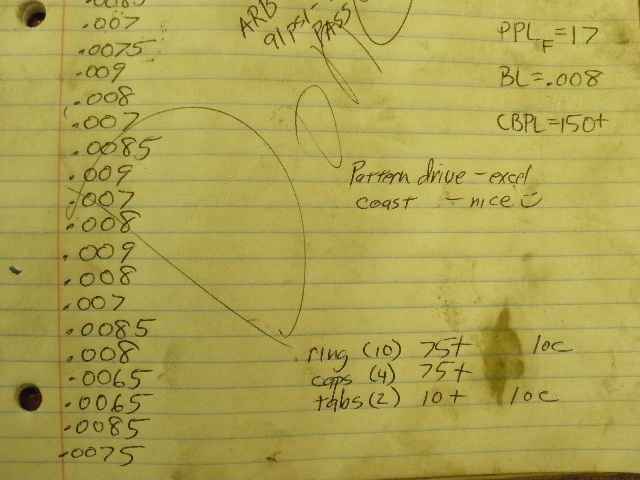
...and I've added a nice 5in/lb for a total PPL of 17.
|
|
|
Dent it and the pinion end of things is done.
|
|
|
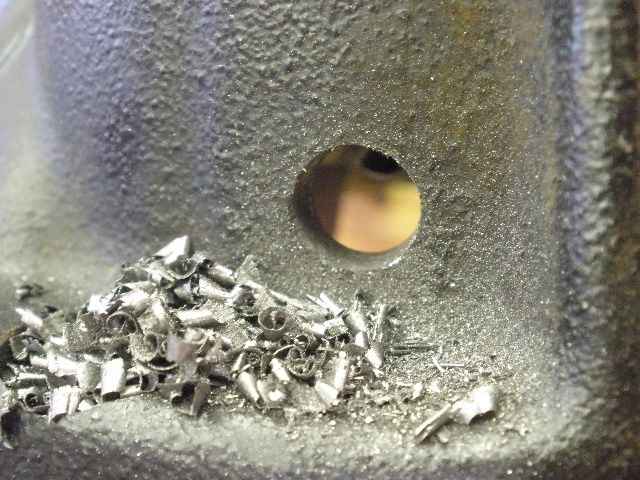
Now to install the brass bulkhead body...drill a 7/16" hole.
|
|
|
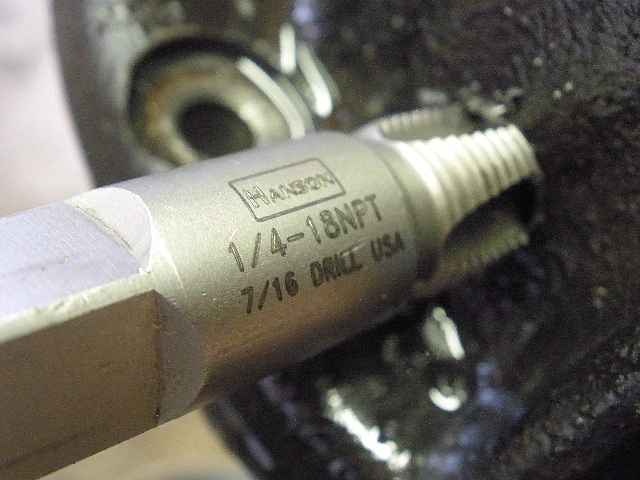
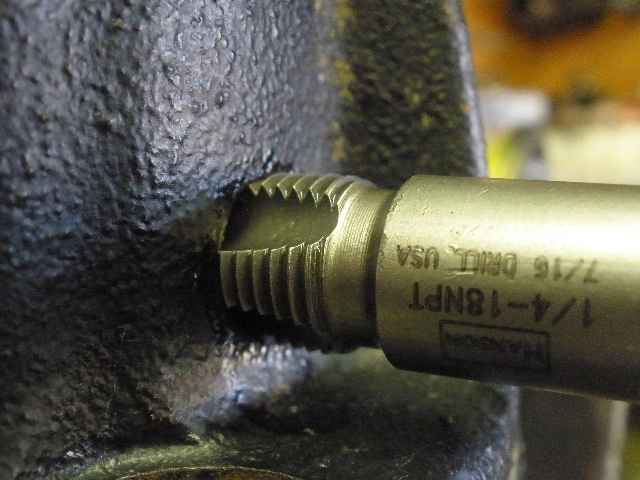
Run a NPT tap.
|
|
|
It's possible to "overtap it". The tap is tapered so I leave 6 threads showing and that's the perfect size
to let the bulkhead body thread in most of the way. Life is easier if the bulkhead is left out for the moment.
|
|
|
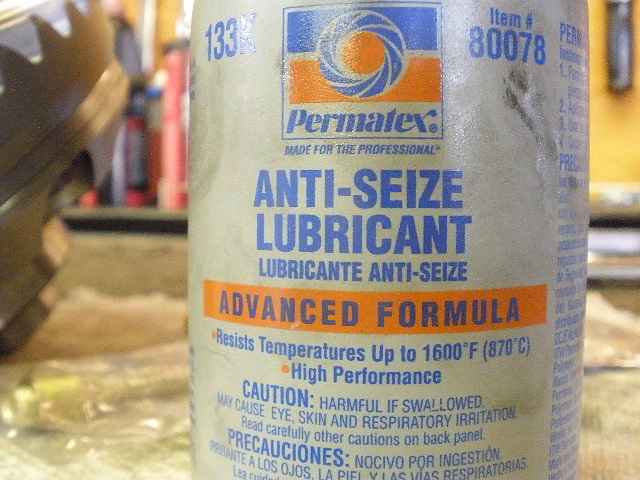
First, apply aluminum based anti-seize to the threaded surfaces.
|
|
|
I've tried the copper based stuff and it does not work as well as the aluminum.
|
|
|
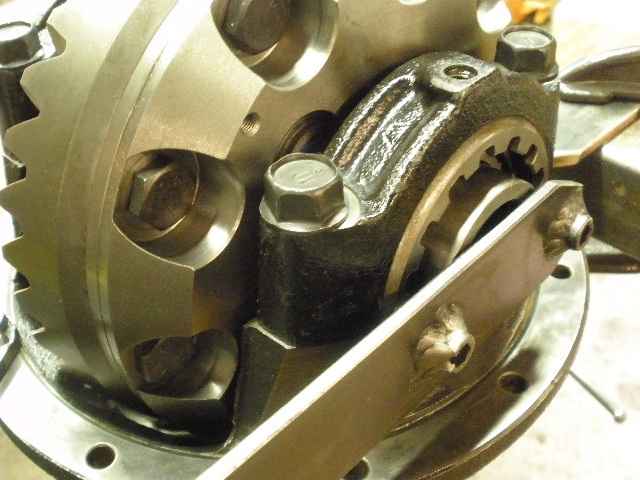
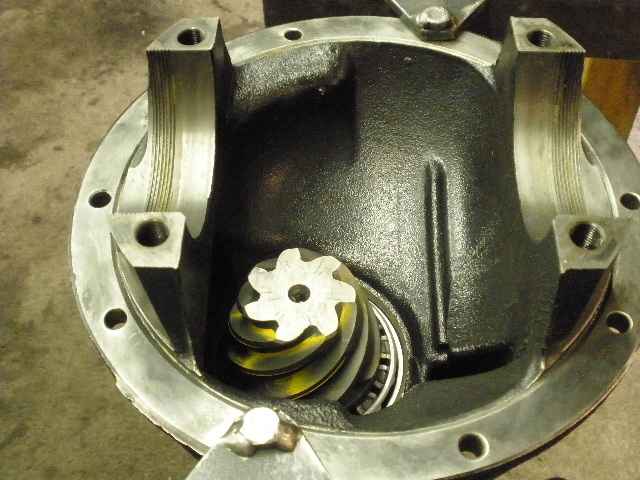
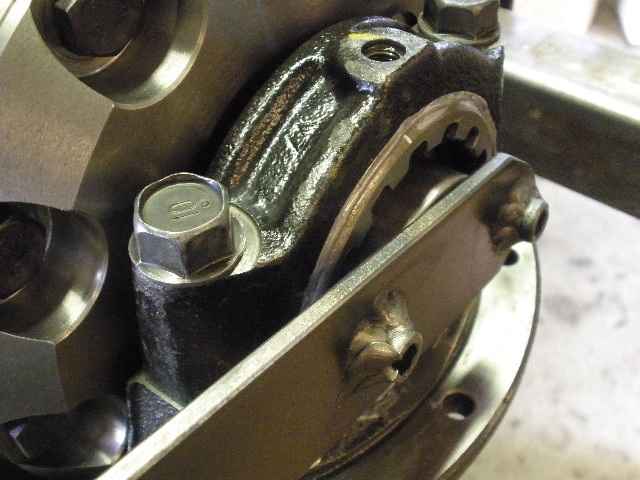
The ARB case is installed and the adjuster wheels are mounted up. It's so easy to cross-thread them and
I really do pay close attention to alignment. I can torque the 4 cap bolts to 75 ft/lb
and still have the wheels turns easy.
|
|
|
The wheels are set to the old marks I placed on the wheels...
|
|
|
These marks get me close to the right backlash. The CBPL that I cranked in for the last pattern paint was a pretty reasonable
pre-load but I will improve it even more.
|
|
|
The torque wrench was used to verify that I had at least 150 ft/lb and I did.
|
|
|
I added about 3 more notches to both sides. This would have been very difficult to achieve without the anti-seize.
|
|
|
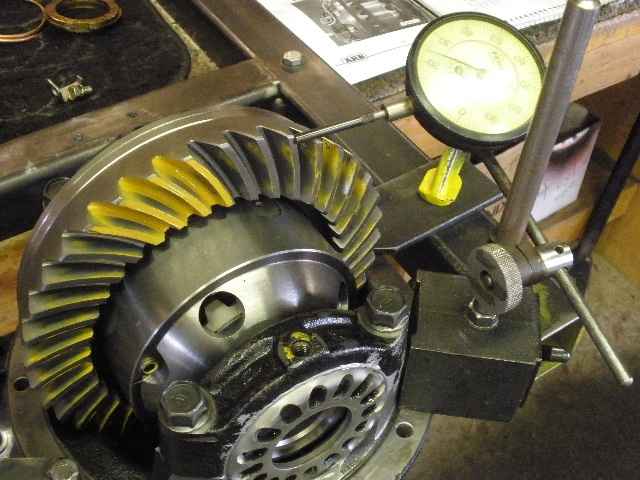
Backlash is recorded on every other tooth for about 20 readings. Final BL averaged .008".
|
|
|
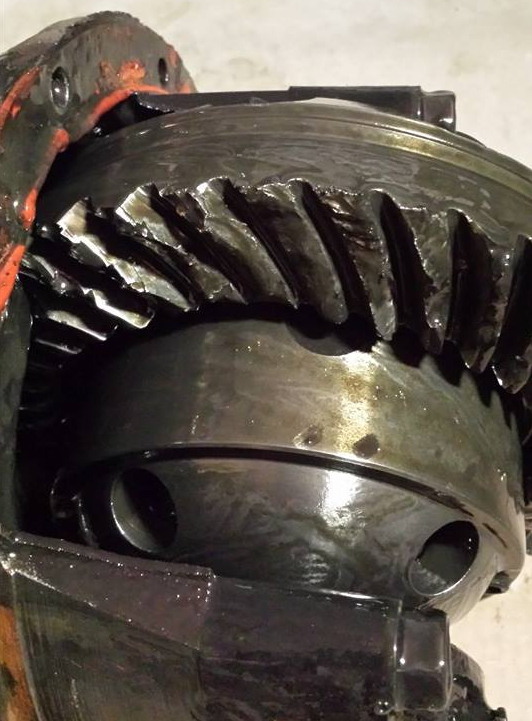
One more pattern check and the drive looks great. Very soft edges...kind of like the '2nd generation'
Precision Gears that I used to like.
|
|
|
The coast is picture perfect...wished they all painted like this....nice
elipticle shape and slightly favoring the toe end (inside).
|
|
|
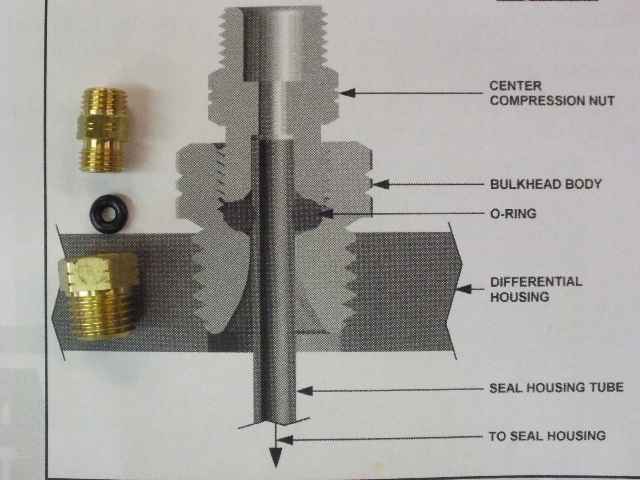
I found this terminology page in the ARB instructions.
|
|
|
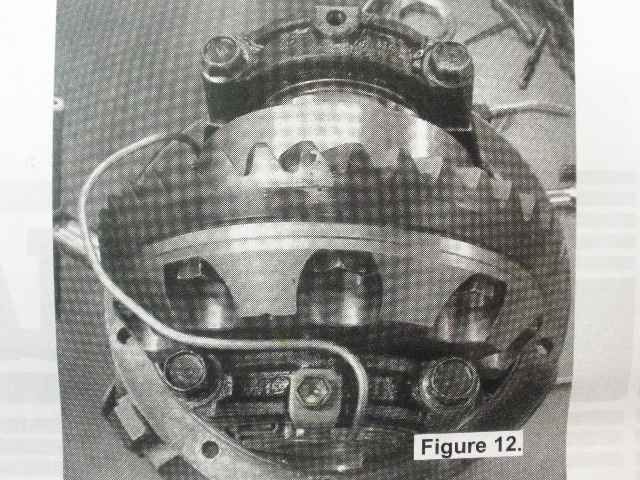
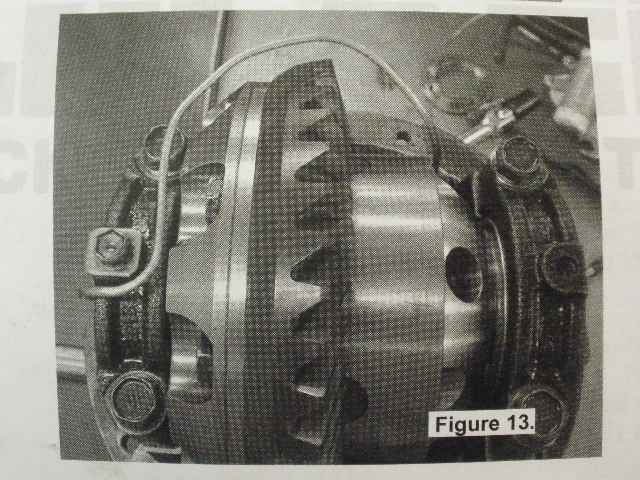
Now to install the "seal housing" and carefully route the copper tube.
|
|
|
Per the instruction manual, the copper tube gets routed around the ring gear.
|
|
|
...
|
|
|
...
|
|
|
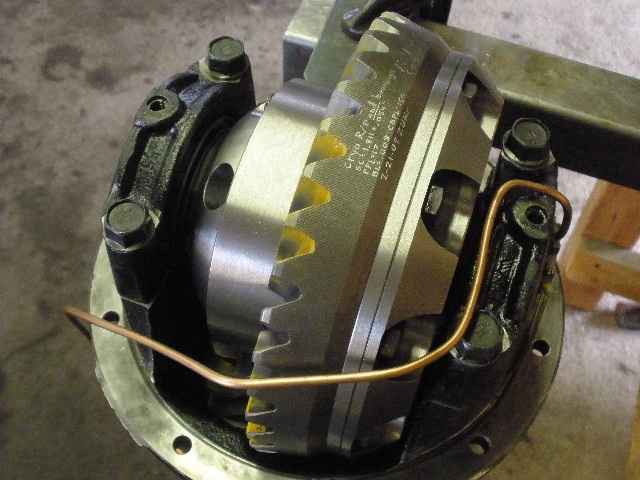
Done.
|
|
|
More gear oil is added and the 2 o-rings are inserted.
|
|
|
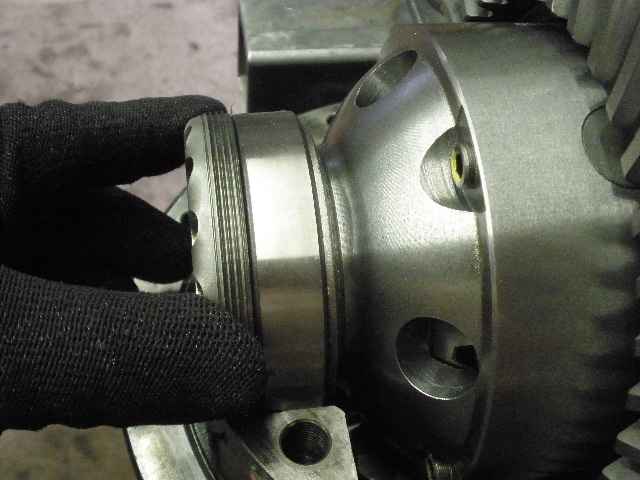
The seal assembly is slowly pushed on the arb journal and the retaining clip is installed.
|
|
|
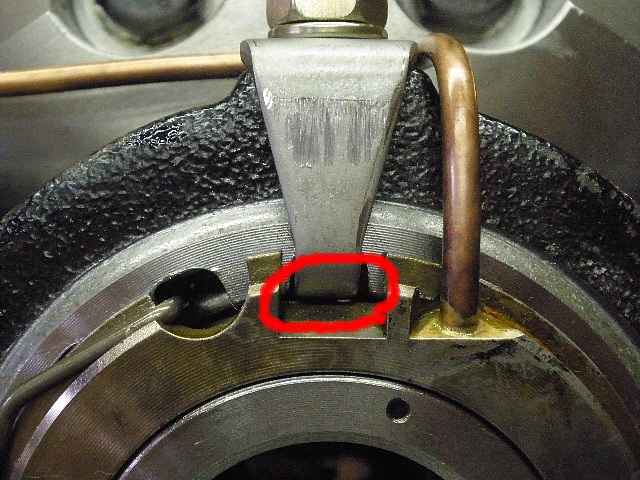
The lock tab is probably not pushing on the seal housing...
|
|
|
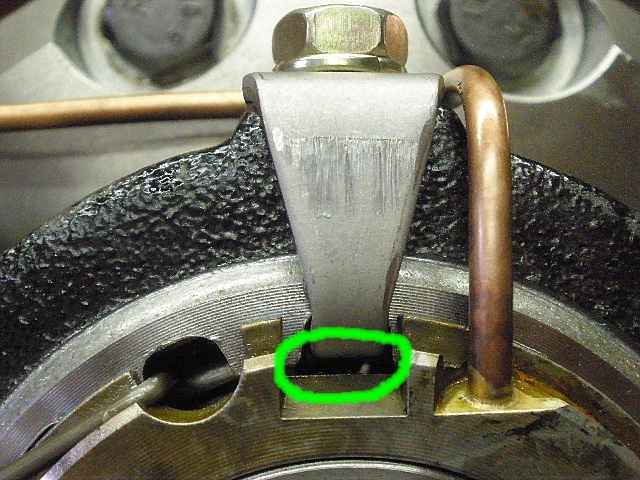
...but with the proper chisel, I can tap it up a little and have a good visual gap.
|
|
|
10 inch/pounds on the 2 lock-tab bolts...with red loctite.
|
|
|
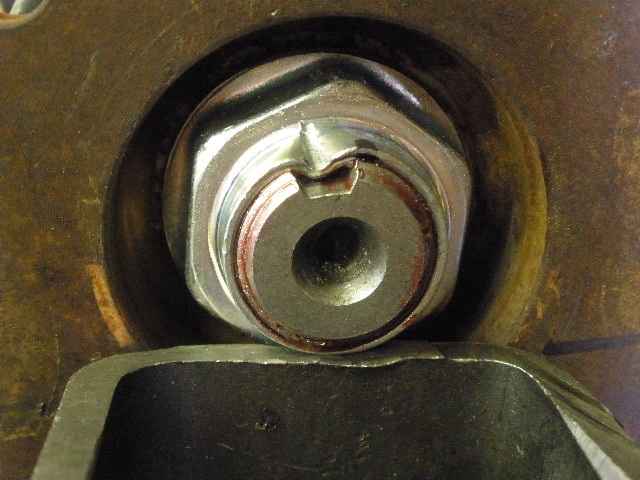
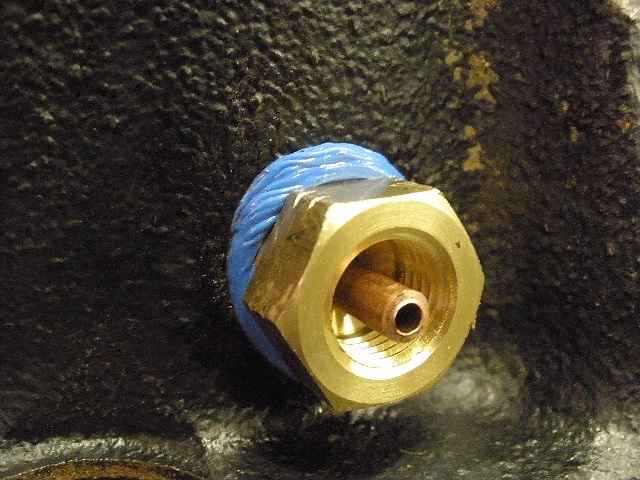
With the copper tube centered in the 7/16" hole, now the brass bulkhead body can be threaded in and tightened. I find it
convenient to use gasket sealer (Ultra-Blue by Permatex) to make sure no gear oil sneaks by the outer threads.
|
|
|
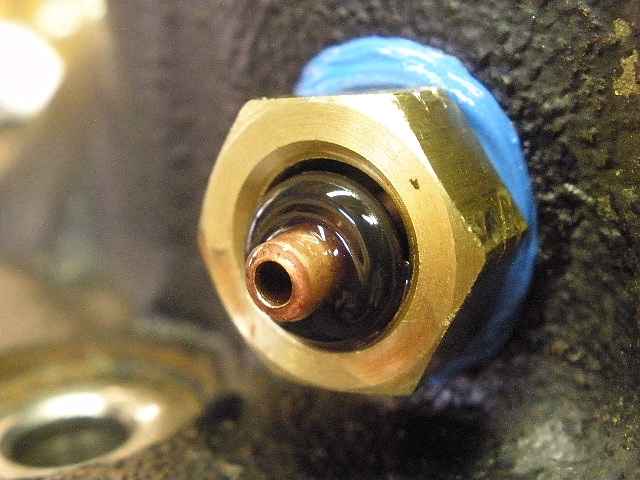
Add gear oil to the tiny fat o-ring and it's ready for a pressure check.
|
|
|
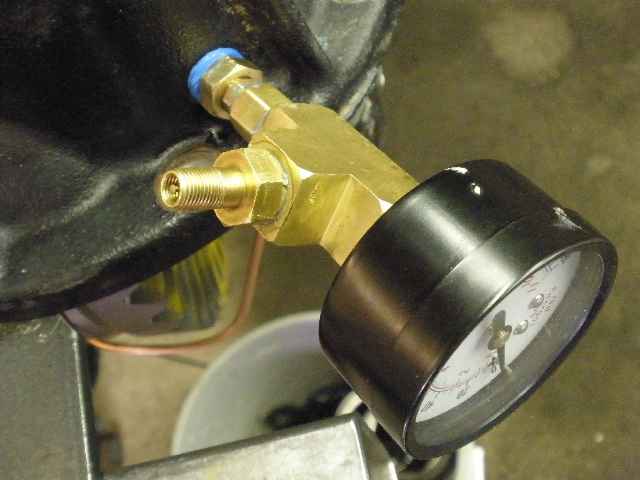
My leak-test gauge is only tightened with 2 fingers...just enough to compress the o-ring but not so much as to
shred it.
|
|
|
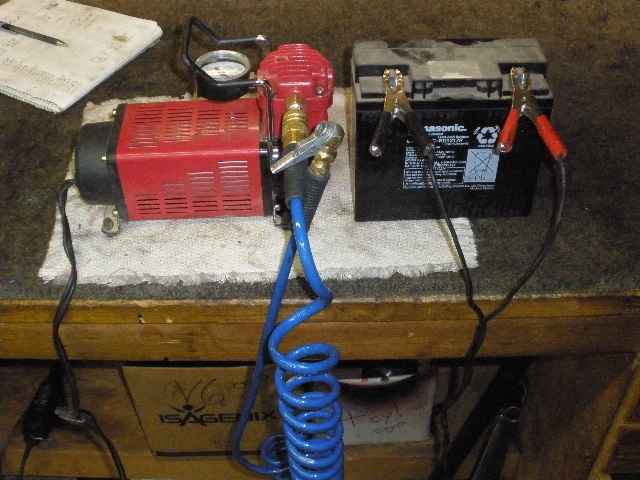
This is that "Checker Auto special" compressor that was on sale back in early 2005 for $24.99....an amazing value. :)
I upgraded the old yellow hose to a hi-tech blue.
|
|

|
Pumped it up to about 90psi and 30 minutes later it hadn't moved. Pass.
|
|
|
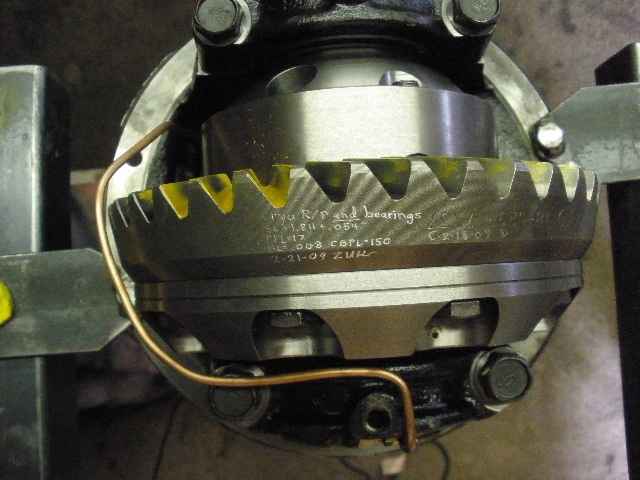
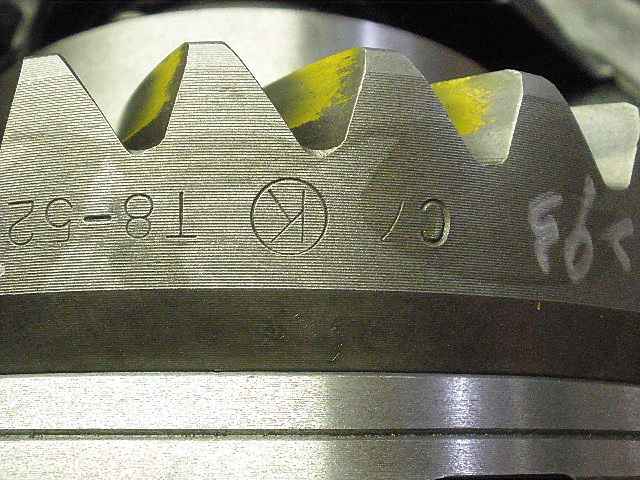
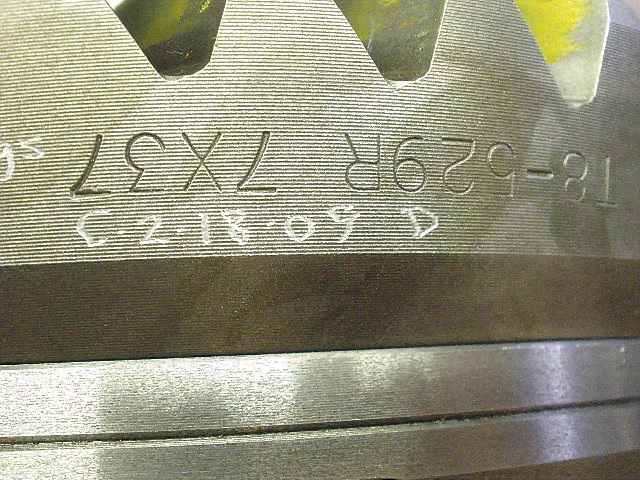
Markings found on these reverse cut TG gears.
|
|
|
I had these gears cryo treated locally here on Feb 18, 2009.
|
|
|
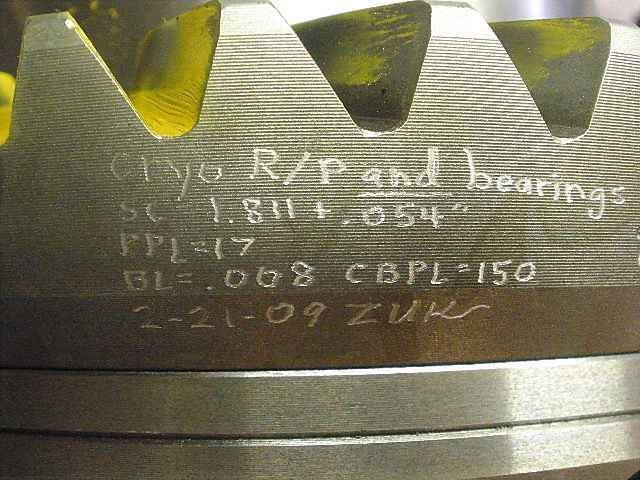
It's a good quality gear...cryo treated...solid collar added...exact pinion depth...PPL and CBPL set to my high limit. There
is nothing I can do to make this any stronger. 
|
|
|
My notes during the install...
|
|
|
...done! ZUK
|
|

|
|
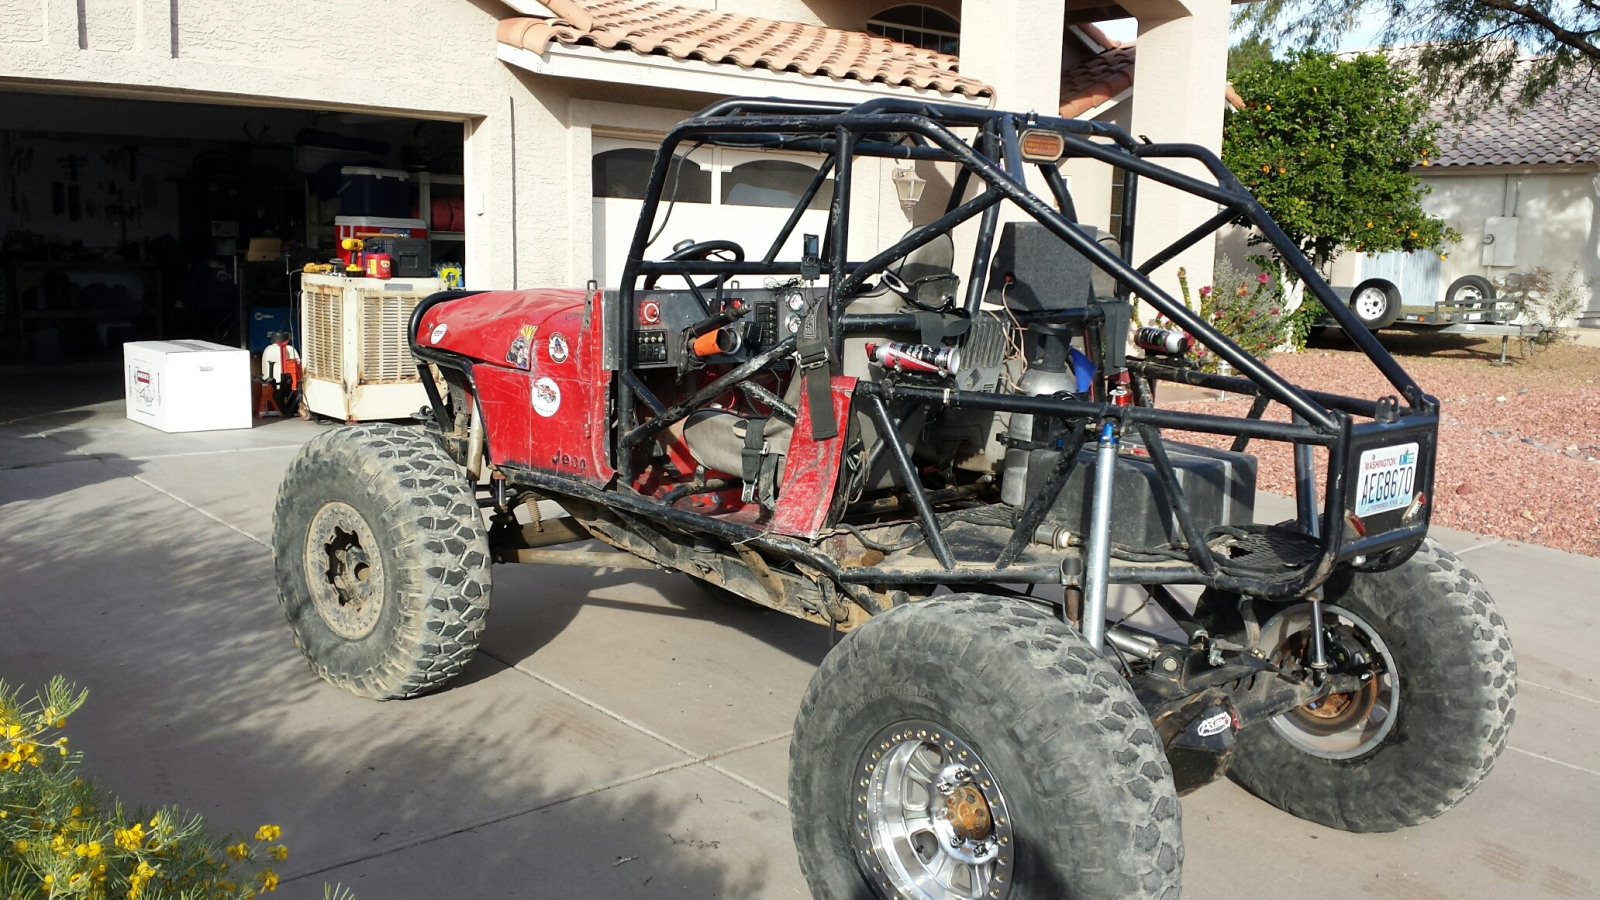
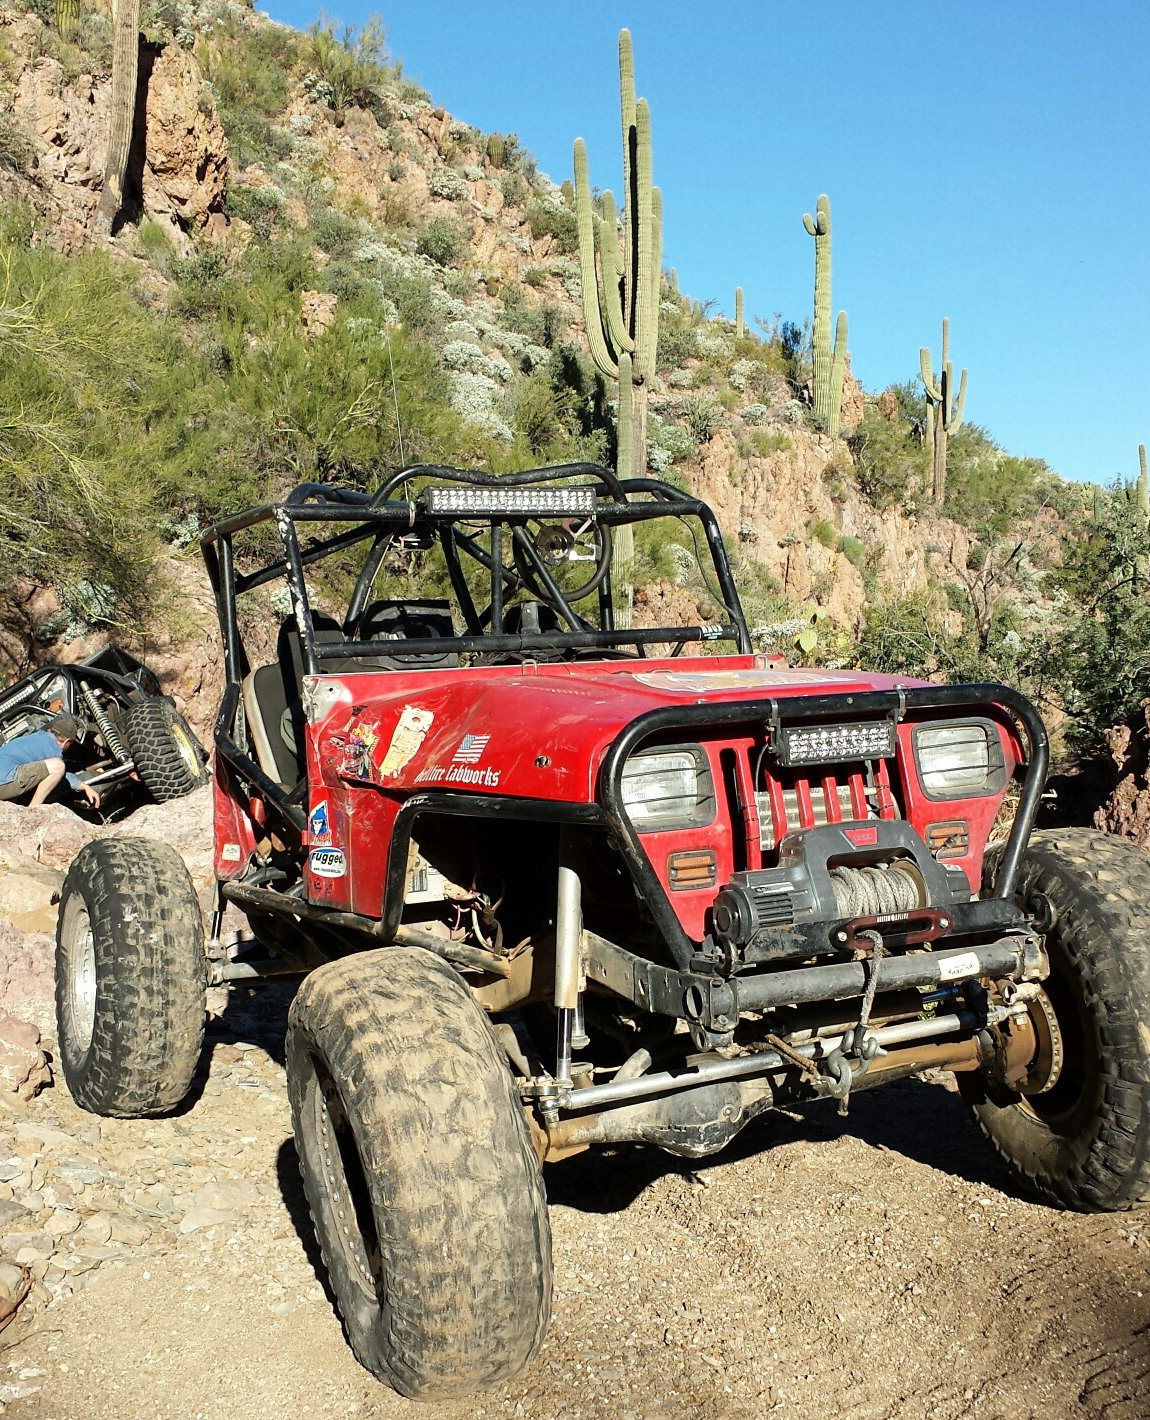
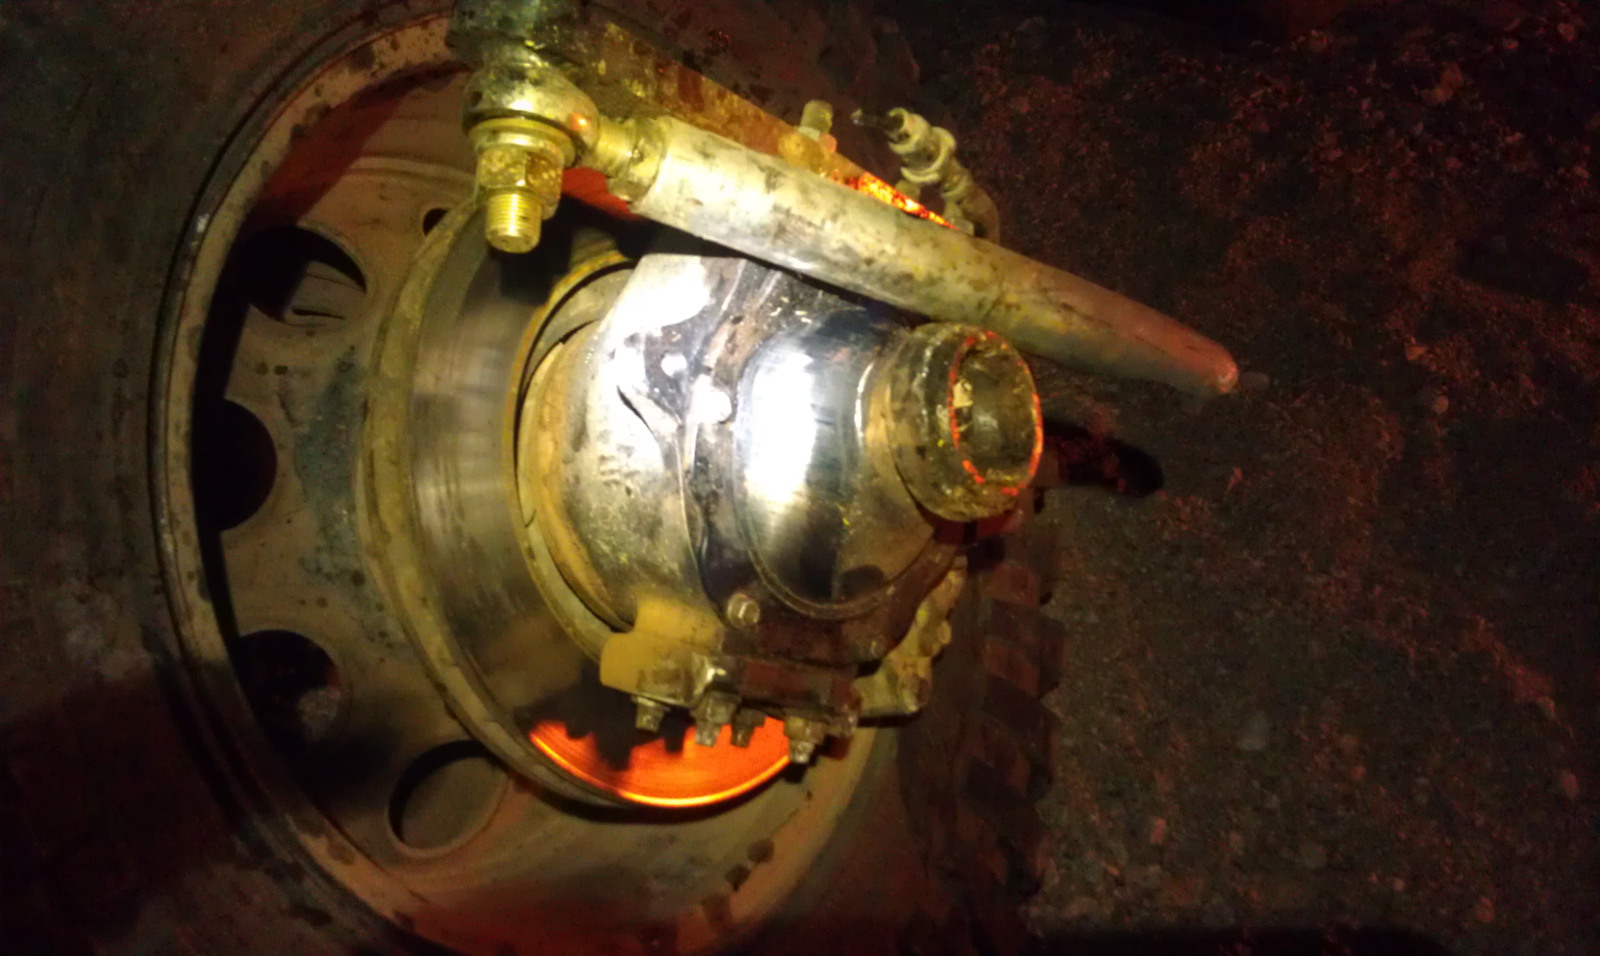
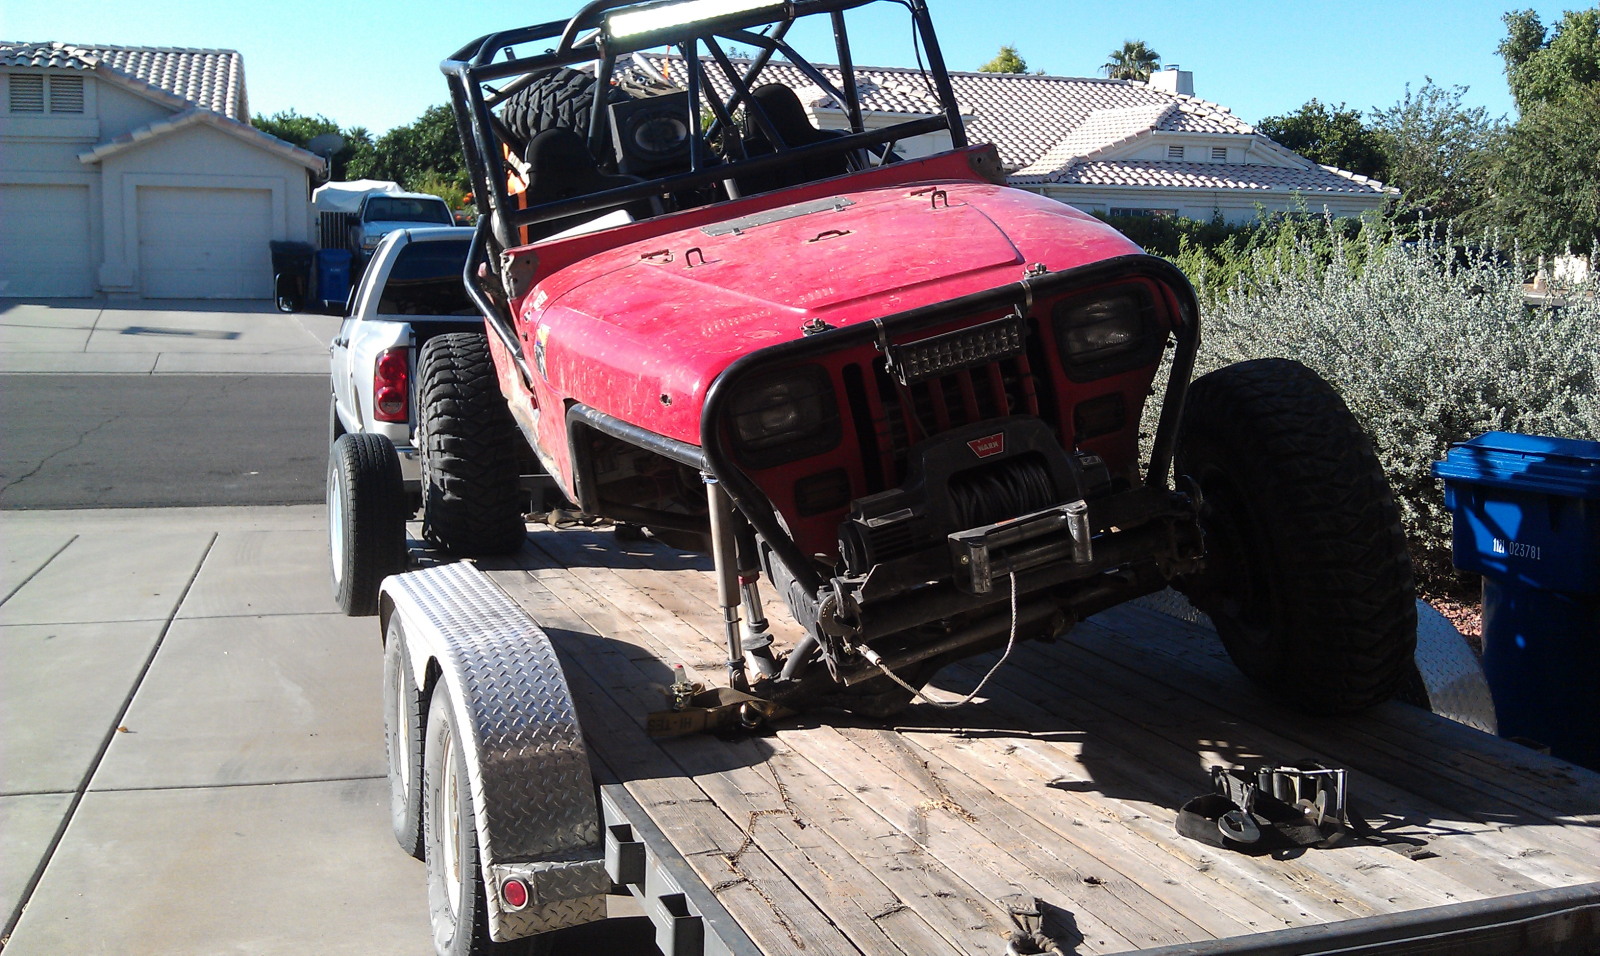
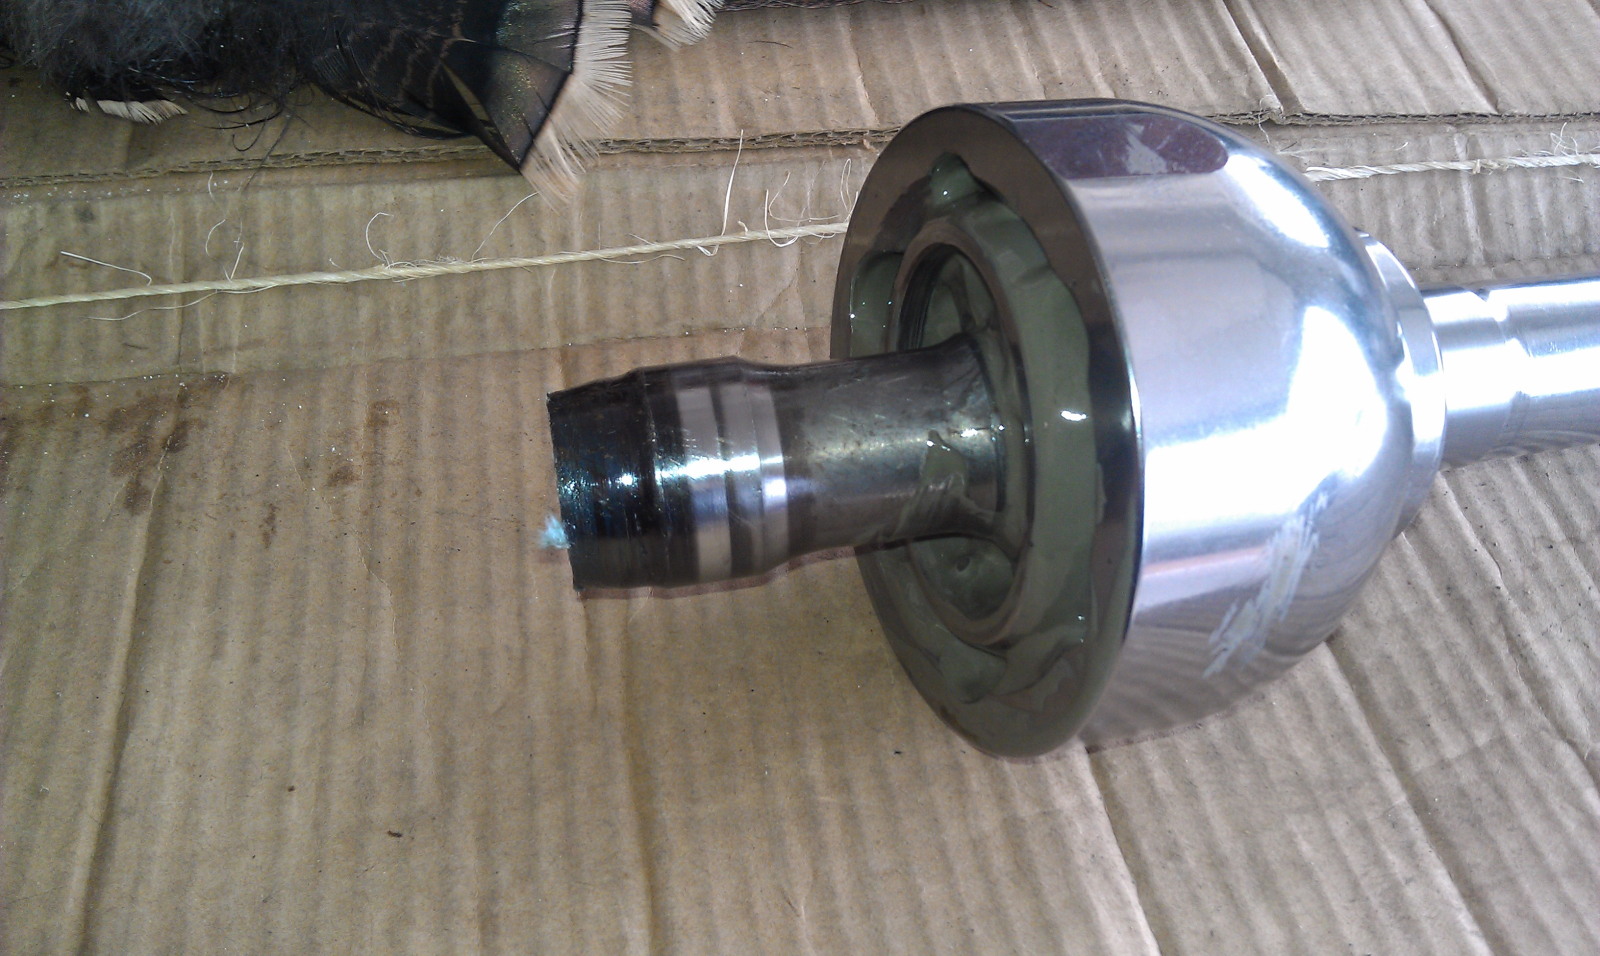
UPDATE....5 years later.....NOV 13 2014.....Tyler has managed to finally bust this gear install all up :) As quoted from Tyler...
"After 5 years
of wheeling, my front setup you did for me finally let go. I just wanted to say good job on the setup! Amazed that it lasted this long the way I wheel
......I'm more a slow
crawler then anything else but I have smashed the gas on a few waterfalls to make it and have wheeled KOH a few times. Broke 3 front shafts over the years......i knew going to
the 39's would cause more stress. That 8" ring gear is definitely the weakpoint in the rig. I'll swap out the toy stuff for something bigger in the future. Probably a D60,
but i might go custom 9" or dropout 14bolt if the funds are available at the time....
I'm on a 2.5L 4banger with a 3 speed 904 auto trans and manual valve body and 5.0 atlas.
Longfield shafts and hellfire fab knuckles/arms. only thing stock about the axle is the housing. Yep. FJ80 front, broke 2 stock birfs and one longfield inner shortside shaft.
I also broke the housing too. It either broke at the knuckle ball welds, or just behind it. I didn't cut and turn the balls but i dont know if a previous owner of the axle did.
Attached the pictures. Tires have been 37" trep stickies but this past year went to 39" krawler stickies.
Rear axle got swapped for a 14 bolt this past year as well. It was a t100 before that....I actually kept it together. When I pulled it out for the 14 bolt, the splines were twisted, so it didn't have much left.."
|
|
|
|
|
|
|
|
|
|
|
|
|
|
|
|

|