| REM Super Polished 529 Revolution Gears for Maxx's 2020 Tacoma TRD |
|---|
| (55 BIG pics loading) |
|---|
| June 27 2023 |
|---|
|
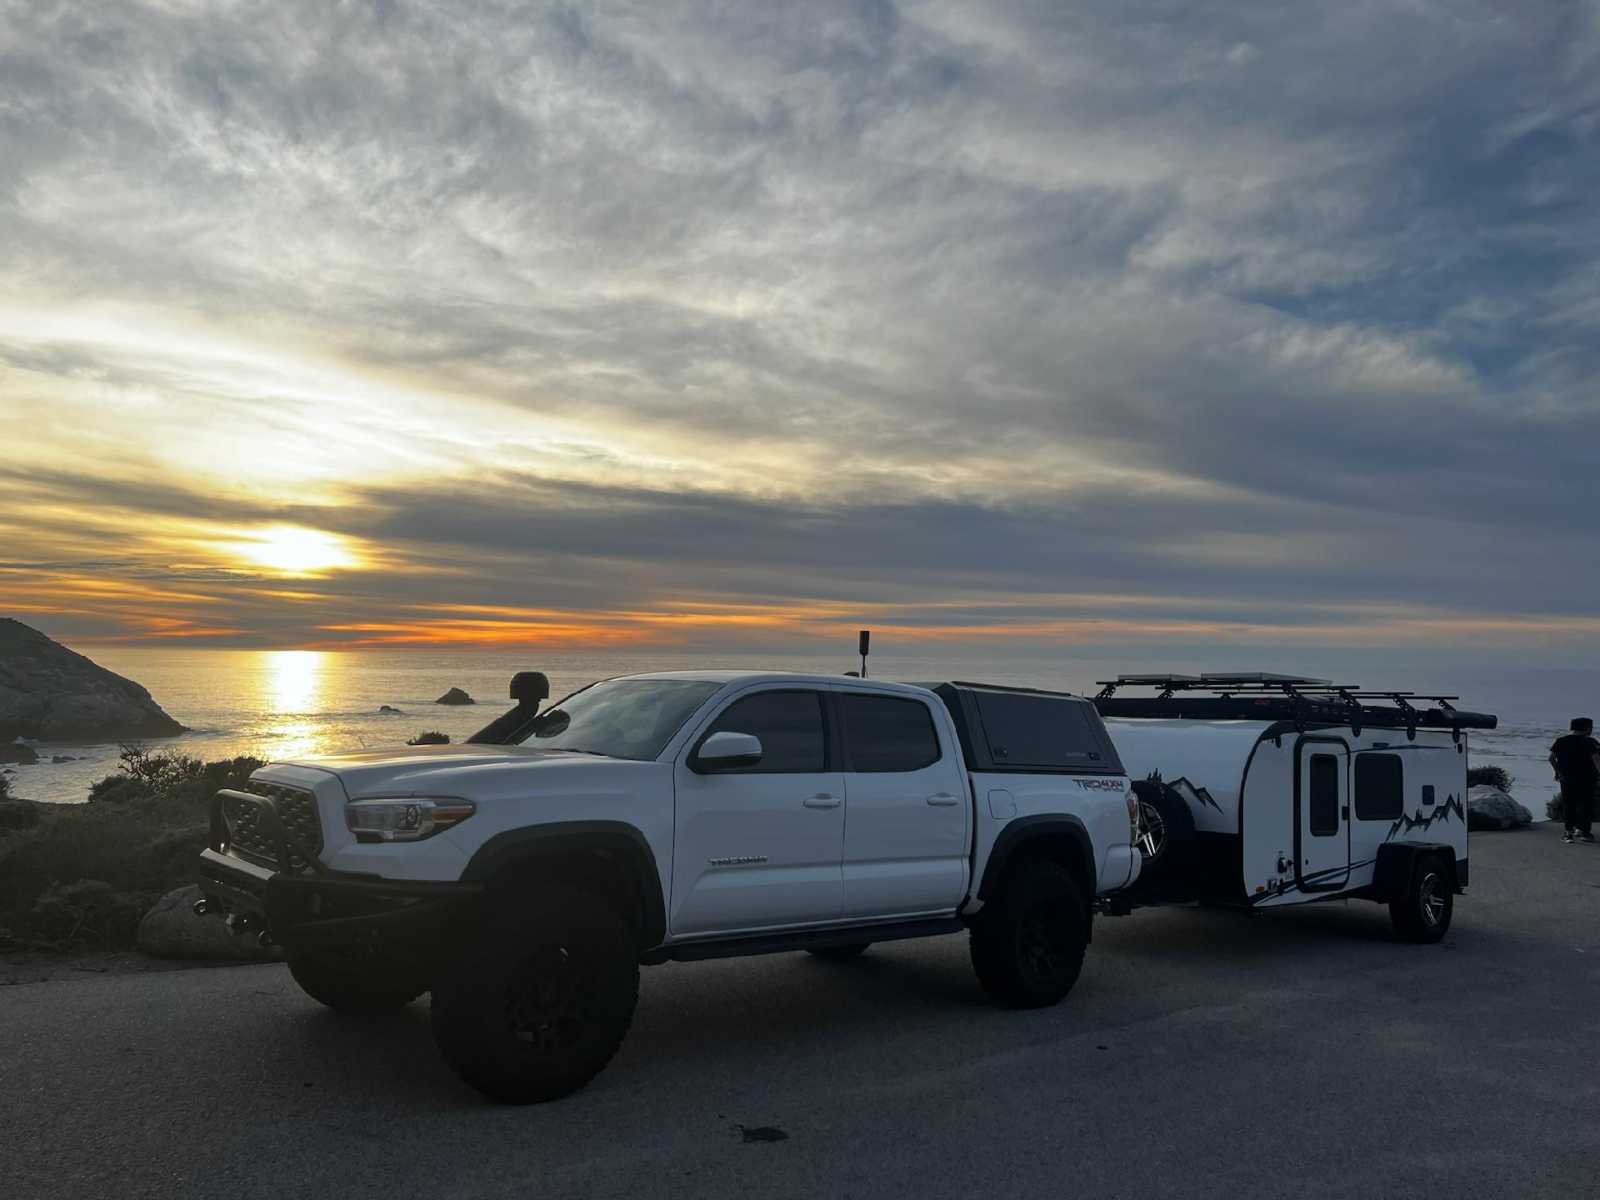
Max's 2016 Taco TRD Offroad has had the stock 3.91 gears in for 7 years now and the only reason he has been able to tolerate
them is the KD Max tune. As shown above, he also pulls a camping trailer with bigger tires.
For more info on the KD Max just go to youtube and search with "kd max tacoma" |
|---|
|
|
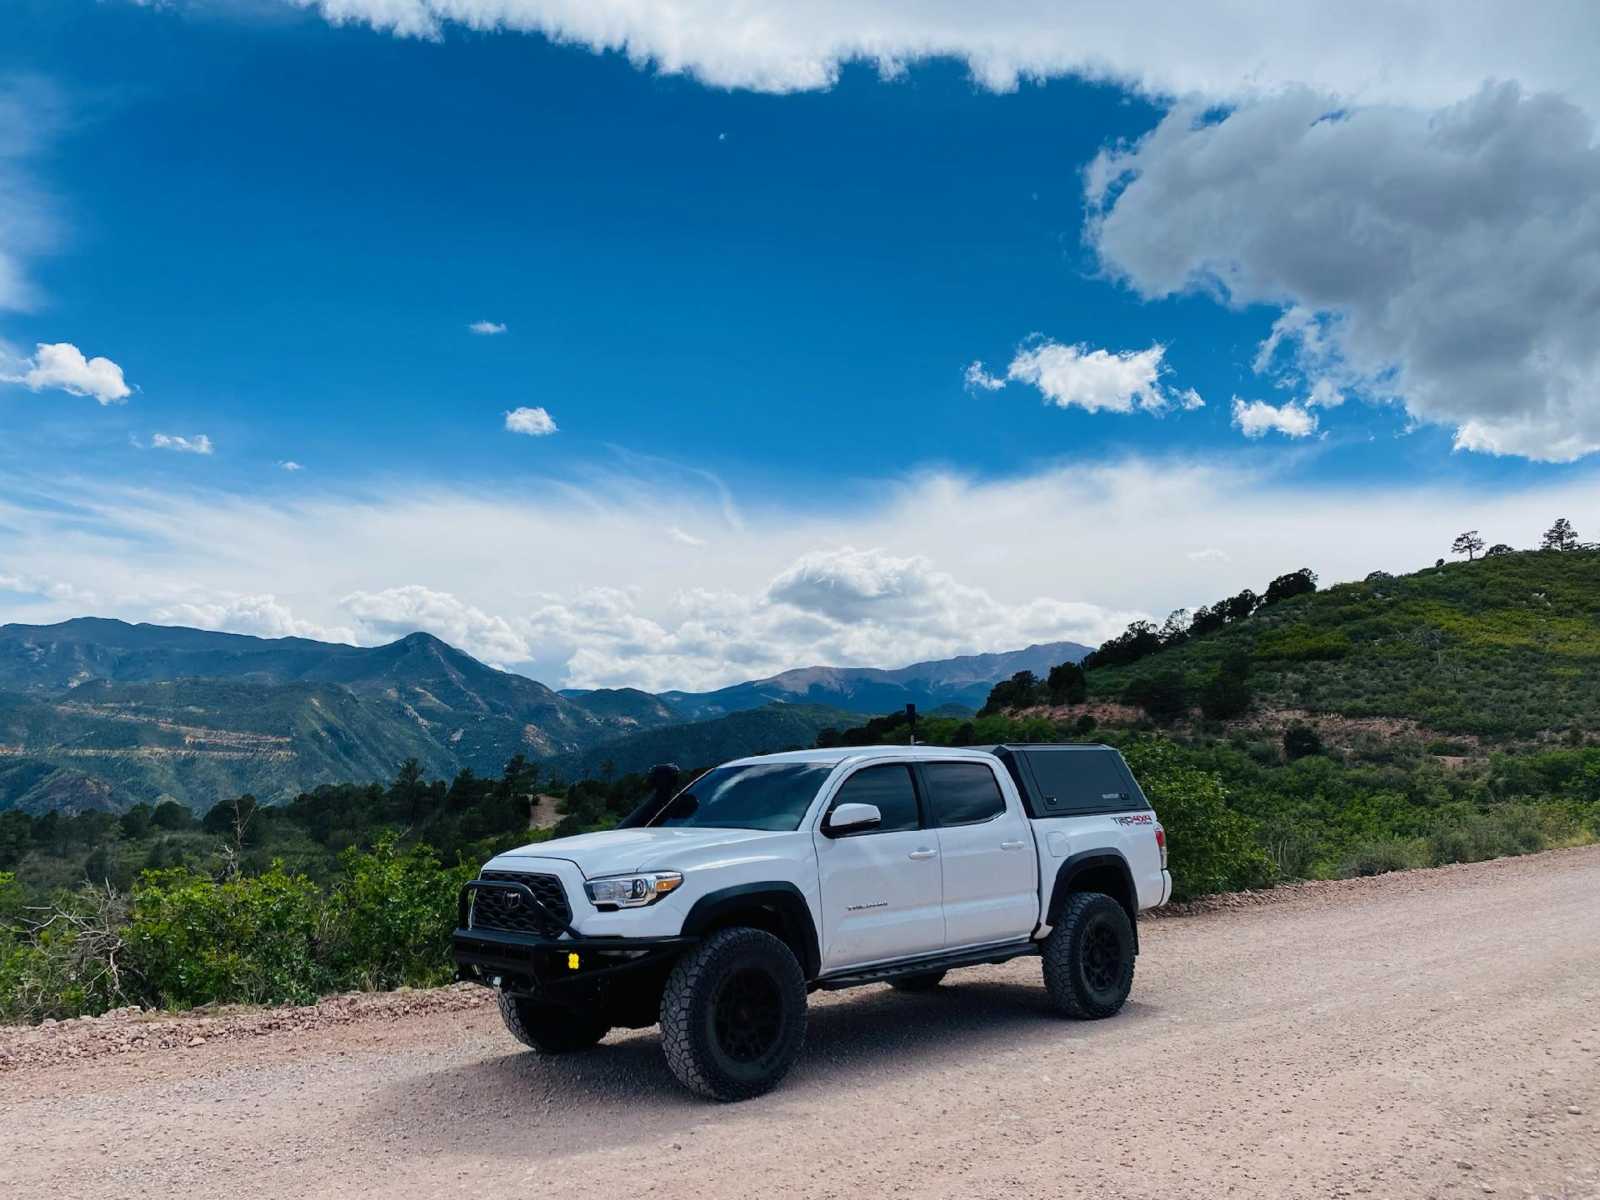
Yes.....what was Toyota thinking when they chose 3.91 gears? What they ended up creating is a massive 529 gear exchange market
for the gear installers out there. |
|---|
|
|
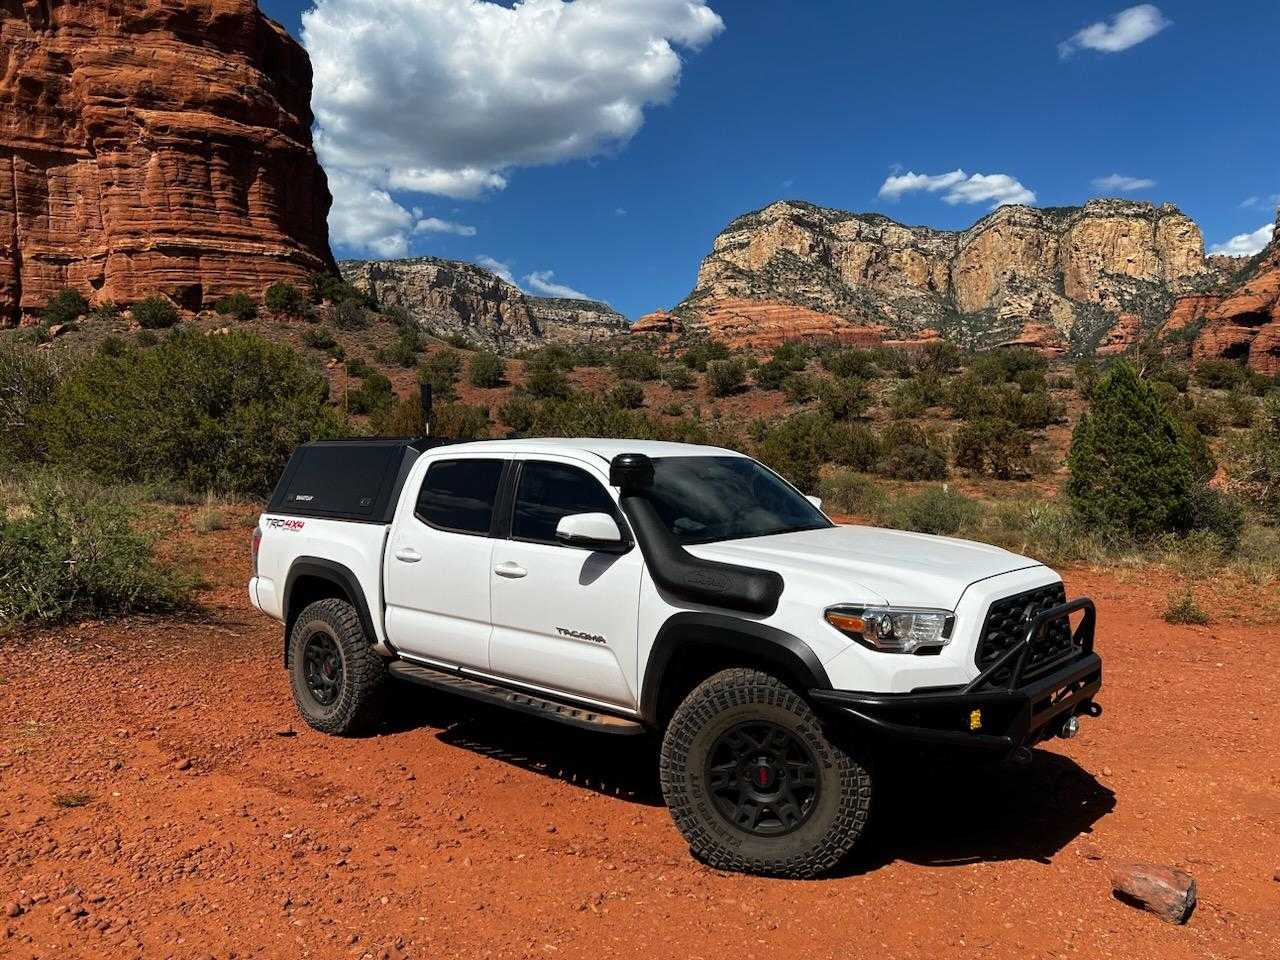
Beautiful Sedona....Max mentioned to me that the KD Max offered enough boost in performnce that he could
put off the regear until the time was right. |
|---|
|
|
|
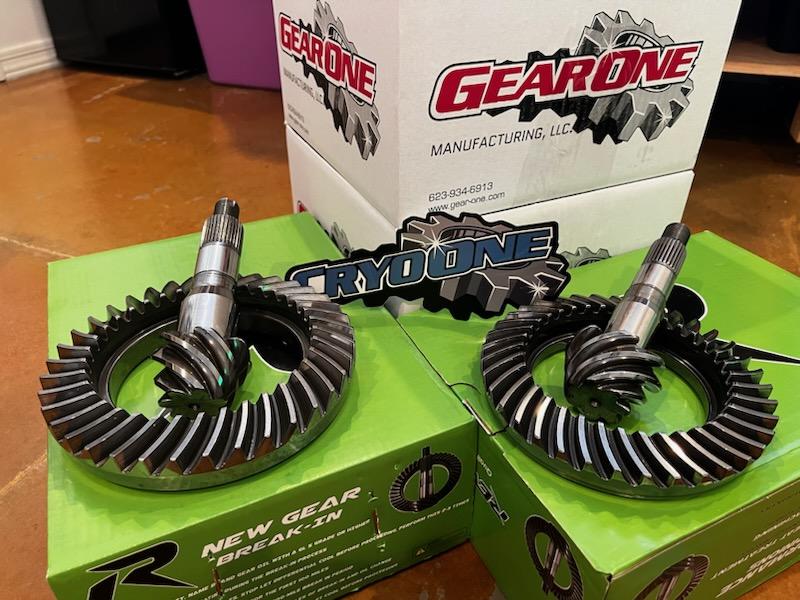
Well, the time was right now. A call to Revolutiongear.com |
|---|
|
|
|
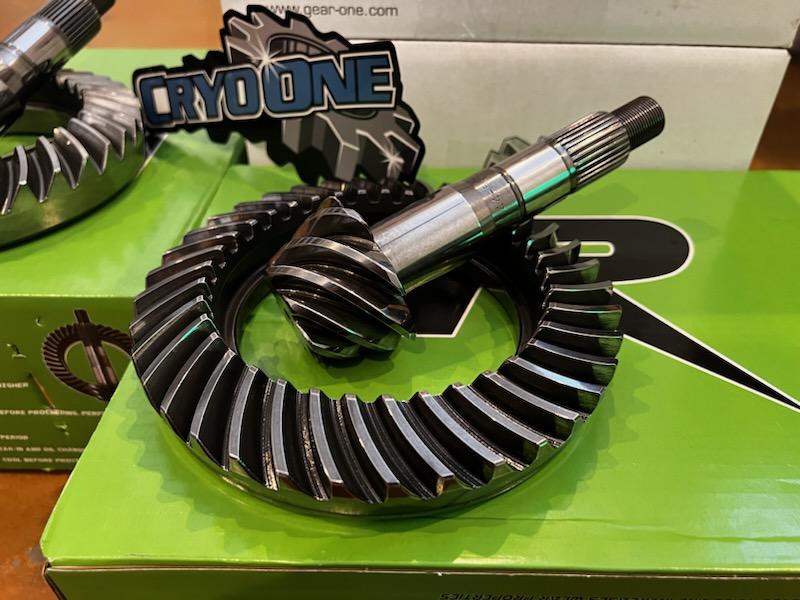
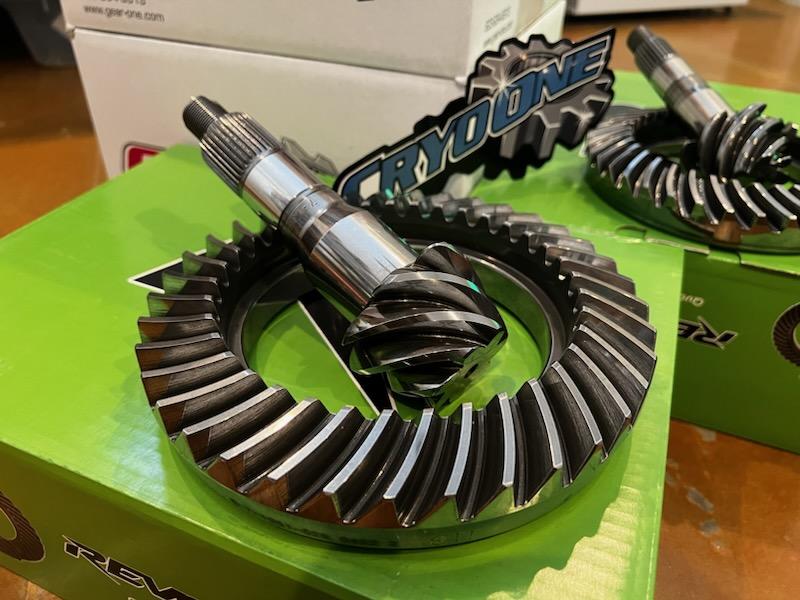
.....ordered up front and rear ring/pinions with the master bearing kits. |
|---|
|
|
And it's really important to request over the phone that they do an
"inhouse REM super polish"...they are one of the few that does the REM.
REM means gears that run cool all the time...
It means no 500 mile break-in...
It means means peace of mind for both you and the gear installer.
Max forgot to request the inhouse super polish but no big deal...
he just had to drop the gears off to Ayers Gear
Max opted for REM super polished and cryo
Talk to Parker |
|---|
|
|
|
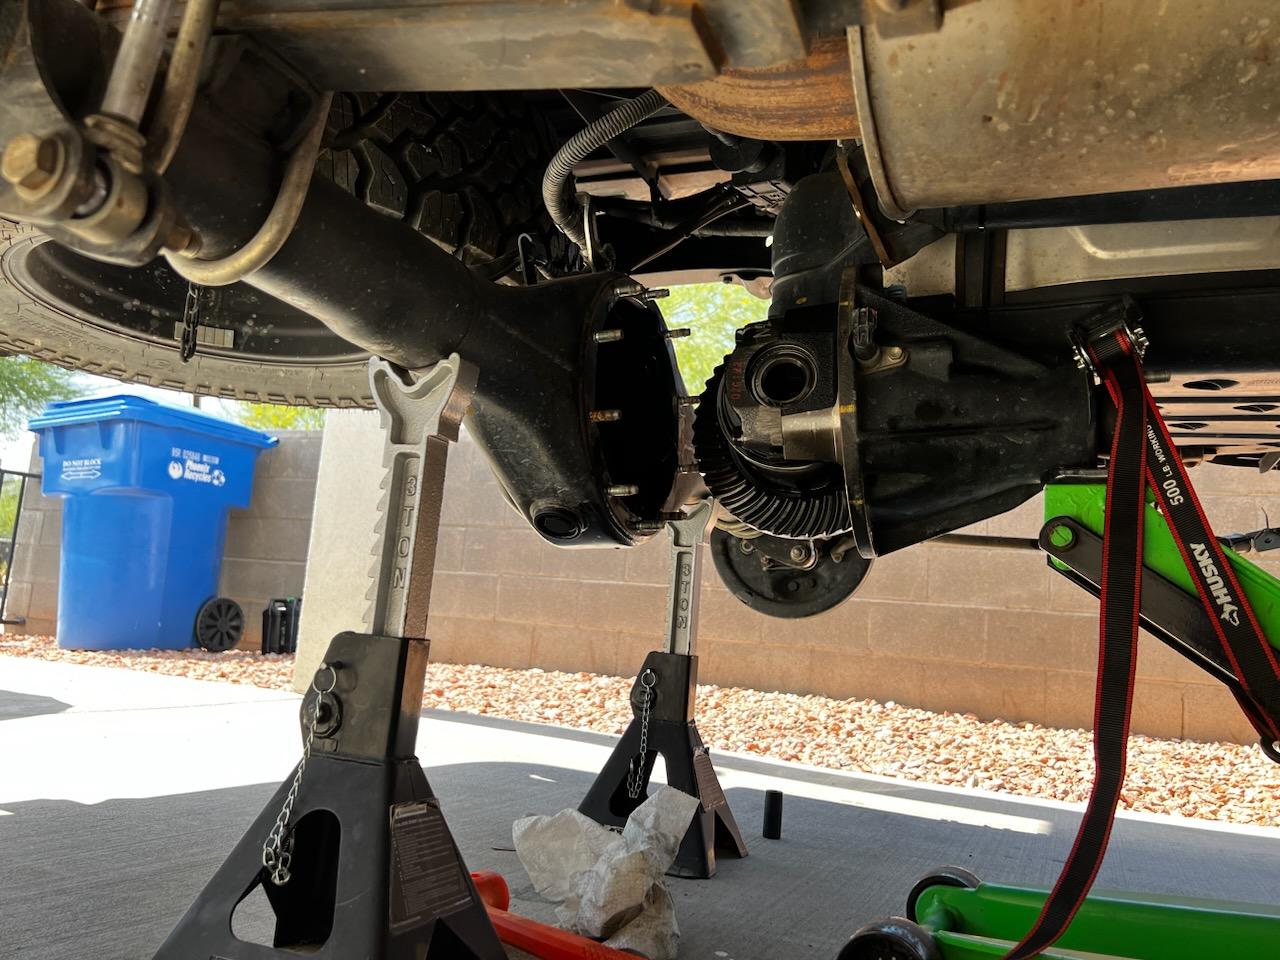
Max removed both the front and rear 3rds. The TRD Offroad has the 8.75" factory elocker in the back. |
|---|
|
|
|
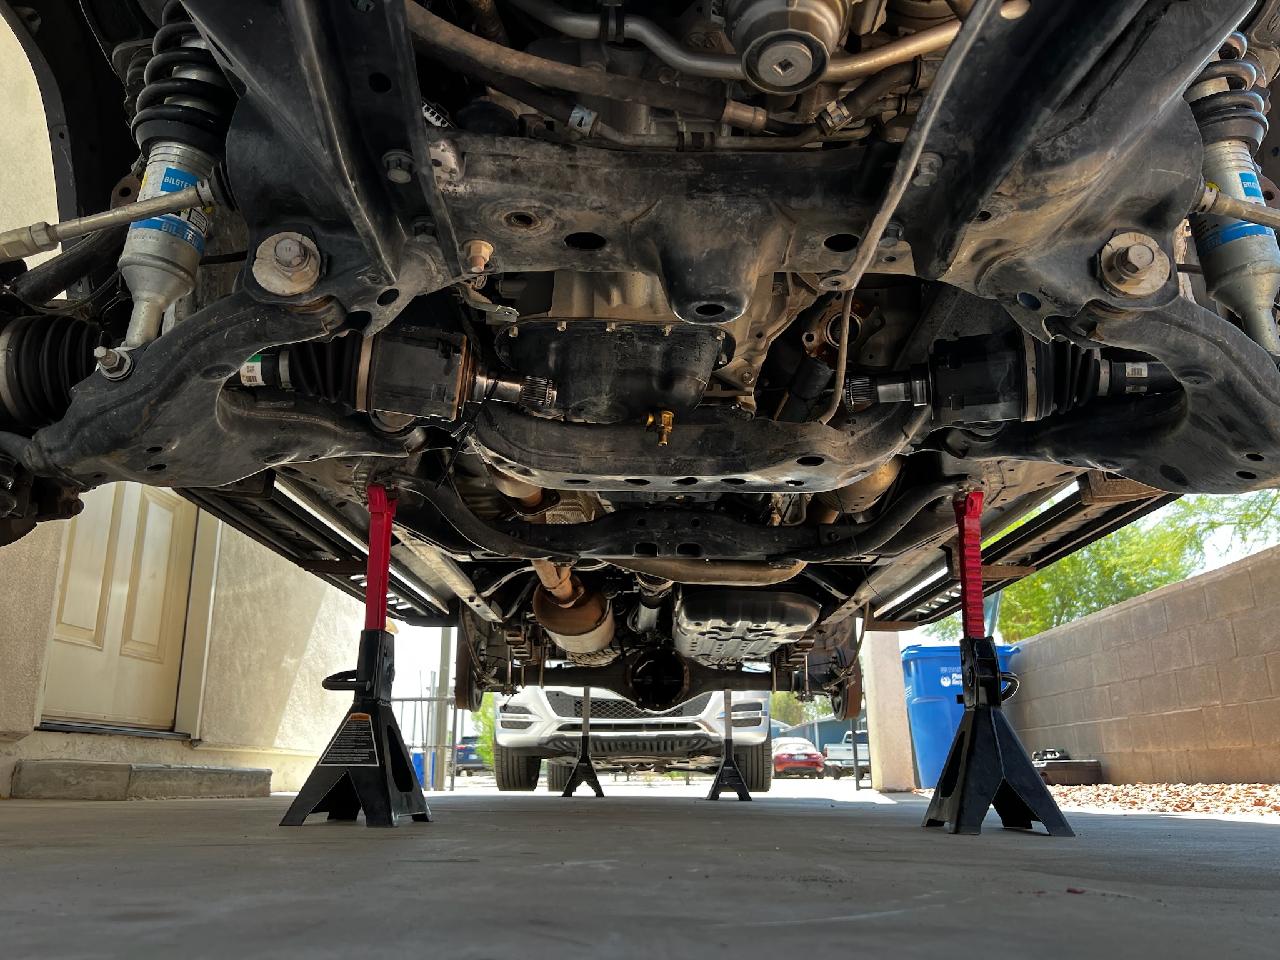
Max says that his 2016 model had a front 8" clamshell that came out easier than he thought. |
|---|
|
|
|
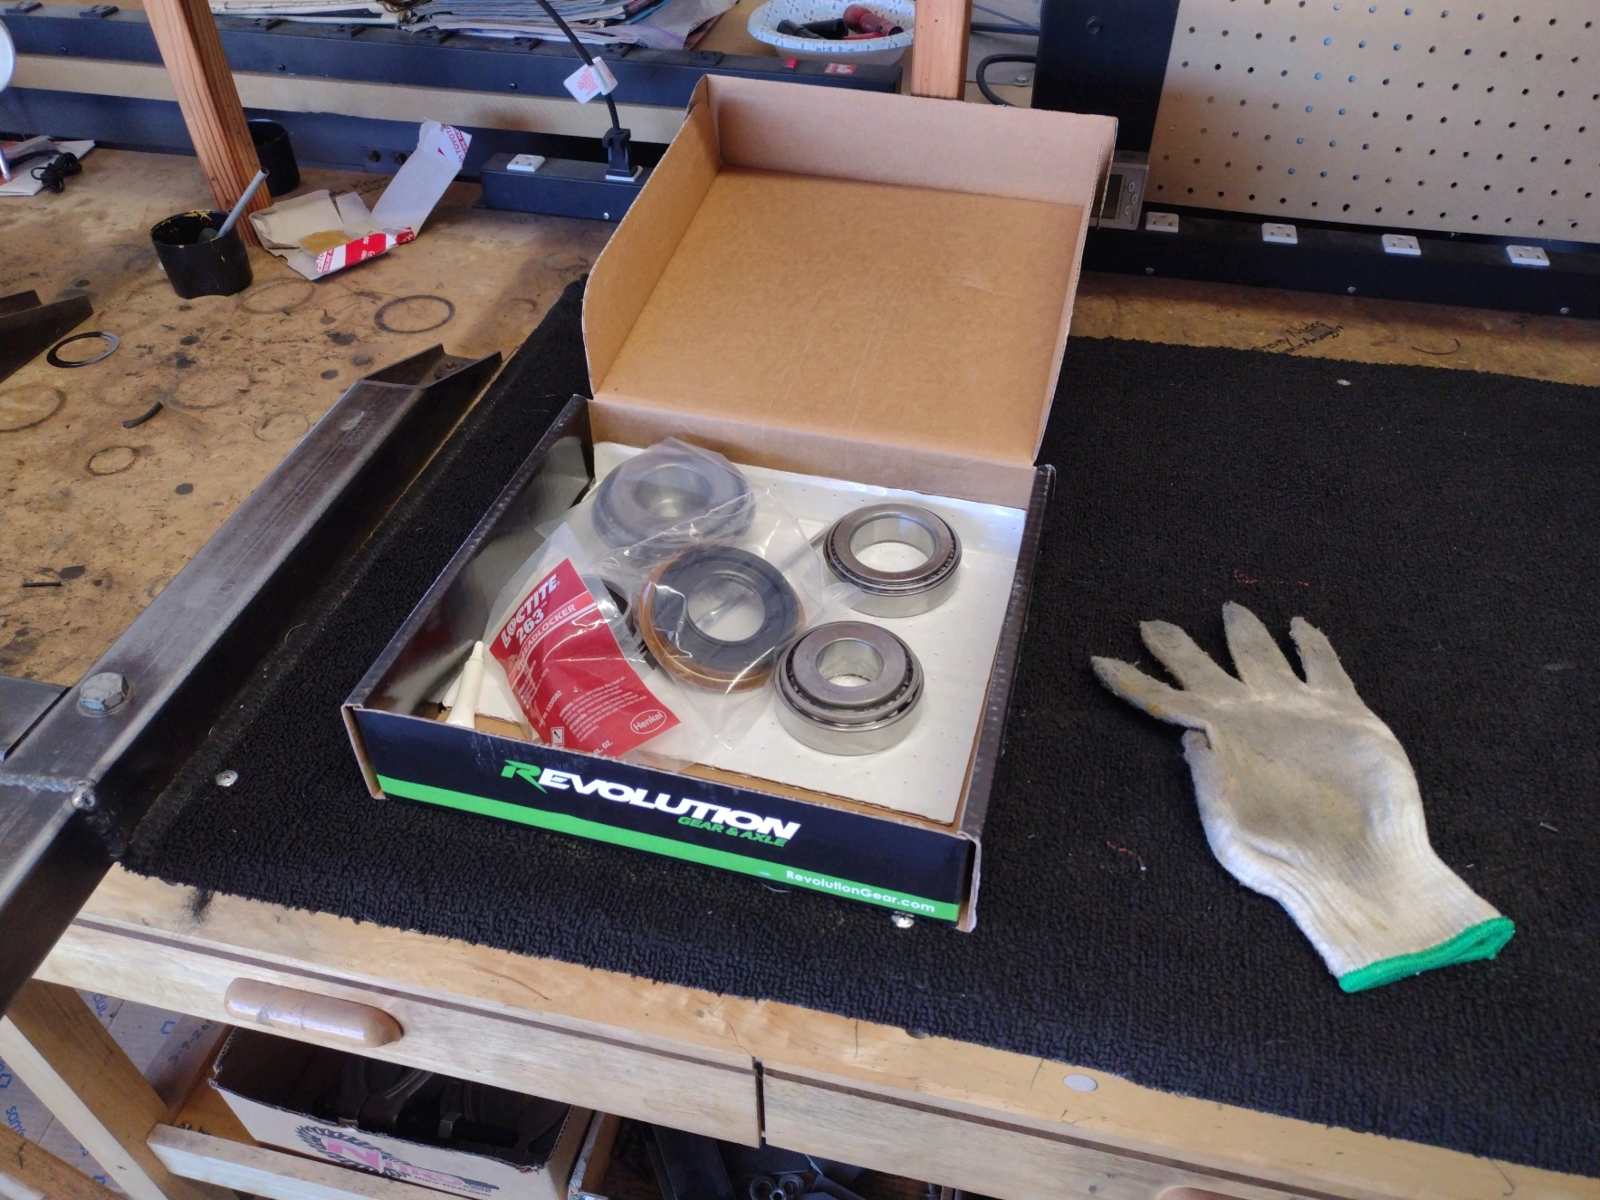
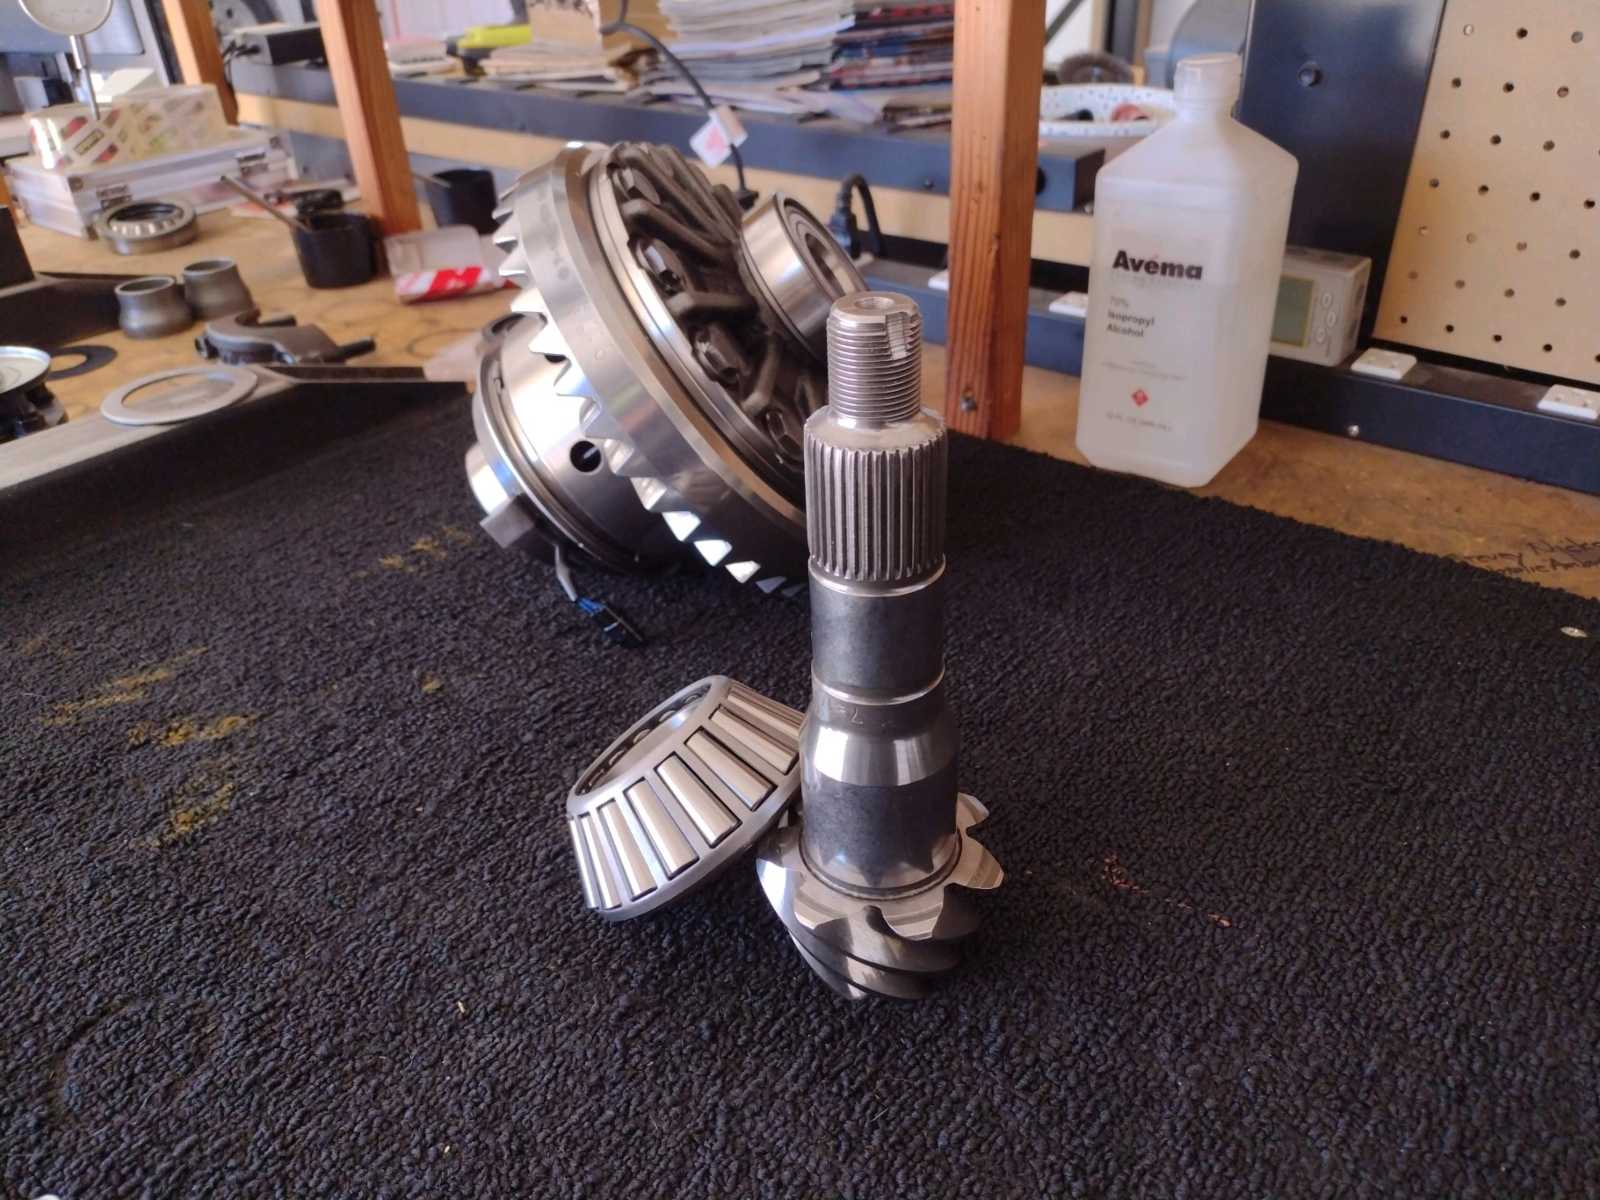
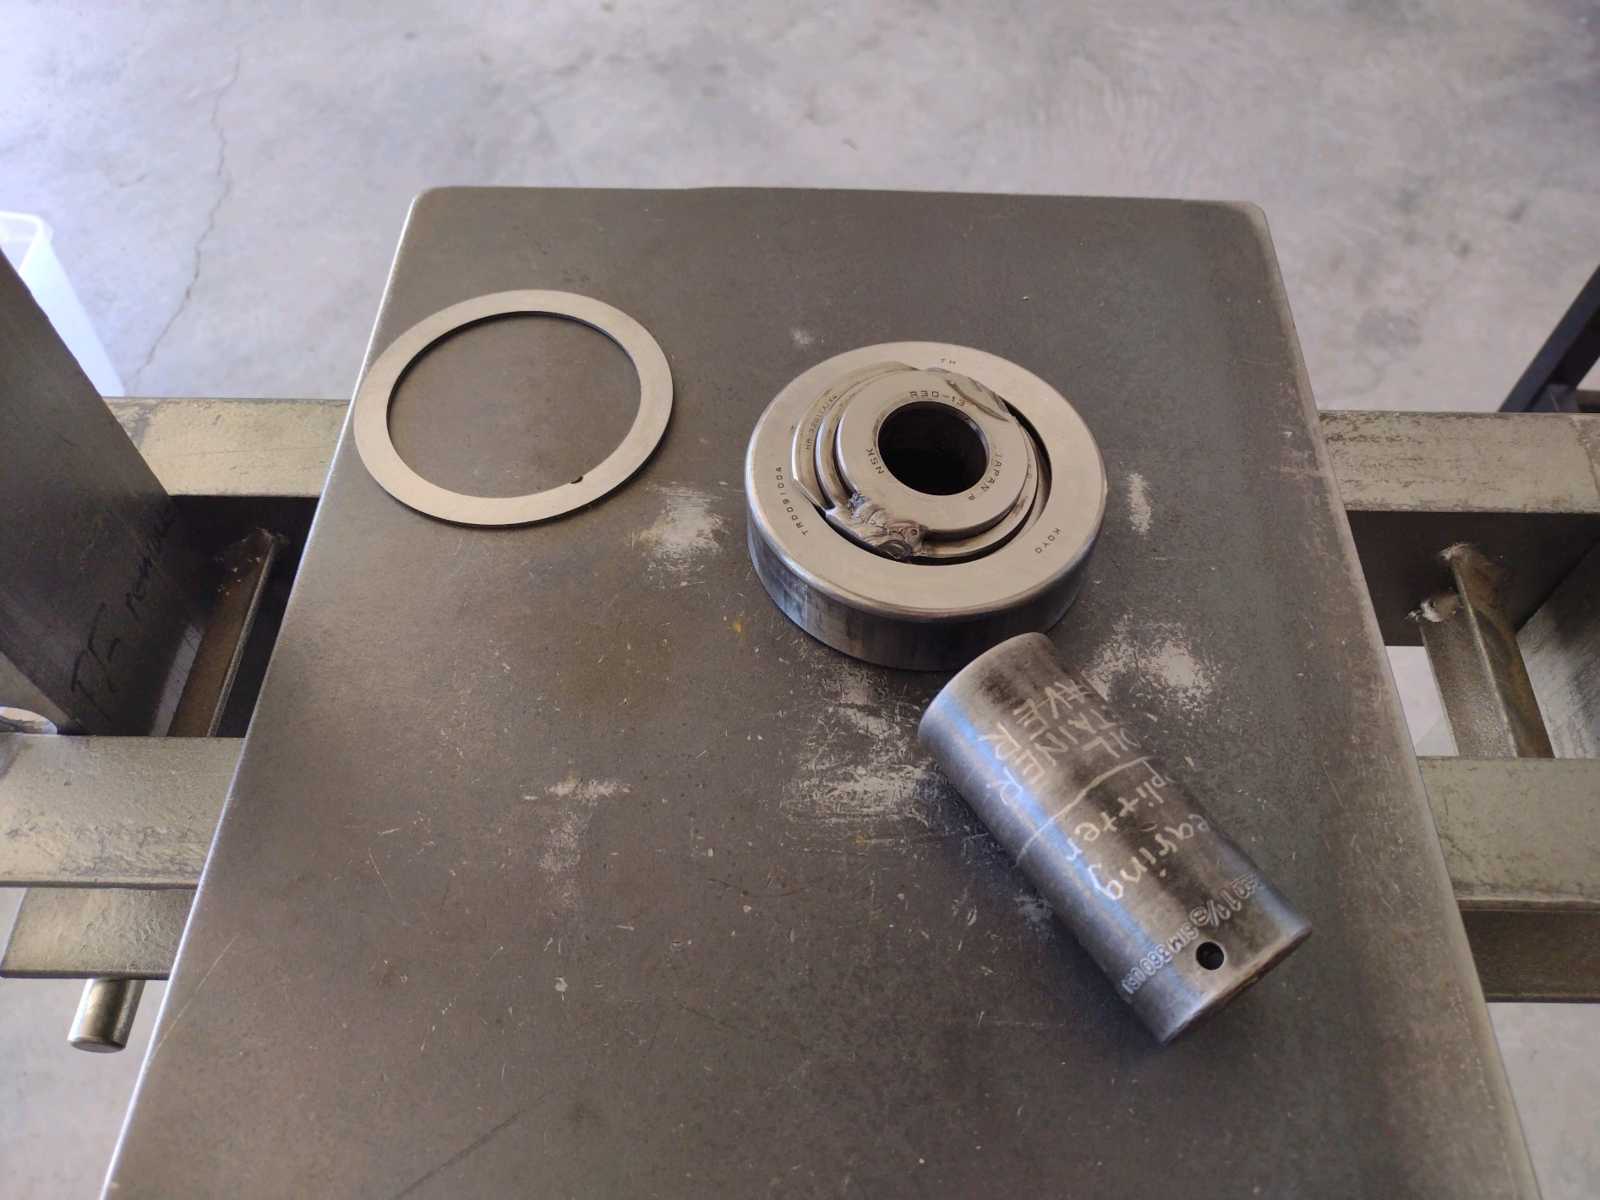
The rear master kit has the 4 bearings and a genuine factory pinion seal. |
|---|
|
|
|
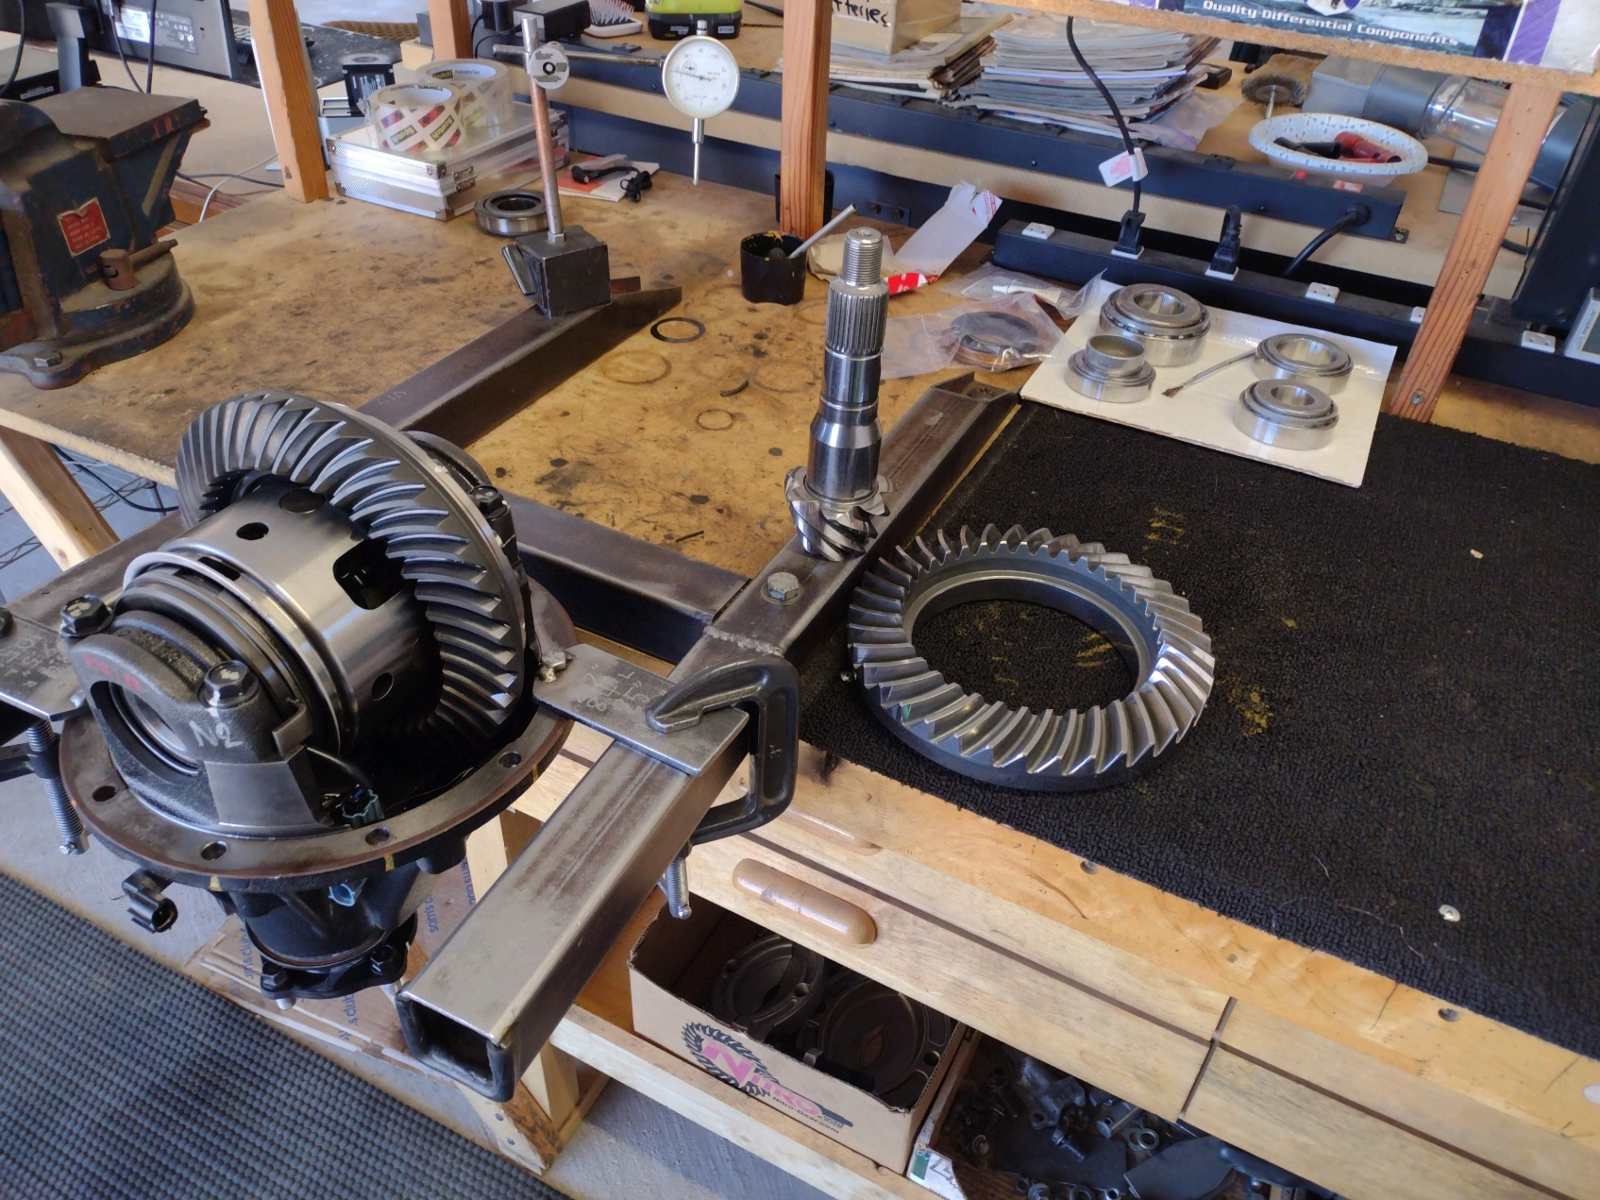
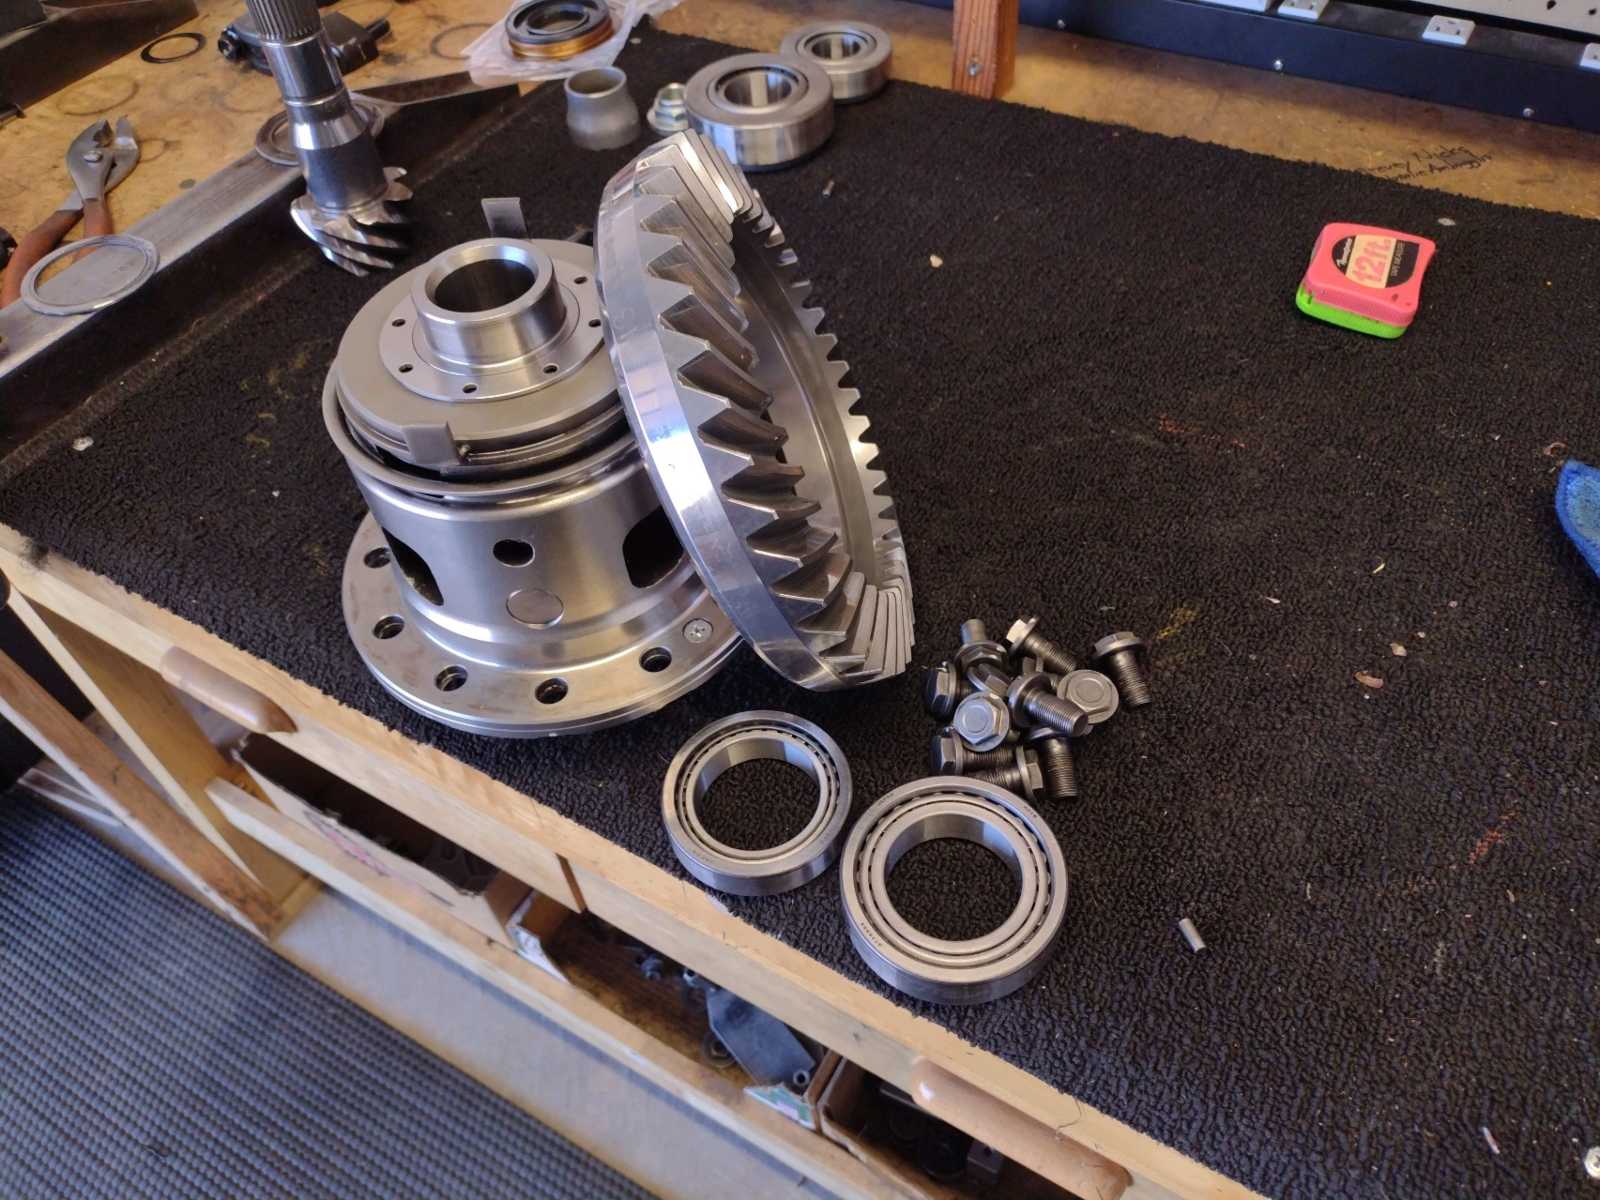
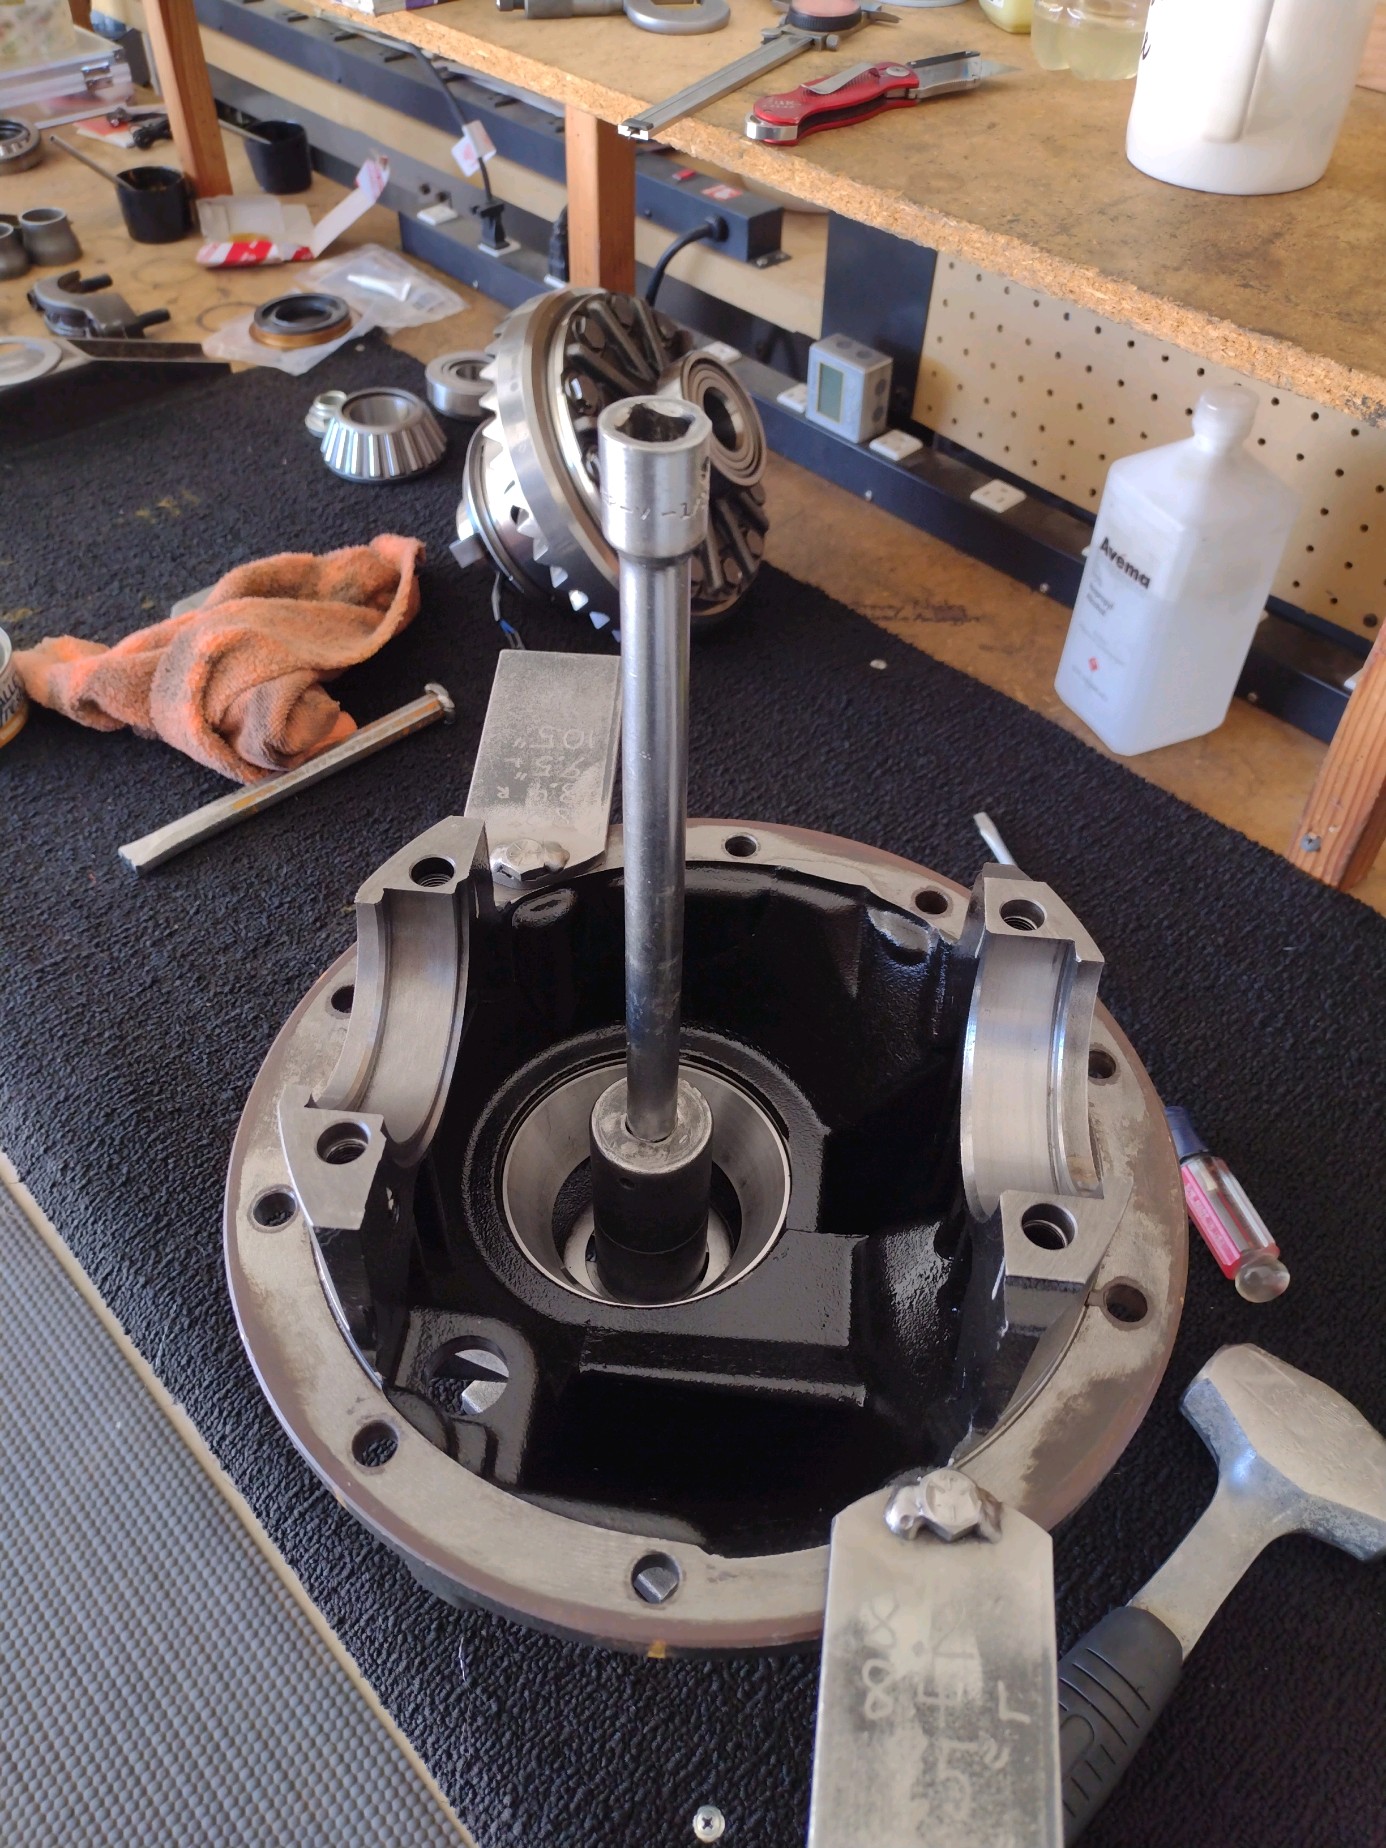
All is laid out on the work bench and it begins. |
|---|
|
|
|
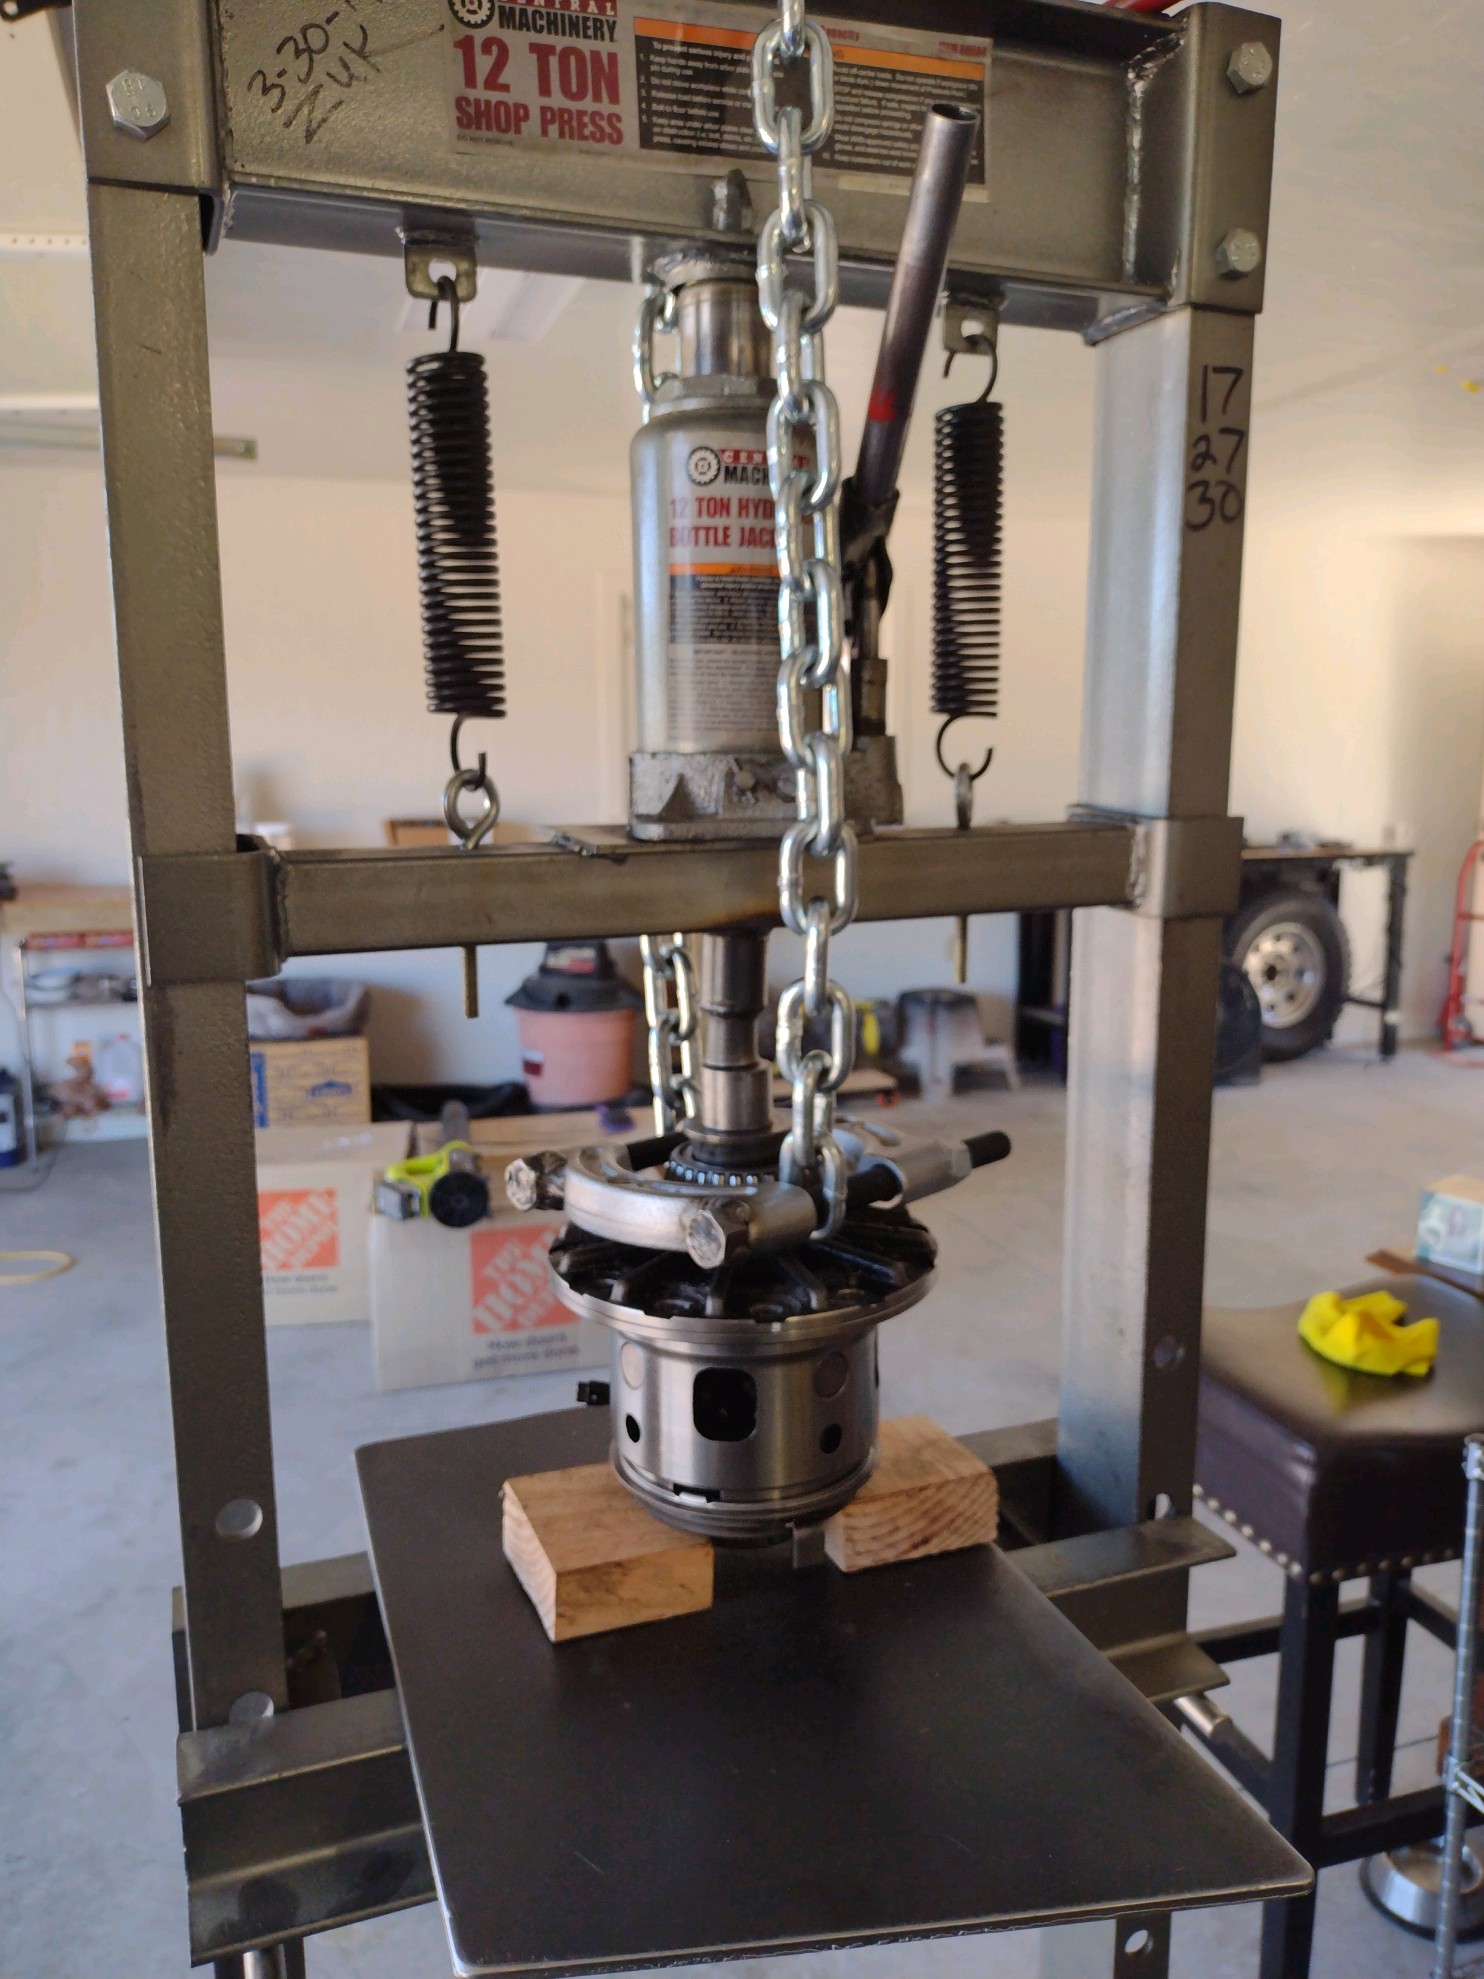
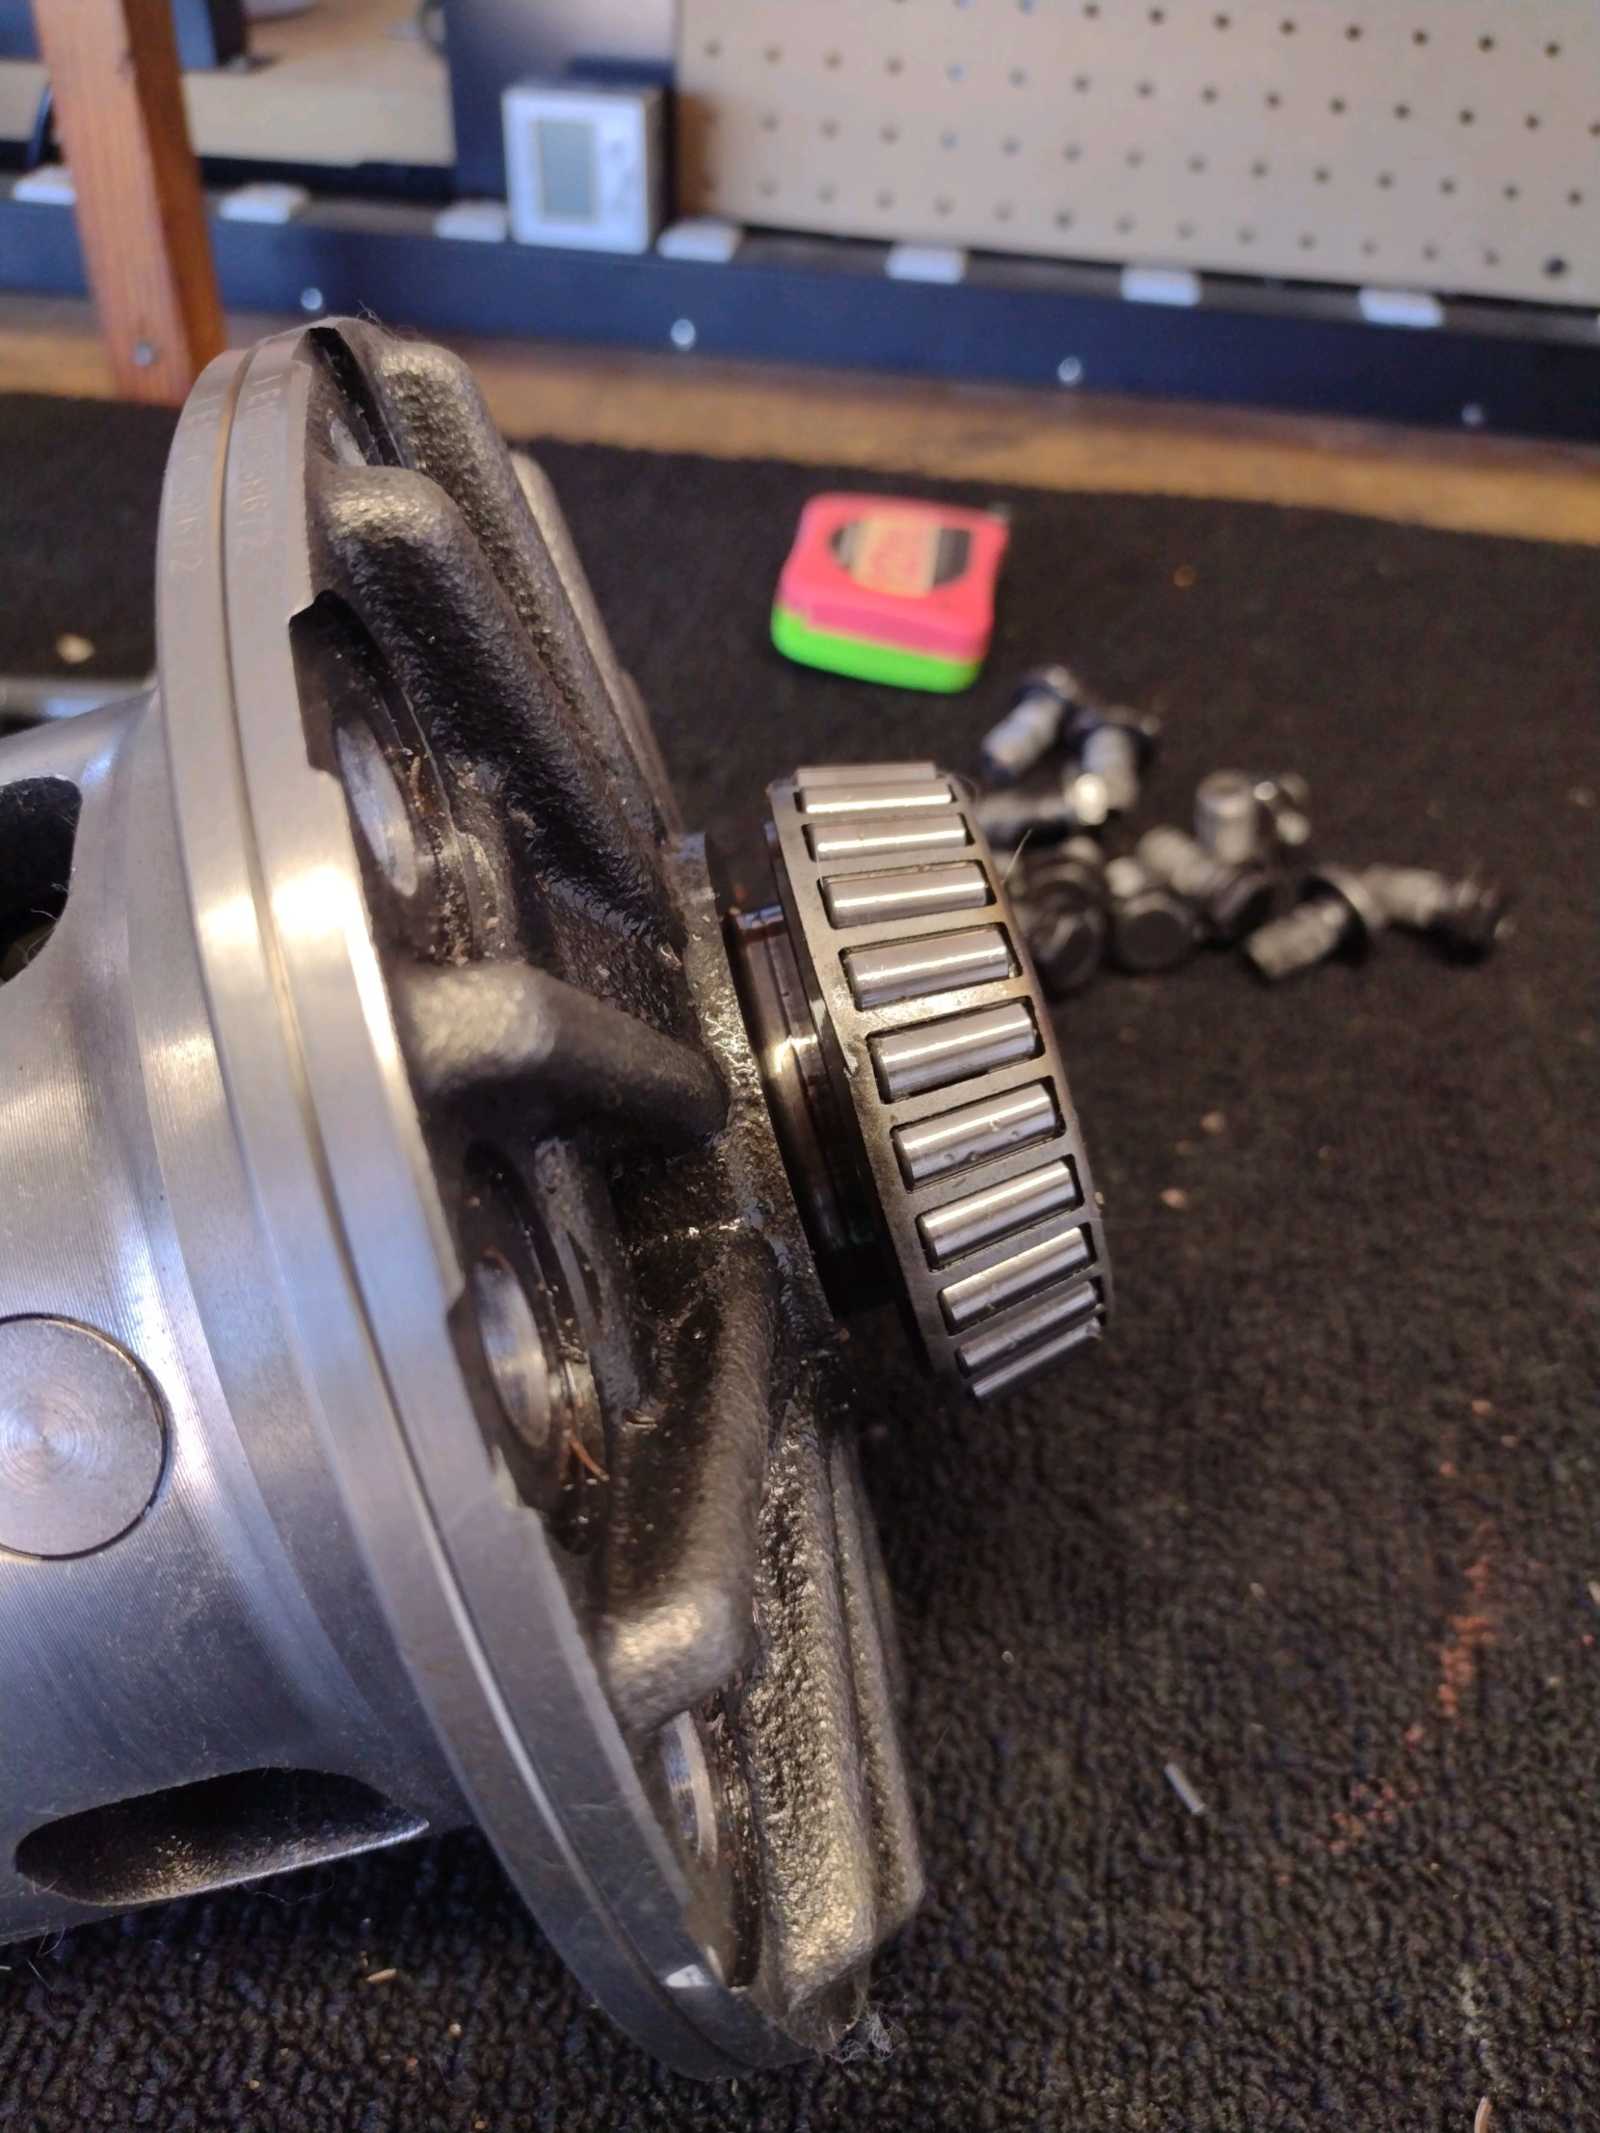
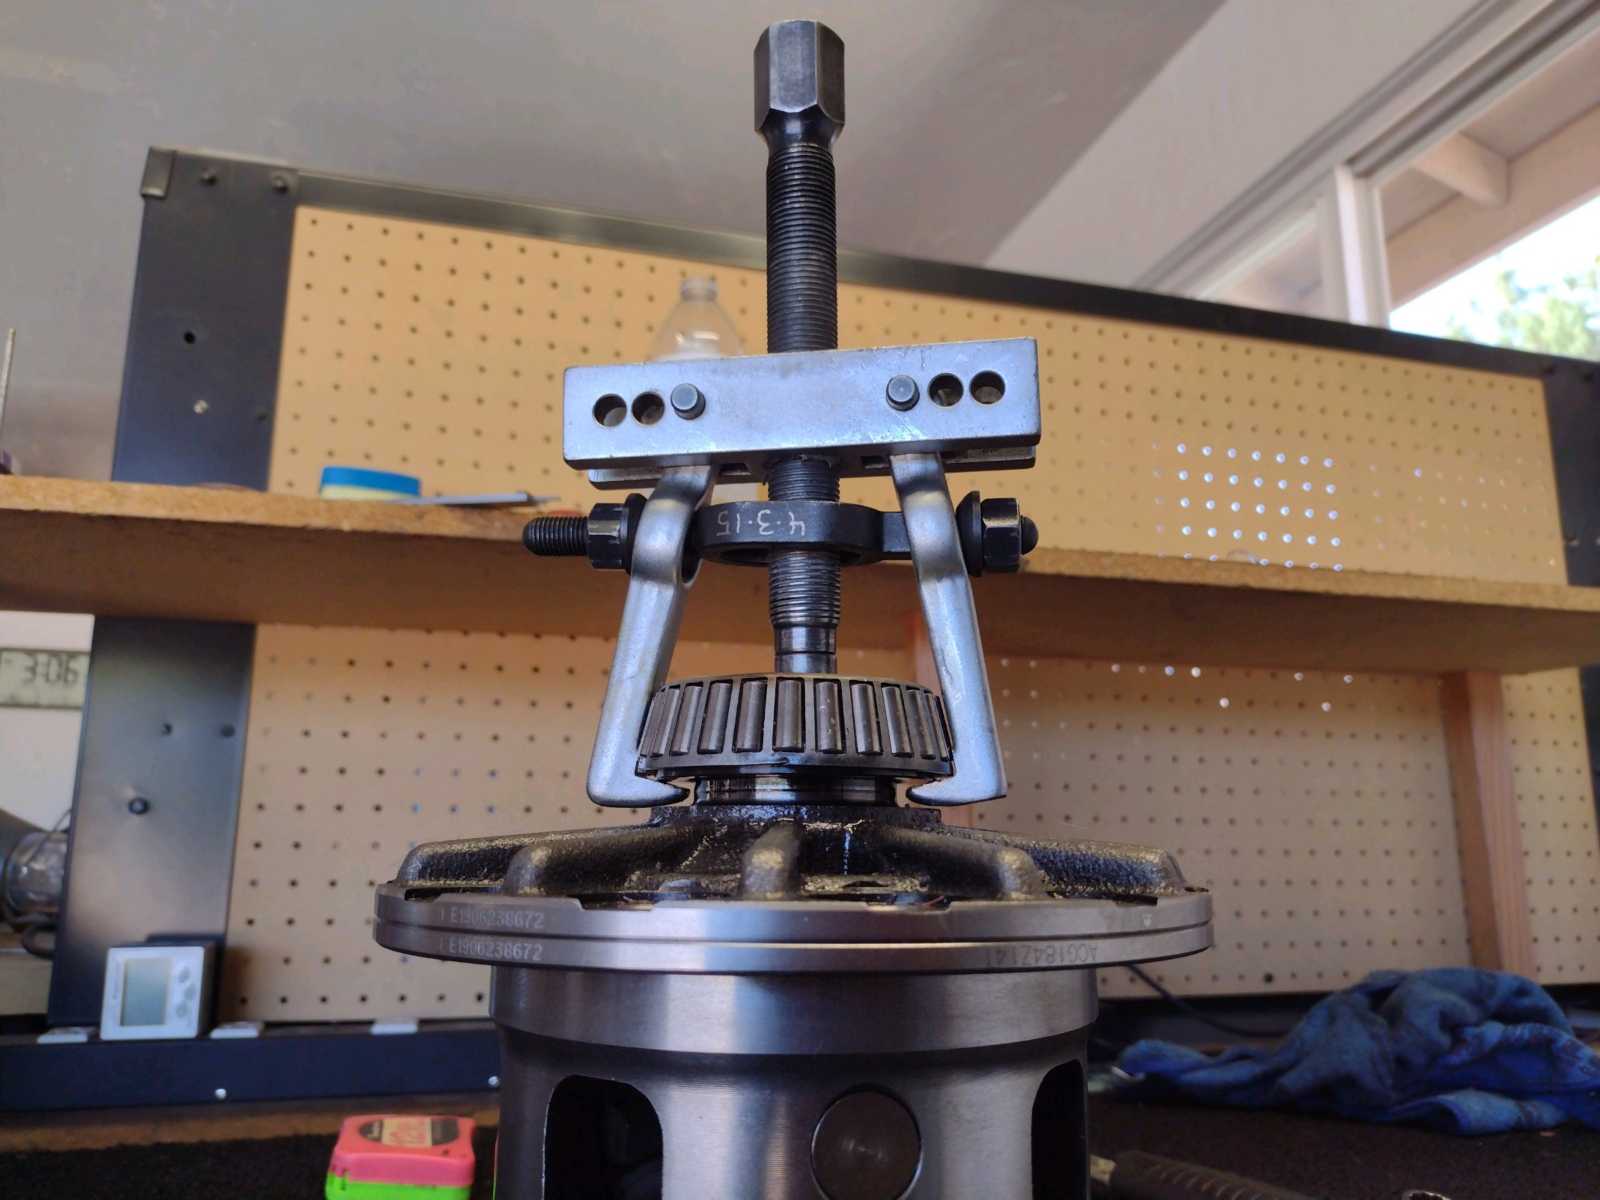
They give you no place to grab the carrier bearings with the "2 jawed pullers"...so this chain setup will do for now. |
|---|
|
|
|
They get pulled just enough to have enough purchase for the 2 jawed puller. |
|---|
|
|
|
Same with the other side shown here. |
|---|
|
|
|
Then the 2 jaw puller finishes the job off. |
|---|
|
|
|
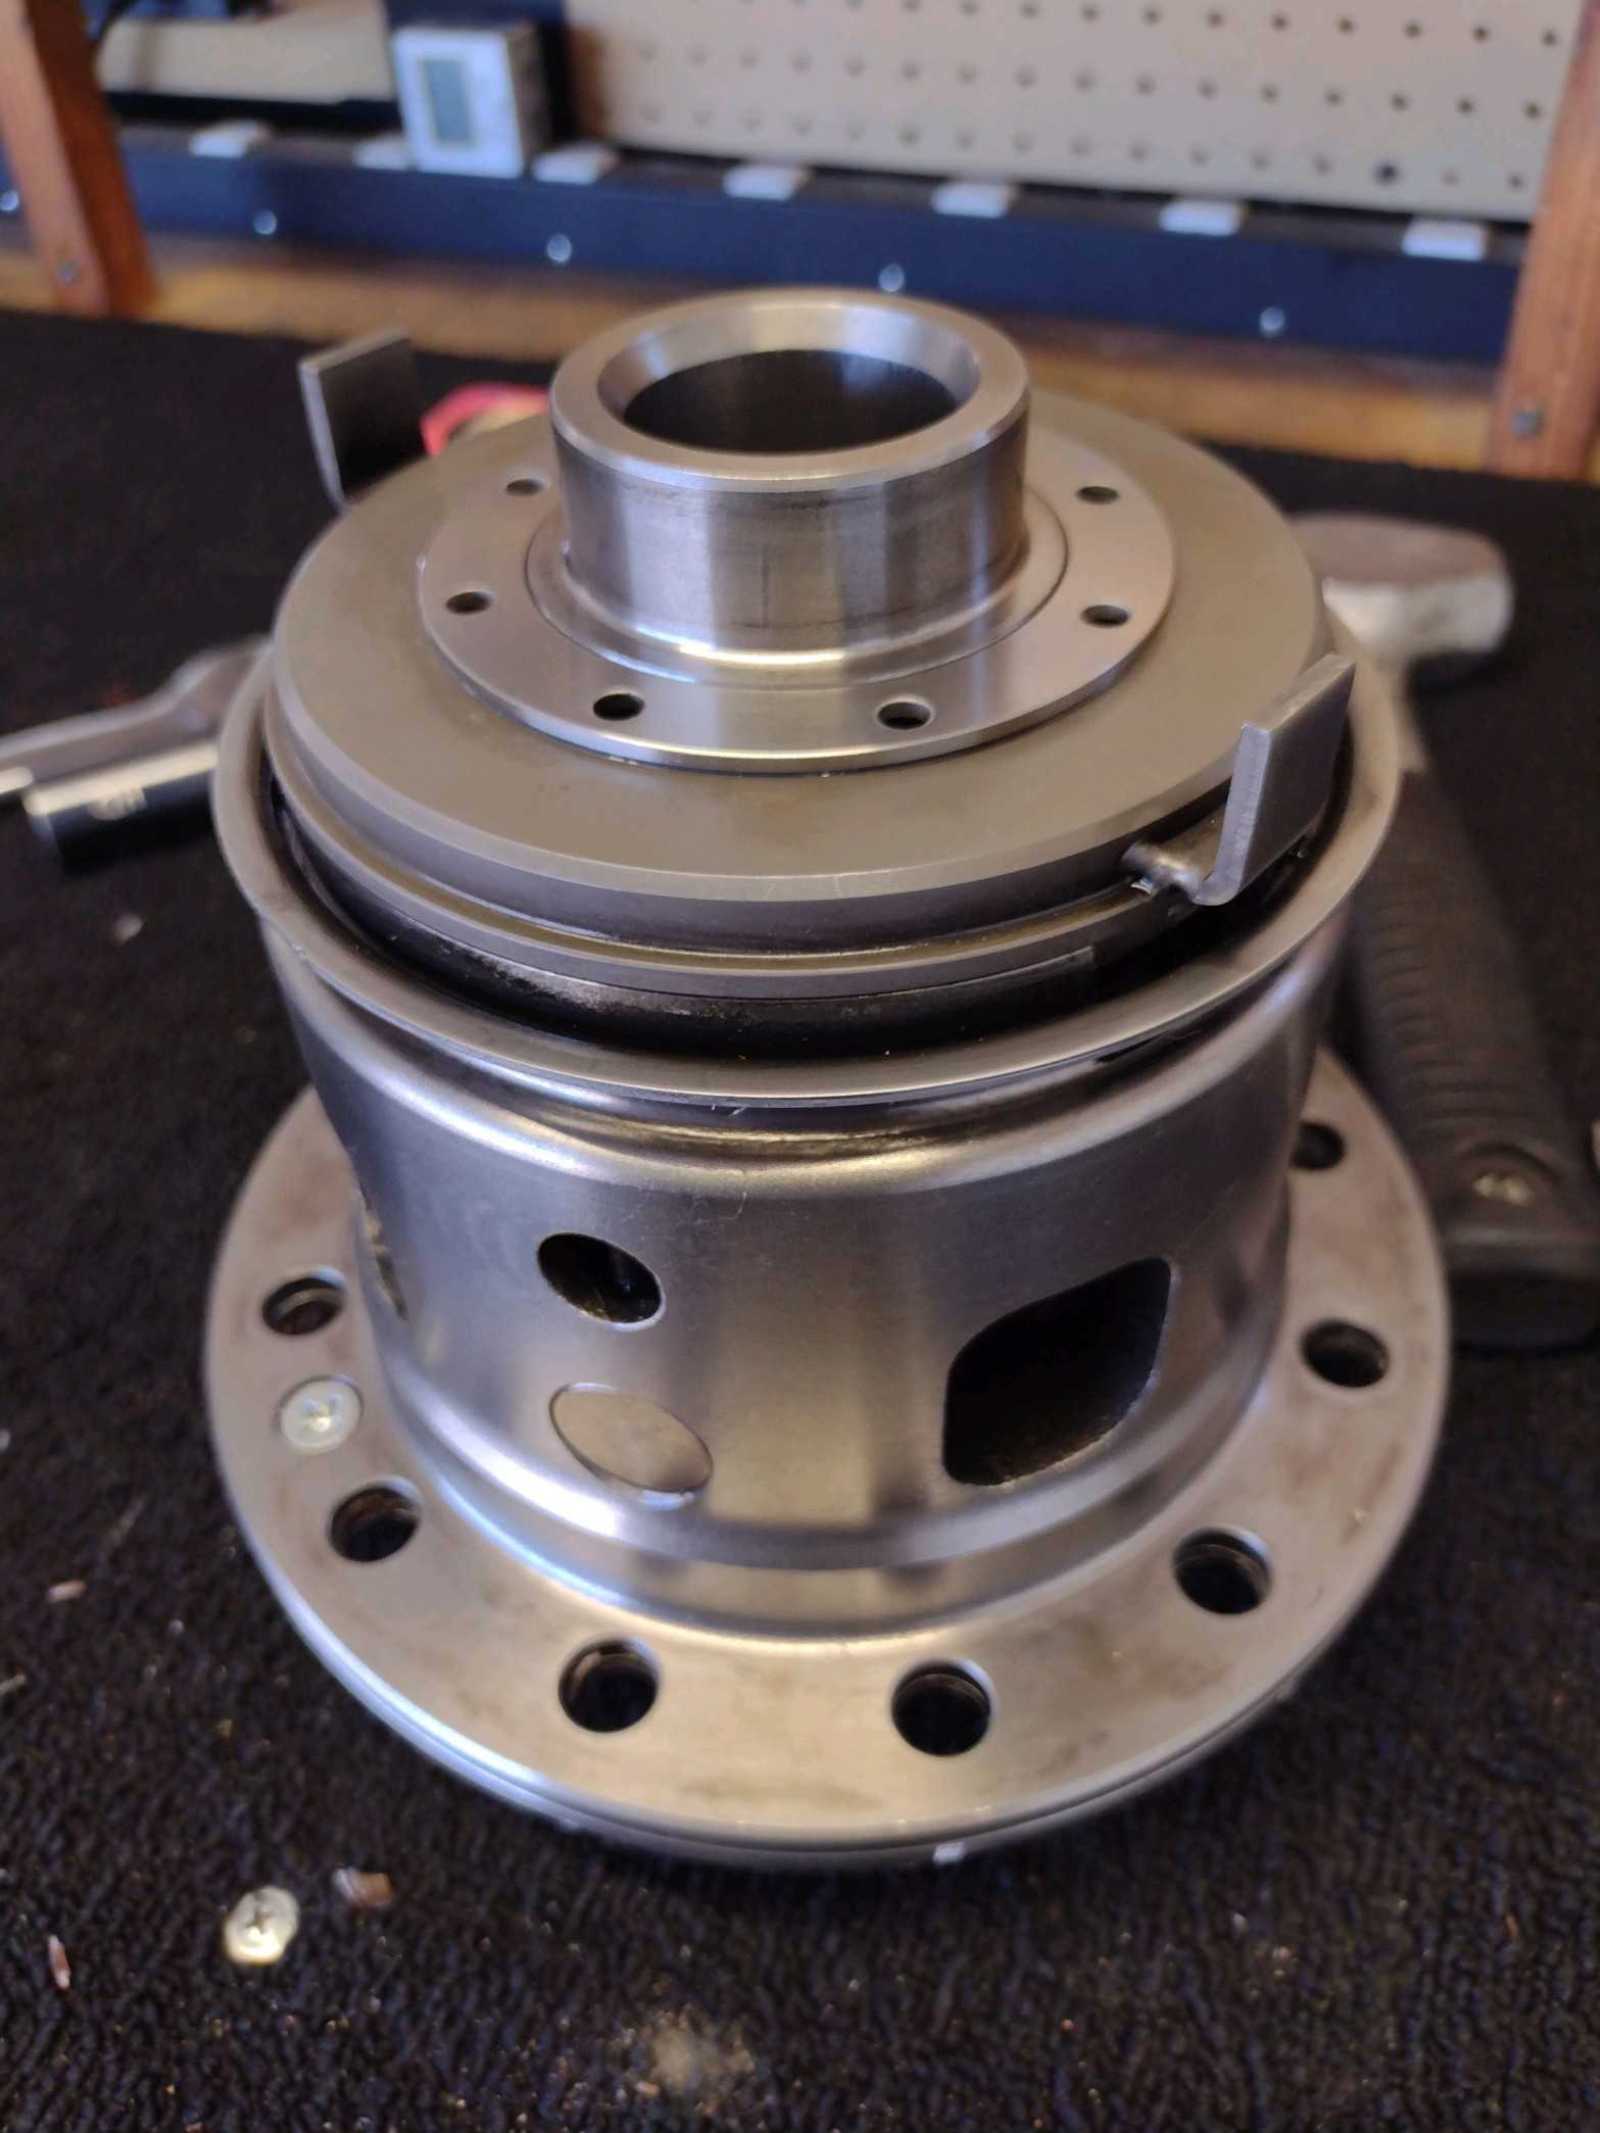
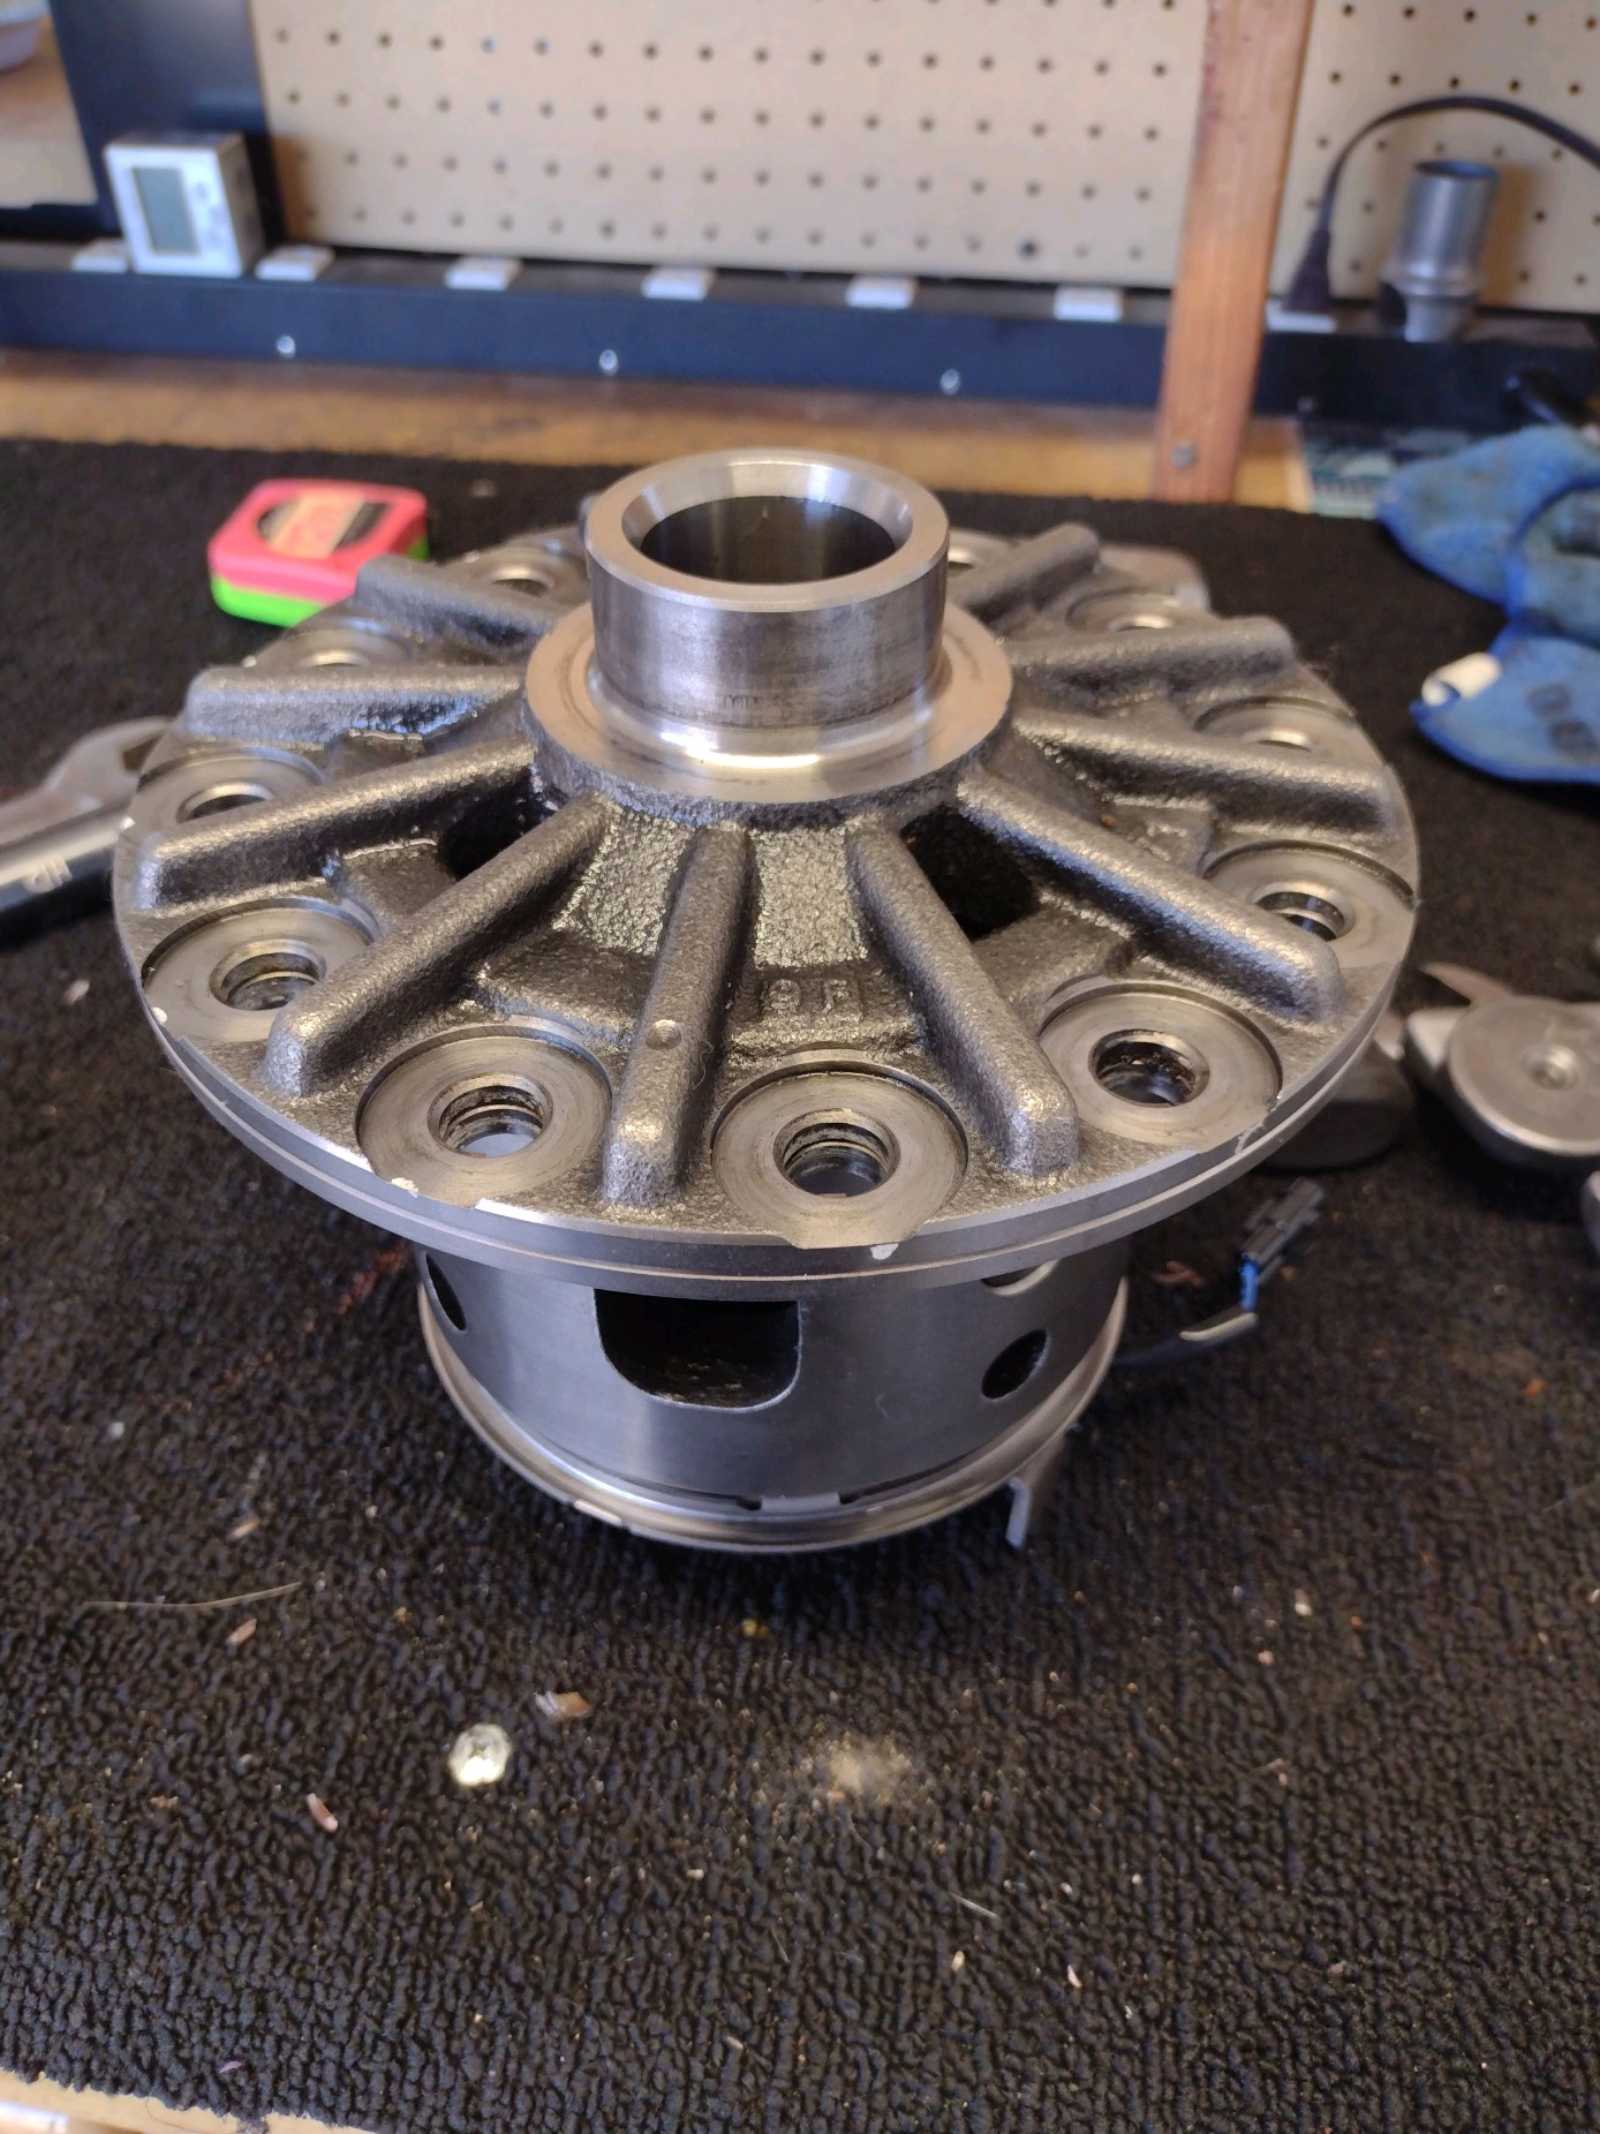
A nice clean job of bearing removal :) |
|---|
|
|
|
Same on this side. |
|---|
|
|
|
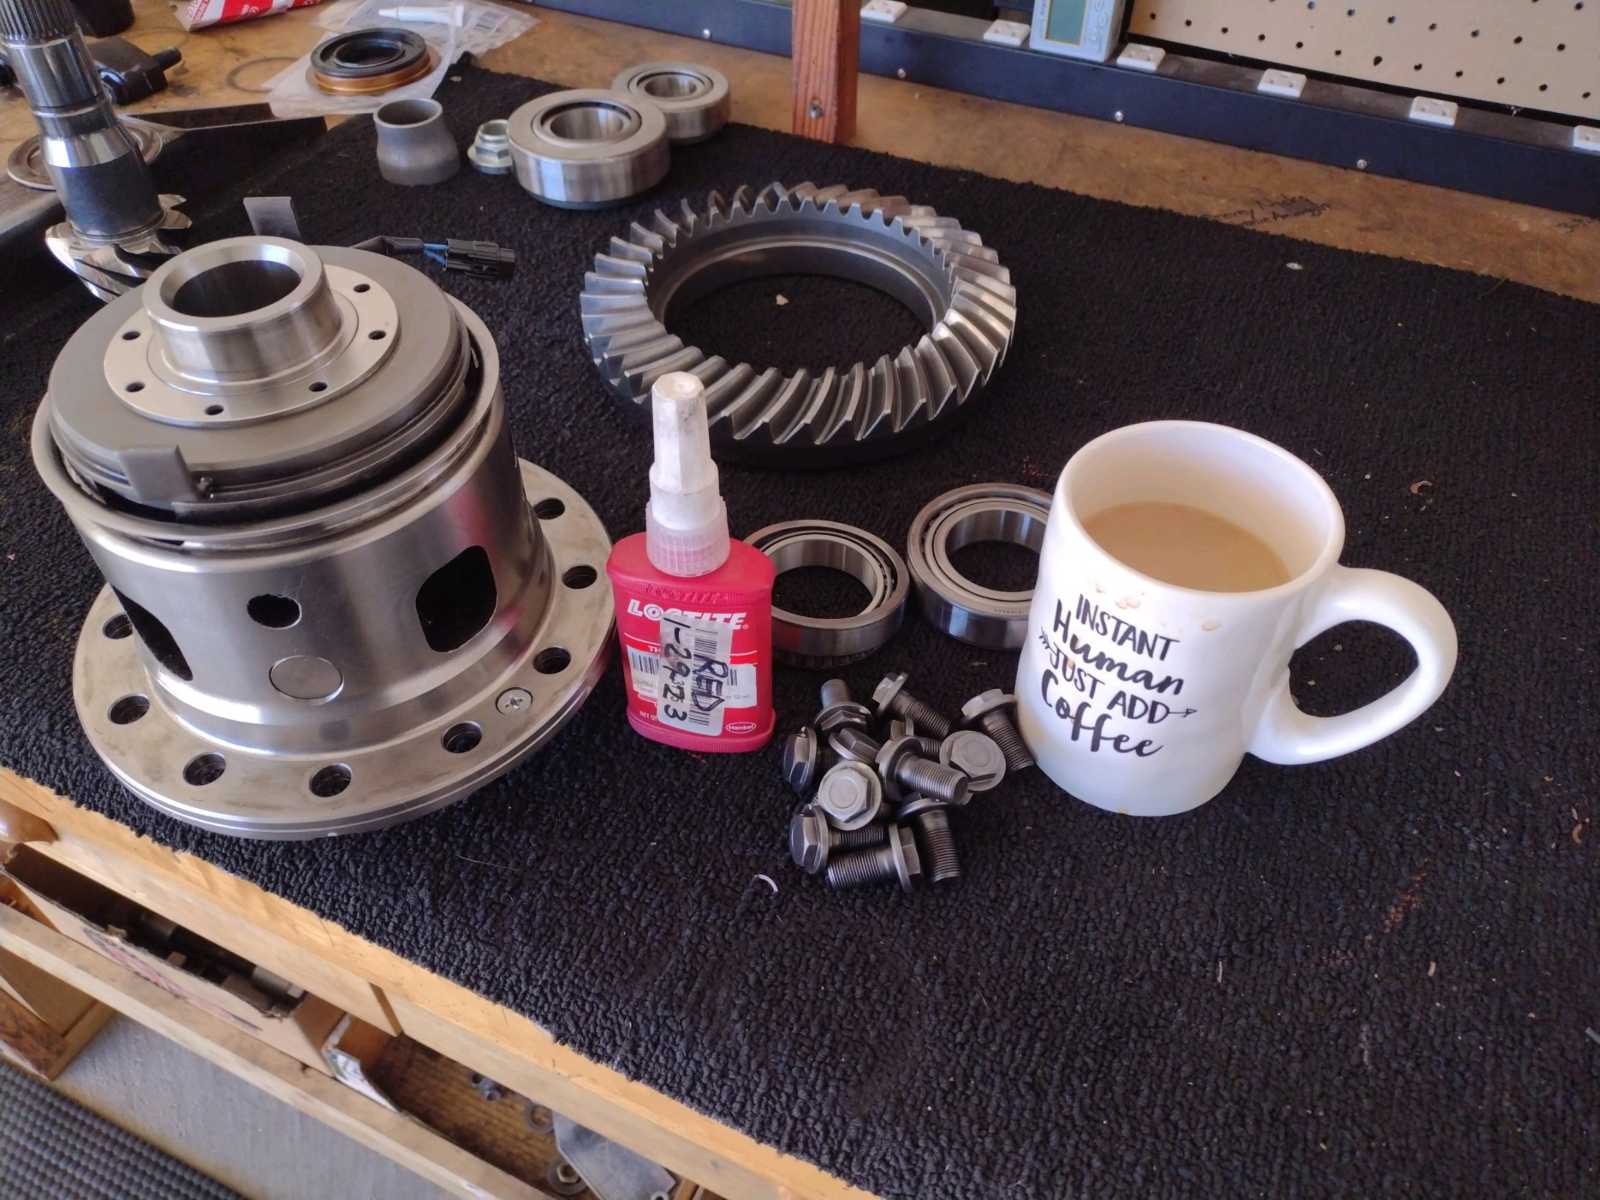
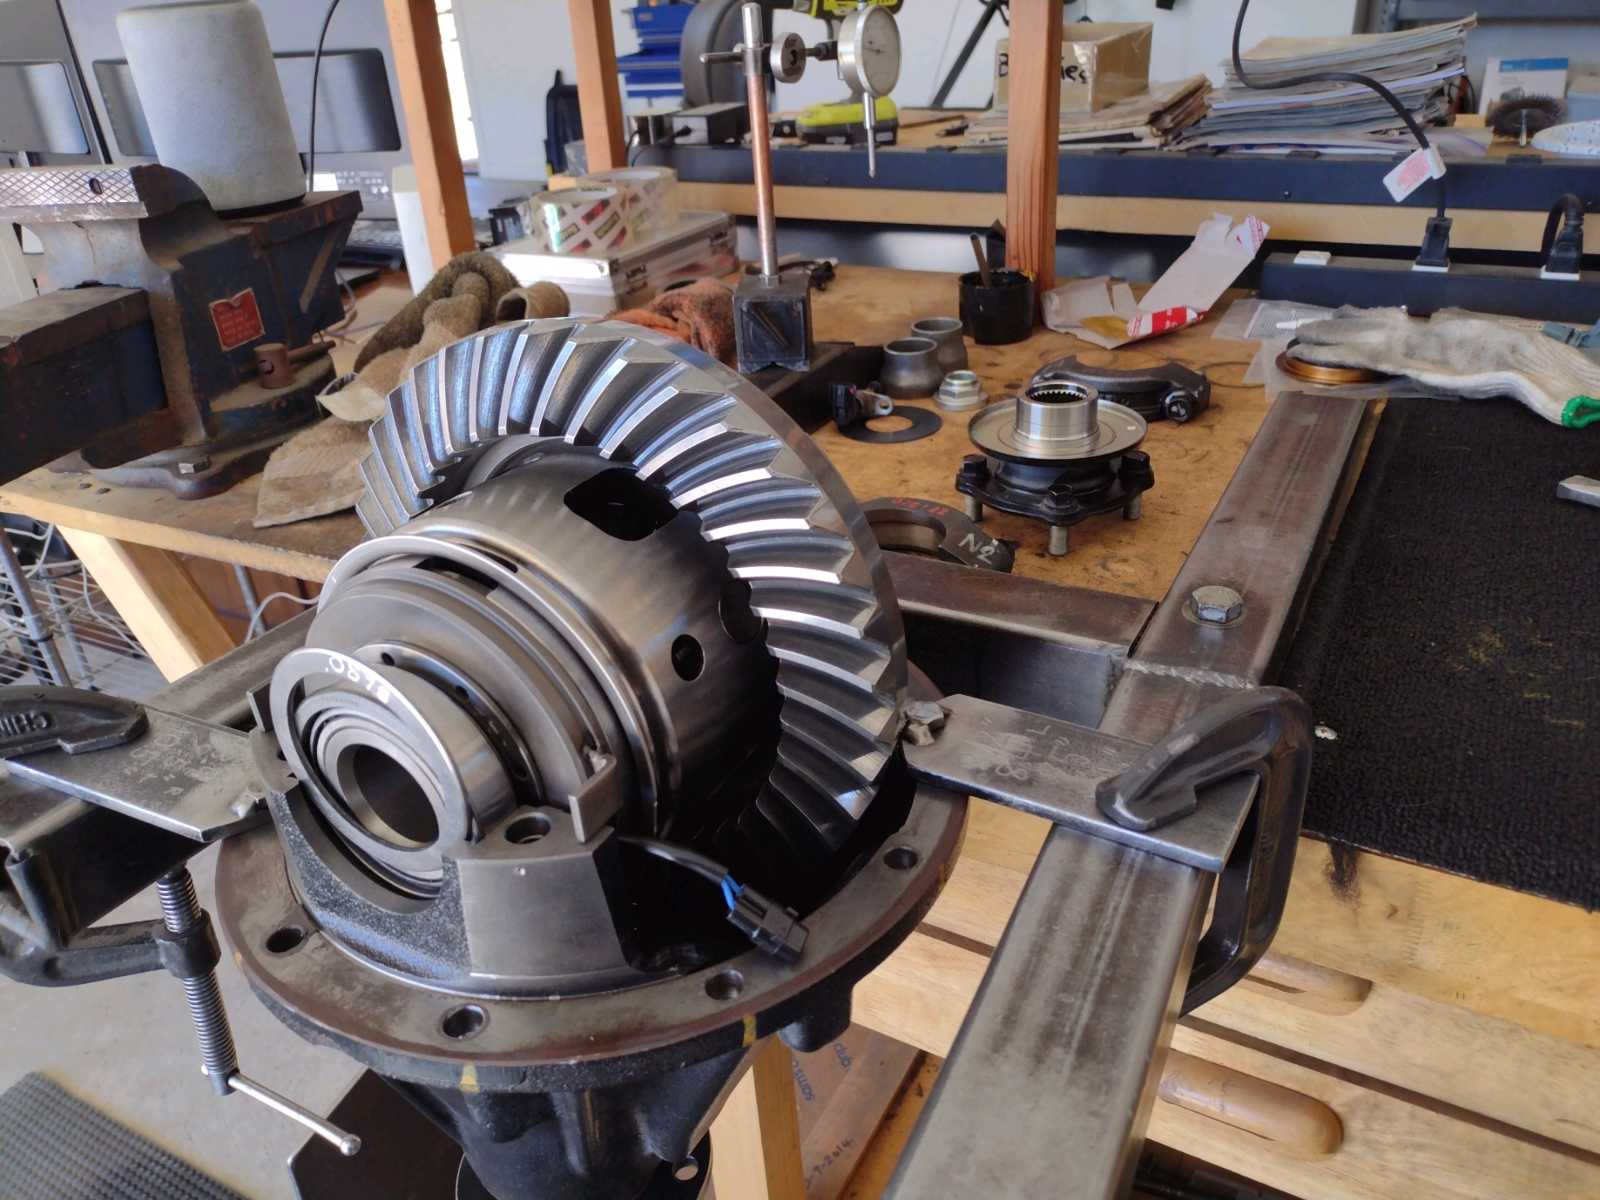
Let's put on the shiney ring gear and the 2 carrier bearings. |
|---|
|
|
|
........................... |
|---|
|
|
|
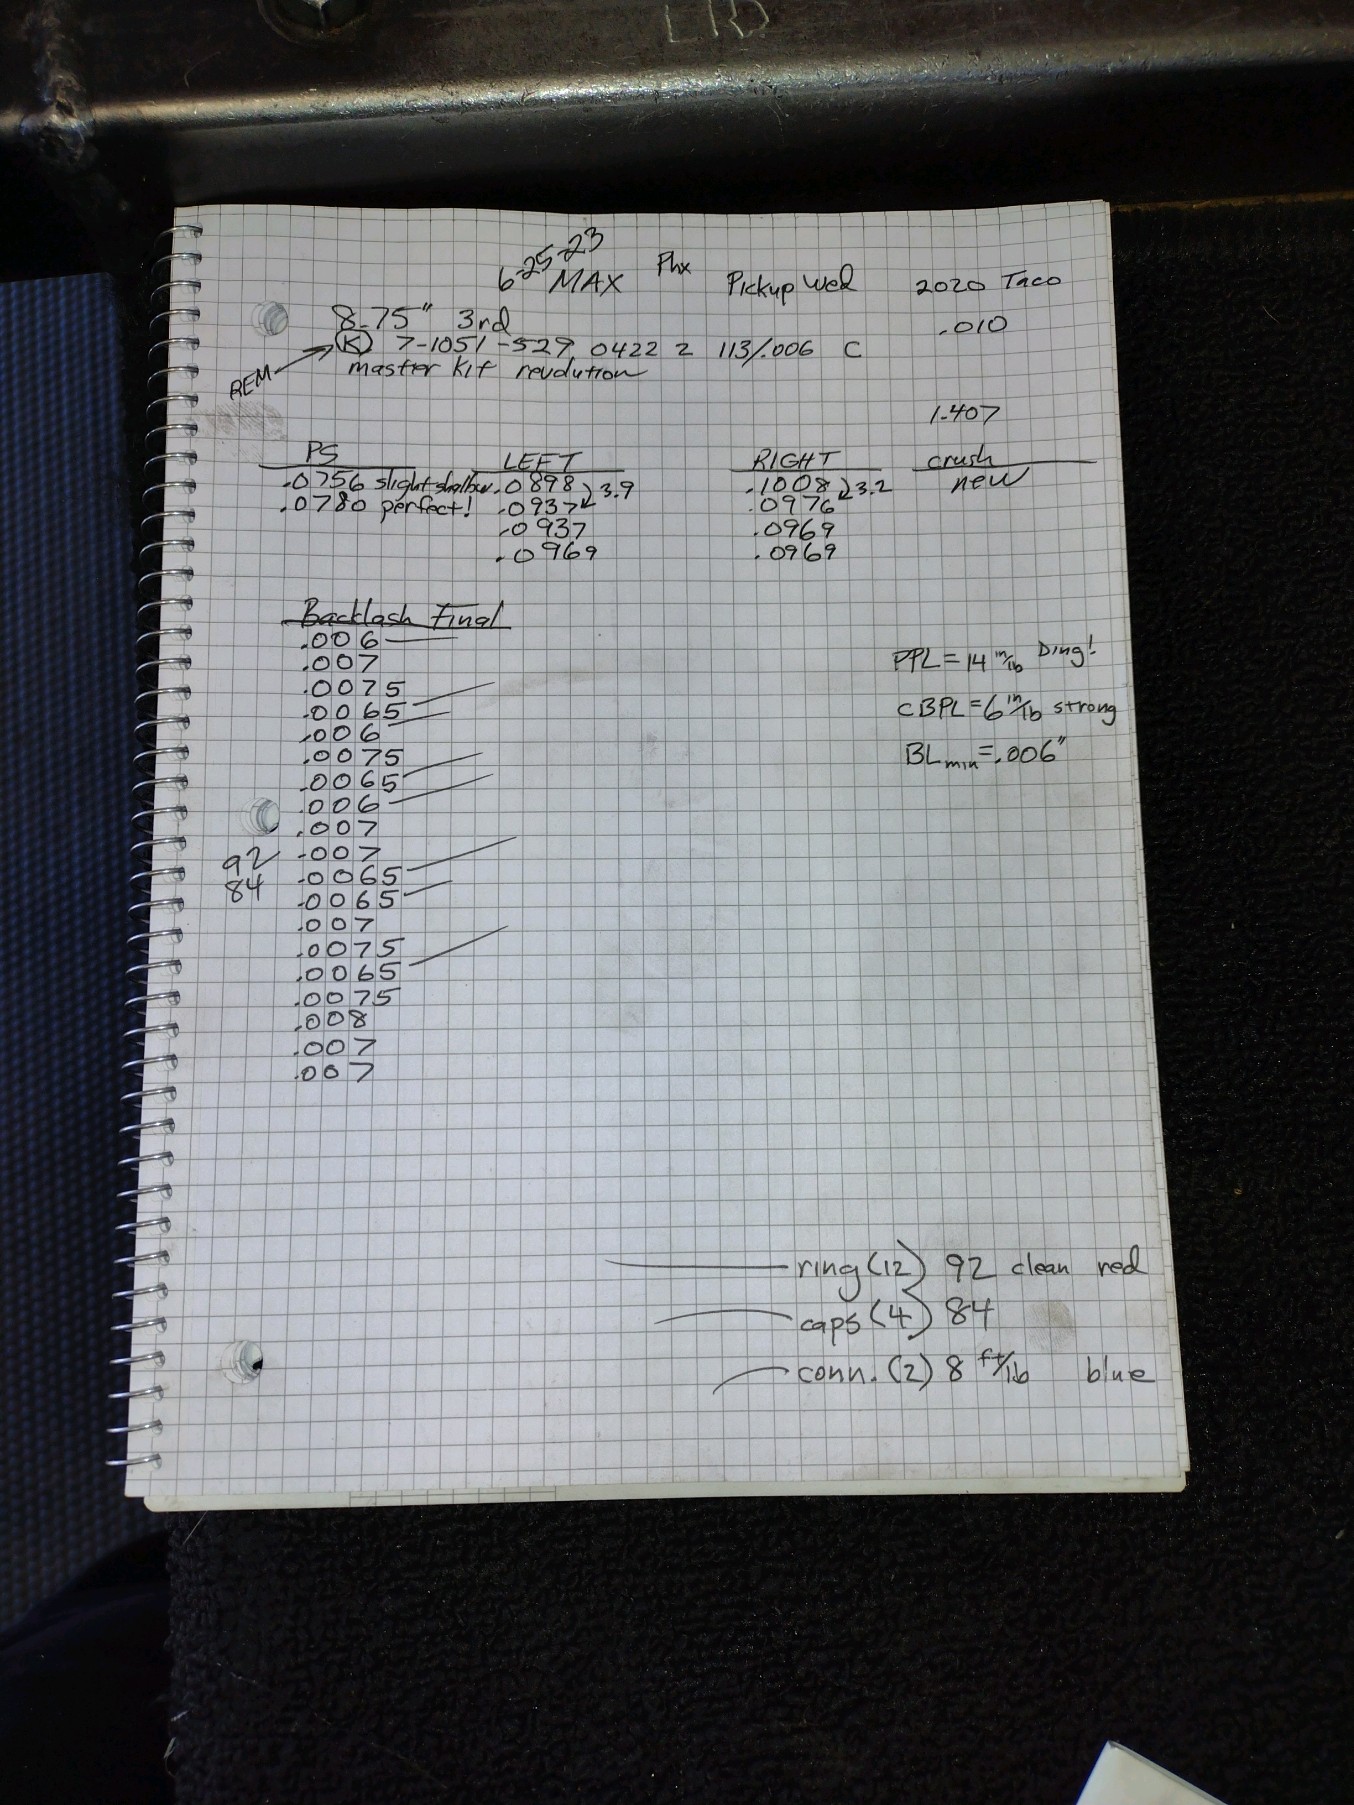
Red loctite and 92 foot/pounds on all 12 bolts. |
|---|
|
|
|
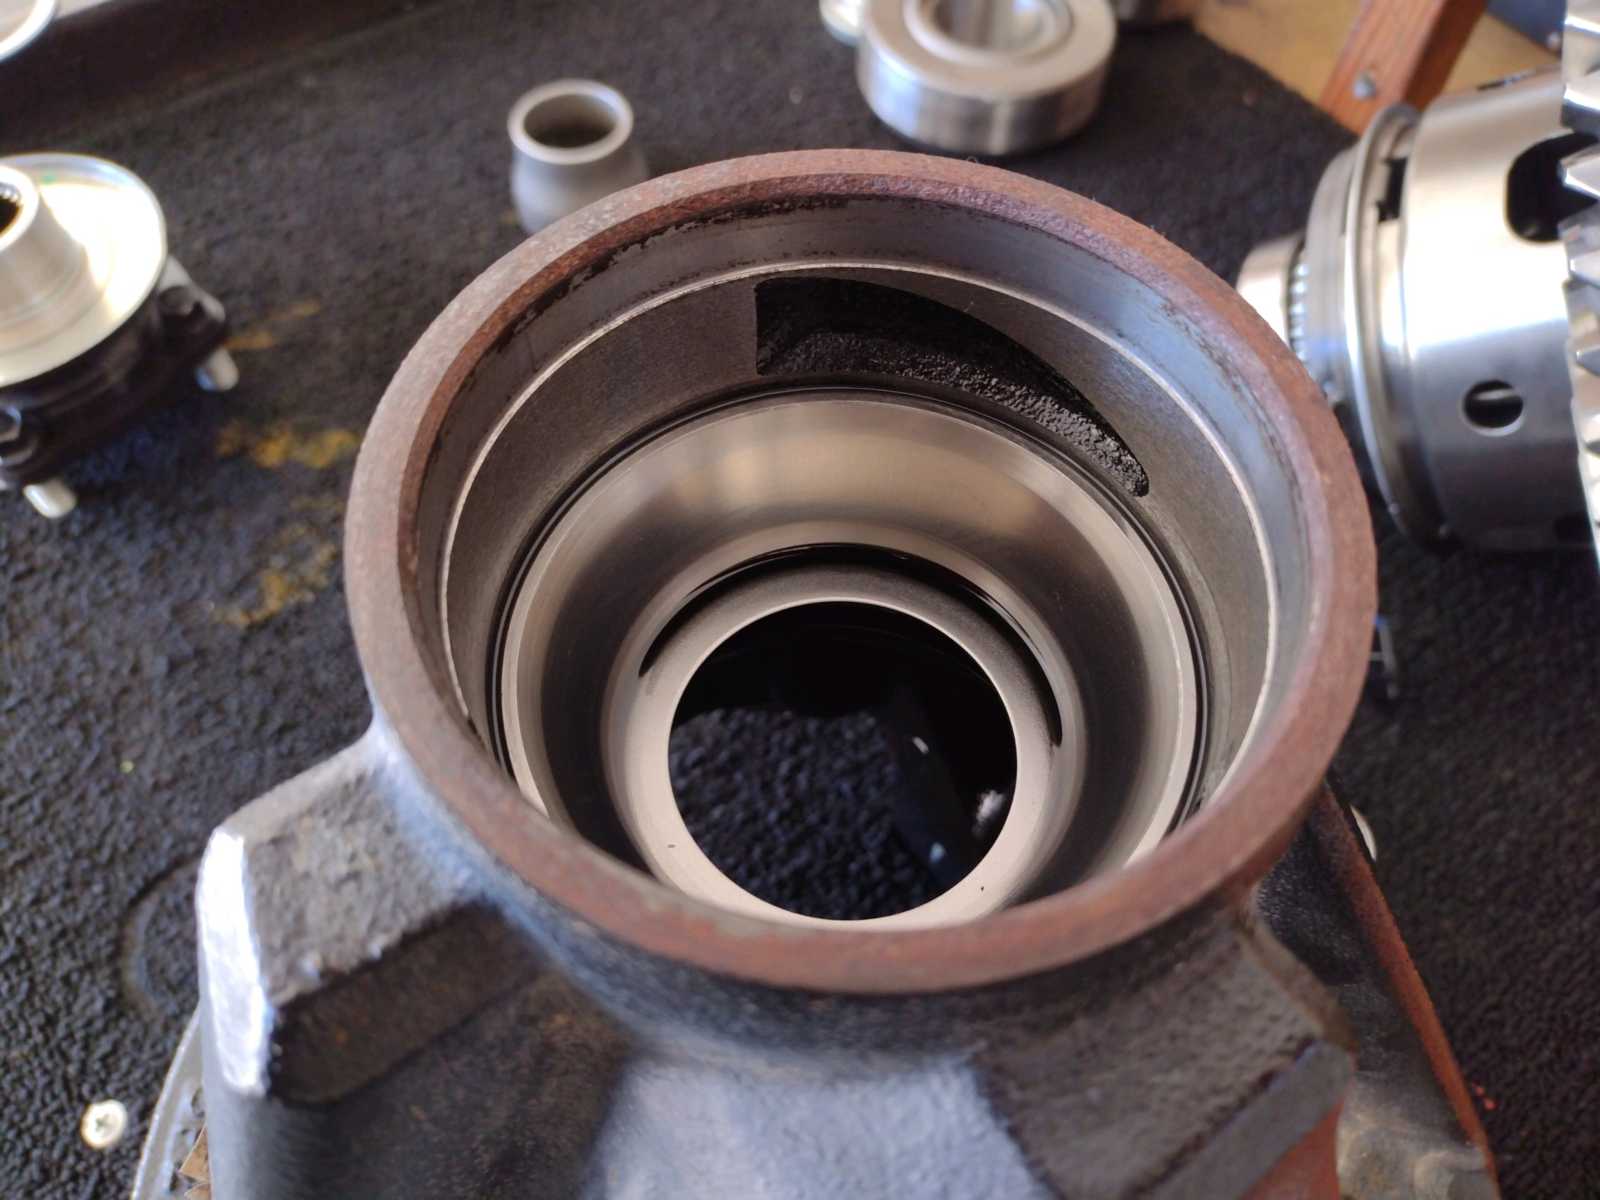
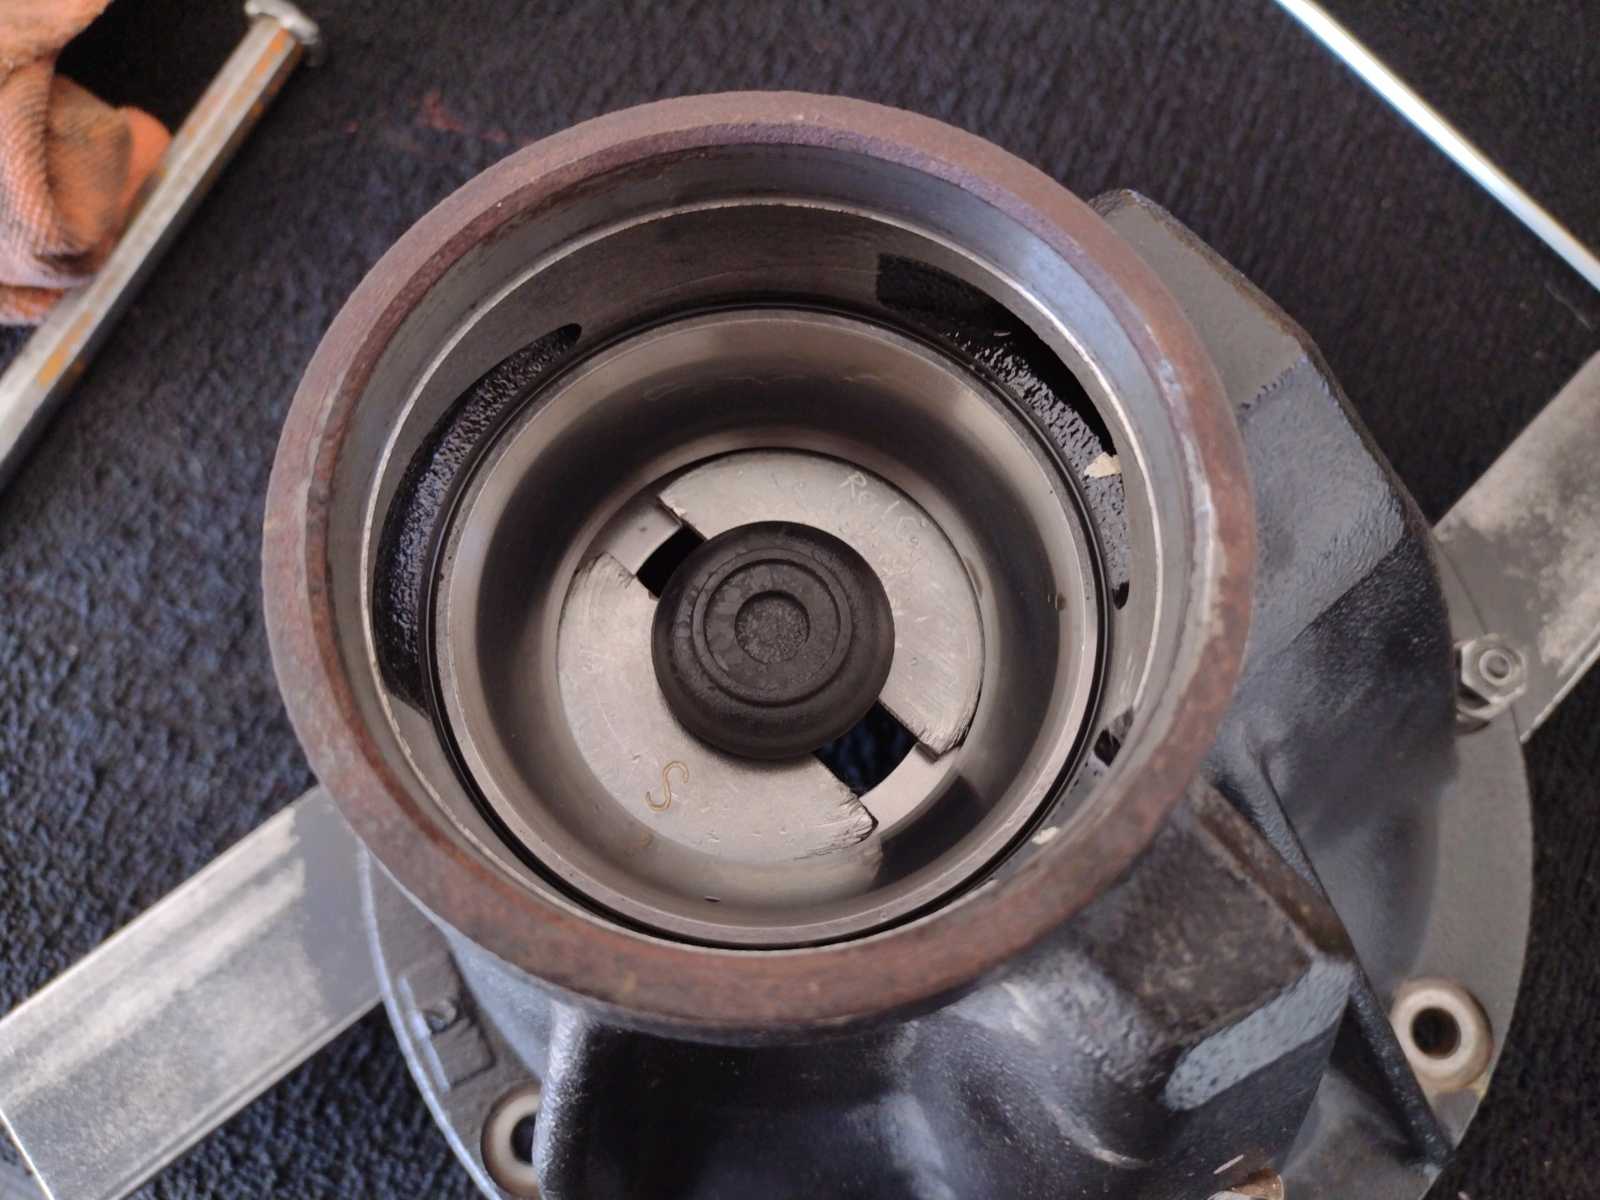
Old pinion races to be removed....... |
|---|
|
|
|
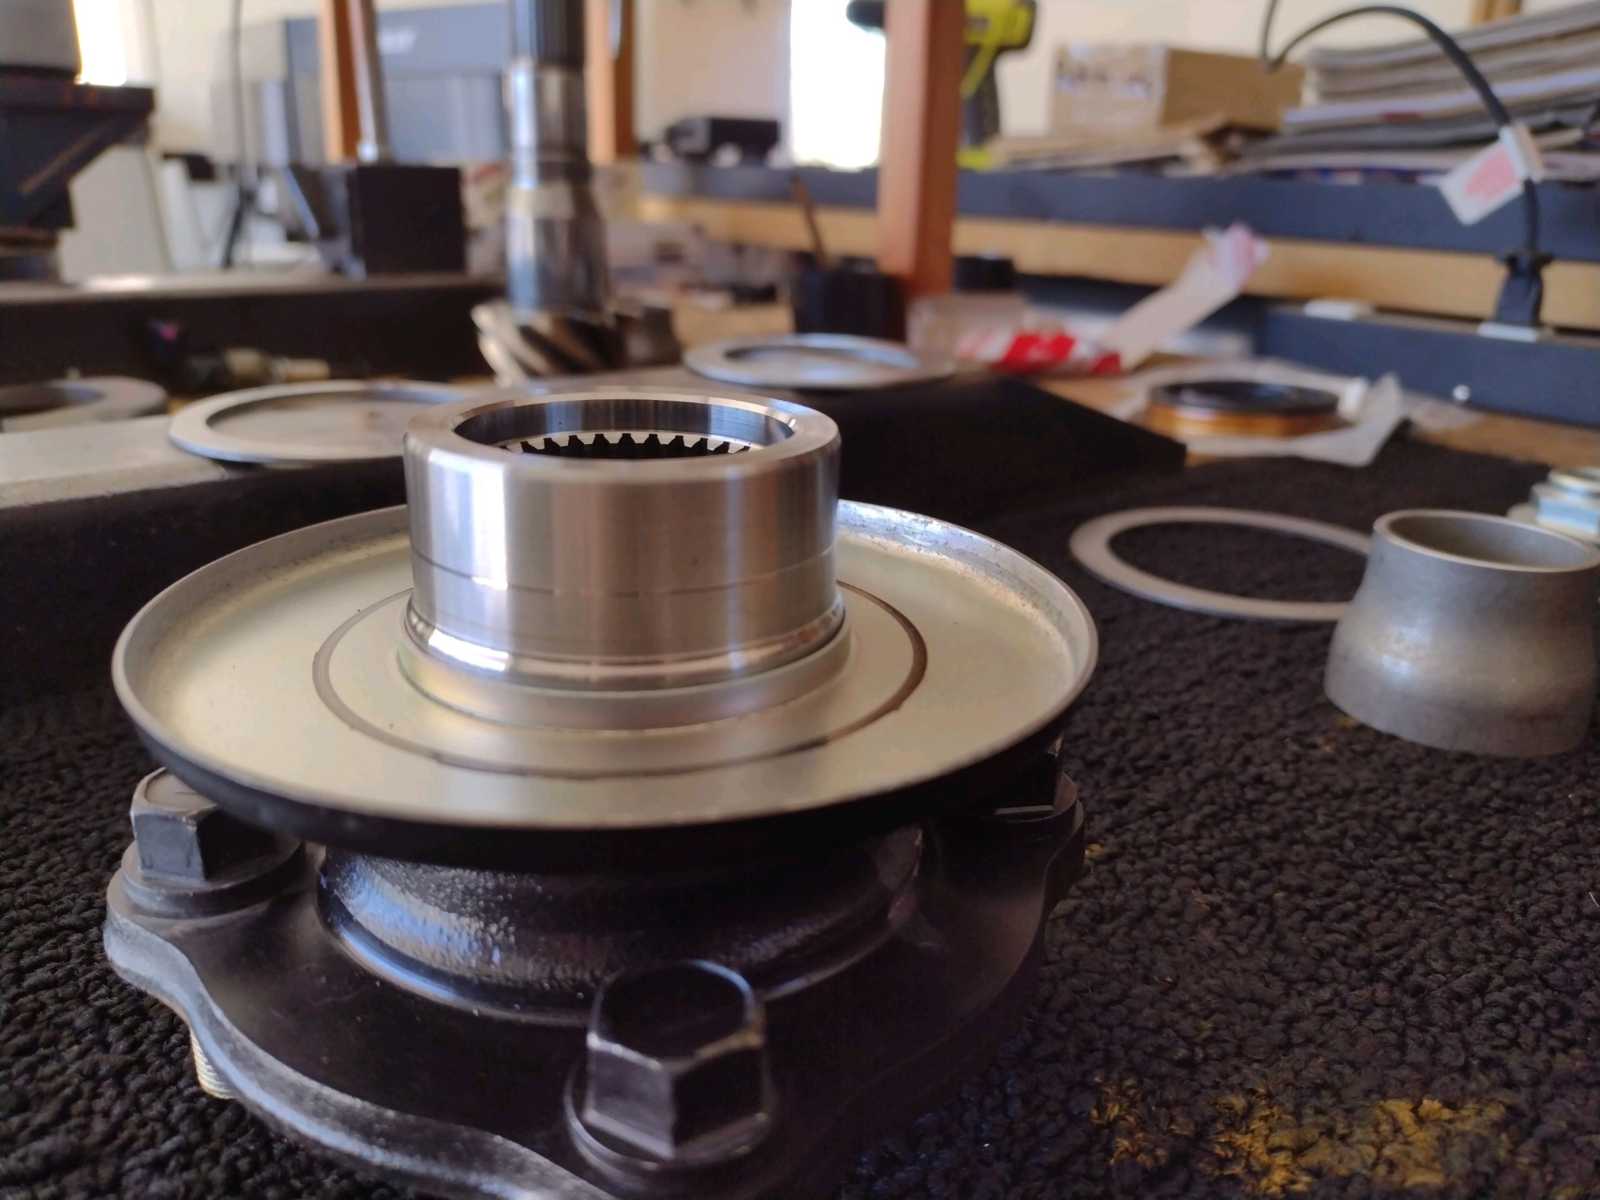
Flange looks almost like brand new. |
|---|
|
|
|
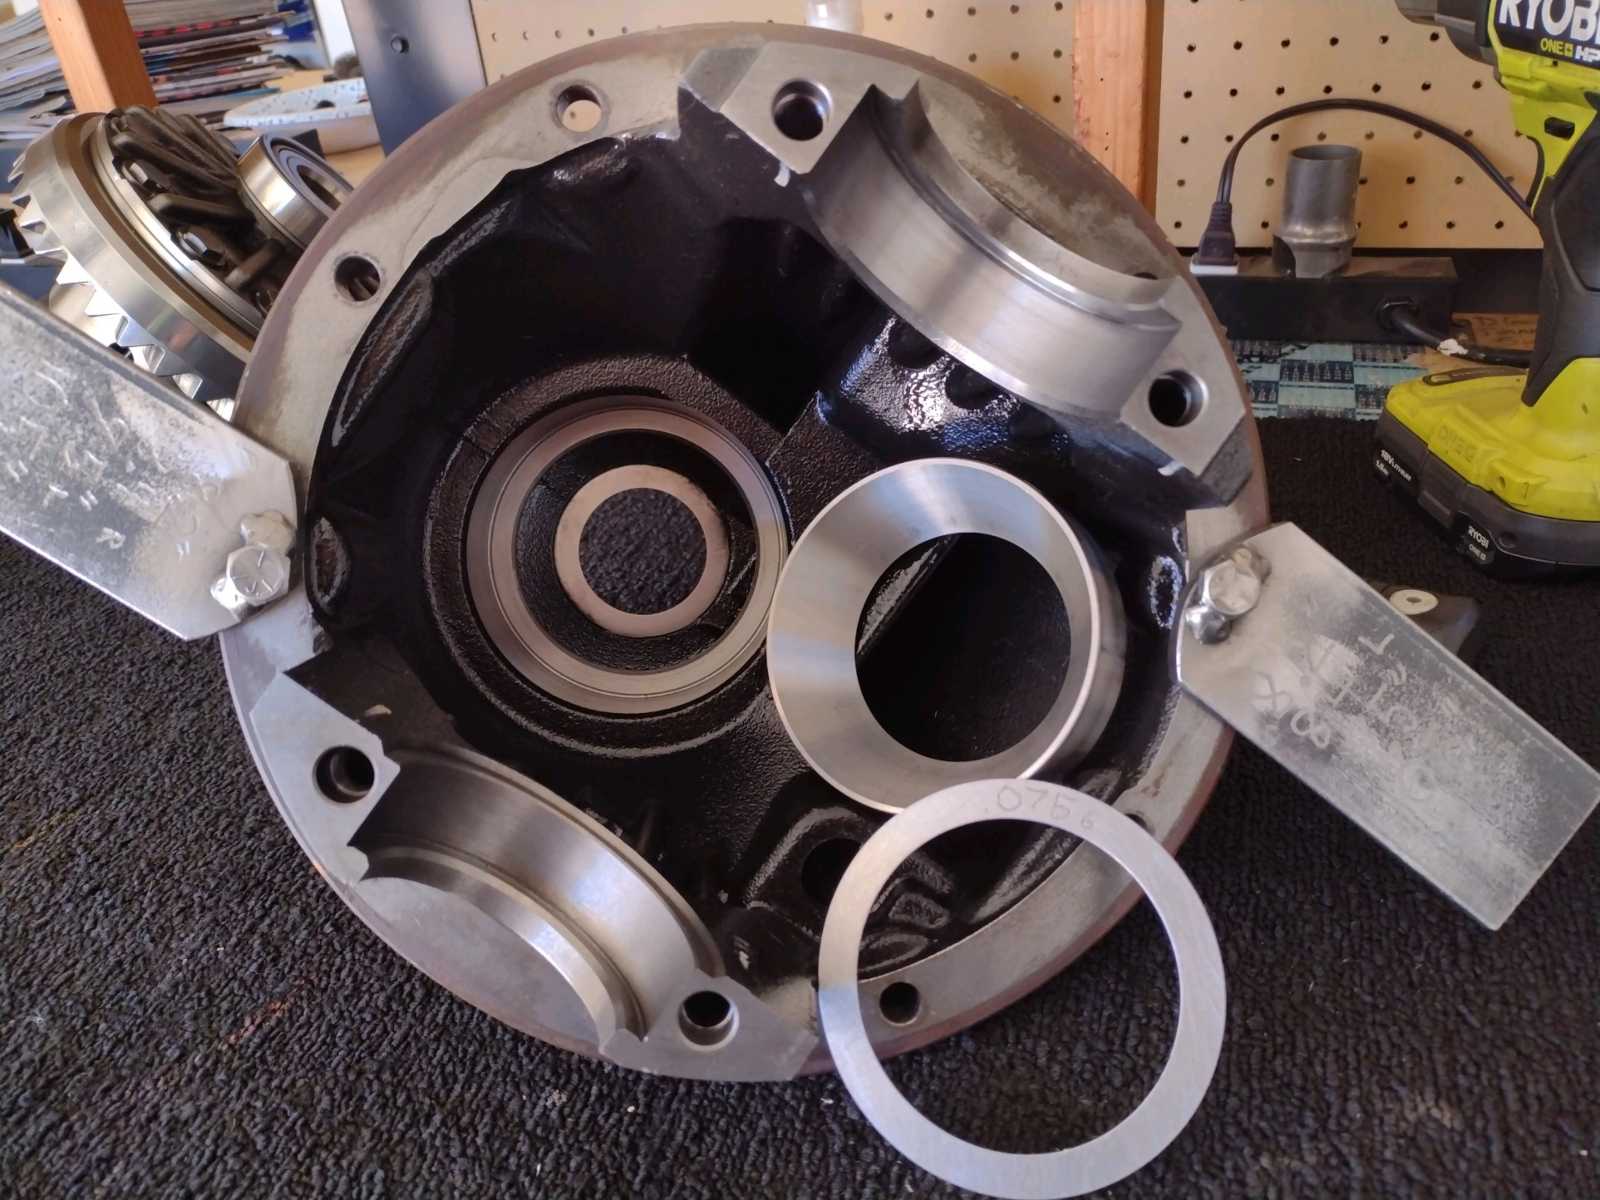
Re-using the stock .075" pinion shim with the new bearing. |
|---|
|
|
|
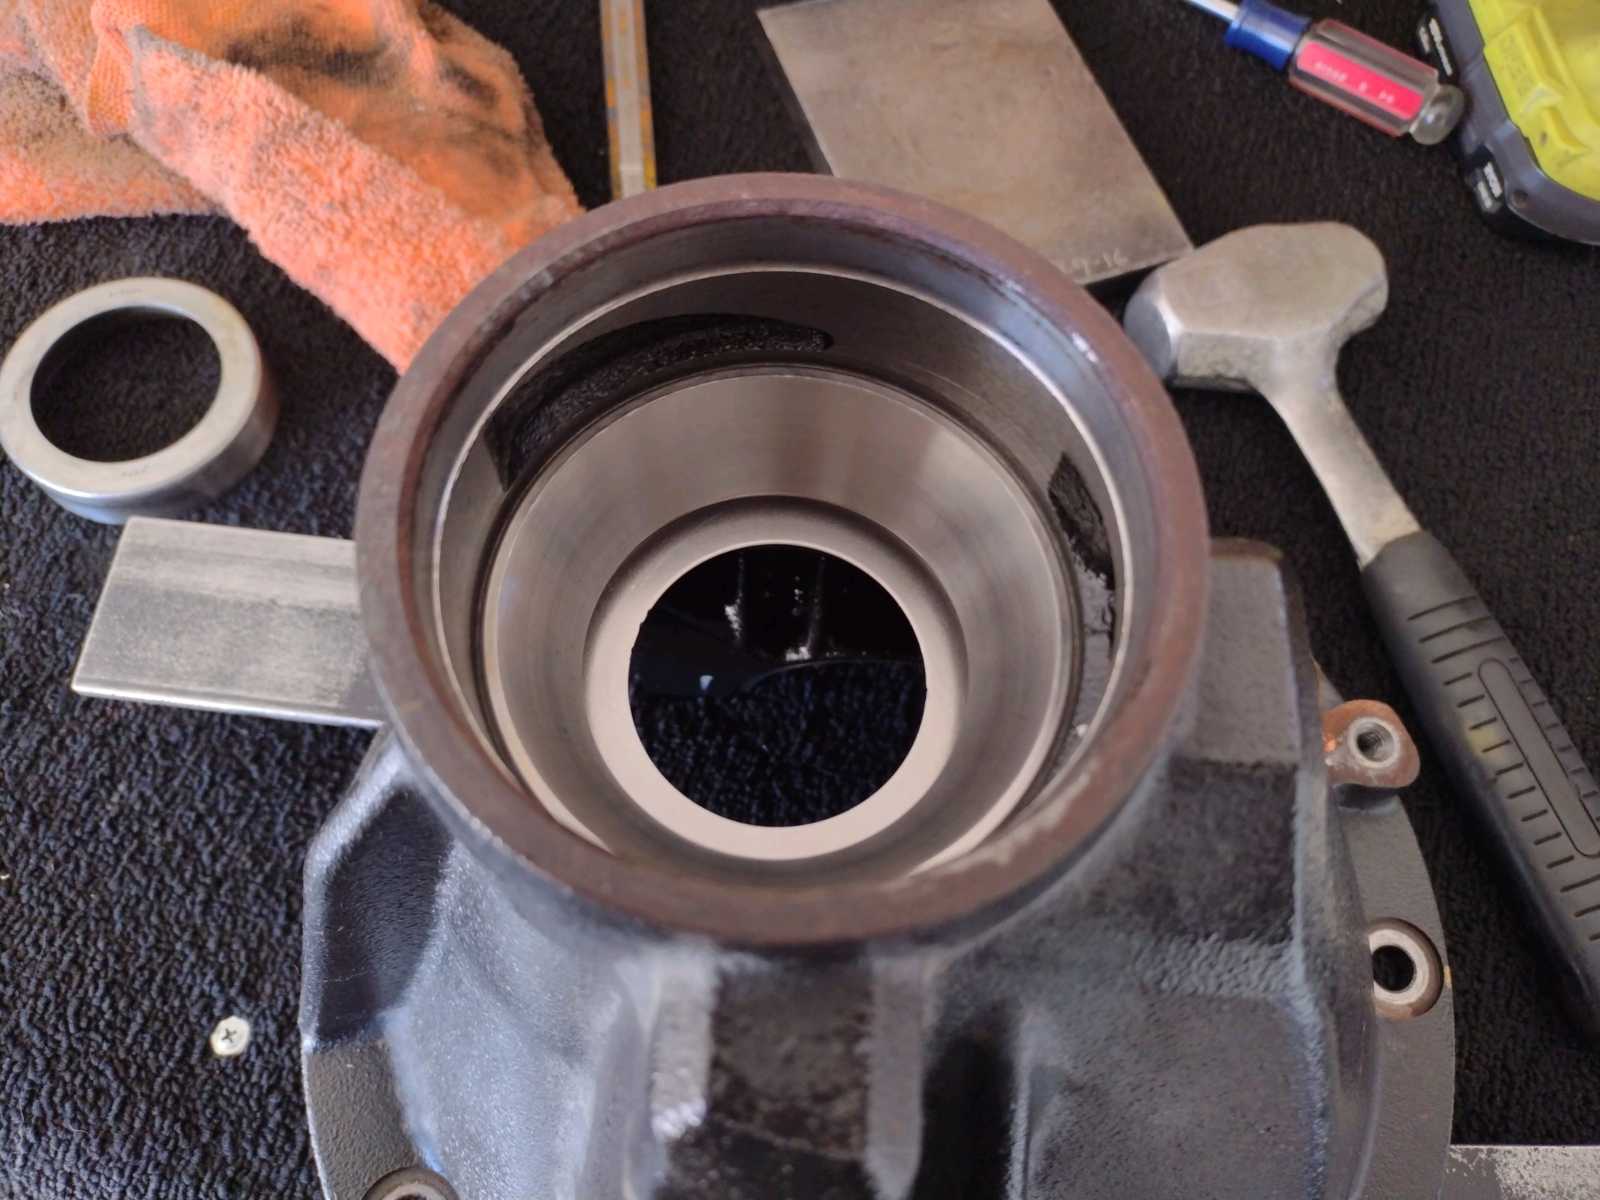
Make sure the large inner pinion race is fully seated. |
|---|
|
|
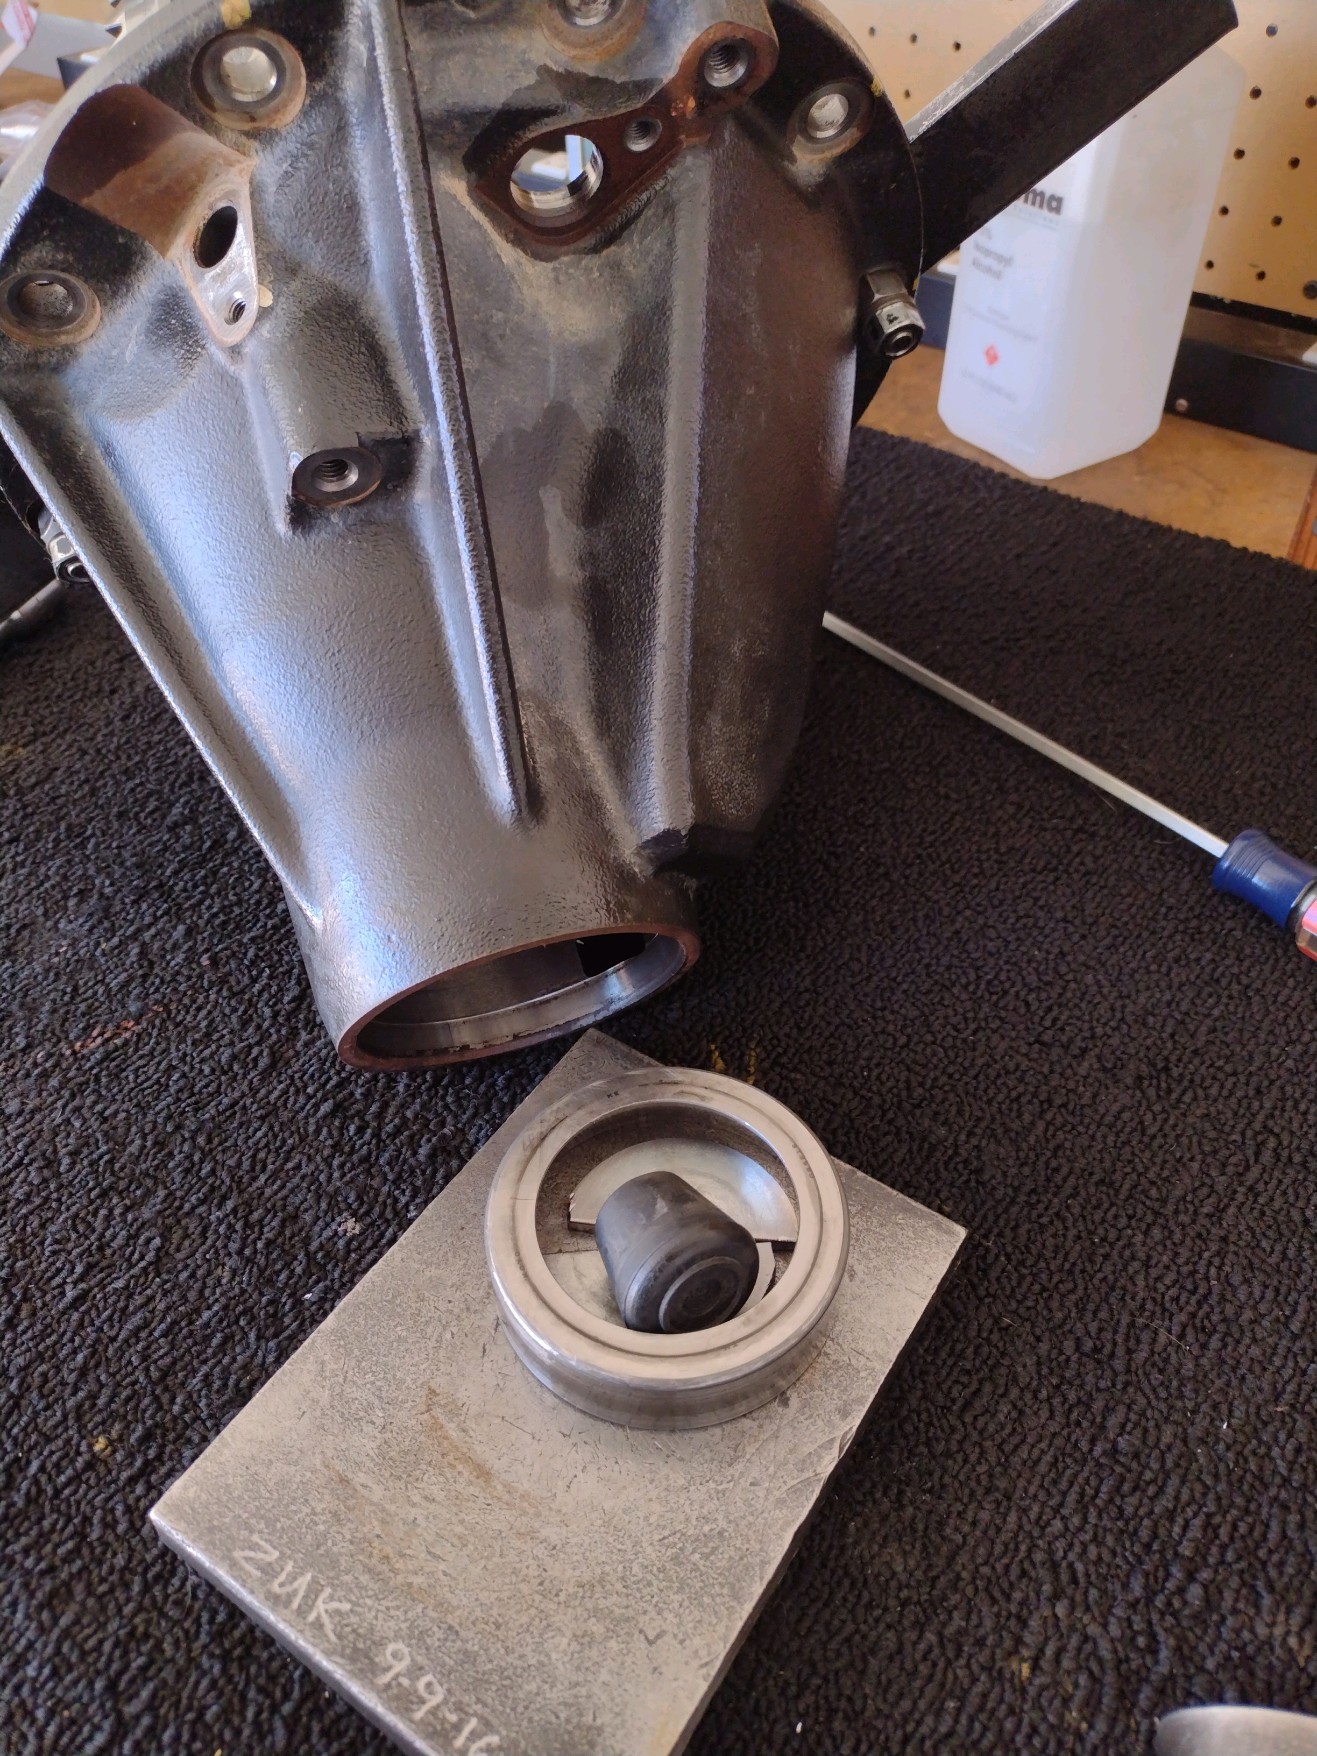
Went to Ace Hardware and purchased that "just right" washer and cut it in half.....makes a very nice tool for removing the outer
race with zero damage to the oil retainer. |
|---|
|
|
|
Then flip it over and tap out the race. |
|---|
|
|
|
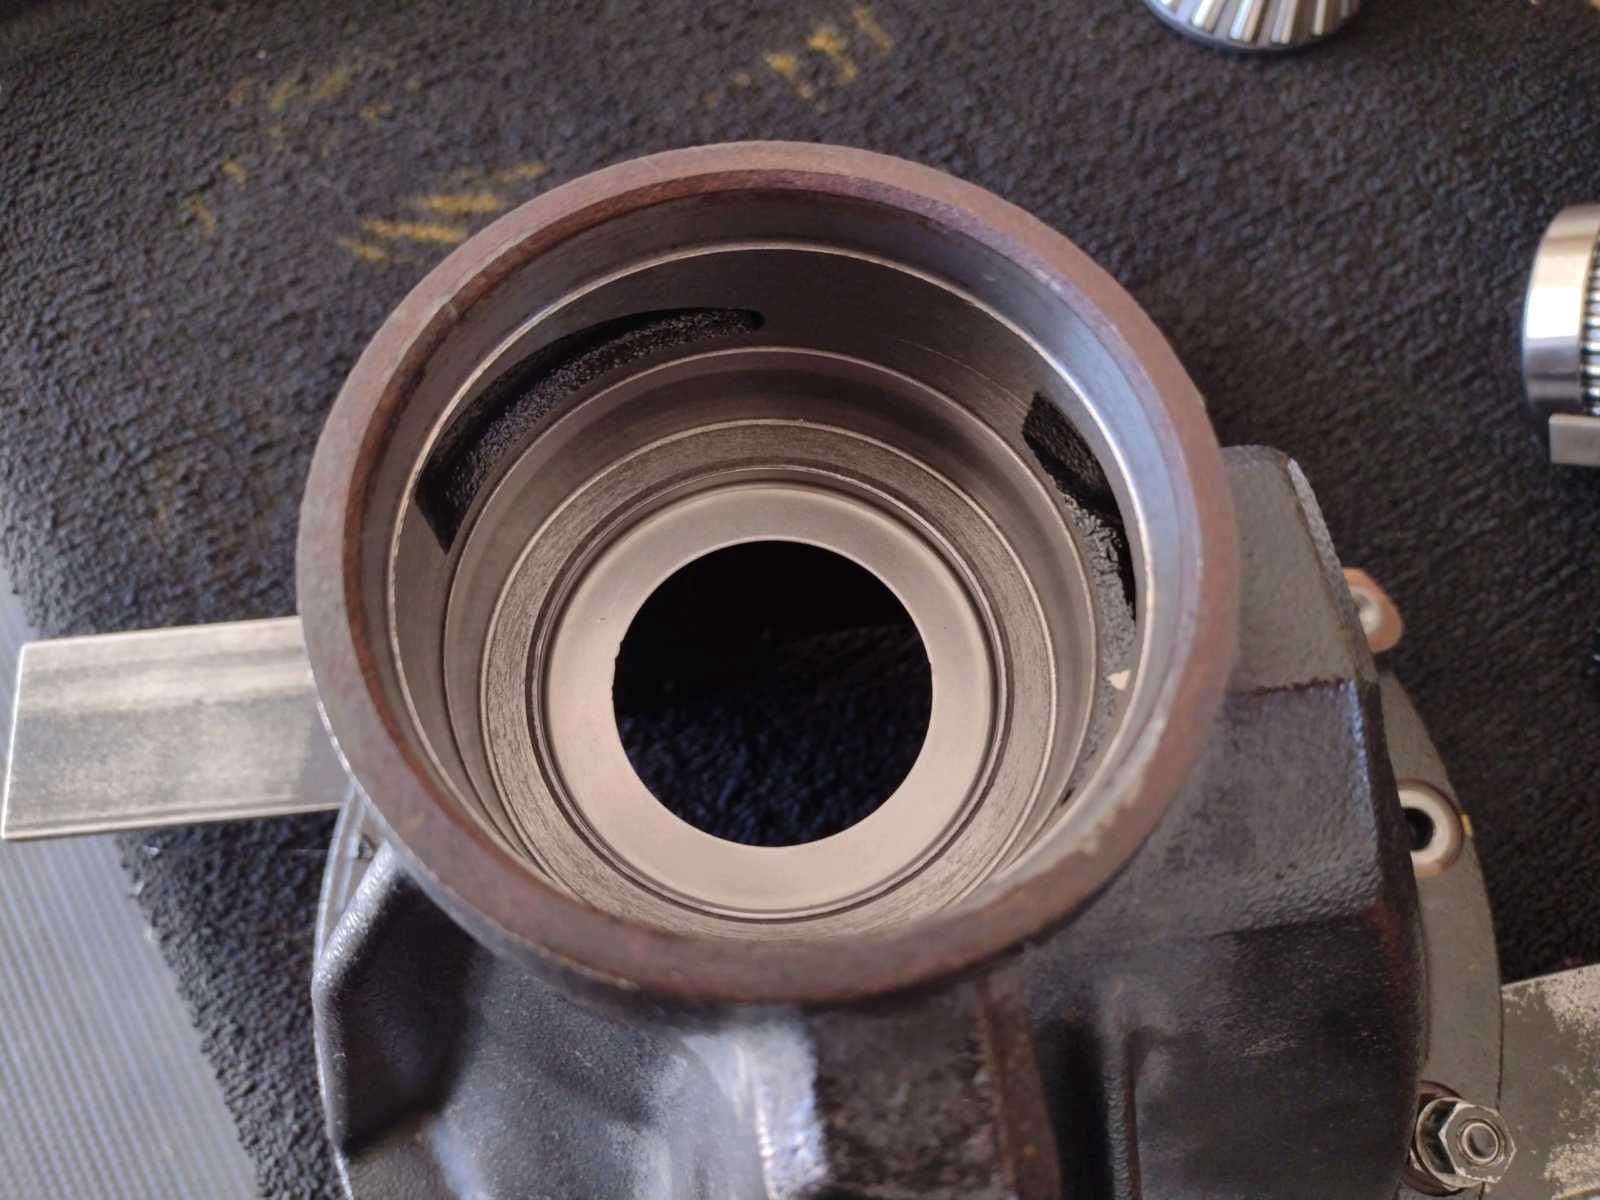
Wallah. Race is out..... |
|---|
|
|
|
....and the oil retainer is not damaged. |
|---|
|
|
|
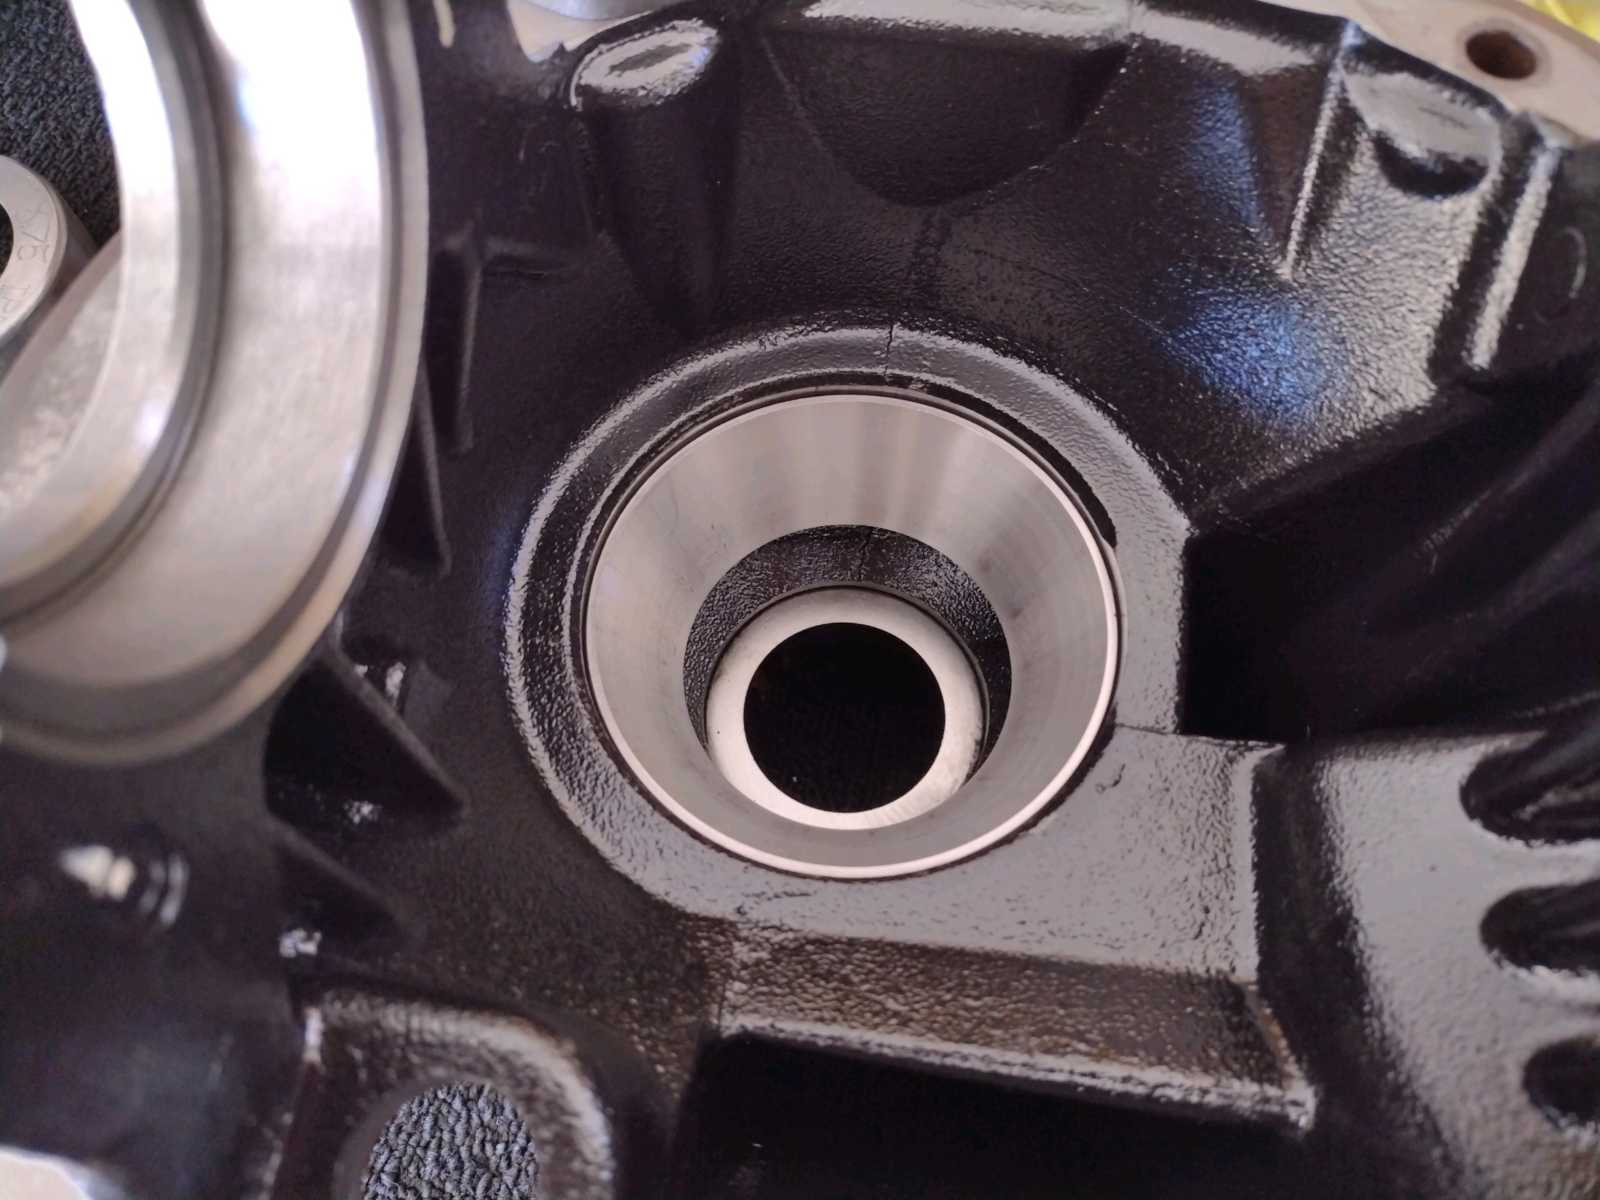
New race tapped in solid with a tight fit. |
|---|
|
|
|
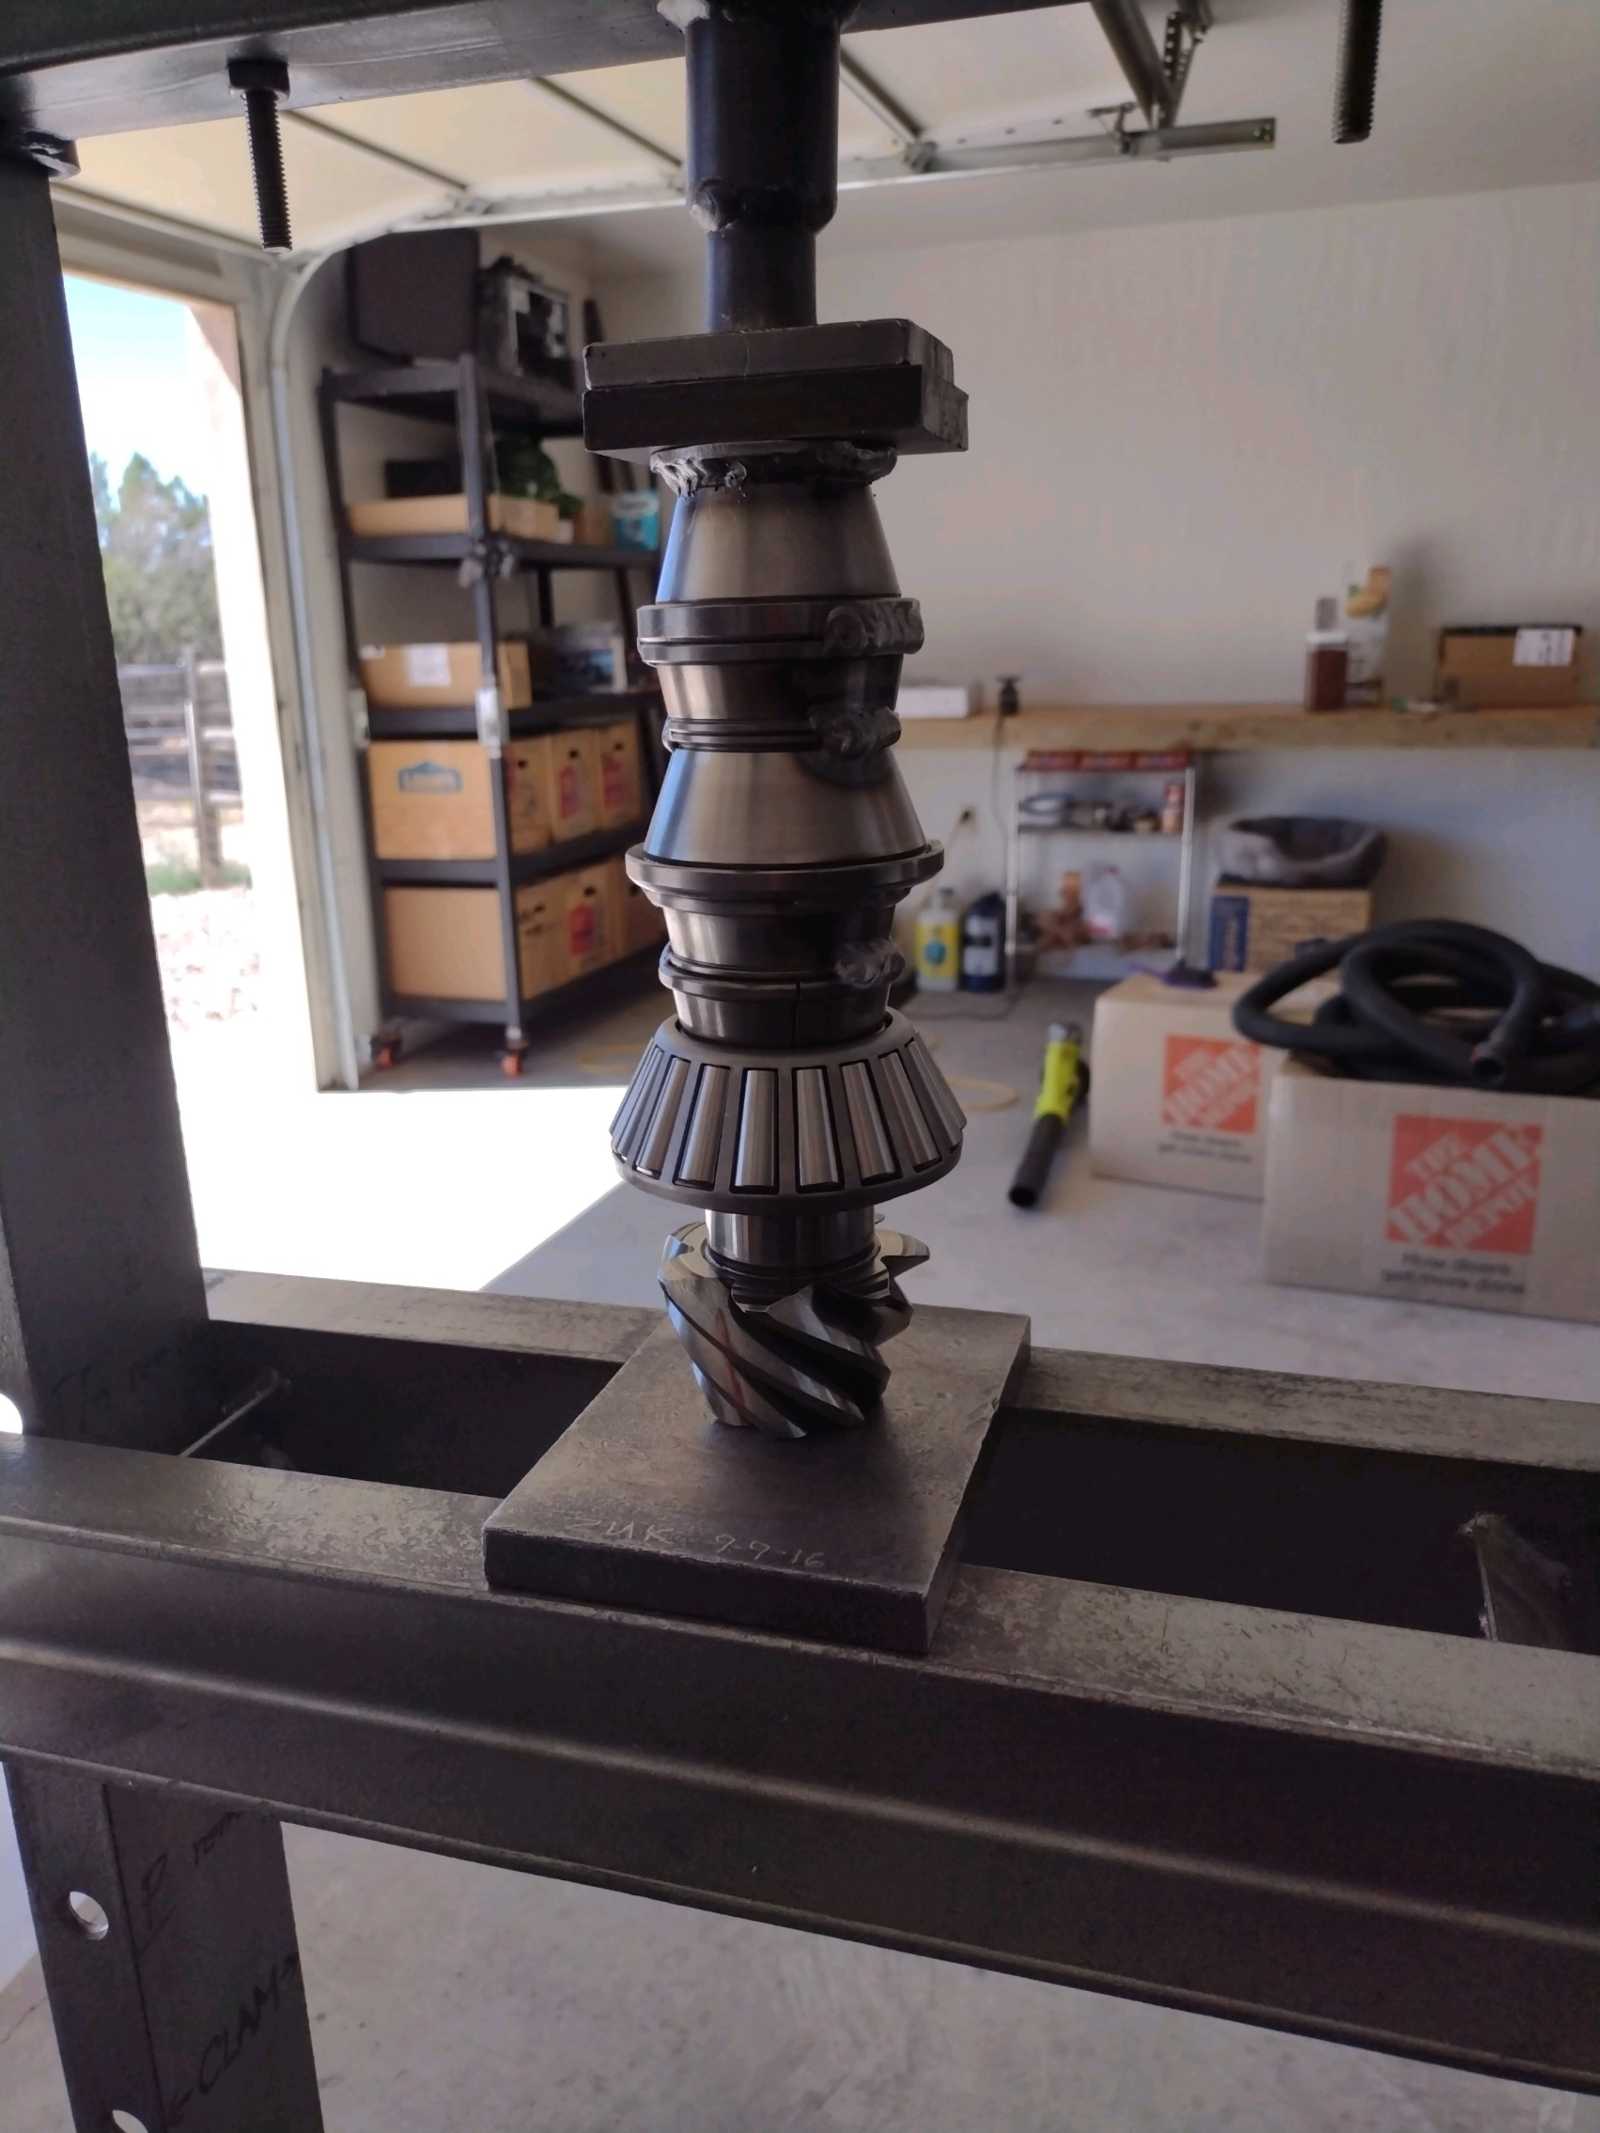
Now the new monster sized bearing can be pressed onto the shiney 529 pinion |
|---|
|
|
|
;;;;;;;;;;;;;;;;;;;;;;;;;;;;;;;;;;;;;;;; |
|---|
|
|
|
Skipped a few steps but the pinion is mounted up with about 15 inch/pounds of preload on well oiled bearings. |
|---|
|
|
|
Center carrier is now installed. One change of the washer plates and the backlash is acceptablefor a pattern check. |
|---|
|

|
|
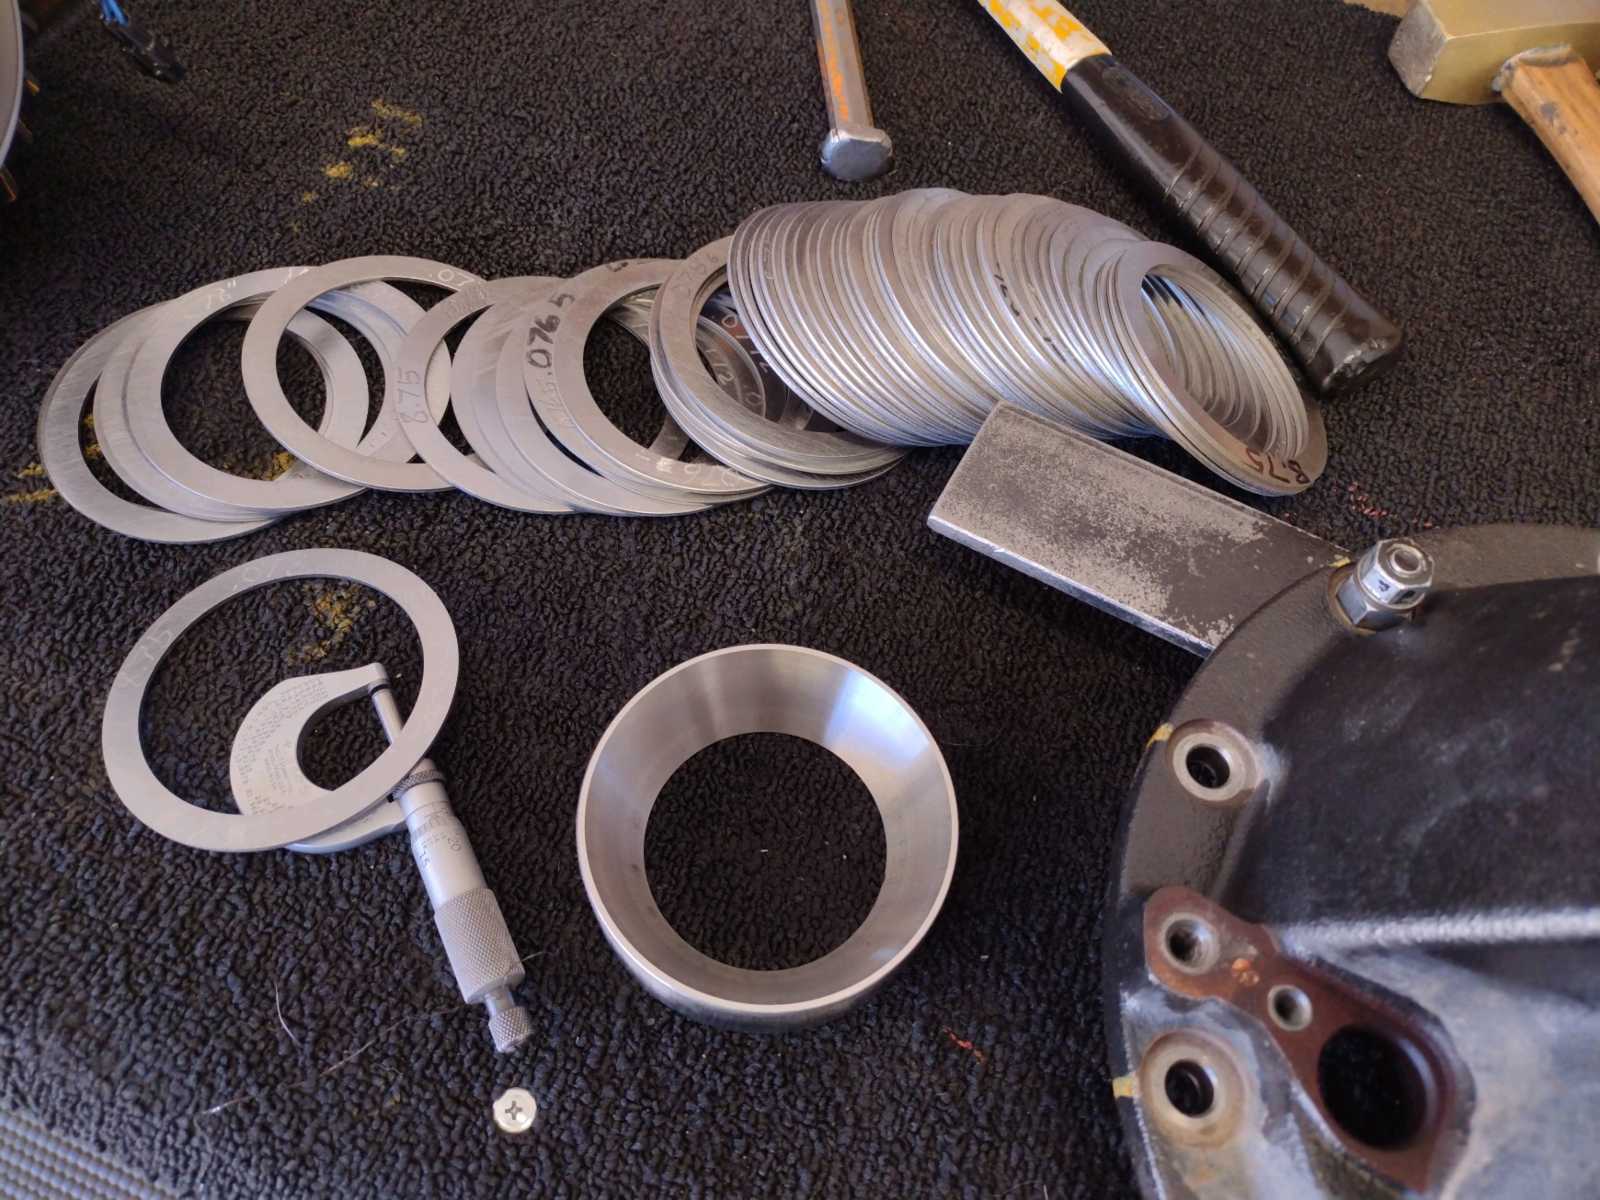
The left and right washer plates are different dimensions...it's really good to have a complete selection of both.
|
|---|
|
|
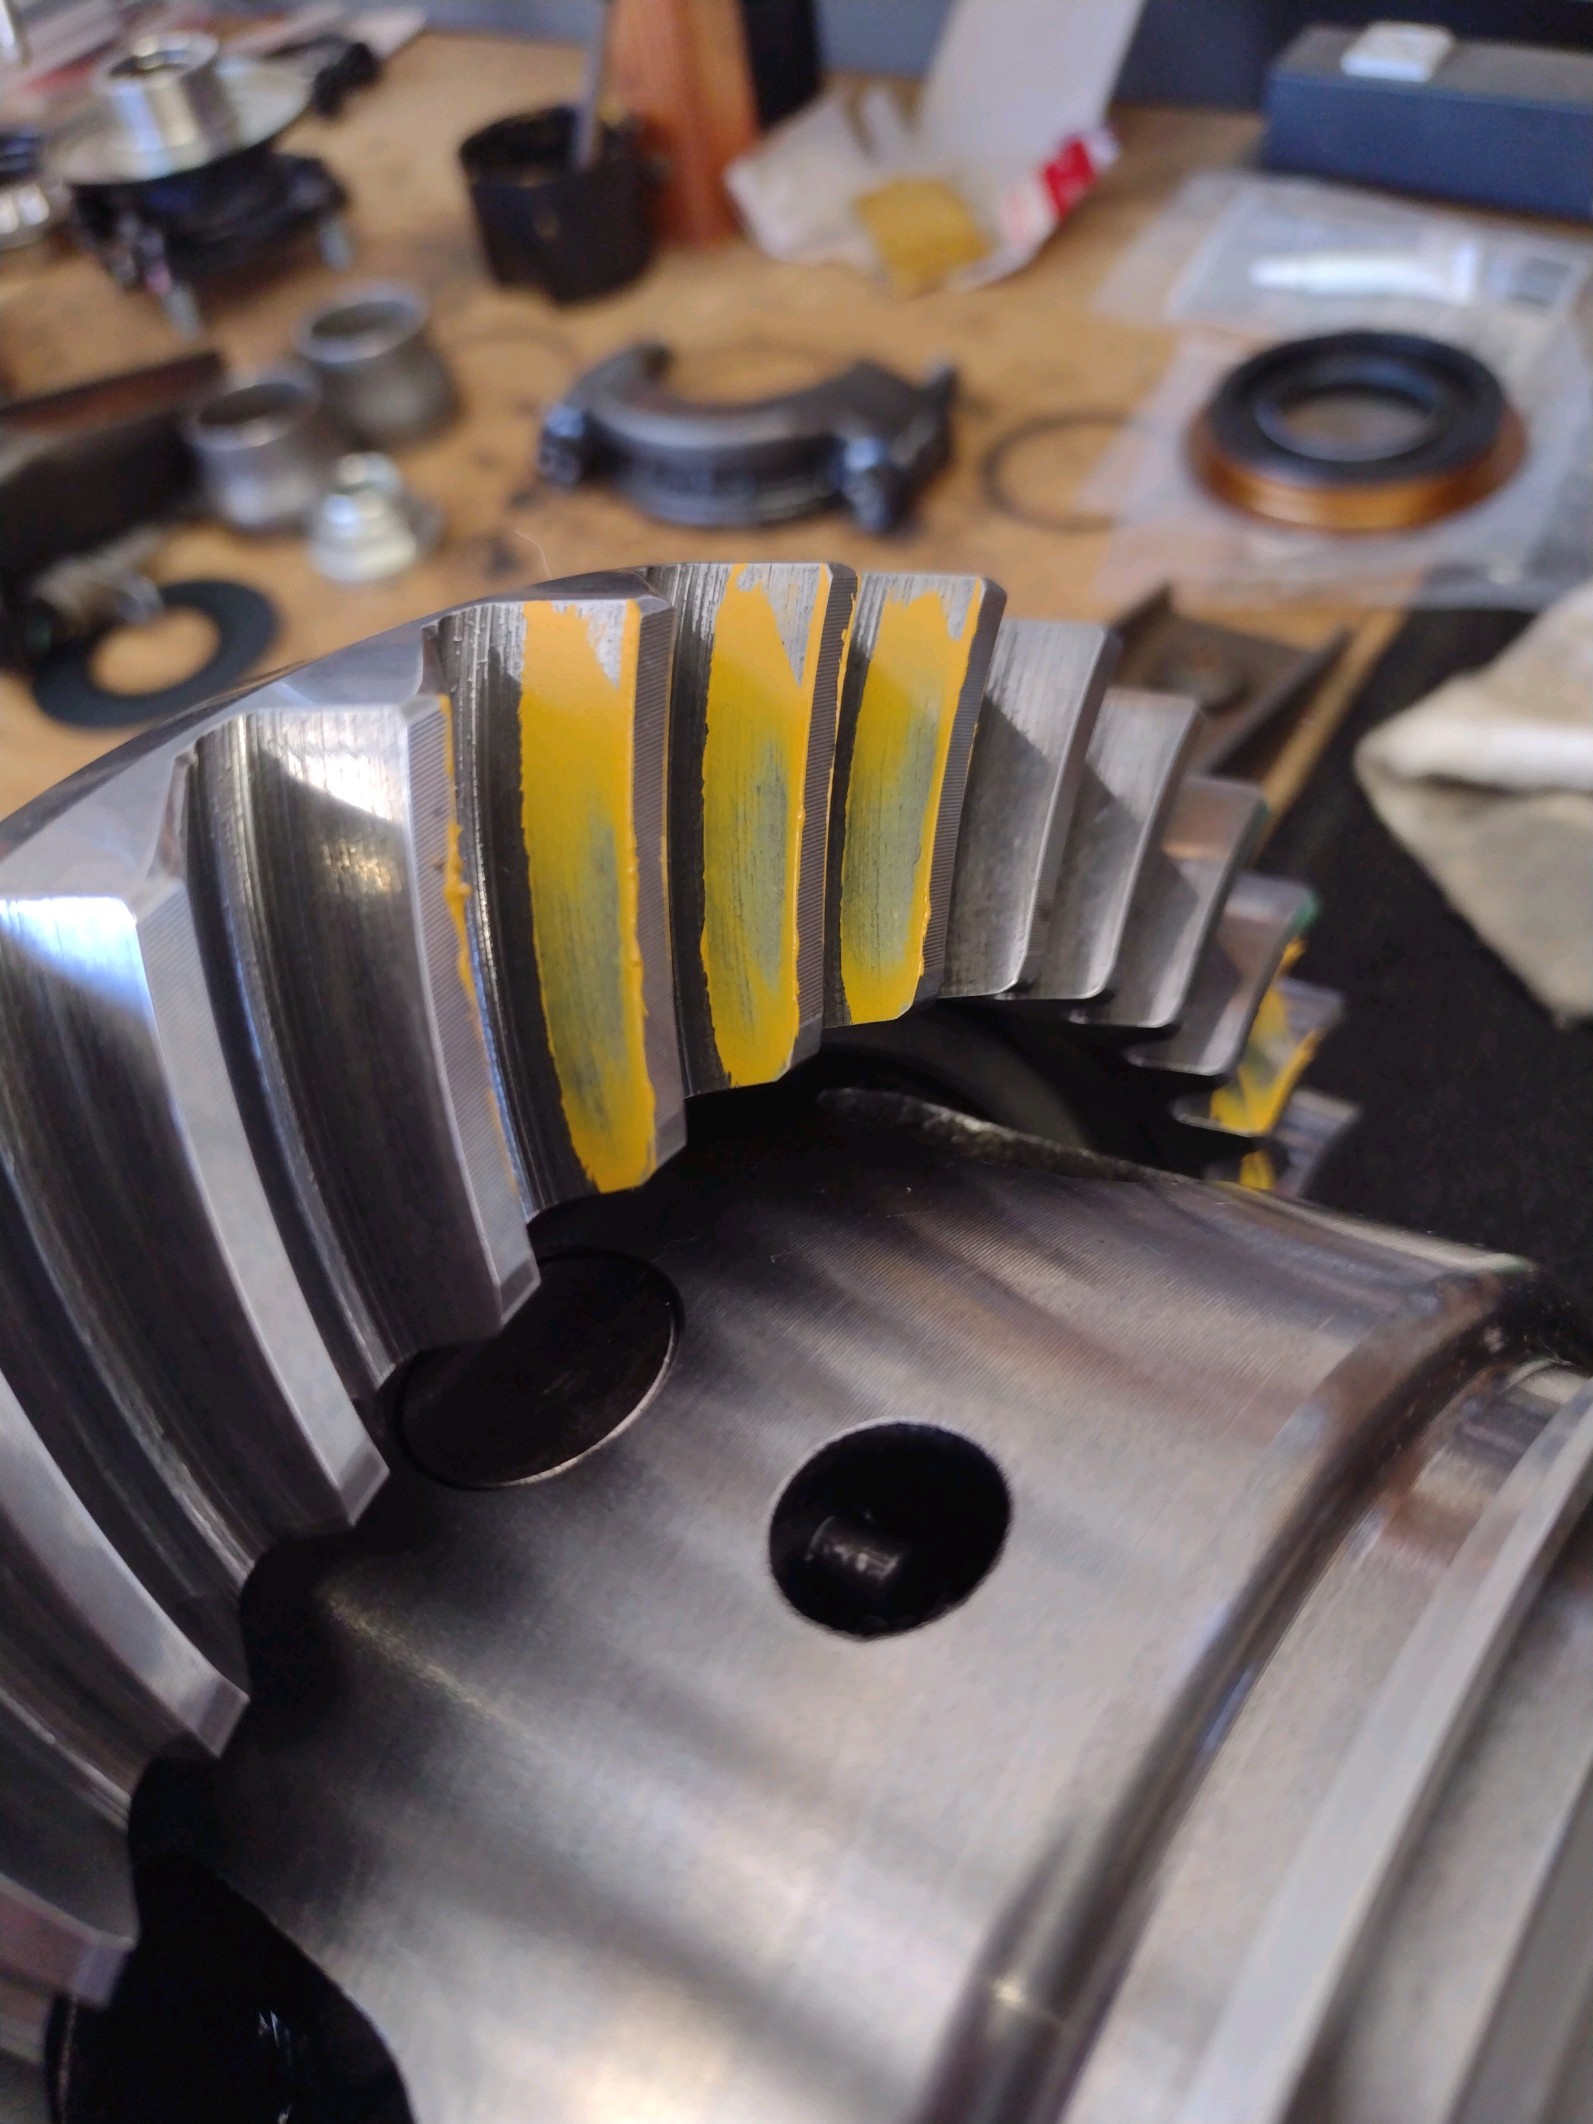
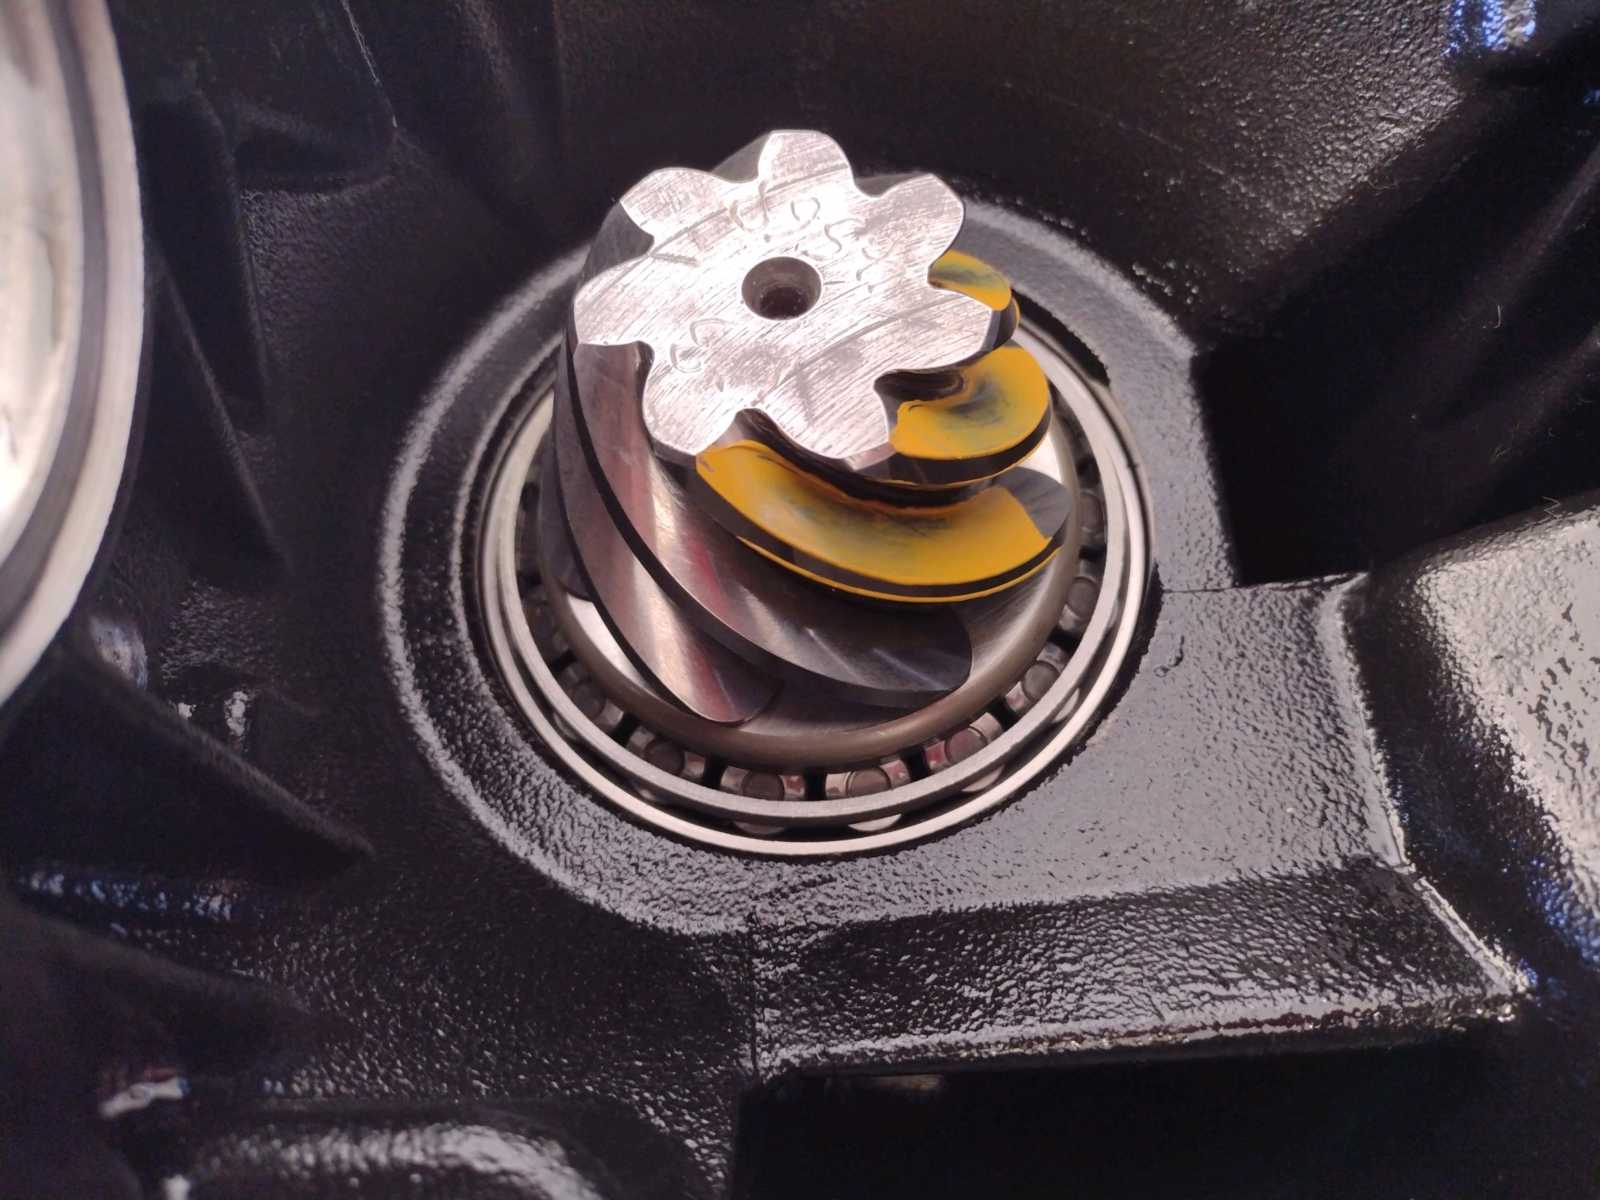
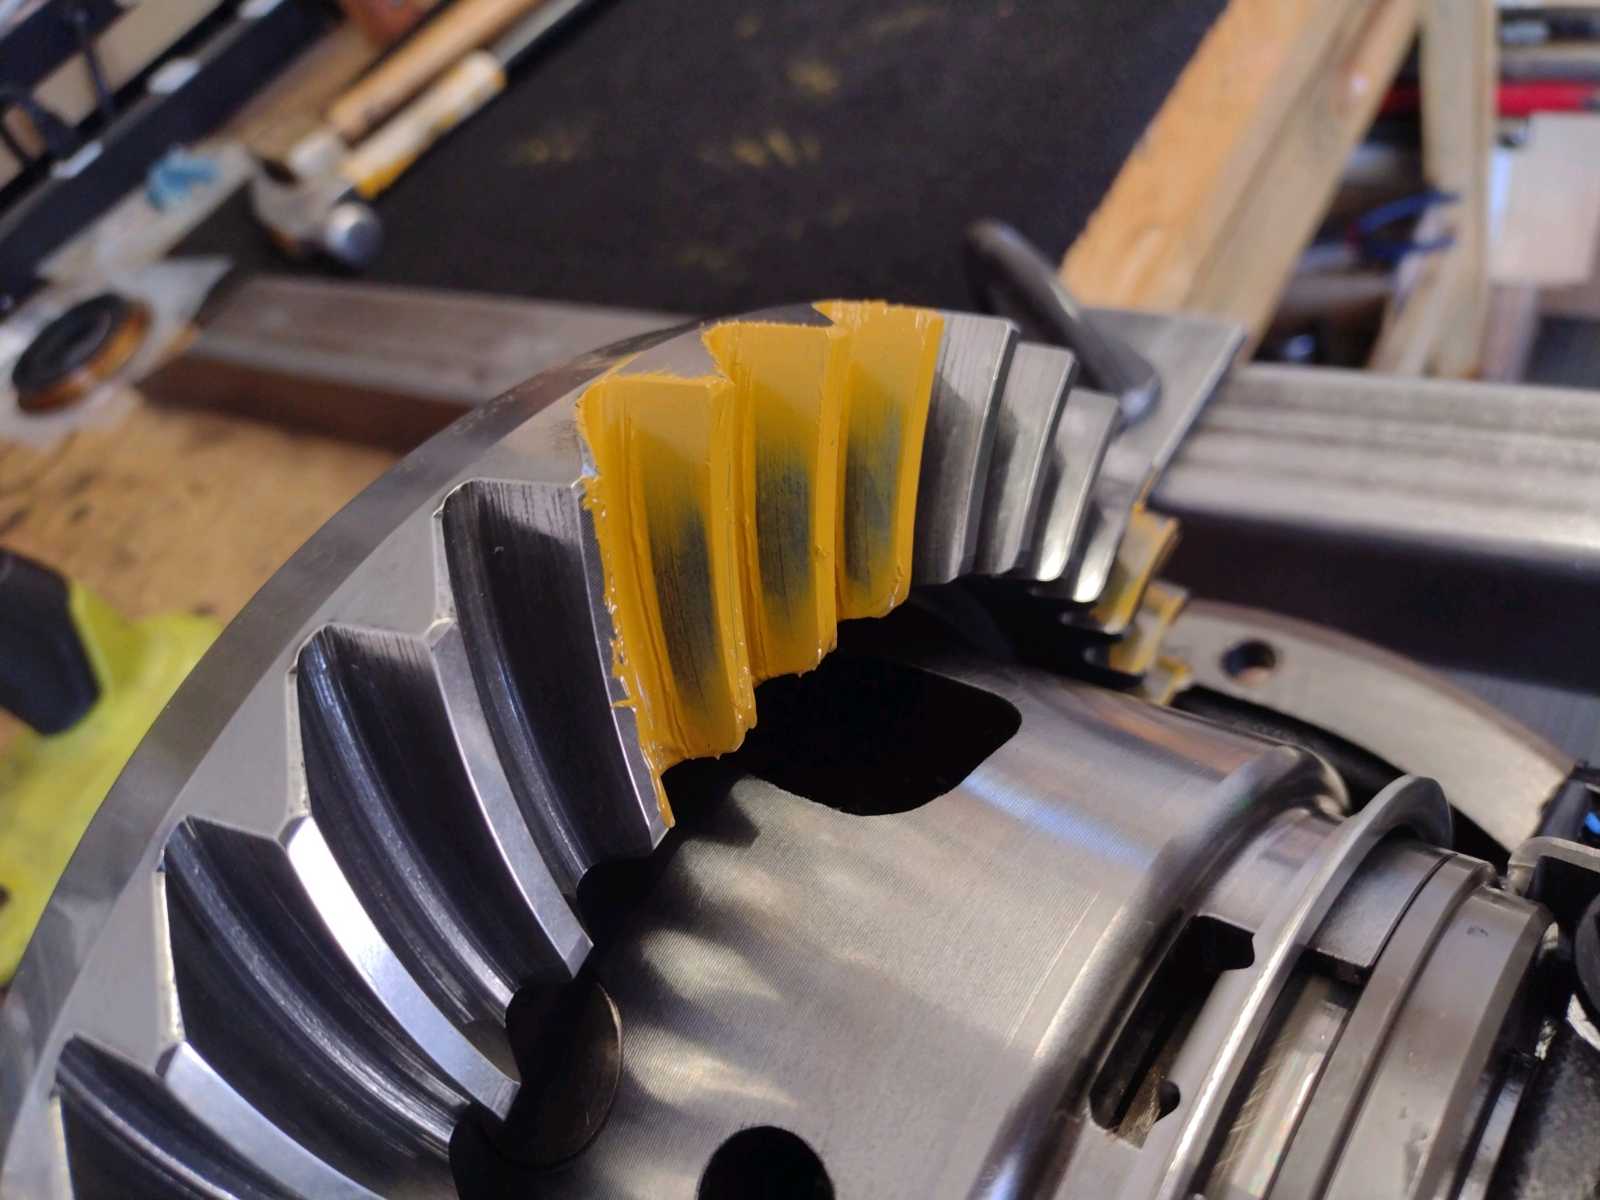
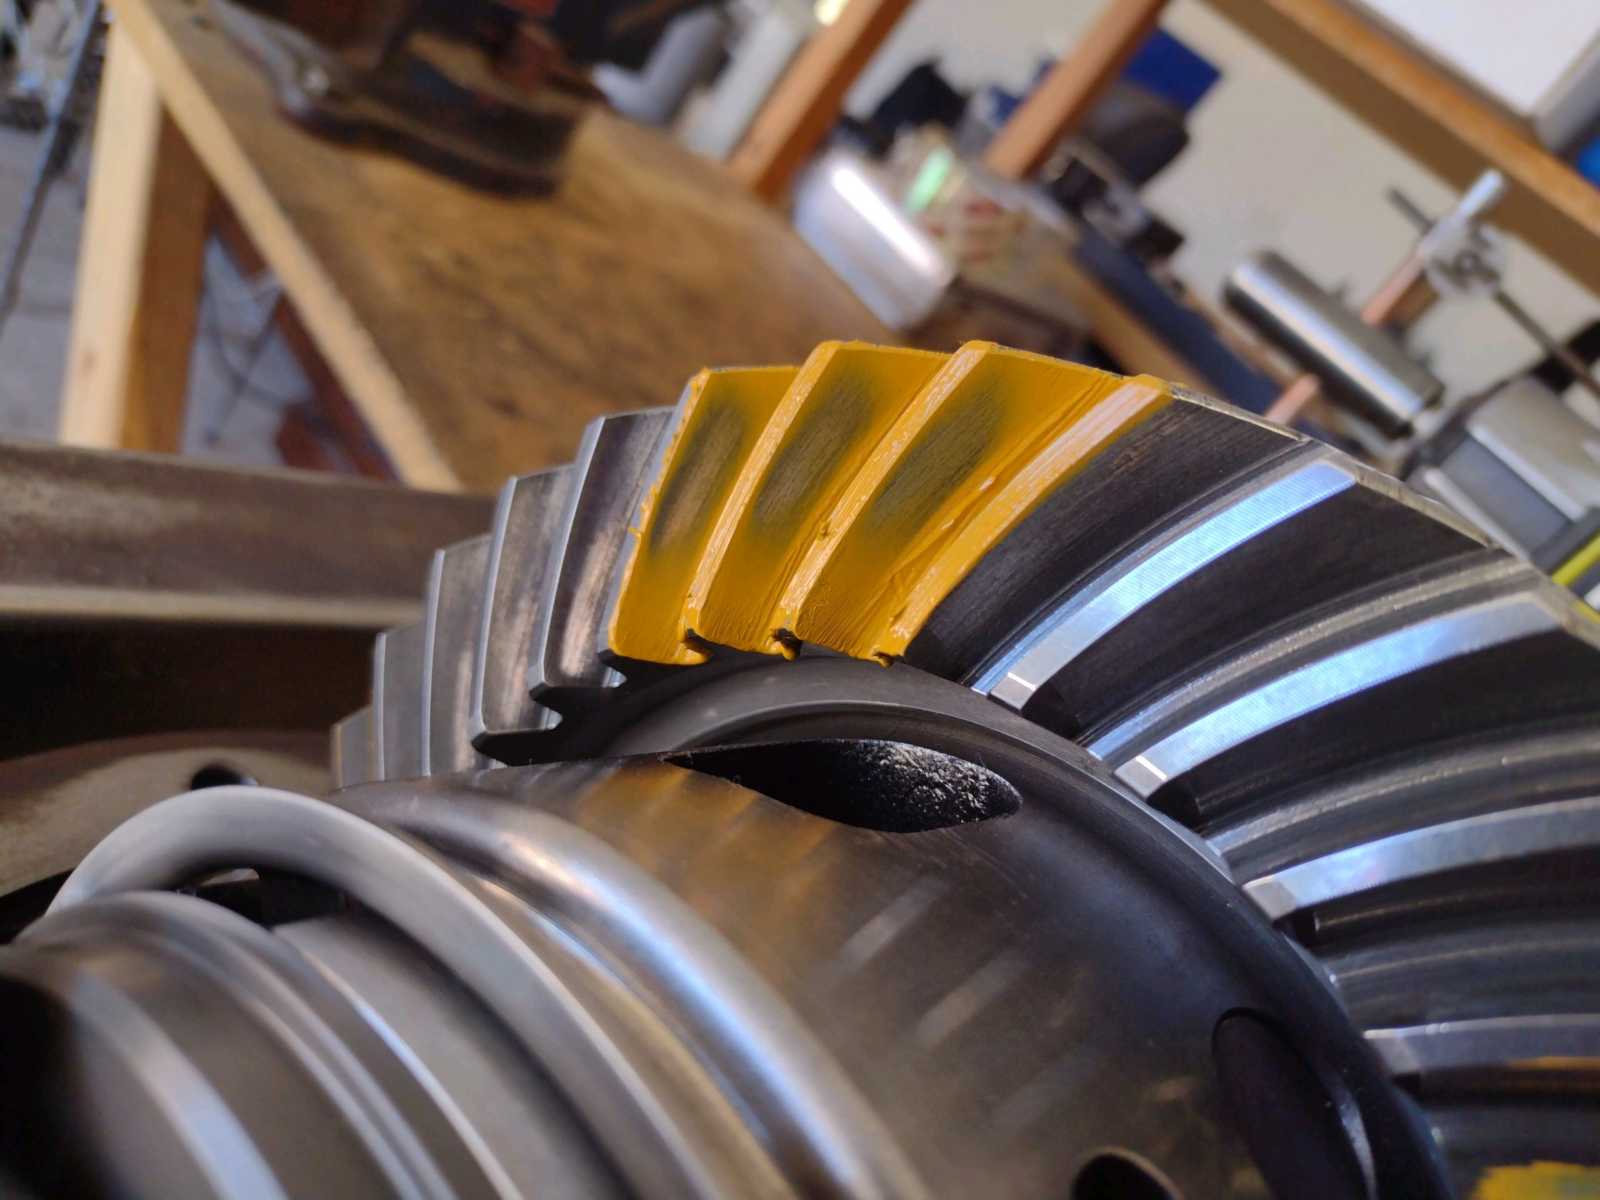
Drive side...First paint with .0756" shim...looks like a slight shallow condition where the favored contact is a bit more on the top face
of the tooth. The "line" in the root of the tooth is not as long as the top face line. |
|---|
|
|
|
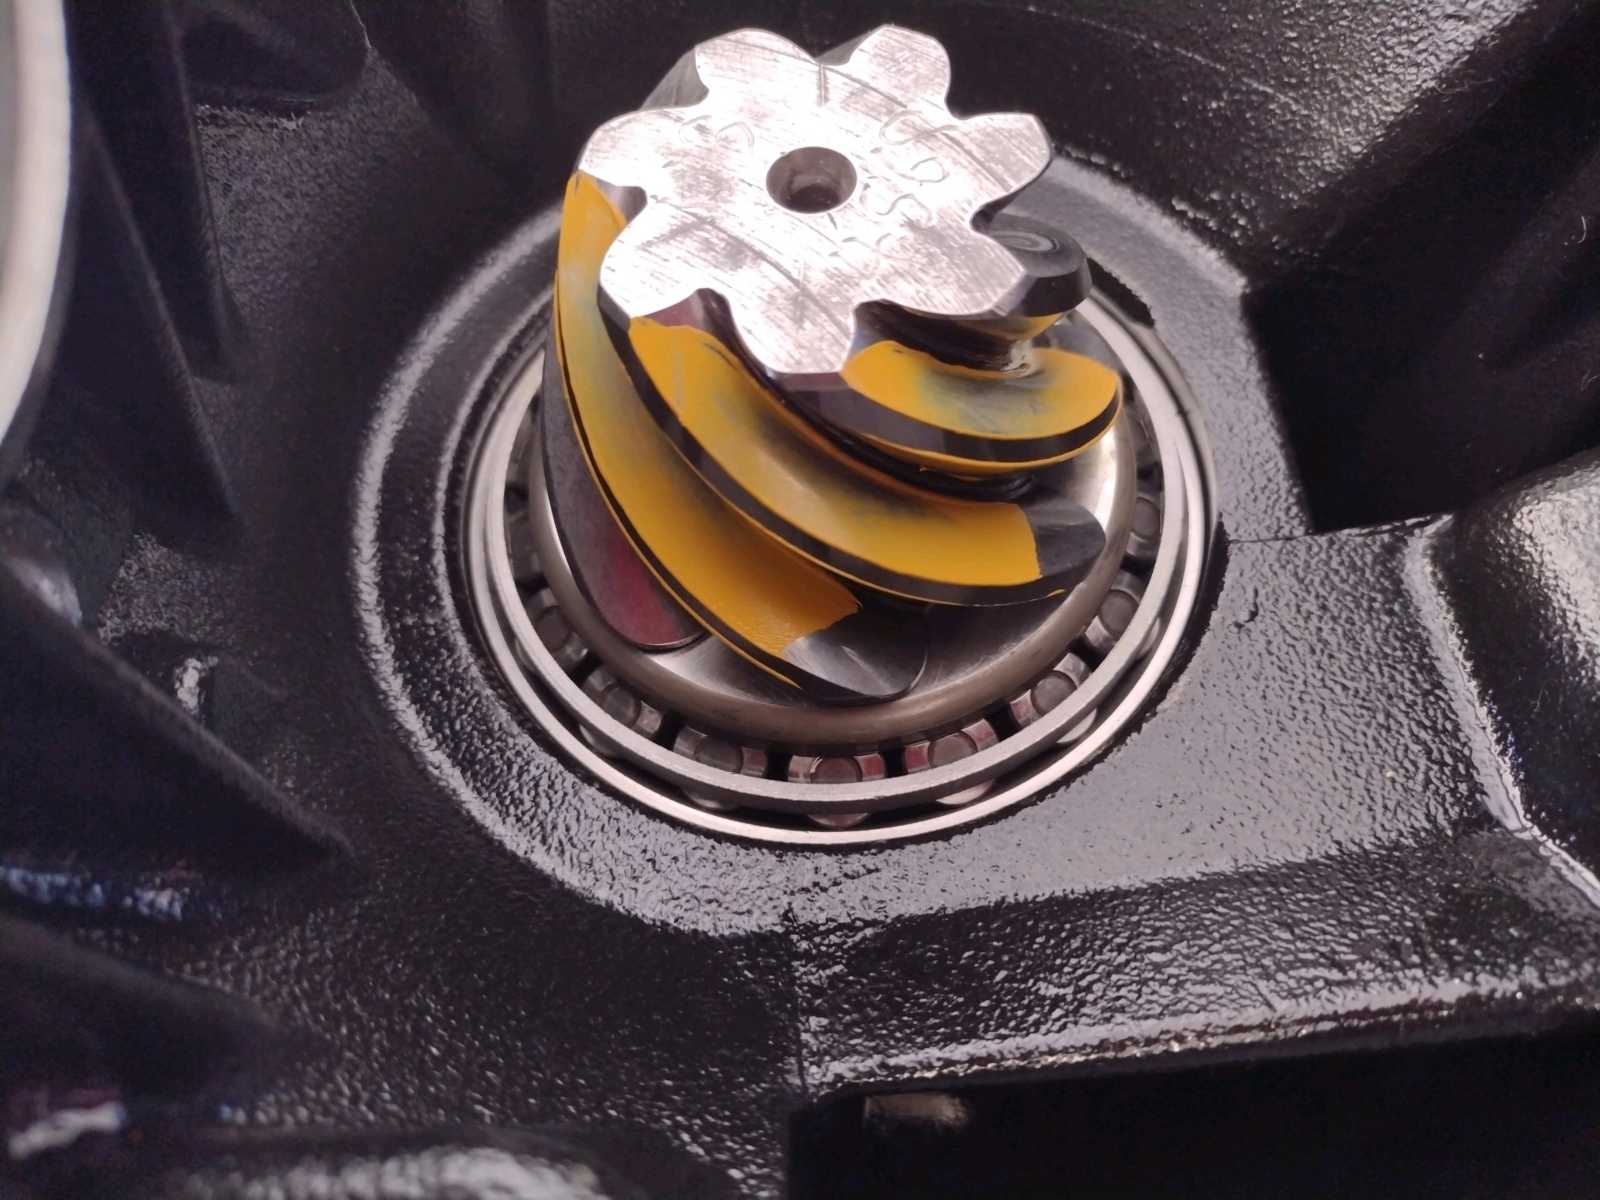
Another picture at a different angle shows it more clearly. |
|---|
|
|
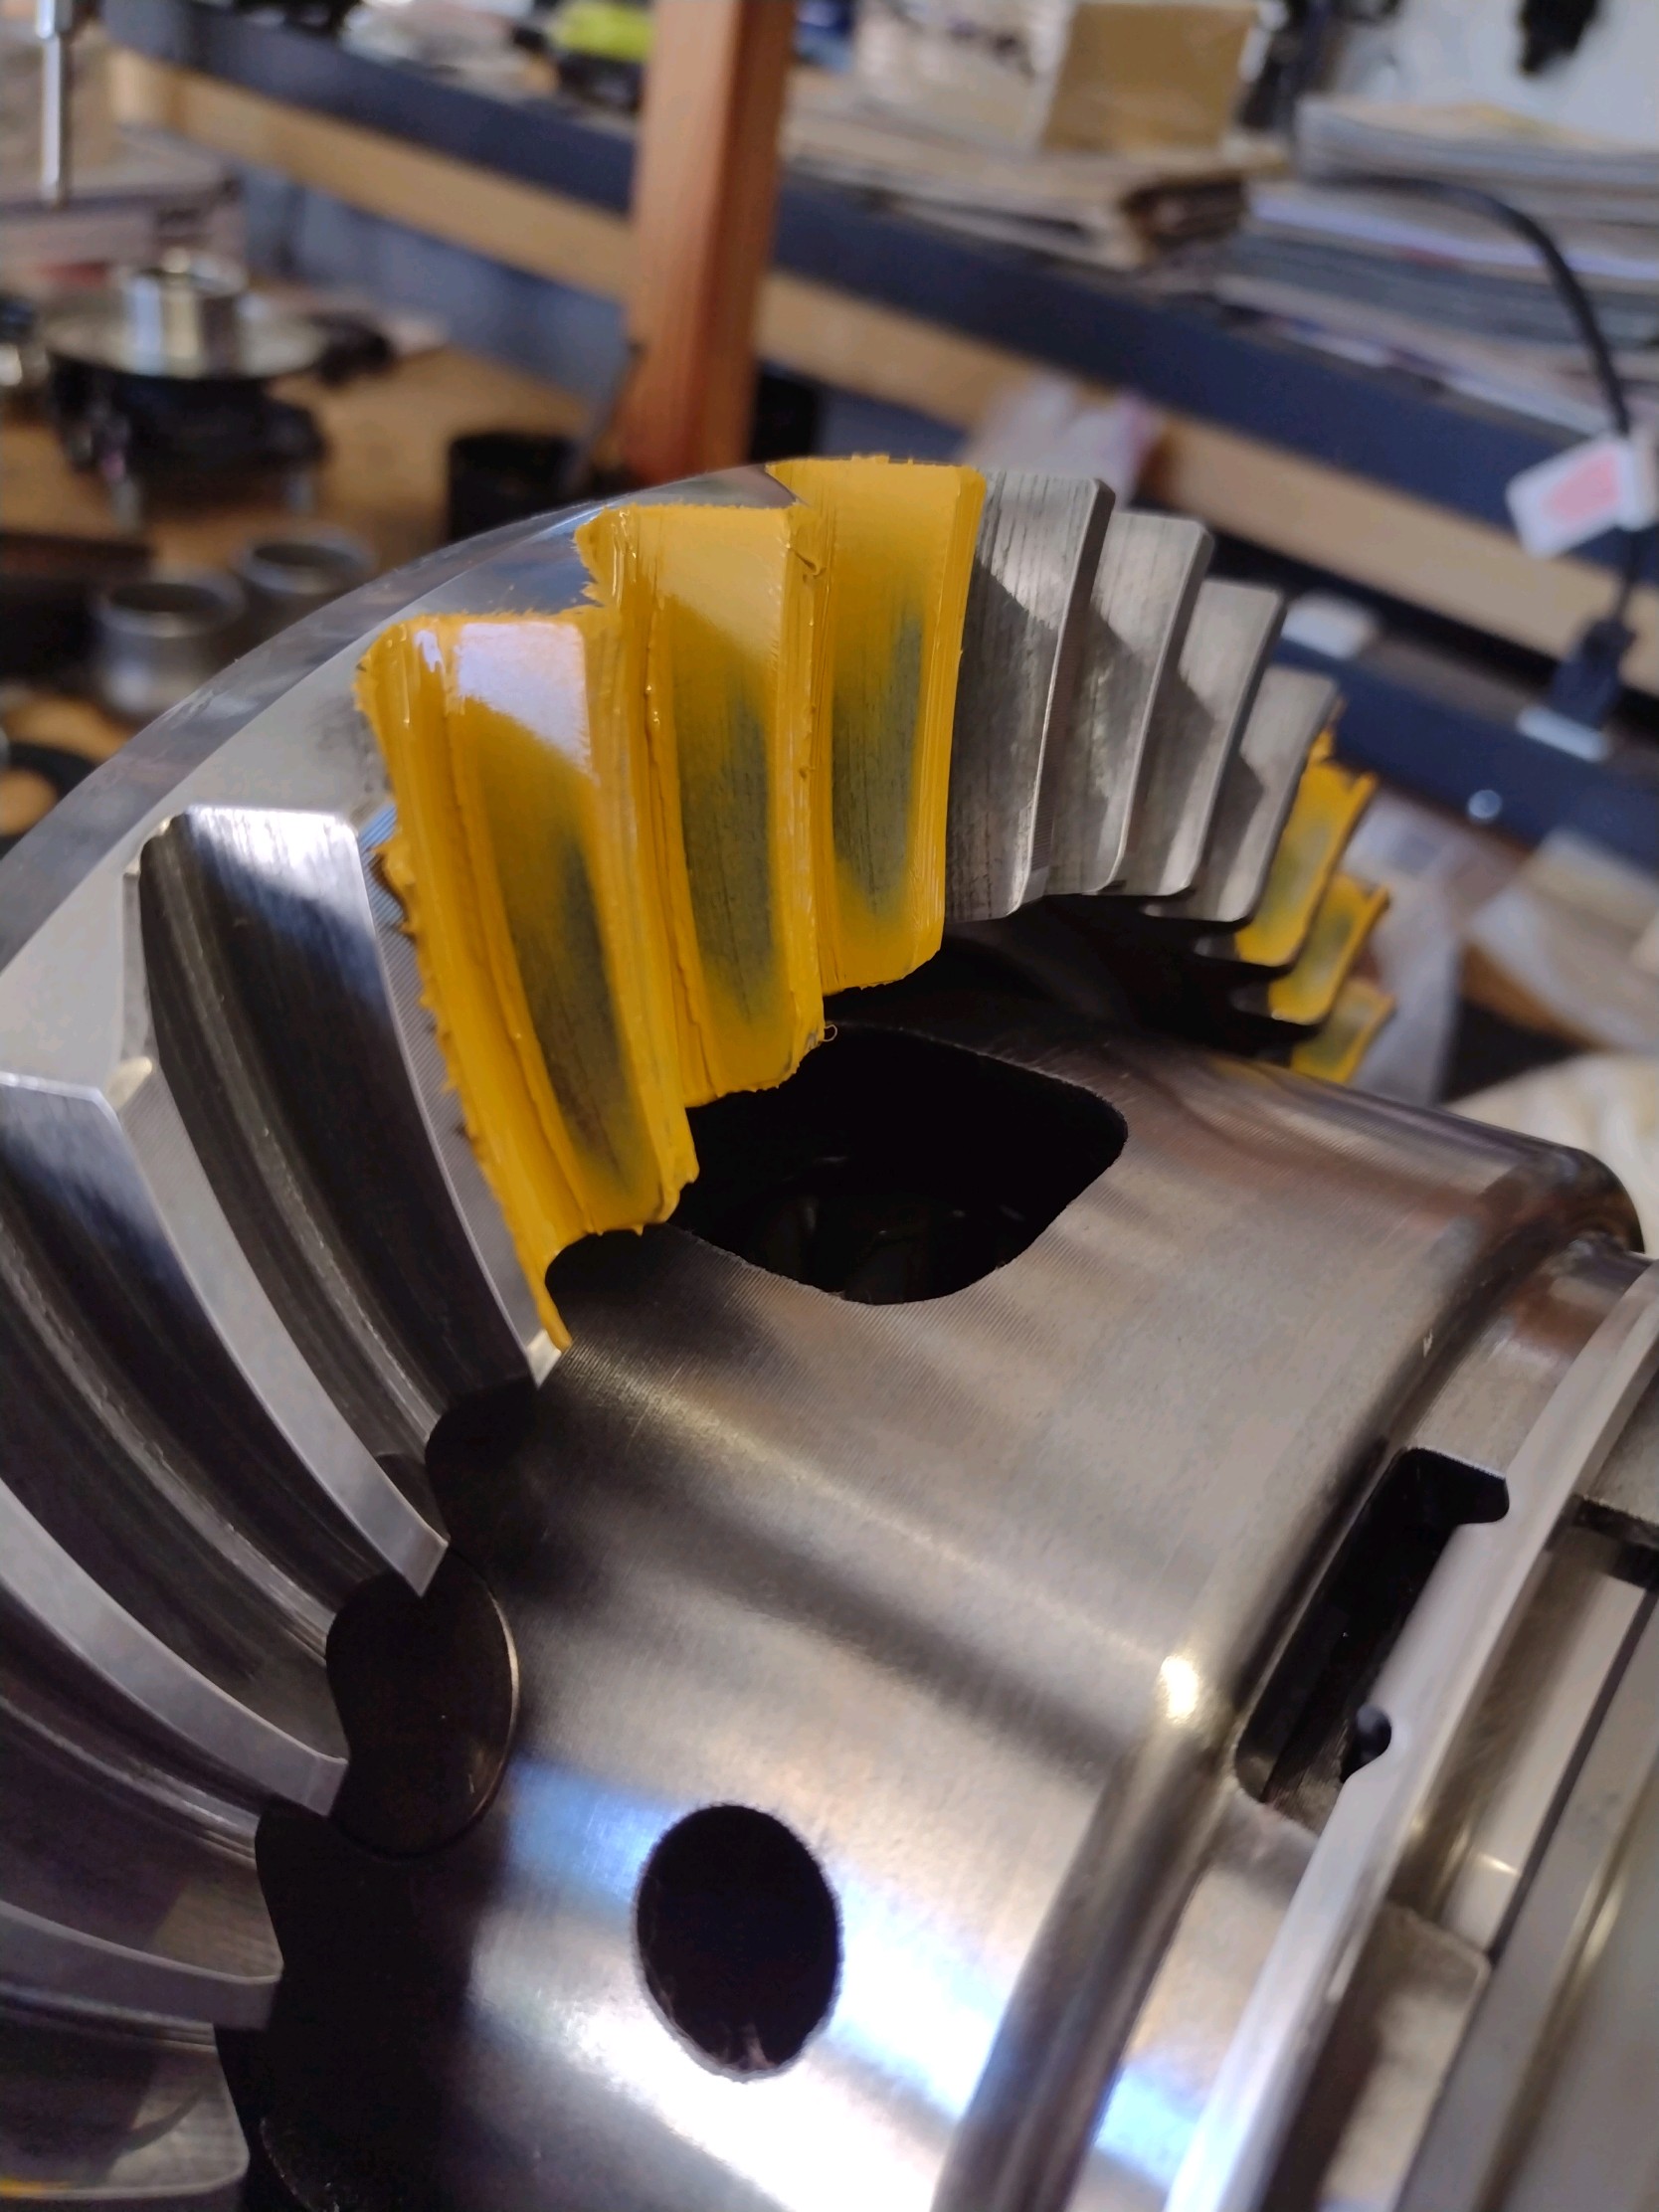
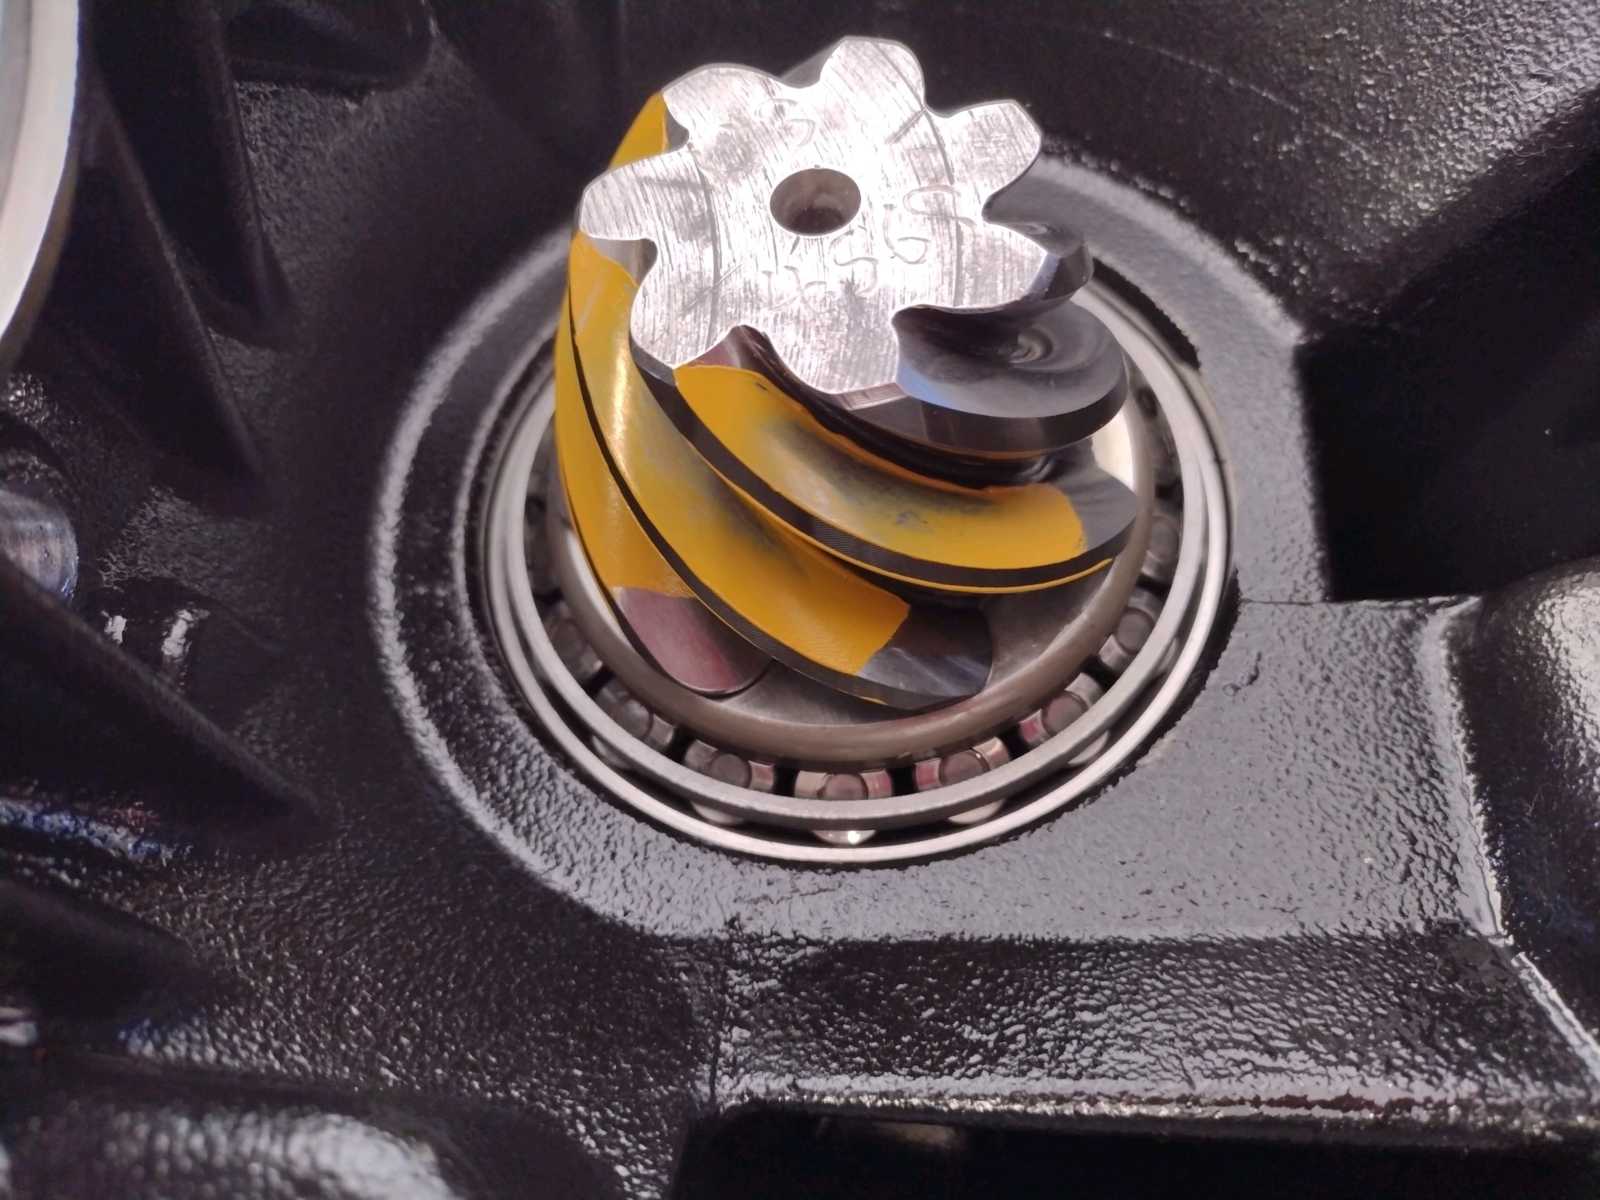
Coast side. It's obvious that the main contact is favoring the face(top edge). It agrees the pattern is slight shallow.
Good solid paints are important to see what is really going on... |
|---|
|
|
|
Coast side ....reverse painted tooth. A slightly different perspective agrees that the load seems to be favoring the top face. |
|---|
|
|
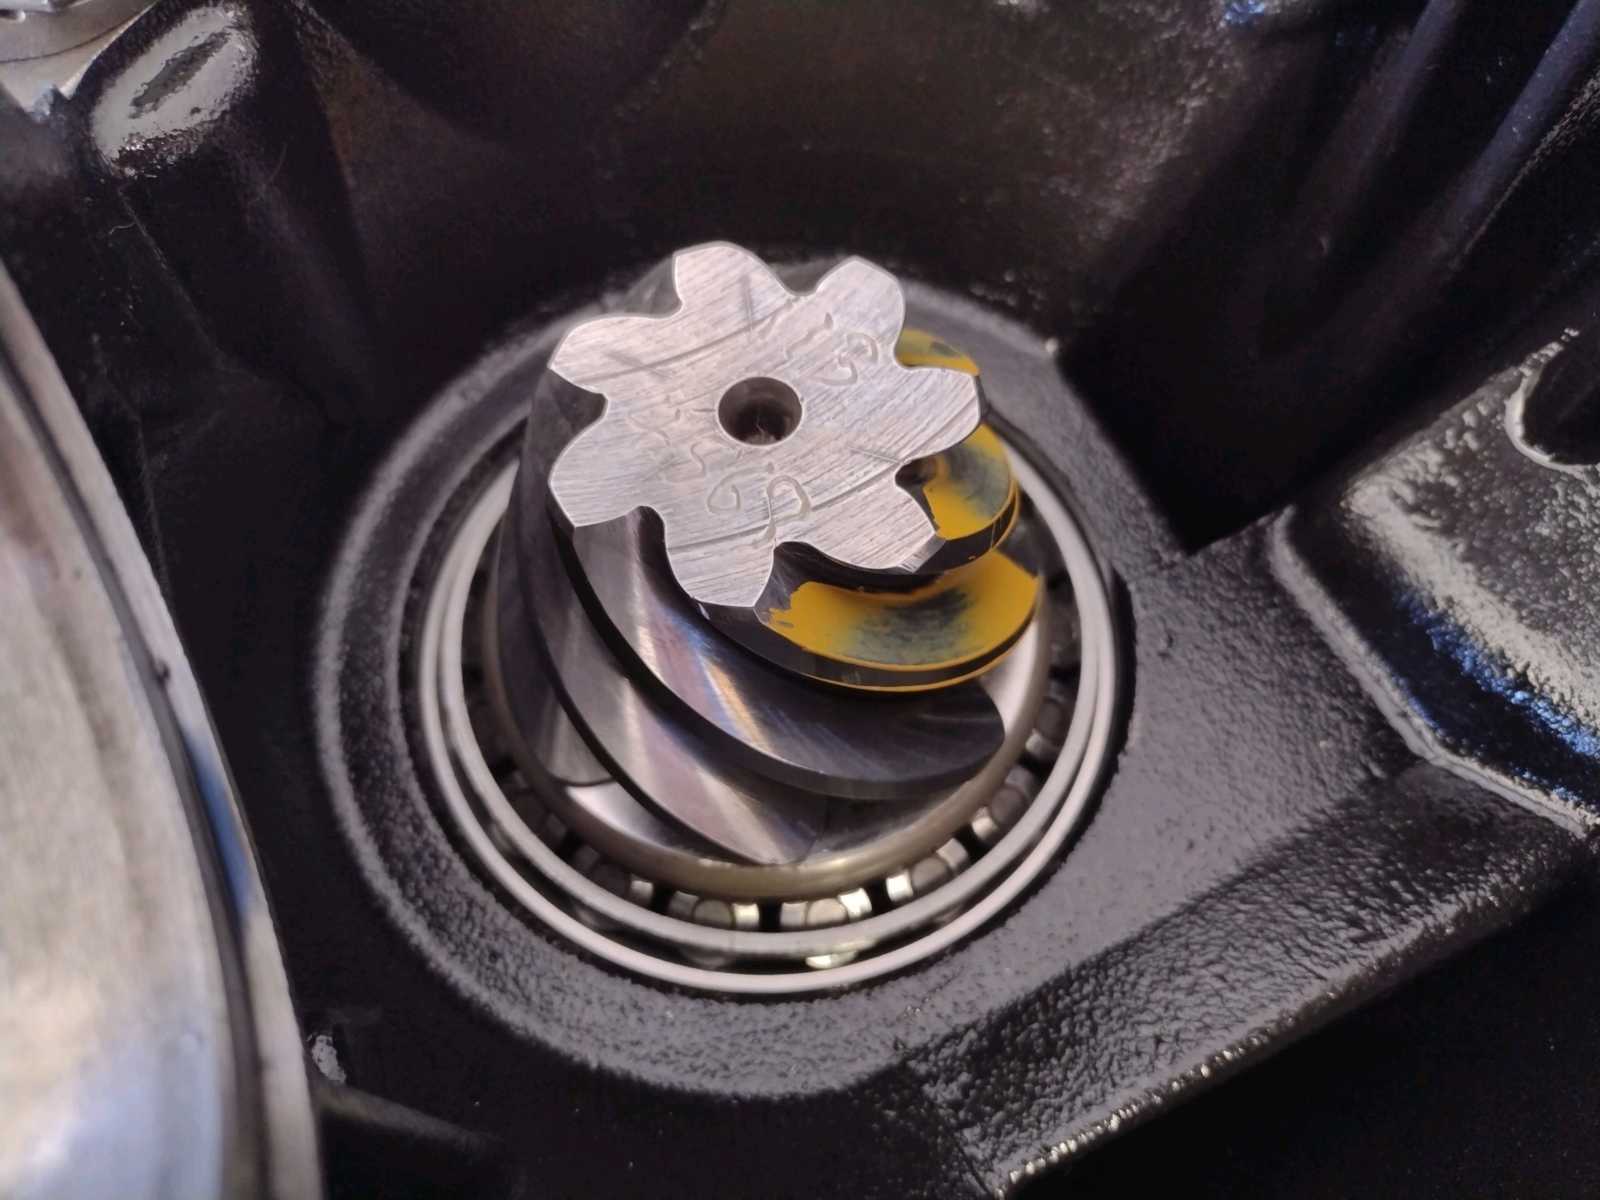
The pattern on the pinion tooth can be all telling. Something to note- the pattern on the pinion is equal but opposite that of
the ring gear. So, if the ring gear is slightly shallow the the pinion tooth will be slightly deep and that is exactly what
is reflected here. There's deep contact in the root andf much less on the 'face'....so the pinion agrees with us that the
ring gear is slight shallow. |
|---|
|
|
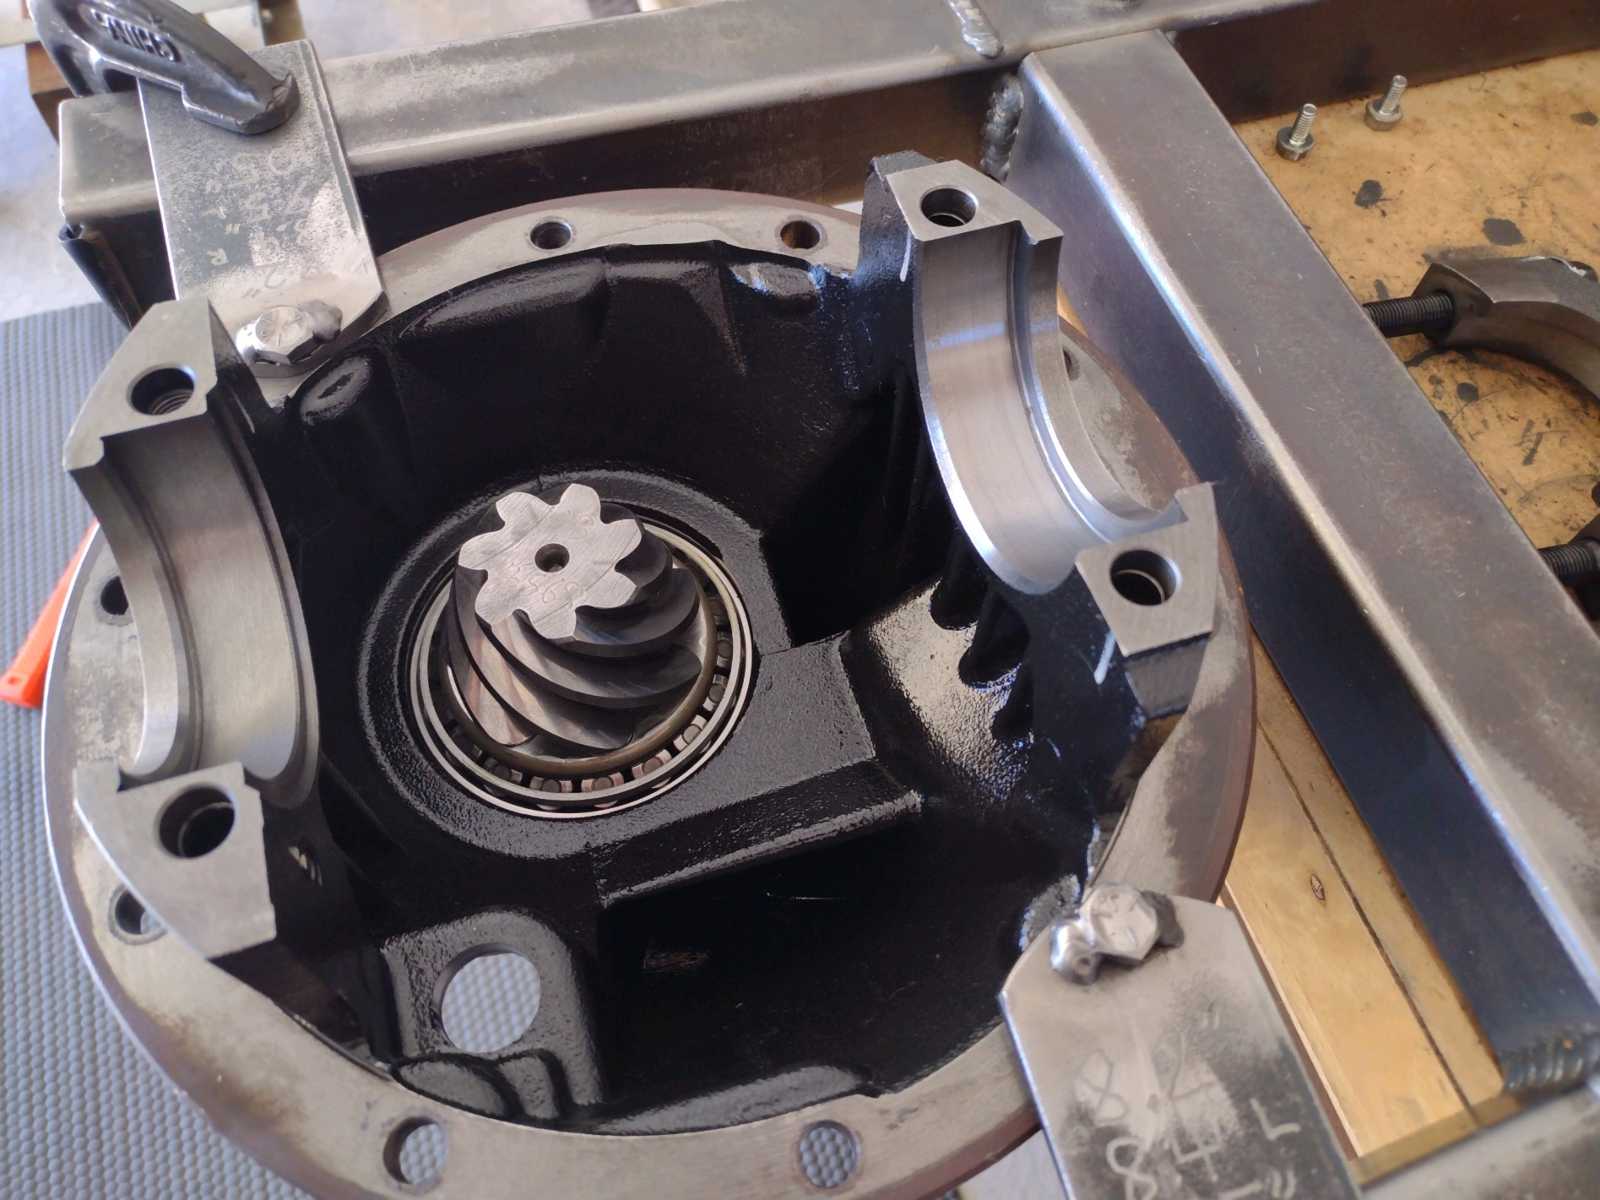
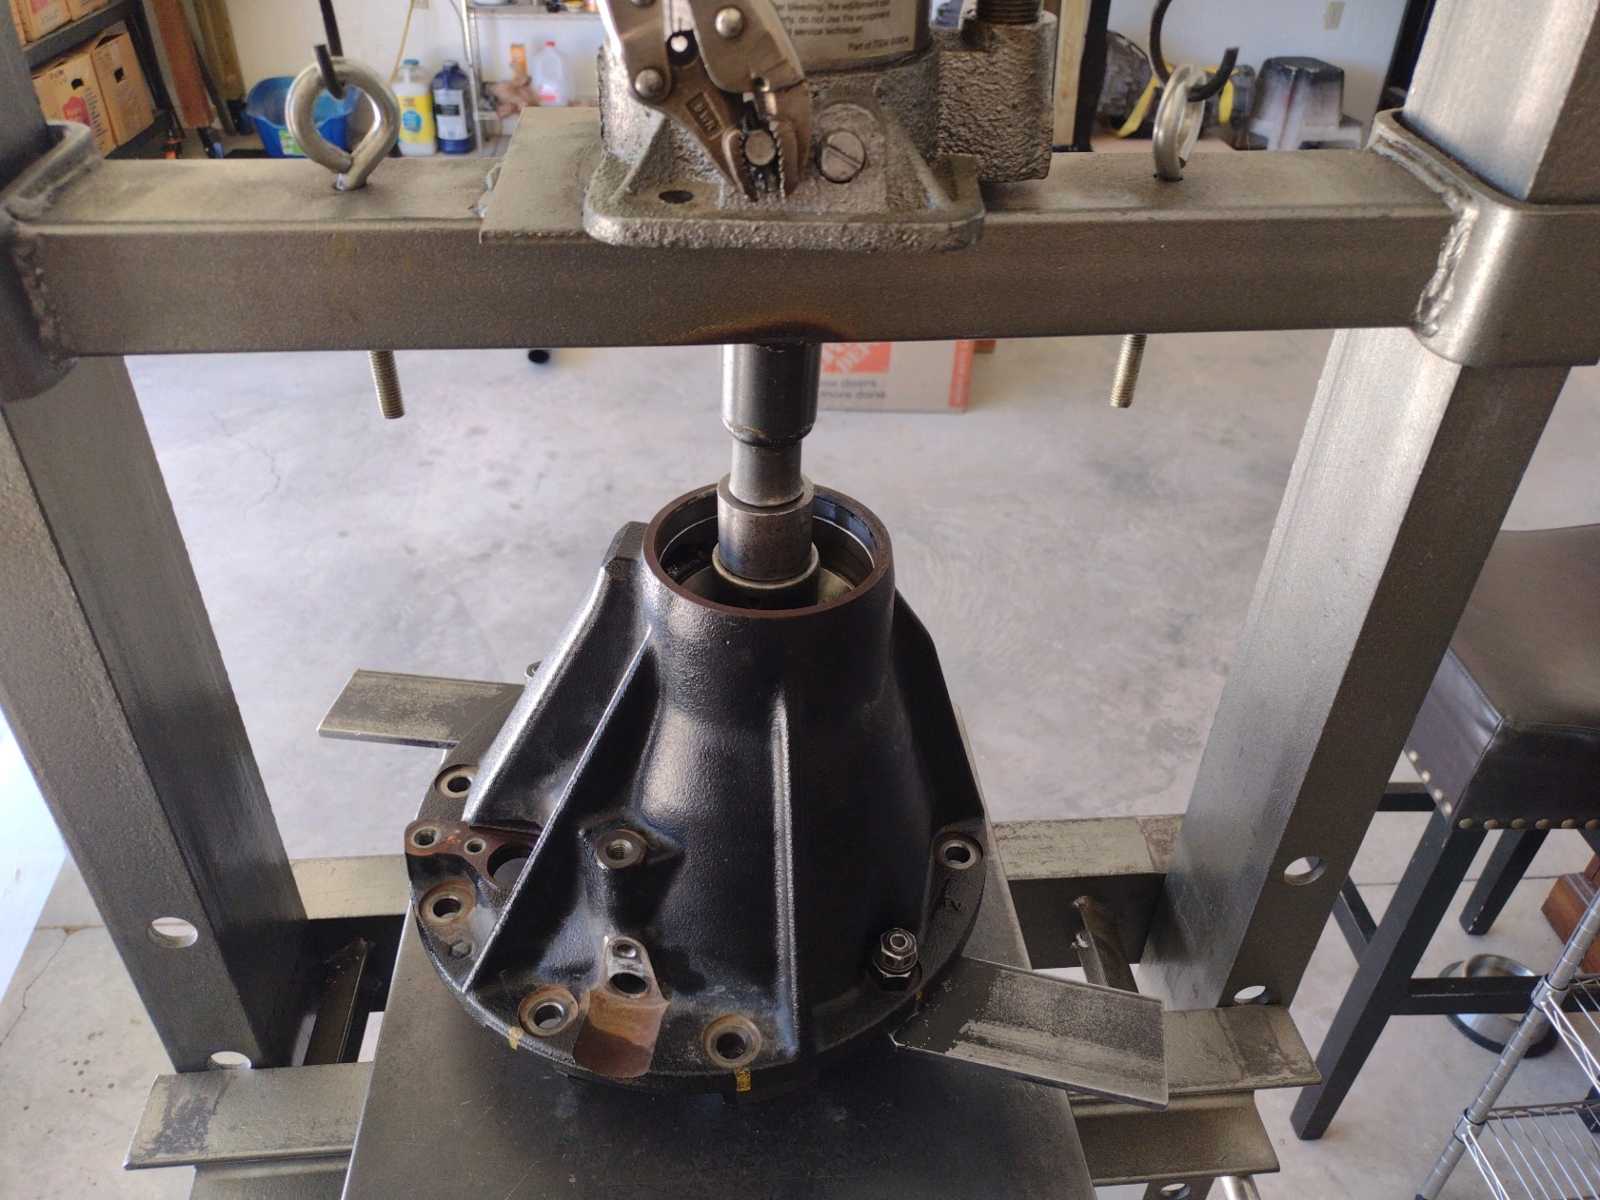
Patterns can be harder to read if the ring/pinion is not loaded with some 'resistance'. Having the 3rd mounted in a fixture
of some sort is important. Then apply some resistance on the pinion flange using a rag and the left hand....use a 17mm wrench
in the right hand and rock the ring gear back and forth 3 times will do it. Takes less than 5 seconds and that should give an
easy to read pattern. That's how this guy has been doing it.....for decades. |
|---|
|
|
The contact is definitely favoring the root inside. The line is longer in the root than it is on the outside face.
Deep in the pinion is the same as shallow on the ring. Shallow mean the pinion shim is not thick enough. ...so let's
disassemble and add some extra pinion shim. |
|---|
|
|
|
With the pinion out, now the large inner pinion race can be pressed out. It can be pressed out if the right tool is available. |
|---|
|
|
|
This welded homemade tool allows me to grab behind the race without doing damage to the pinion washer plate. |
|---|
|
|
It's good to have a selection of these washer plates....5 or 10 dollars each and only at the dealers. So I'm replacing the
.0756" with a .0780" plate... .0024" thicker. |
|---|
|
|
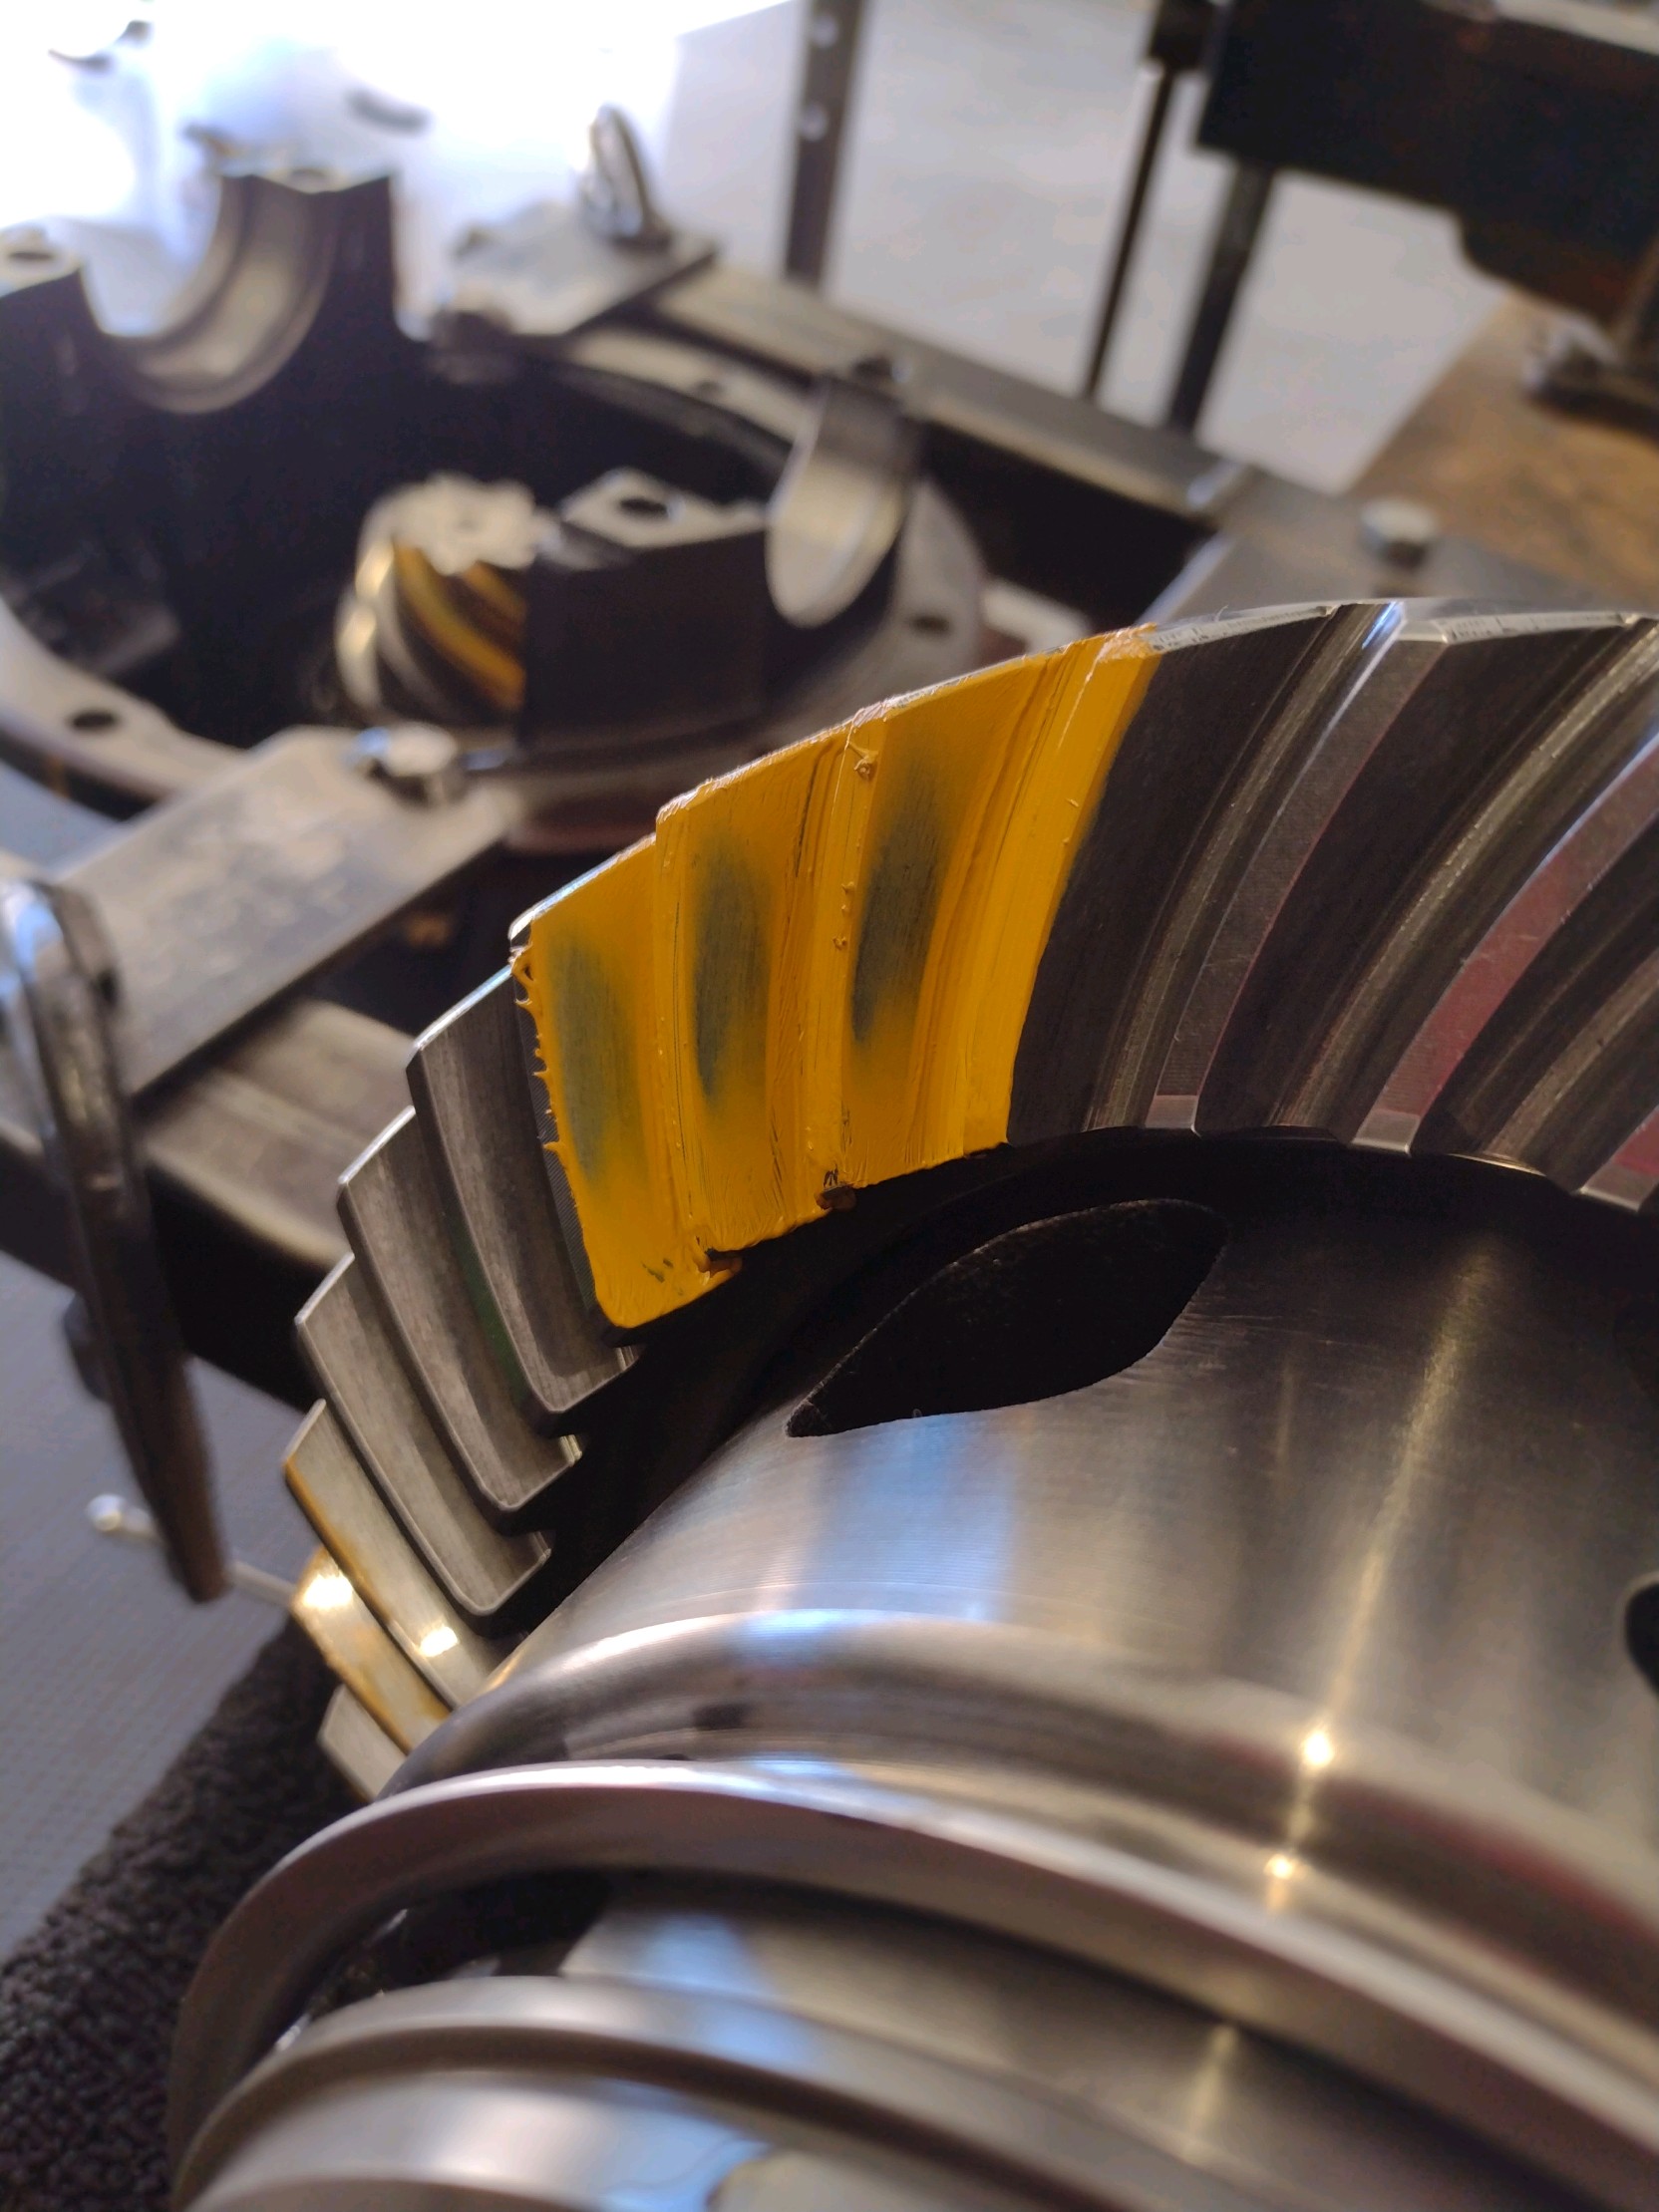
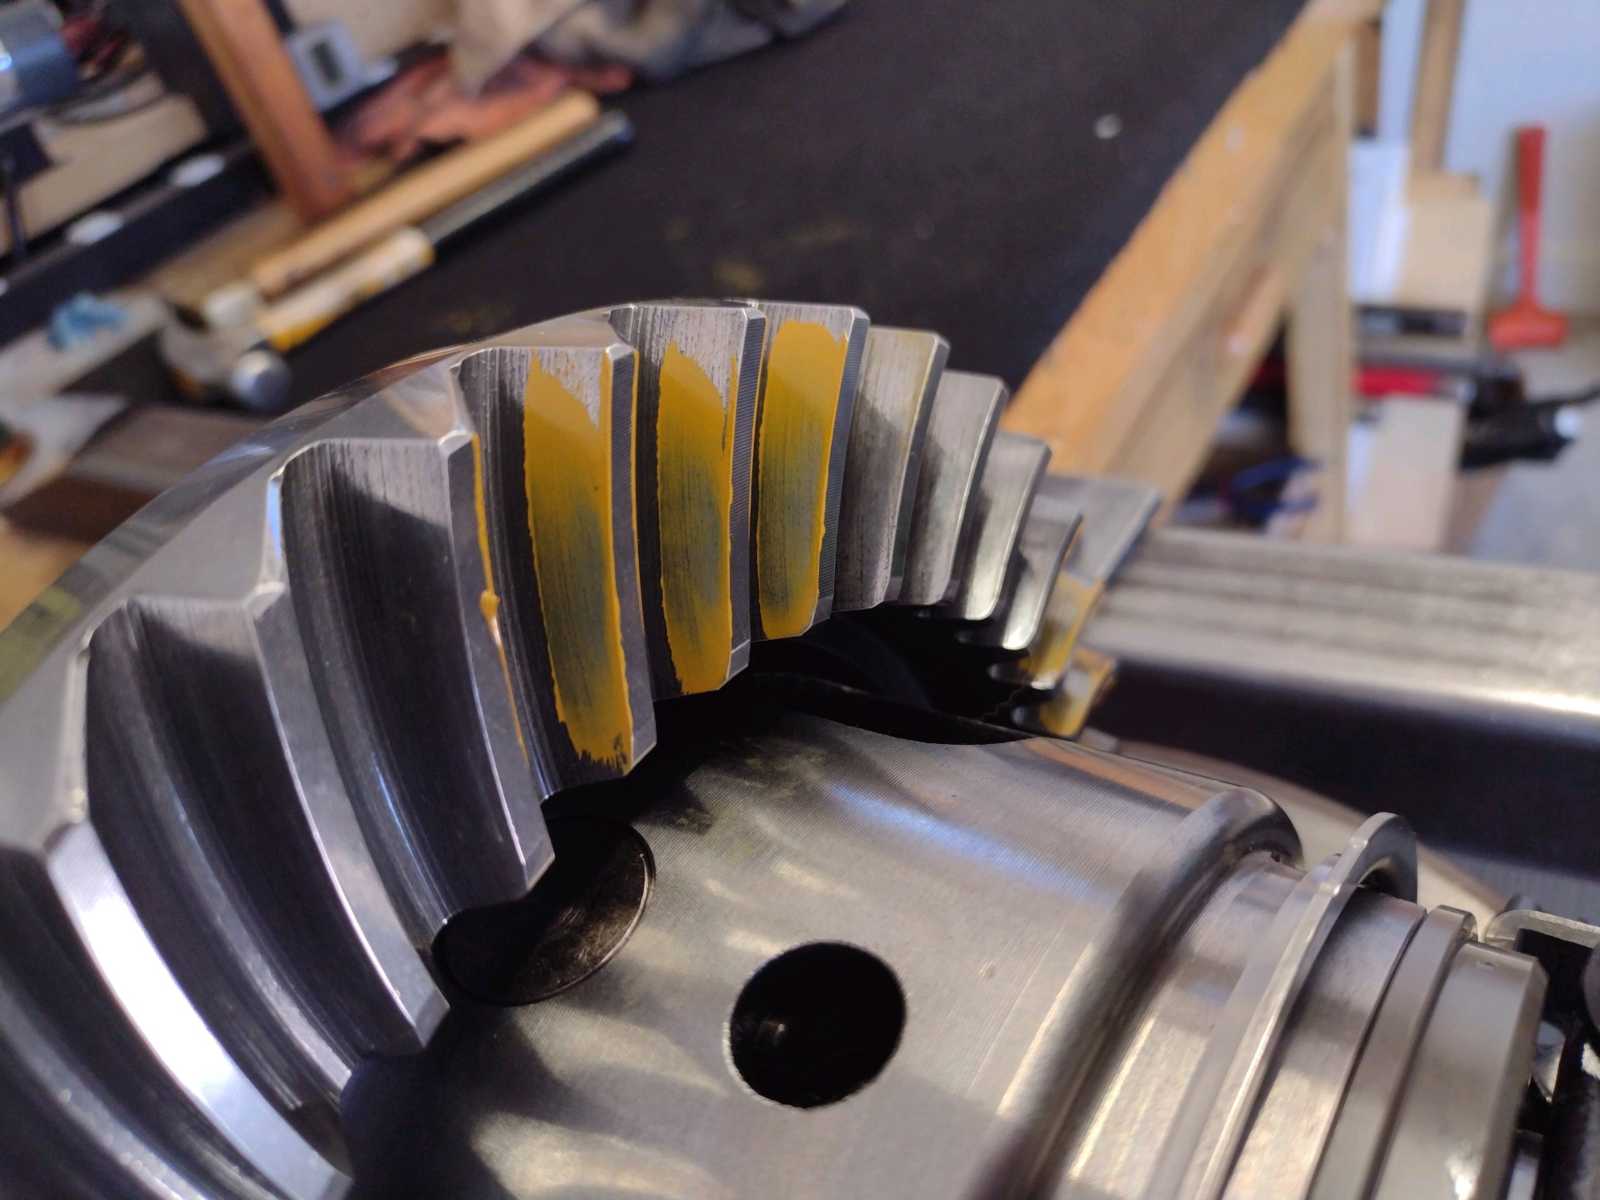
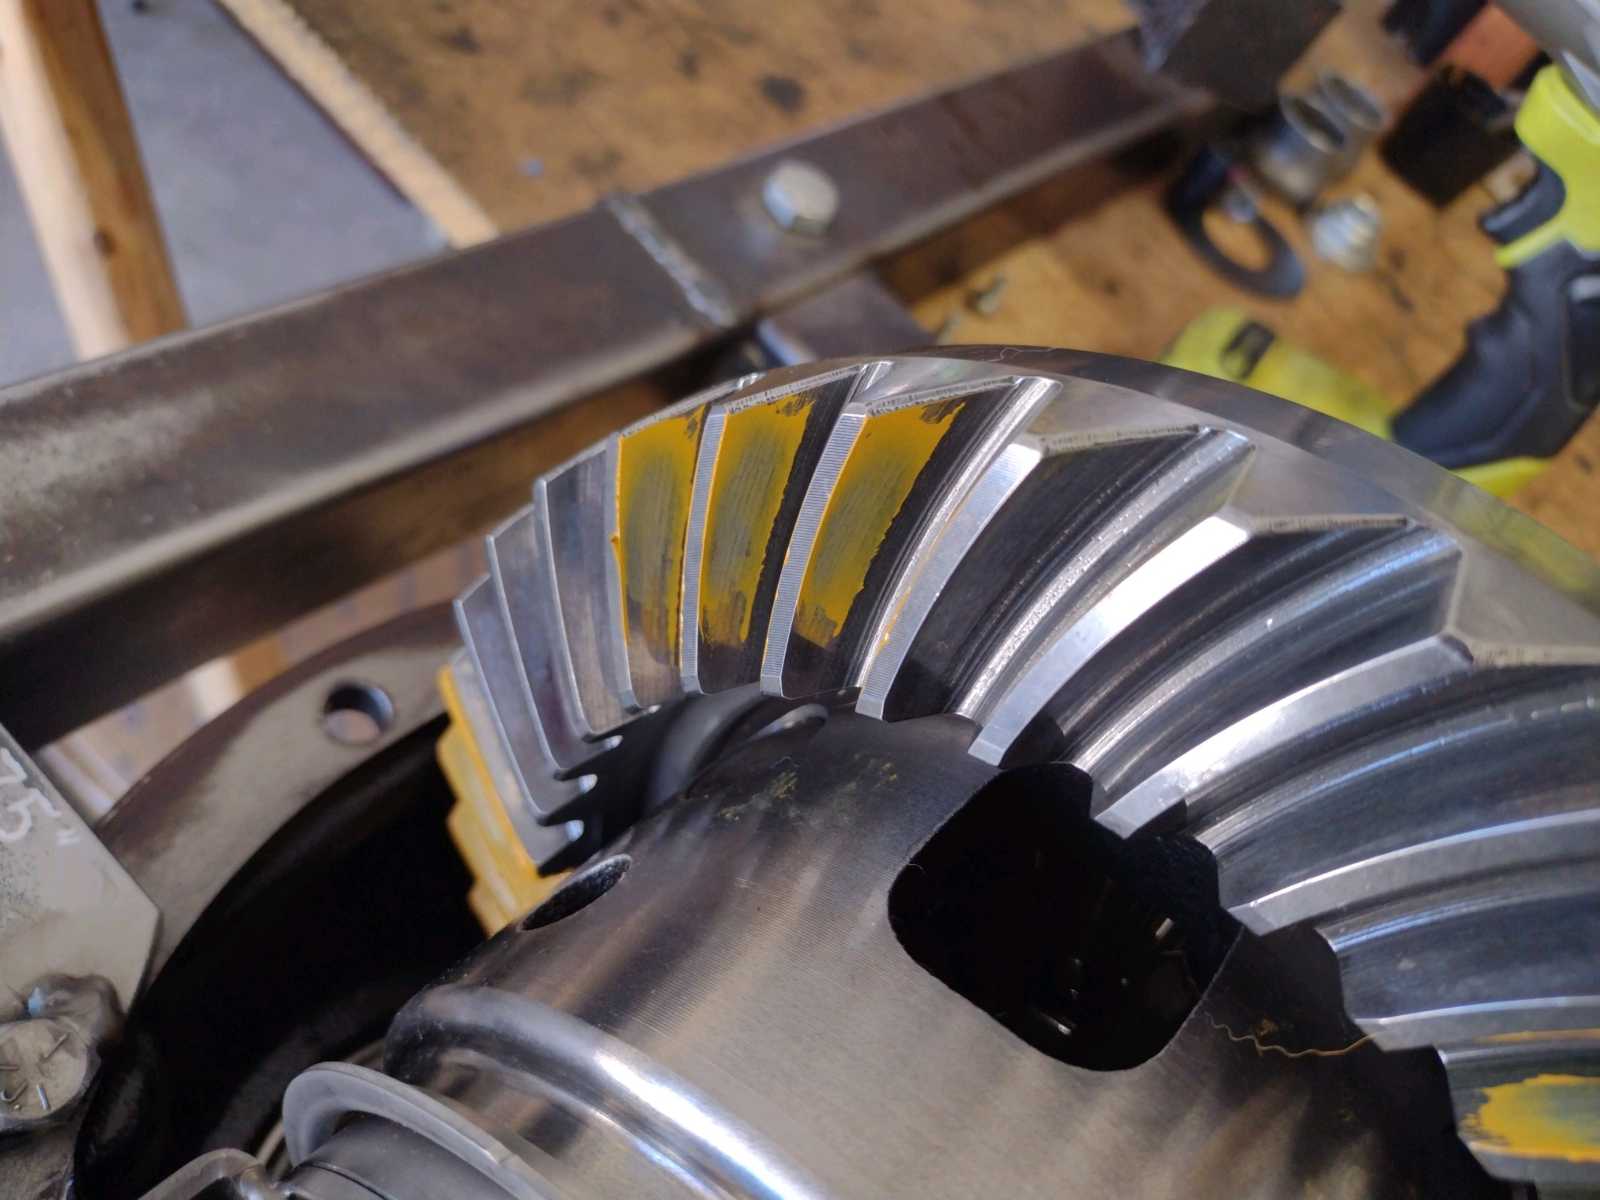
Re-assemble everything....Drive side. This is much better. Balance is so much better....The over-all lengths of the line on the
face versus the line in the root are very similar. It looks like the overall balance of loading is in the center and that is
something you acquire with experience. I think Chase would agree ;) |
|---|
|
|
|
The reverse painted drive pattern gives a different perspective and confirms this. |
|---|
|
|
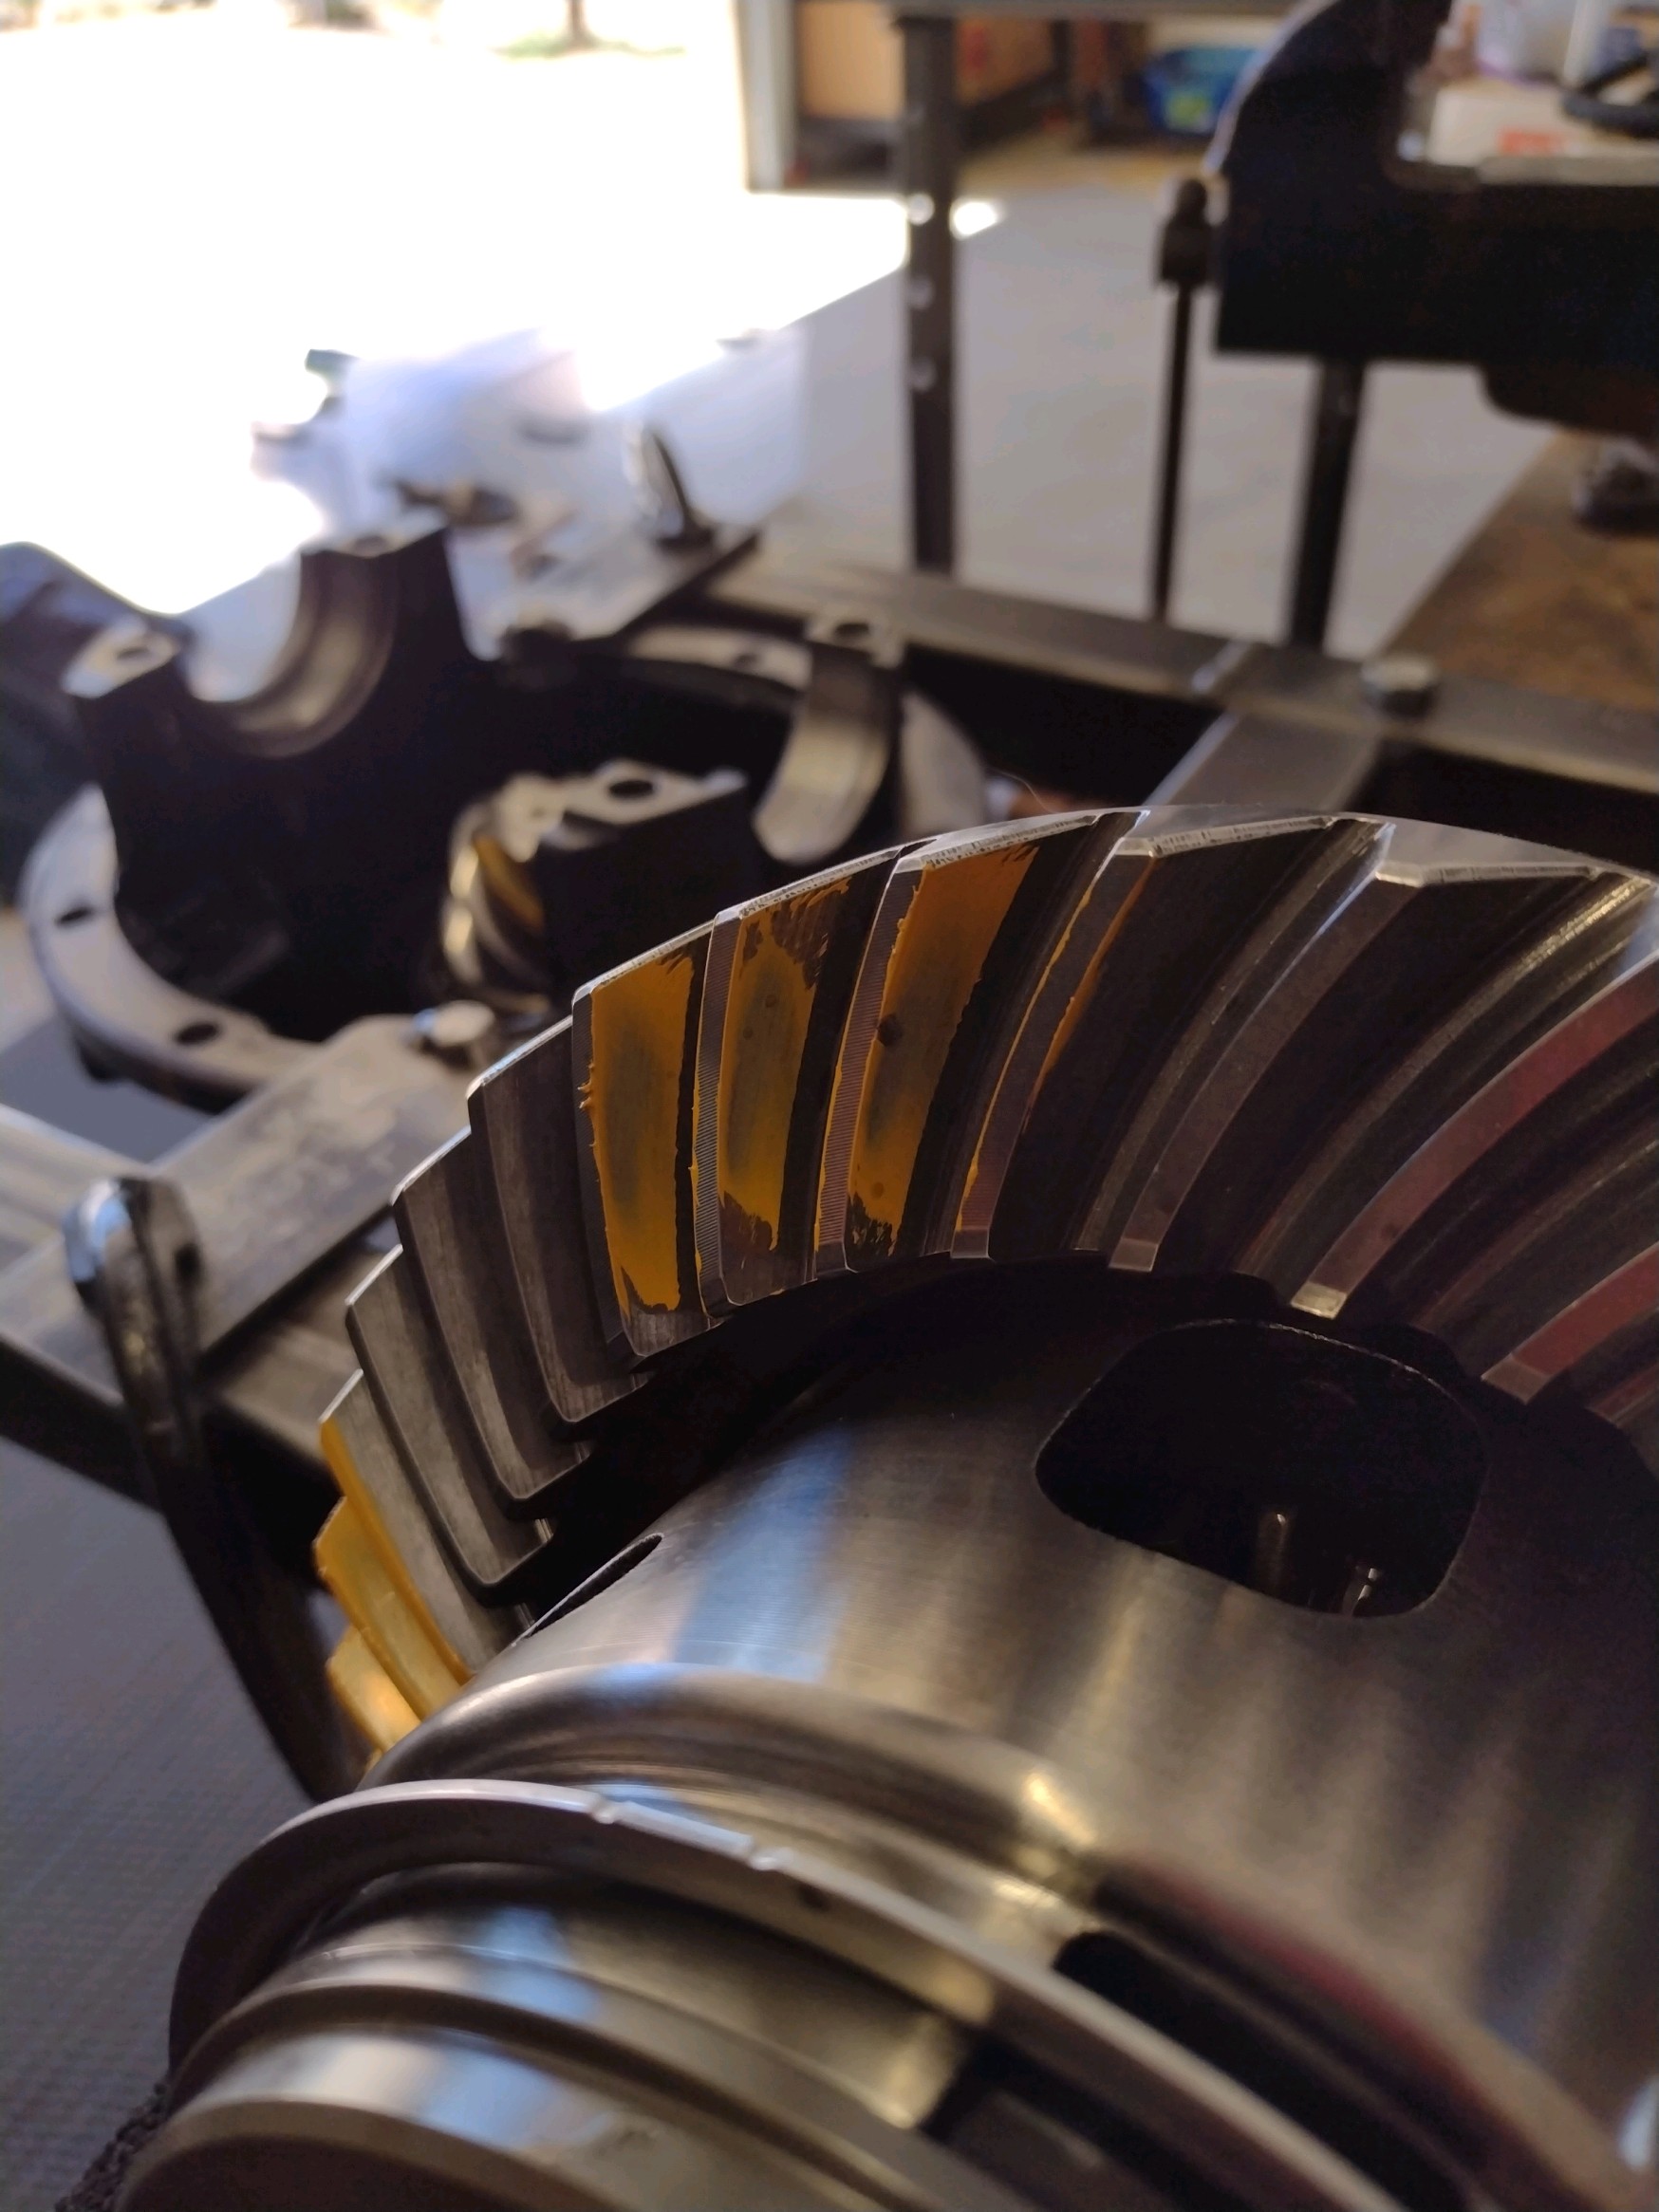
Coast side....rarely is the pattern in the exact center from toe to heel and this one favors the heel only a little. No problem
there. But what's really important is the face to flank...the top of tooth to the root.....this one is "dead nuts on".
The length of line in the root versus the face are about the same length......also, the loab balance looks in the center of tooth. |
|---|
|
|
|
Reverse painted coast agrees with that. |
|---|
|
|
|
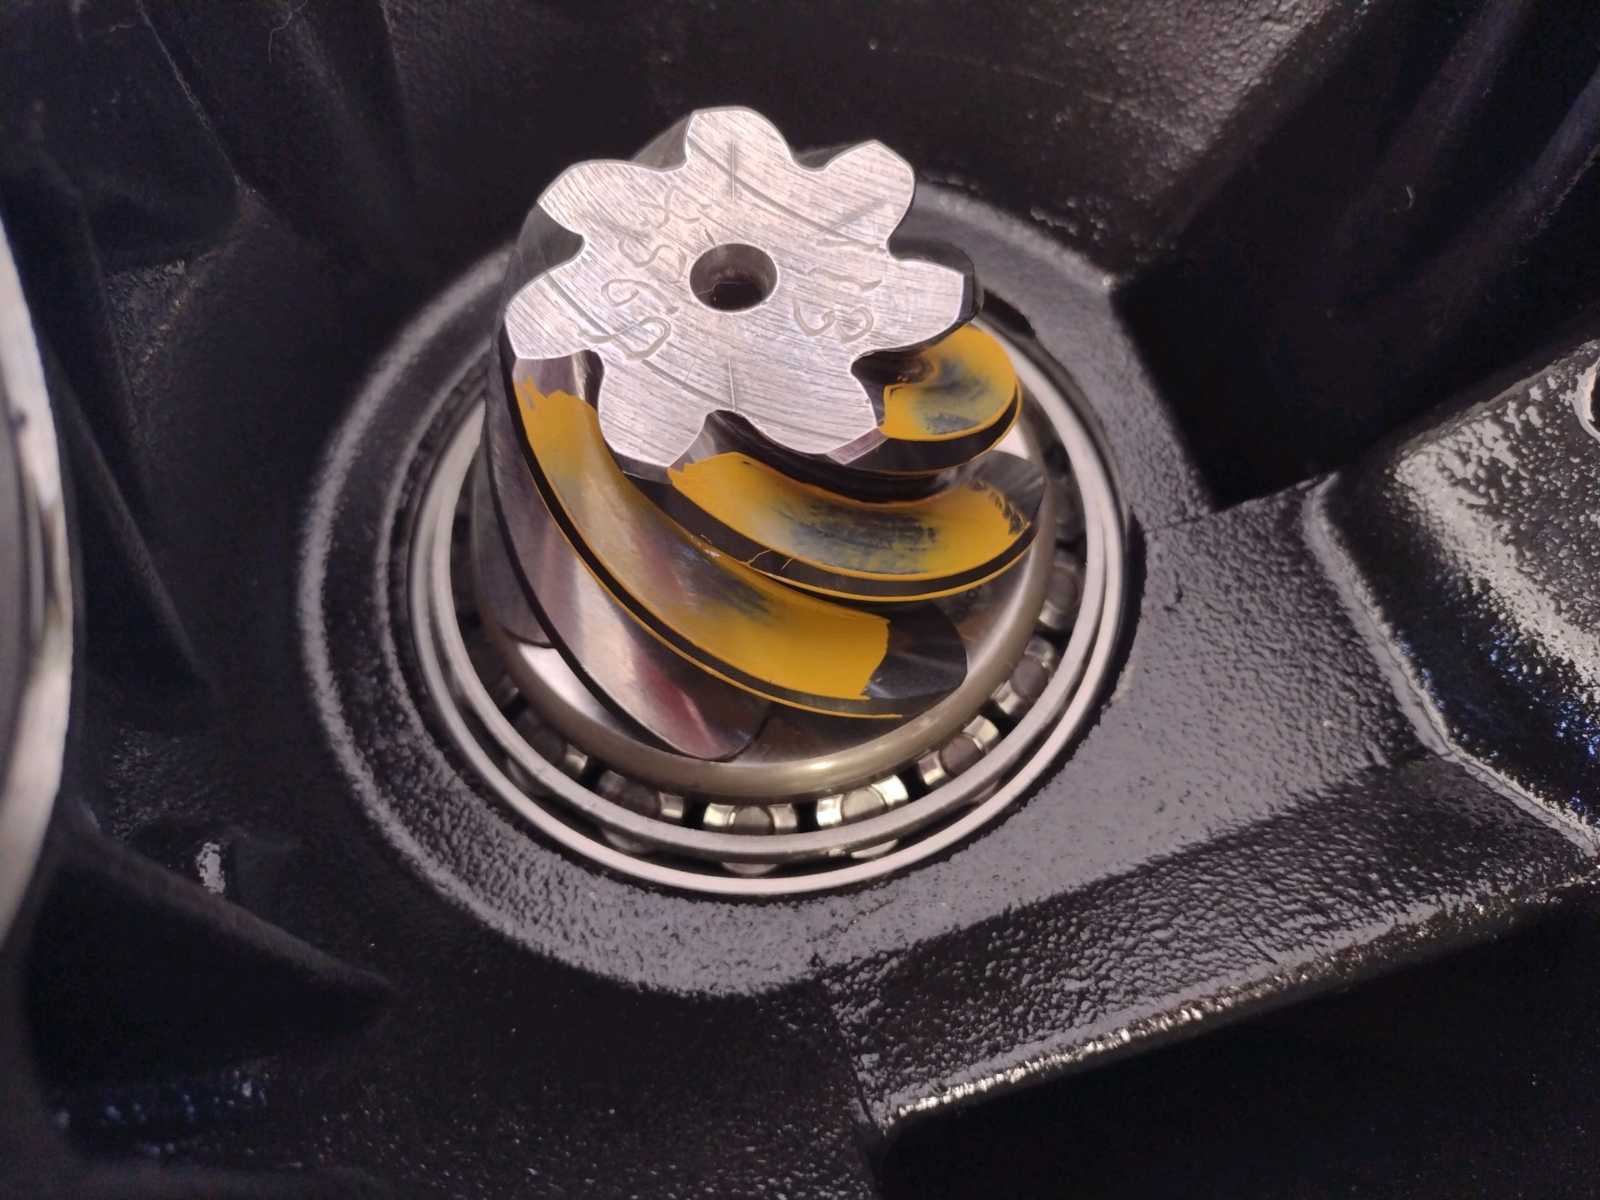
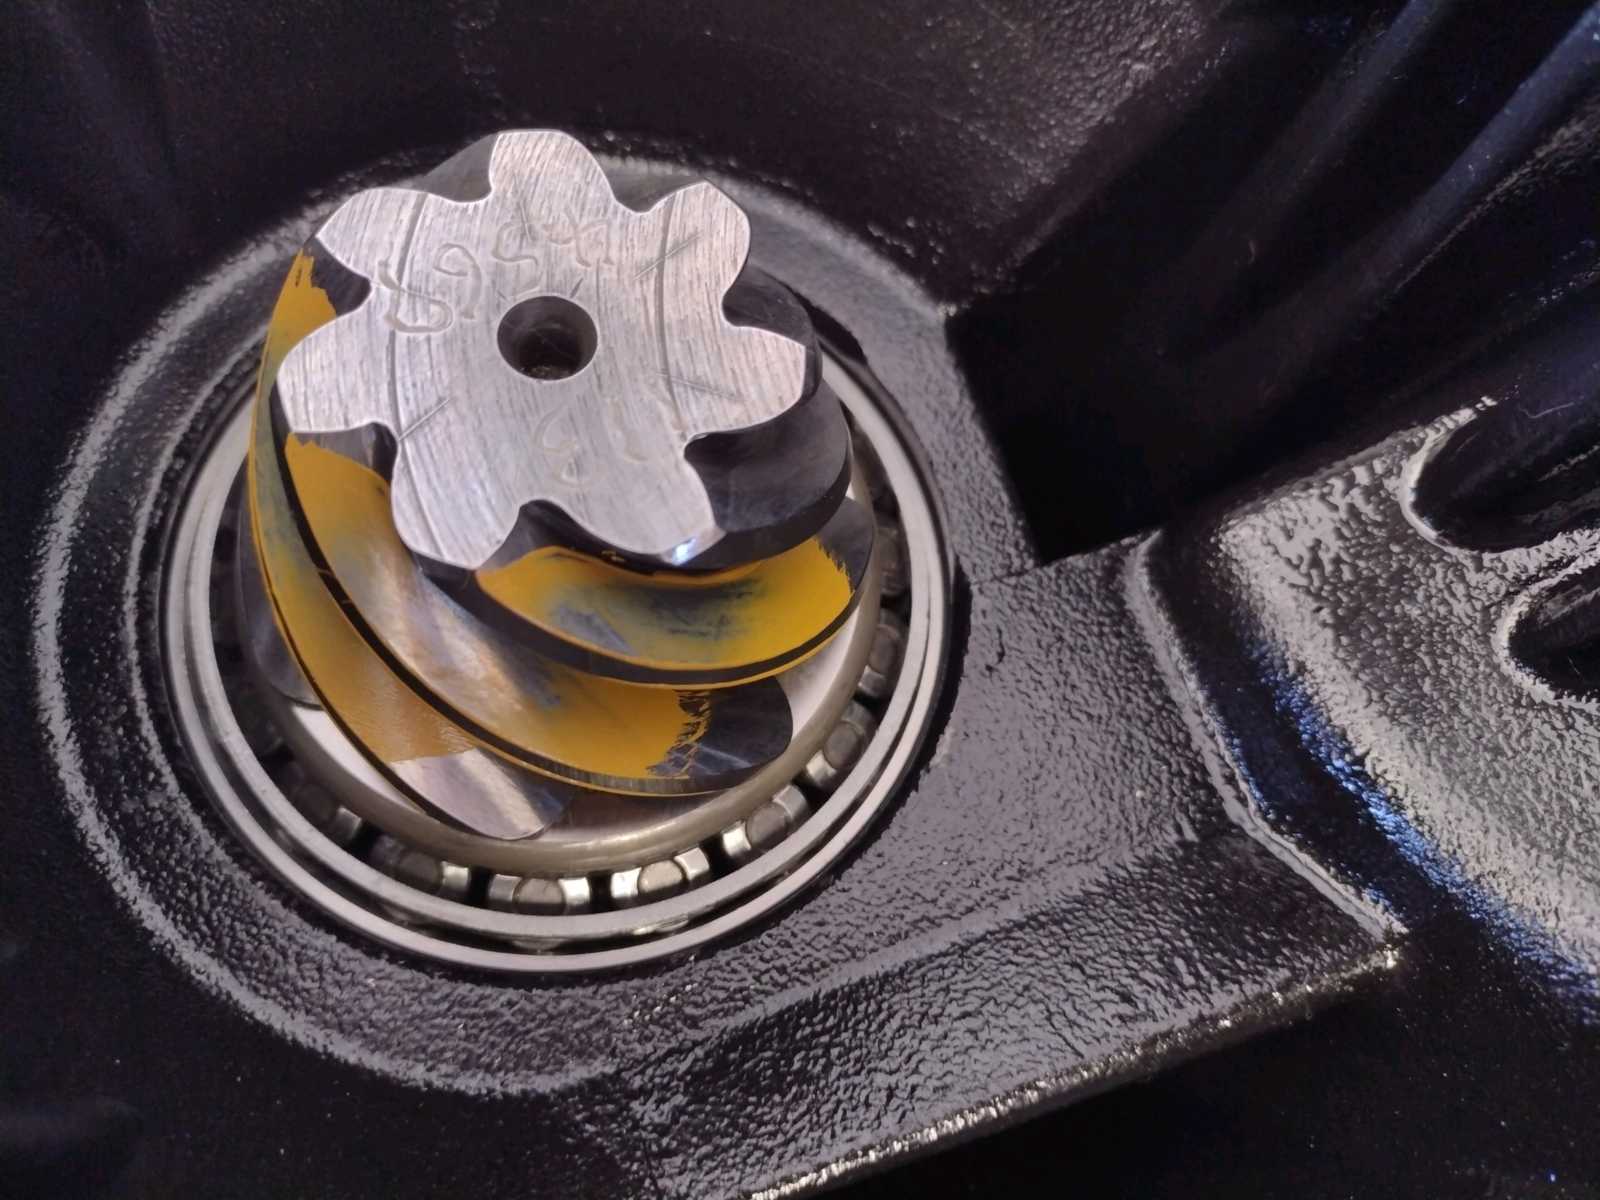
Pinion tooth....look how nicely the "balance" is. The lines are same length. |
|---|
|
|
|
;;;;;;;;;;;;;;;;;;;;;;;;;;;;;;;;;;;;; |
|---|
|
|
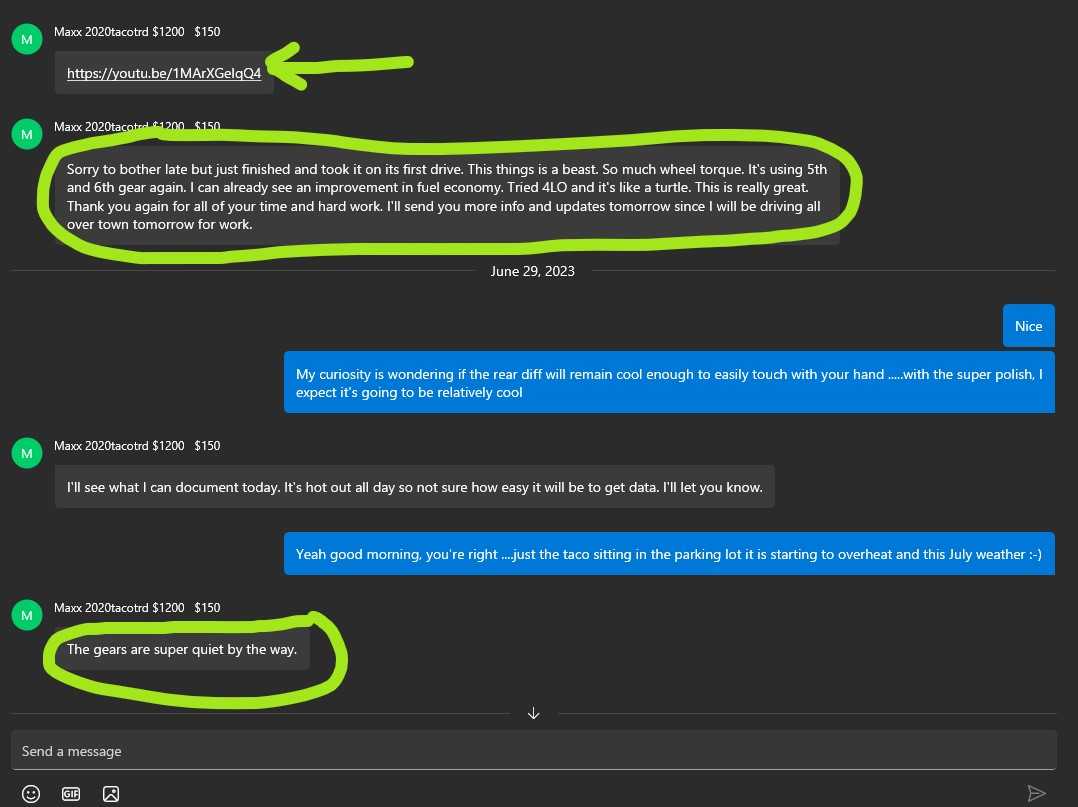
Set like this, this gear set will run quiet and strong. I should mention that even on a quality Revolution gear that once in
a blue moon that there will be a gear set that does not set up properly....that a coast pattern will not fall into place.
That a possible bit of noise will appear on de-celeration. These gears for Max will be super quiet. And because he had them
REM super polished means no break-in and no over-heating issues. Revolution Gear offers that REM as an optional inhouse
service and I am so glad they do. It's good for the customer and good for the installer. |
|---|
|
|
|
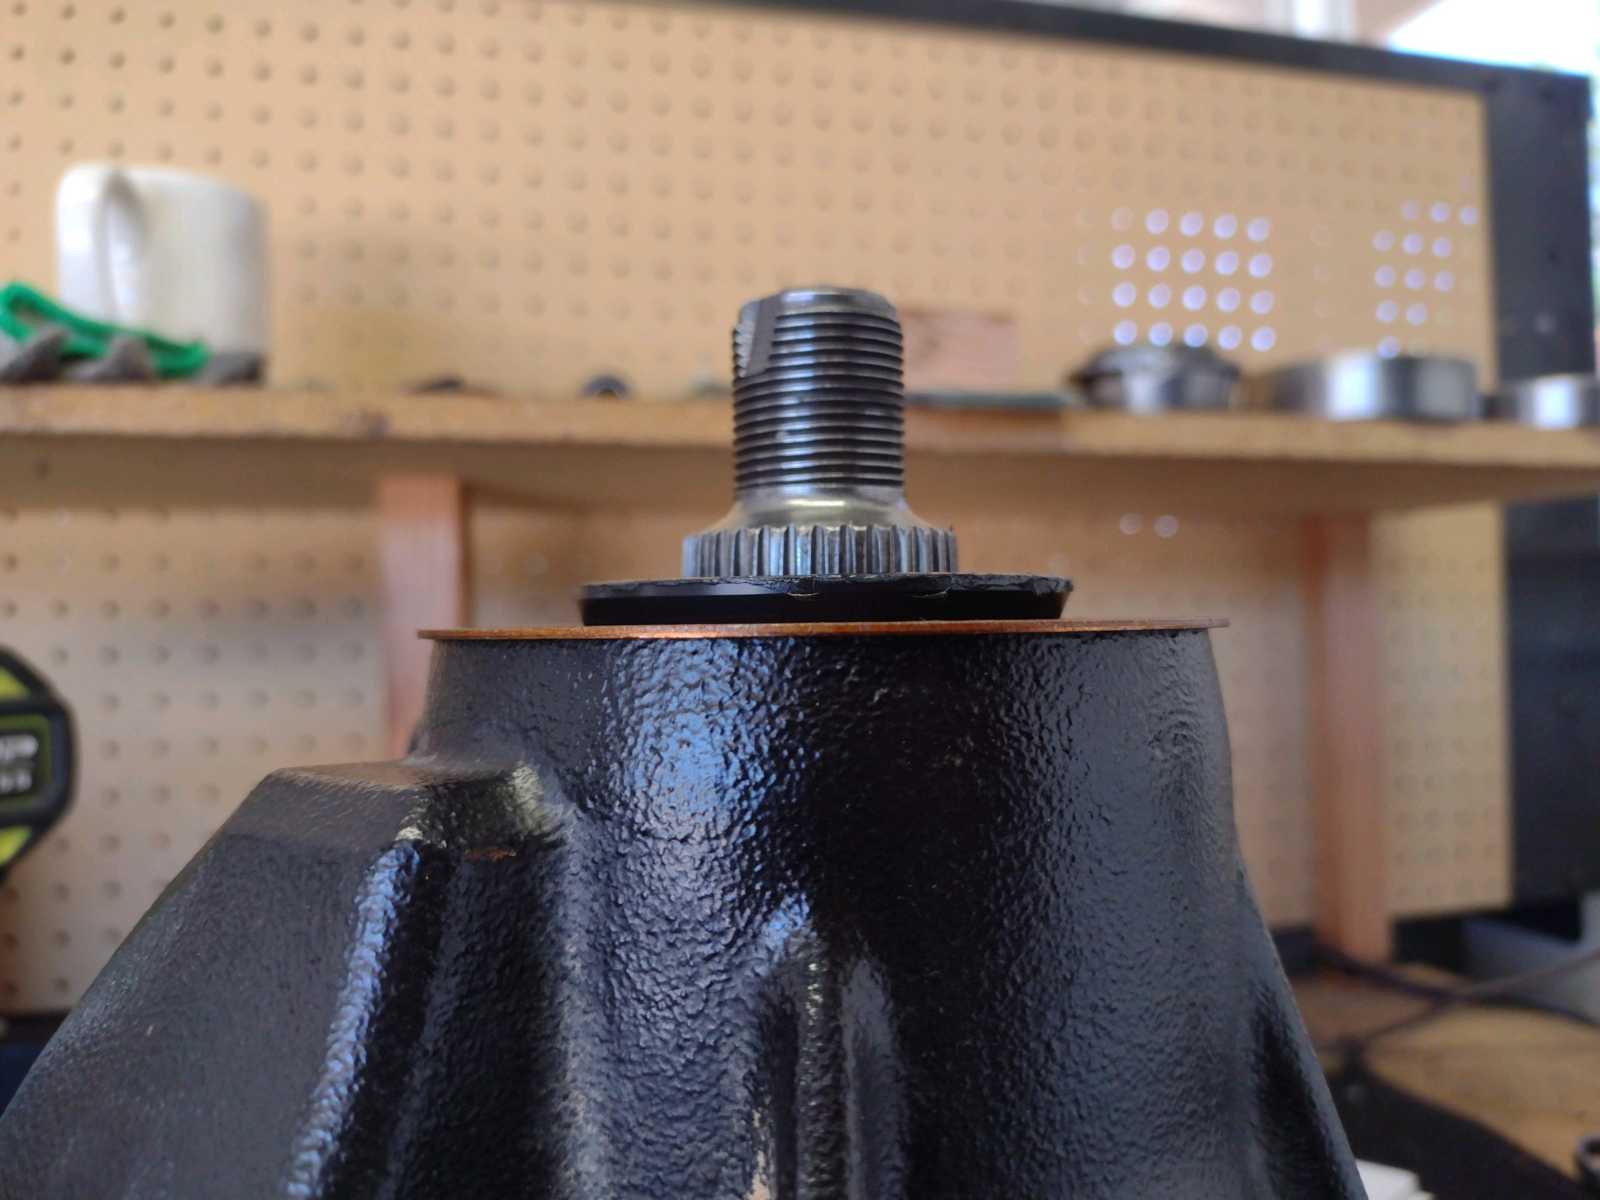
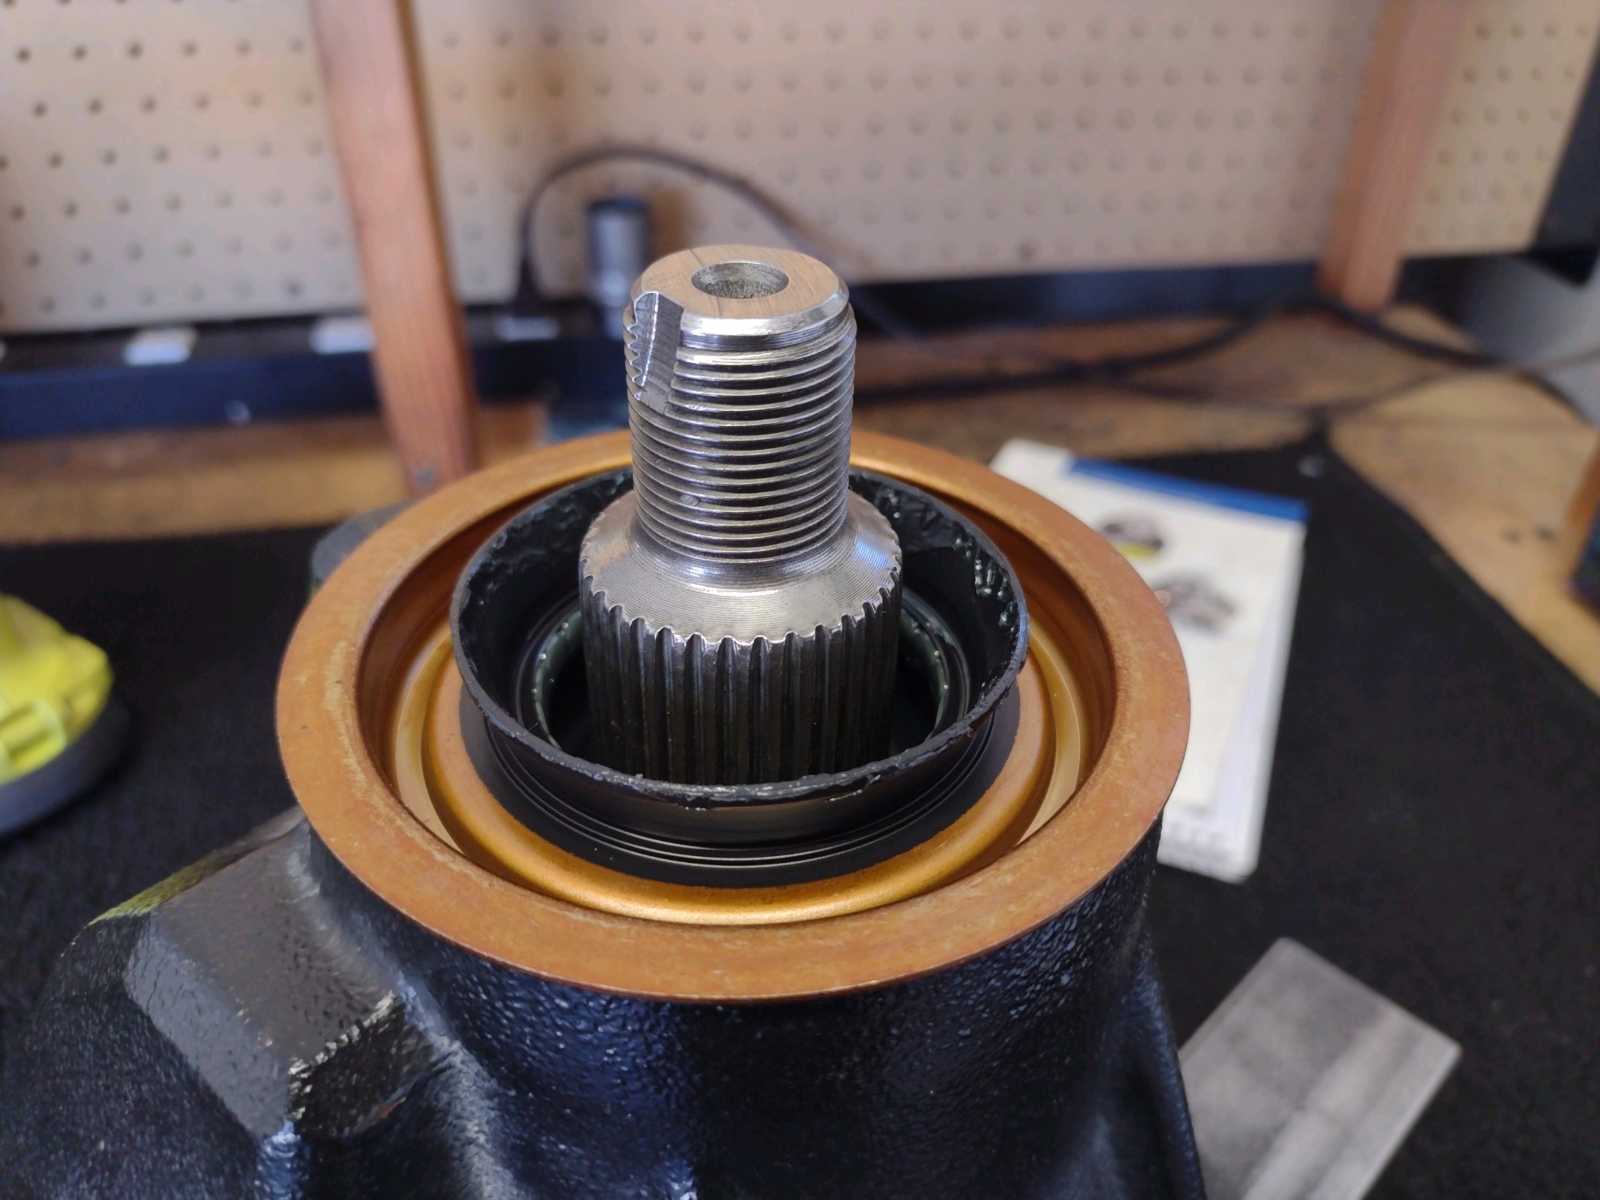
Pinion is loaded up with the crush sleeve. New seal is tapped in. |
|---|
|
|
The factory pre-lubes them with a clear vaseline looking grease. Flange is next and crush until about 14 inch/pounds of preload
is reached....ding!! the groove and this pinion end is done. |
|---|
|
|
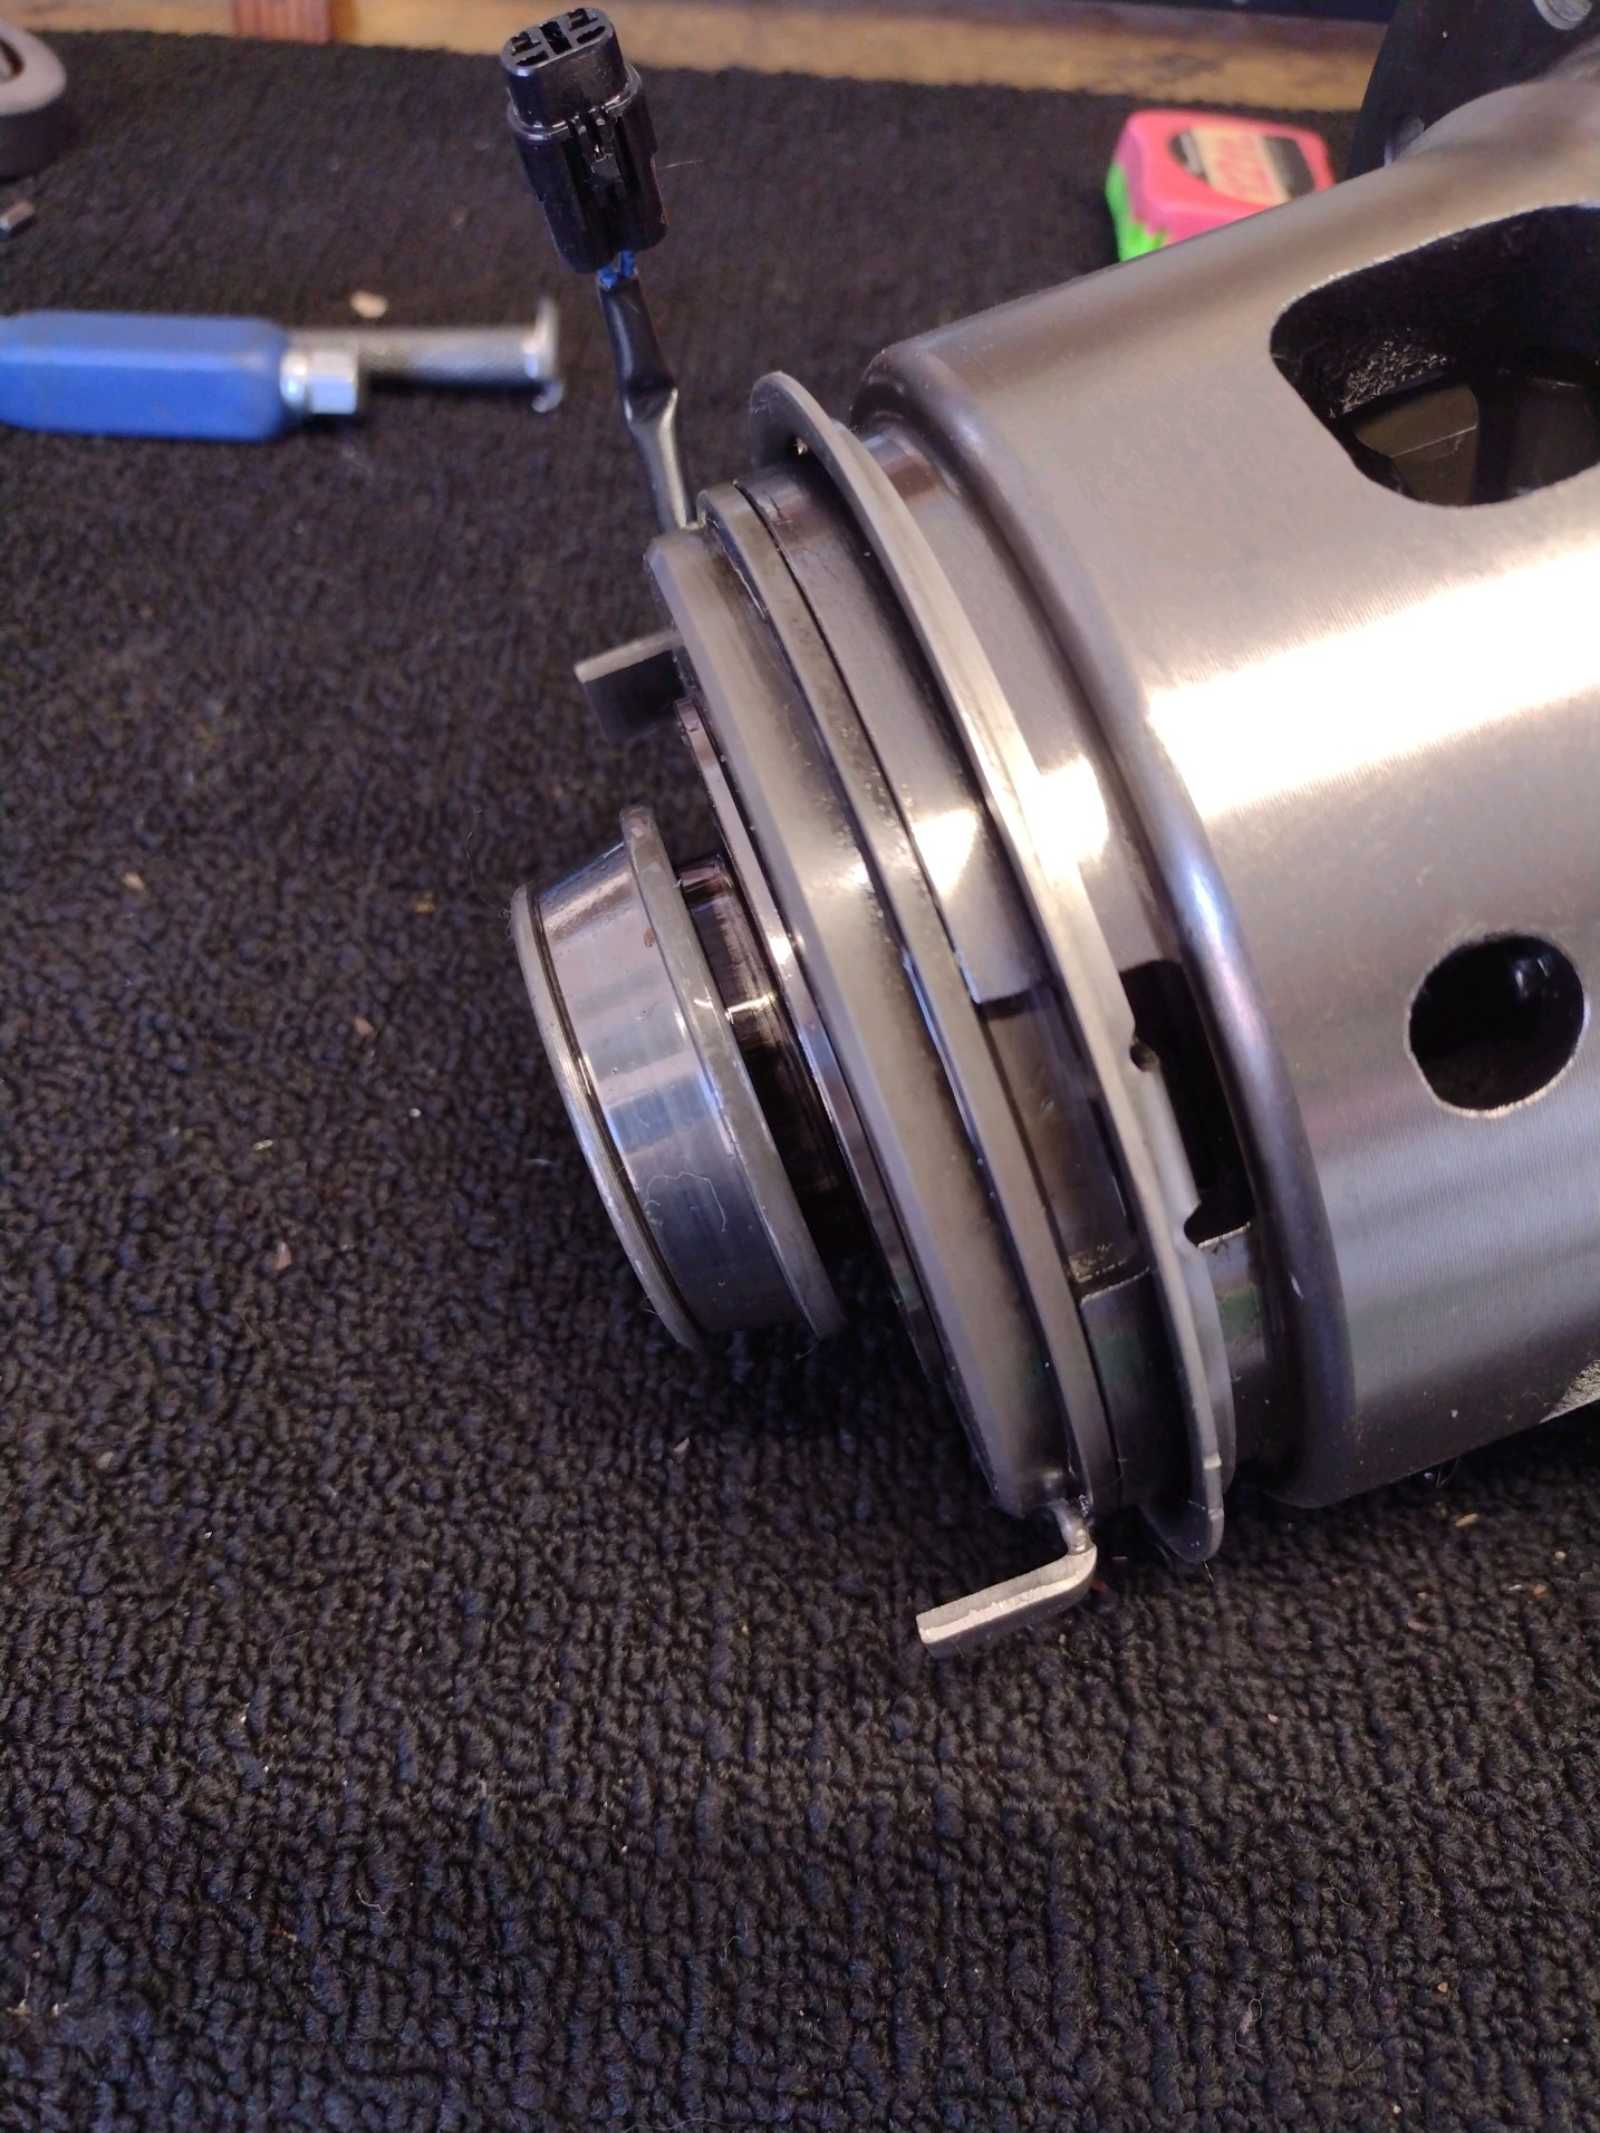
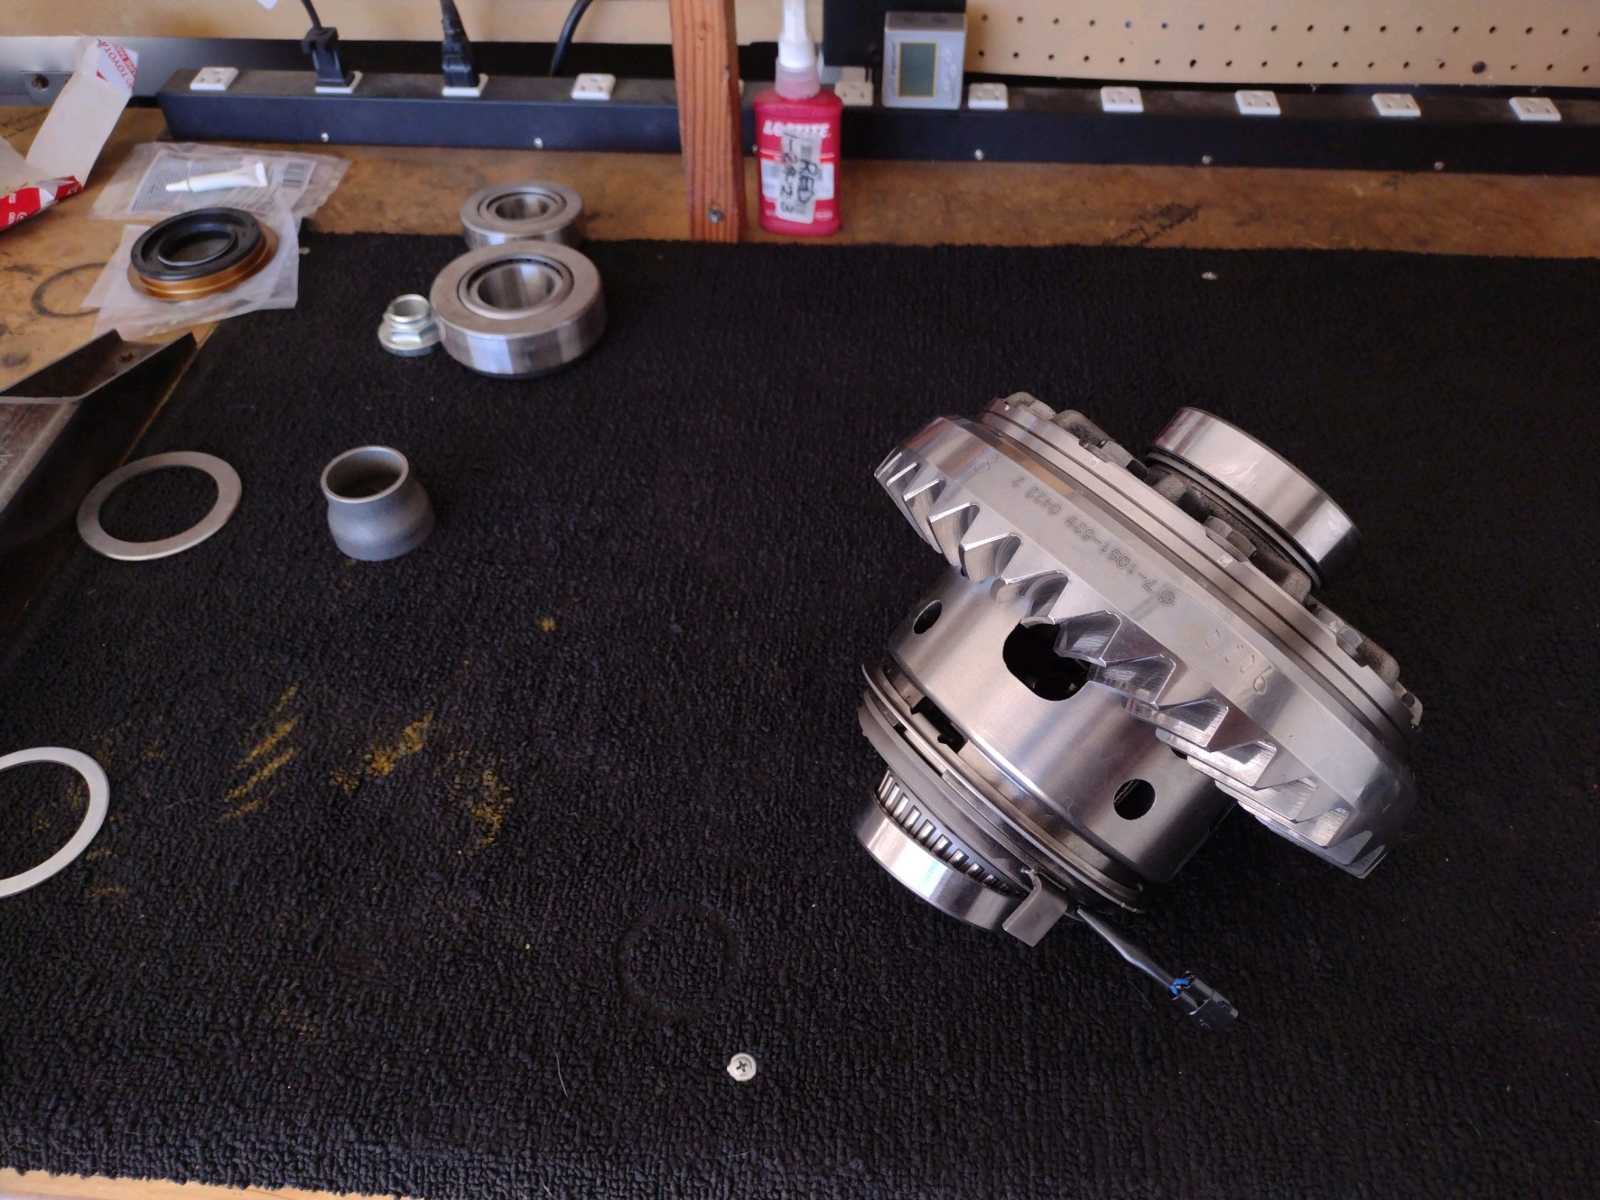
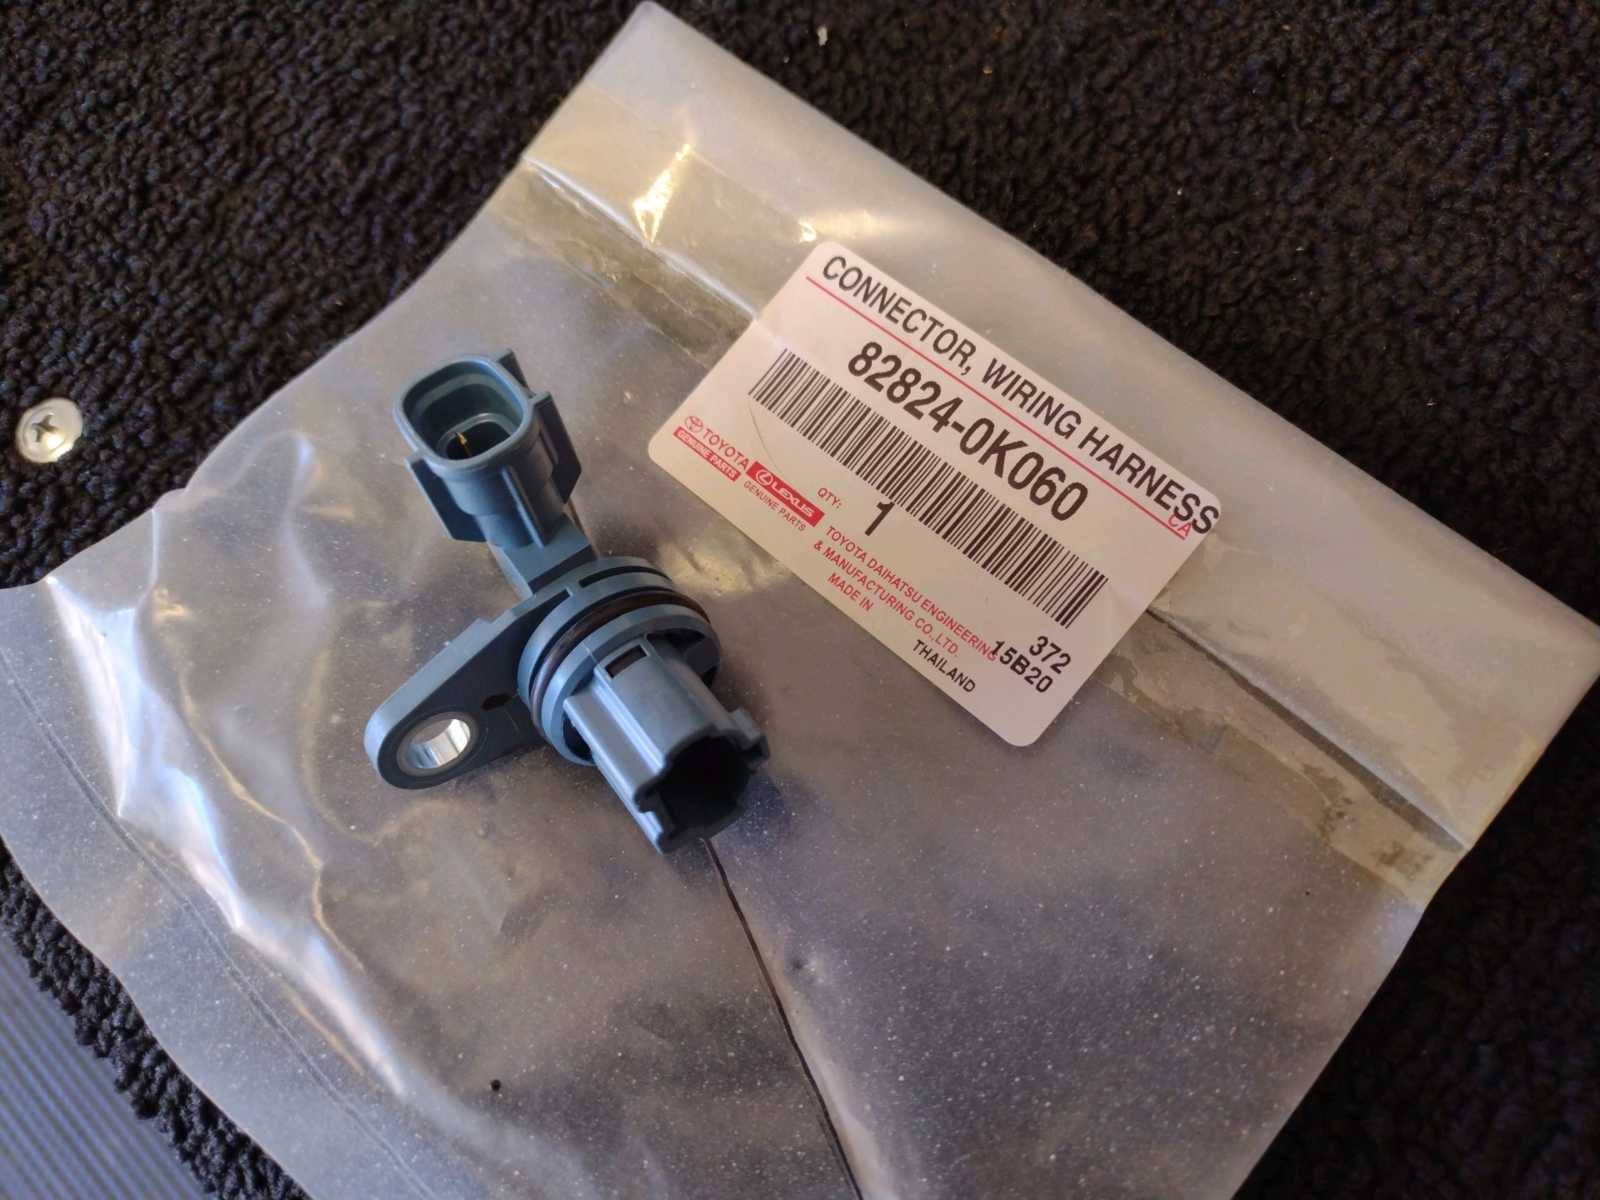
Skipped some pics but the center carrier end goes fast....install the center carrier and also this blue connector. If the
backlash or carrier bearing preload is not enough then now is the final adjustment time by changing washer plates. |
|---|
|
|
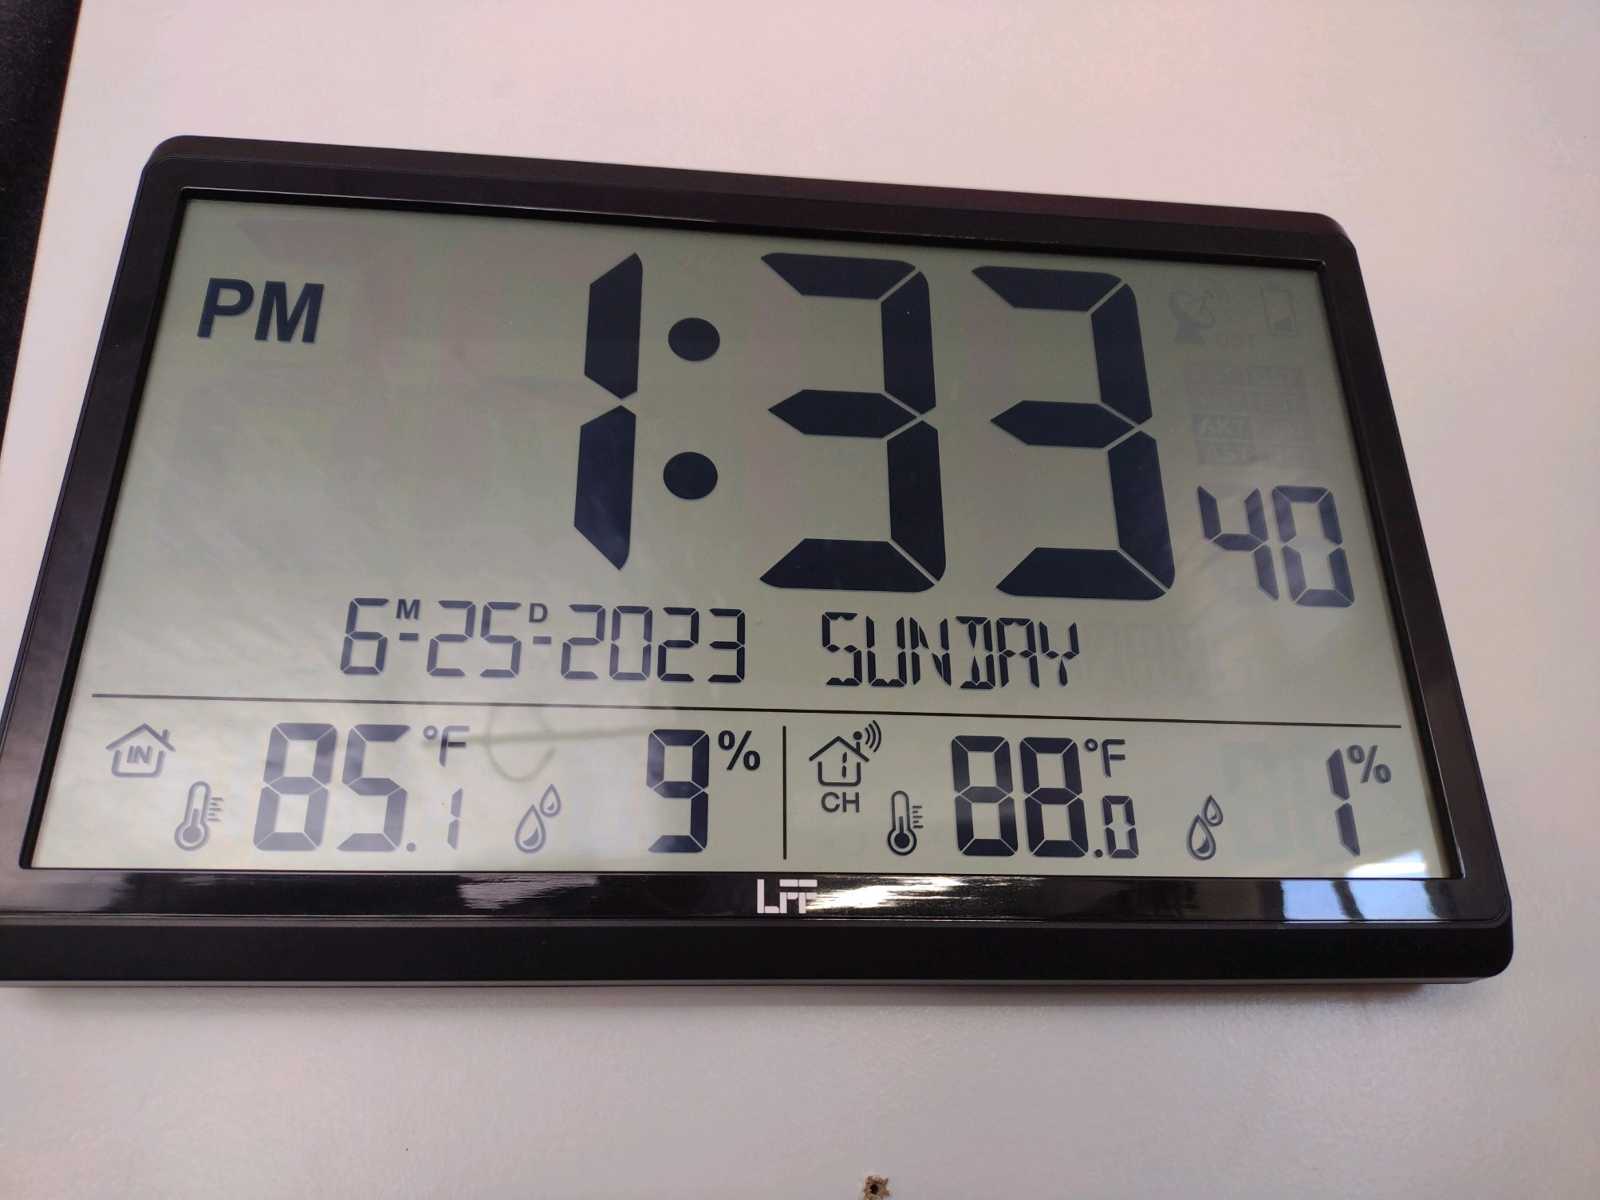
I worked on this yesterday and half a day today and it is done. My weather station is saying that it's a modest 88 degrees
outside in sunny prescott AZ and it's an ok 85 in the shop. Not bad. :) |
|---|
|
|
|
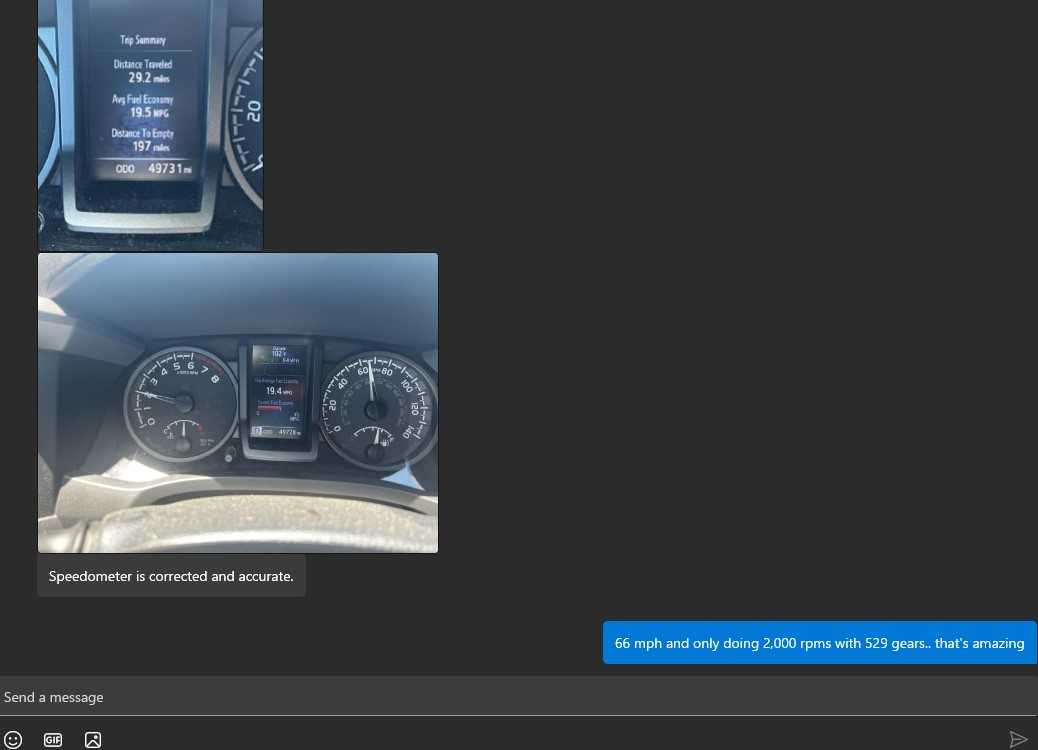
Max updated me on the test drive.......................... |
|---|
|
|
|
;;;;;;;;;;;;;;;;;;;;;;;;;;;;;;;;;;;;;;;;;;;;;;;;;;;;;;; |
|---|
|
|
|
................... |
|---|
|