| Michael's 96 FZJ80 gets a 9.5" rebuild and a solid collar that did something unexpected |
|---|
| (78 BIG pics loading) |
| July 15 2026 |
|
|
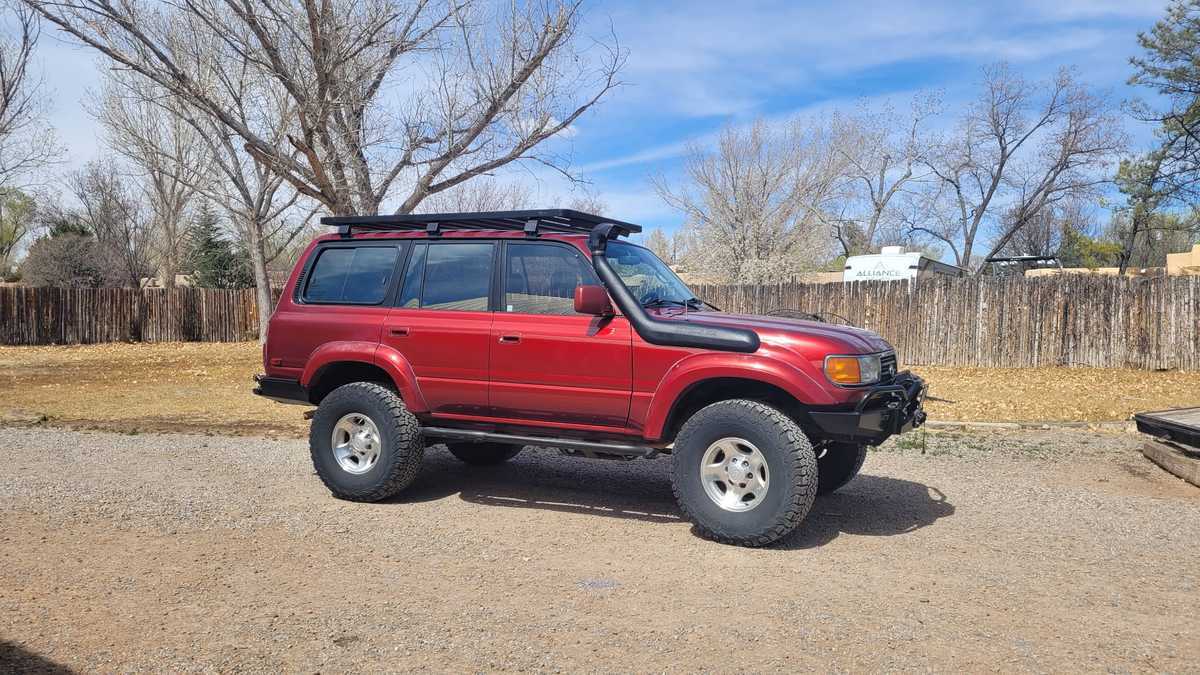
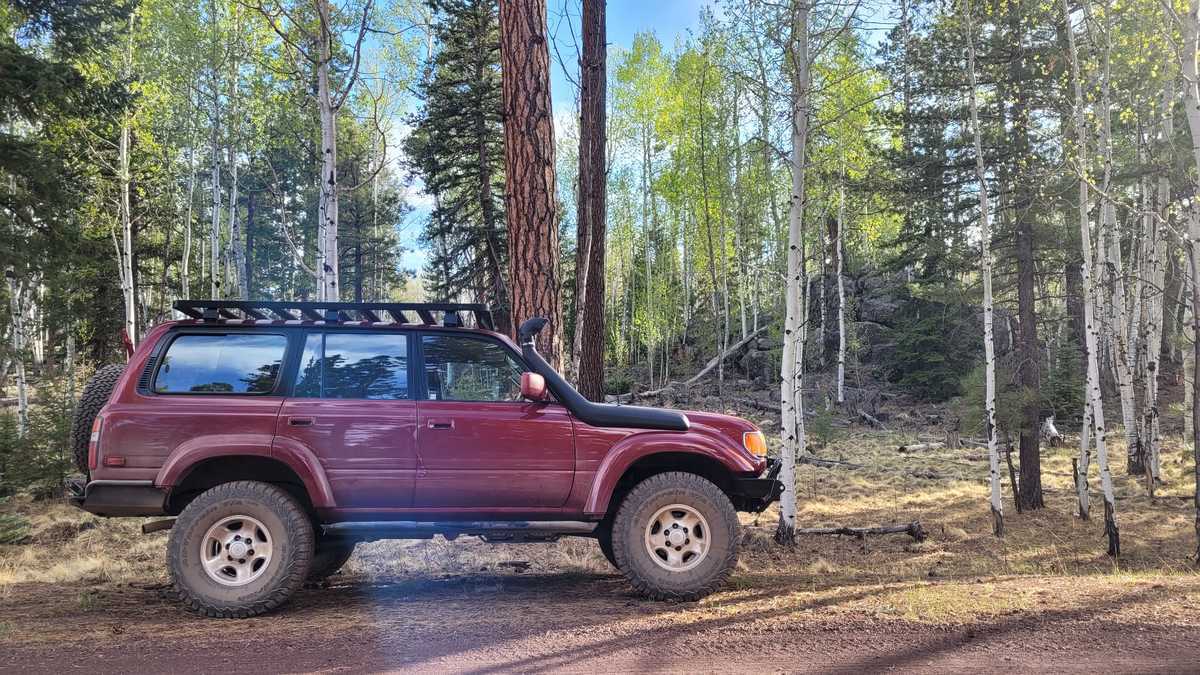
Michael's 96 FZJ80 came with the Ironman snorkel installed. The front bumper is a Slee Offroad 'shortbus' bumper...Sliders by Metal Tech. |
|---|
|
|
Rear bumper by 4x4 Labs. The roof rack from 'Front Runner'. Has an Ironman 3" lift. 35" tires. The transfercase has 10% high range reduction and a 3.3:1 low range! And it is supercharged. |
|
|
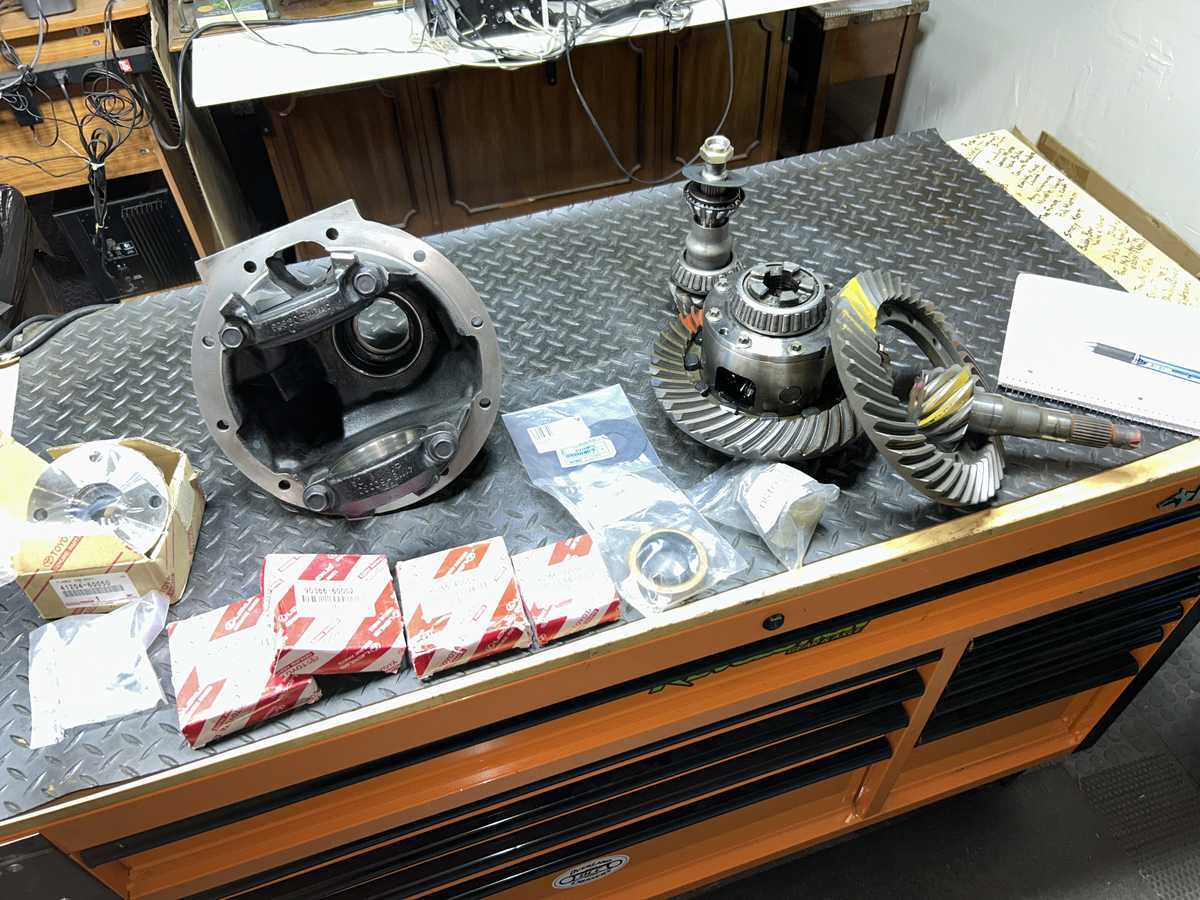
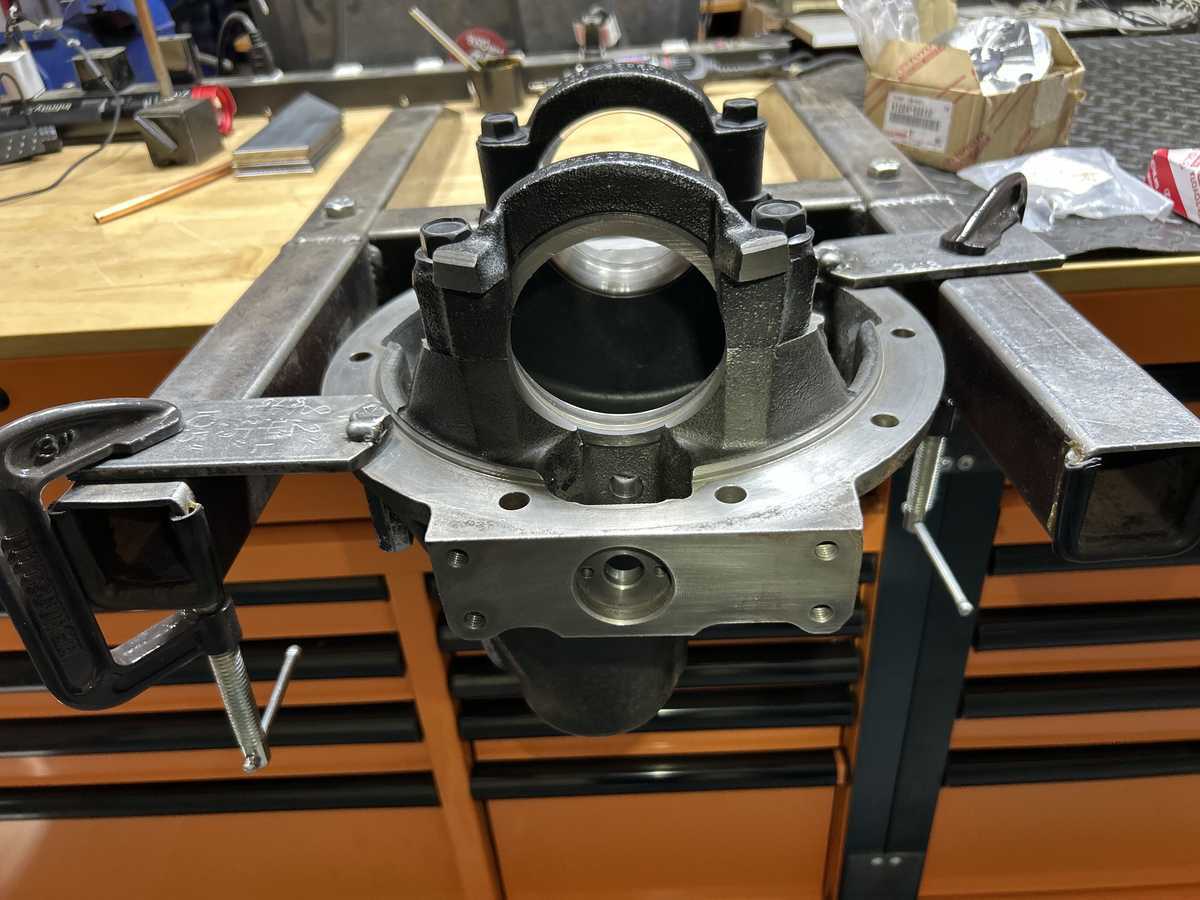
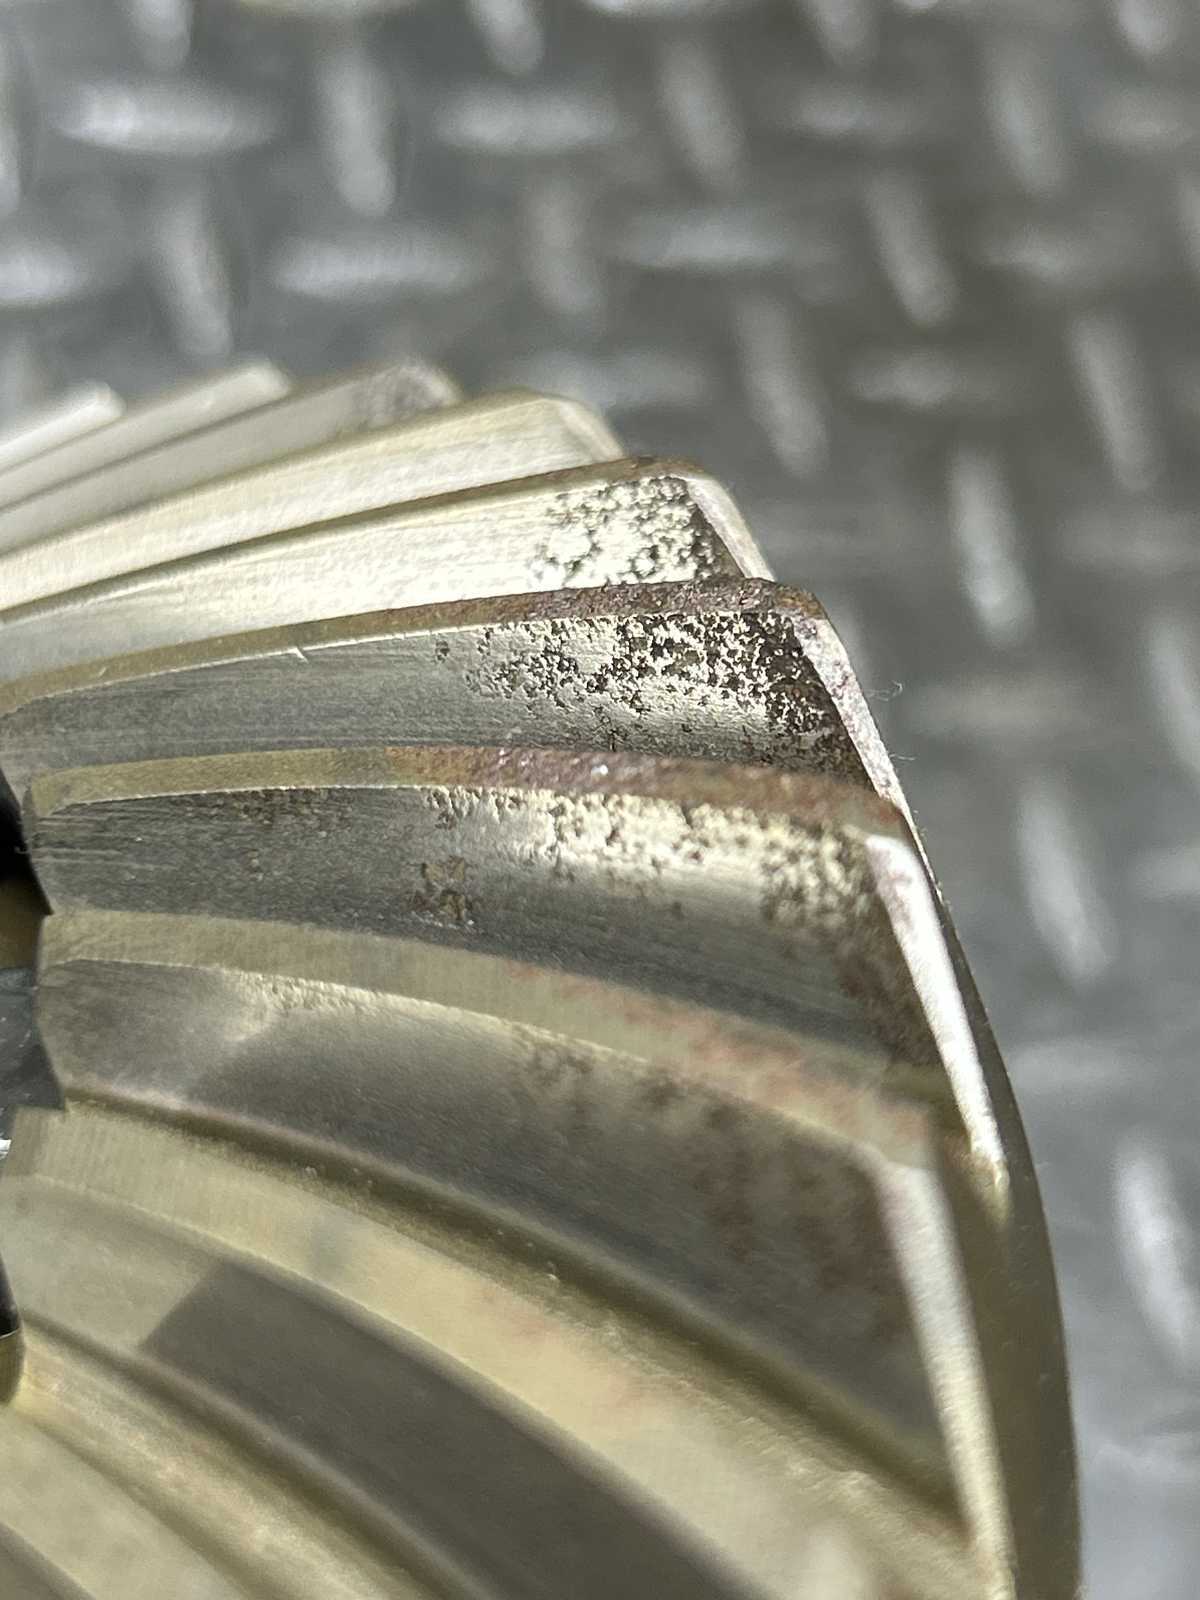
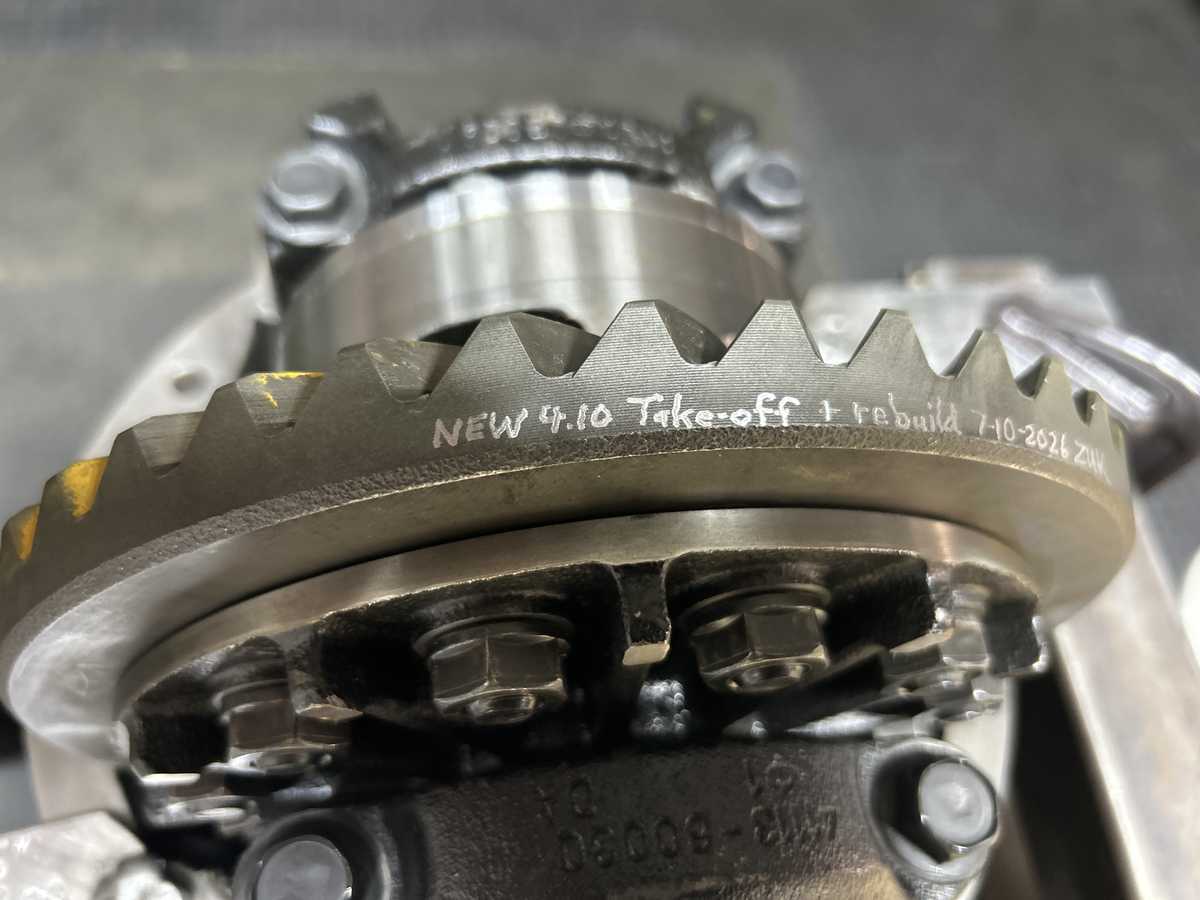
Michael tore down the rear diff and cleaned up everything beautifully. Almost everything is genuine factory part numbers. His factory 410 ring gear has suffered water damage in the form of some bad pitting on the heel of the ring. More pics of it further down. |
|
| Excellent job of clean-up of the stripped 3rd. |
|
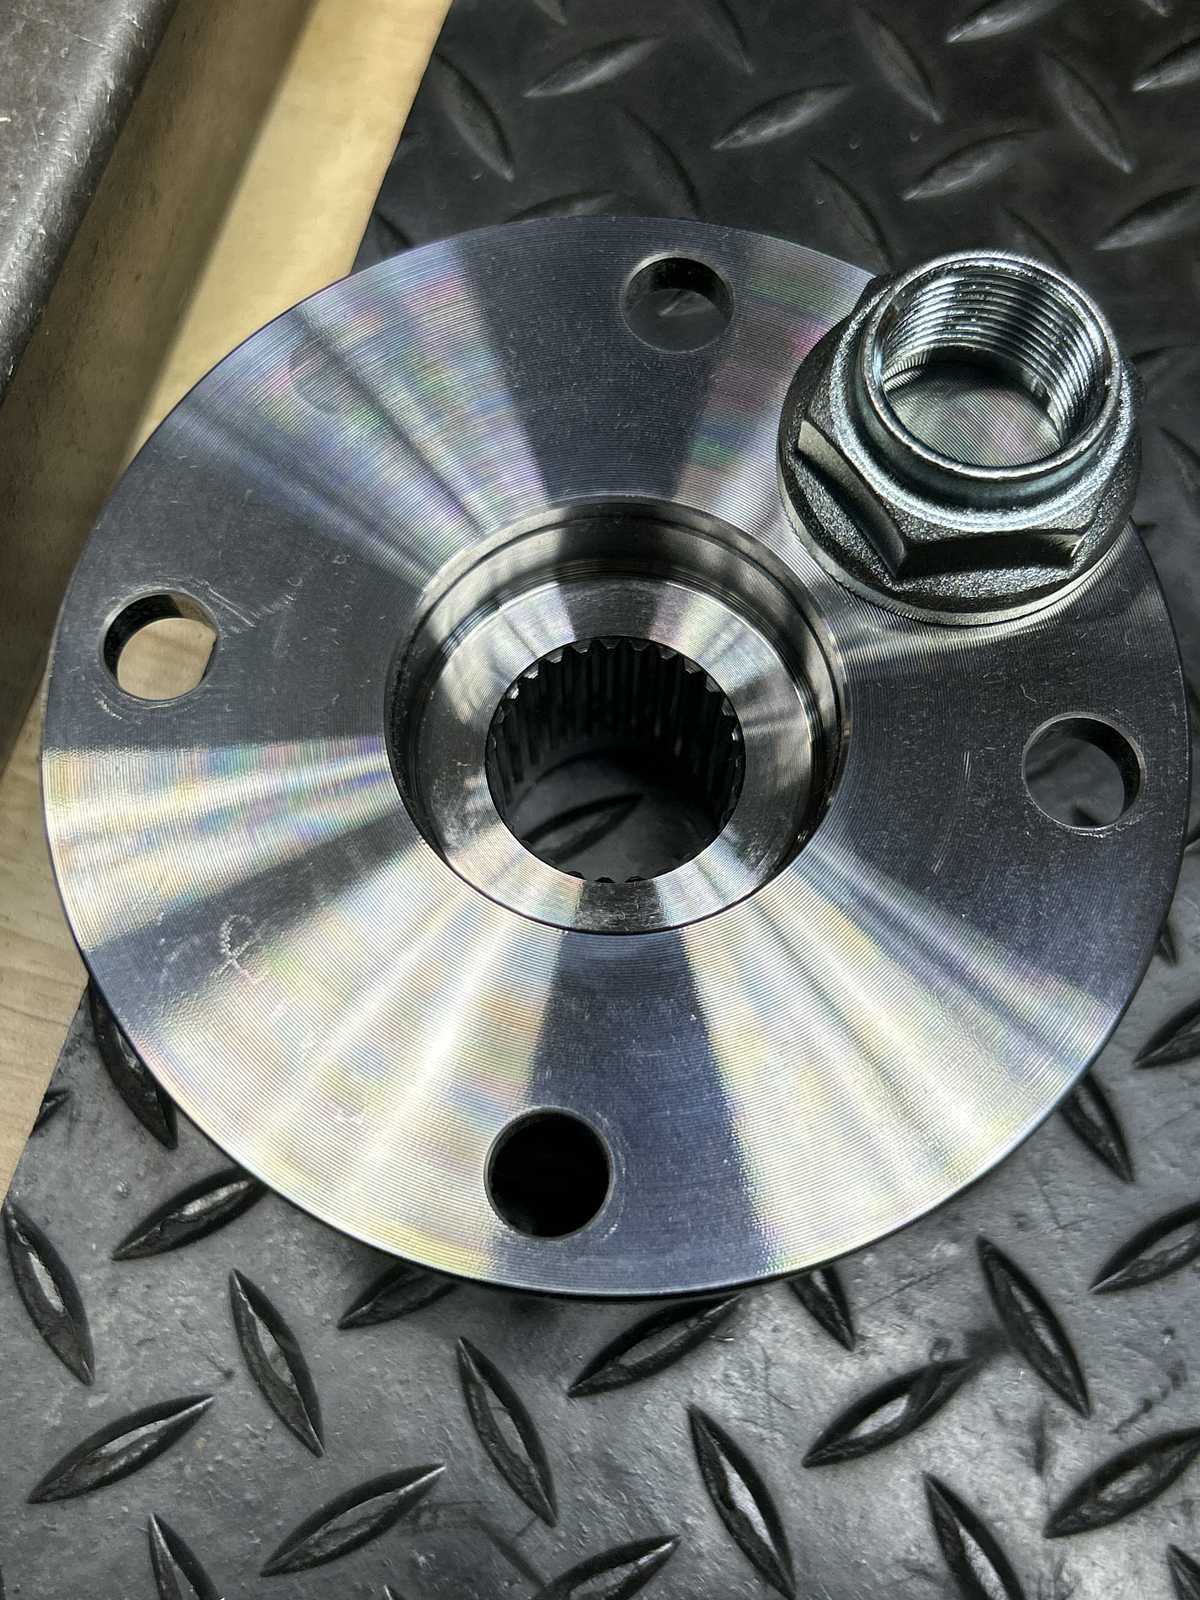
| Genuine factory pinion flange 41204-60050 |
|
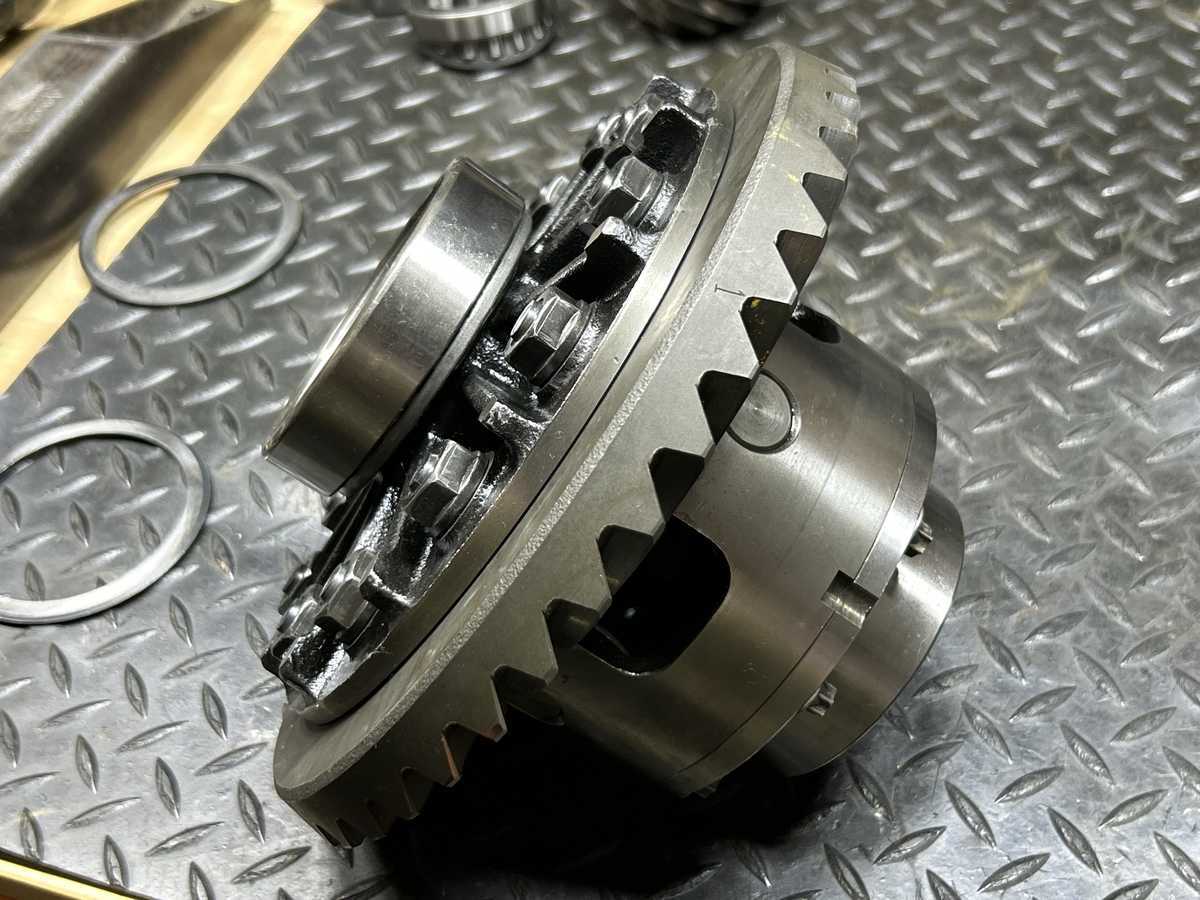
| Absolutely massive carrier bearings are on this factory elocker 3rd part # 90366-60002 |
|
|
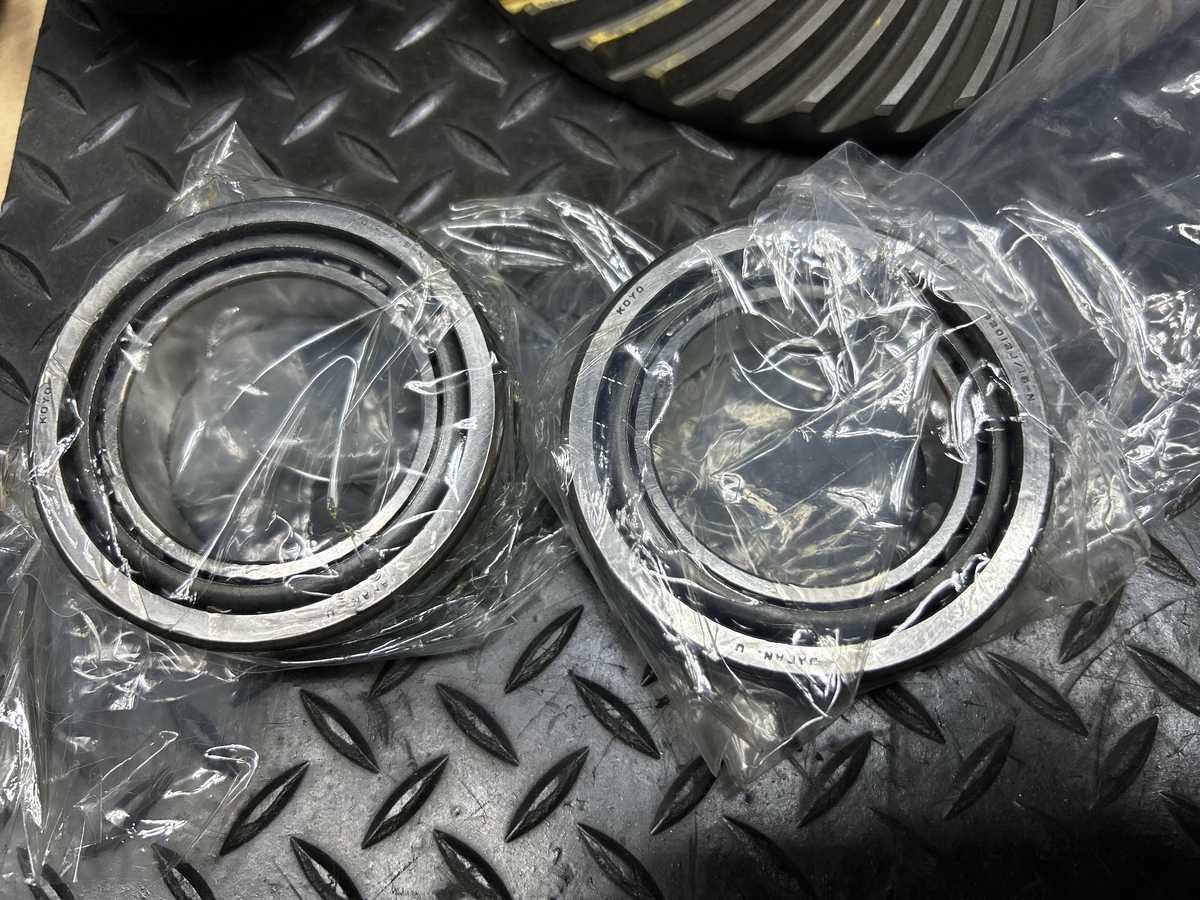
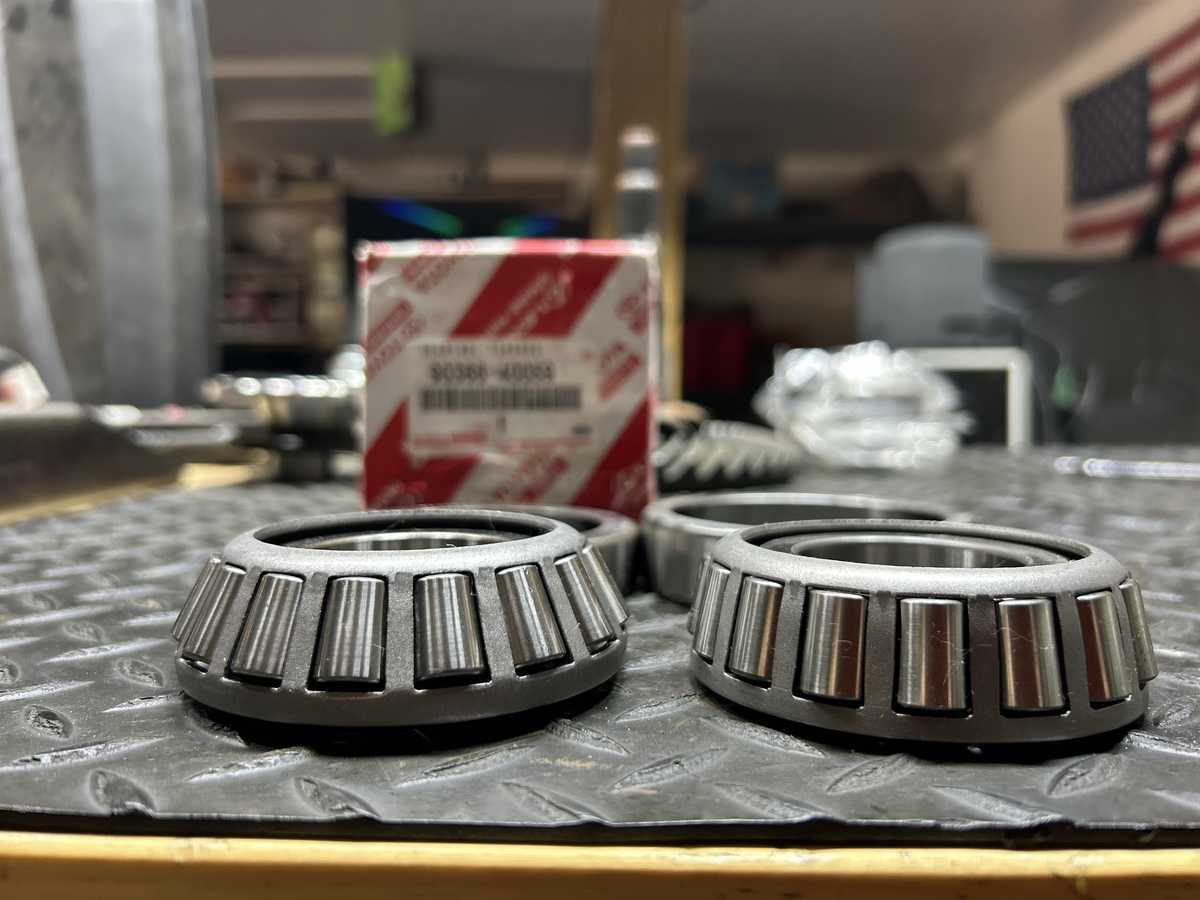
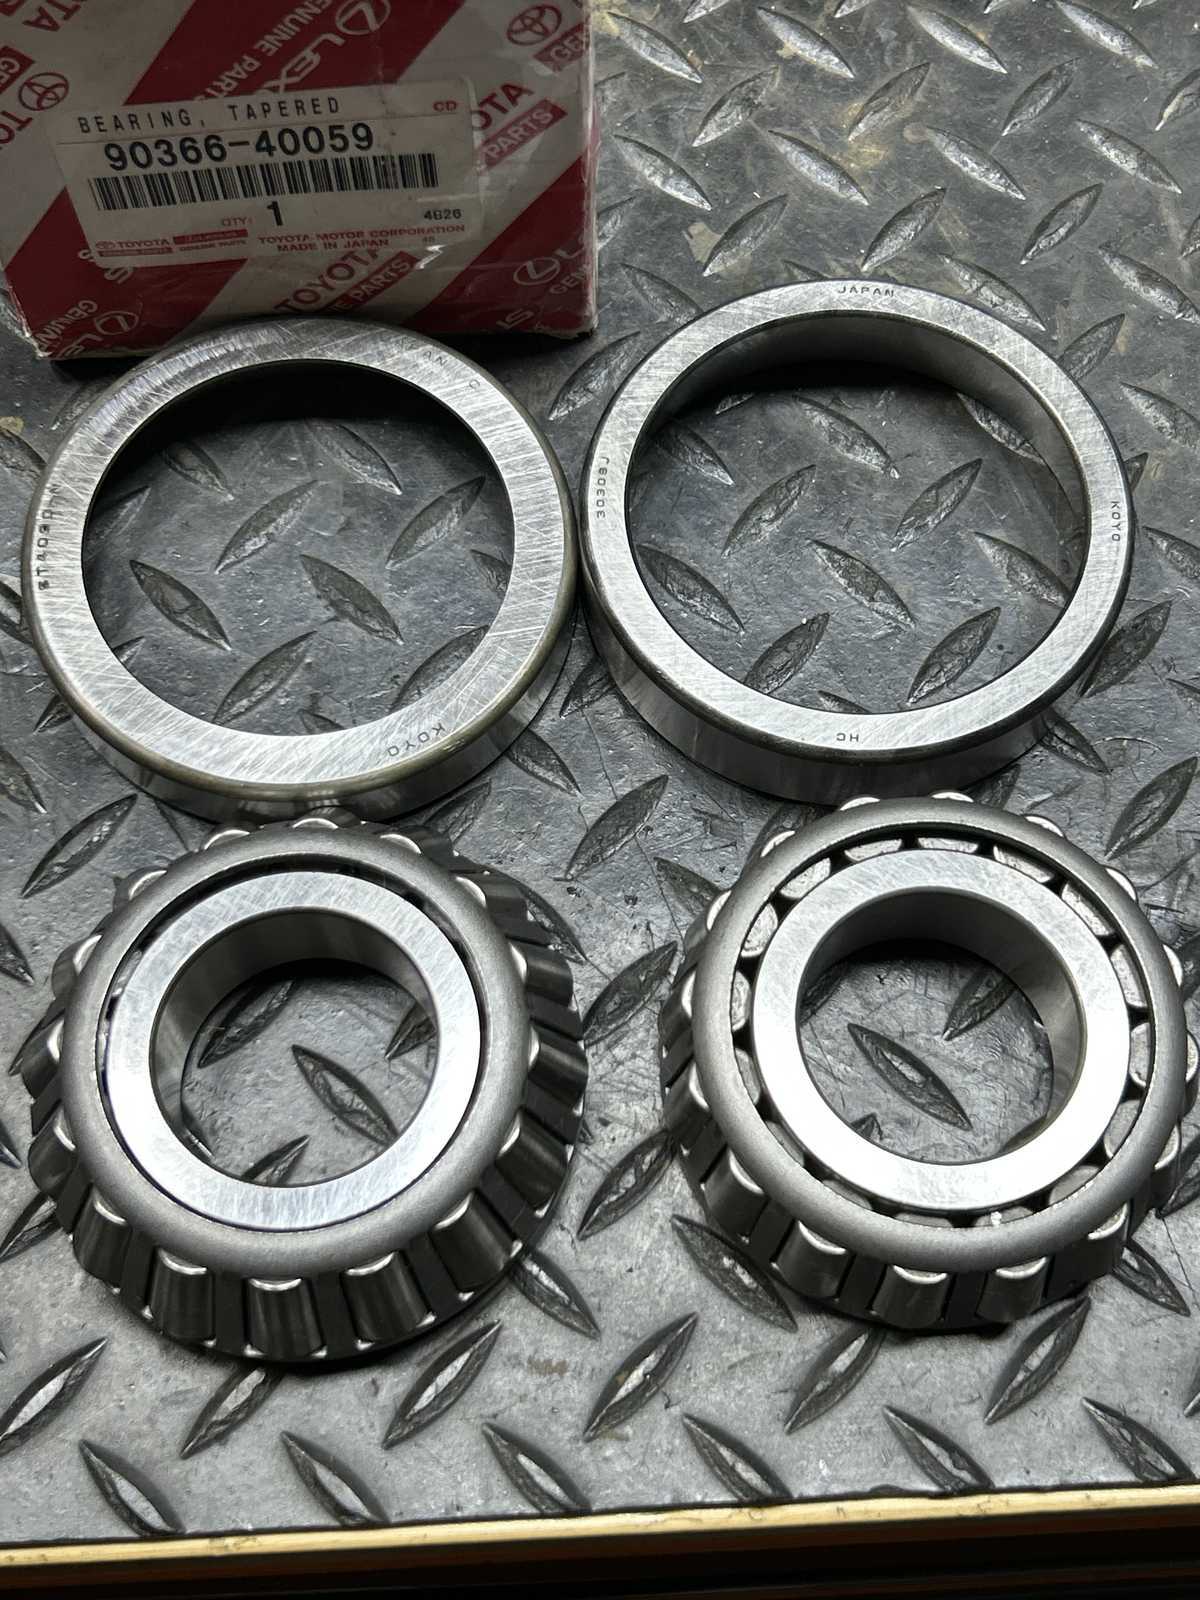
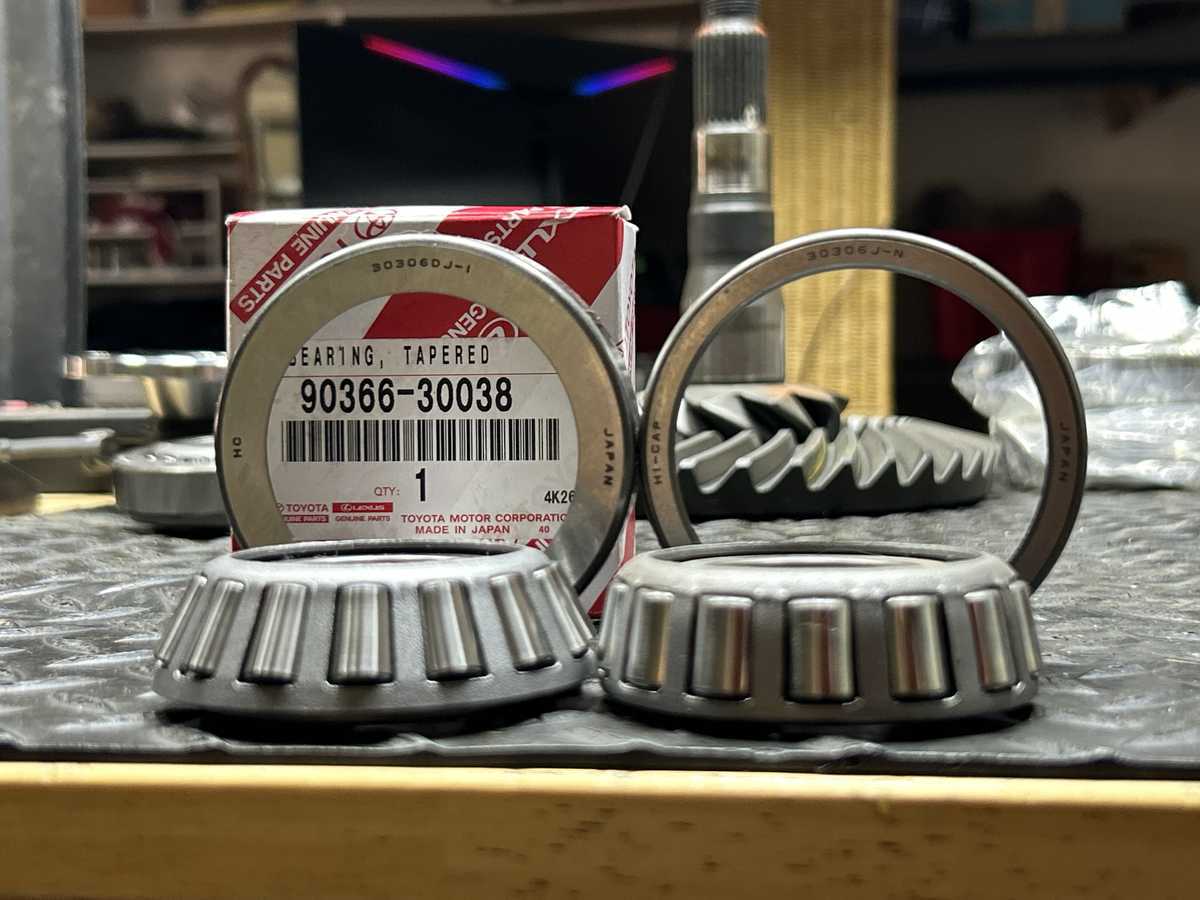
Here's a comparison of the factory Large inner pinion bearing with the aftermarket one that comes in some of the bearing kits. The obvious difference is the angle of the tapered rollers. The one on the left will last 20~30 years.....the right might last 1 year before the pinion gets 'wobbly'. Always go factory. |
|
| A top shot of the same 2 bearings. |
|
|
Here's a similar situation with the factory small outer pinion bearing on the left... and the aftermarket one on the right. Rollers that are that 'vertical' just don't last that long. Ok, that ends the comparisons :) |
|
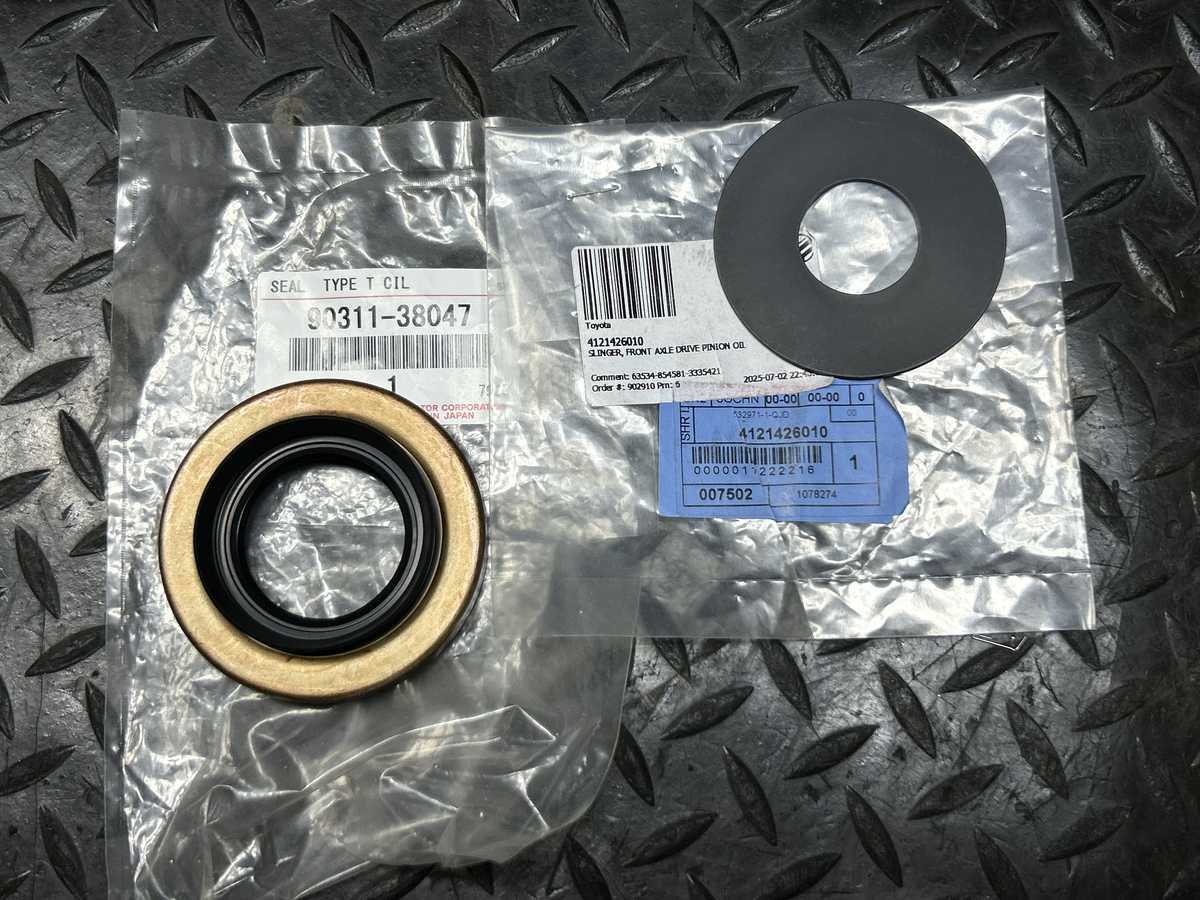
| Michael also supplied the factory 27 spline seal and a slinger. |
|
|
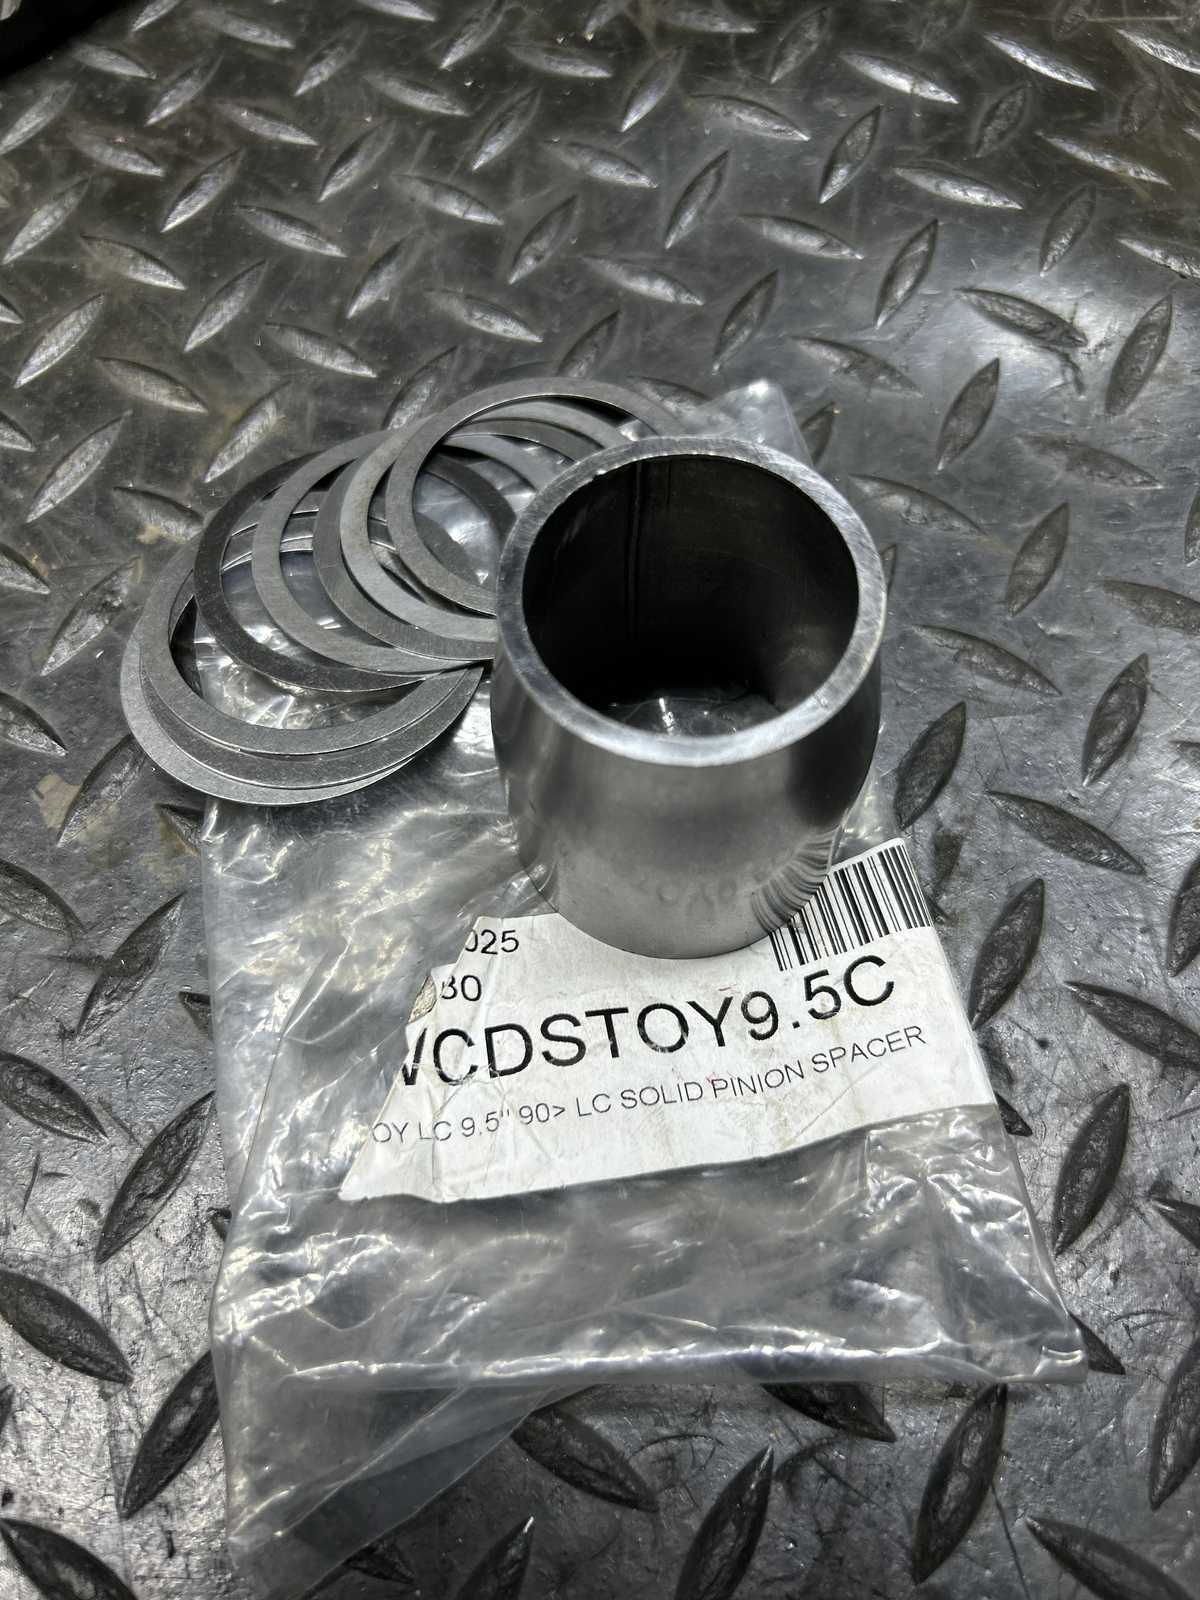
Now the solid collar did come from MarlinCrawler.com These collars are basically stretched and compressed cheap tubing. |
|
|
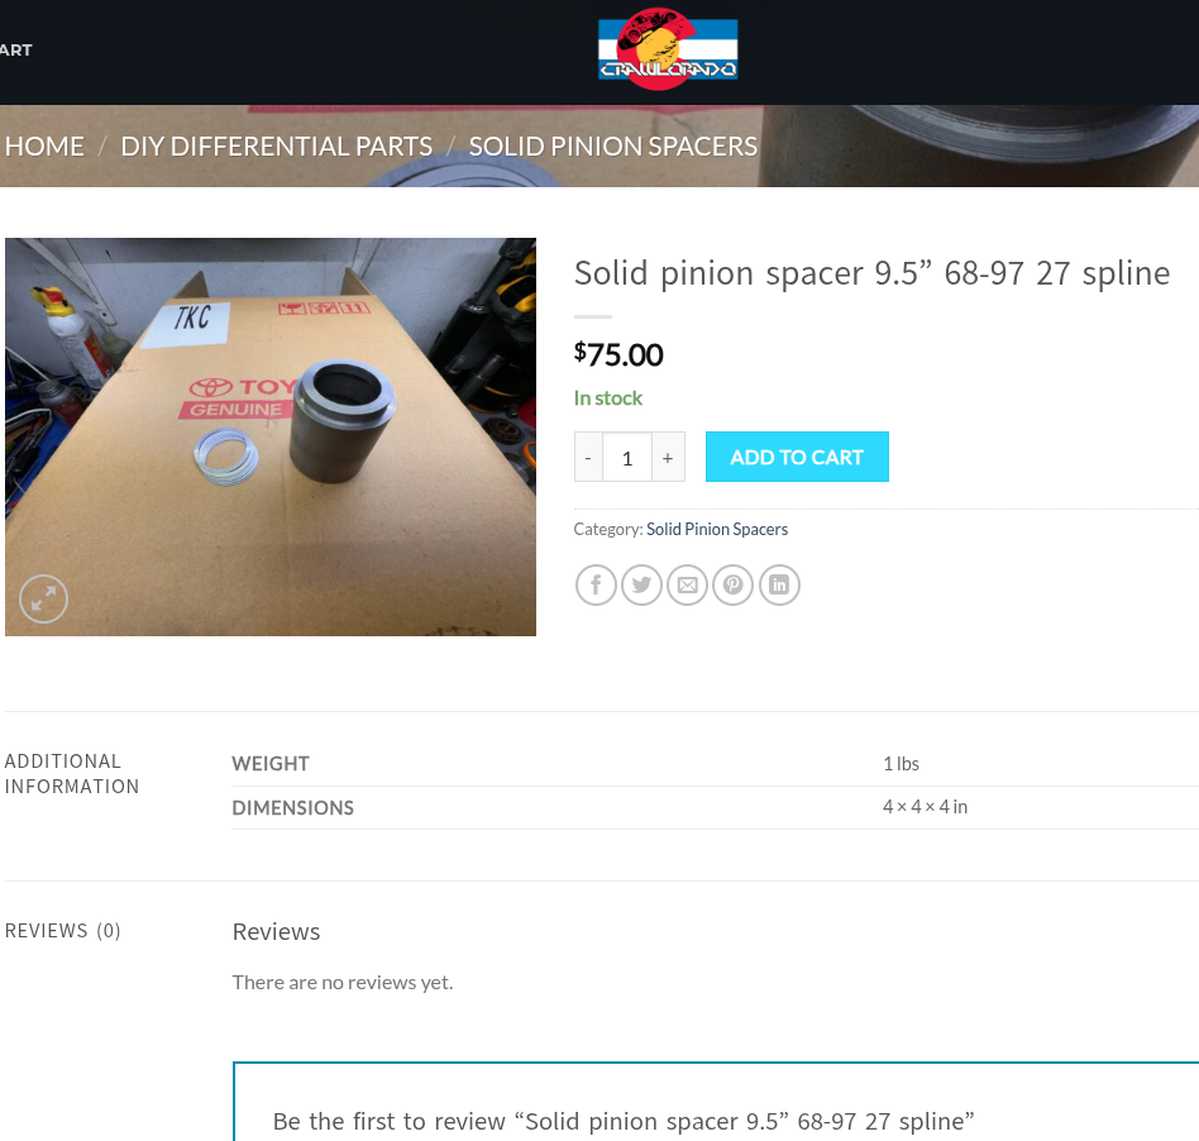
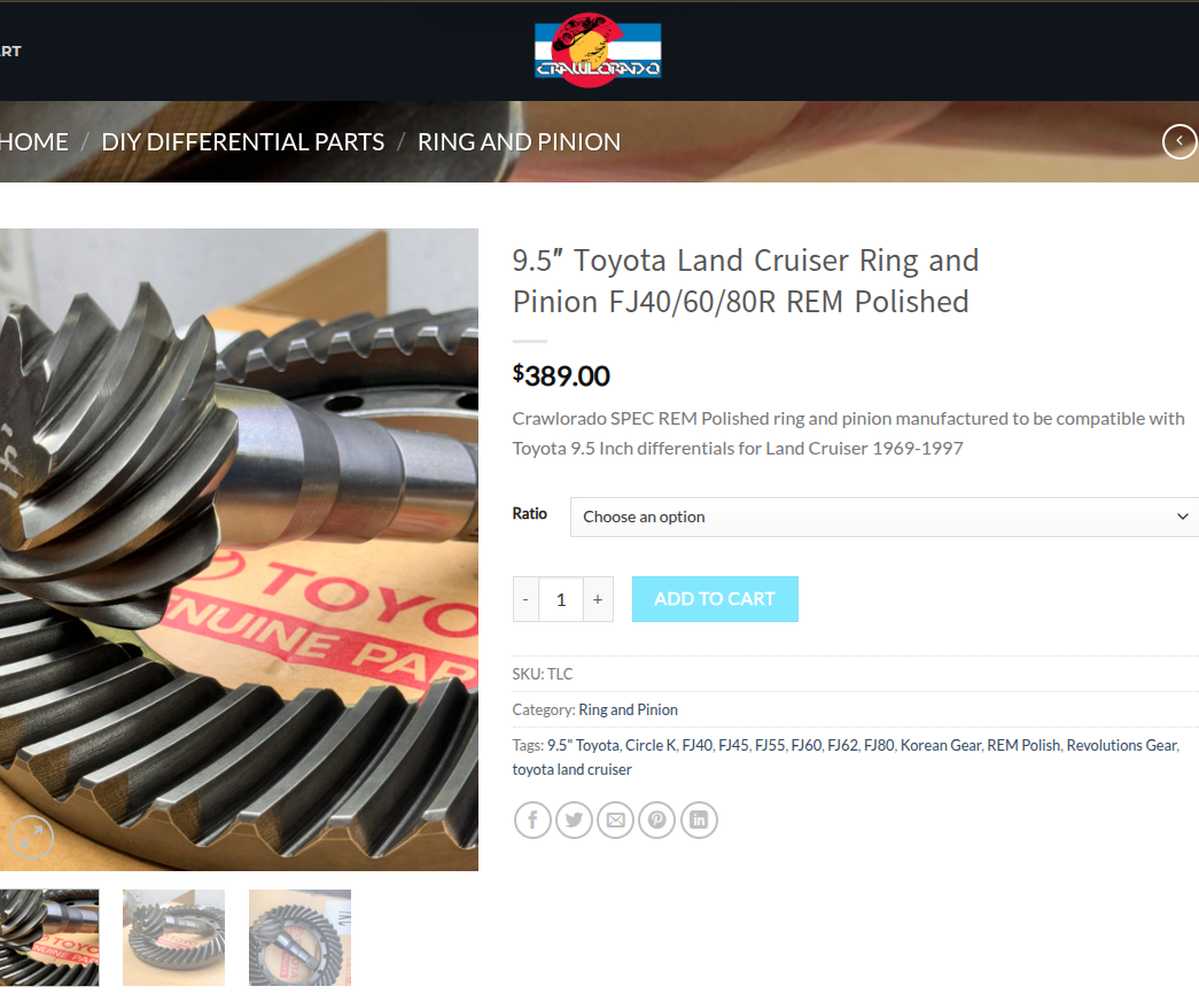
A more professional collar can be had from this place in Colorado. These are turned on a lathe for a precision fit. A little more expensive but worth it. CRAWLORADO.COM |
|
|
I also happened to notice that they offer "Circle K" gears that are already Super Polished. Circle K gears are the same exact gears that Revolution Gear sources. These are top shelf gears. |
|
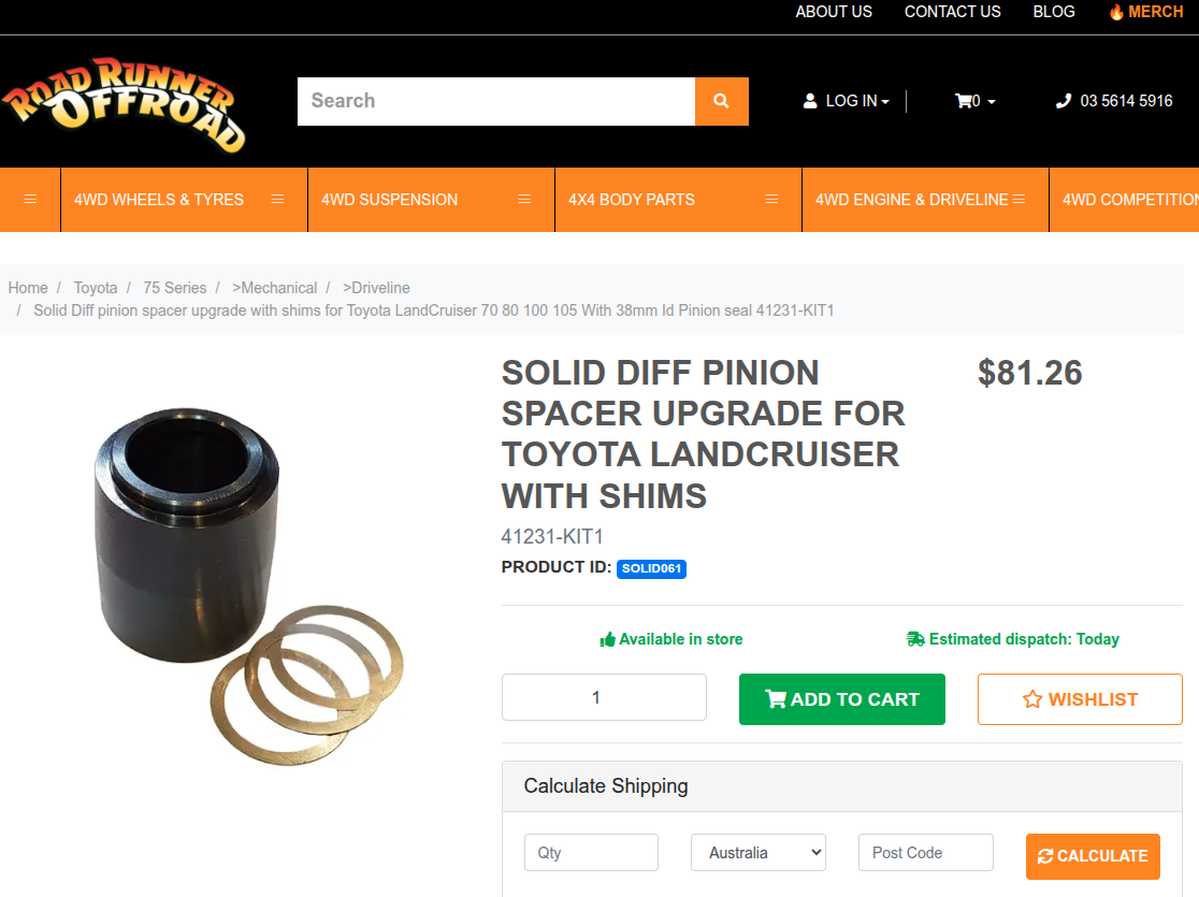
| Too far away but here's a place in Aussieland that offers the same pro solid collar. |
|
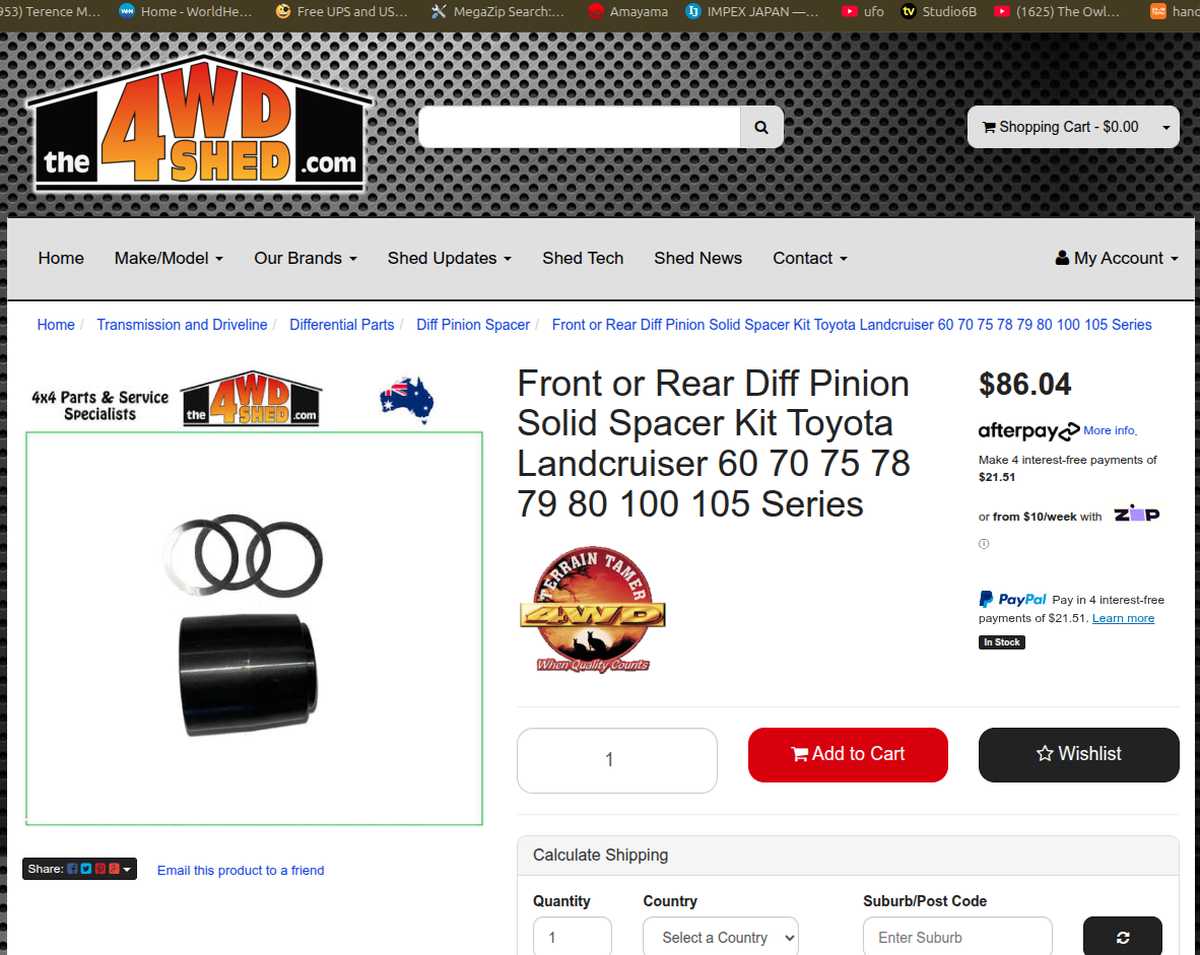
| Another place down under ....too far away. |
|
|
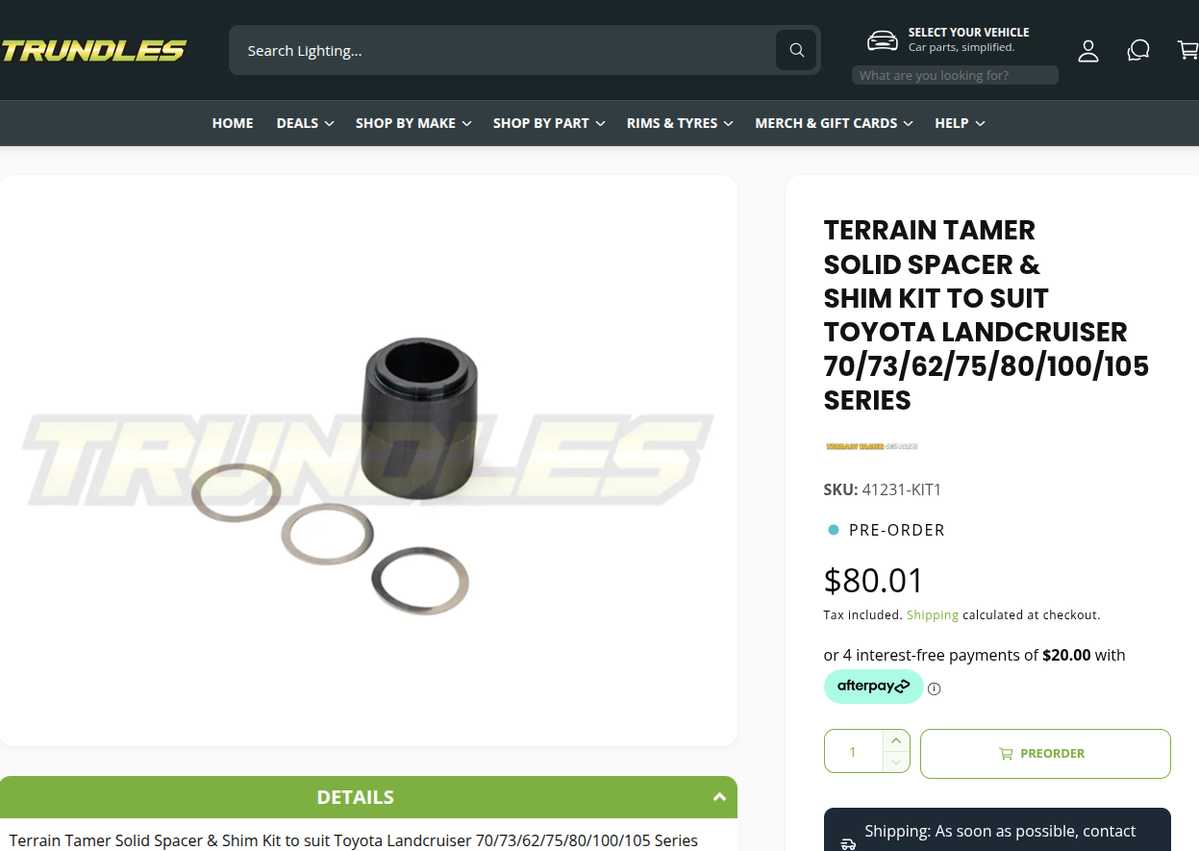
And yet another. I think right now that CRAWLORADO.COM is the only place in the USA to get these professional collars for the FZJ80 Landcruiser 9.5" |
|
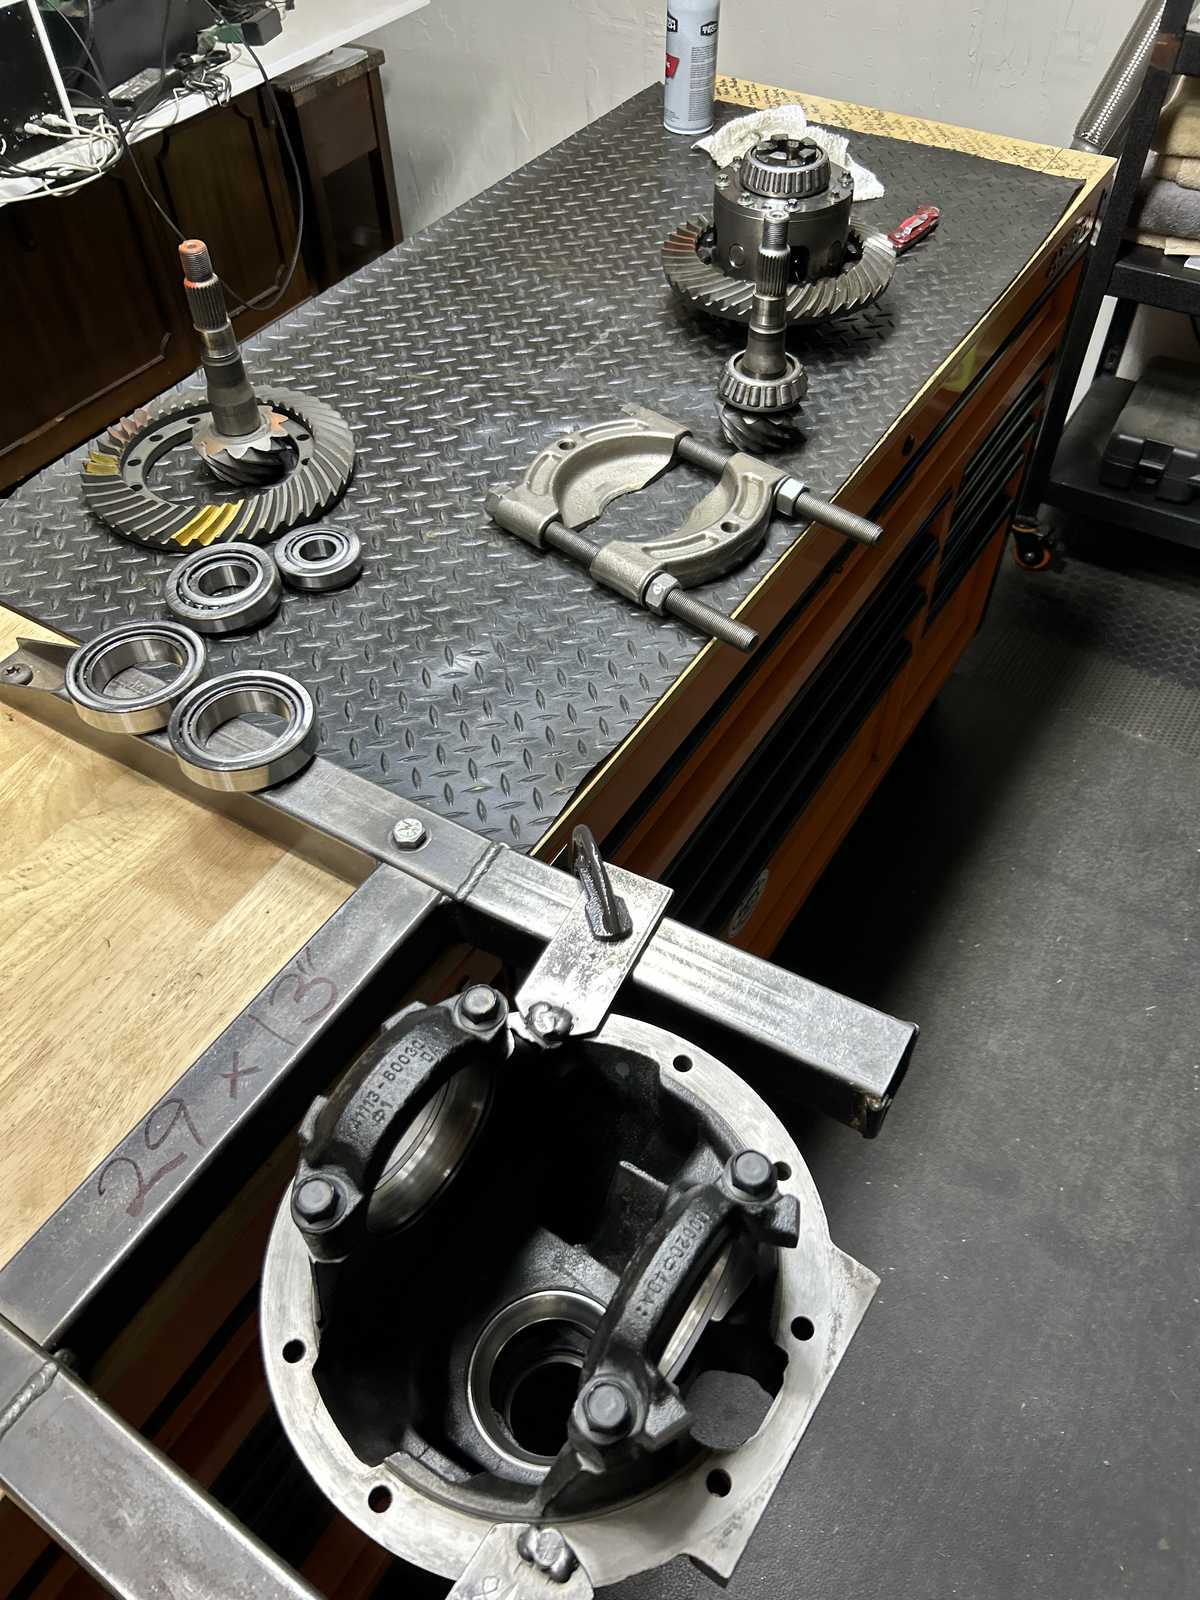
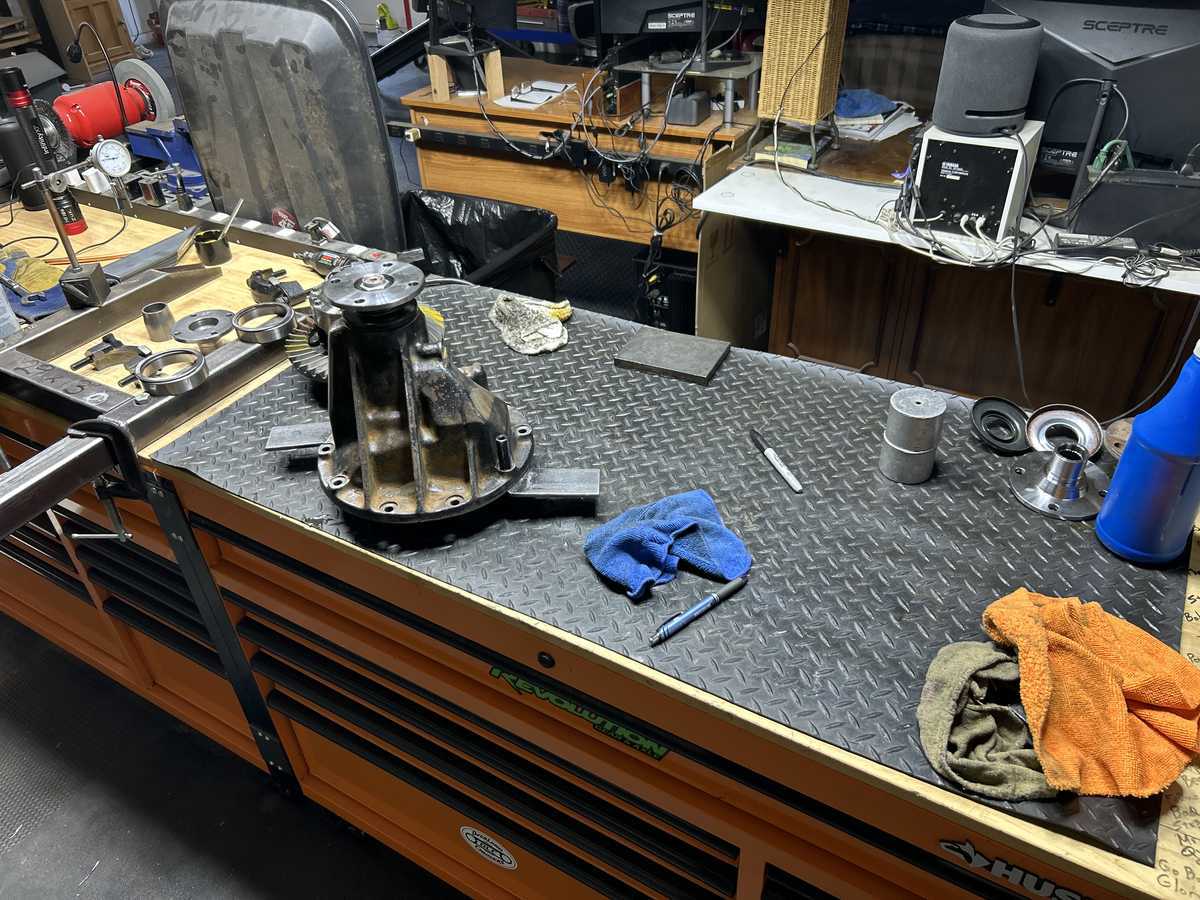
| So back to the install....things are laid out and organized. |
|
| Ohhh, and here's a pic of Michael's 410...guess it was sitting in water way too long. |
|
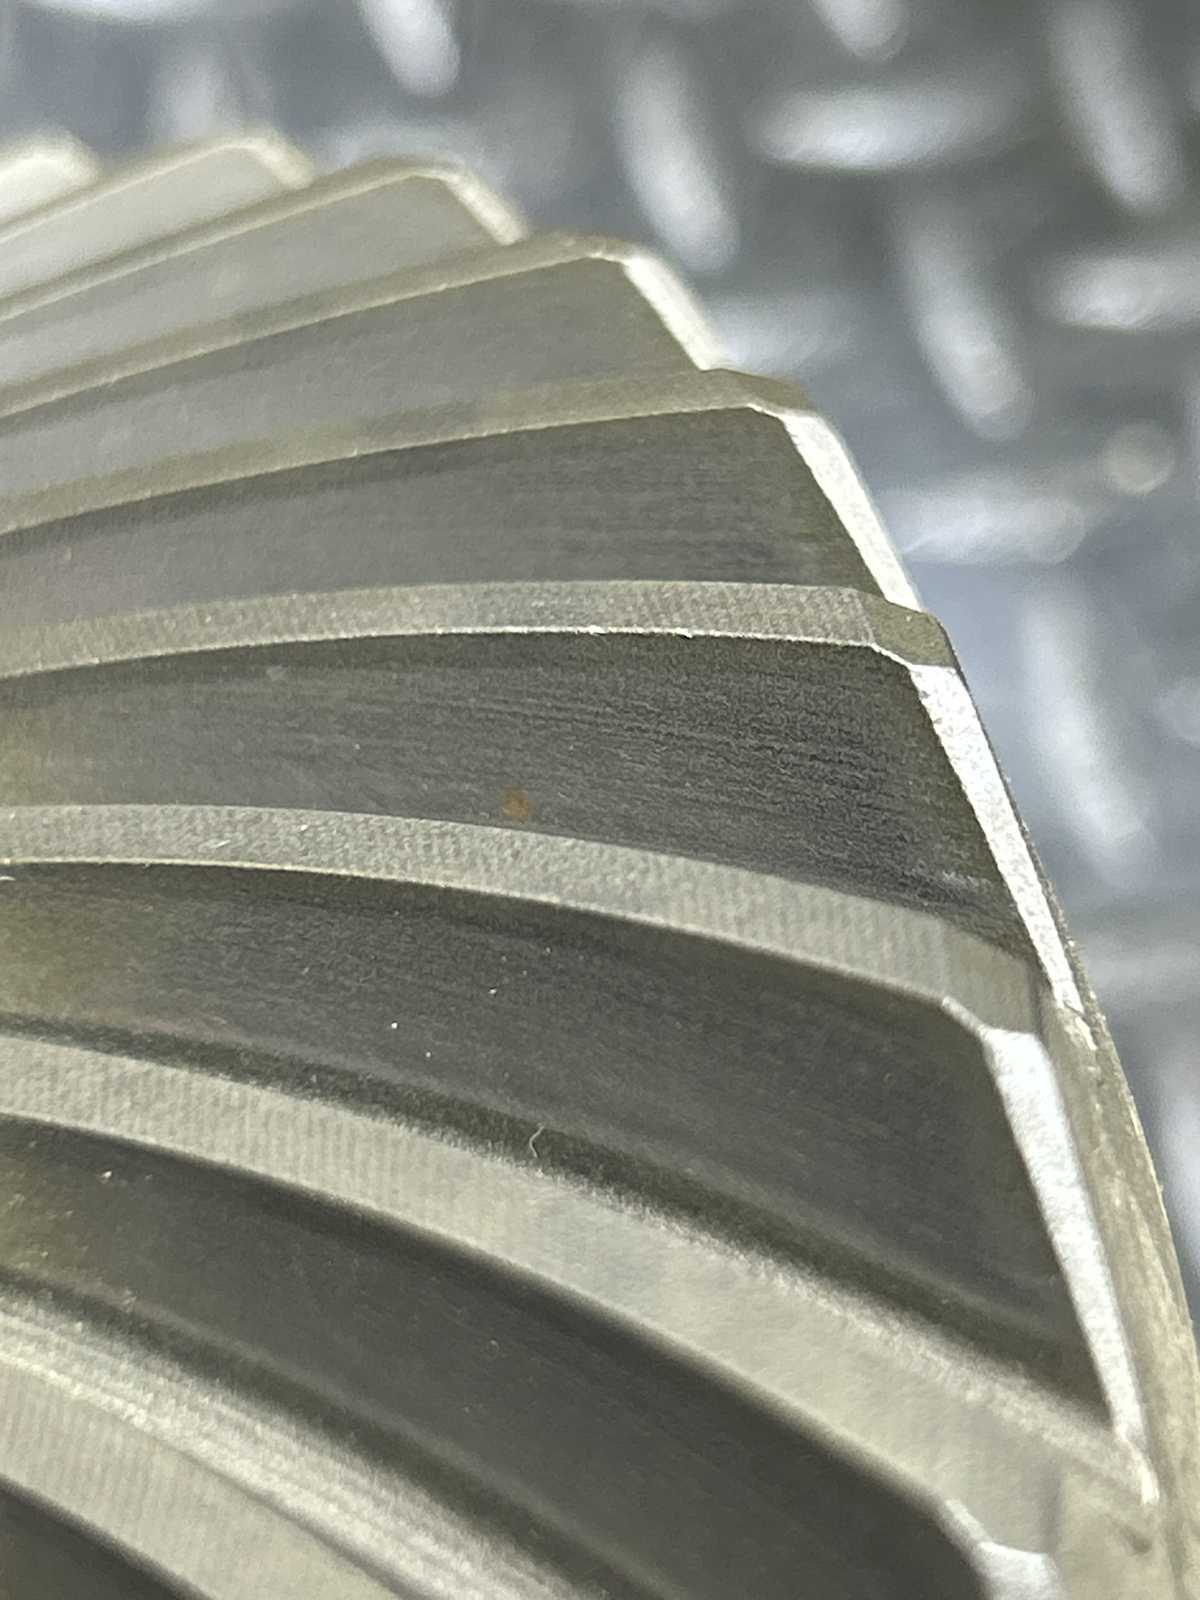
| Pic of the 410 factory take-off that I supplied. |
|
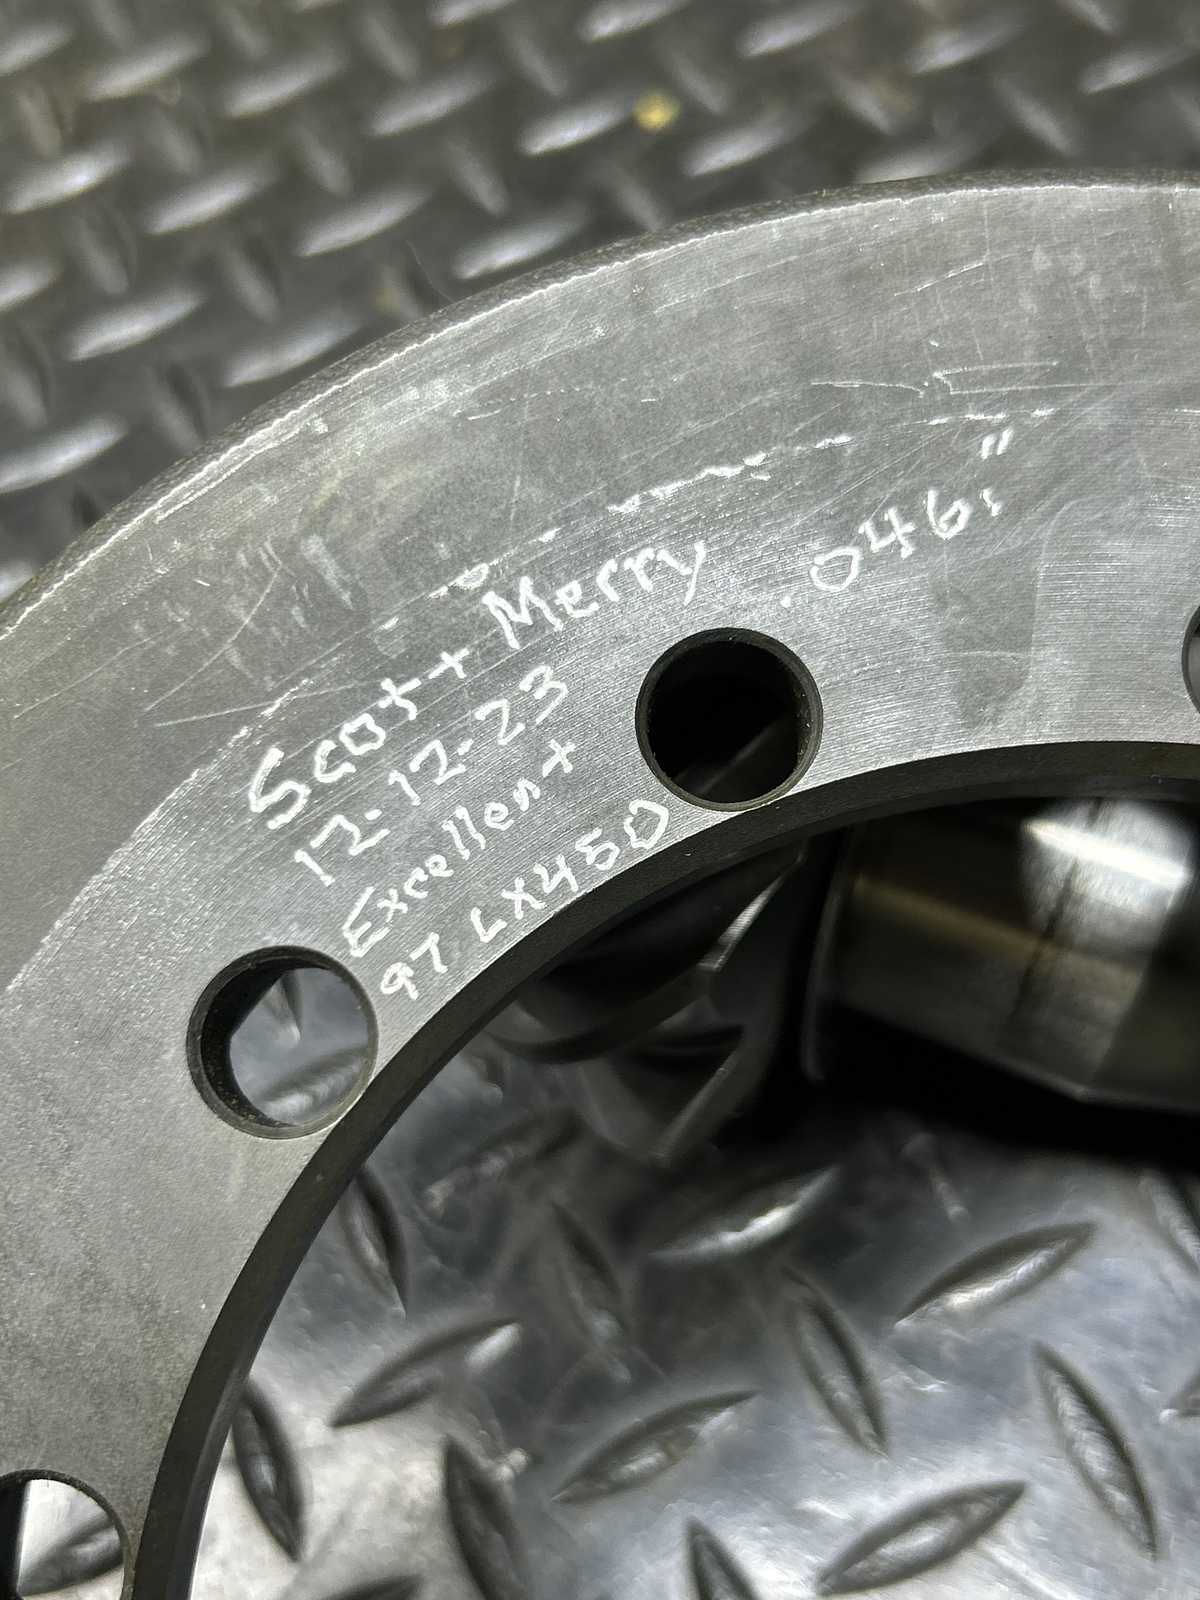
| Technically, Scott supplied it. |
|
|
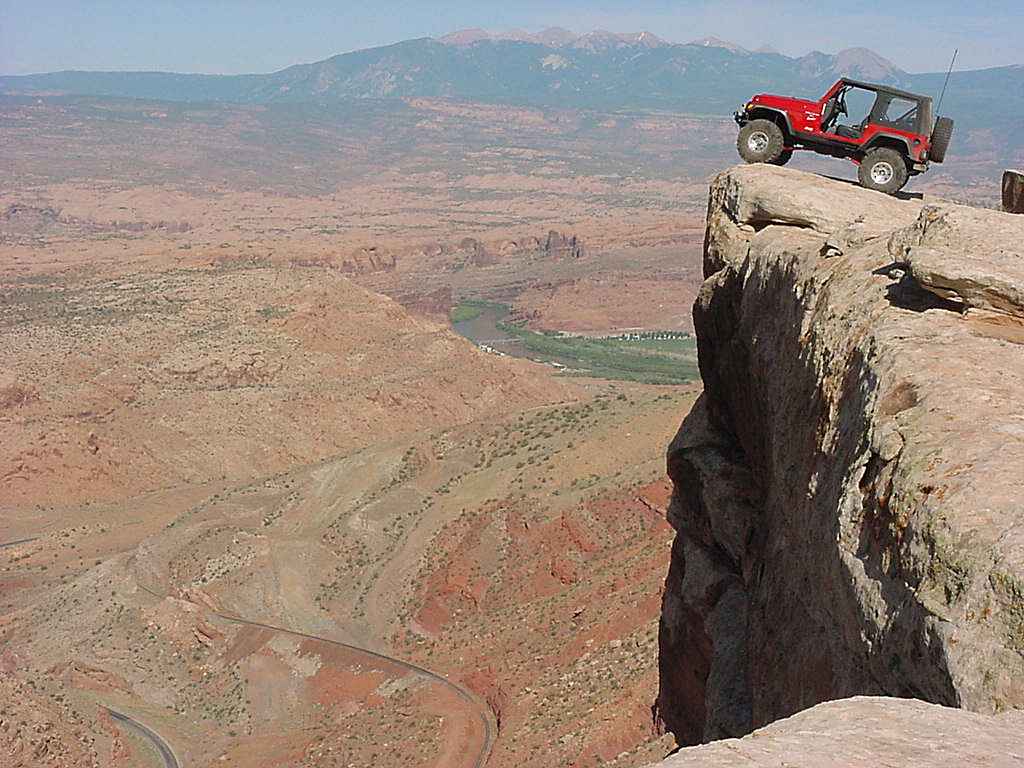
Not sure how this got in here but that looks like my 99TJ in Moab on Golden Spike during the 2000 Easter Jeep Safari maybe. |
|
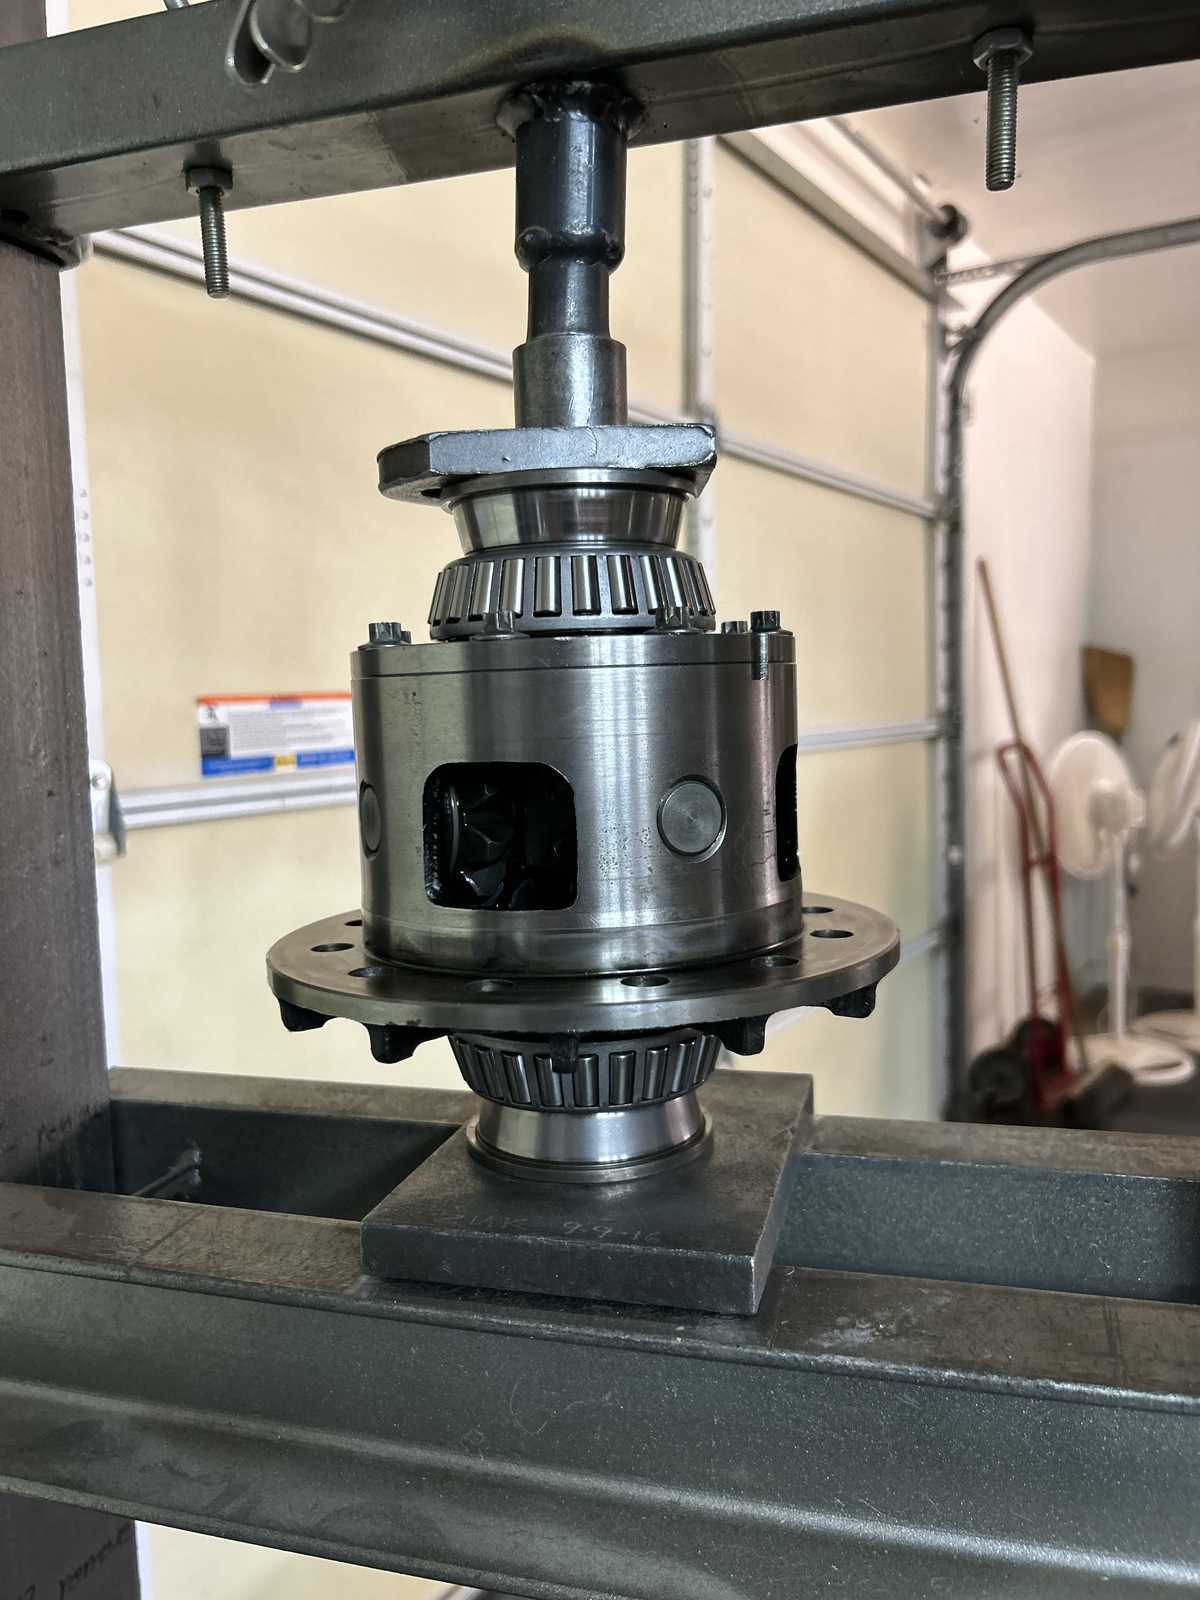
| Rusted, pitted 410 was removed....new factory carrier bearings are pressed on. |
|
| From 3 years ago...driveside...this is the pattern the take-off 410 had. |
|
| Coast side. |
|
|
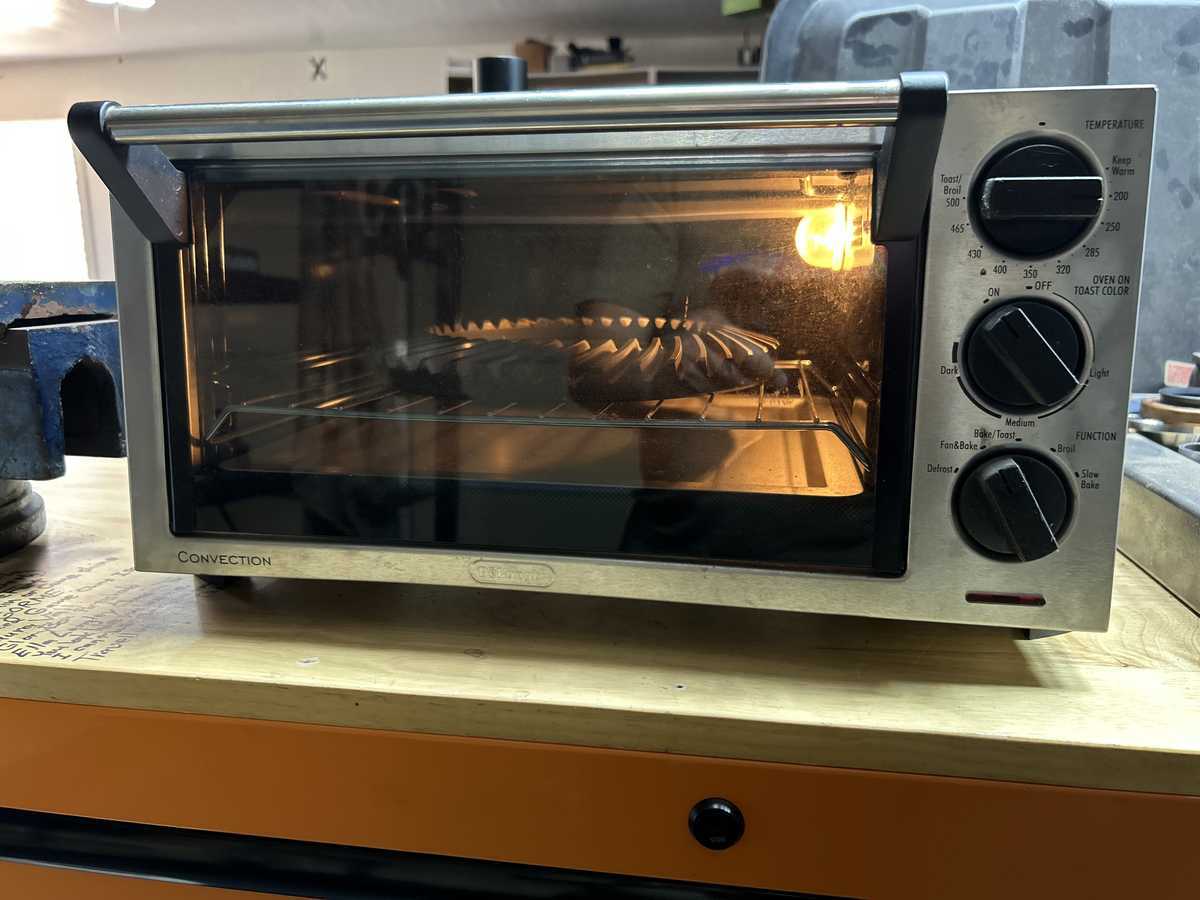
I wear many hats....now I'm the baker. Heating the take-off 410 ring gear to 200 degrees F. I really should get one of these 'convection ovens' but my sister will never find out... she does not read my gear install links ;) |
|
|
The ring just dropped in place....no beating it down with a plastic hammer... No shop press needed....just let gravity make it fall in place. |
|
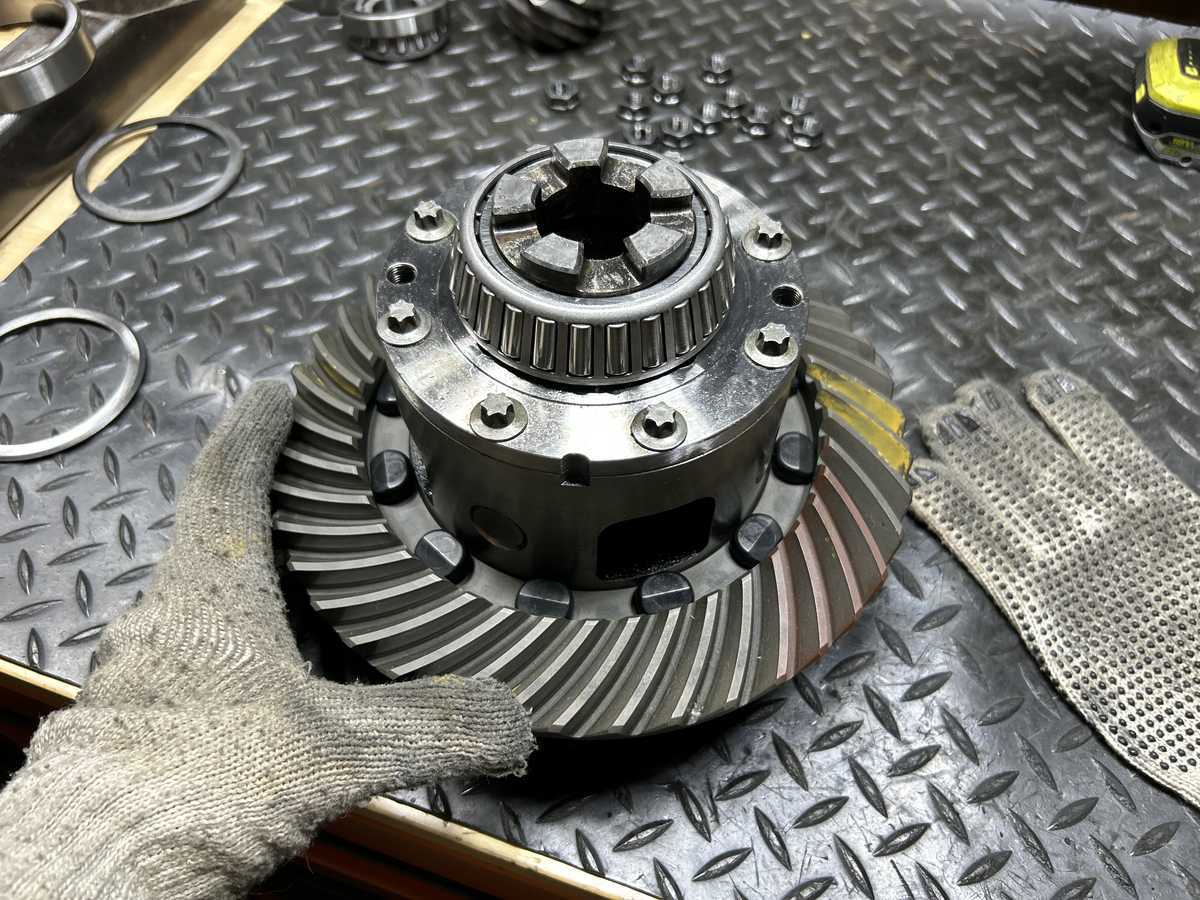
| 81 ft/lb on 12 nuts and this center elocker carrier is complete. |
|
| Now onto this end....new races are tapped in. |
|
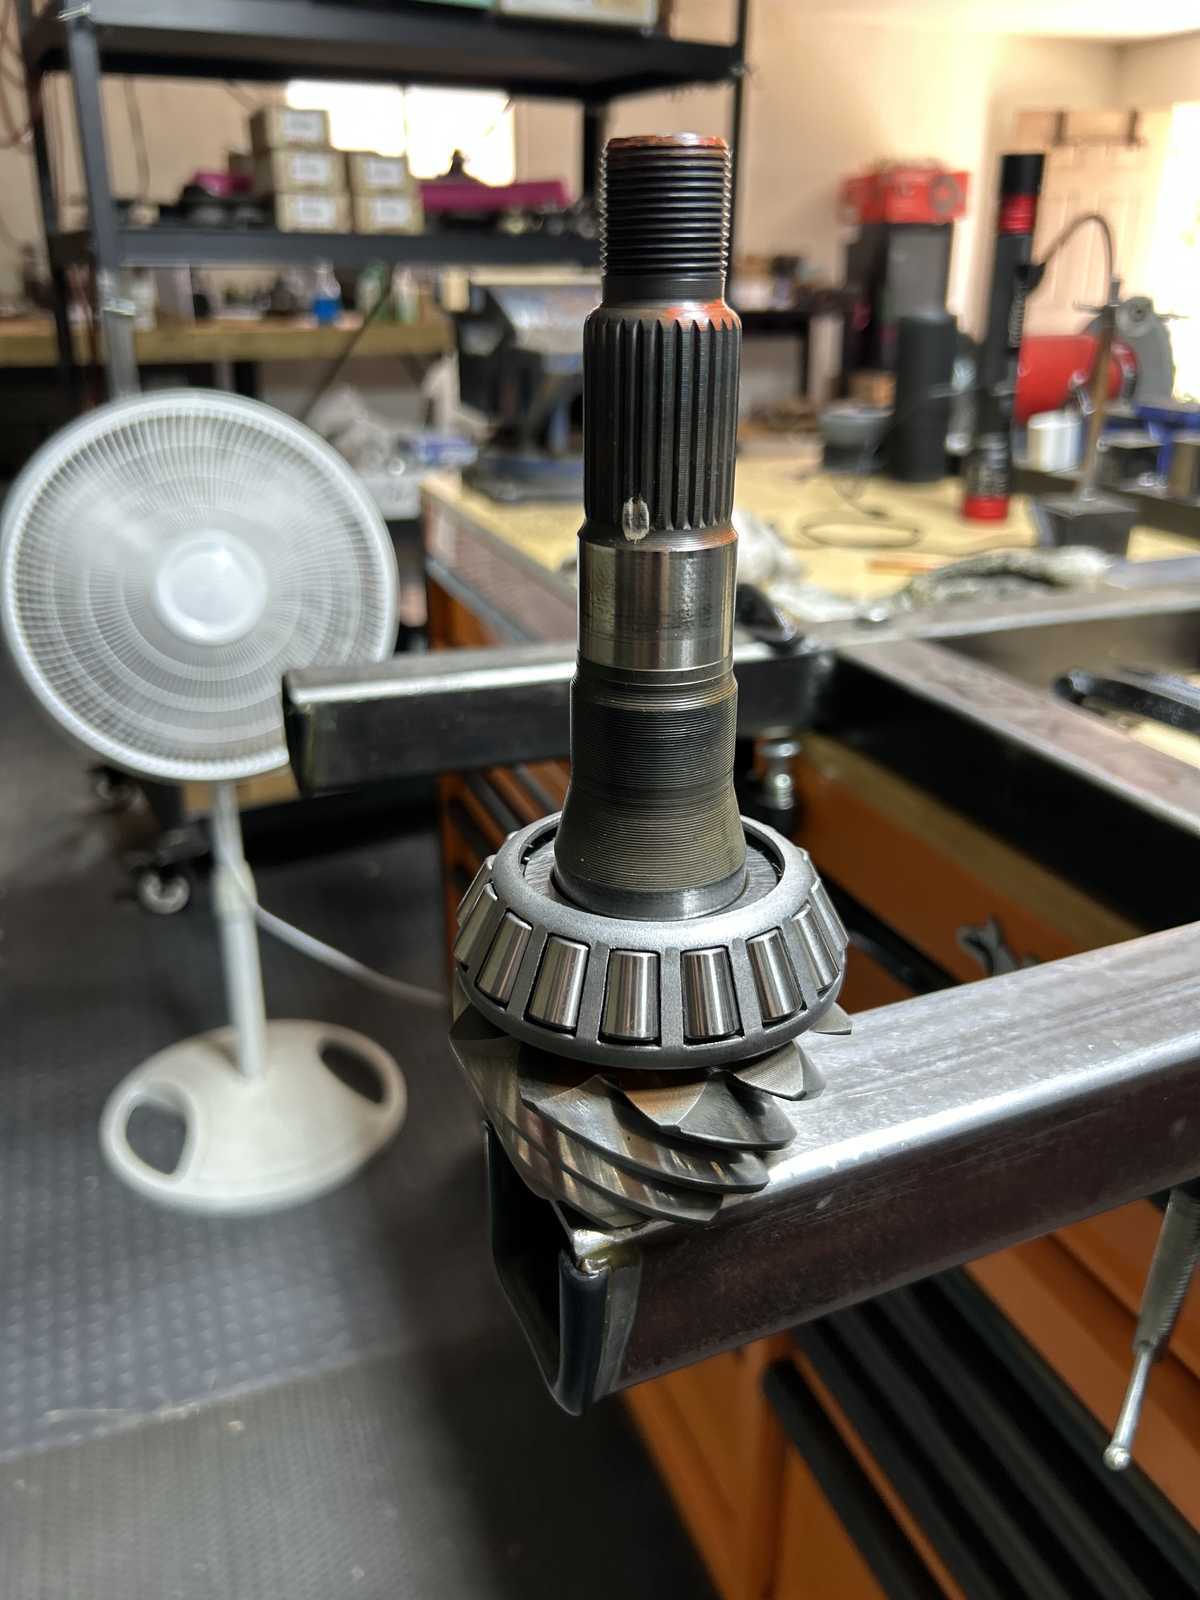
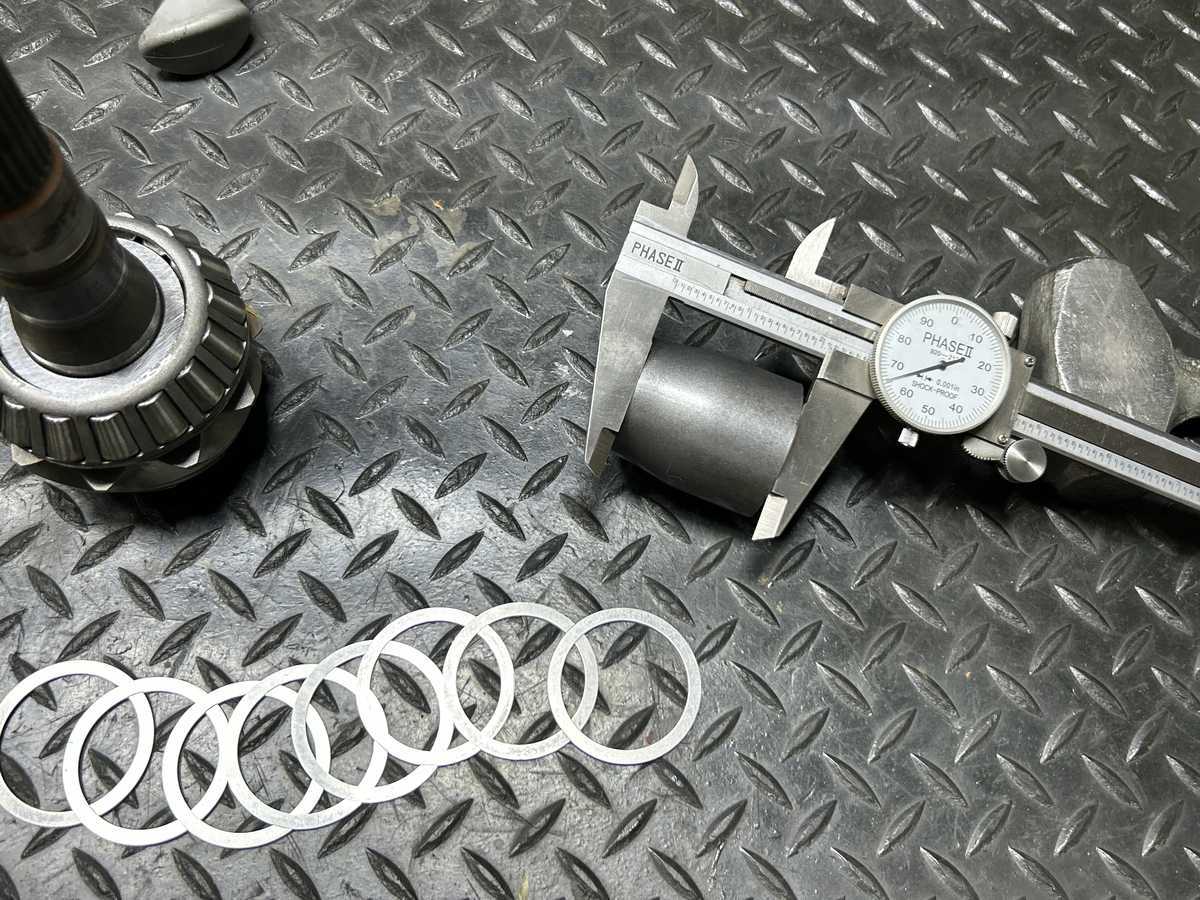
| I used a .051" starter pinion shim....new bearing was presed on. |
|
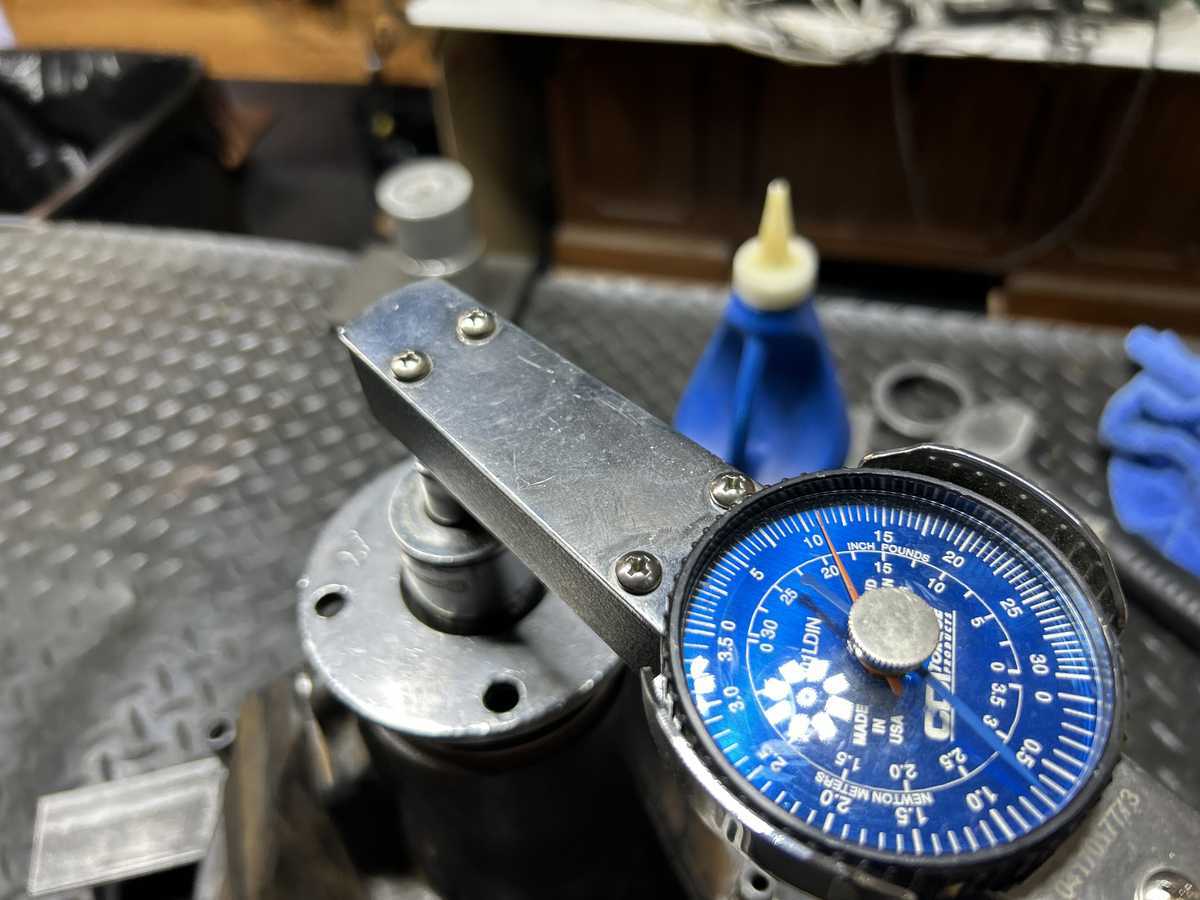
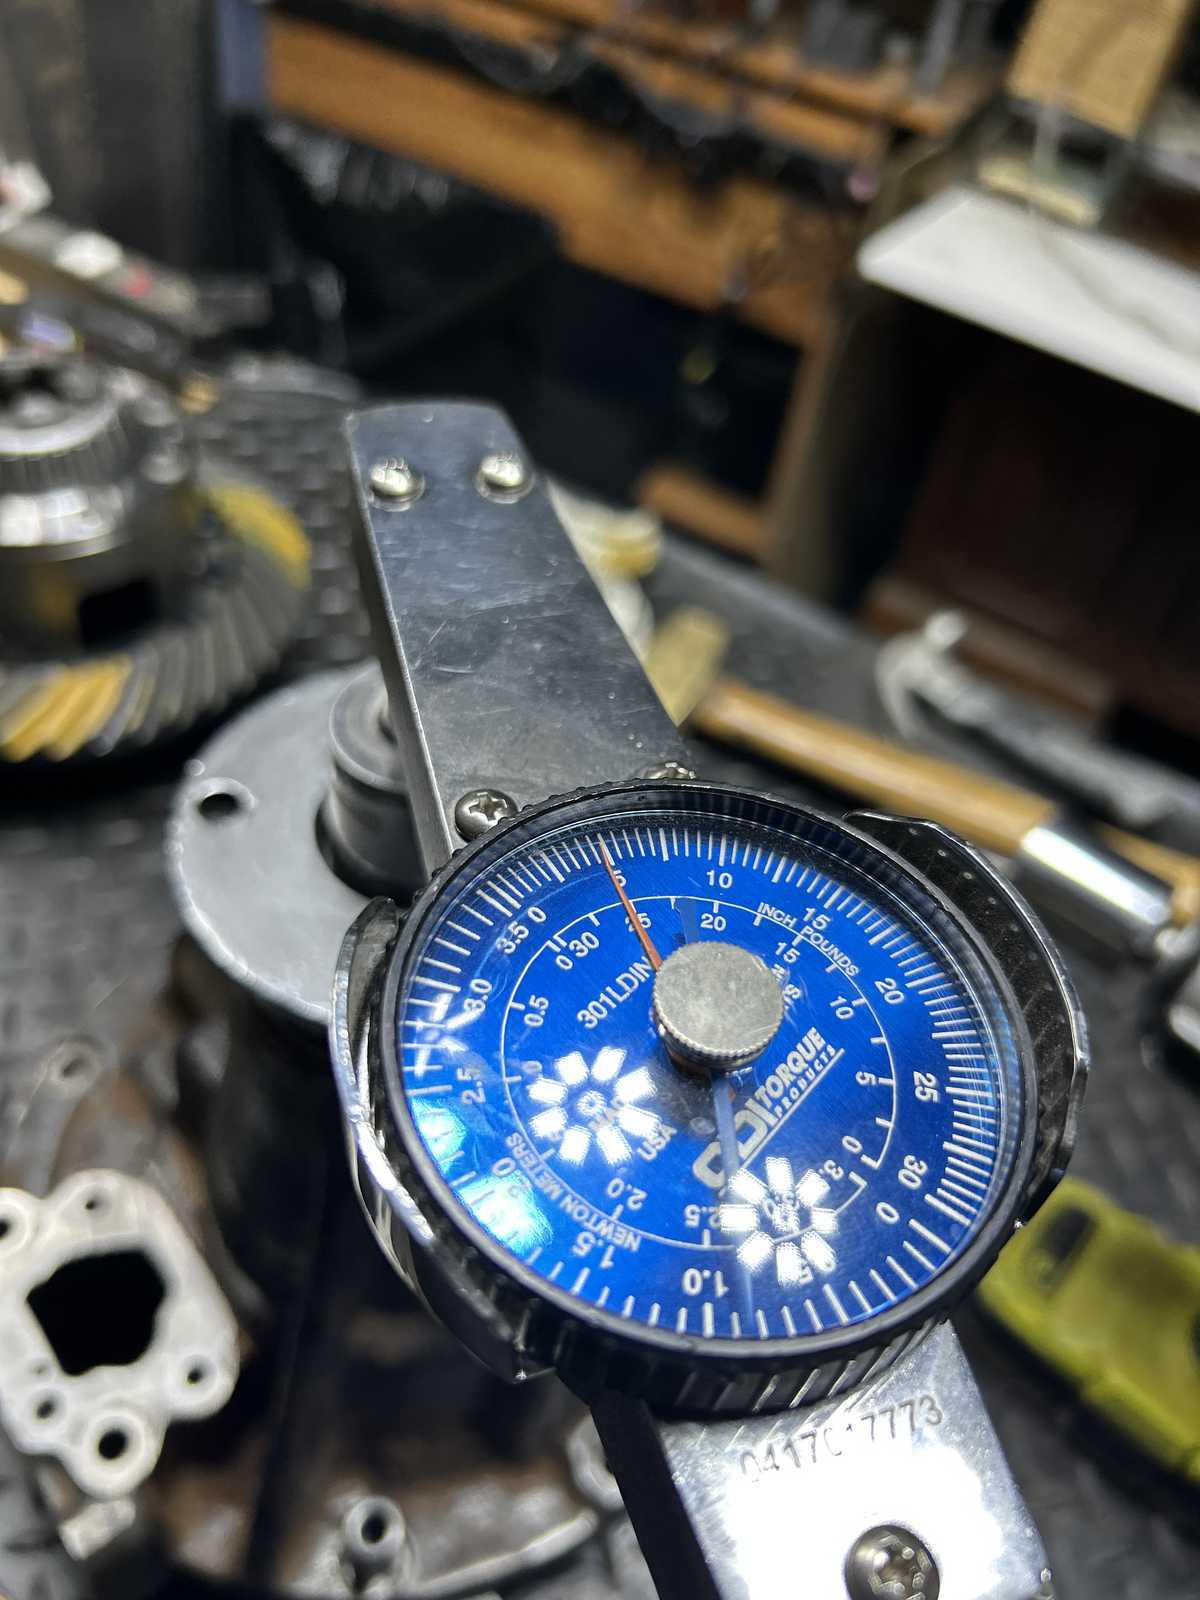
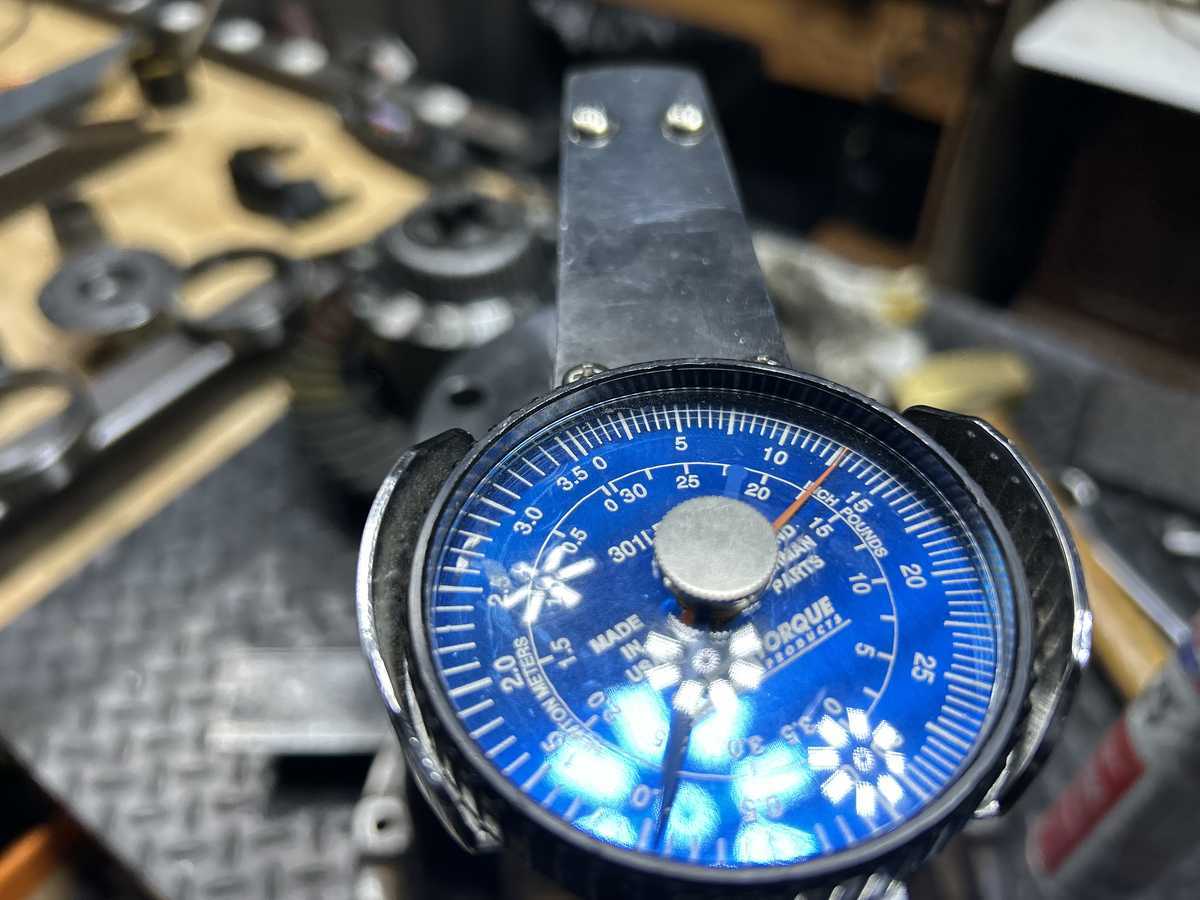
| The pinion is mounted up...tighten nut until about 10 in/lb of PPL is measured. |
|
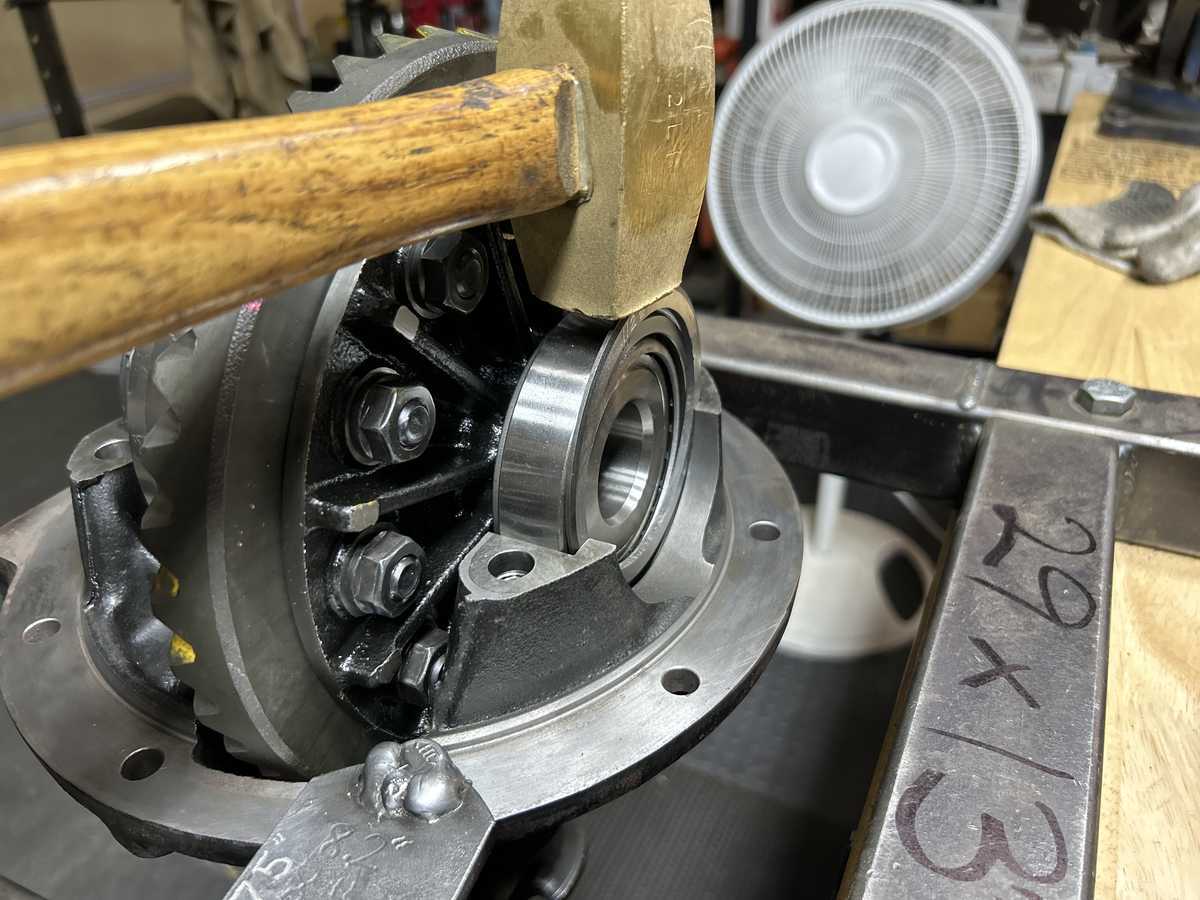
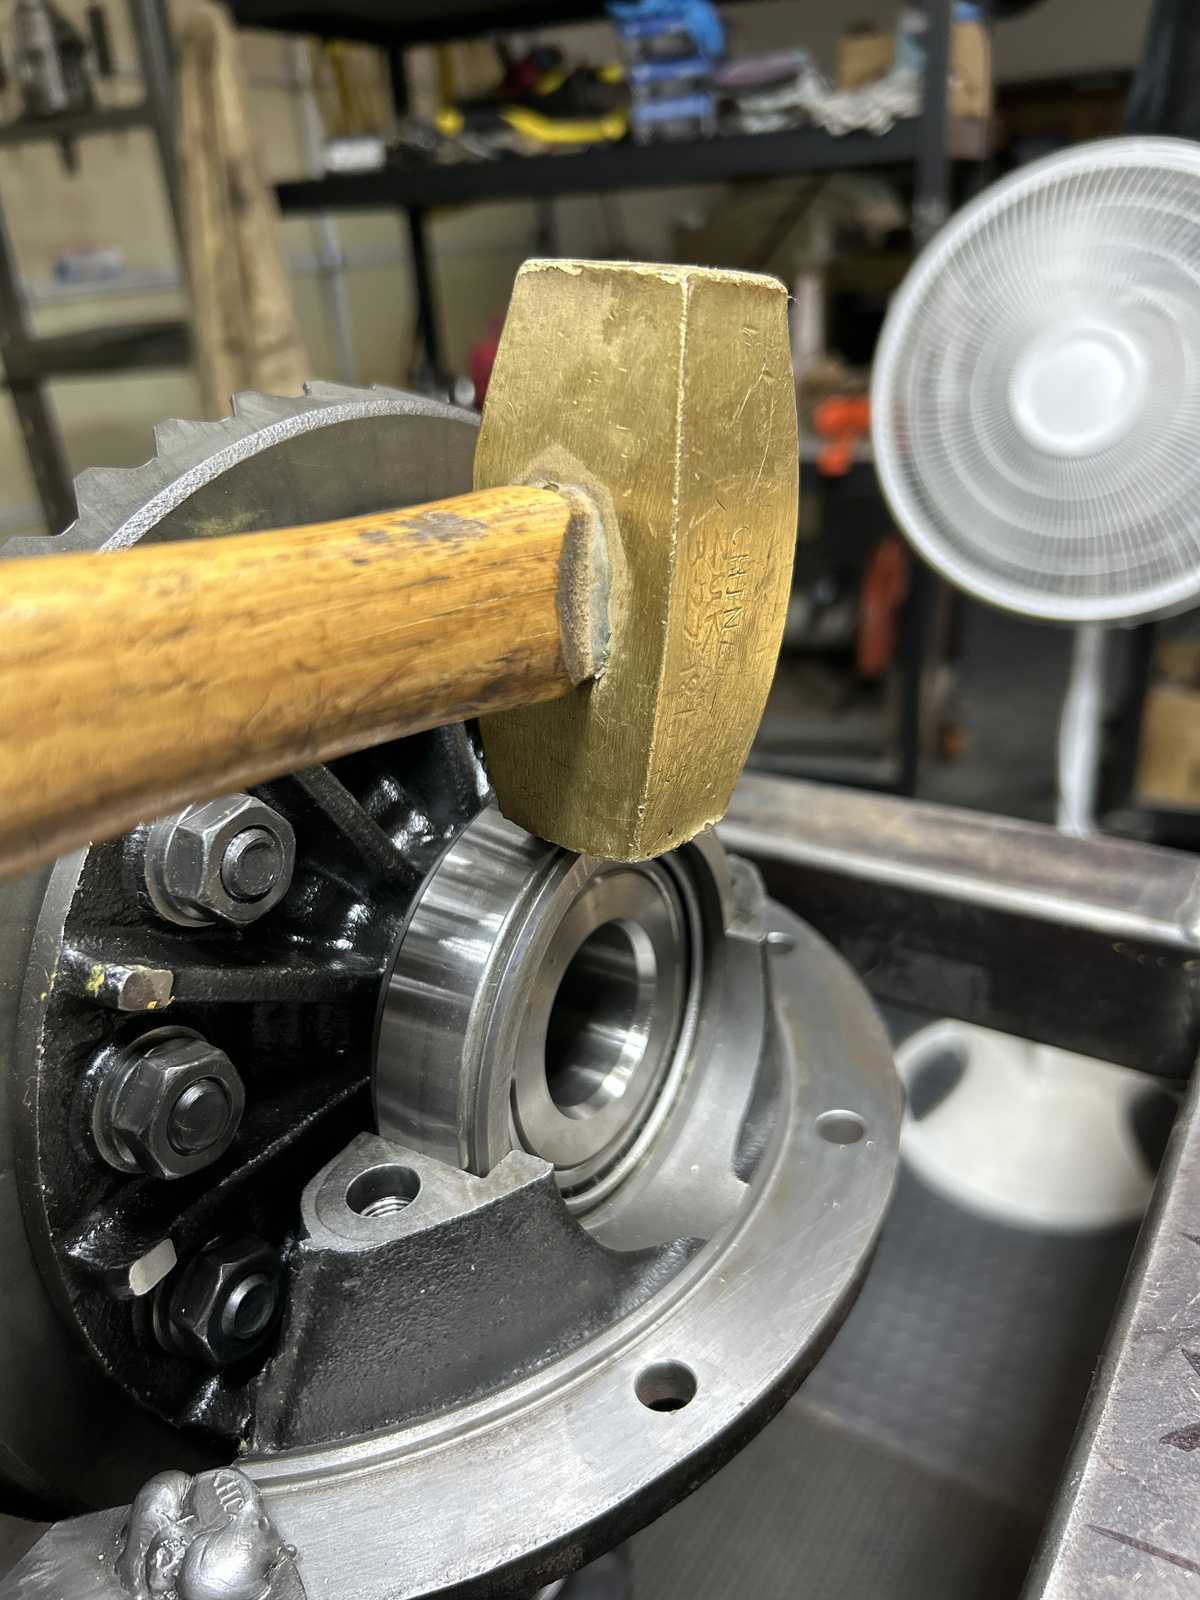
| Brass hammers are very forgiving on the washer plate surfaces. |
|
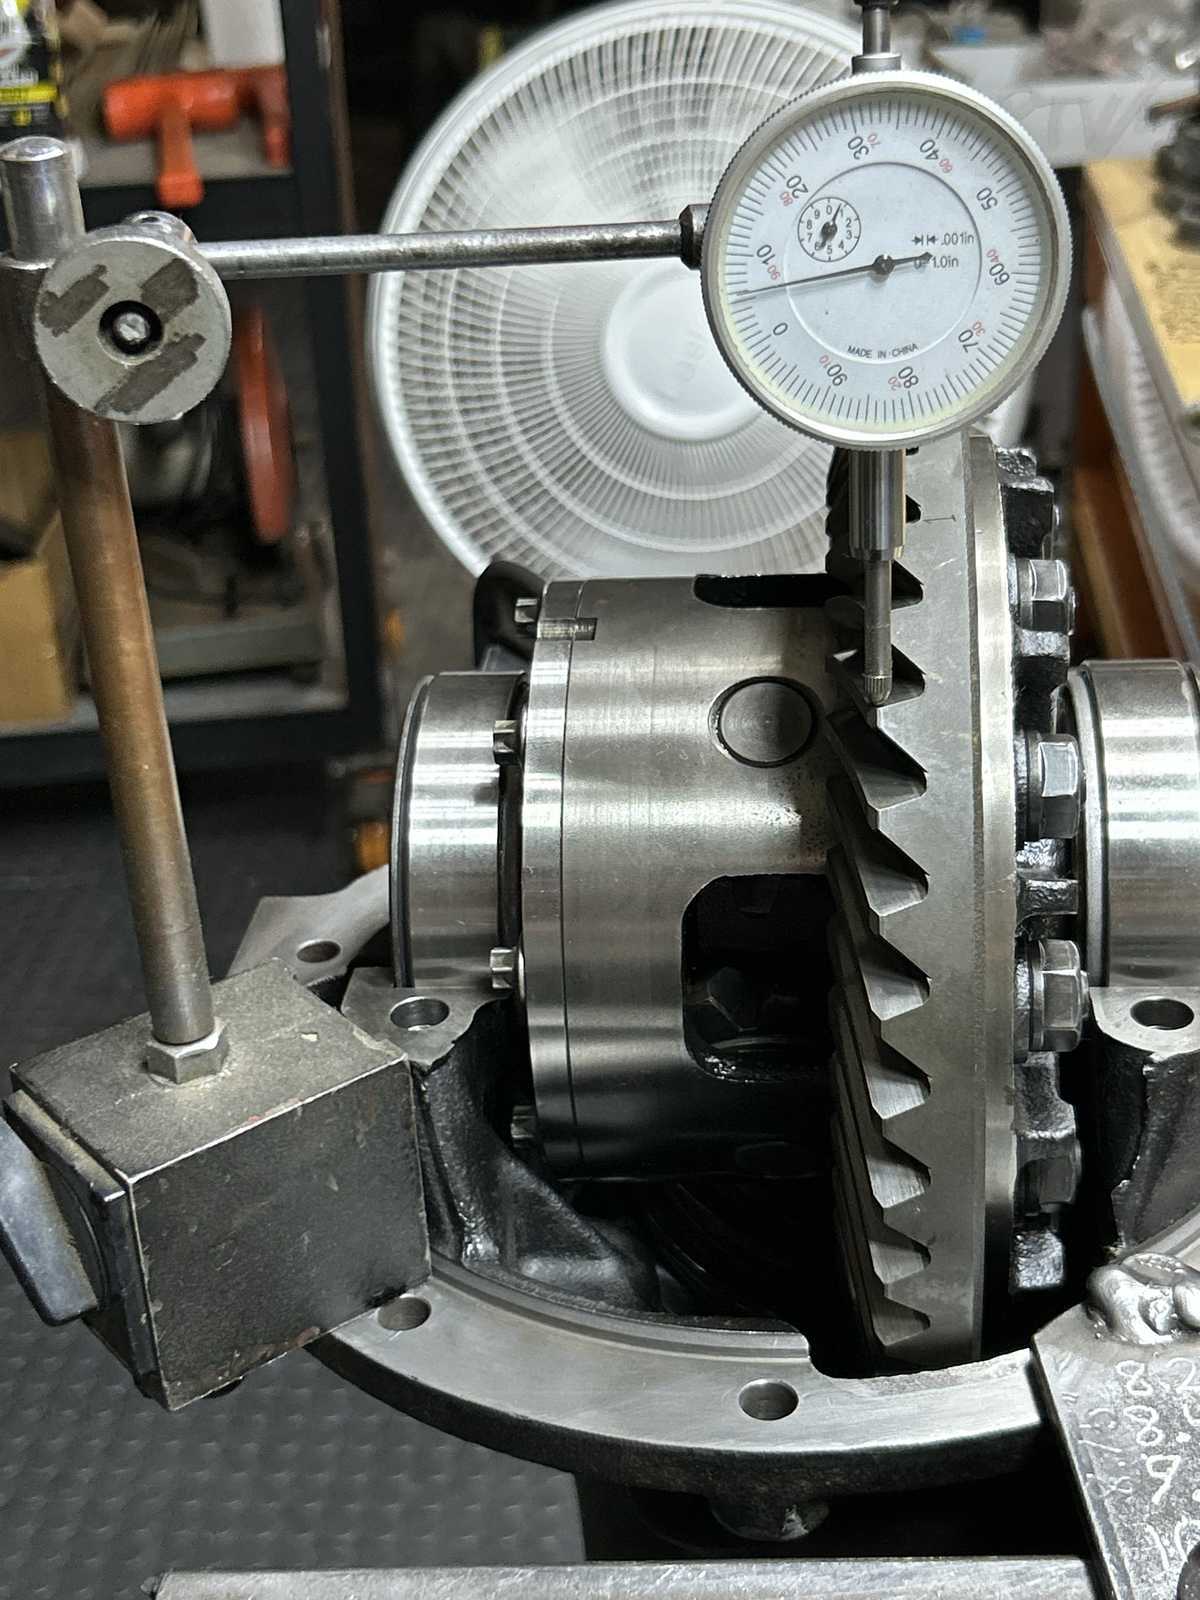
| The original washer plates resulted in about .006" backlash(perfect). |
|
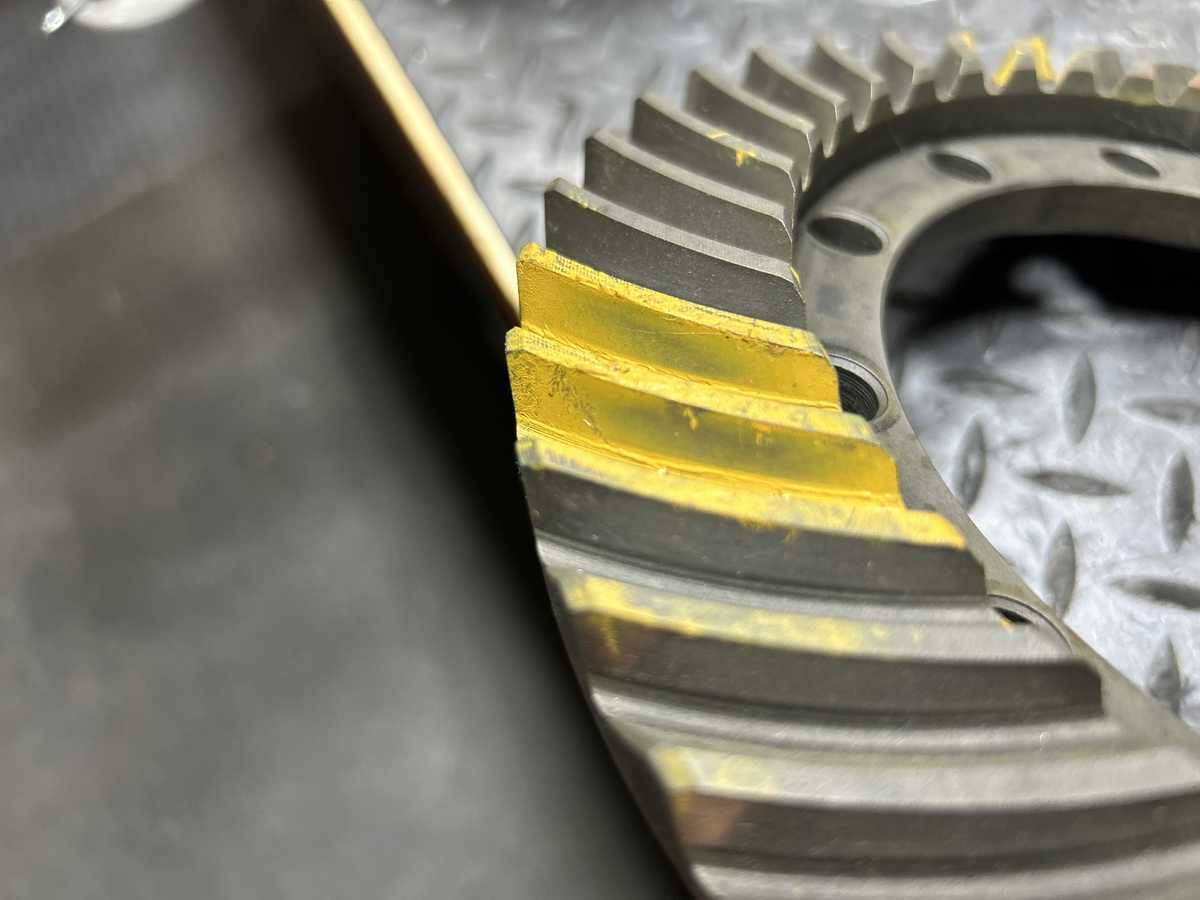
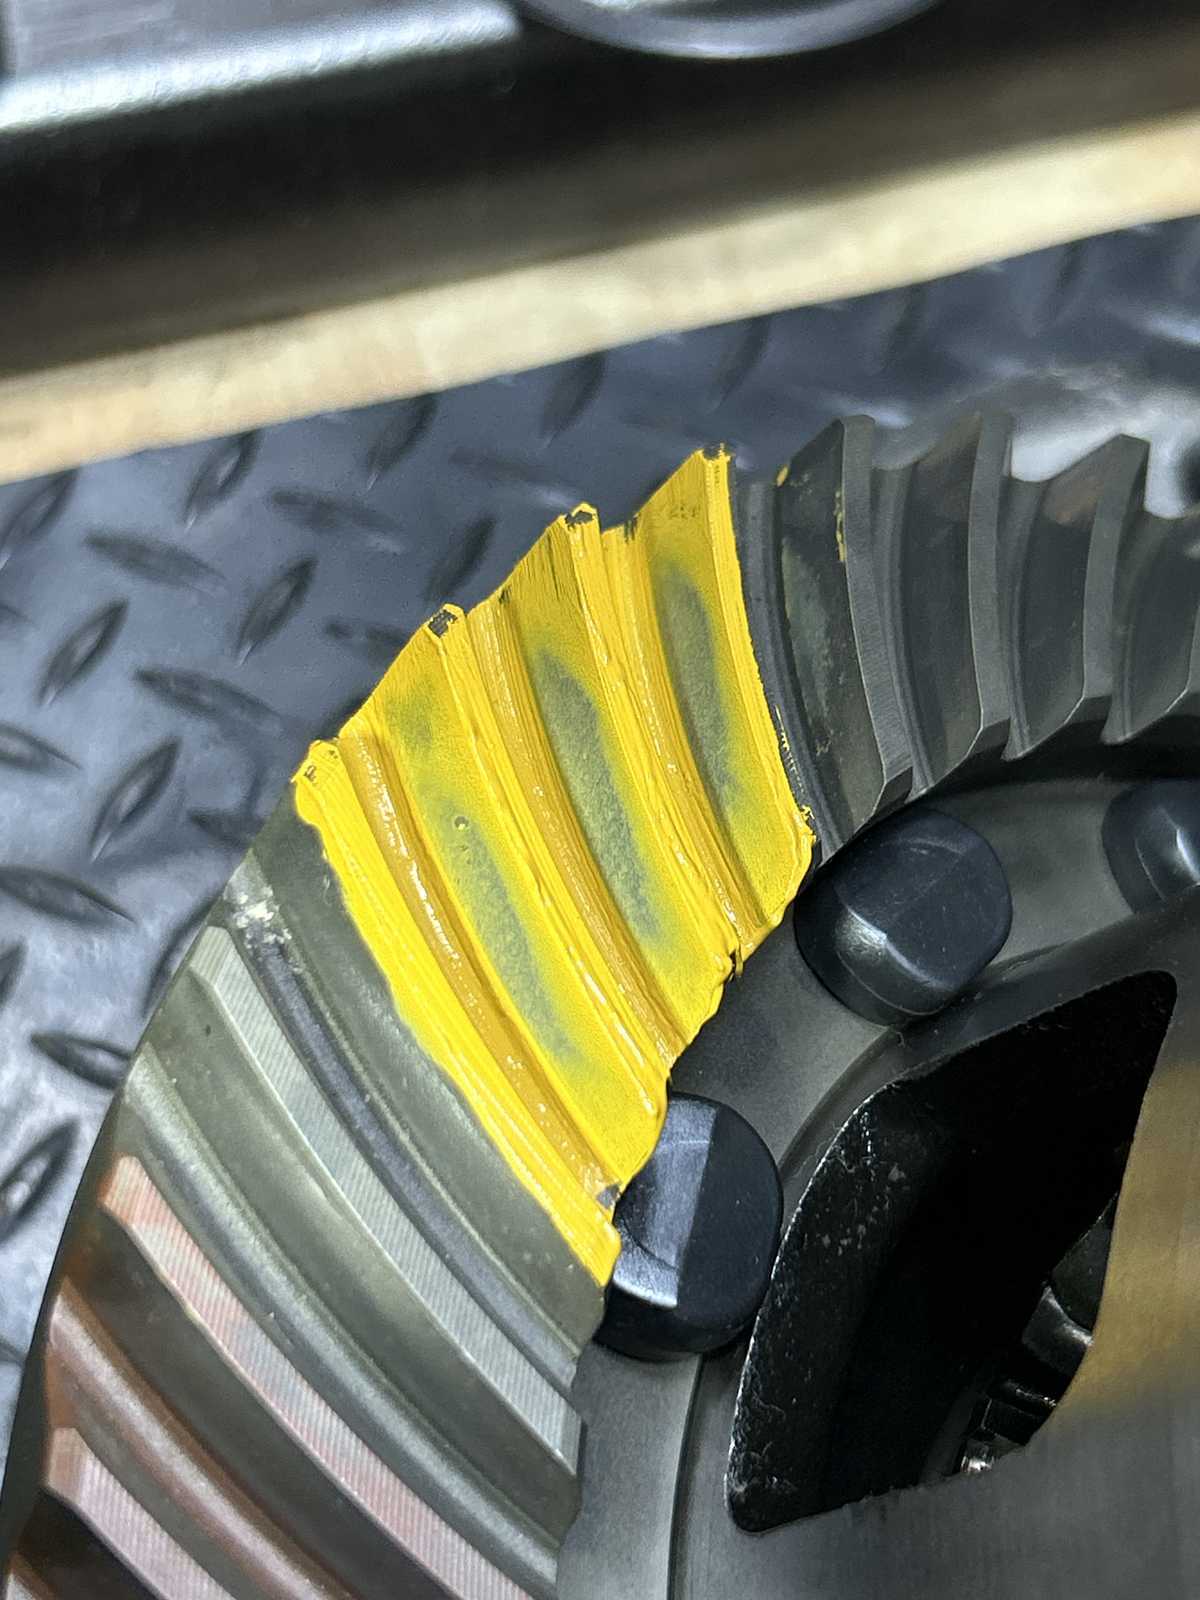
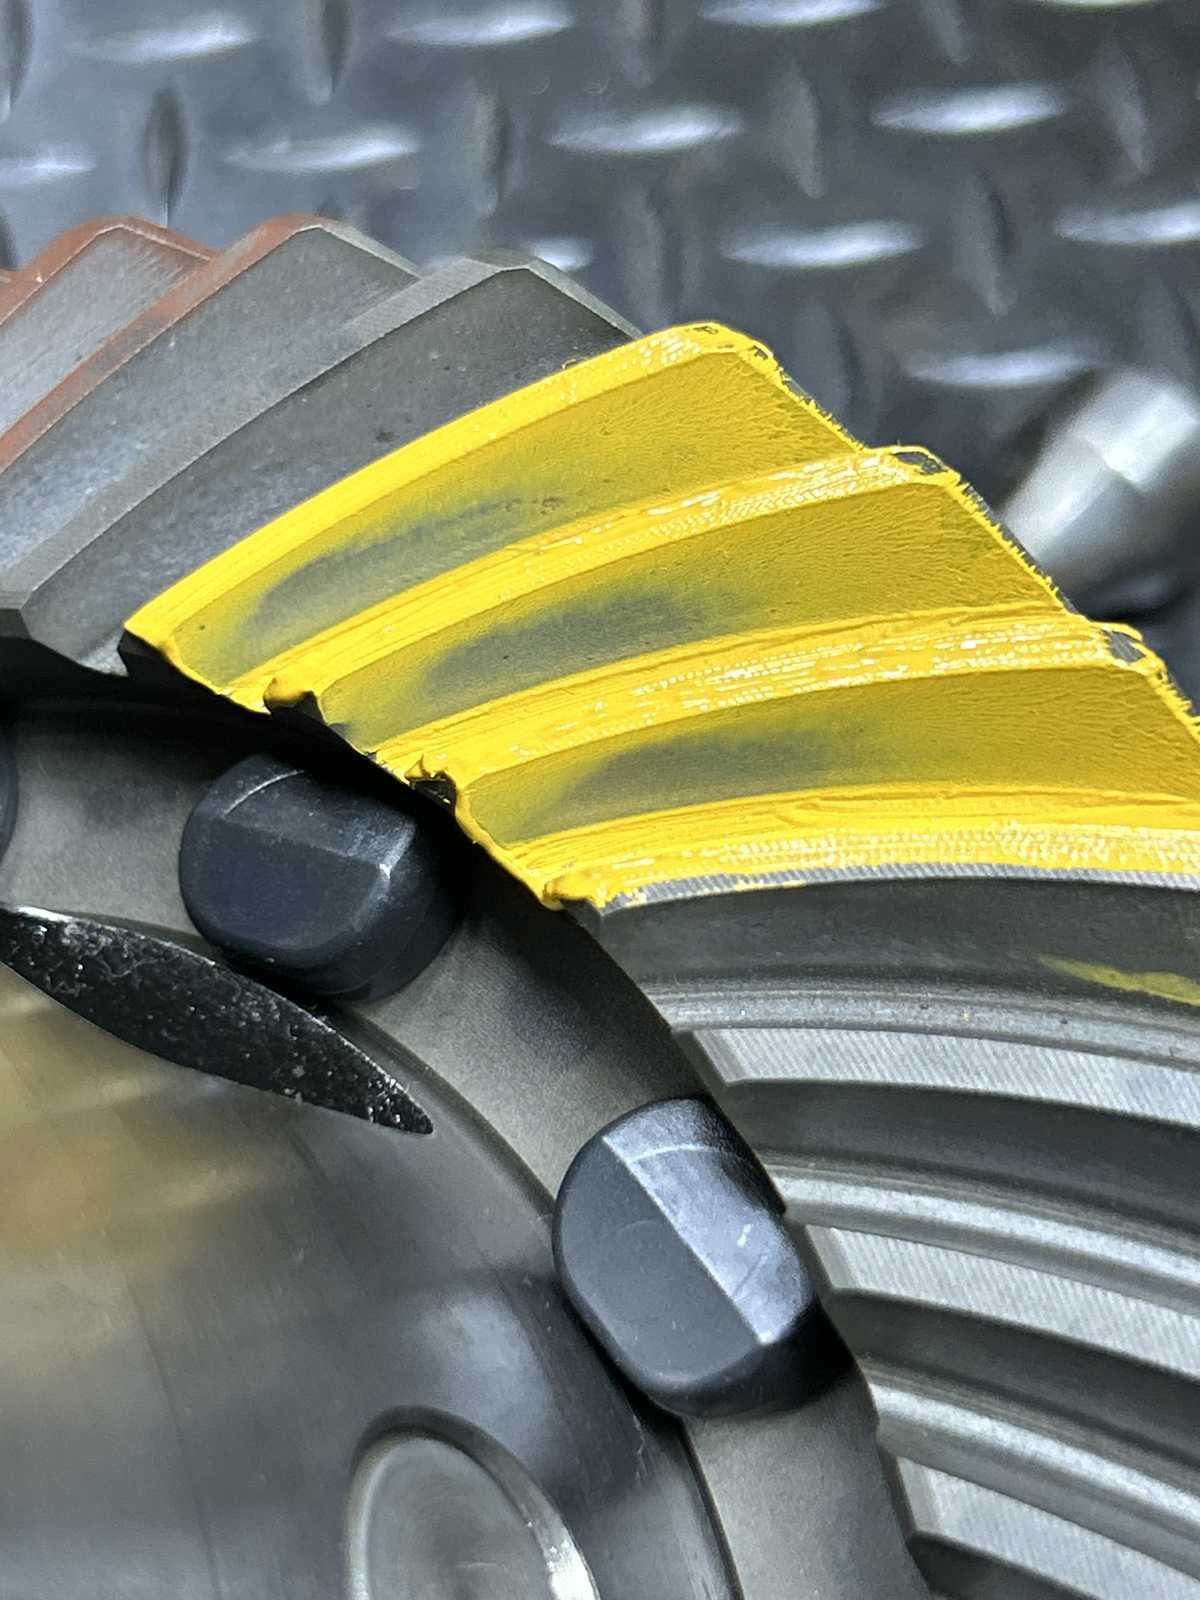
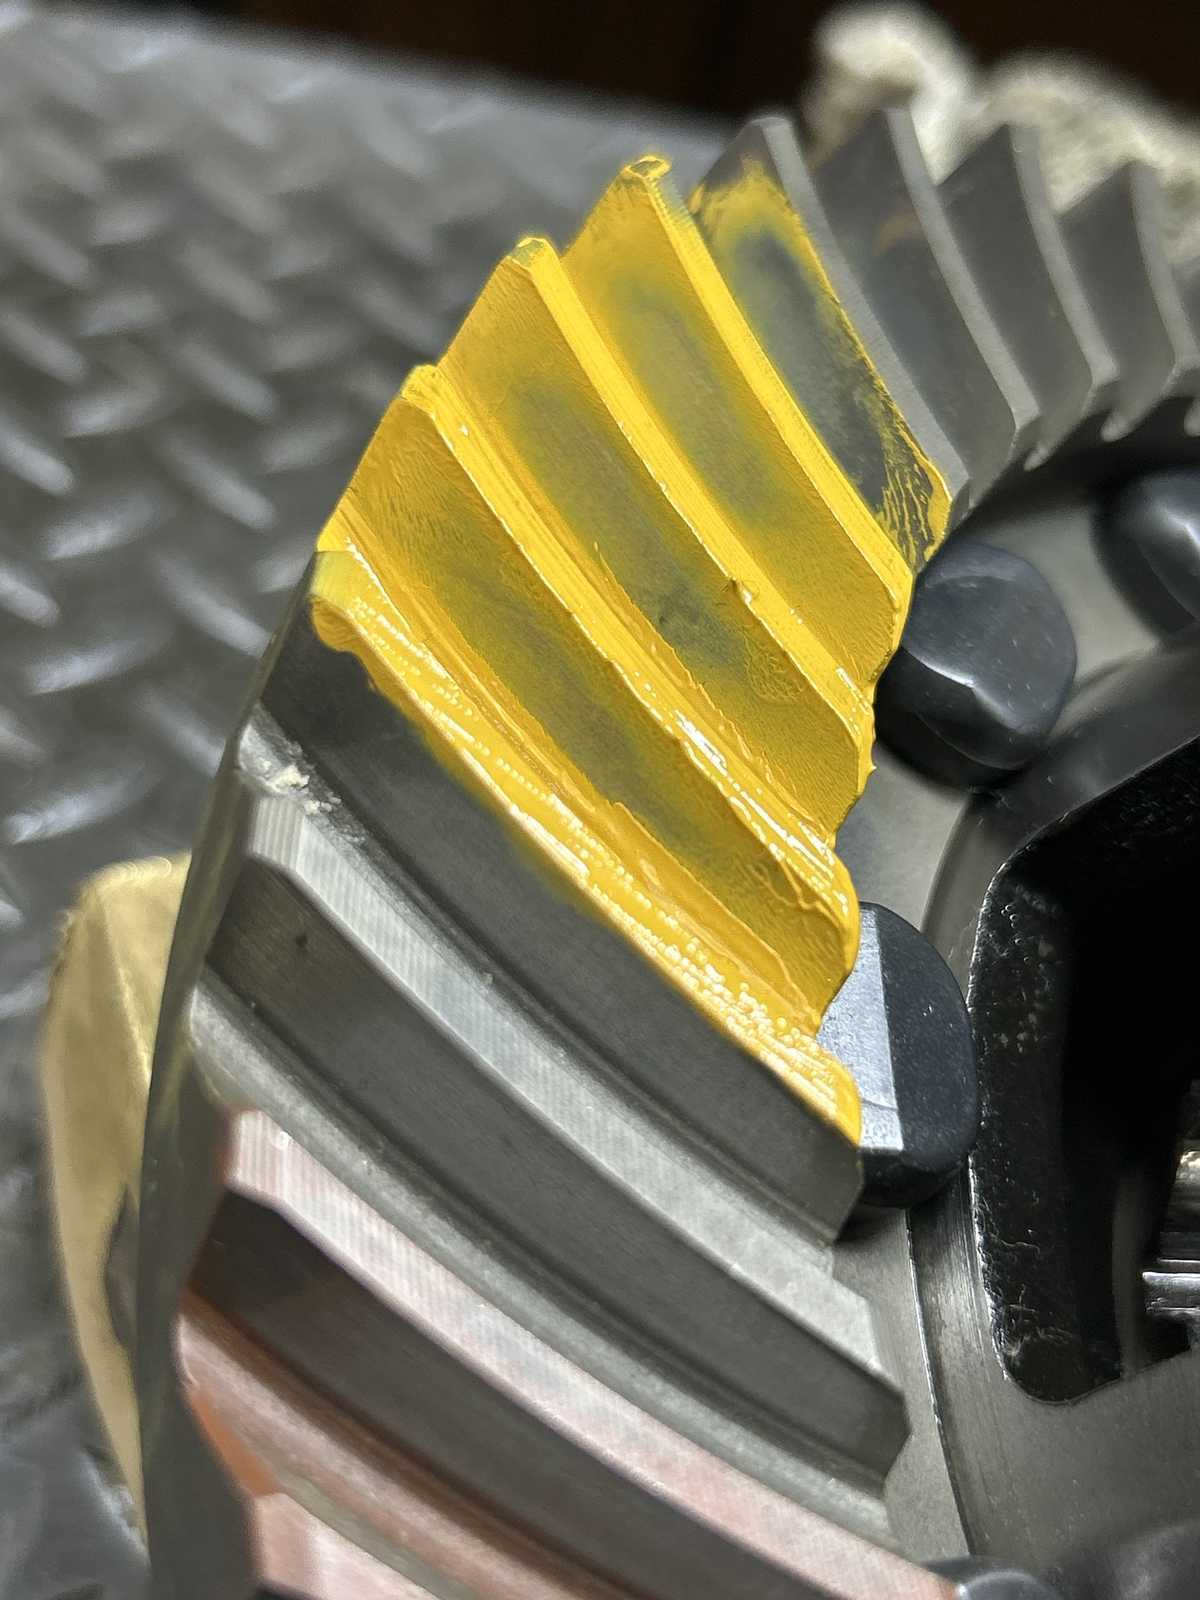
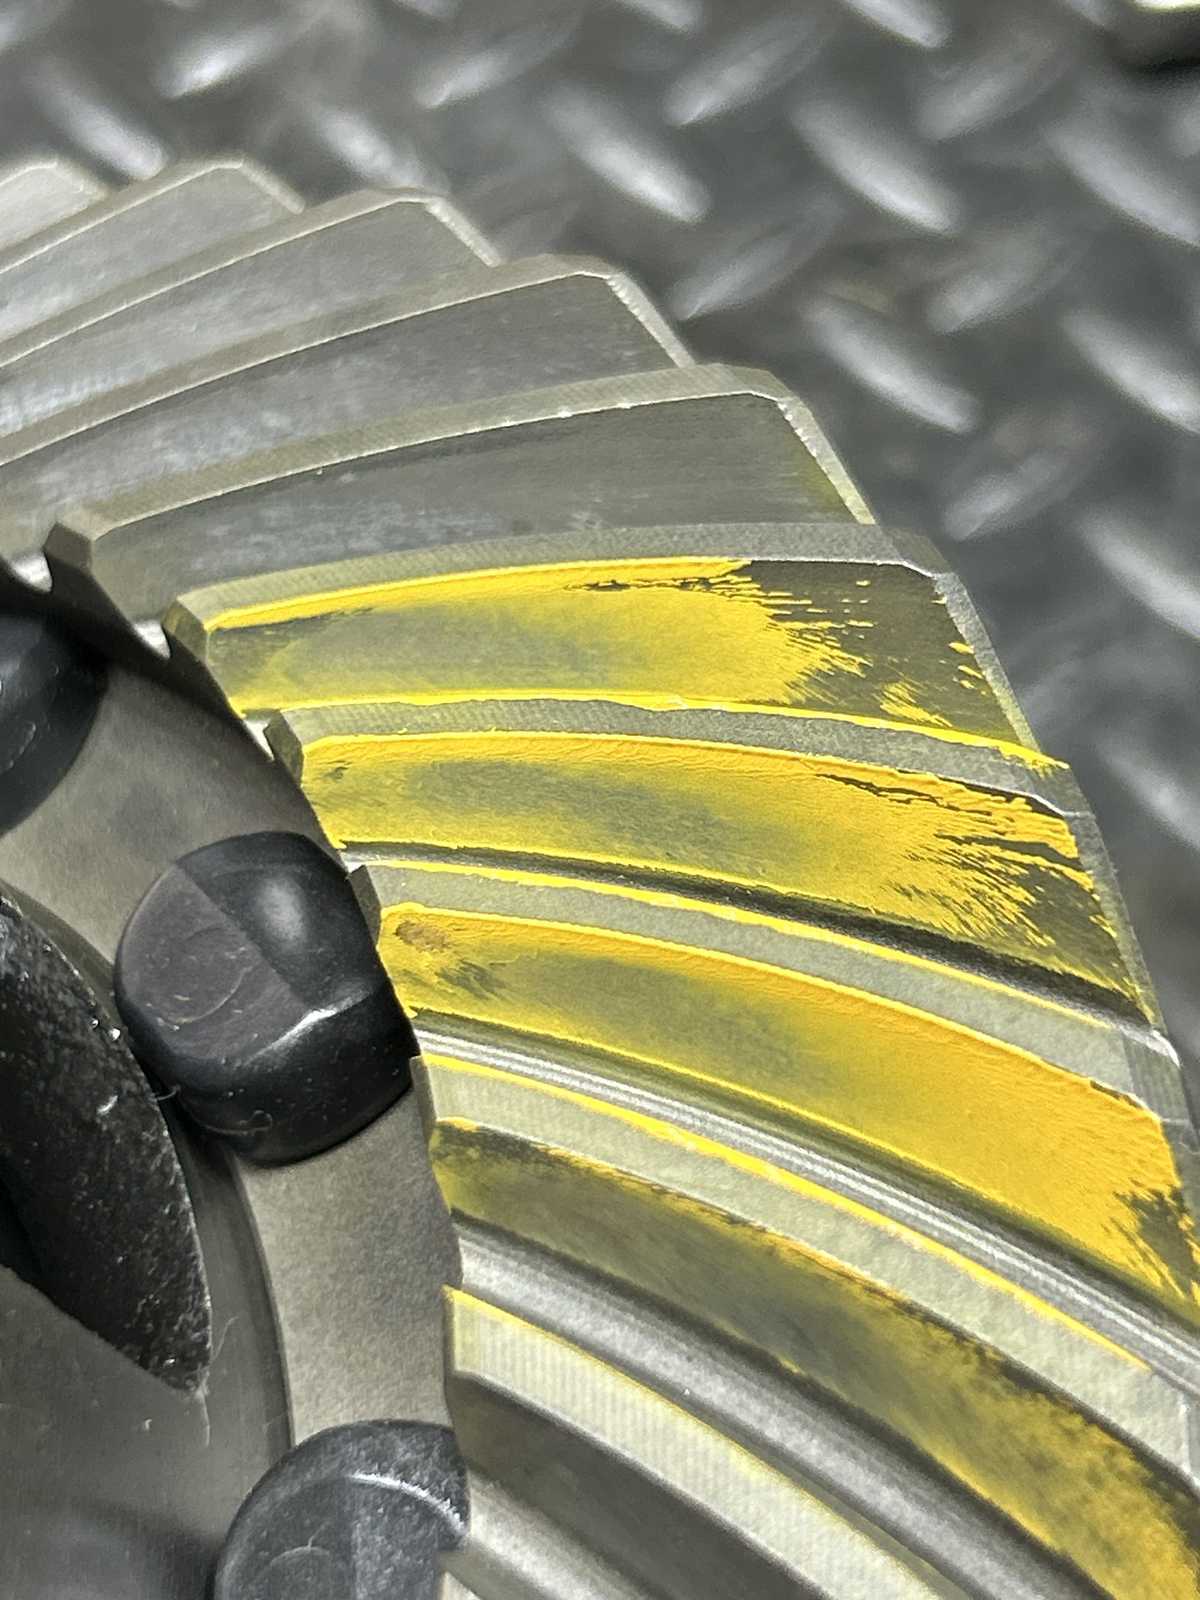
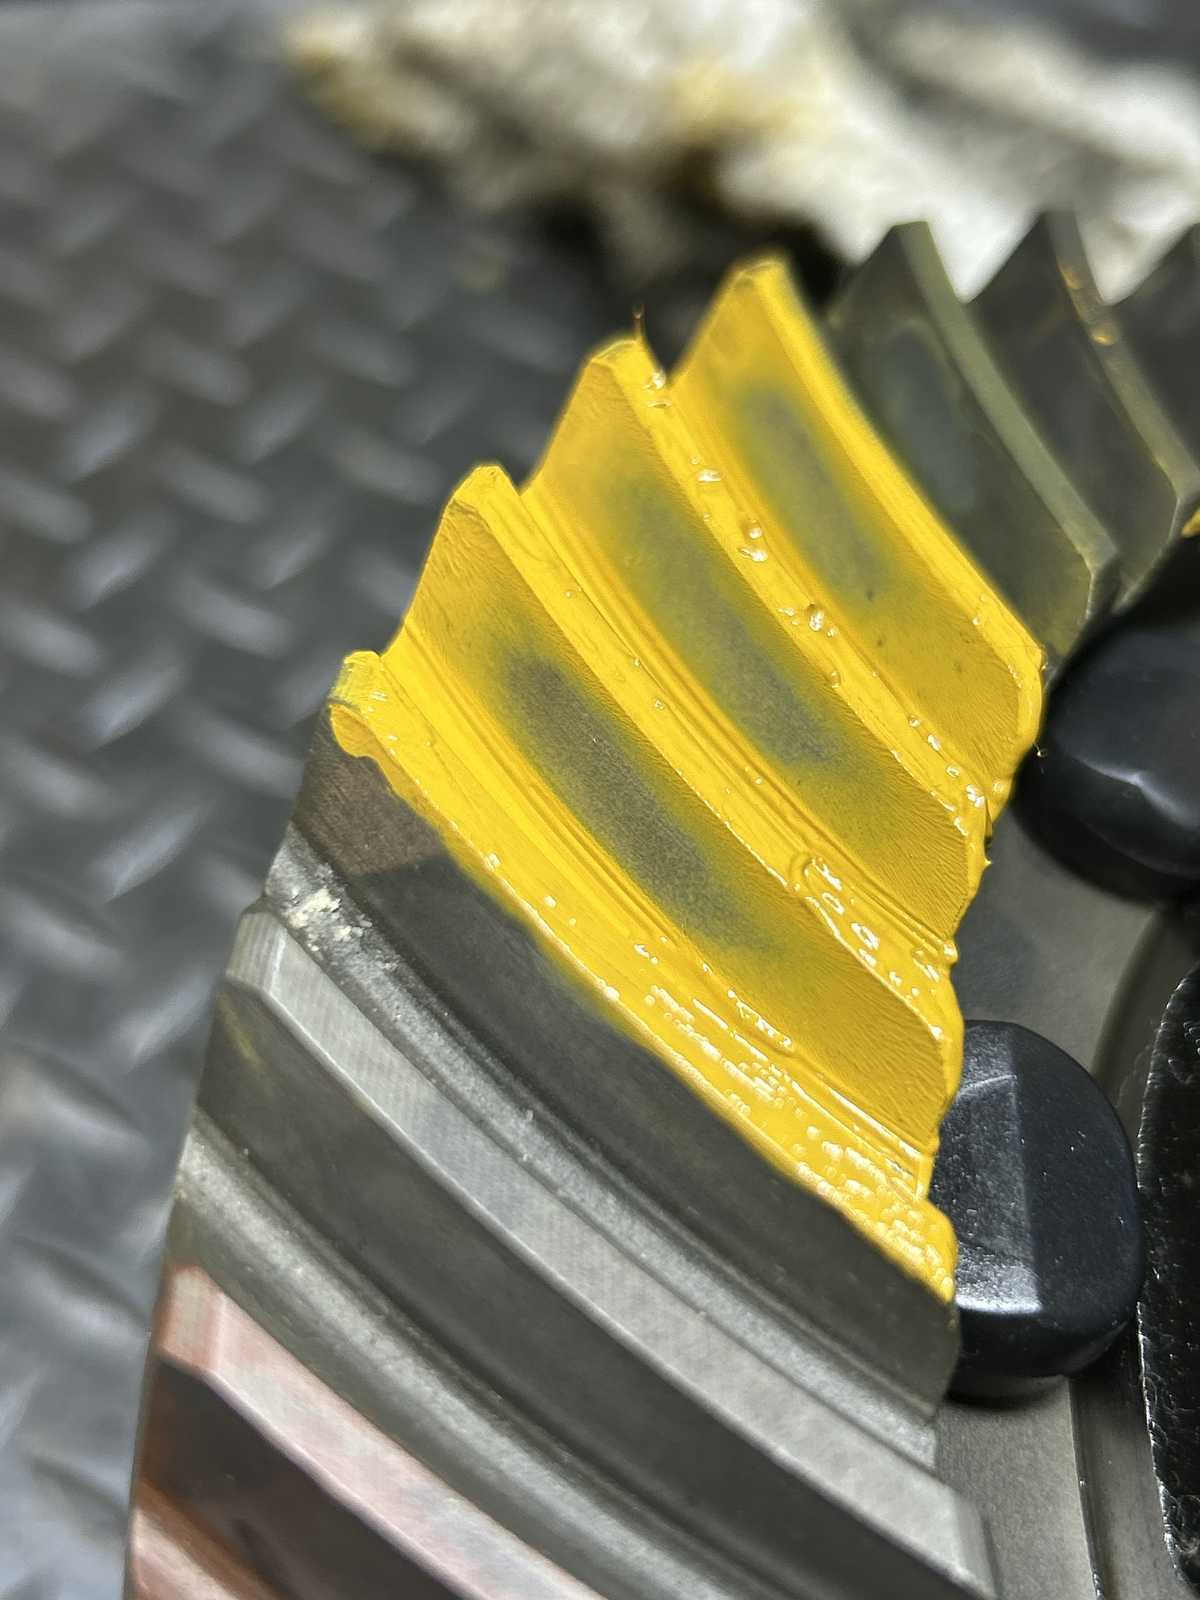
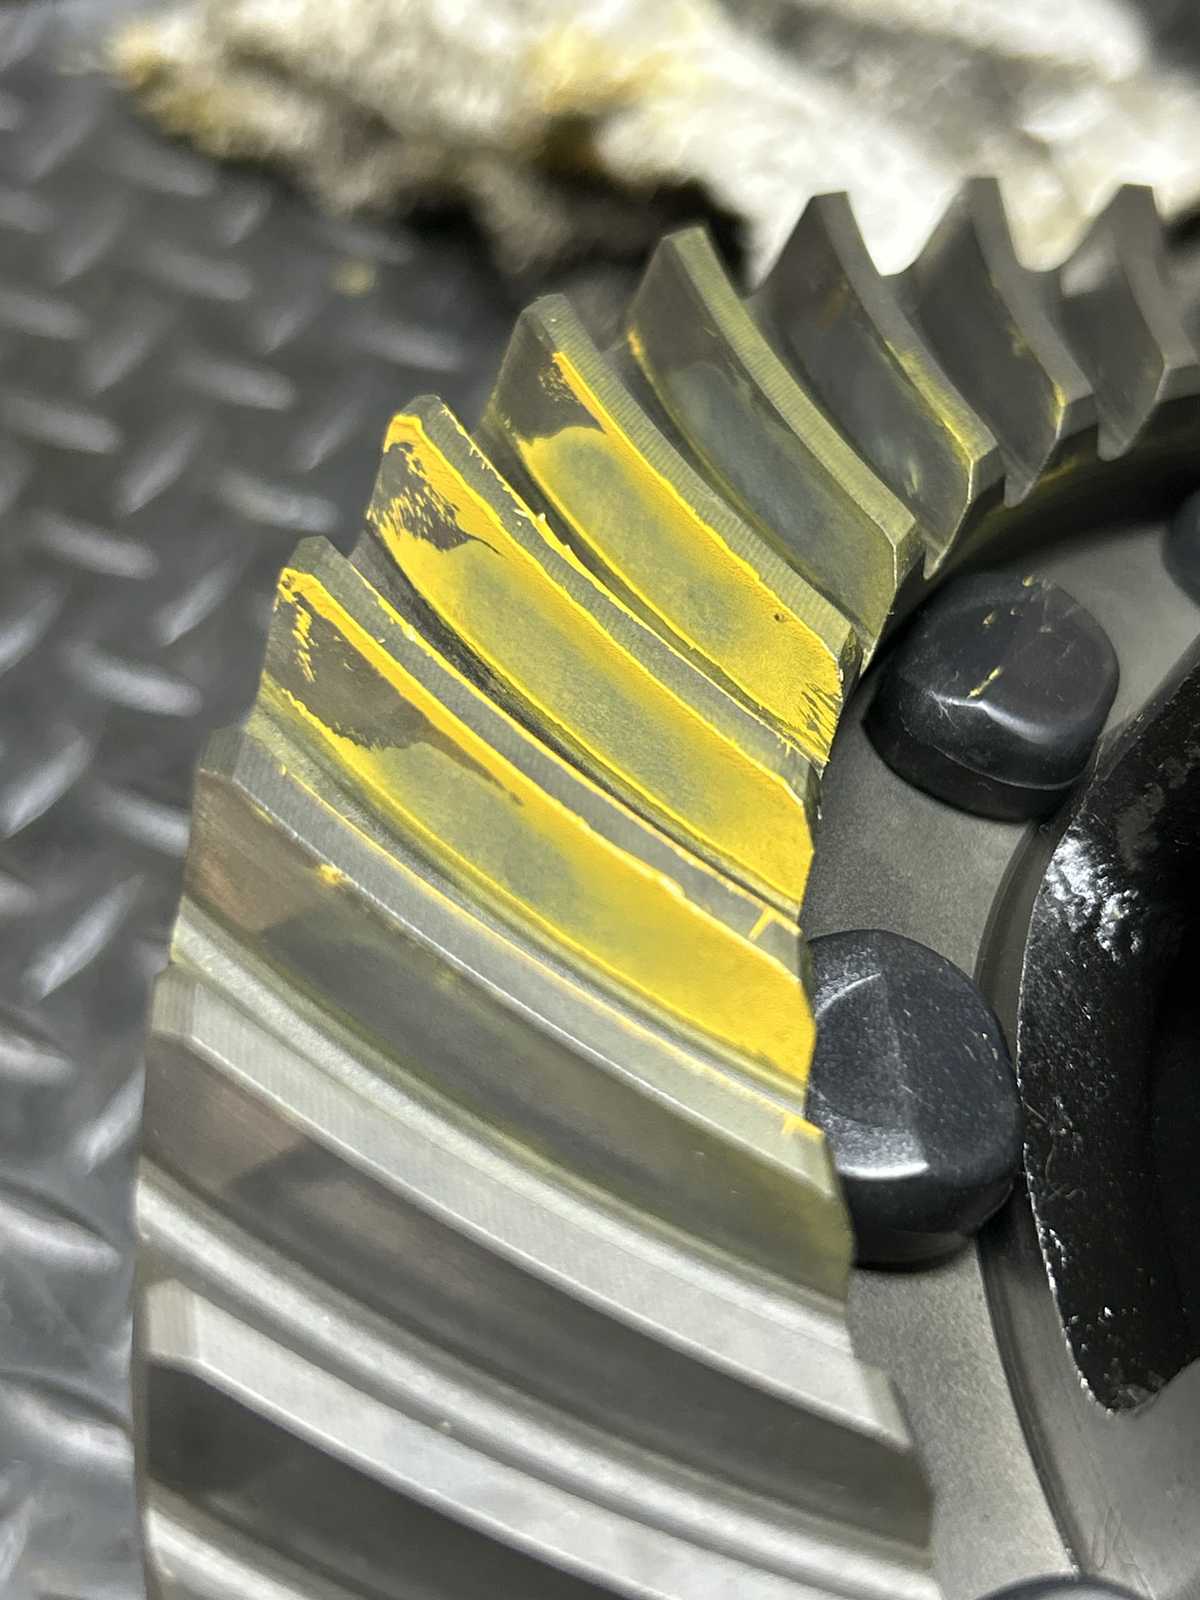
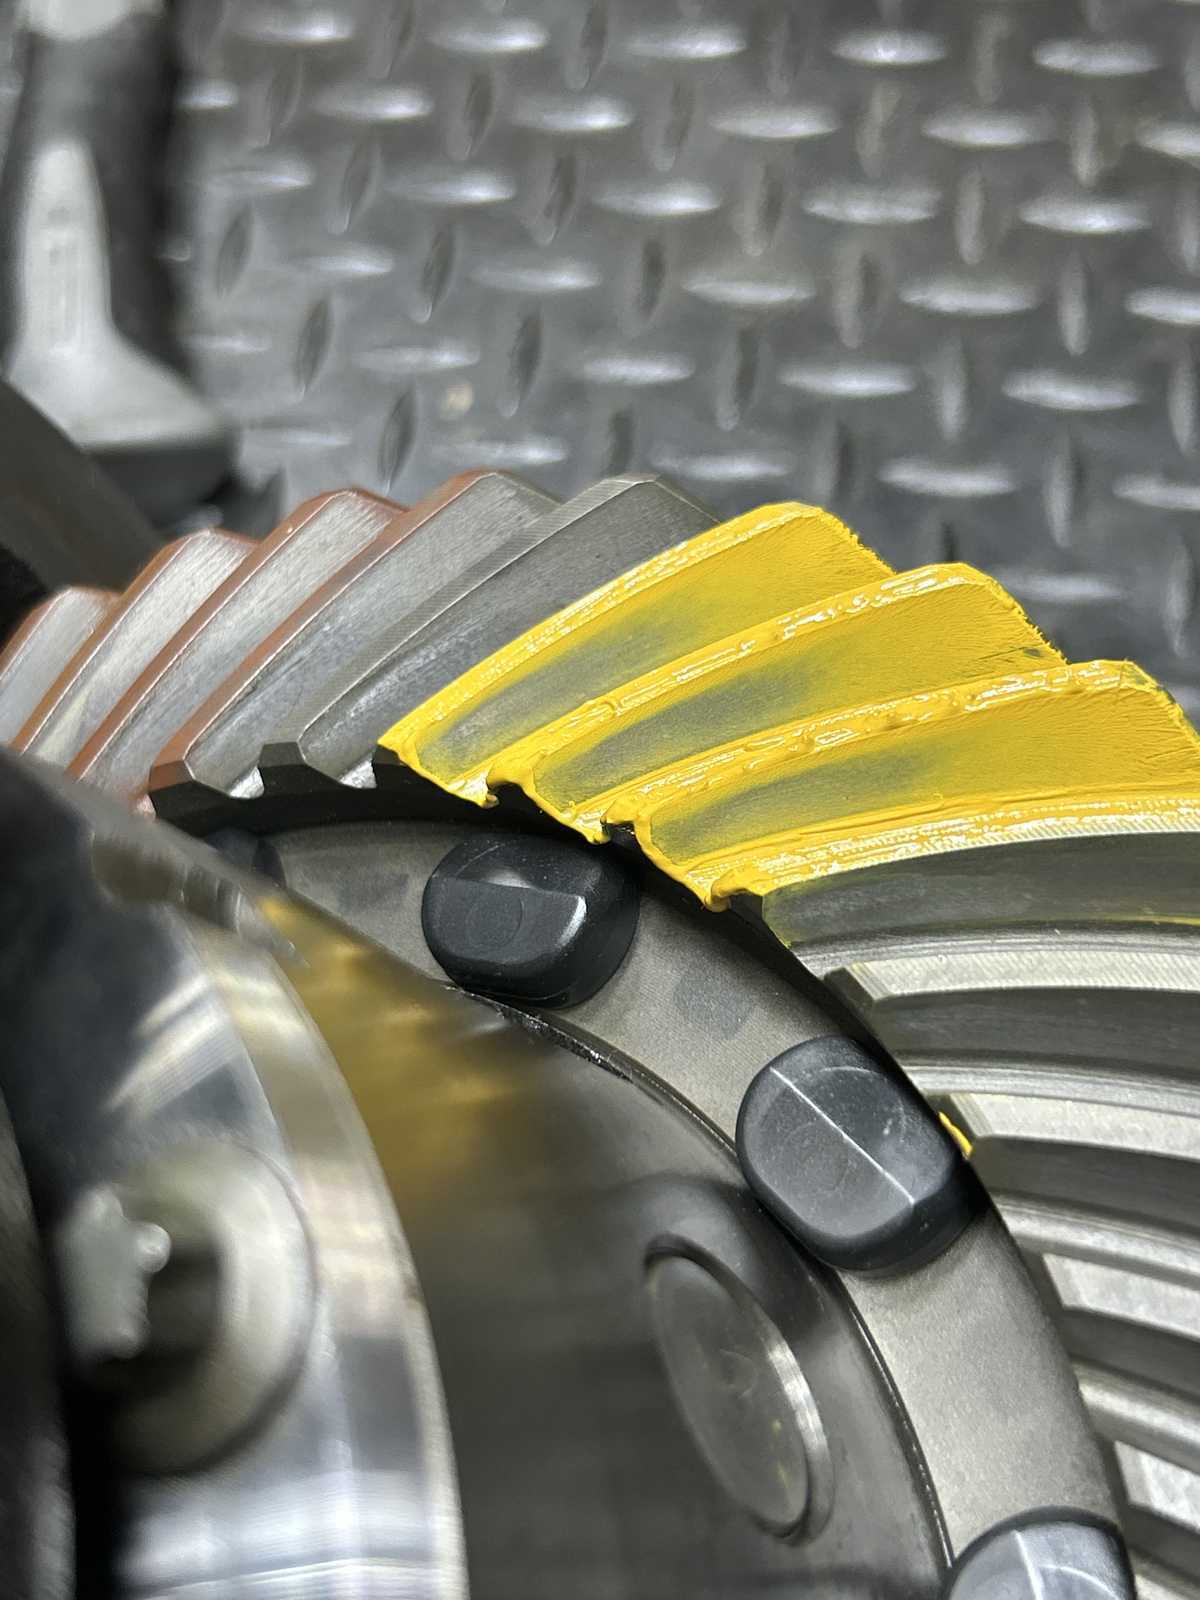
| The resultant pattern....driveside....maybe a little too deep. |
|
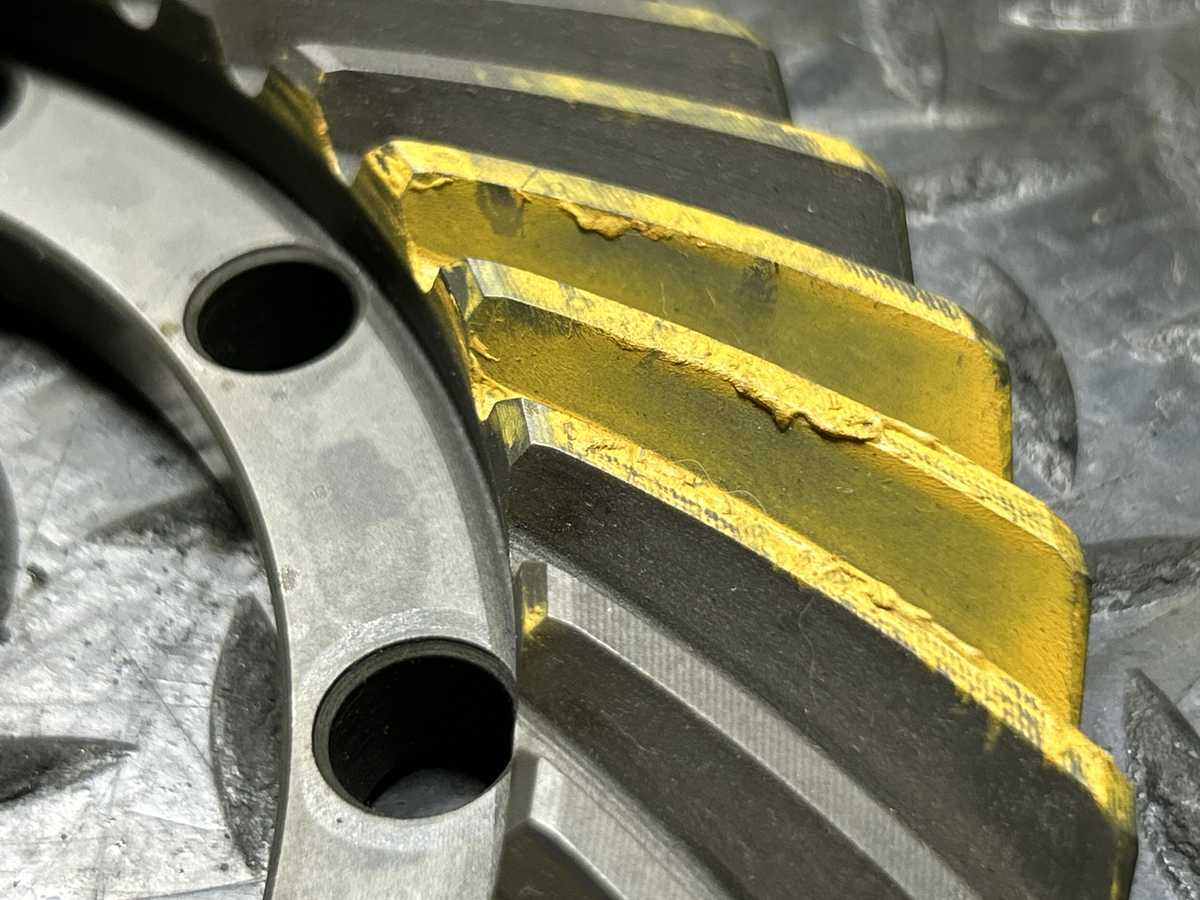
| Reverse painted driveside....is in agreement of too deep. |
|
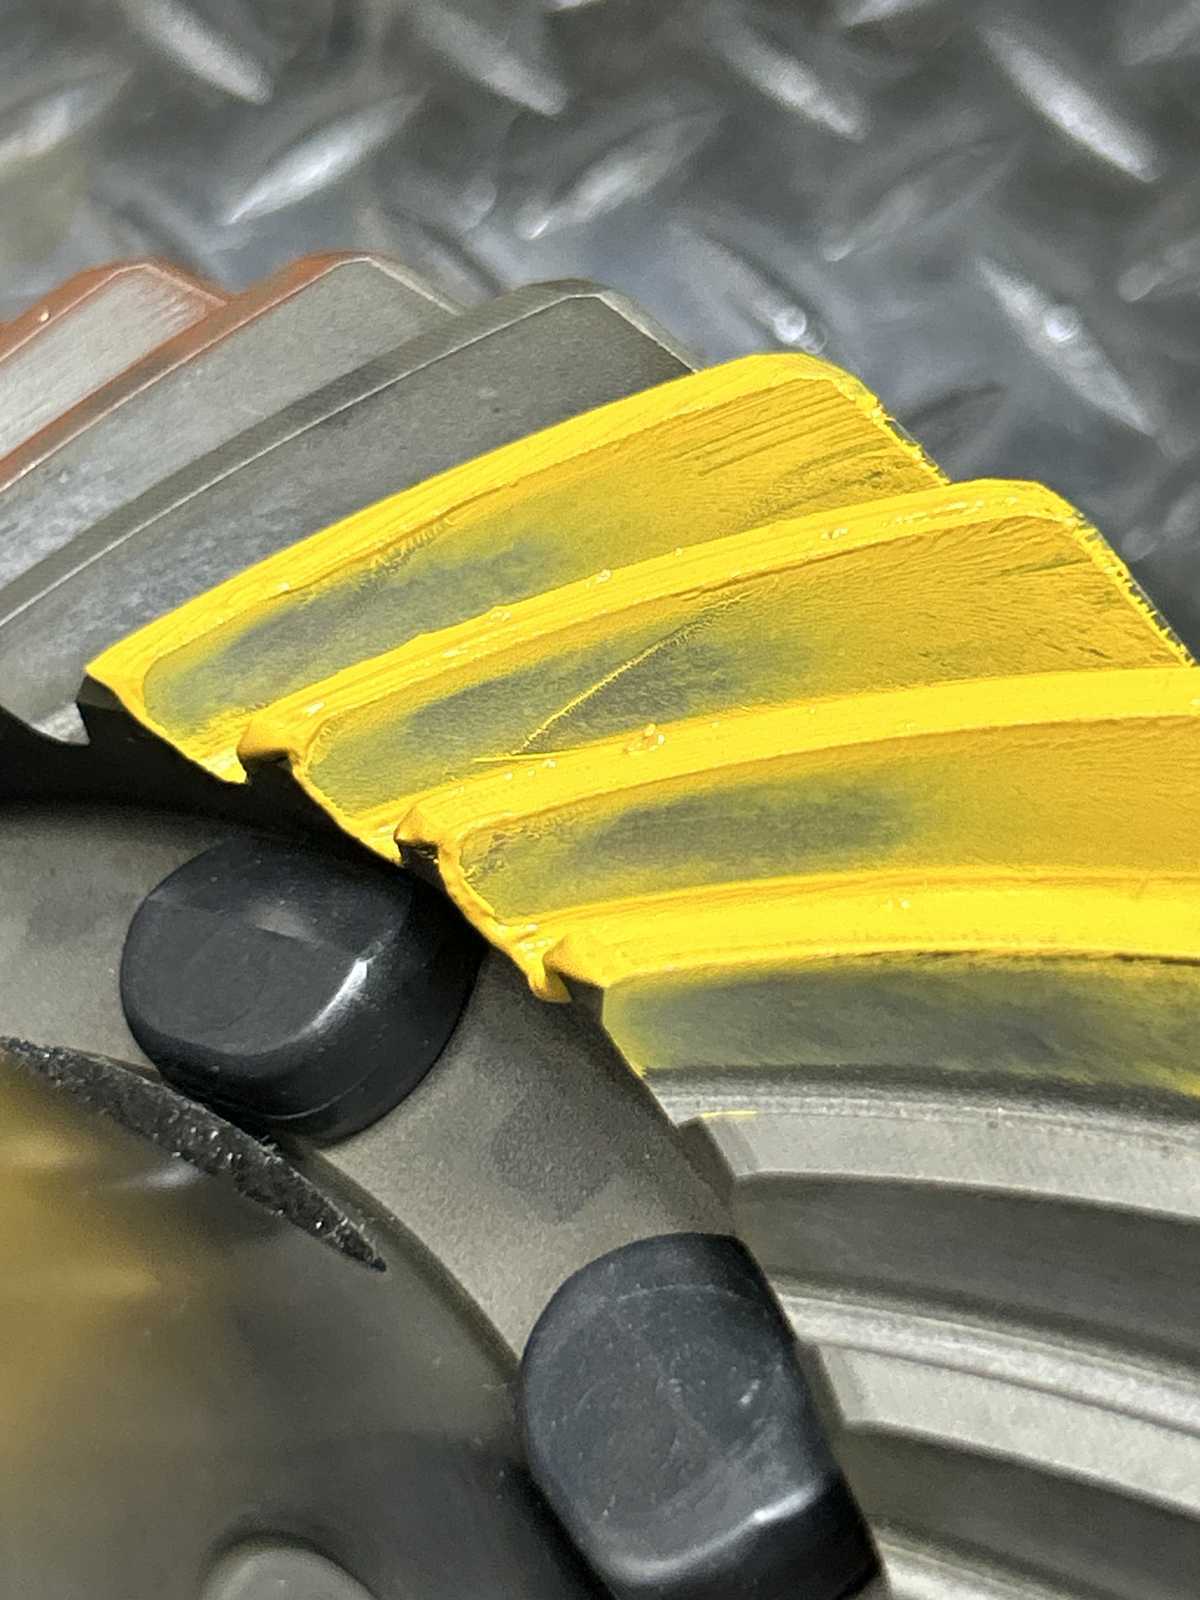
| Coast....too deep. |
|
| Reverse painted coast....too deep as indicated by the excessive root contact. |
|
| Teardown and take .003" off the shim. |
|
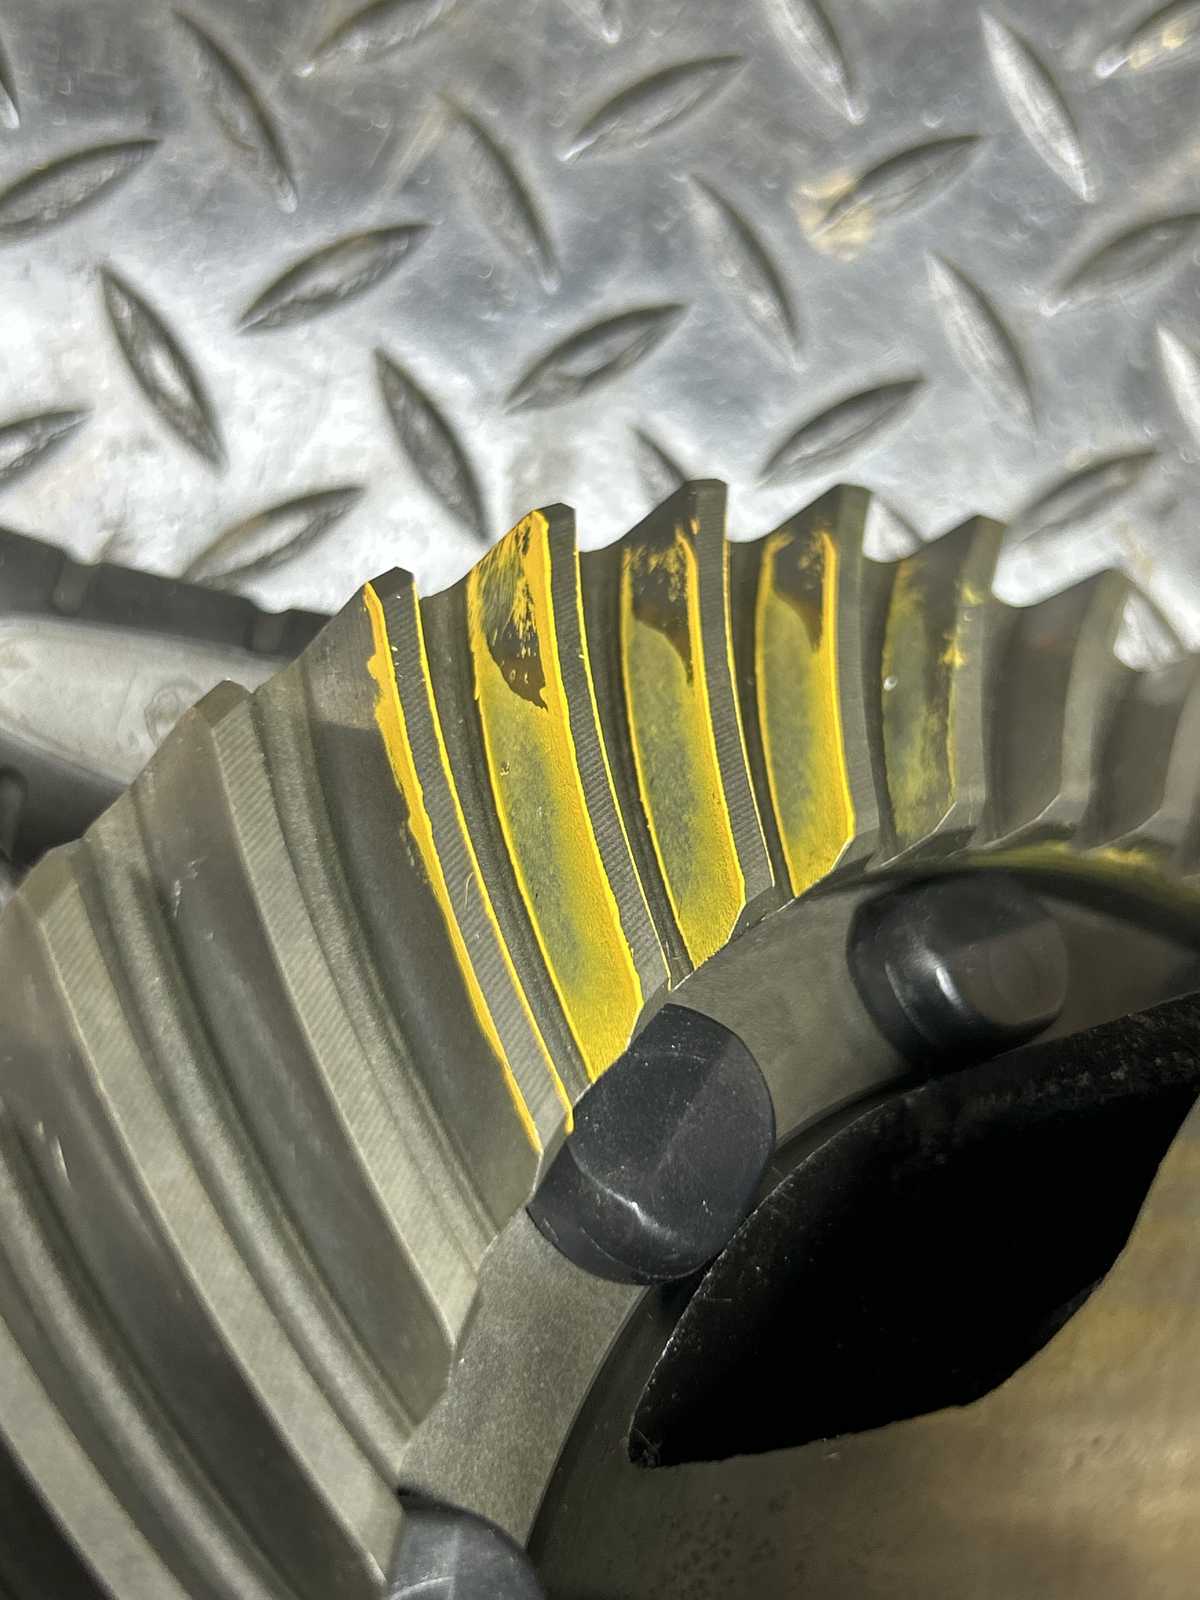
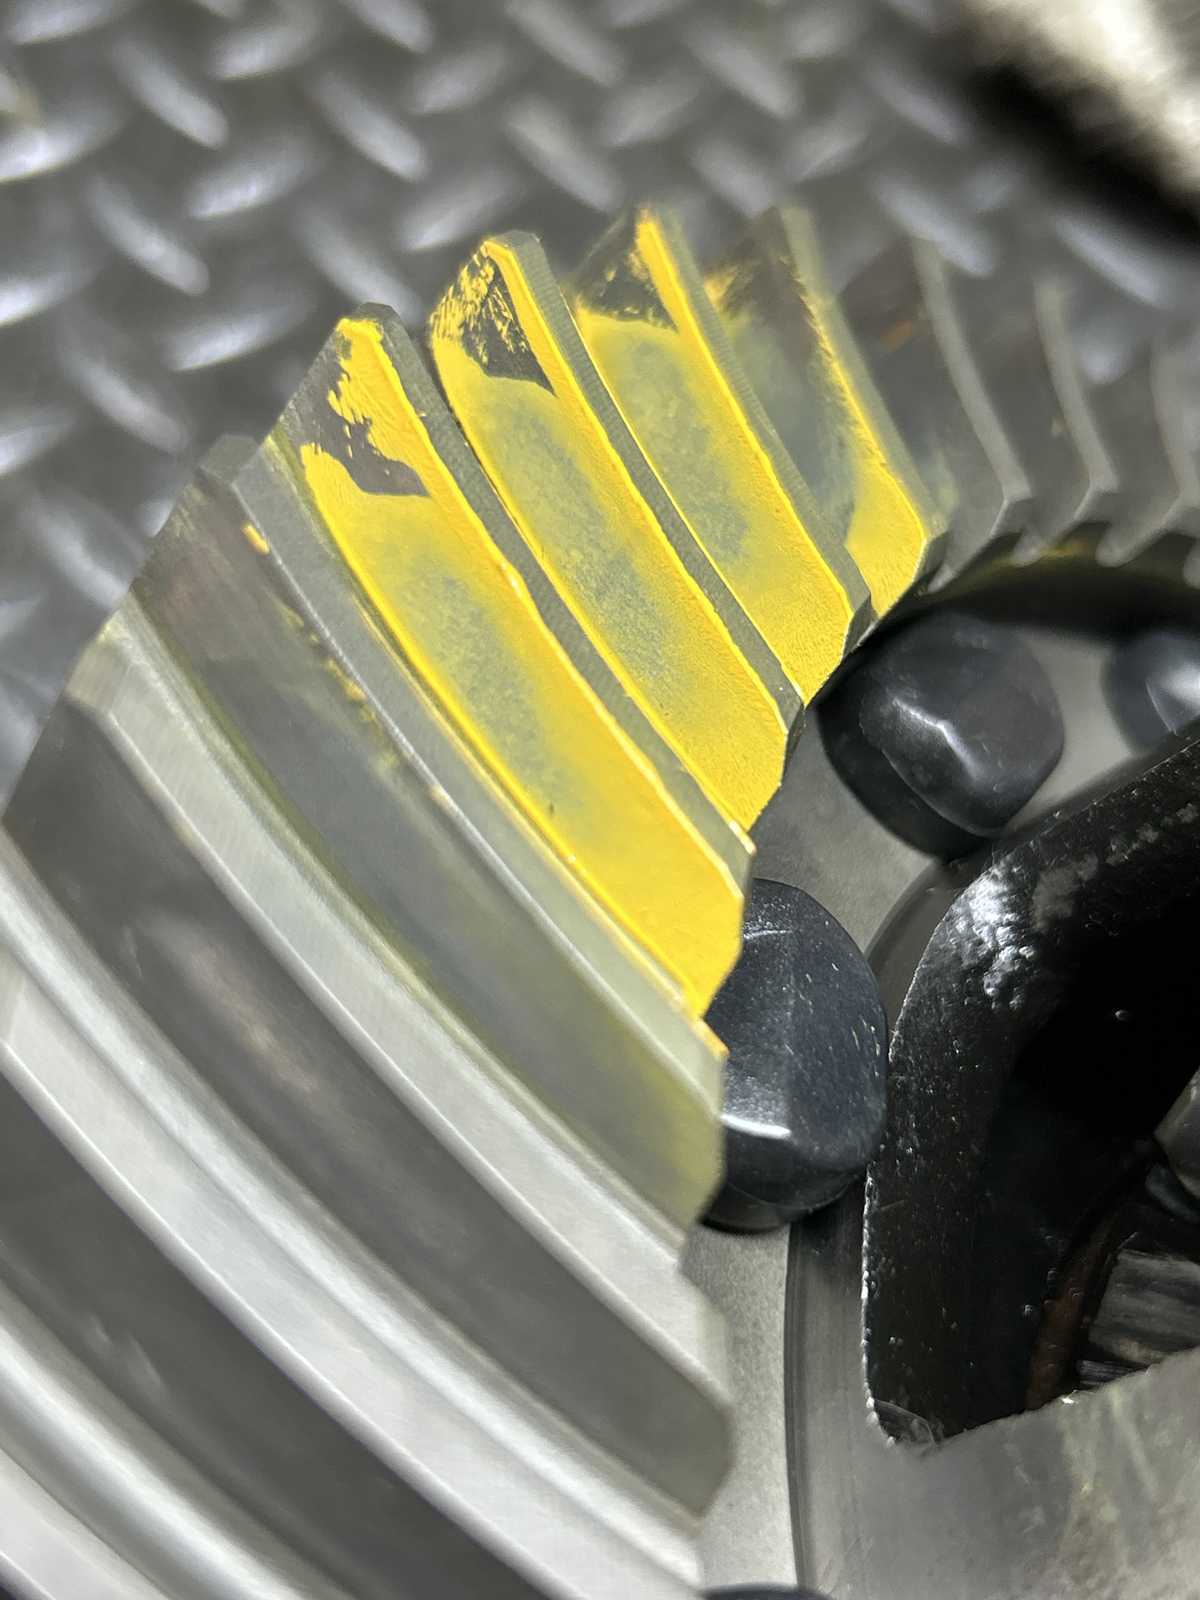
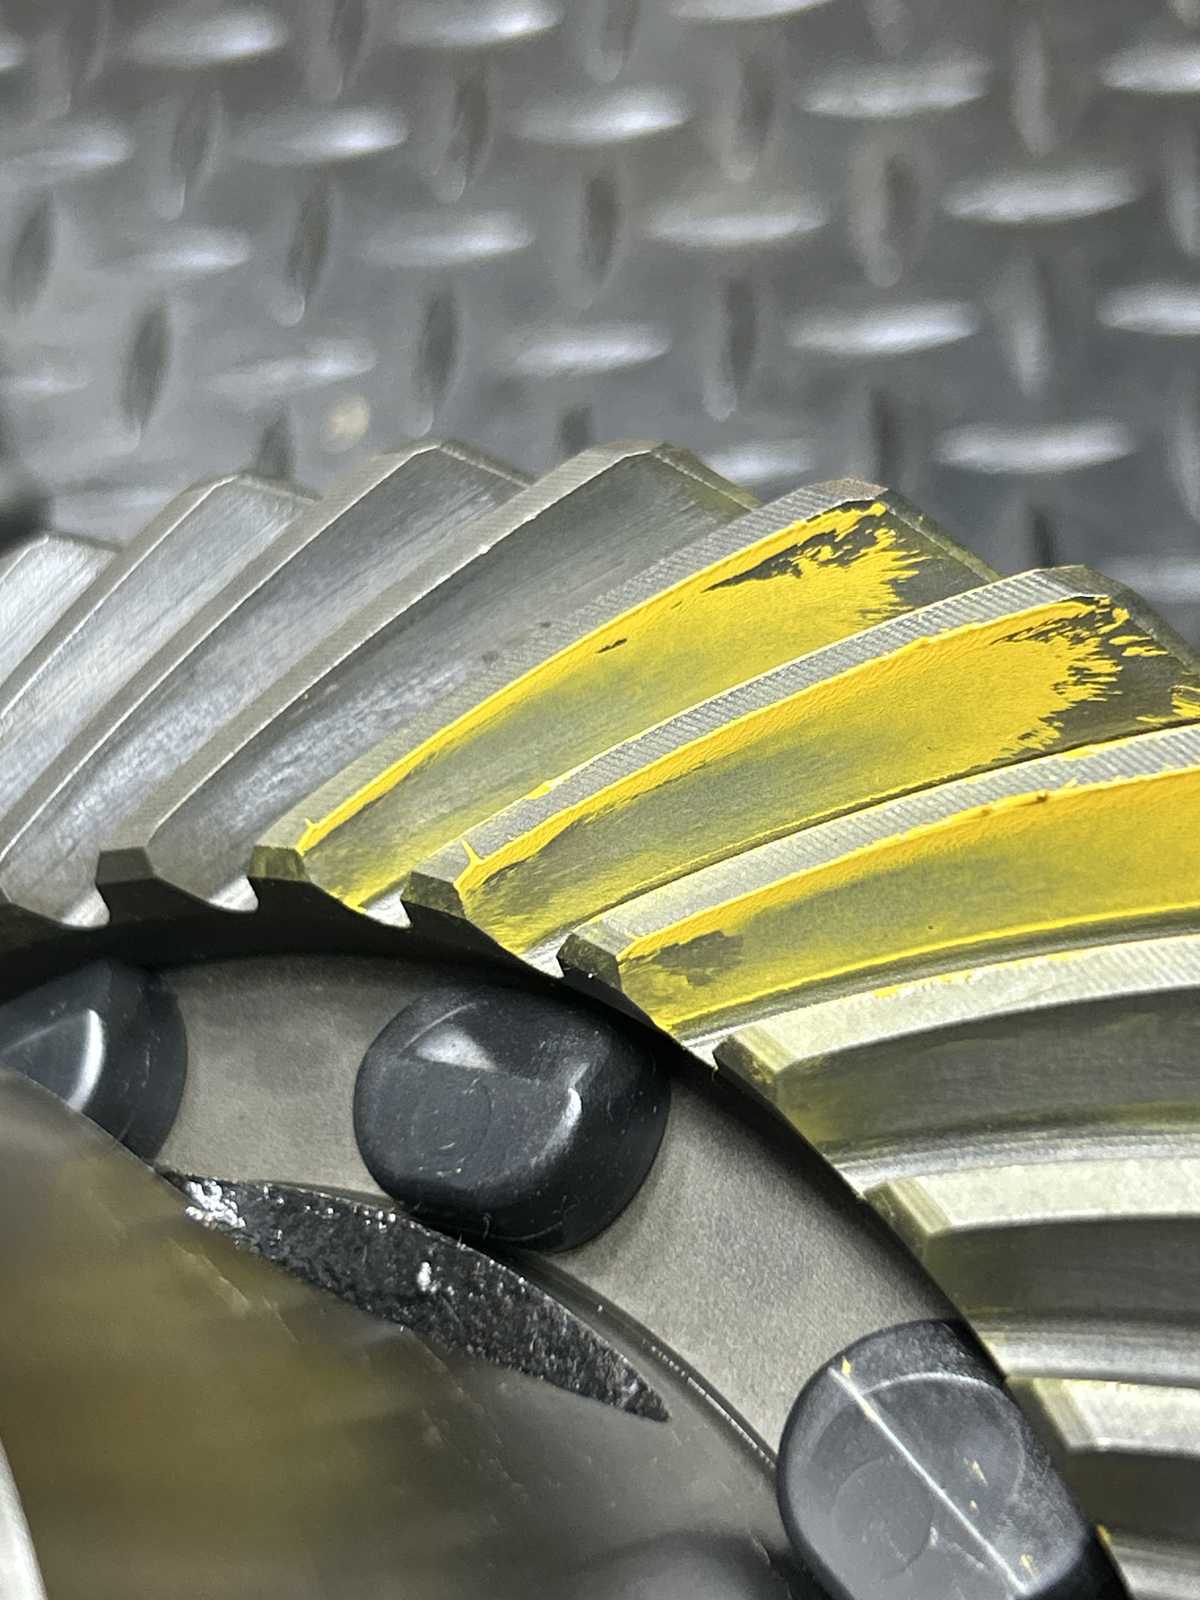
| driveside with .048"....much better. |
|
| Reverse painted driveside....it tends to clarify and I like this one. |
|
| Reverse painted coast....now this side shows that 048 is a winner. |
|
| The reverse painted coast backs that up. |
|
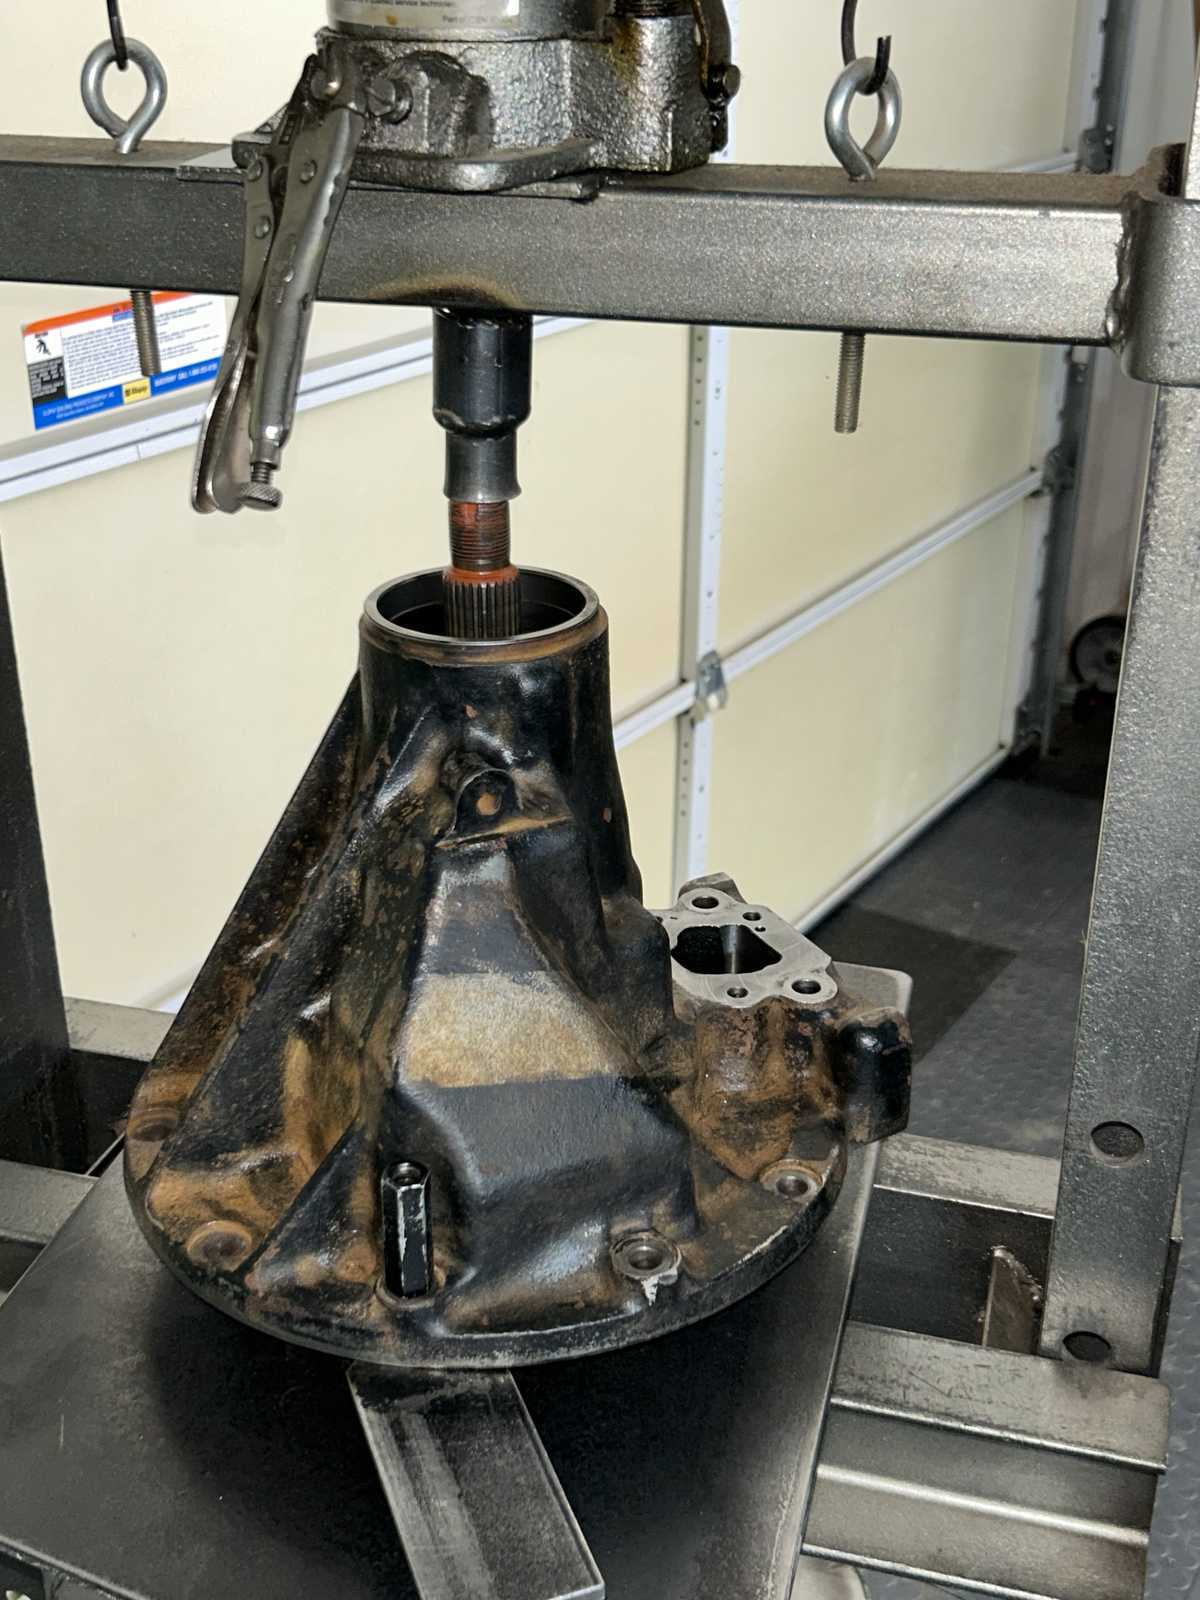
| Now to teardown and put the Marlin solid collar in. |
|
|
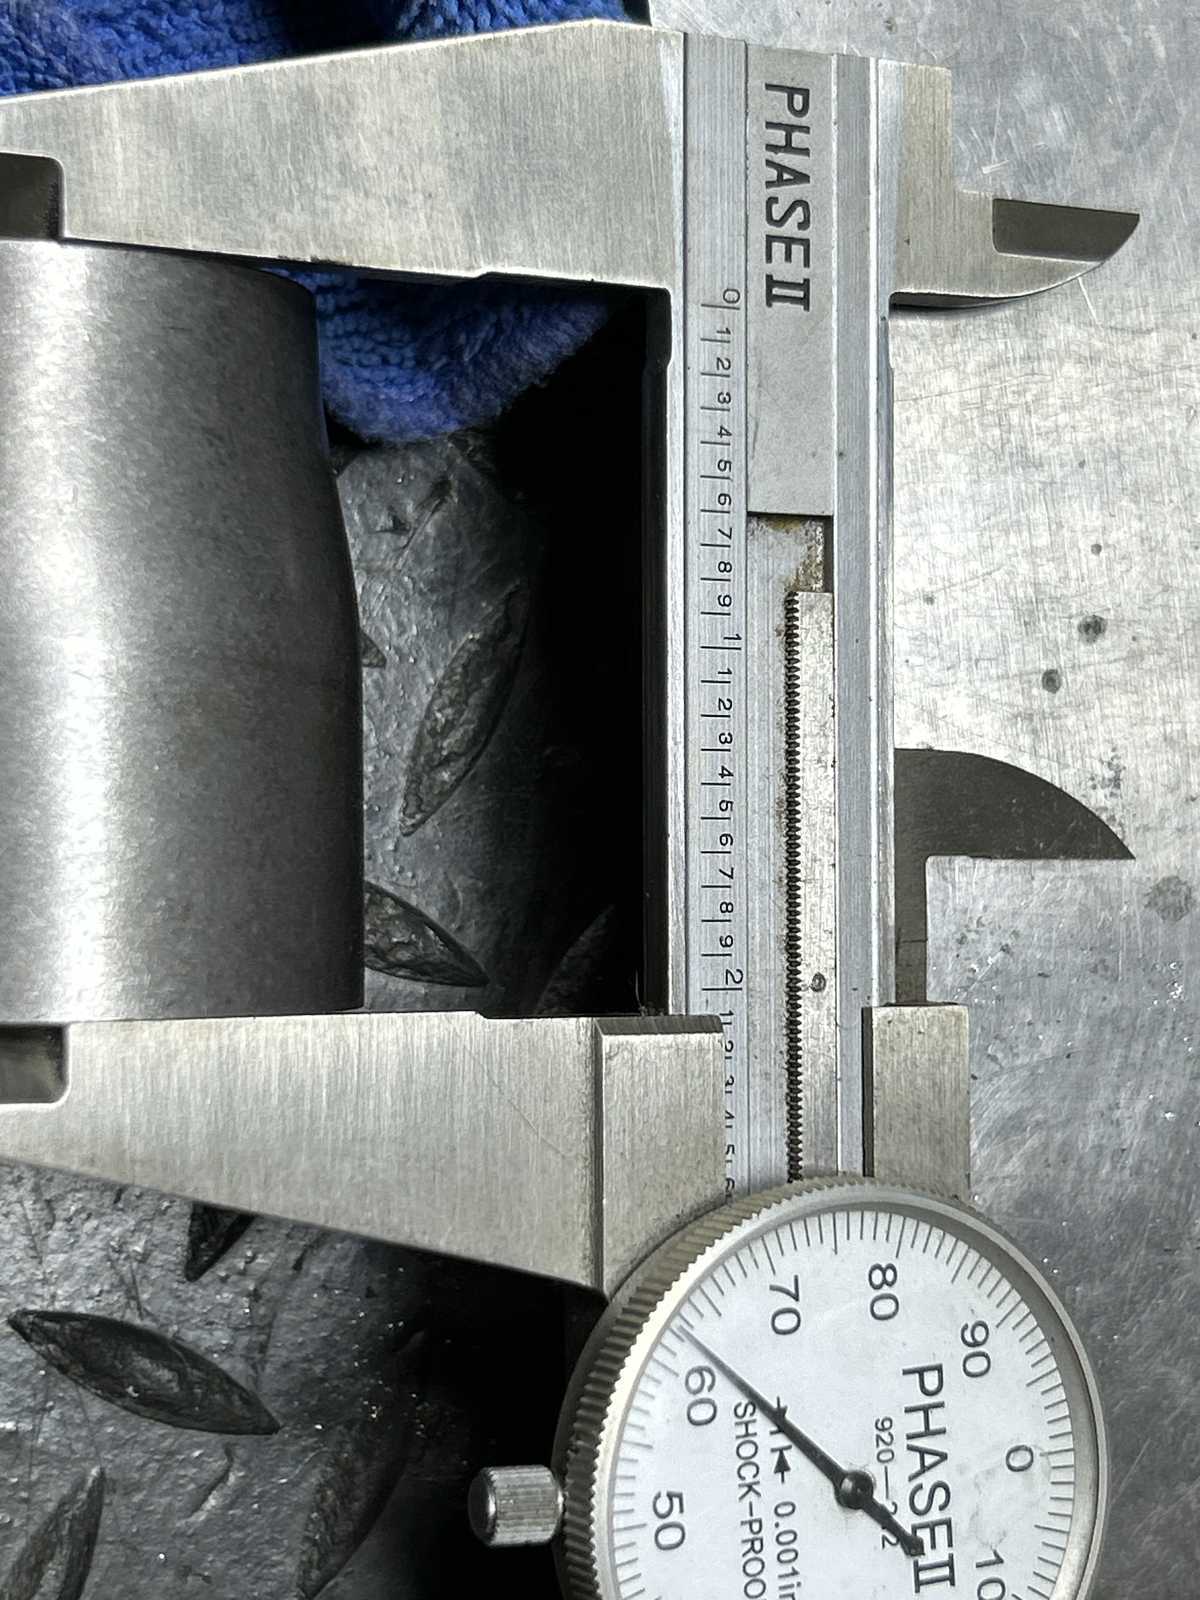
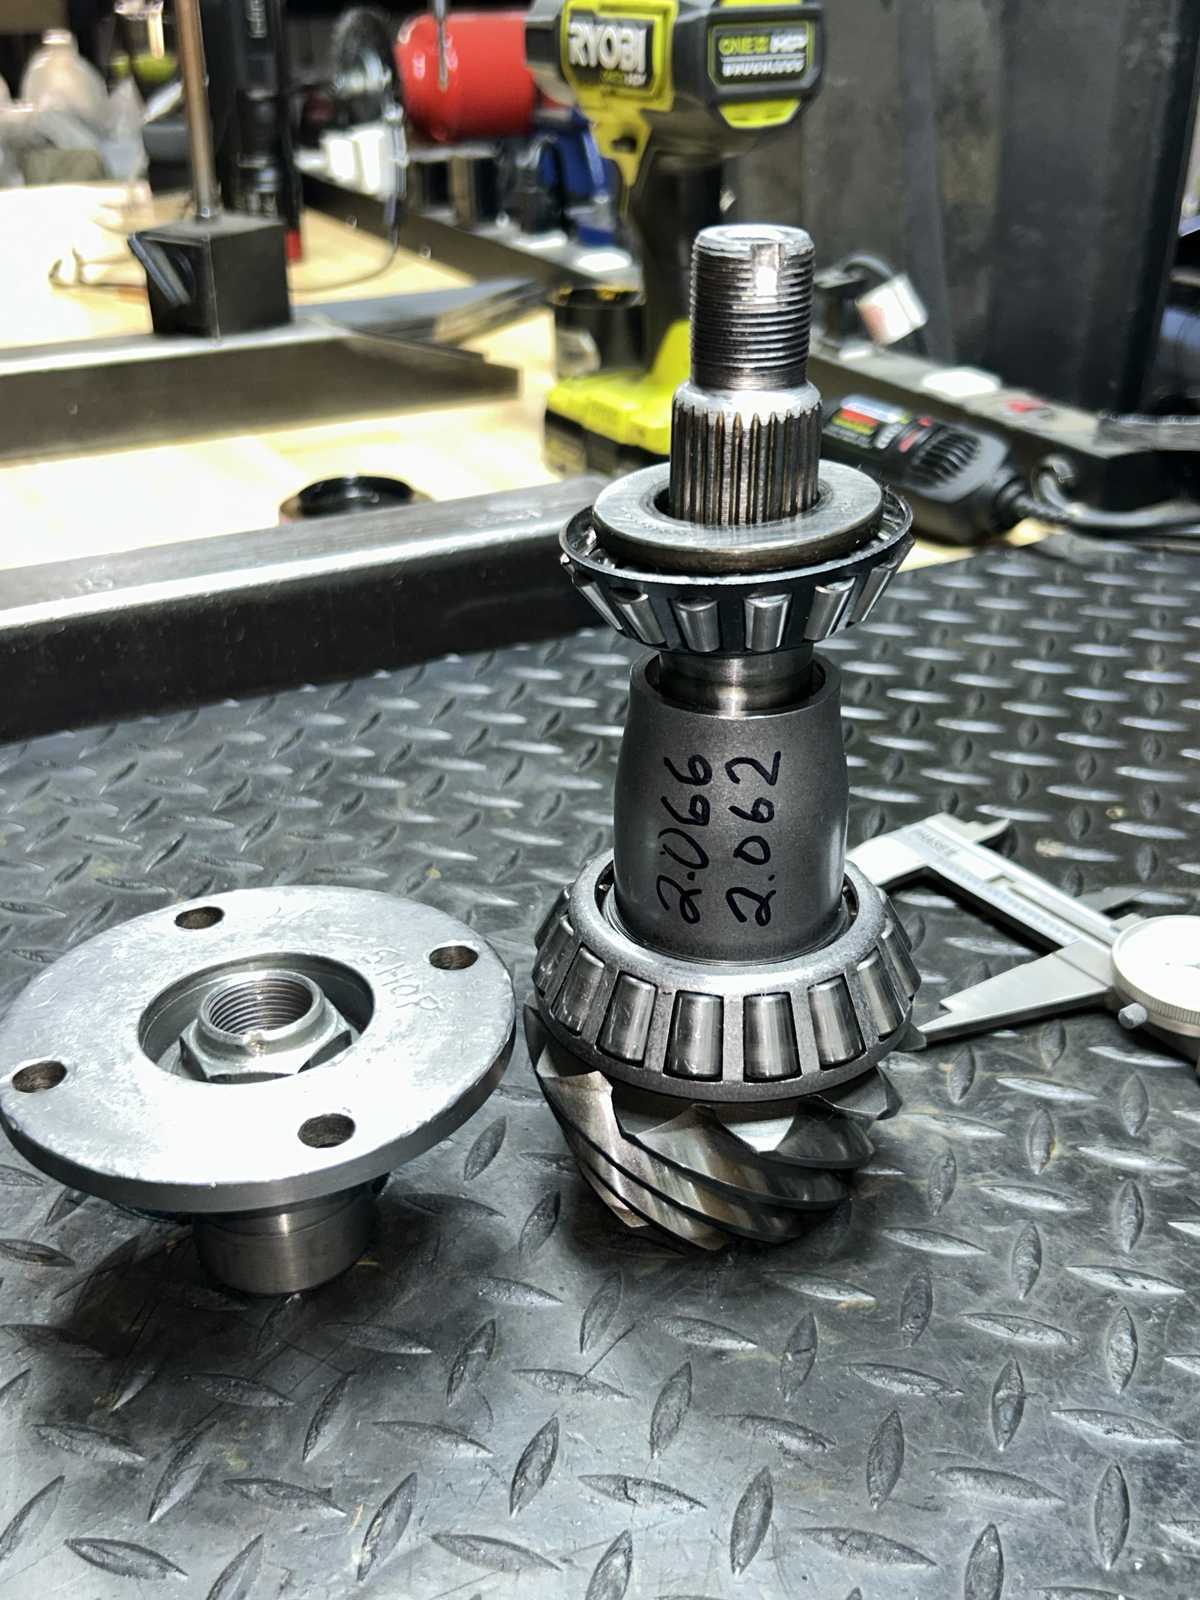
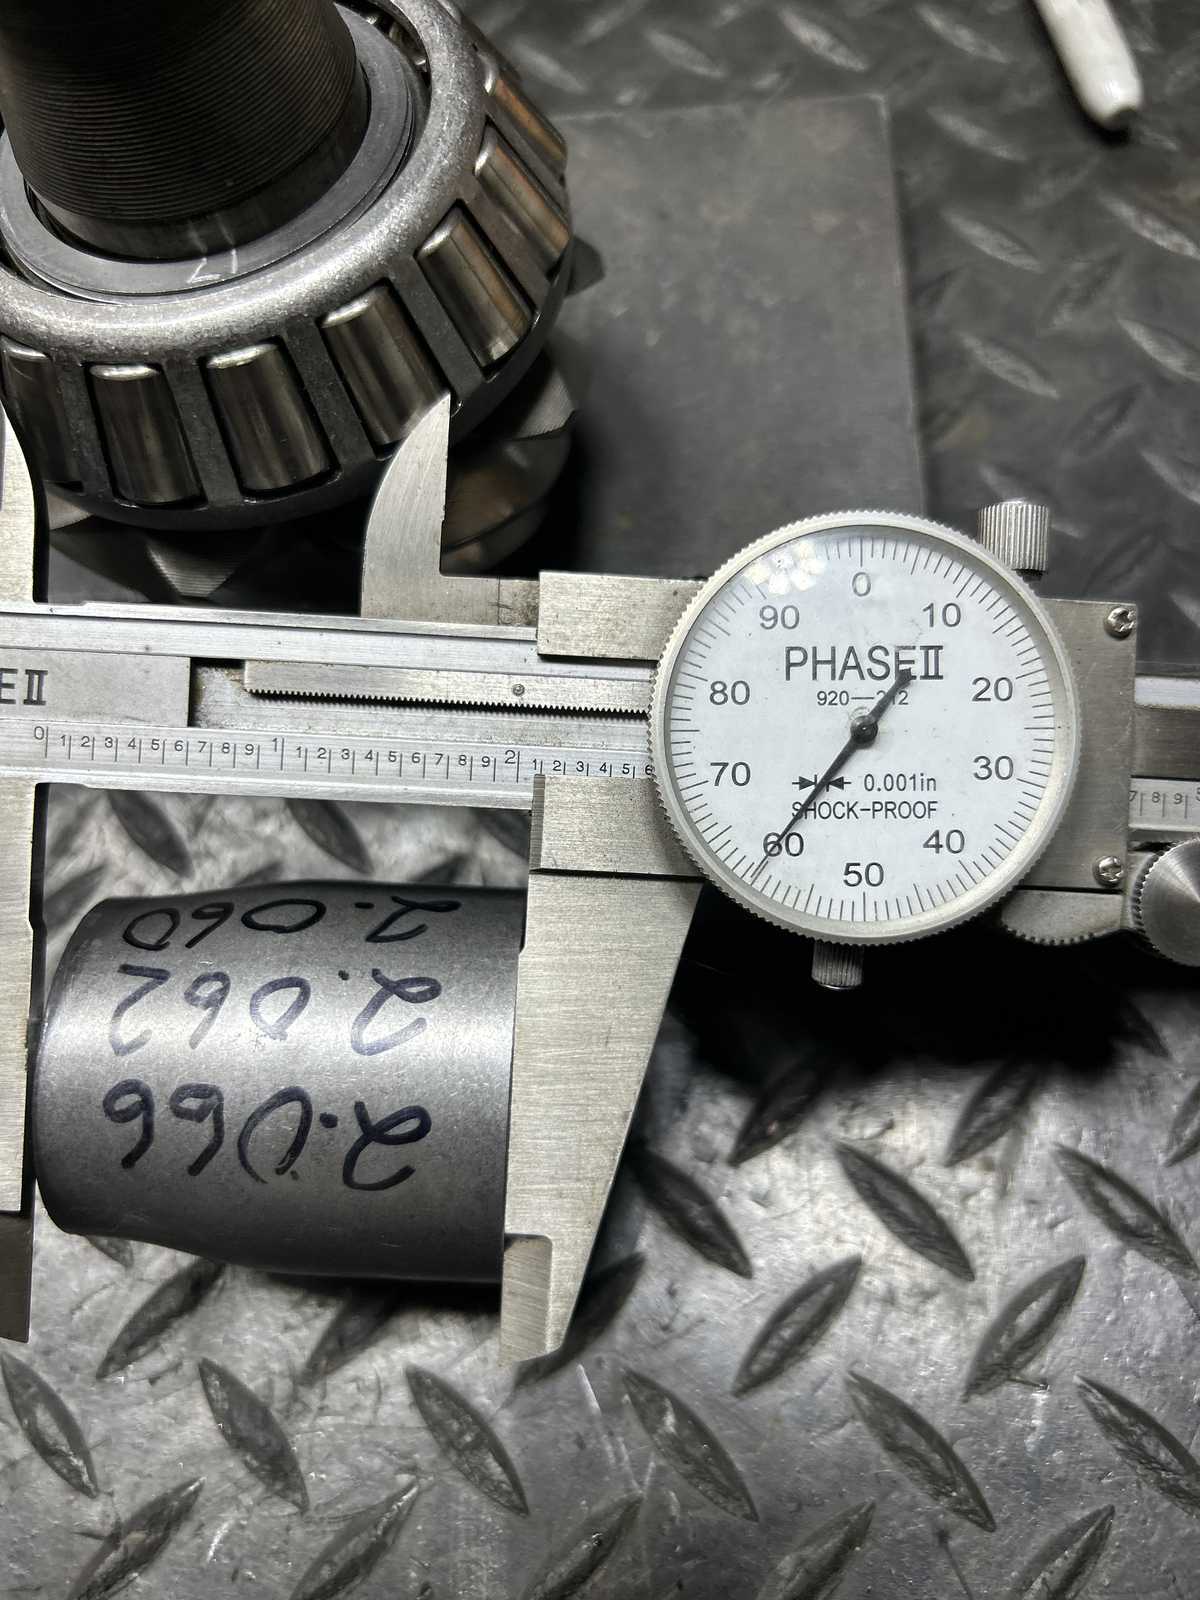
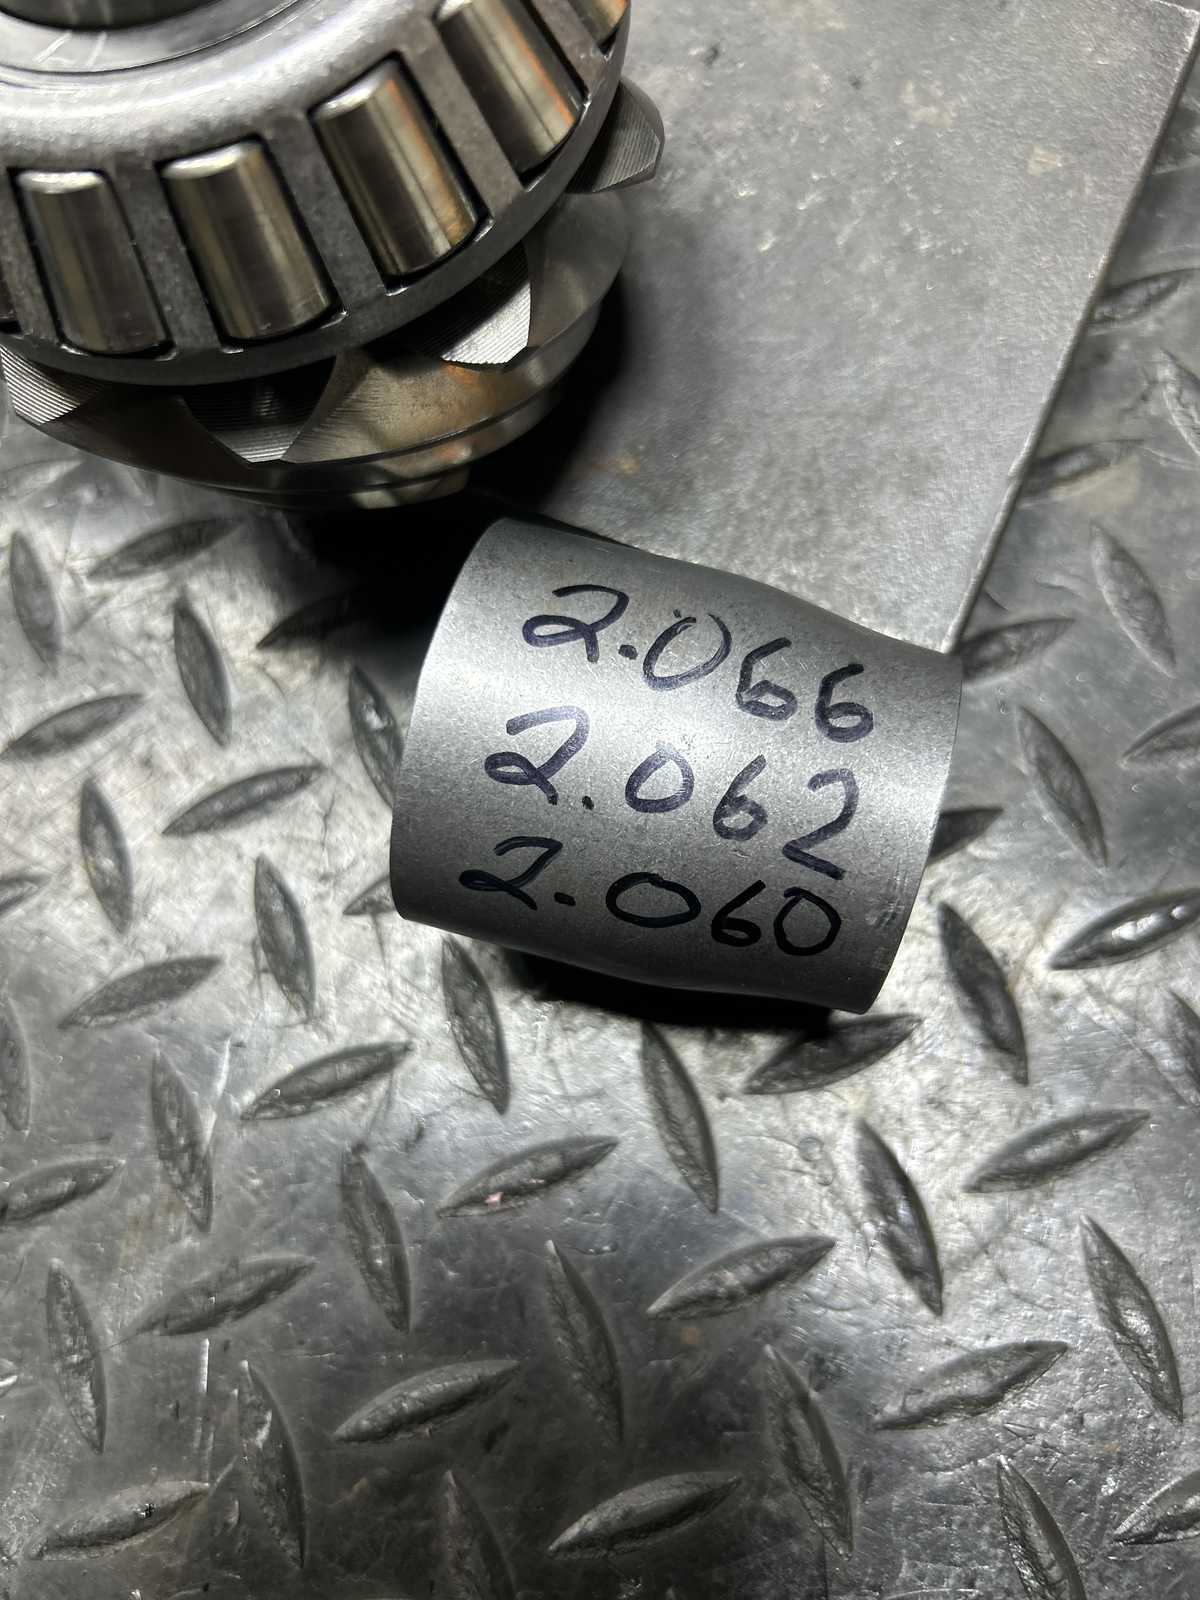
In the past, most of the time I measured .001 or .002" runout....this collar was dead on at 2.066" all the way around. When I texted Michael that, he told me that's because he did the same check and was not happy to see about .010" in variations so he put it on the lathe and true'd it up. |
|
|
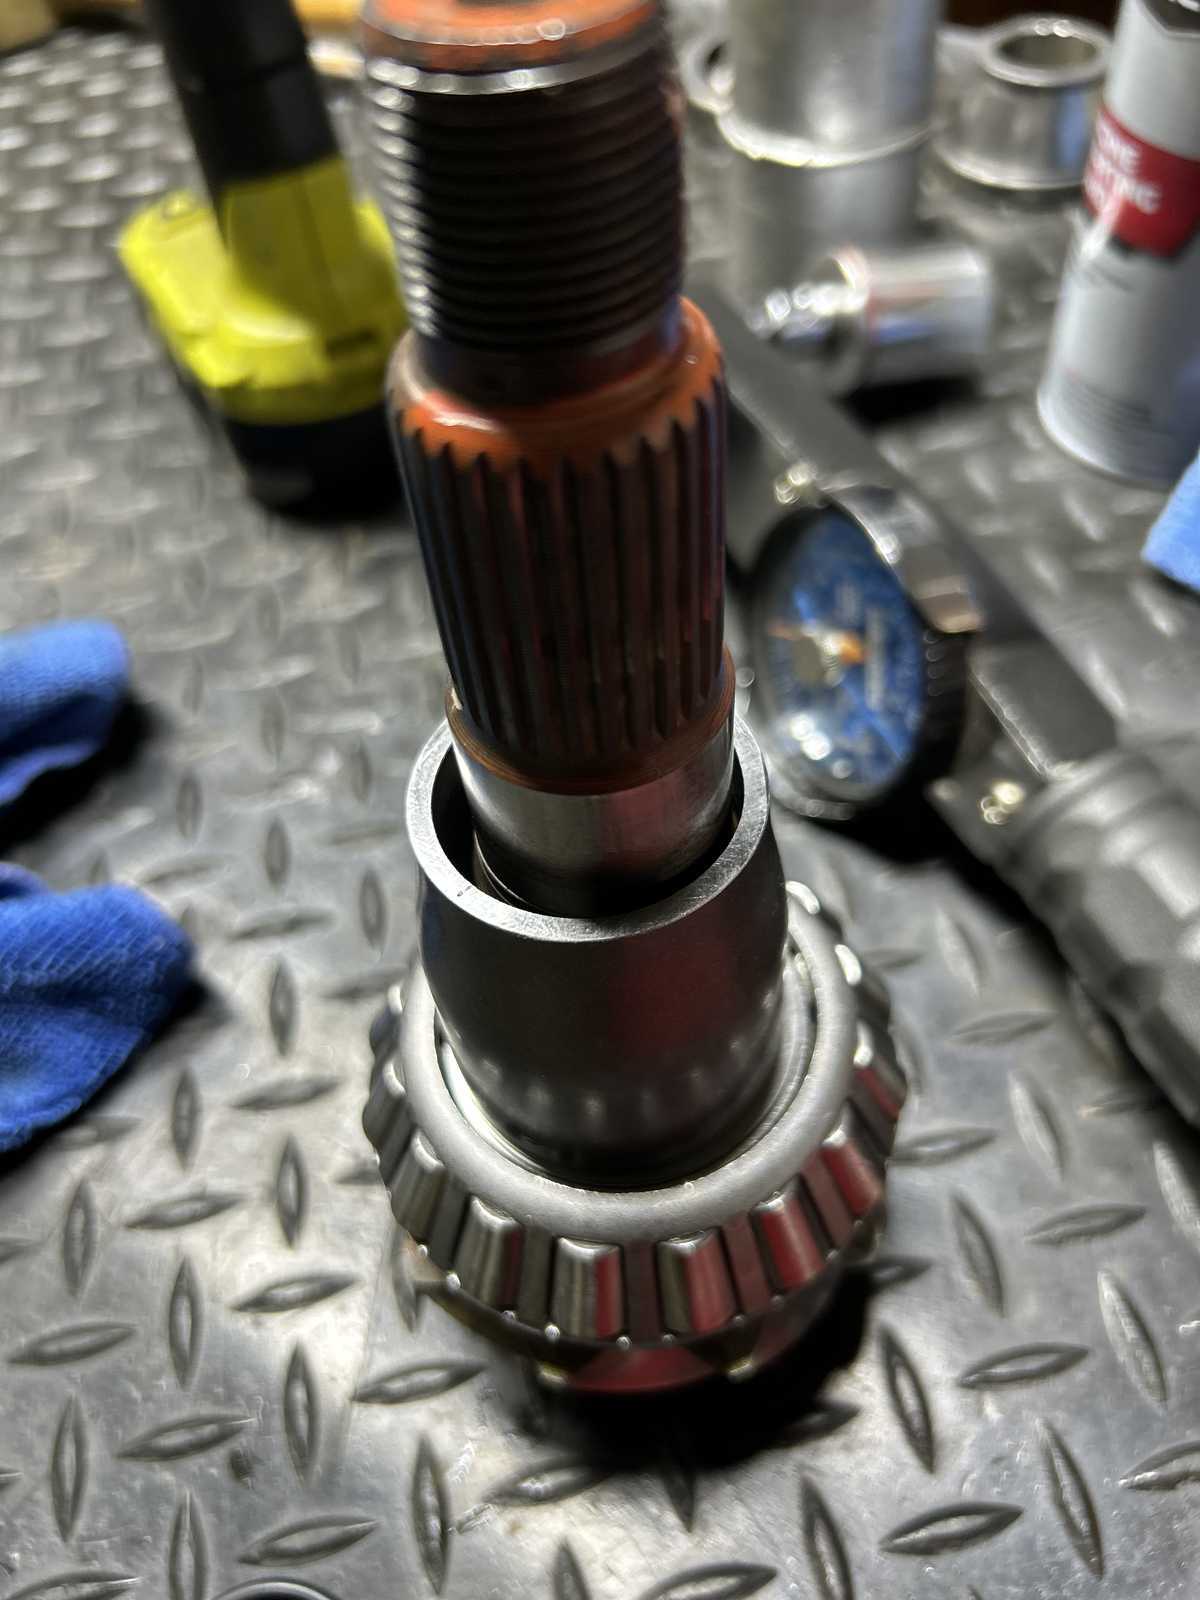
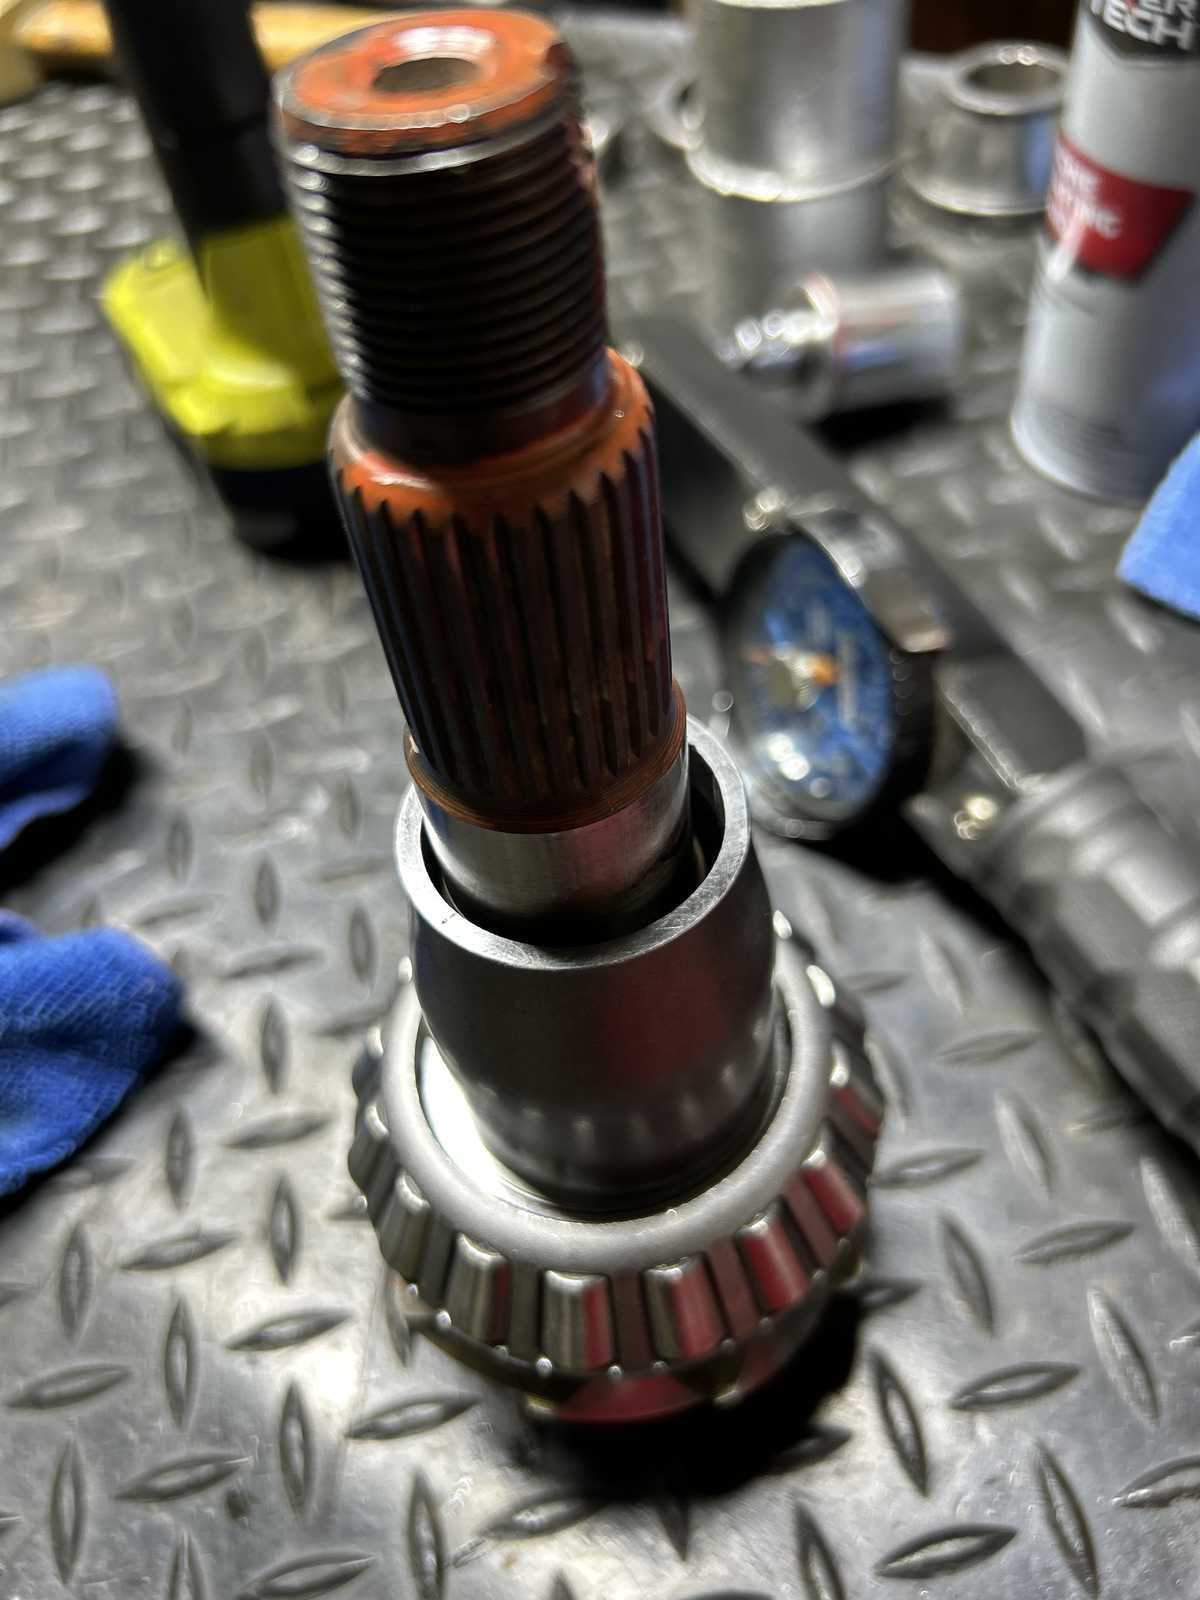
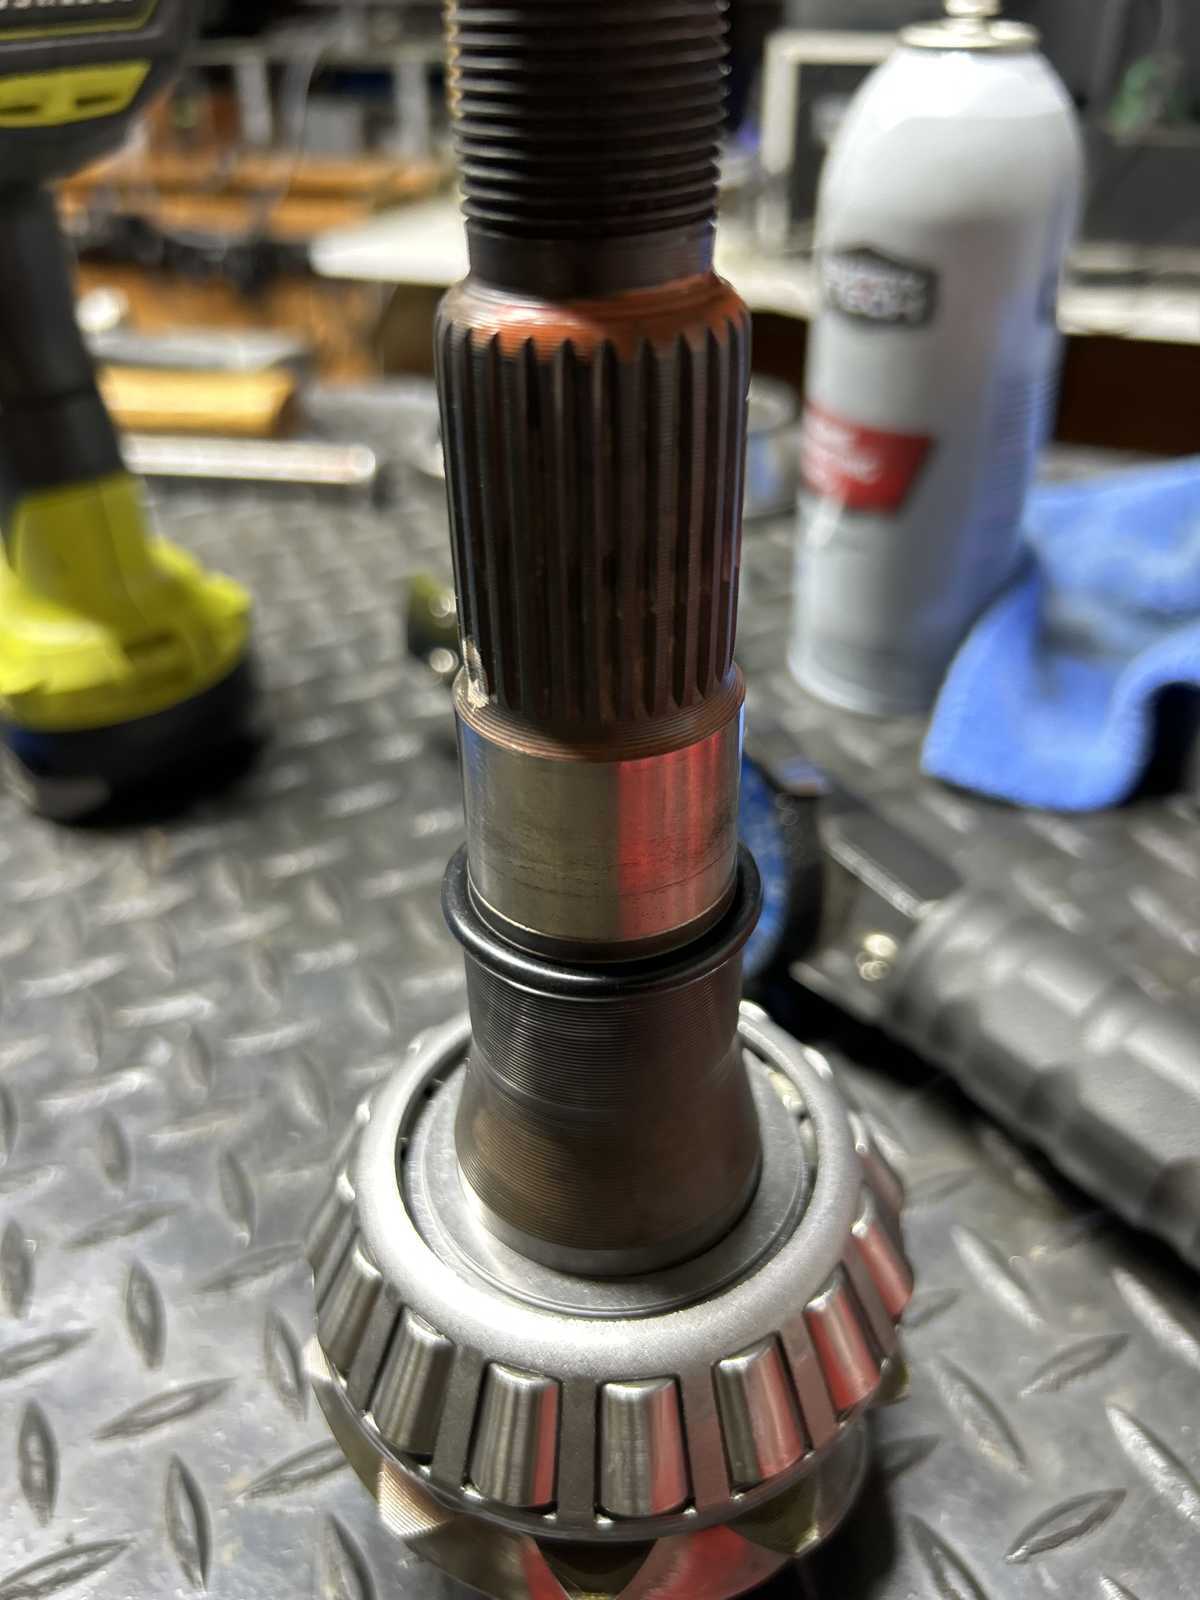
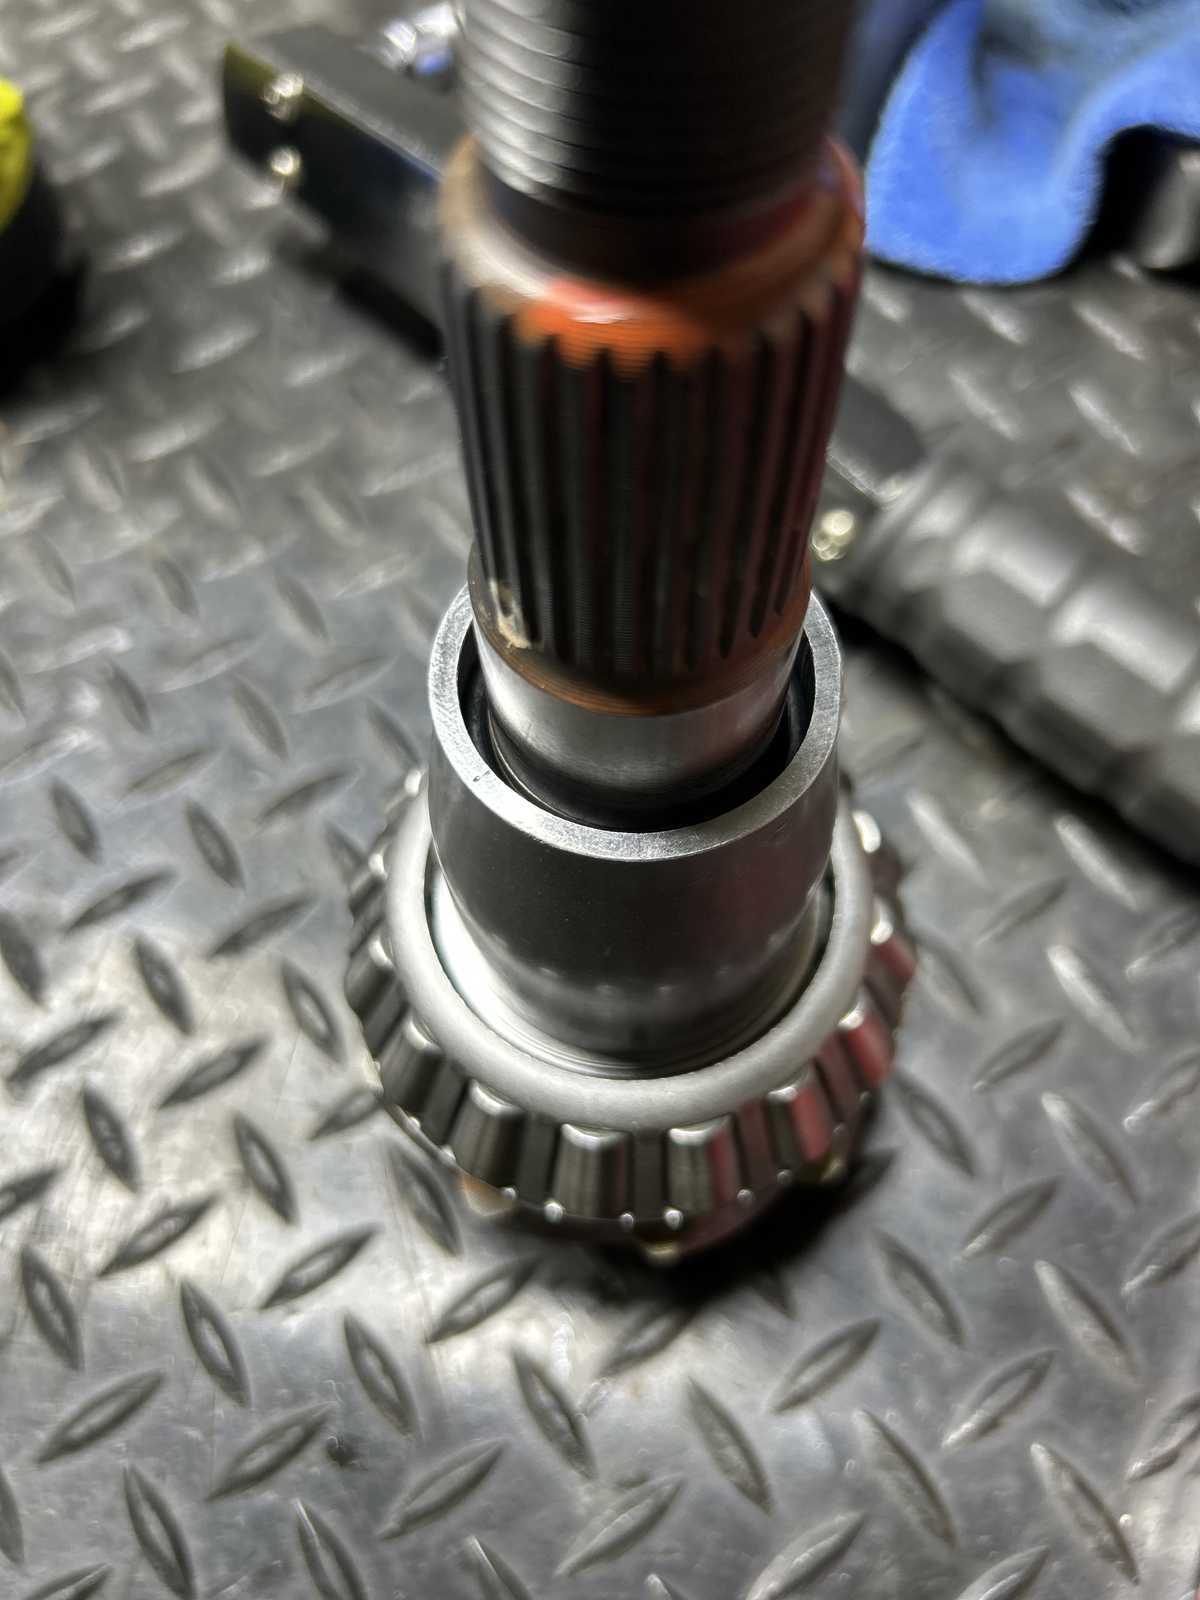
With the collar on the pinion shaft, you can see these collars really do wobble around on the shaft. This has always been an issue of these collars for the 9.5" Landcruiser diffs. The collars is pushed to the left and you see the gap....... |
|
|
....now push the collar to the right and you see the gap. It's just a sloppy fitting collar.... it has been that way for decades. |
|
|
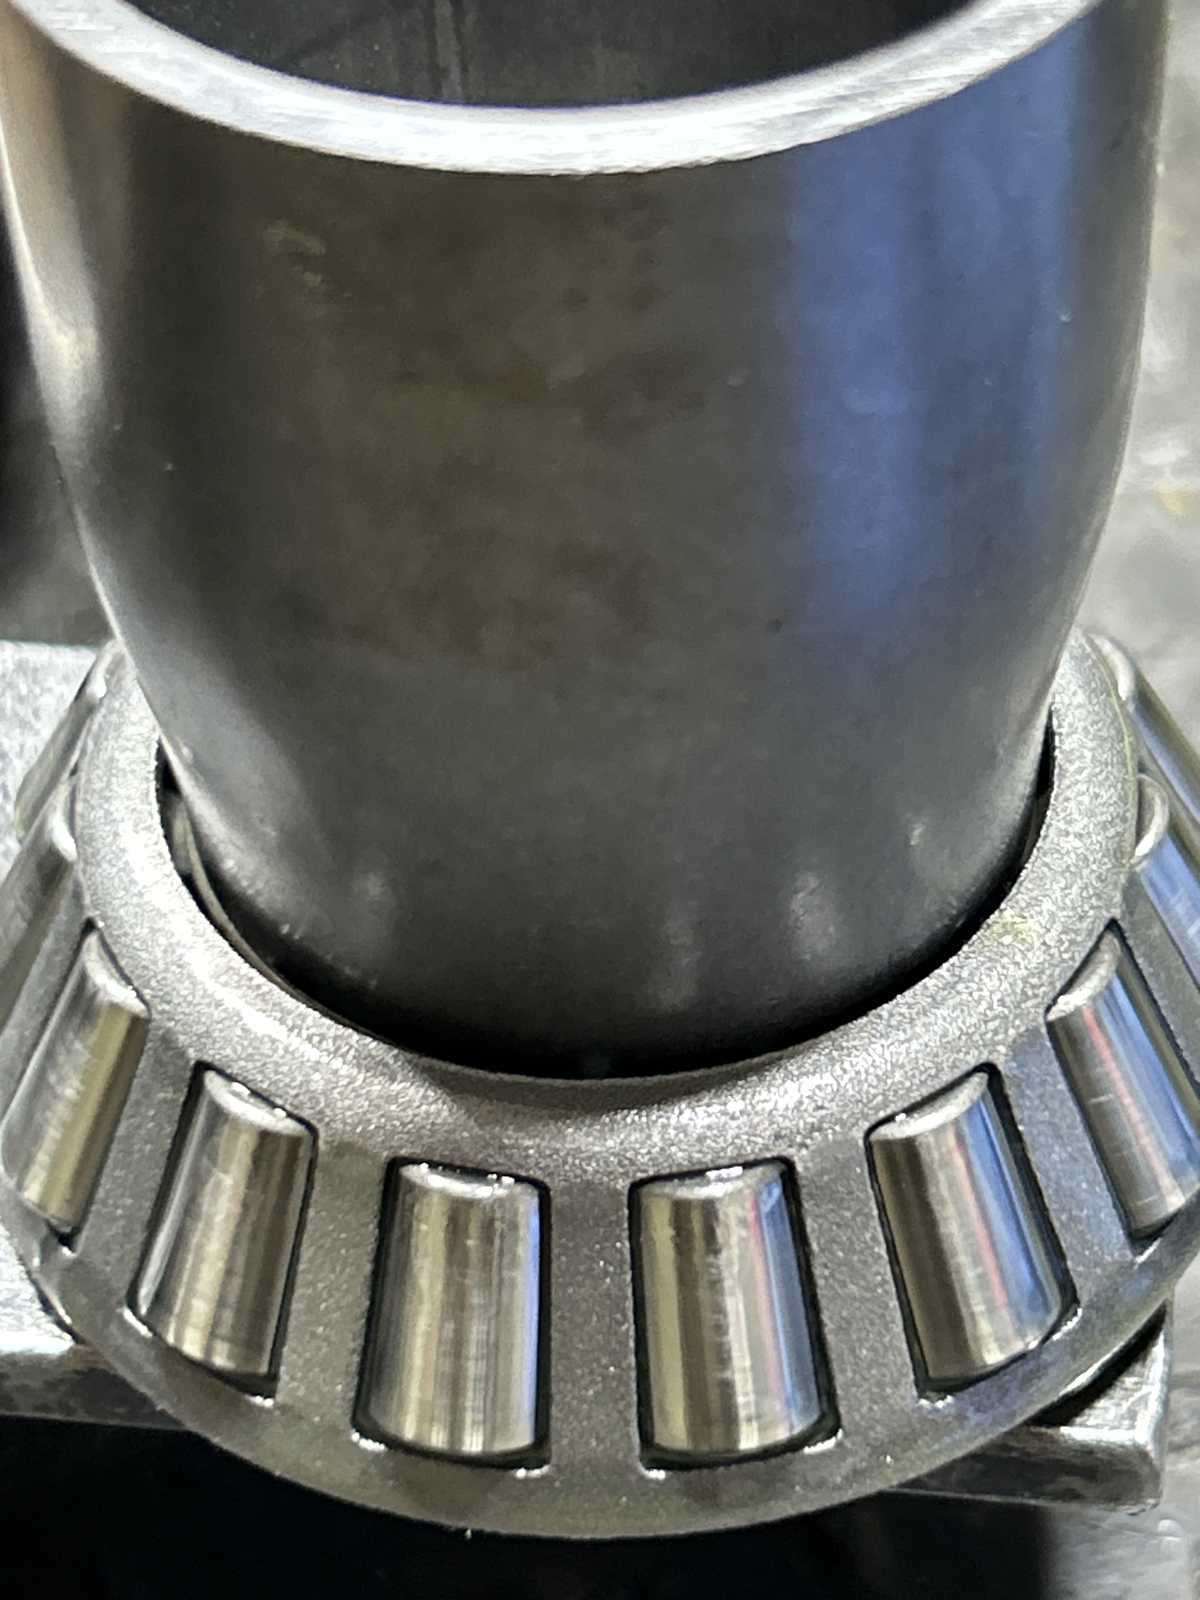
Flipped upside down....this is the view from the small outer pinion bearing's point of view. It's close tolerances to the cage....Often the collar will rub the cage and screw up the PPL readings. The installer will be pulling out his hair trying to figure out the rubbing issue. |
|
|
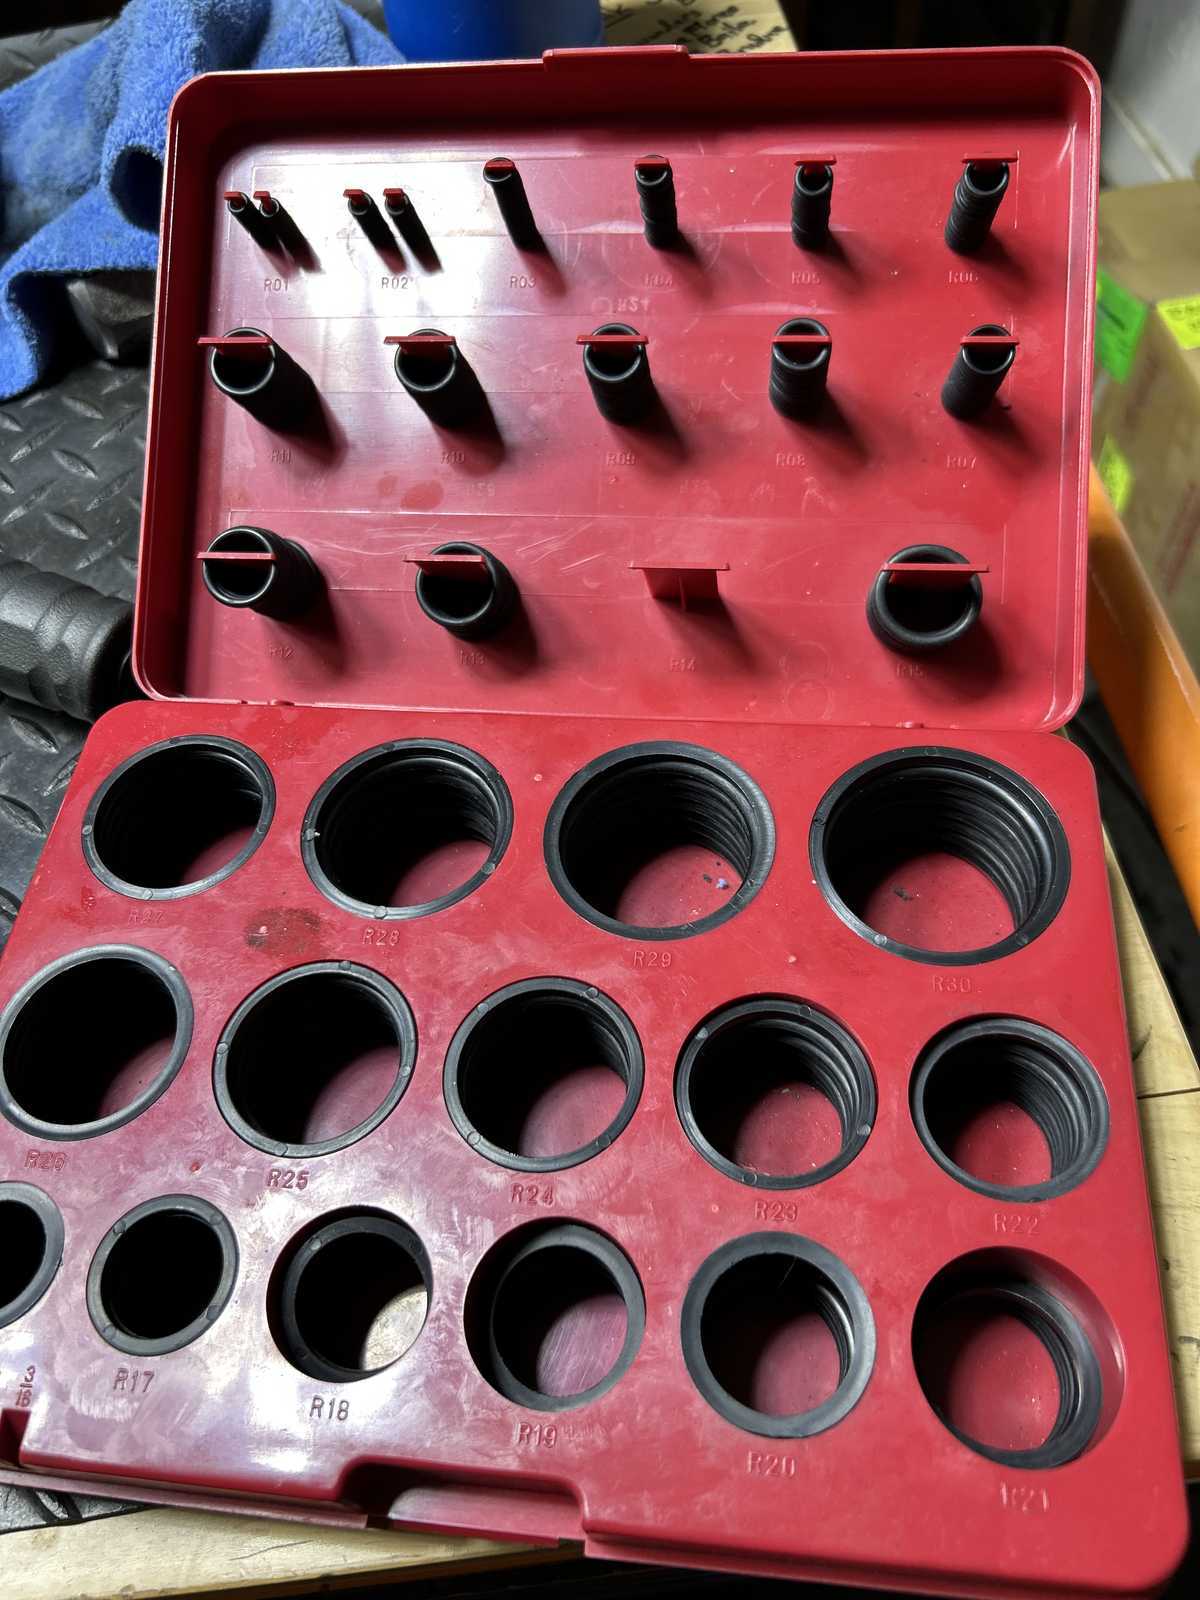
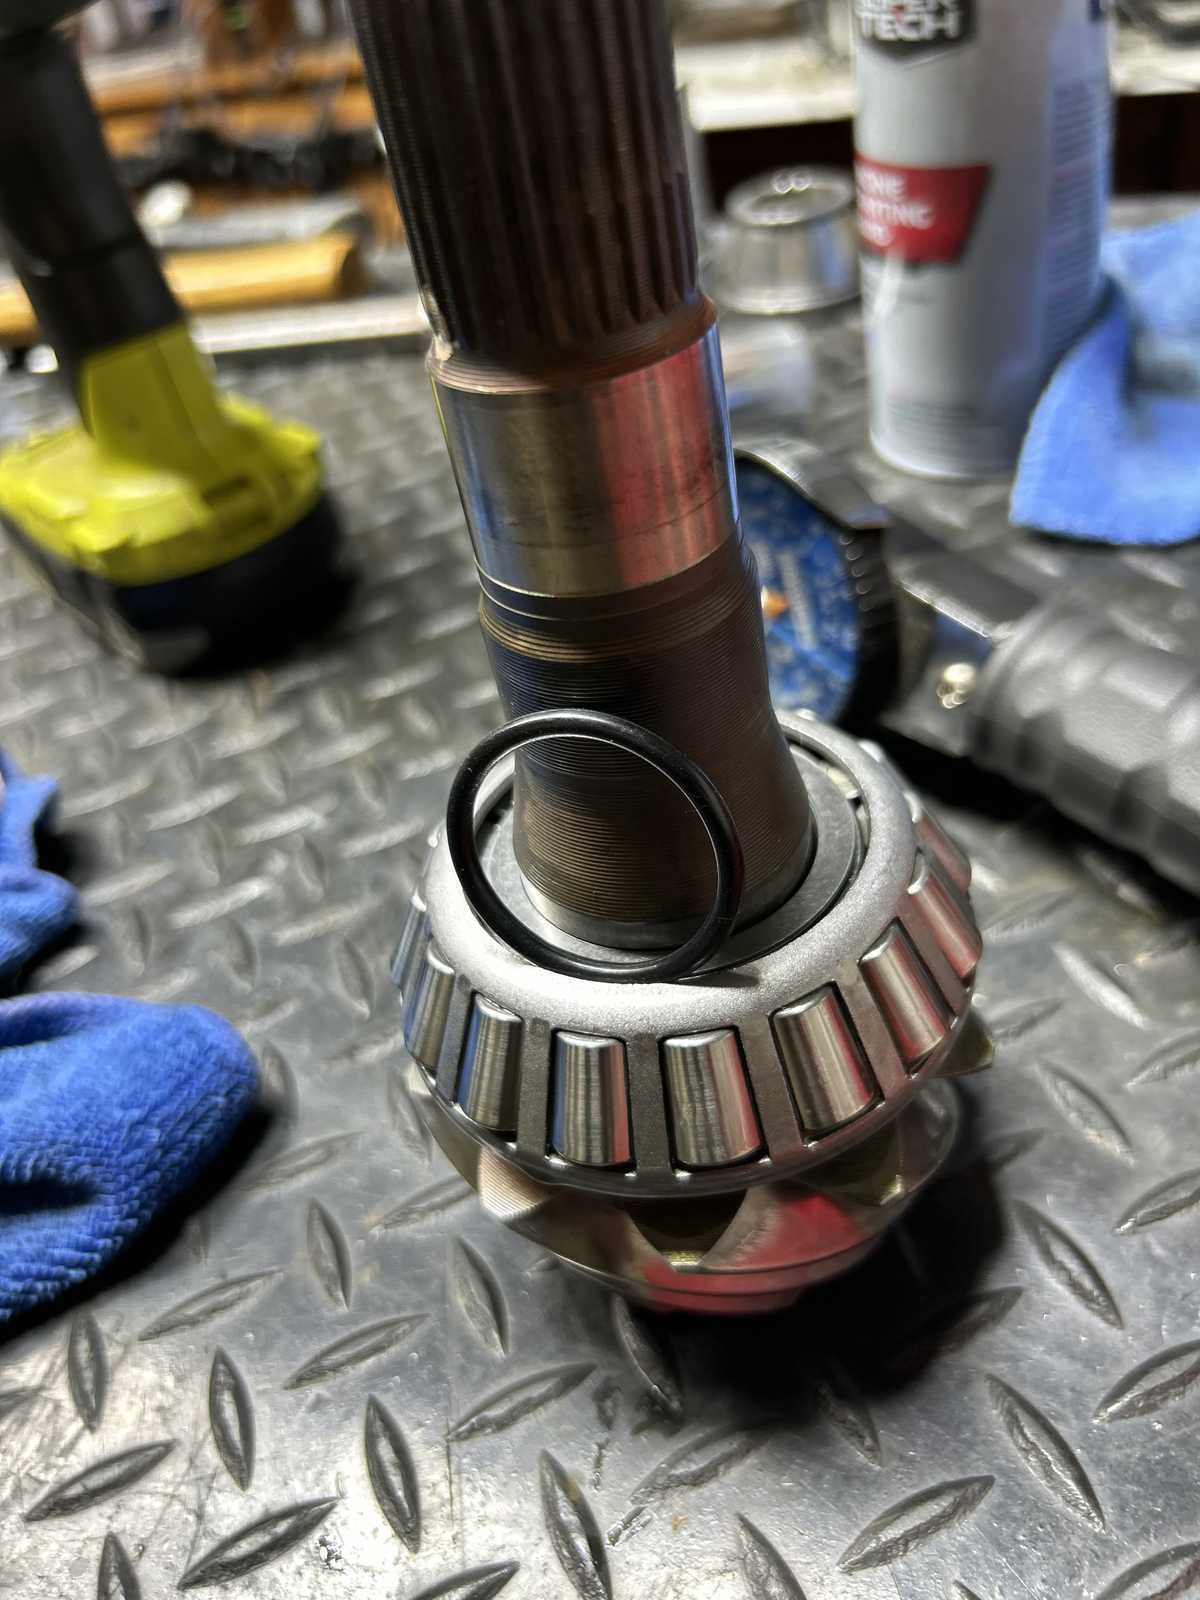
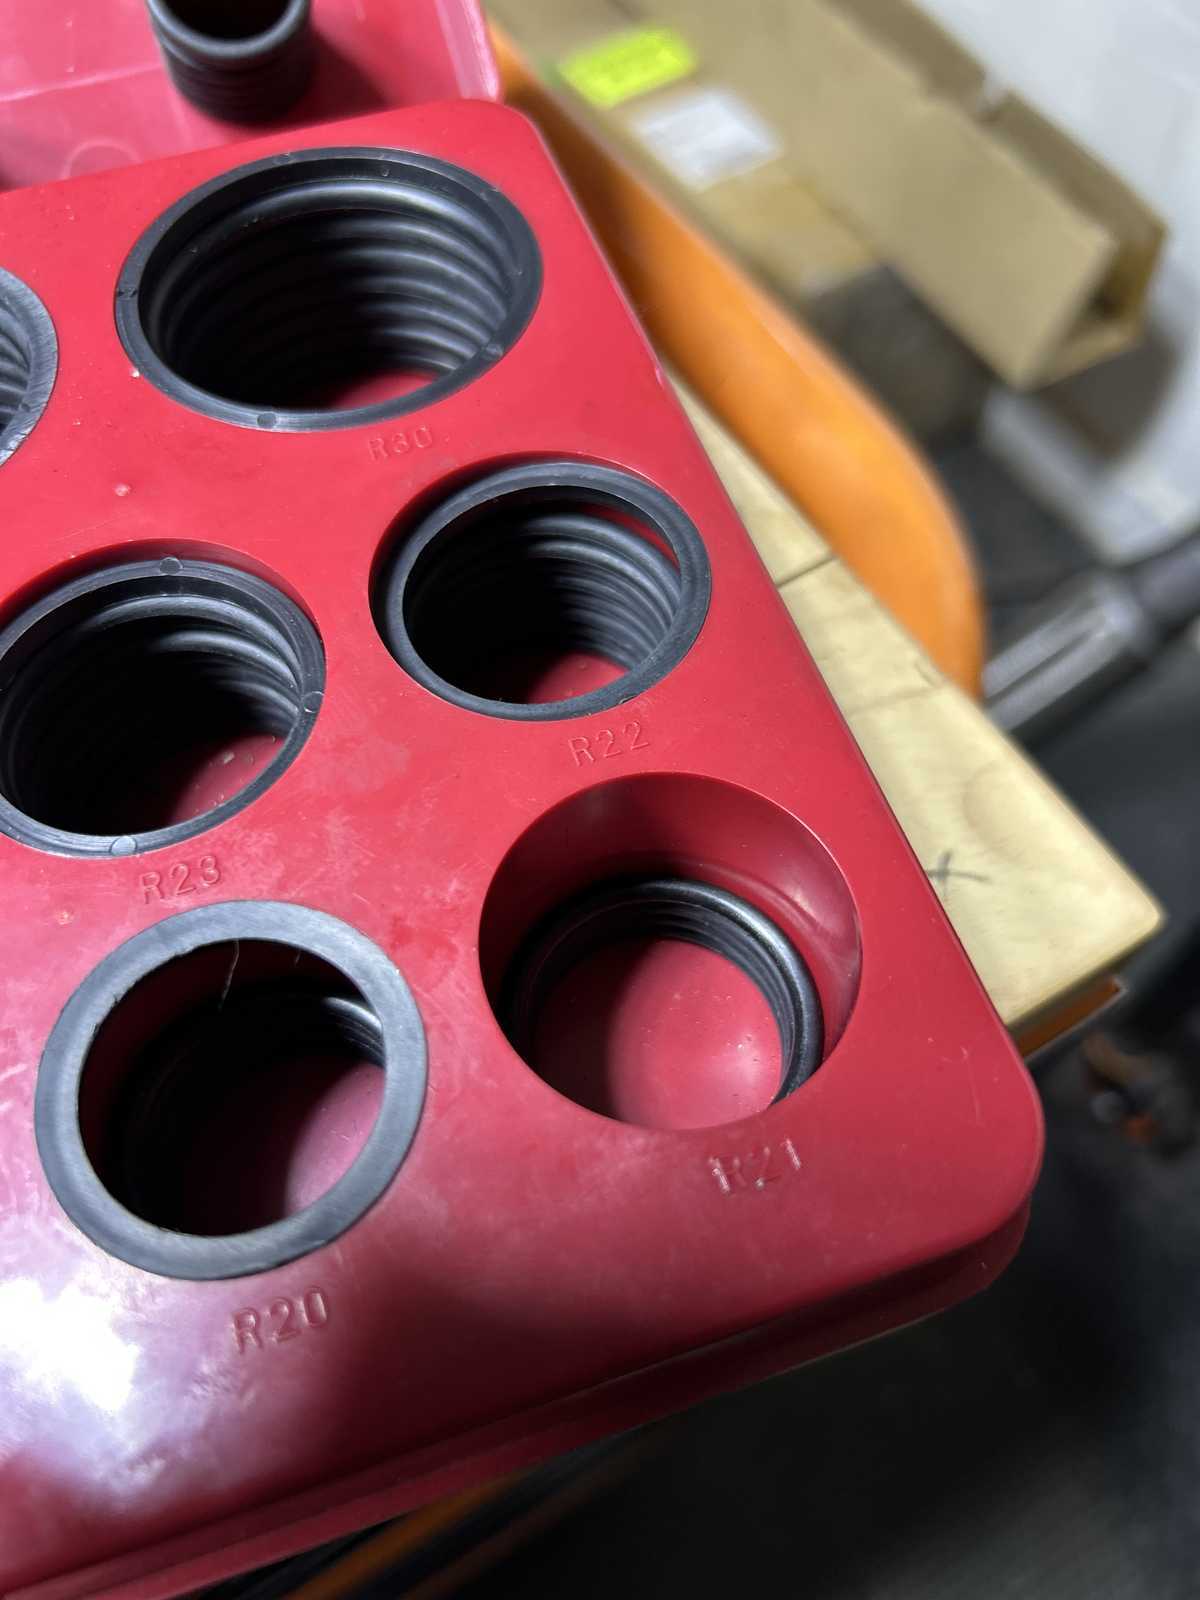
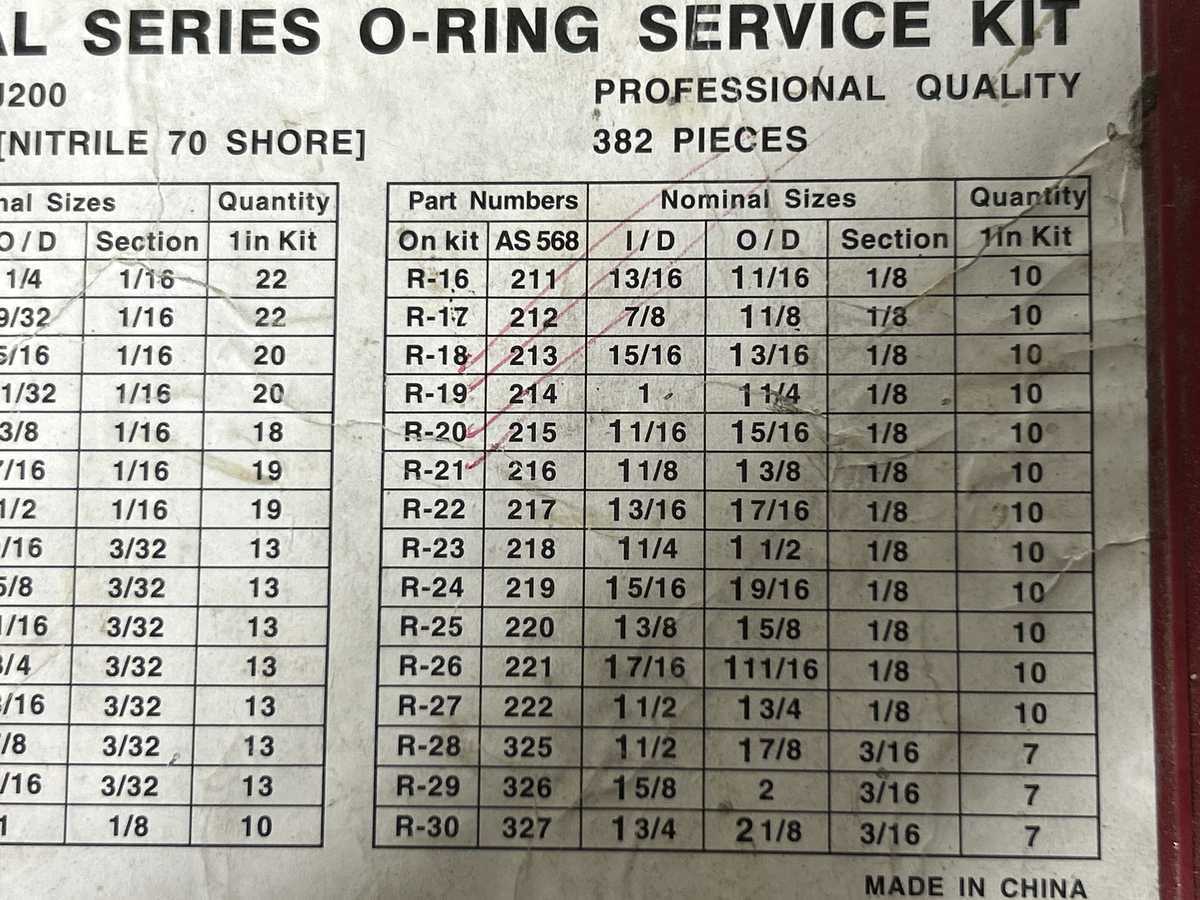
So with a wobbly fitting solid collar, how do you keep it centered during the installation process? I have found that a proper fitting fat o-ring will keep the collat centered. Size # R20 or R21 does the trick. |
|
|
It might still be an o-ring 20 years later but I don't care even if it disintegrates over time... just need it to stay centered during the installation and the o-ring let's that happen. |
|
| It's in place.... |
|
| ...and the collar slips down and bottoms out nicely and there is ZERO sideplay. :) |
|
|
Again, R20 or R21 is good. A small amount of play(wobble) is ok so some of the o-rings would suffice. |
|
|
I purchased this "professional service kit" from good ole Harbor Freight $10.99 at the time of this link. |
|
|
So, after one or two resets of the solid collar shim, the PPL felt "light". The cordless impact was only set to "medium power". |
|
|
Measuring 5 in/lb on well oiled pinion bearings on medium power tells me that switching to high power would get me 10 to 13 inch/pounds of final PPL. |
|
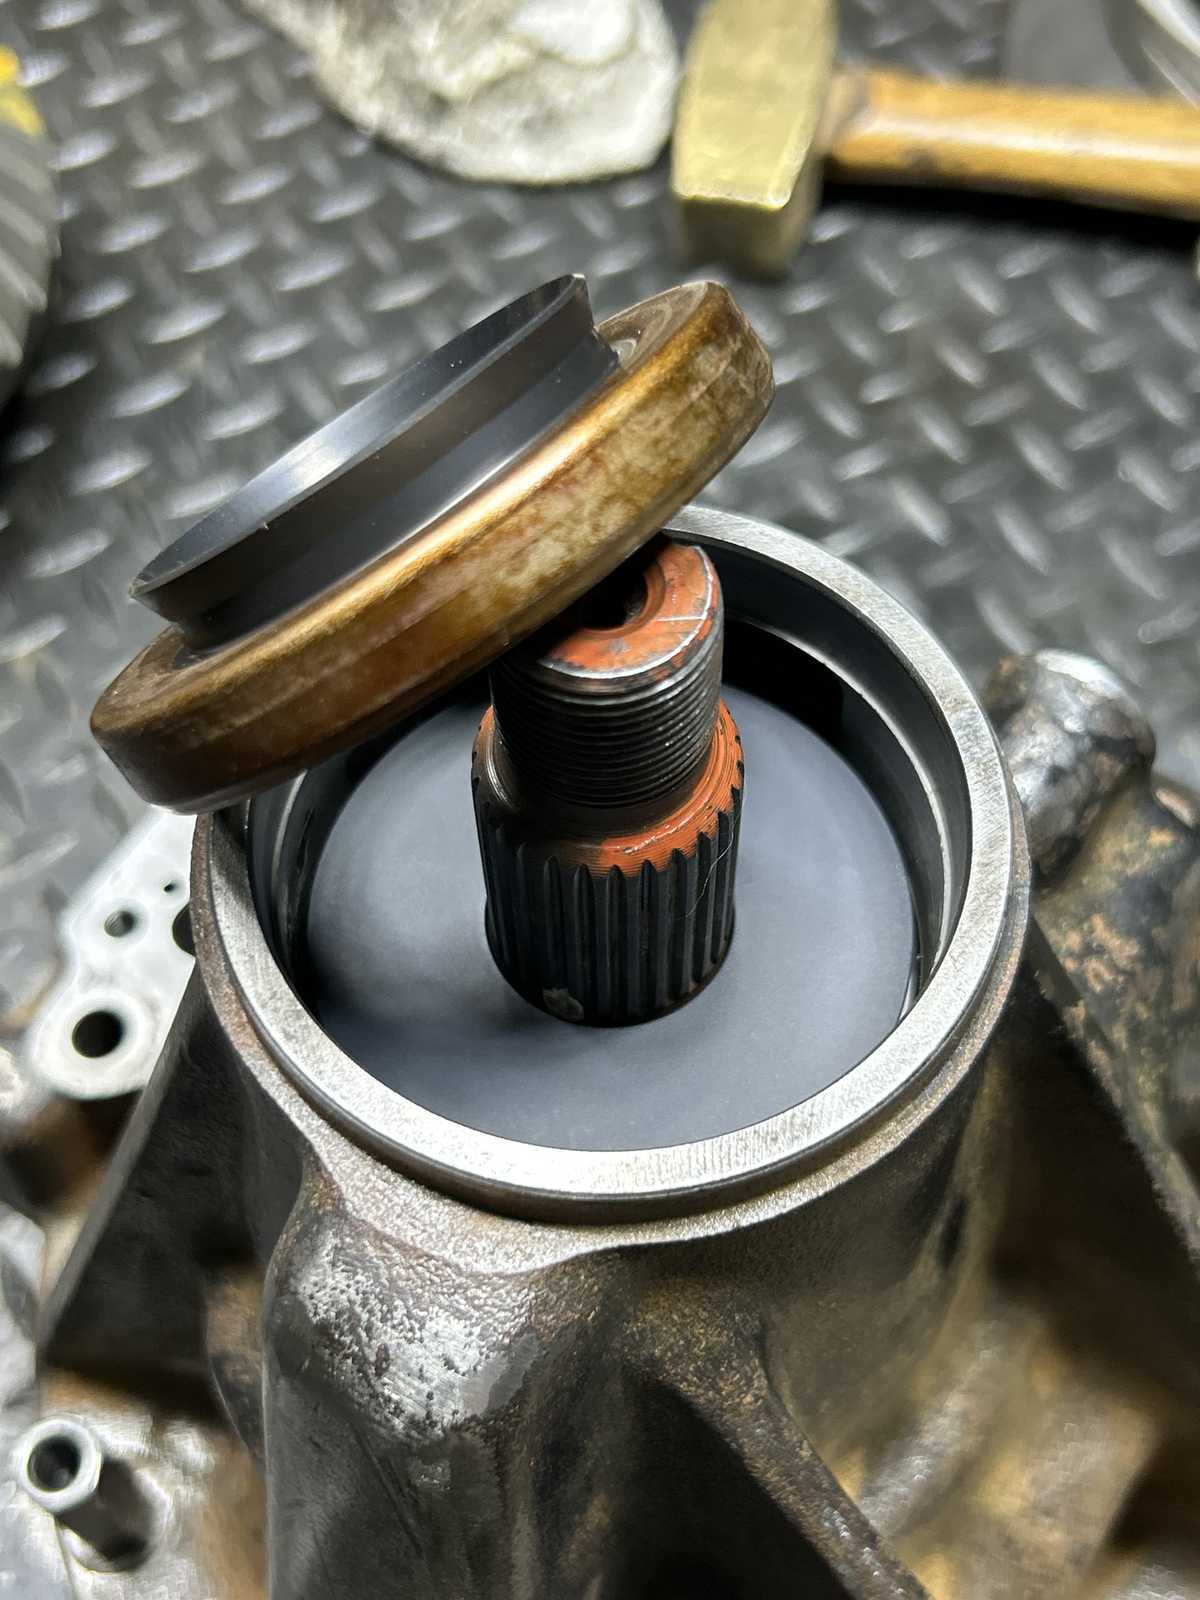
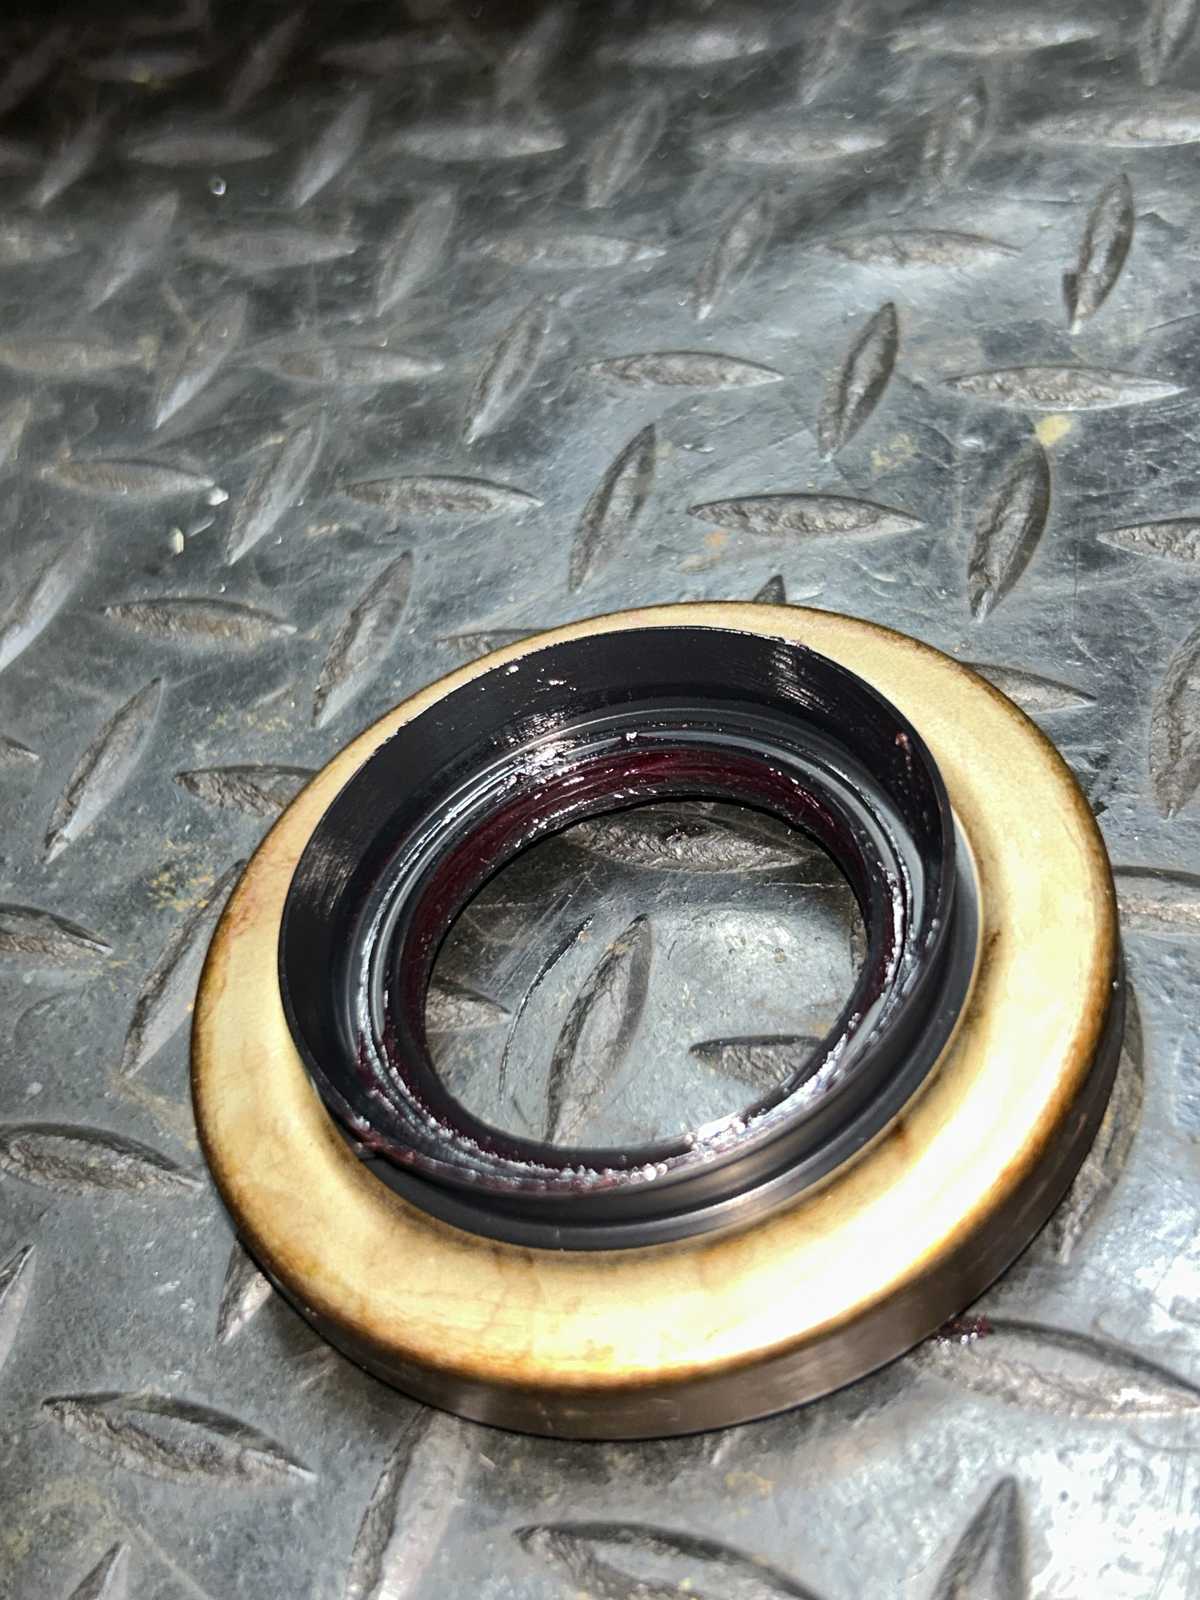
| The seal can now installed. |
|
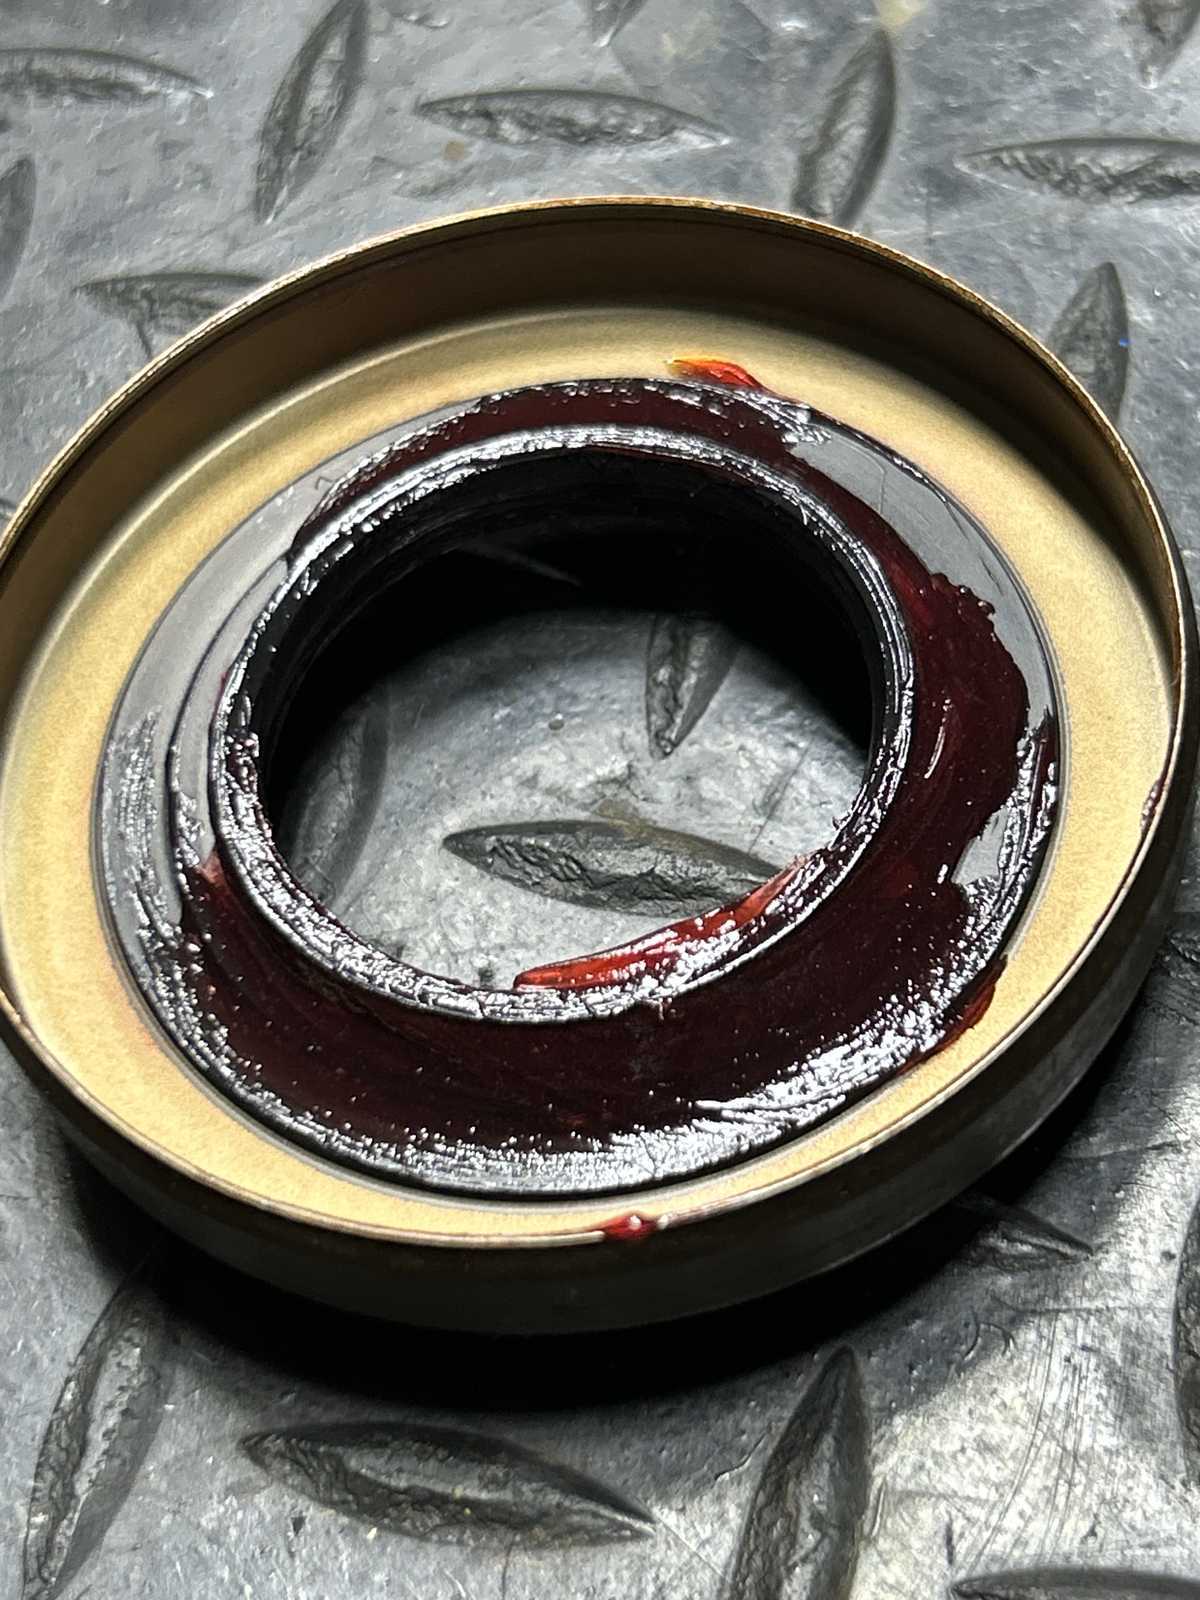
| Grease on the underside to keep the garter spring from popping off. |
|
| Grease on the top side to prevent a dry startup. |
|
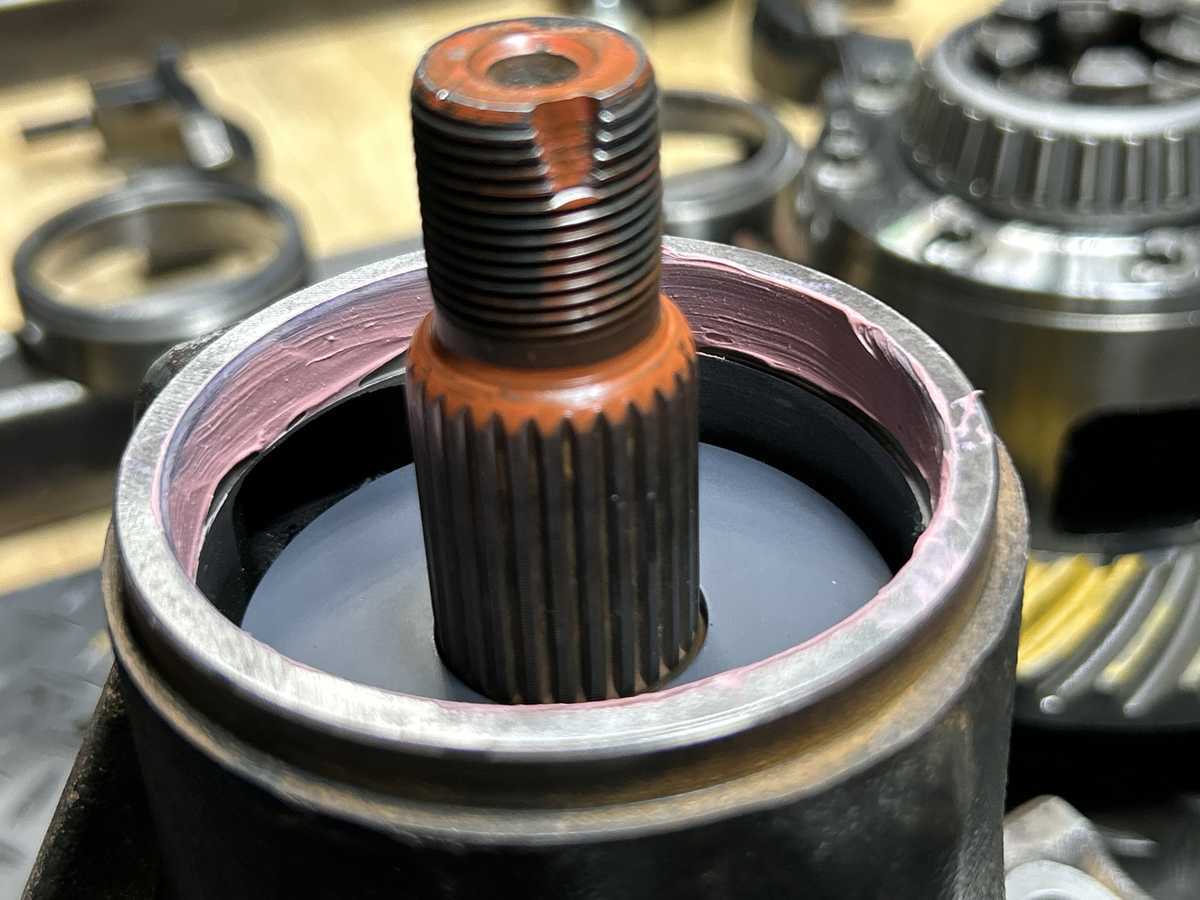
| Sealant here. |
|
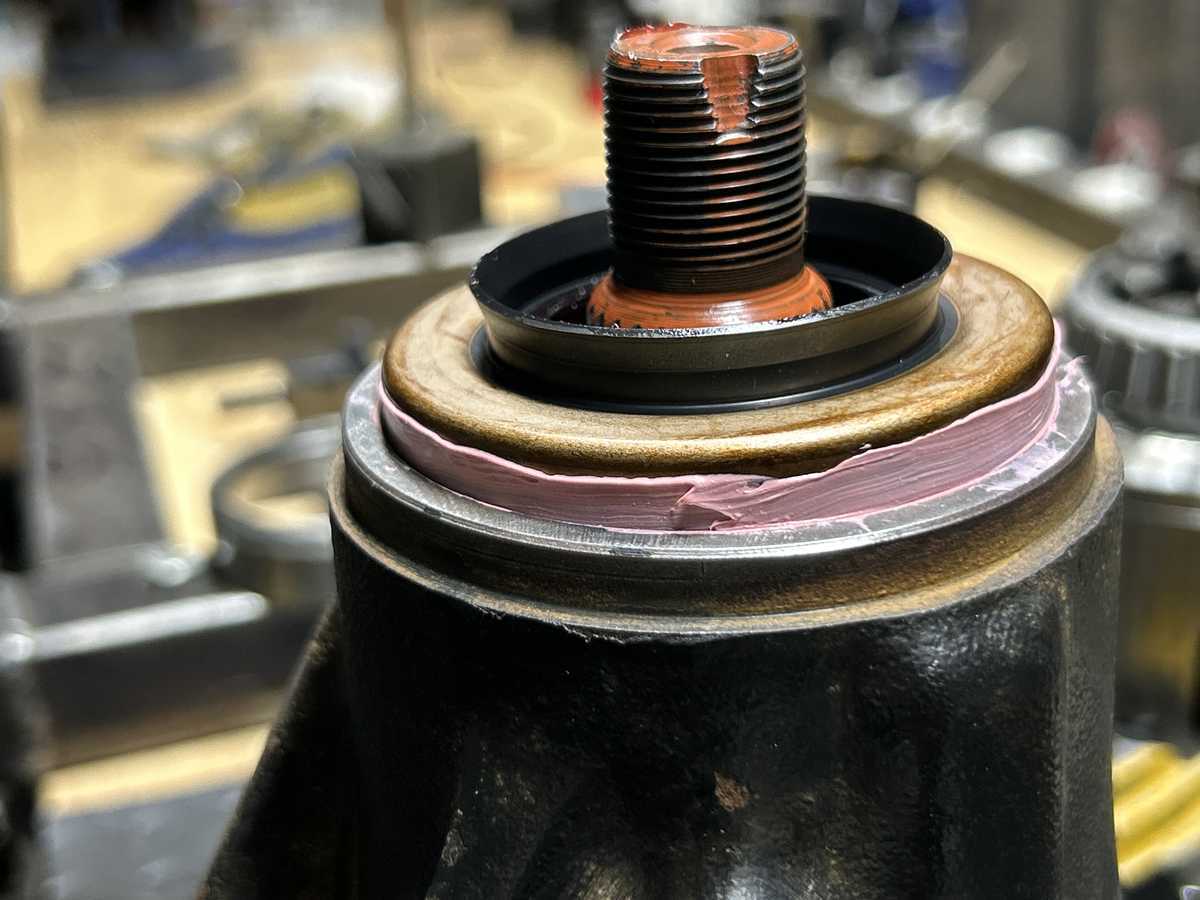
| And sealant on the seal's outside to be sure. |
|
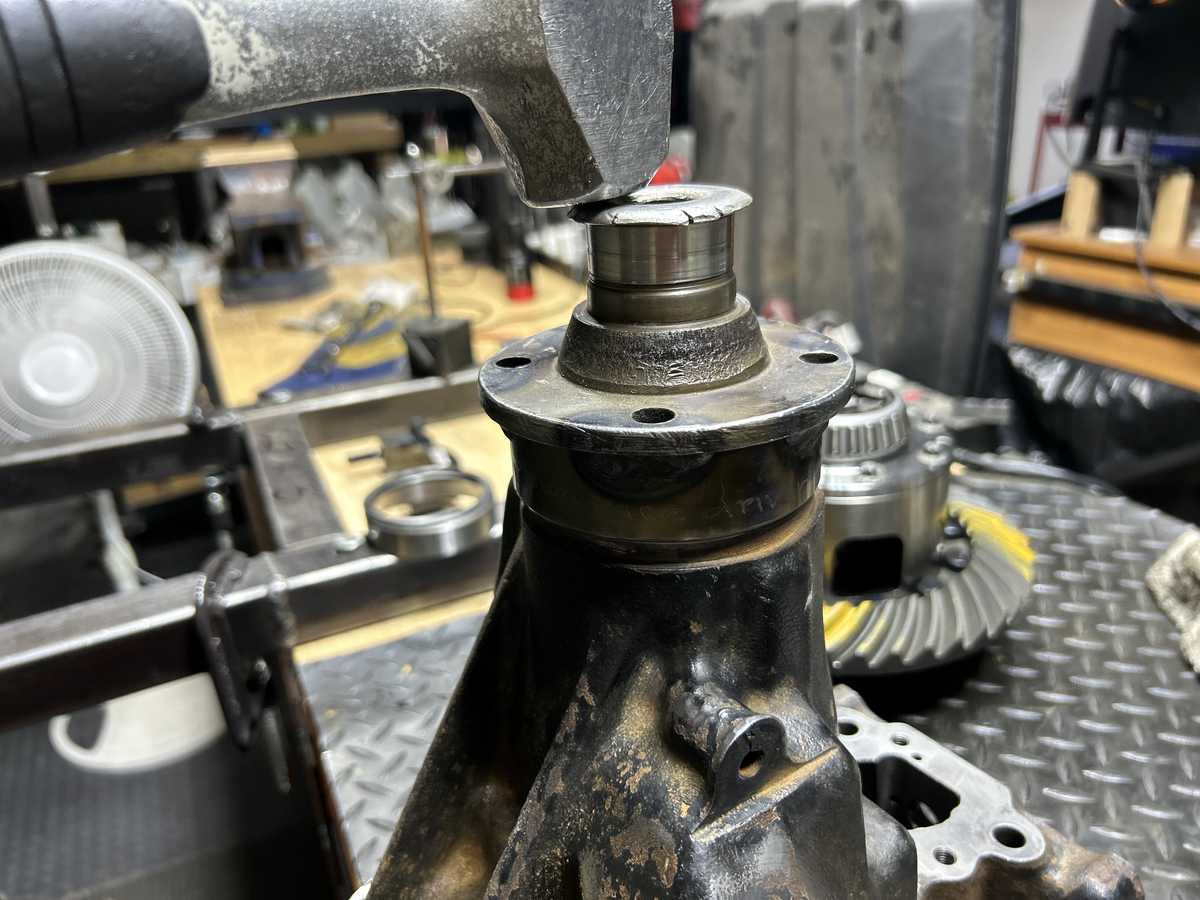
| Tap tap. |
|
| Seal has been recessed 2mm. |
|
|
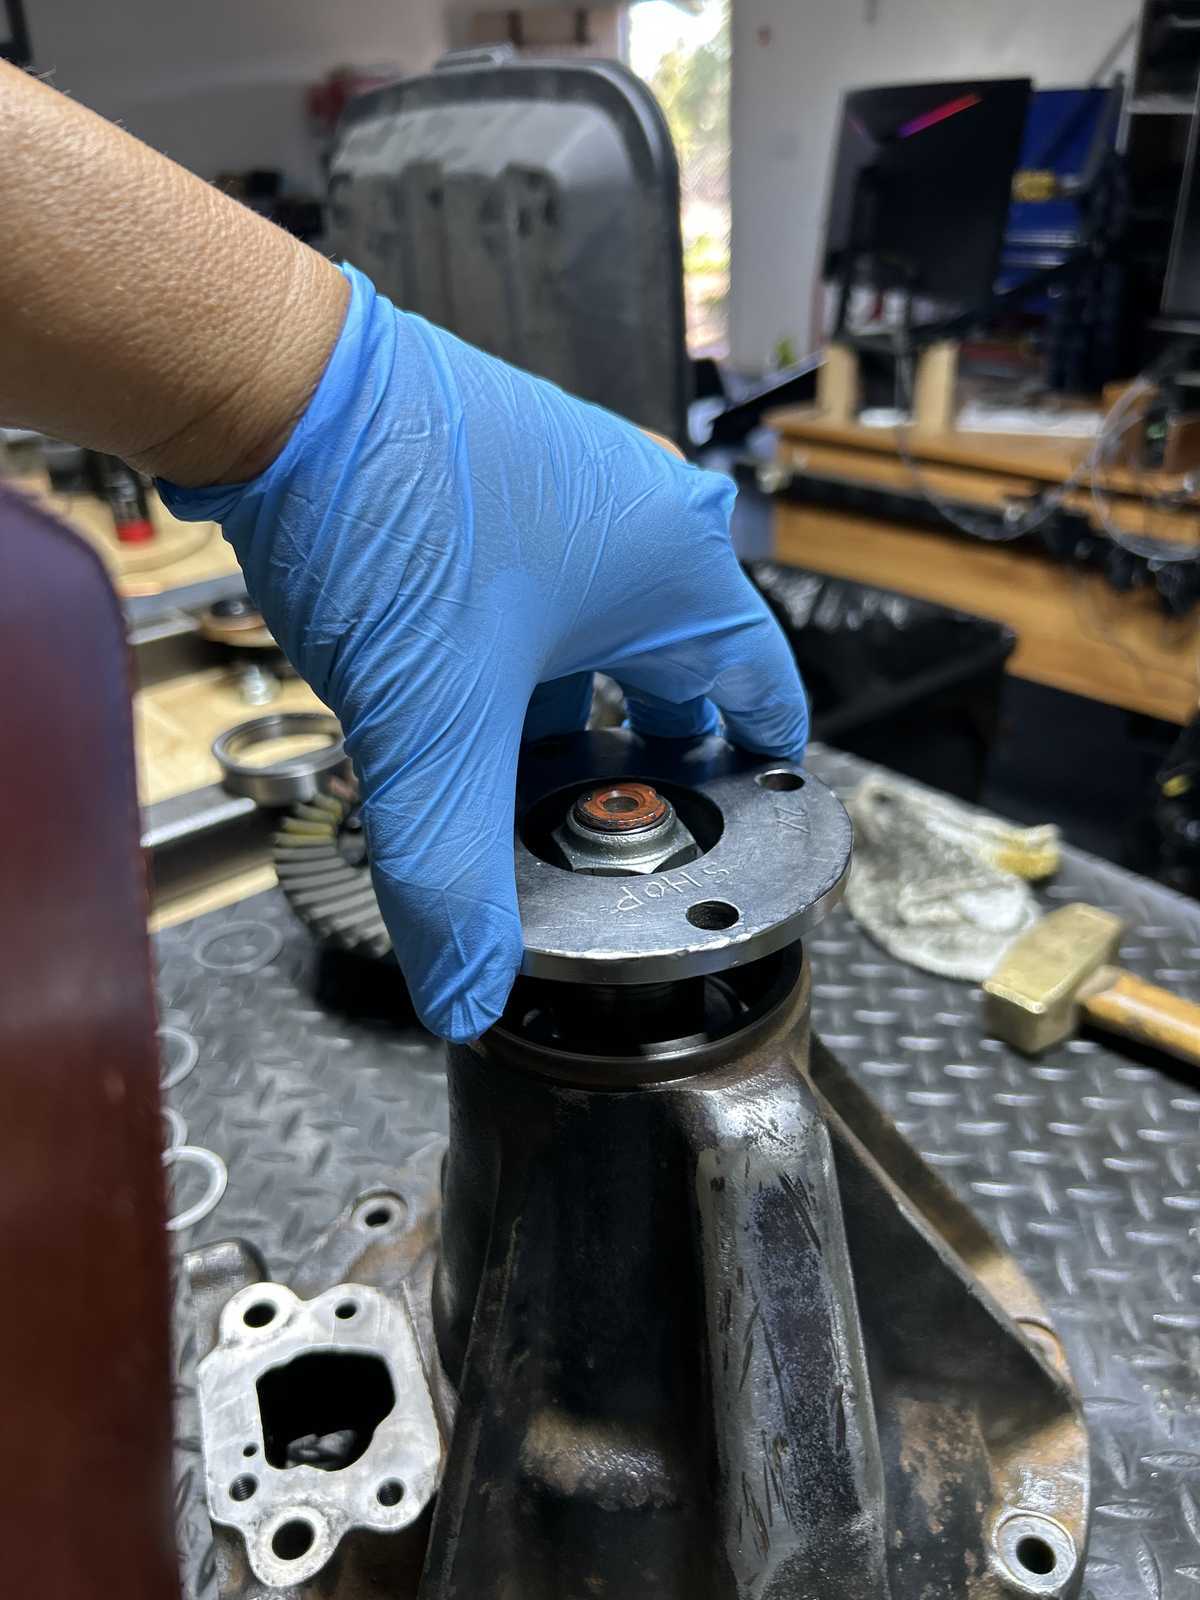
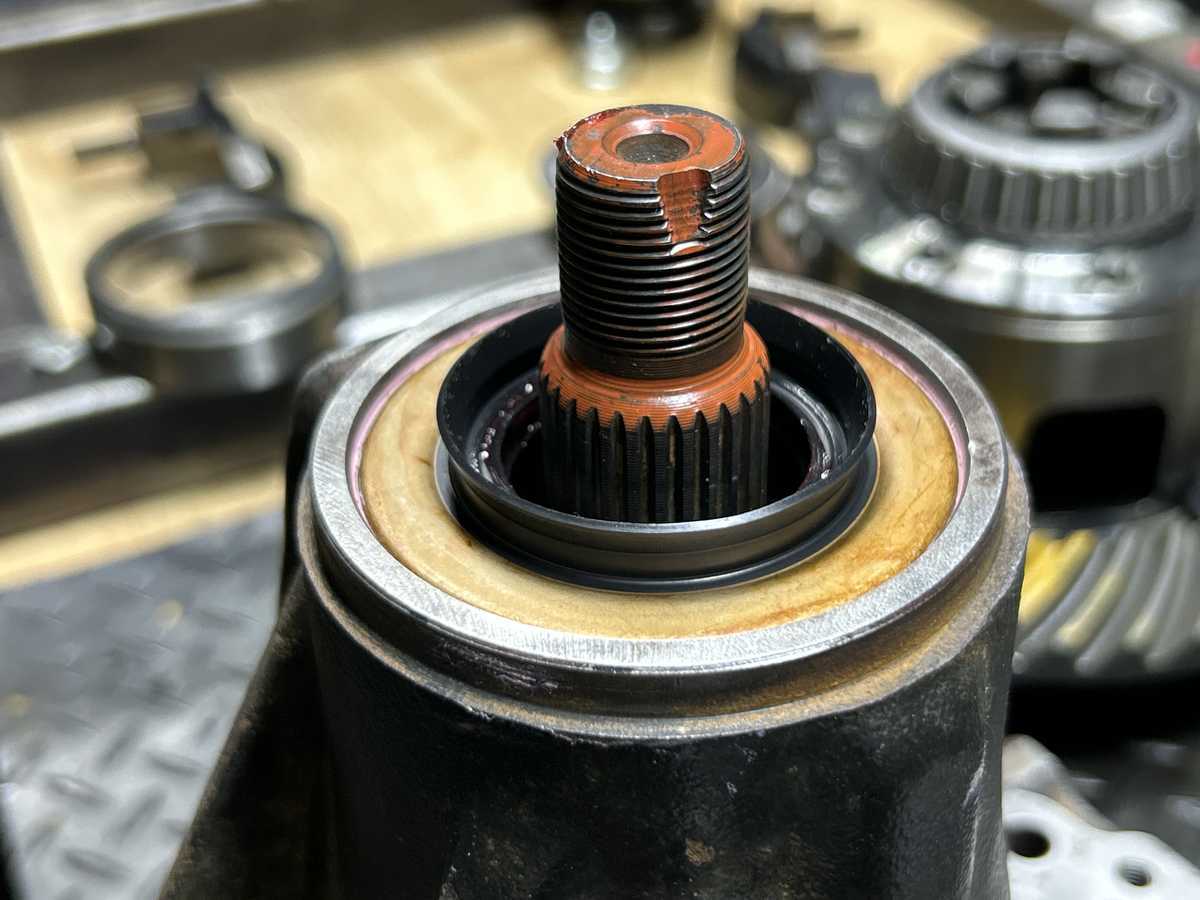
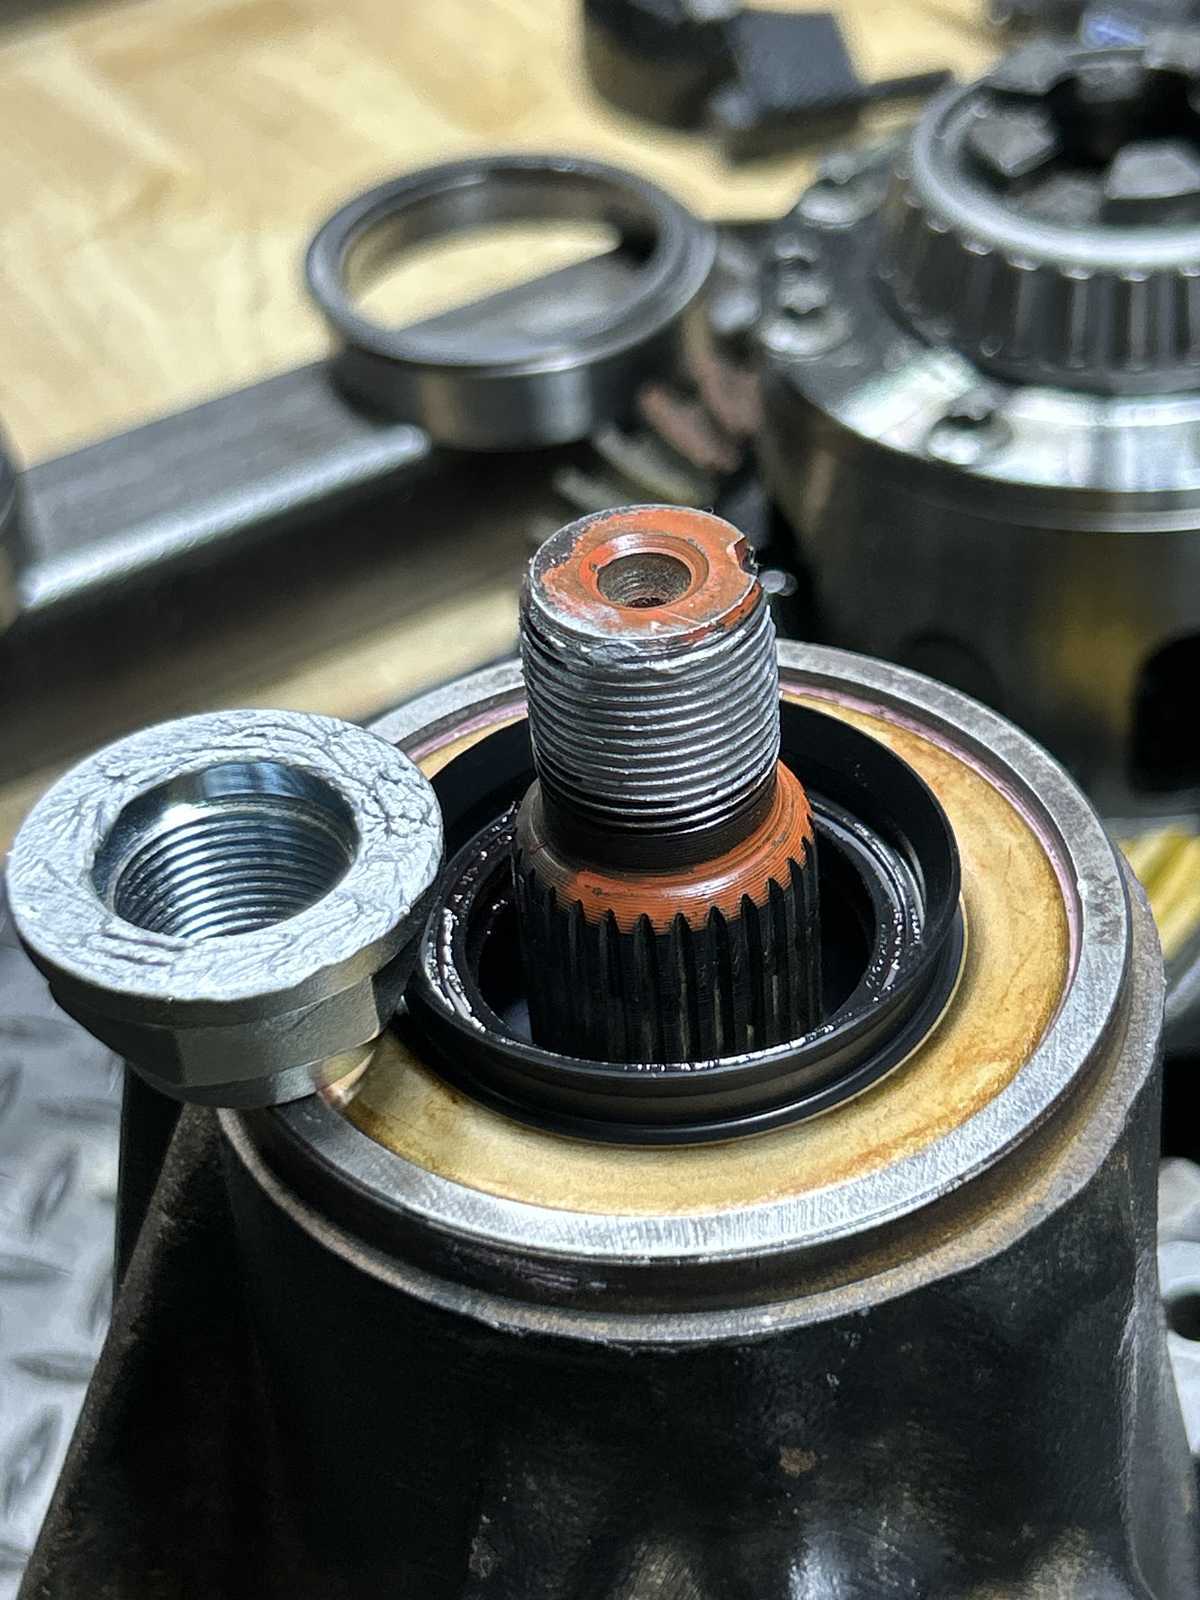
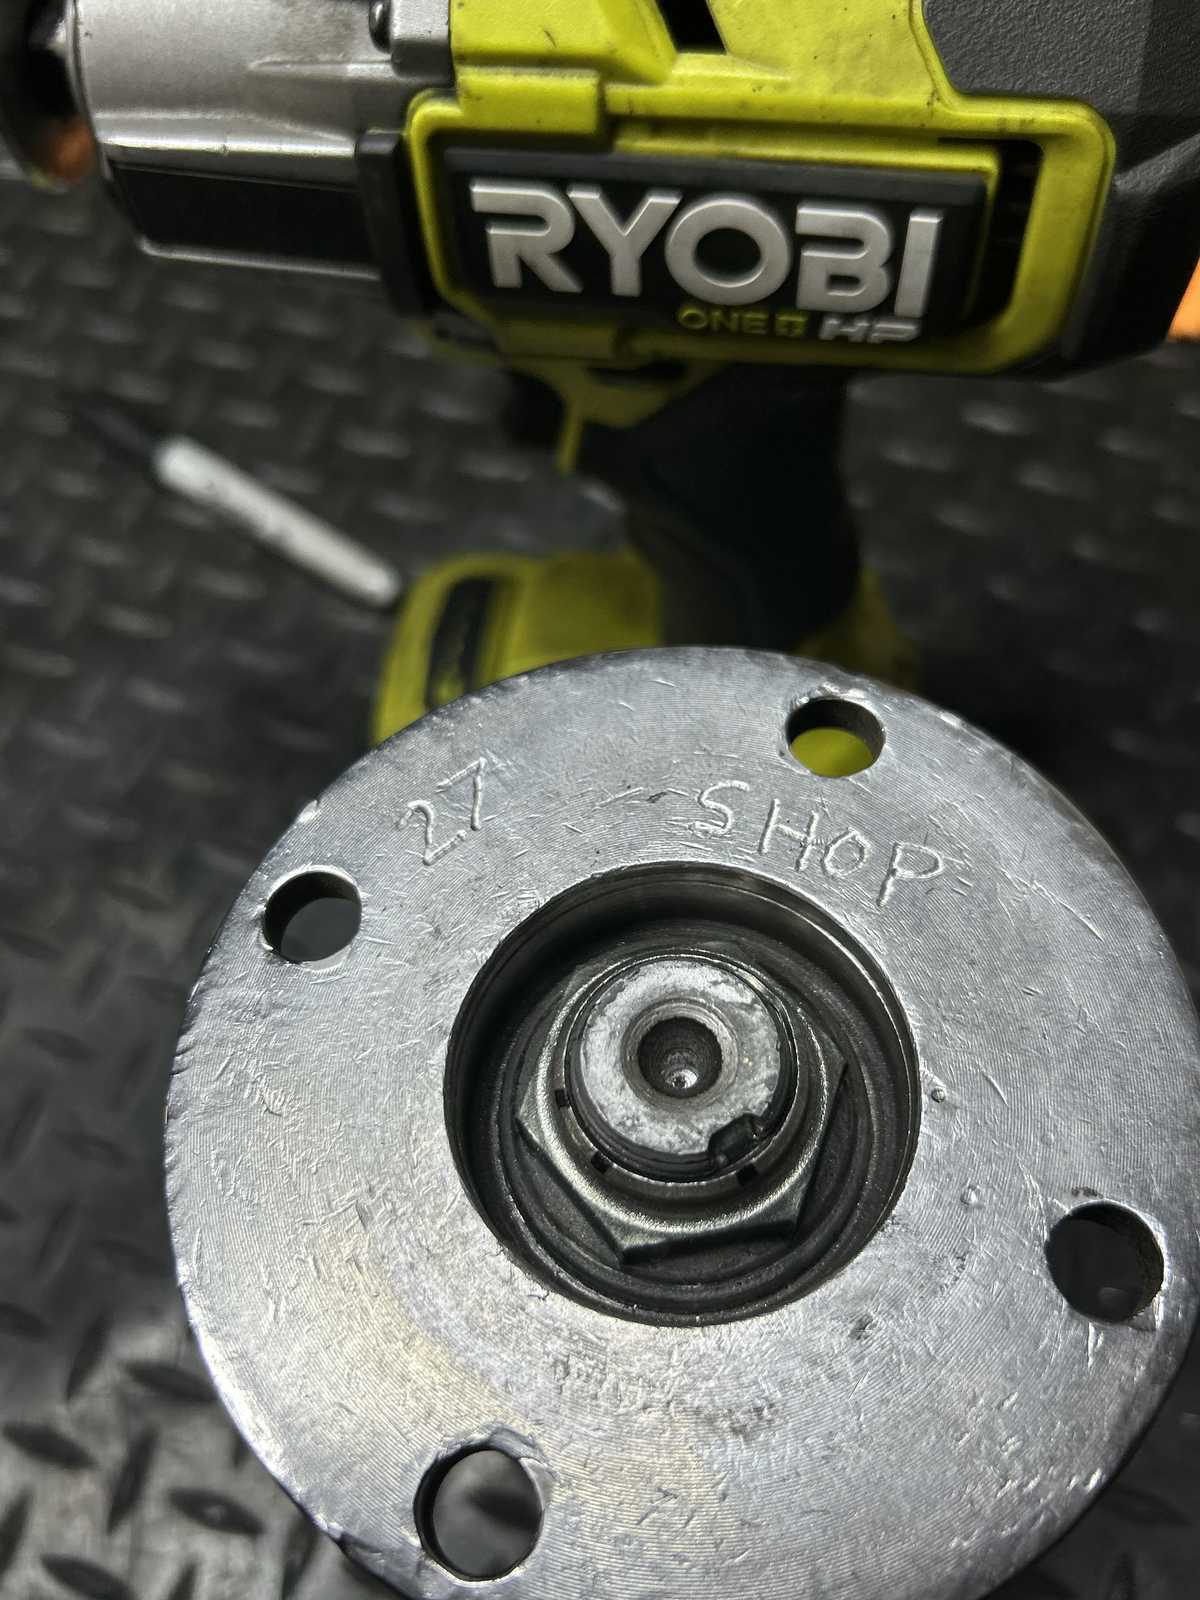
Anti-seize on the nut and threads as shown here....put the new flange on and thread the nut on... tighten it up using setting #3 which is high power on the cordless impact and a nice 13 inch/pounds should be reached right?........wrong! |
|
|
The PPL way way overshot and was closer to 30 in/lb.....and after some cussing and swearing it was found that the solid collar was not so solid and had actually crushed and deformed... it now was measuring almost .004" shorter than when I started. That's not supposed to happen to collars.... |
|
|
So long story short, I used one of my own solid collars and banged the nut on very tight and got the desired 13 inch/pounds. |
|
| Ding the nut and this side is finally done. :) |
|
|
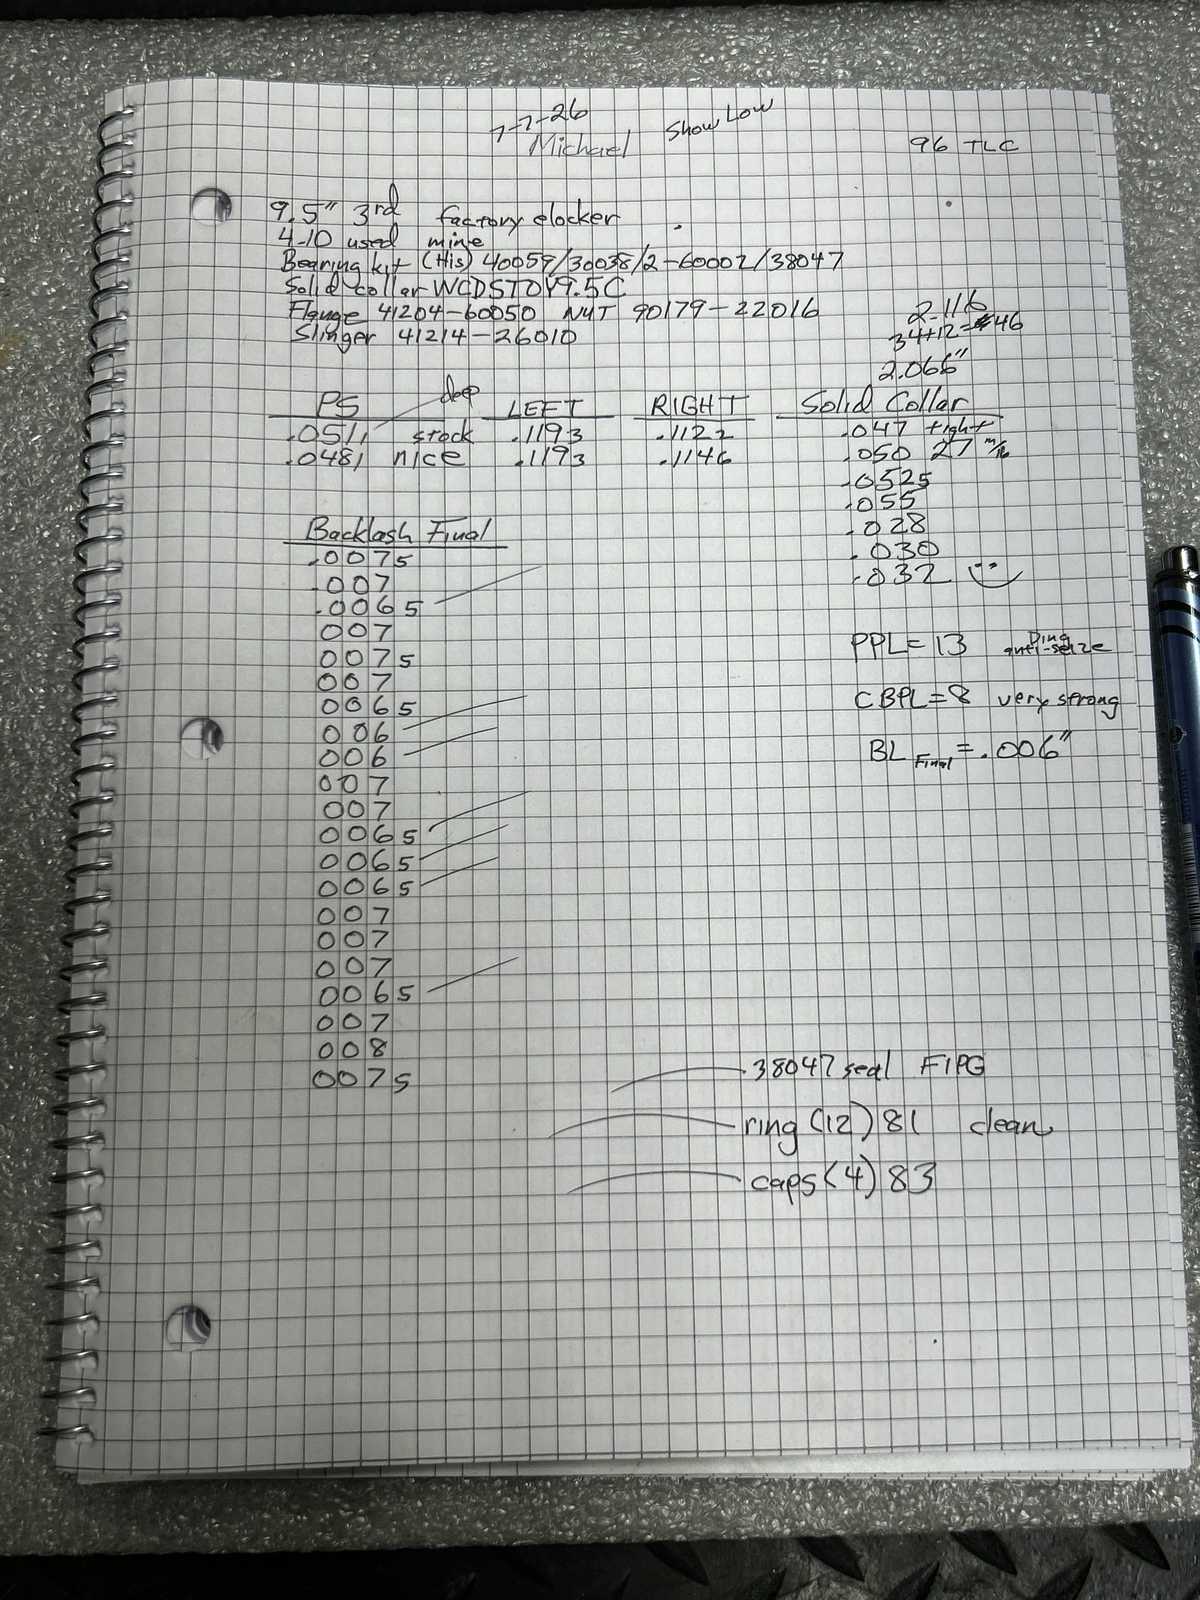
Increased the washer plate thickness by .0024" ....that adds even more CBPL but I also wanted to keep the backlash from getting too large. Increasing .0024" on this side has the effect of reducing BL by about .001". |
|
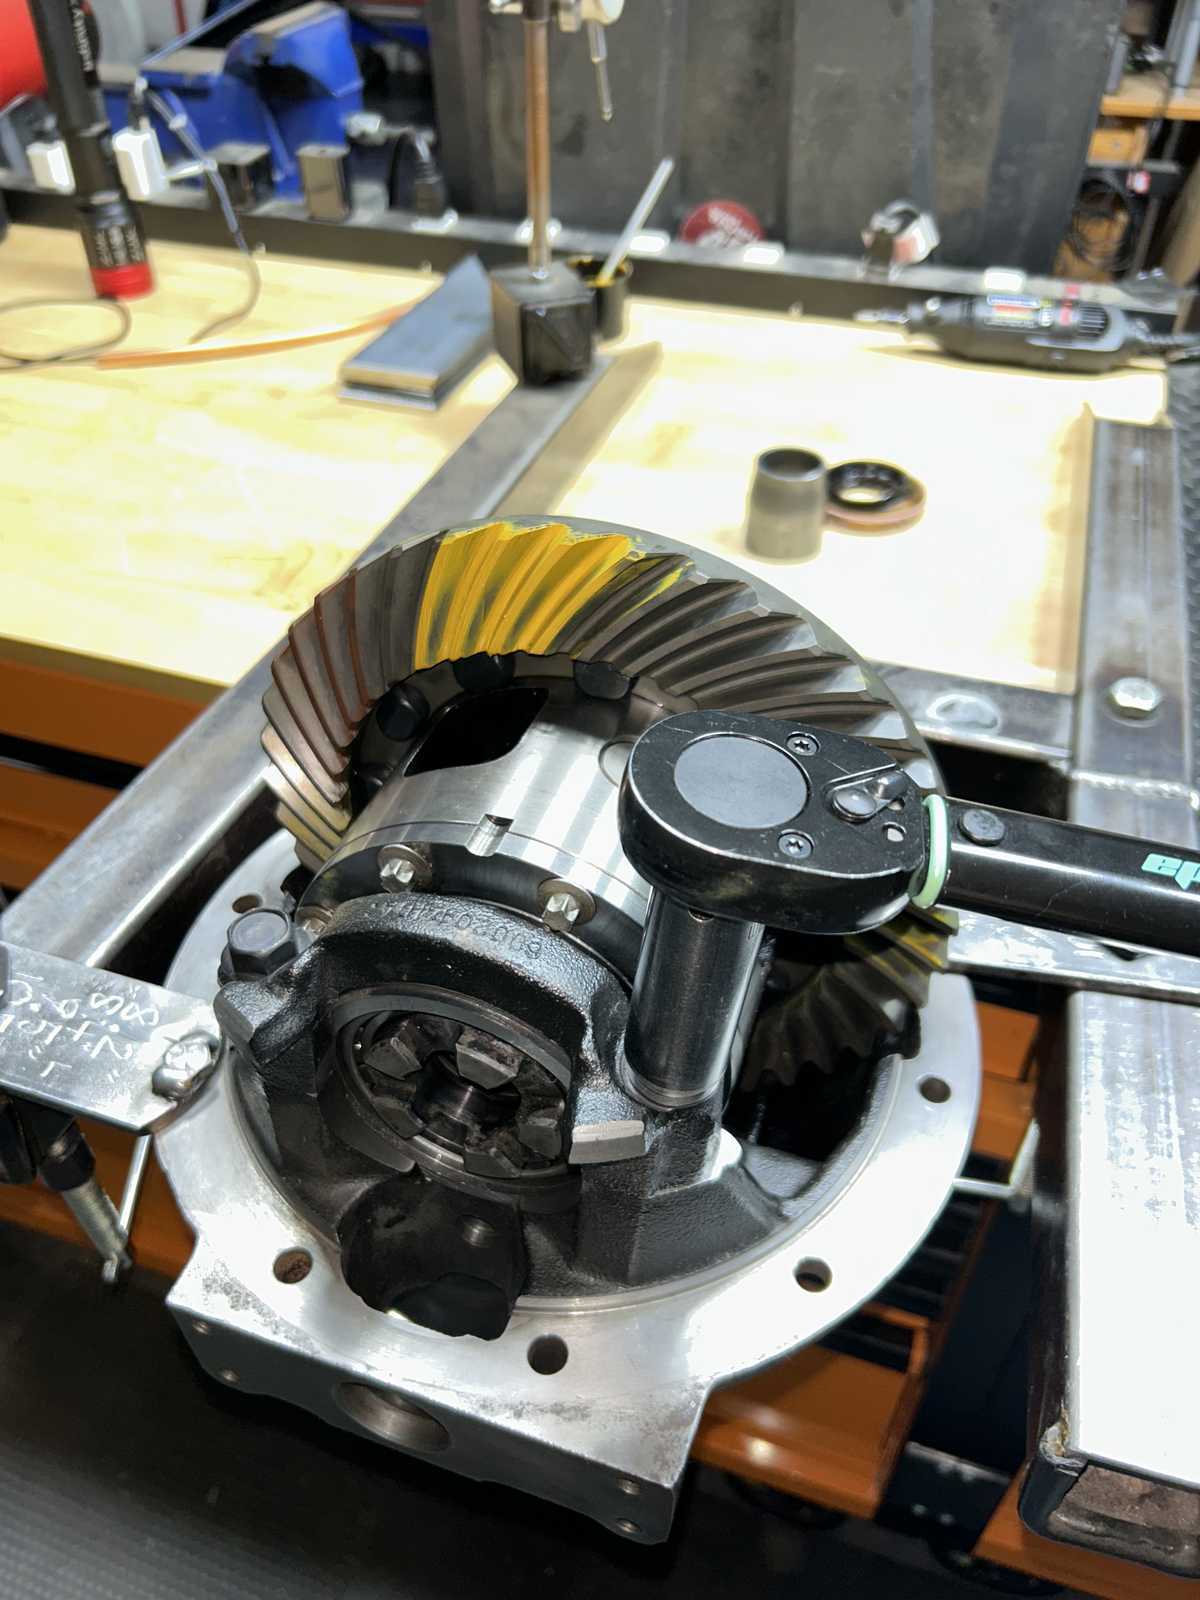
| Bearing caps set at 83 ft/lb. |
|
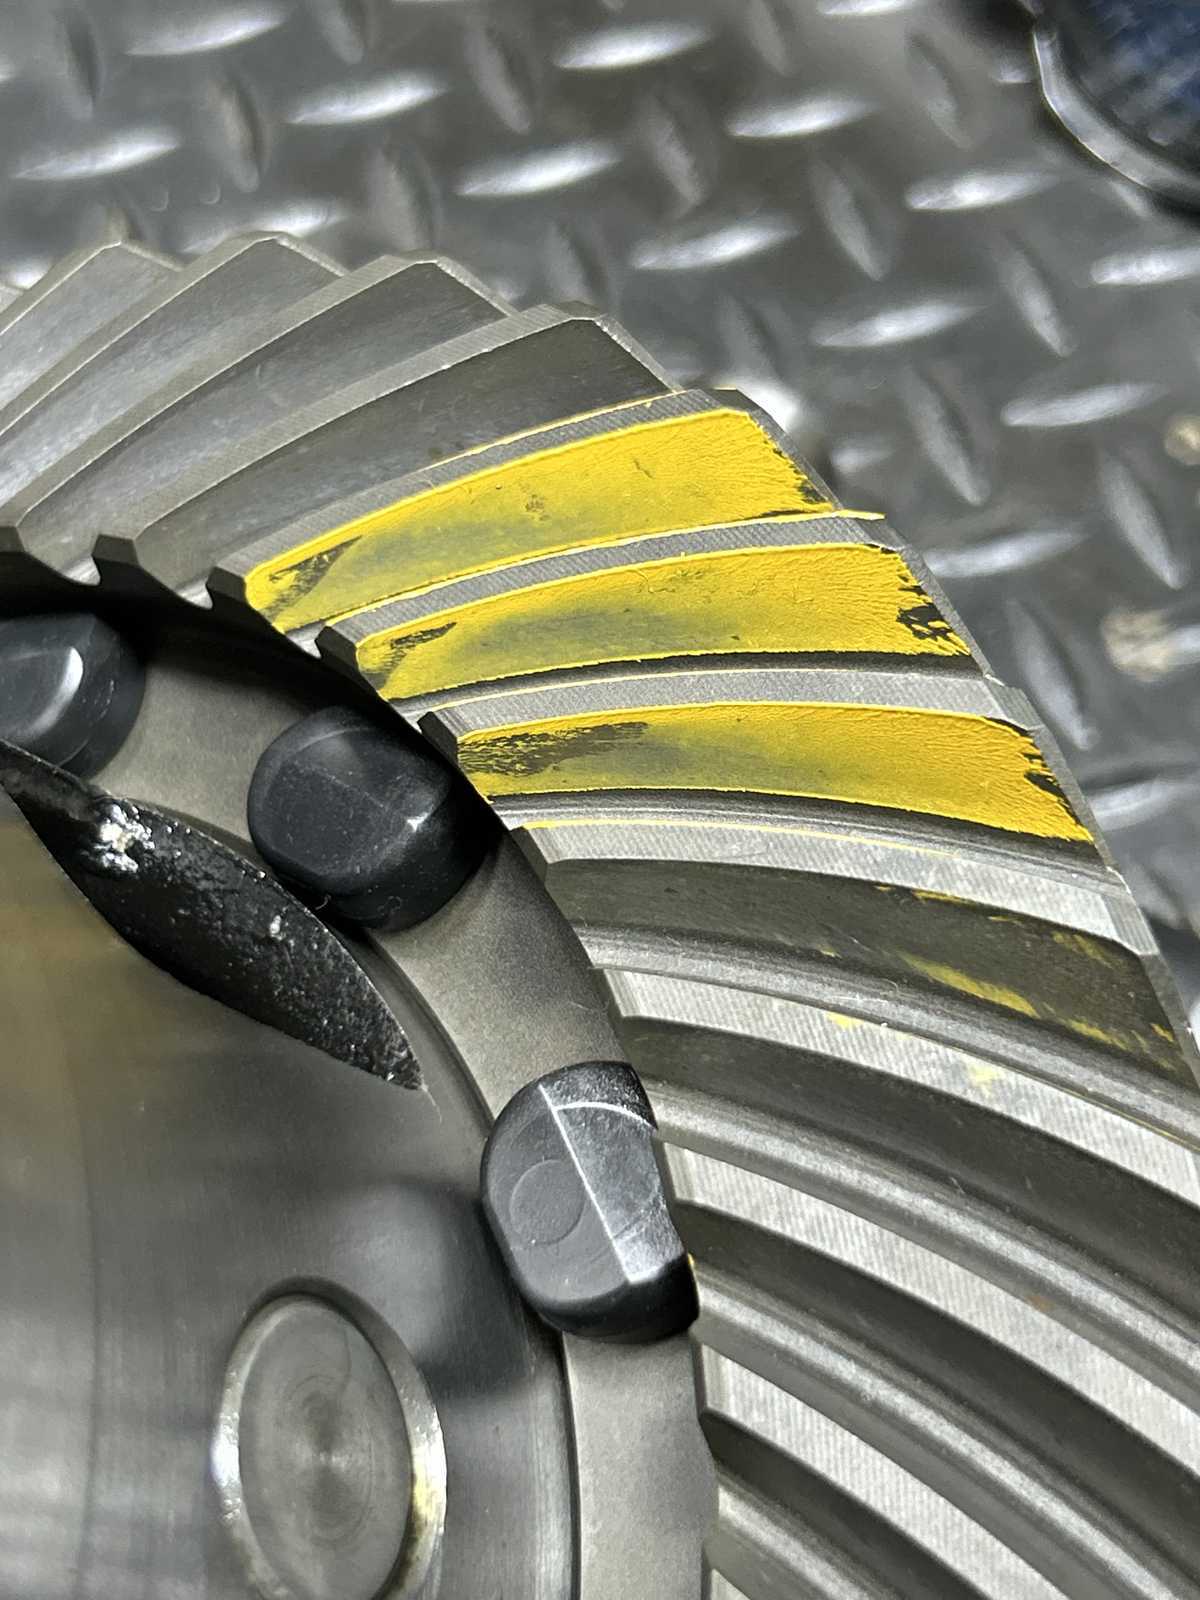
| Final check......drive is very good. |
|
| Reverse painted drive agrees. |
|
| Coast is good. |
|
| Reverse painted coast agrees. |
|
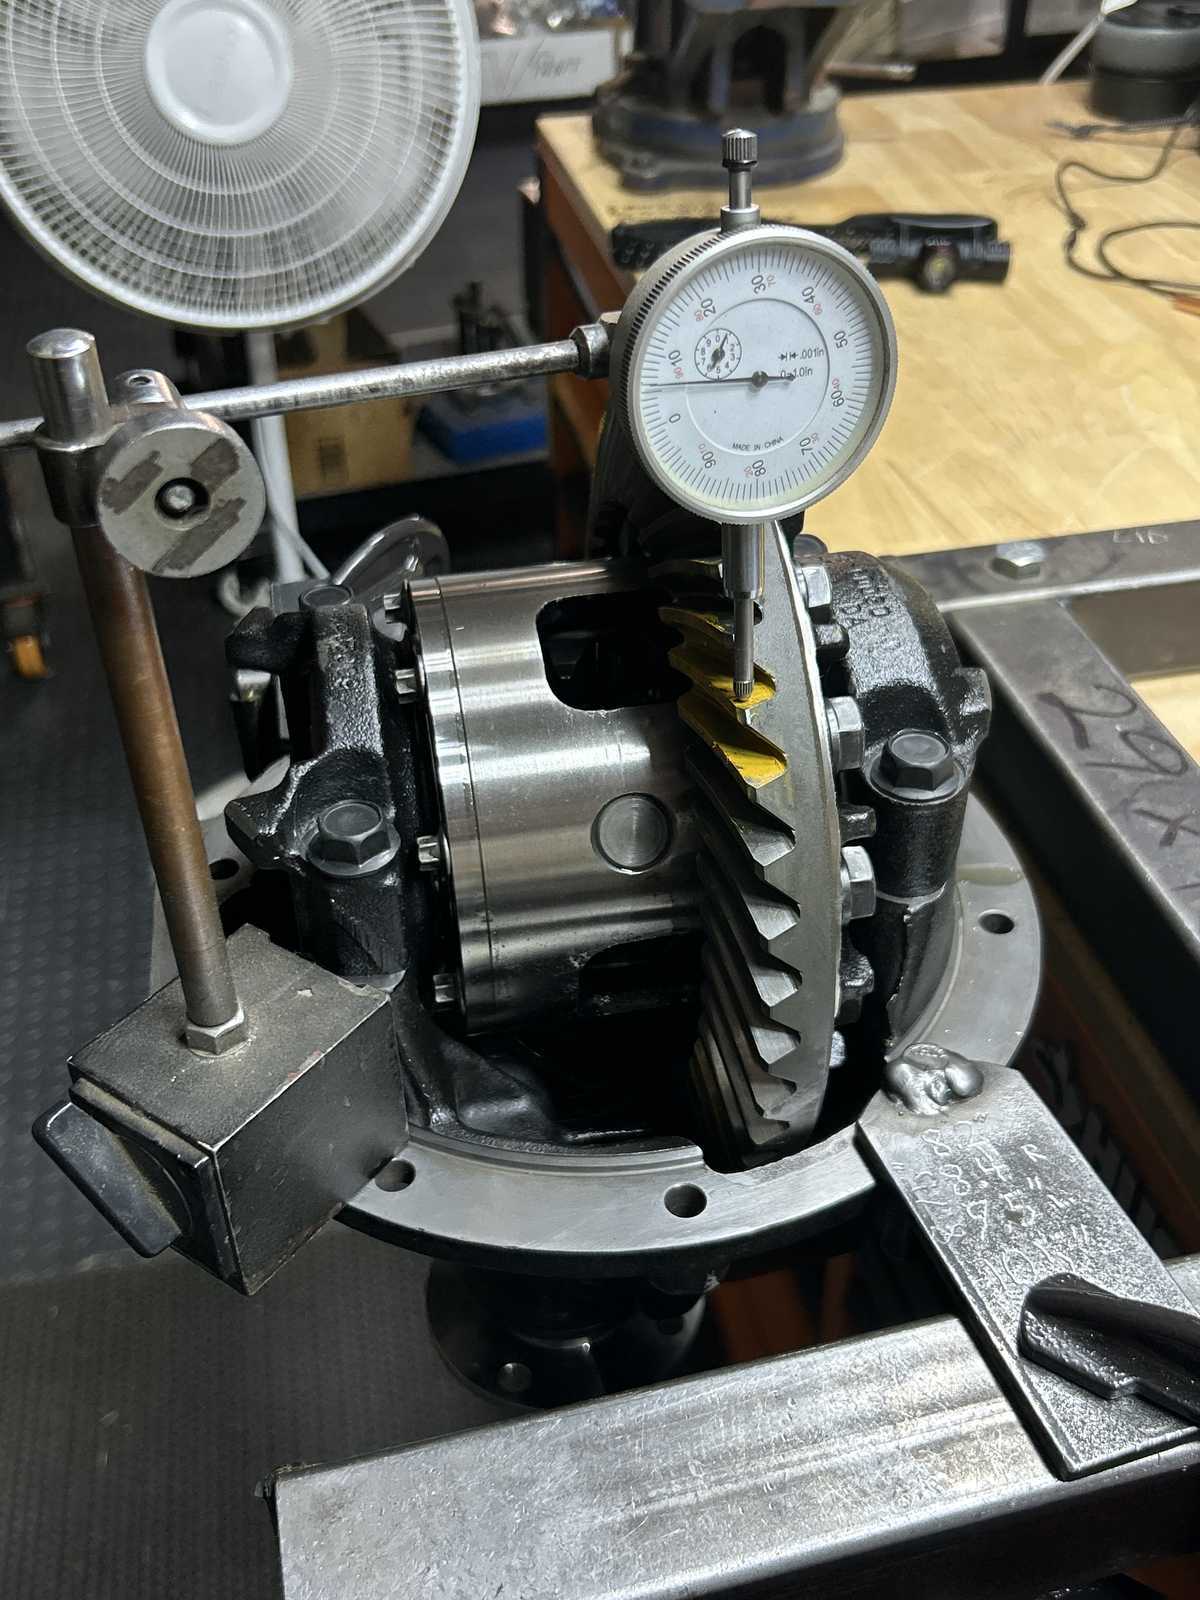
| Backlash checked and recorded on every other tooth. |
|
| ................................................................................... |
|
| Final notes of the install |
|
|
I could not believe that my little cordless impact would crush a solid collar so I ran another test...using the old pinion and old bearings, I set the Marlin collar in the middle. |
|
| The battery was maybe at 90% at best and cranked on the nut. |
|
| Then remeasured the collar. Almost another .002" LOST!! |
|
|
This must be a quality control thing....weak soft metal? In any event, so far, the only place in the USA that has a well machined(lathed) collar for the 9.5" is CRAWLORADO.COM |
|
|