|
|
|
|
|
|
UPDATE 12-18-2008---- This link gives insight to
removal of the 3rd and Aussie install
|
|
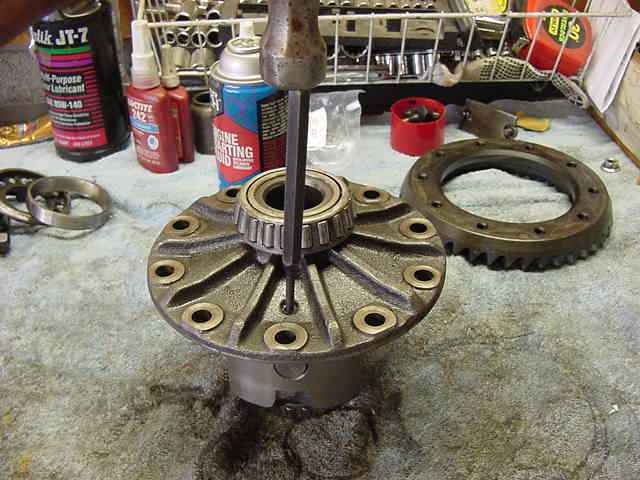
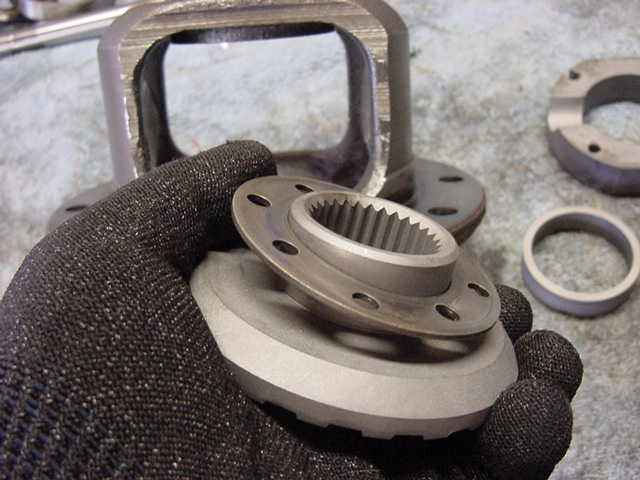
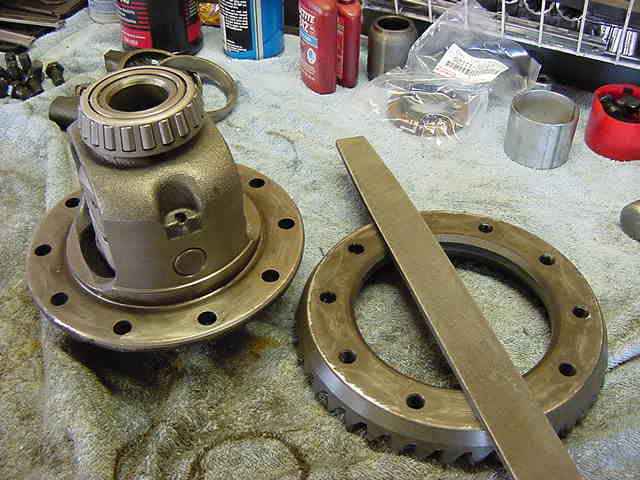
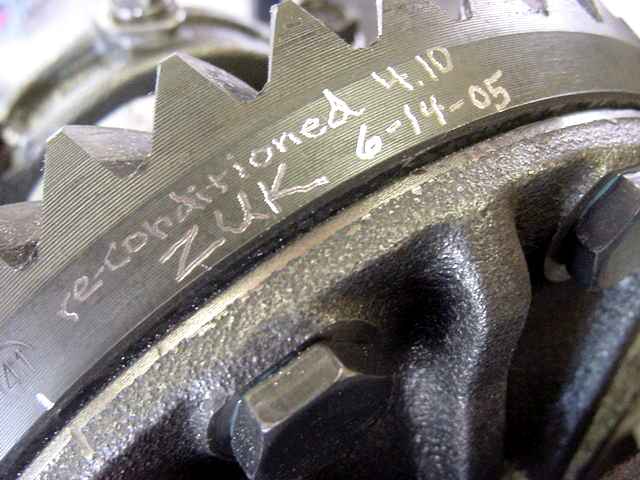
The first task is to remove the ring gear and install the Aussie. |

|
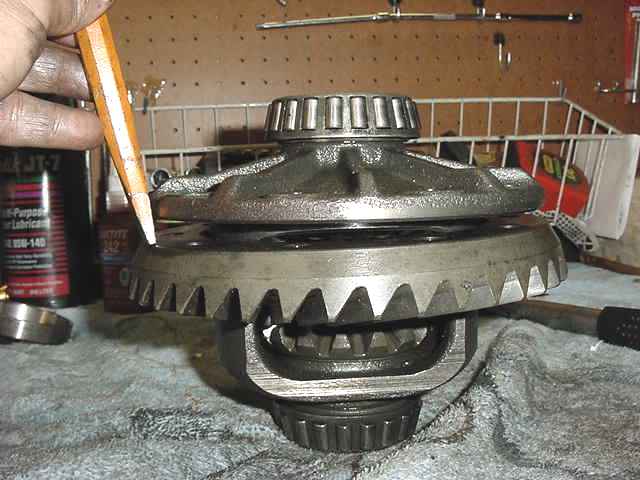
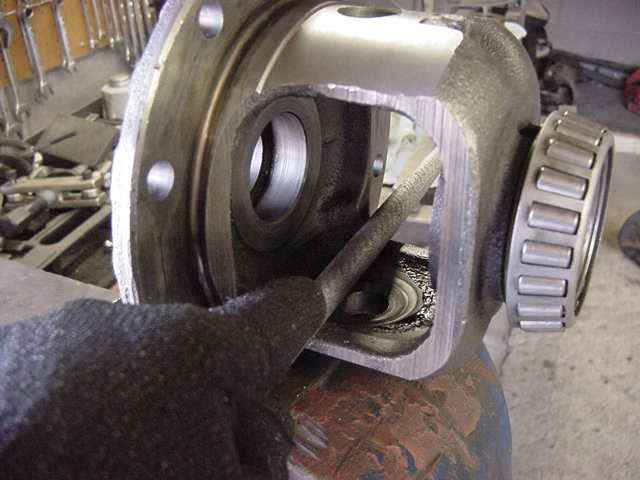
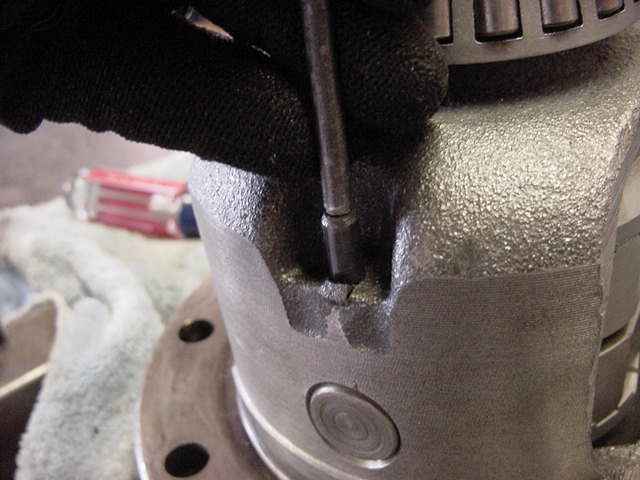
Now to remove the rollpin..... |
|
It only comes out one way....I used a 3/16" round punch to get it out most of the way. |
|
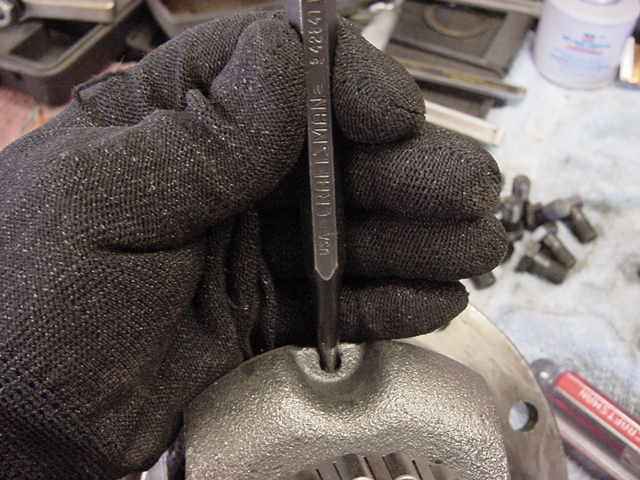
The punch was not long enough to get it all the way...so I used a sacrificial drill bit that was long enough to finish it off. |

|
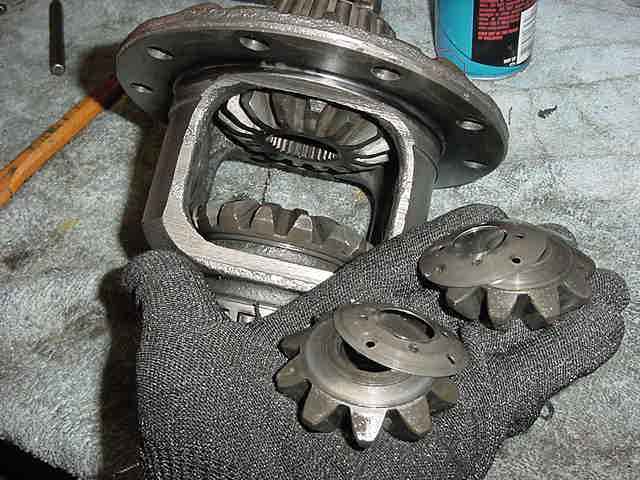
With the roll-pin out, the cross-pin slides out easy but still snuggly. |
|
The spiders can be thrown out. |

|
The factory sidegears can also be discarded but the .068" thick thrust washers must be re-used. |
|
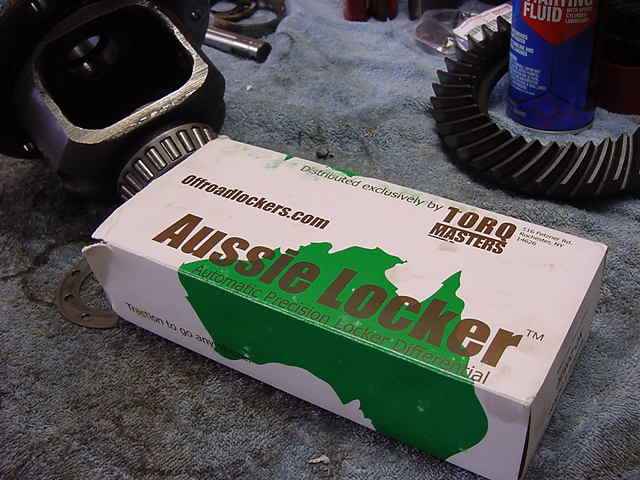
The Aussie Locker is out of Australia and distributed from my old hometown of Rochester, NY. |
|
|
|
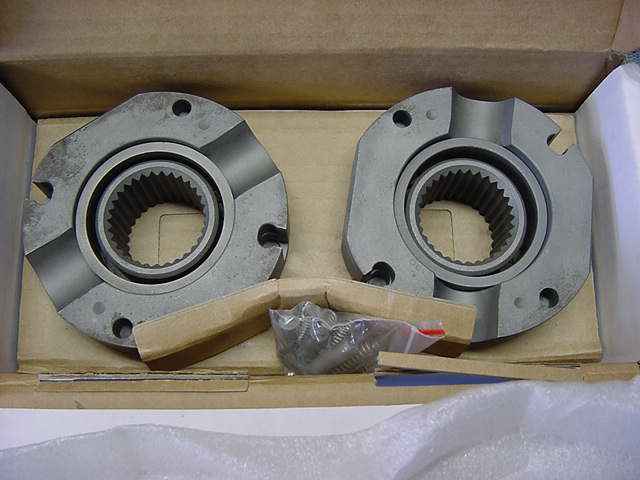
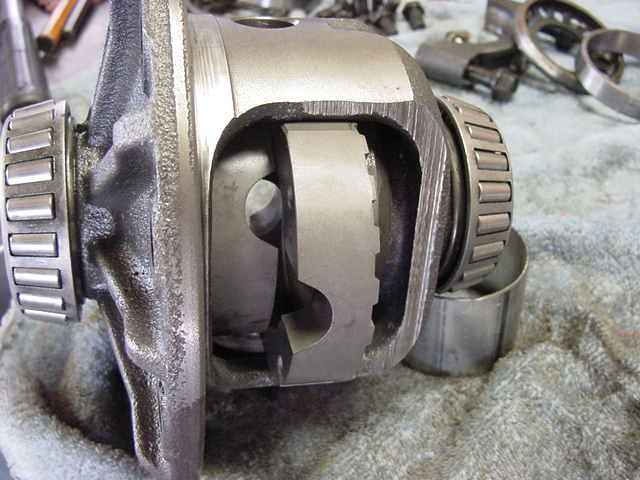
First, to partially assemble it and check tolerances with the feeler gauges. |
|
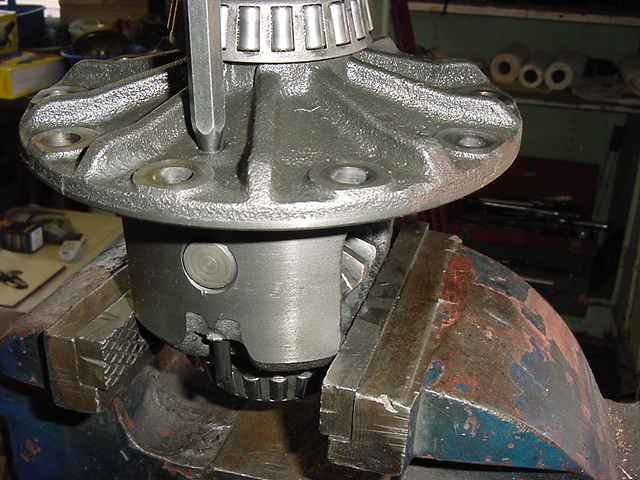
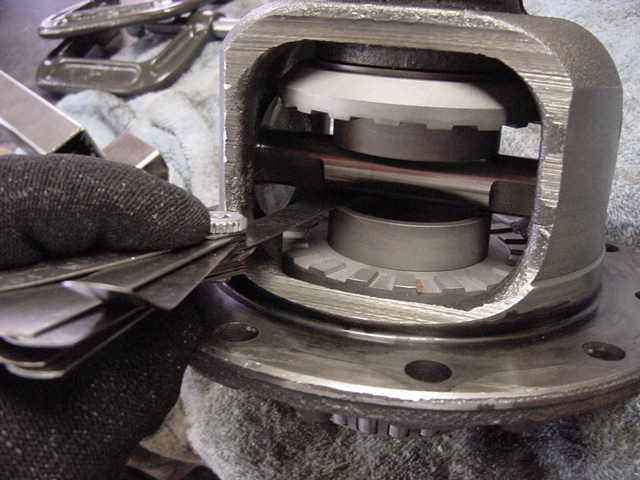
With the side gears in place and only the rings in place, there is just enough room to slide the center pin in place... |
|
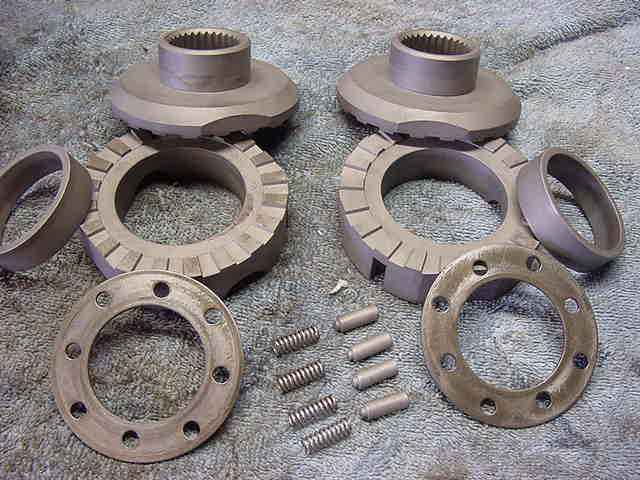
Then use feelers to check all 4 spots to verify a gap between .006~.020" per the manual....I measured .017" all the way around so good to go. |
|
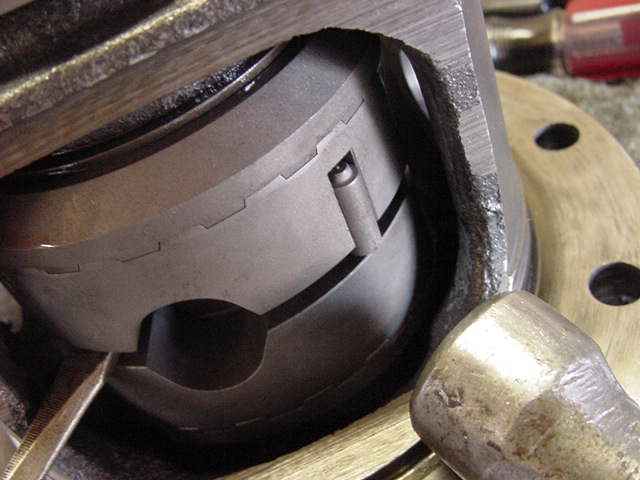
The large cam gears would not quite slide in..... |
|
This was easily rectified with a course rat file. |
|
They still went in tight but tapped in very nicely. |
|
I found that the pins would tap right into place and nothing was damaged.... but the manual's method of rotating the big cam gear and letting them drop in the holes is much easier. |
|
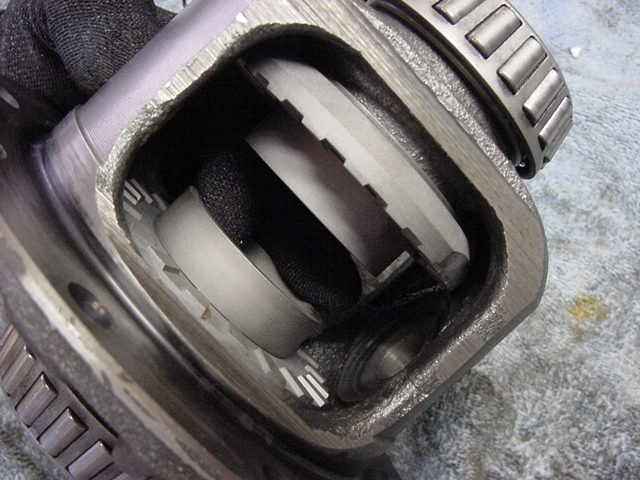
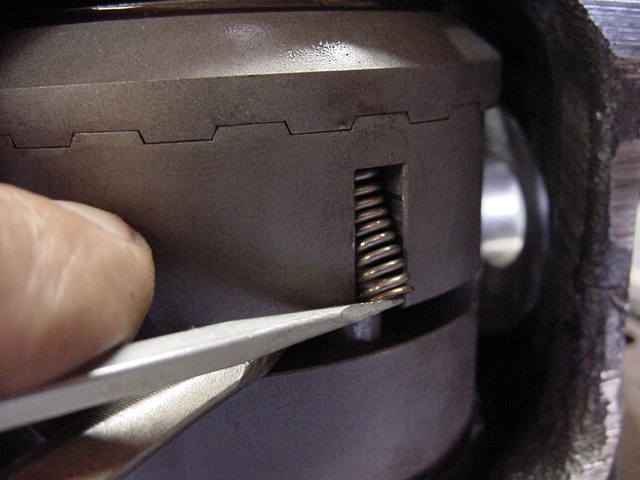
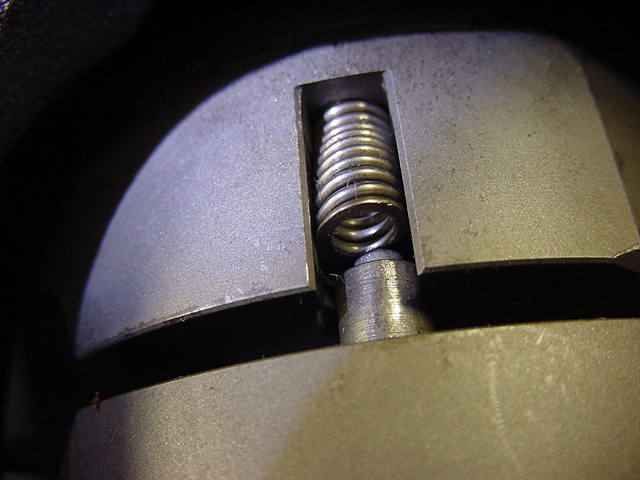
The springs go in place relatively easy using a small screwdriver. |
|
This is what they look like just before they pop over the nipple. |
|
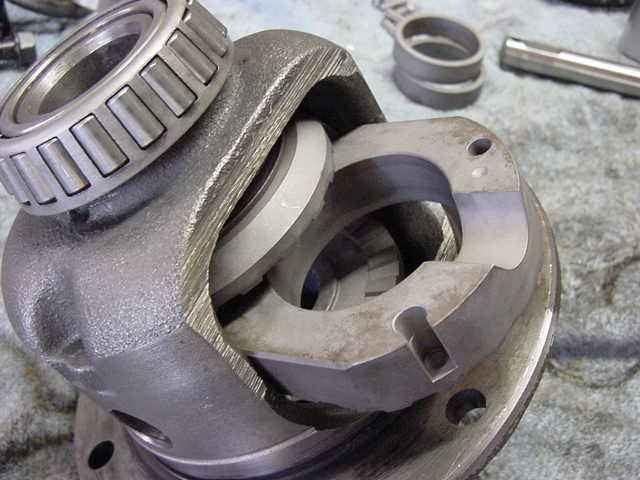
The crosspin and the rollpin could now be installed. |
|
I used a pointy punch and dimpled the tunnel so the pin would not slip out anytime soon. |
|
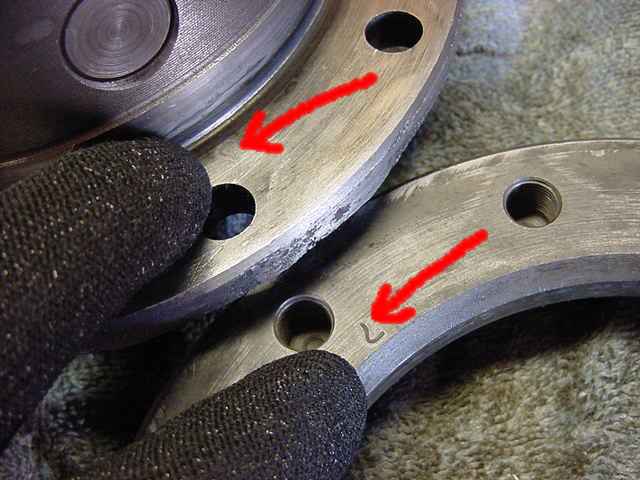
With the Aussie fully installed, now it's time to install the ring gear but not before filing off any potential high spots. This operation only takes a minute. |
|
Now if you didn't mark the position of the ring then no biggie. There's probably some factory marks to fall back on. |
|
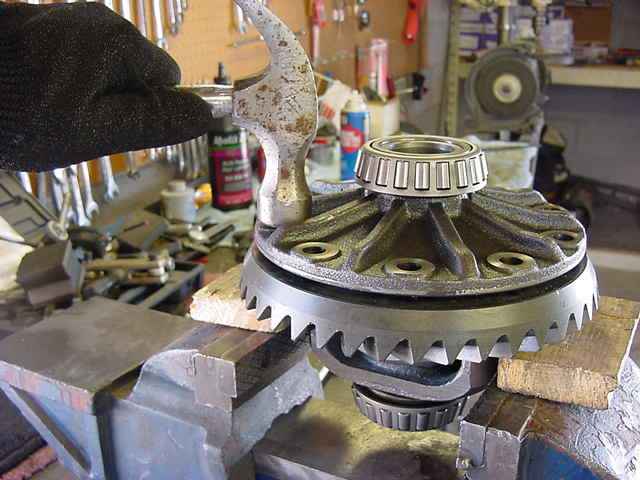
I like to support the ring gear with a couple pieces of wood and tap it down. This one was very tight but I coaxed it on still. |
|
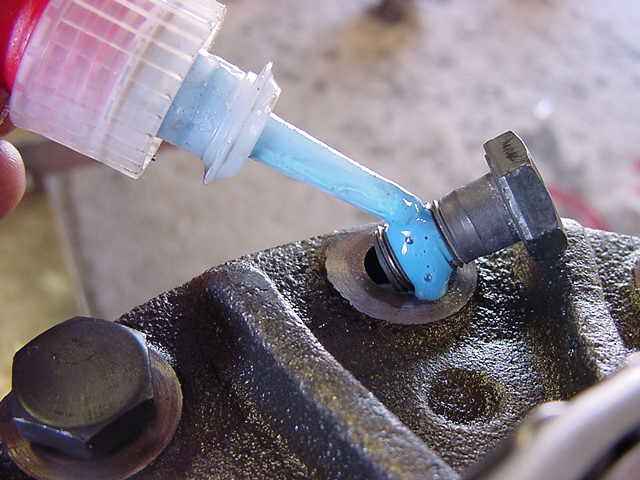
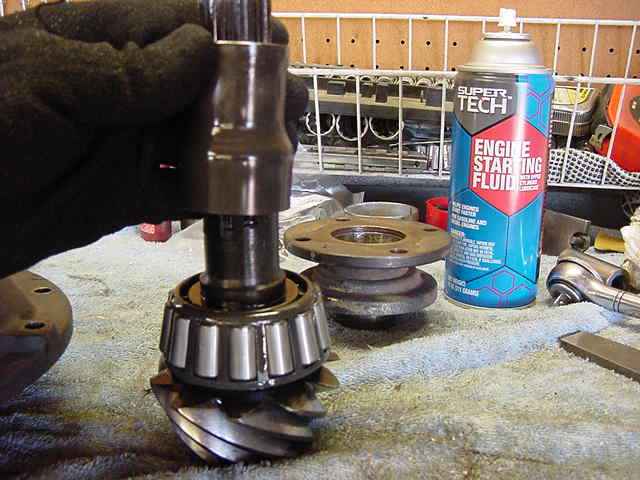
I cleaned all the threads earlier with starting fluid so the blue Loctite would have a clean surface. These ring gear bolts ain't rattling loose anytime soon..... |
|
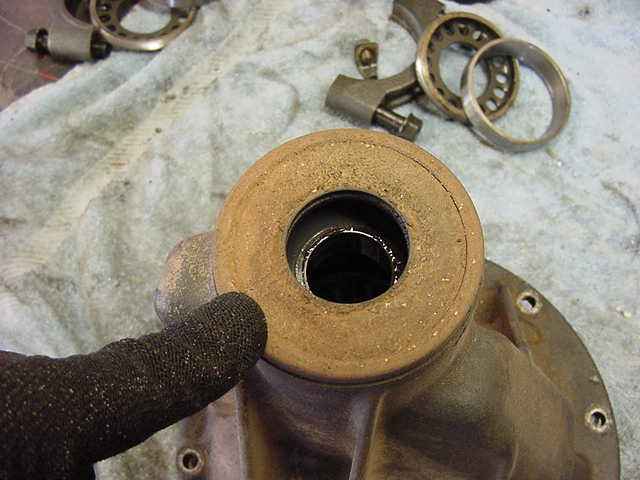
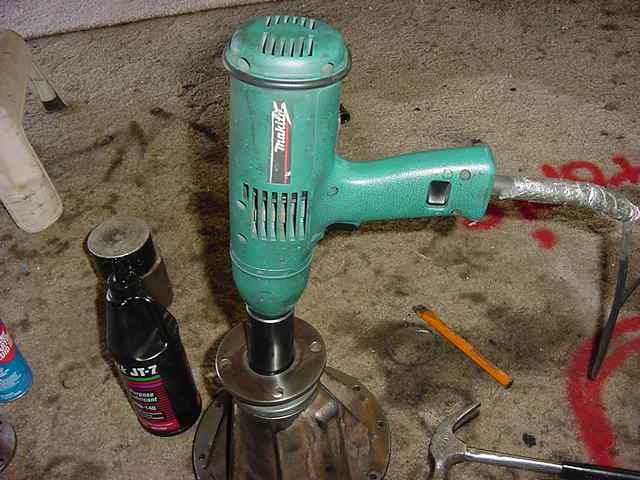
With the case ready to install, it's time to get the pinion end ready. I prefer to smoothly press the pinion out instead of beating it out with the hammer...saves on chitter marks on the small pinion race. |
|
The old pinion seal is rusty with mud and dirt....and probably would leak if I didn't replace it. |
|
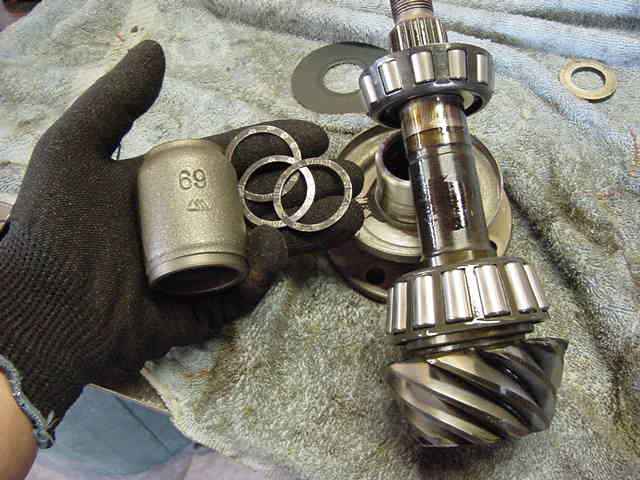
This old crush sleeve is ready for the garbage... |
|
Instead, we will use this Genuine Toyota "spacer" and about .048" worth of shims. |
|
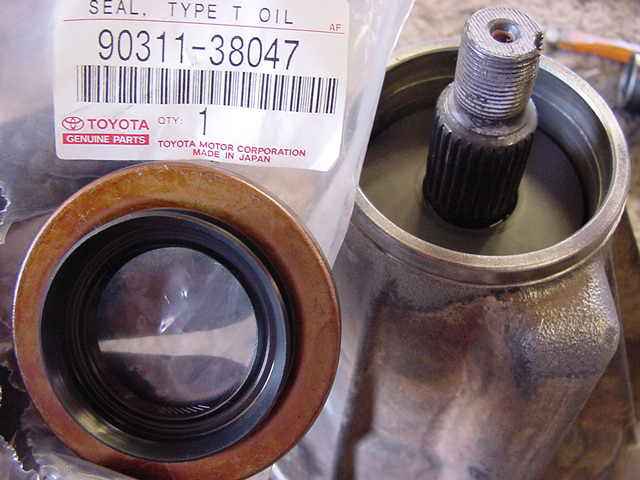
New Toyota seal and its part number. |
|
My electric impact gets the nut on very tight.... |
|
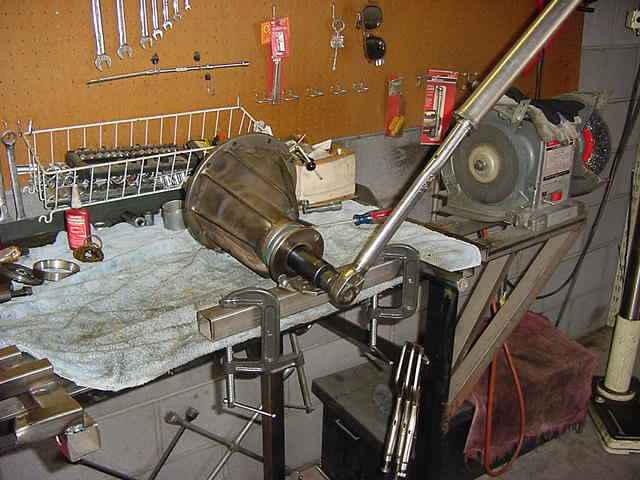
But if I use the 4 foot bar method, I can get another 1/8 turn on the big nut. Oh ya, the nut has loctite on it for insurance. Ding the nut and this end is done. |
|
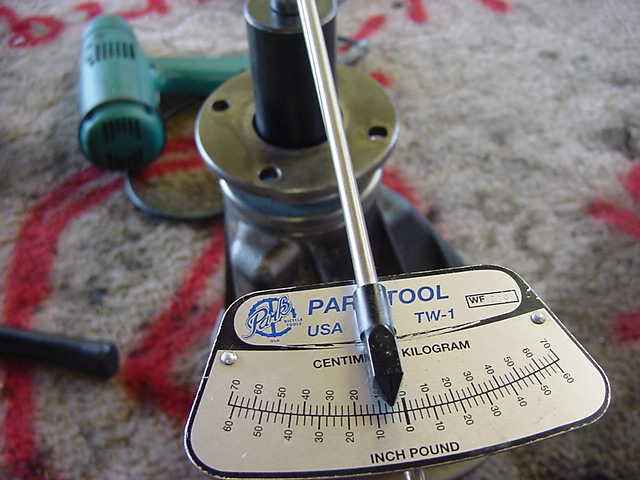
I have a light 4~5 inch/pounds of pinion pre-load...good for these used bearings. |

|
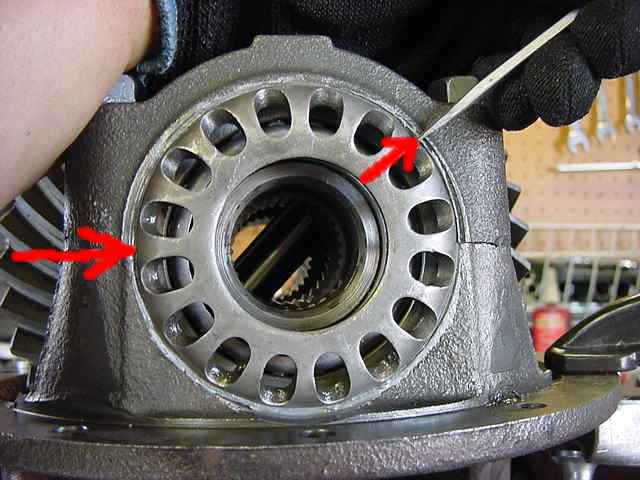
Last step remaining is to install the case...Here, I am splashing on the anti-seize to help in tightening the spanner rings for carrier bearing pre-load. Carrier bearing pre-load is a hard number to measure....experience helps here.....so does a cheater bar :) |
|
I used the usual "tap-tap" method of setting the bearings and after all was said and done, the adjusters on both sides moved the same amount by 6 marks. That's a lot! It still has the exact same 10 thou backlash as before and pinion depth was not messed with so the pattern is un-effected. One thing is for certain here....and that is that the ring gear will not move around or deflect under heavy loads due to "loose bearings". This translates into strength. |
|
|
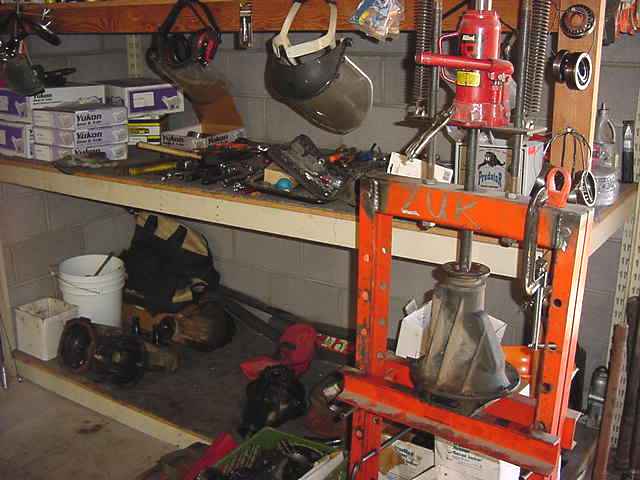
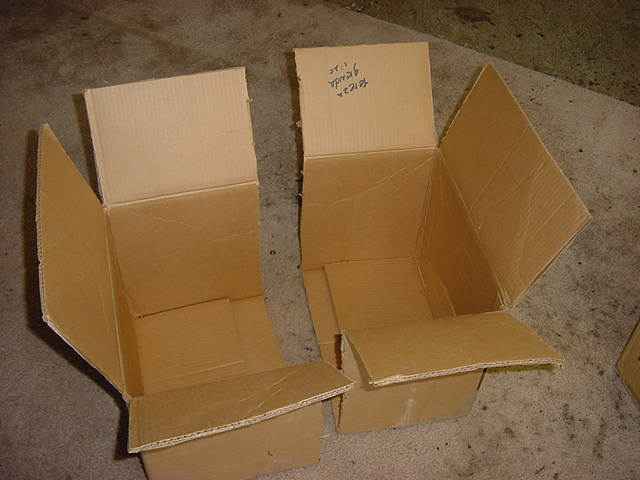
I've strayed away from using the 5 gallon plastic bucket routine. Cardboard boxes protect the
3rds better. It was very easy to cut this box down the middle to make a double box. Then
pack it full of rolled up cardboard chunks to lock it in place.
|

|