|
|
|
|
|
|
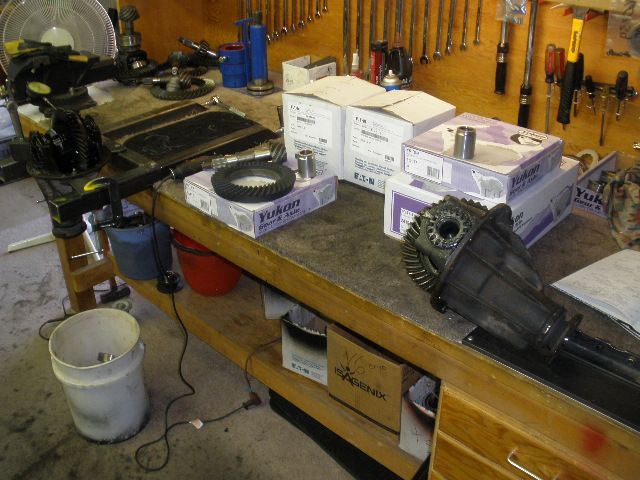
Brian from Reno, Nevada had all the product shipped directly to me...2 TrueTracs, 2 Yukon 456 gears, 2 master kits, and 2 solid collars. This link will cover the rear TT/456 install. The front gear install is located at the very end of this page. |
|
... |
|
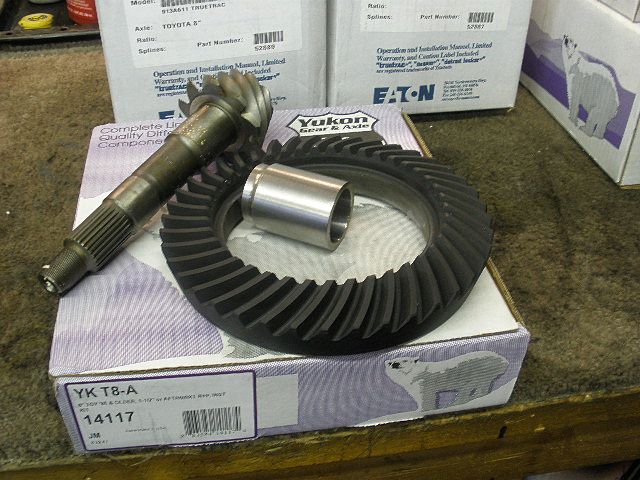
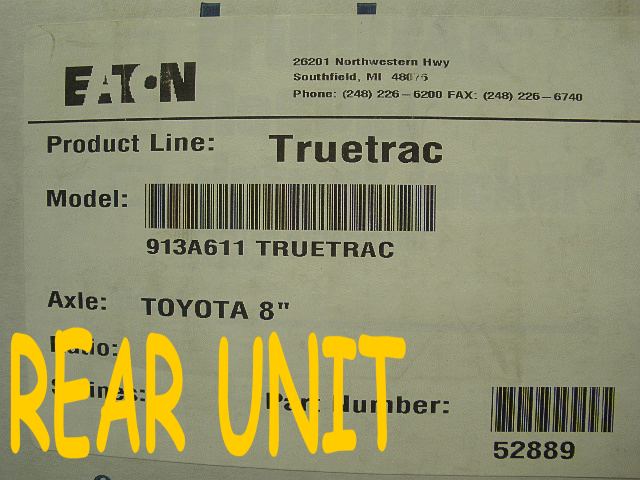
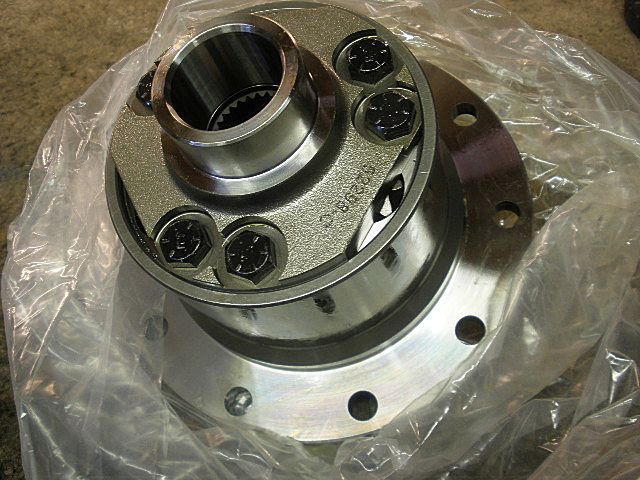
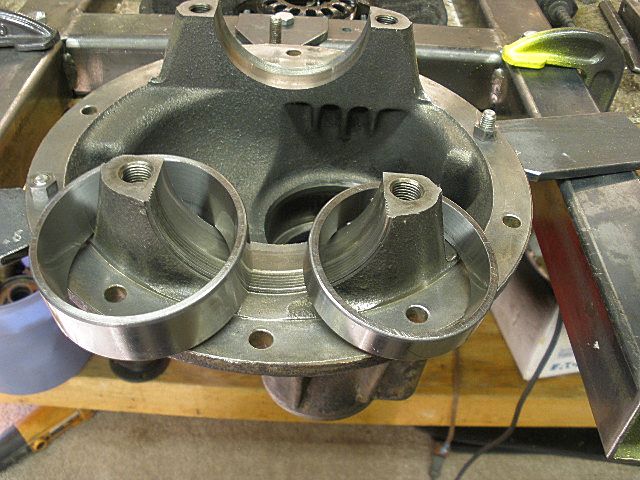
The rear TrueTrac... |
|
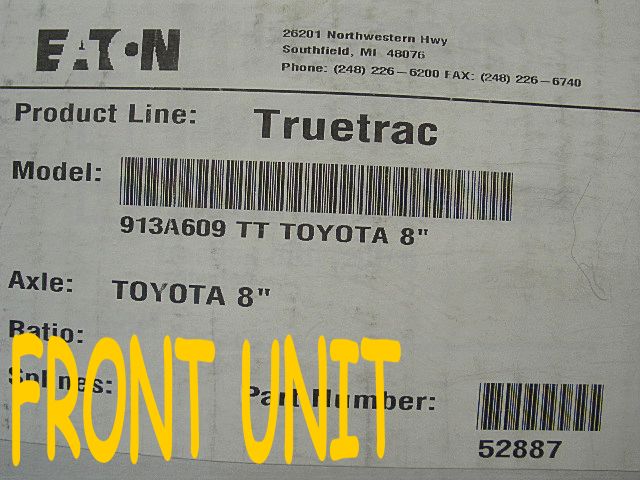
The front one showing the different part number. |
|
A lot of nice machining went into it. |

|
Both surfaces are check for irregularities with a file...none found. |
|
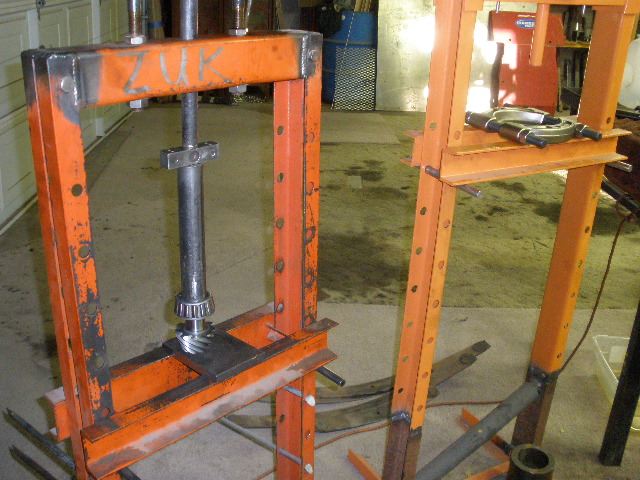
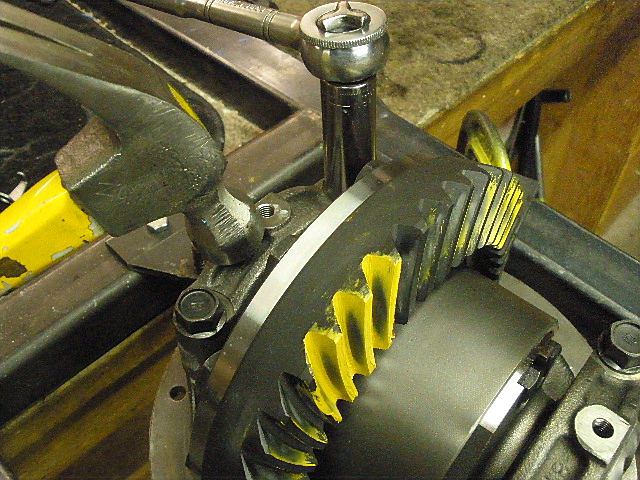
This one was a very tight fit and took 1 or 2 ton to coax it on. |
|
As is always the case, red loctite and 75 ft/lbs. |
|
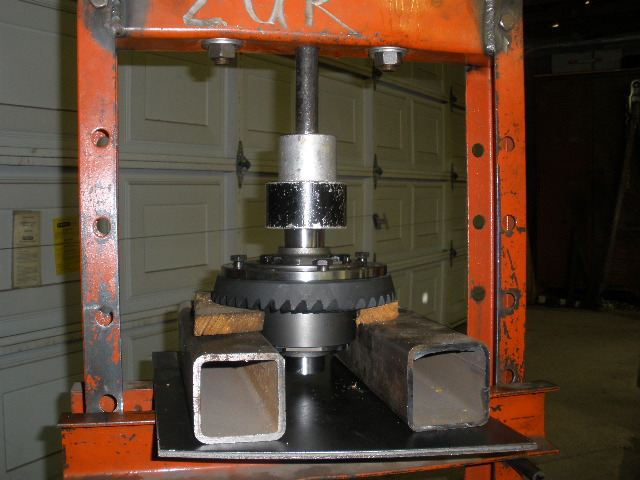
The press made easy work of pressing both carrier bearings on at the same time. |
|
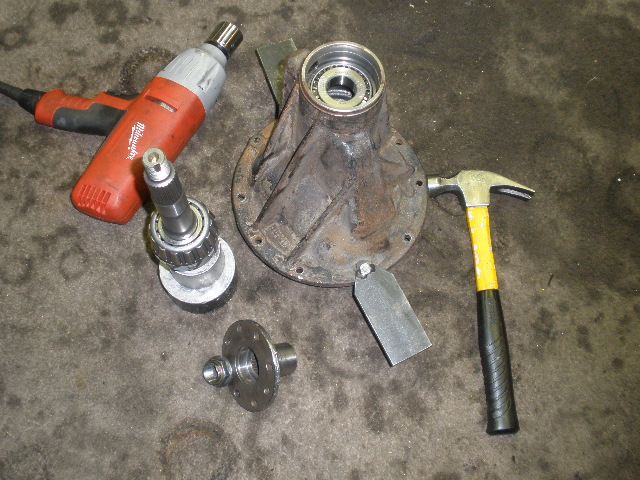
I almost always do the same for the pinion races and press those on in a single operation. |
|
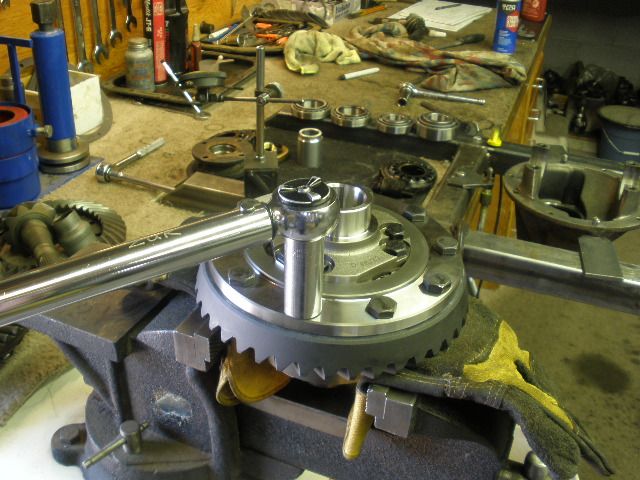
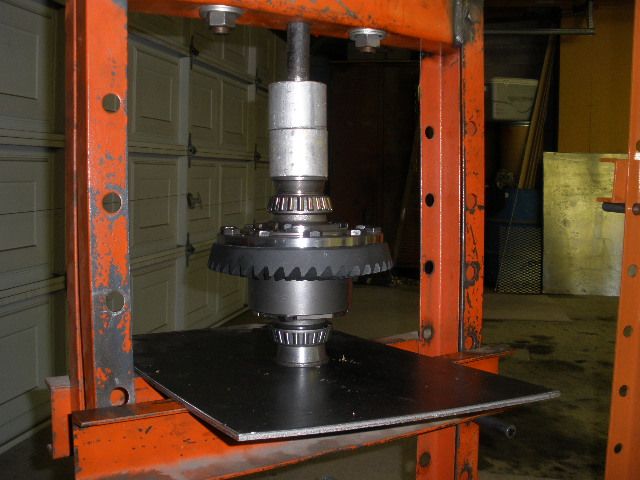
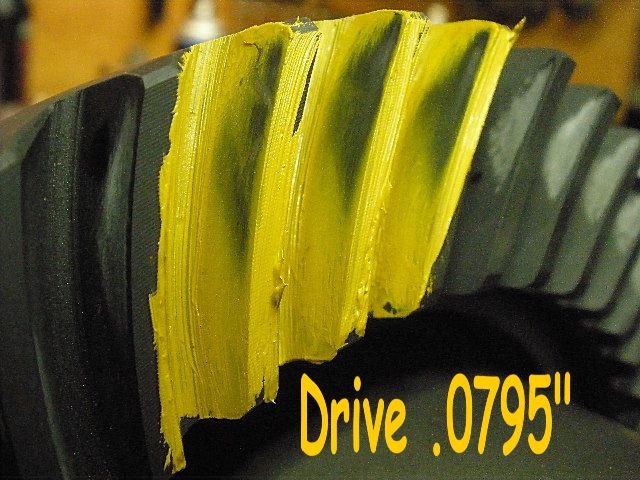
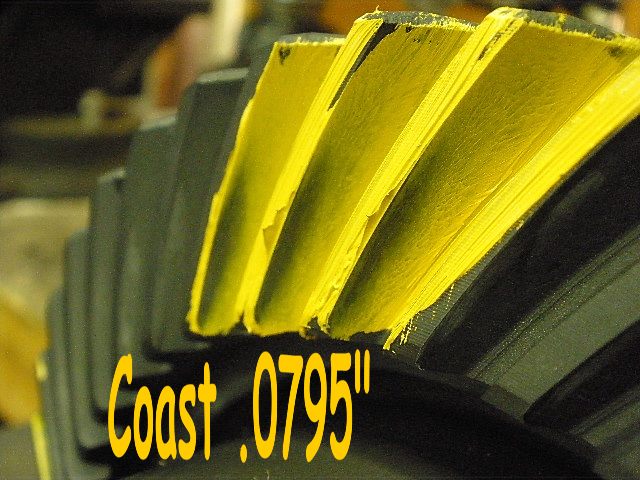
The new inner pinion bearing is pressed on with a .0795" shim. |
|
Here's everything I need to load up the pinion end without the solid collar at this point. |
|
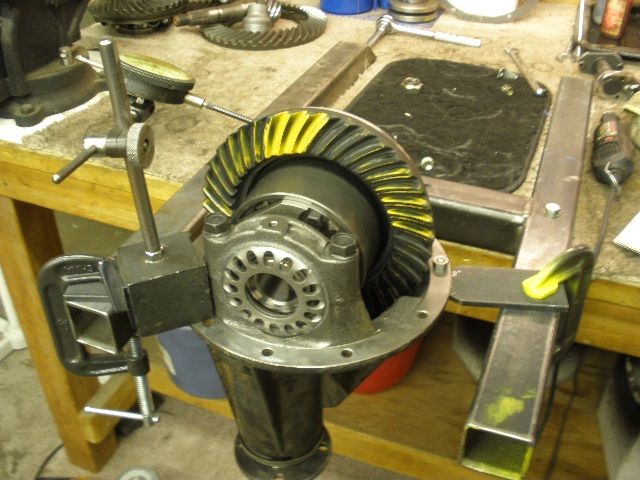
After loading the case in place, a pattern check shows too shallow. |
|
... |
|
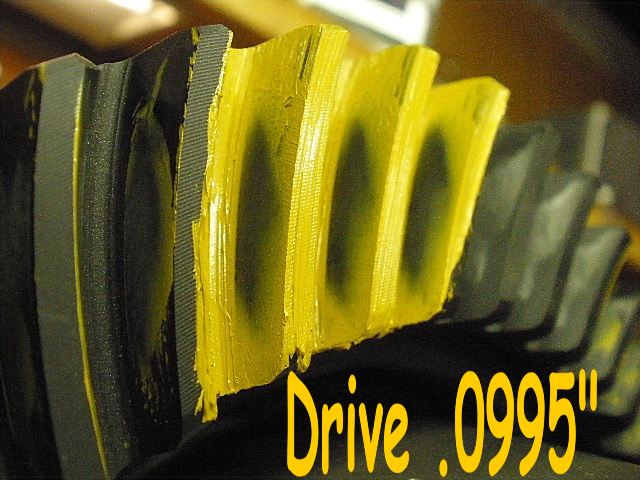
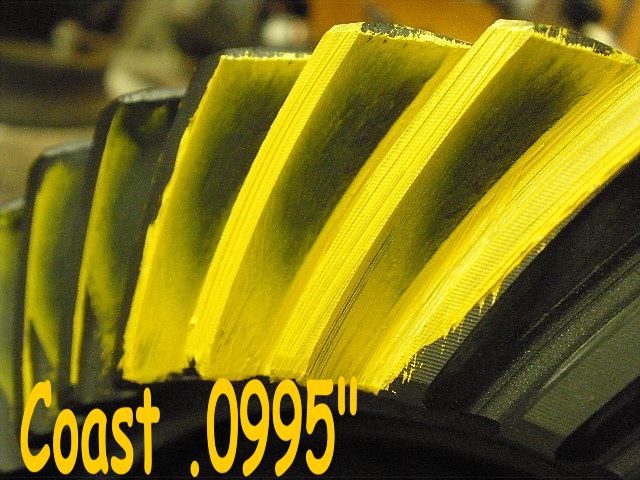
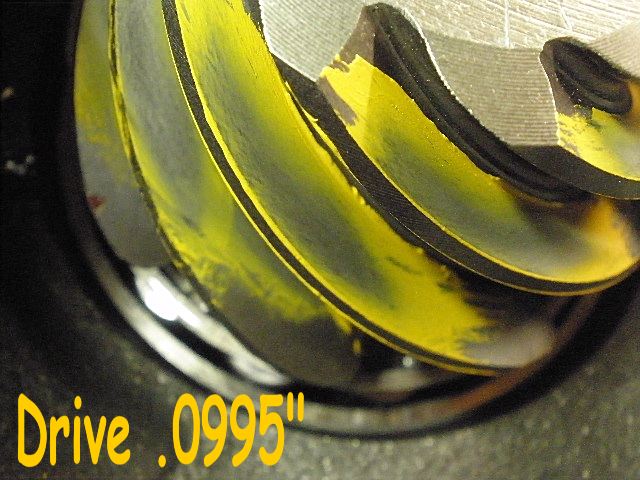
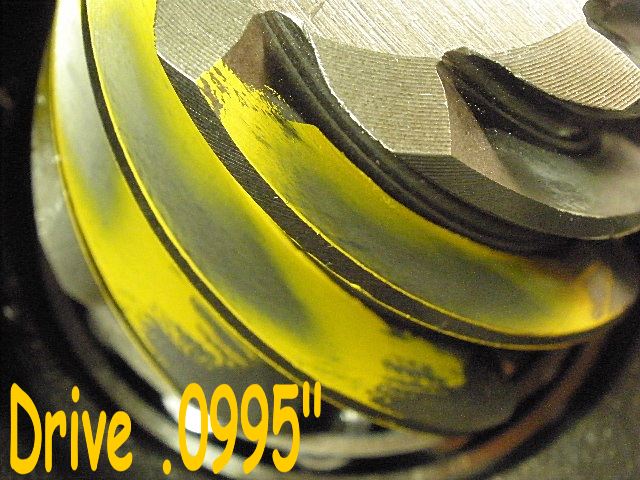
Everything is taken apart and a much thicker shim of .0995" shows somewhat deep here. |
|
... |
|
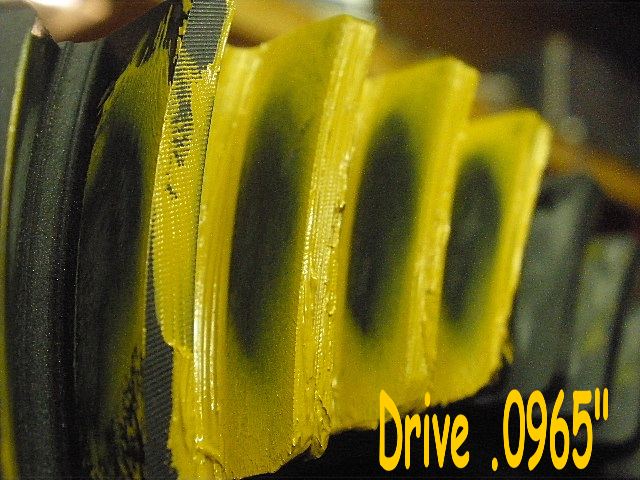
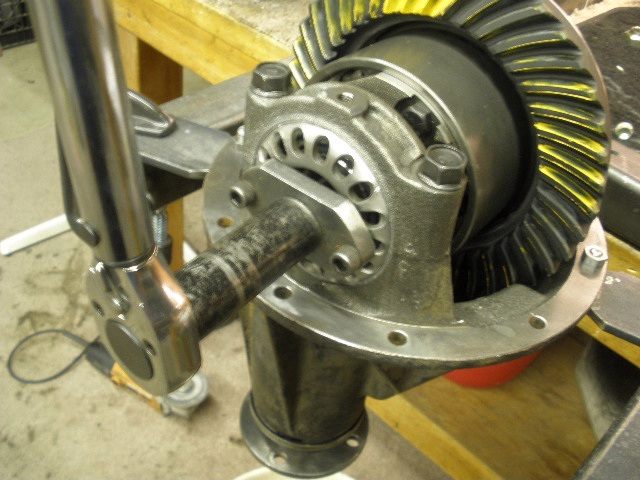
The pinion looks a little shallow...which equates to a deep ring gear pattern. |
|
... |
|
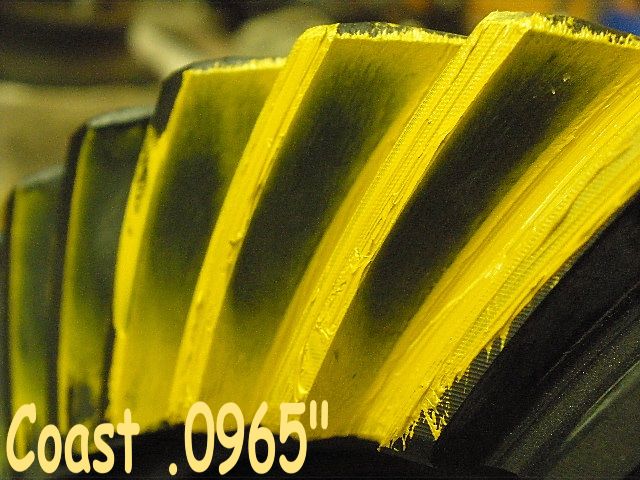
Another teardown and remove .003" from the shim-pack and the pattern is now perfect. |
|
Coast looks good. |
|
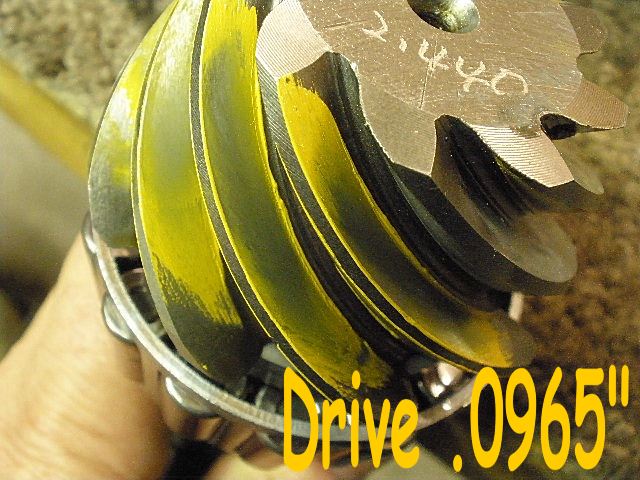
Pinion is in agreement. |
|
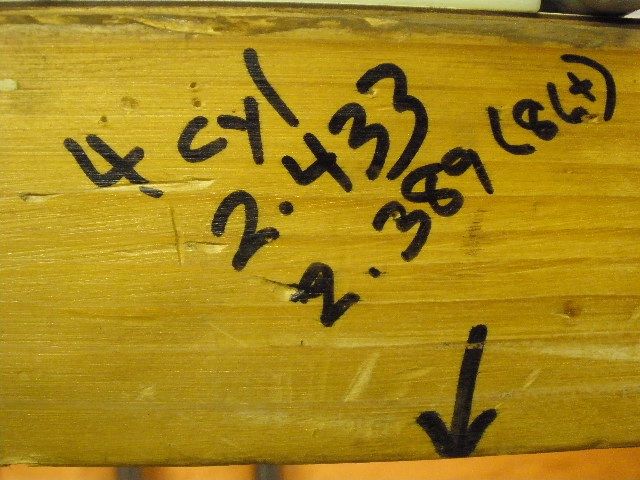
With pinion depth established, now it's time to install the solid collar. Here's one of my cheat notes to nail down the shim required. On 1985 and older 3rds, 2.433" is the combined thickness of the collar plus shim (or very close to it). 1986 to 1995 use a thin pinion bearing so 2.389" or there-abouts works for them. Using this method, the right shim can often be found on the first or second try. |
|
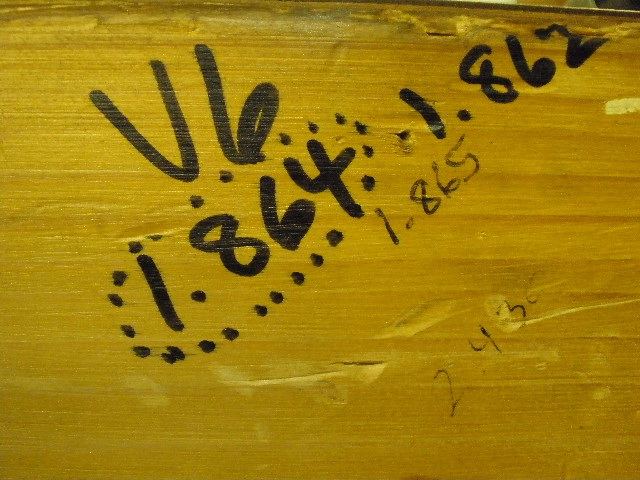
Unrelated to this link, V6 and E-Lockers have a combined value near the 1.863" number. |
|
Measure the length of the collar and then subtract it from one of the related numbers above and the starter shim thickness is the result. |
|
... |
|
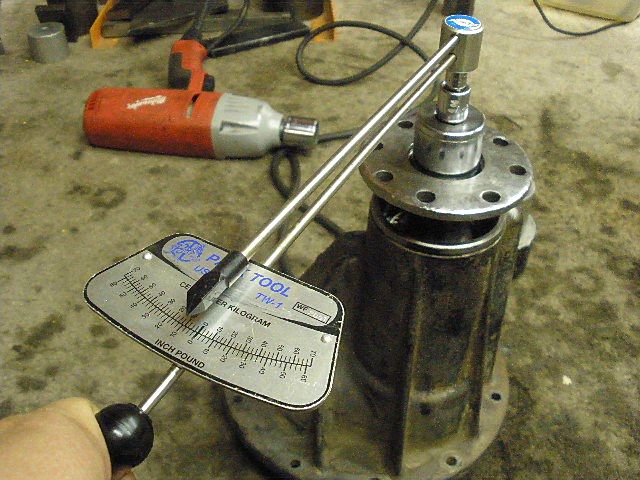
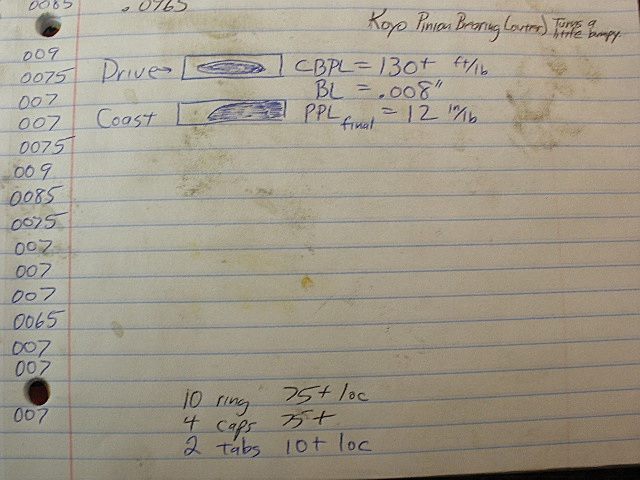
On the 2nd try, using .060" for the shim, I measured about 8 in/lb. I know, from past experience, that I can use the 4 foot cheater bar and crush the shims a little more to increase the PPL to the spec of 10~16 in/lb. |
|
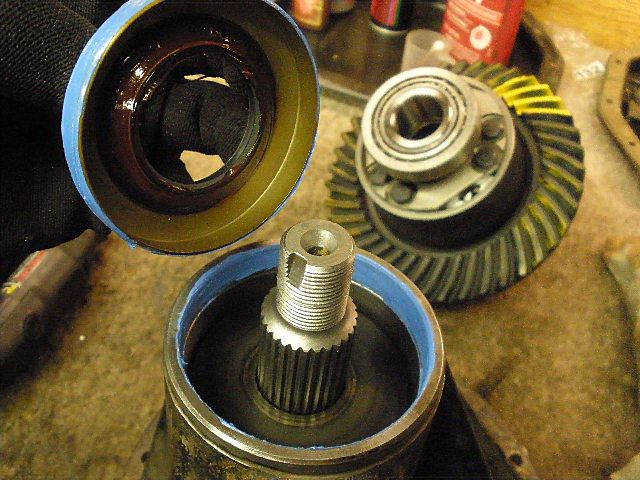
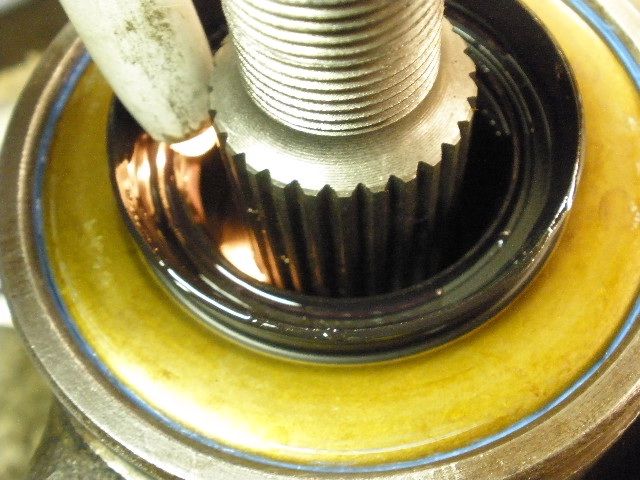
A thick grease is applied to the inner ridge to prevent the tiny spring from popping off while banging the seal on. Blue RTV on the outer metal collar helps it tap on a bit easier and seals also. |

|
A little bit of gear oil where the flange will slide in... |
|
I used to use a penlight all the time before using the grease trick...no dislodged coil here. The flange is then mounted (not shown) and tightened an extra 1/16th to 1/8th of a turn until I saw 12 in/lb of PPL. |
|
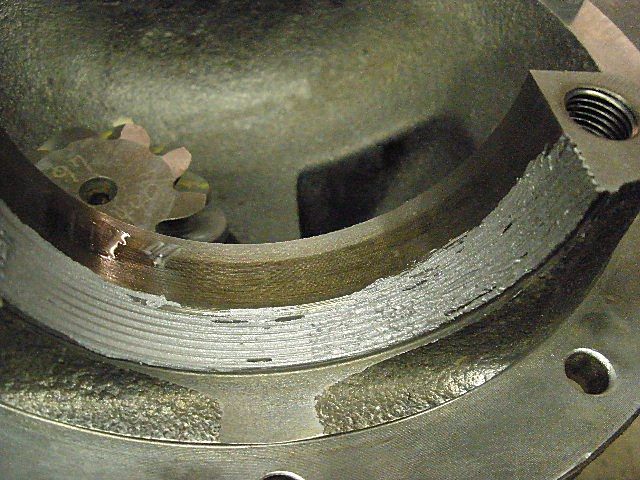
Aluminum based anti-seize is applied to all the wheel adjuster thread surfaces... not shown but I wipe a little anti-seize on the smooth surface where the race seats down. |
|
I lightly tap on the bearing cap surface while gently snugging the bolts. I feel this shocks the threads on both the top and botton bearing cap surfaces into better alignment. Then I can tighten all 4 cap bolts to the full 75 ft/lb spec and can still turn the adjuster wheels with relative ease. |
|
The CBPL is set very tight while the BL is monitored until it reaches spec. |
|
I have a lot of anti-seize on all the threaded surfaces which makes it easier to get excellent CBPL. I often use the torque wrench to verify my mininum of 100 ft/lbs. I don't see any good reason to go over 150 ft/lb as I start to become concerned about threads jumping and then the entire carrier has to be thrown away. |

|
Another smaller torque wrench sets the 2 small lock tab bolts to 10 ft/lb (120 in/lb). Red loctite is always applied to this one. |
|
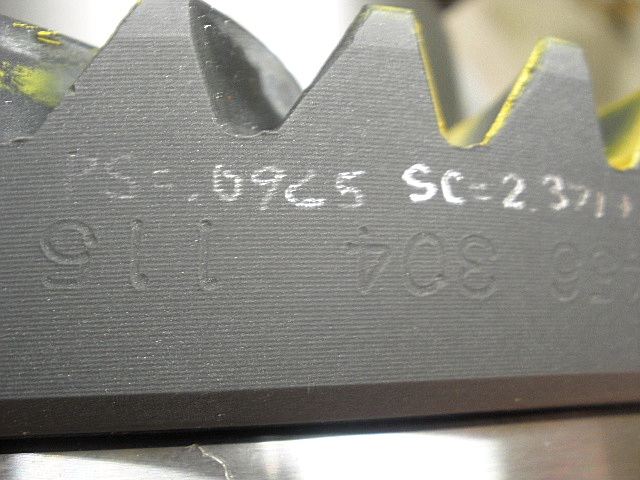
My diamond coated dremel bit is getting worn out. Specs applied are engraved on the ring. |

|
...and date coded. |
|
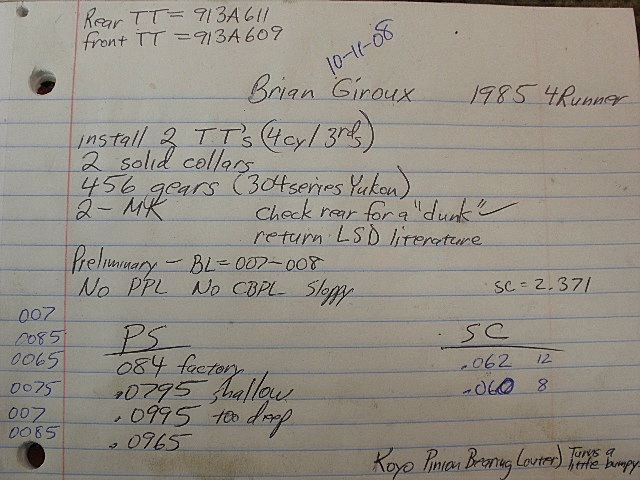
Notes that I keep of every install. |
|
ZUK |

|