|
|
|
|
|

|
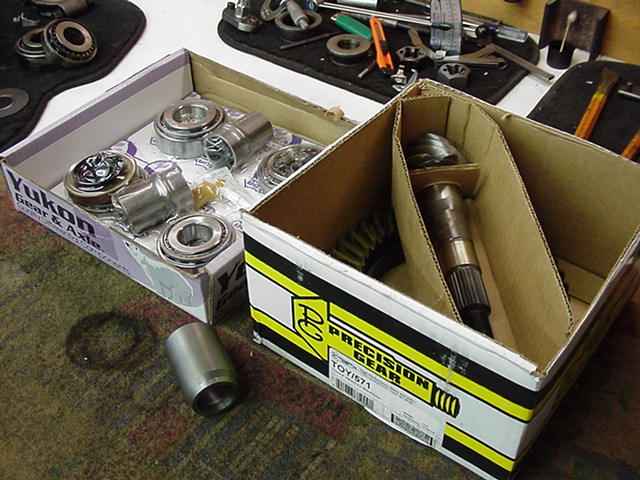
Randy and his lovely wife Mary, purchased this 1985 truck with 22RE with auto. Randy planned on using it for a little bit of everything....a little highway, some trips into town, some camping , and lots of general trail rides. With that in mind, I still recommended a quality set of 571 gears and lockers. The Toyota automatics have a nice TALL overdrive (.71) and this allows good speeds on the road even with the 571/33" tire combo and good offroad pulling performance from the 22RE. Also, automatics in general, are very friendly with lockers. Clunks and bangs are rare with an auto so a Detroit SoftLocker will go in the rear and an Aussie in the front. |
|
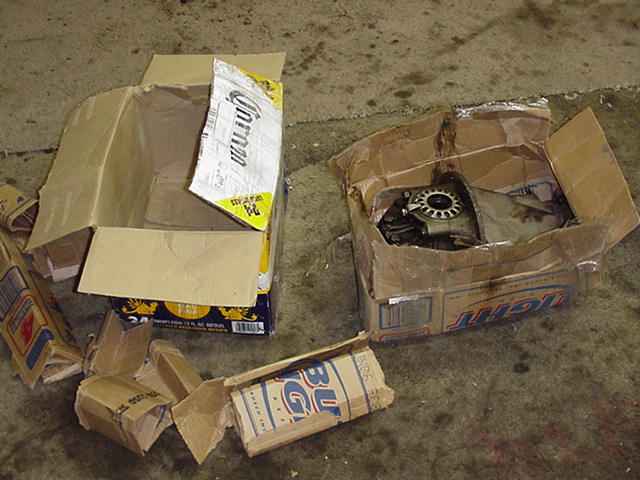
The rear 3rd member arrived double boxed and in good shape. |
|
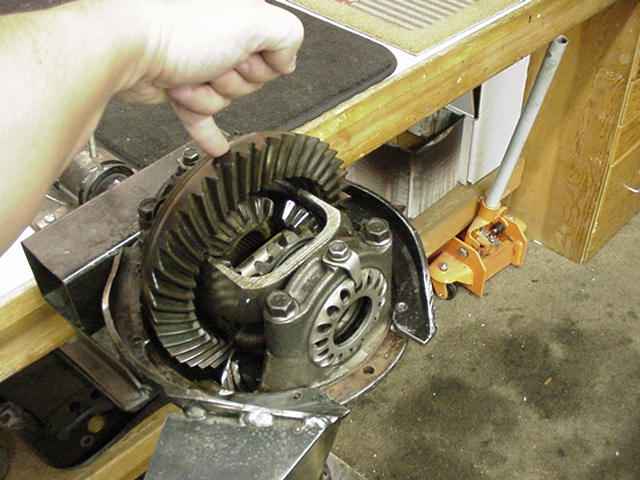
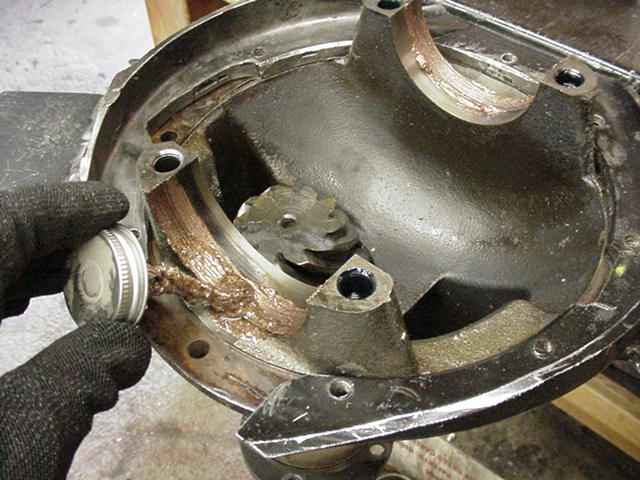
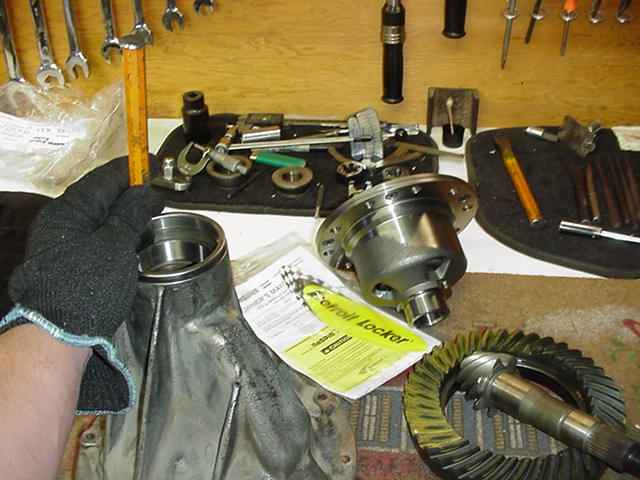
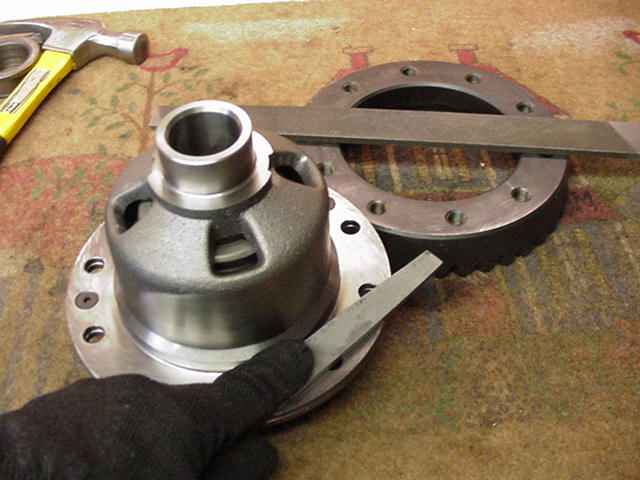
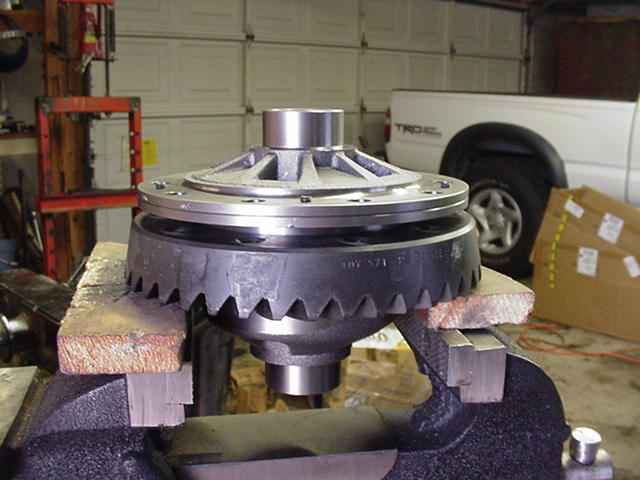
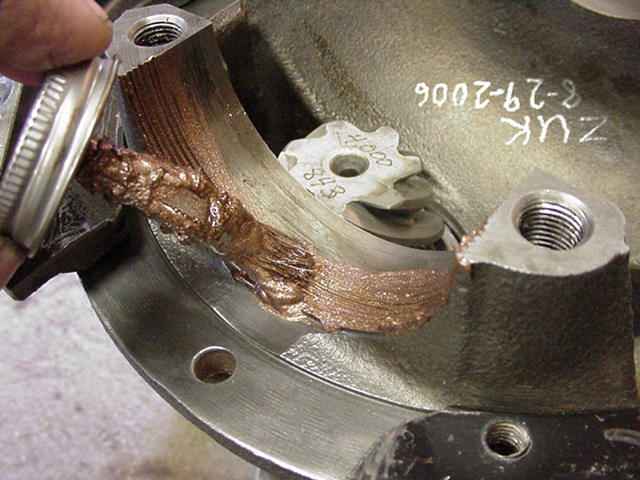
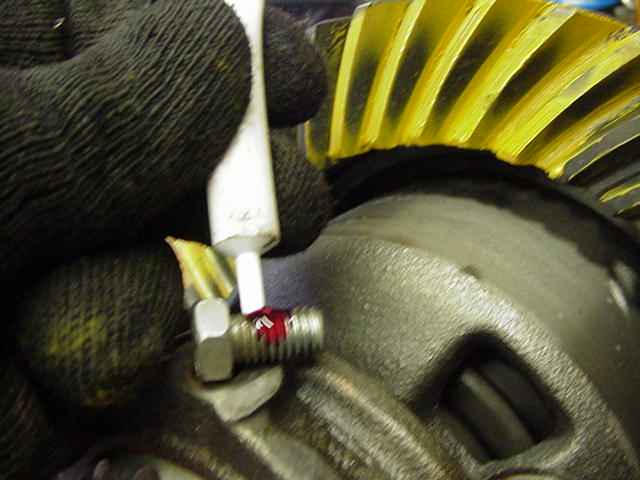
Randys truck has 167,000 miles on it and there's a good chance those 430 gears were never touched. If you ever have the 3rd out for a general looksie...or maybe just purchased a well-used 3rd through the mail then it's a darn good idea to "re-fresh the Carrier Bearing Pre-Load". This has the effect of greatly increasing the gear strength and longevity. In this pic, I can use my little pinkie to wiggle the ring gear back and forth through the backlash range. This basically means the carrier bearings have no pre-load and ring gear deflections are more likely resulting in teeth falling off the ring. But this is easily remedied as seen below. |
|
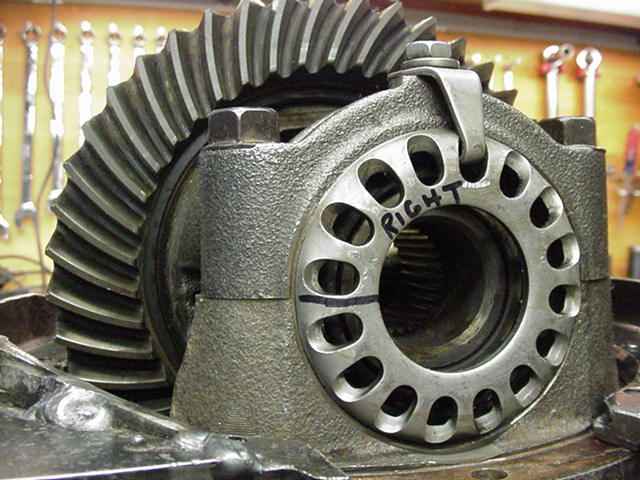
Step 1 is to mark both carrier bearing adjuster rings like this... |
|
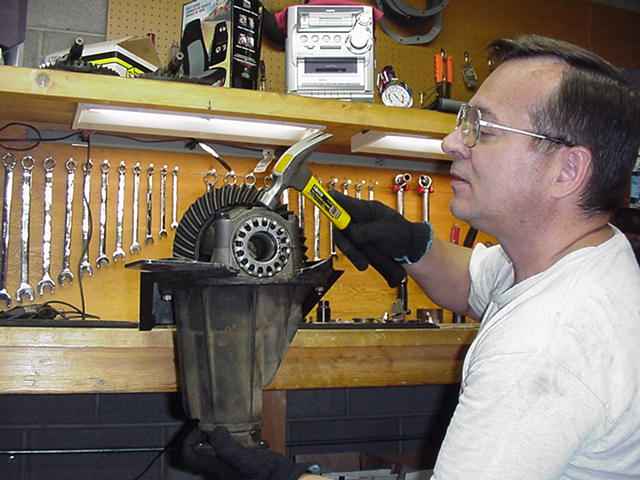
...then tighten the rings equally a little at a time on both sides. This will not change the backlash value if both adjusters are tightened the same amount. I also rotate the pinion and tap on the bearing cap to help the bearings 'equalize in tension'. Do this frequently until you are sure all has been equalized and the adjusters are tightened to the 100 ft/lb level. That might sound like alot of tension but it's not. More on that in a minute. |

|
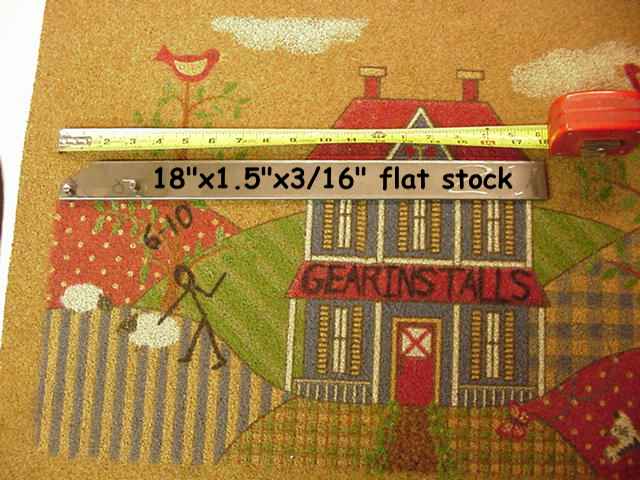
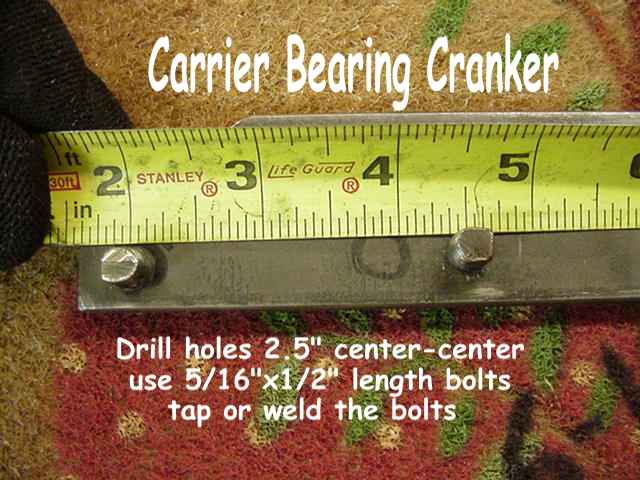
Here's the home-made tool I like to use for cranking the carrier bearing adjuster nice and tight. Notice in the background, I was able to tighten the adjuster about 5 notches (other side tightened 5 notches also). This tool is very easy to make.... |
|
...go to Home Depot and get an 18" long piece of flat stock like in the pic. |
|
Self explanatory above. |
|
I promise to get back on track with Randys 571 install but this is something that has been massively mis-understood. Most Toyota gear installs miss the mark when it comes to proper CBPL. And that is part of the reason why so many gears explode...not enough carrier bearing tension. Using Randy's 3rd as a demo....I coated the threads with anti-seize to prevent thread damage... |
|
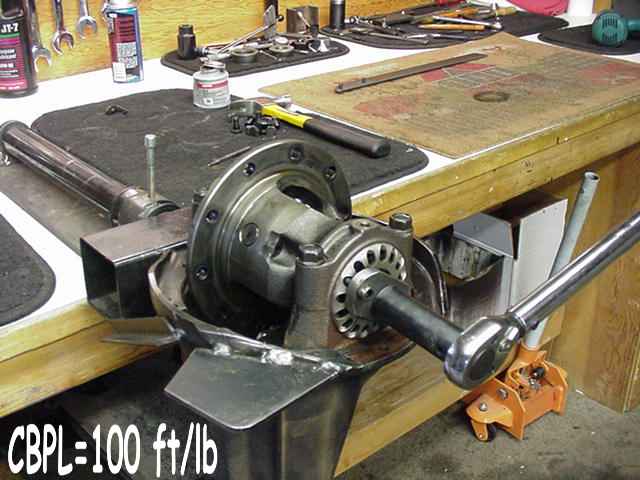
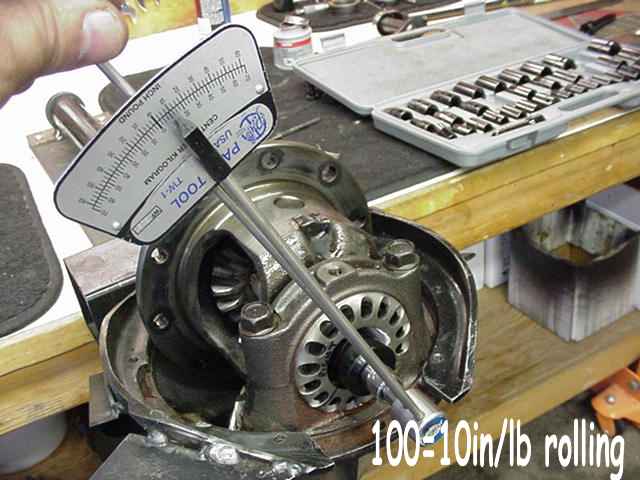
I installed the case without the ring gear and coated the carrier bearings generously with gear oil. I then tightened the spanner rings to the 100 ft/lb mark. |
|
Using an inch-pound torque wrench, I measured 10 in/lbs of bearing drag...and it took 100 ft/lbs on the spanner rings to get there. 10 in/lbs is far from excessive for carrier bearings.....and that should actually be considered the minimum when setting gears. Note that carrier bearings are bathed in oil all the time... and they spin about 5.71 times slower (in this case) than the pinion bearings. |
|
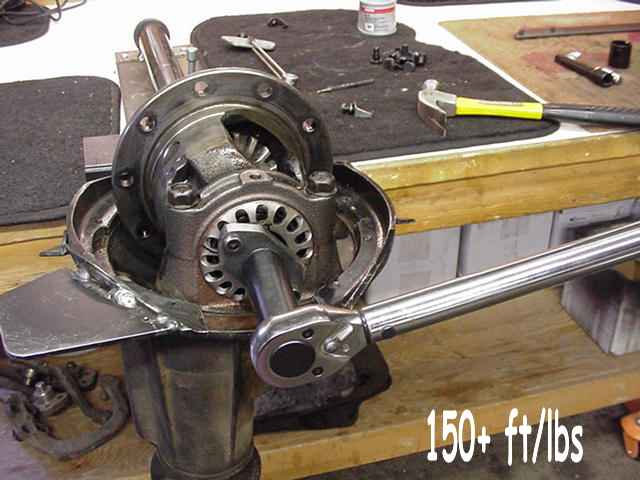
I now crank the bearings tighter to 150+ ft/lbs... |
|
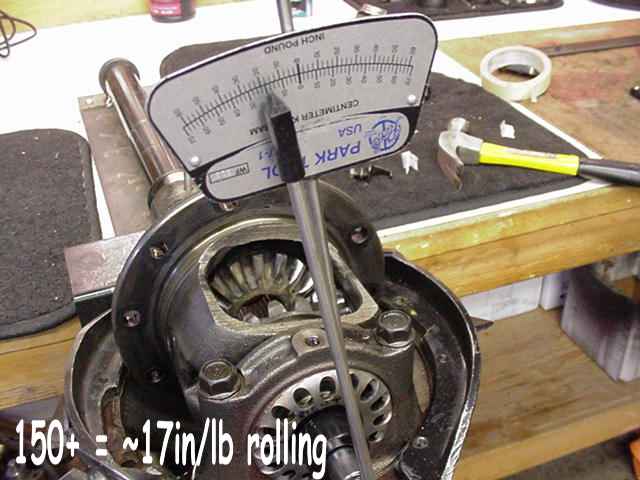
...And it seemed to be linear as I measured 17 in/lb of carrier bearing pre-load. Tightening the spanner rings to 100 ft/lb is basically an indirect method of getting to the target minimum of 10 in/lbs rolling drag. |
|
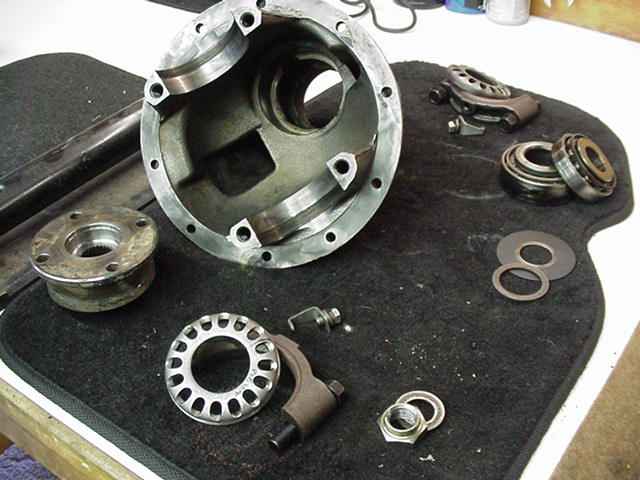
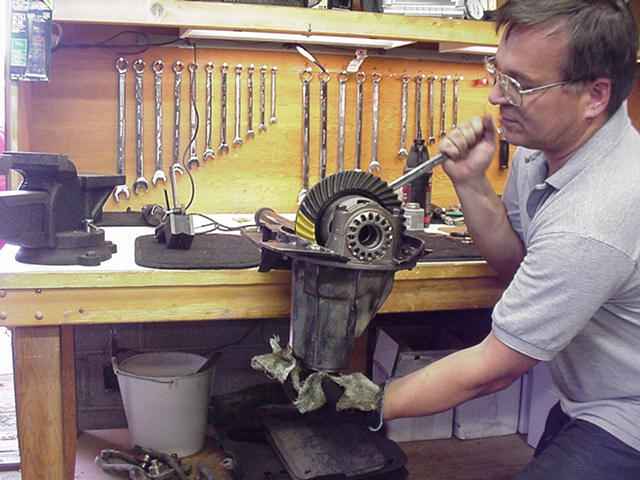
Back to Randys install...I'm still waiting for the Detroit to arrive but I can still do some things. The 3rd has been dis-assembled and cleaned. |
|
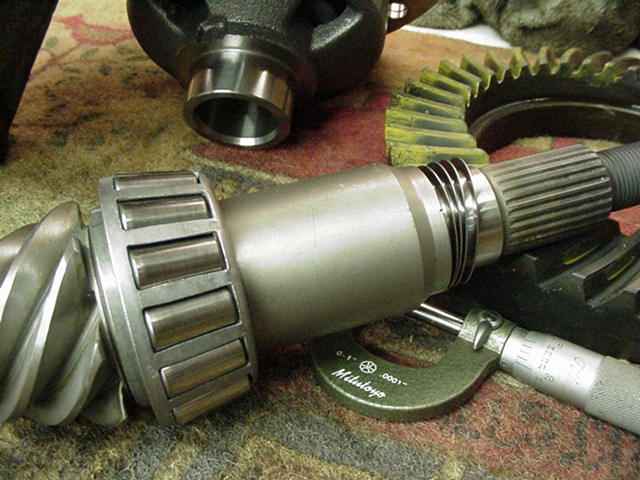
This is the rear 3rd so it will get new bearings...Precision 571 gears...and a solid collar and a new flange. |
|
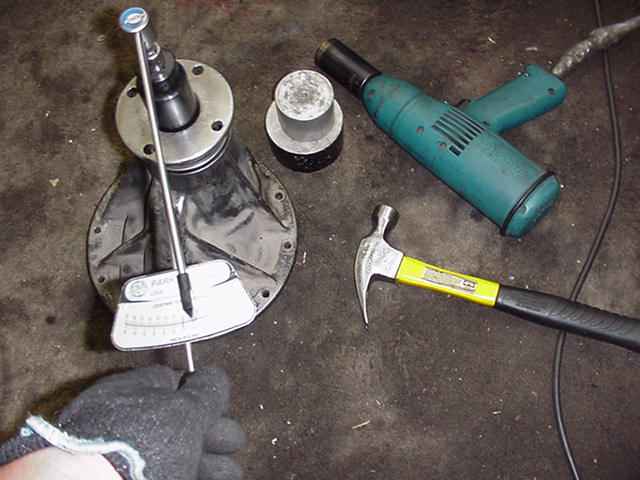
Using a soft chisel, the new races are tapped in. |
|
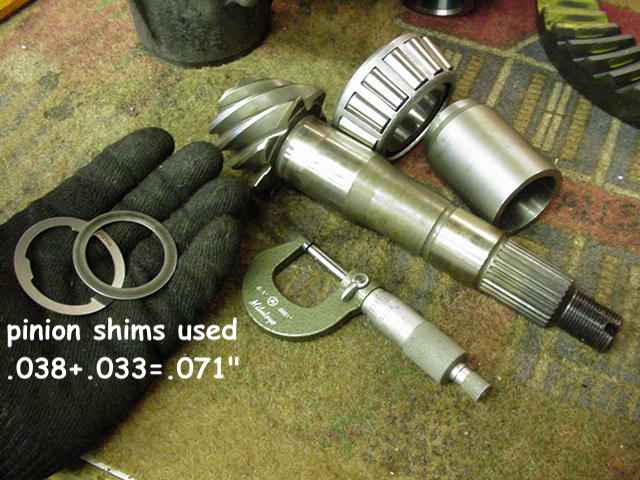
Precision gears like to see about .071".... |
|
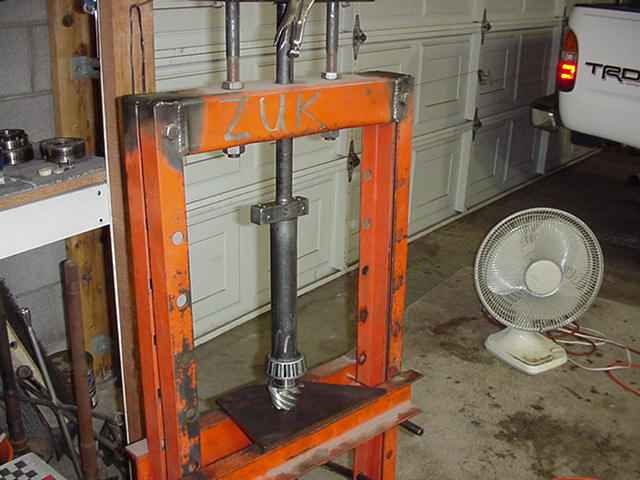
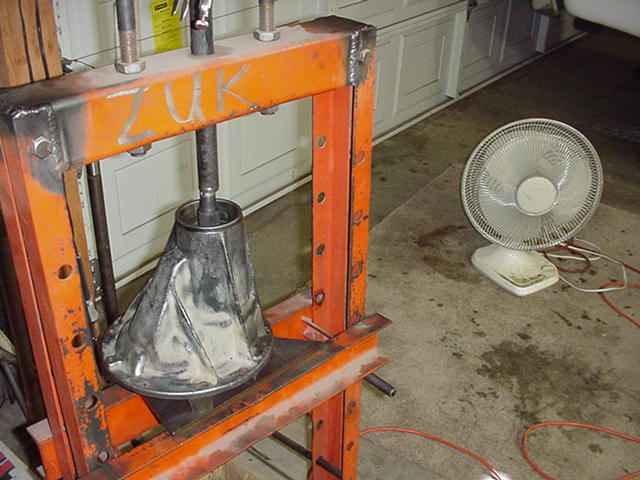
The press makes easy work of pressing the inner pinion bearing on. |
|
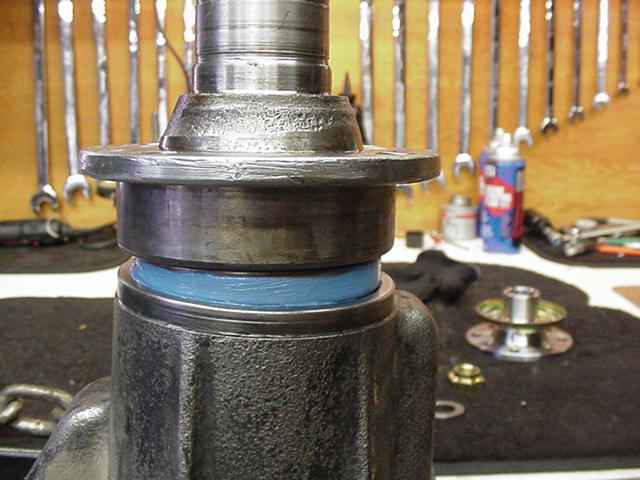
Now the solid collar goes on. I started with .066" worth of shims... |
|
...and it turns out that the pinion is too loose so off comes the pinion... |
|
I went to .062" and that was too tight at 18 in/lbs of pre-load so I changed it to .064" and it was a nice 11 in/lbs. 3rd time a charm I guess. |
|
surfaces checked with a file for over-all smoothness. |
|
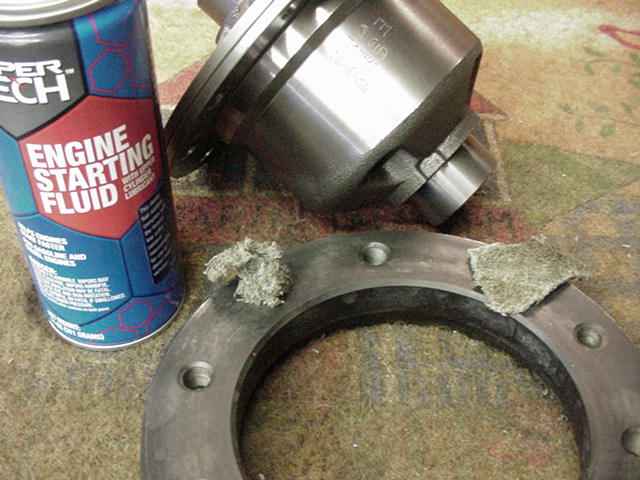
I will be using Loctite on the ring gear bolts so I cleaned the holes with starting fluid. |
|
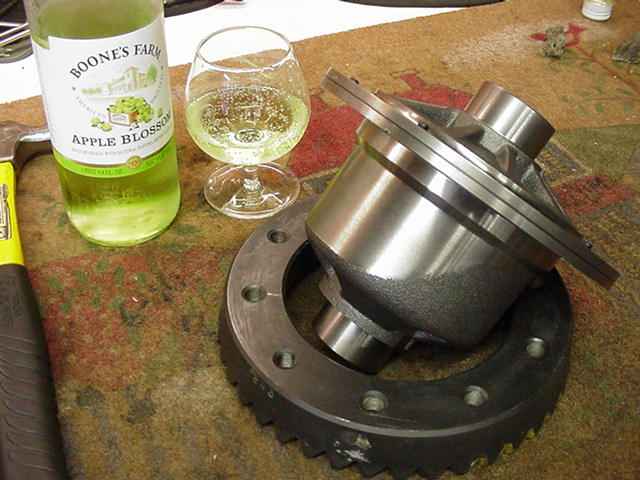
Time to install the ring onto the Detroit... |
|
I lightly tapped on it but the ring wouldn't catch and go down easily so I carefully chamferred the ridges.... |
|
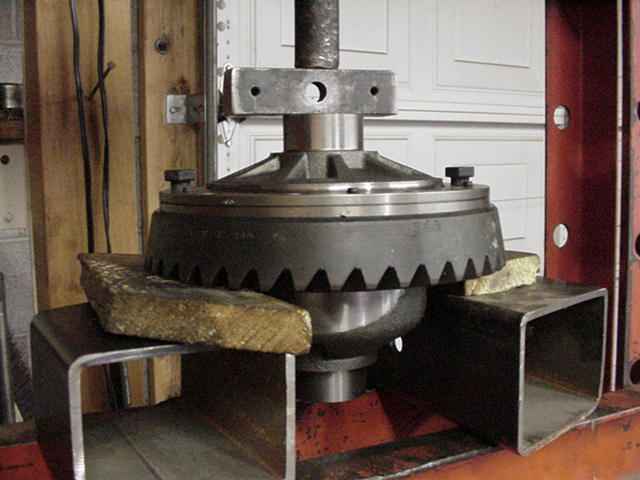
...and moved it over to the press...it went on like butter. This one was a very snug fit. |
|
As usual, I applied the anti-sieze. |
|
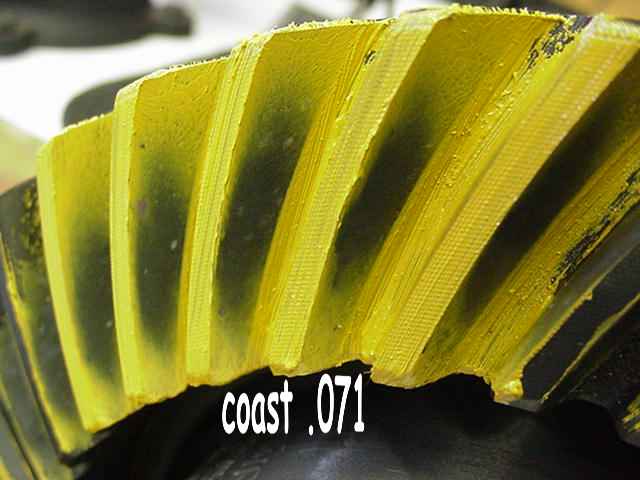
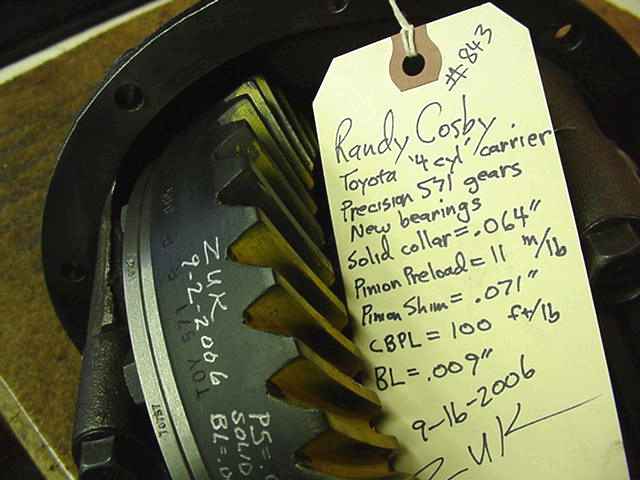
With the carrier bearing pre-load set at 110 ft/lbs and backlash at .009" it was time to take a pattern. This technique of a slight drag with the rag and a 17mm wrench turning the ring back and forth twice will give us an easy to read paint pattern. |

|
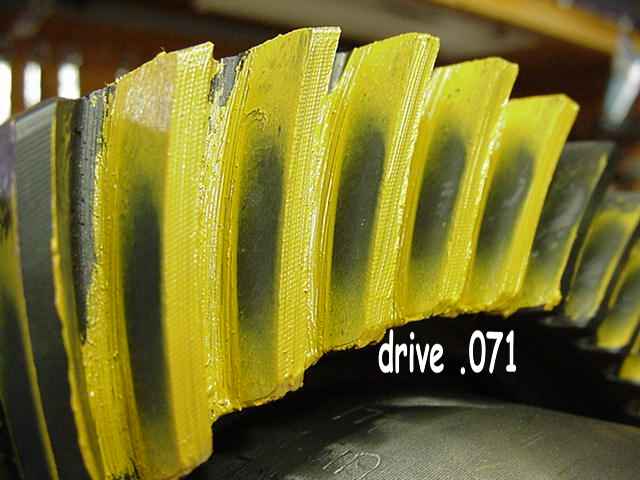
Beautiful drive pattern...correct depth. |
|
nice. |
|
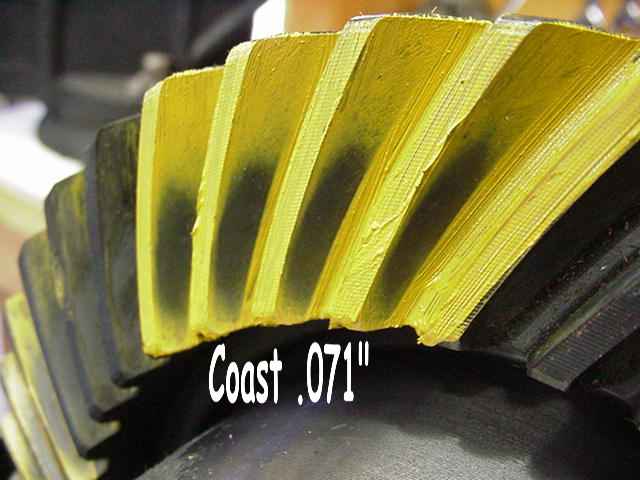
I can improve the drive/coast load bearing even more. By tightening the BL just a little, I can try to pull the drive pattern just a little closer to the toe(inside). But there was almost no effect on the drive... |
|
...but on the coast it had the desired effect to push the pattern closer to center. Balance is excellent from drive to coast. This is why I like PRECISION brand. I can see the quality of these gears. :) |
|
Red Loctite always sees the lock tab bolts and 10 ft/lbs of torque. Almost done... |
|
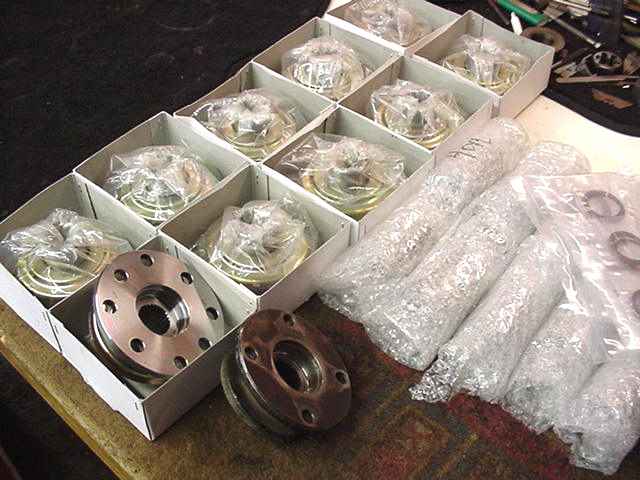
The pinion flange had some bad wear on it so I ordered some spares. The new flanges are VERY nice. |
|
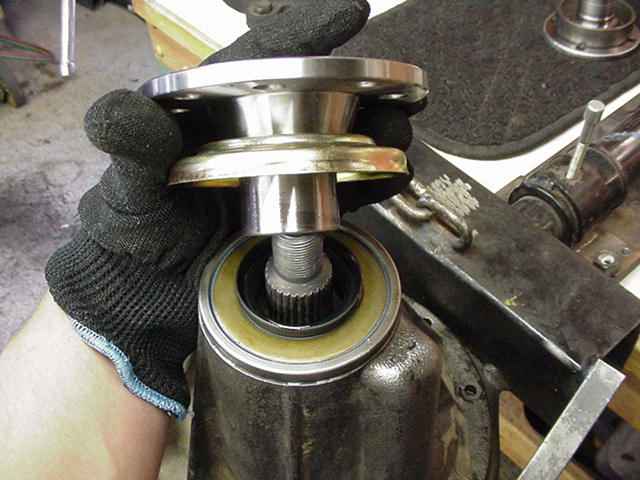
I like to coat the outer steel surface of the pinion seal with Ultra-Blue RTV.... seems to help it tap on nicer and might stop a potential corner leak. |
|
The new seal has clean gear oil splashed on it from a Q-tip. |
|
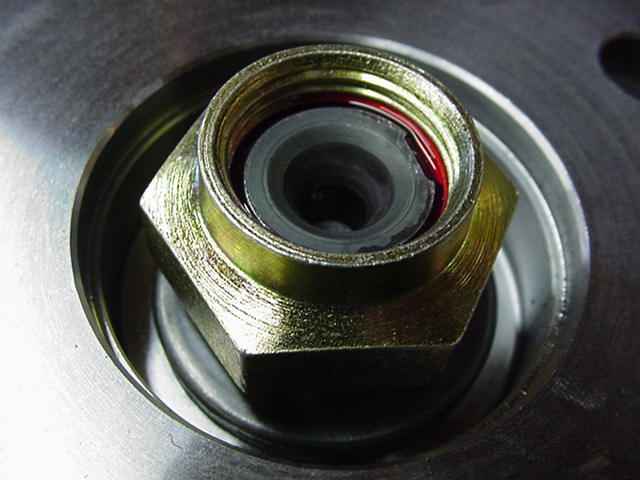
The new 30mm nut has red Loctite on the threads. |
|
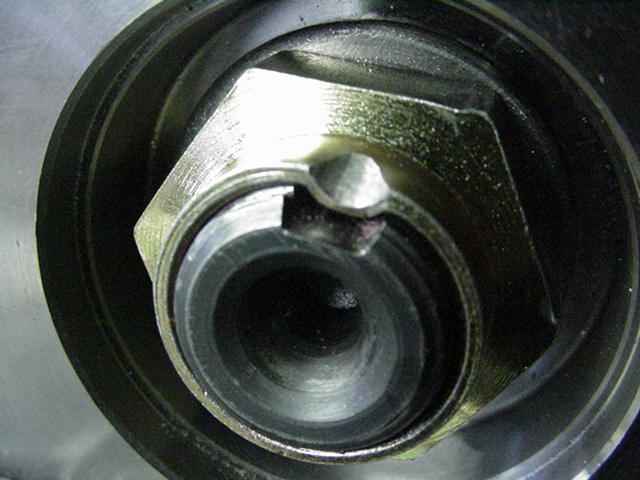
I have a punch with a rounded tip that leaves a nice dent in the nut. |
|
Ready to head back to Randy :) |
|
|

|