|
|
|
|
|
|
|
|
|
|
This is an update to an e-locker 571 "Motive" gear install I did for Jim from New Mexico about 6 years ago. It was 6 years ago but the F-toy has only been used hard for only the past full year. Jim was hearing some noises and took the rear 3rd out to discover that the ring teeth were ok....but the "stronger" pinion teeth were all self-destructing! 39 larger pics have been added below. |
|---|
|
|
|
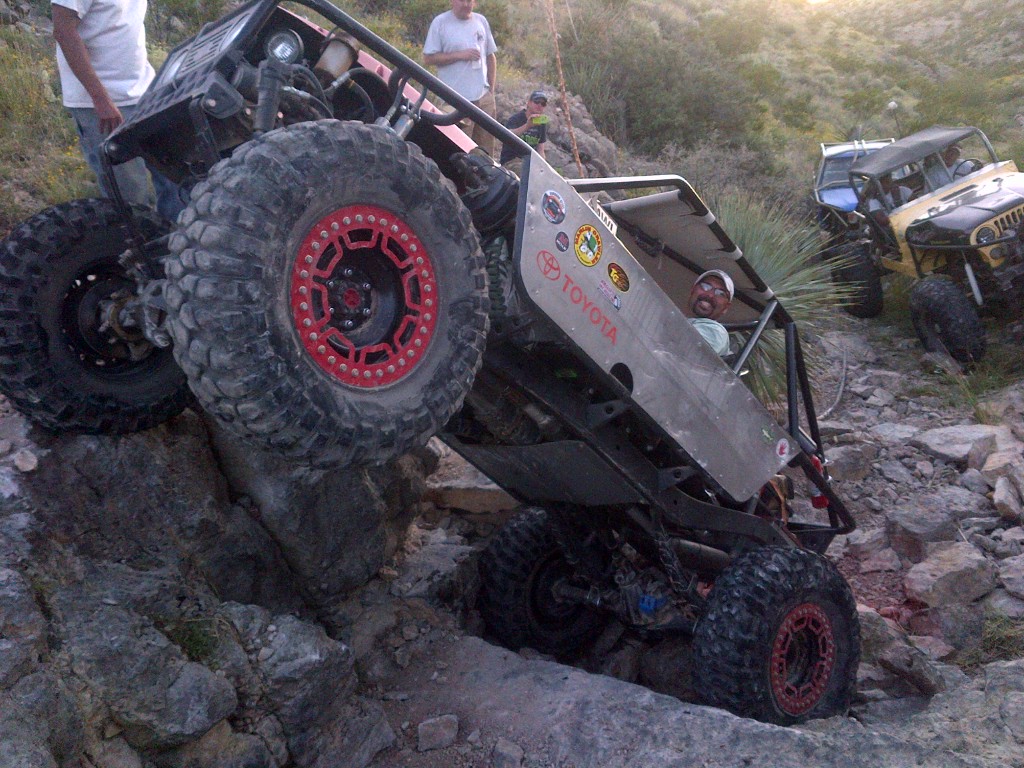
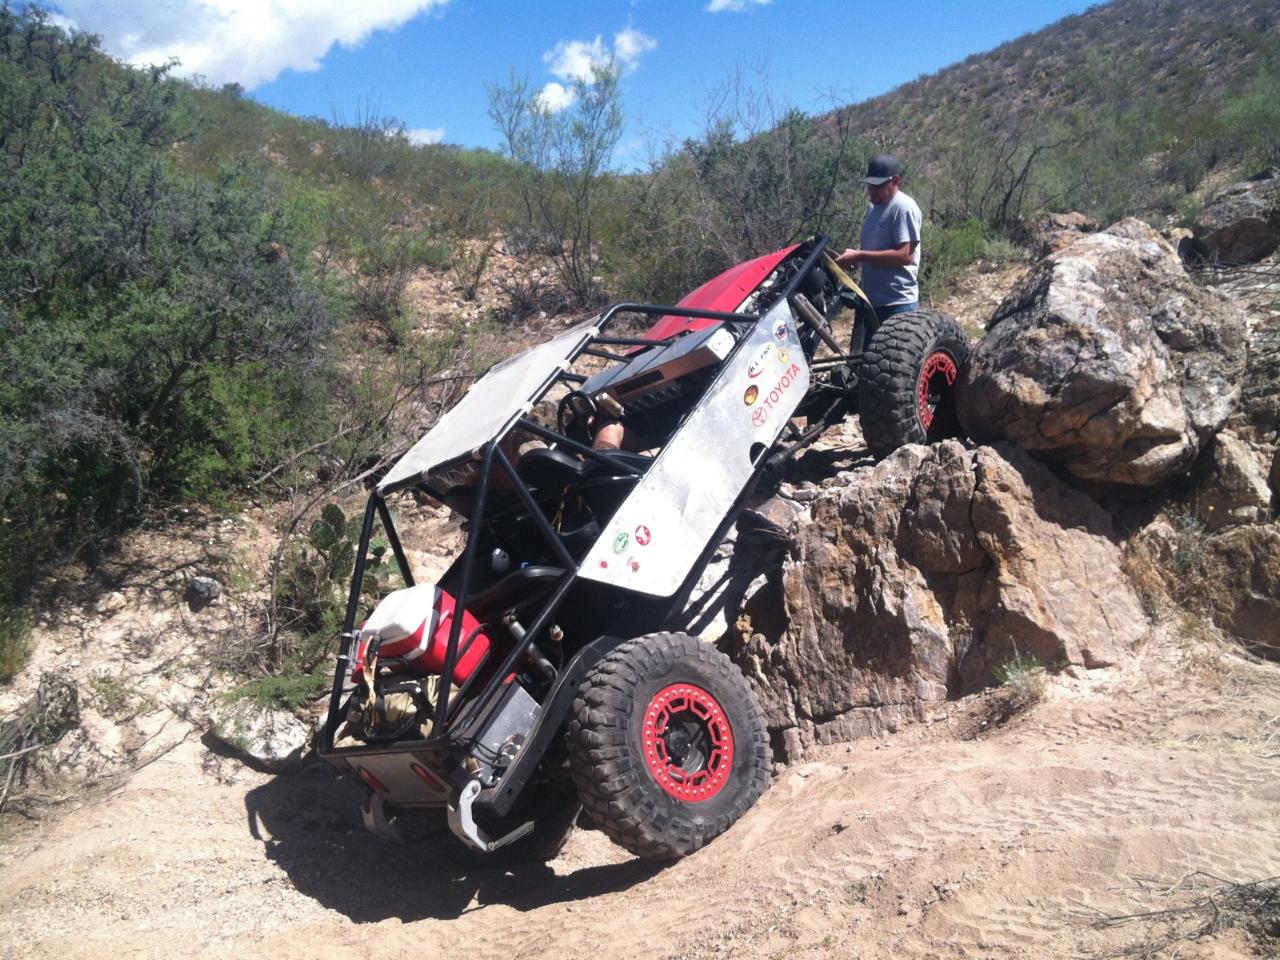
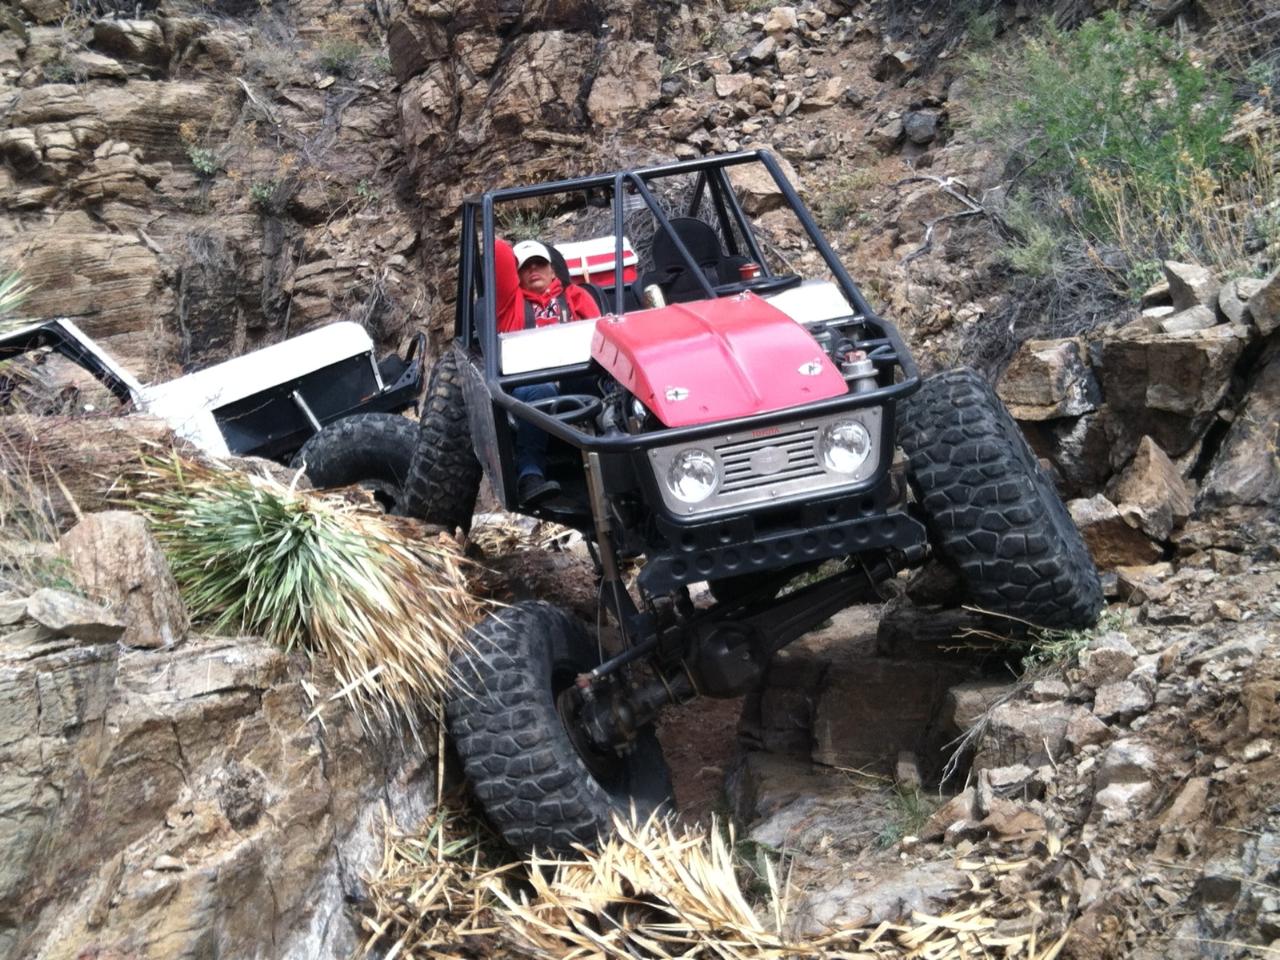
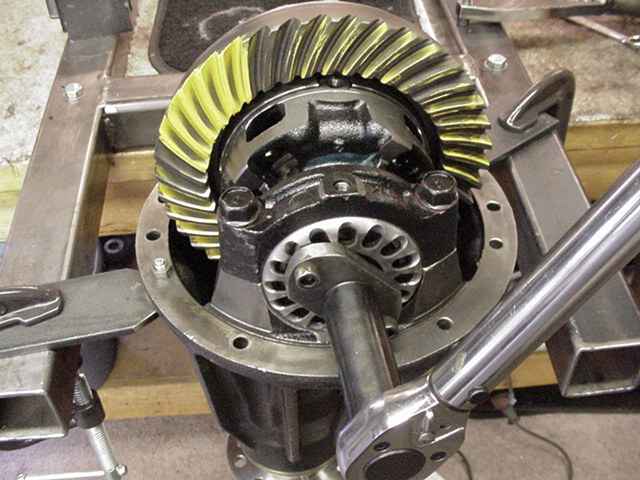
As of now (June 5), the new G2 gears have been re-installed in the F-toy and Jim has already been beating on it pretty good on last weekend.  Above 2 pic are from last weekend with the new G2 571 gears. |
|
|
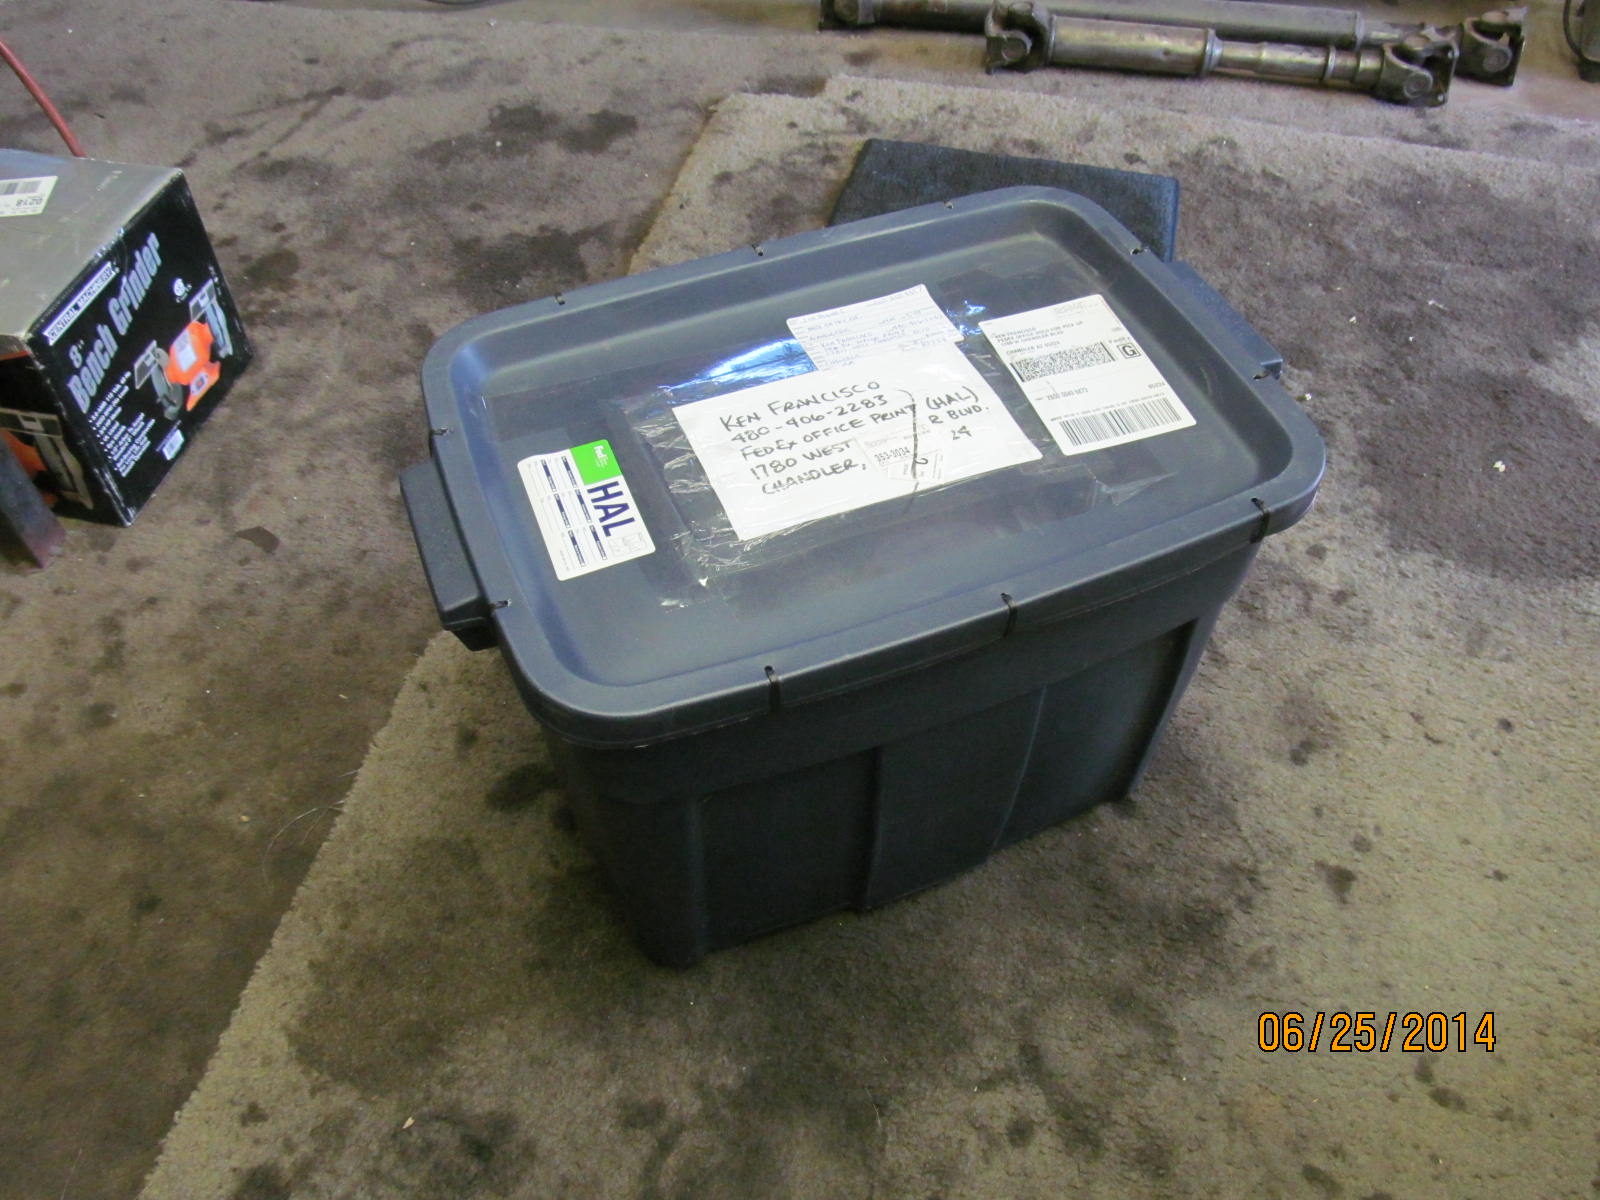
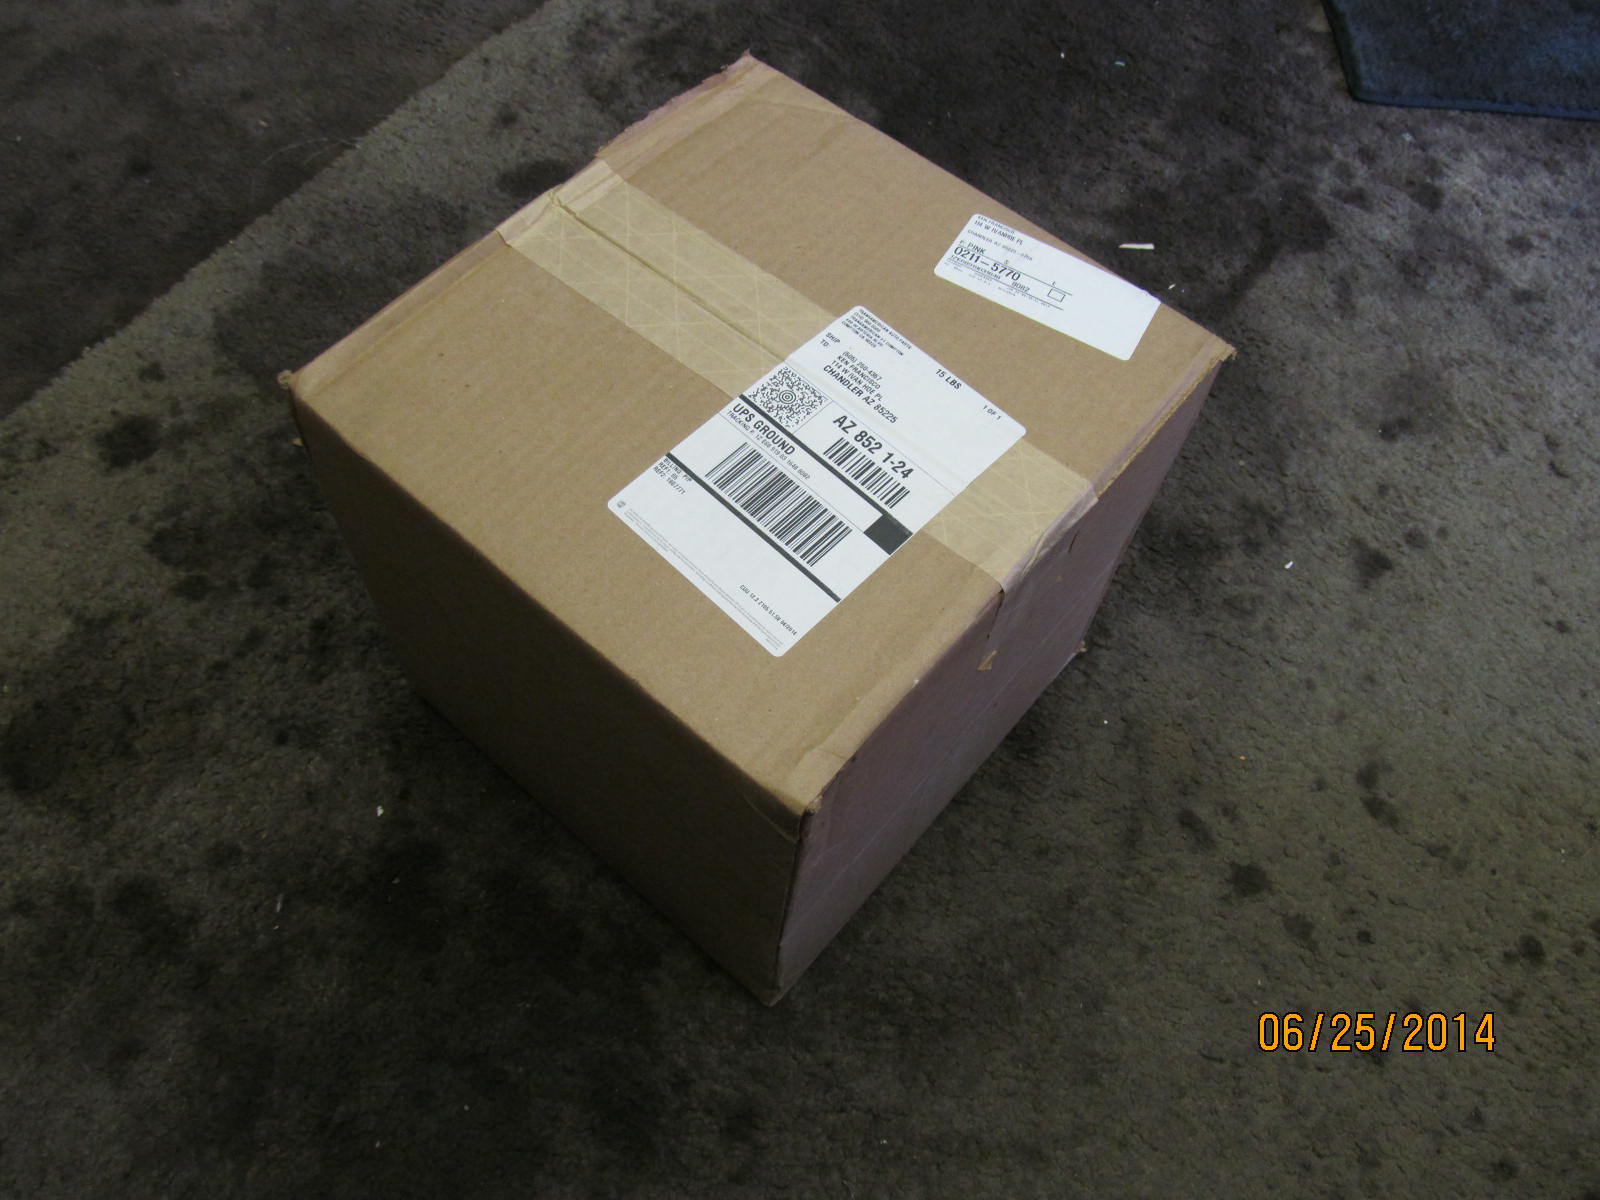
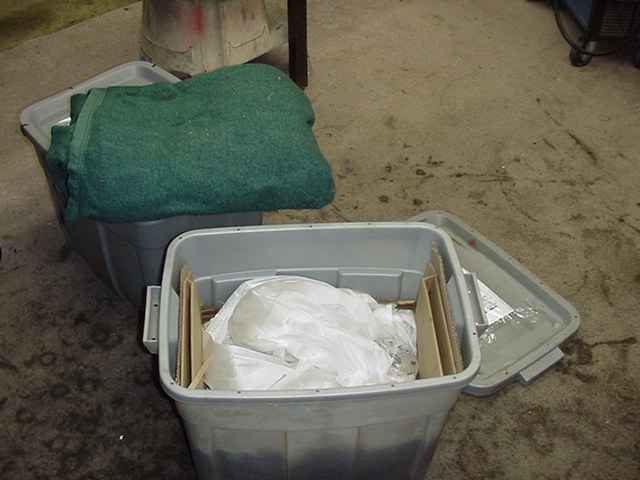
| The tote as received at the local small Fedex outlet. |
|
|
|
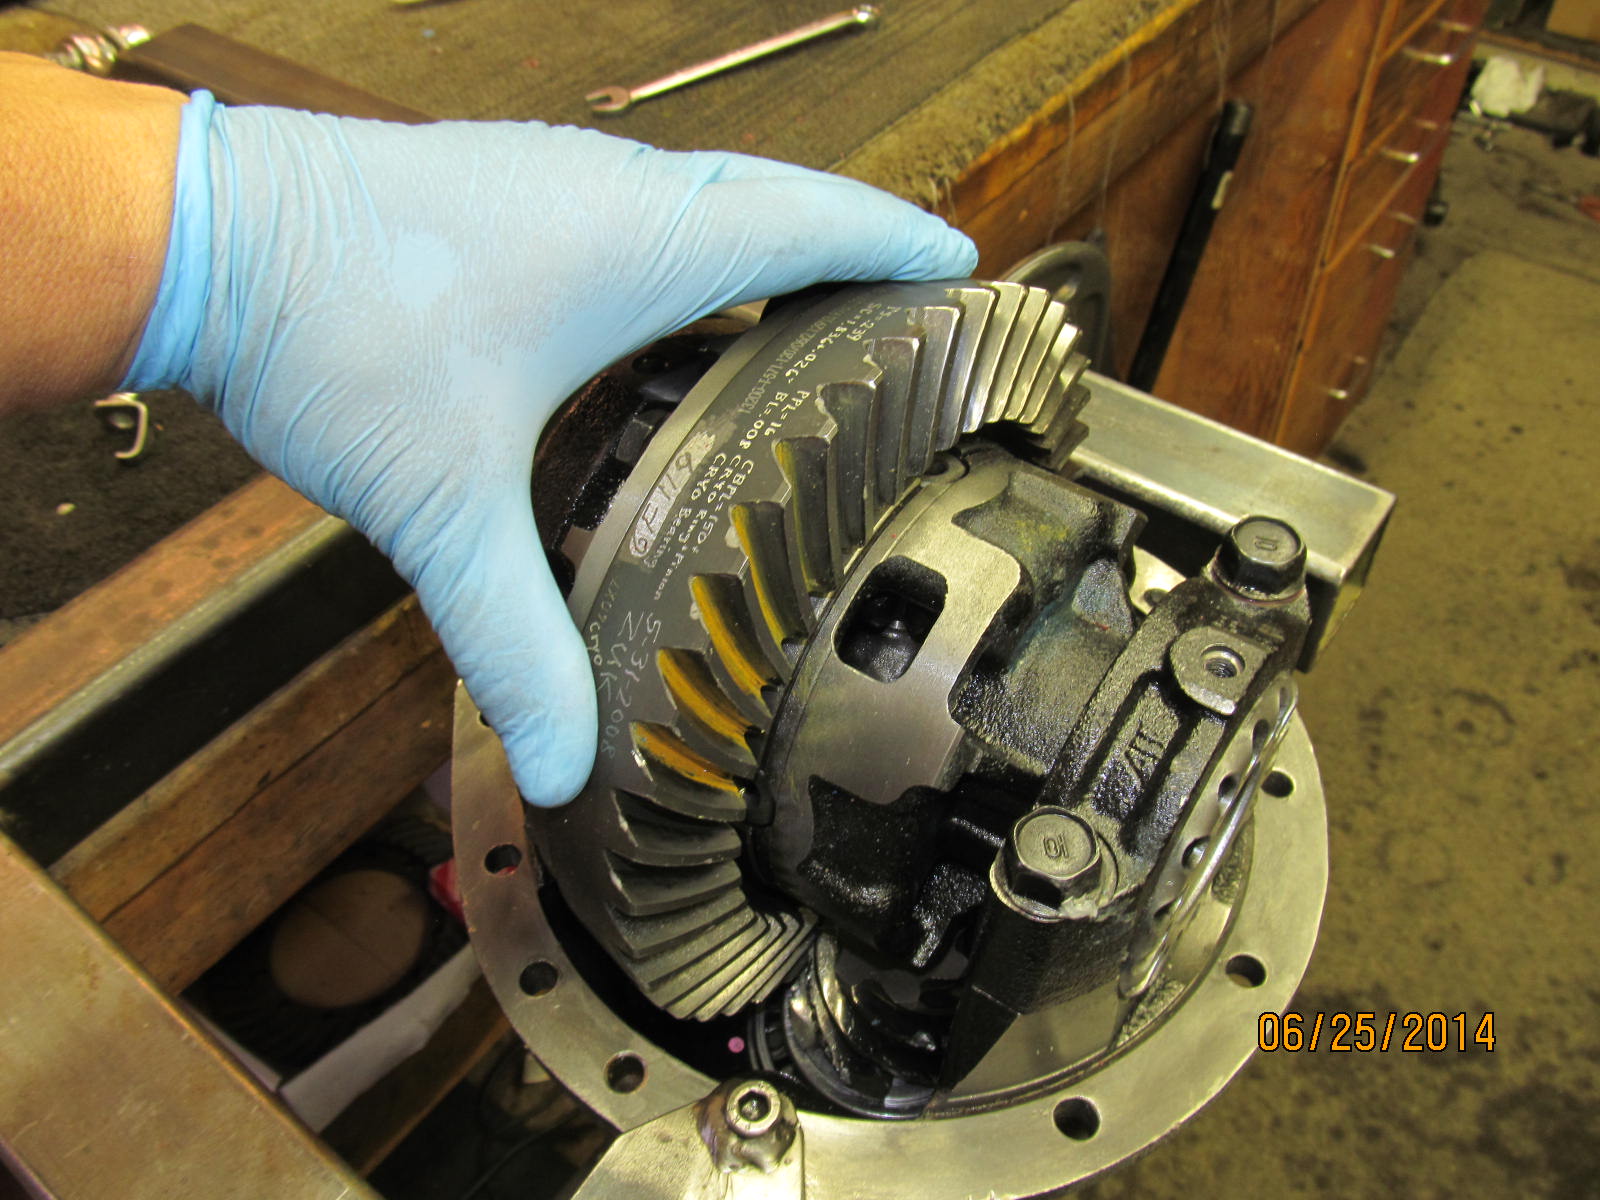
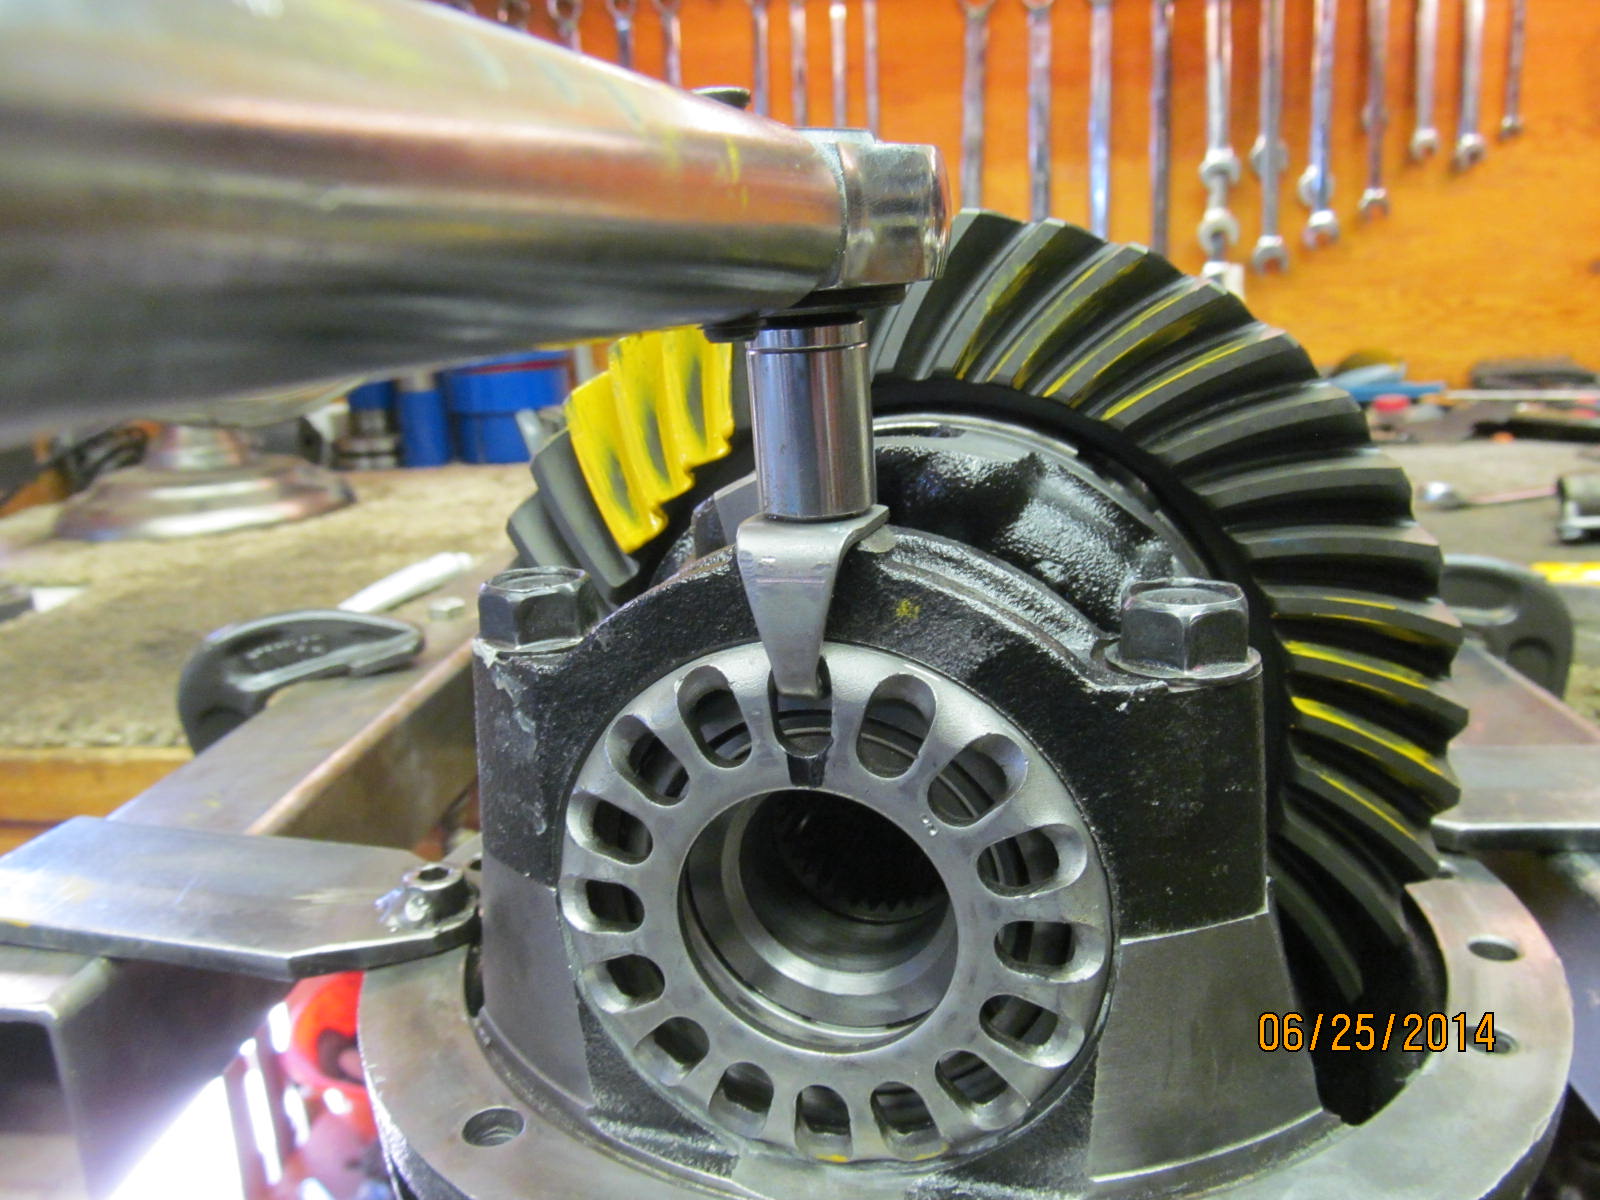
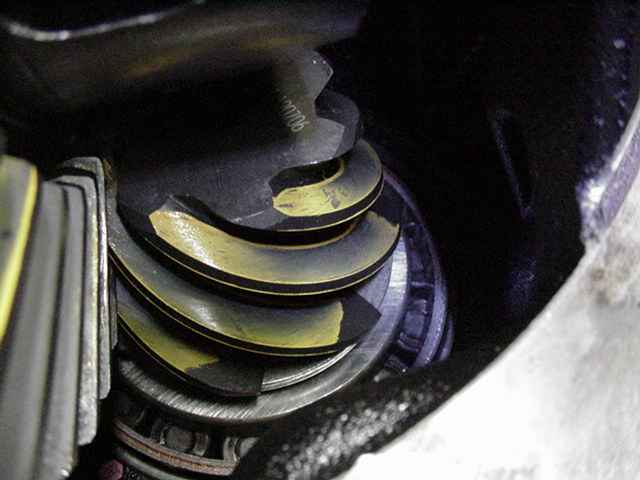
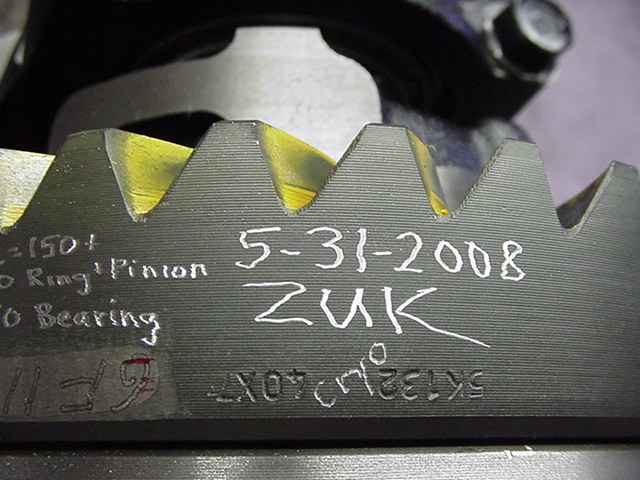
That's the residual yellow paint from 2008....none of the actual ring gear teeth are broken. Wait 'til you see the pinion teeth a few pictures down. |
|
|
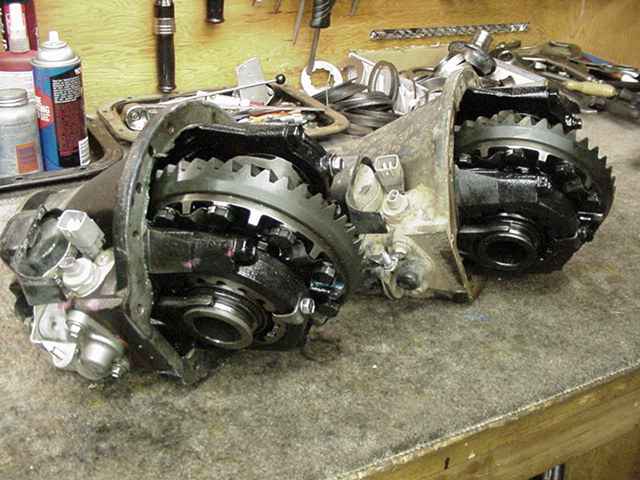
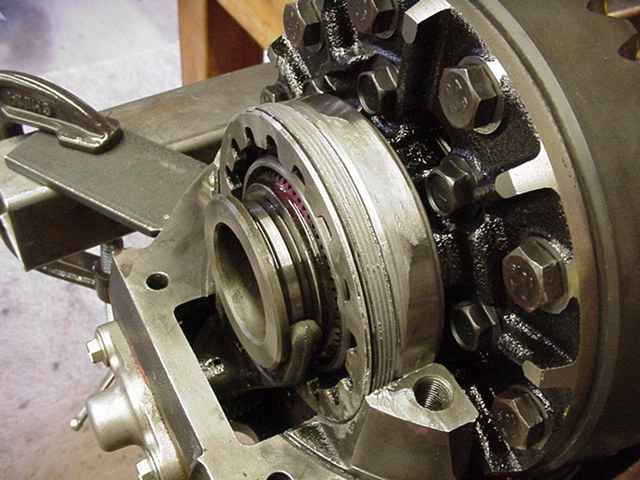
| Carrier bearing pre-load check---looks great. Still has plenty of carrier bearing preload. |
|
|
|
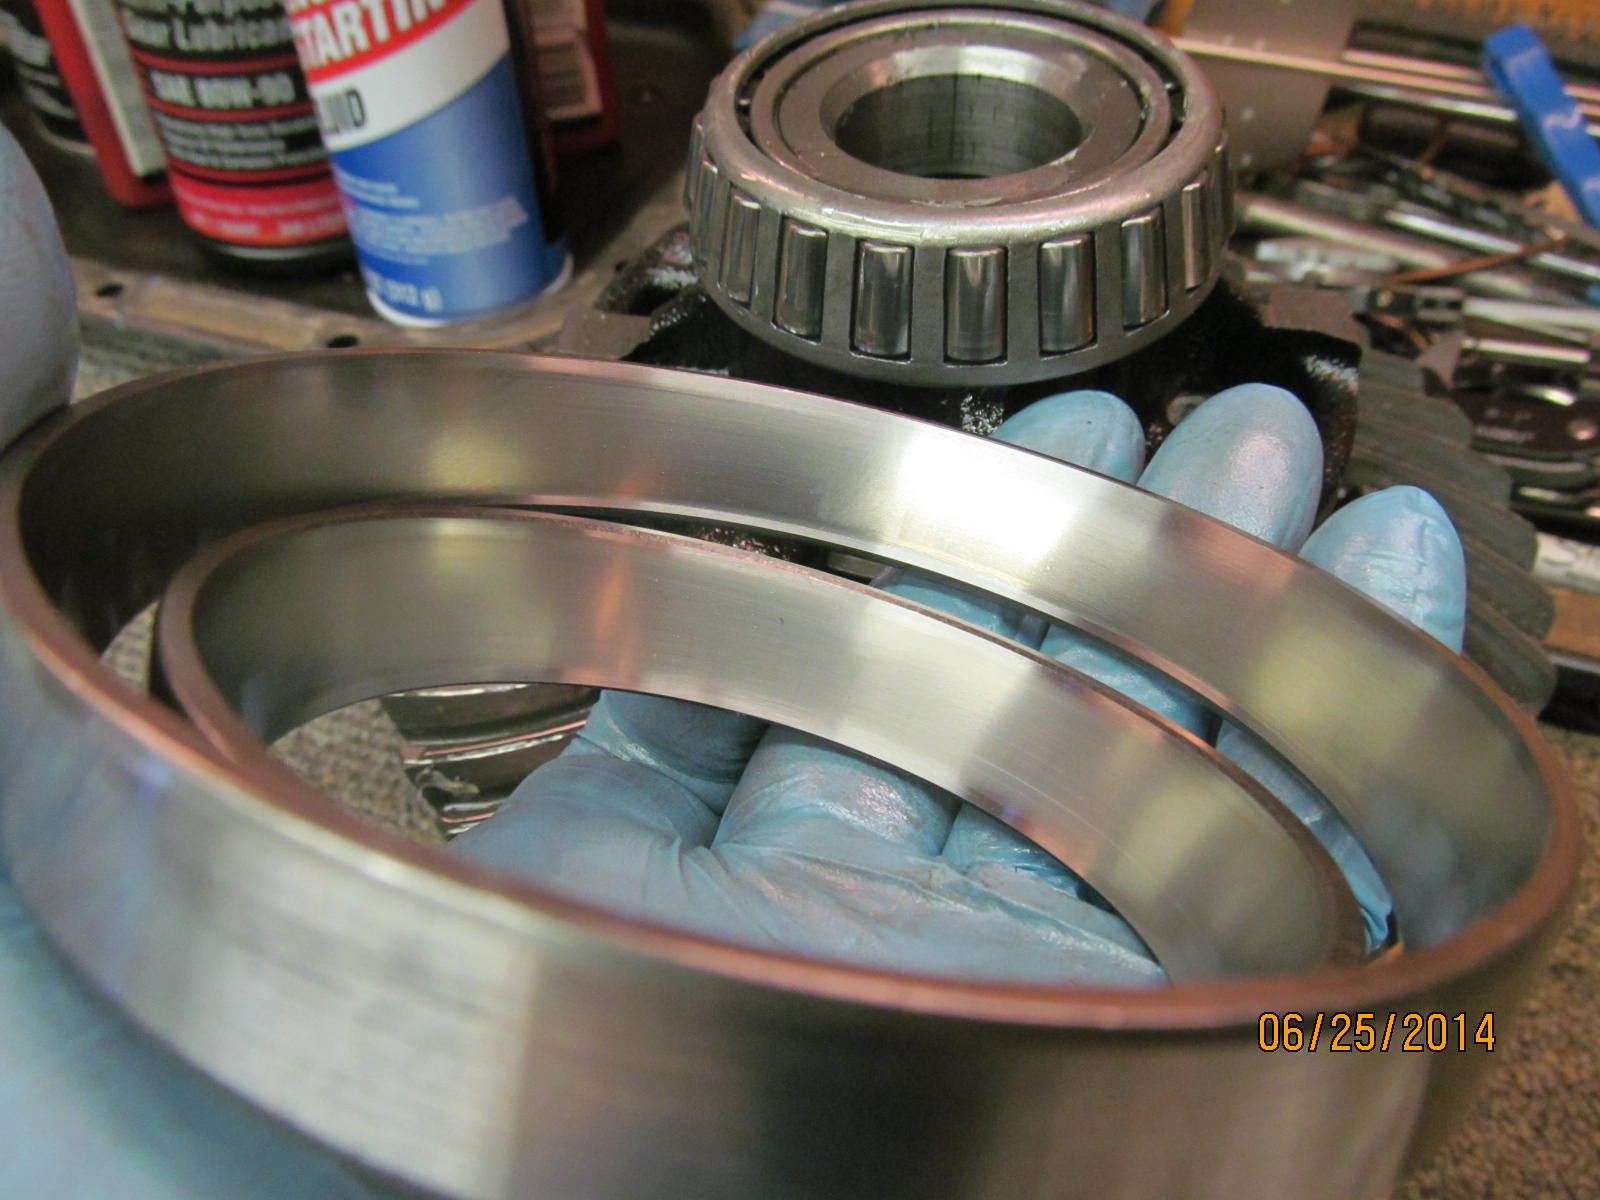
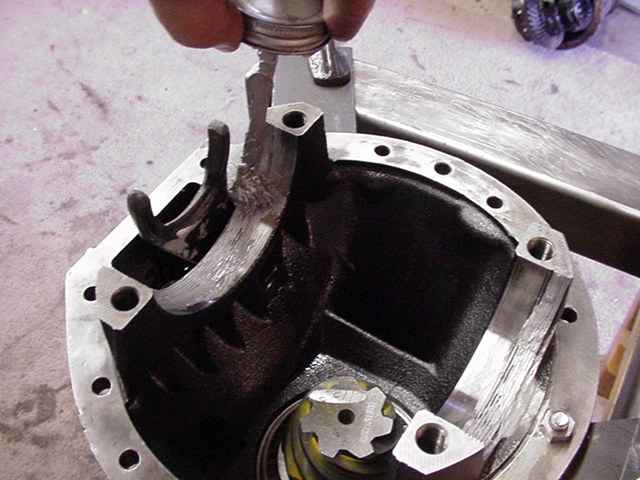
I skipped a few picture taking opportunities and pulled the e-locker case out of the main 3rd...both carrier bearing races still look very good. The F-toy never sees the highway of course and is used offroad only at relatively low speeds. |
|
|
|
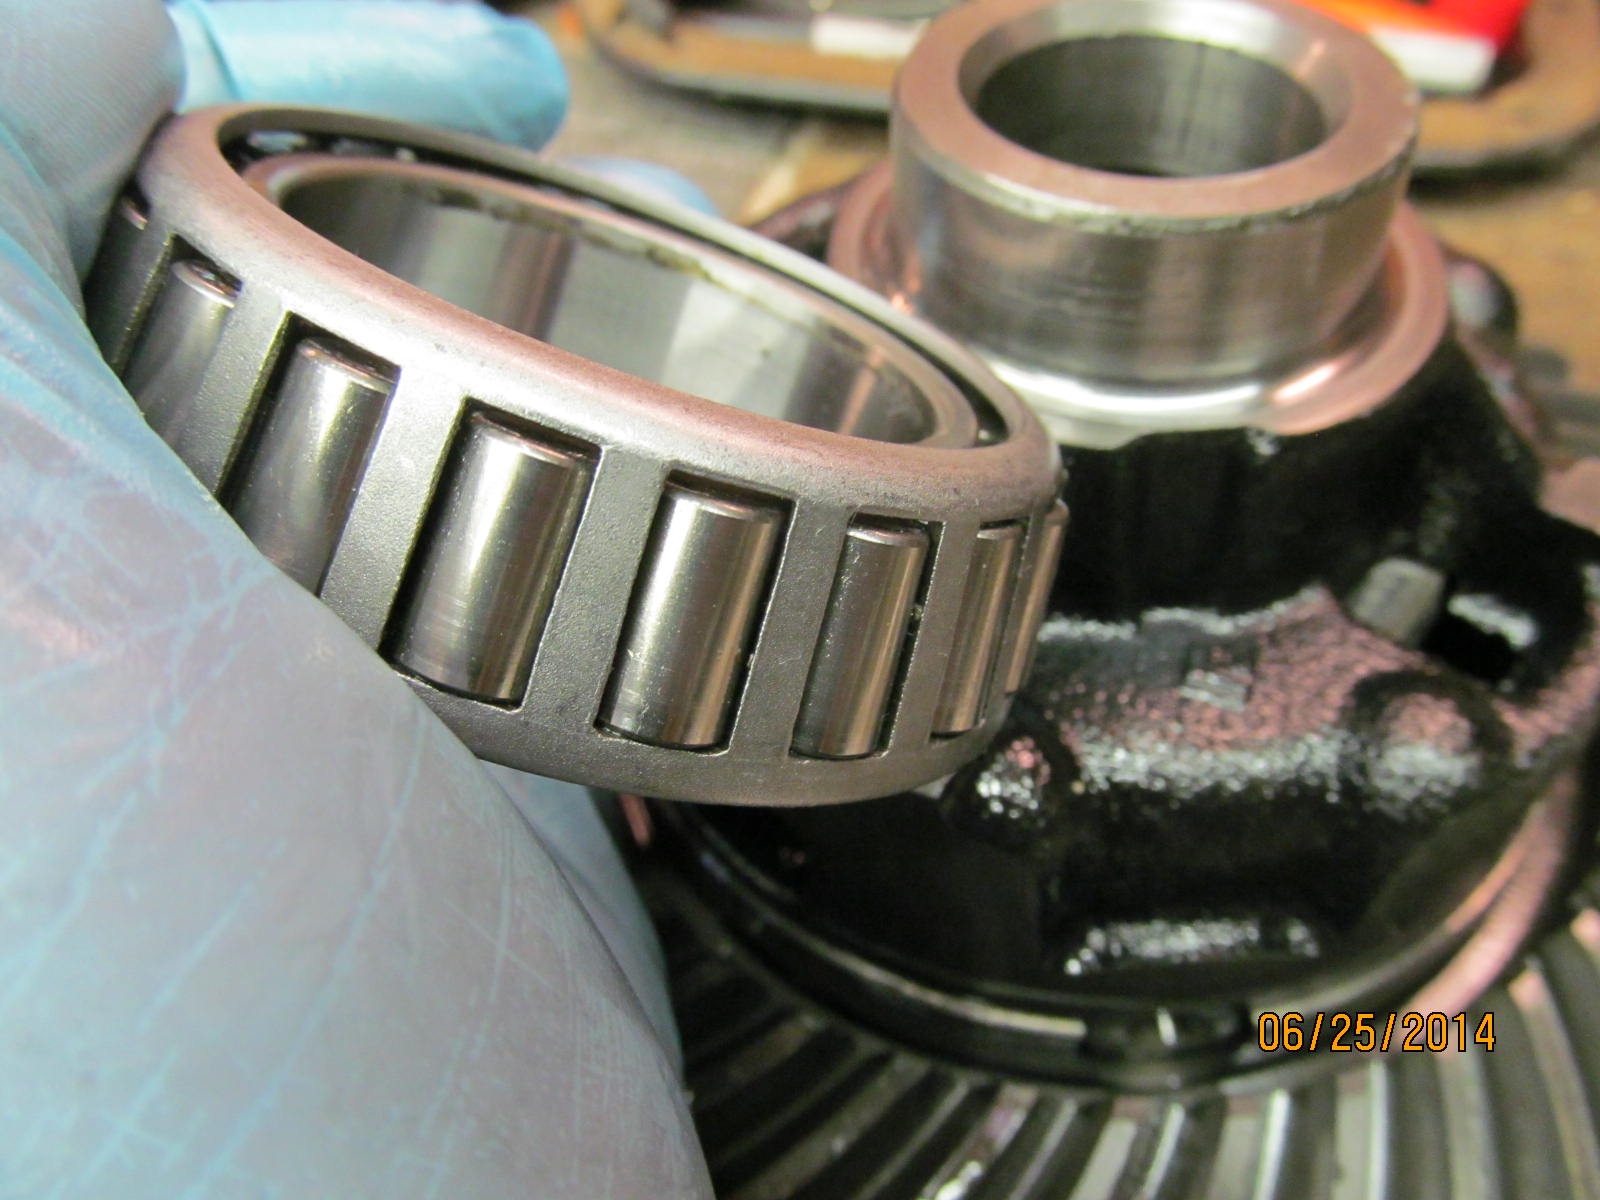
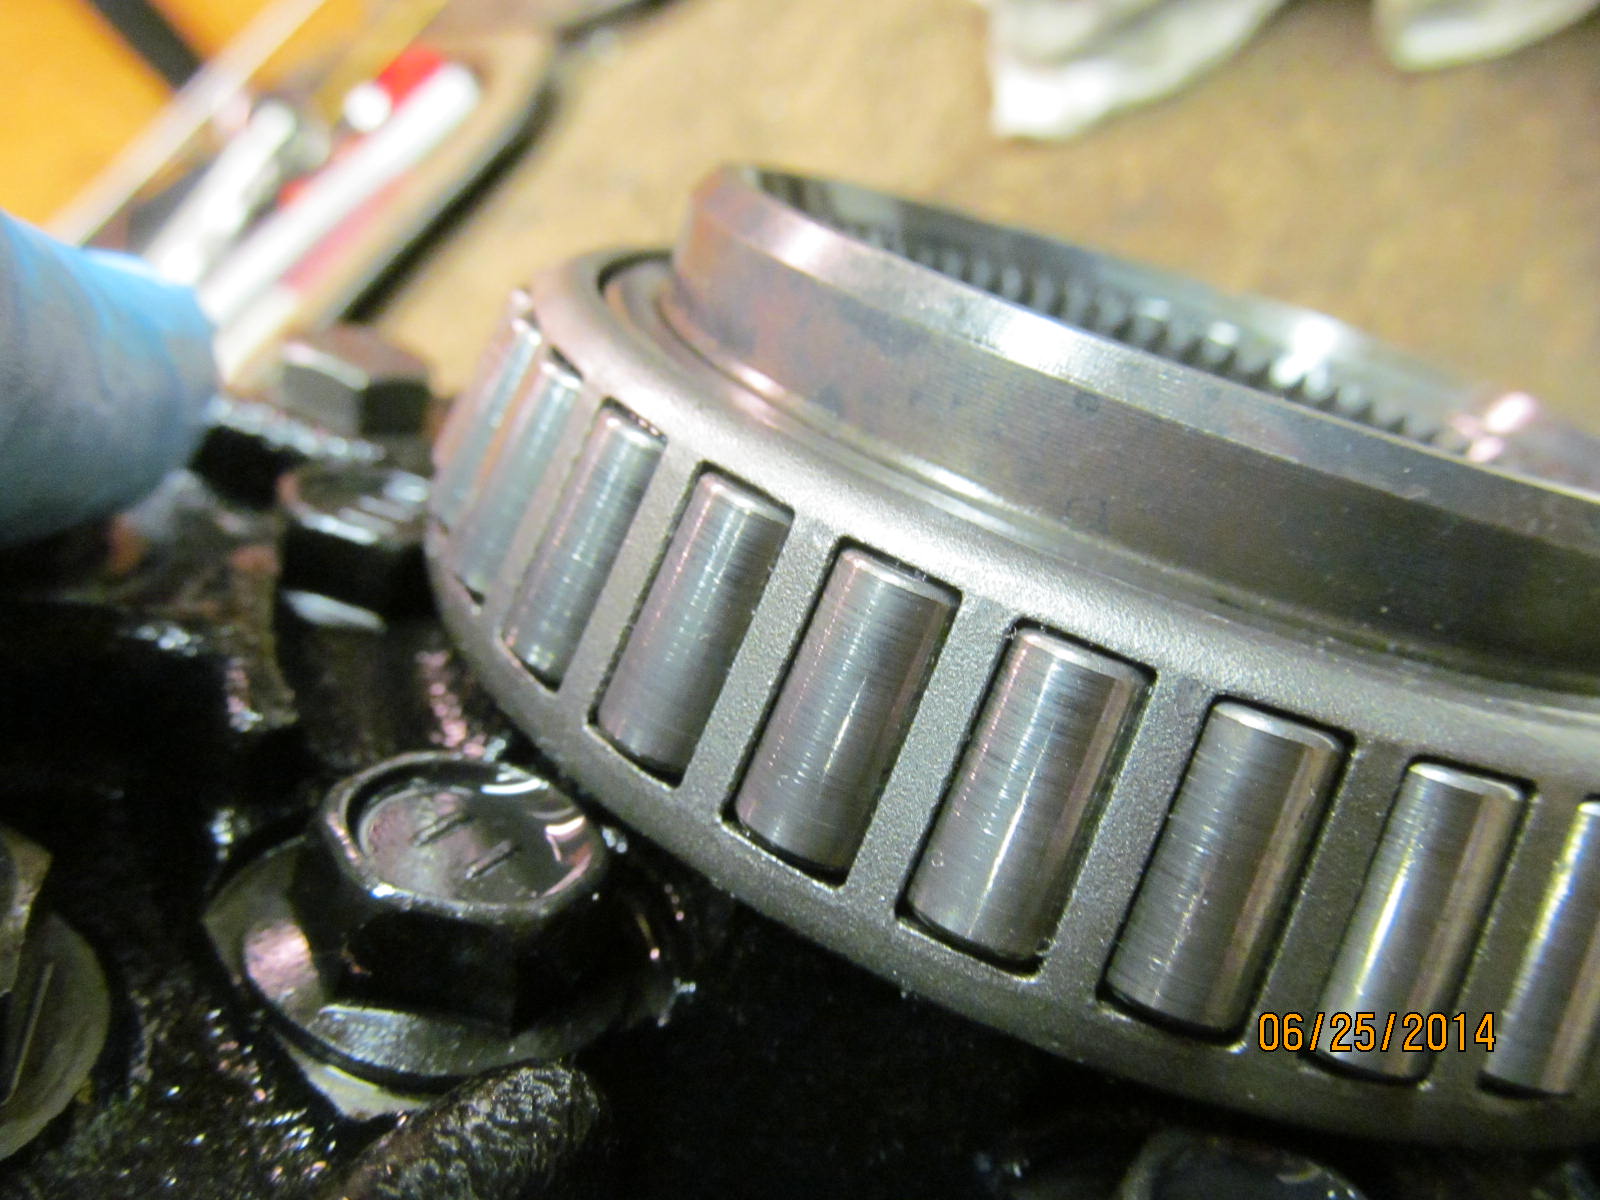
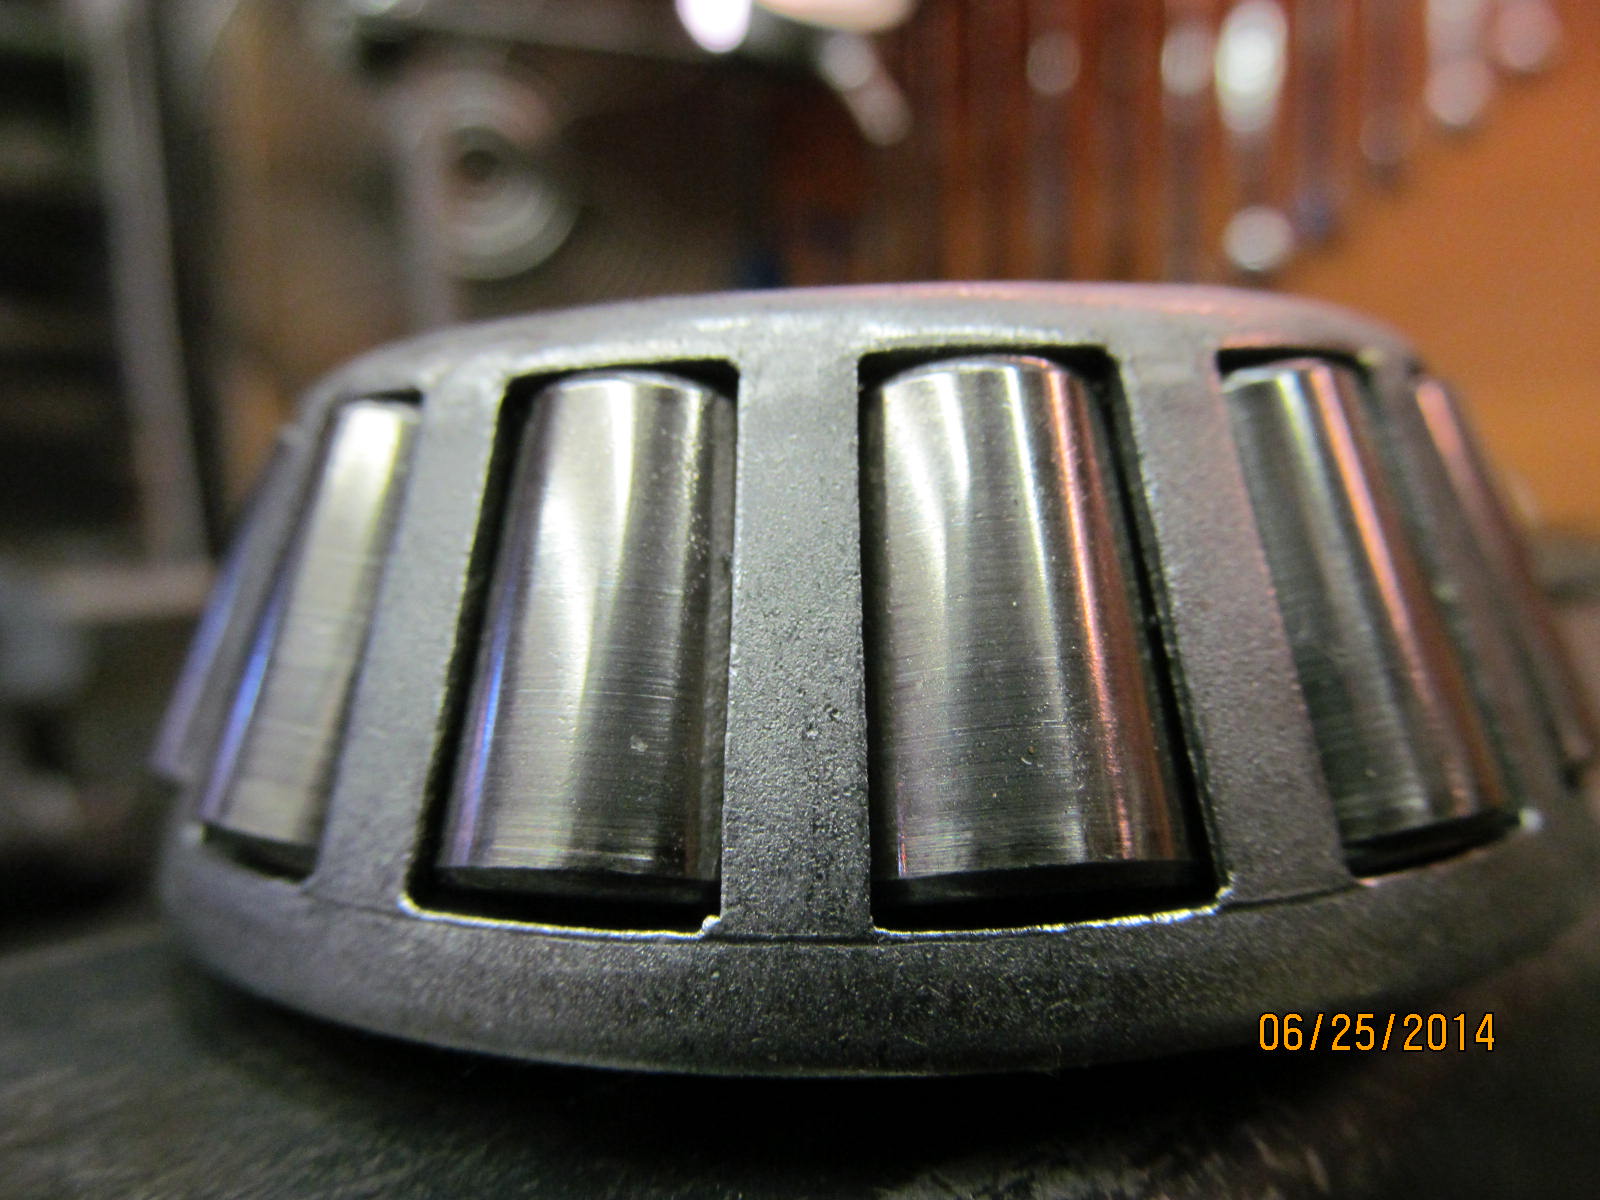
Rollers in excellent shape. This bearing did come off easier than it should have from the journal so it will see "sleeve retainer compound" during re-assembly. |
|
|
|
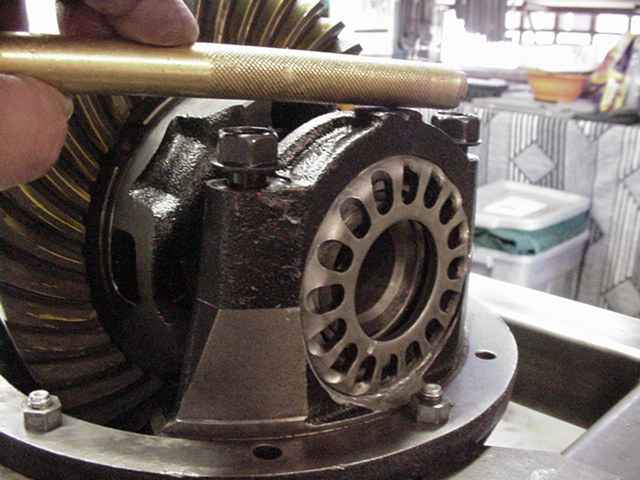
Deceptive jpeg picture...this monster carrier bearing is not as bad as it appears here. Very good shape and minor scratch marks. |
|
|
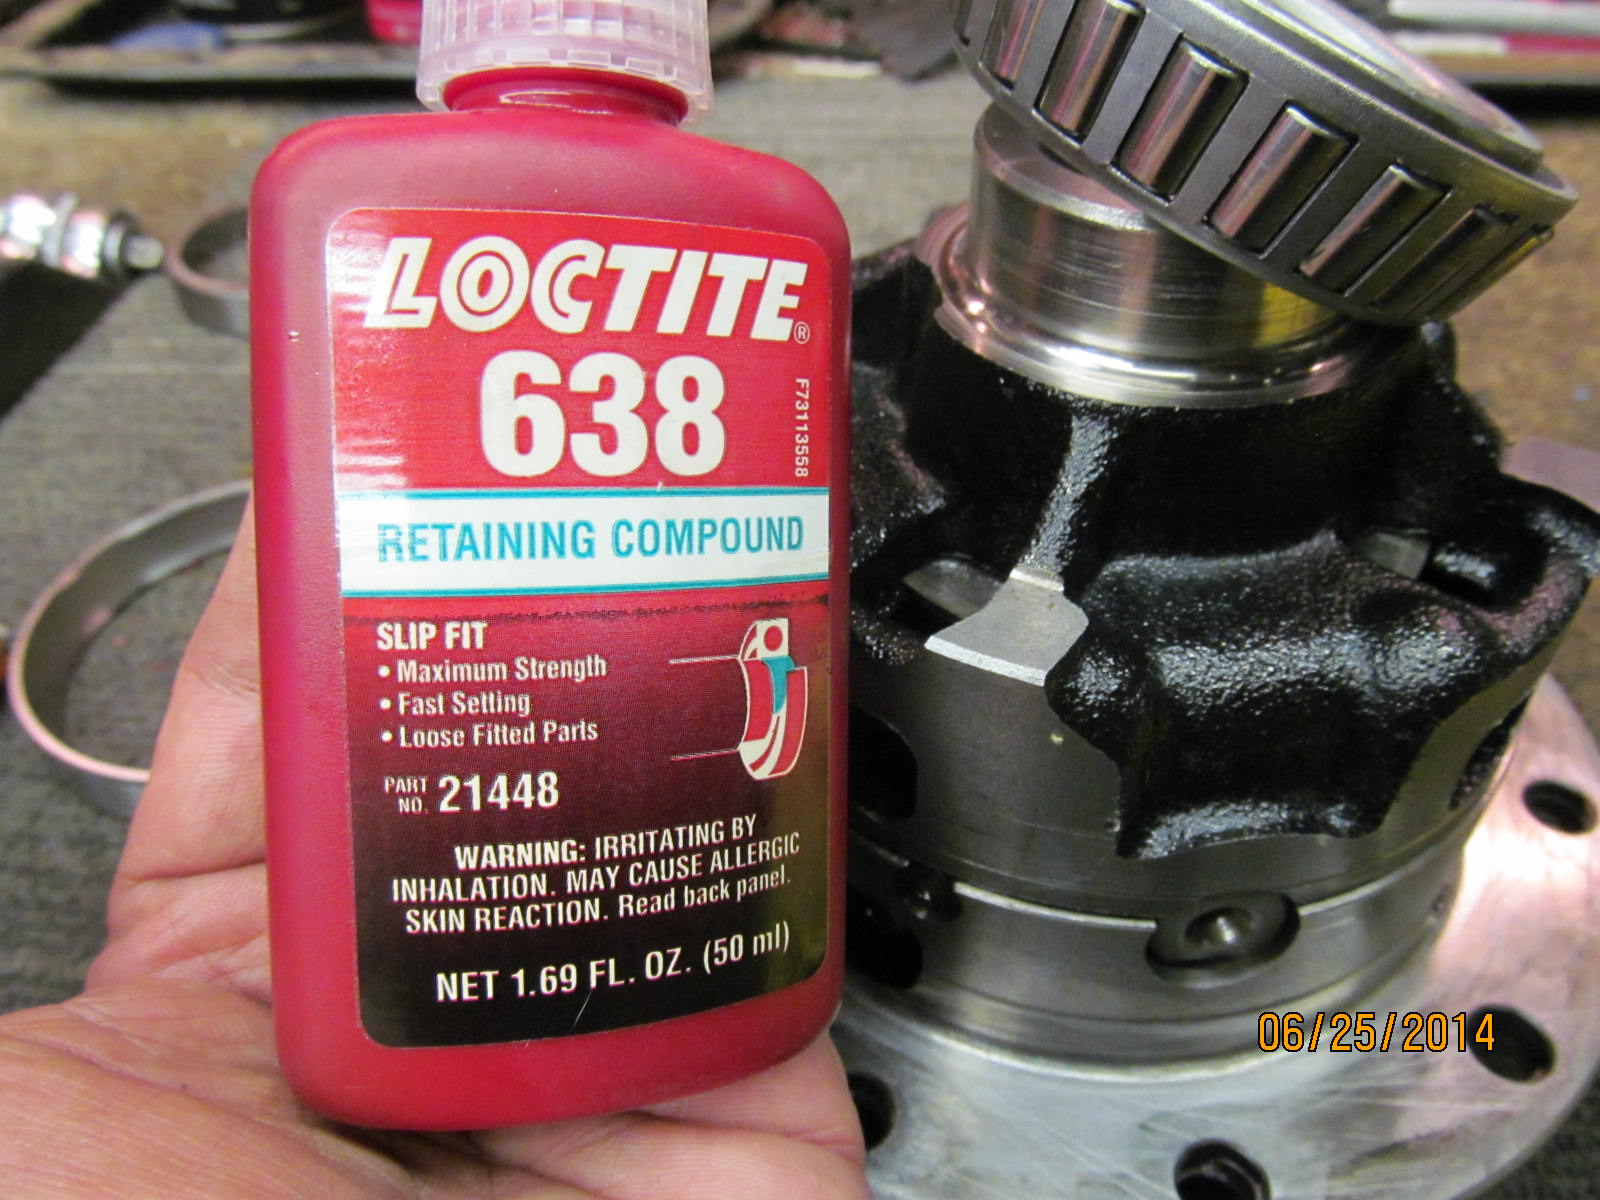
| Clean the surface of all oils and dirt and apply to loose fitting bearings... |
|
|
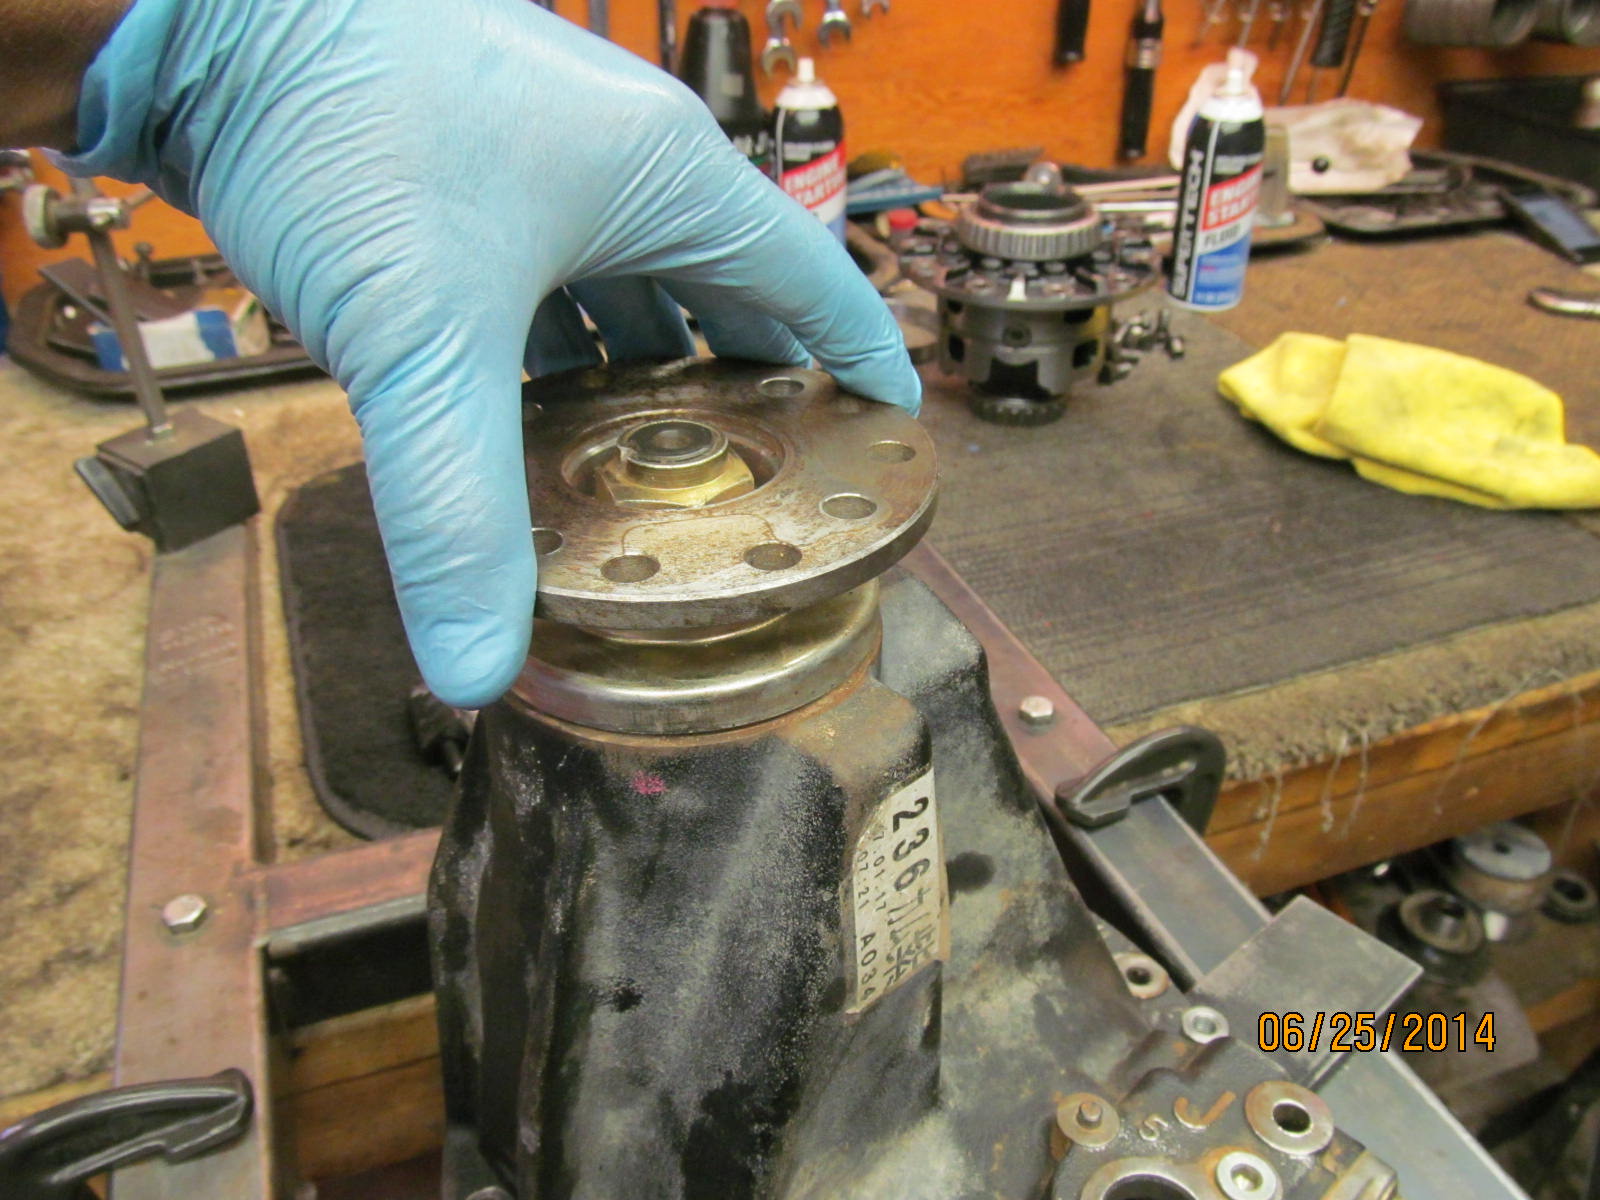
| Pinion pre-load check---not in the least bit wobbly and, in fact, felt good with some pre-load still left. |
|
|
|
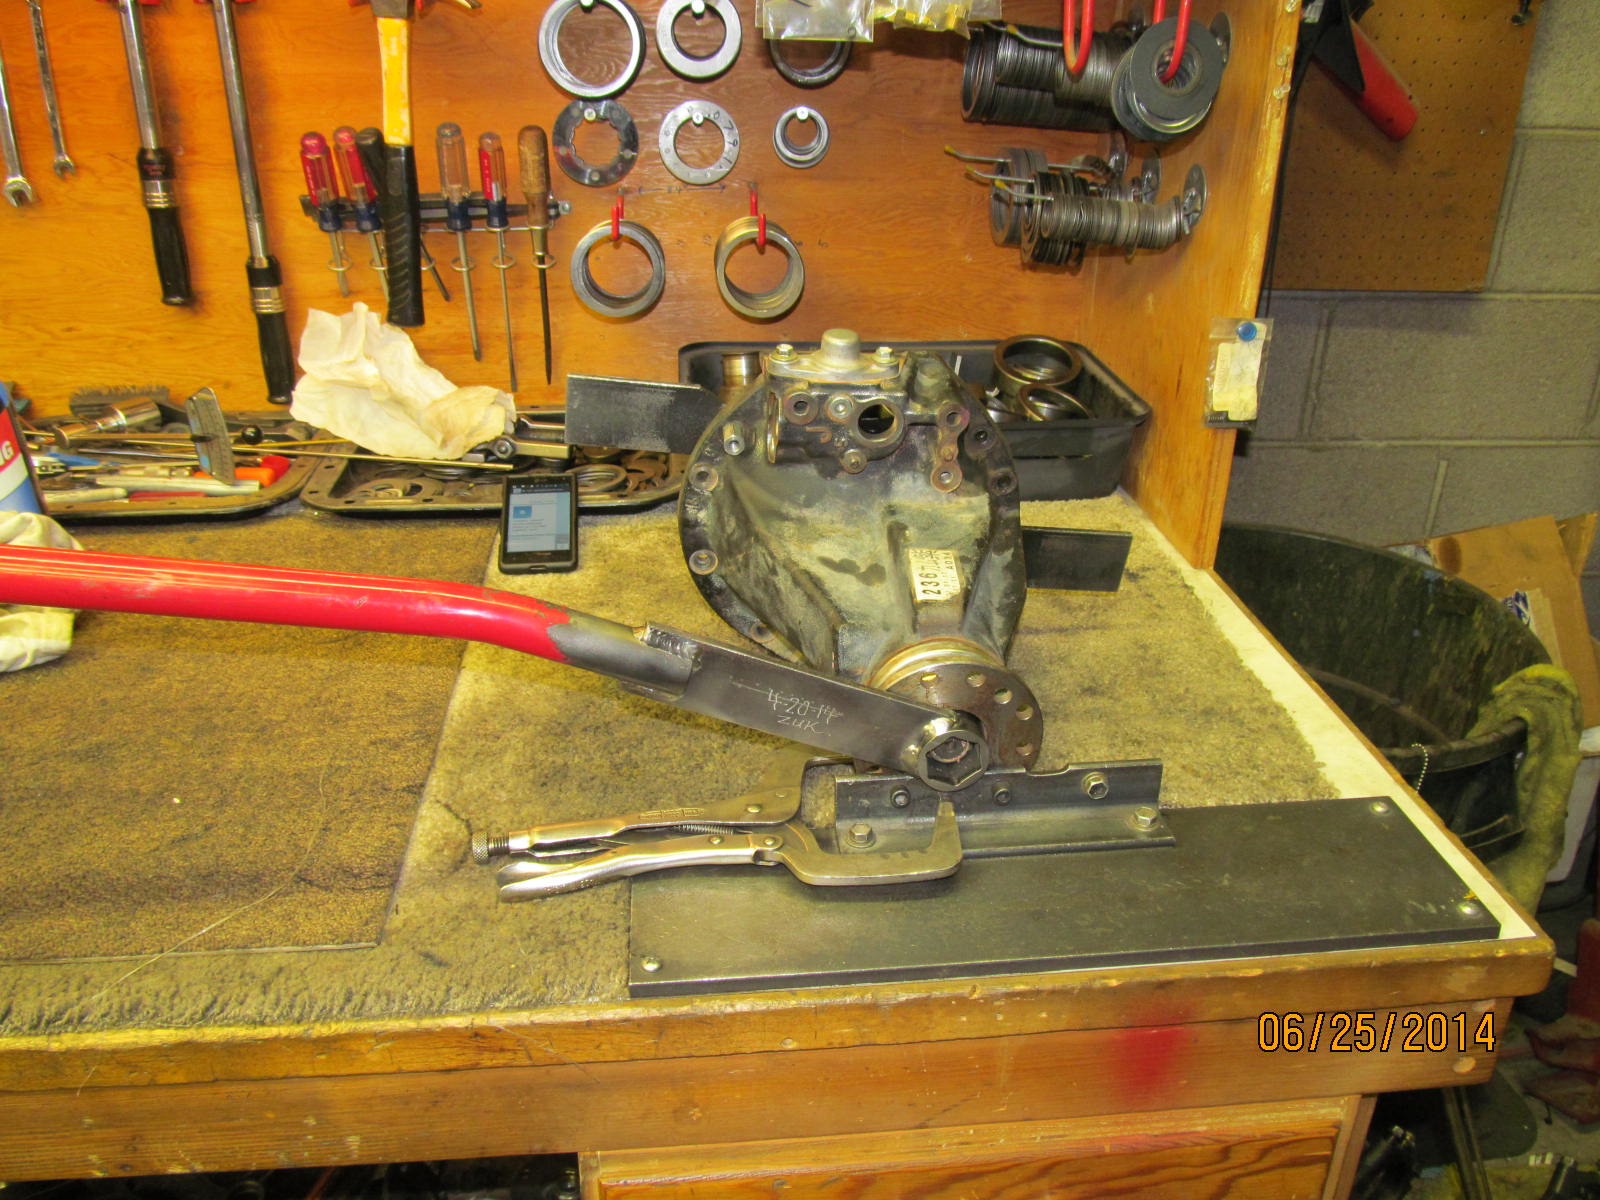
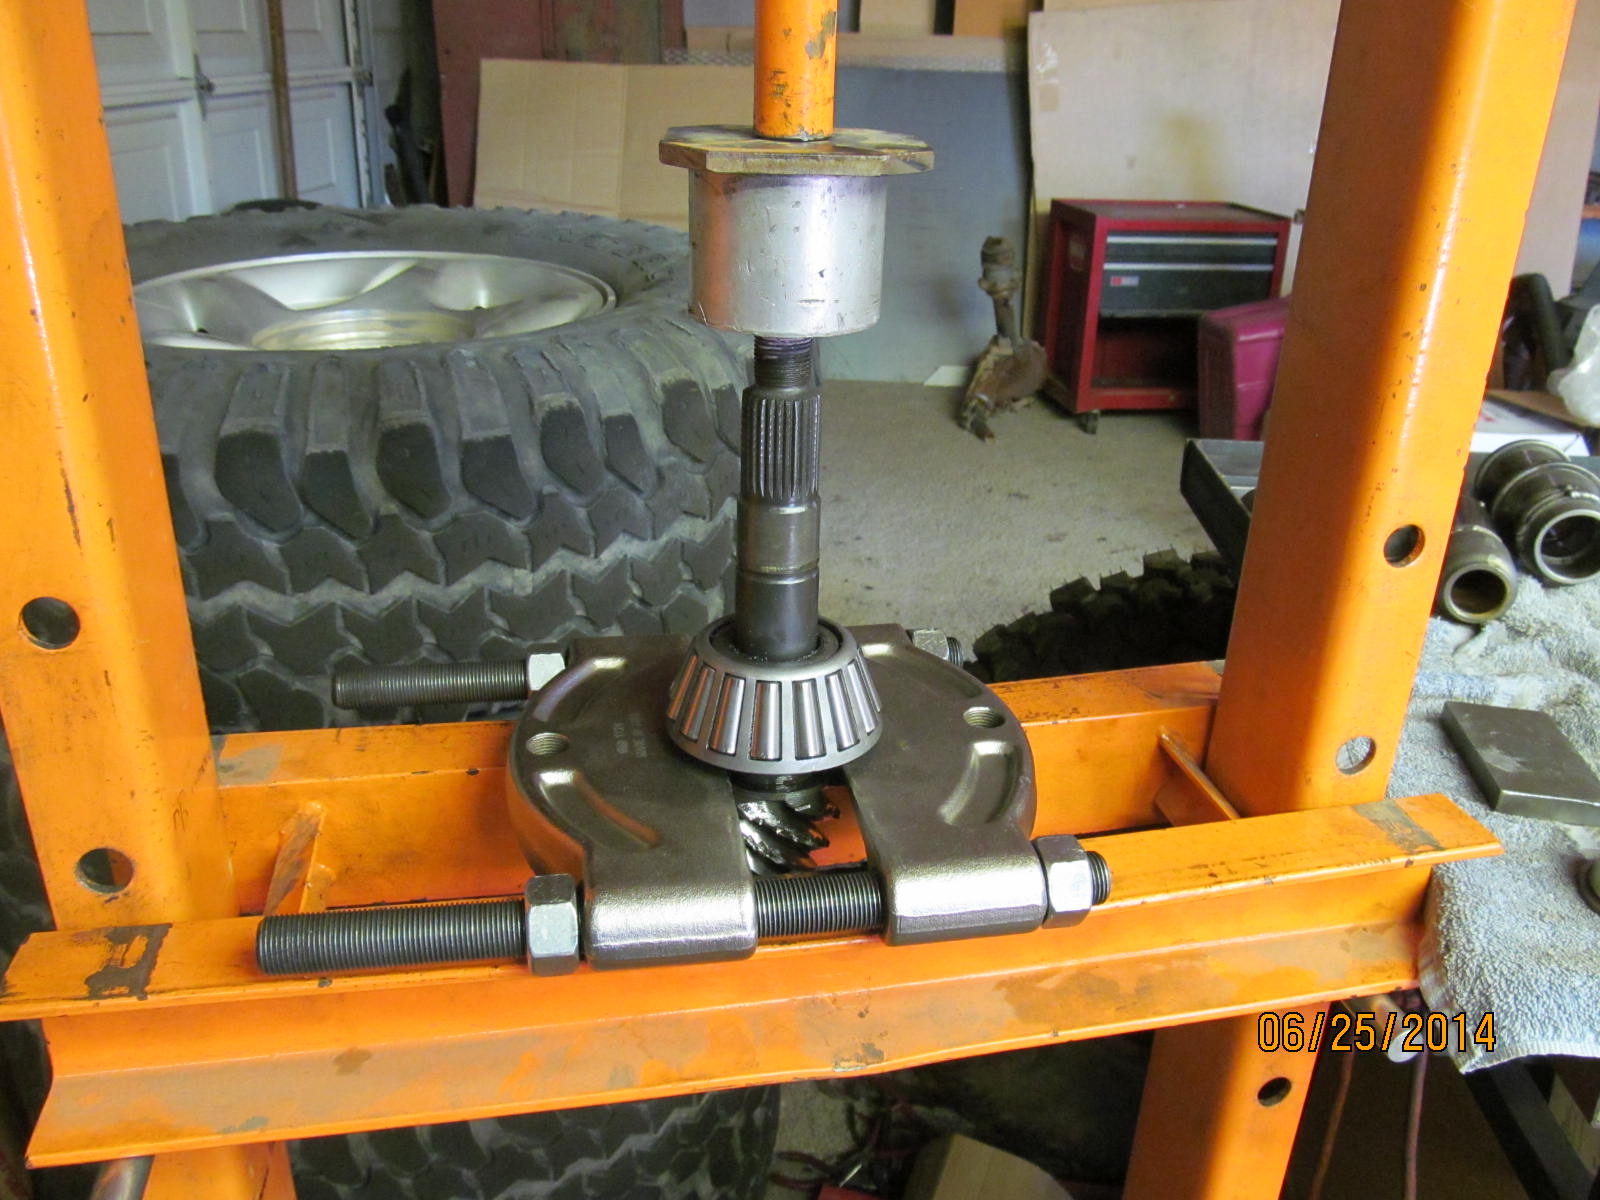
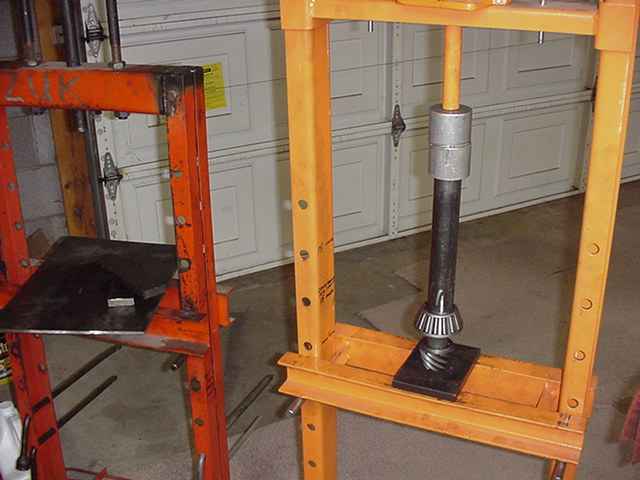
Because I used high strength red loctite 6 years ago, my electric impact would not budge this pinion nut. I had to break out Big Bertha. The Android is very nervous being so close to the 75 pound diff... |
|
|
| One hour after receiving the 78 pound tote, I get this from the UPS guys. Such good timing. |
|
|
|
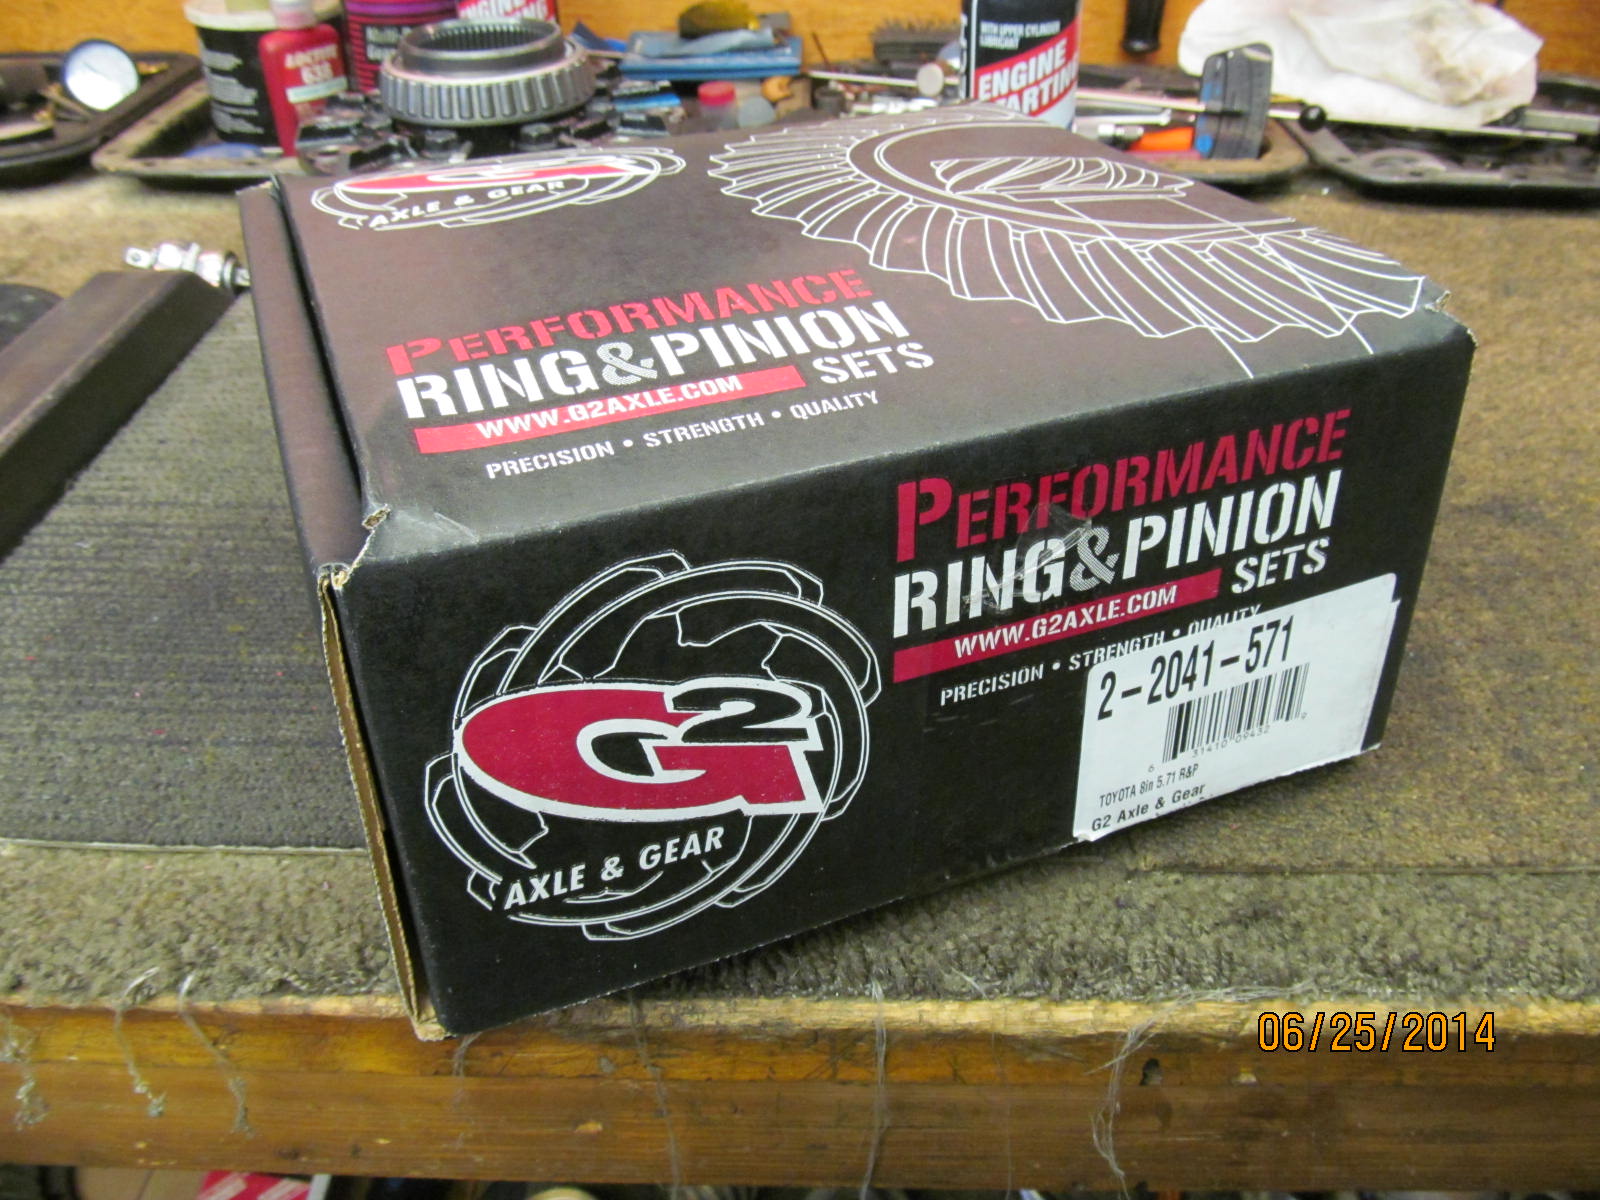
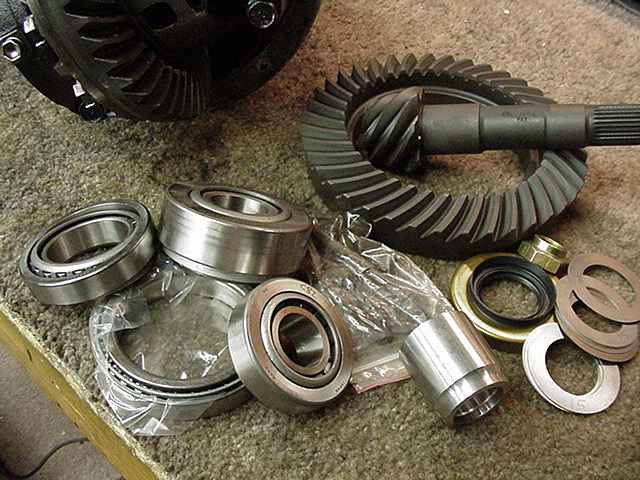
Not being very impressed with some of the Motive gears for the Toyota 8" applications, I specifically requested Jim to have a G2 Hi-Performance series 571 ratio sent to me. These came from 4 Wheel Parts. These are not to be confused with the economy Genuine low budget lifetime warranty gears. G2's are in a league far above the economy Genuines. |
|
|
|
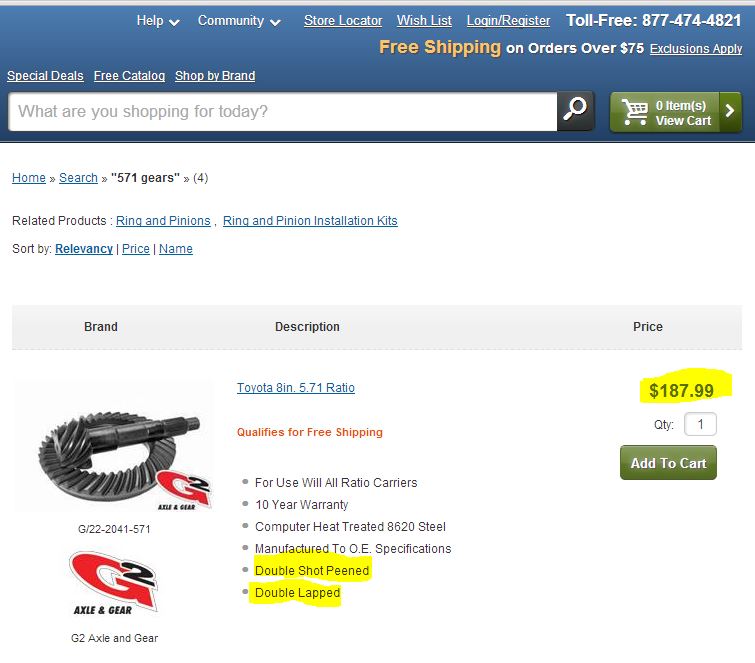
As the snippet above shows, what's impressive about these G2 gears is that they do a double Shot Peen operation and a double lapping. How many other brands of ring/pinions do this? |
|
|
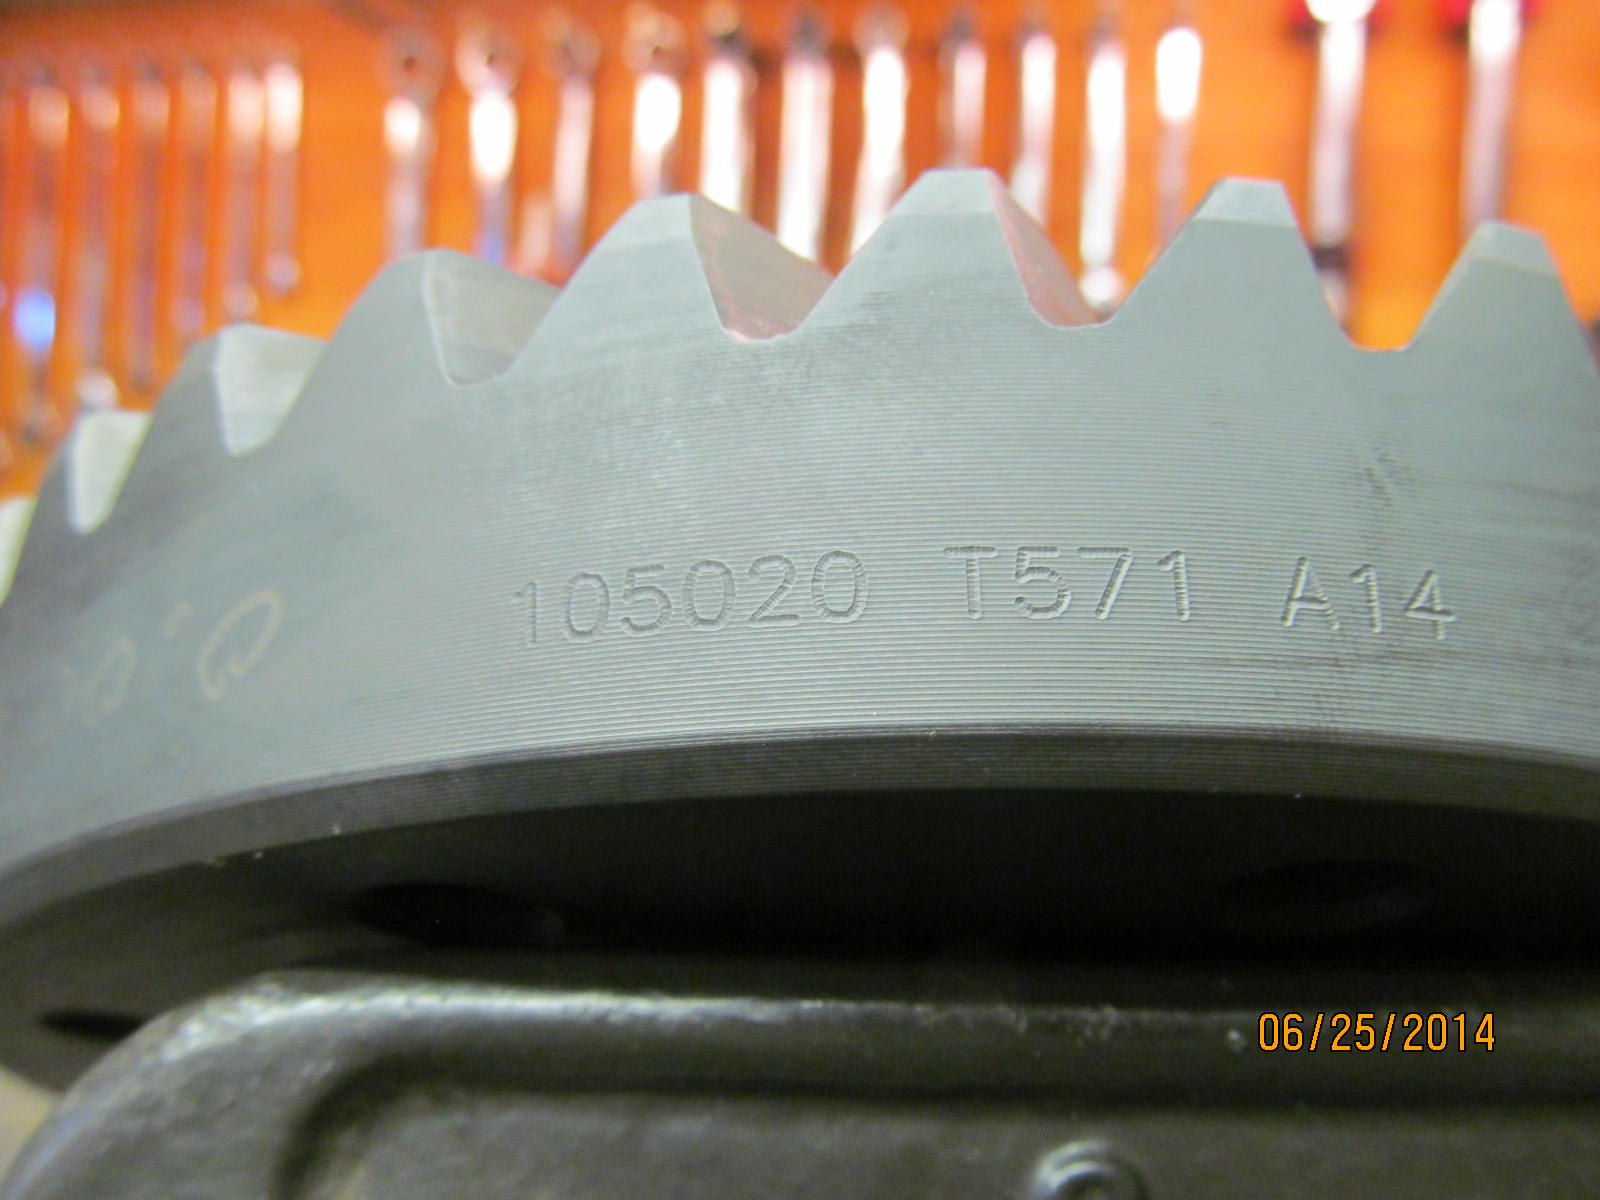
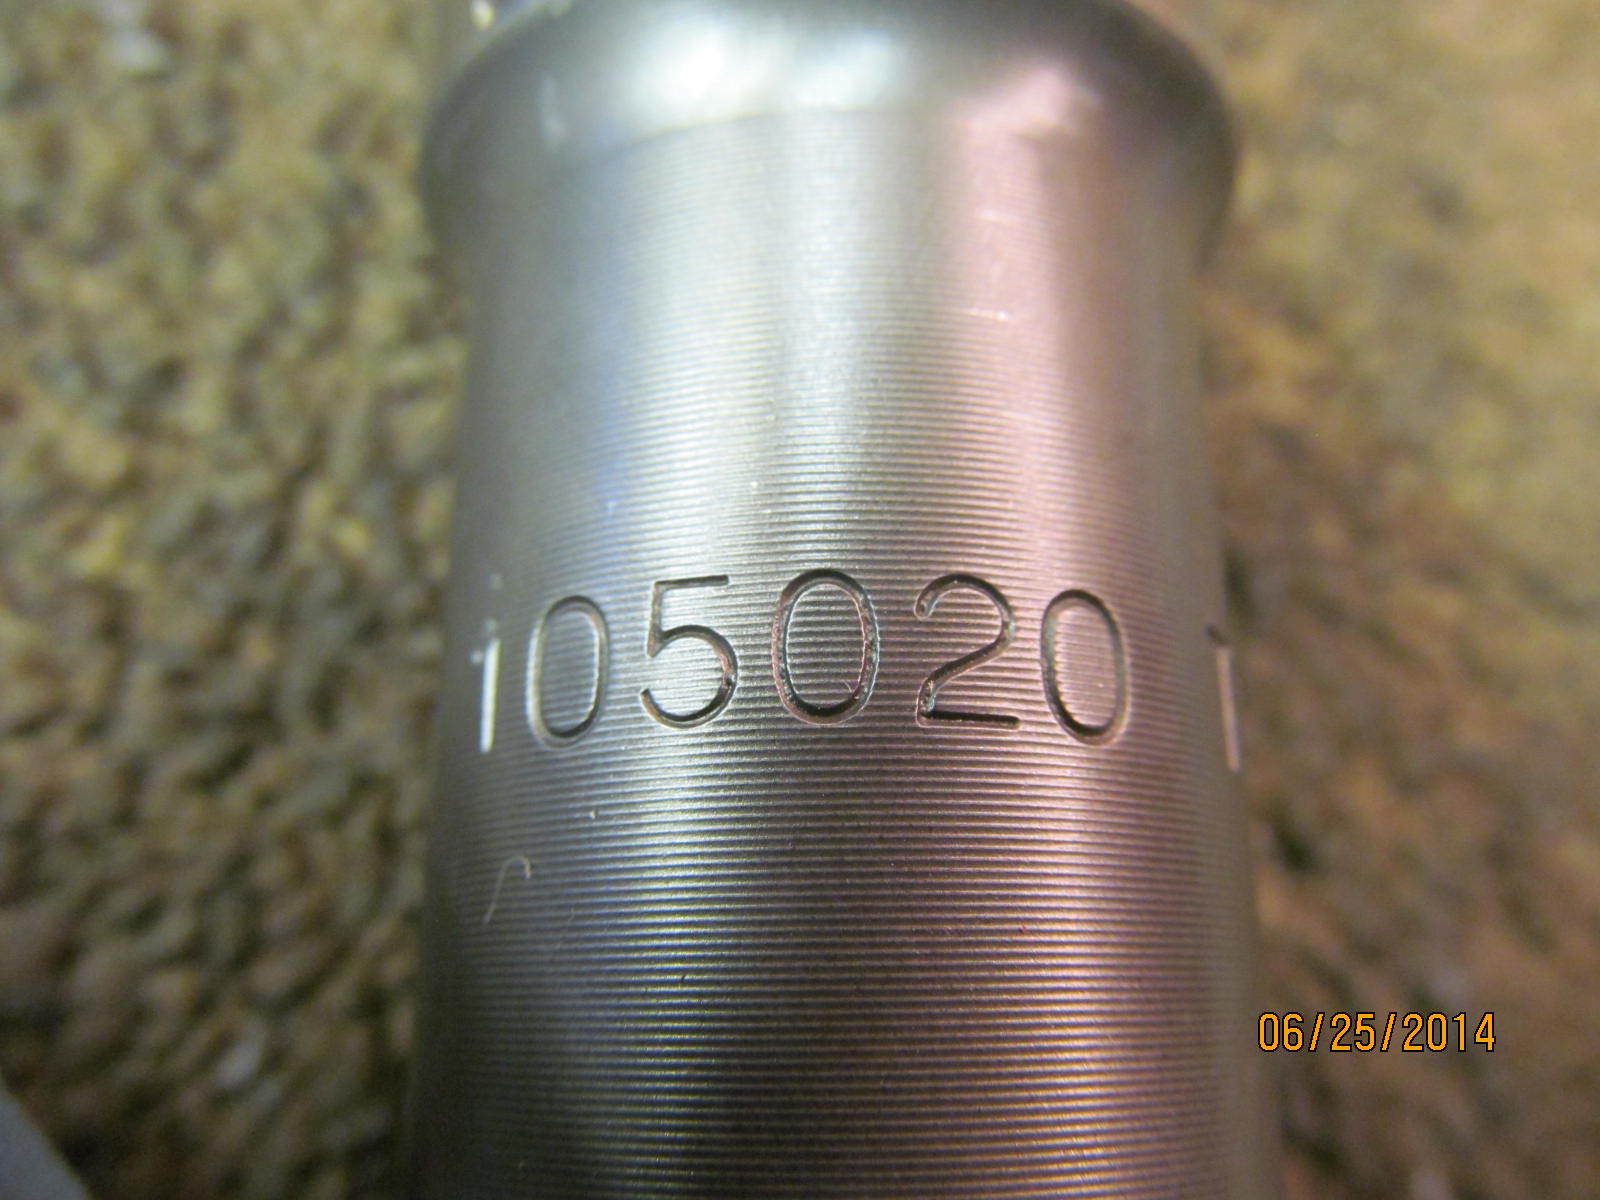
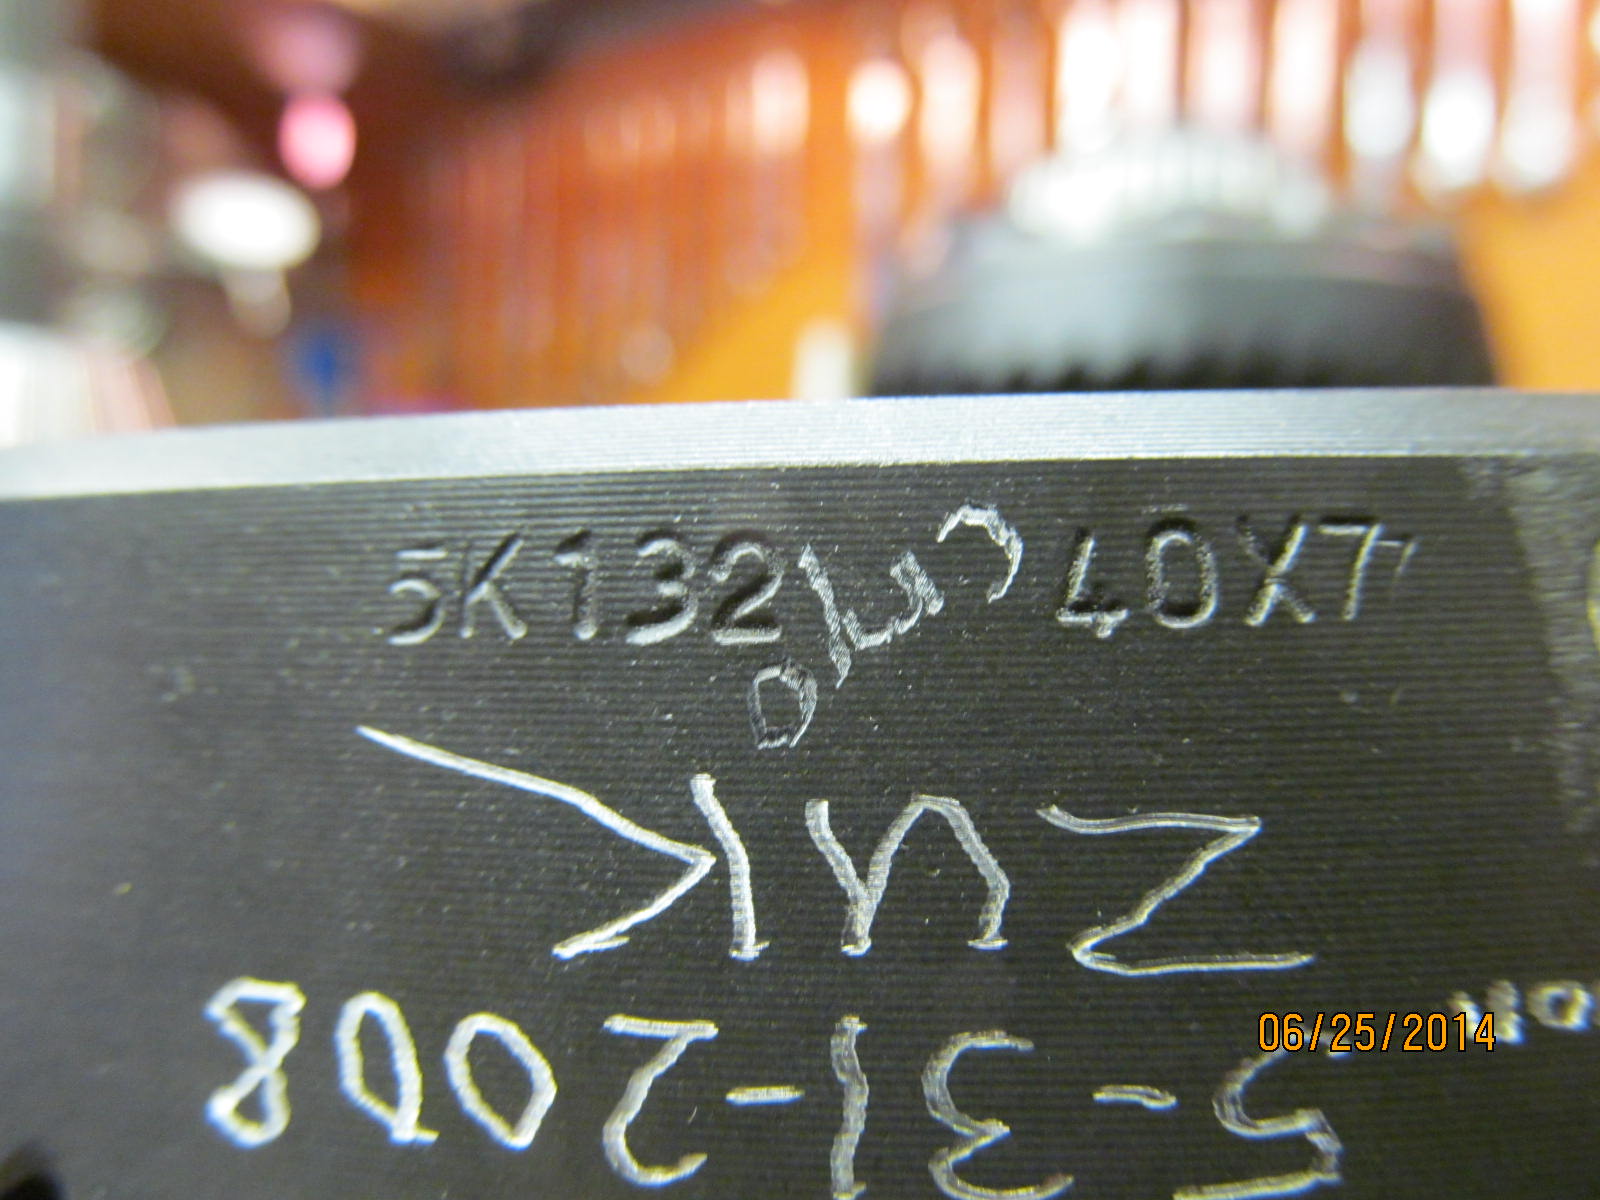
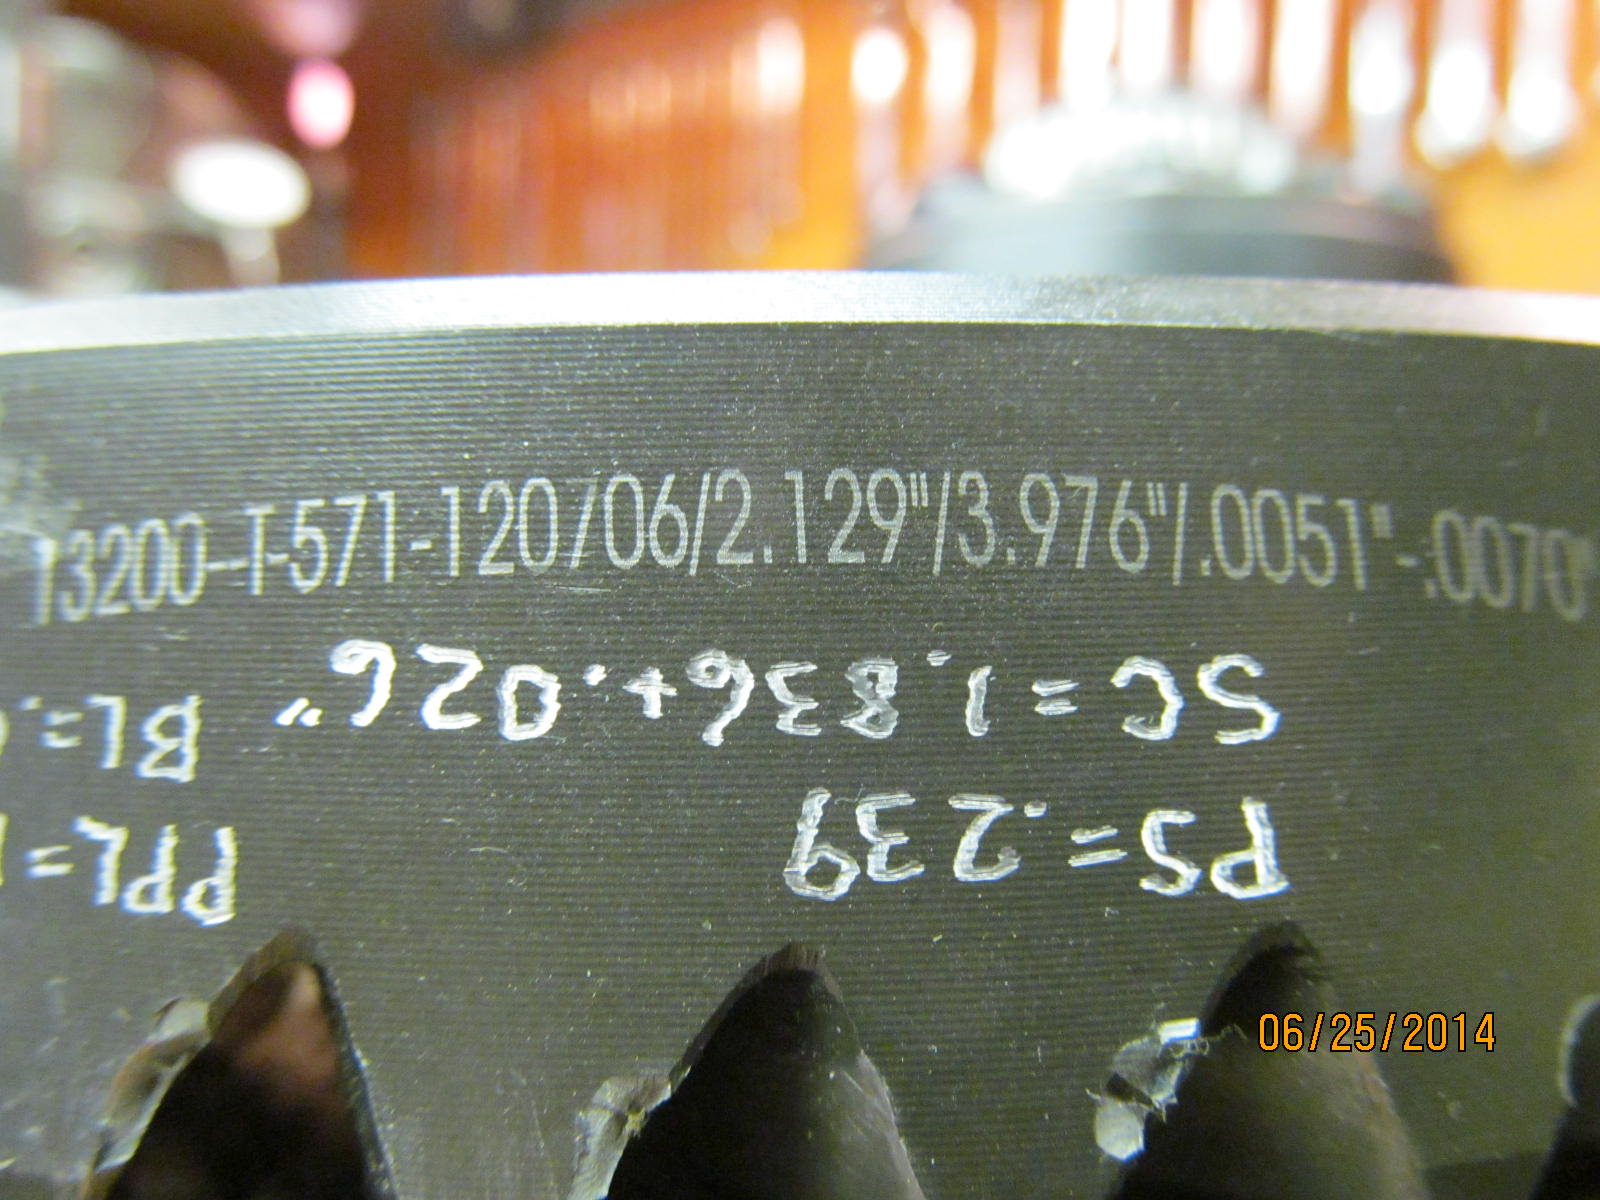
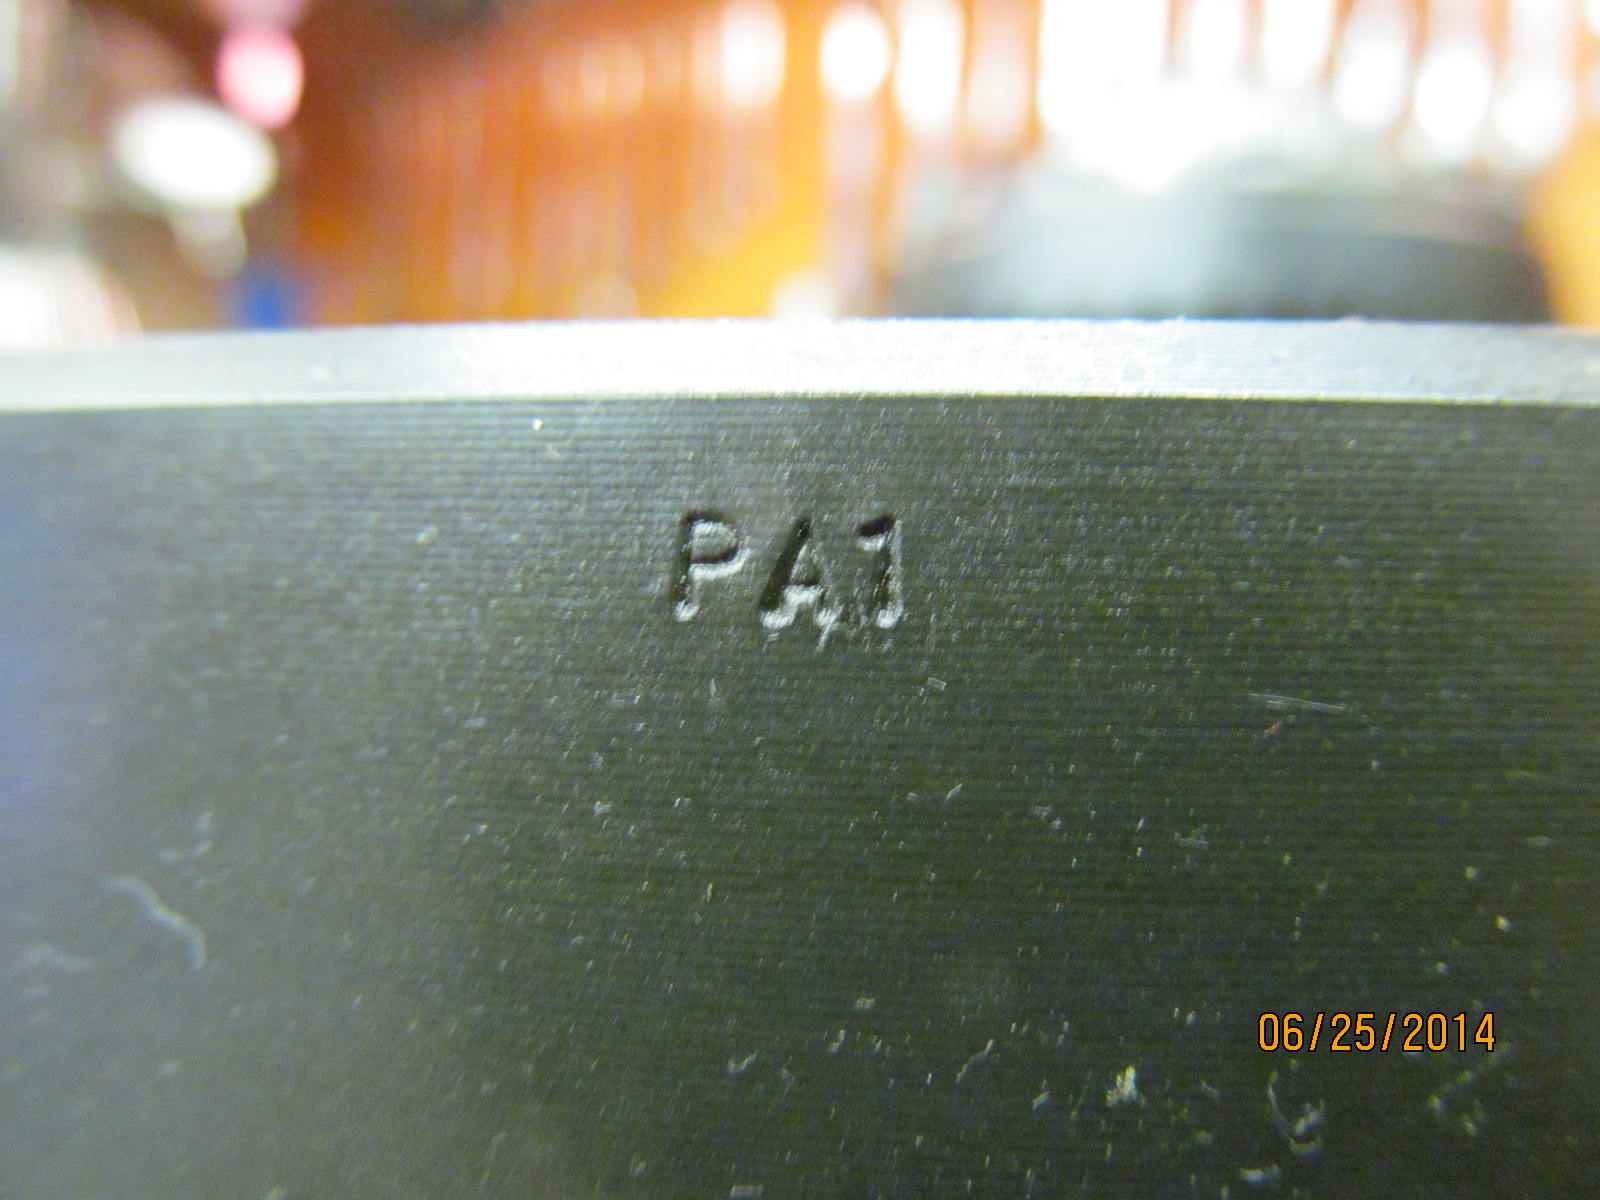
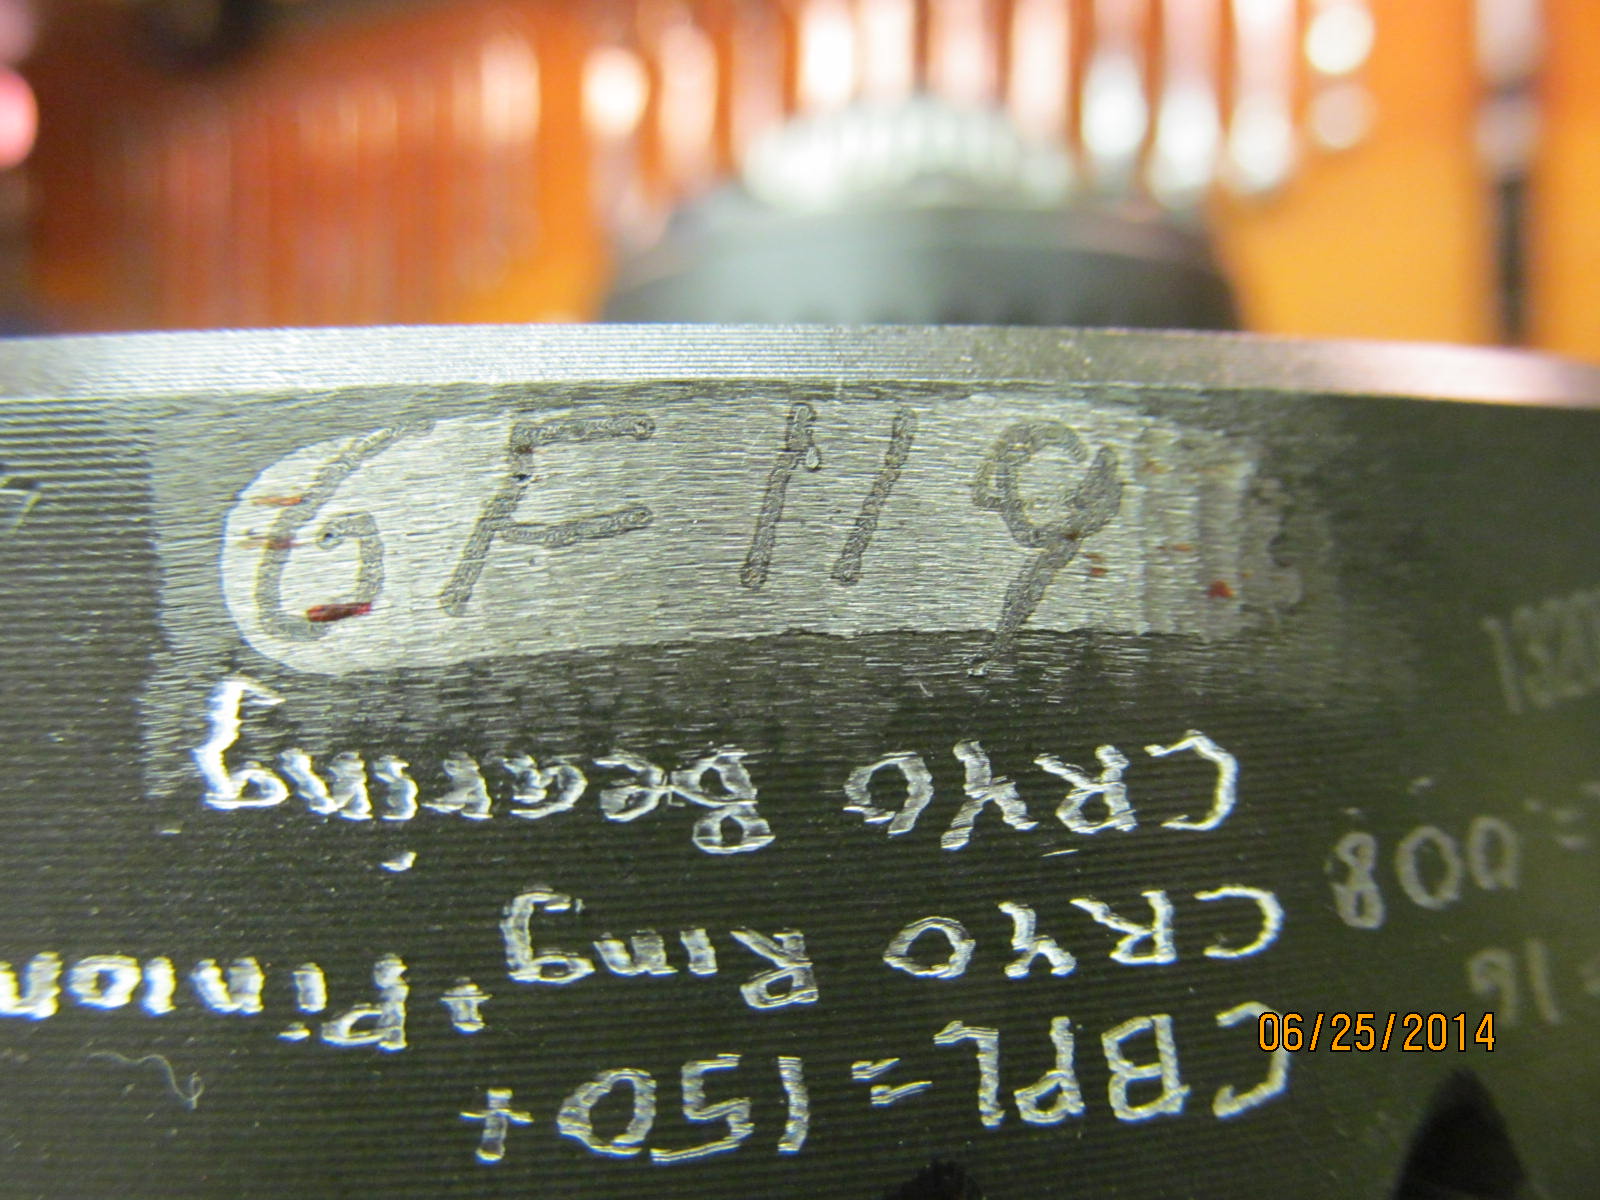
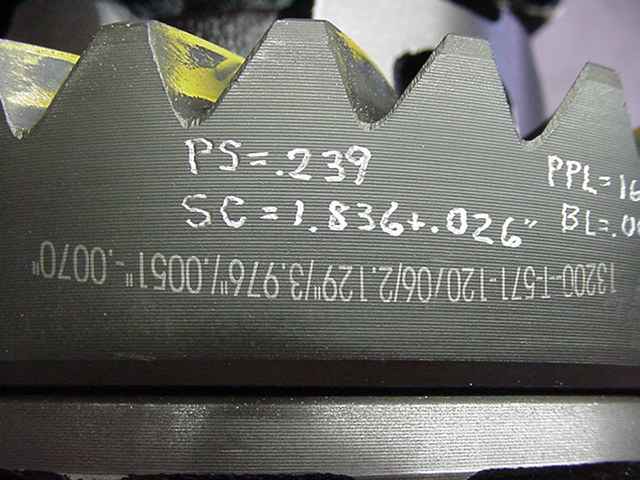
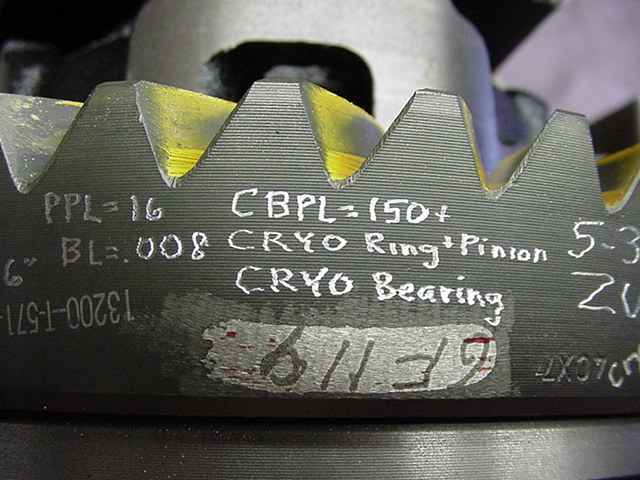
| Markings found on the G2 Gears... |
|
|
| .............. |
|
|
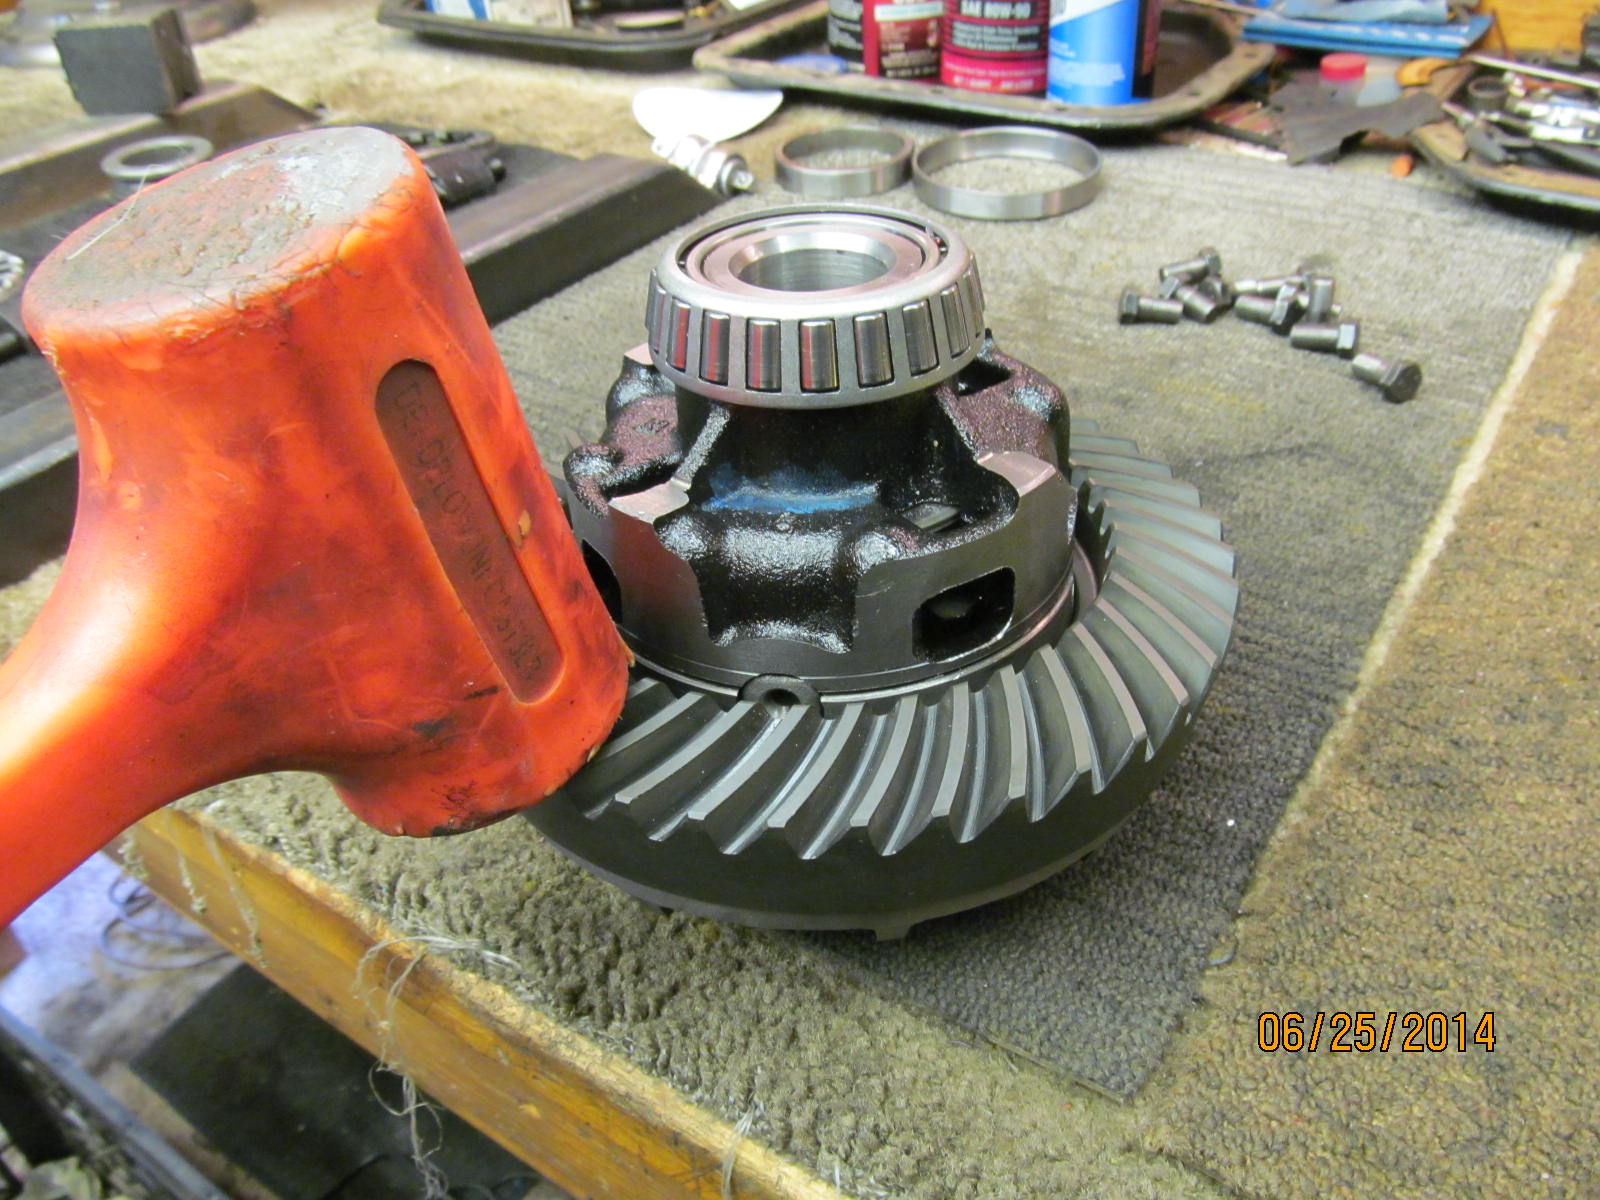
| The ring was a tight fit but, with some coaxing, it seated down very nicely. |
|
|
| The 10 ring gear bolts get red loctite and 75 ft/lb. |
|
|
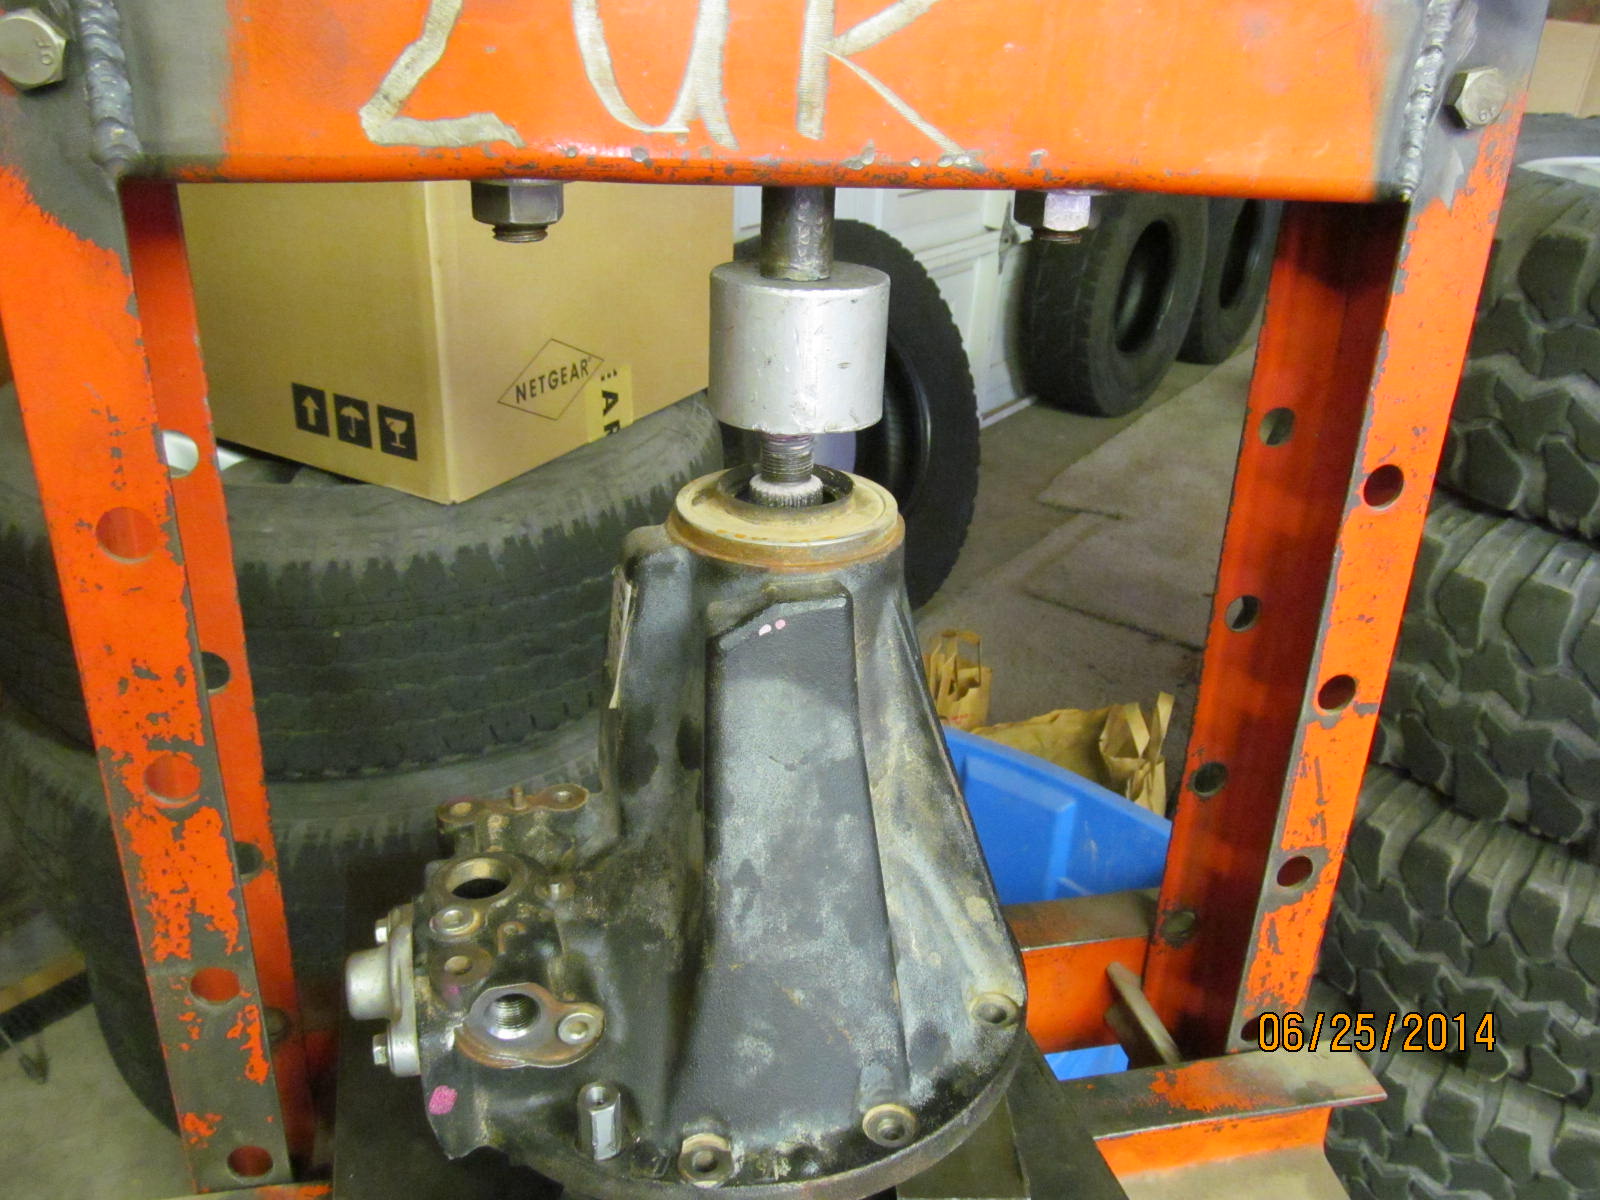
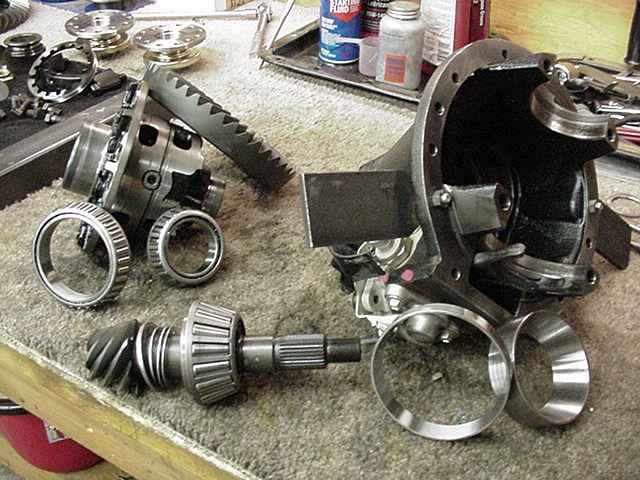
| Hopping back to the main 3rd, press the Motive pinion out. |
|
|
| Small outer pinion bearing is in good shape...totally re-usable for this trail application. |
|
|
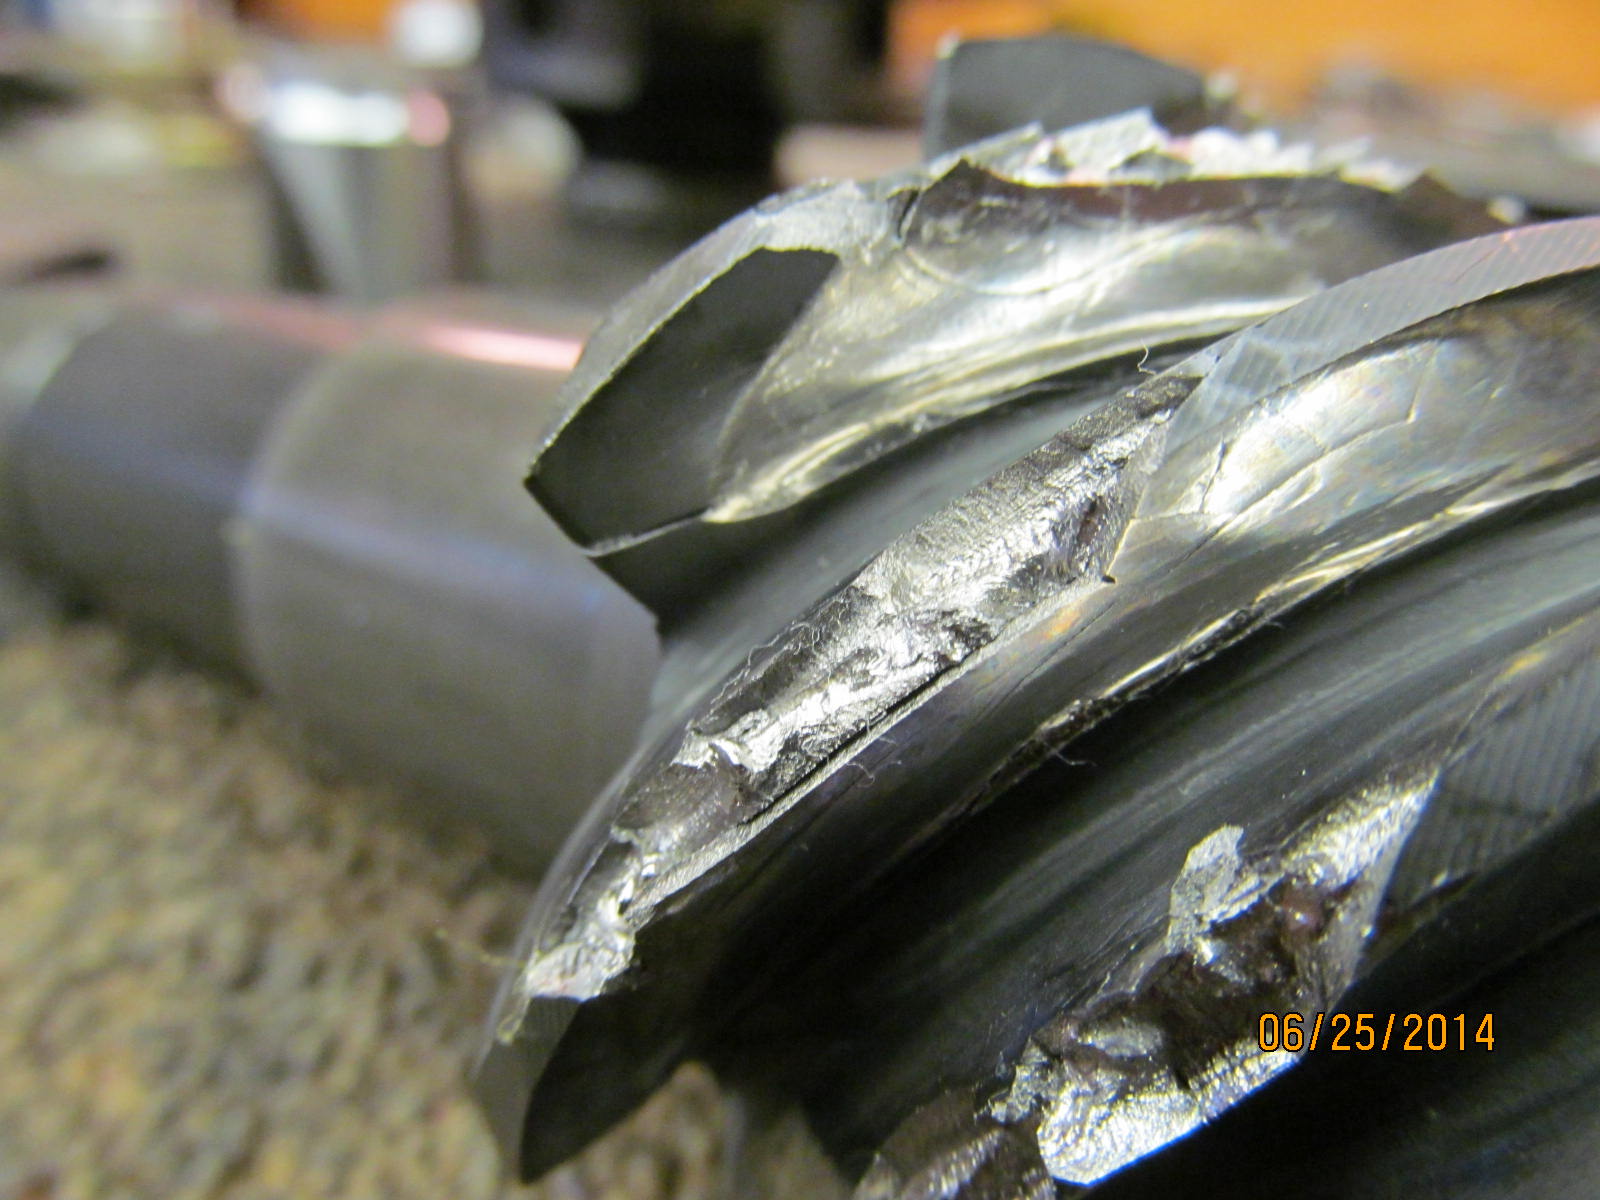
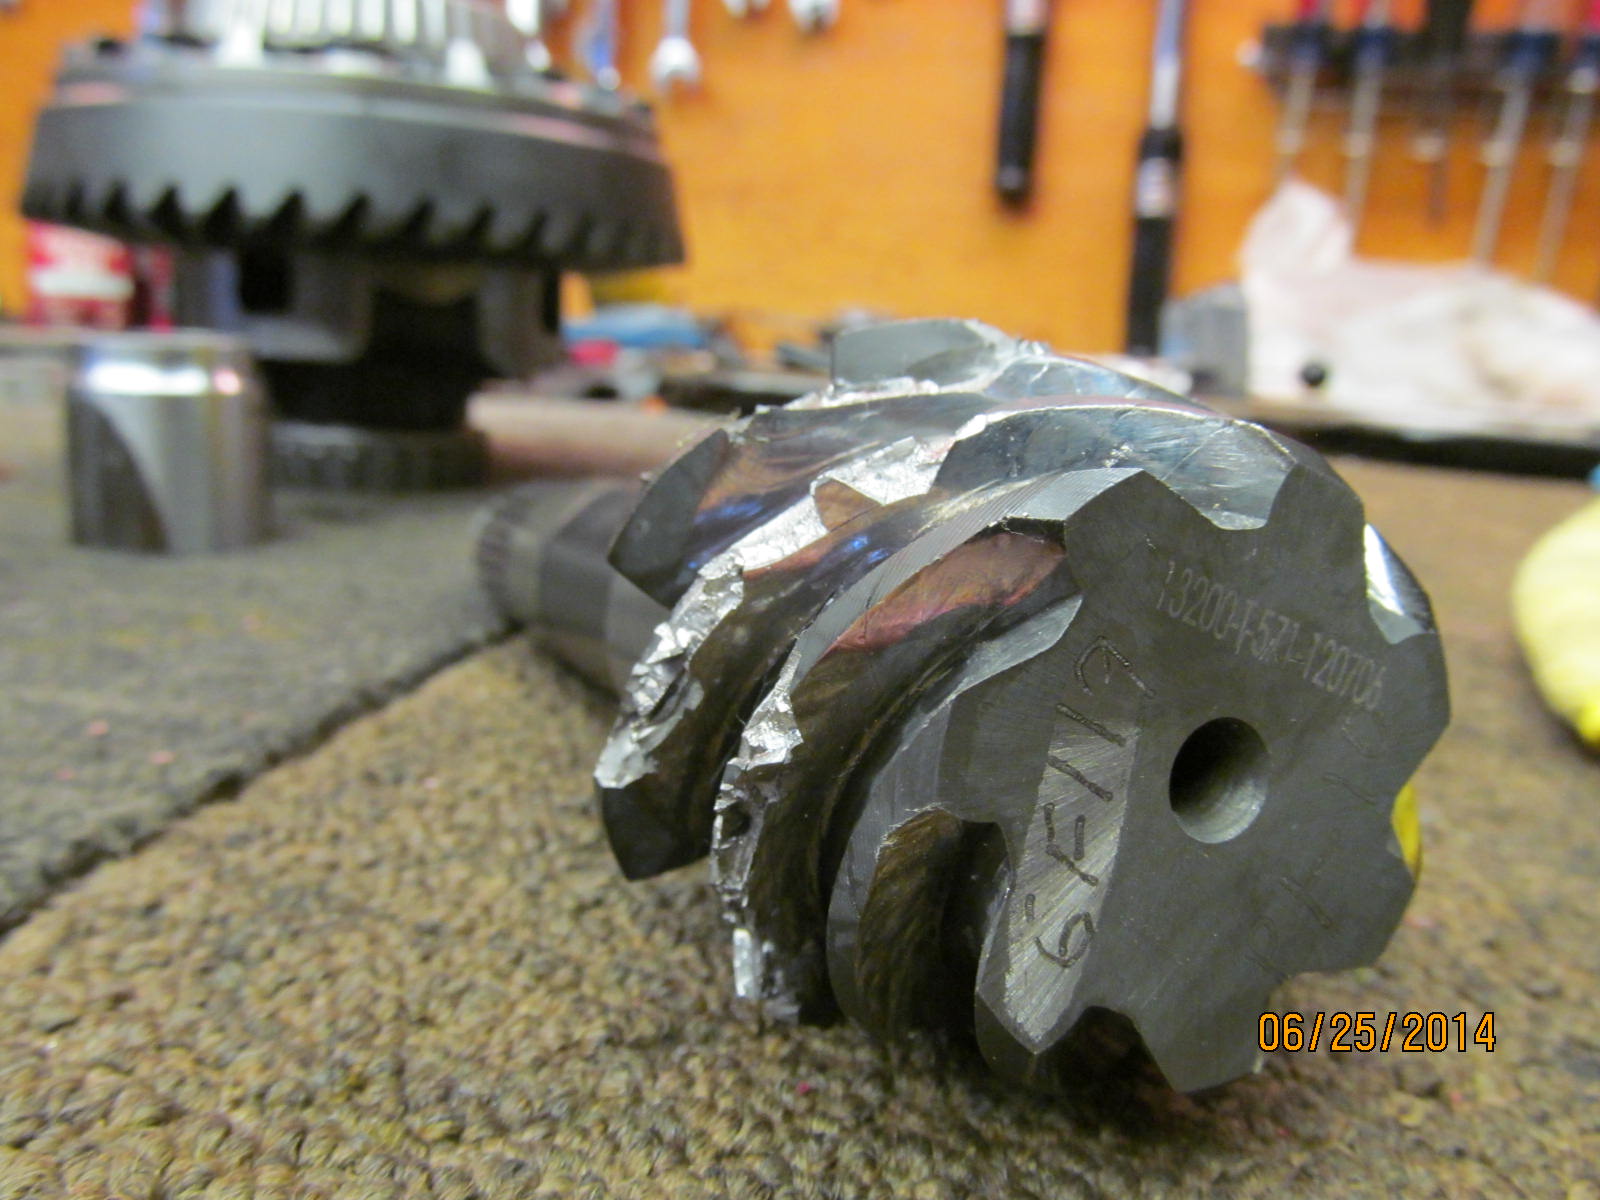
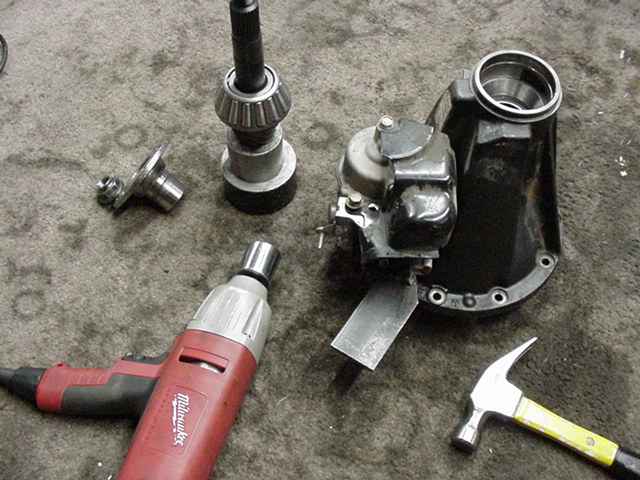
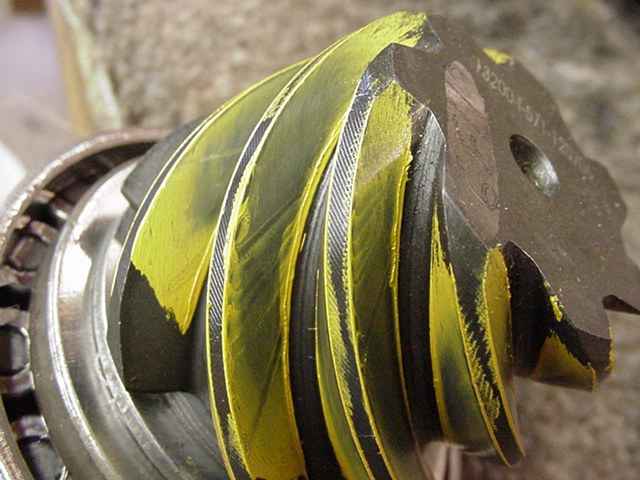
| Press the big inner bearing off. Some of the pinion damage is evident. |
|
|
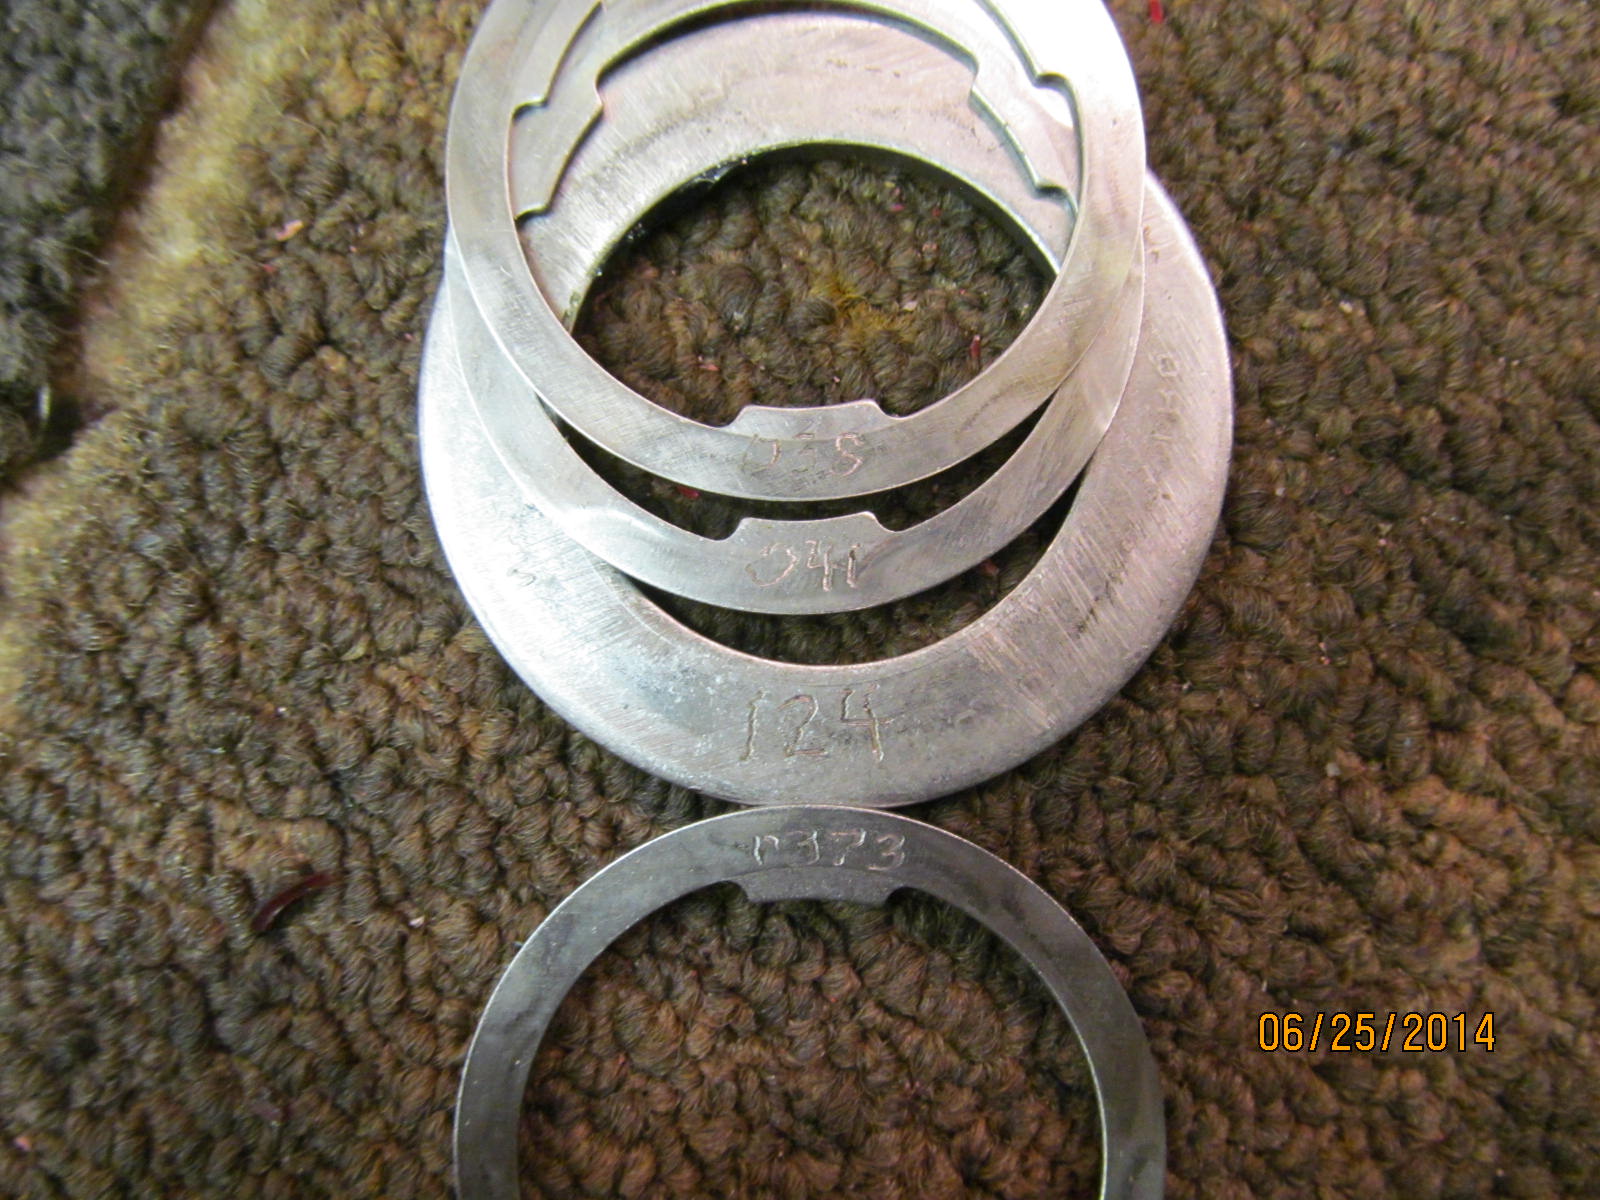
| Let's see...pinion shims used from the 2008 build.... 038 + 041 + 124 + 037...total adds up to .240" |
|
|
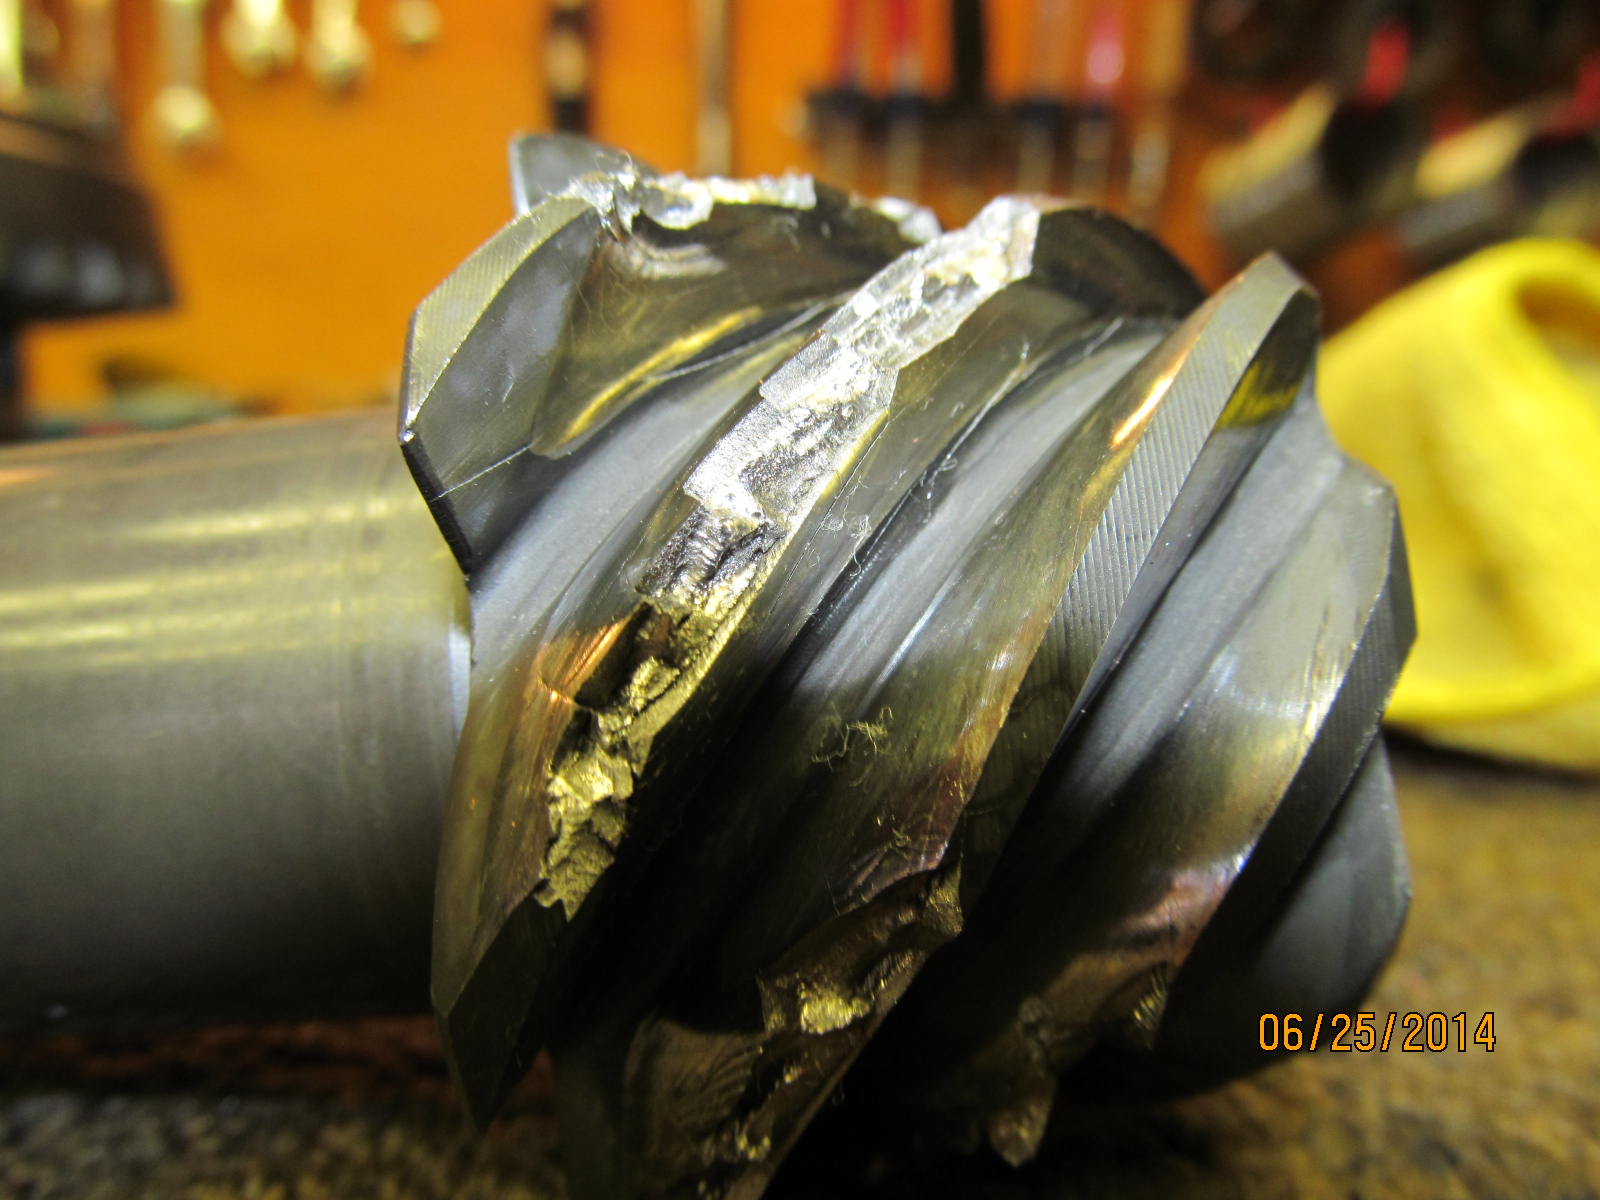
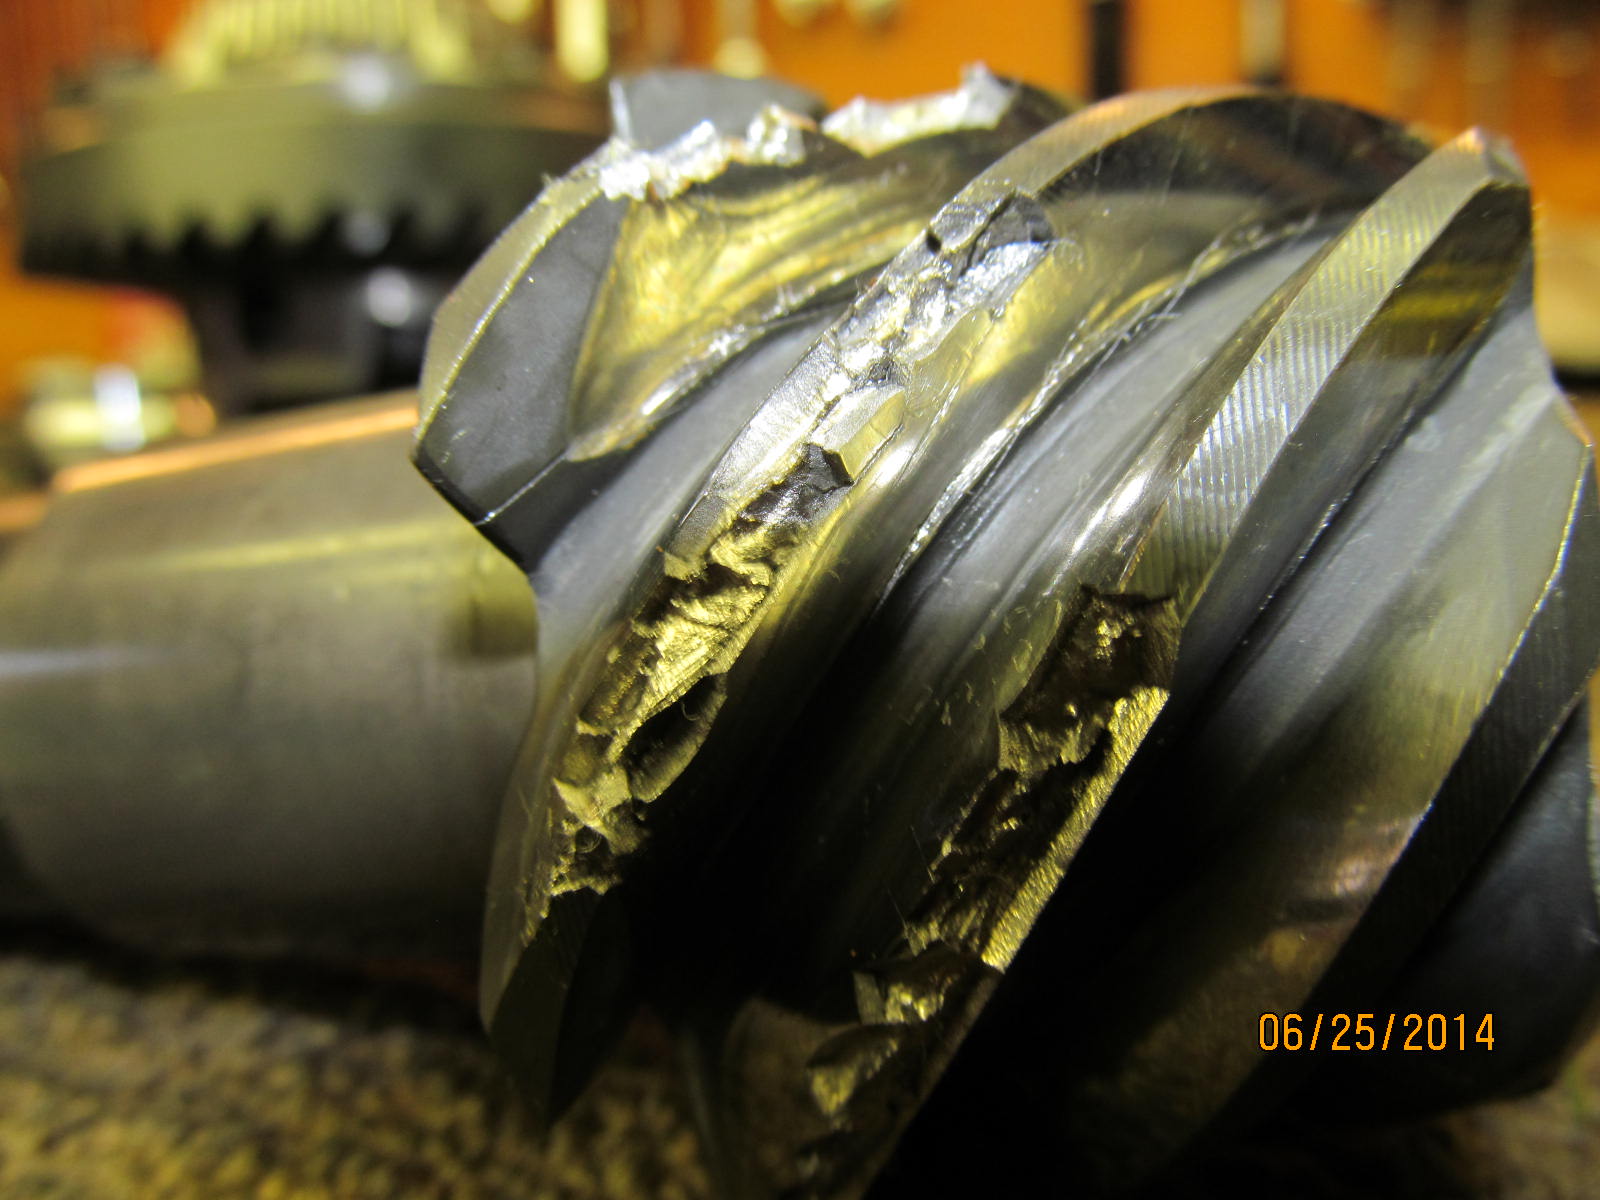
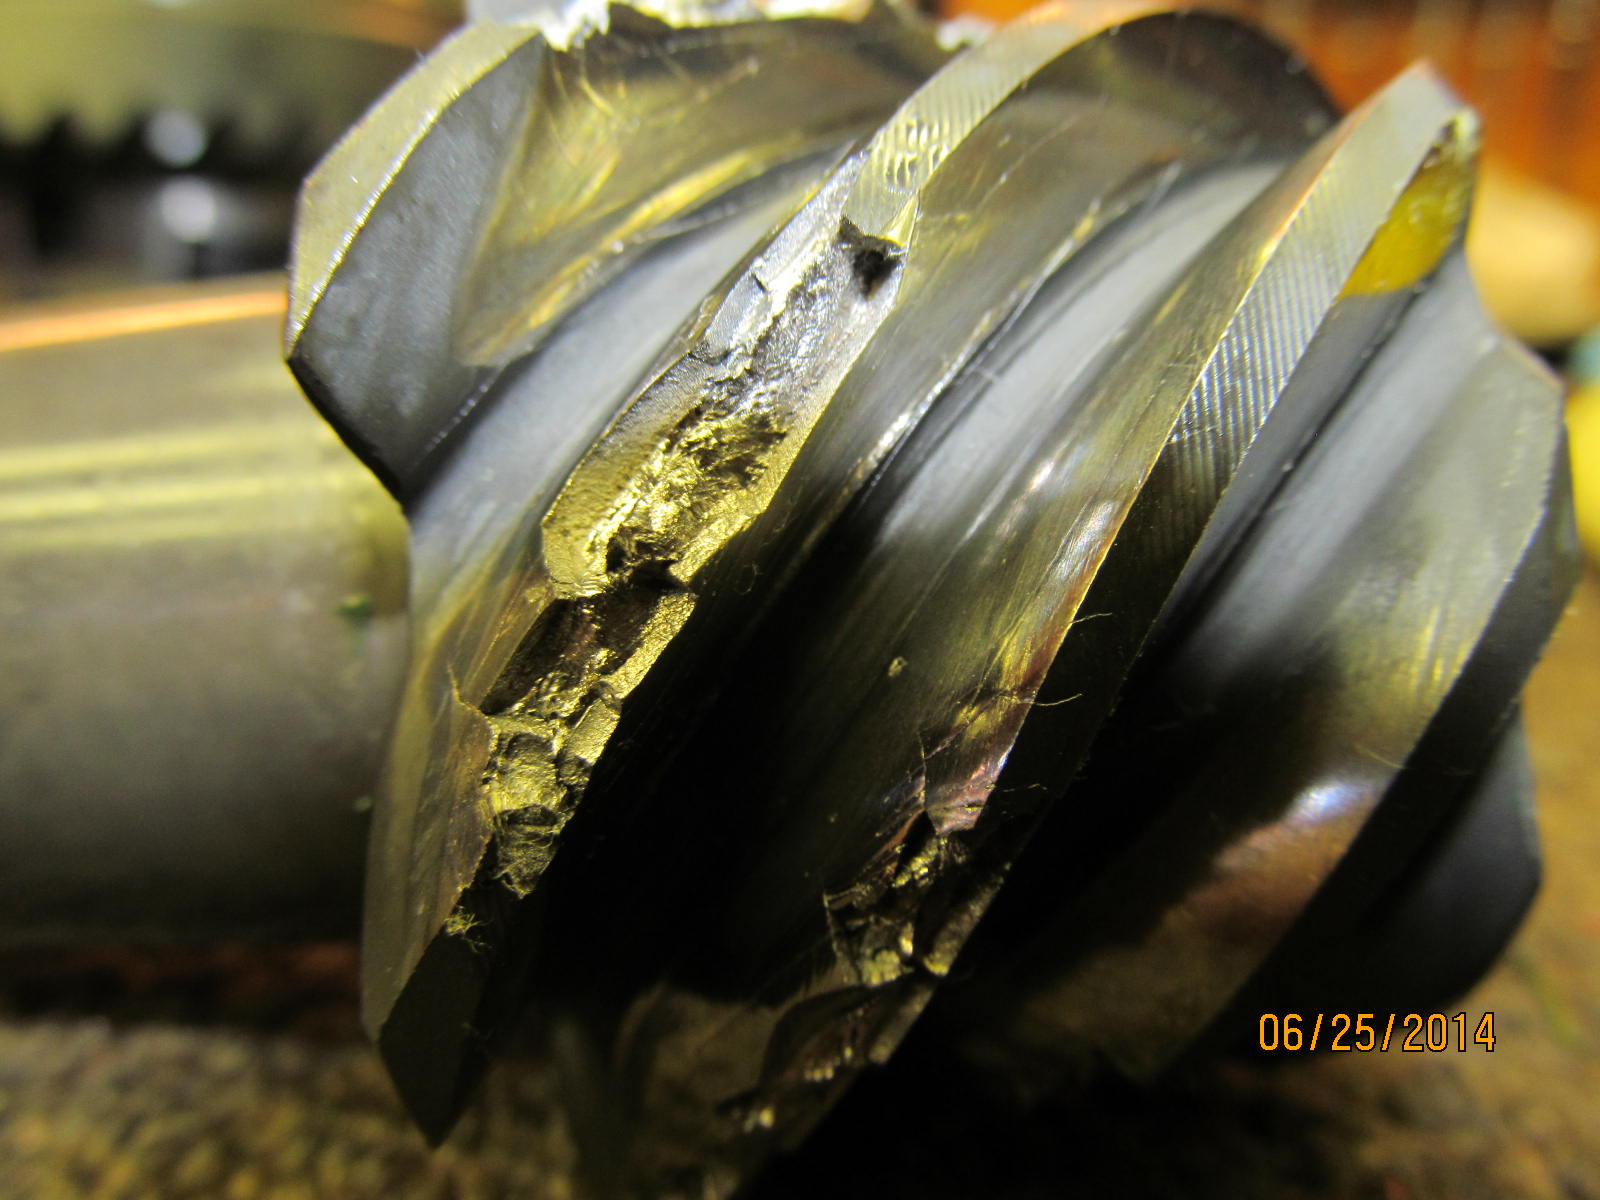
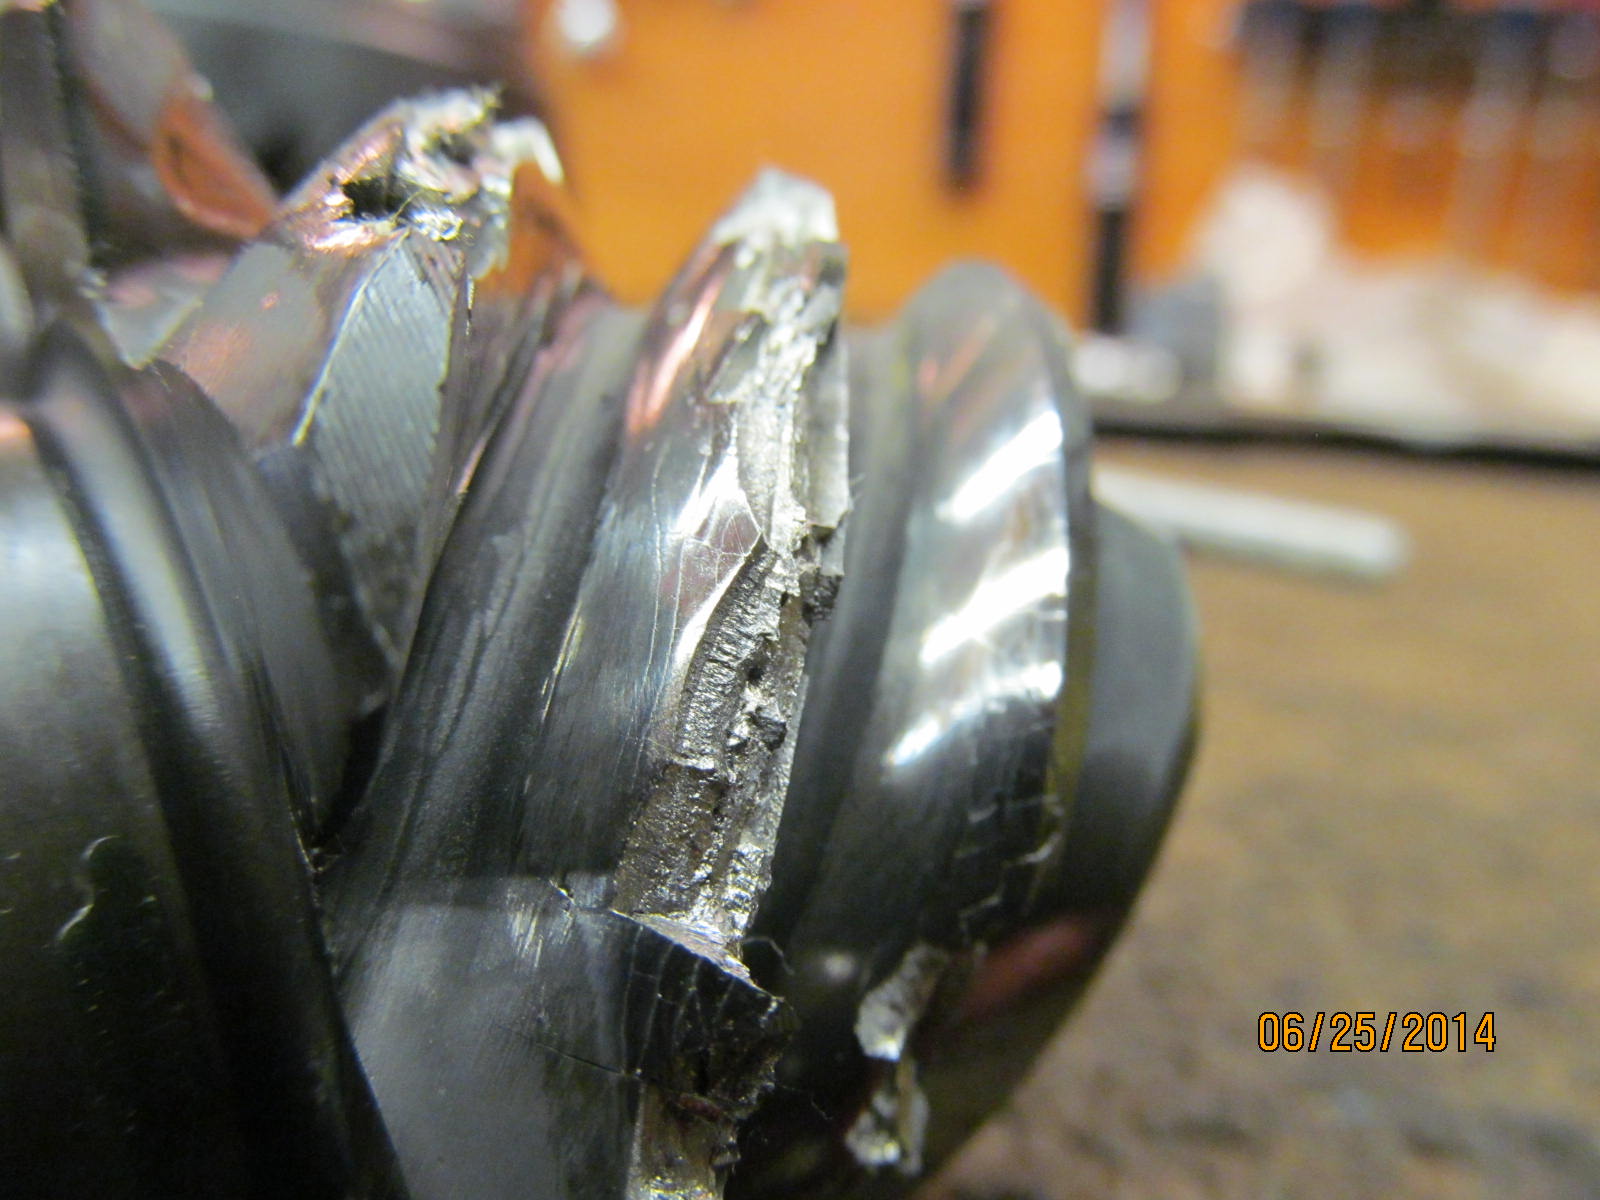
|
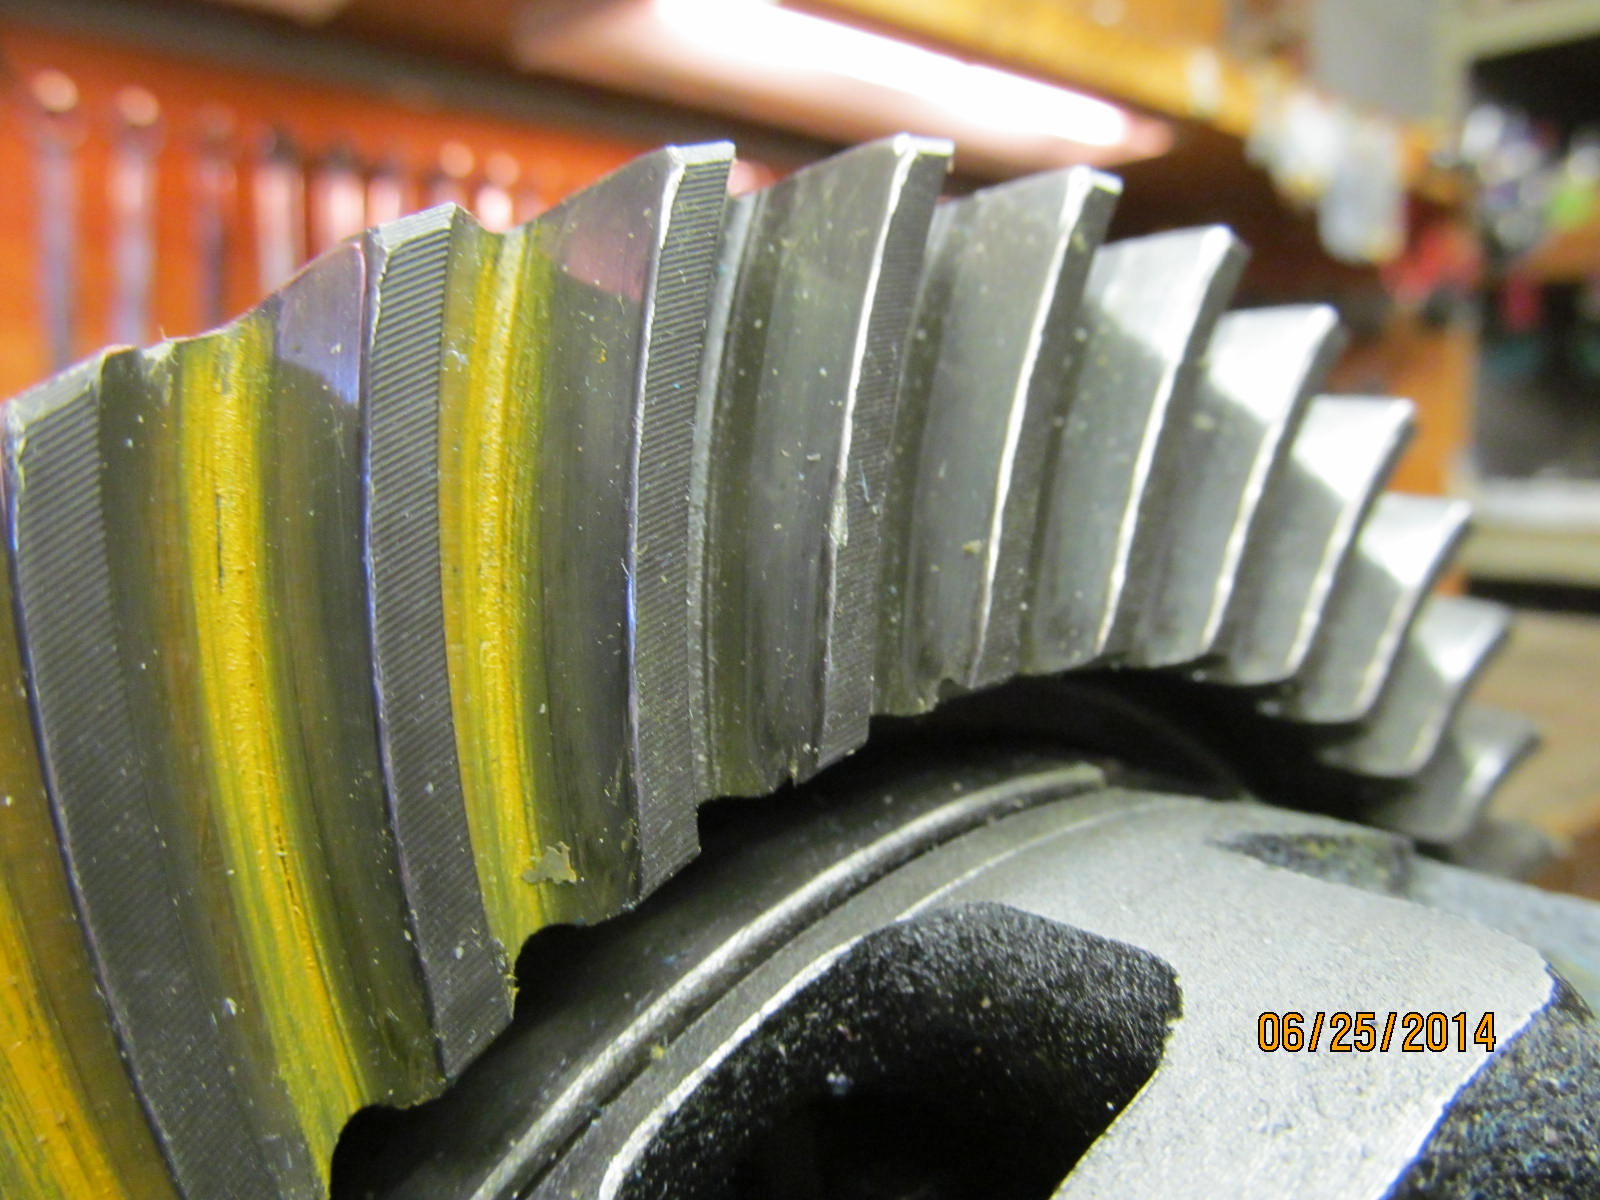
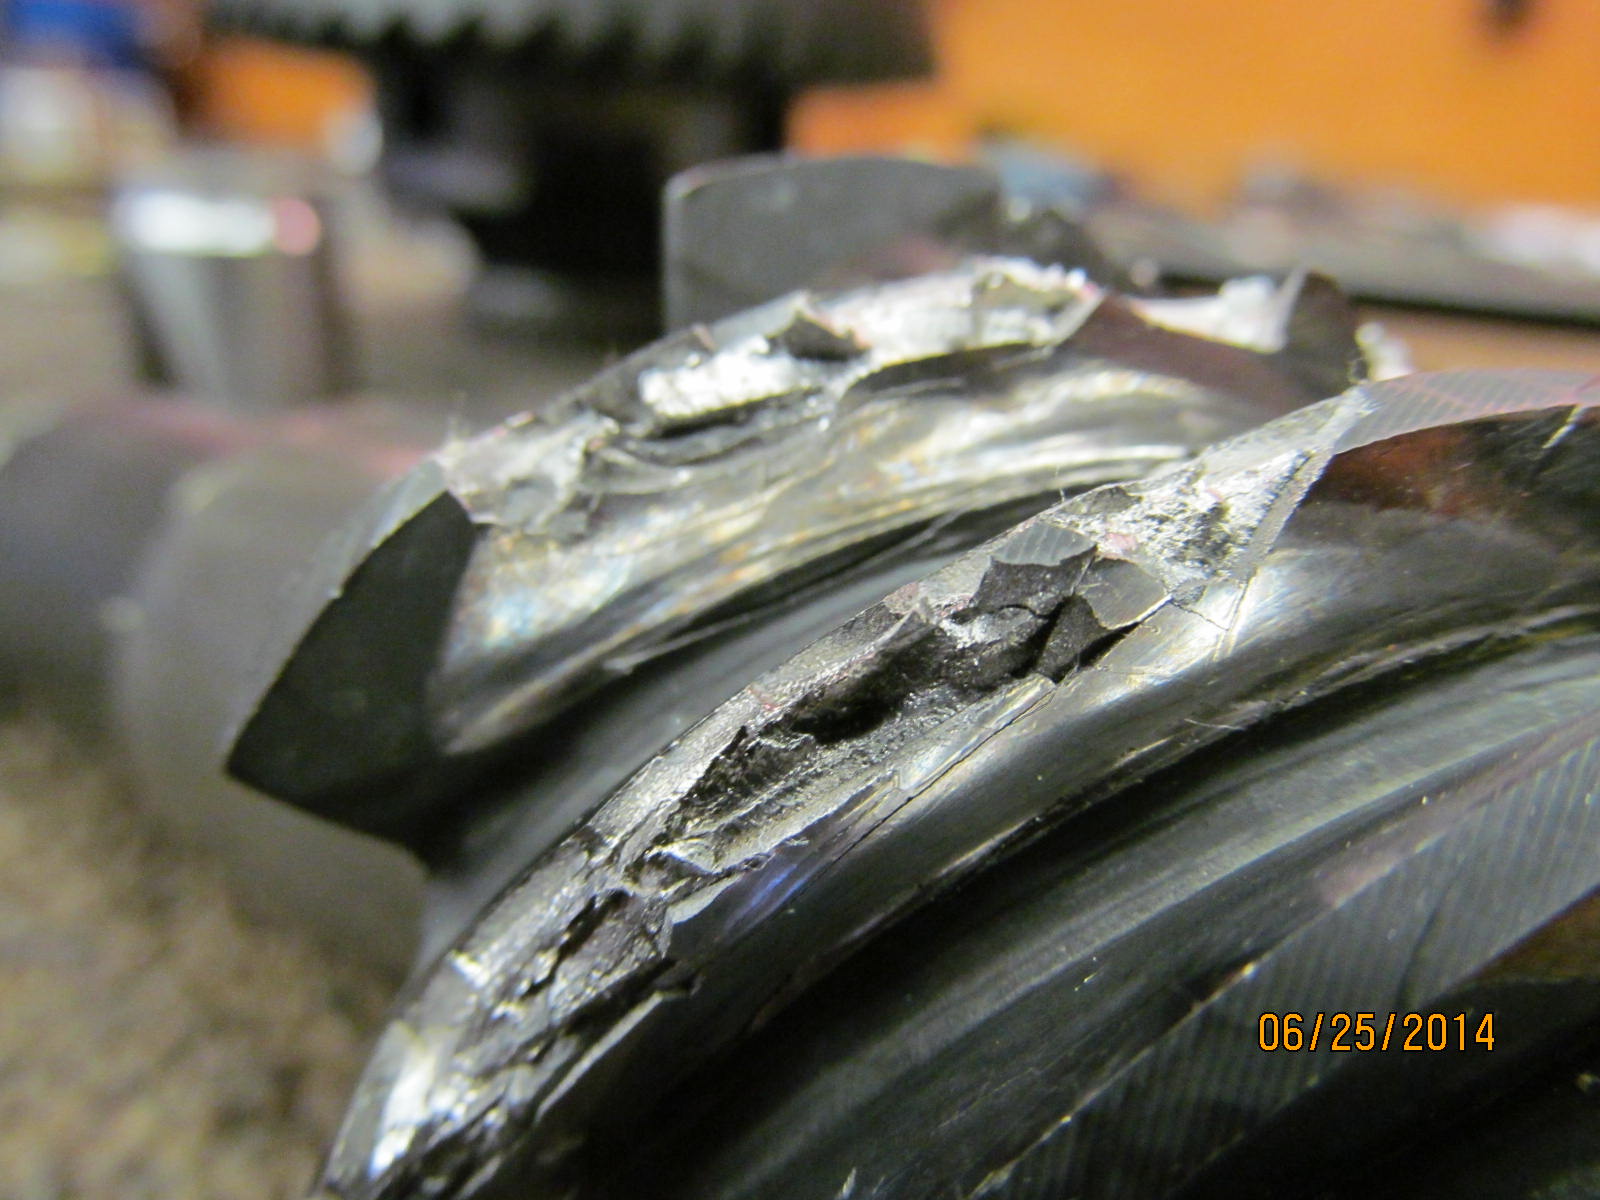
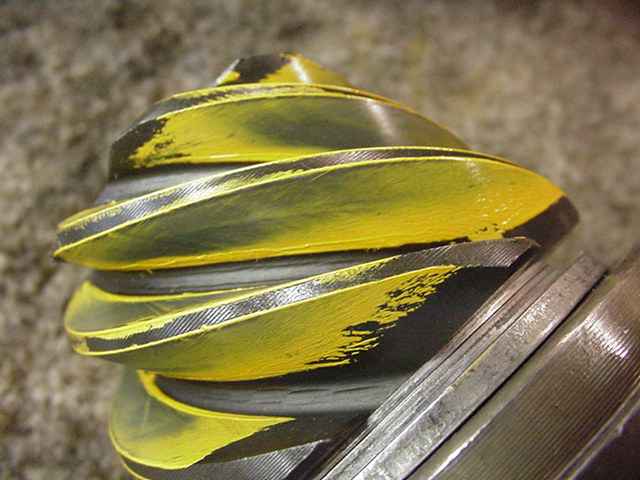
Numerous pictures here of the actual pinion tooth carnage. This gear set was professionally cryo-treated by Cryogenics International in Scottsdale, Arizona. The cryo was in no way responsible for this breakage... in fact, the cryo probably kept it together longer before it did break. This is a metal quality/heat treat issue. I remember back then that some of the Motive gears were stamped on the box as "Made in Italy" and others said "Made in India".....and the ones from India had a strange semi-glossy black plasticky look on the pinion teeth. A look that I did not like. |
|
|
|
In a good gear install, the pinion does not blow out first. Metal quality issues here. I cannot recommend Motive in the Toyota applications anymore. Now, Motive is well known in the racing circuit and maybe for those other applications like Ford 9" or Dana rear-ends maybe the plants that are manufacturing those have actual quality.....but not the Toyota version...India. |
|
|
|
I did a 488 Motive gear install for another customer Gary in Calgary, Canada back in 2007...He had 2 previous 571 Yukon failures beforehand. In both cases, I believe it was the ring gear that lost the teeth first. Then I installed a Motive....2 years later, the pinion falls to pieces on Gary. |
|
|
|
It's another situation where the 571 gets a bad rap....even with a good install due to crappy materials.... or perhaps a crappy process where the heat treatment was done by the new guy. |
|
|
| ....................... |
|
|
|
If I were doing 571 gears in my own rig, I would get either a Nitro or a G2 Performance gear. Not Yukon... or not the Richmond and definitely NOT the Genuine Econo-line gears. Not sure but I think Nitro gears are hard to find in the 571 ratio. |
|
|
|
2 kinds of drivers get 571 gears....Concrete Crawlers that need to get their road gearing back up to spec with those 42 or 44" tires...and Avid Rockcrawlers that understand that it takes a performance ratio to do a performance job. |
|
|
|
I myself have run 571 gears twice in my career...back in 1986, I had a red '84 longbed that had 33x12.50 tires, detroits front and rear, and 571 gears...Richmond brand I think. And also back in '04 on my '87 Runner I had 571 US GEAR band with the 22RE/auto/33x10.50 combo. It had a Detroit in the rear also and was a sleeper on the medium difficulty trails....limited by the stock front IFS though :) |
|
|
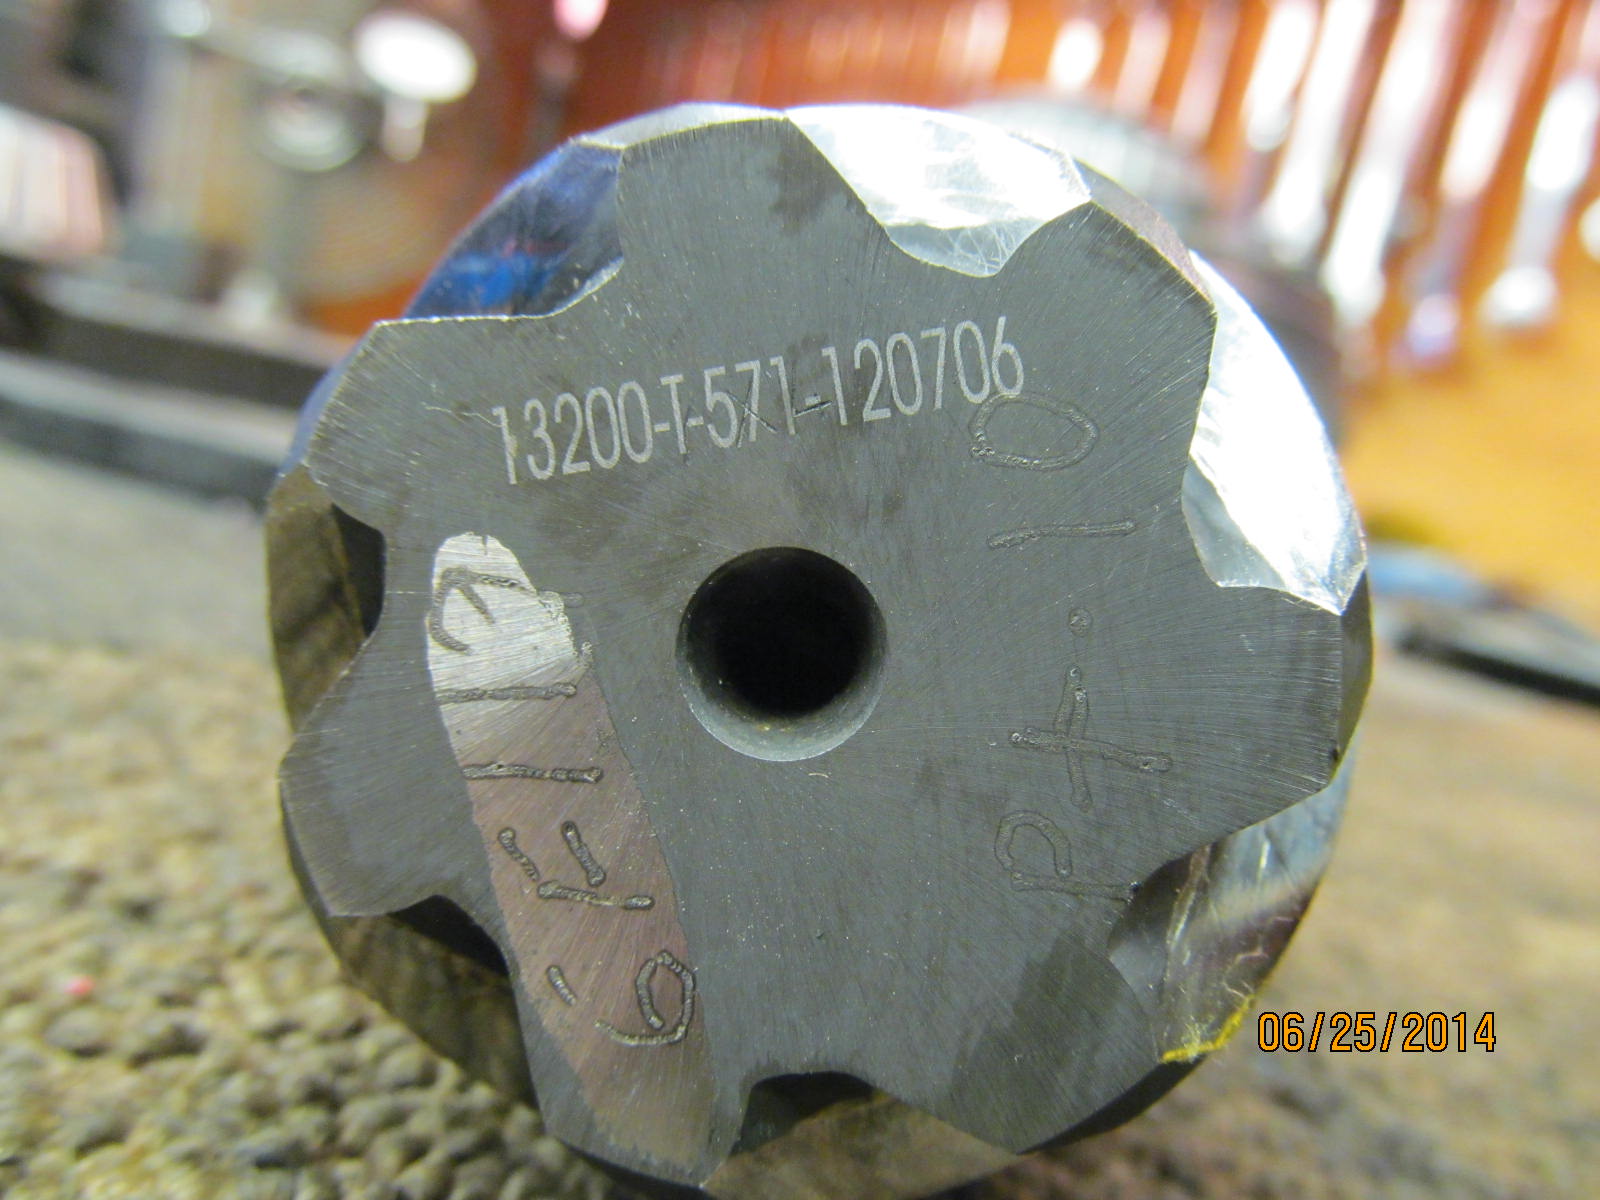
| Anybody else see the general marking resemblance to the "economy Genuine" gears? |
|
|
| .............................. |
|
|
| ..... |
|
|
| That burnished area reminds me of econo Genuines... |
|
|
|
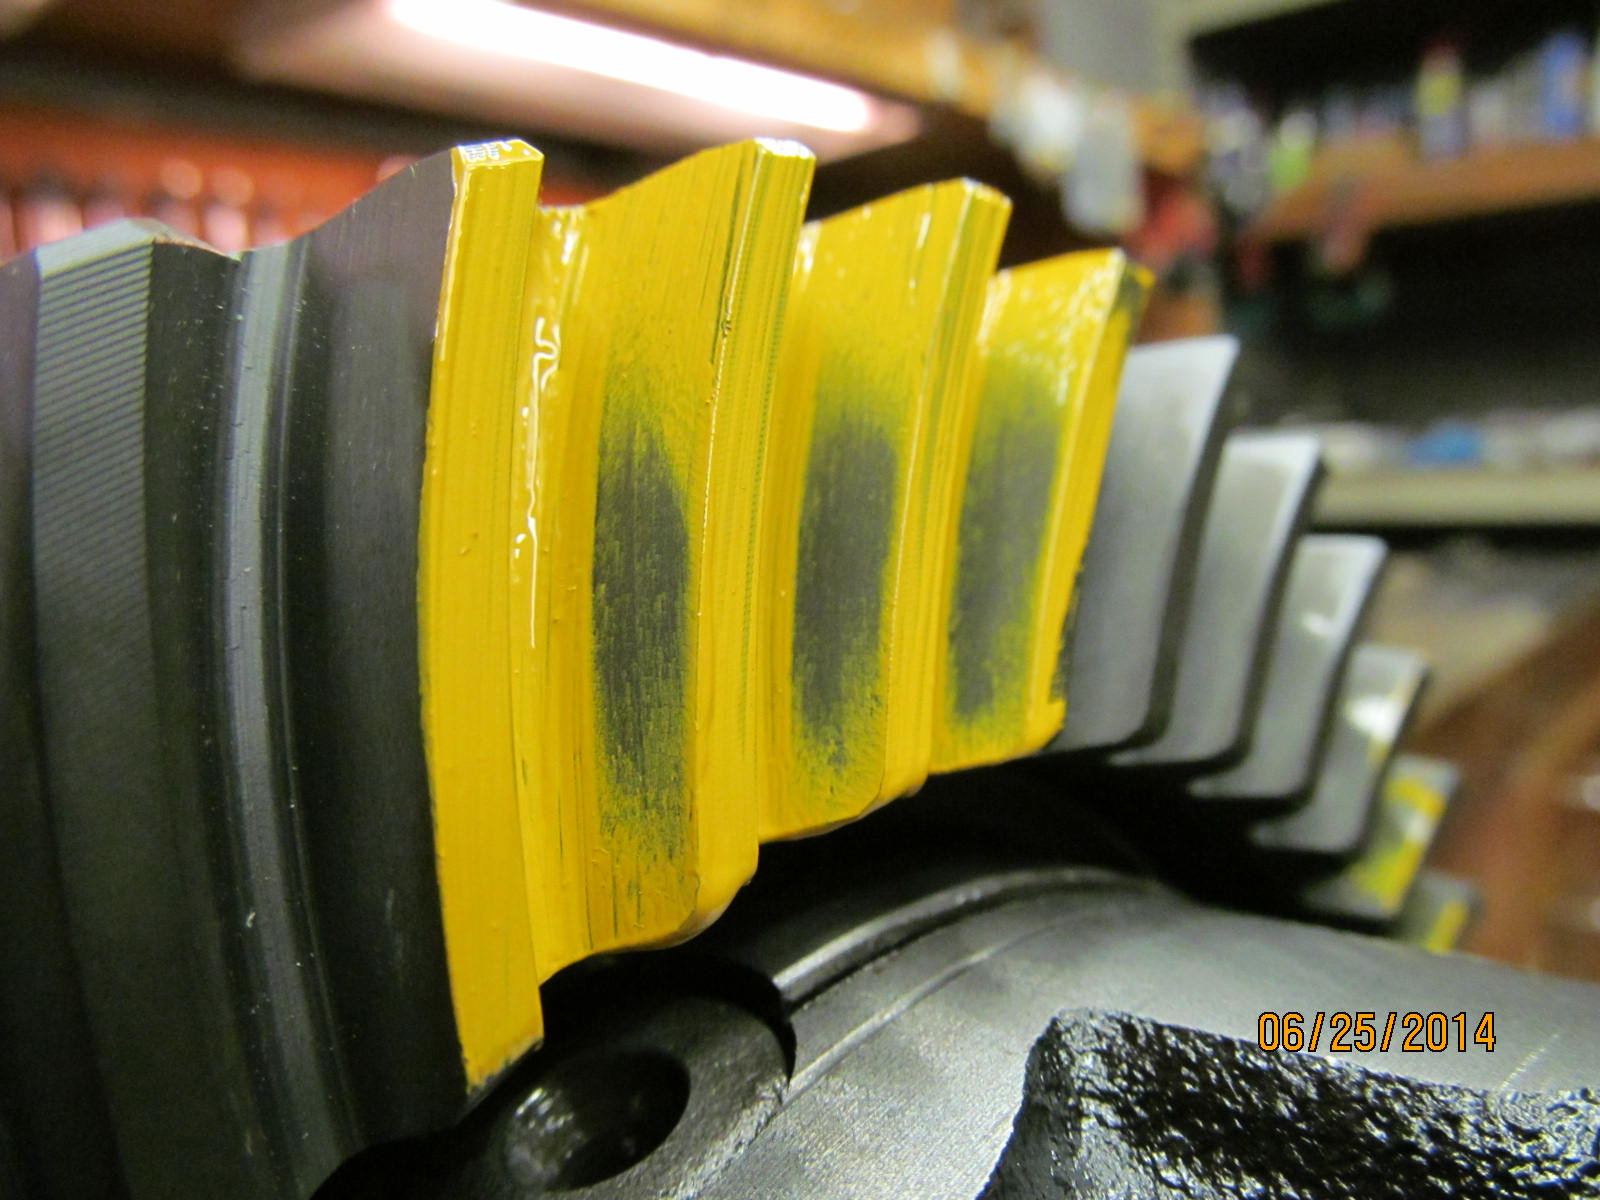
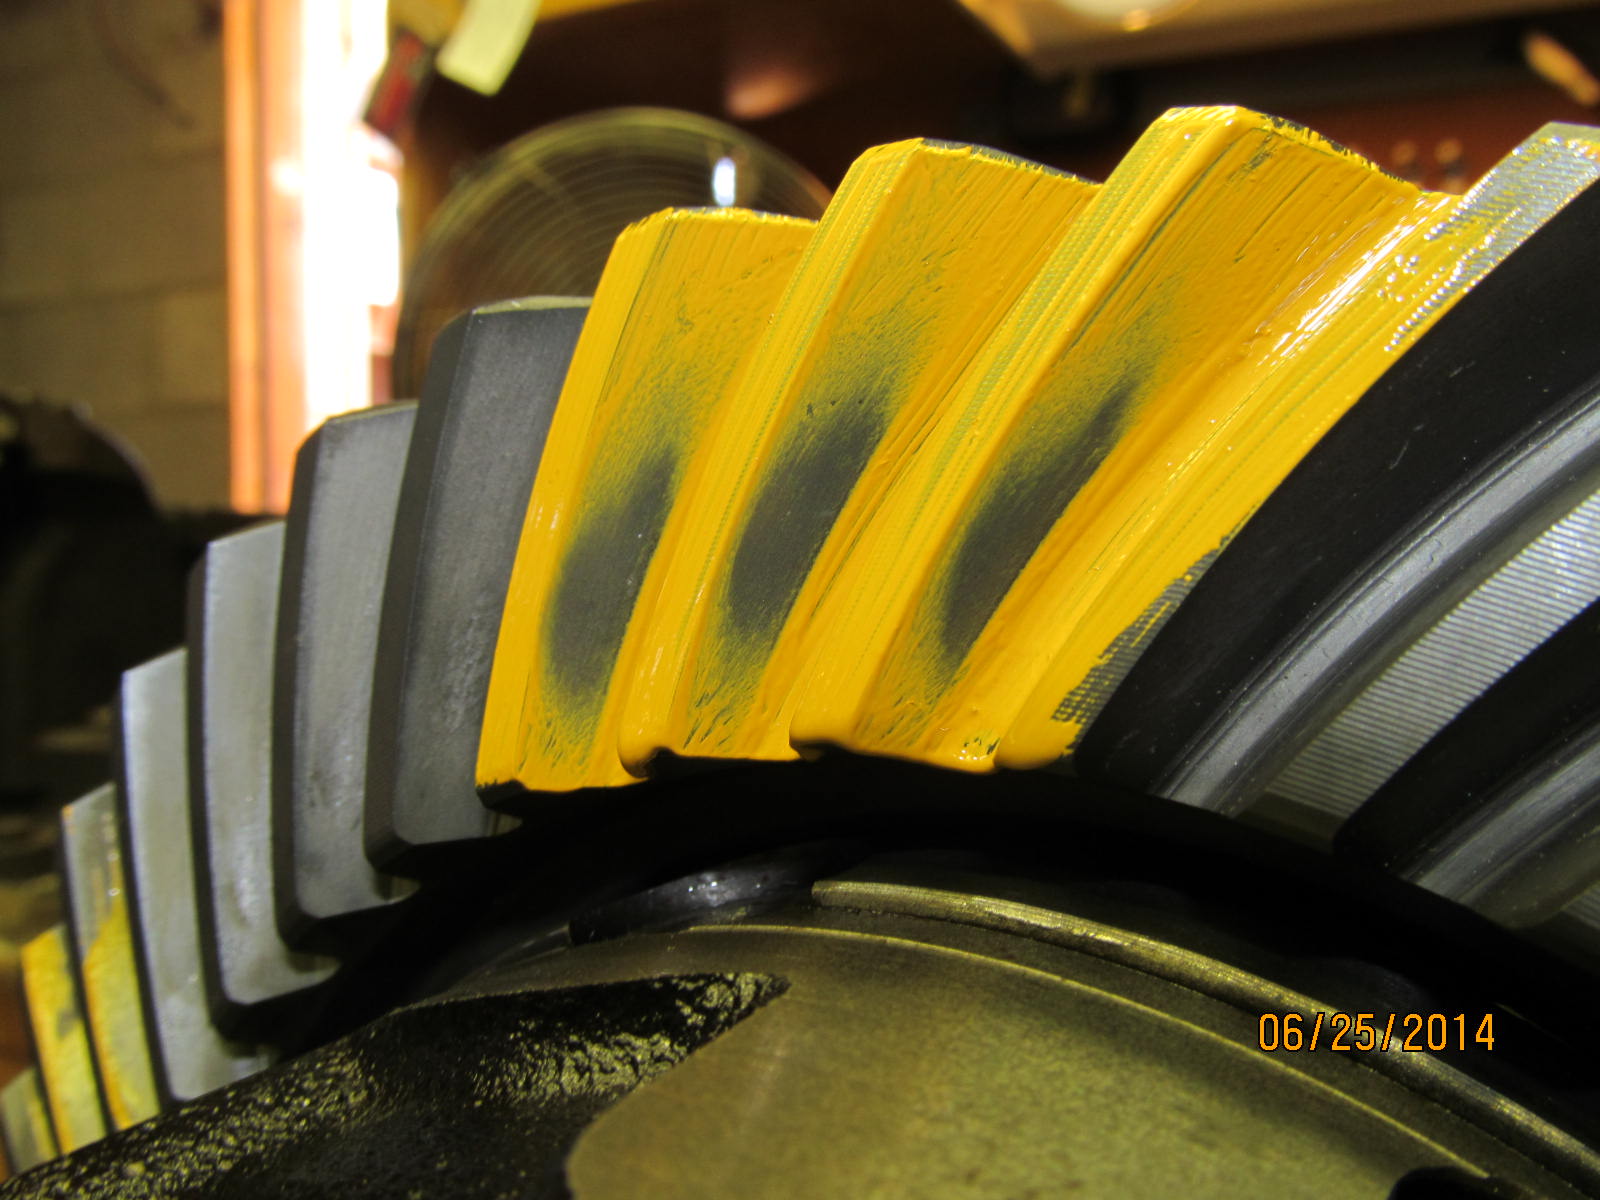
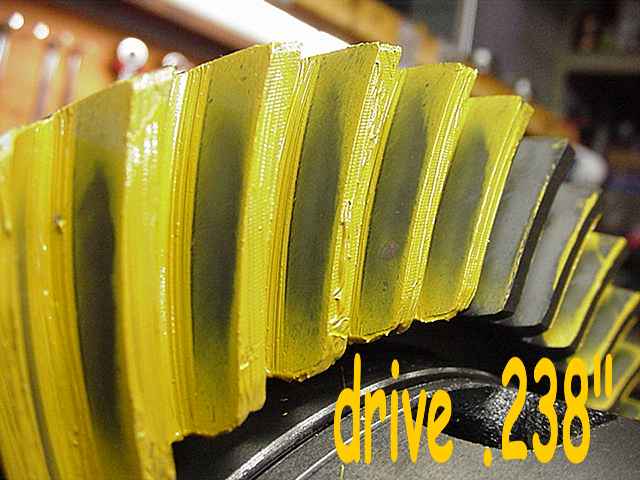
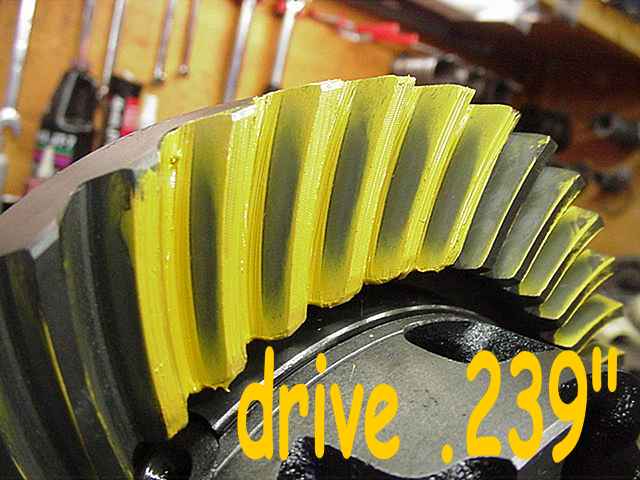
Skipped a few steps/pictures but this is the first paint with the .240" pinion shim and the new G2 Gears. DRIVE----Looks right on the money. Depth is perfect and placement is favoring the inside toe a bit....very good. |
|
|
|
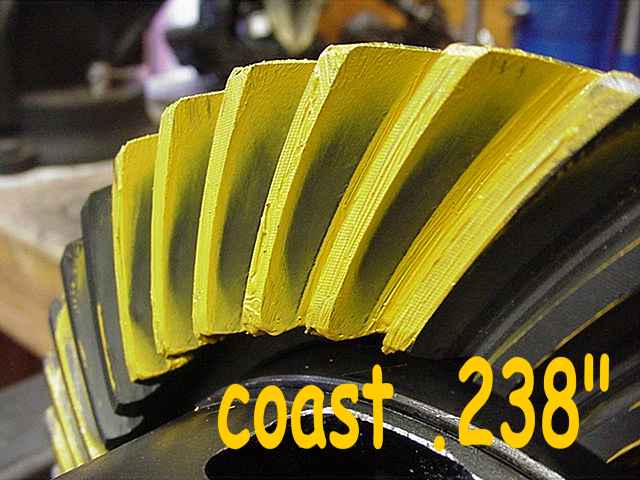
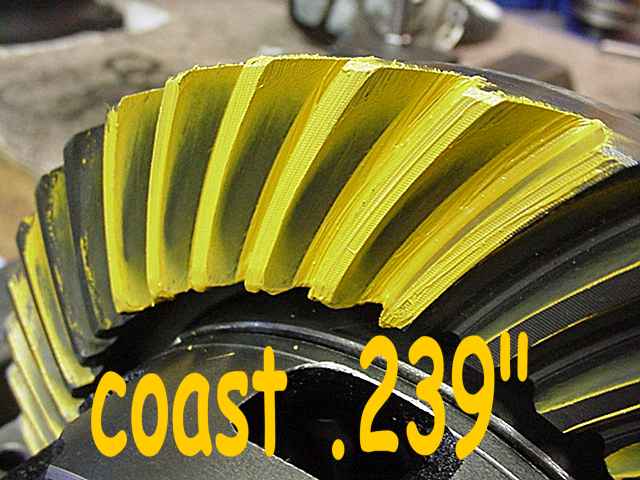
COAST---The same favoring of the toe! Excellent. Depth appears exact or slight deep. I guess that double lapping is paying off. |
|
|
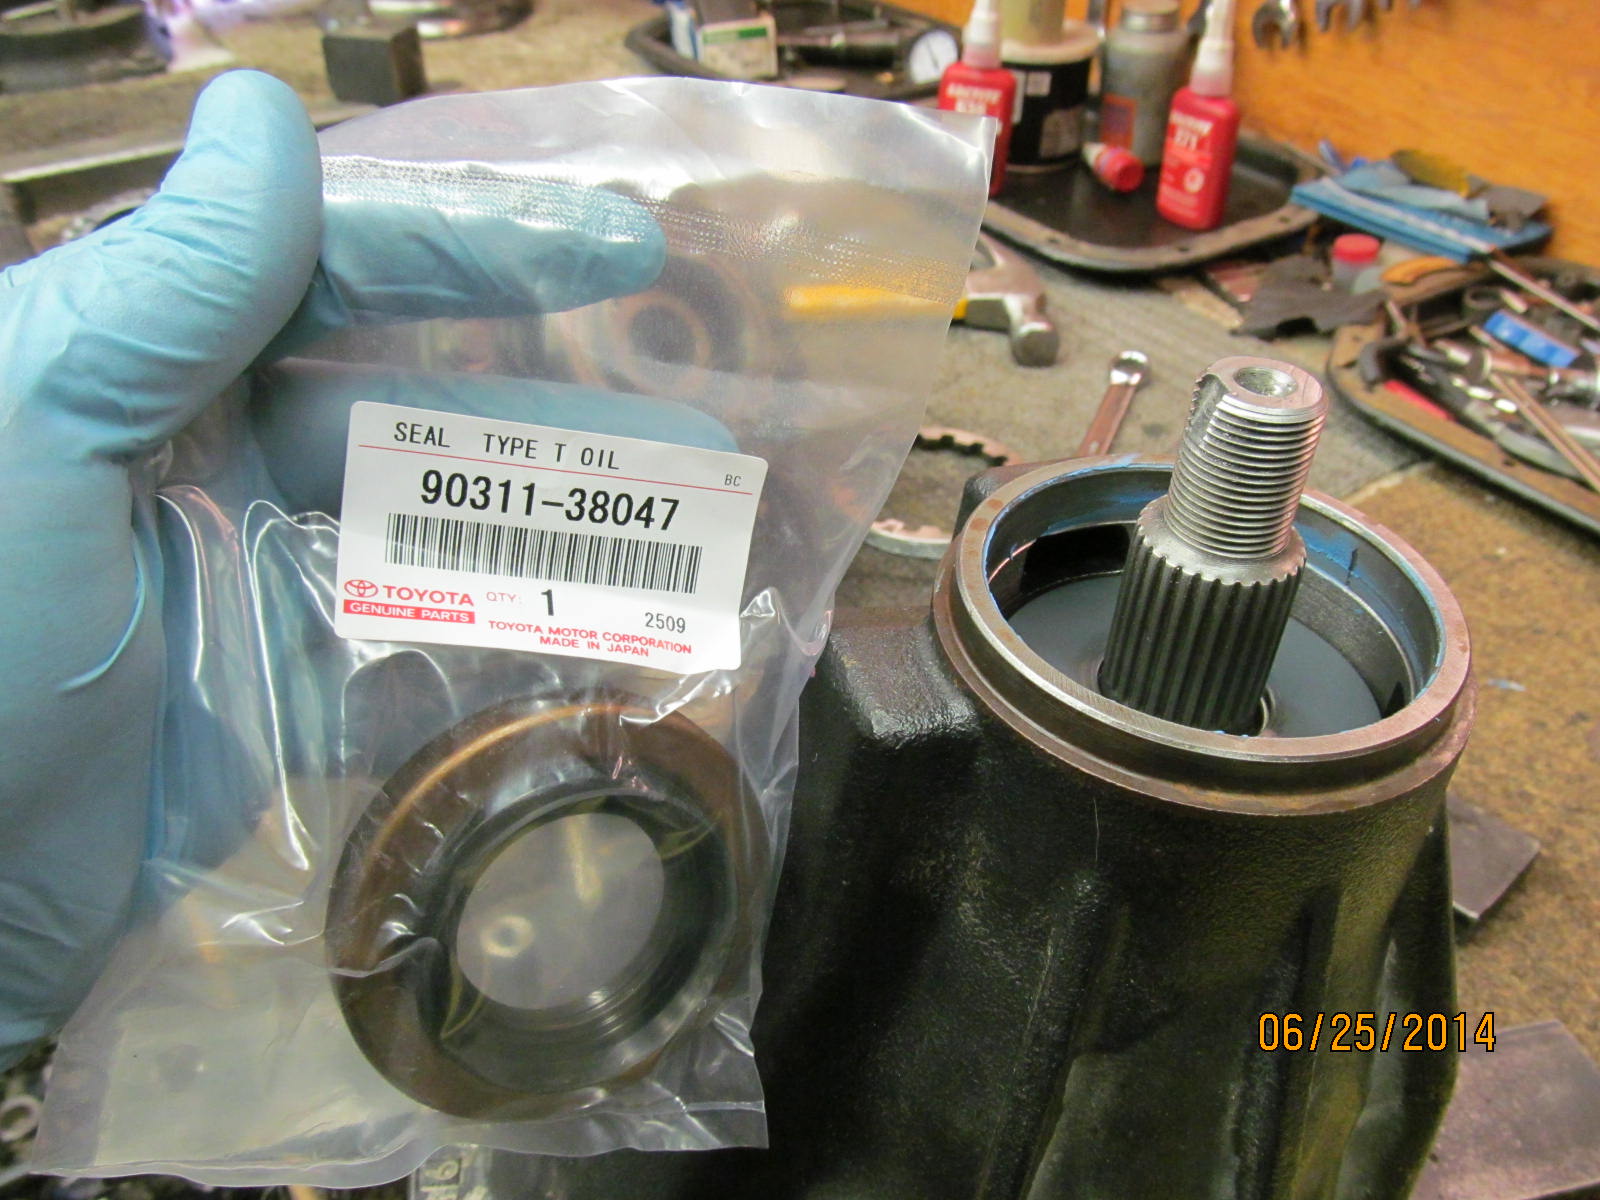
| New factory OEM pinion seal 90311-38047 |
|
|
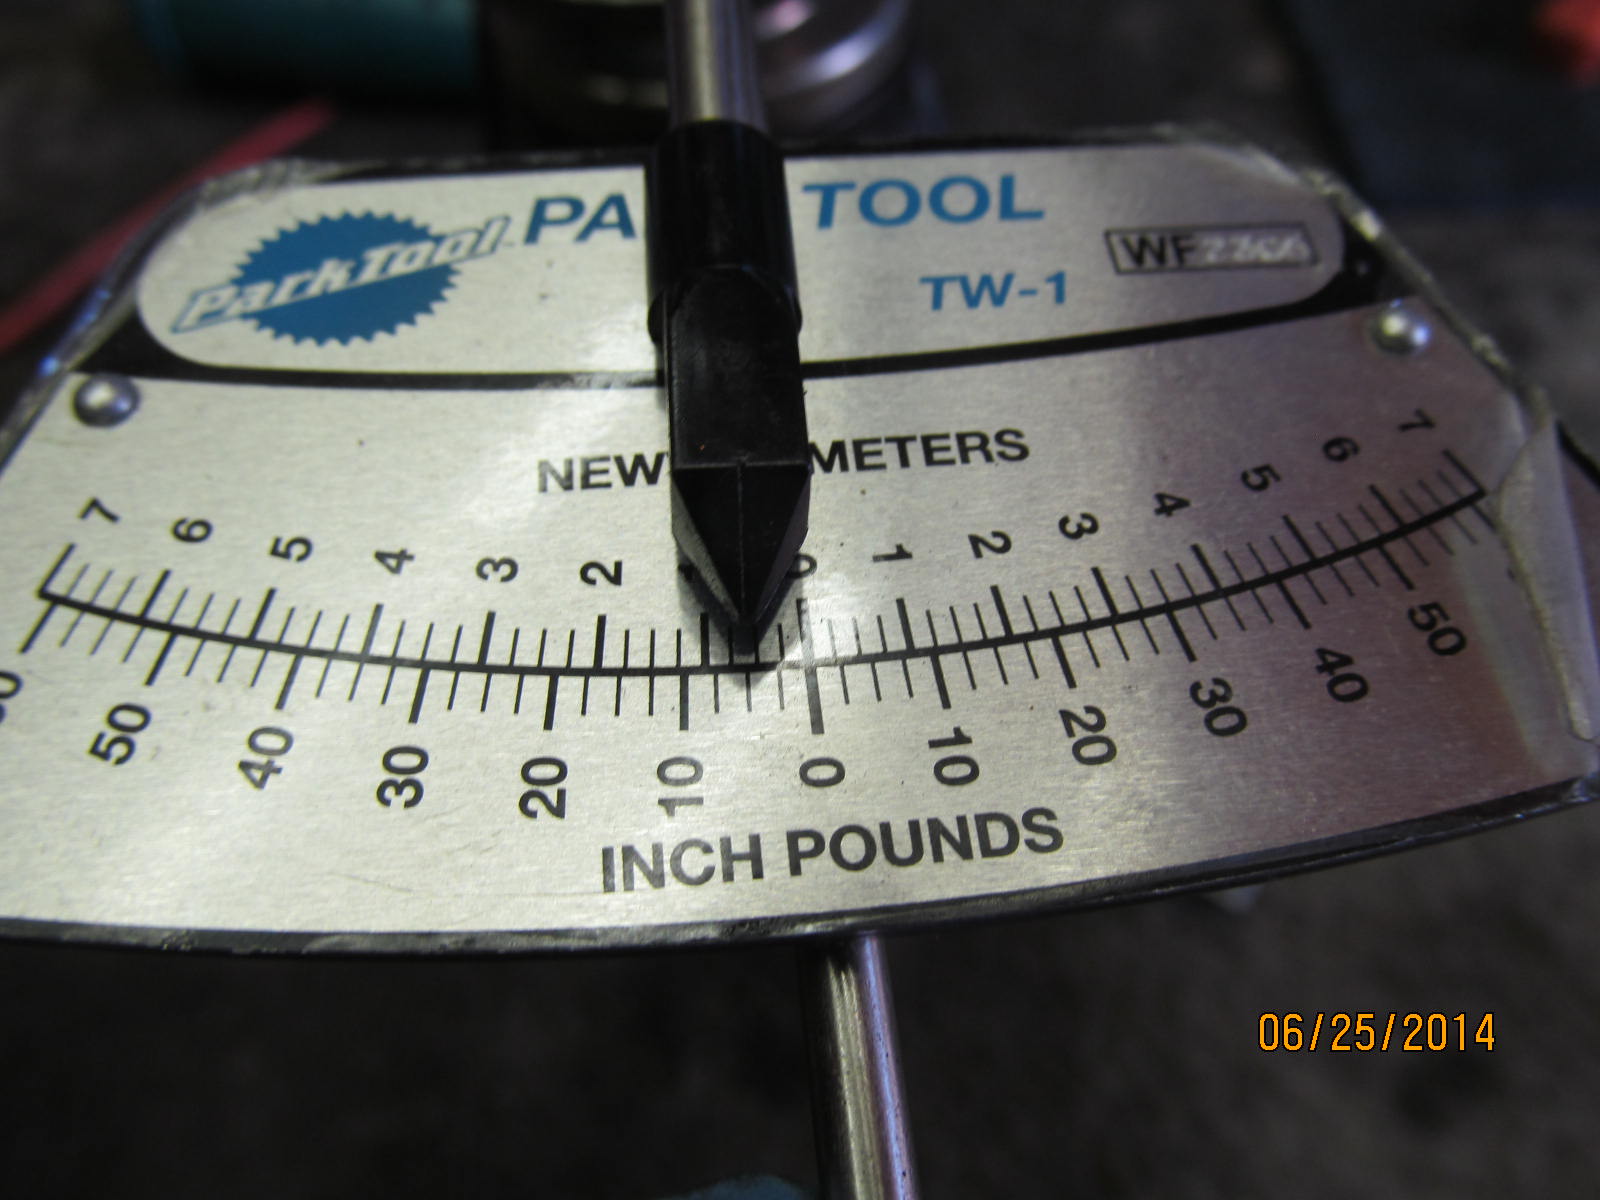
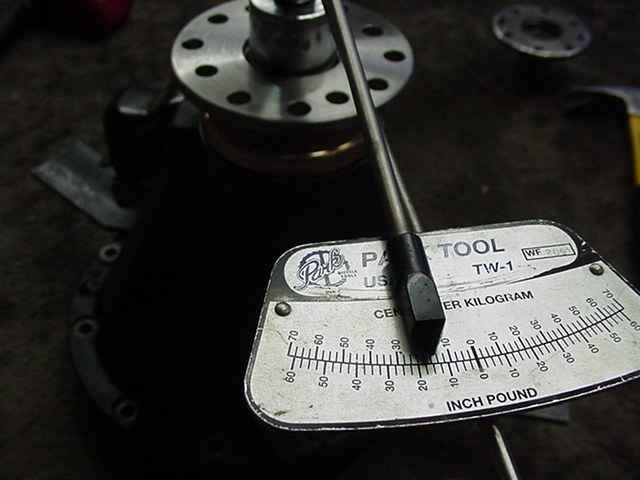
| Used bearings so I dialed in a nice, smooth 5 in/lb of PPL. |
|
|
|
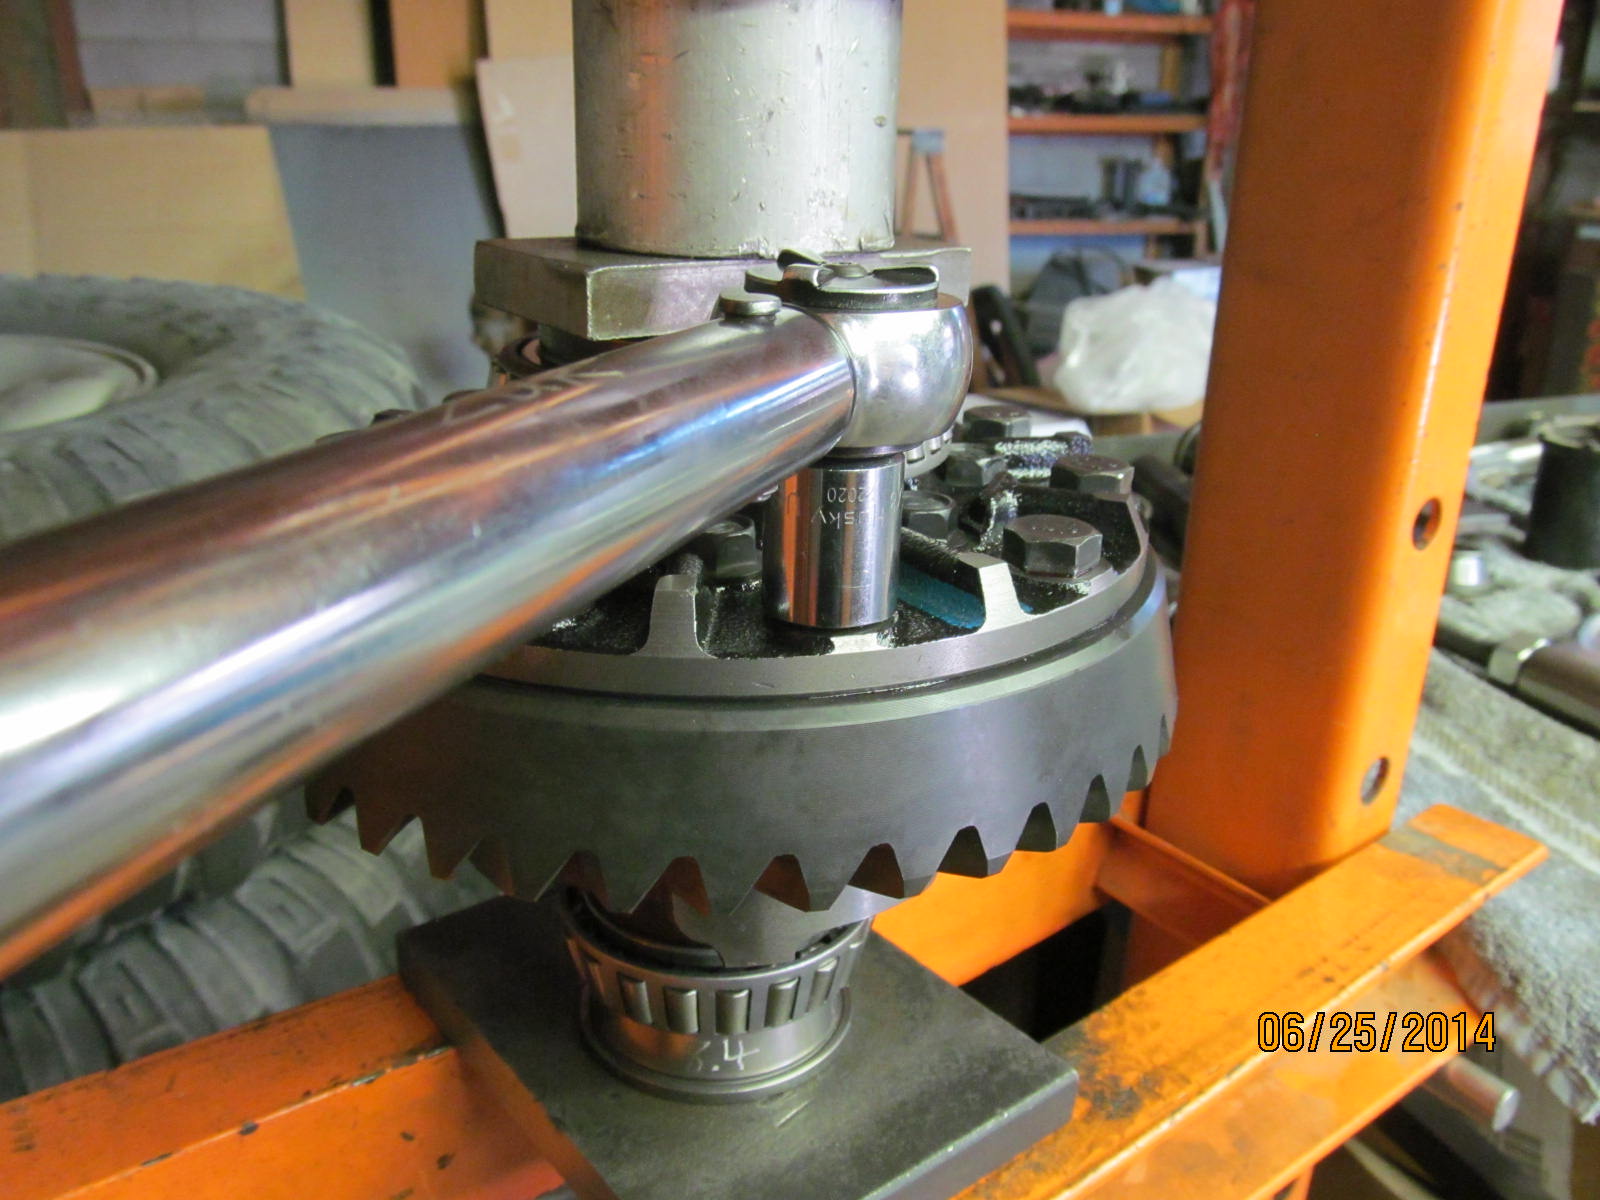
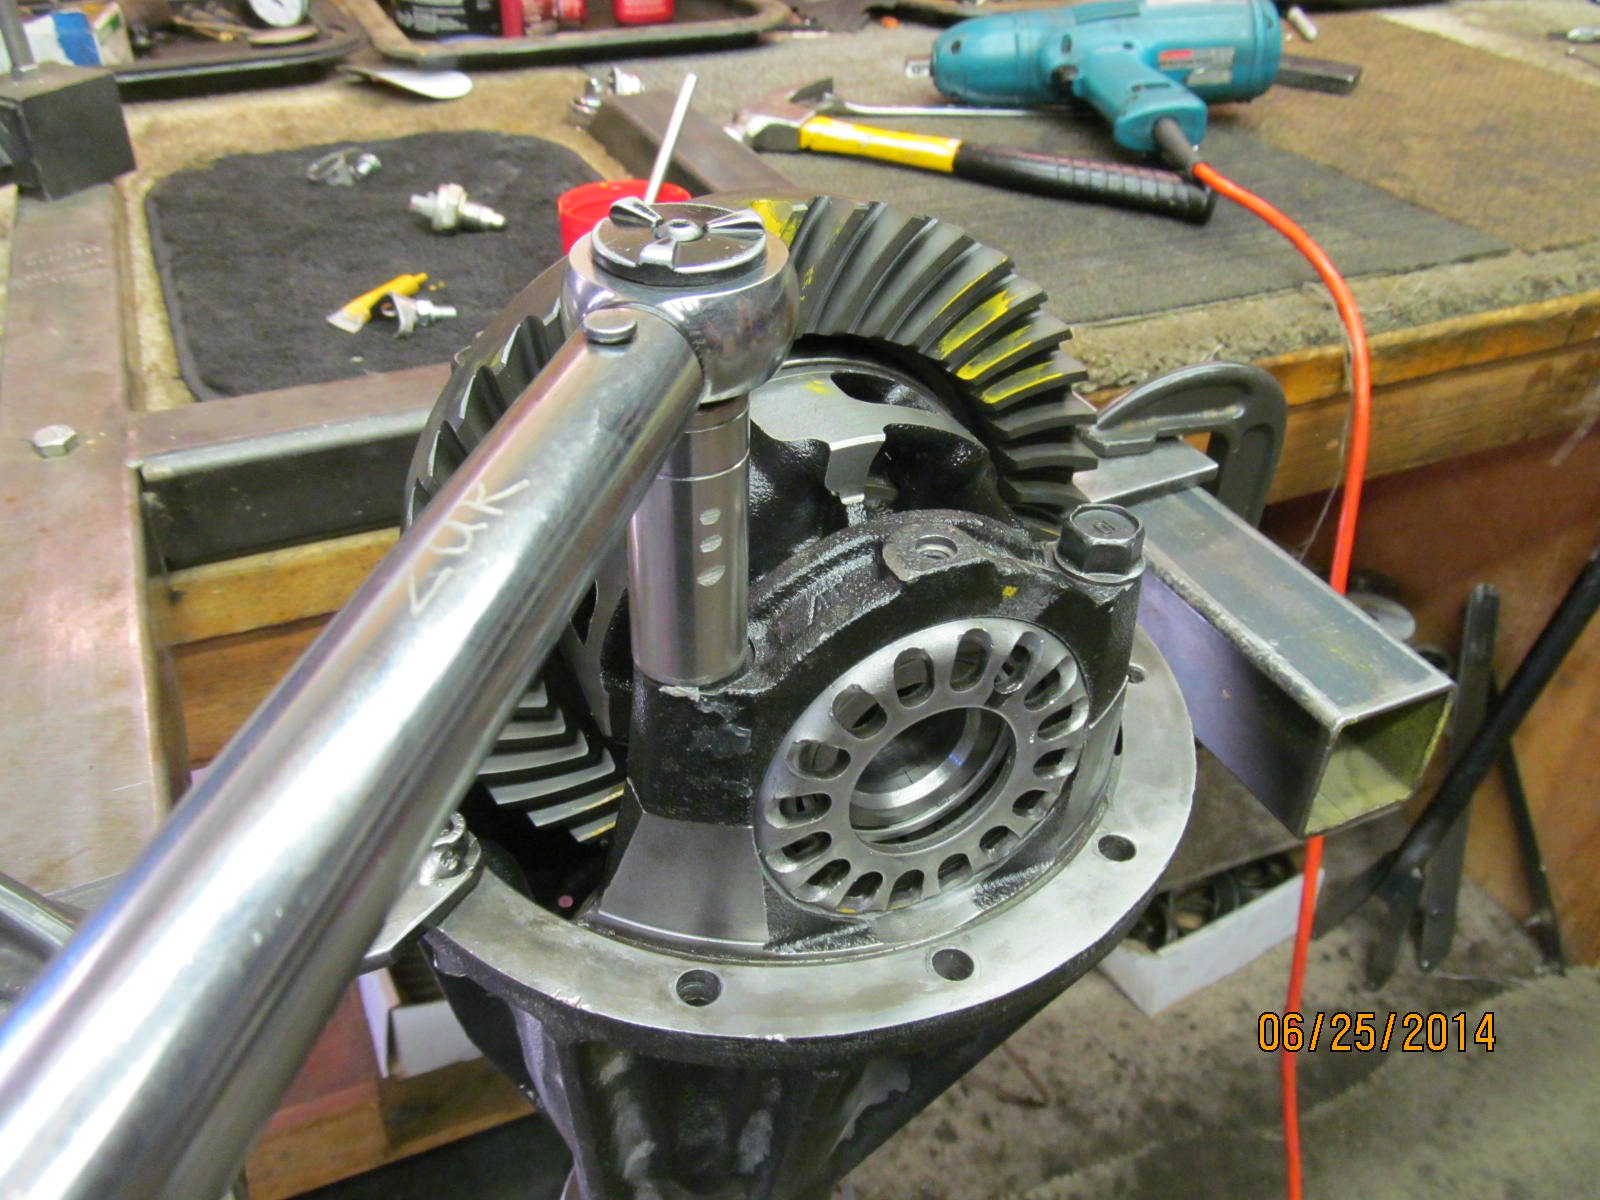
Bearing caps are tighten to 75 ft/lb and now is the time to get the backlash in spec and a decent amount of CBPL....in this case I was measuring another 5 in/lb for the CBPL. |
|
|
|
And 10 ft/lb with medium strength blue loctite as usual. Shortage of pics at the end...sorry about that but I had a deadline with Fedex Express and Jim had a deadline with a 3 day trail run. The pictures below are of the original 2008 install. Ken |
|
|
|
|
|
|
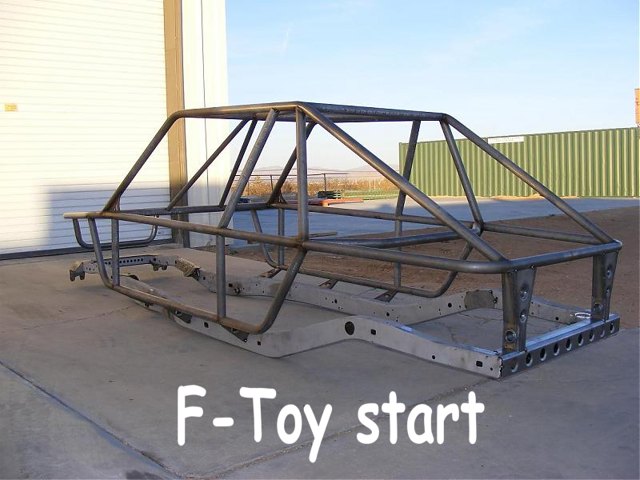
Jim is in the process of building up an F-Toy....first, a little background on F-Toys.... An F-Toy is a Formula Toyota, a Special class rock crawling vehicle with a tube chassis made to sit on top an existing Toyota pickup frame. The class was started a few years ago and now close to 100 chassis� have been sold by Hendrix Motor Sports. The idea is to have very consistent vehicles so the competition comes more from driver and spotter instead of who can throw the most money into a rig. In competition, the vehicles are very competitive within the class and even with Pro-Mod vehicles when facing them. In fact, in the 2008 King of the Hammers Race, the F-Toys did really well stacked up against unlimited vehicles (Moon buggies, Linked, Dana 60�s, LS6 V8�s, etc). |
|
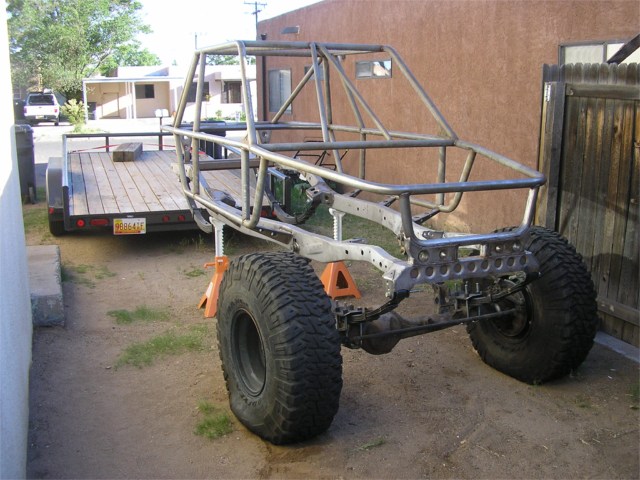
On the trail, where Jim plans to spend most of his time, the rig is expected to perform
well. The 22re power plants are reliable, the power to weight ratio is sufficient
(approx. 3000 lbs), the balance front to rear is near perfect (with the drive train moved back
approx. 8� in the chassis), and the rigs just plain work. You can see Jim's build up thread on
pirate.
|
|
I'm doing the gear install portion of this build. Jim sent me 2 E-lockers. A friend of his wished he had gone with 571 gears instead of his present 529/37" tire combo. Jim considered this and after some research, decided that 571 gears are the way to go. They will be Motive gears....cryo treated...with cryo bearings...and installed to pro levels. Pushing 37,39,40, and sometimes 42" tall tires is asking alot of any 8" 3rd member but it can be done with a degree of dependability.....just gotta install those gears right ;) |
|
....... |

|
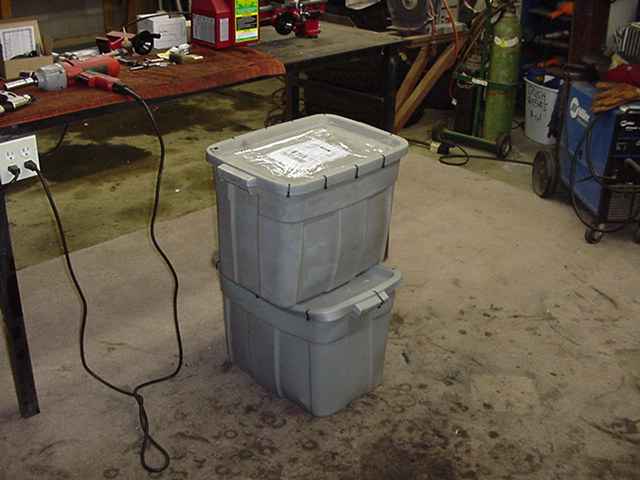
Insulated with cardboard... |
|
The plan is to use cryo treated Motive 571 gears....cryo bearings...and a solid collar. Close attention will be paid towards pinion depth (resultant pattern) and pre-loads. |
|
The gears and bearings have been professionally cryogenically treated locally here from Cryogenics International. |
|
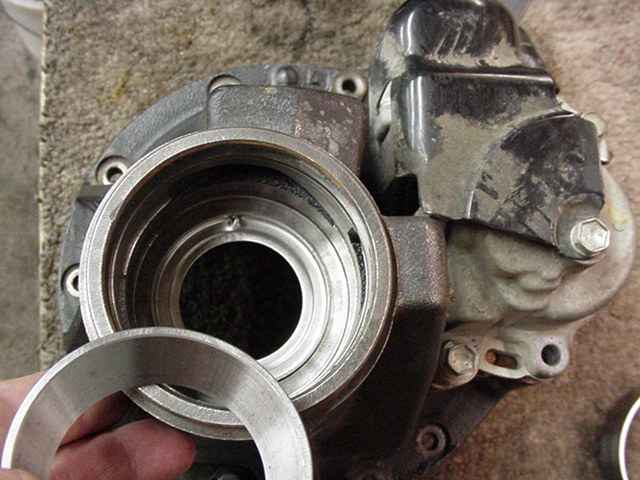
The carrier is dis-assembled and parts are cleaned/inspected... |
|
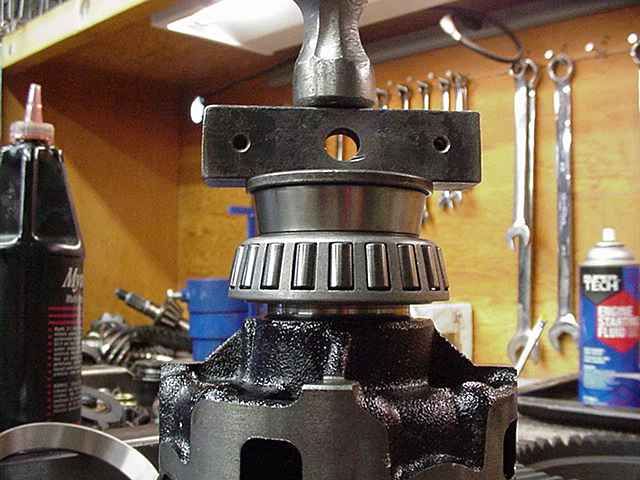
The new cryo treated pinion bearing is pressed on with a starter shim of .233". |
|
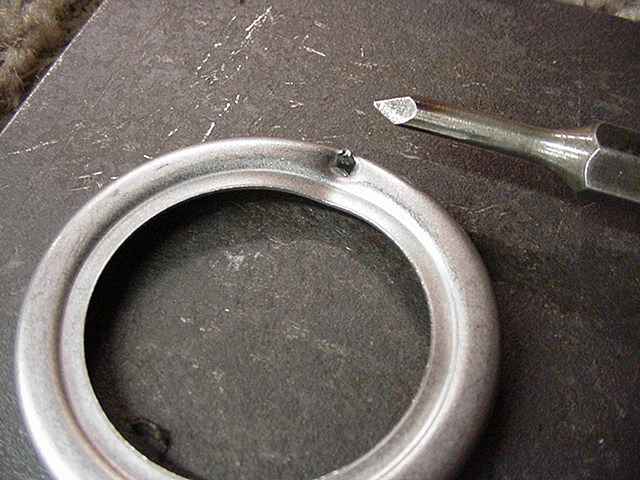
The oil retainer has minor damage due to the removal process. |

|
A few taps with a flat punch will make it all good again. |
|
The damaged area is located in the straight up 12 o'clock position where it will not see any oil. Then the outer pinion race can be tapped in place. |
|
The pinion is then installed without a crush sleeve or solid collar at this point. We are just doing a pattern check so just tighten the pinion nut until about 10~15 inch/pounds of PPL is noted. |
|
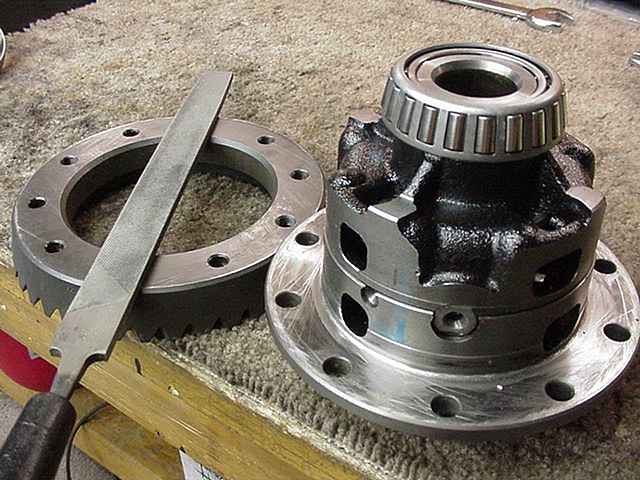
Now to tap on the carrier bearings. |
|
Surfaces are filed to check for burrs and raised edges and all was ok here. The ring gear is then mounted, loctited, and torqued to 75 ft/lb. The case is then mounted in the carrier...BL is set to roughly 8 thou and minimal CBPL is needed for just a pattern check. |
|
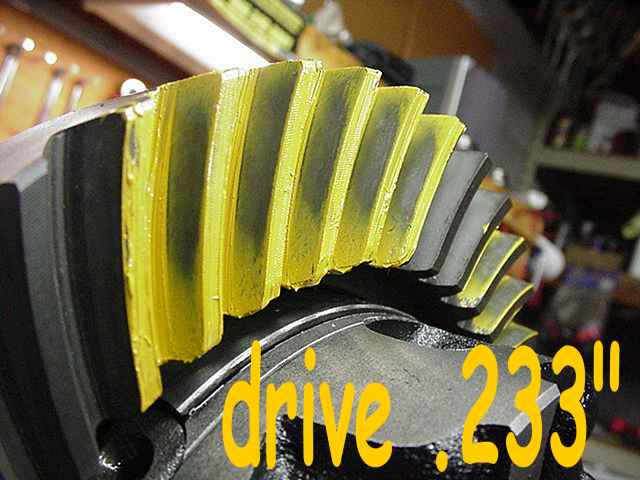
Pattern is favoring the heel end and also appears shallow(not a big enough pinion shim). |
|
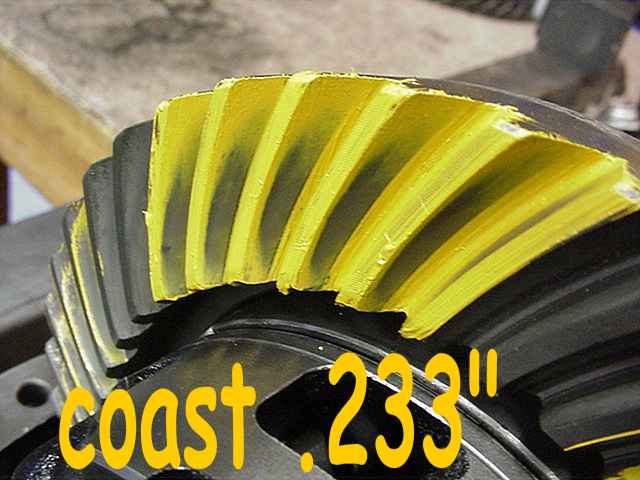
Coast is favoring the toe... |
|
The pinion pattern looks deep which means the ring pattern is the opposite(shallow). |
|
So I tore it all down and added .005" to the stack. Depth appears good....possibly slightly shallow. |
|
Balance is very good between the coast and drive. |
|
... |
|
....the pinion is not going to confirm one way or the other if it's a touch shallow. |

|
I will tear it down once more and add a few thou. |

|
One of the shims in the stack was .0355" and I will substitute a .0375" shim. |
|
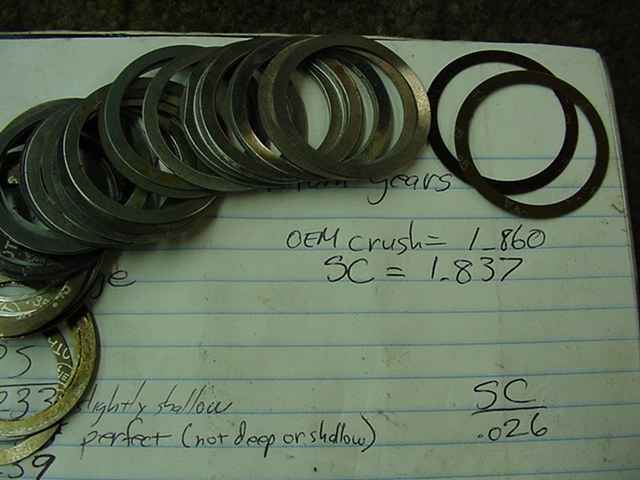
I'm fairly certain this new pinion shim value will be perfect so time to add the solid collar in. I will try a .026" shim. |
|
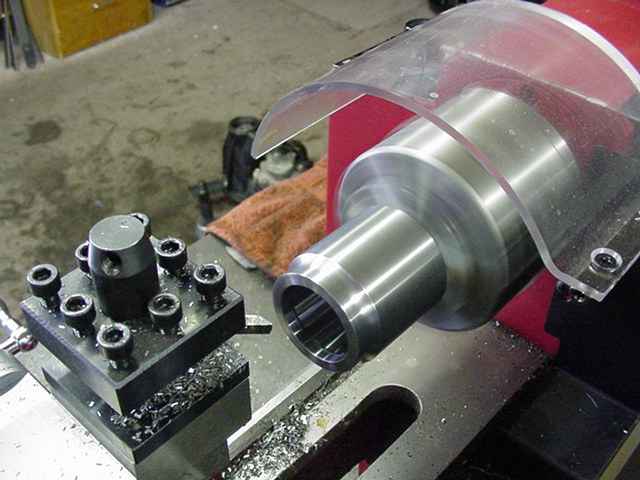
I trimmed off less than .001" in order to smooth the surface.
|
|
16 in/lb of rolling drag on the first try. Excellent. |
|
Anti-seize is applied to the threads... |
|
The adjuster wheels are verified to be meshing correctly. |
|
The bearing cap is aligned and tapped down. |
|
150 ft/pounds of CBPL. Not show is the hammer taps to shake the bearings and equalize tensions between both sides. |
|
A fantastic pattern. |
|
Coast is also the best. |
|
Measured specs are engraved on the ring. |
|
... |
|
Done. ZUK |
|
|

|