|
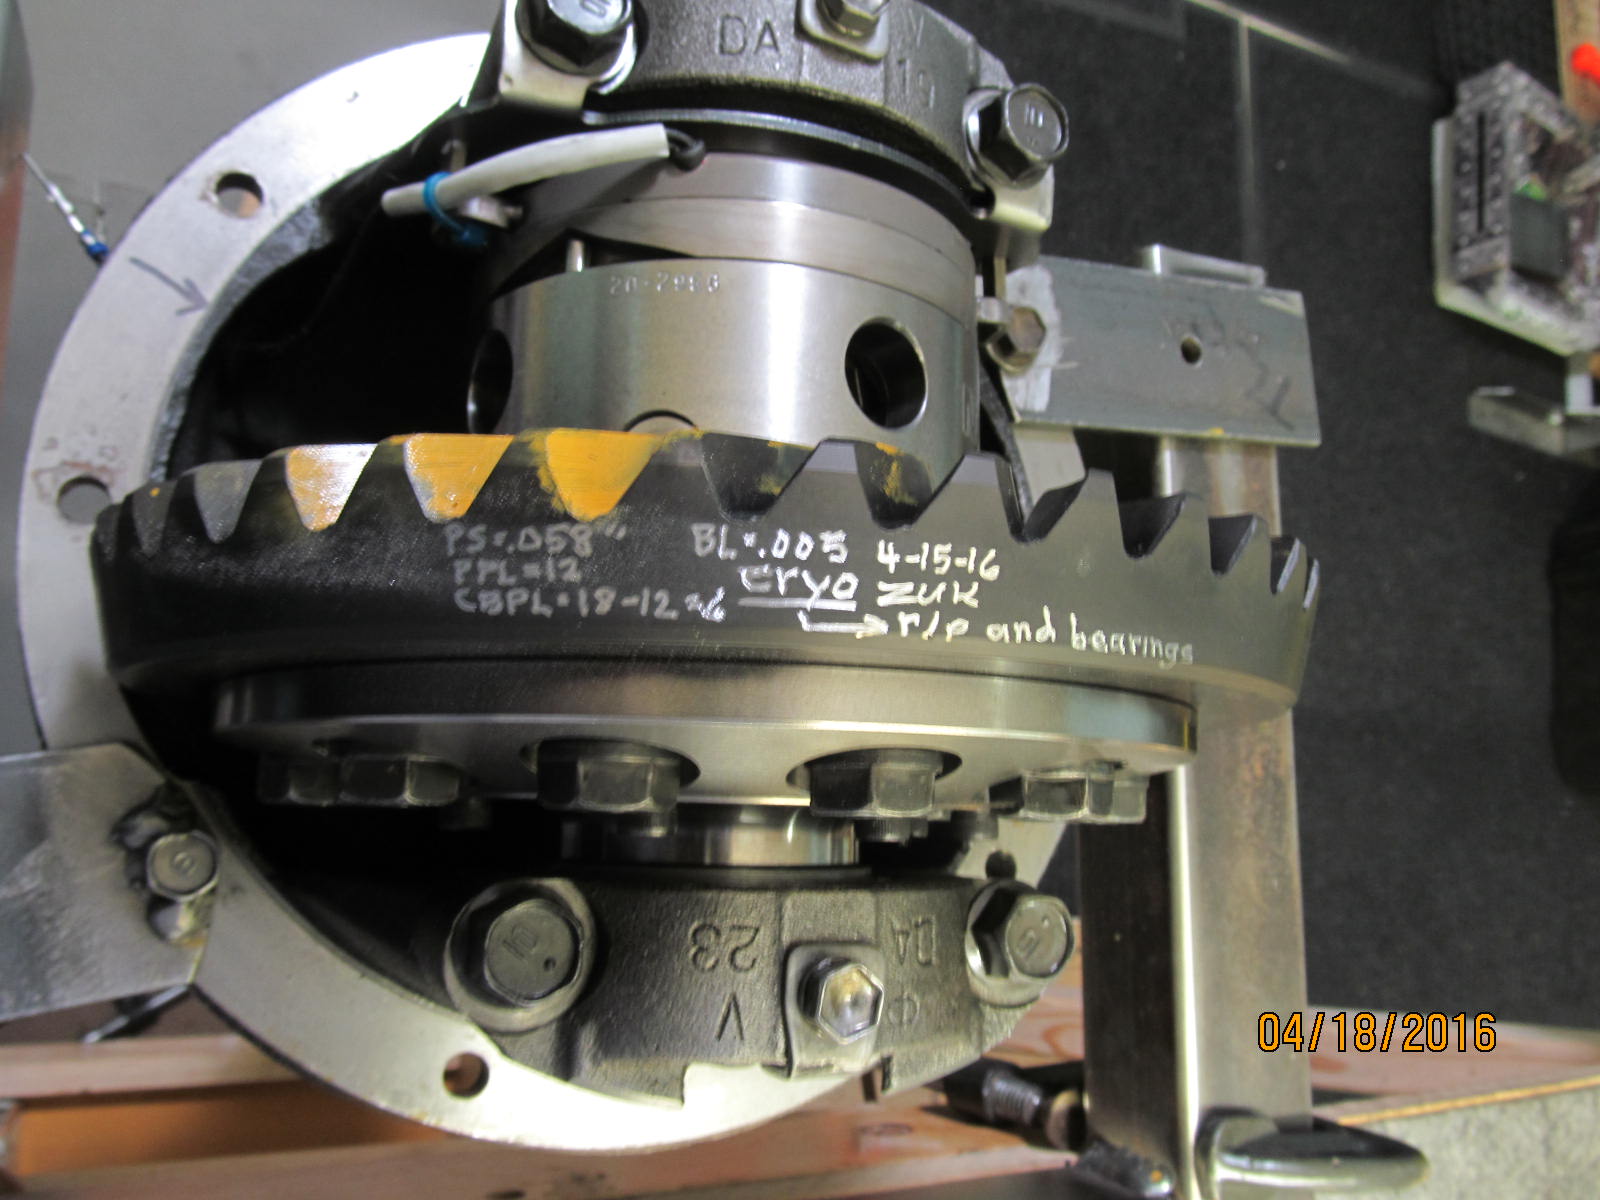
Harrop E-Locker/Cryogenically treated Nitro 488 Gears/Bearings for Eric Y's 1997 FJZ80 3rds
|
|
(88 BIG pics loading)
|
|
May 23 2016
|
|
|
|
|
|
|
|
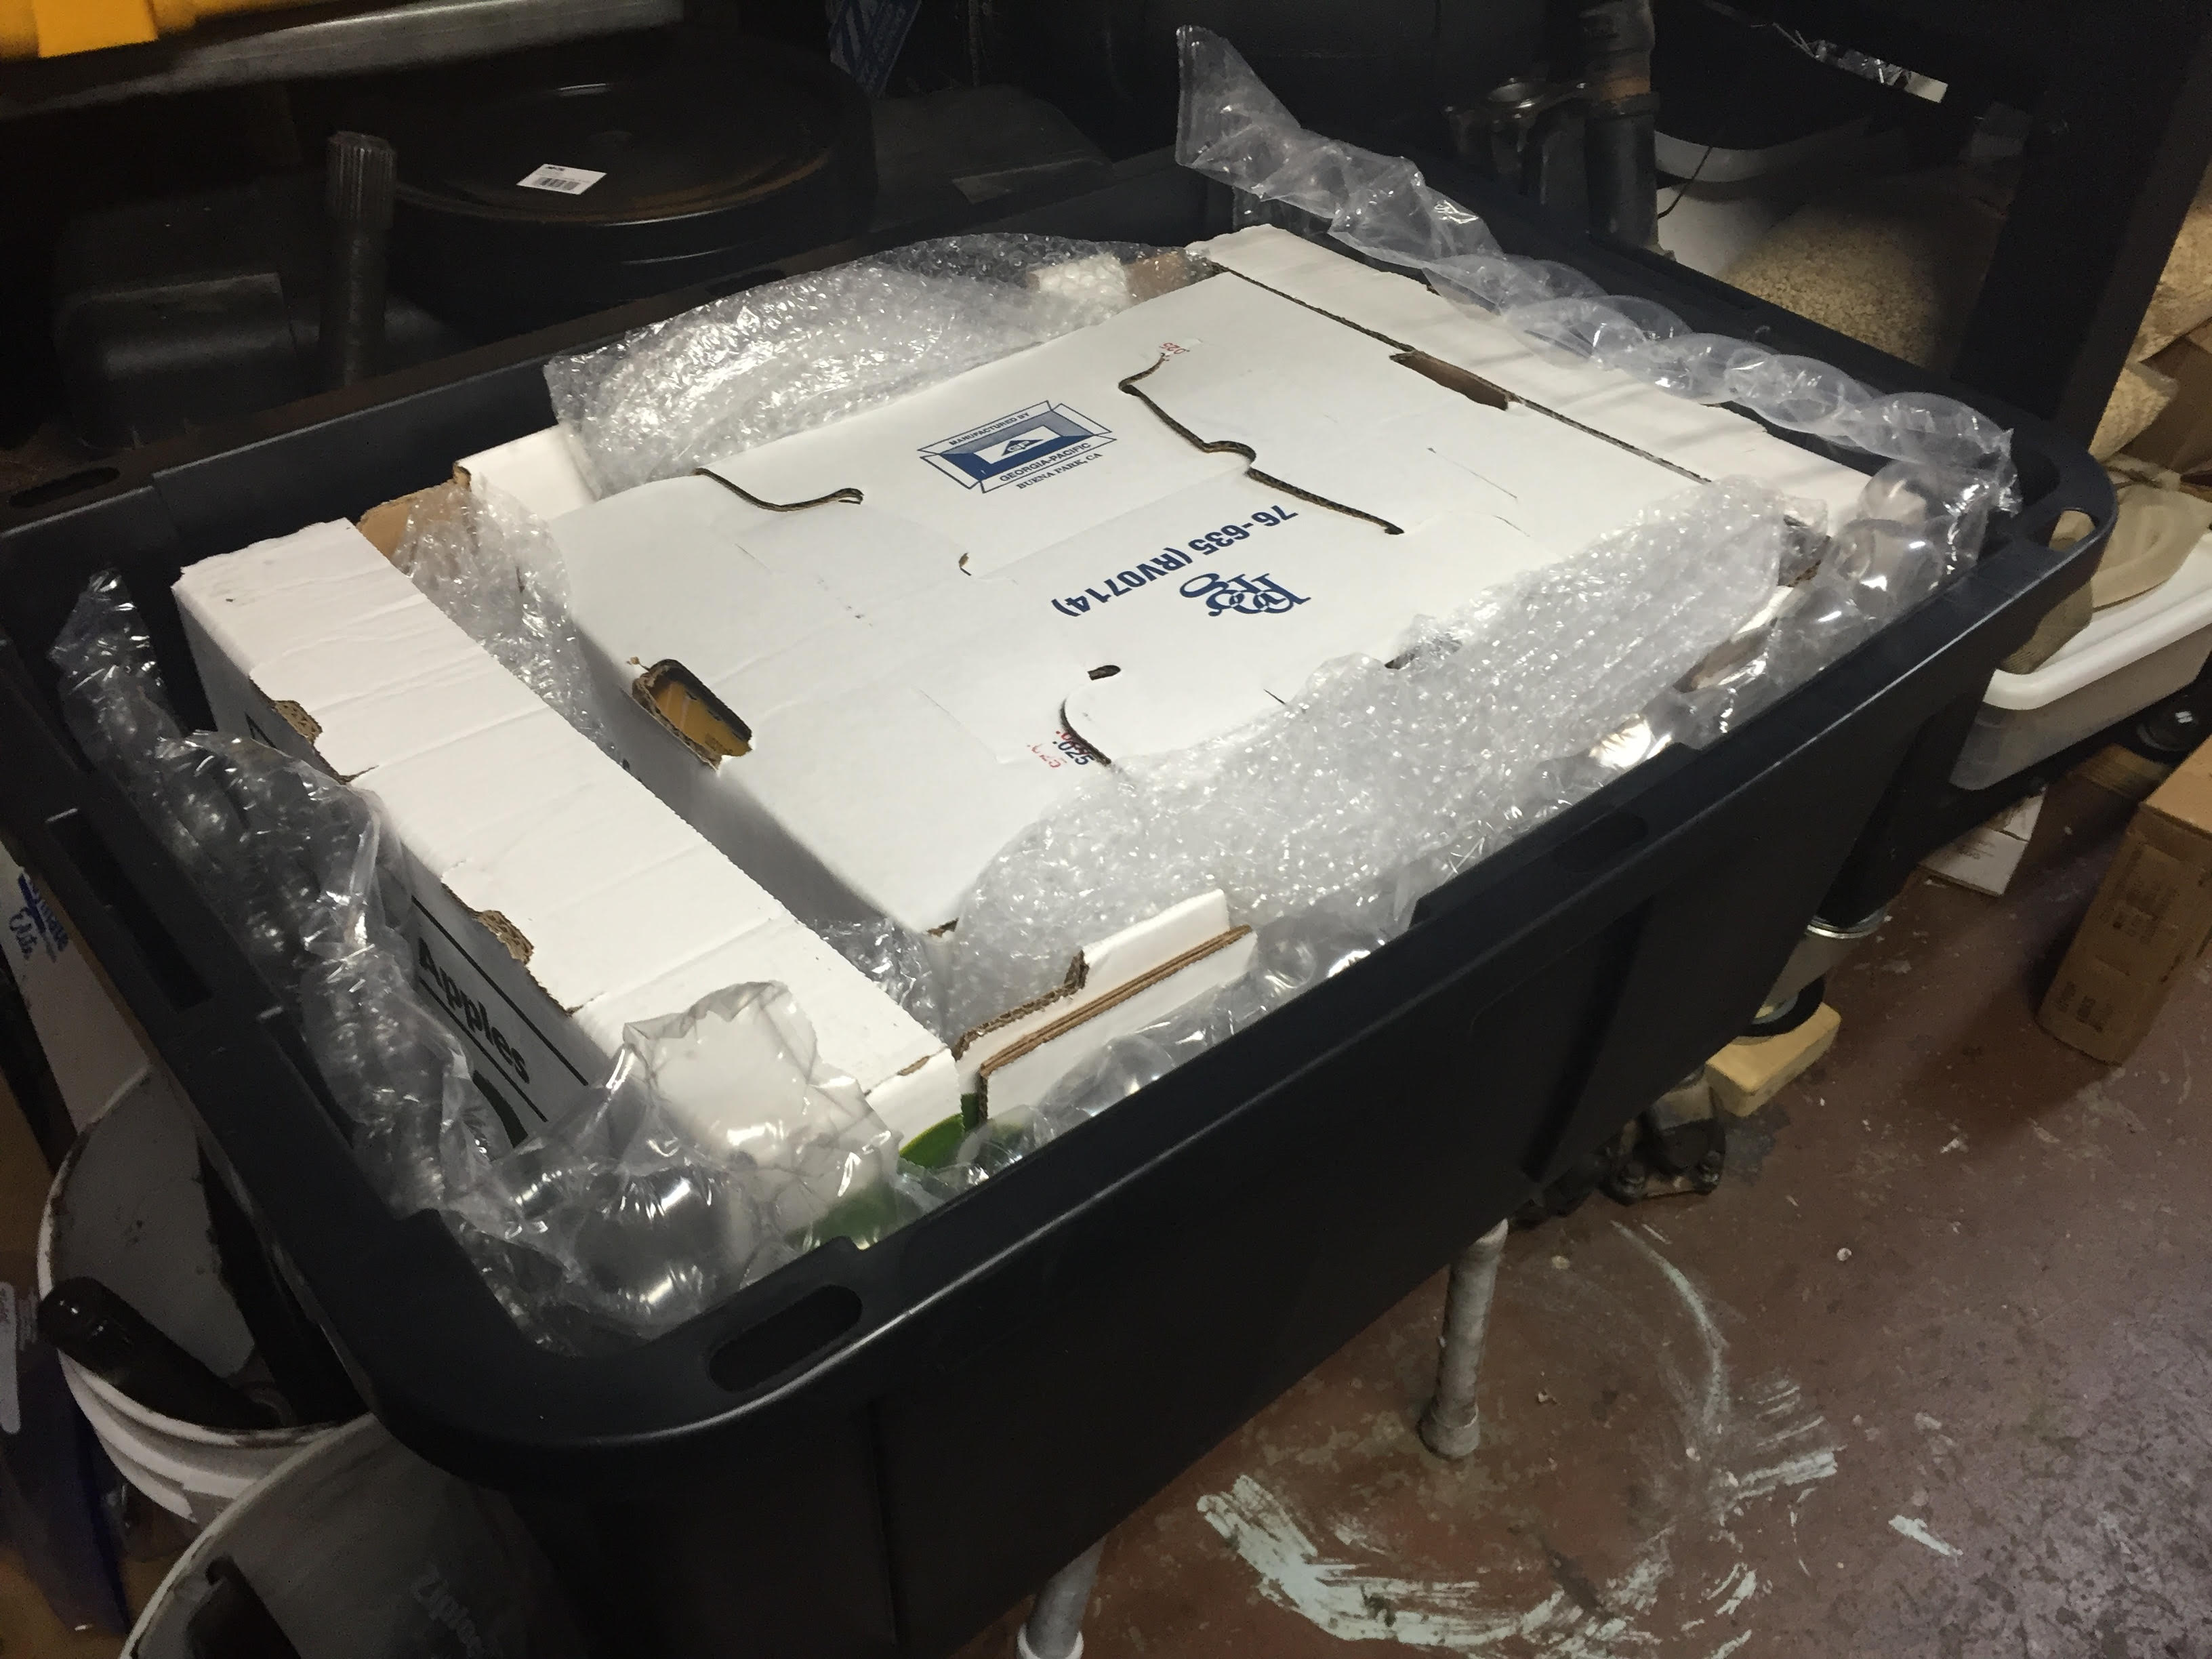
Please bare with the first couple of pics as Eric did such a nice job of cushioning
the heavy 3rds in the totes and he sent optional pics so I will show what he did....
He started with a good bottom cushion....
|
|
|
|
|
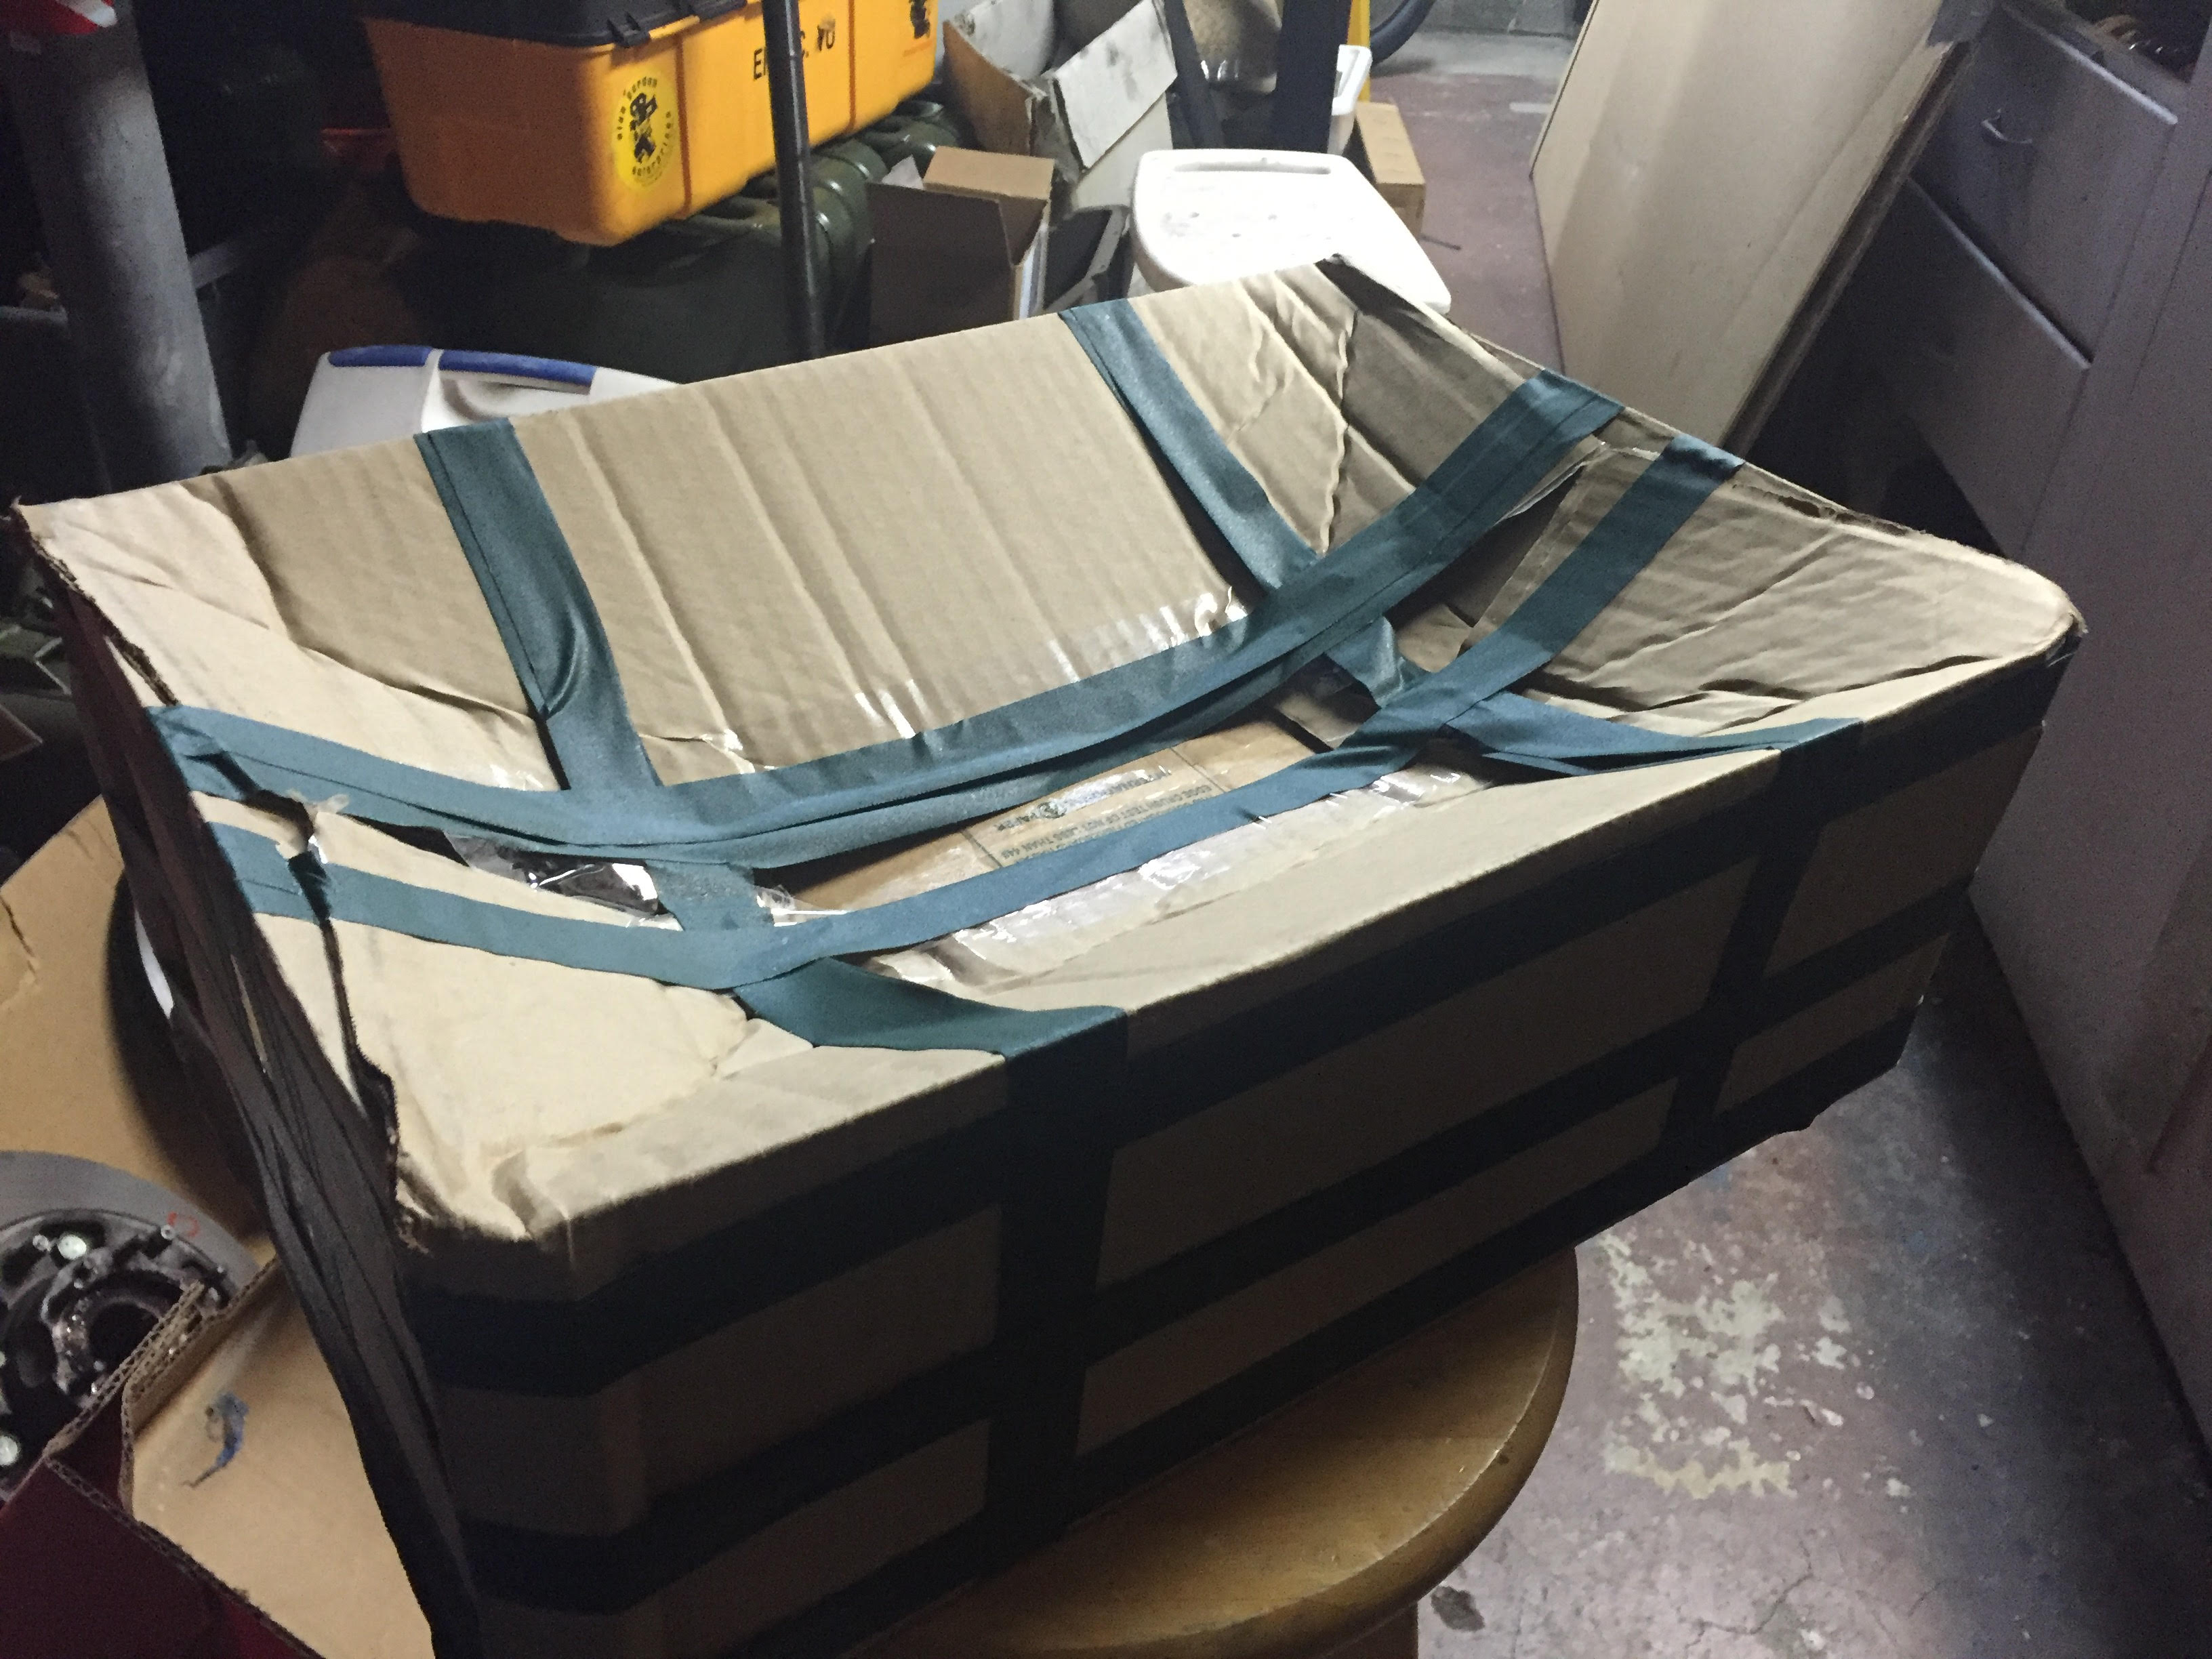
Placed the wrapped heavy 3rd on top....
|
|
|
|
|
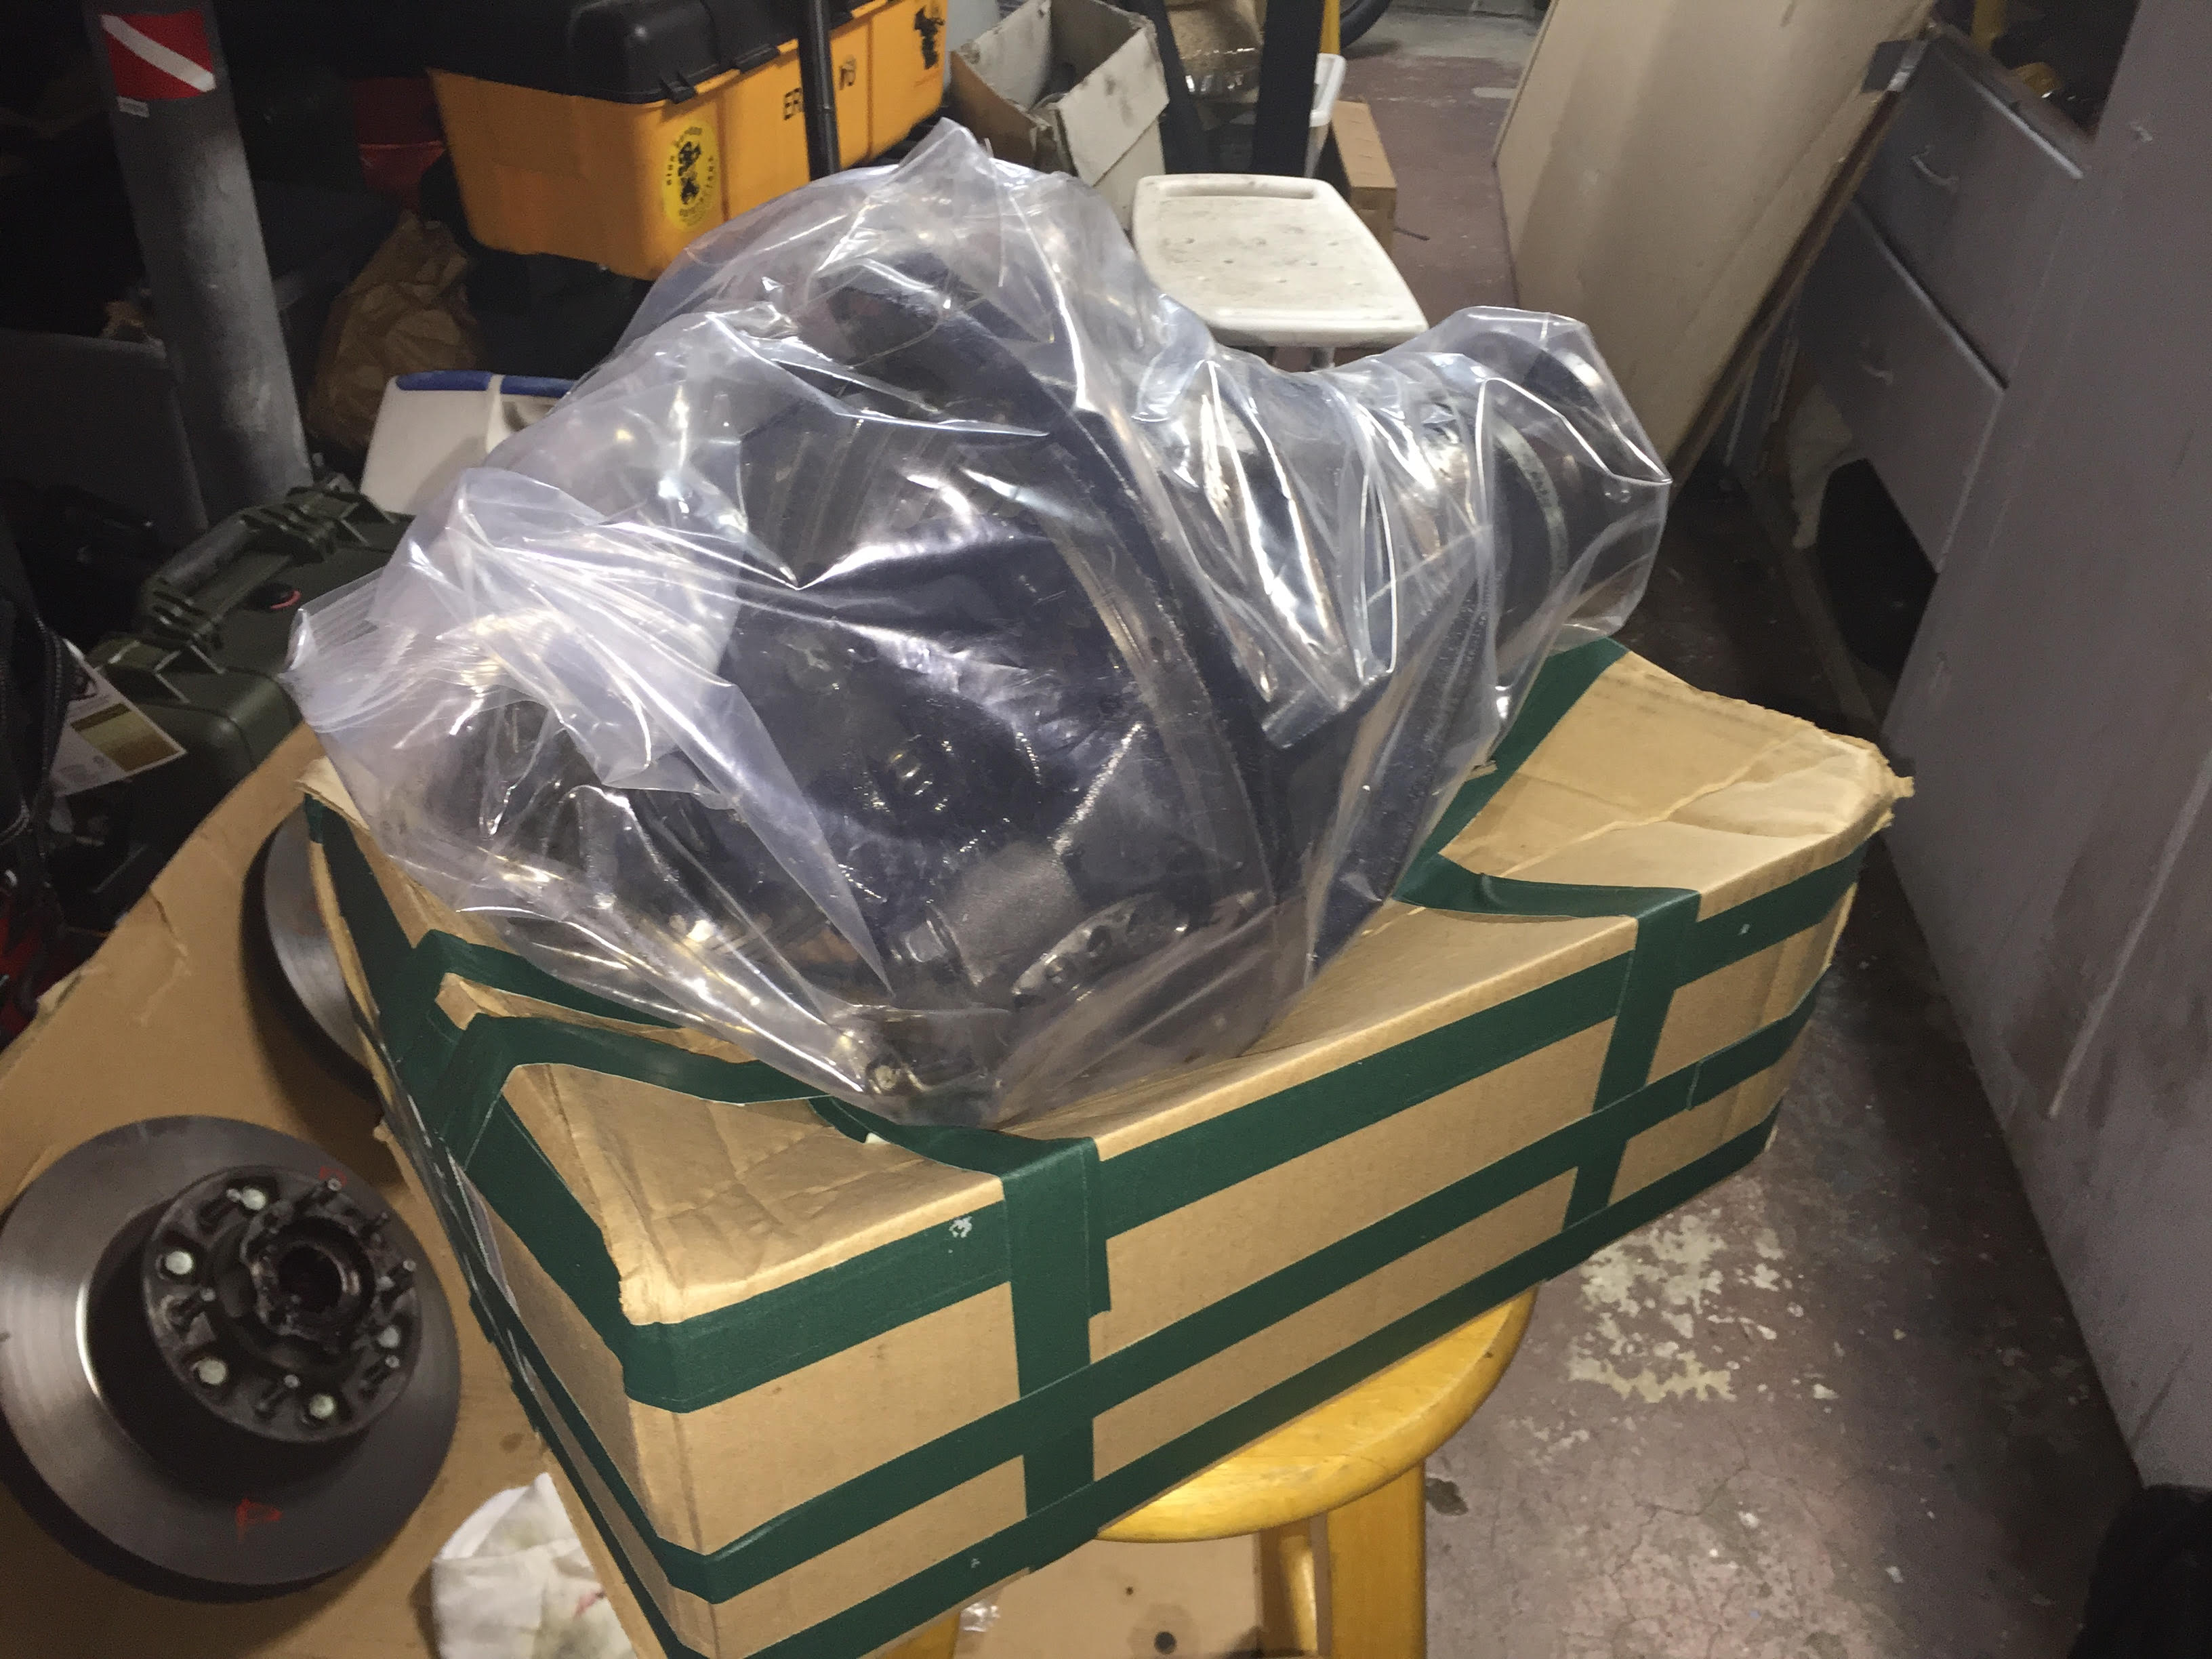
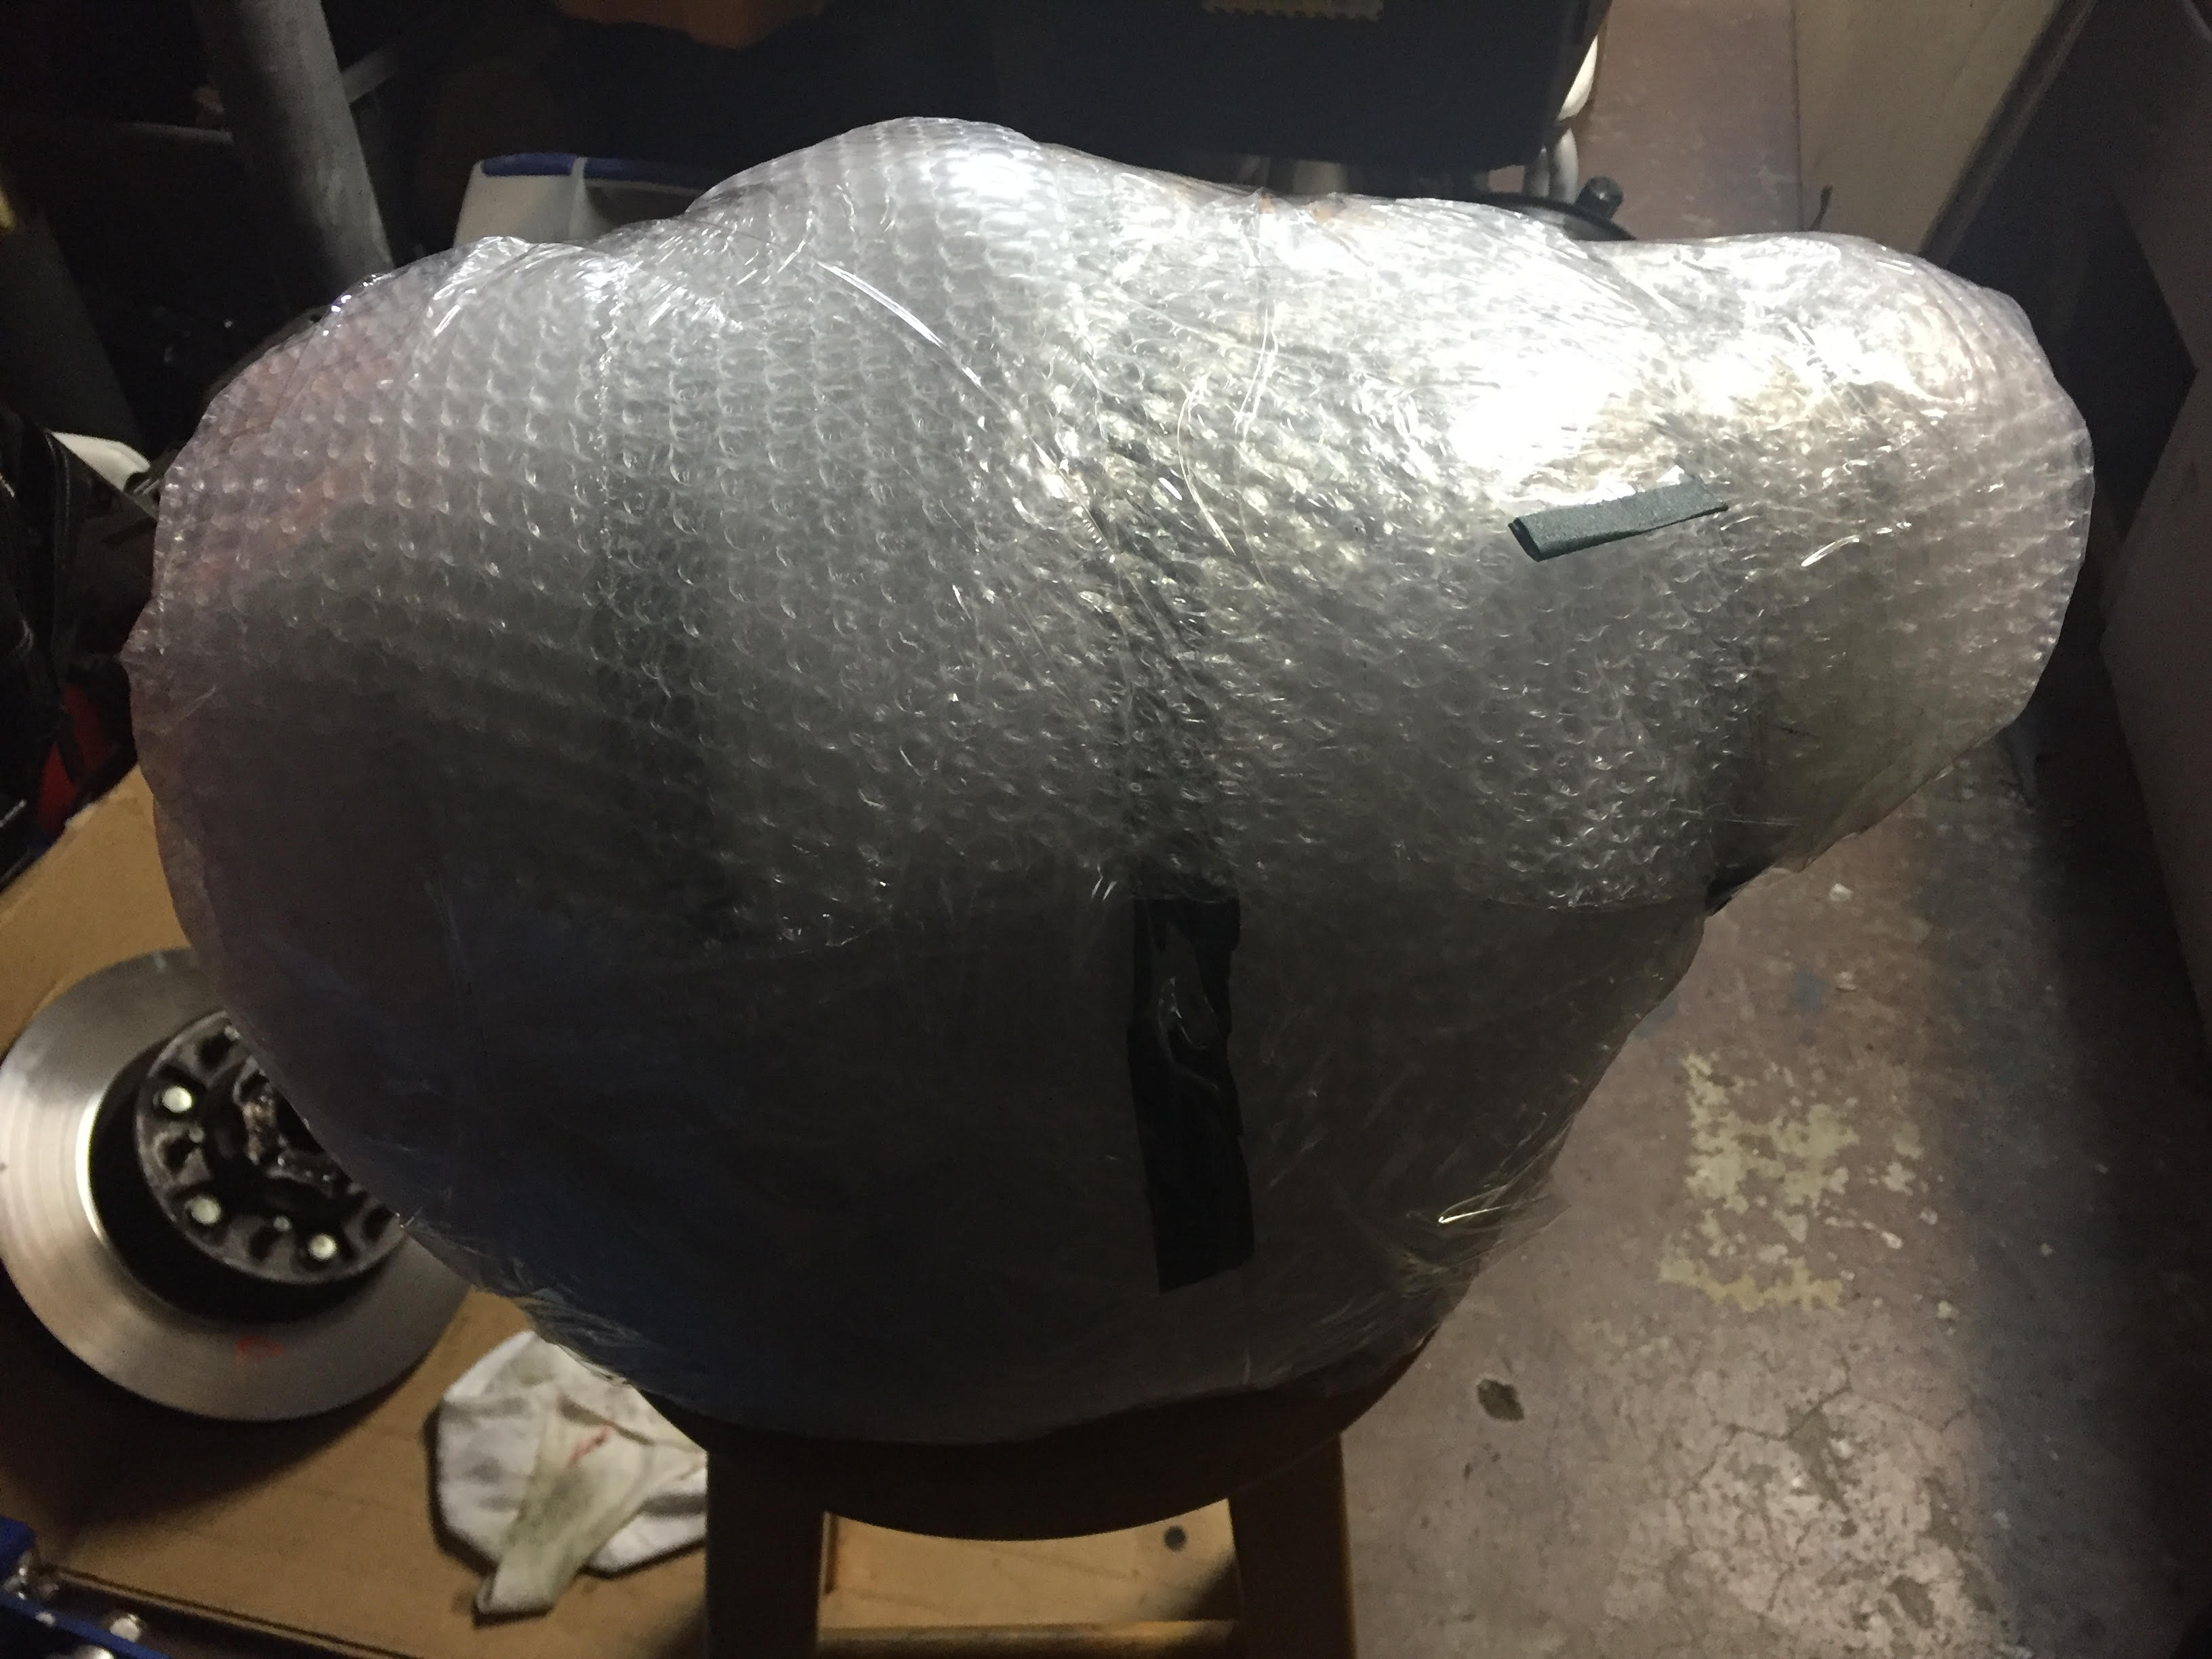
Had access to alot of bubble wrap...
|
|
|
|
And then placed it all in another bit of boxing to keep it all from moving around.
Very rigid and secure now.
|
|
|
|
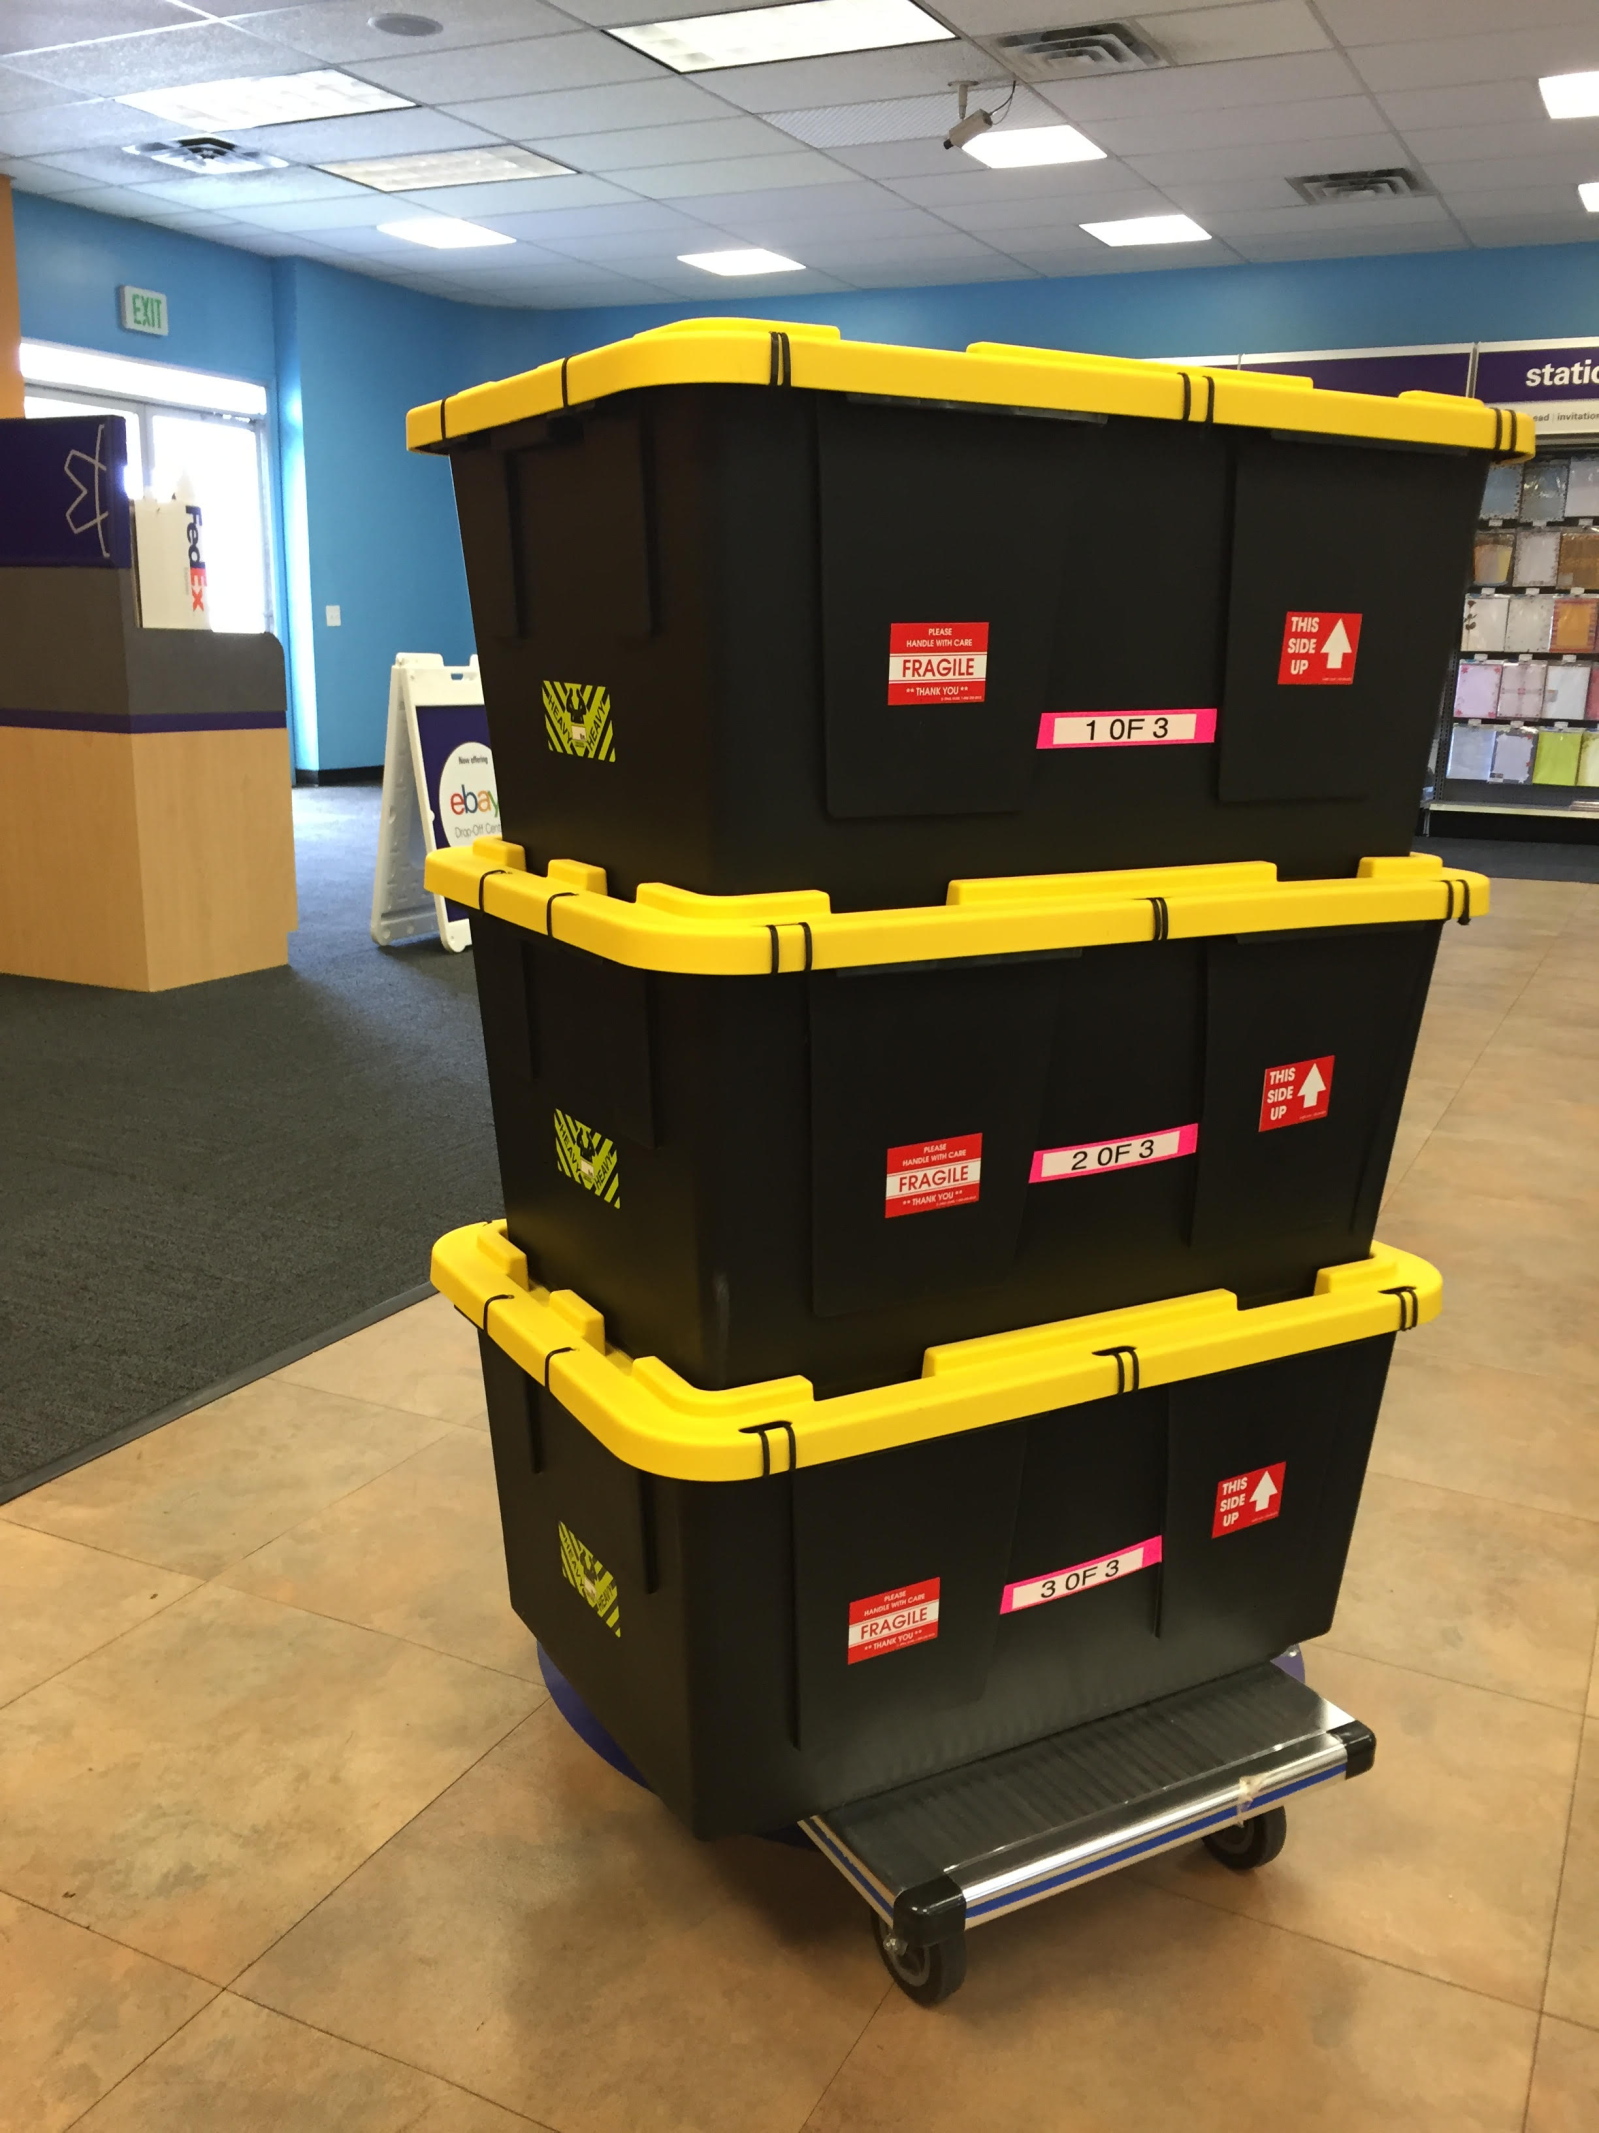
Tote 1, 2, and 3 as shown on his end. Two of the totes contain the 3rds and the other has the product.
Note the black tie-raps.
|
|
|
|
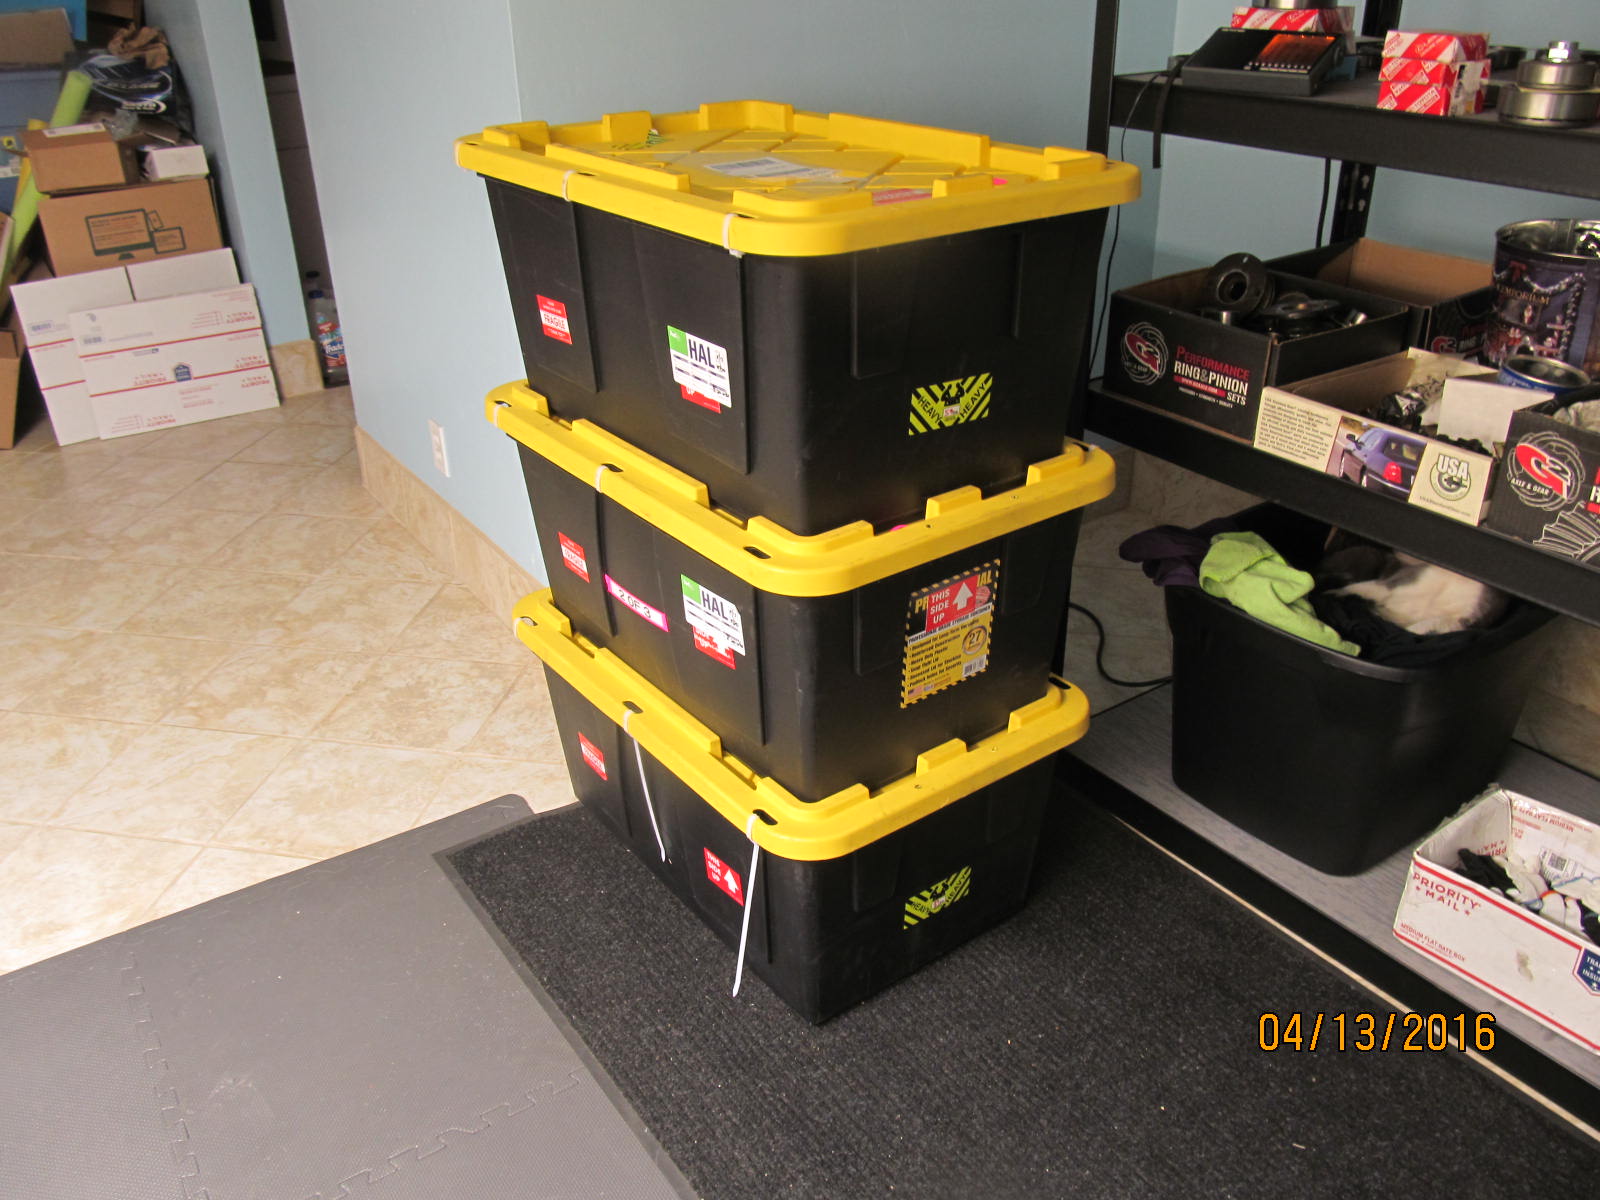
Then I pick it up at my fedex outlet and just noticed that it has white tie-raps. 
|
|
|

|
Eric's 97 TLC is open on both ends.....but soon that will change.
This particular long page is for the REAR 9.5" 3rd......
This is the hidden link to the FRONT Harrop Install FRONT 8" Hi-Pinion Harrop Install
|
|
|
|
|
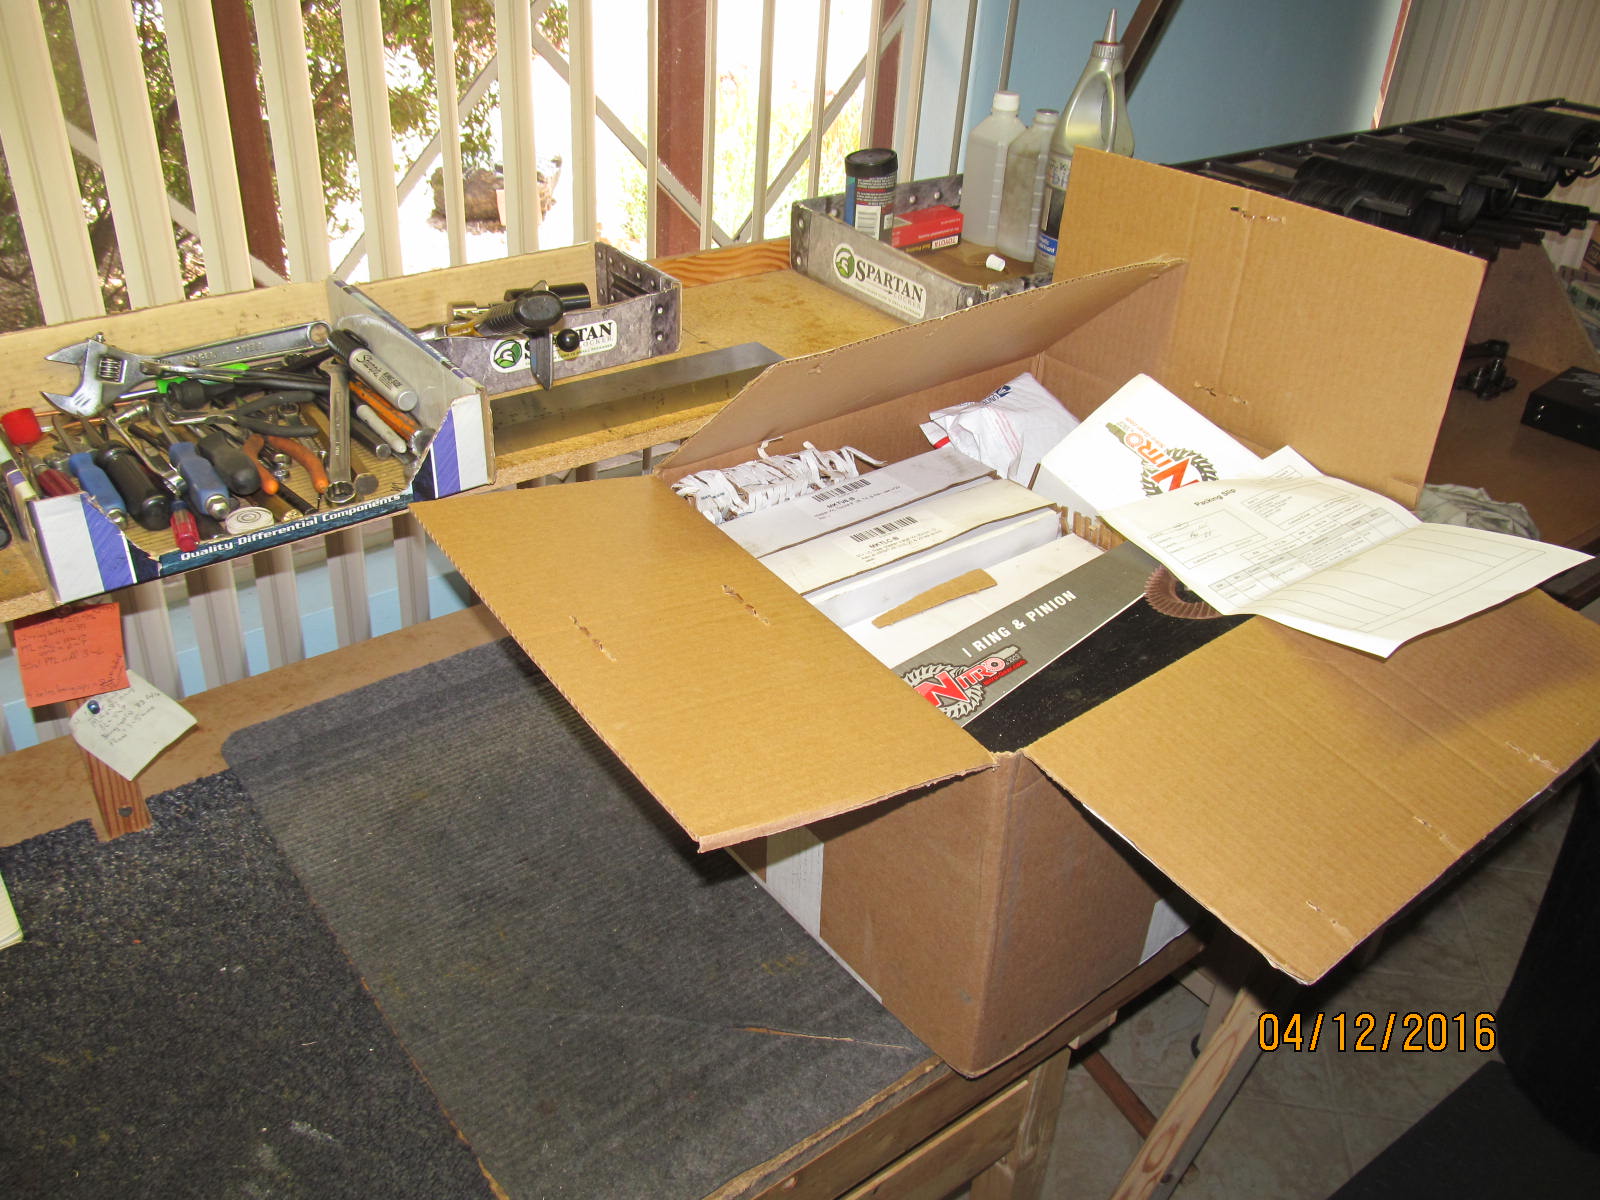
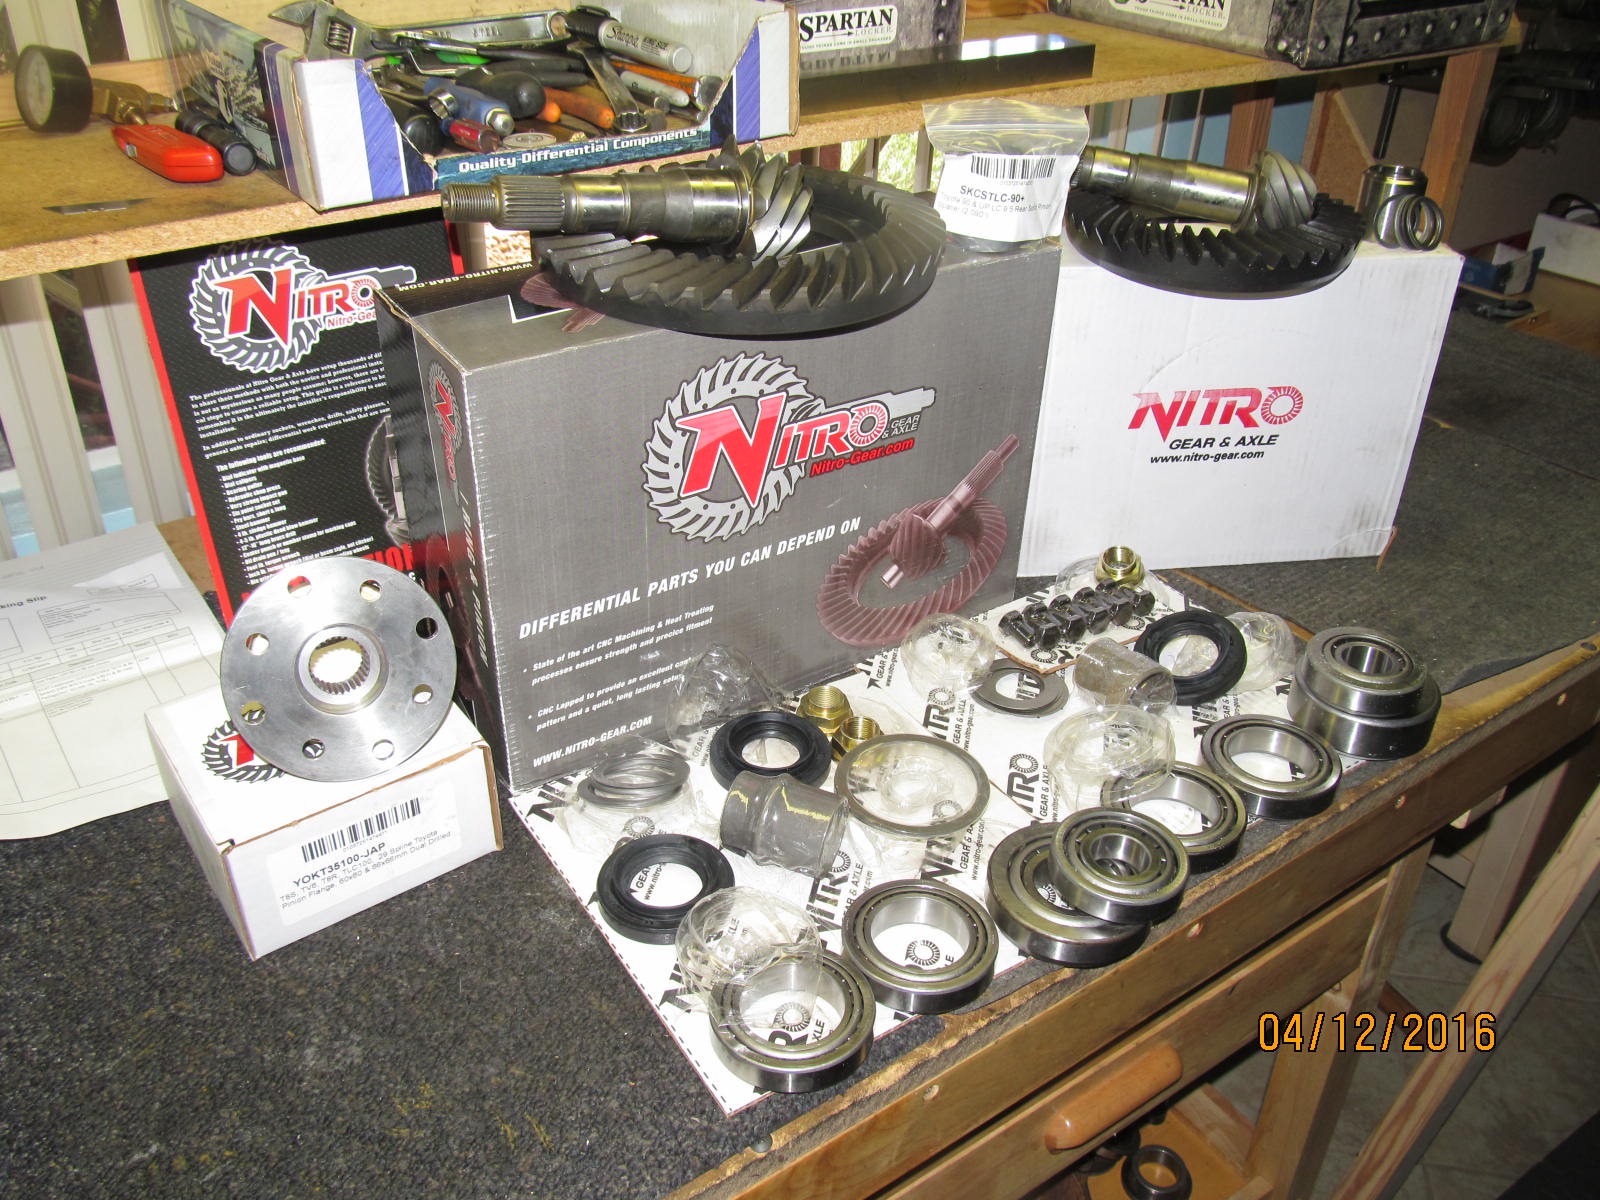
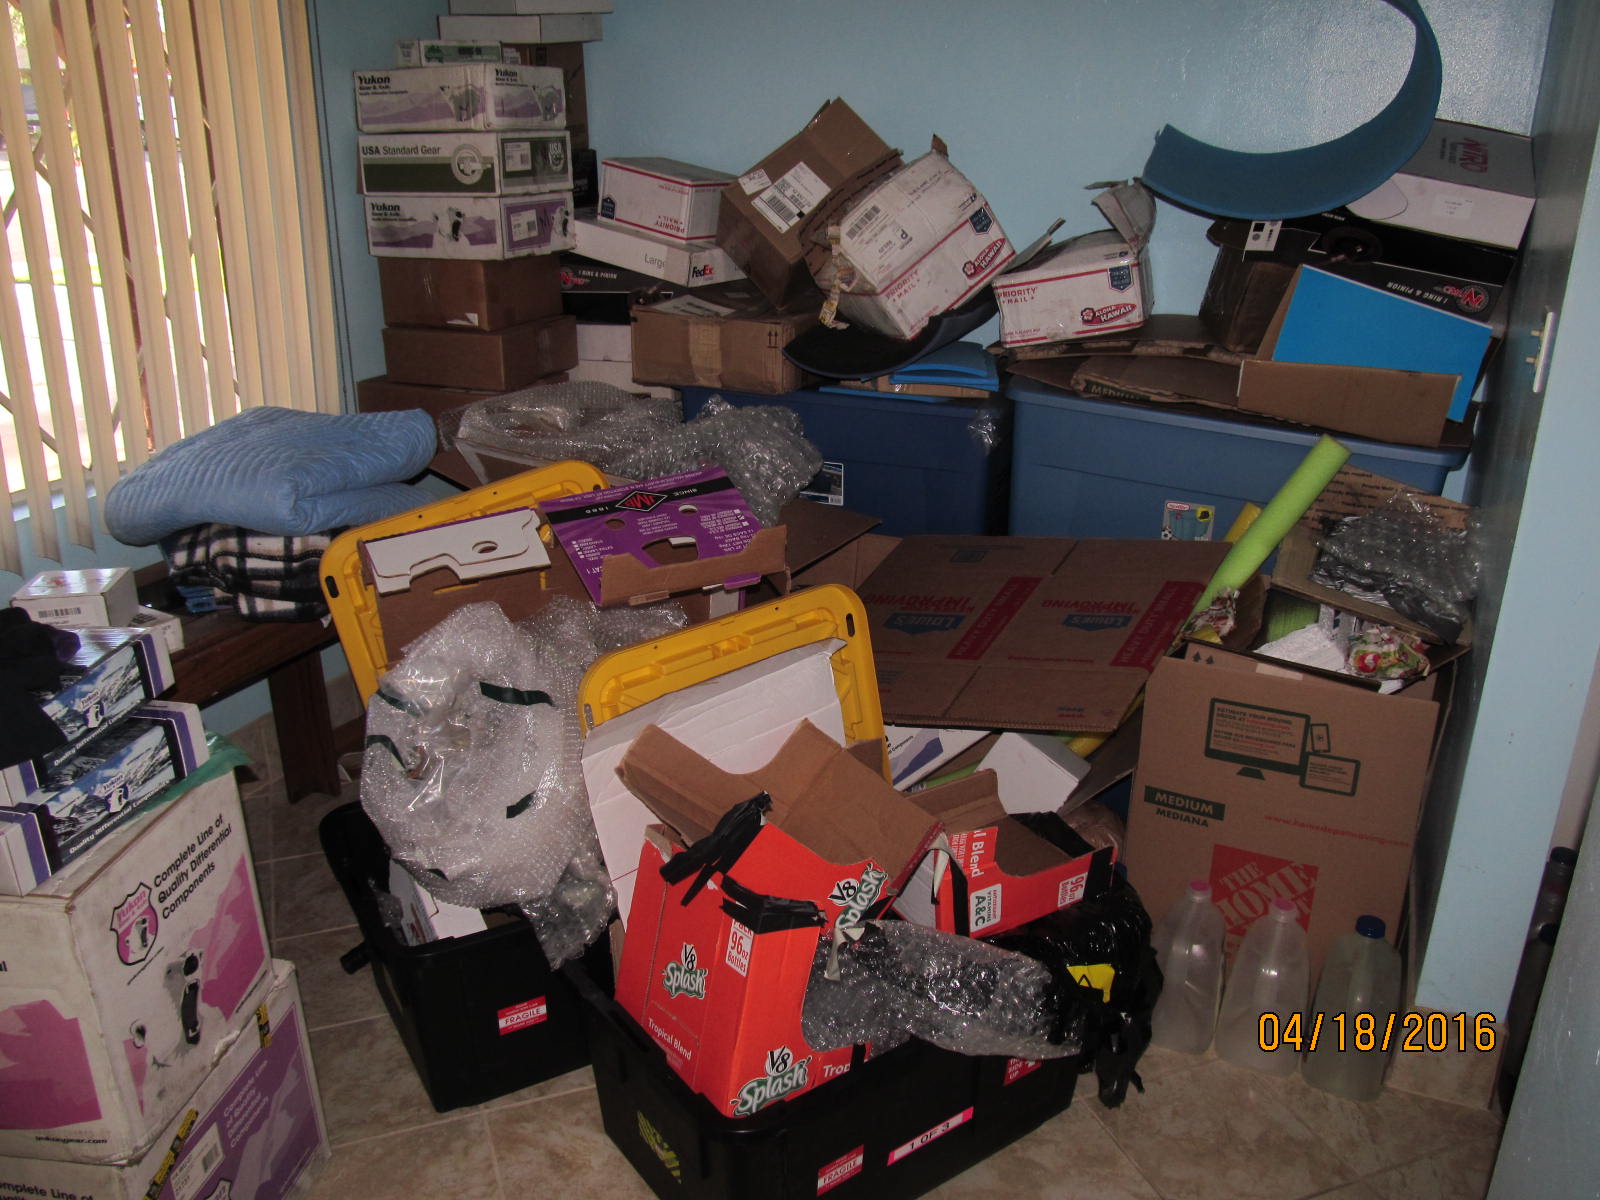
The 3rd tote had all the product from JustDifferentials
|
|
|
|
Eric wanted the bestest, strongest install...
and that means the gears and bearings are going to Charles for cryo.
|
|
|

|
|
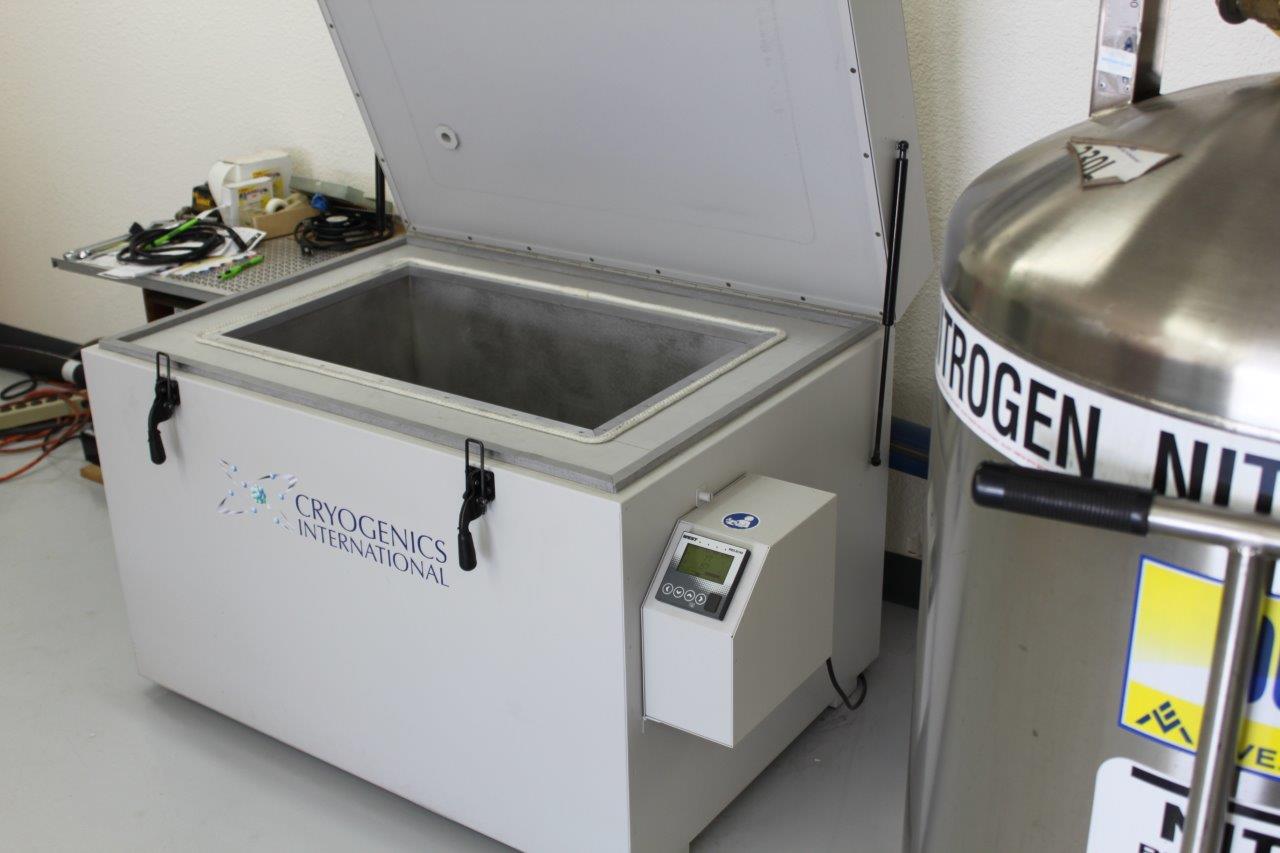
Cryogenics International
|
|
|
|
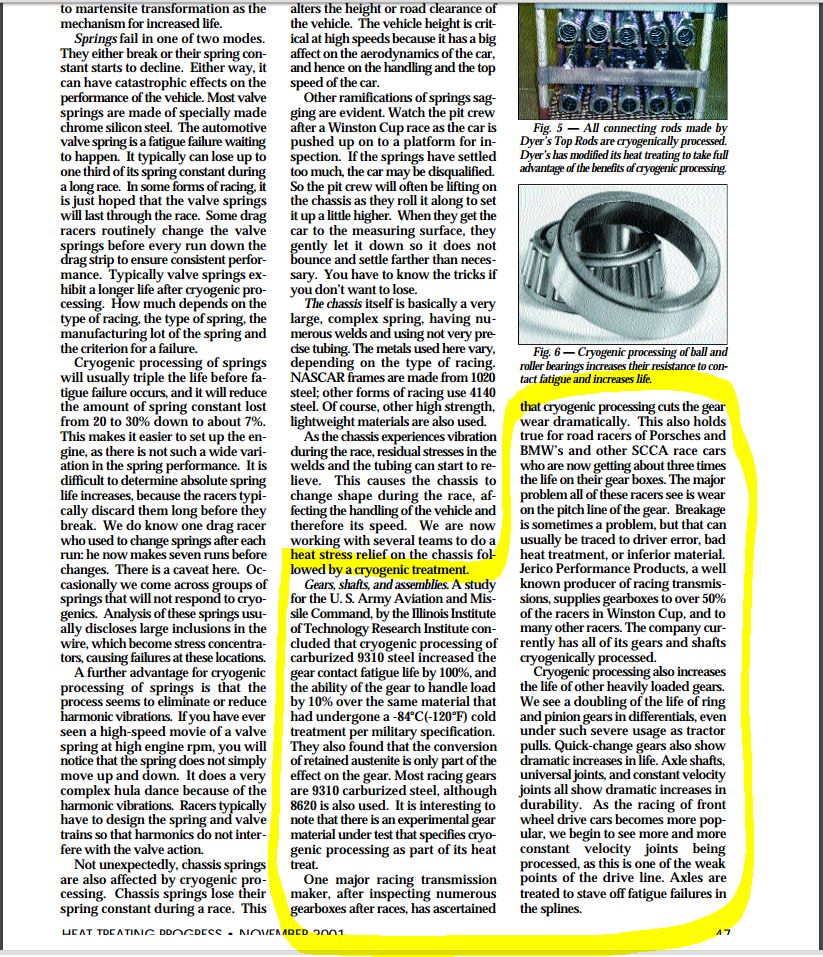
This process takes about 72 hours to complete. The product is slowly lowered
to -320 degrees F. For the ring/pinions, the cryo process basically makes the steel a more
uniform molecular structure. The result is a steel that is no harder than before
but much stronger.....less likely to start tearing or fretting. The teeth are less
prone to breakage from overload because they now have a superior fatigue
resistance....the ability to bend back and forth many more times before a
crack results. In the racing world, gears that used to last 2 or 3 races
can now go for the whole season before change is needed.
|
|
|
|
In the above snippet, digest the last paragraph....
other interesting pdfs from coldfire.com.au/
|
|
|
|
|
see middle of page 2 of this interesting document...Dr. Helmut Trucks Cold Facts
|
|
|
|
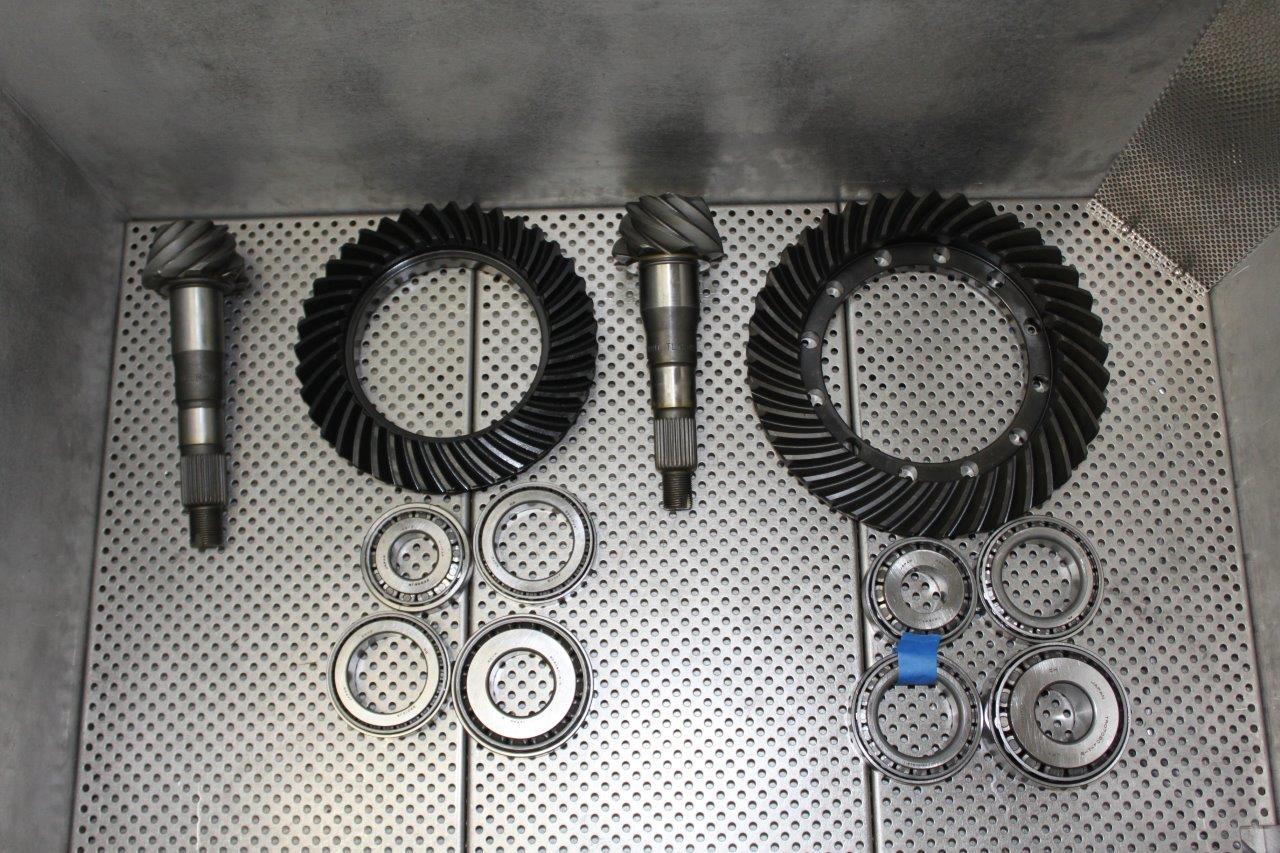
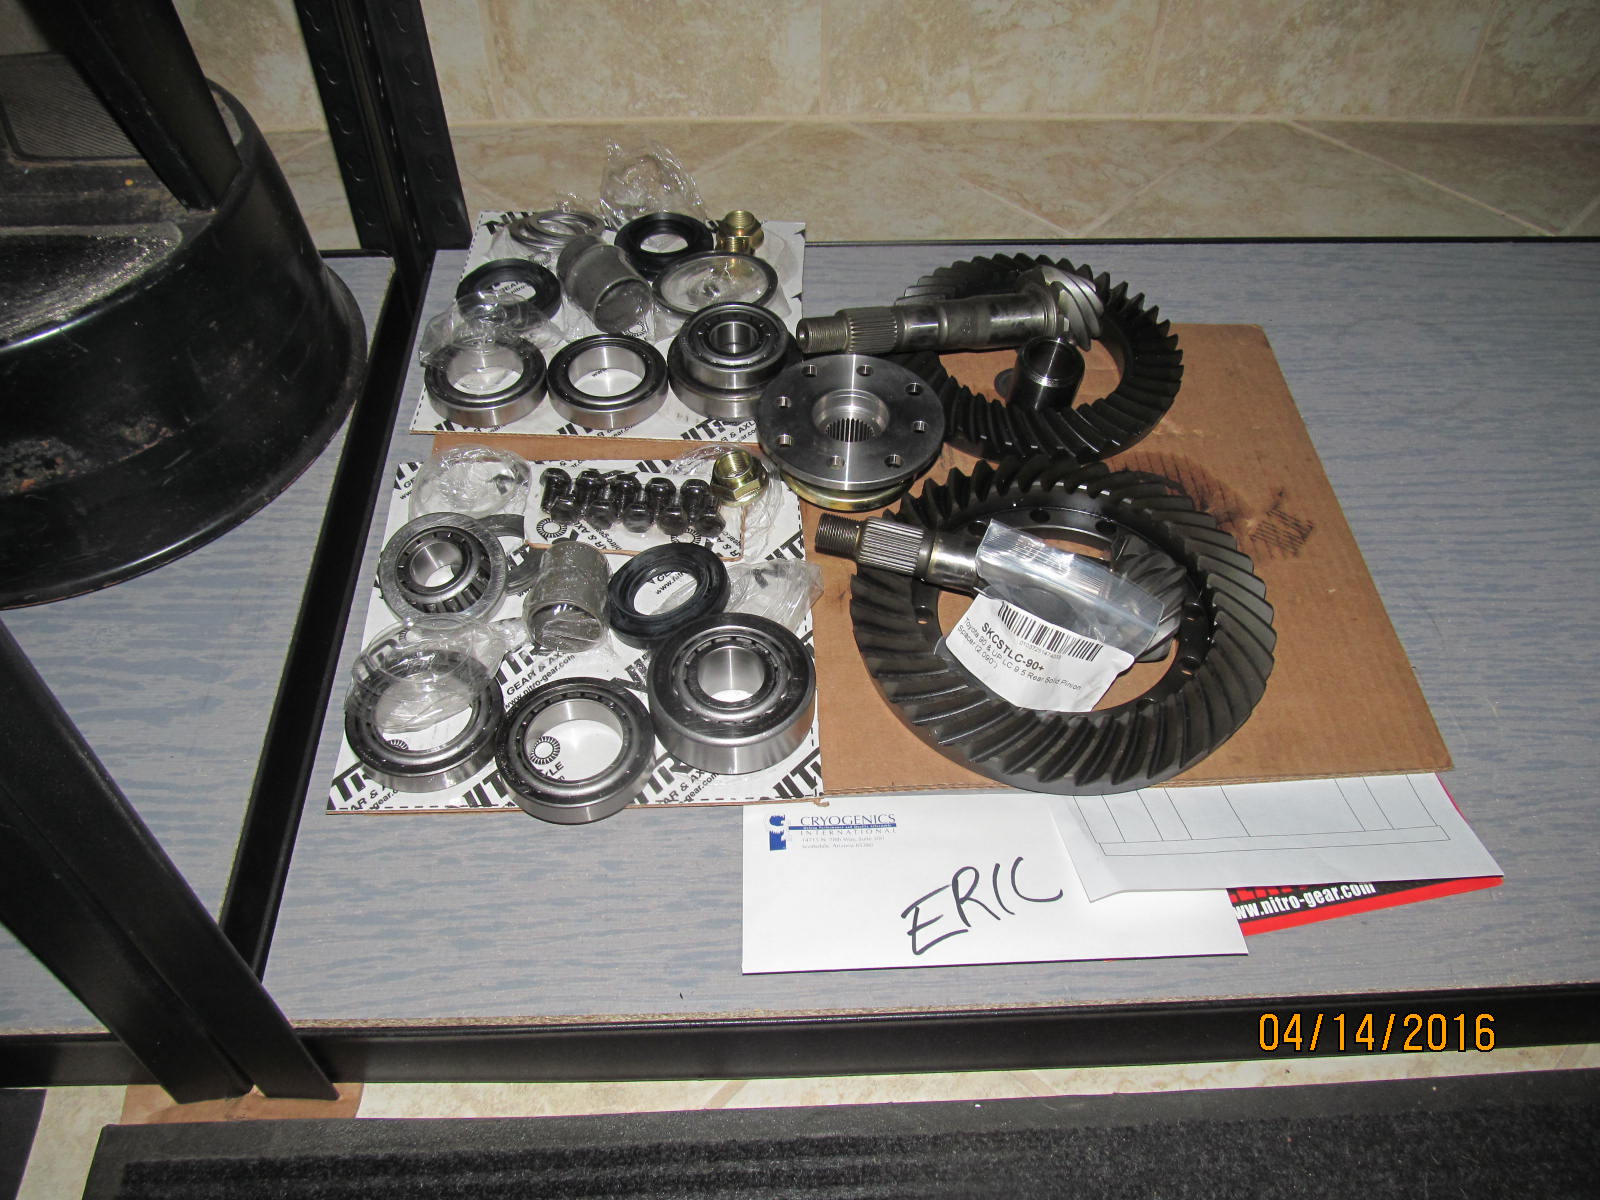
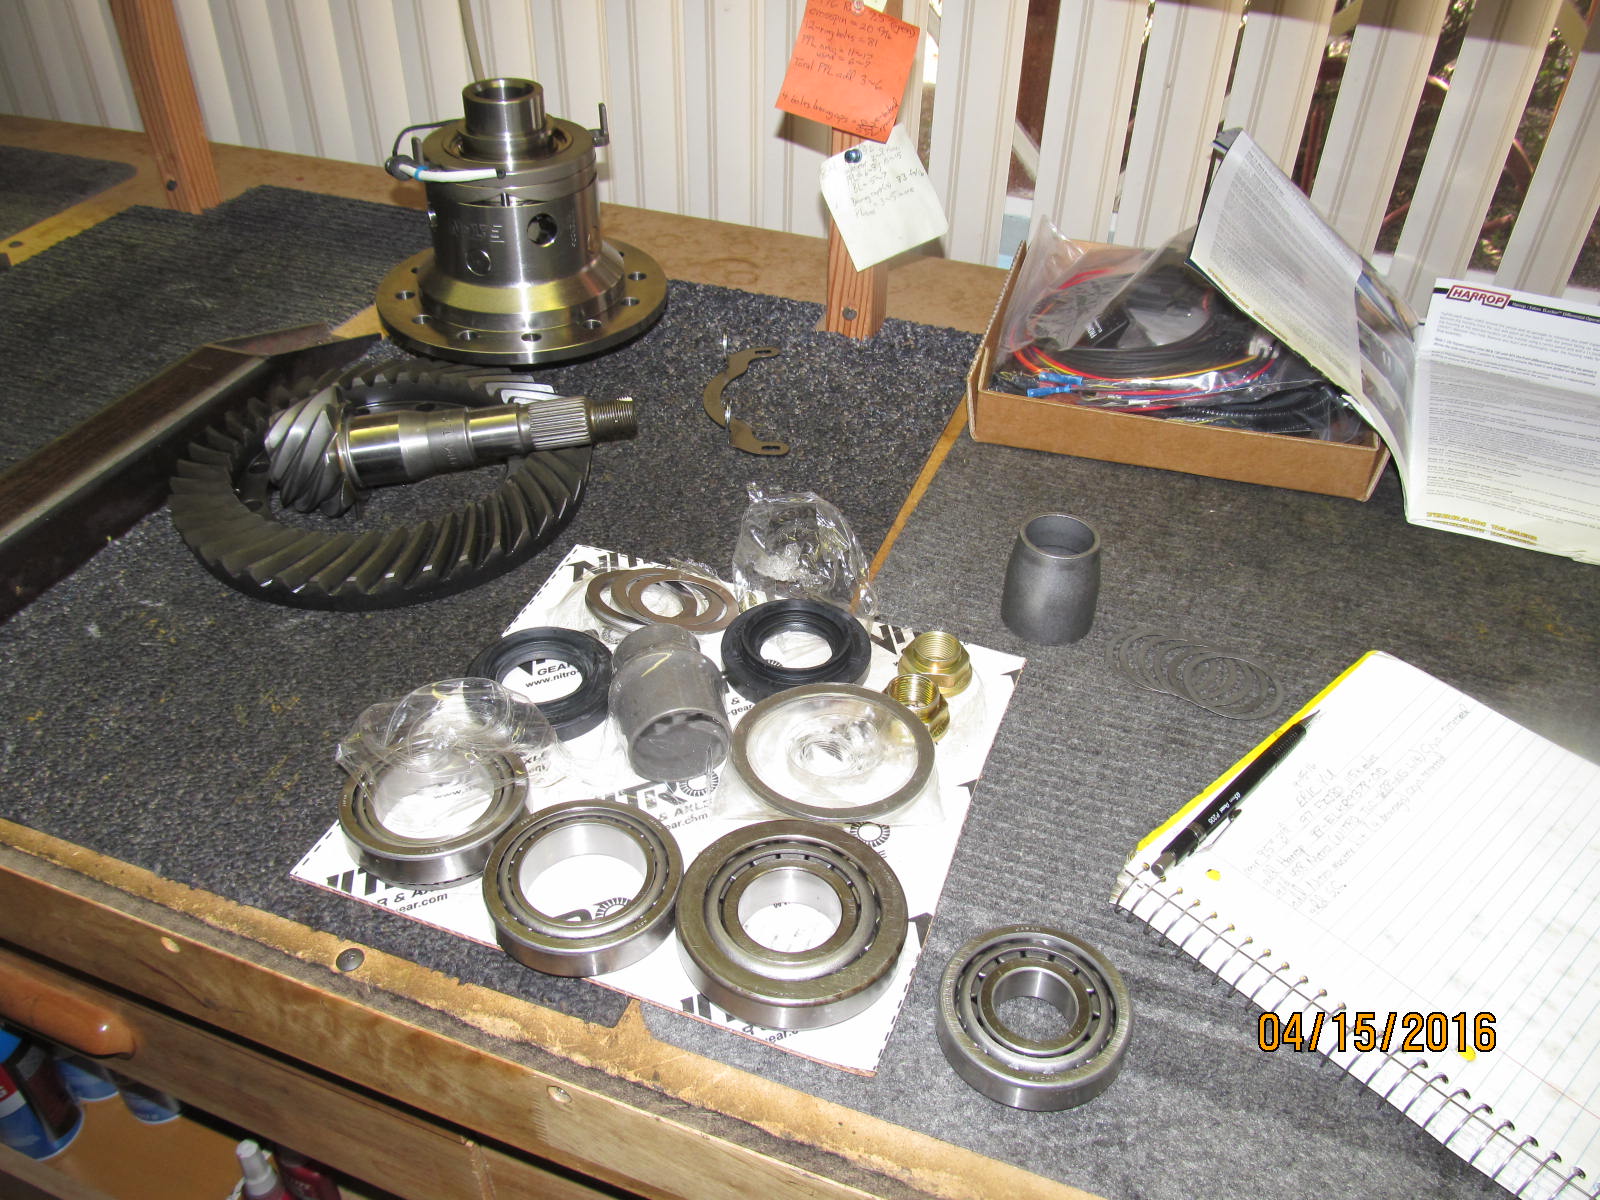
Cryo-treated KOYO bearings and Nitro ring/pinions shown above. Cryo-treating the
bearings has the effect of doubling their expected life.
|
|
|
|
|
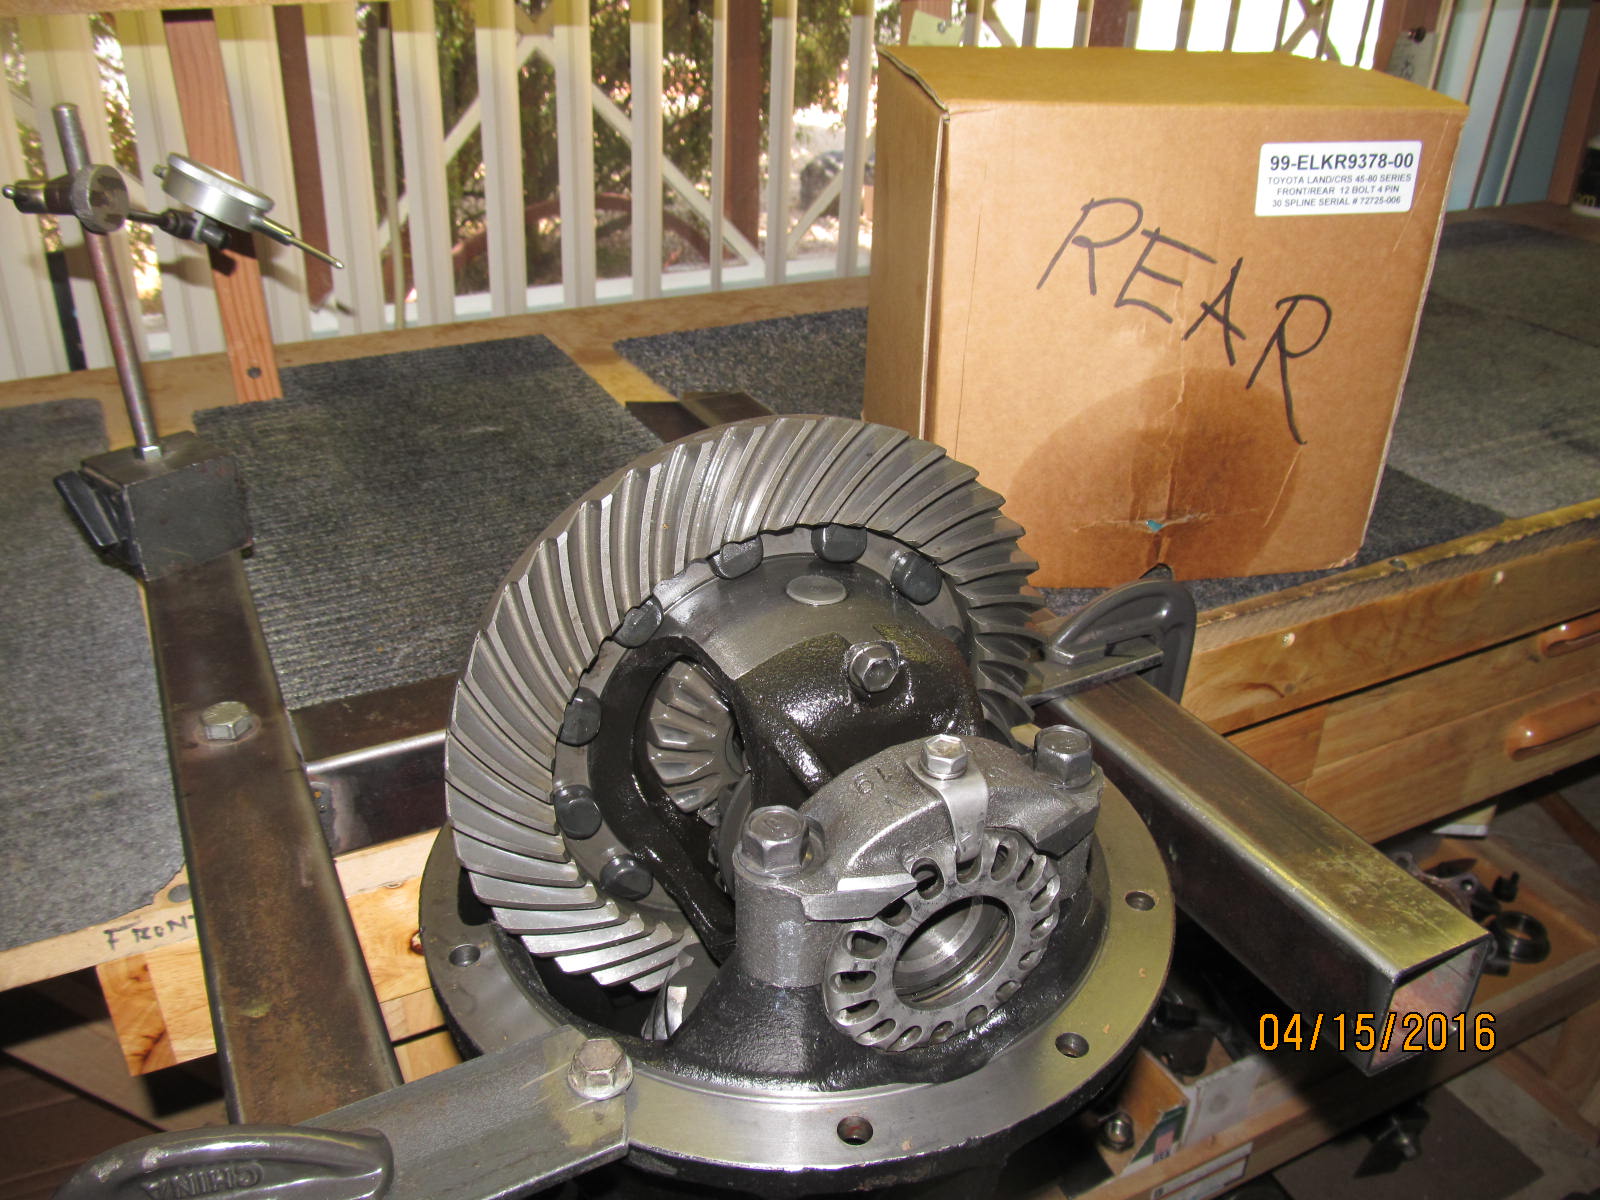
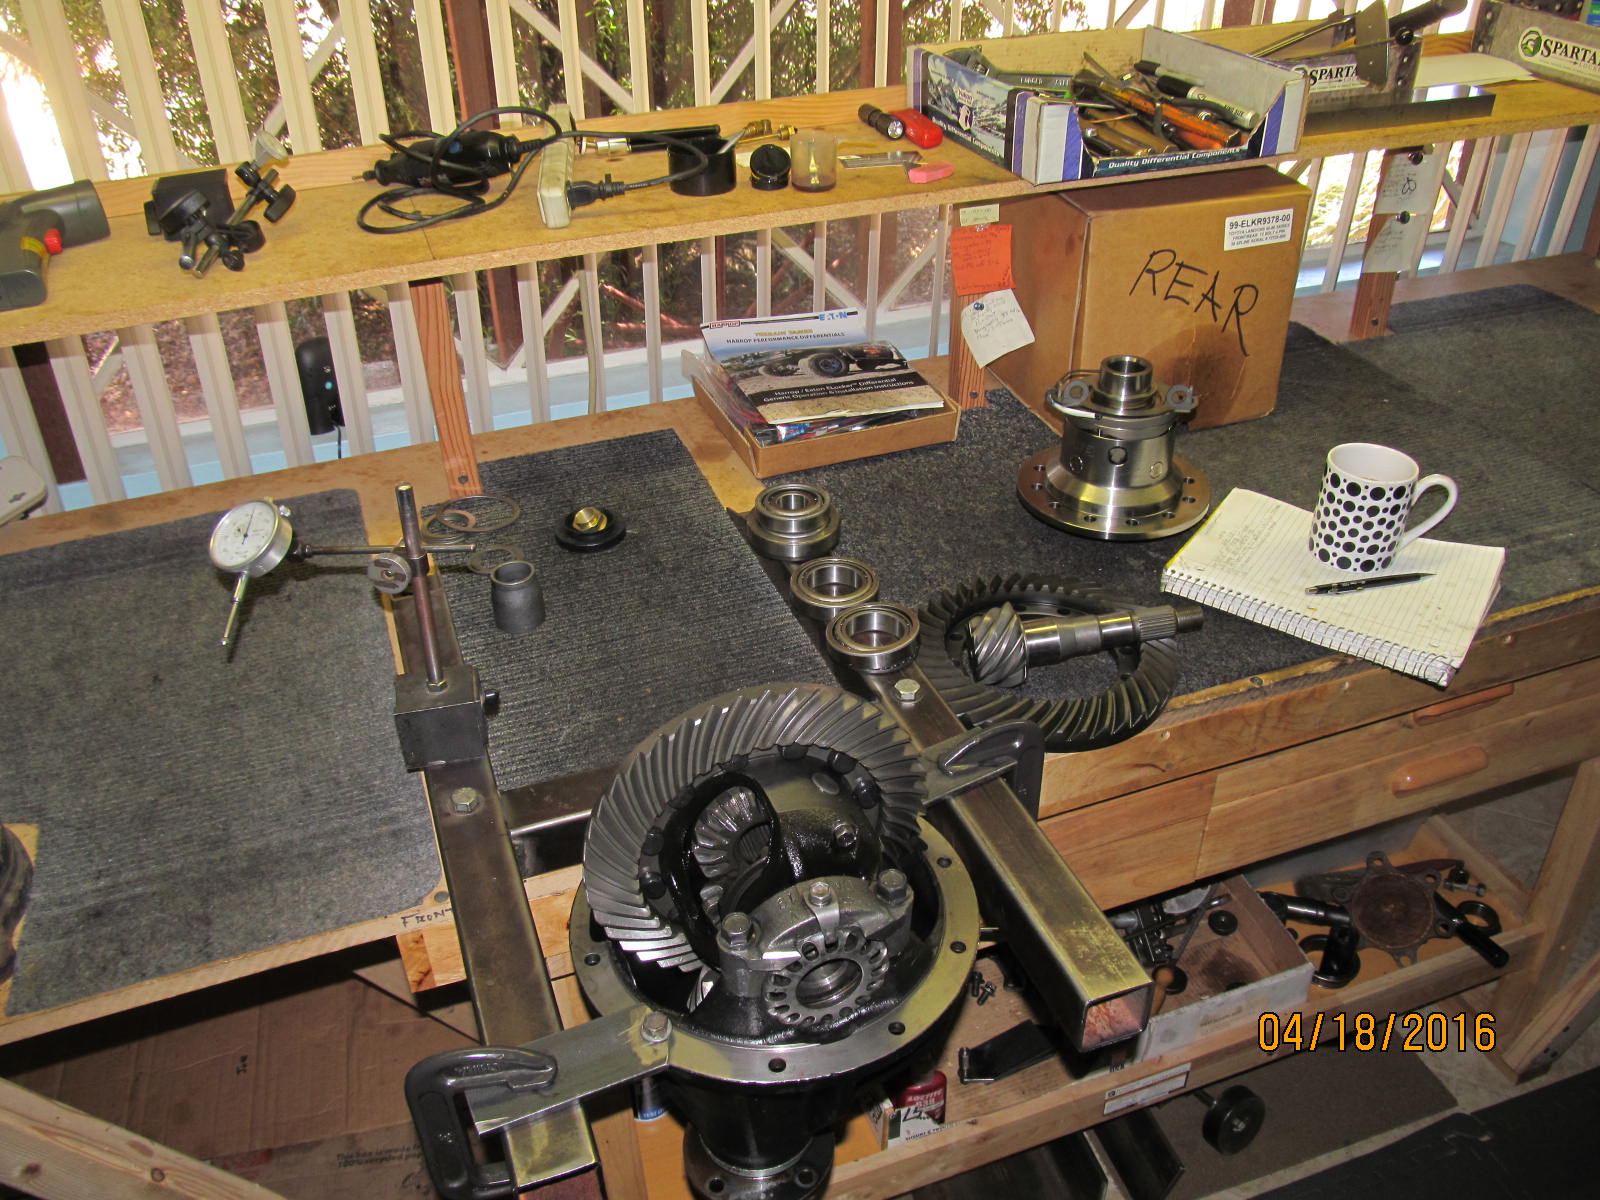
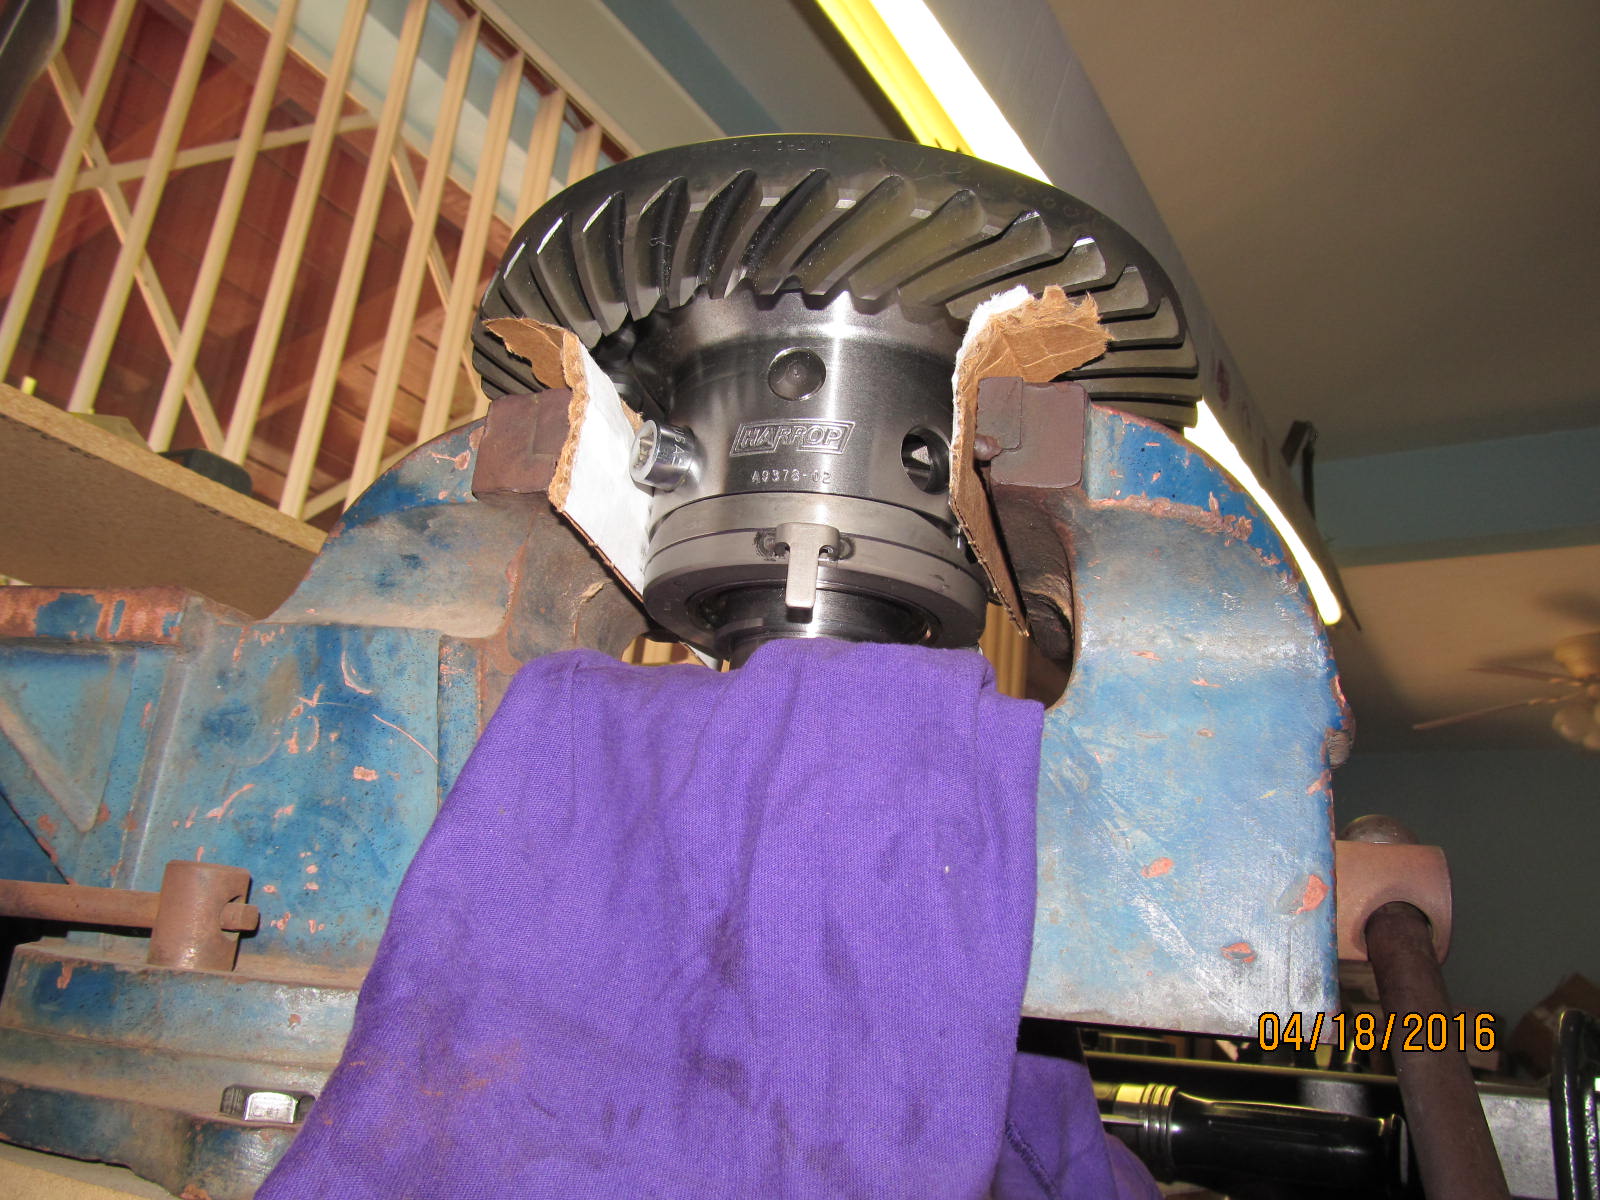
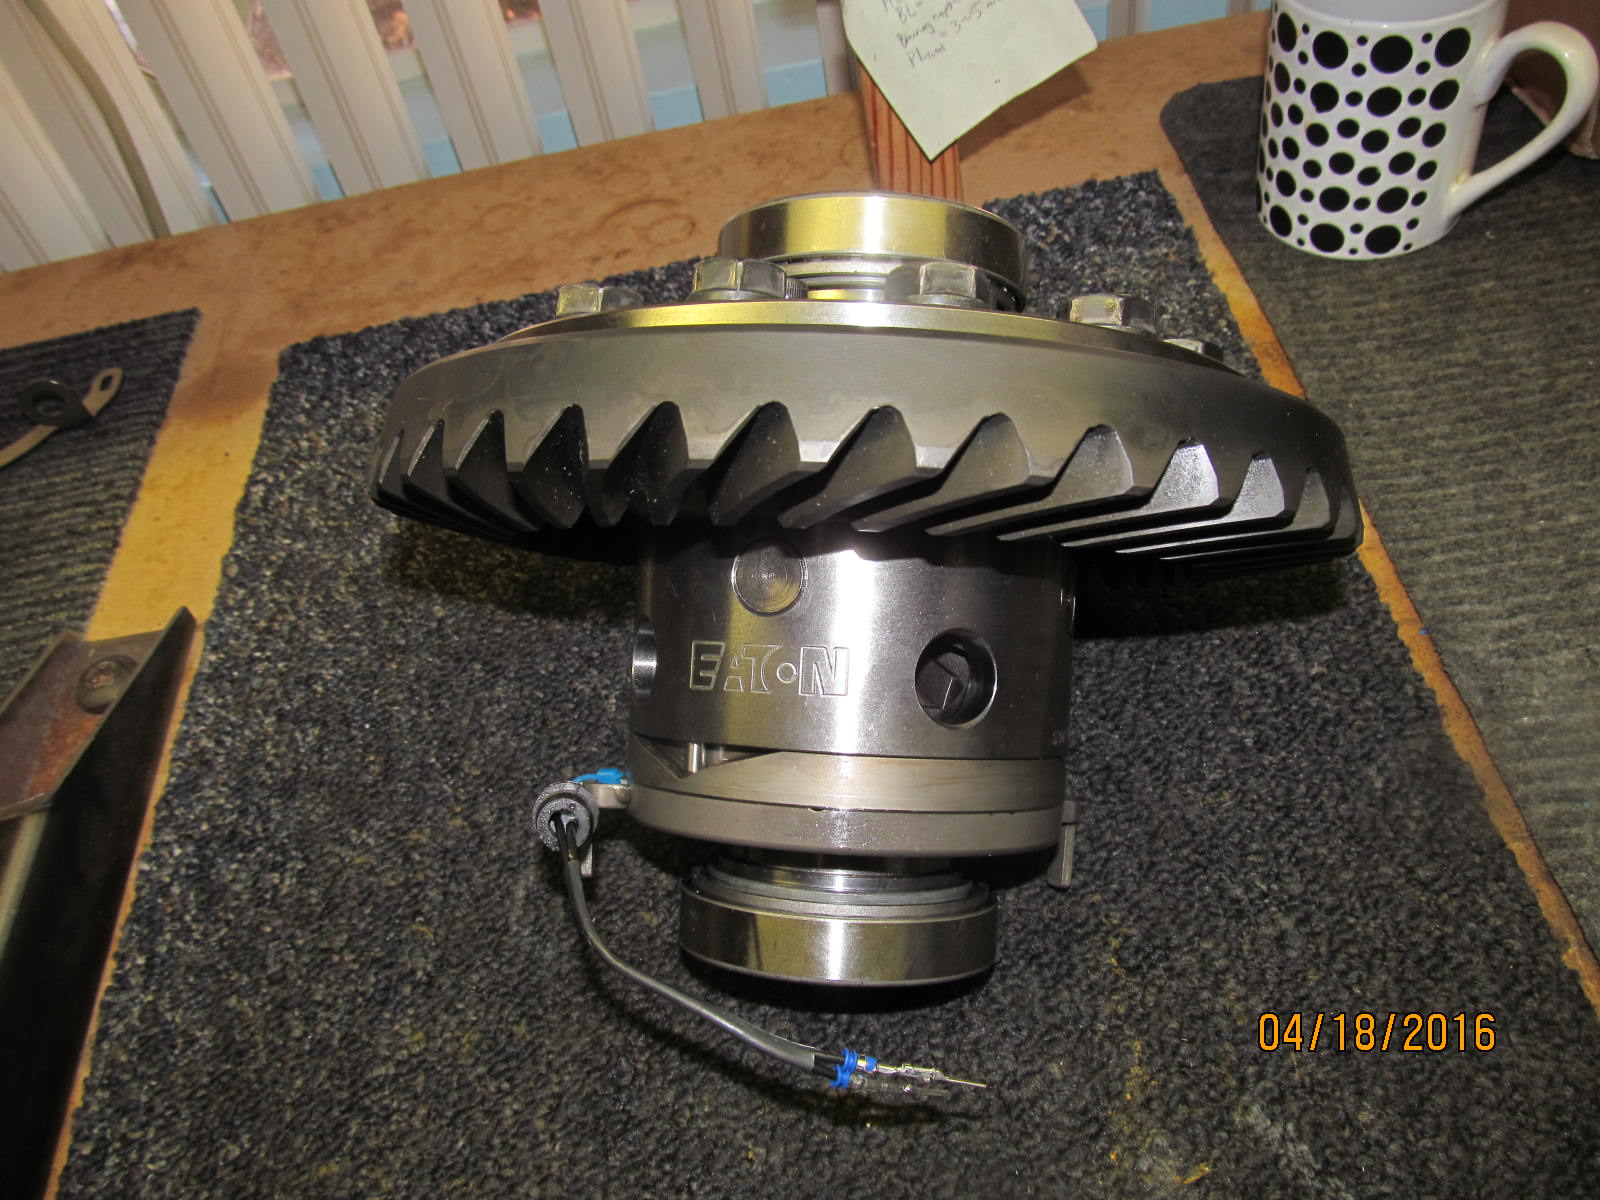
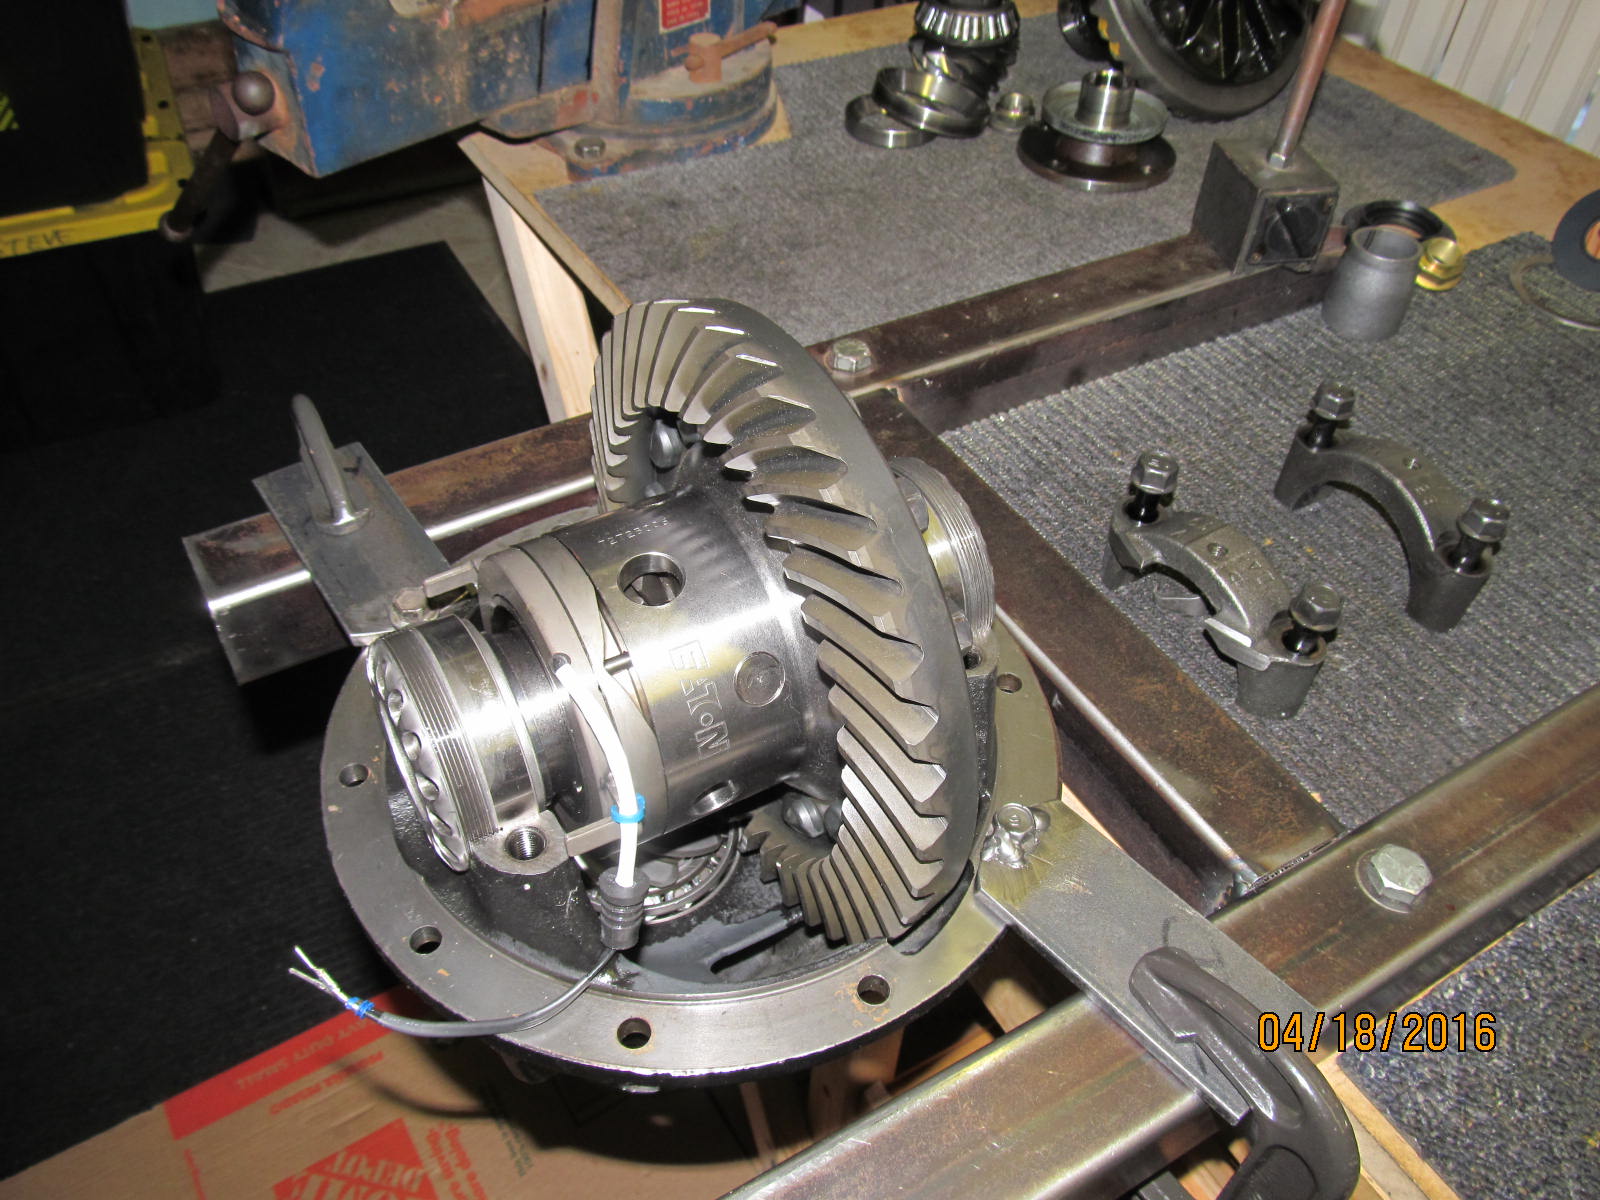
Ready to get down to business now. Harrop 99-ELKR9378-00 will go in this rear 9.5" 3rd.
|
|
|

|
|
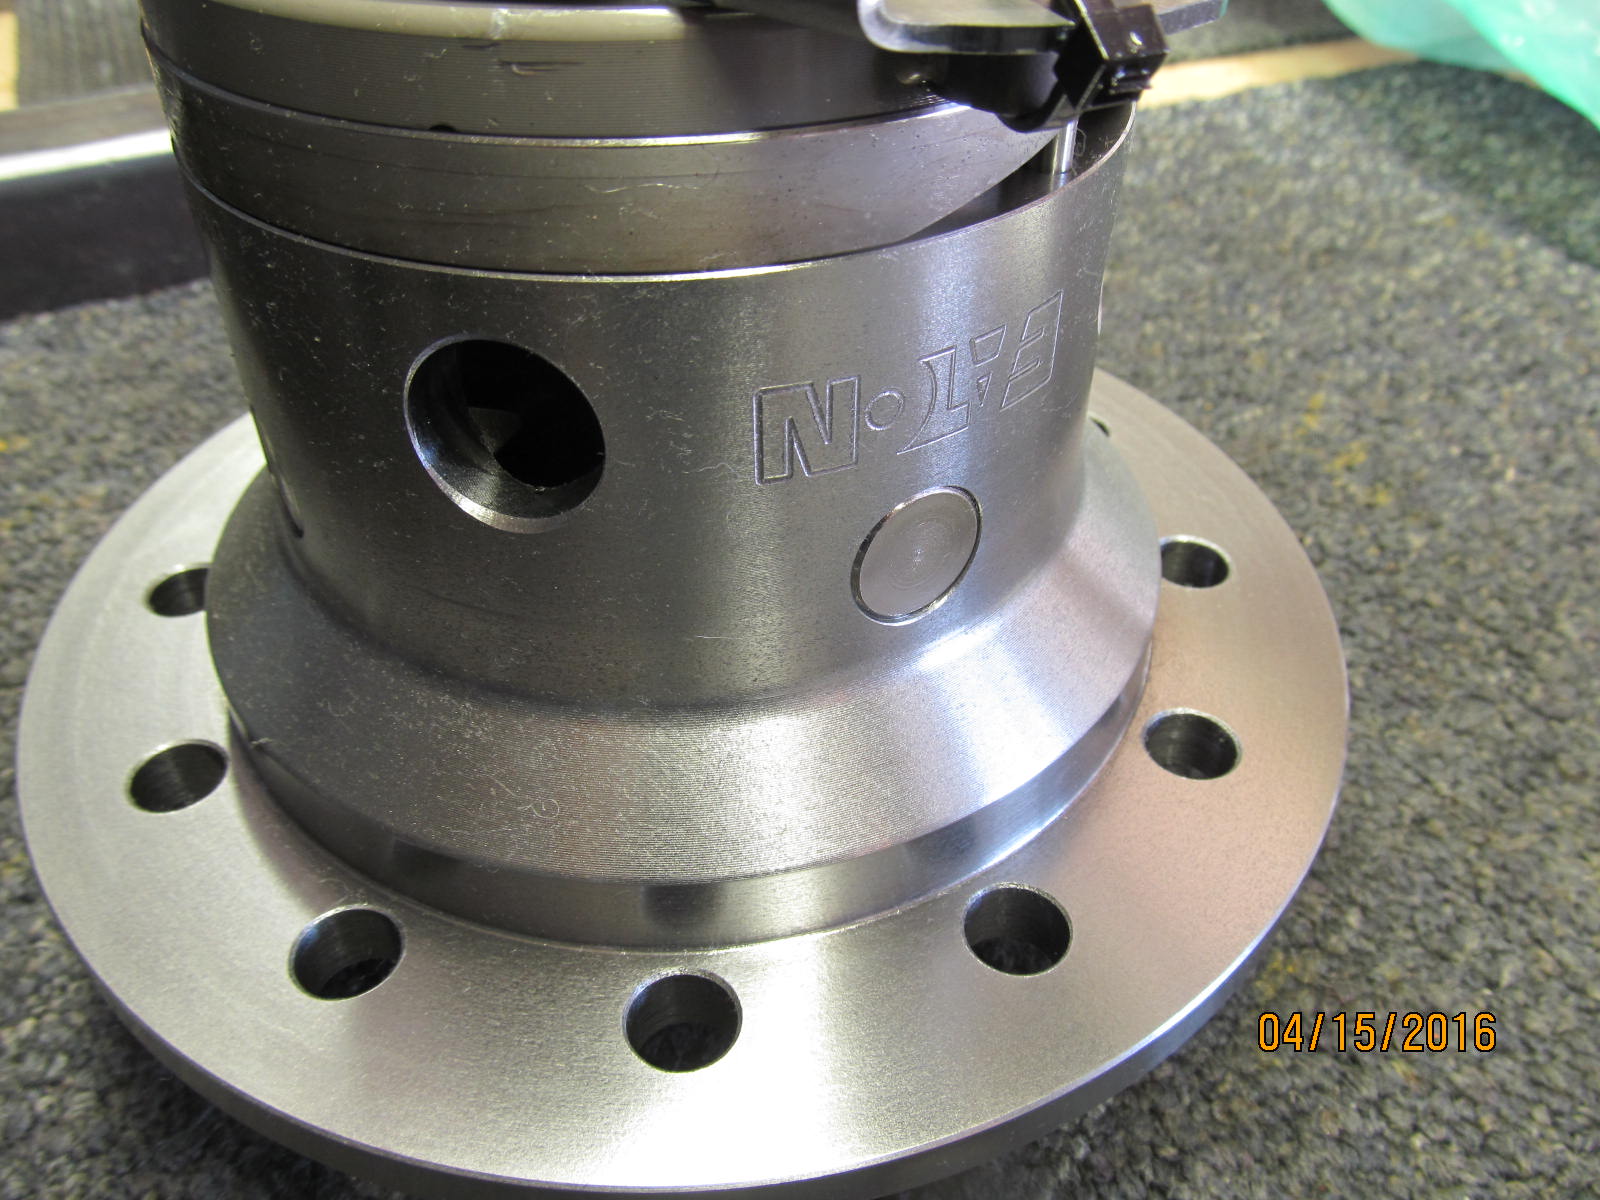
Examining the contents of the Harrop box...
|
|
|
|
Notice that all drilled holes have the burrs removed? A quality step that makes it safer
for me to handle the case without cutting the heck out of my fingers :)
|
|
|
|
|
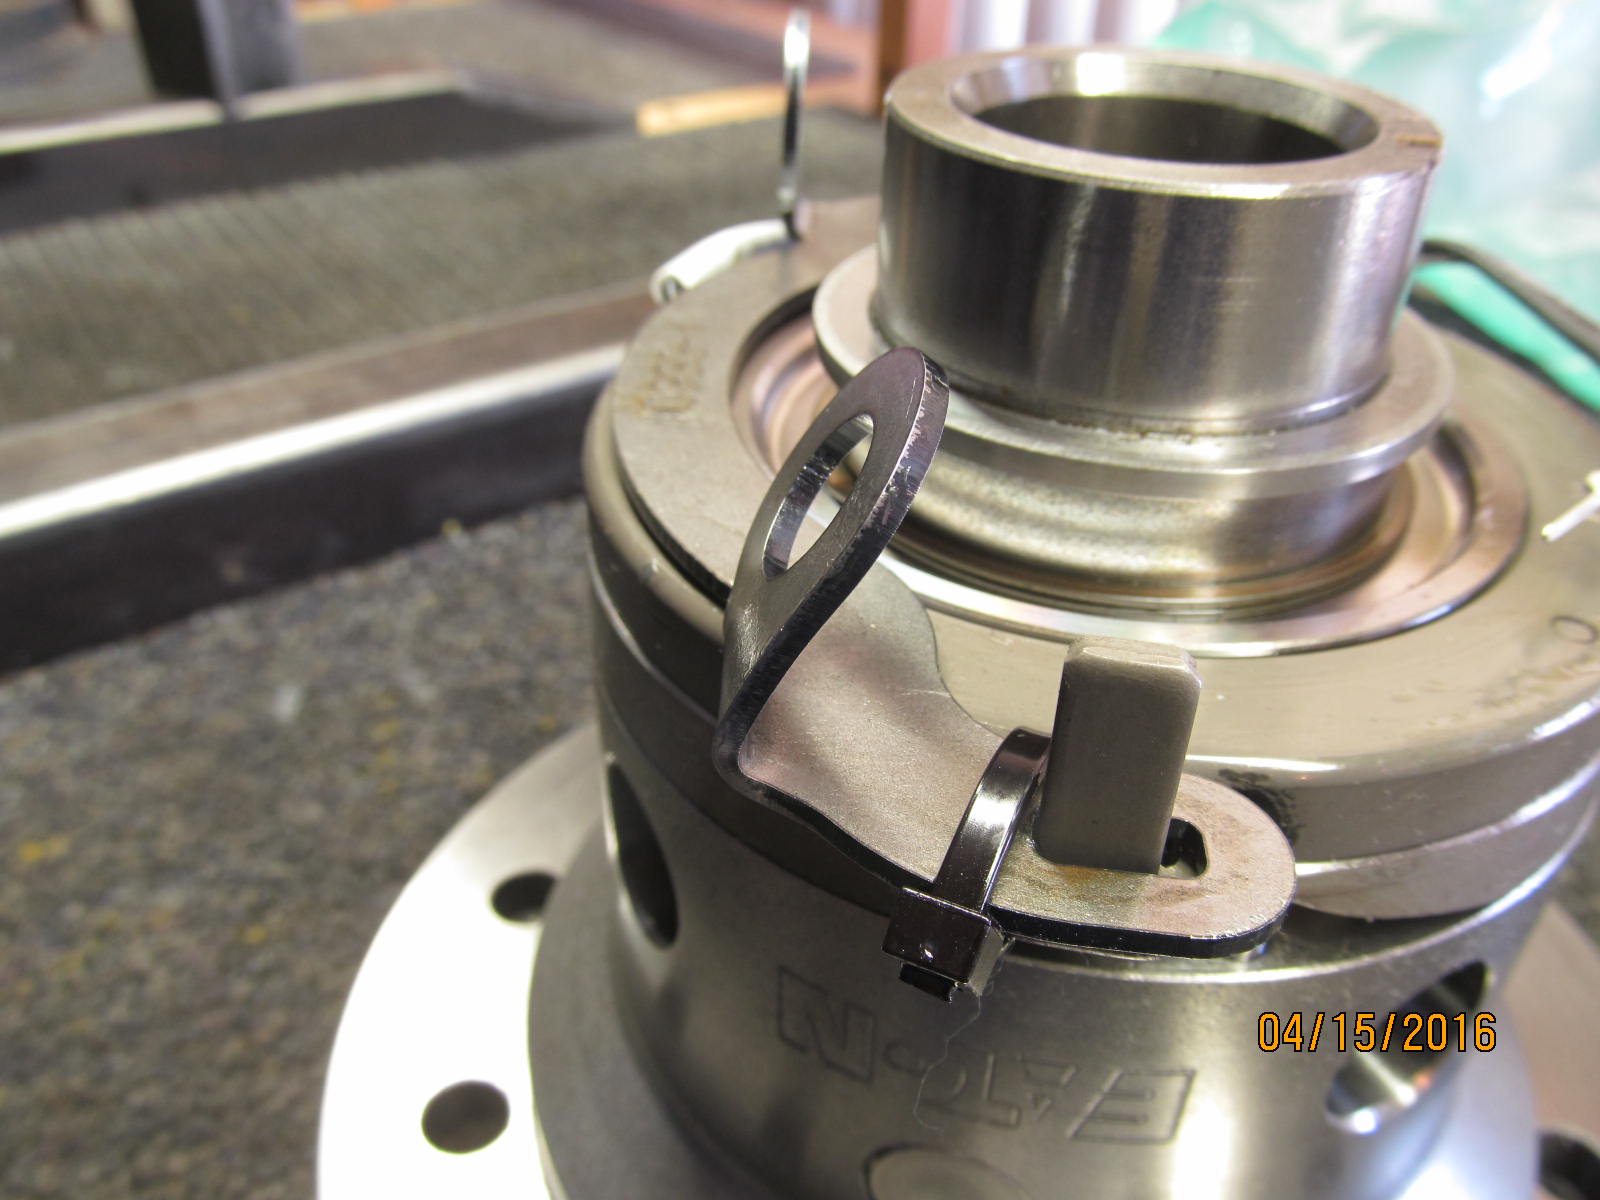
This soft steel bracket can be bent back to straight with a pair of pliers with no ill effects.
|
|
|
|
|
''''''''''''''''''
|
|
|
|
|
The other items to install.....488 Nitro gears and master install kit. Solid collar.
|
|
|
|
|
''''''''''''''''
|
|
|

|
|
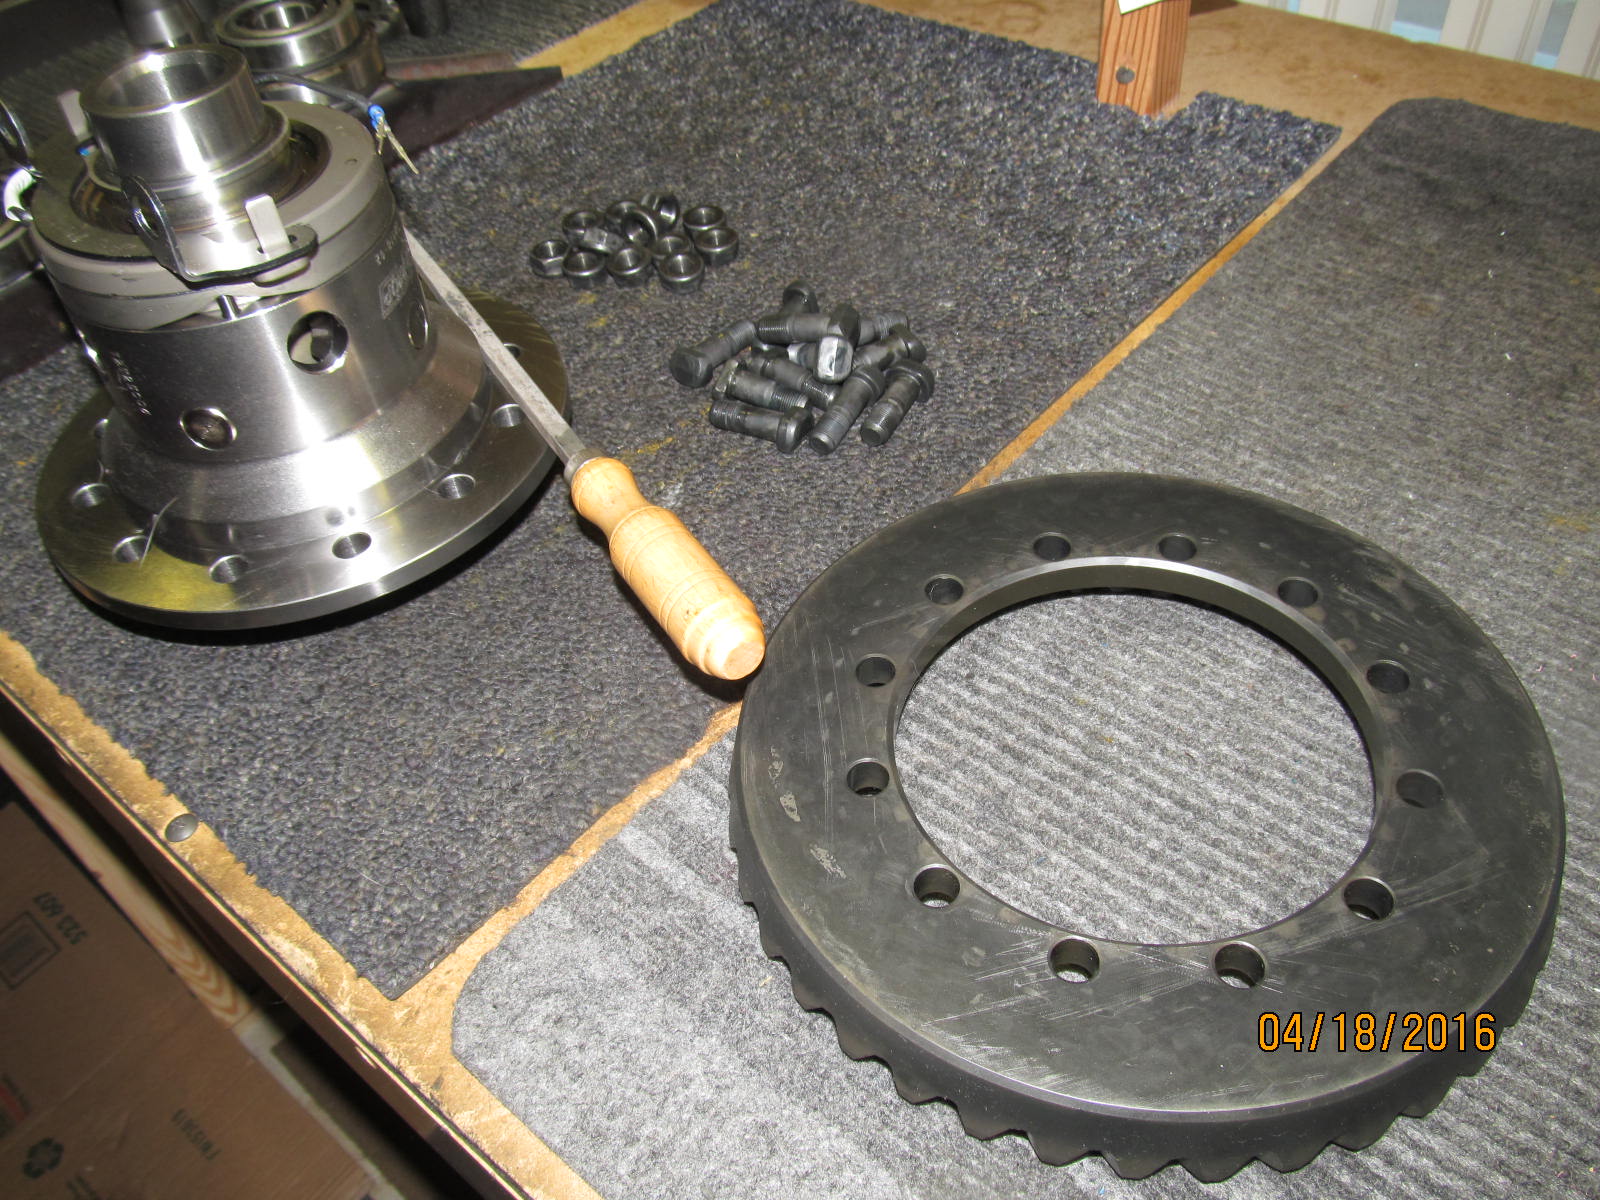
Bearing caps are marked and carrier is removed from the main differential.
|
|
|
|
|
Surfaces are first checked for high spots with a file.
|
|
|
|
|
Almost always, it's very possible to tap the ring down with gentle words as was the case here.
|
|
|
|
|
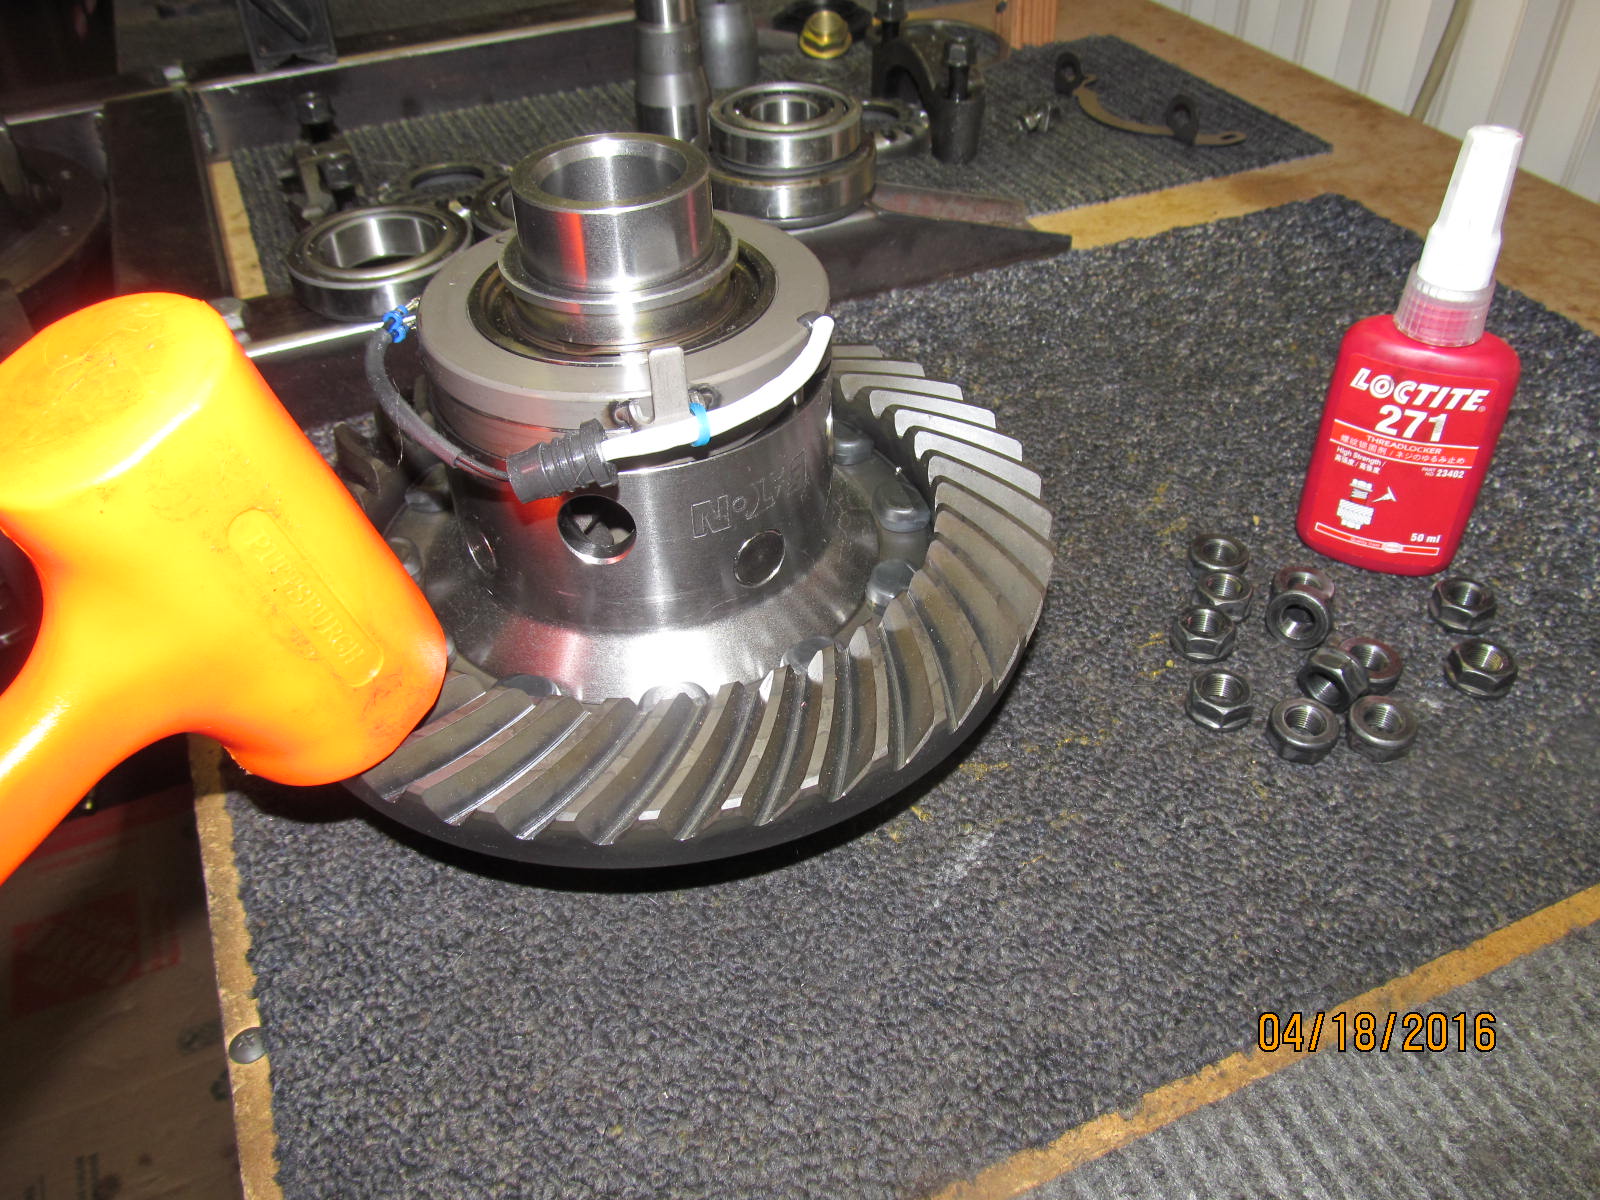
81 ft/lb and red loctite.
|
|
|
|
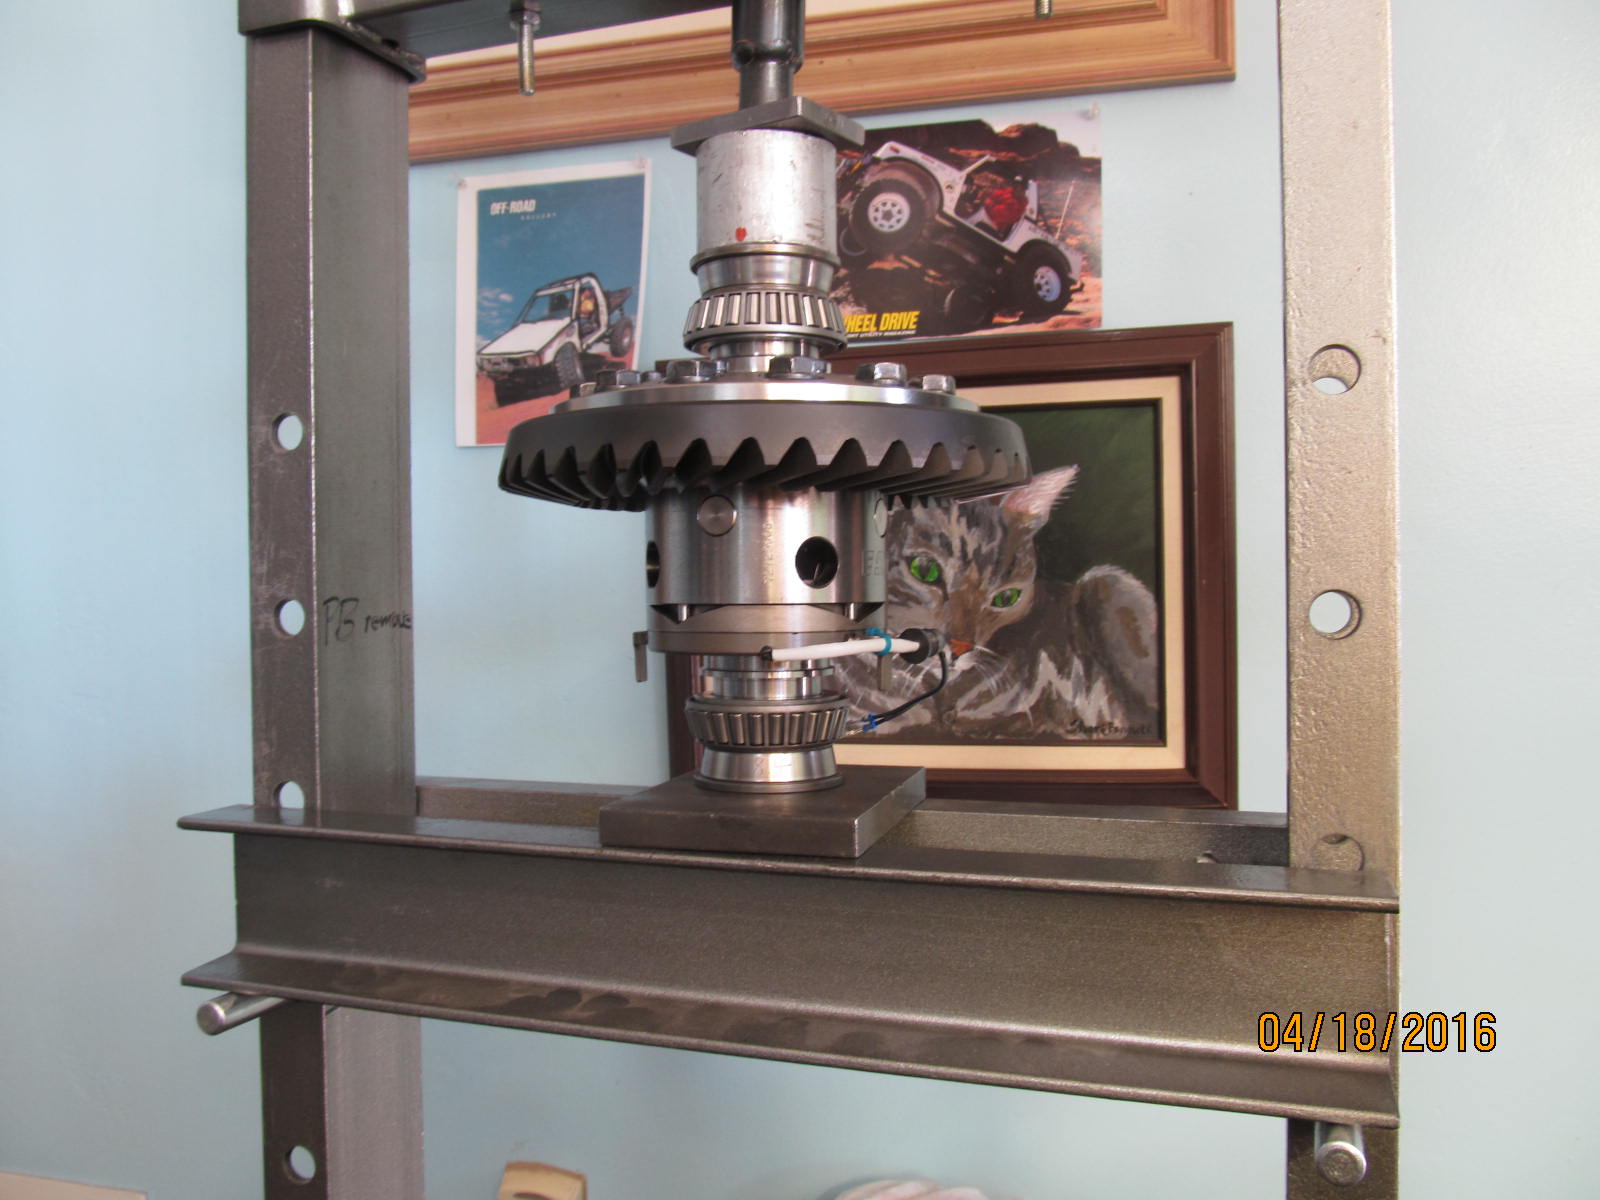
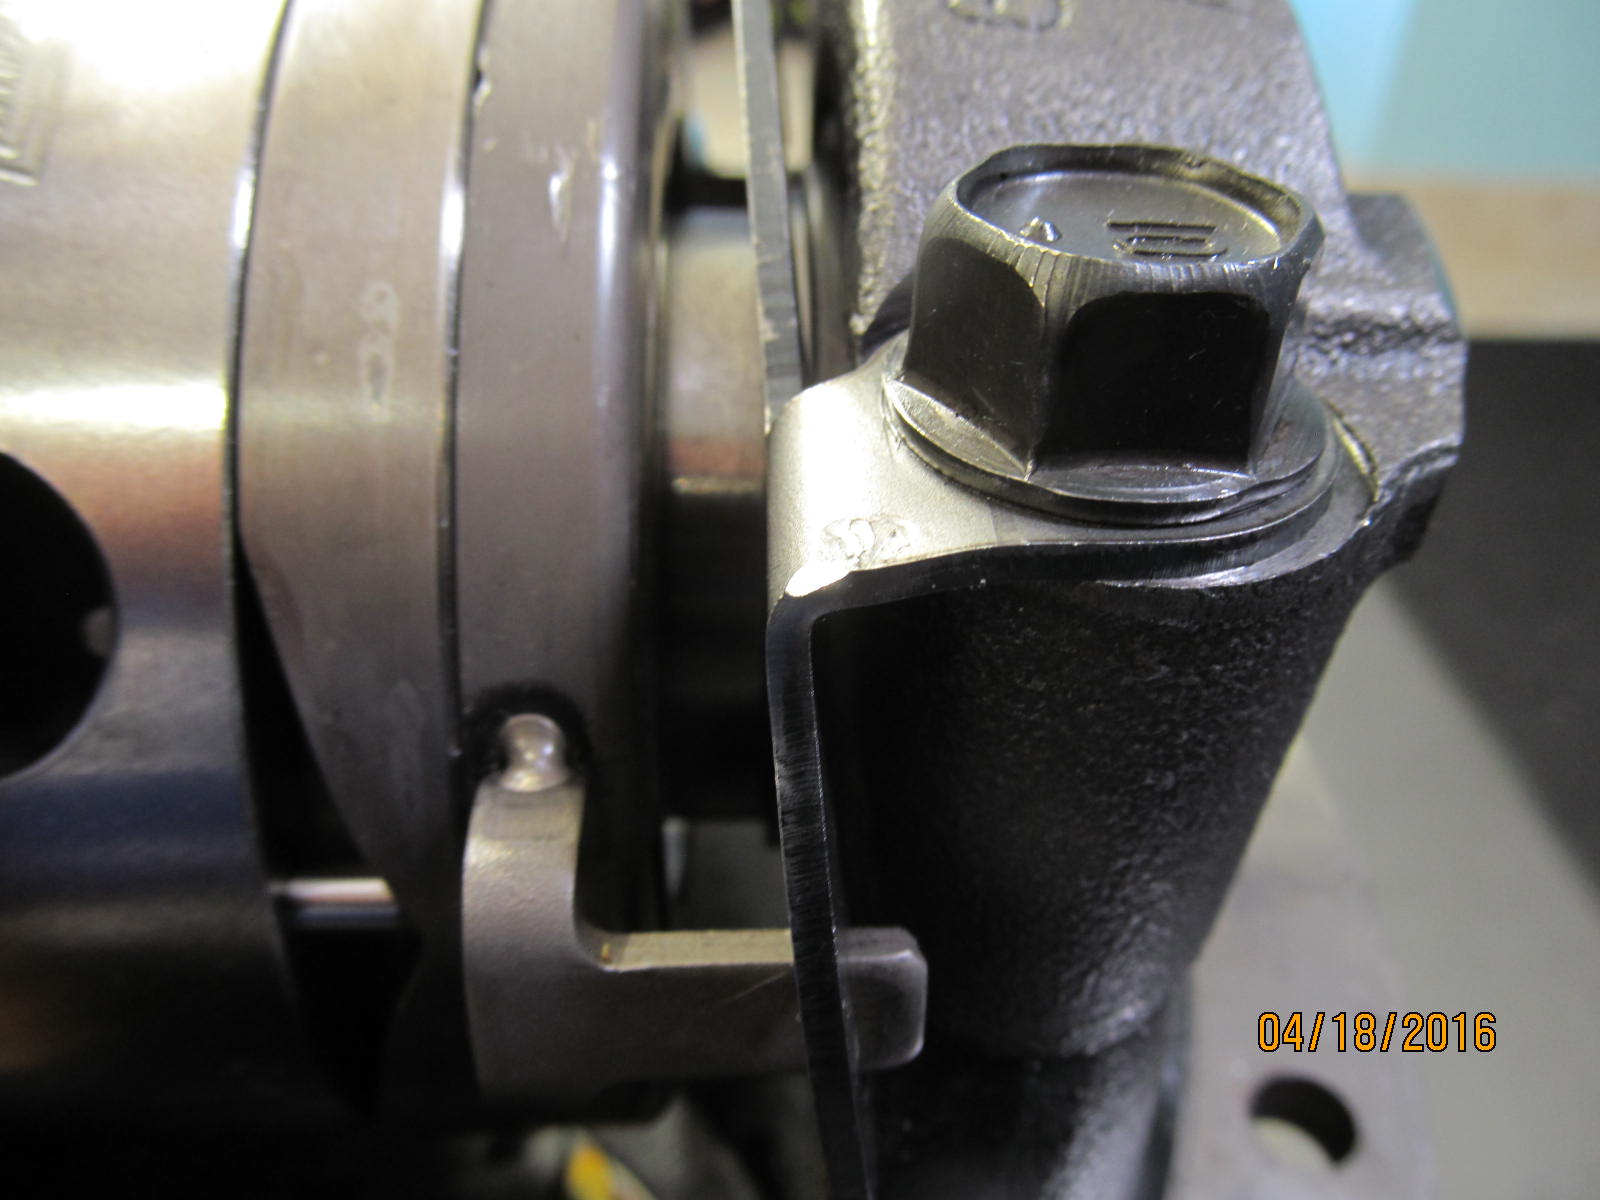
Because of the nature of the locking rotating rings on this carrier, I don't want to
grip it harshly and scar the workmanship. Sockets placed in the holes prevent the
carrier from spinning while the ring gear nuts are tightened to 81.
|
|
|
|
|
'''''''''''''''
|
|
|
|
|
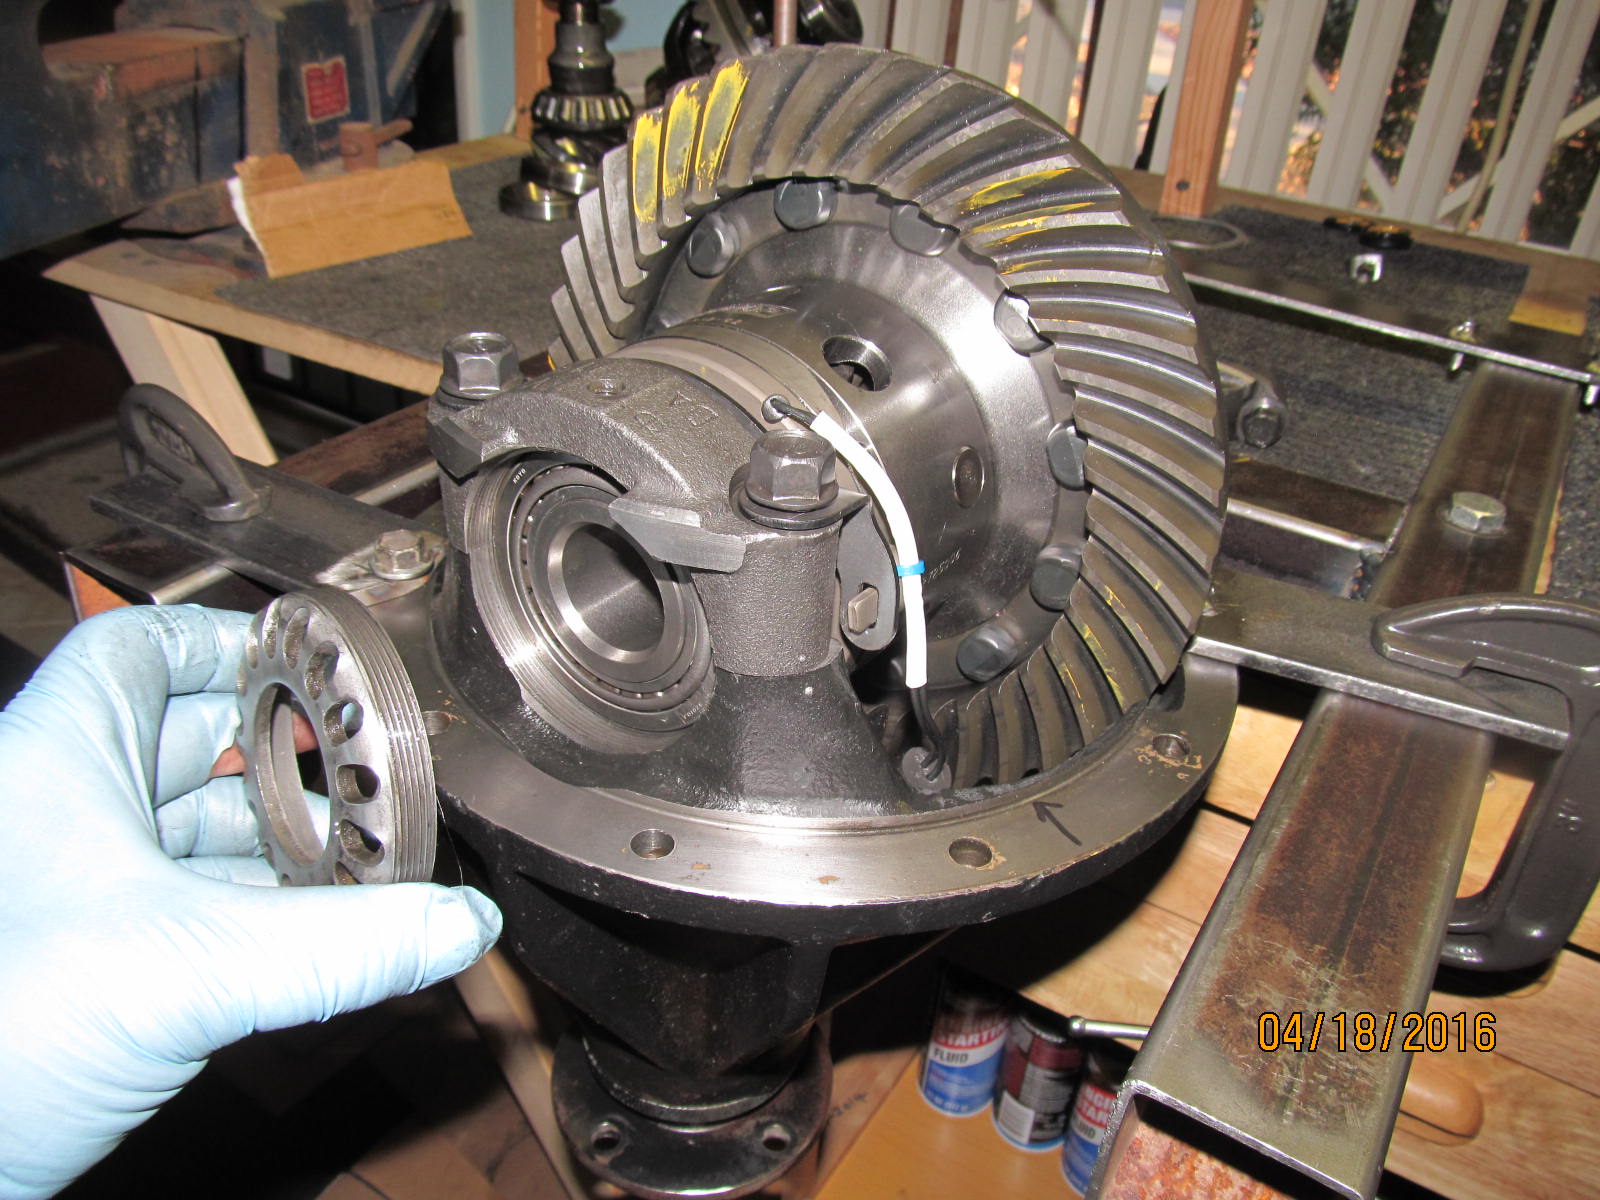
Carrier bearings next to go on...
|
|
|
|
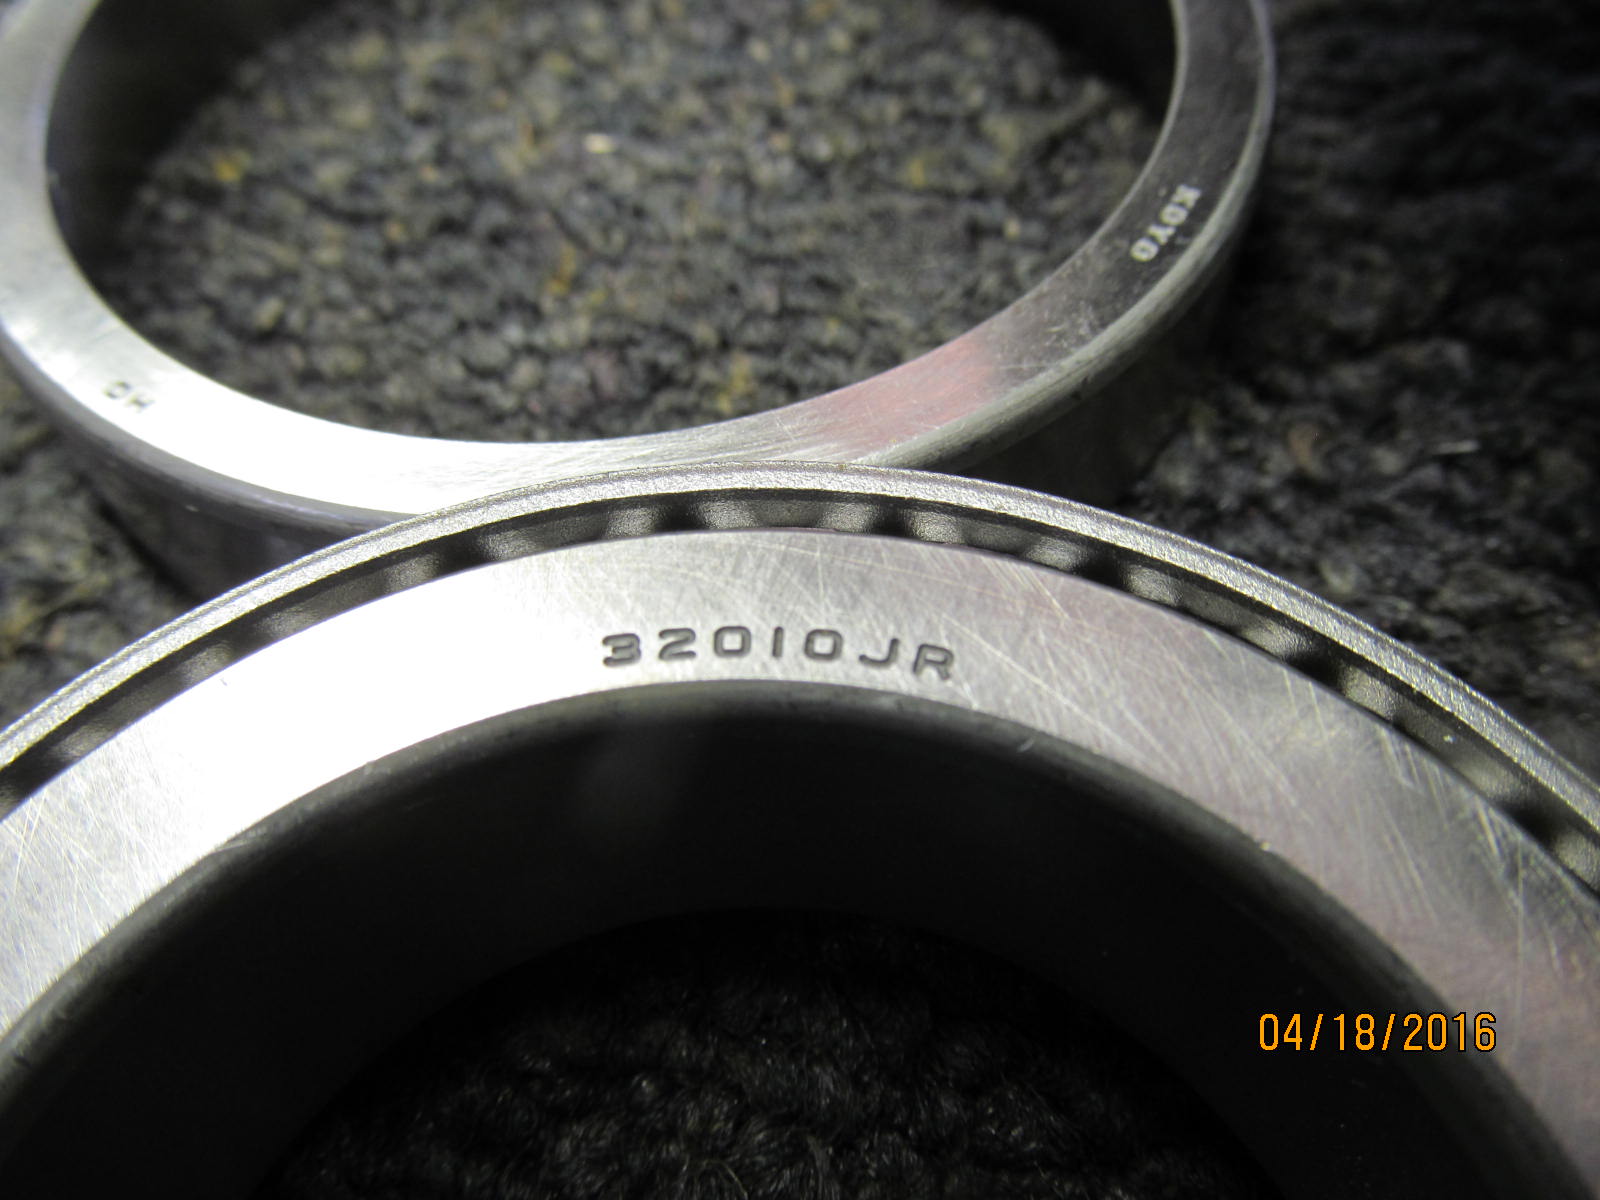
32010 part number.....better known as "conversion bearings" in the Toyota arena....
larger 50mm ID with the smaller race OD.
|
|
|
|
|
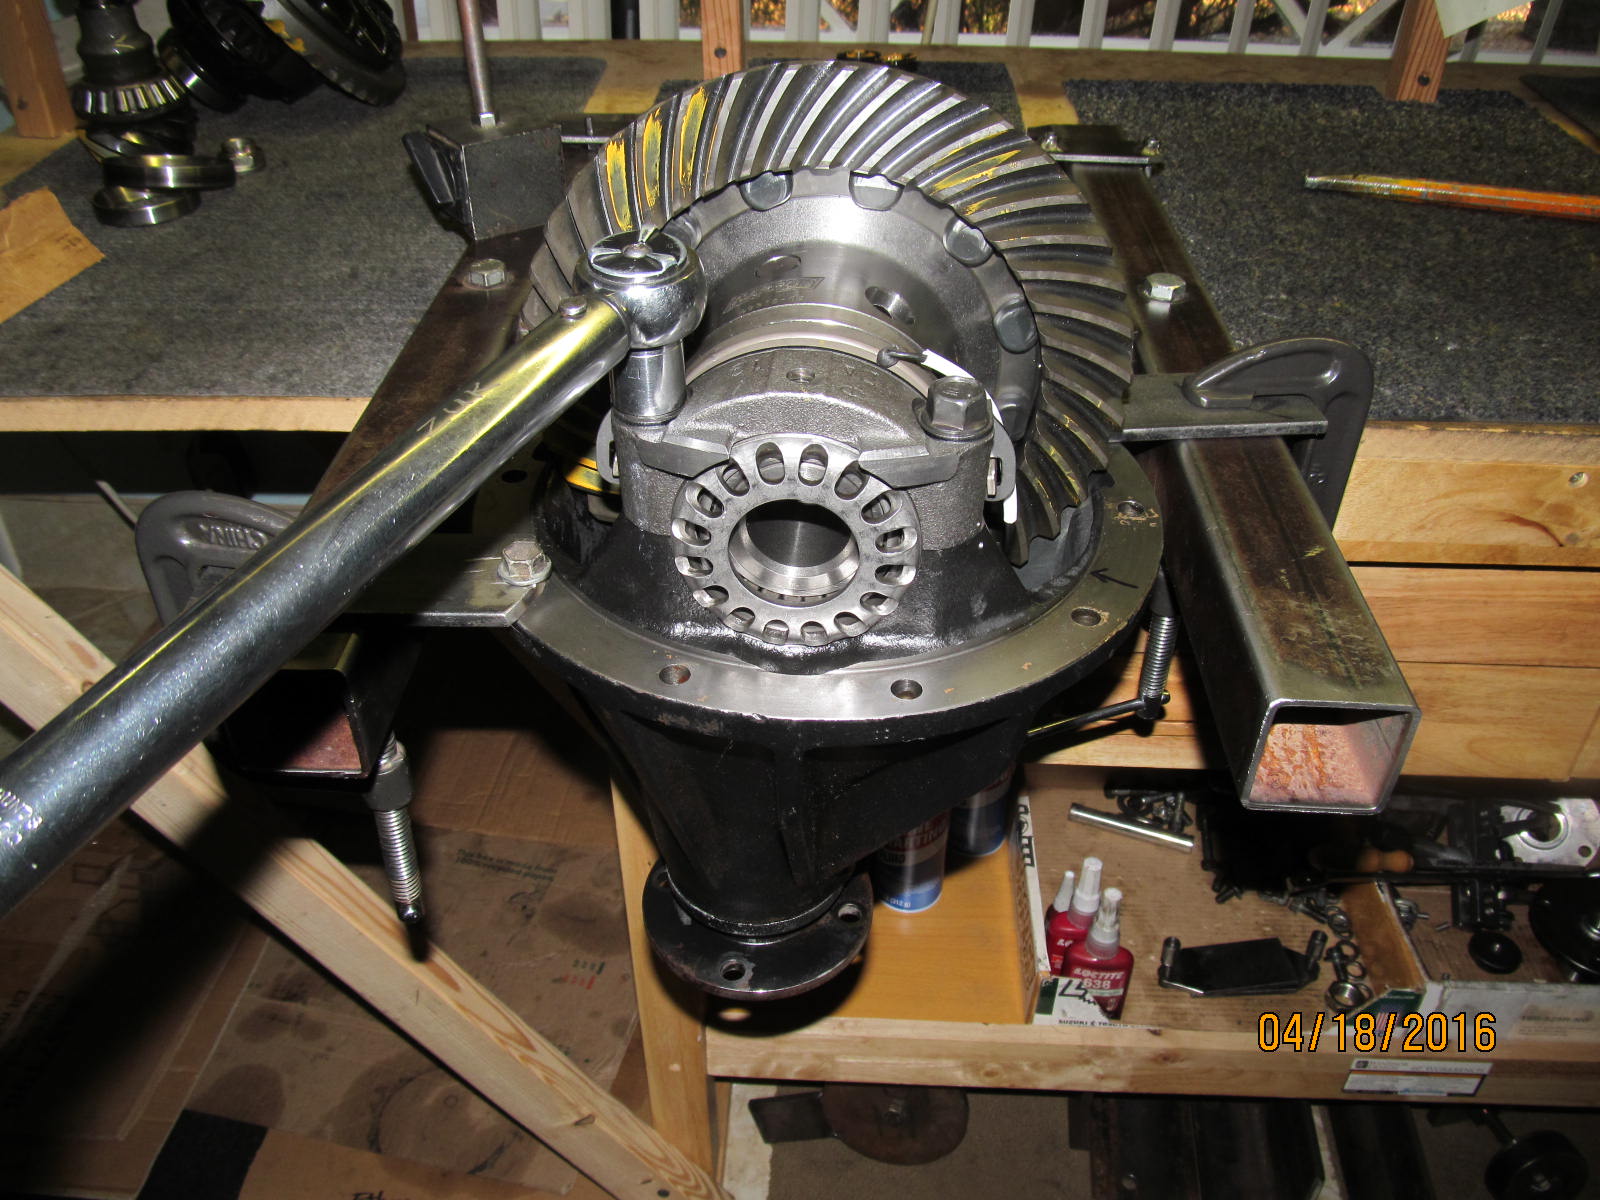
Both bearings can now be pressed on evenly and firmly.
|
|
|
|
|
This end is complete.
|
|
|
|
|
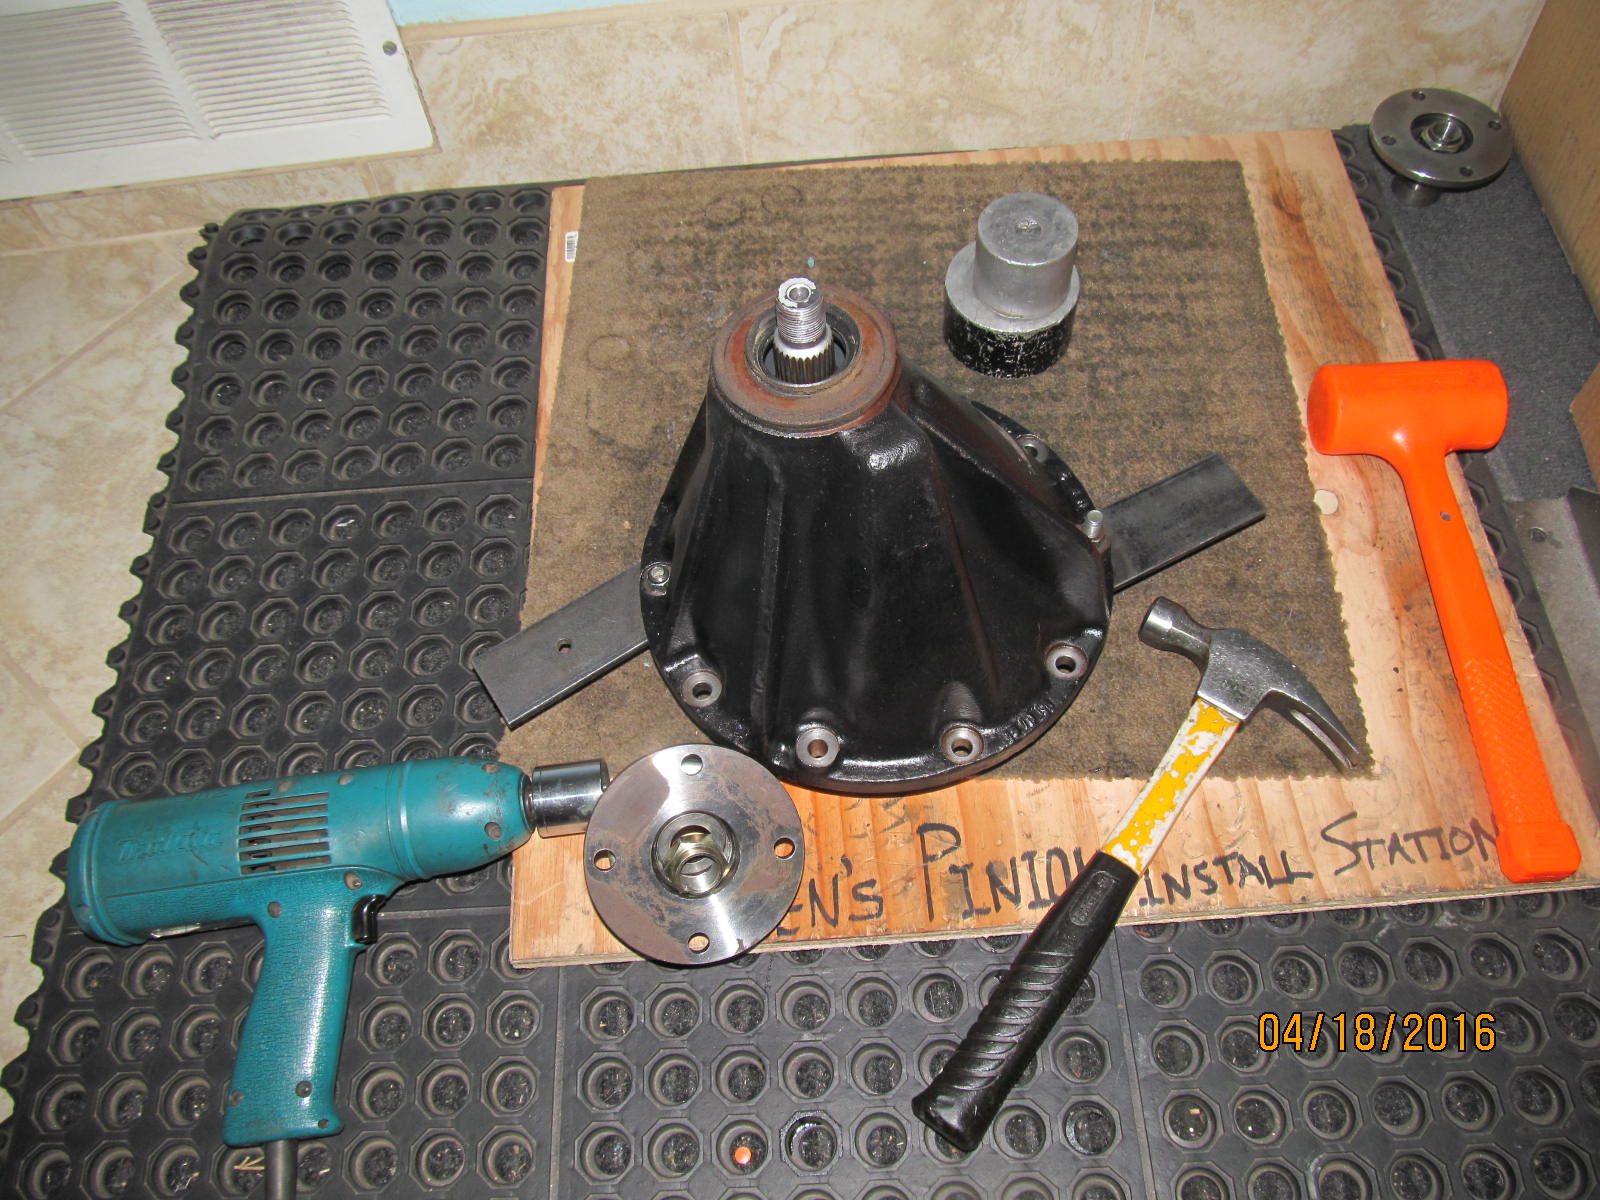
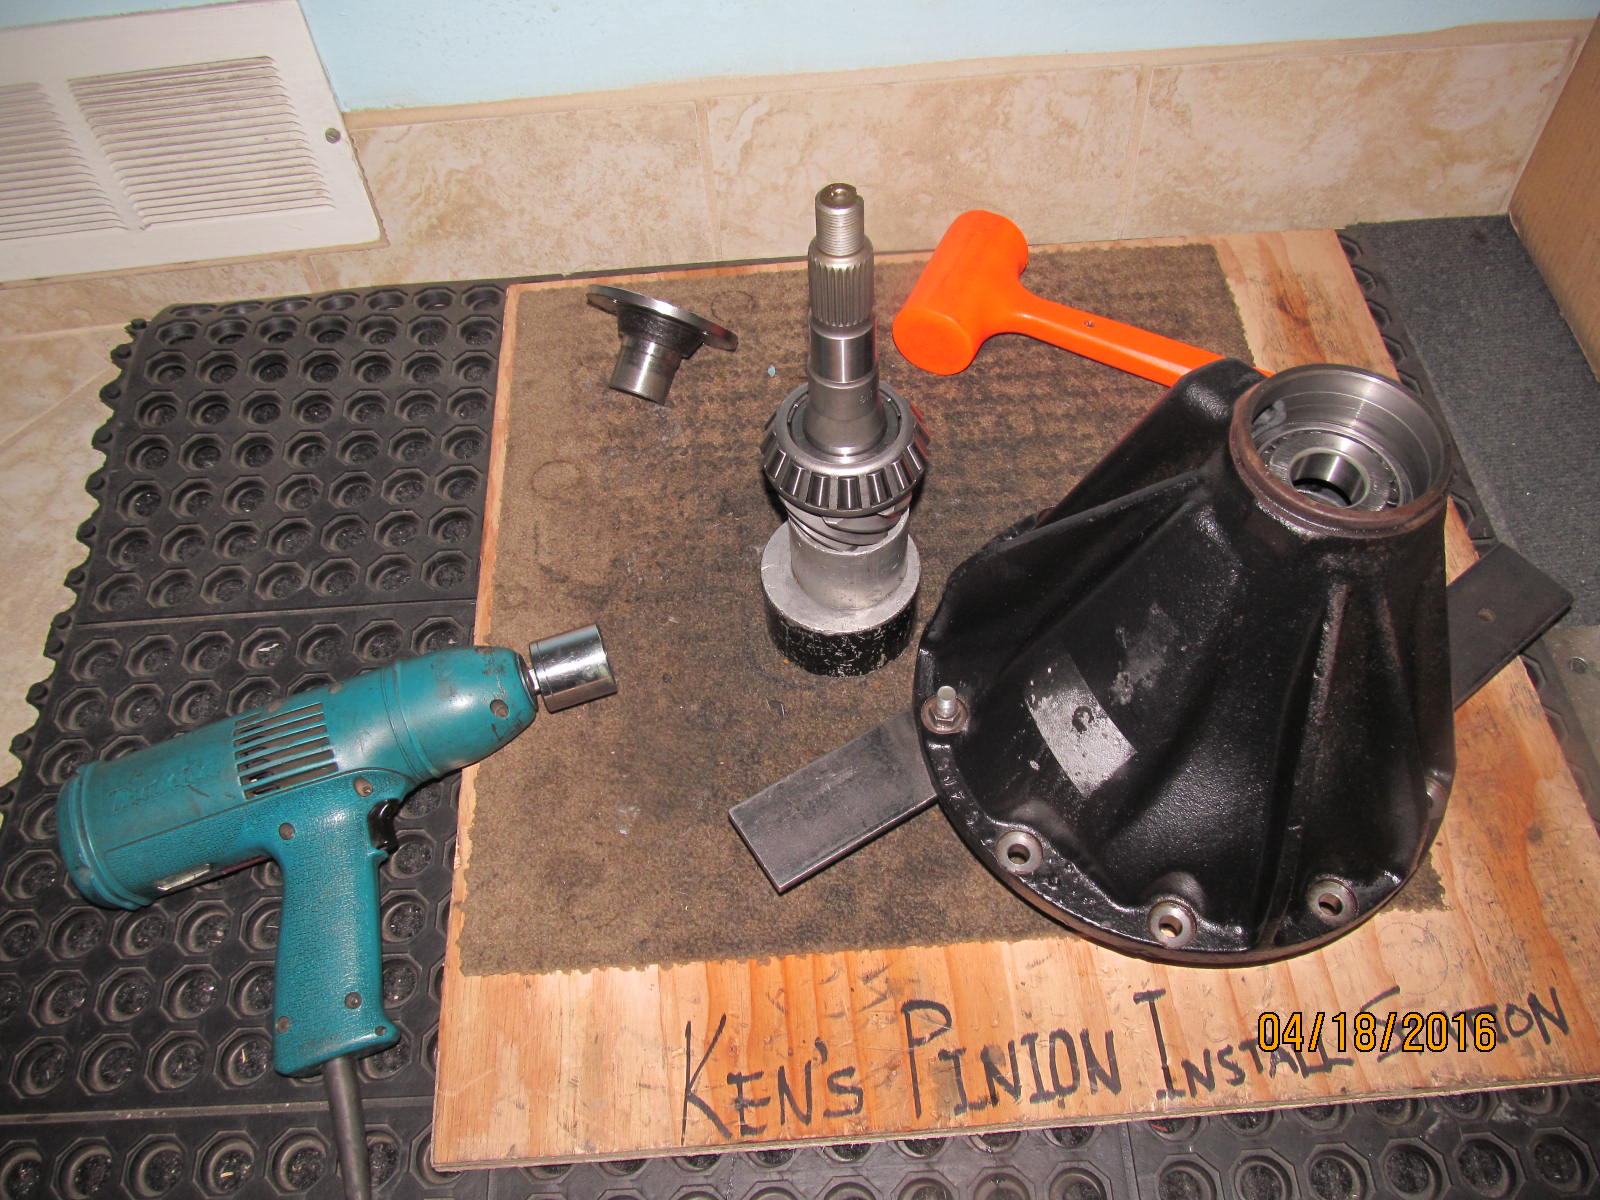
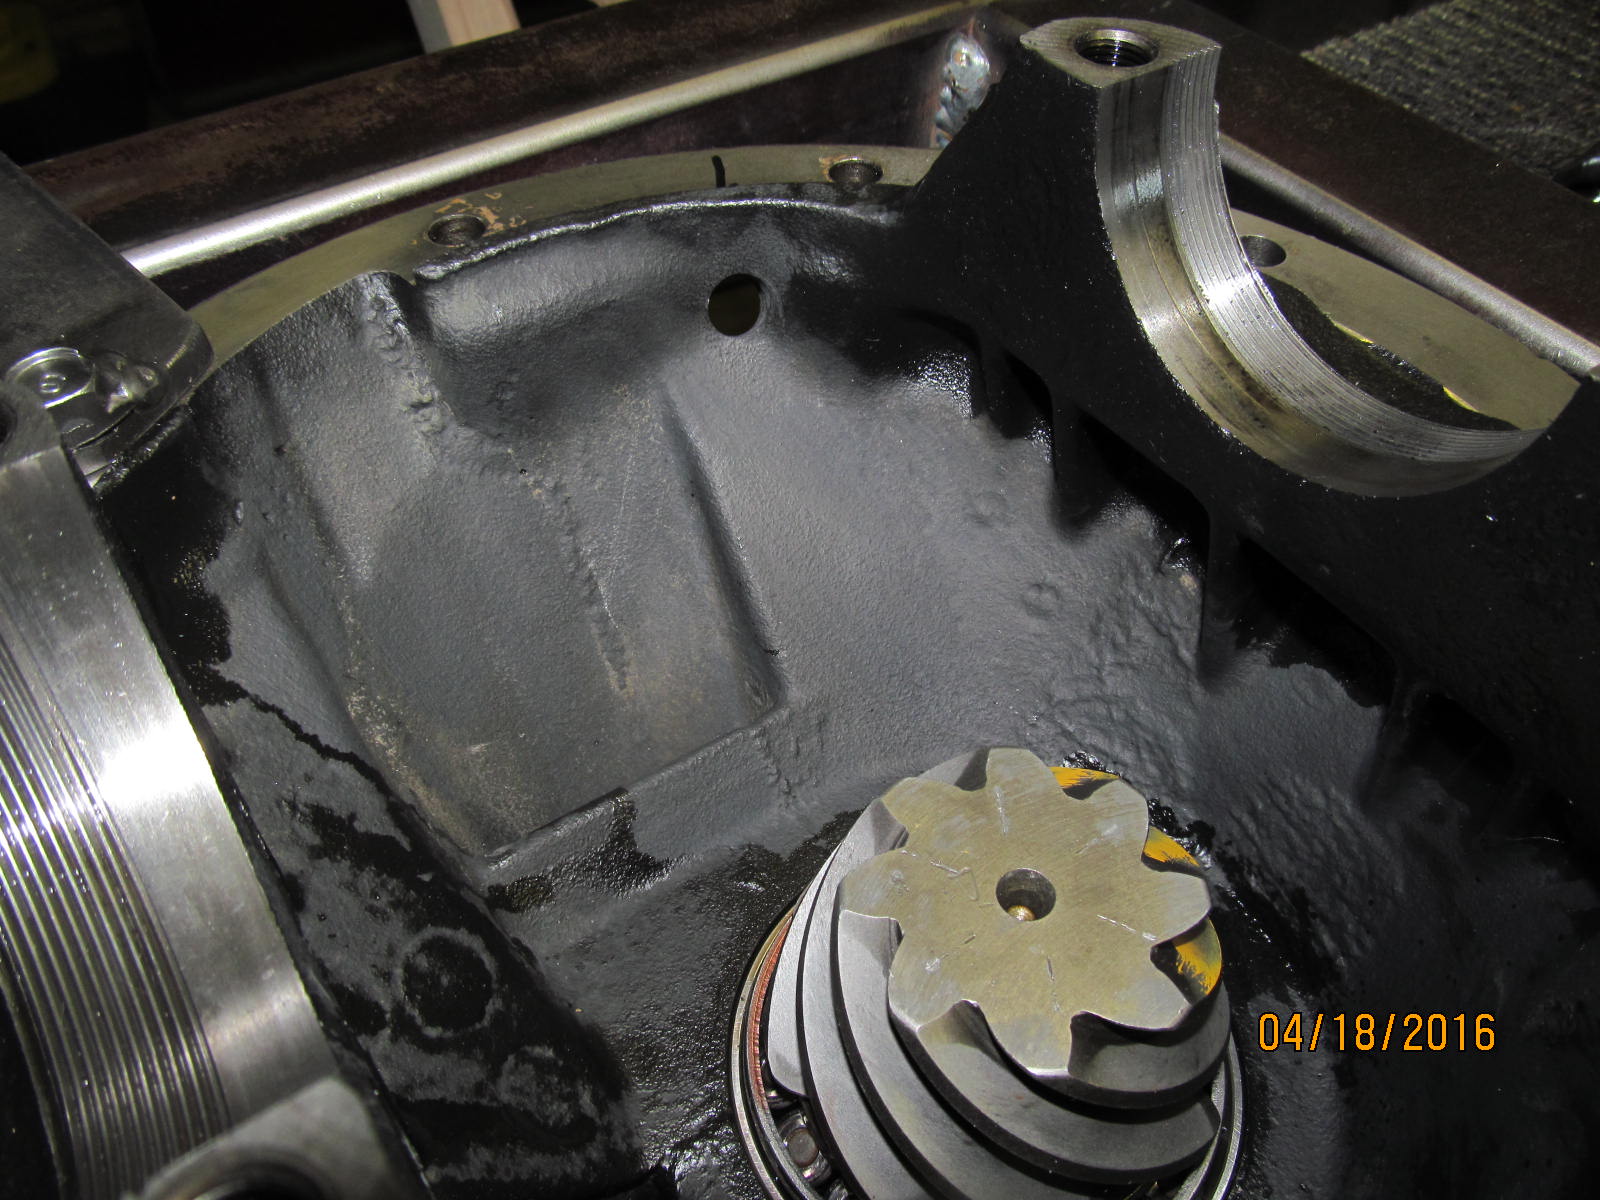
Now to the pinion end...remove the pinion flange as shown.
|
|
|
|
|
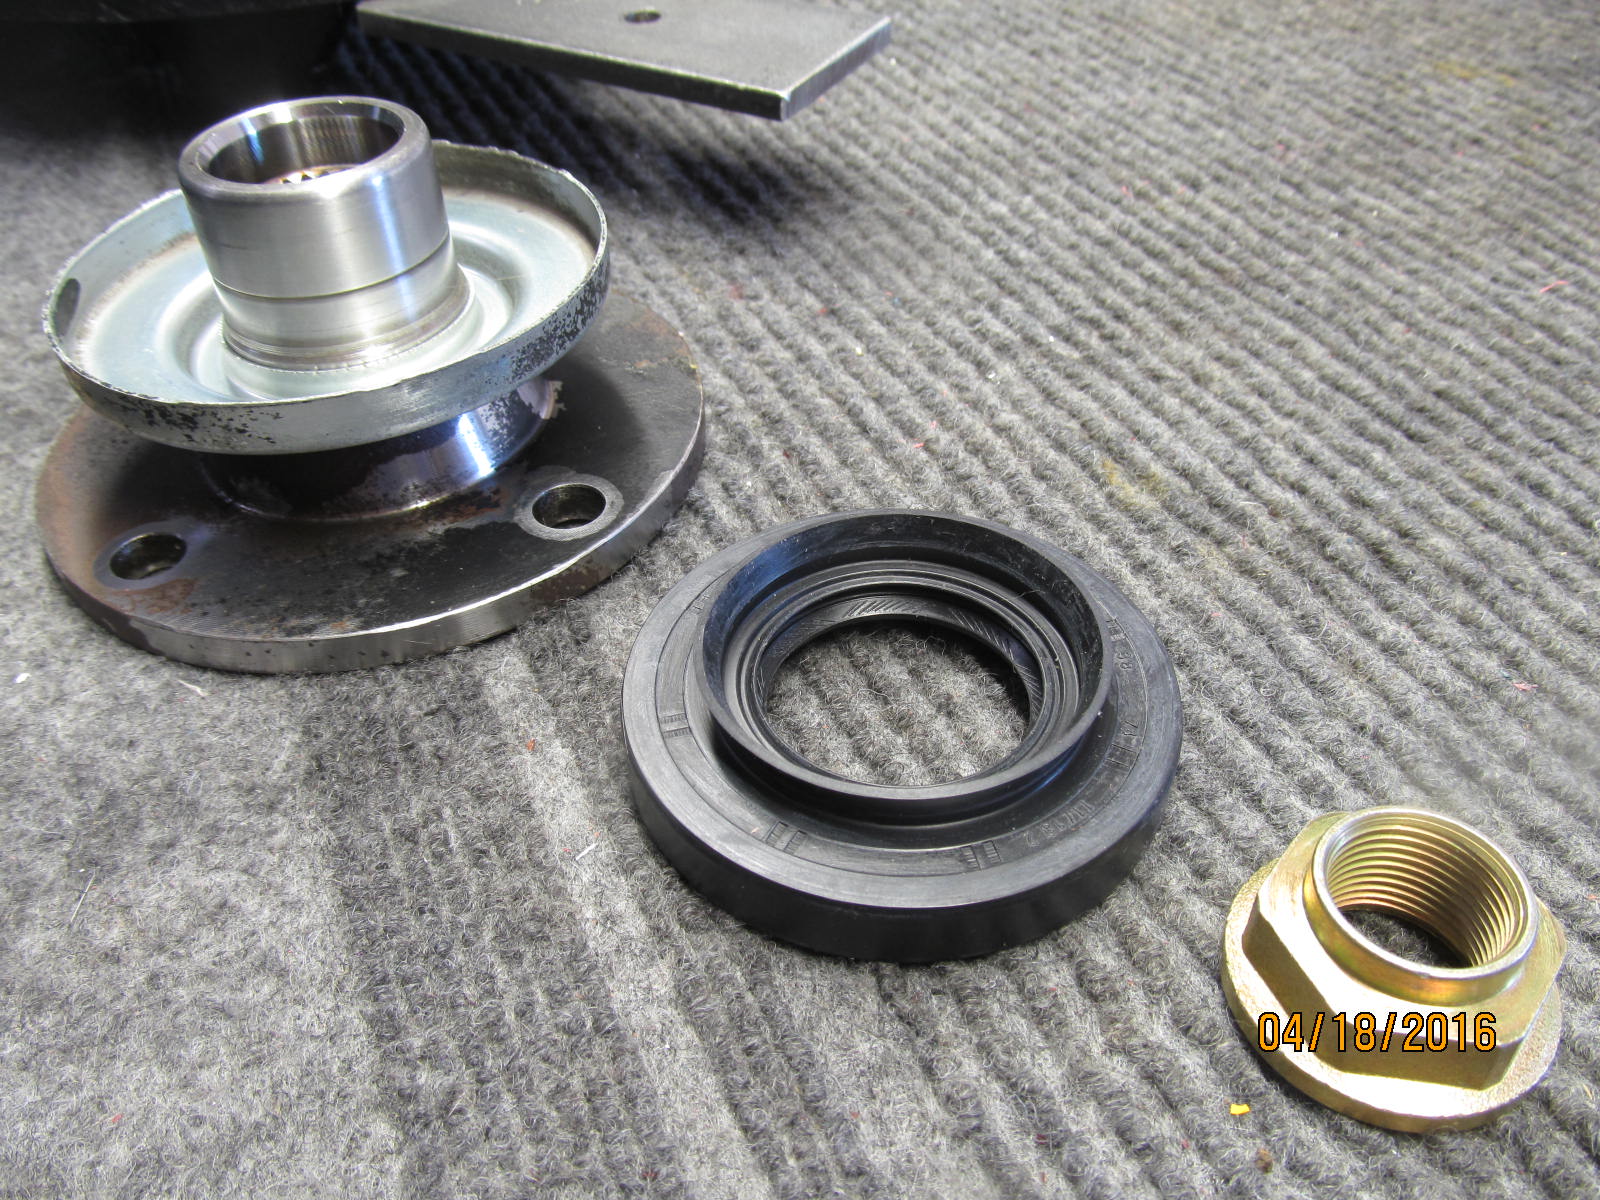
Flange surfaces are cleaned and lightly sanded with extra-fine sandpaper.
|
|
|
|
The digital picture does not do it justice....there is no groove here that can be felt
by touch. This is a good re-usable flange for a new seal.
|
|
|
|
|
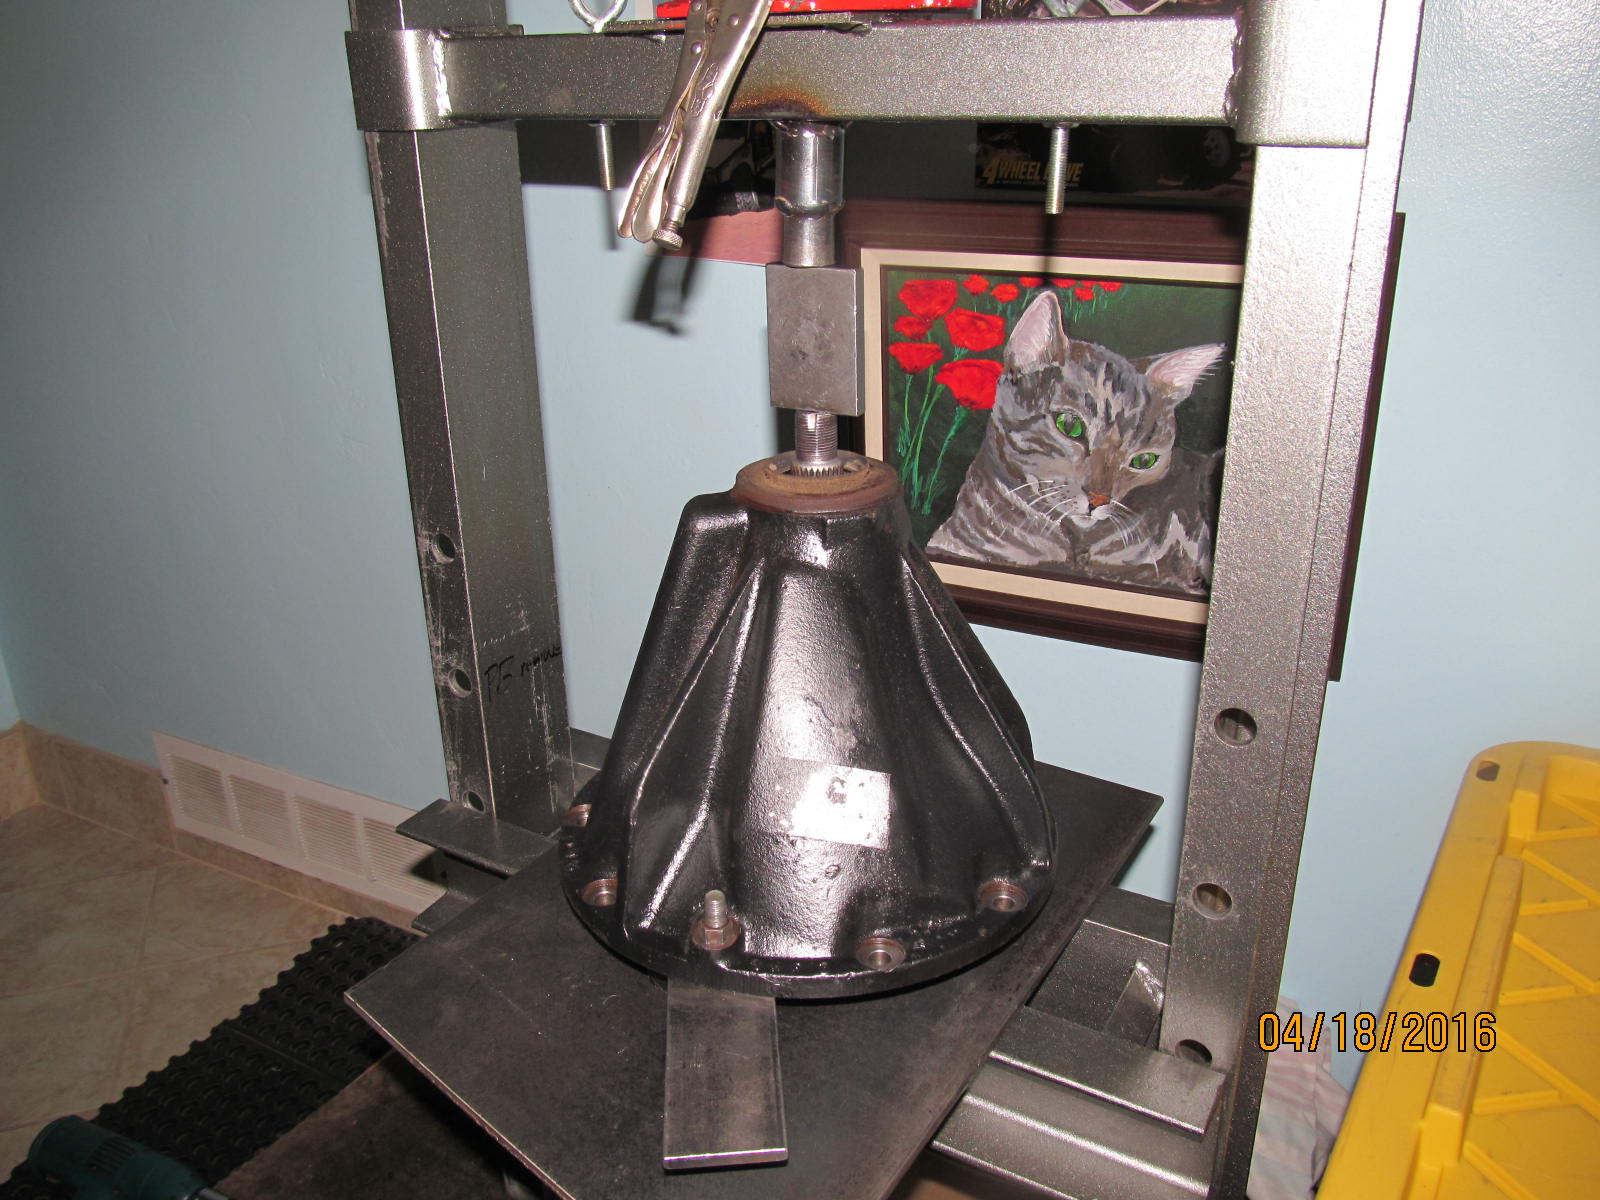
Press the pinion out.
|
|
|
|
|
----------------
|
|
|

|
|
Tap the old pinion races out and press the new ones in.
|
|
|
|
|
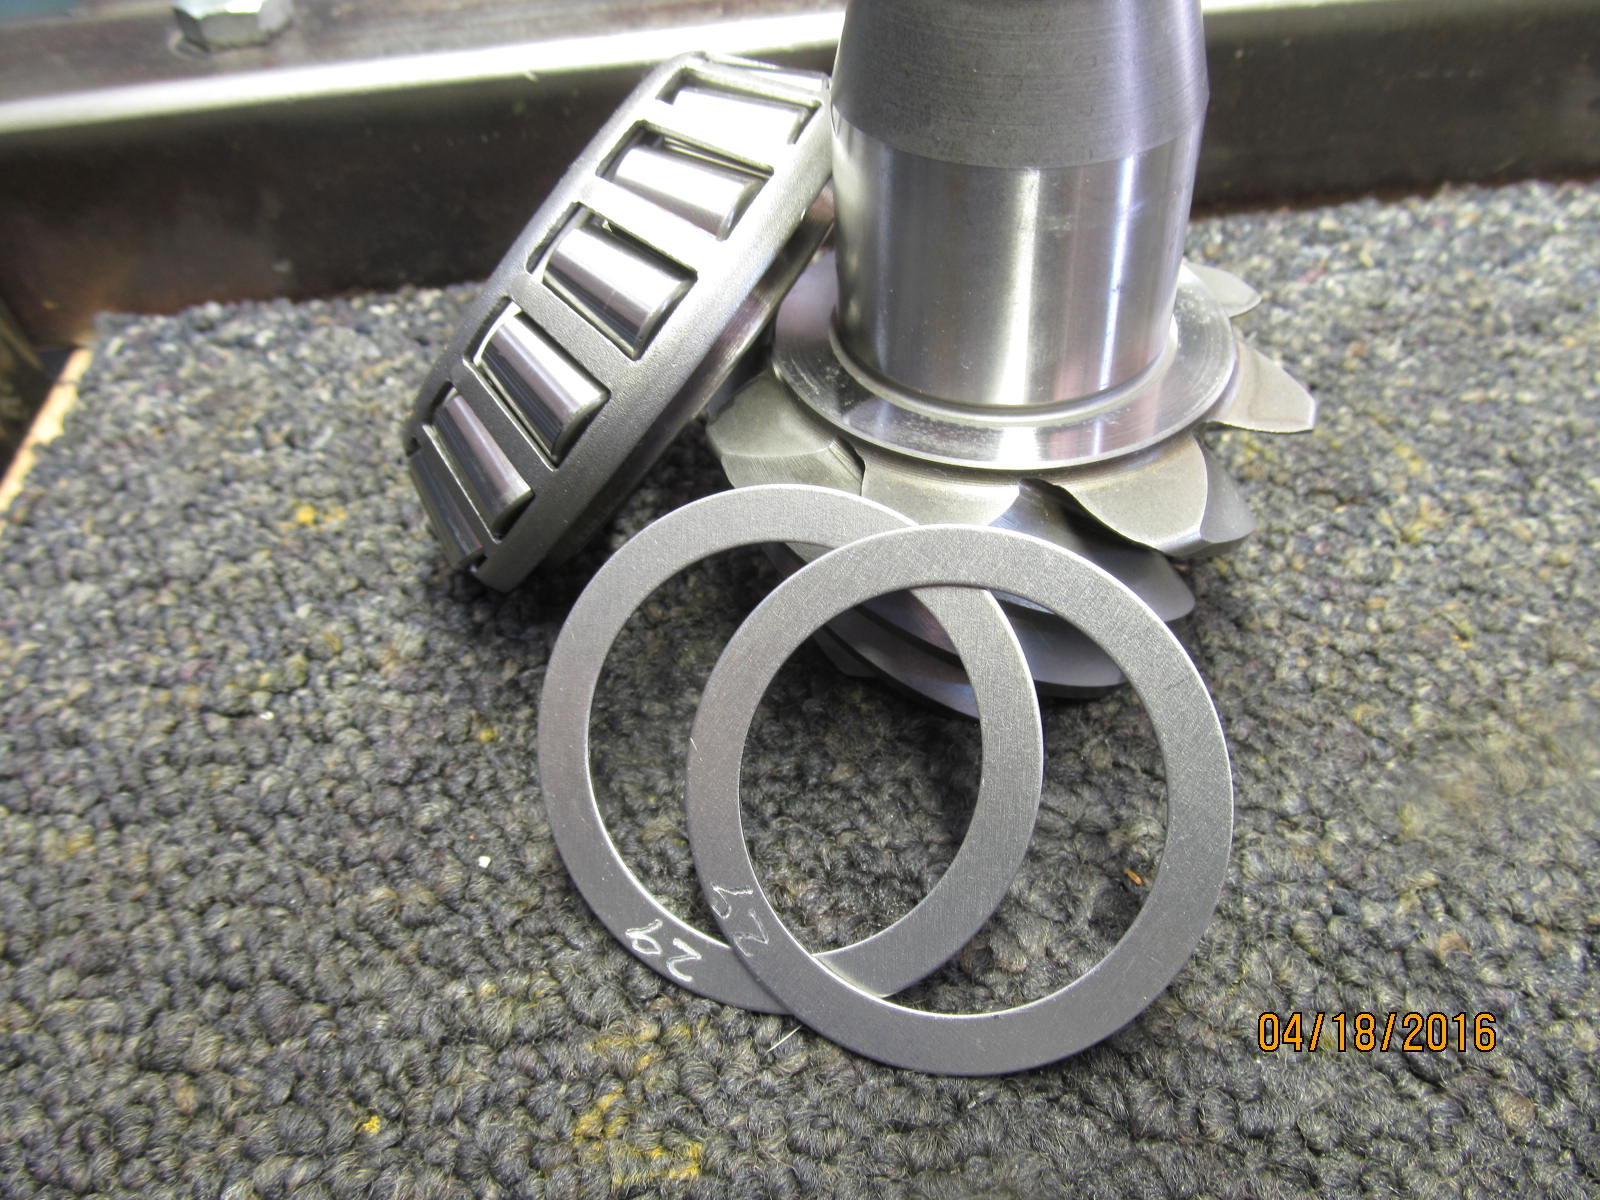
A new Nitro Gear....best to start with .058"
|
|
|
|
|
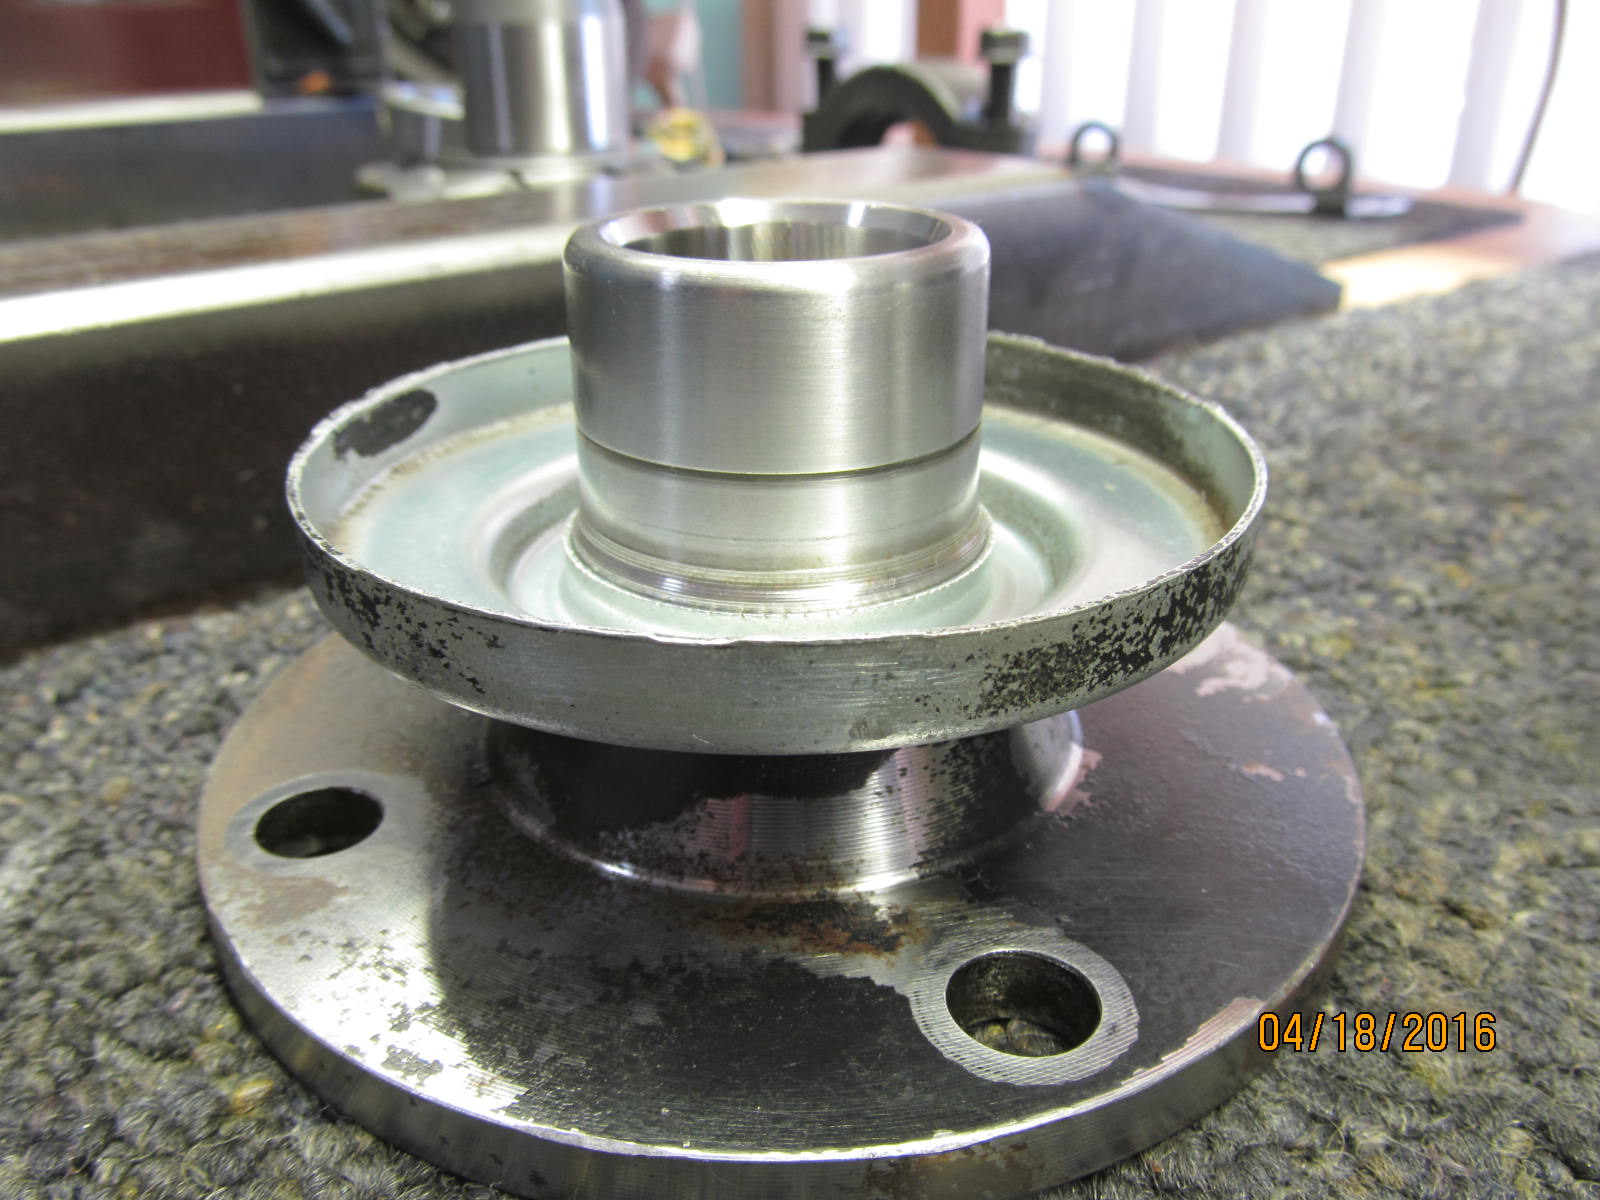
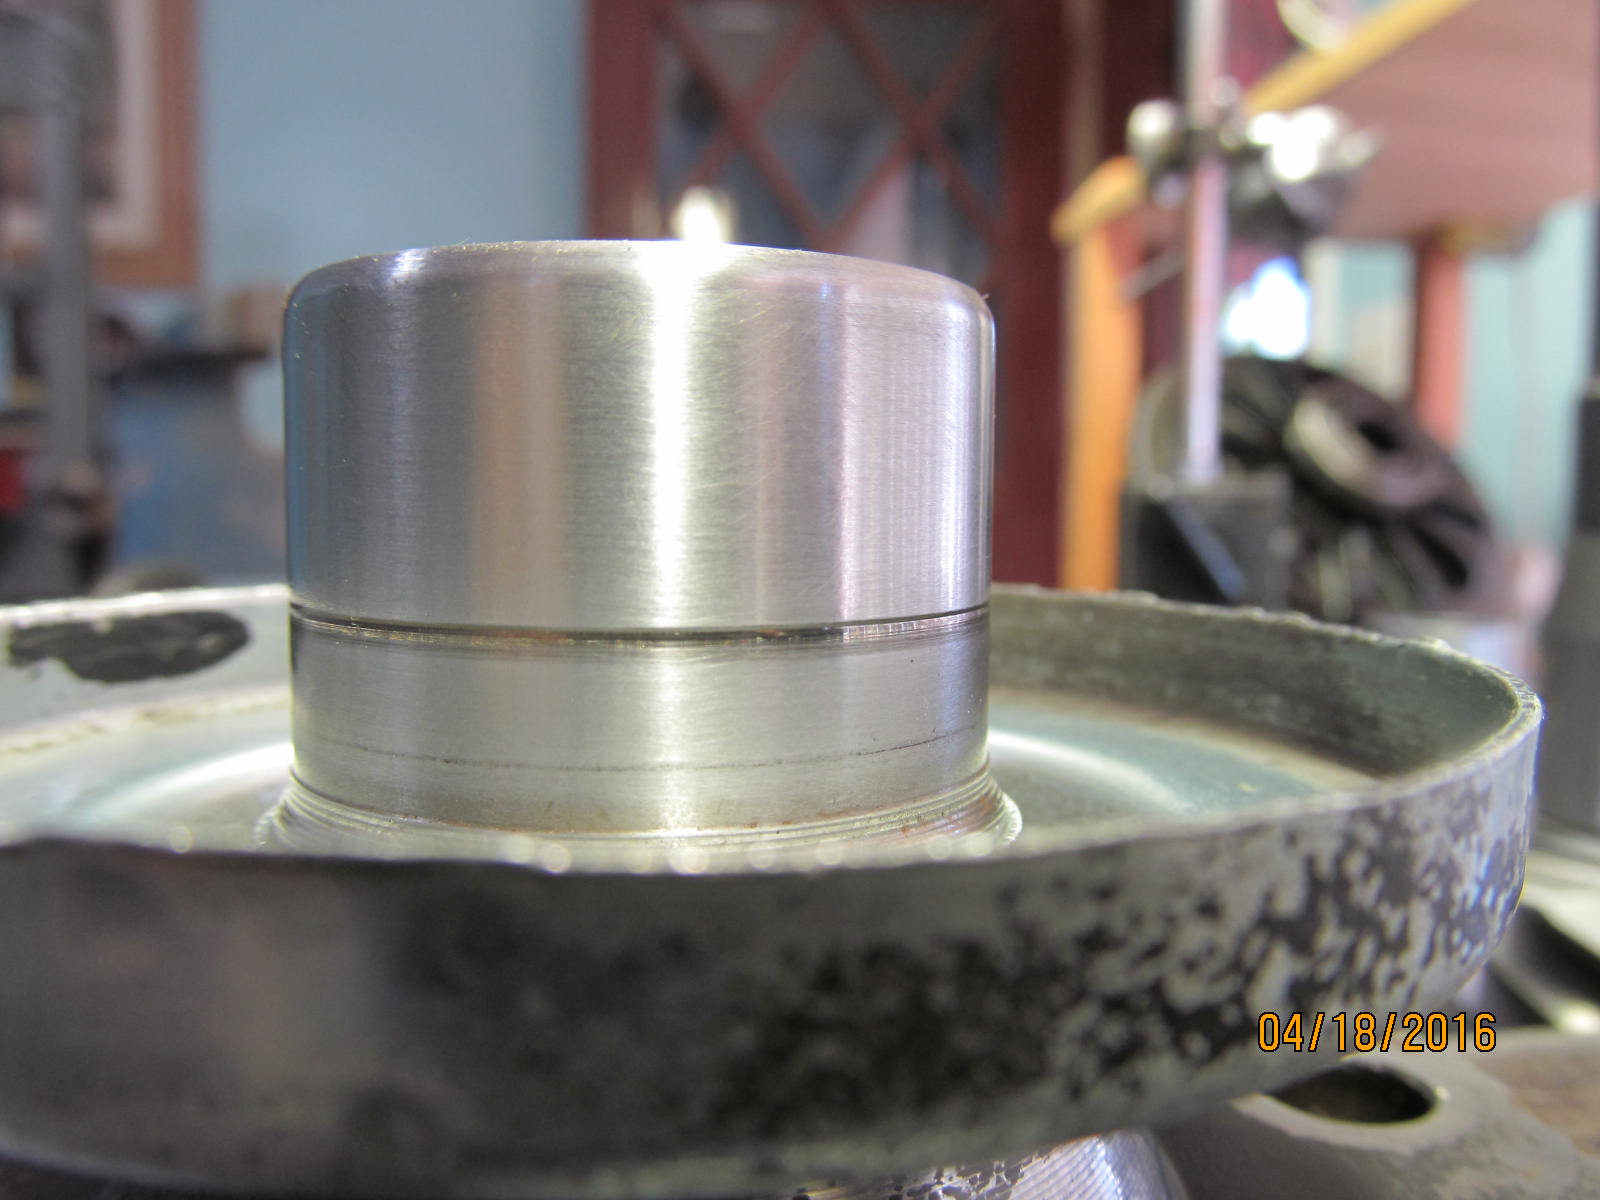
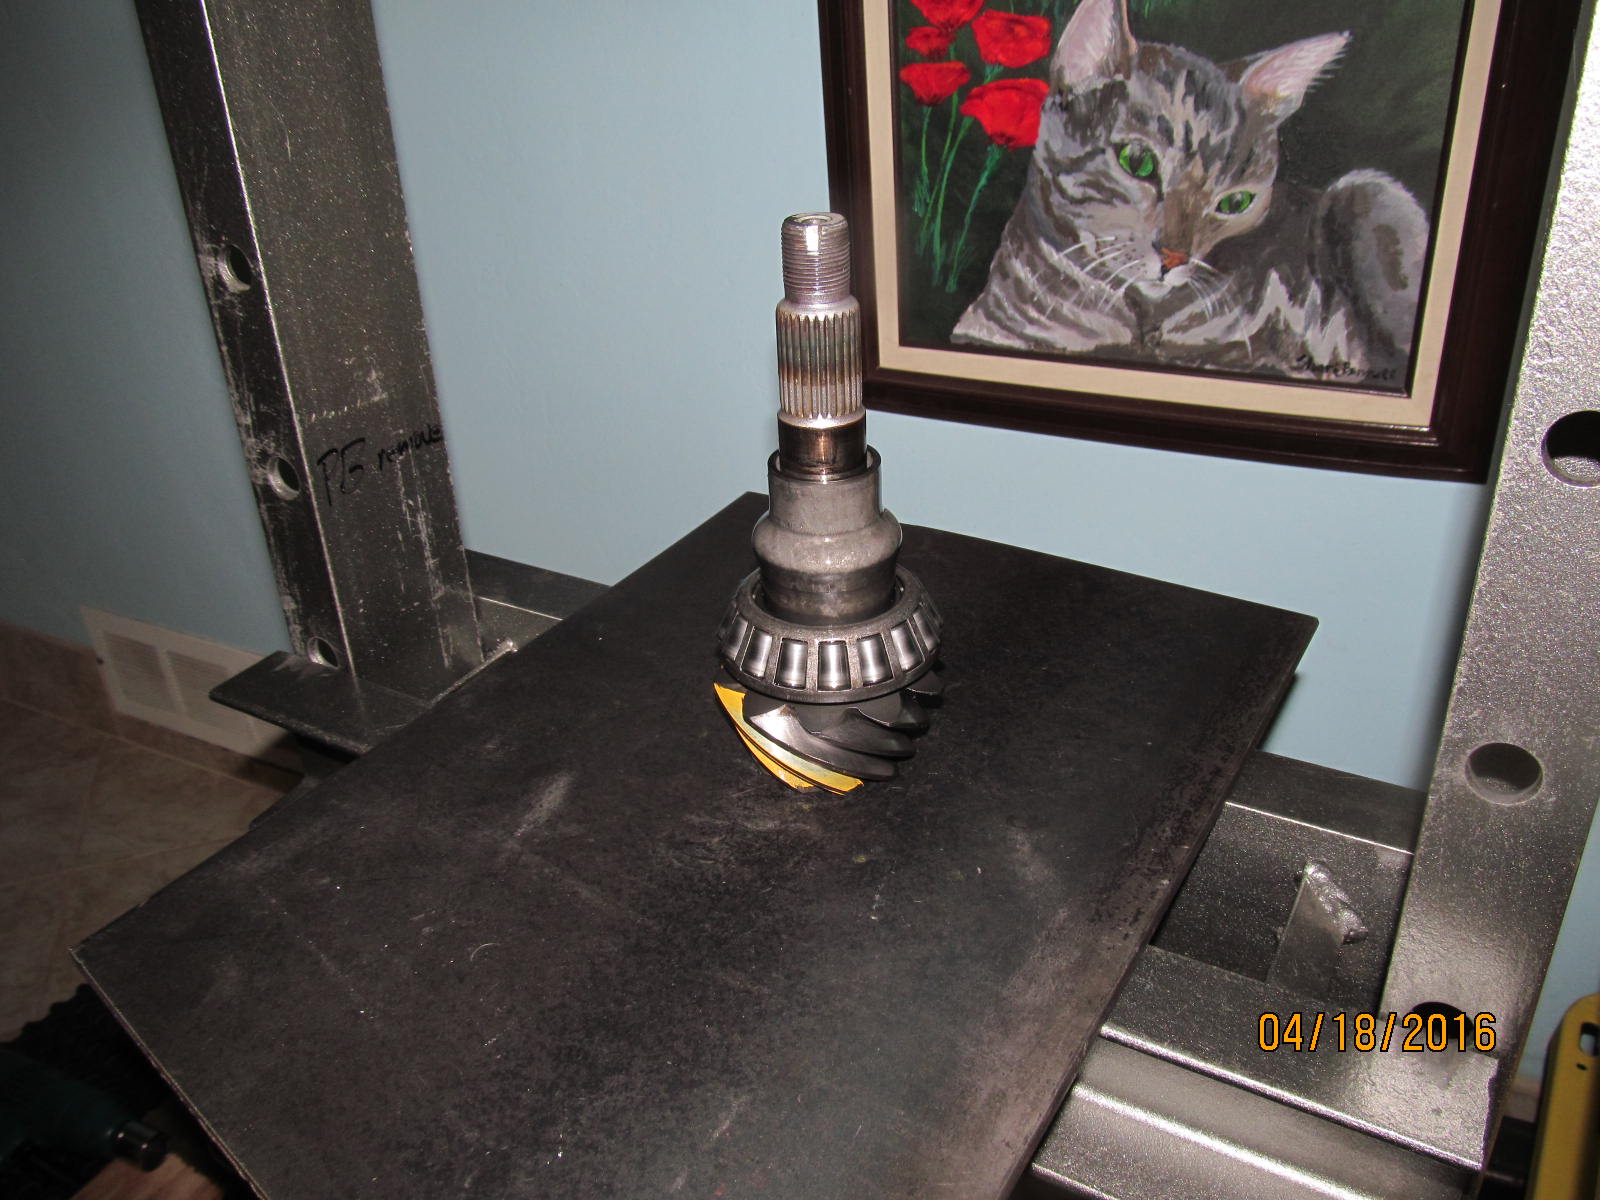
Press the cryo-treated bearing on....
|
|
|
|
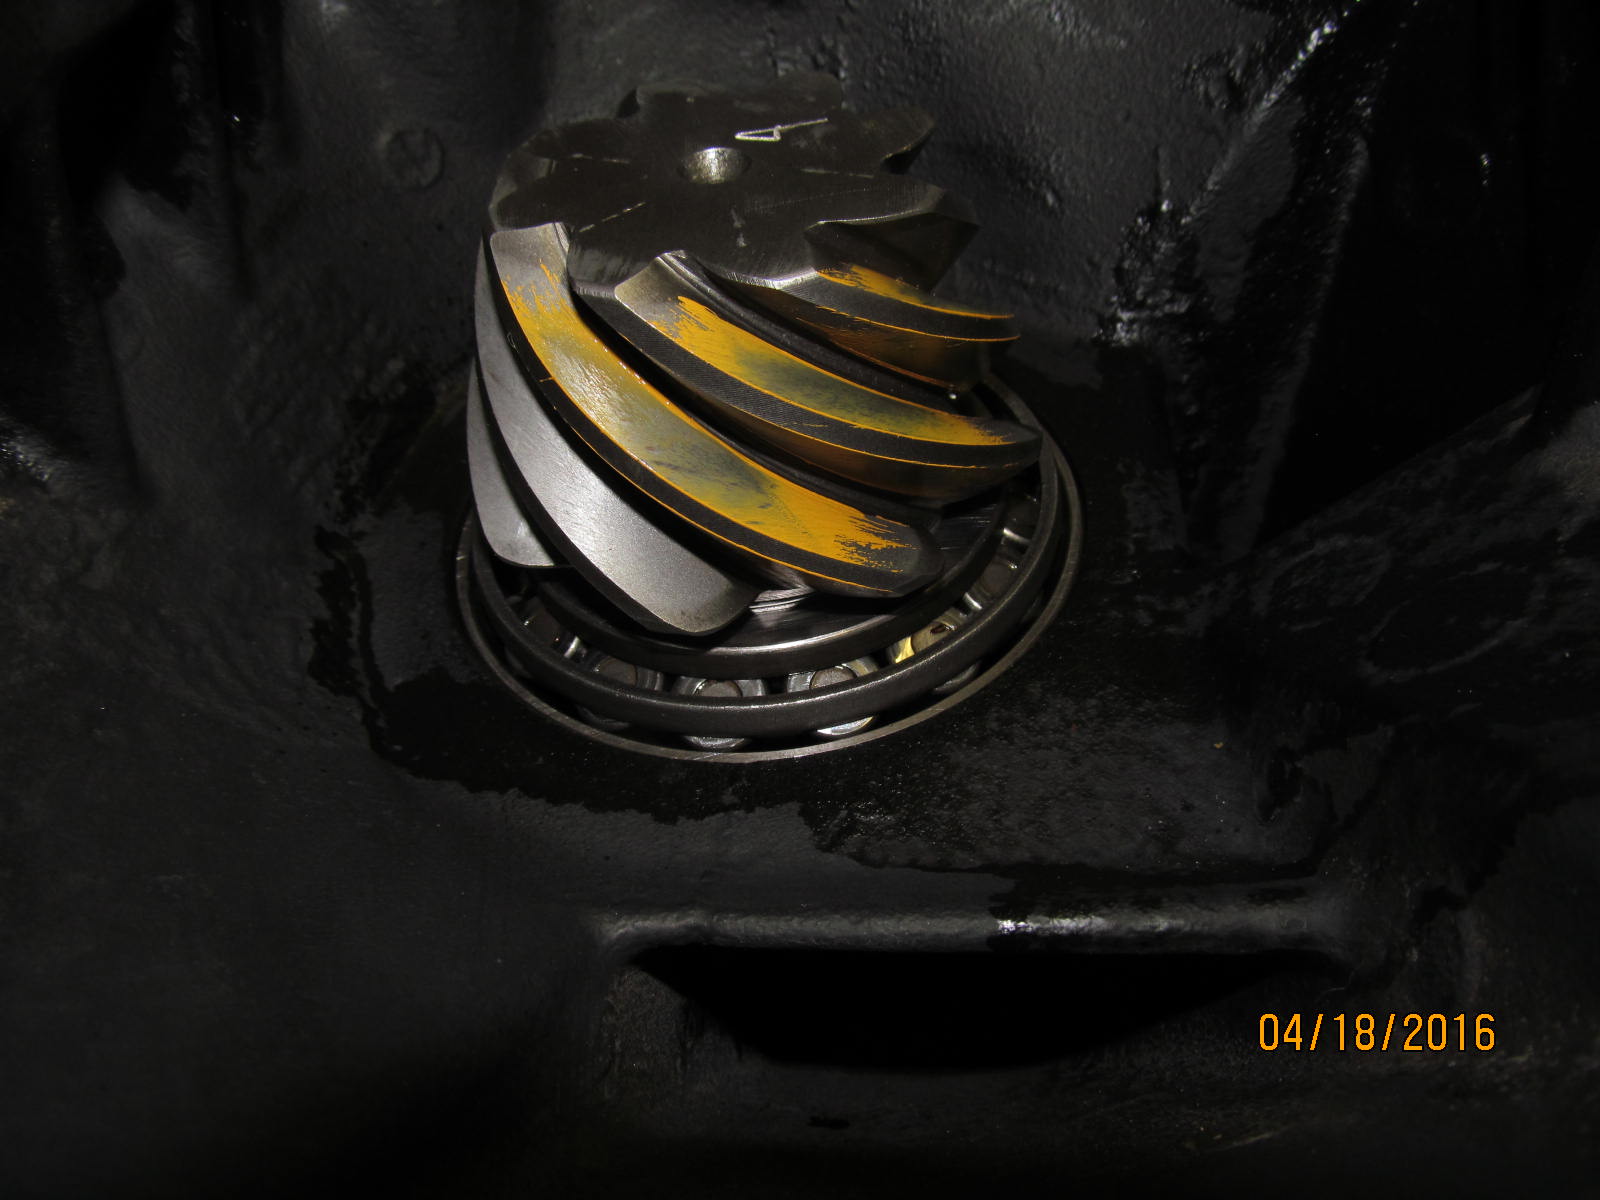
Load the pinion in place and impact the pinion nut down just enough to get about
10~20 inch/pounds of bearing drag. This is a paint check so it's "non-critical" to get it exact.
|
|
|
|
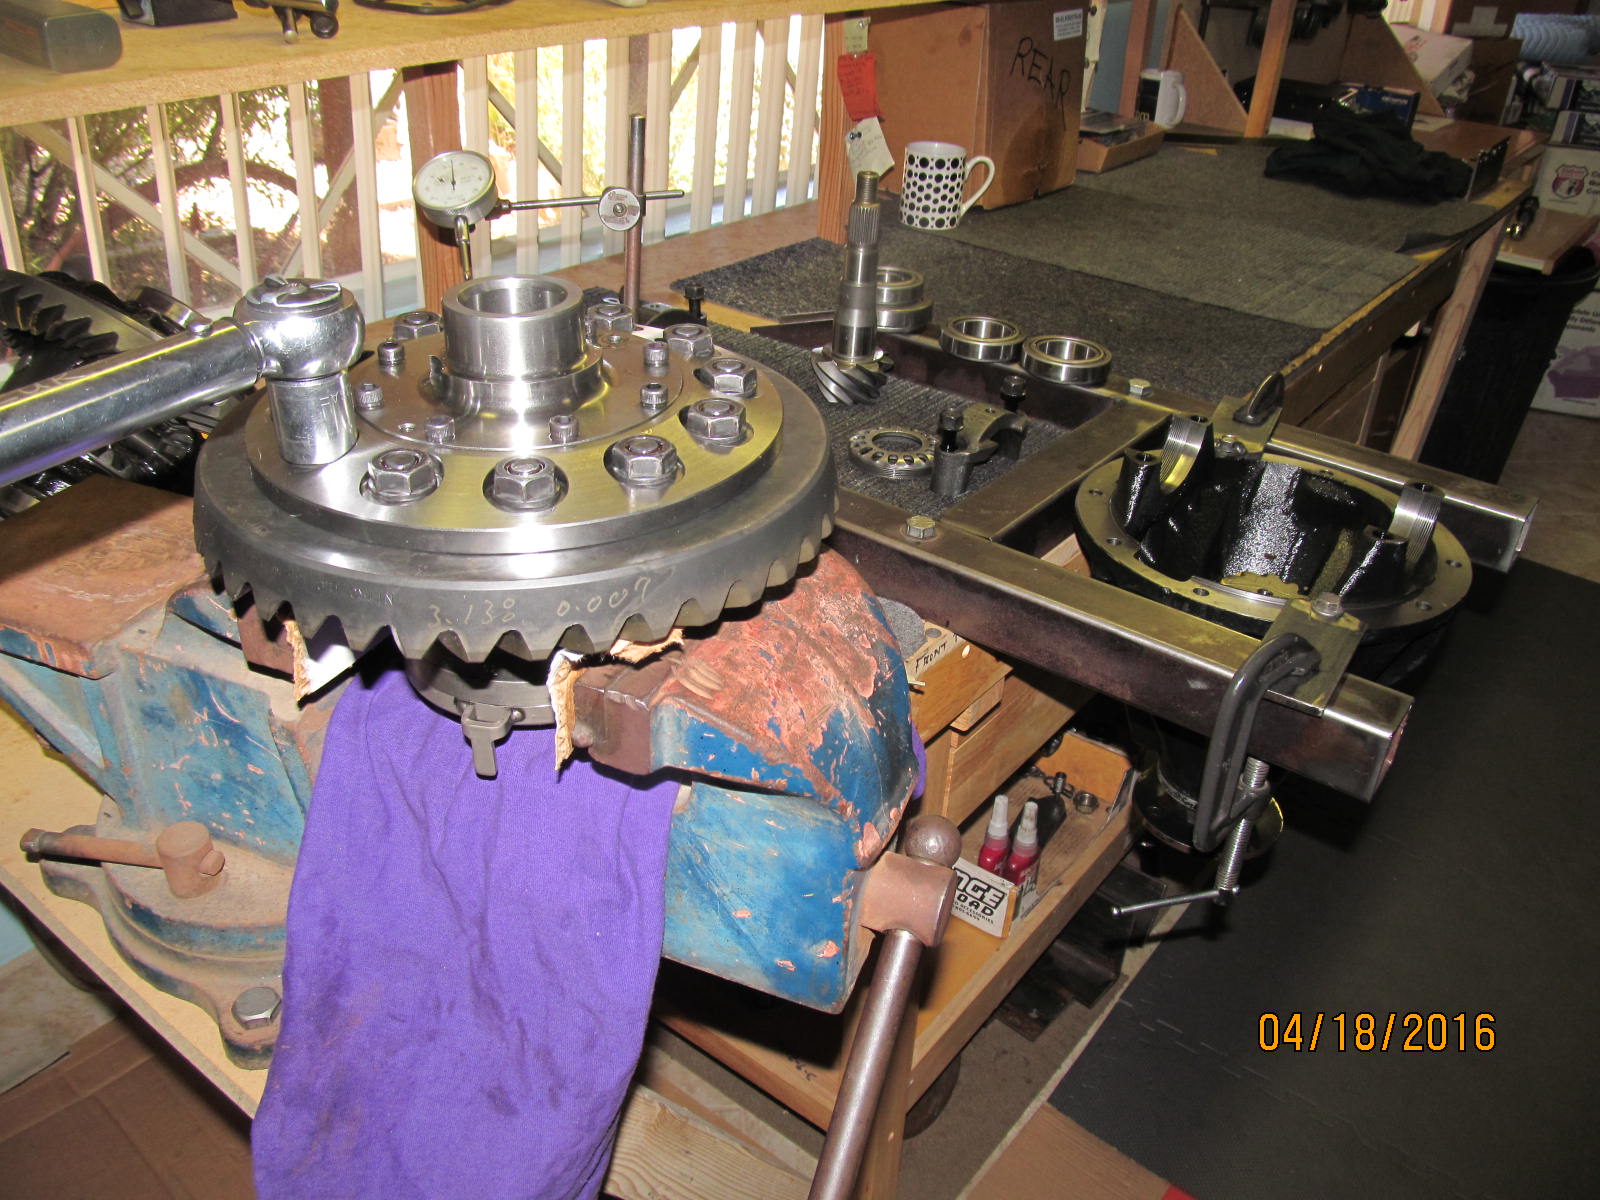
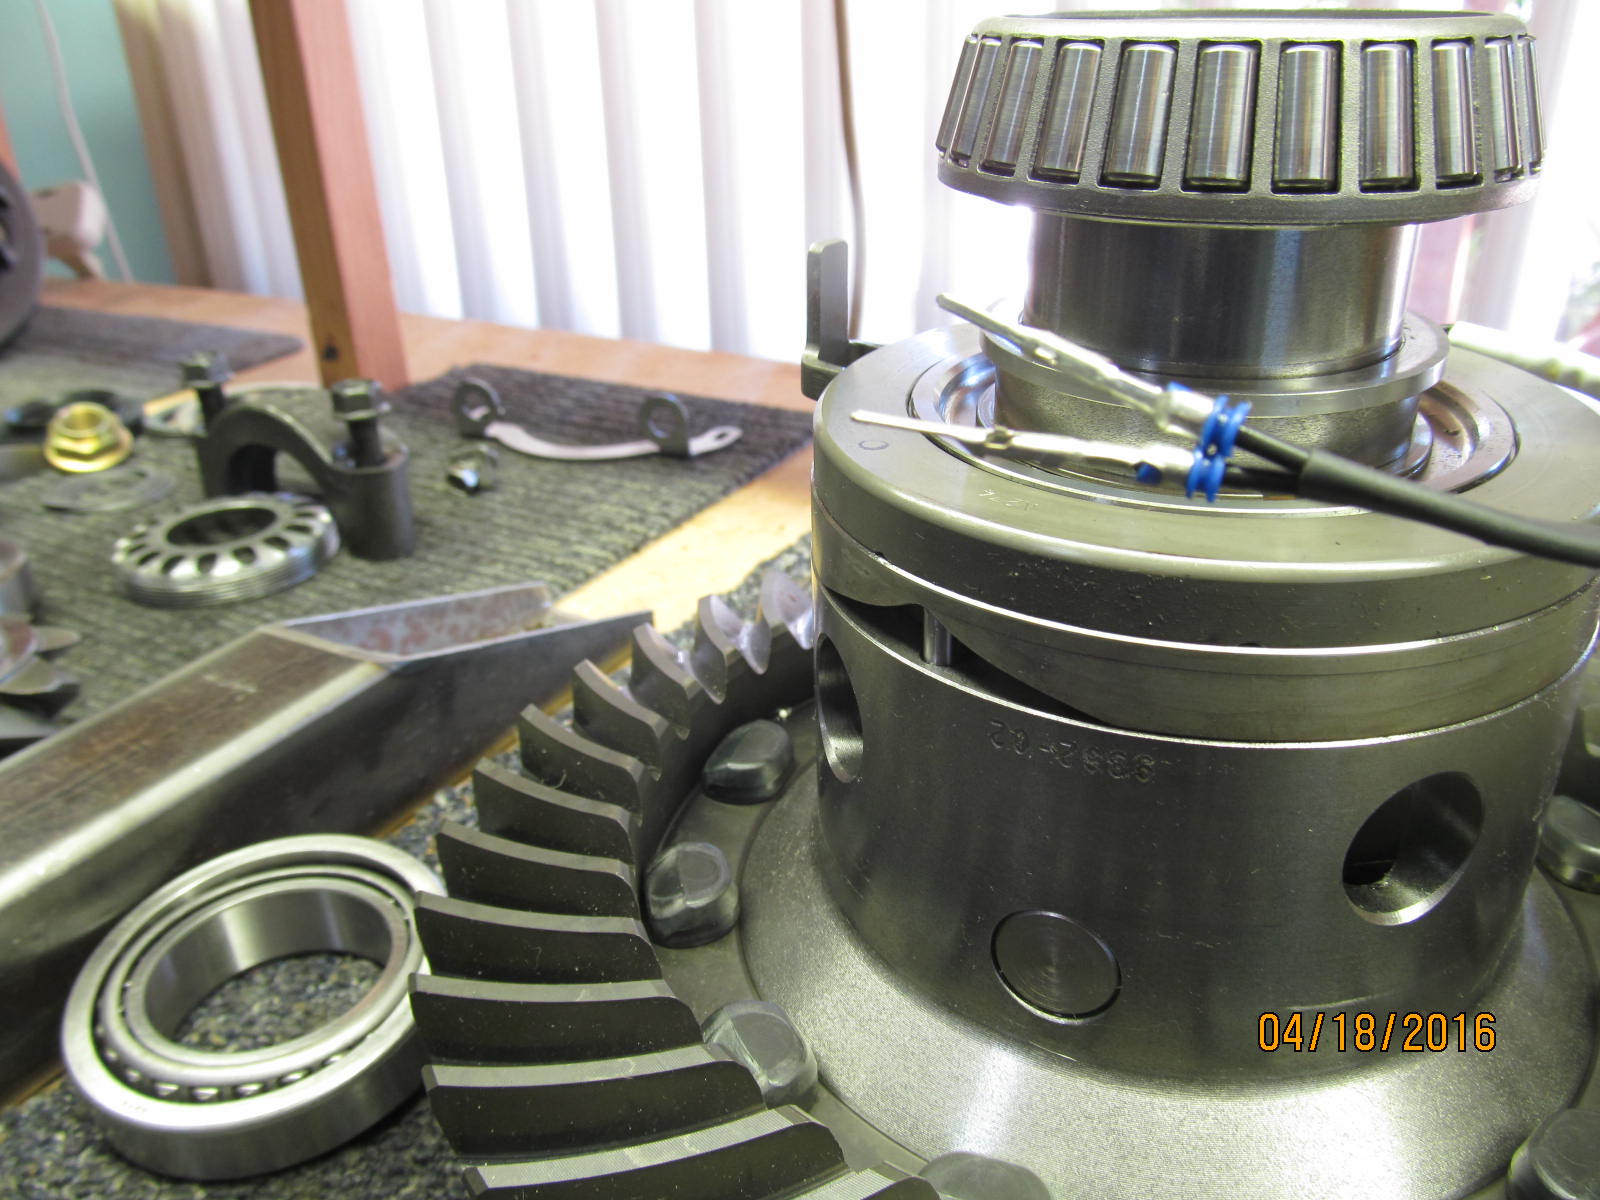
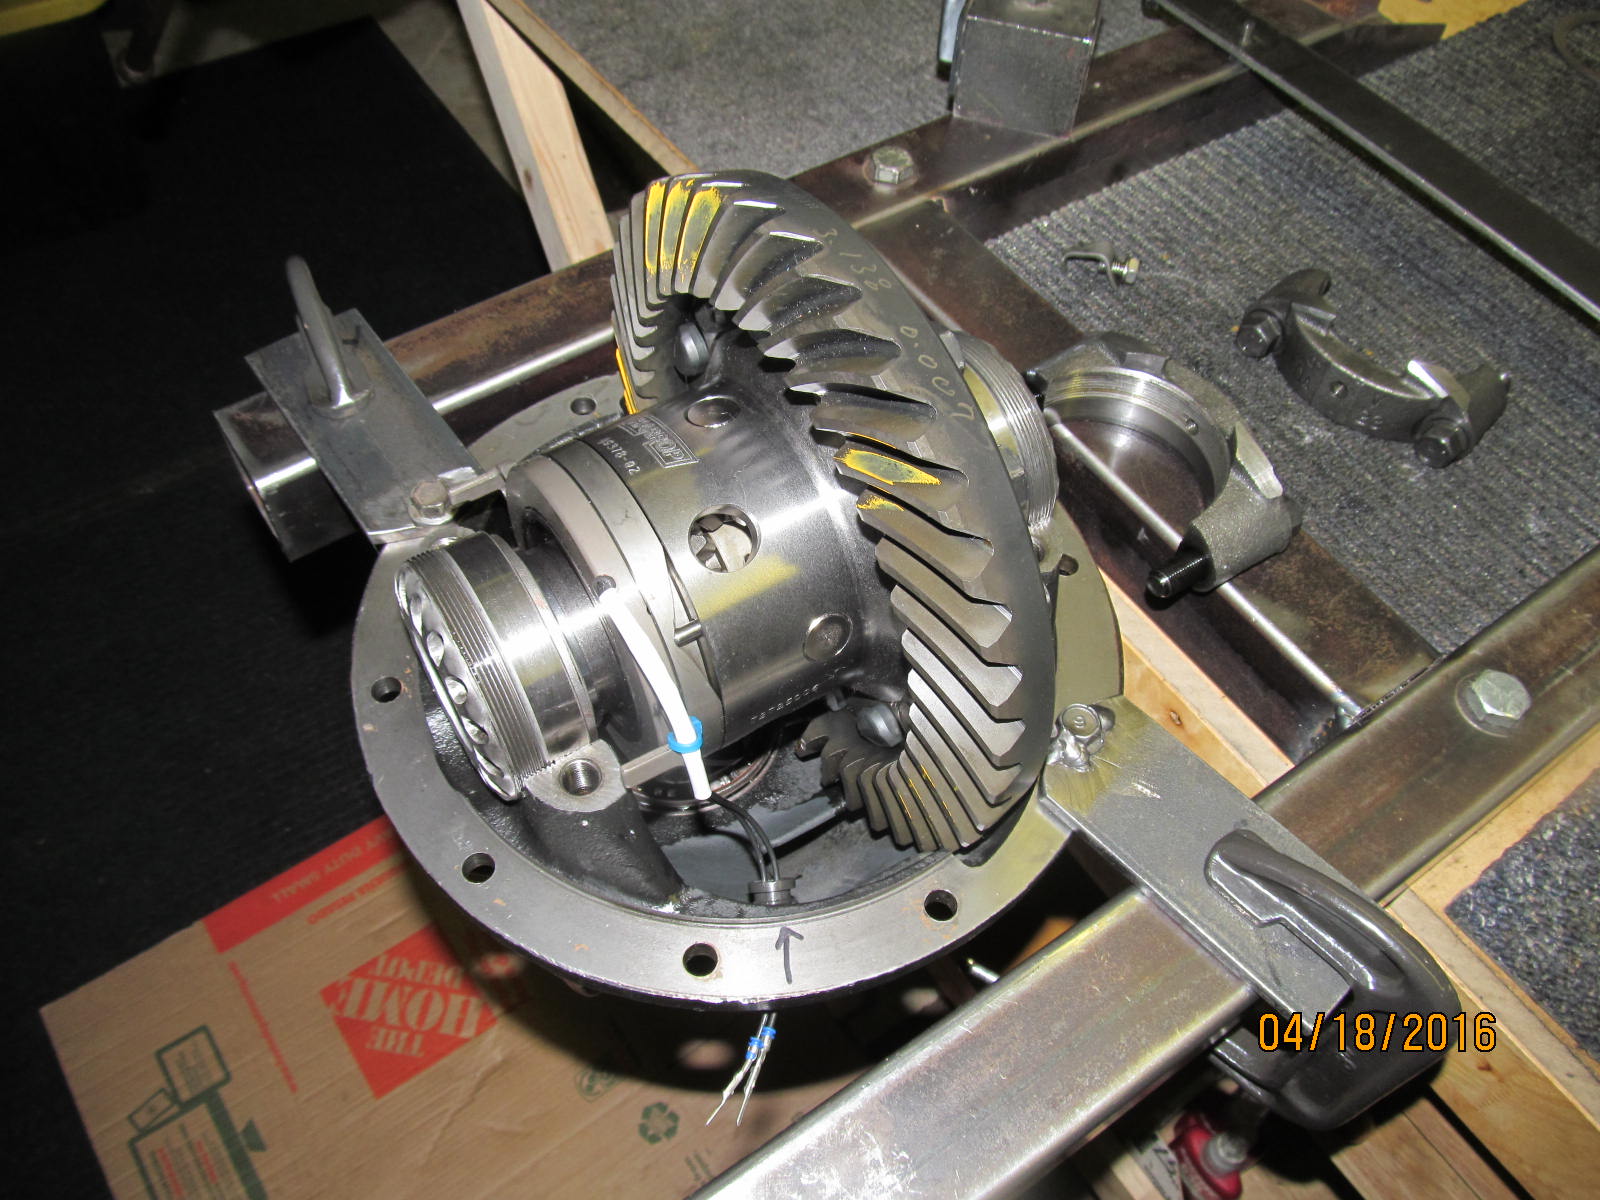
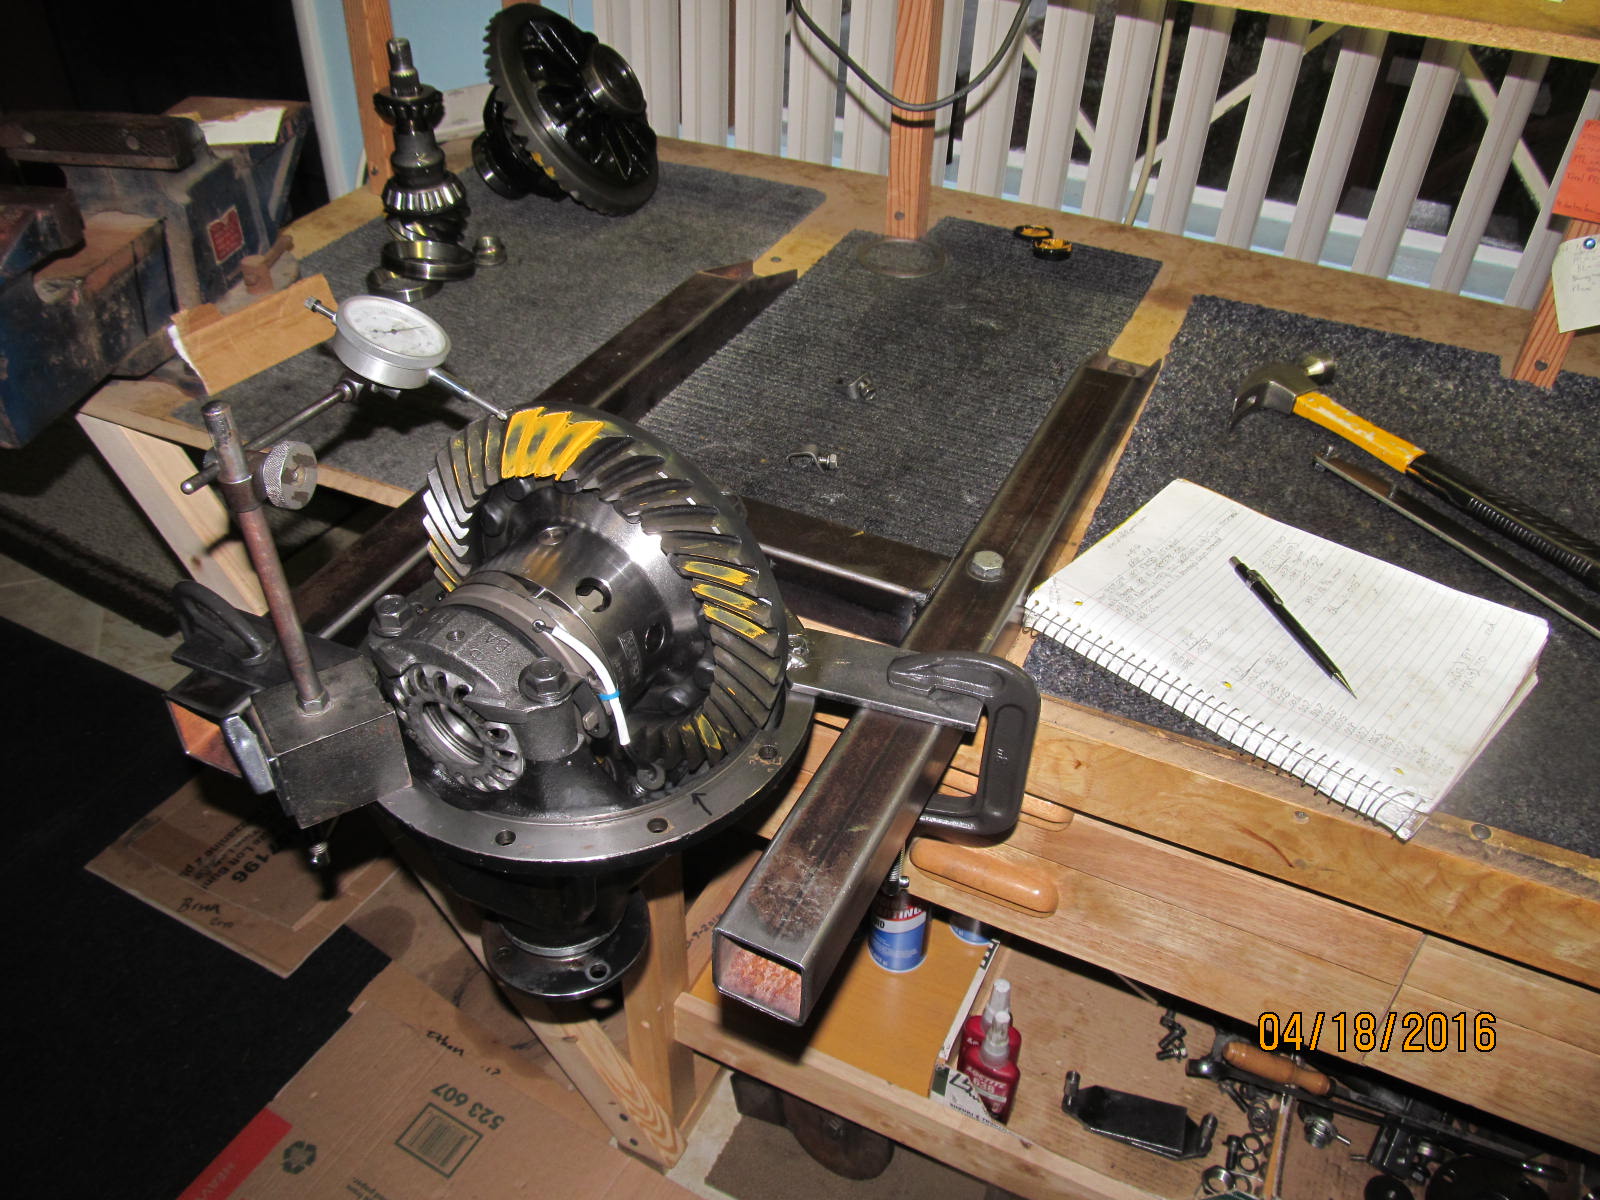
Harrop is loaded in place....bearing caps tightened down...some casual
bearing preload is dialed in with about .007" backlash noted.
|
|
|
|
|
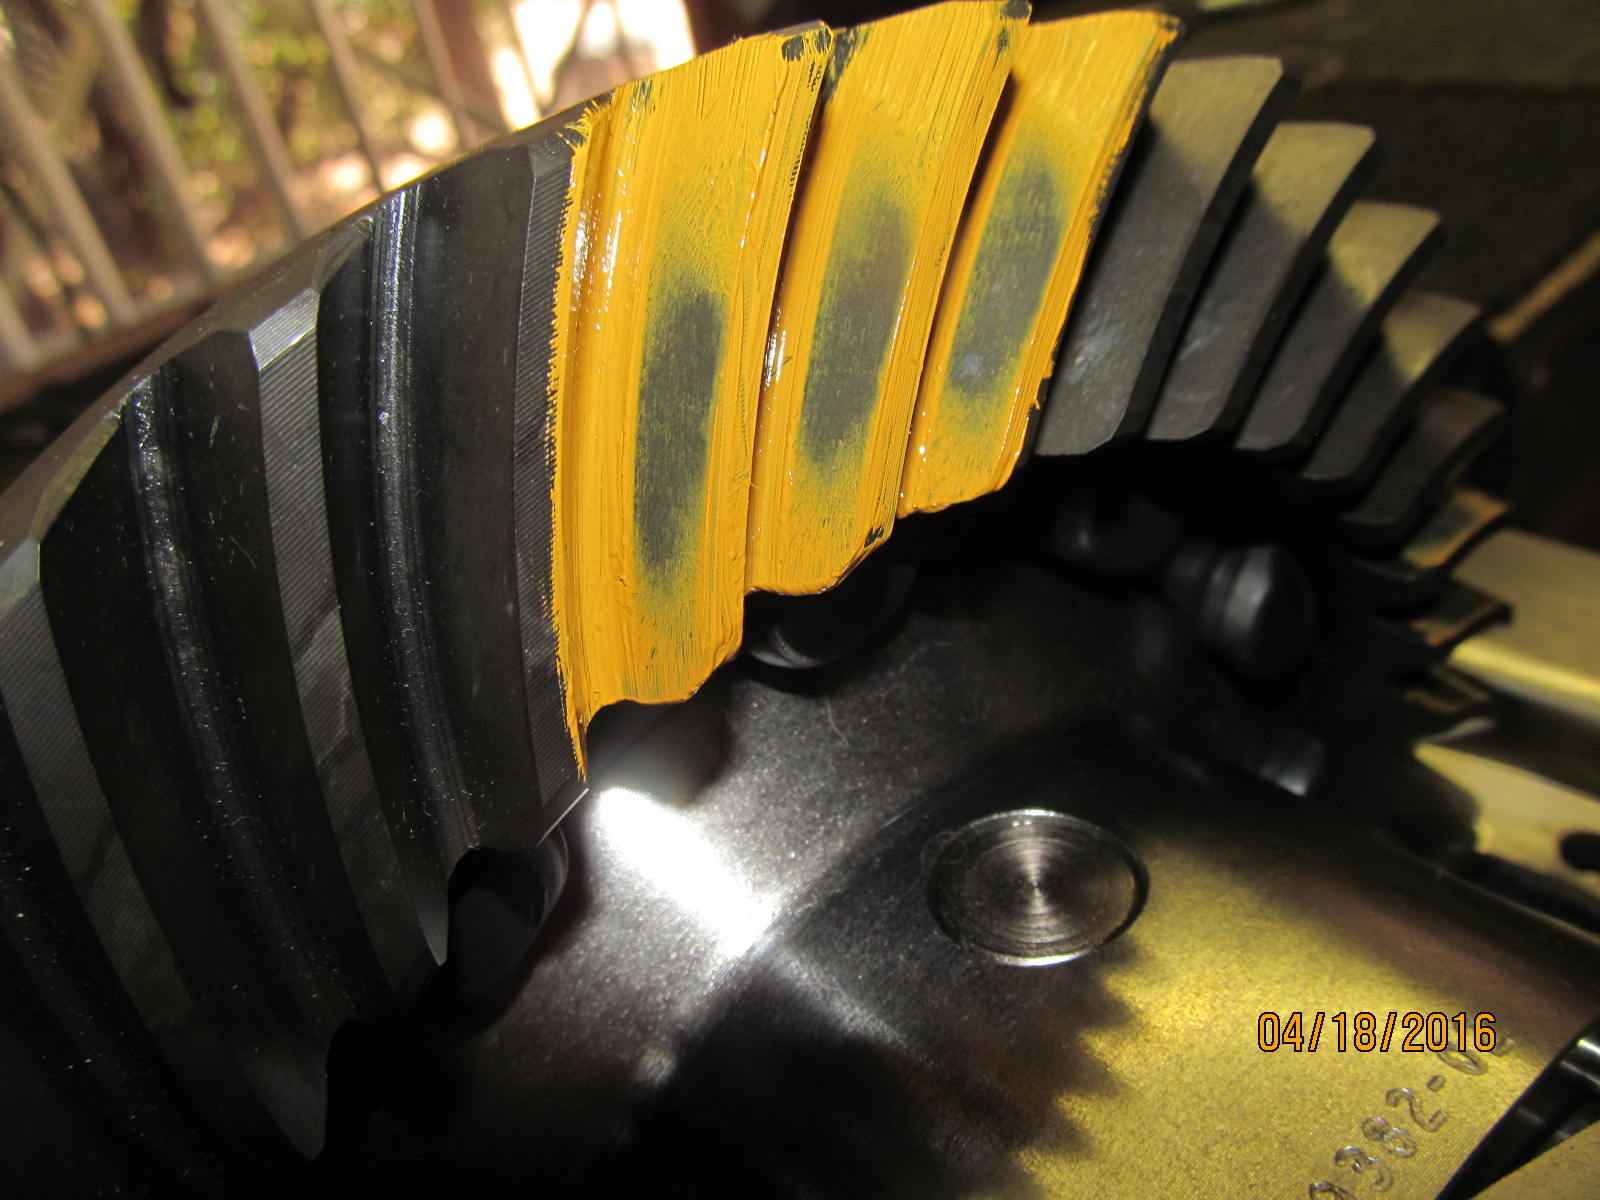
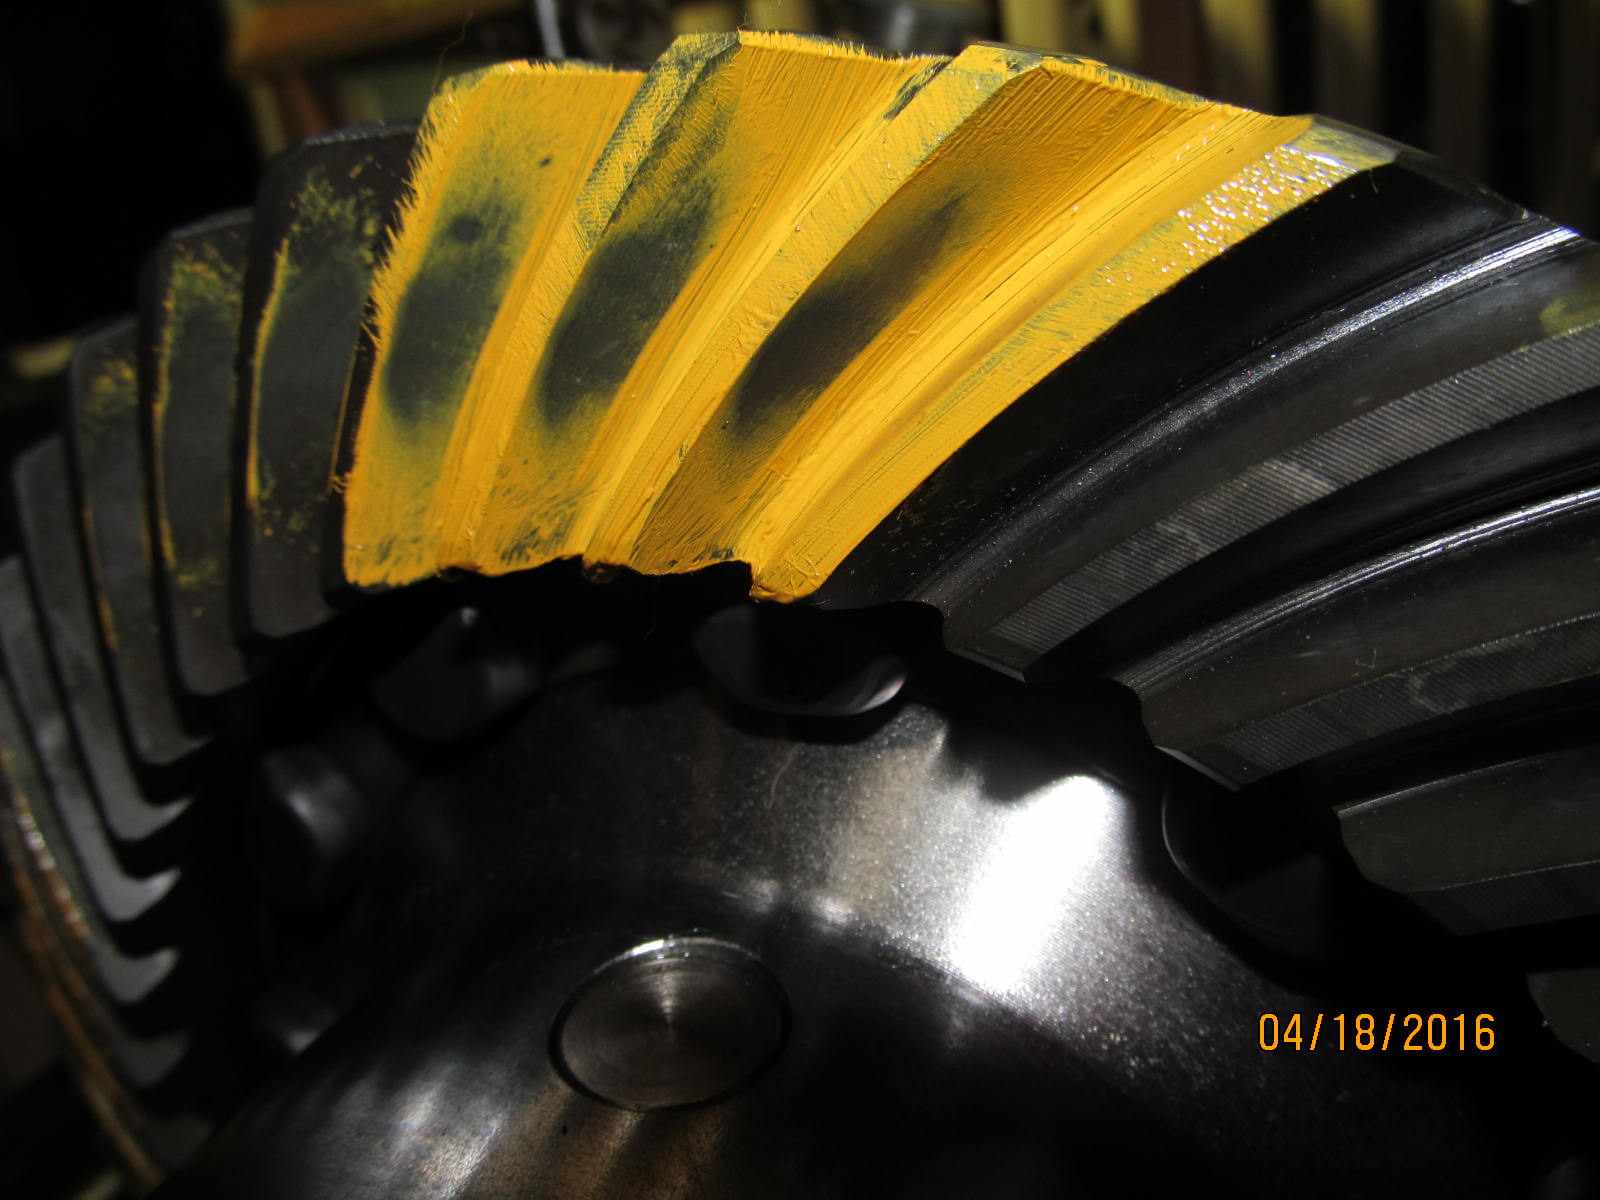
058" looks like a winner. Drive side is centered and the correct root depth.
|
|
|
|
|
It's nice to see the coast side also centered.
|
|
|
|
|
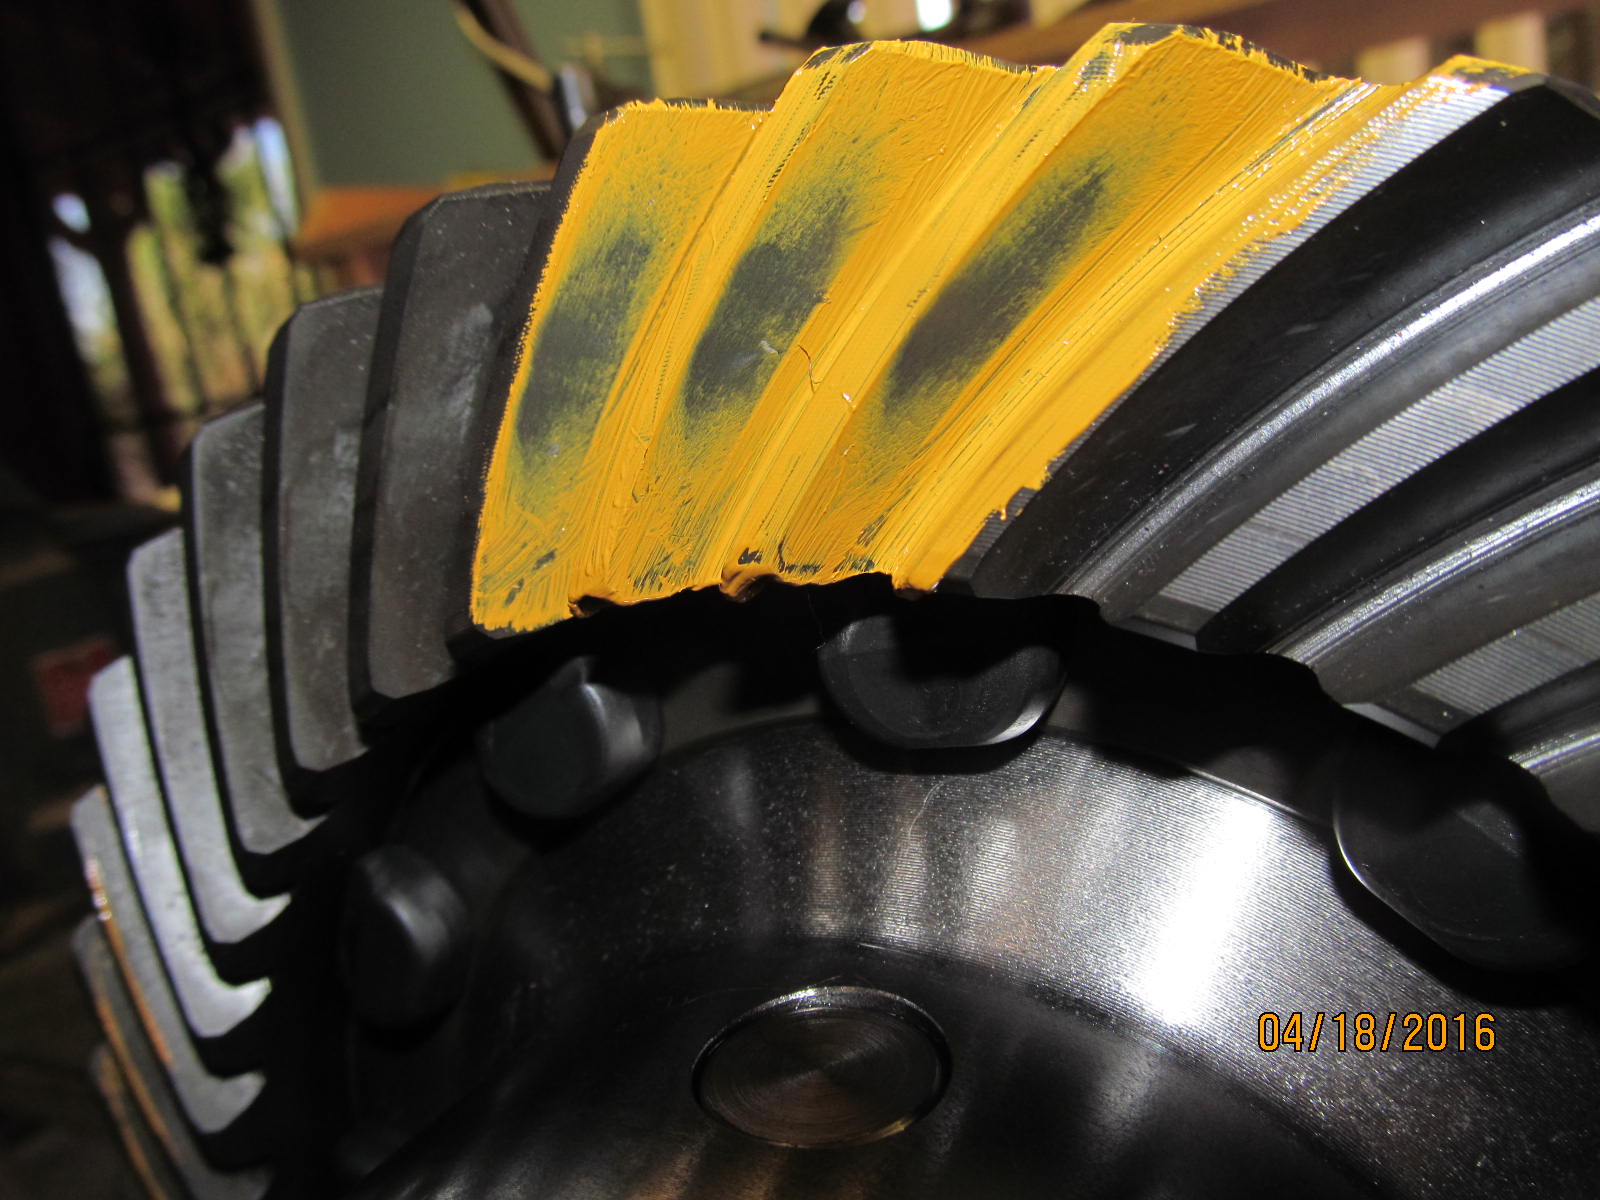
The right side of the comet tail is not harshly tucked into the deep root of the tooth.
|
|
|
|
|
Looks good.
|
|
|
|
|
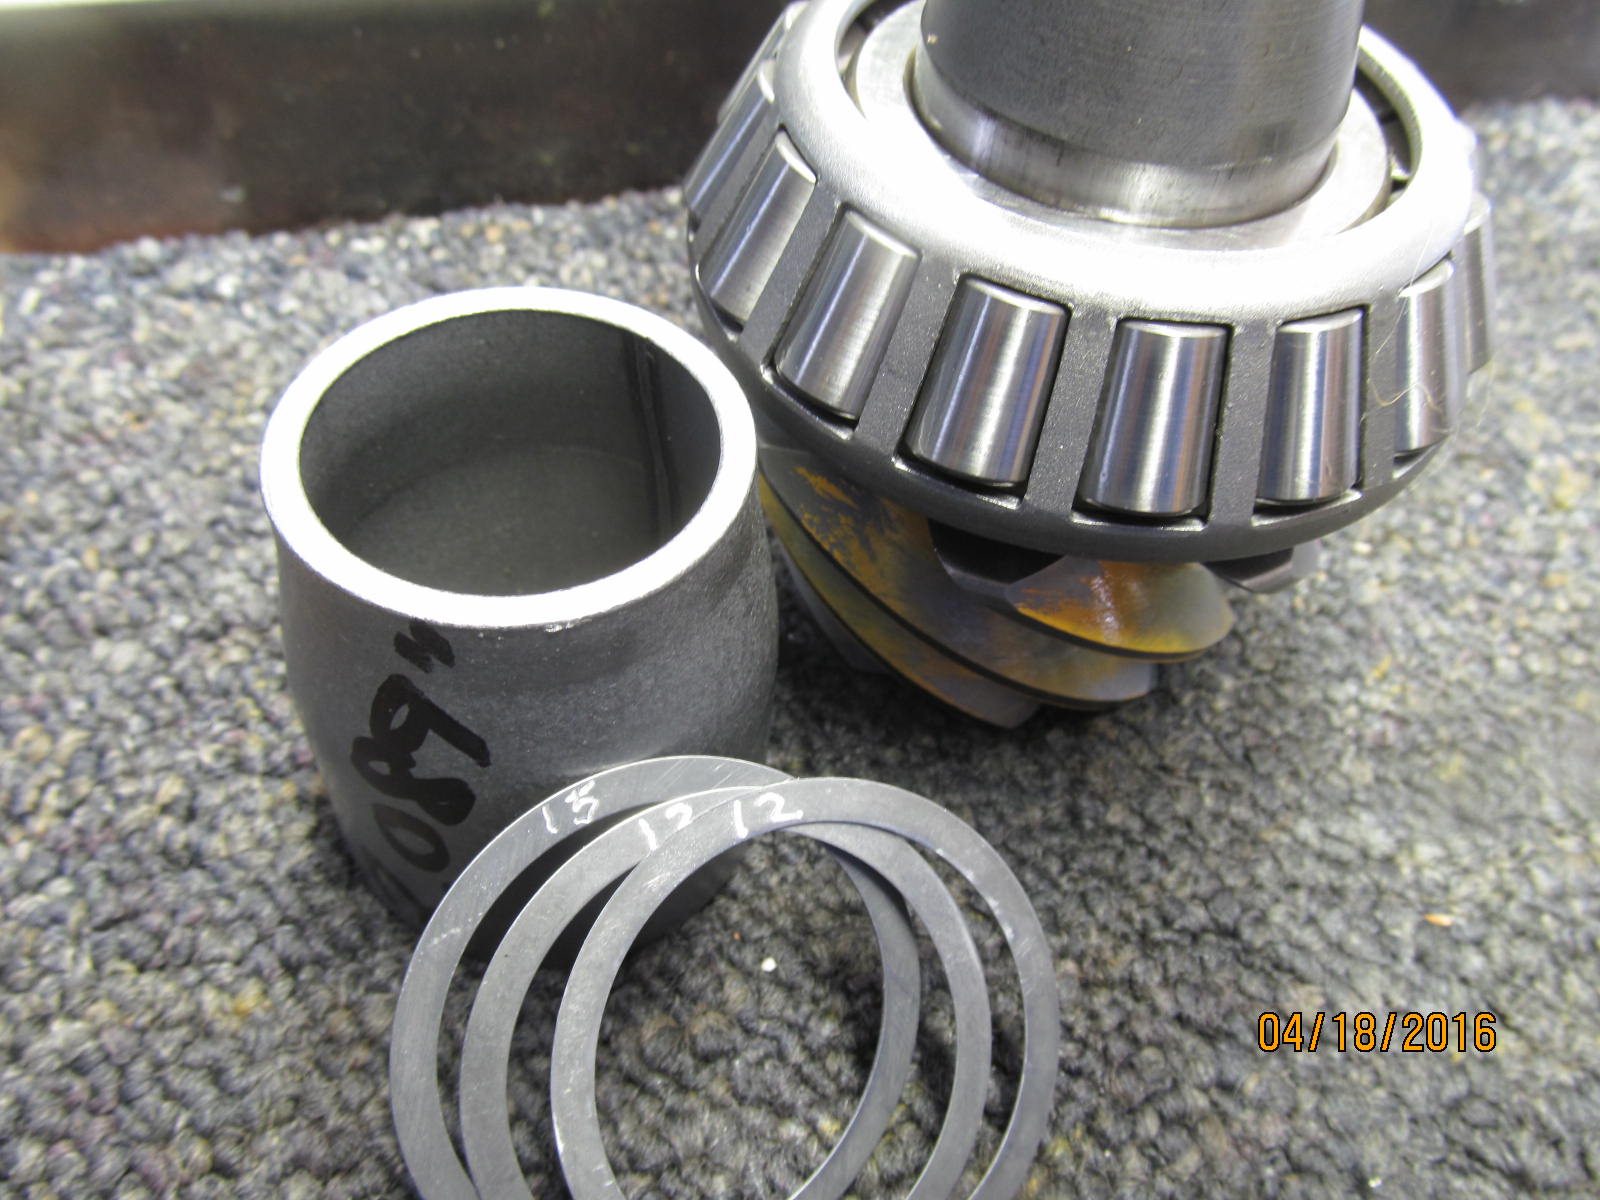
With pinion depth established, now the solid collar can be installed.
|
|
|

|
|
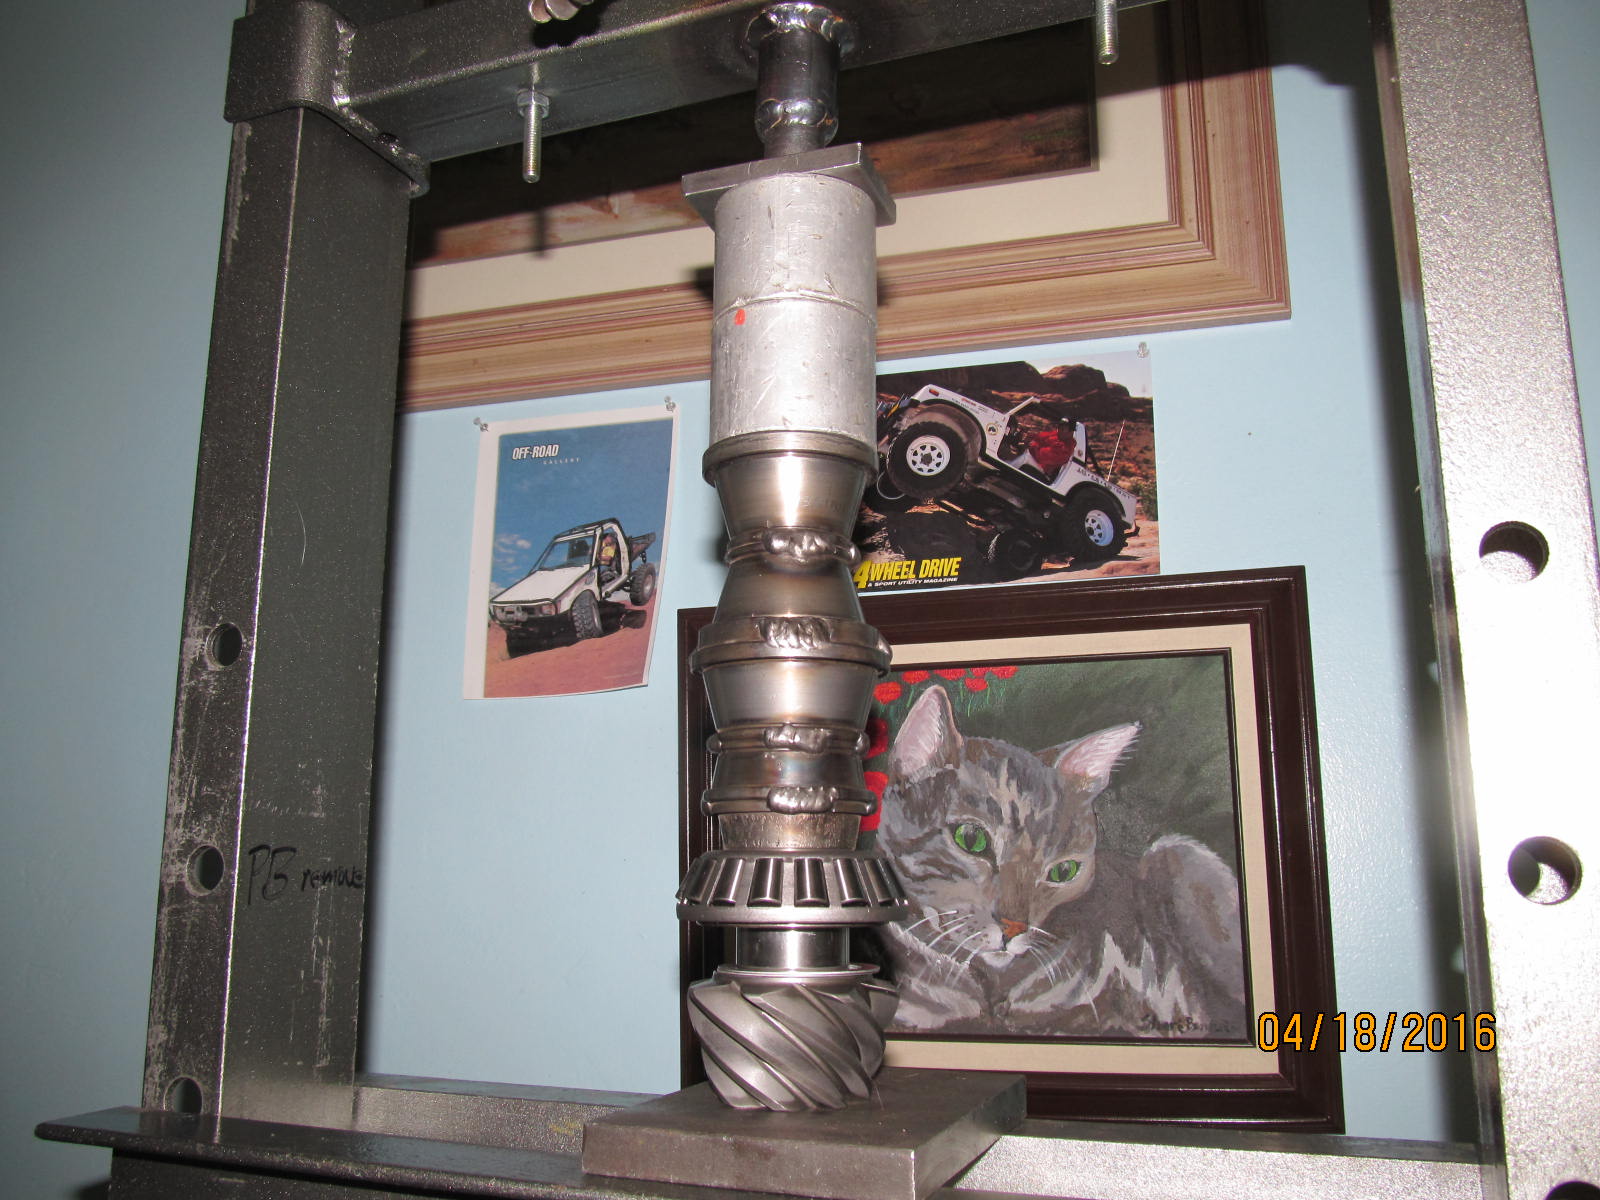
Install the collar and the guess-timated shims...tap the flange down most of the way.
|
|
|
|
|
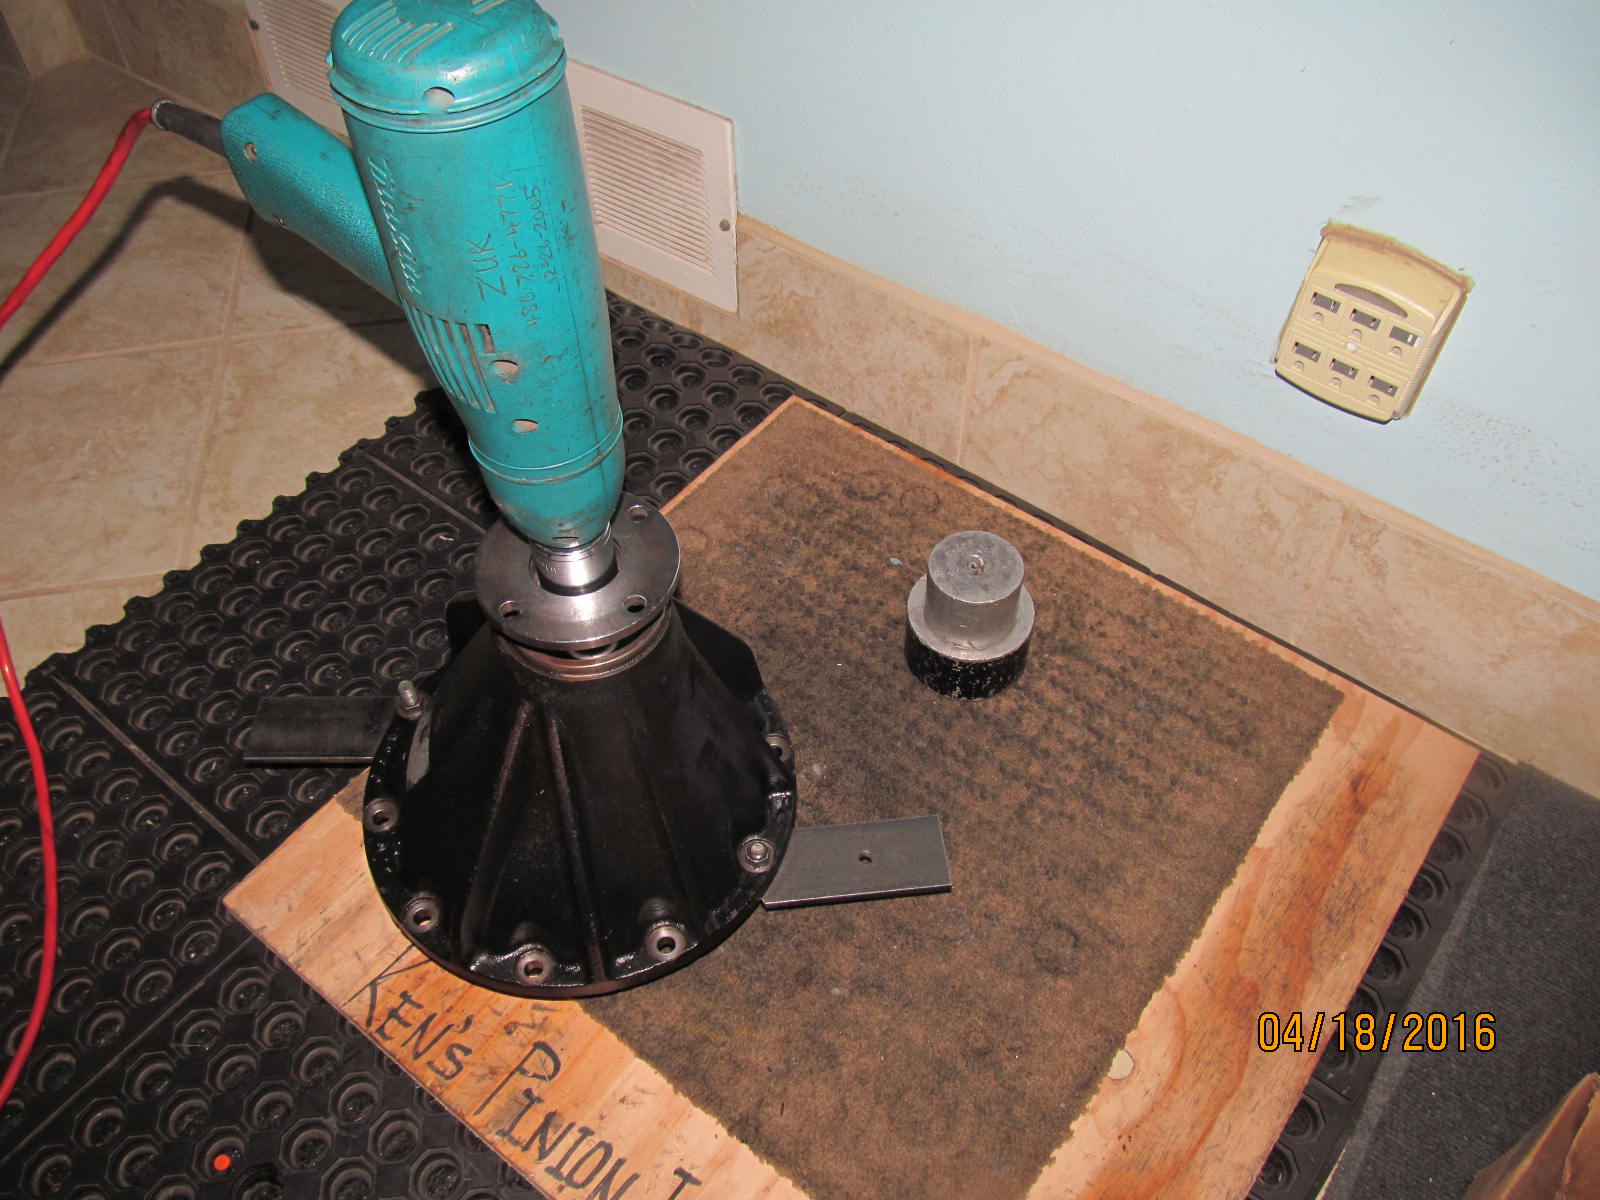
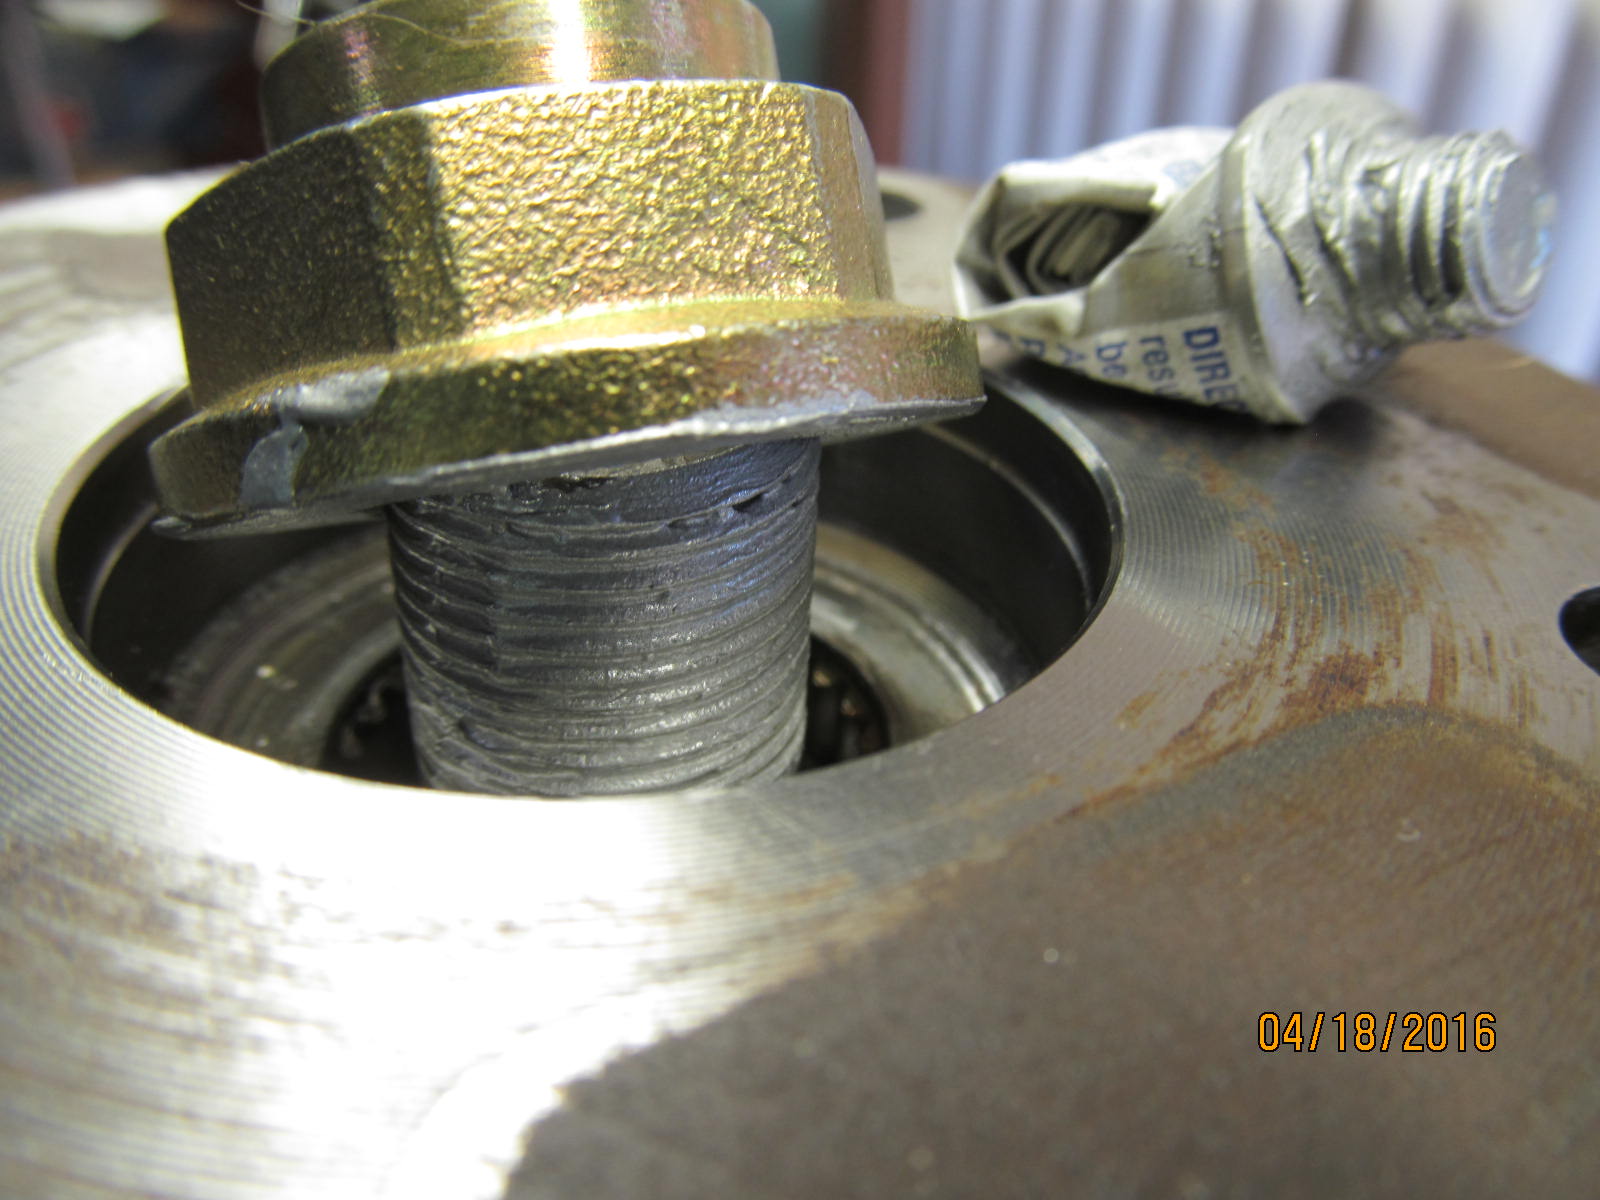
Cautiously use an electric impact to tighten the pinion nut down.
|
|
|
|
|
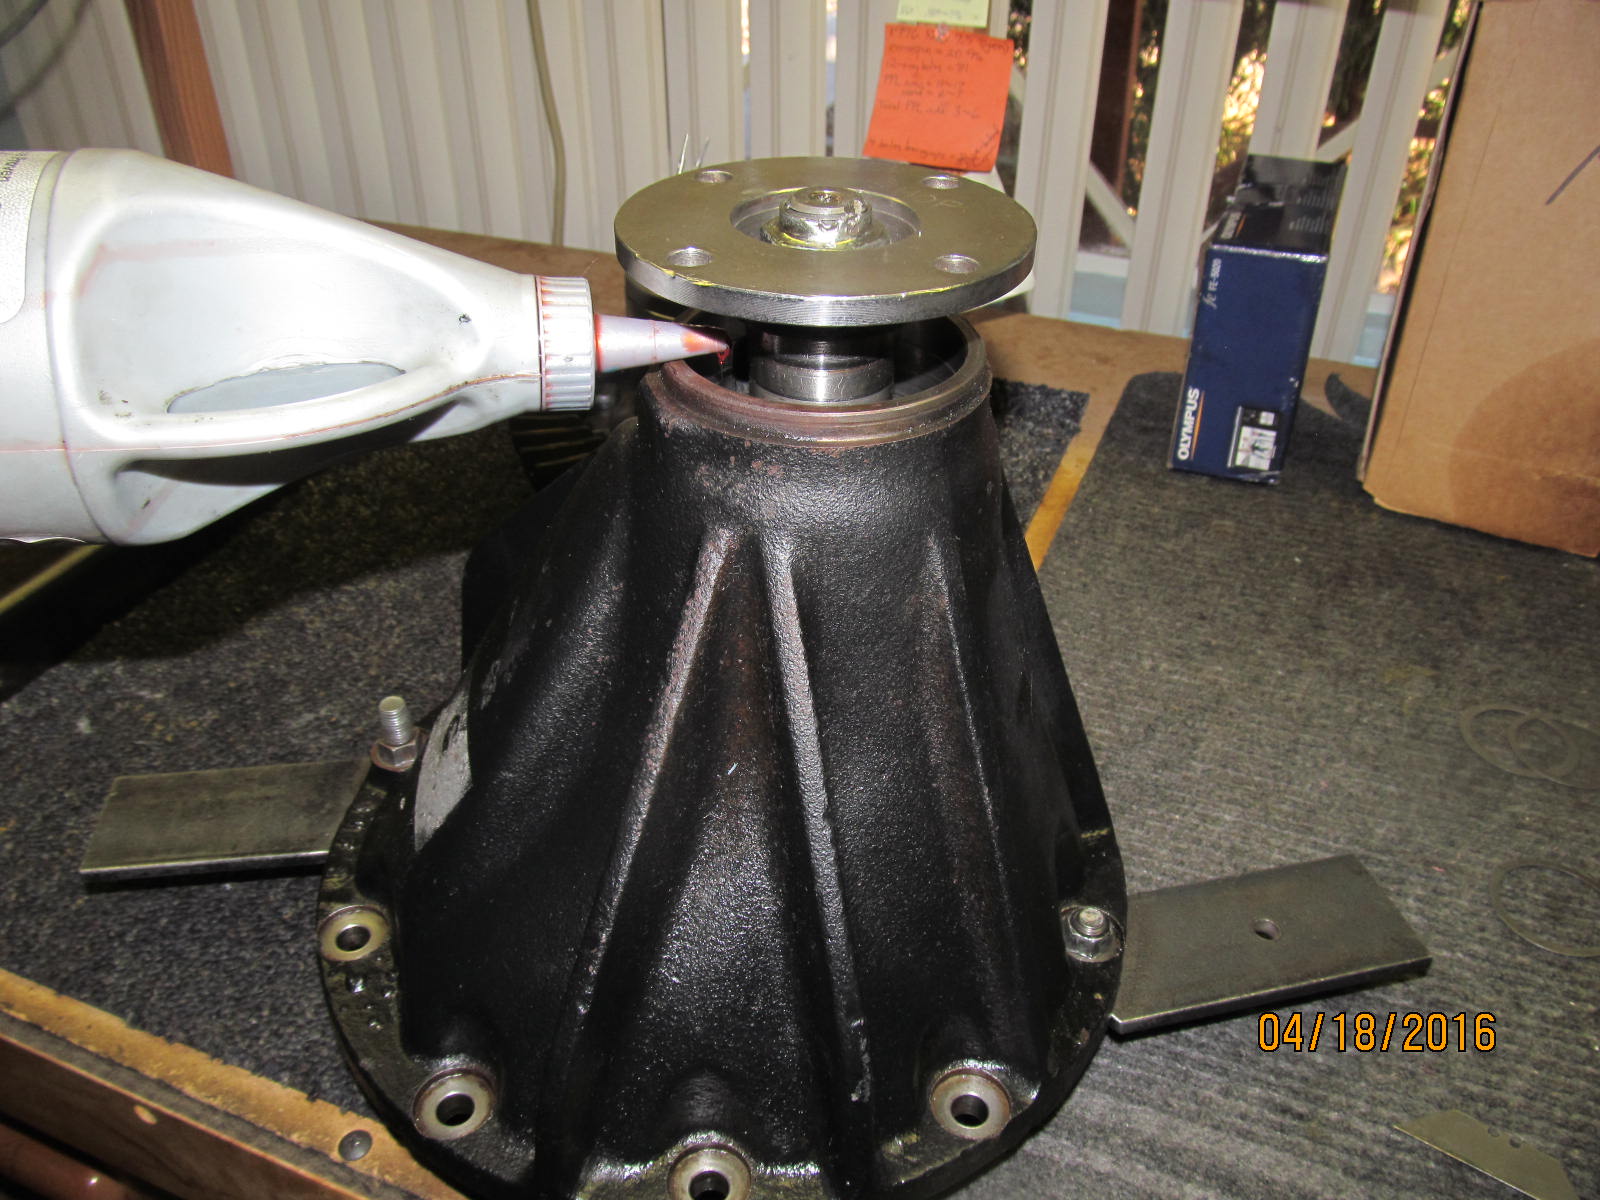
Good idea to thoroughly splash some gear oil on both pinion bearings now.
|
|
|
|
|
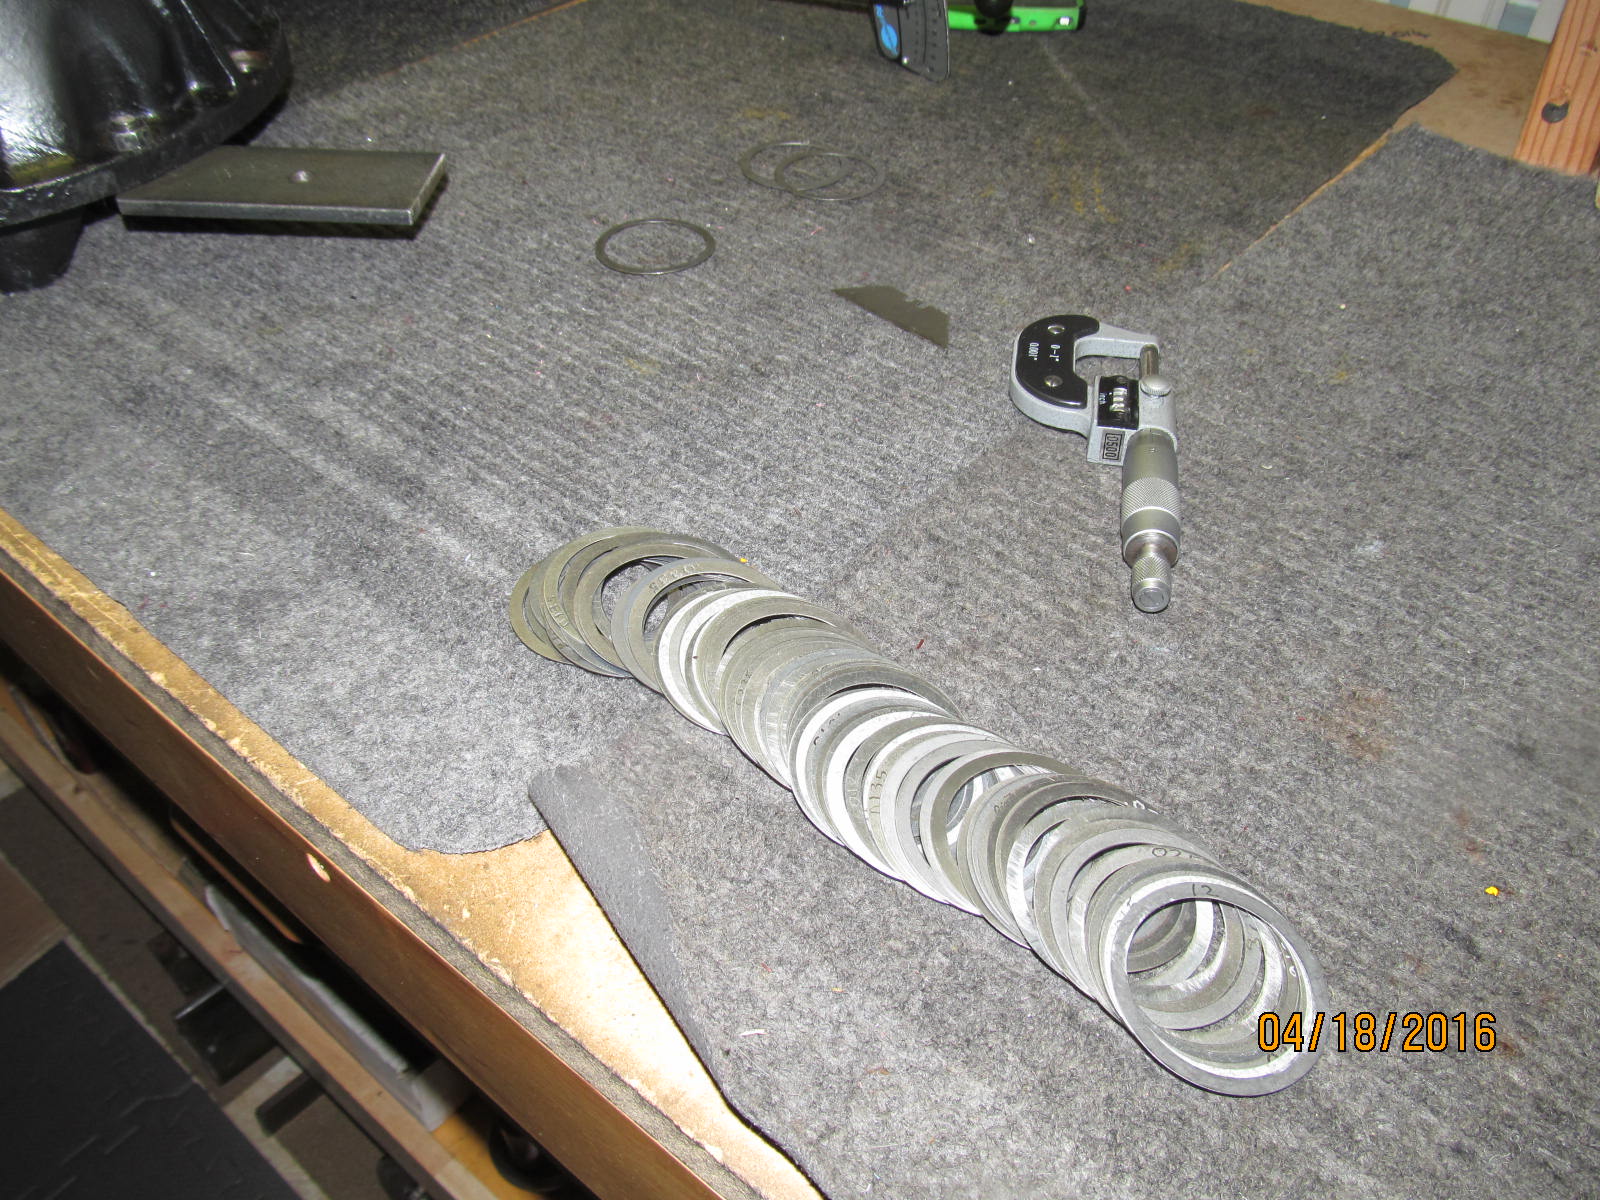
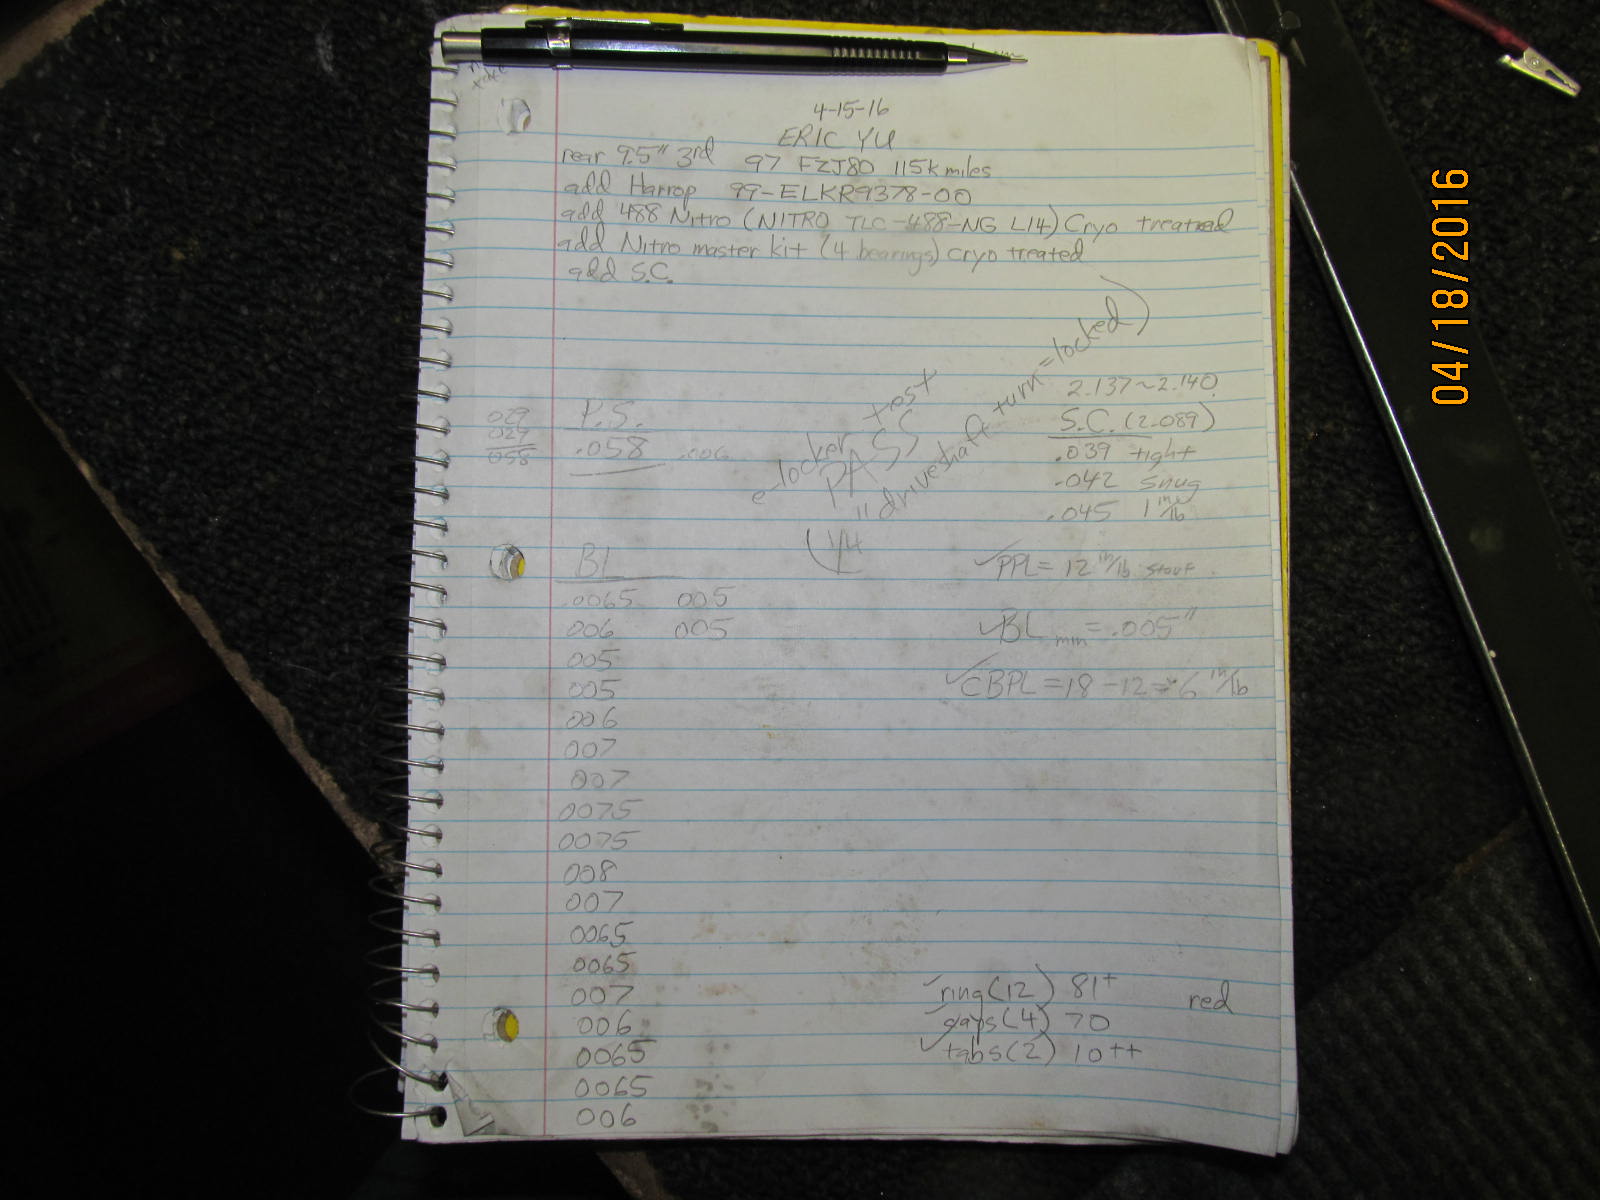
On the 3rd try, as indicated by my note sheet at the end of this link, I obtained the desired preload reading.
|
|
|
|
|
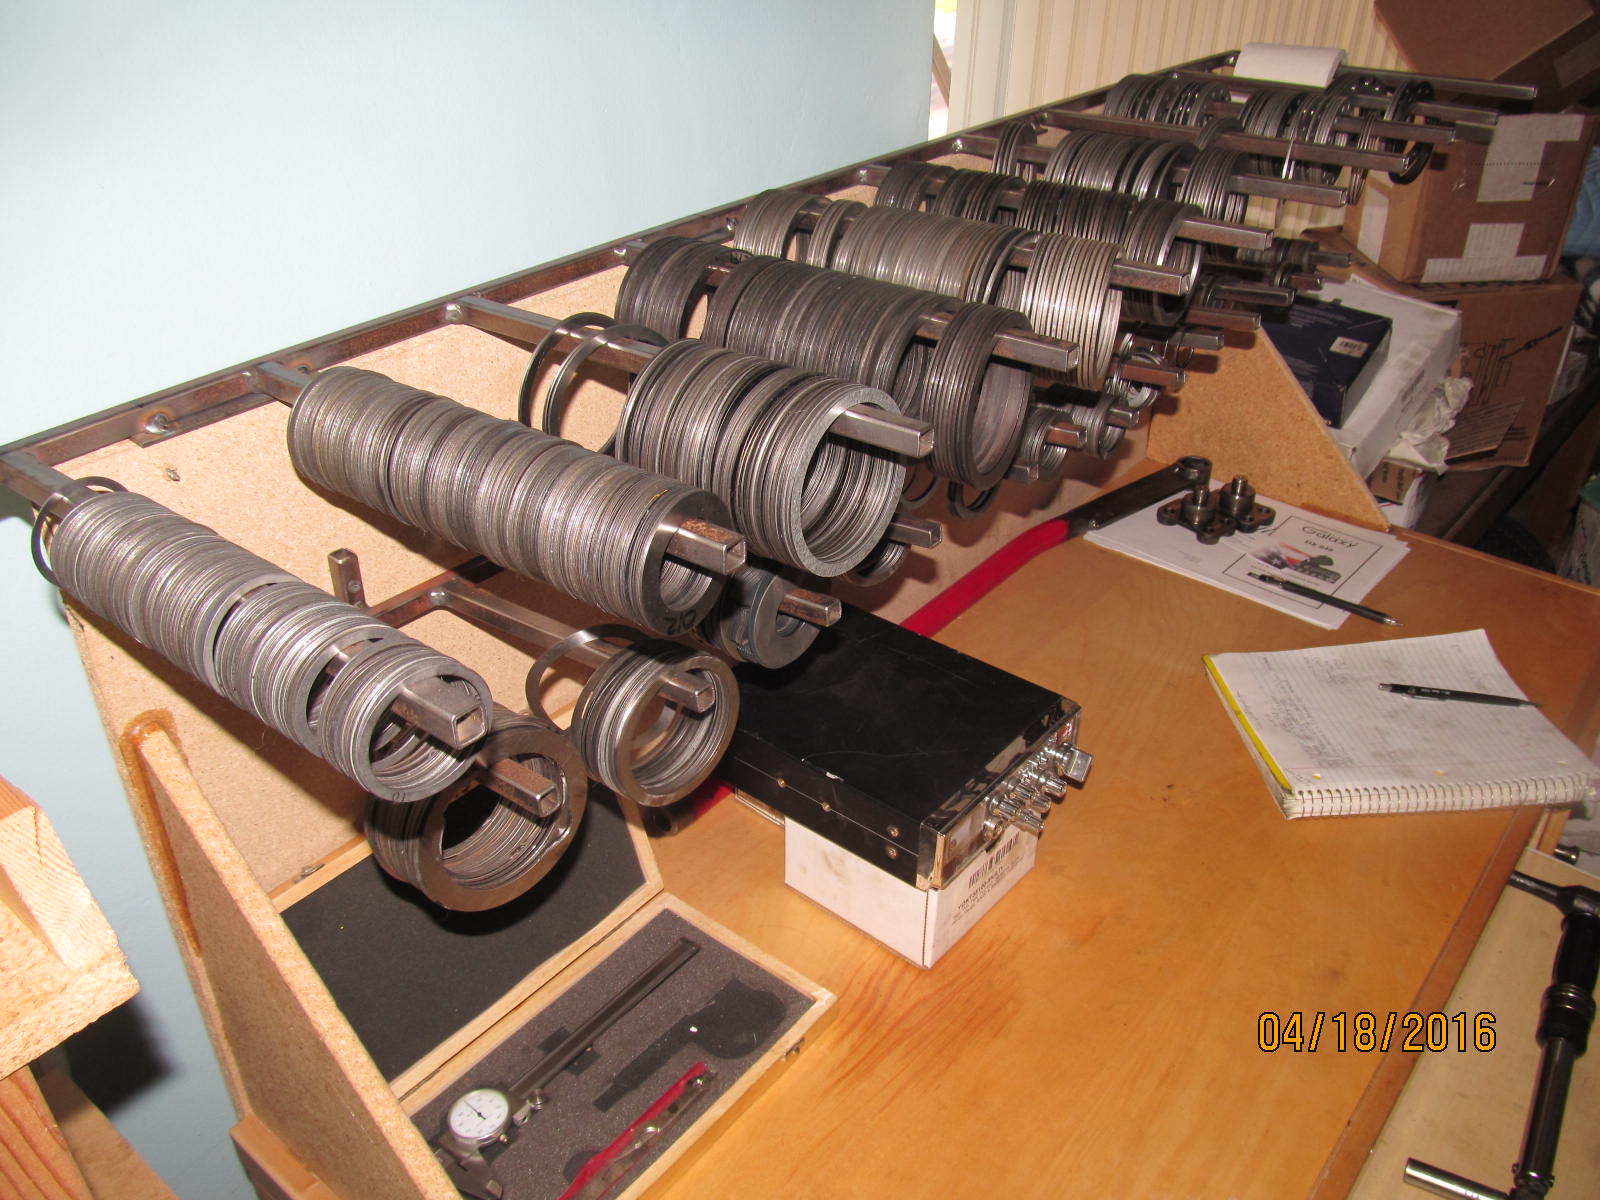
Having a good shim selection is important.
|
|
|
|
|
Wow, I'll have to have a talk with the guys in the shipping department....they are messy.
|
|
|

|
|
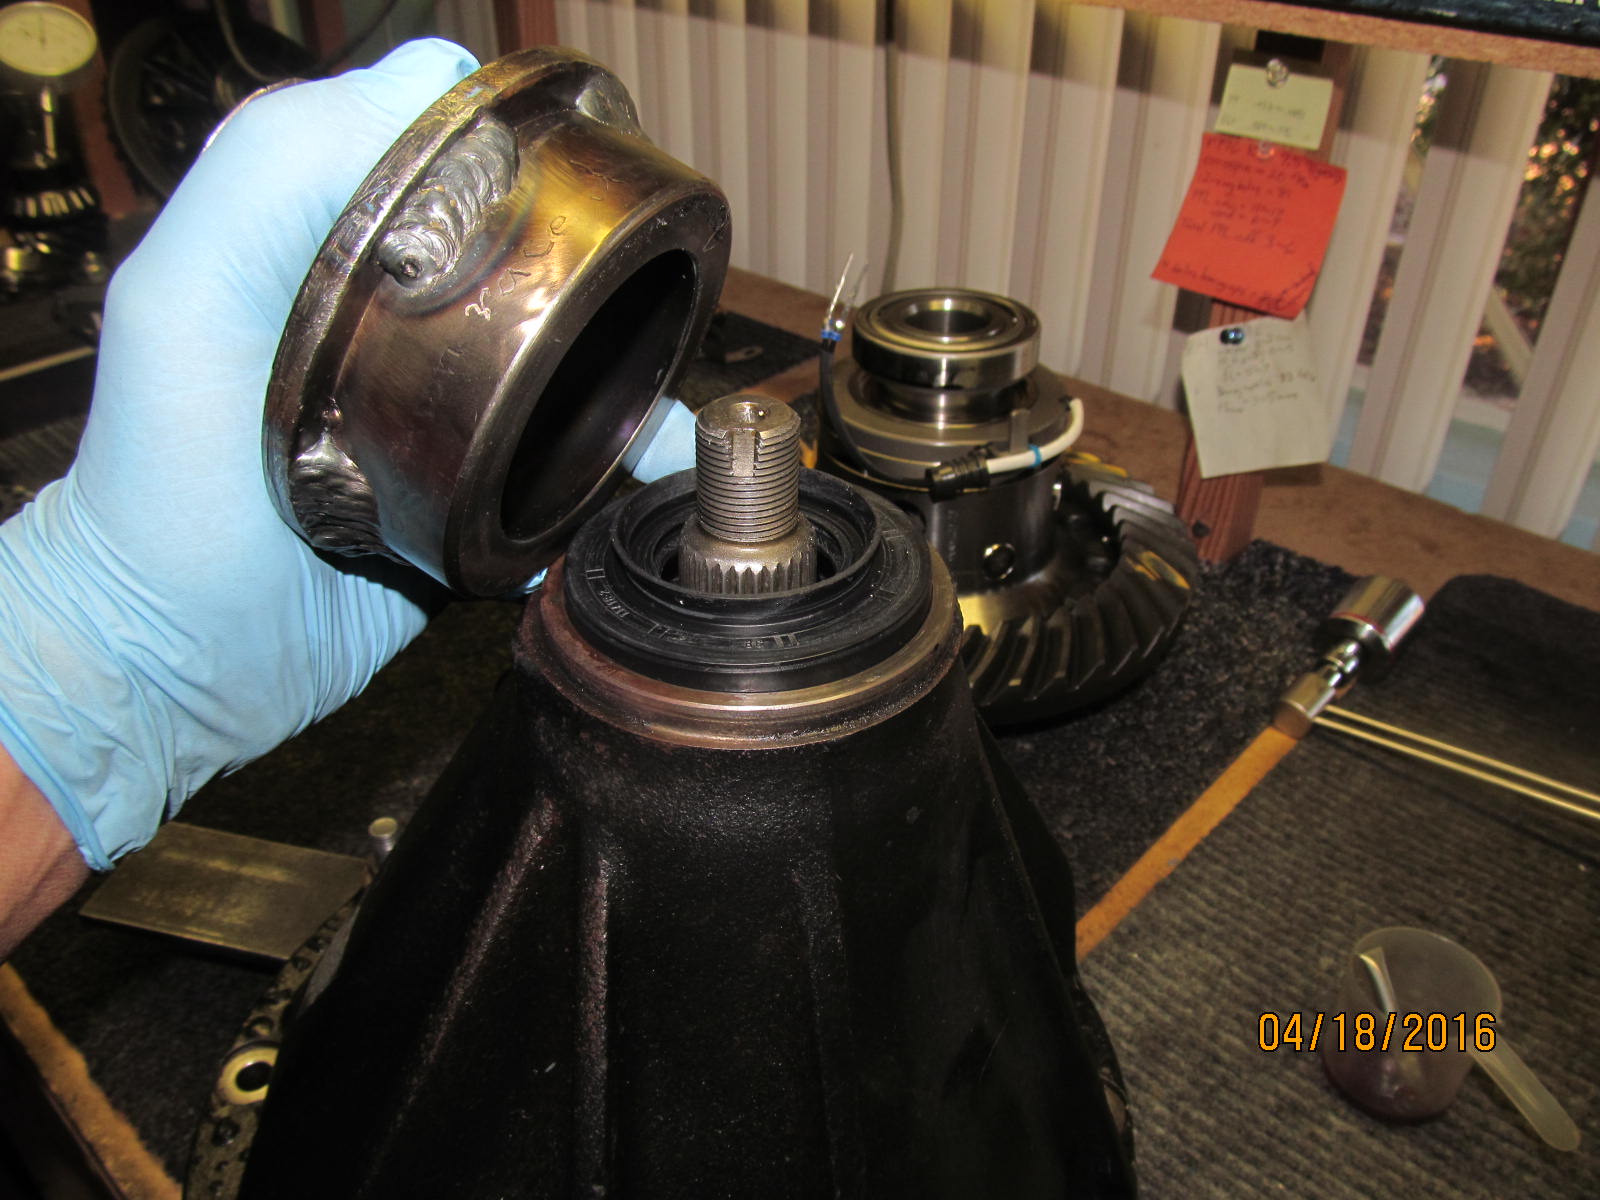
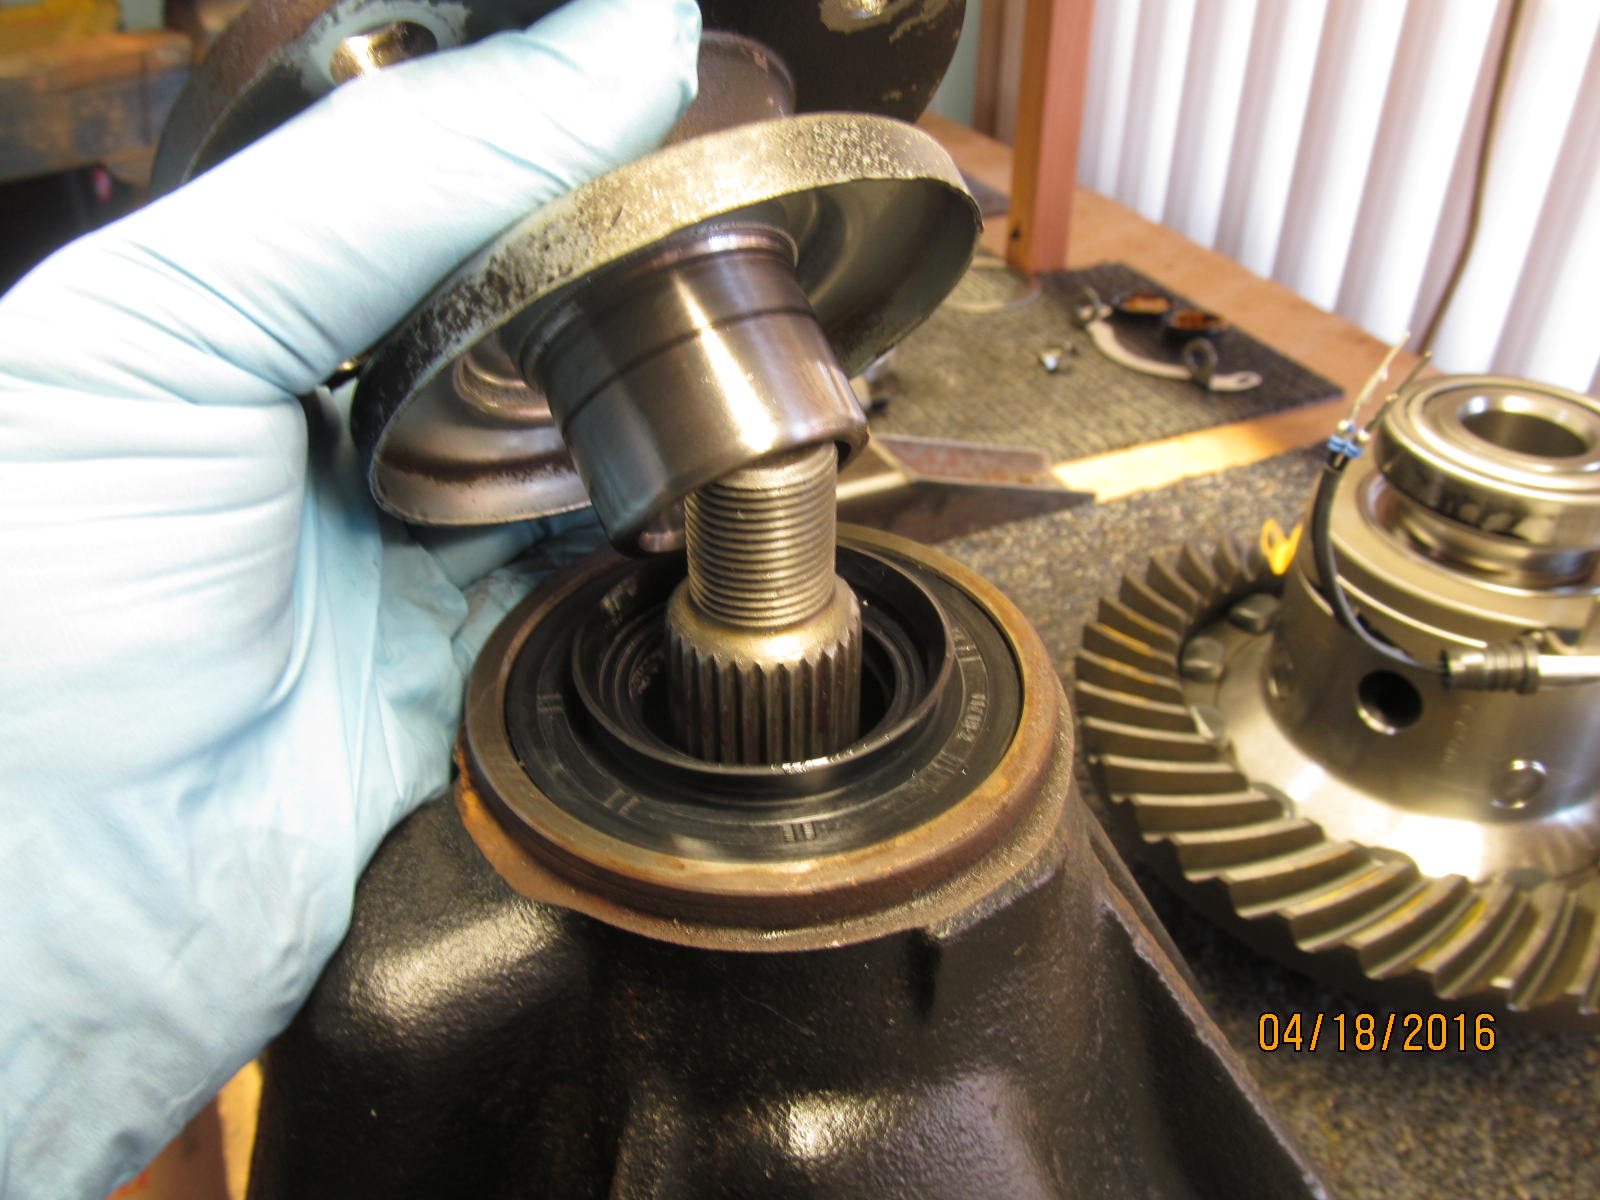
With the solid collar shimmed up properly, now the splashguard/seal/flange can be installed.
|
|
|
|
|
---------------------
|
|
|
|
|
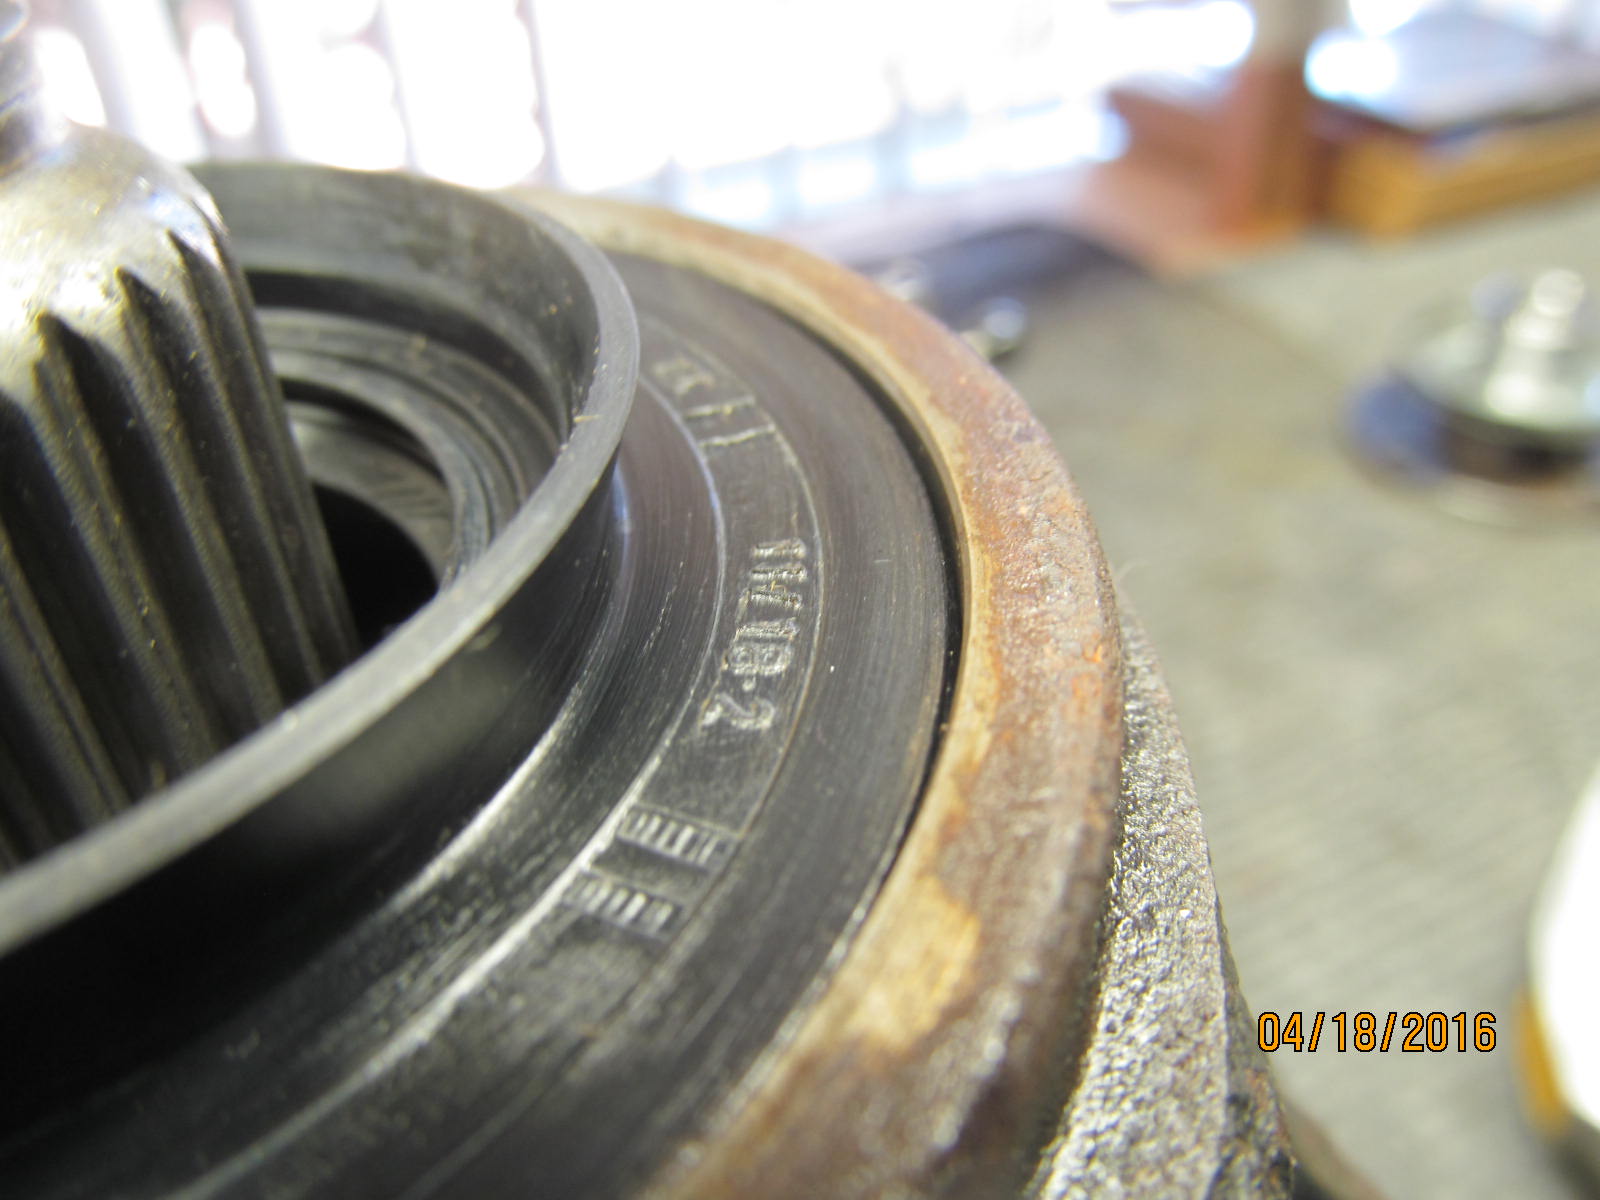
Just checking the tightness of the fit and it was verified a good, tight solid seal here.
|
|
|
|
|
My favorite seal installer...
|
|
|
|
|
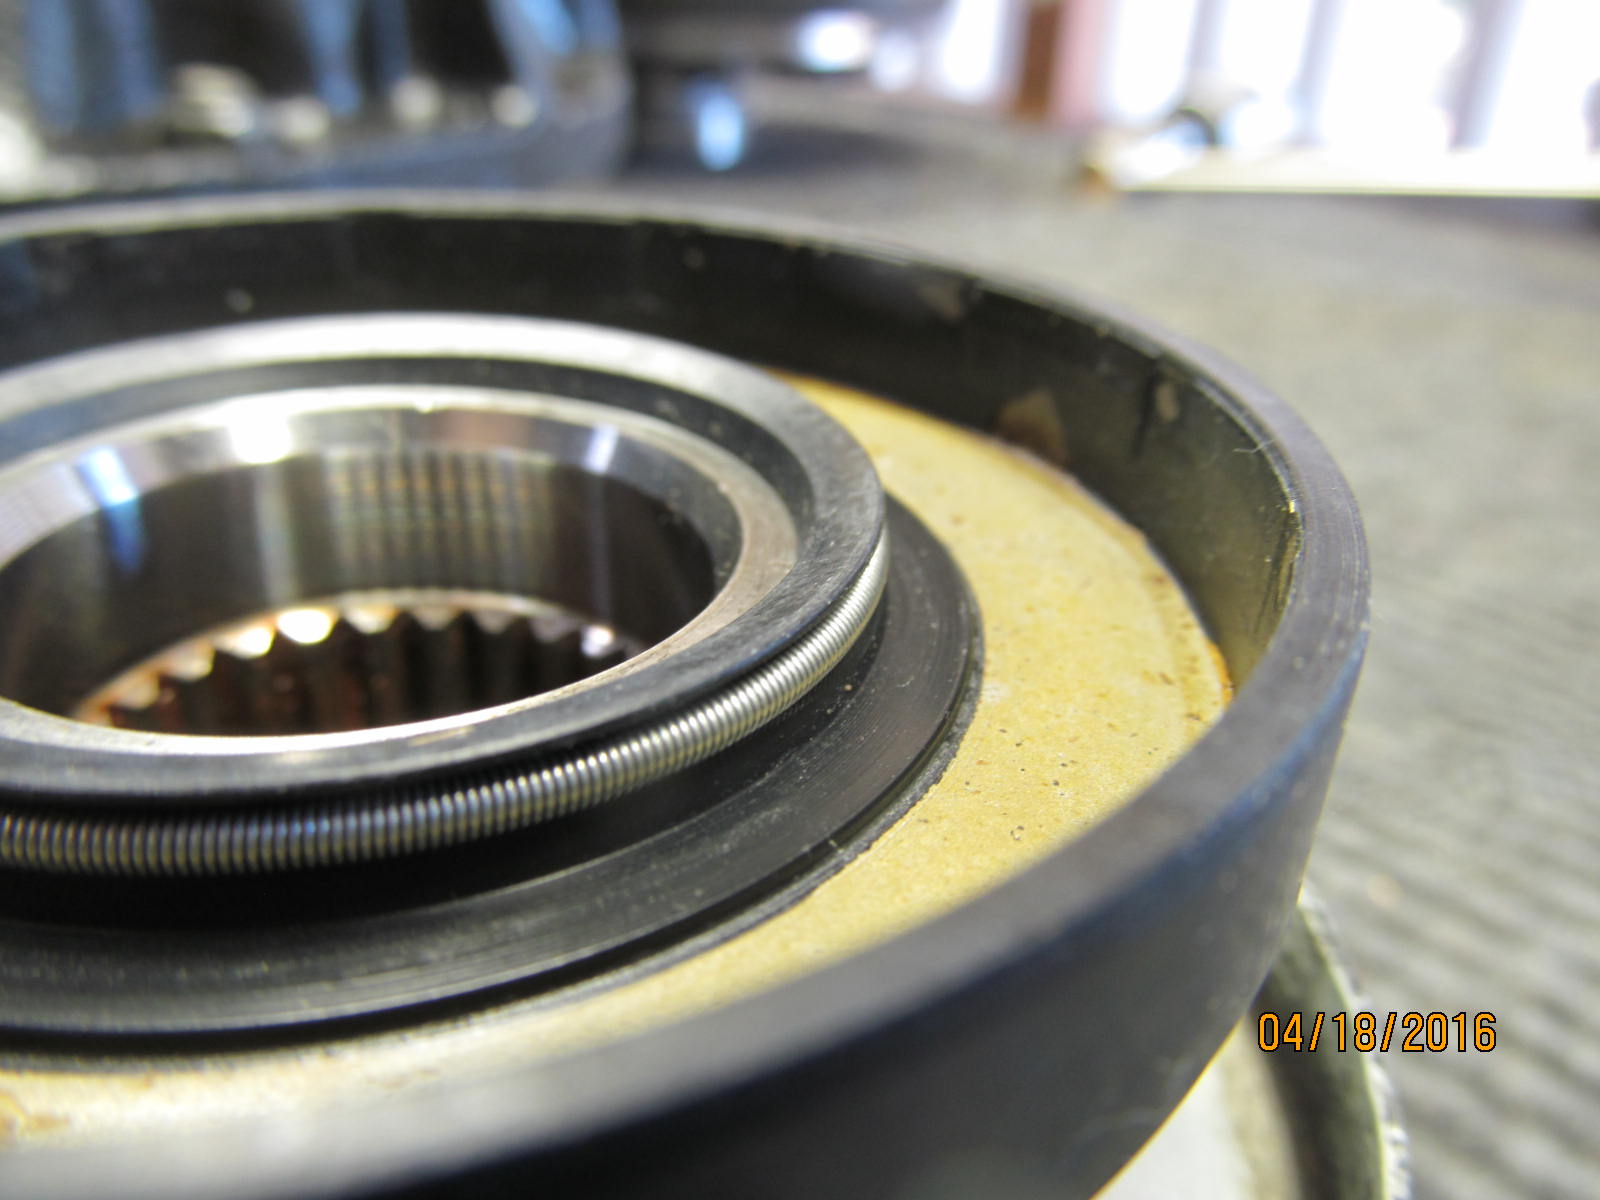
A properly installed sealer.....about 1mm below the surface.
|
|
|
|
|
Gear oil has already been applied to all related rubber and on the steel flange, too.
|
|
|
|
|
Aluminum based anti-seize saves on the threads and allows me to obtain higher clamping forces.
|
|
|
|
|
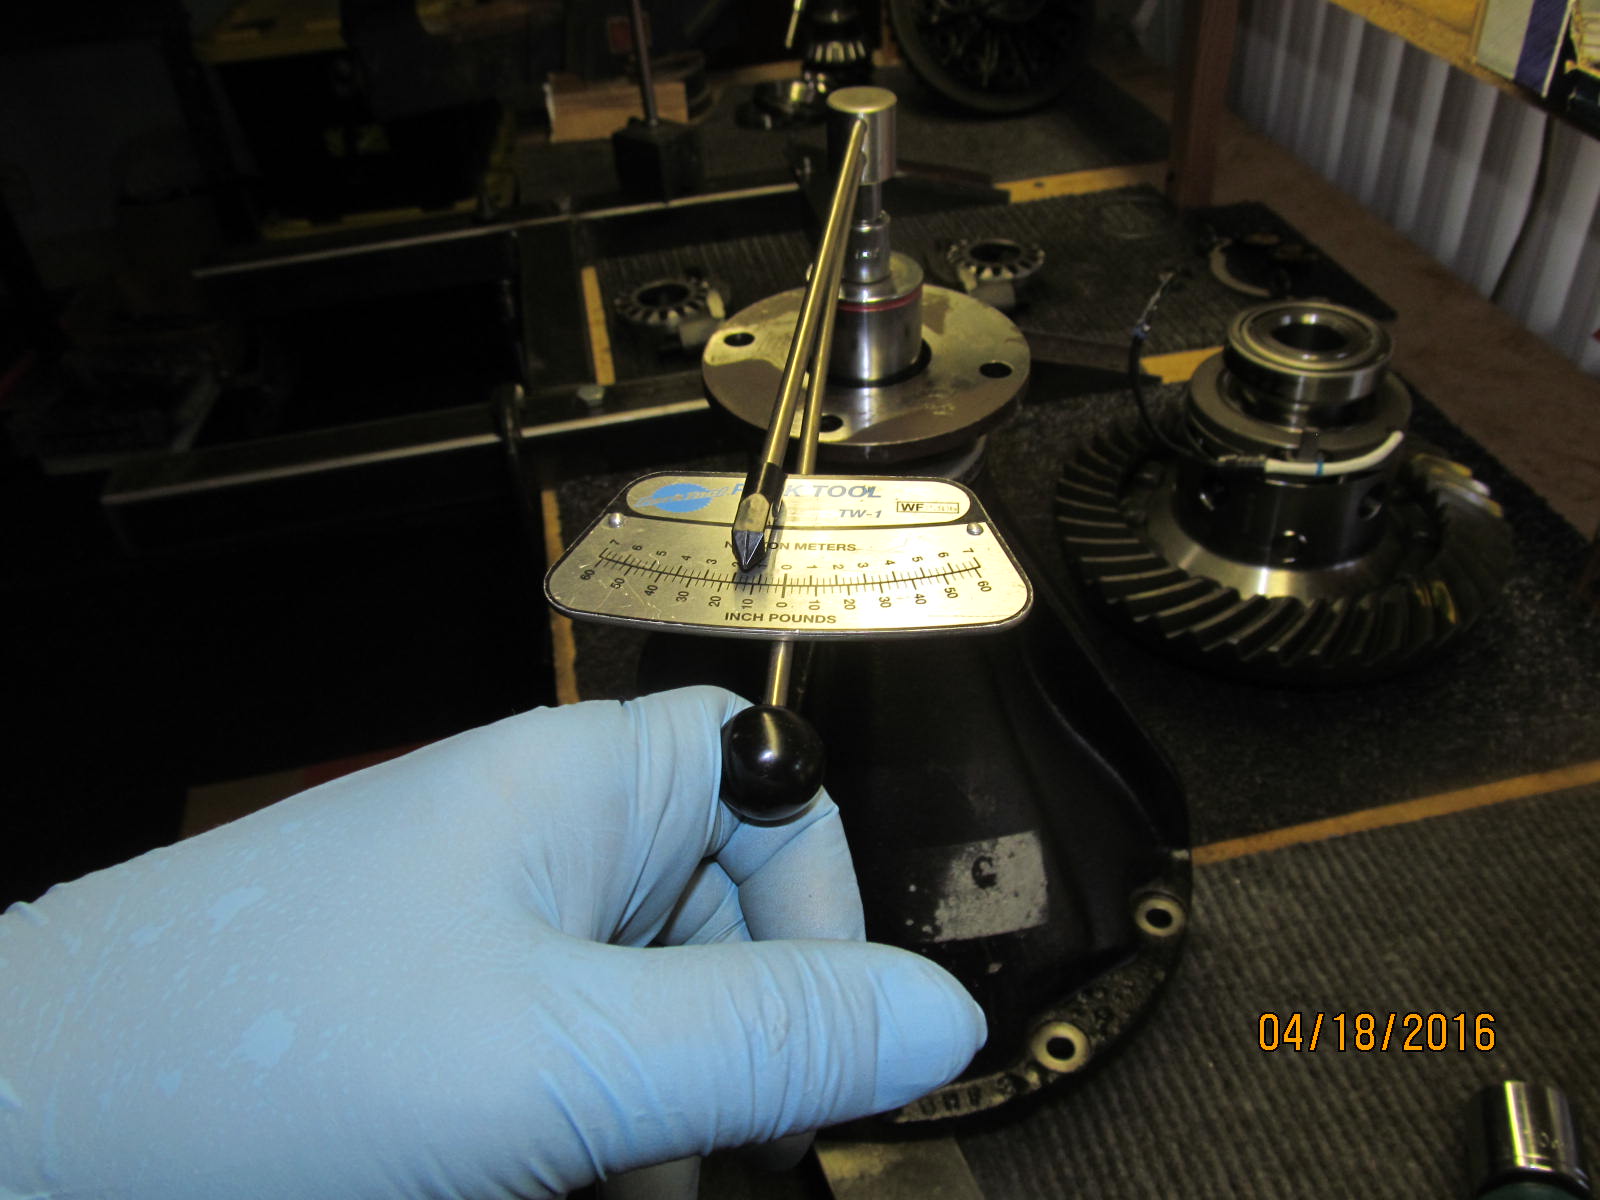
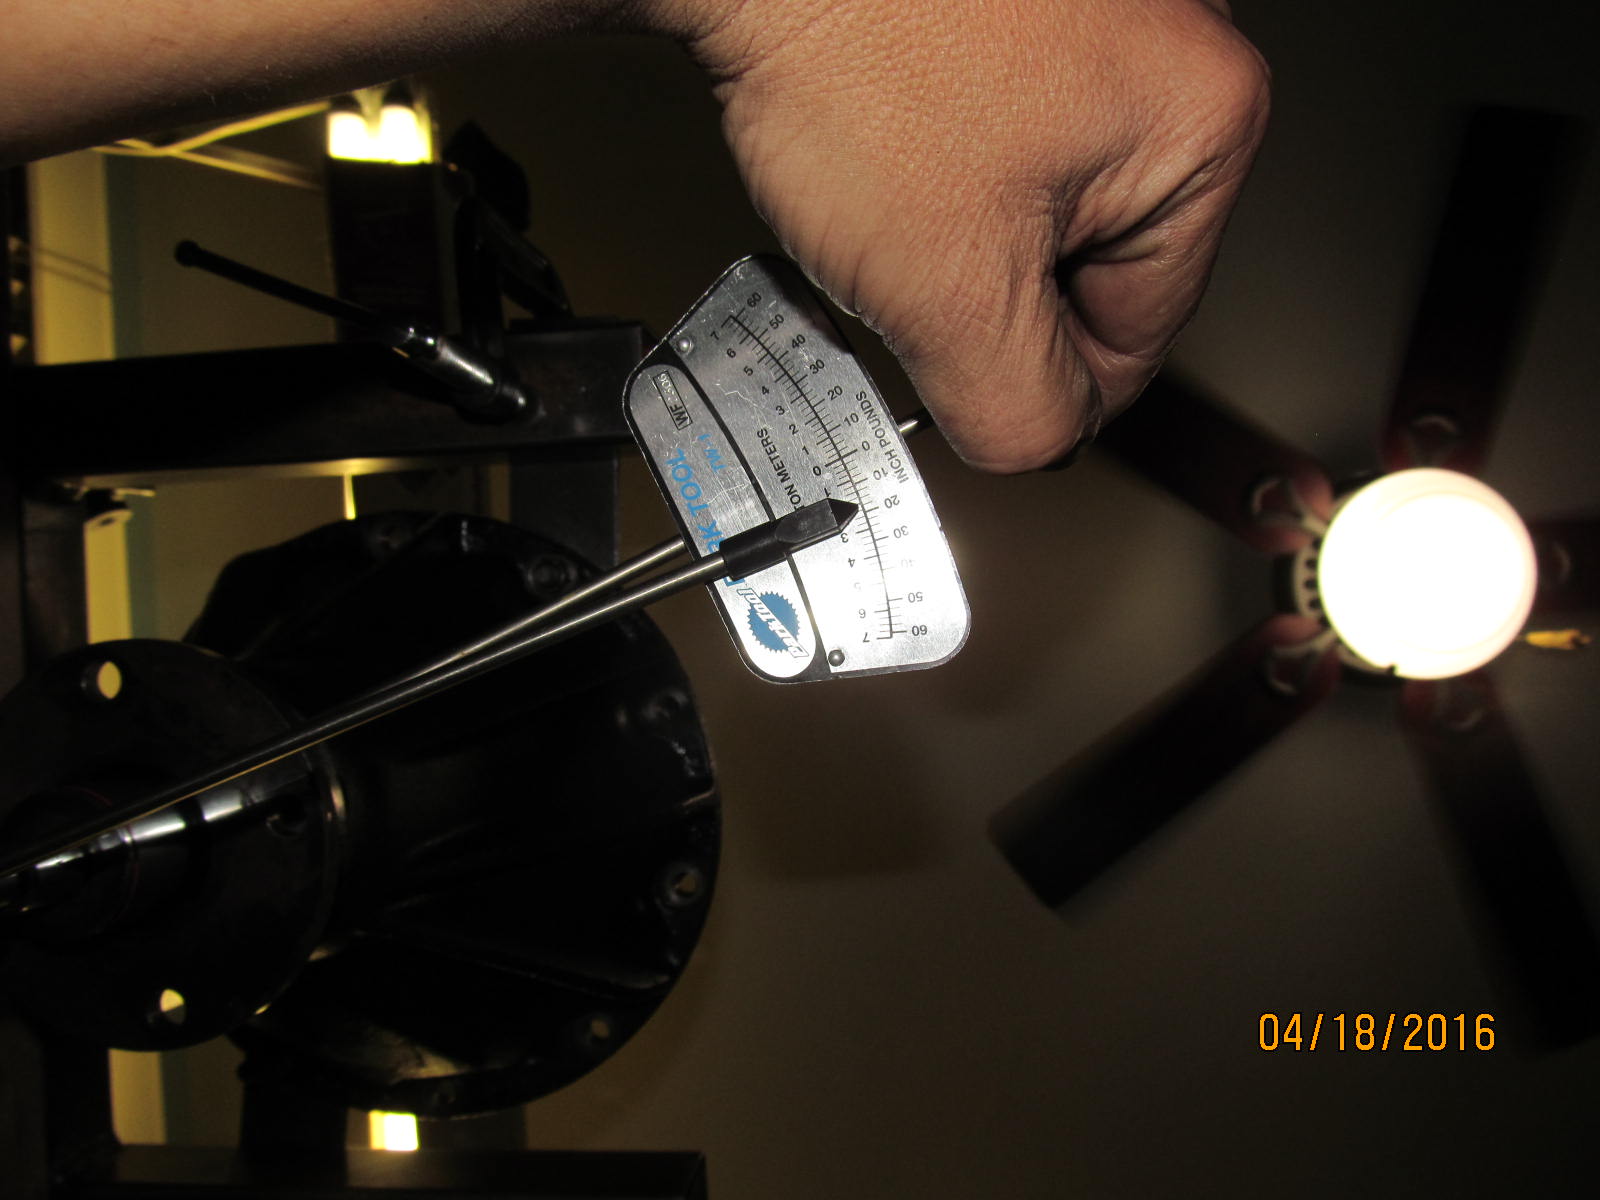
A smooth 12 in/lb for pinion preload measurement here.
|
|
|
|
|
Ding! and this end is now done.
|
|
|
|
|
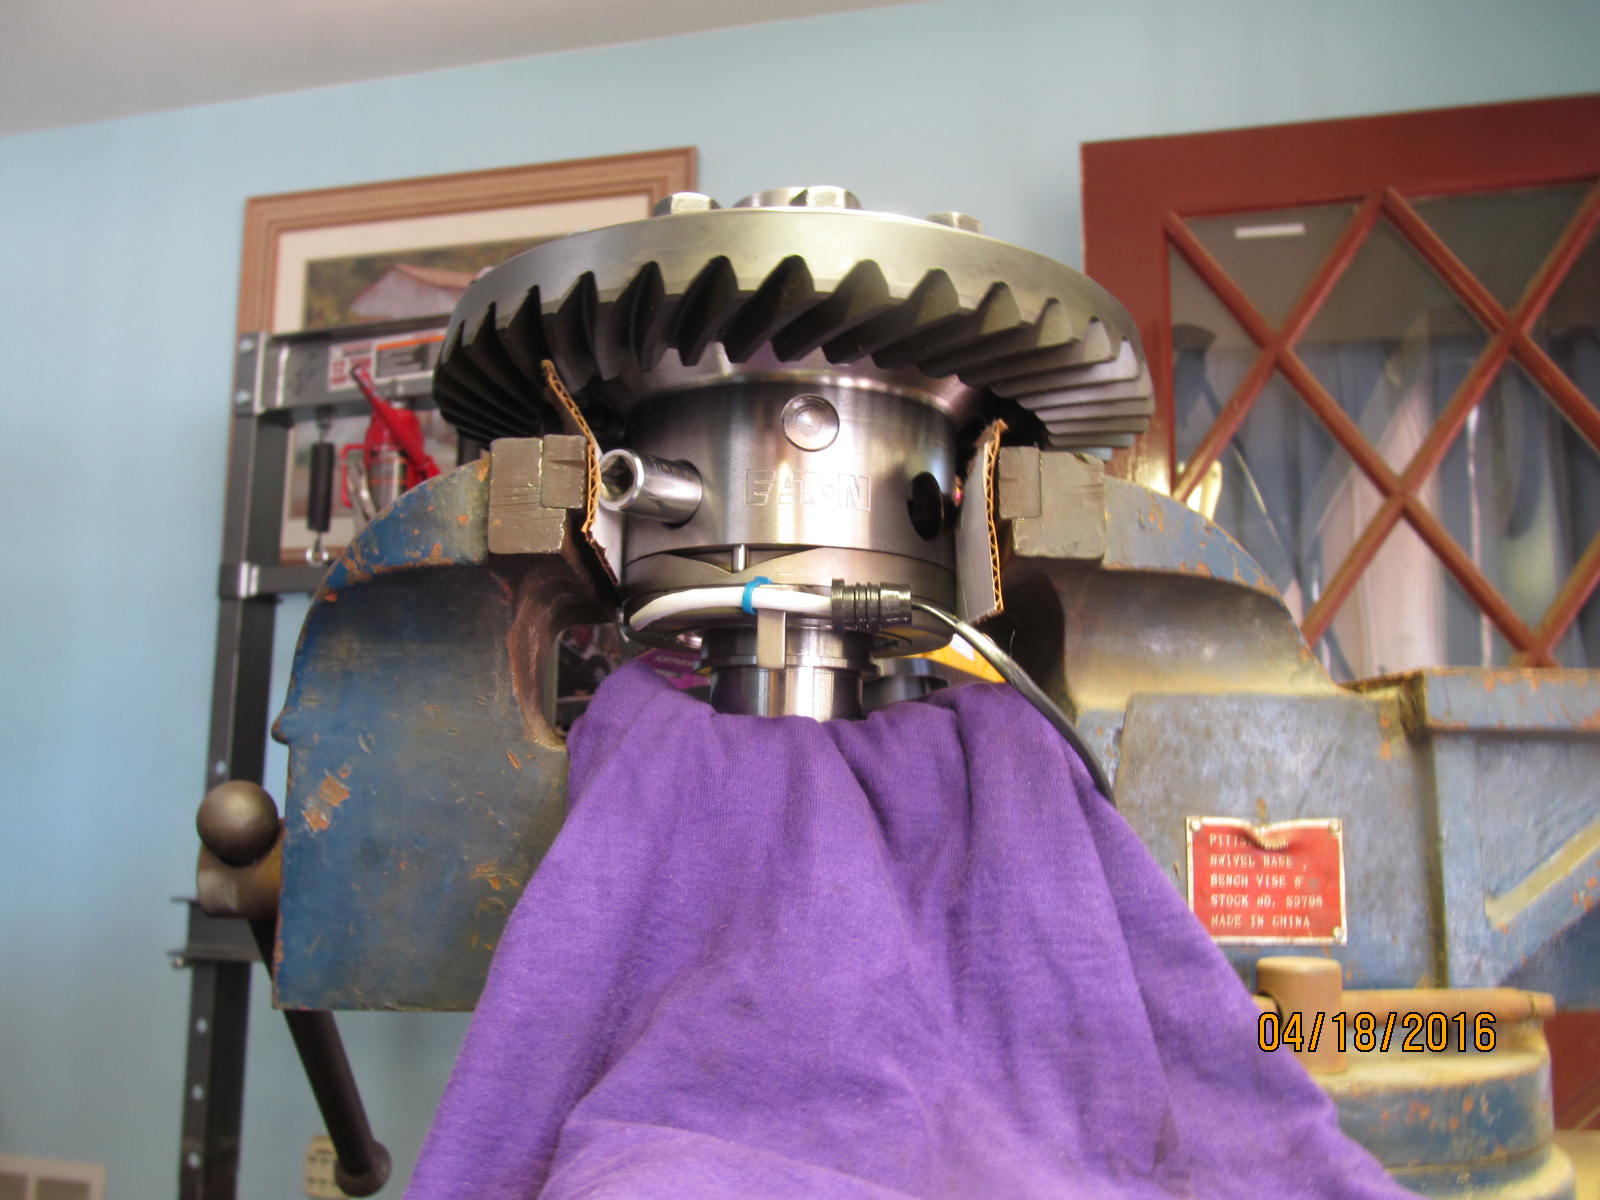
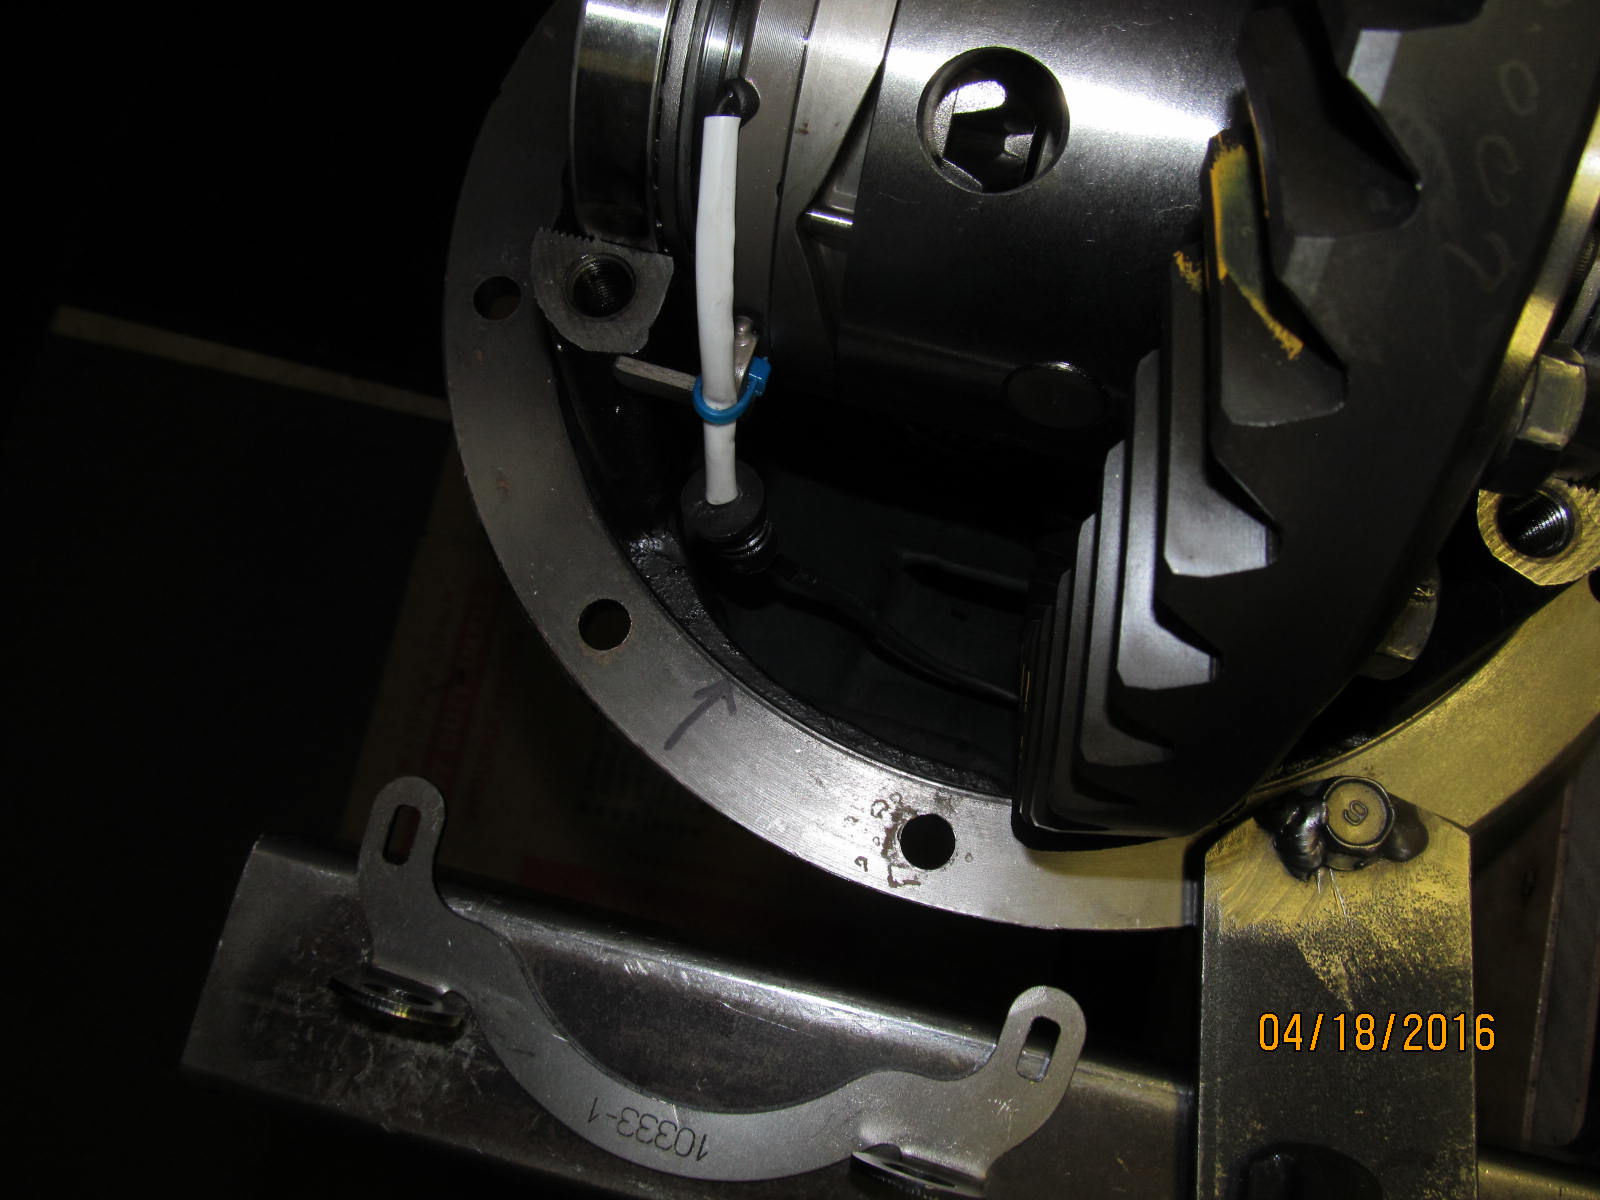
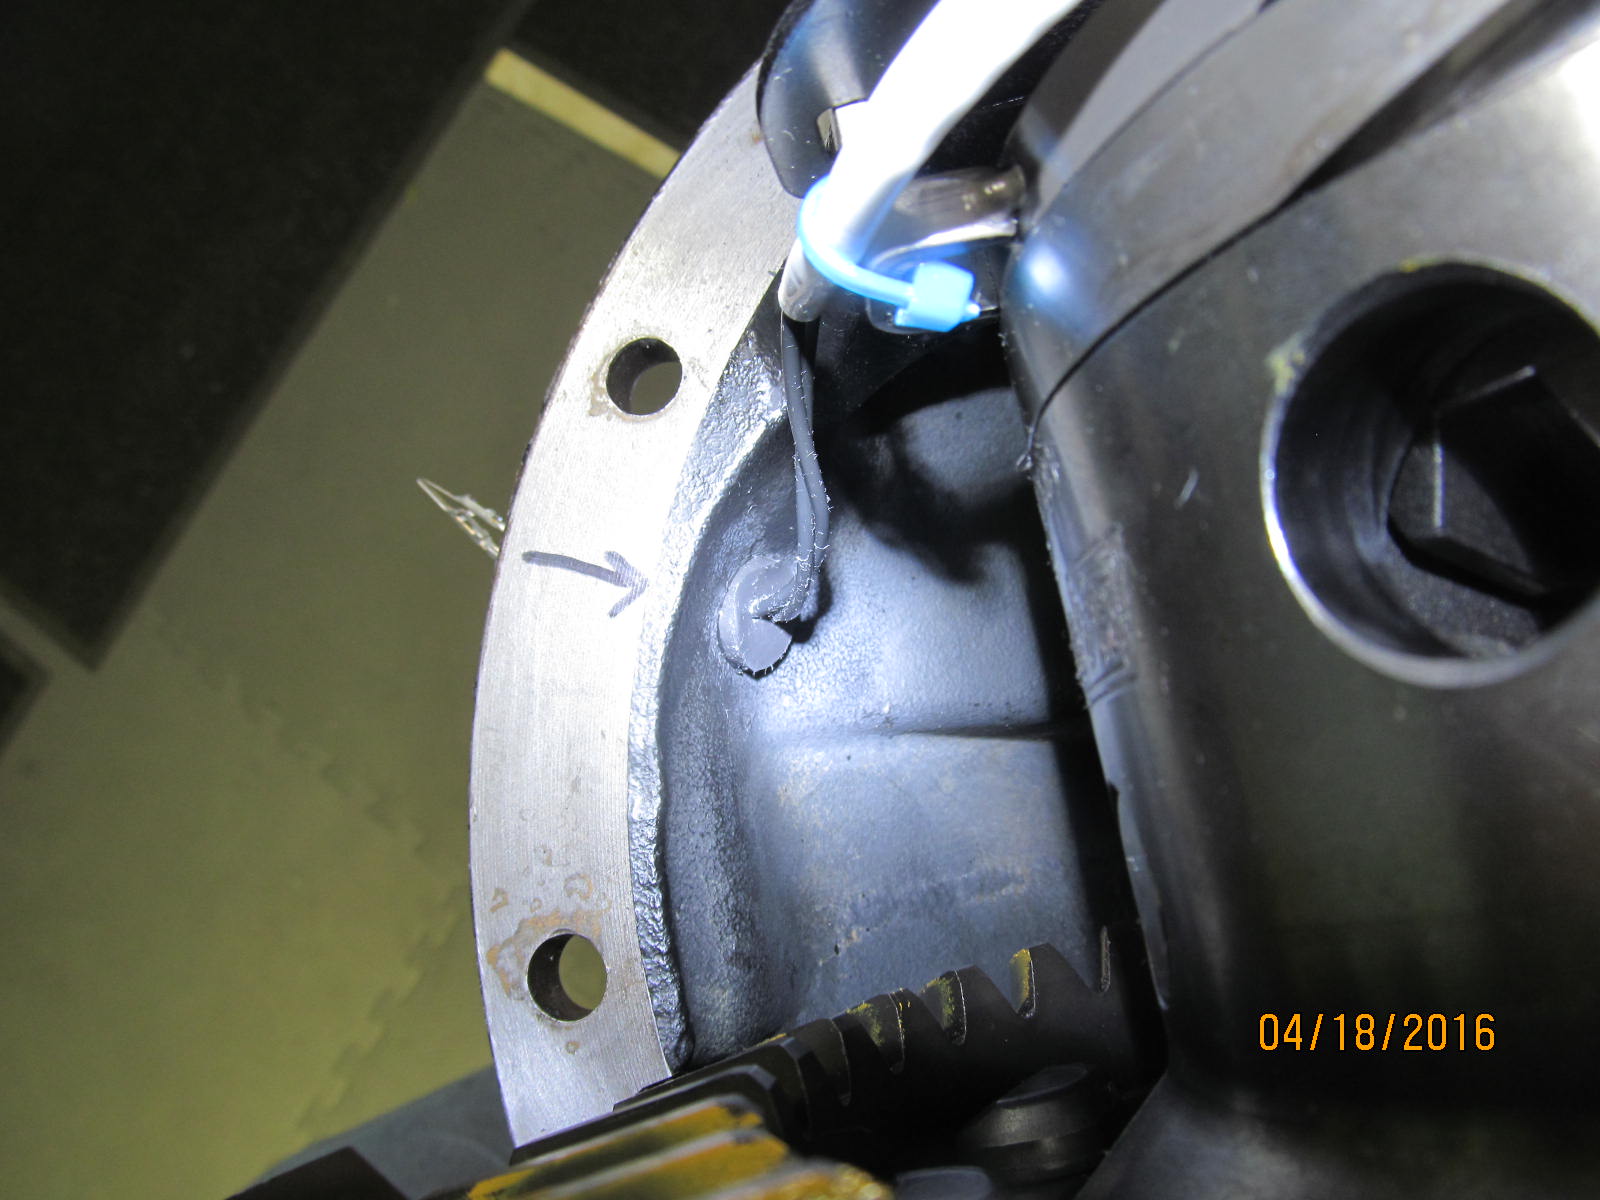
Still have to drill the hole for the Harrop wire to pass thru....Harrop is loaded in place...
|
|
|
|
|
...and I have noted now where is the best spot to drill the hole.
|
|
|
|
|
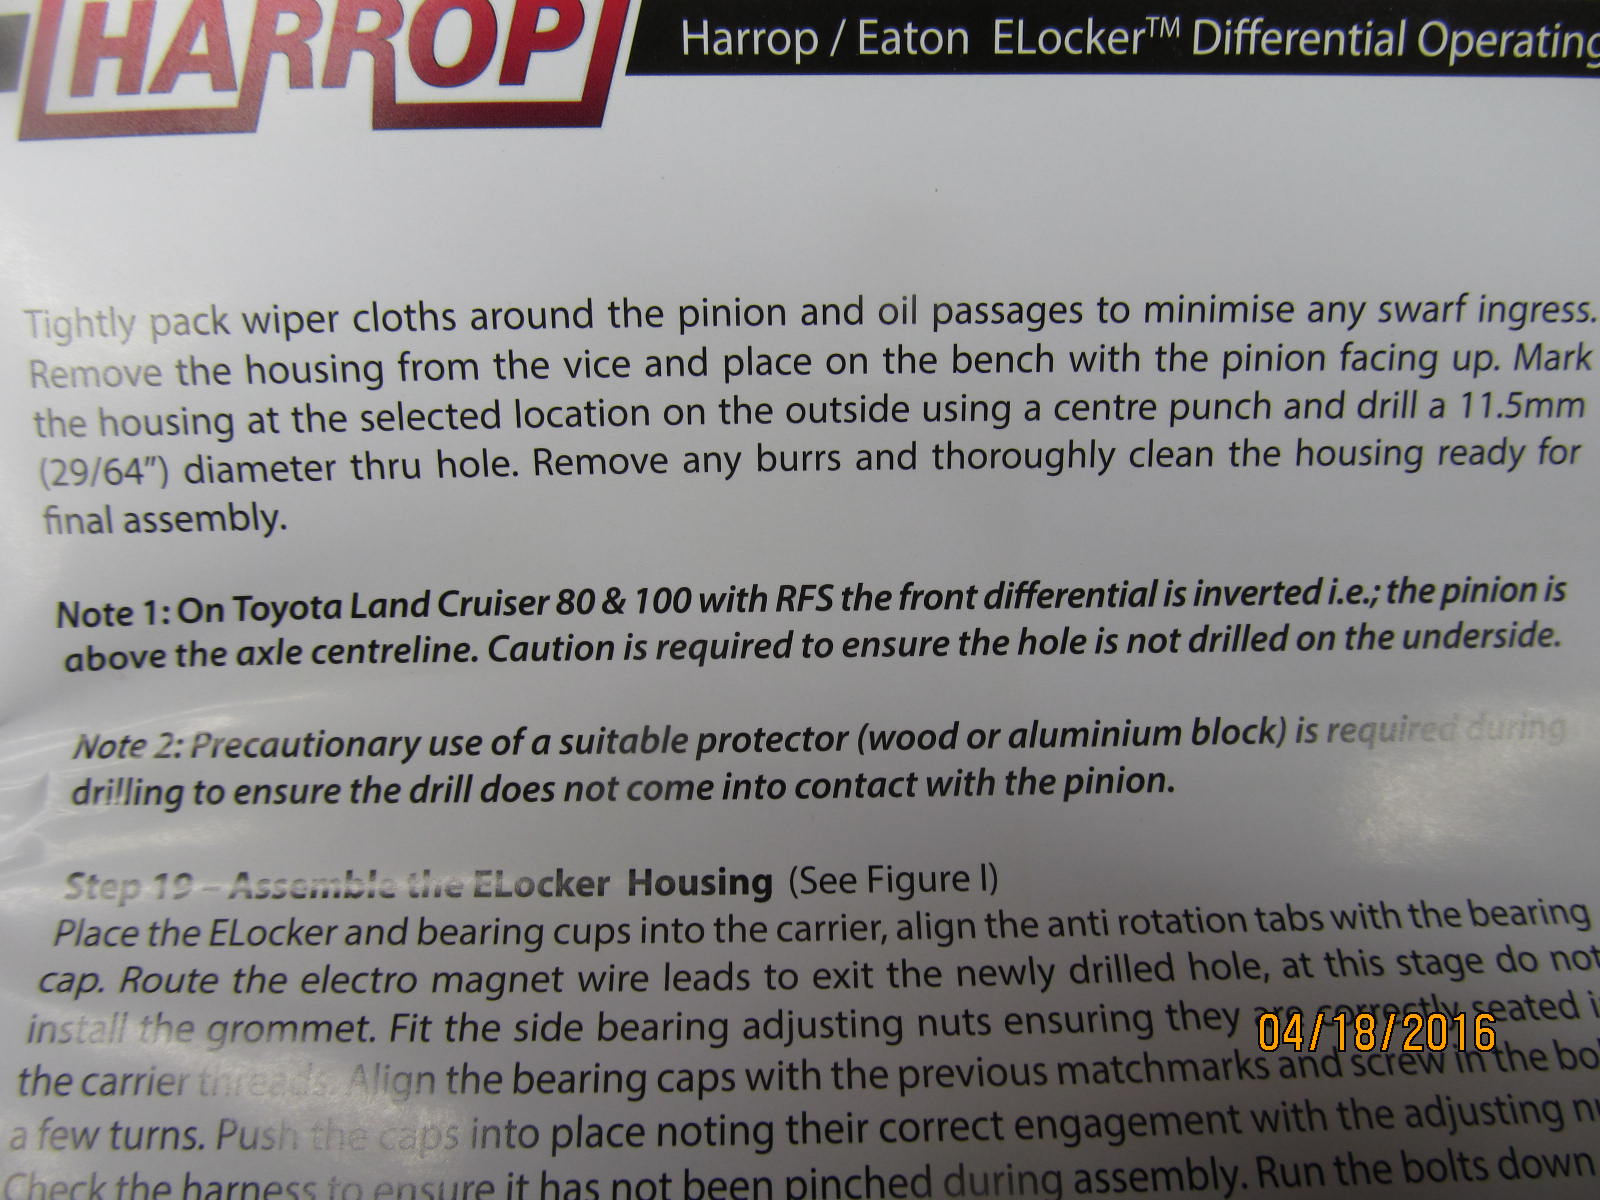
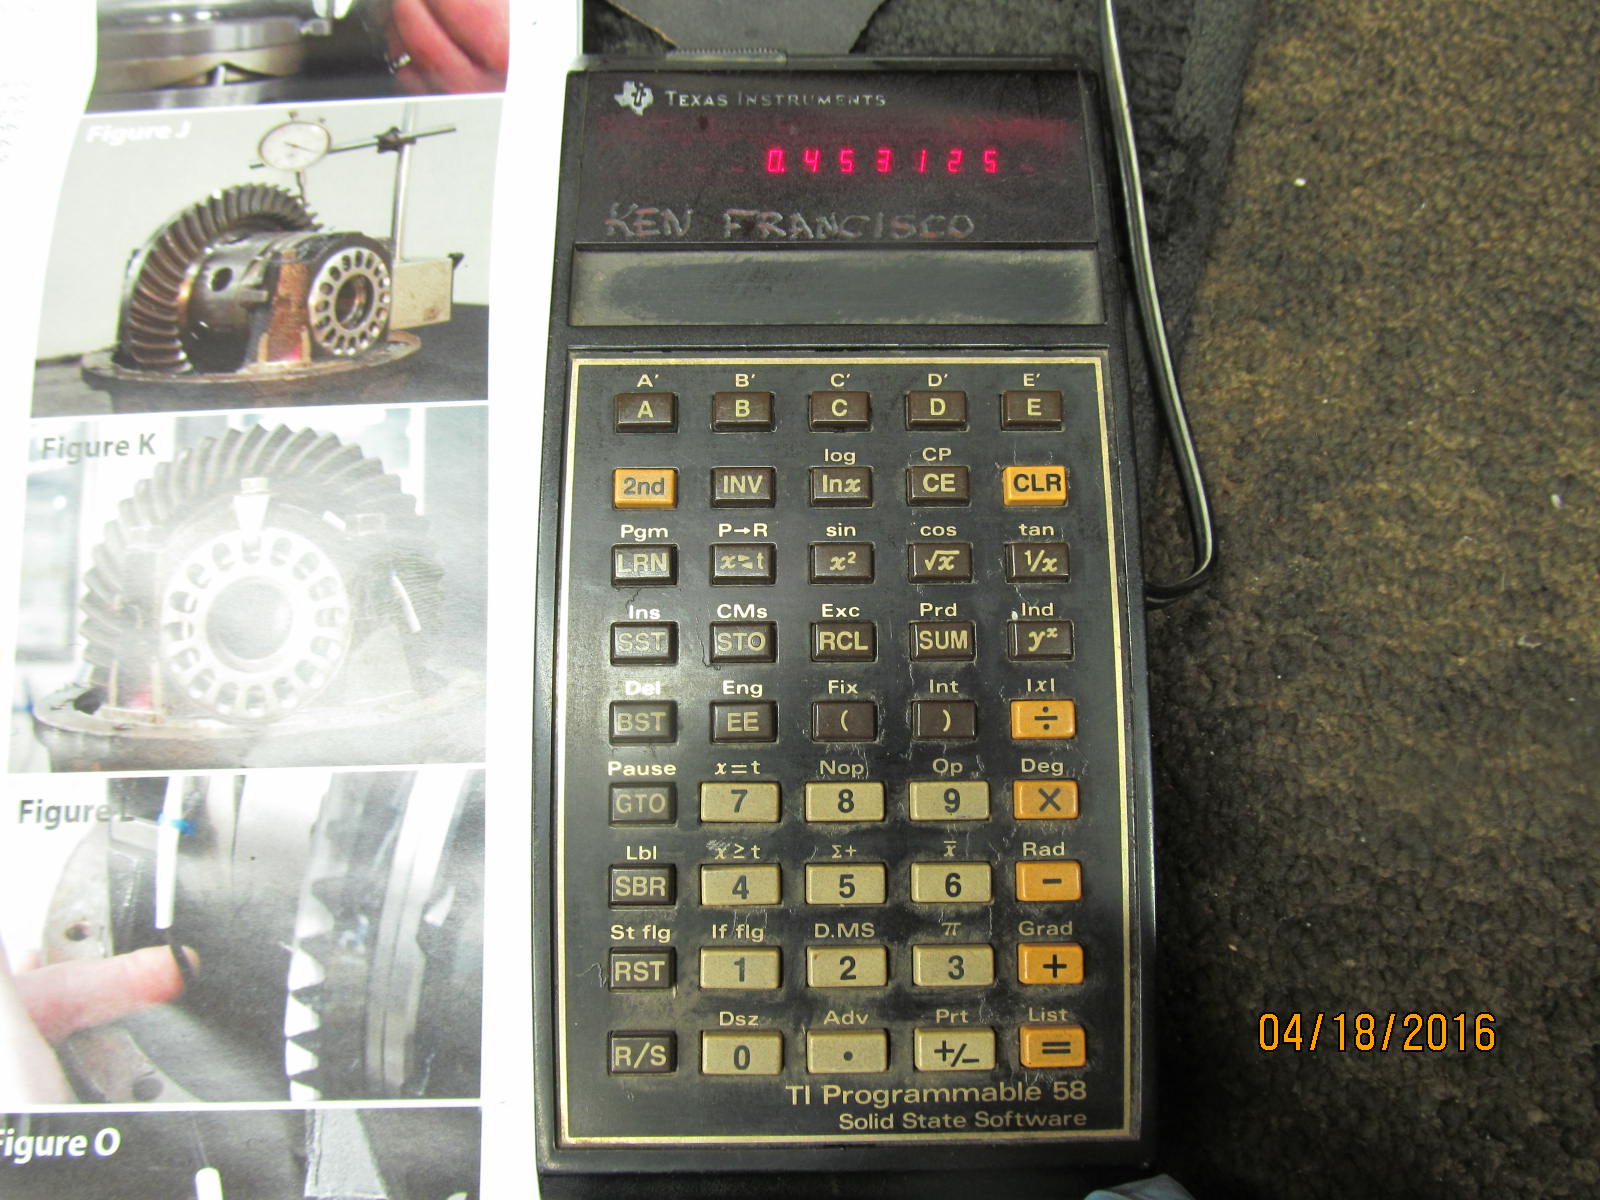
The instructions talk of a 11.5mm or 29/64" drill bit.....
|
|
|
|
|
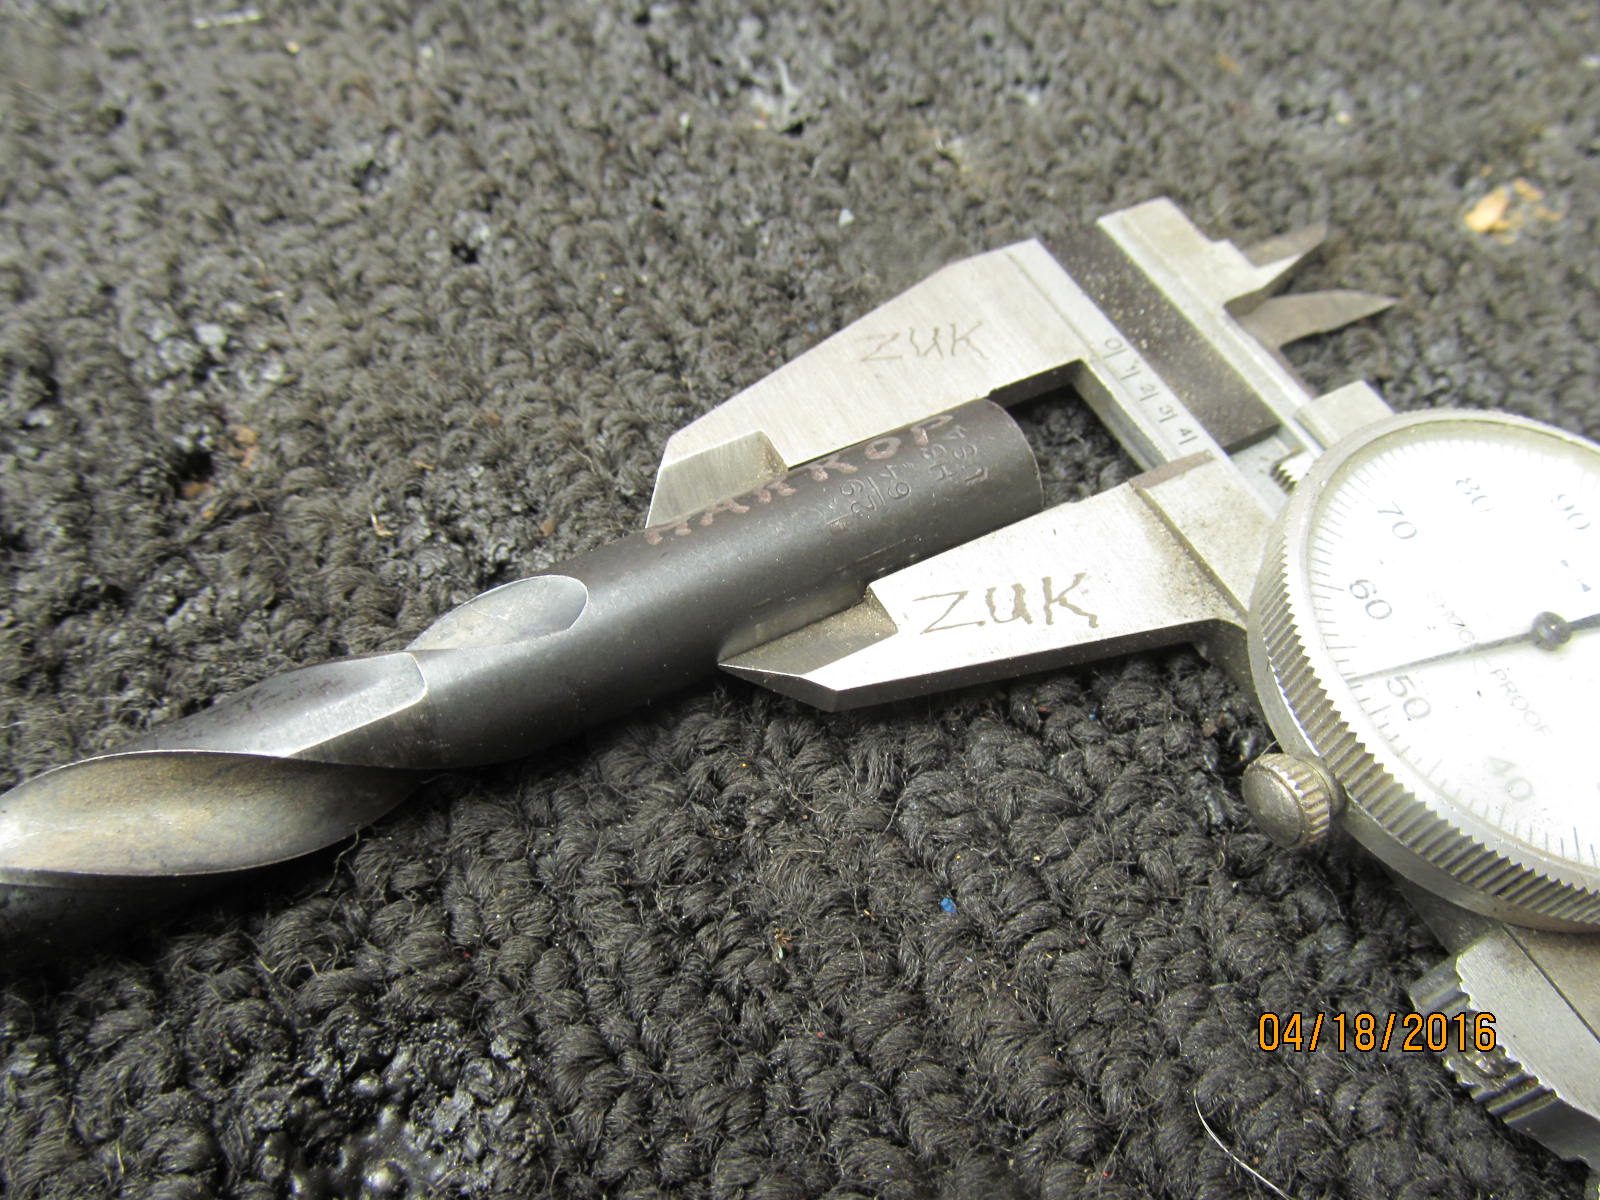
So, I used my TI-58 calculator back from my 1977 college days.....and looks like a .453" drill bit is the ticket.
|
|
|
|
|
verified.
|
|
|
|
|
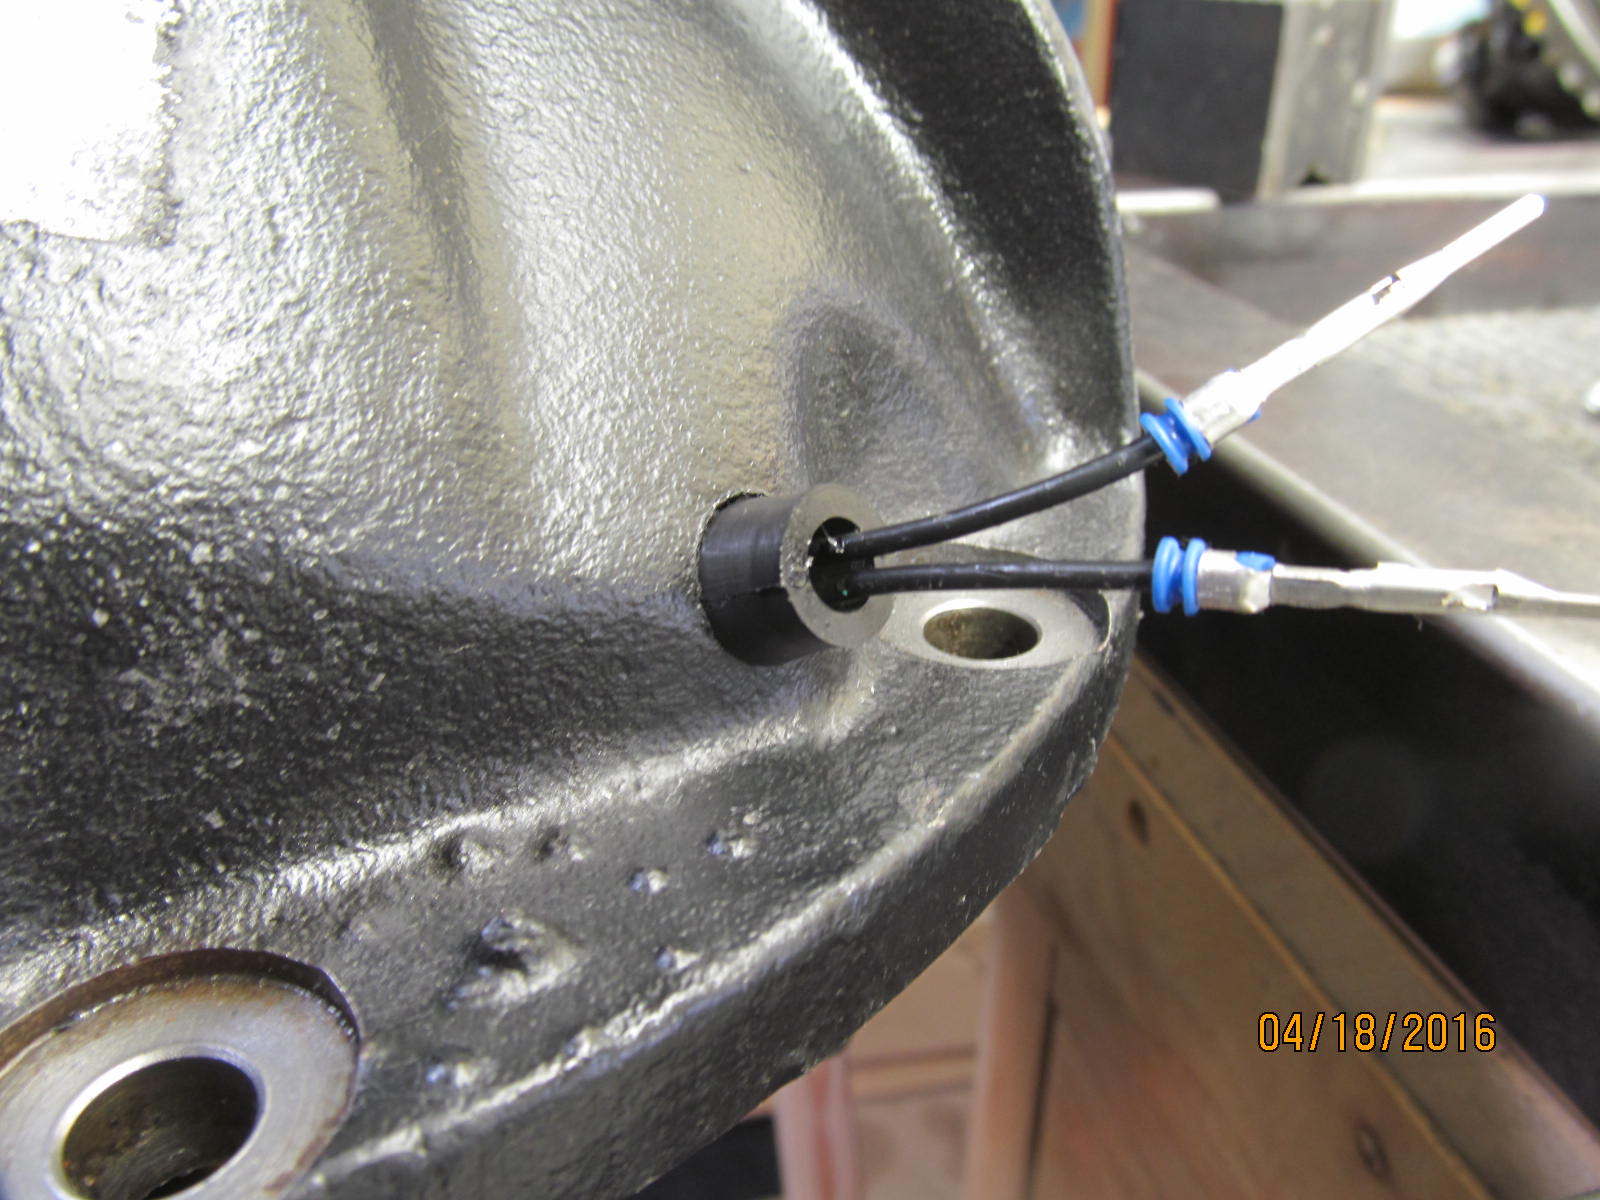
No metal chips fell into the pinion area because the pinion end was pointed up when the hole was drilled.
|
|
|
|
|
Fit is double checked and all is good.
|
|
|
|
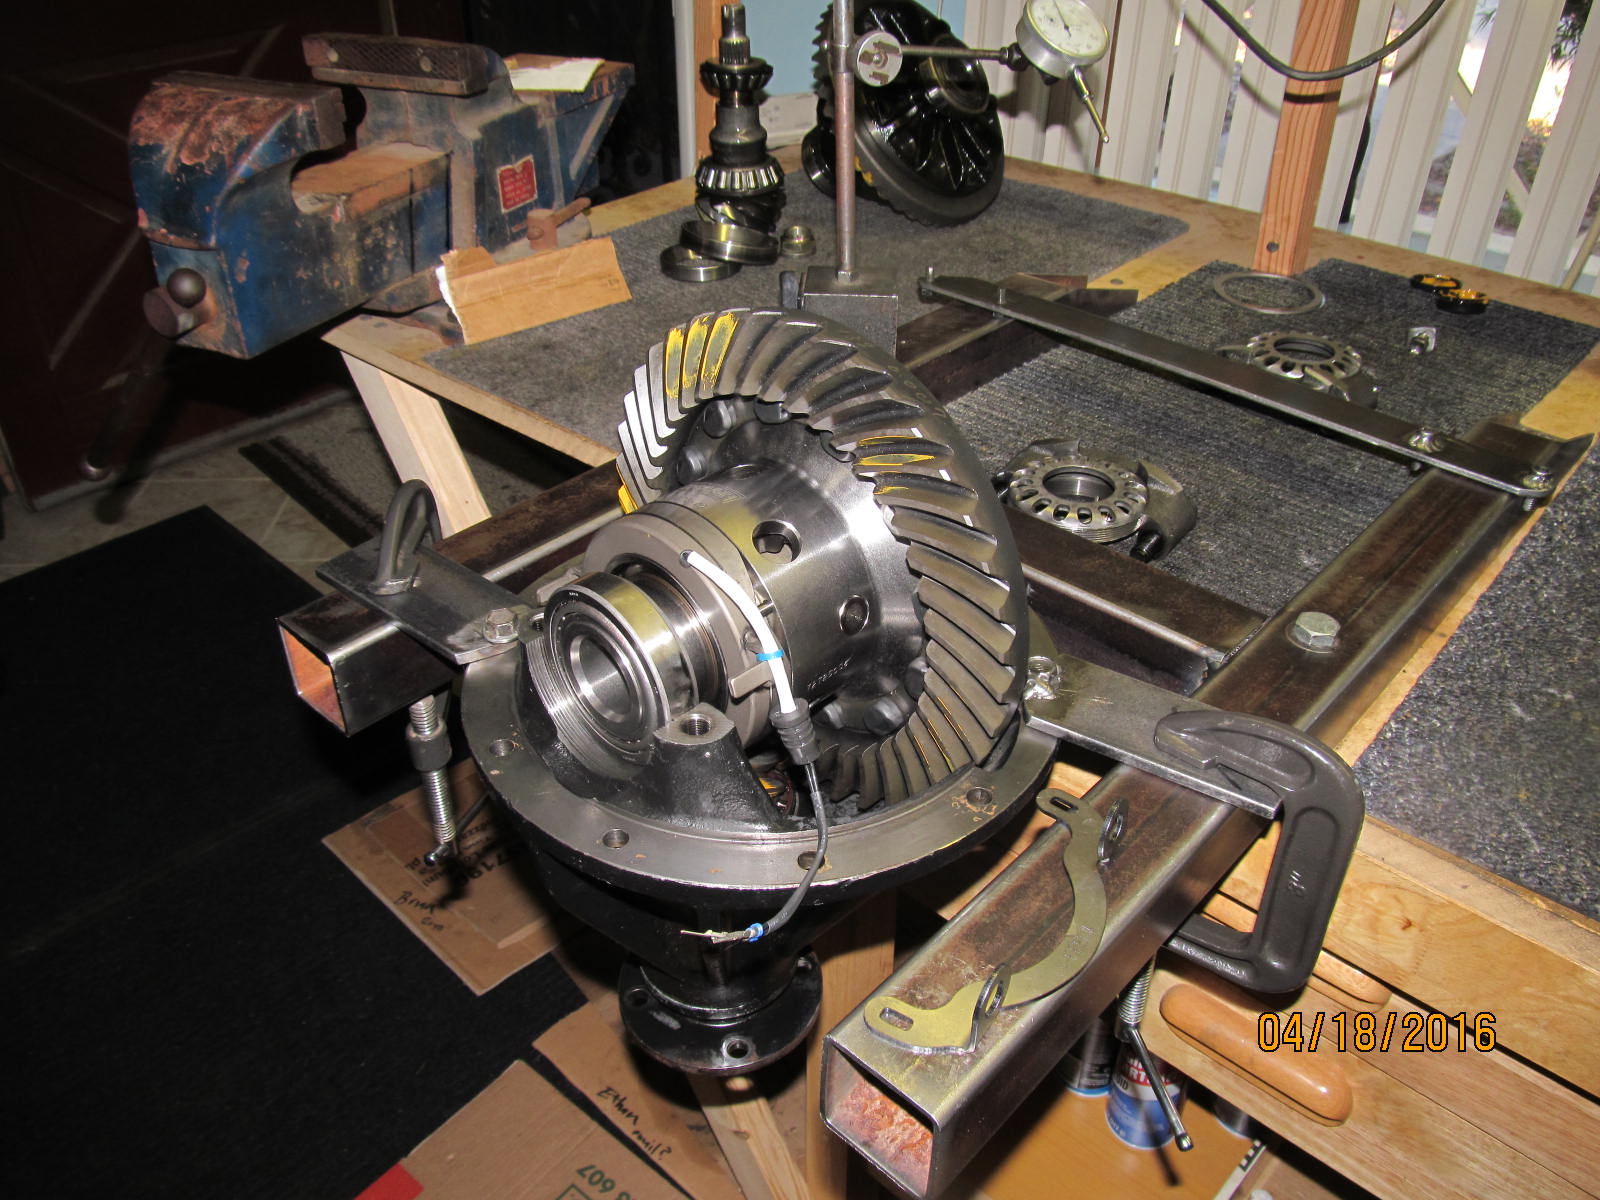
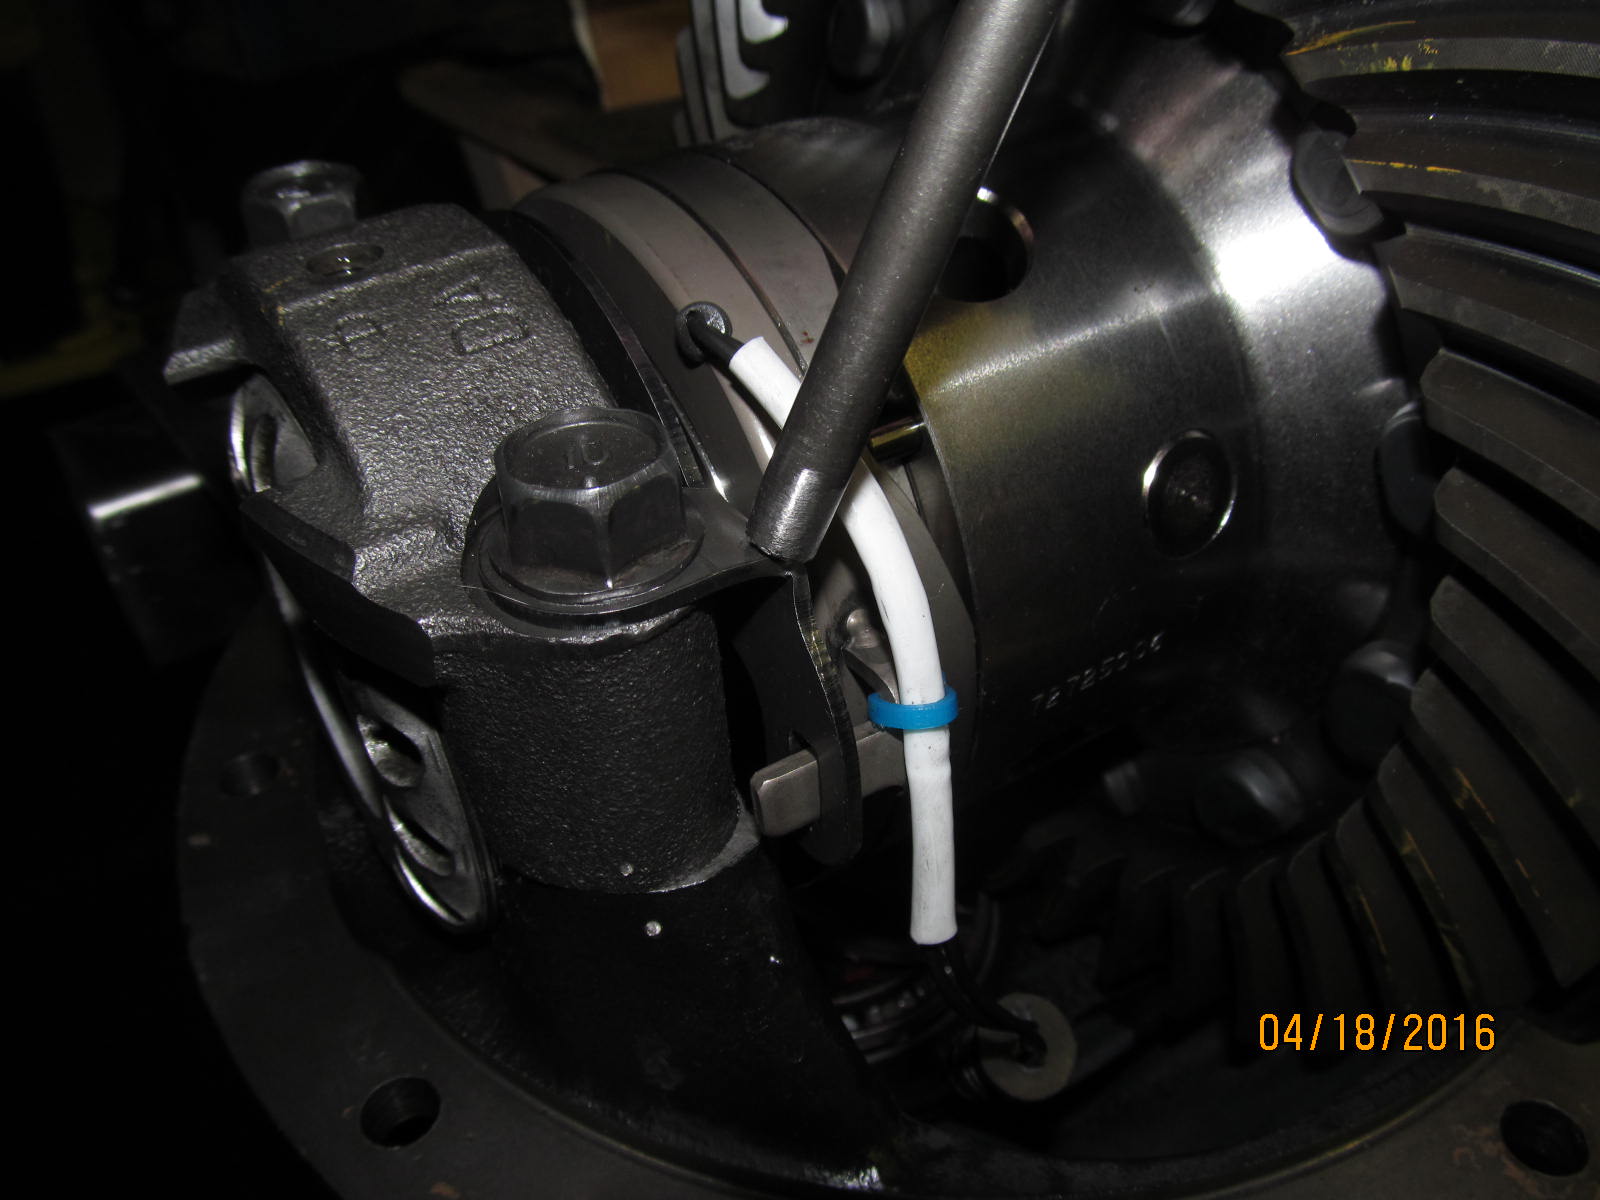
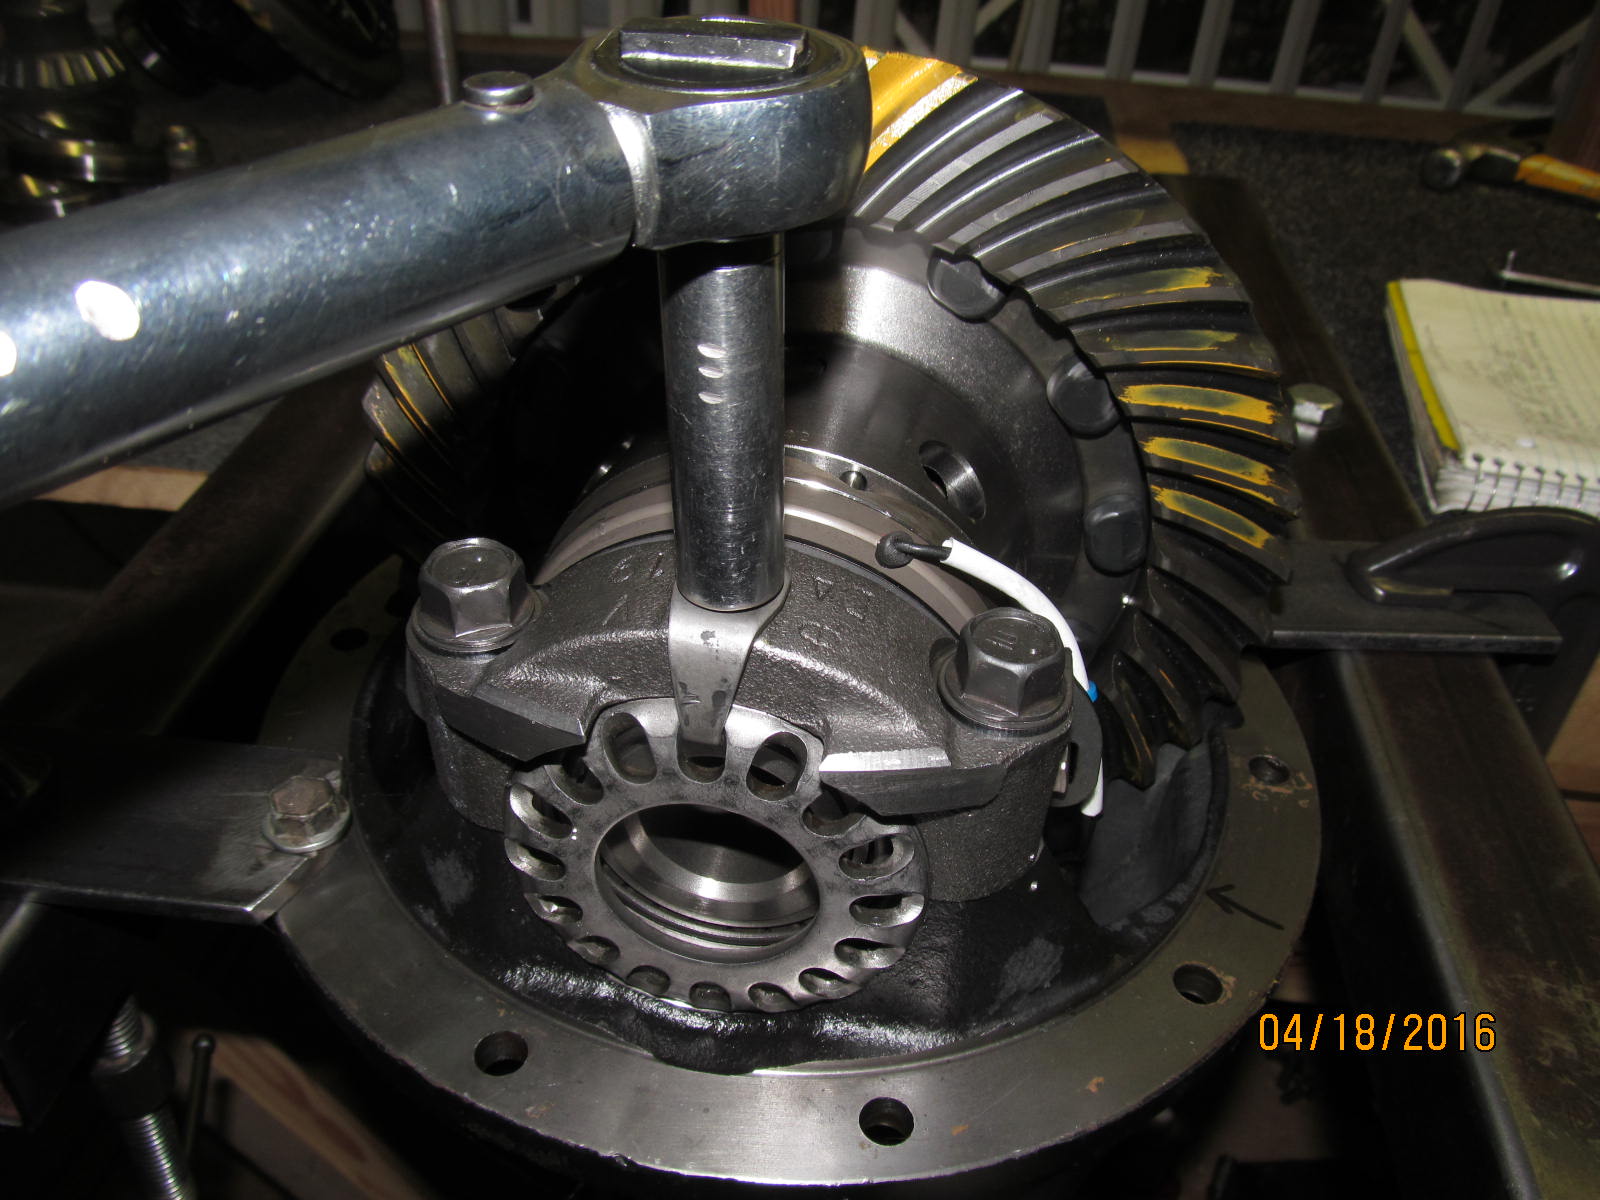
There is a preferred order to getting the bracket in place with the bearing cap.....
and that is to put bracket in place first....then slide the bearing cap horizontally
in place....then thread the 2 long bolts in place and snug up.....then eyeball the
thread alignment making sure it is dead on and, if not, tap with a hammer until it
is perfect. Then the adjuster wheel will thread in smoothly.
|
|
|
|
|
Finished torqueing the bolts to 70 ft/lb.
|
|
|
|
|
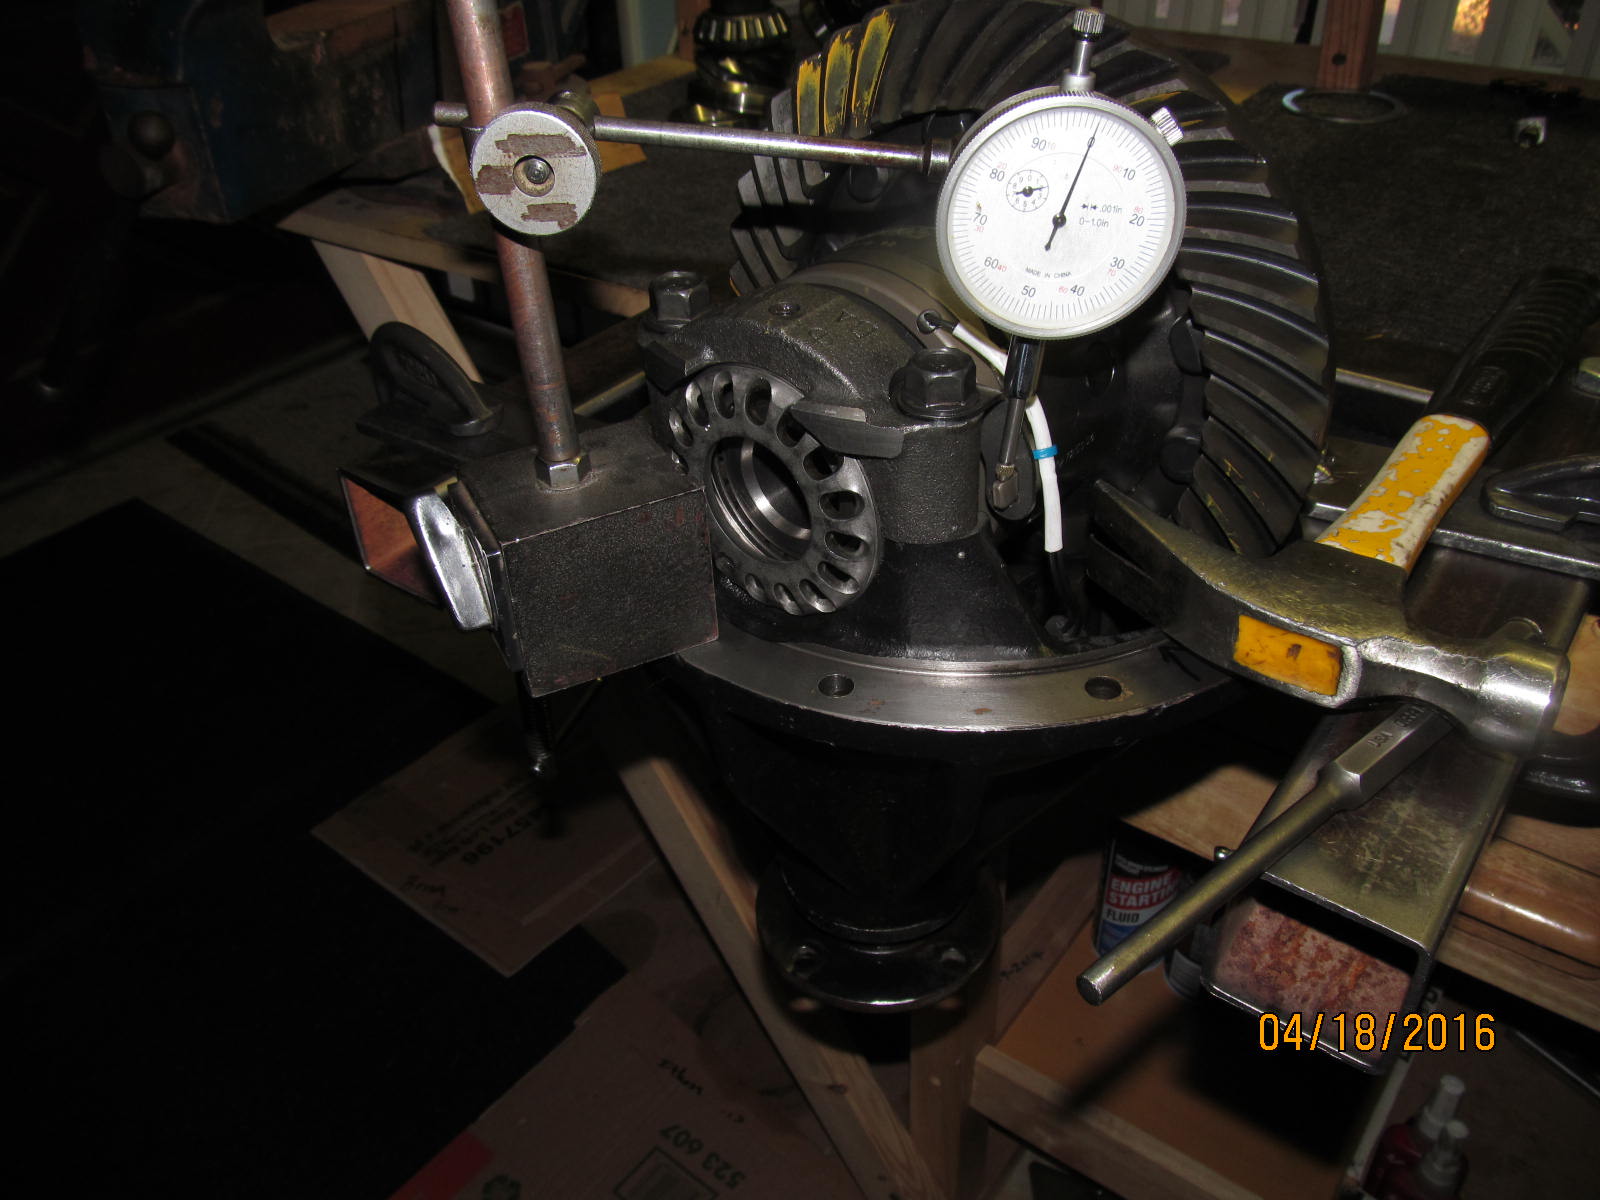
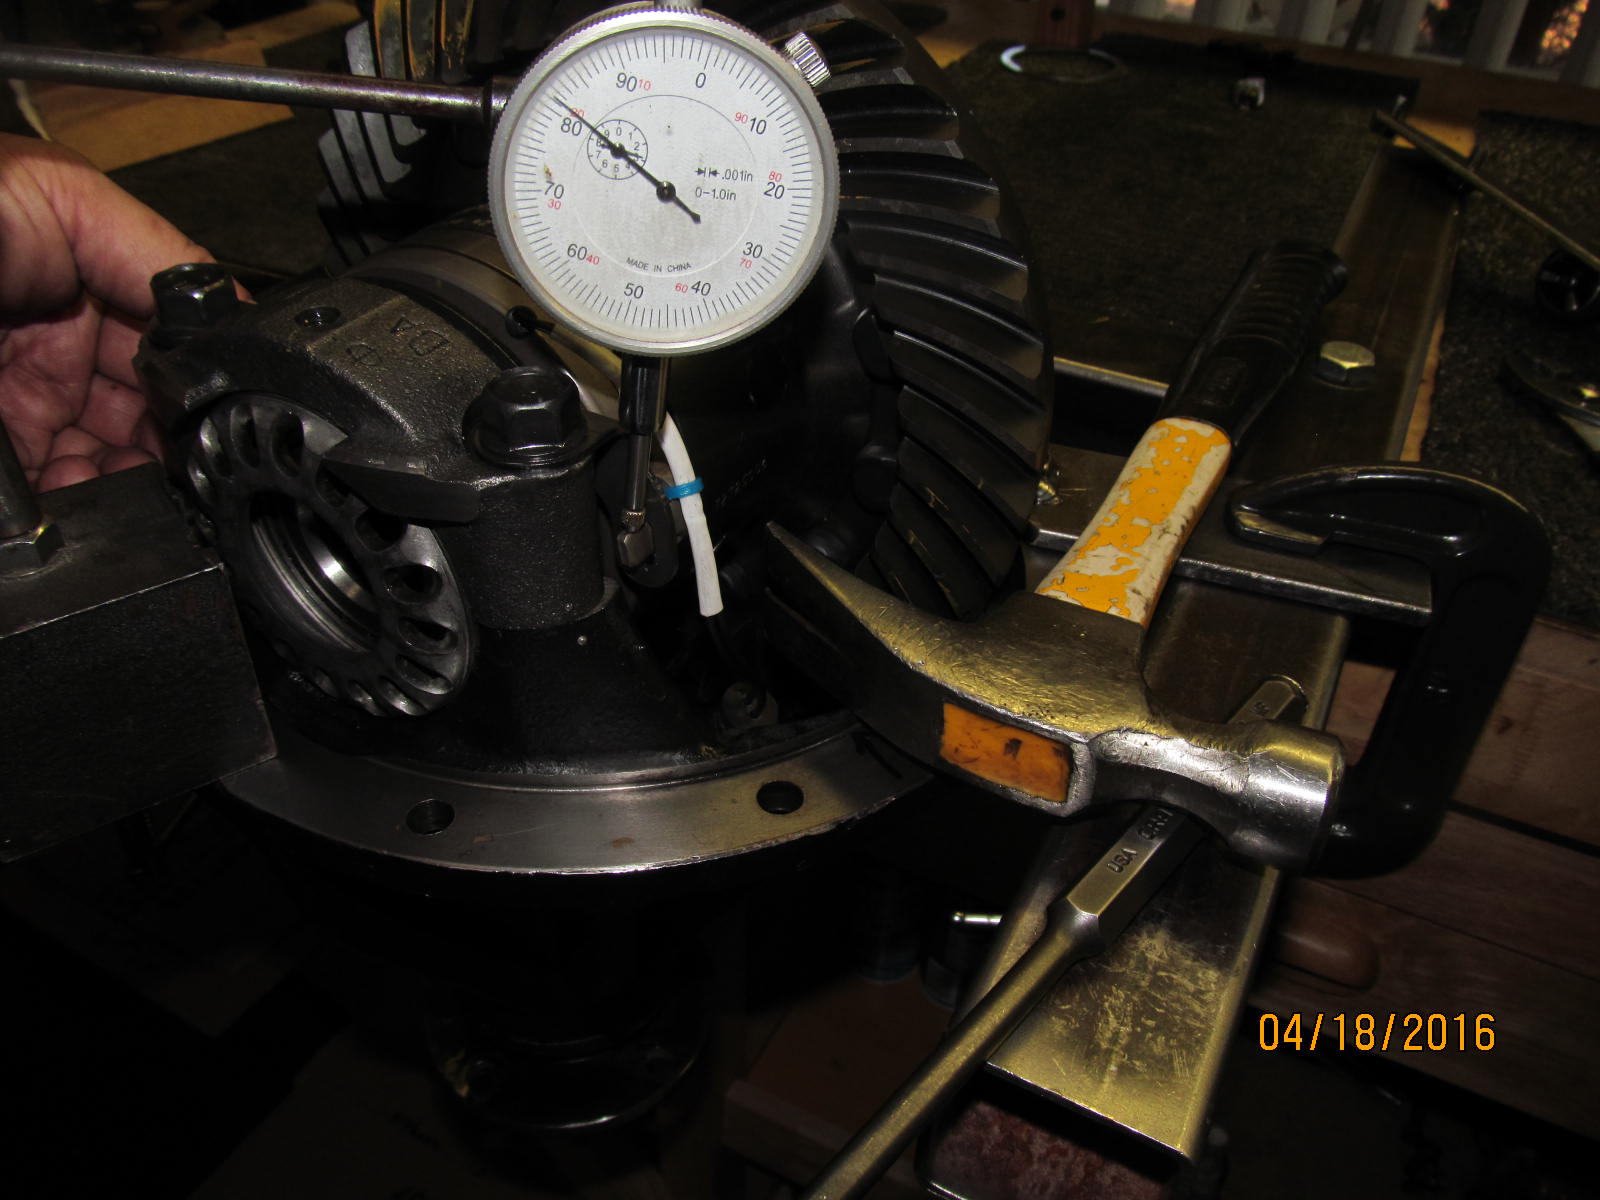
Now to check the free play range....zero'ing out the indicator....
|
|
|
|
|
Looks like .081" (~2mm) which is just about right per the instructions.
|
|
|
|
|
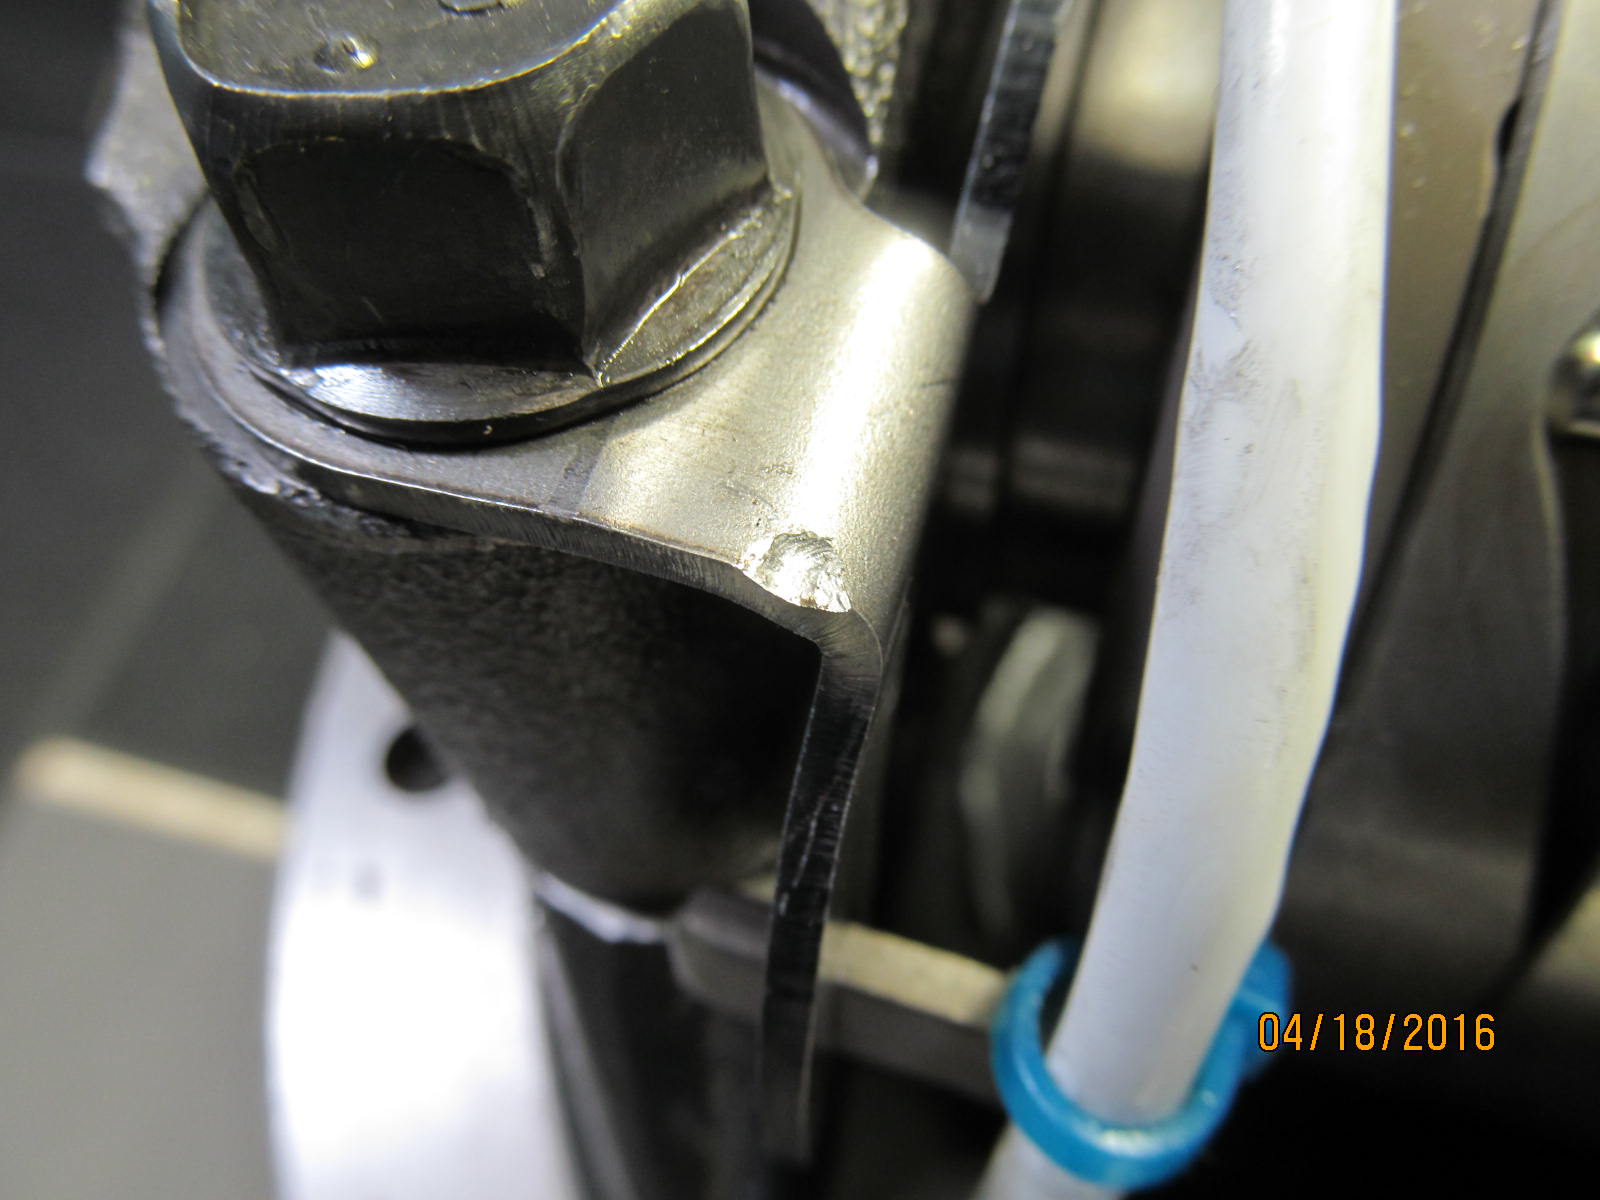
But, if more range is needed then a tap right here will create more play. FYI
|
|
|
|
|
----------------
|
|
|
|
I would much rather tap on the soft steel bracket rather than bend the tab that is associated
with the blurry small hi-quality weld shown in the pic above. Just seems like a better idea.
|
|
|
|
|
On the home stretch.....wheel adjusters are tightened and backlash is monitored also.
|
|
|
|
|
Combined total preload is 18 in/lb
|
|
|
|
|
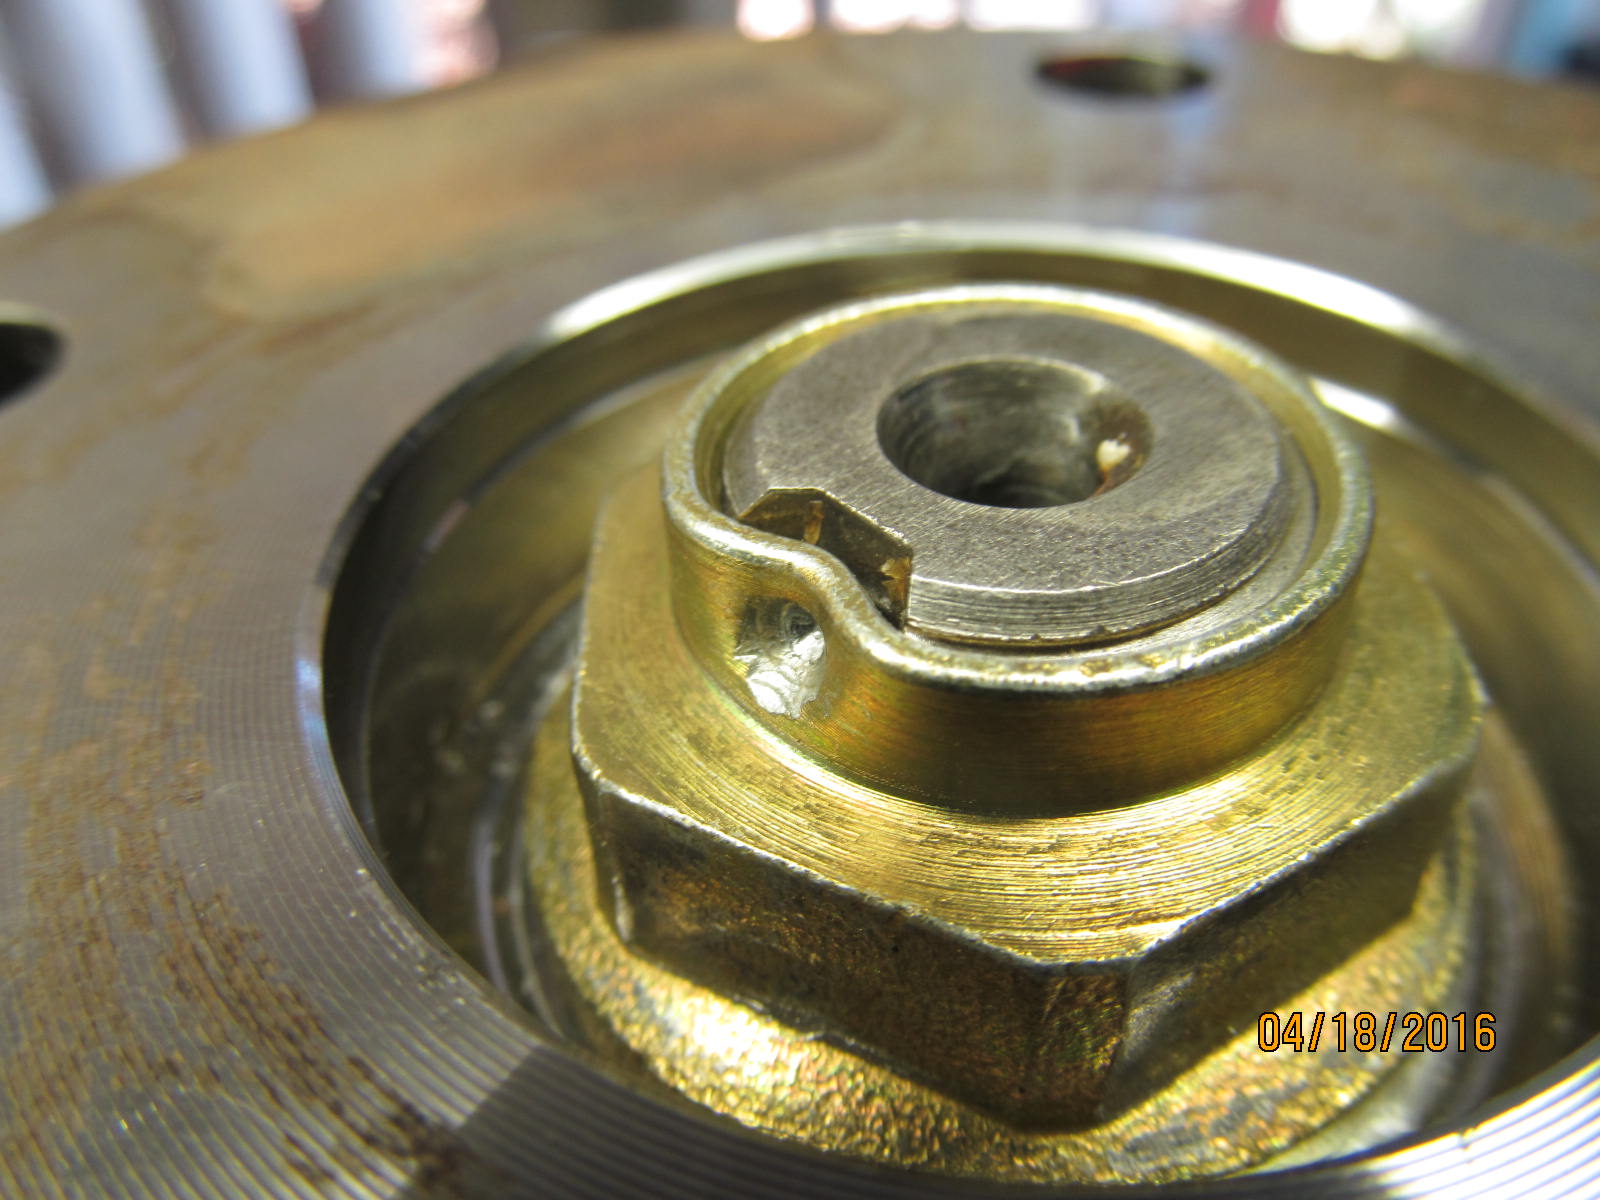
Backlash has been checked on 20 teeth and now to torque the lock tabs to 10+ ft/lb.
|
|
|
|
|
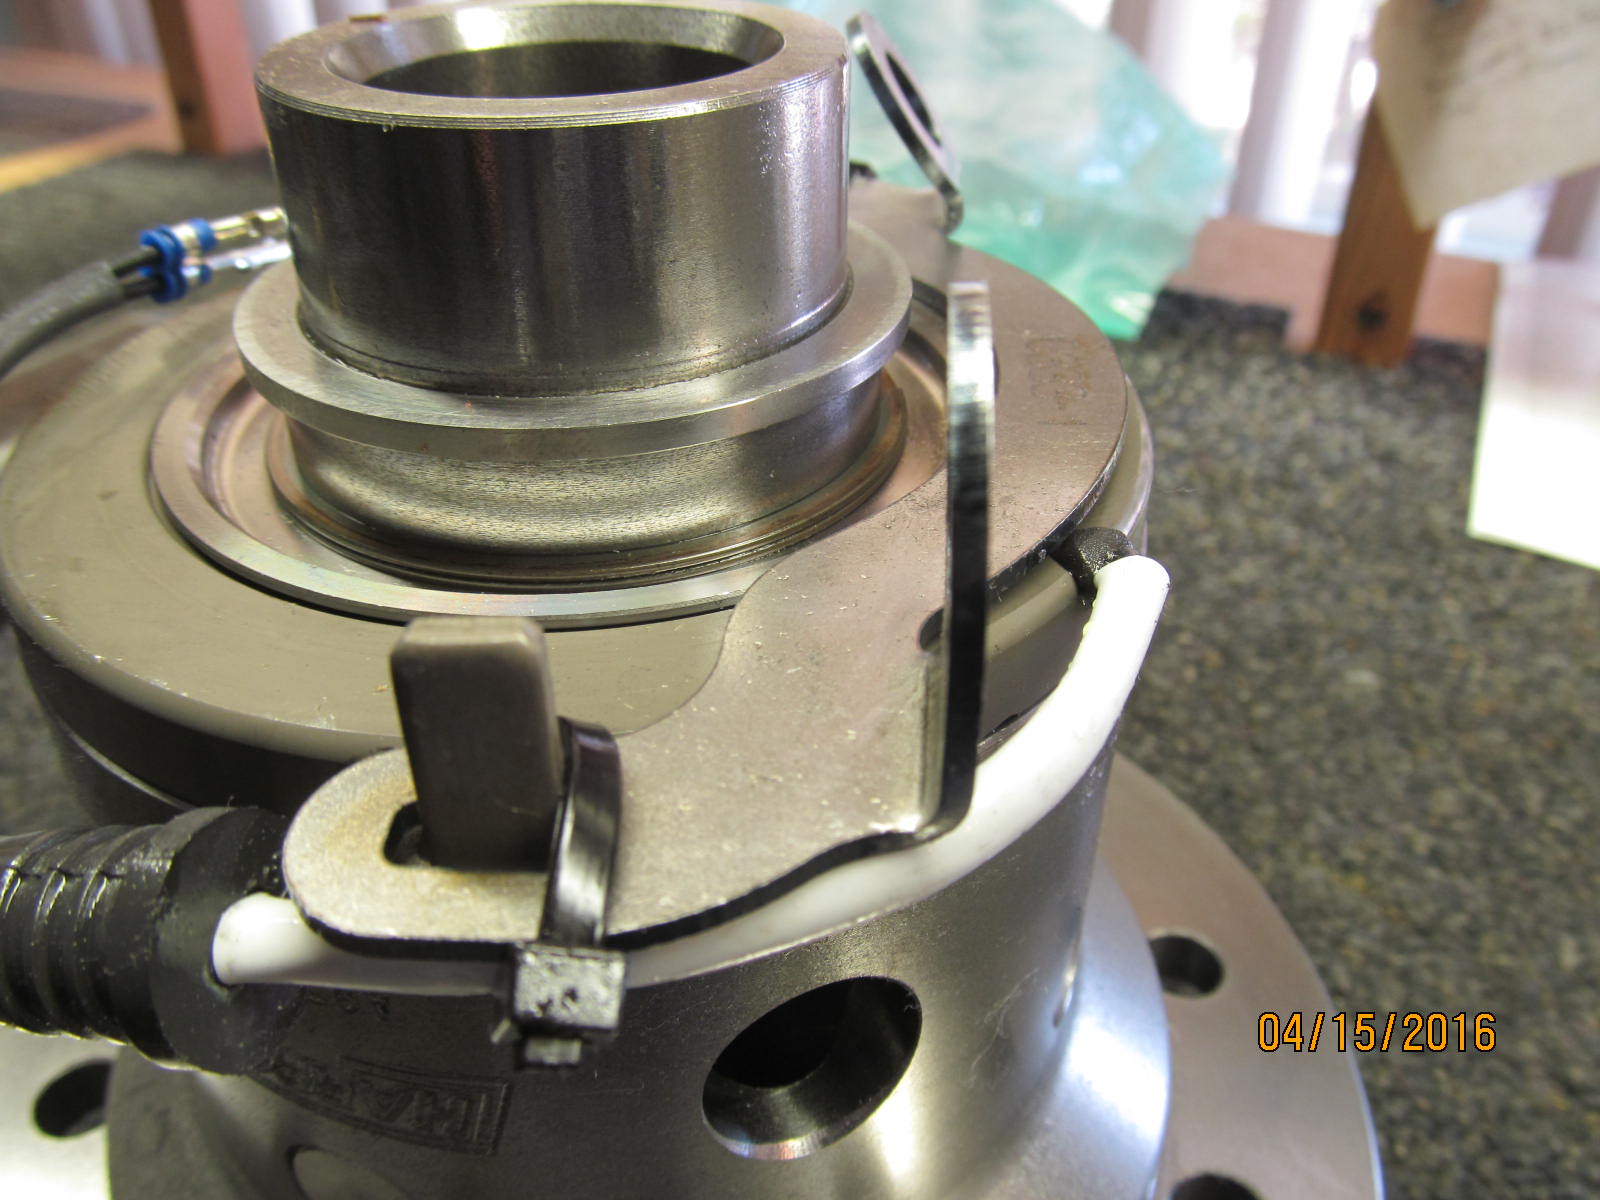
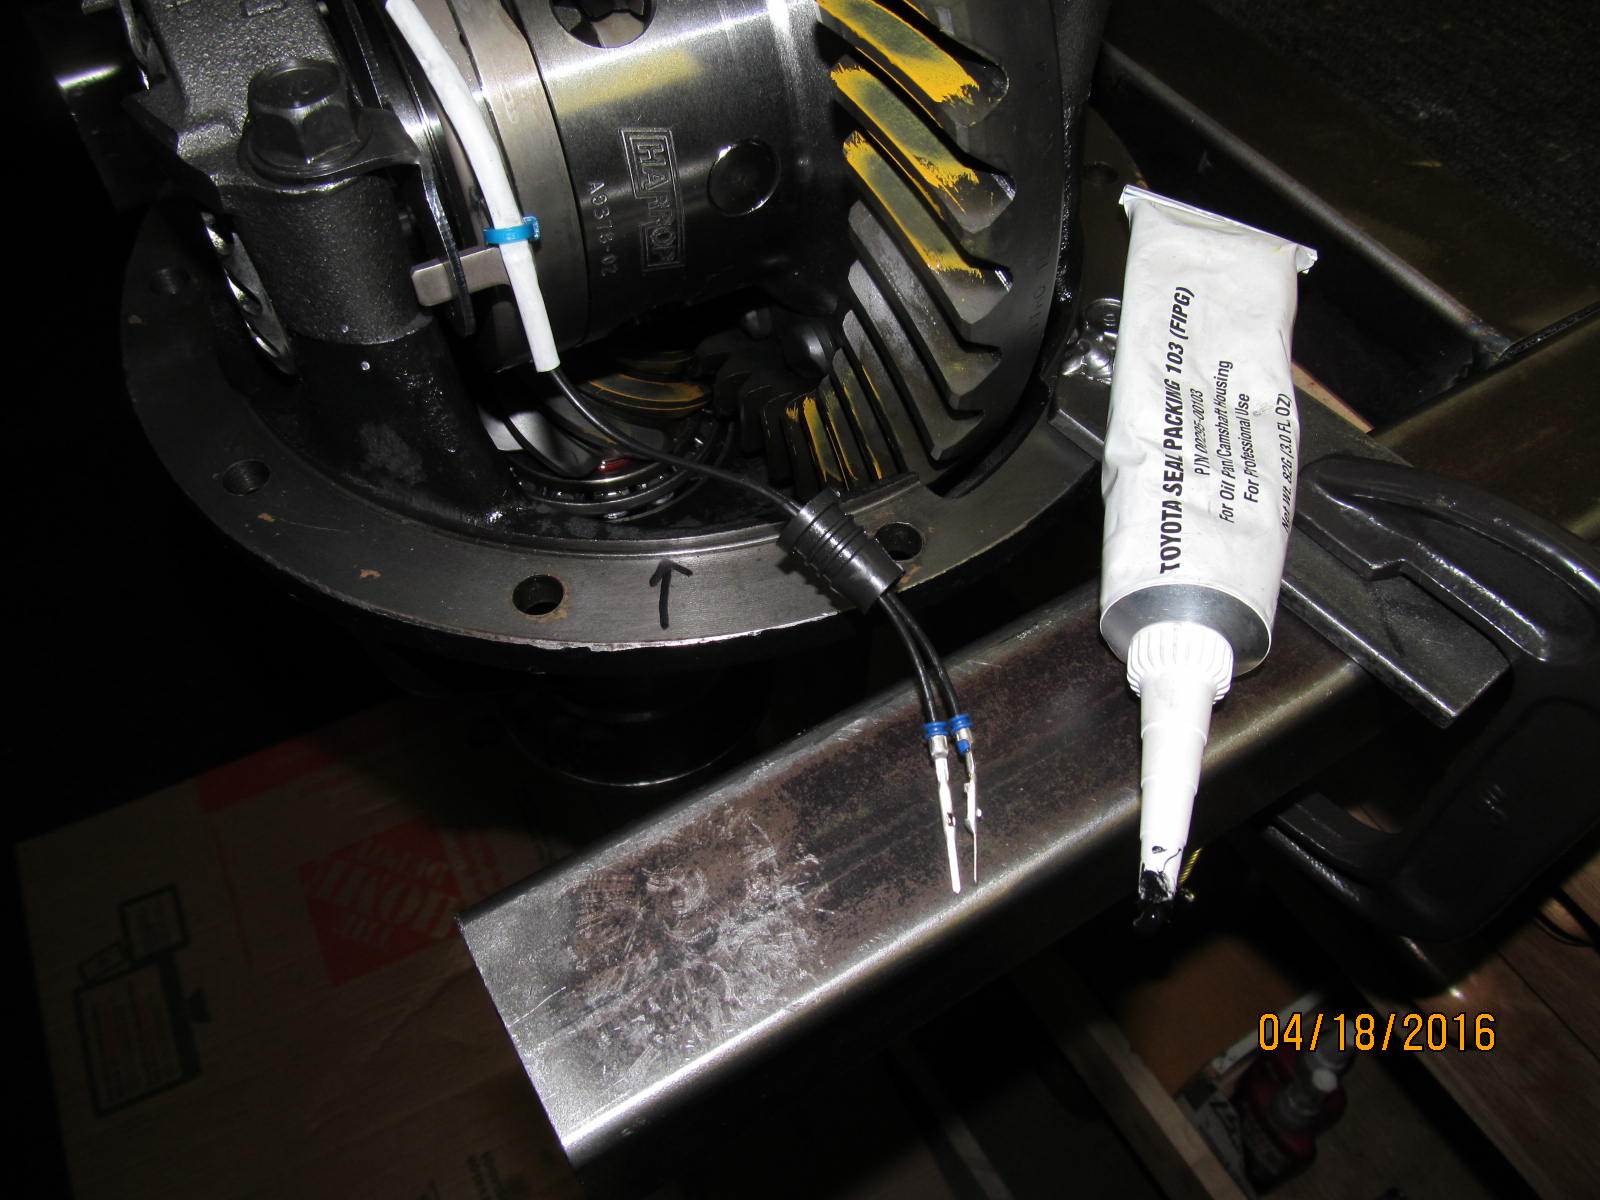
Any kind of silicone RTV or even this Genuine FIPG really helps in getting the rubber grommet thru the hole.
|
|
|
|
|
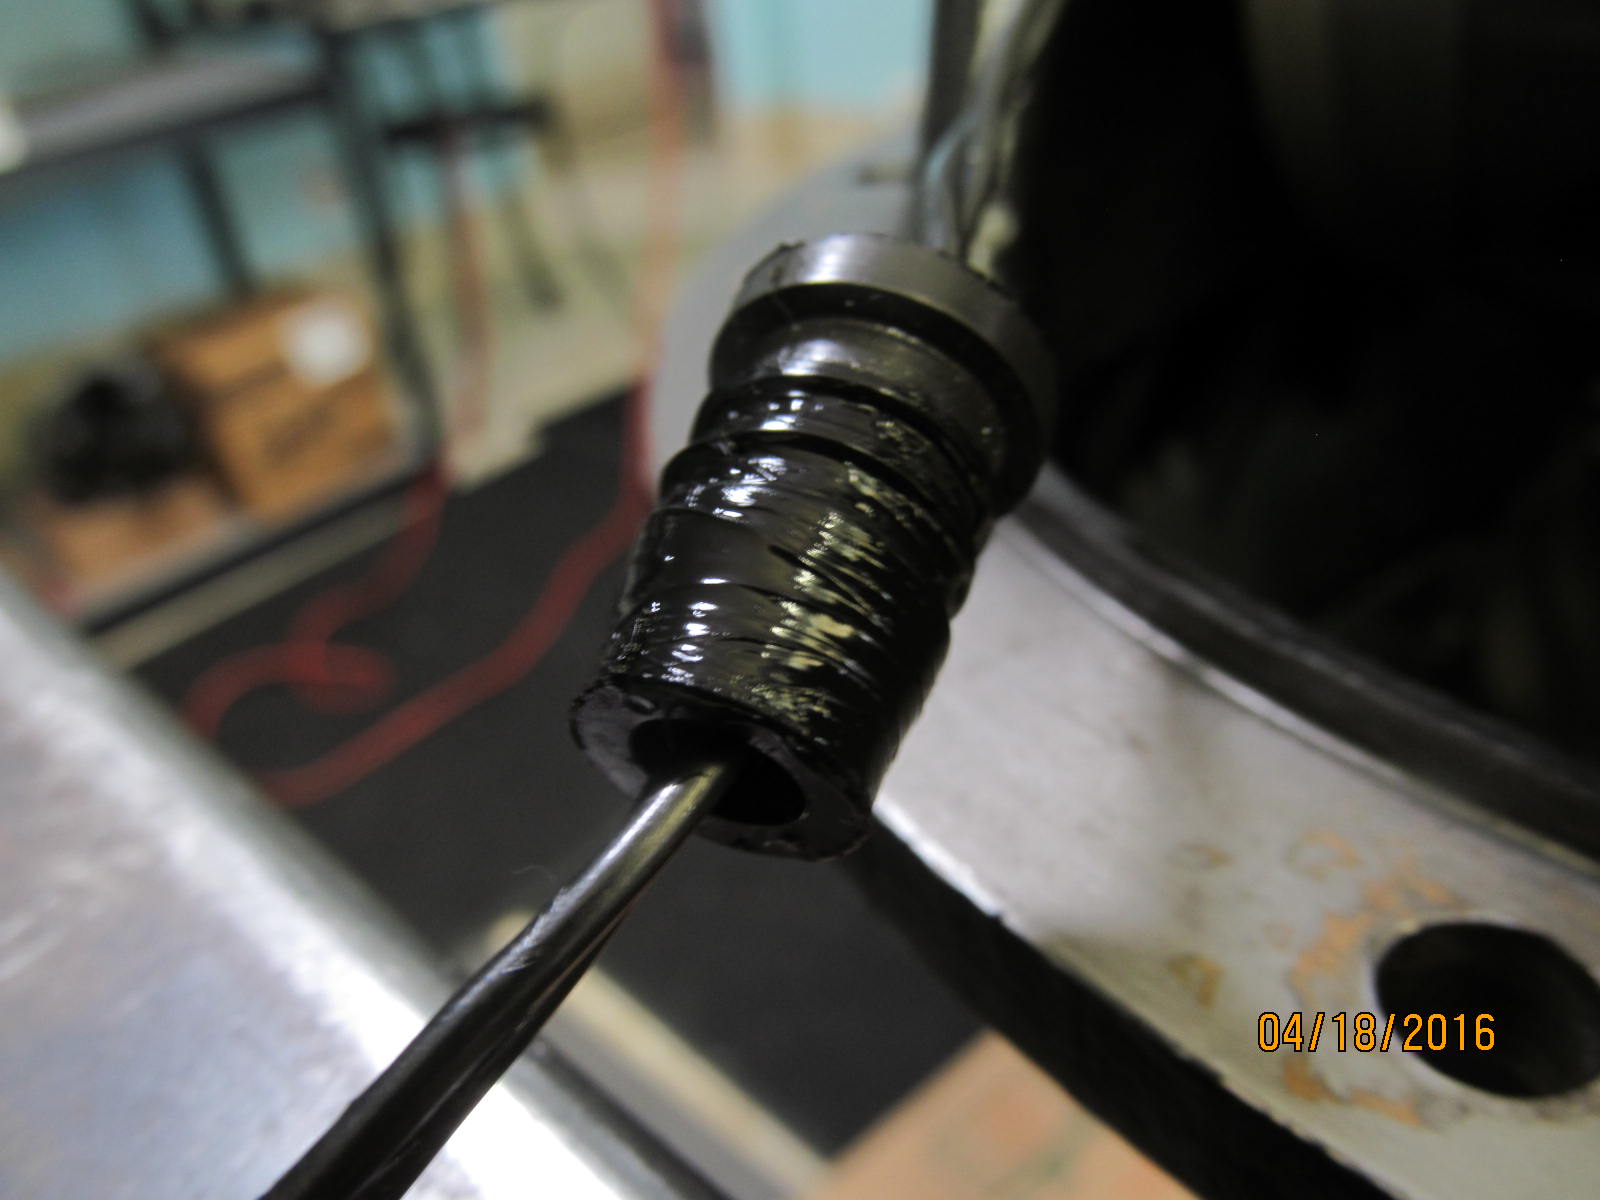
Coat liberally......
|
|
|
|
|
....and push it thru. Still will require a good effort but a heck of a lot easier than with the dry rubber.
|
|
|
|
|
-----------------
|
|
|

|
|
One more final paint check....drive side....beautiful.
|
|
|
|
|
Coast....nice.
|
|
|
|
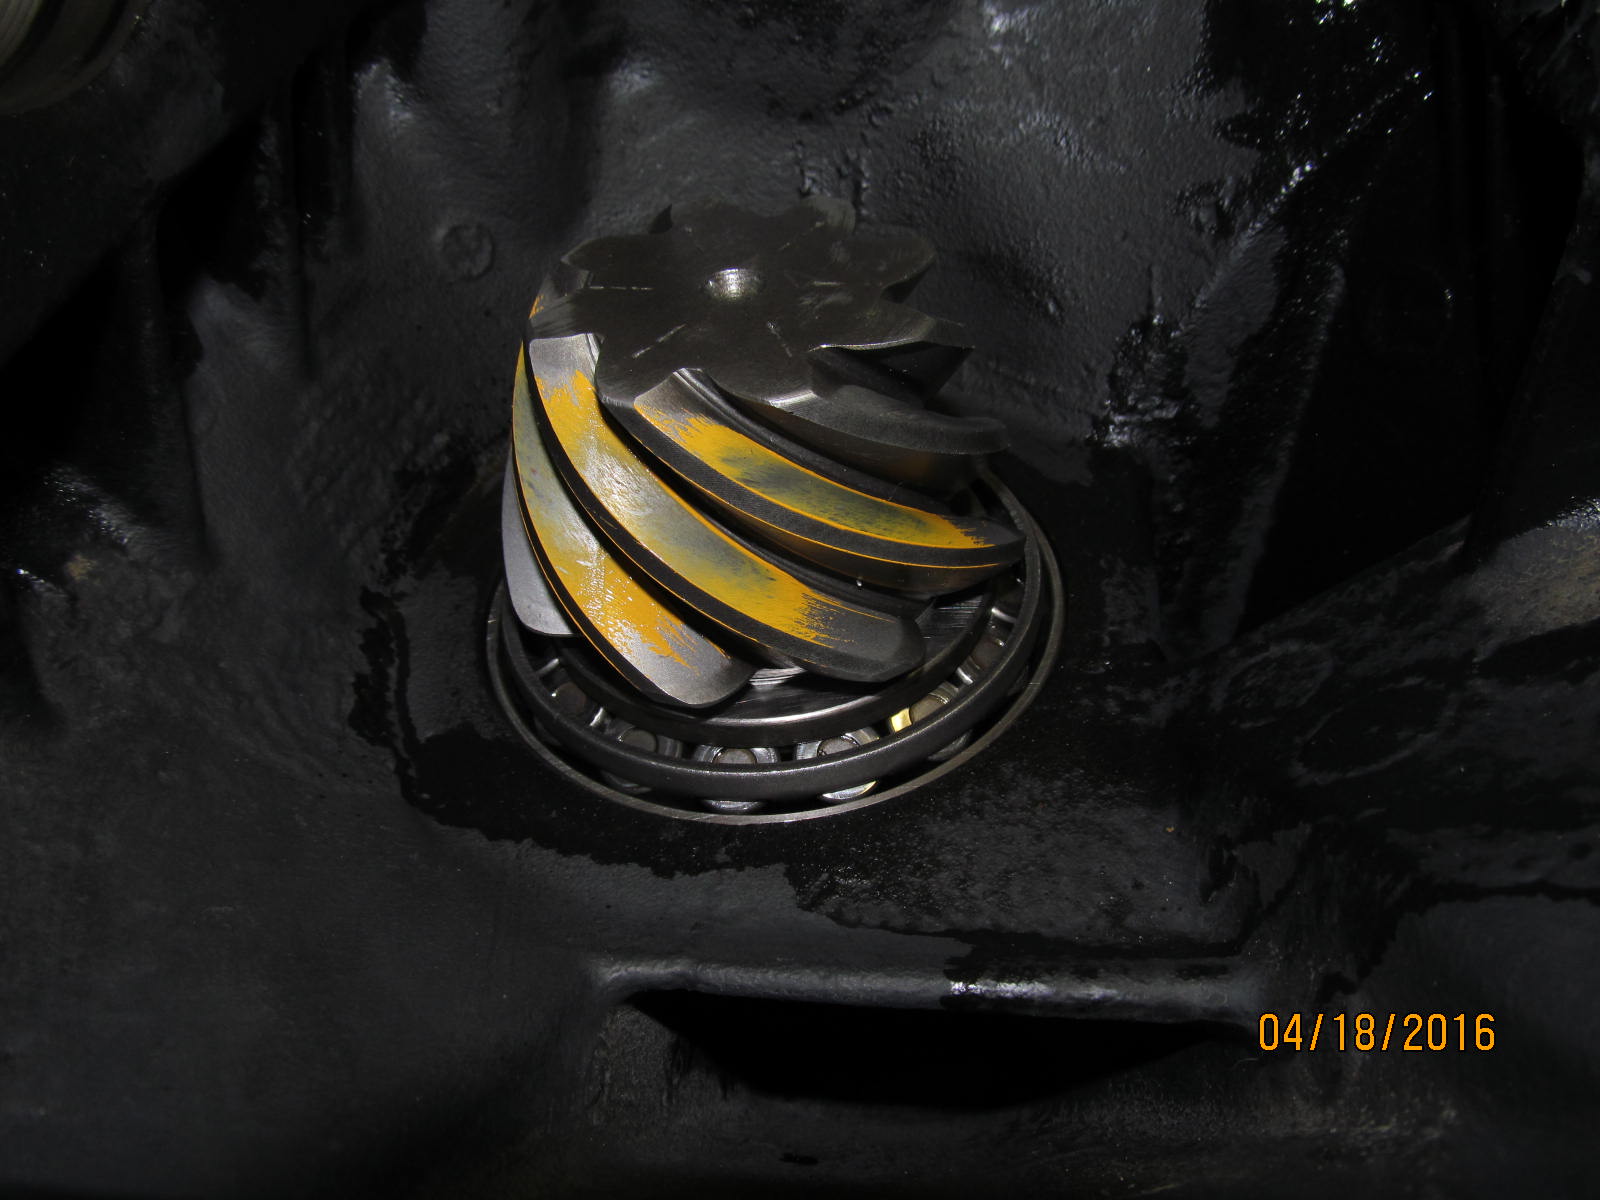
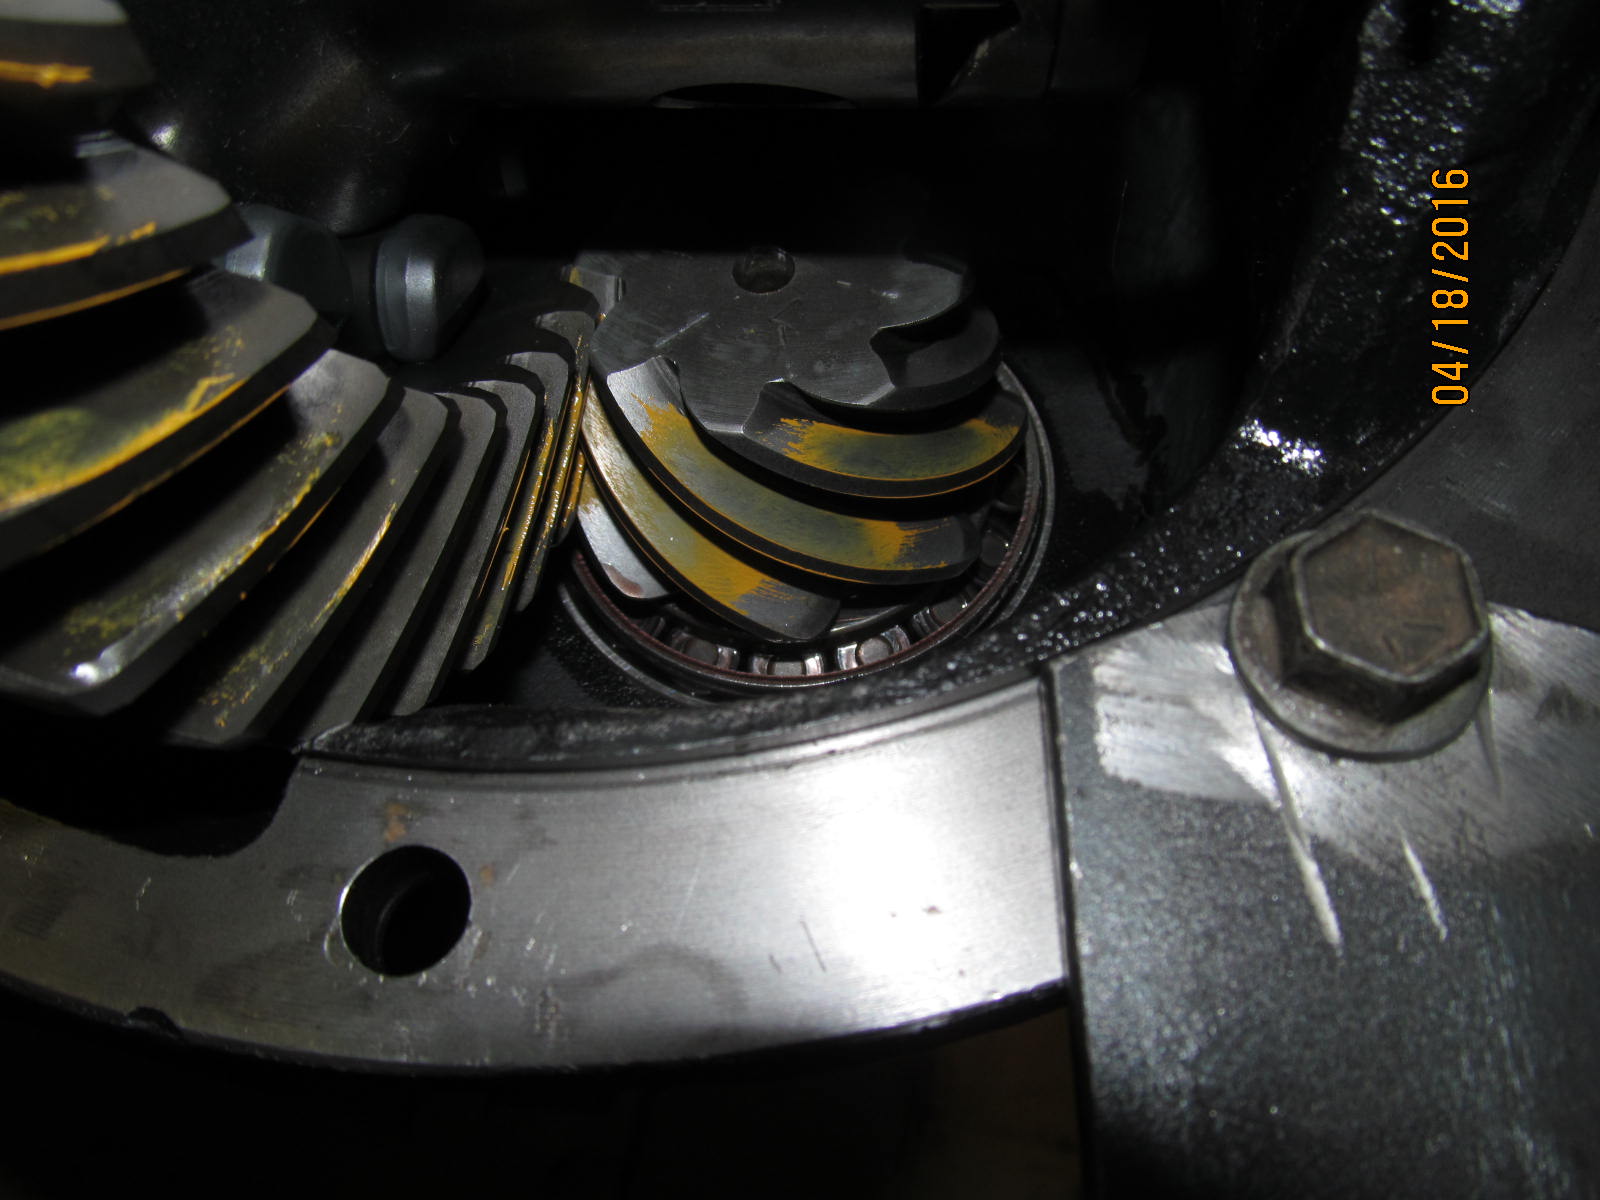
Drive side of the pinion tooth....
nice.....as indicated by the lack of harsh contact the comet tail has with the root.
|
|
|
|
|
Ring gear scribed with details.
|
|
|
|
Final notes.
Contact Ward Harris (National importer/authorized dealer for Harrop) at 1-800-224-7801
or email info@cruiserbrothers.com
|
|
|
|

|