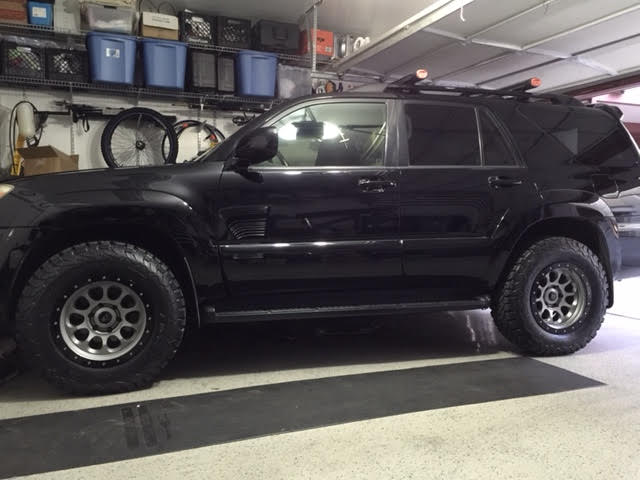
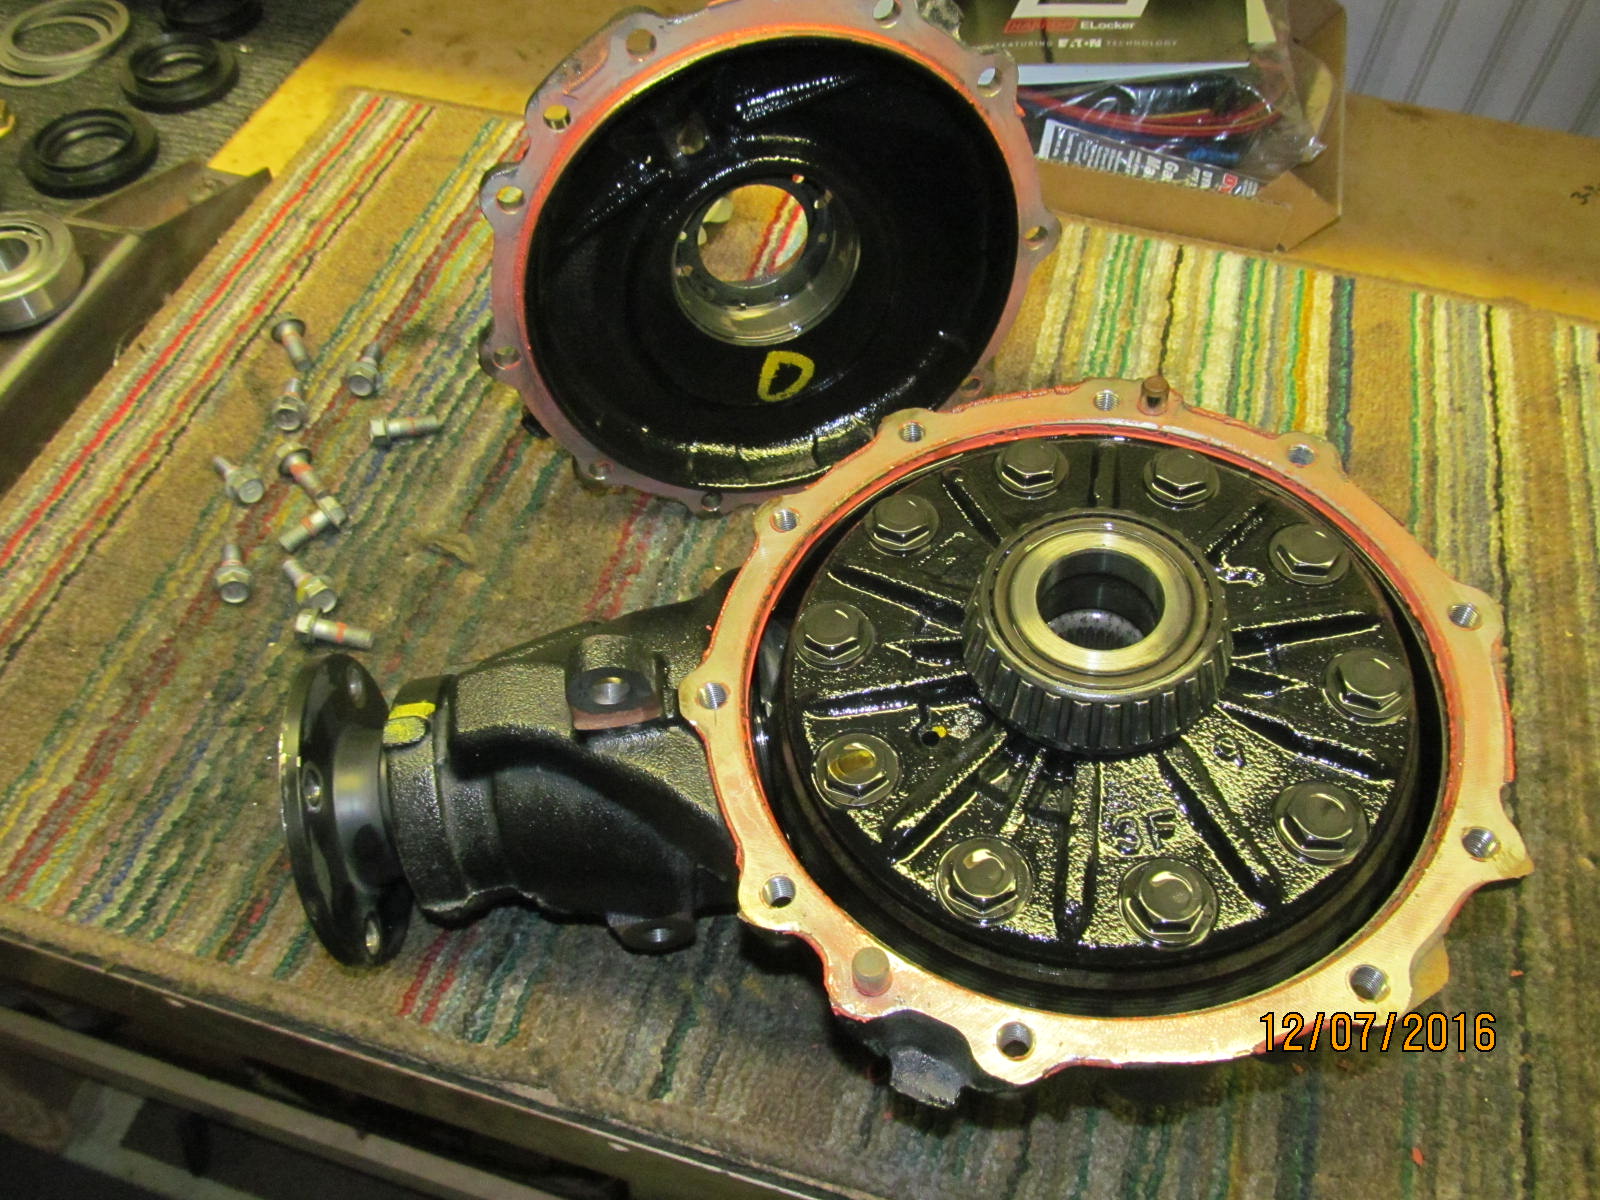
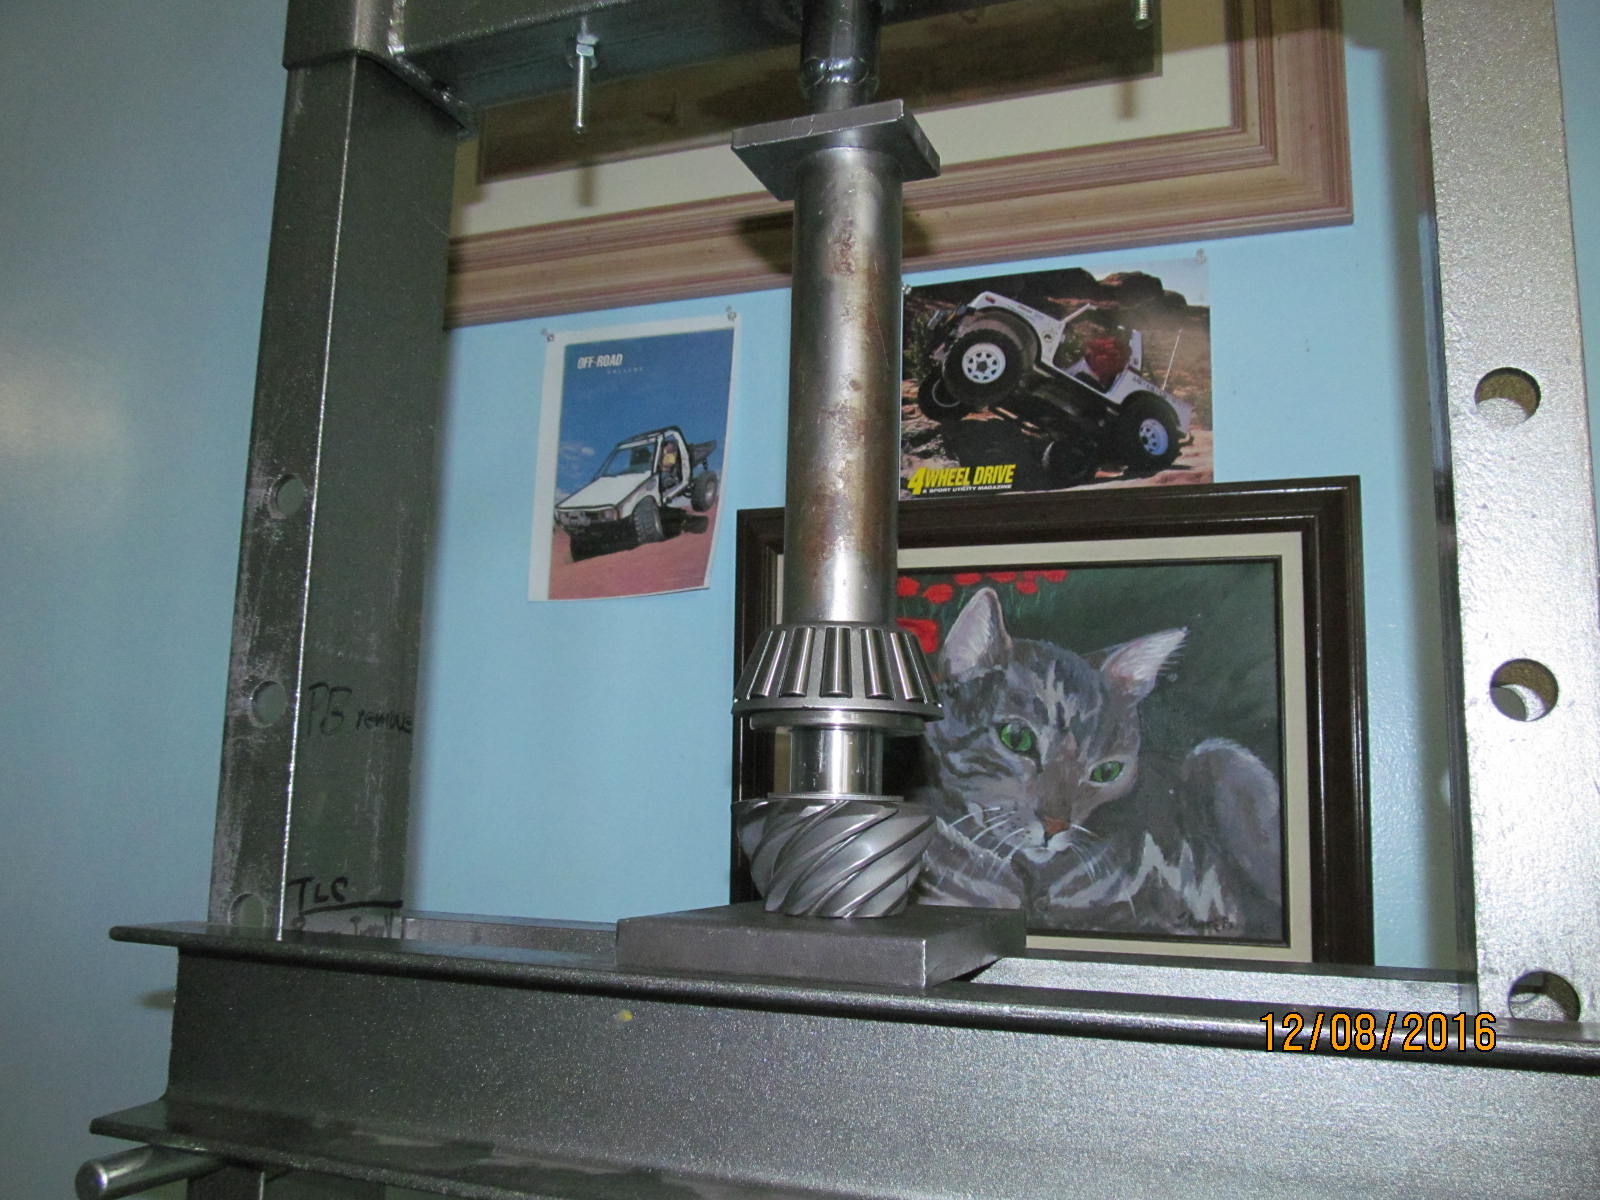
is his 07 4Runner with both diffs
removed awaiting 456 Nitro gears with
Harrop Elockers for both ends.
skidplates, sliders, bigger tires, etc have all been been ordered and a few have already
arrived. Nam, Paul and Mike should be finished with their builds for the
TLCA Moab event, in May.
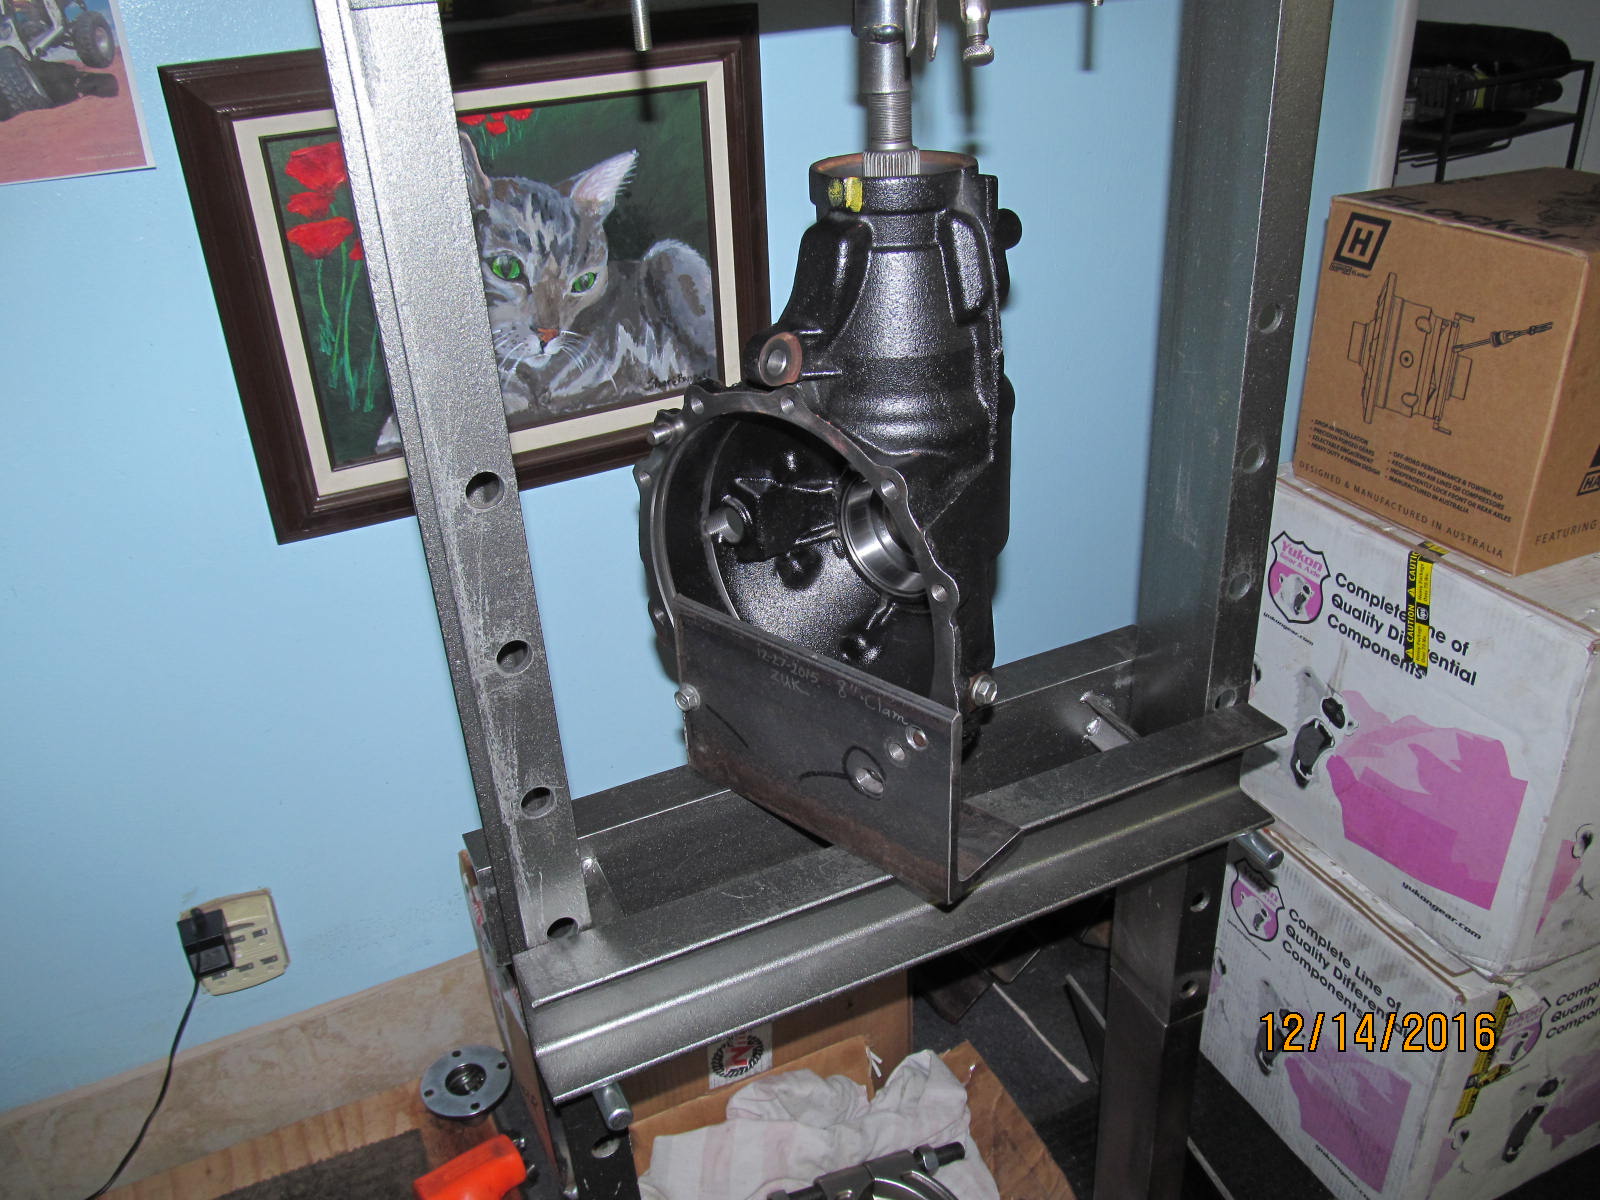
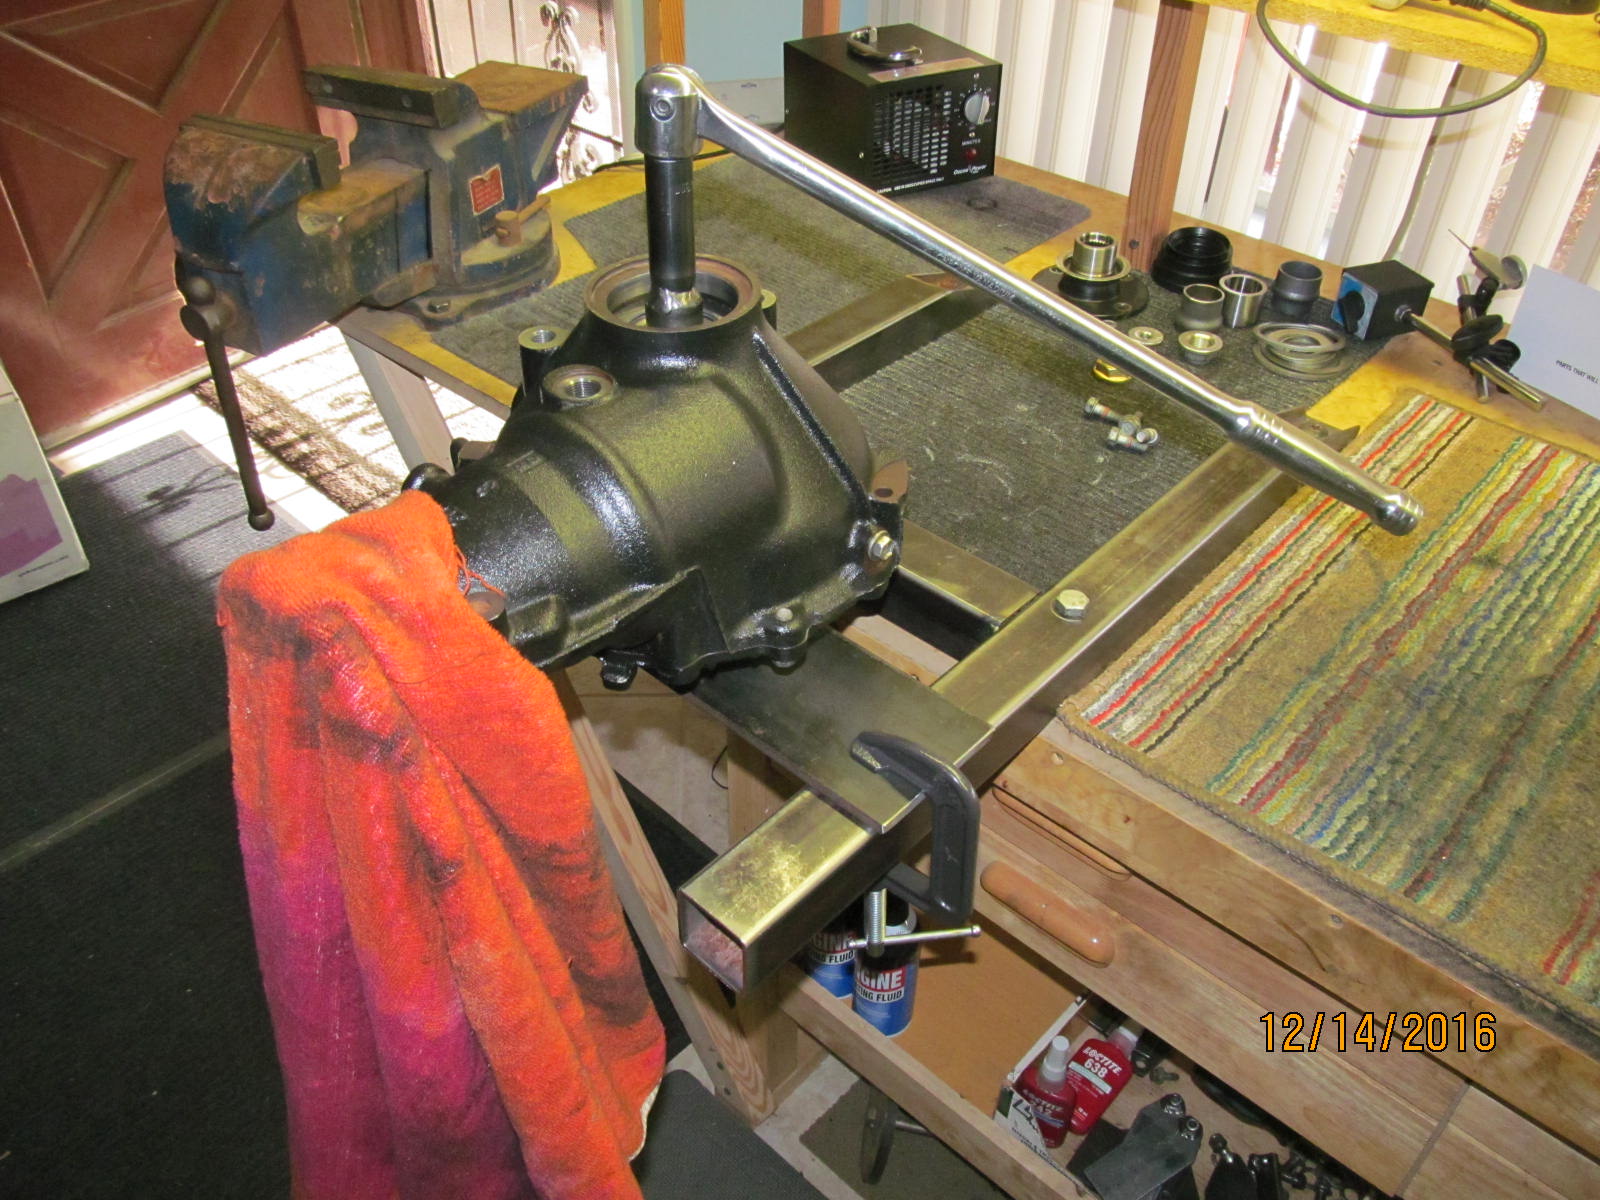
There will be a hotlink down below a couple pictures for the actual rear 8" install.
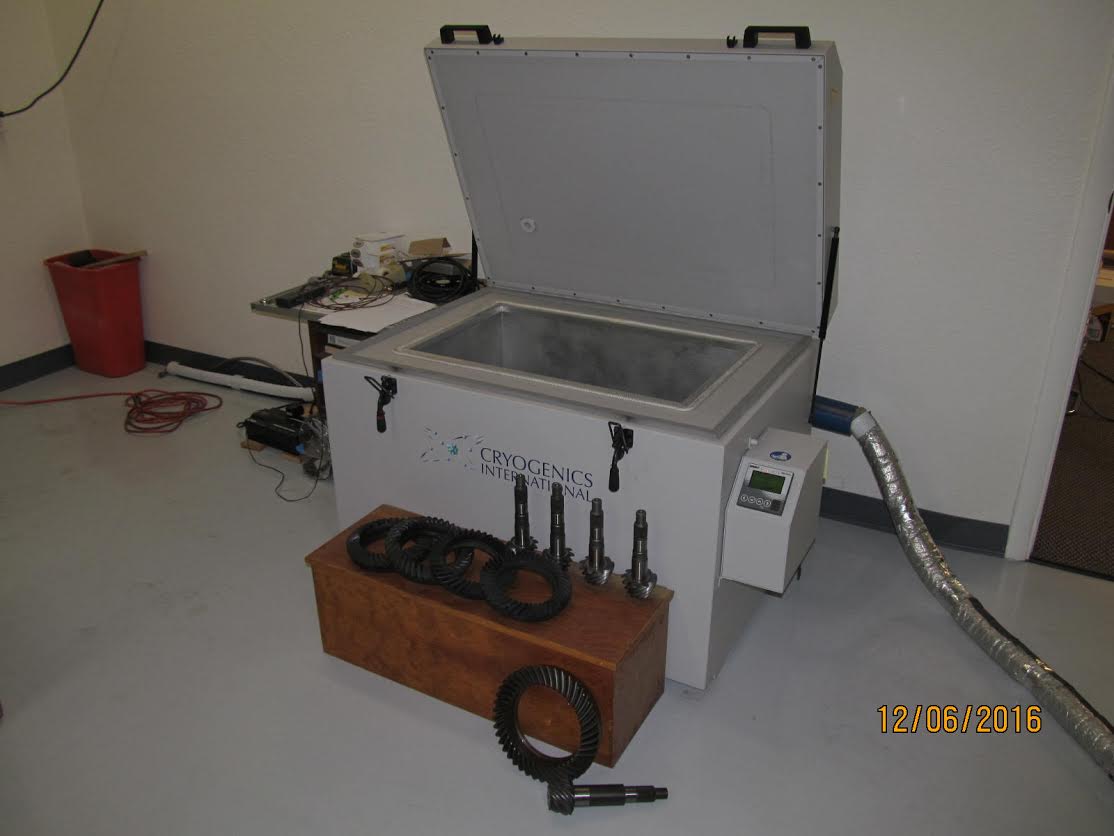
2 of them are Mike's...2 are Paul's...and the one loner to the side is from
a Dana 60 that someone dropped off while I was chatting with Charles.
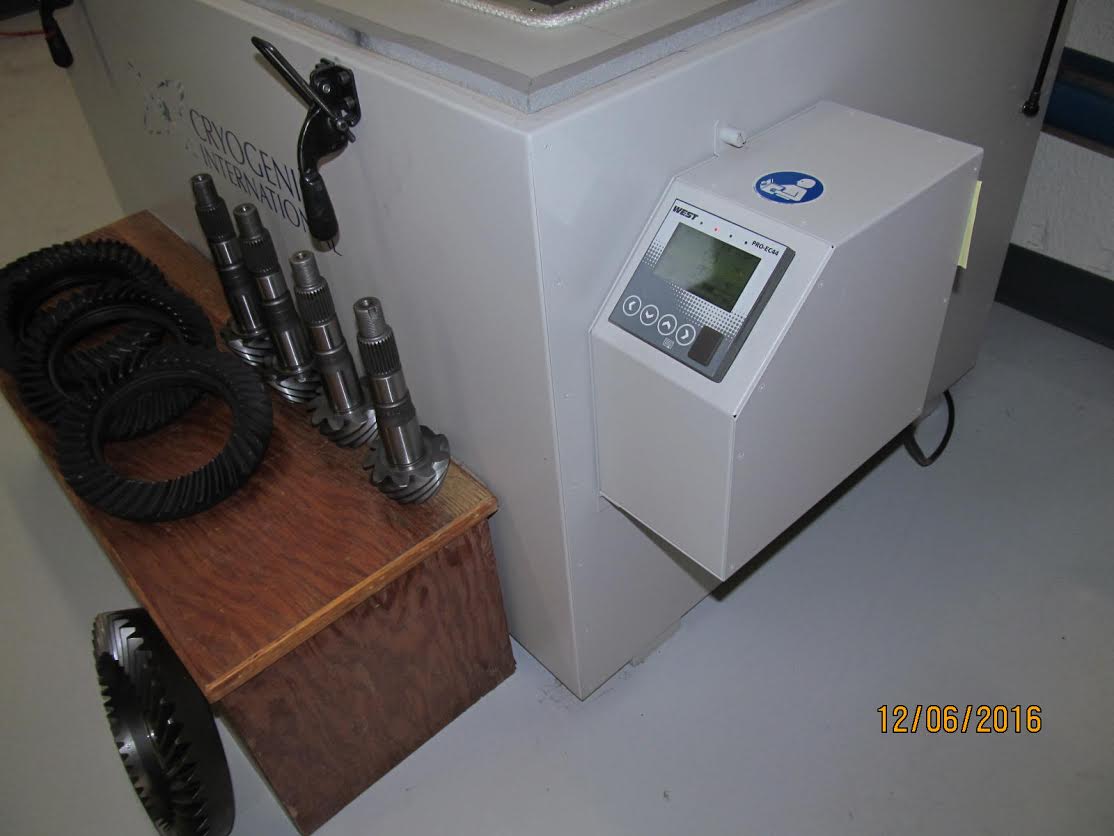
out? Product is coming in and nothing seemingly would be going out. Are
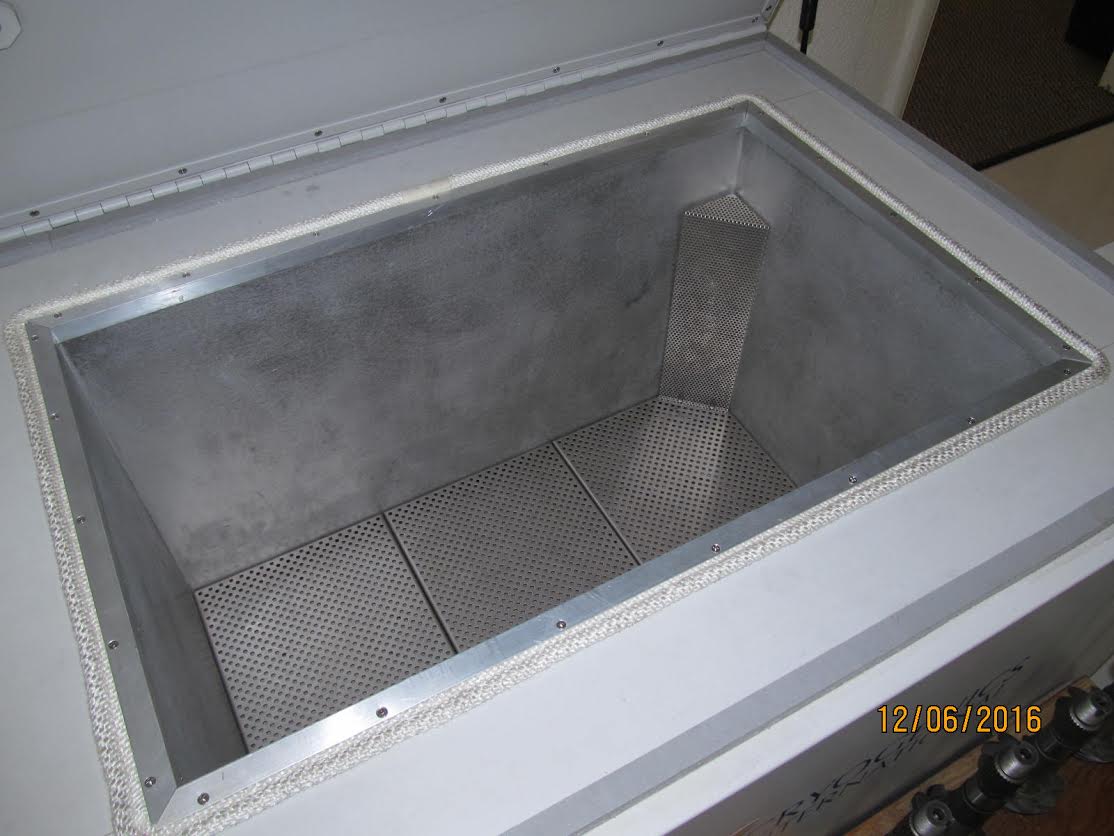
the chambers real chambers or are they just revamped refrigerators? This
is one reason why it is so important to actually see the setup...seeing
that it really is computer controlled. Maybe having a large chamber and
a mini-chamber, like this one, to handle smaller loads.
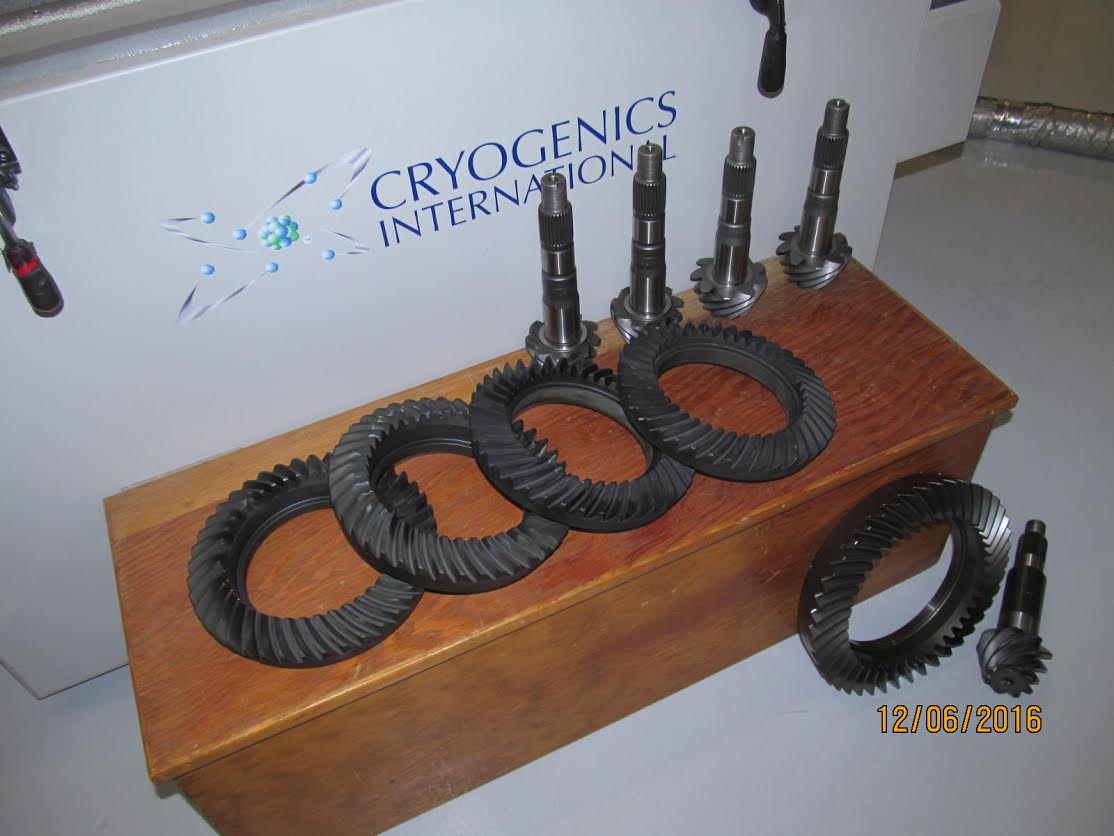
matched pairs.
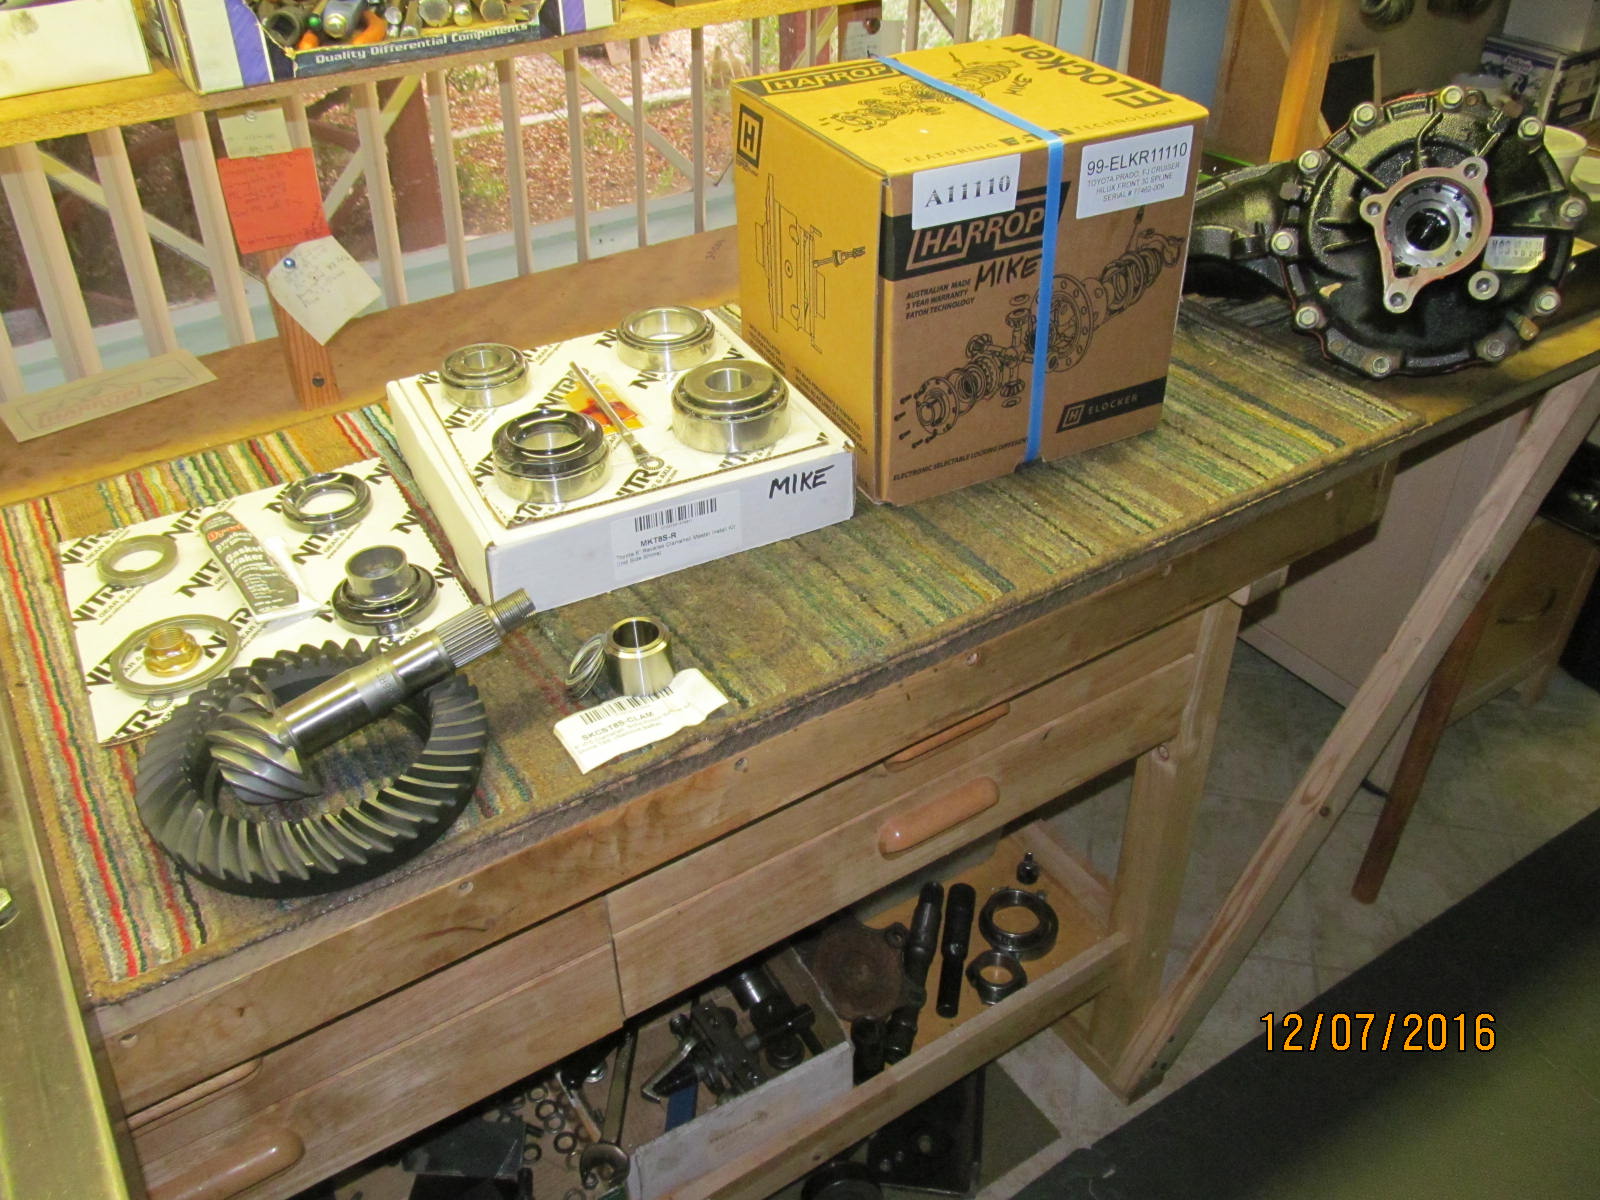
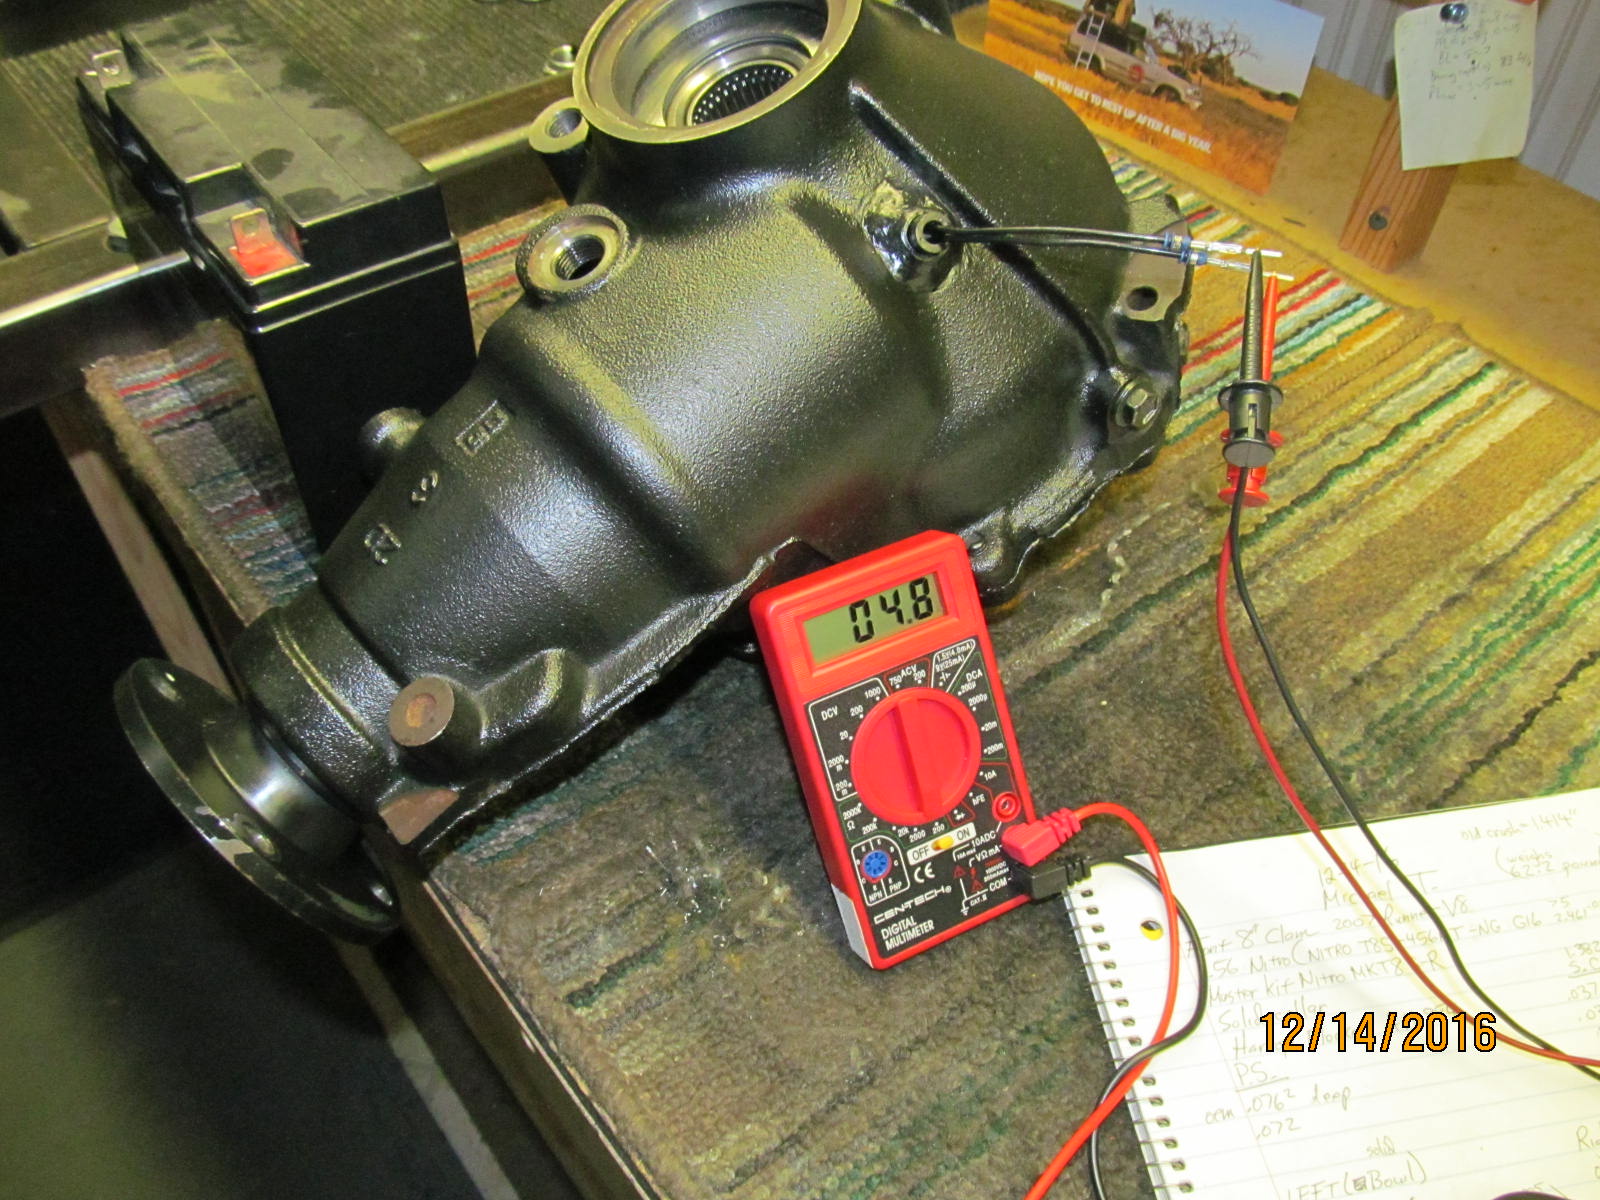
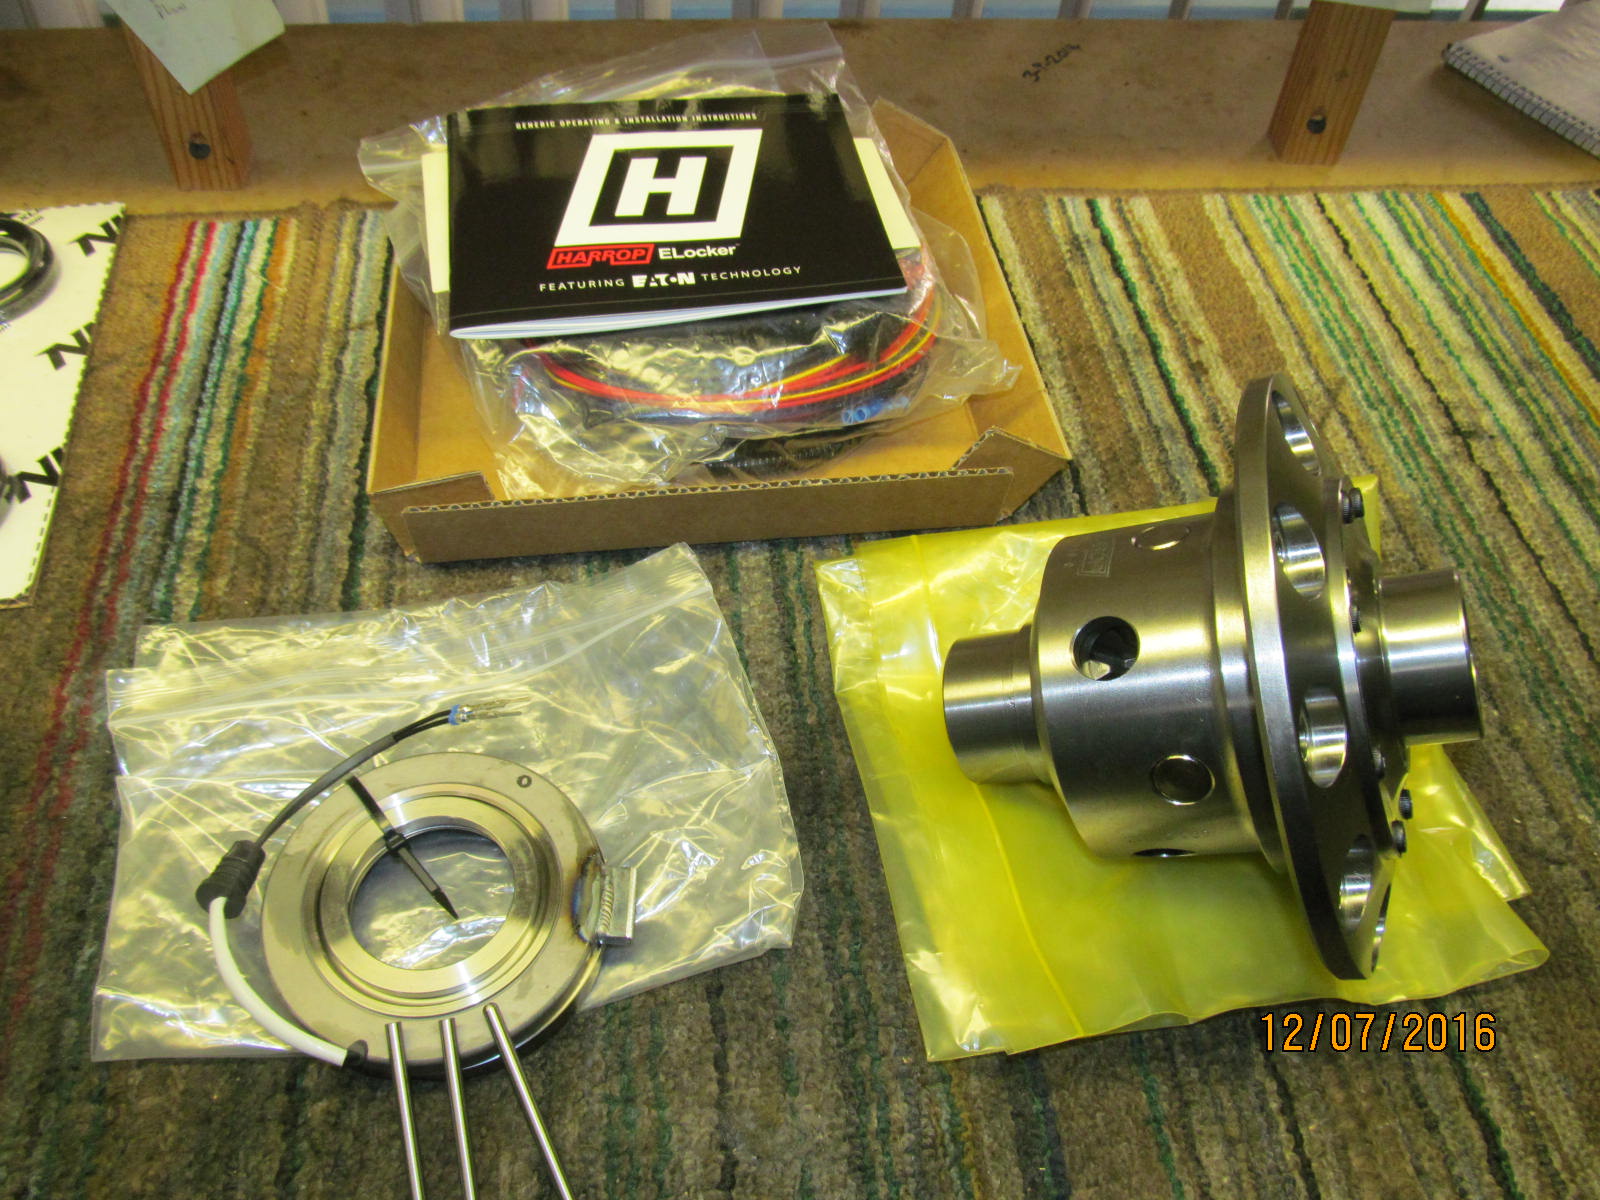
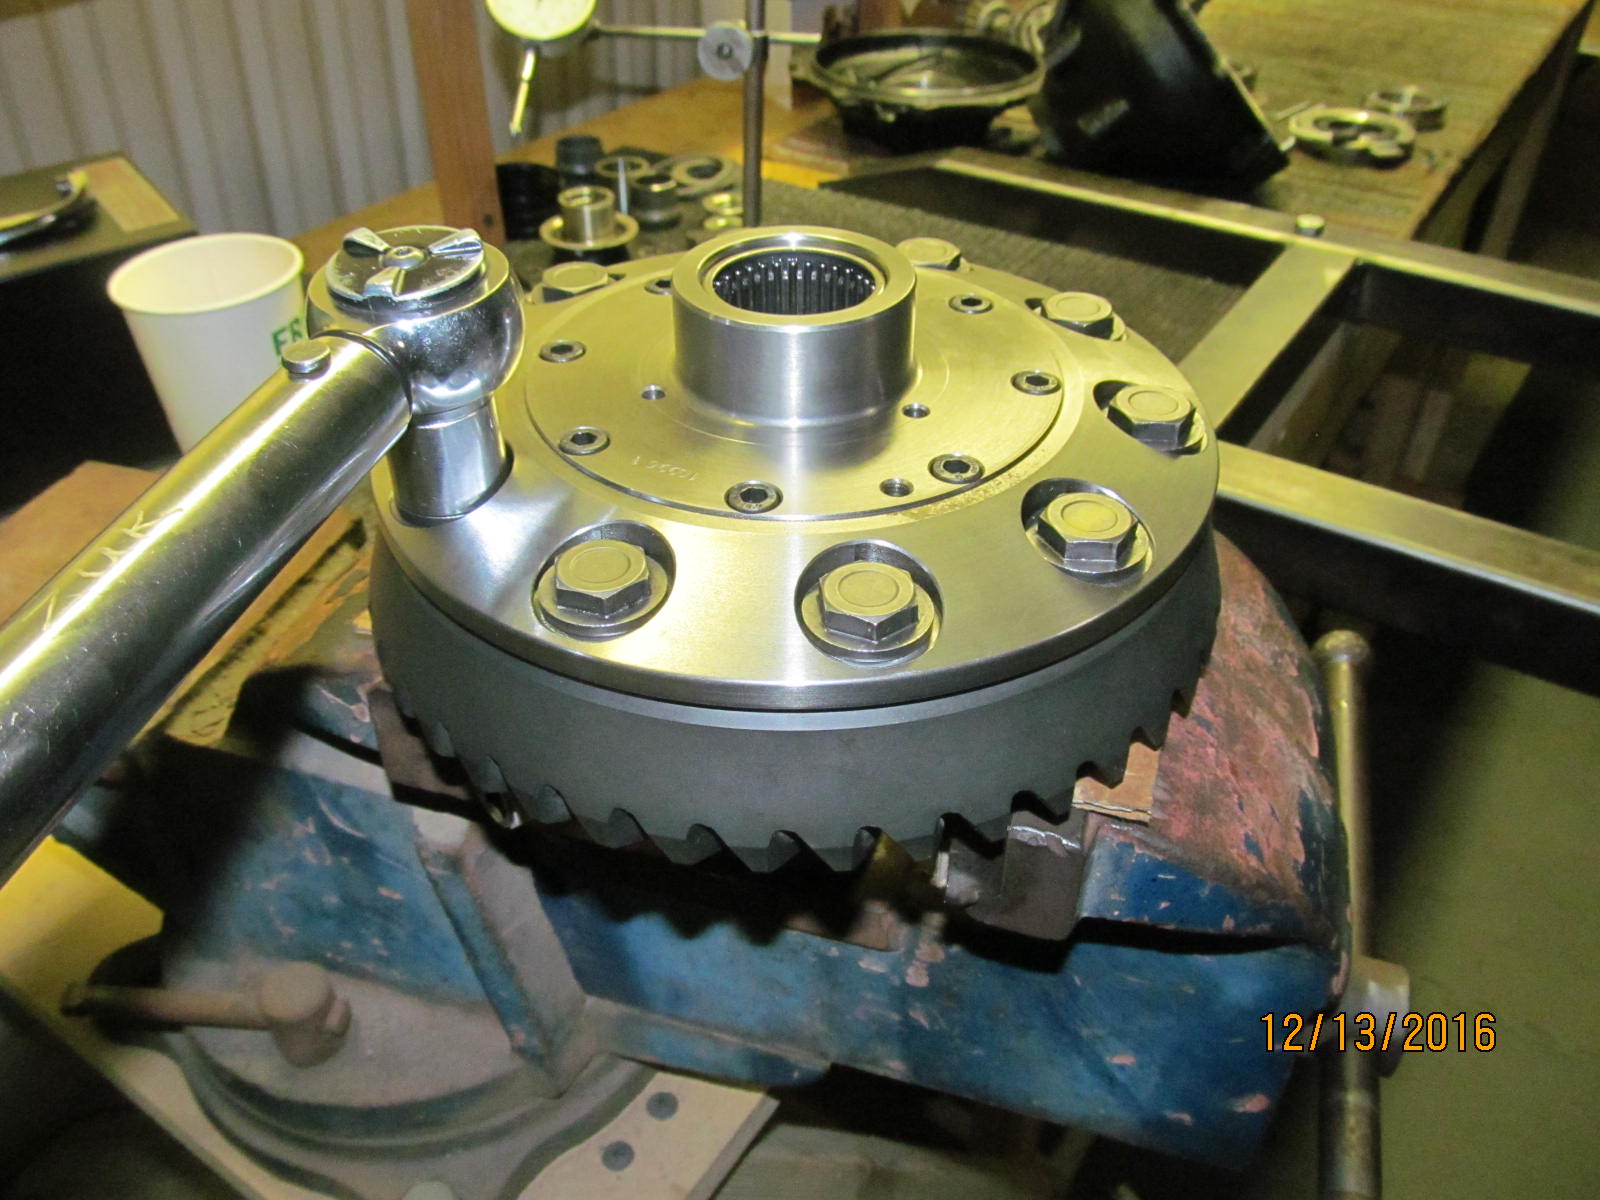
I emailed Mike about which Harrop elocker model to order for his gear ratio selection
and logic said it's the 110 model for ratios 3.91 and above. Logic is good when all
variables are known. More on that oversight later in the link and the easy solution.
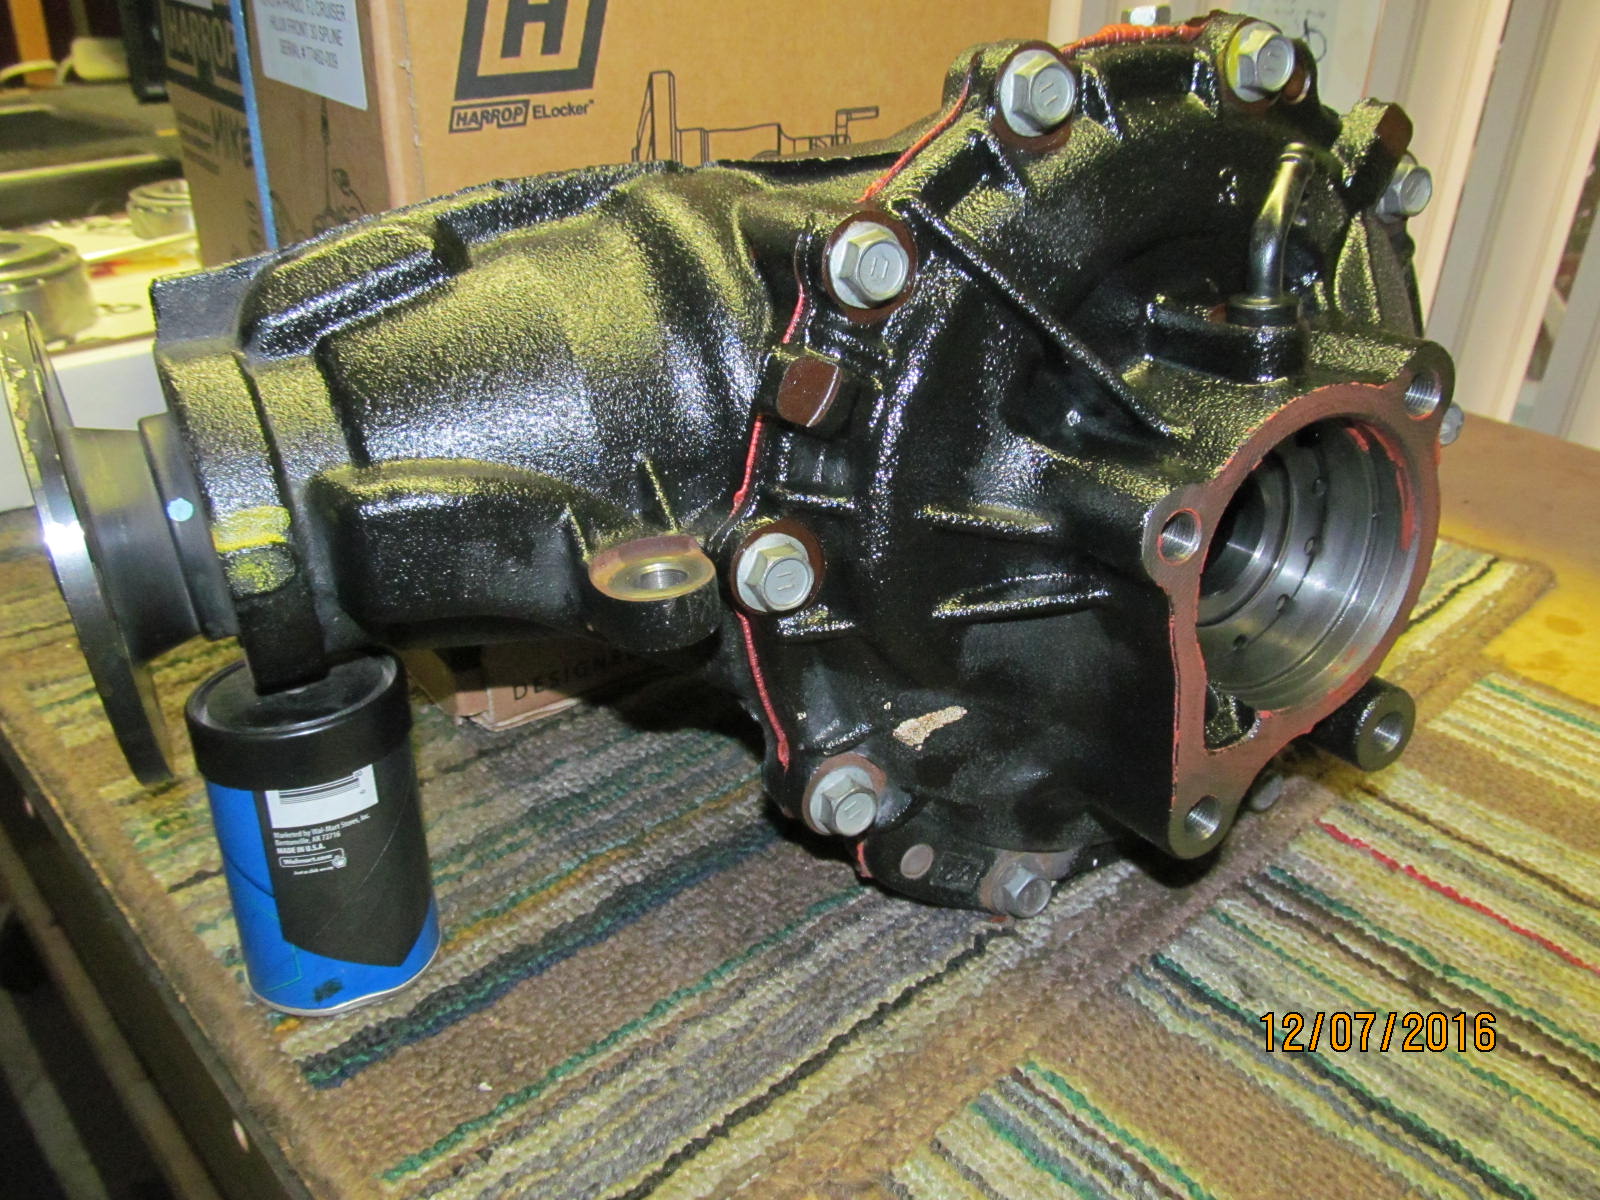
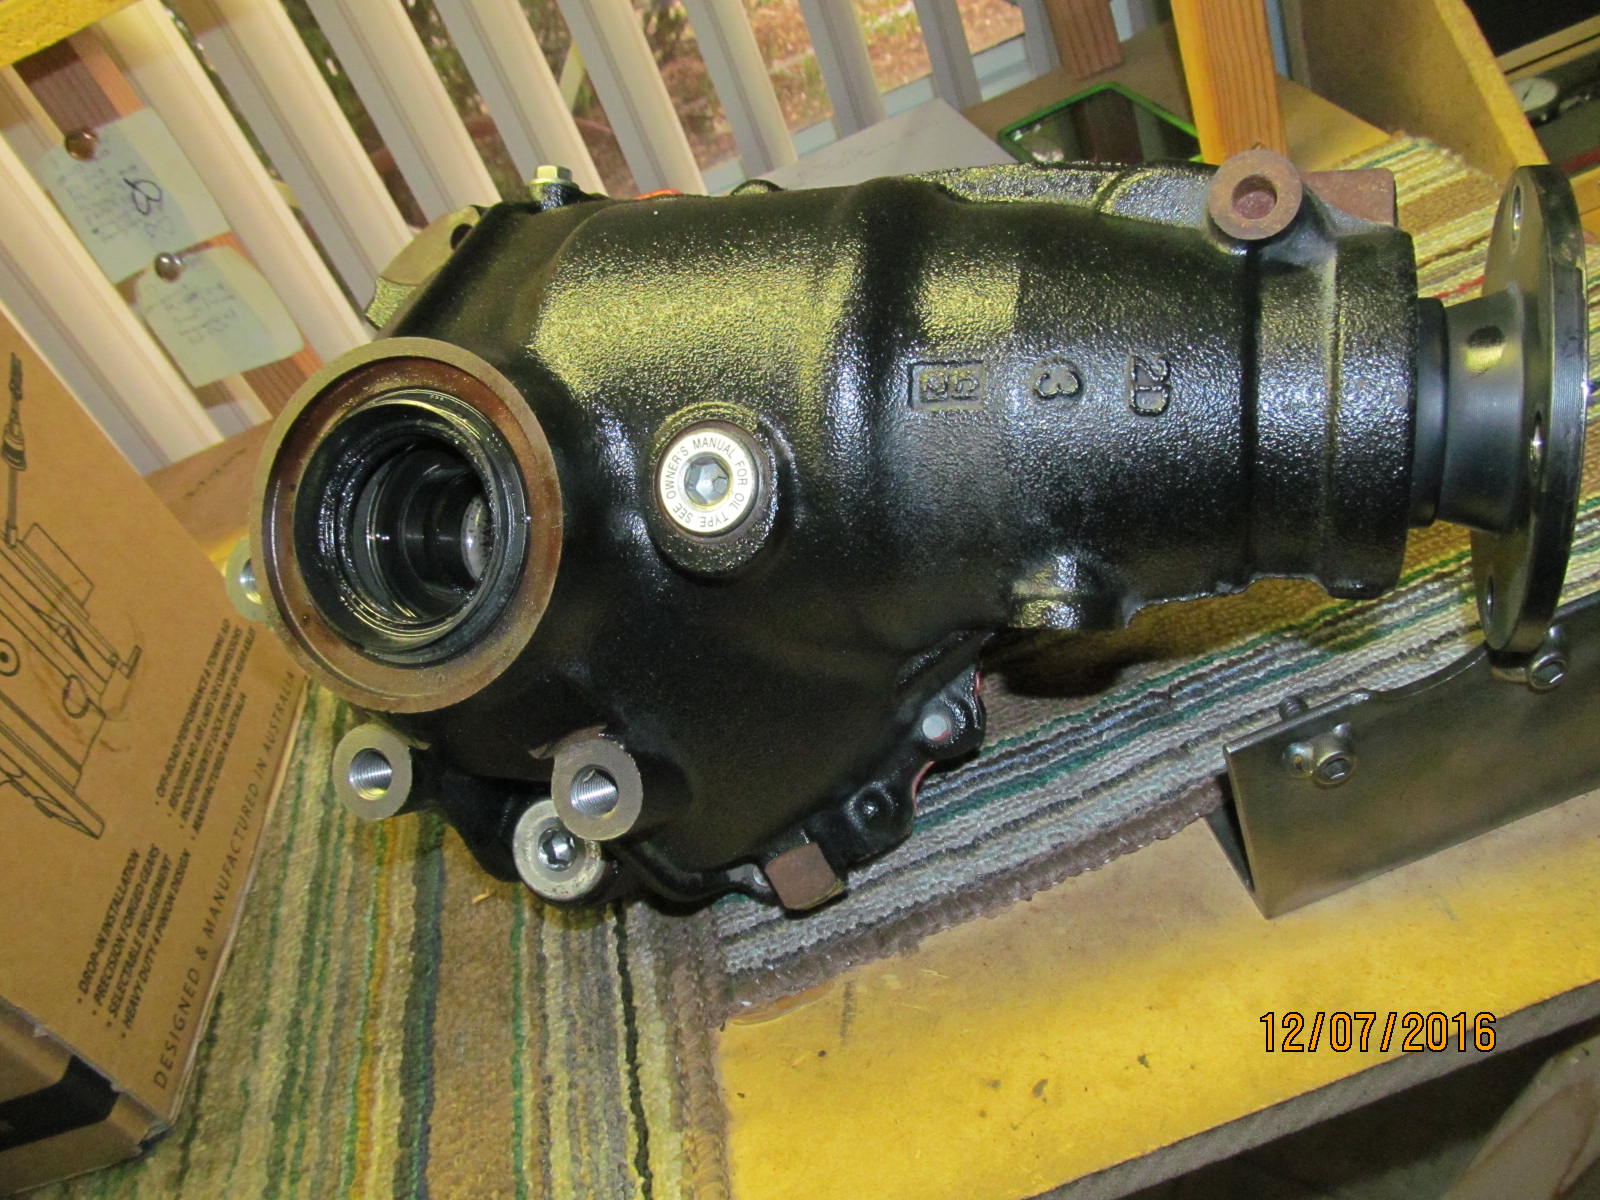
Link for the rear 8" install..... REAR BUILD
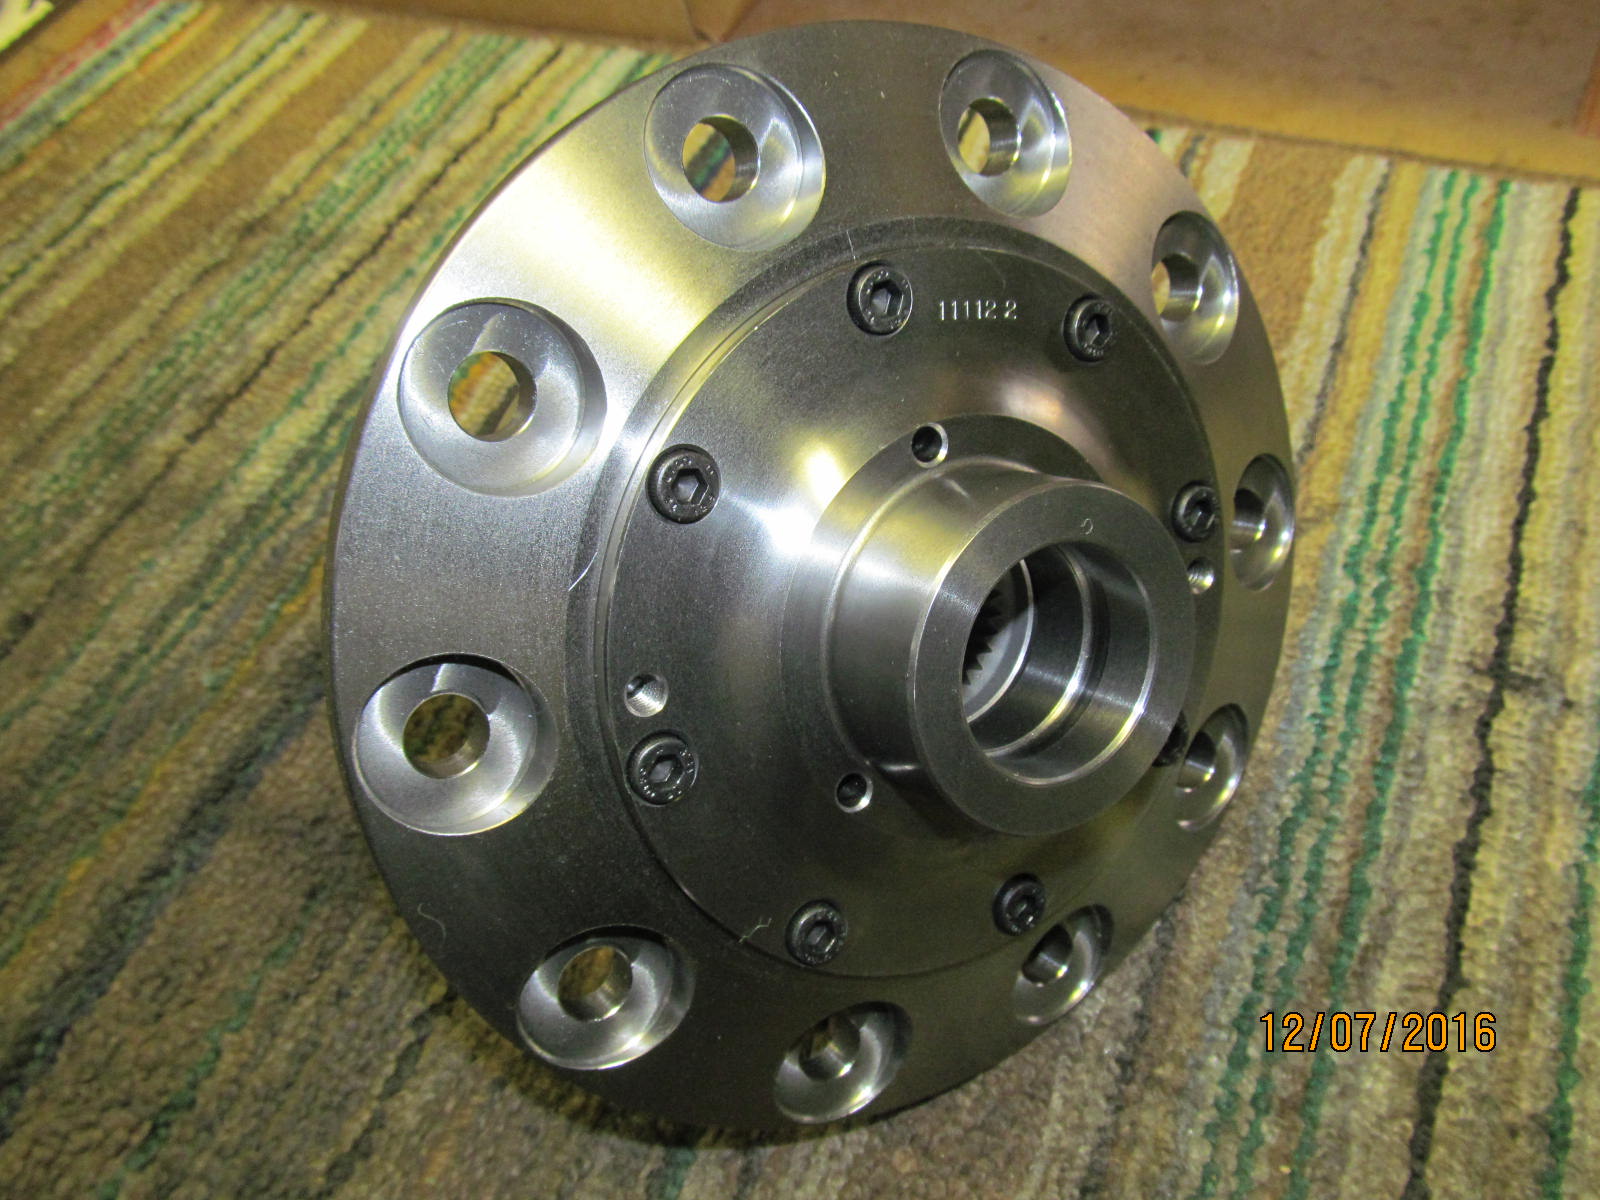
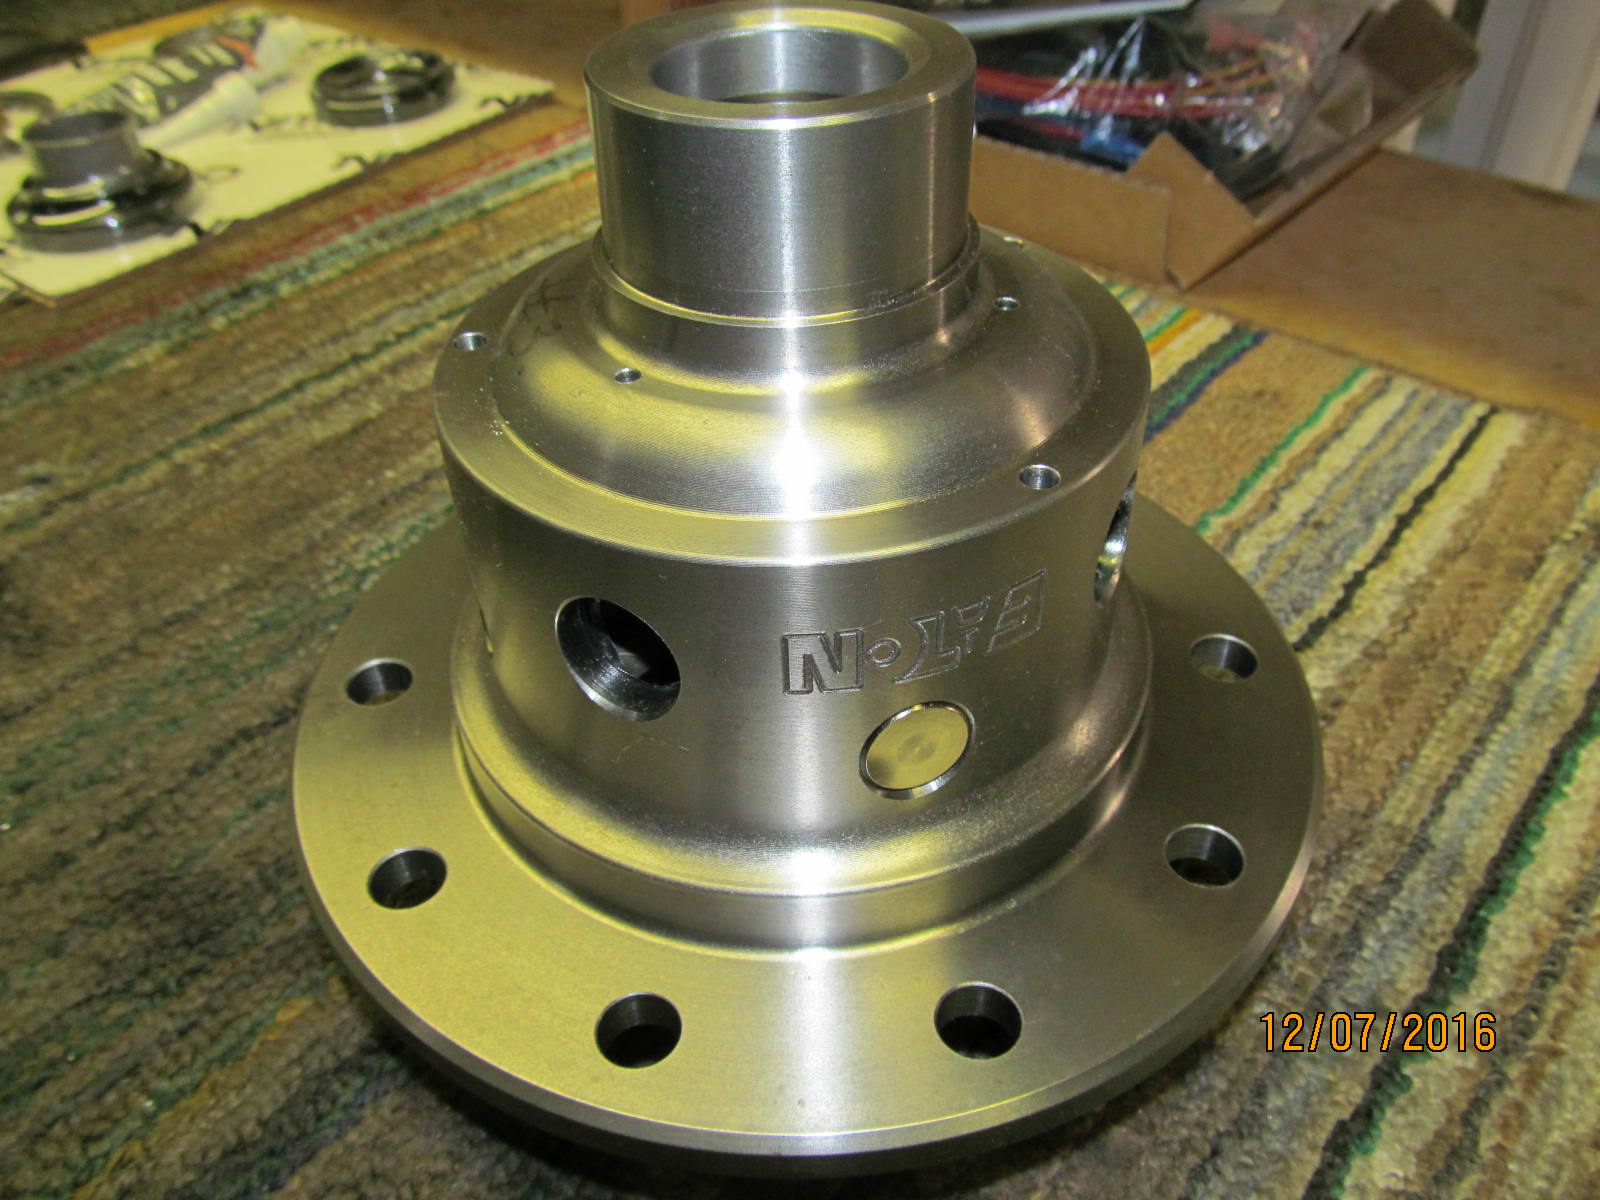
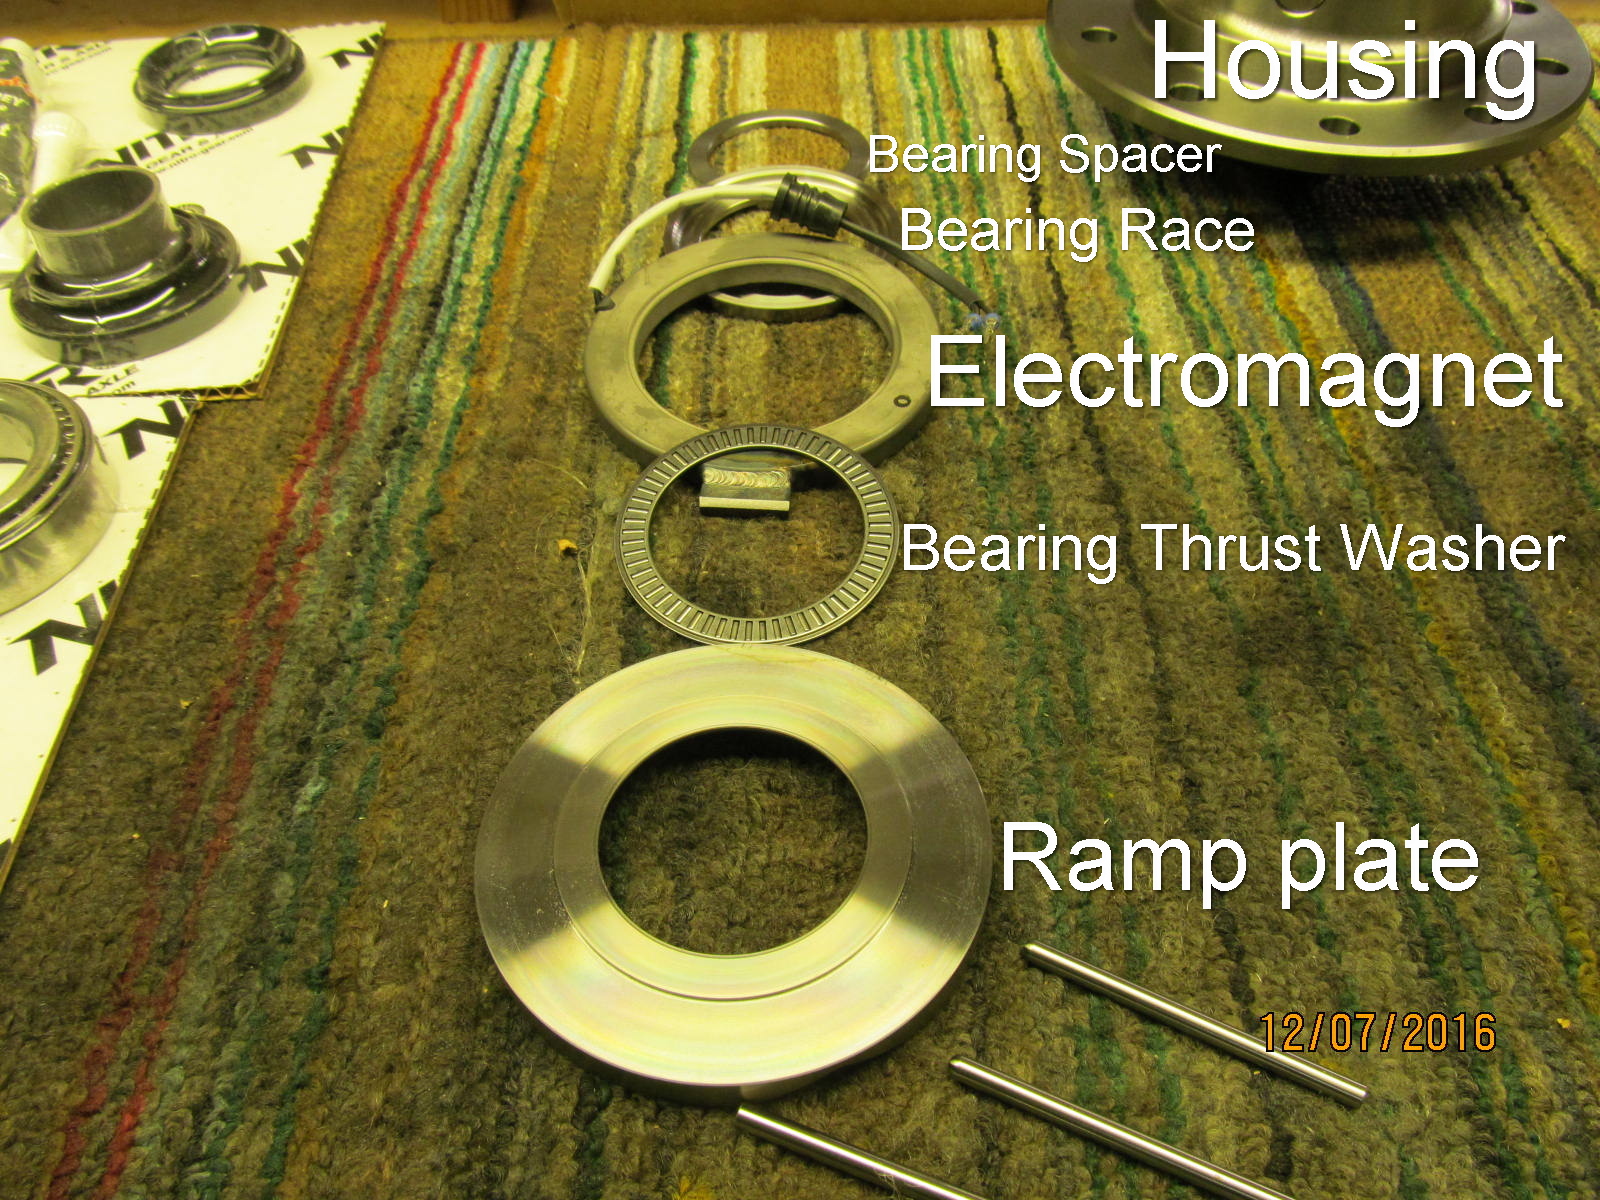
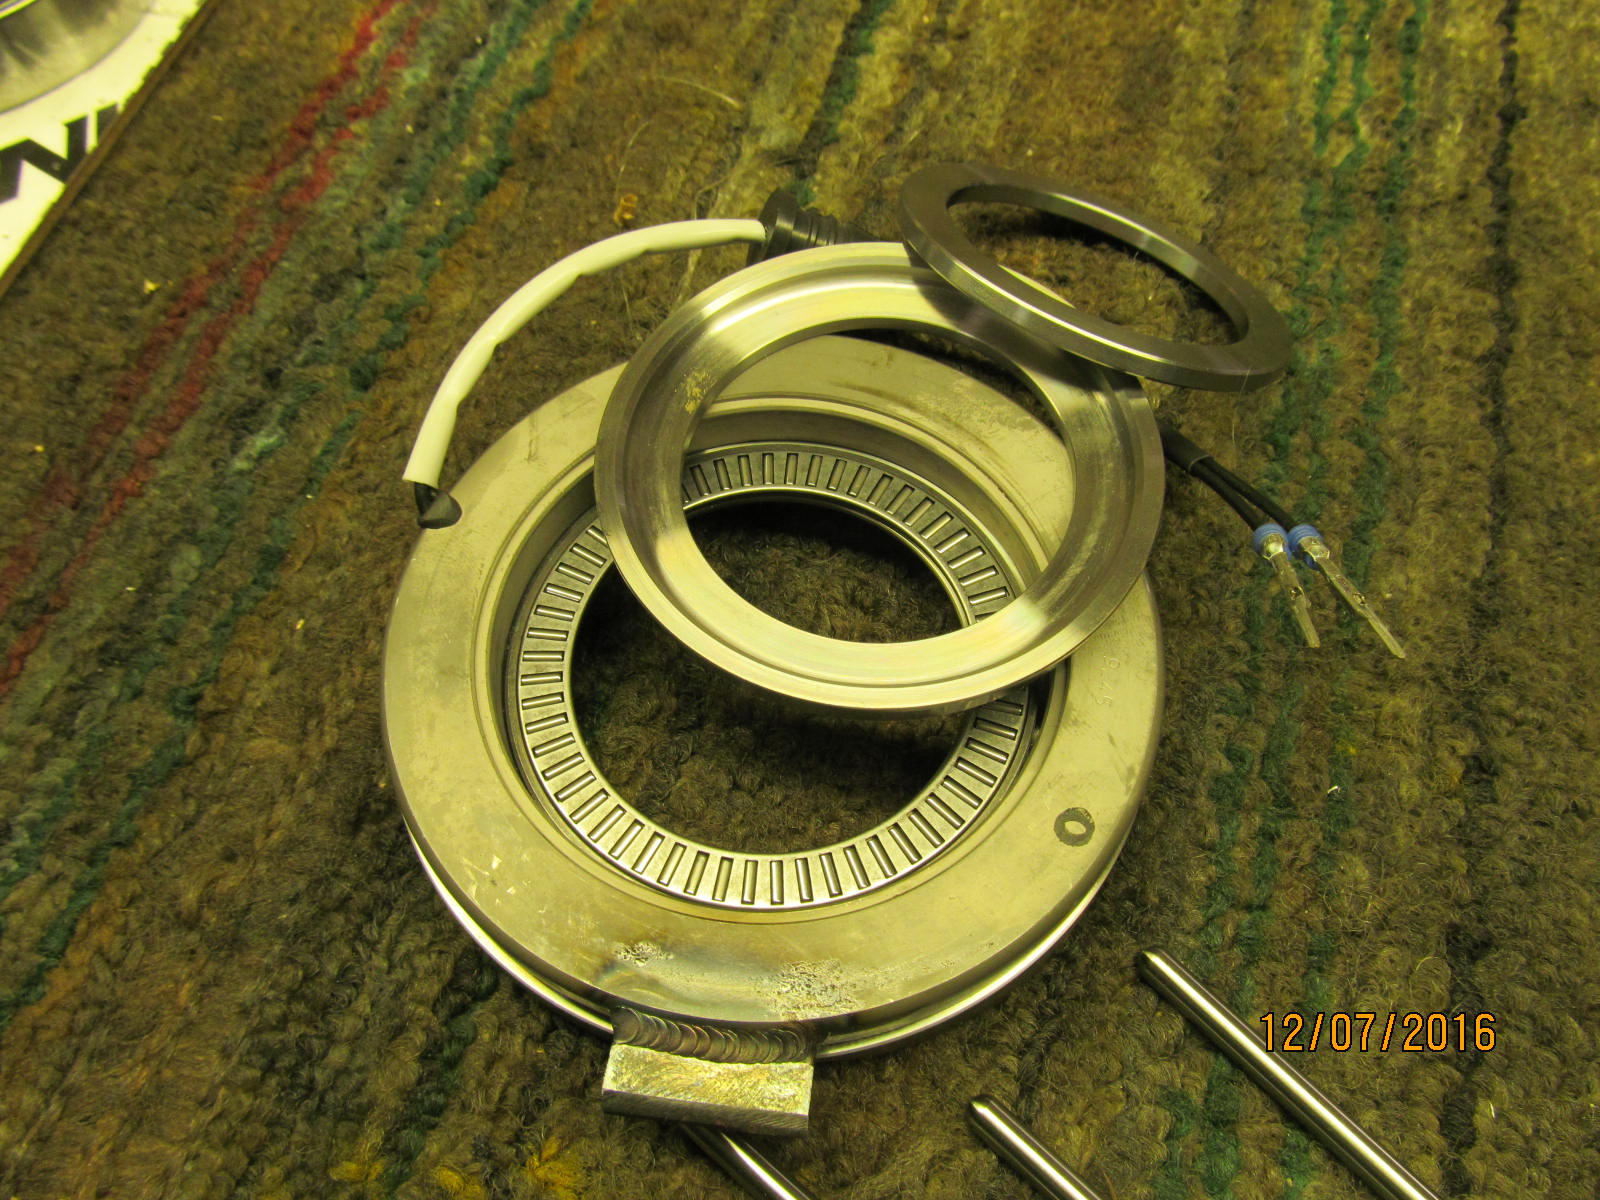
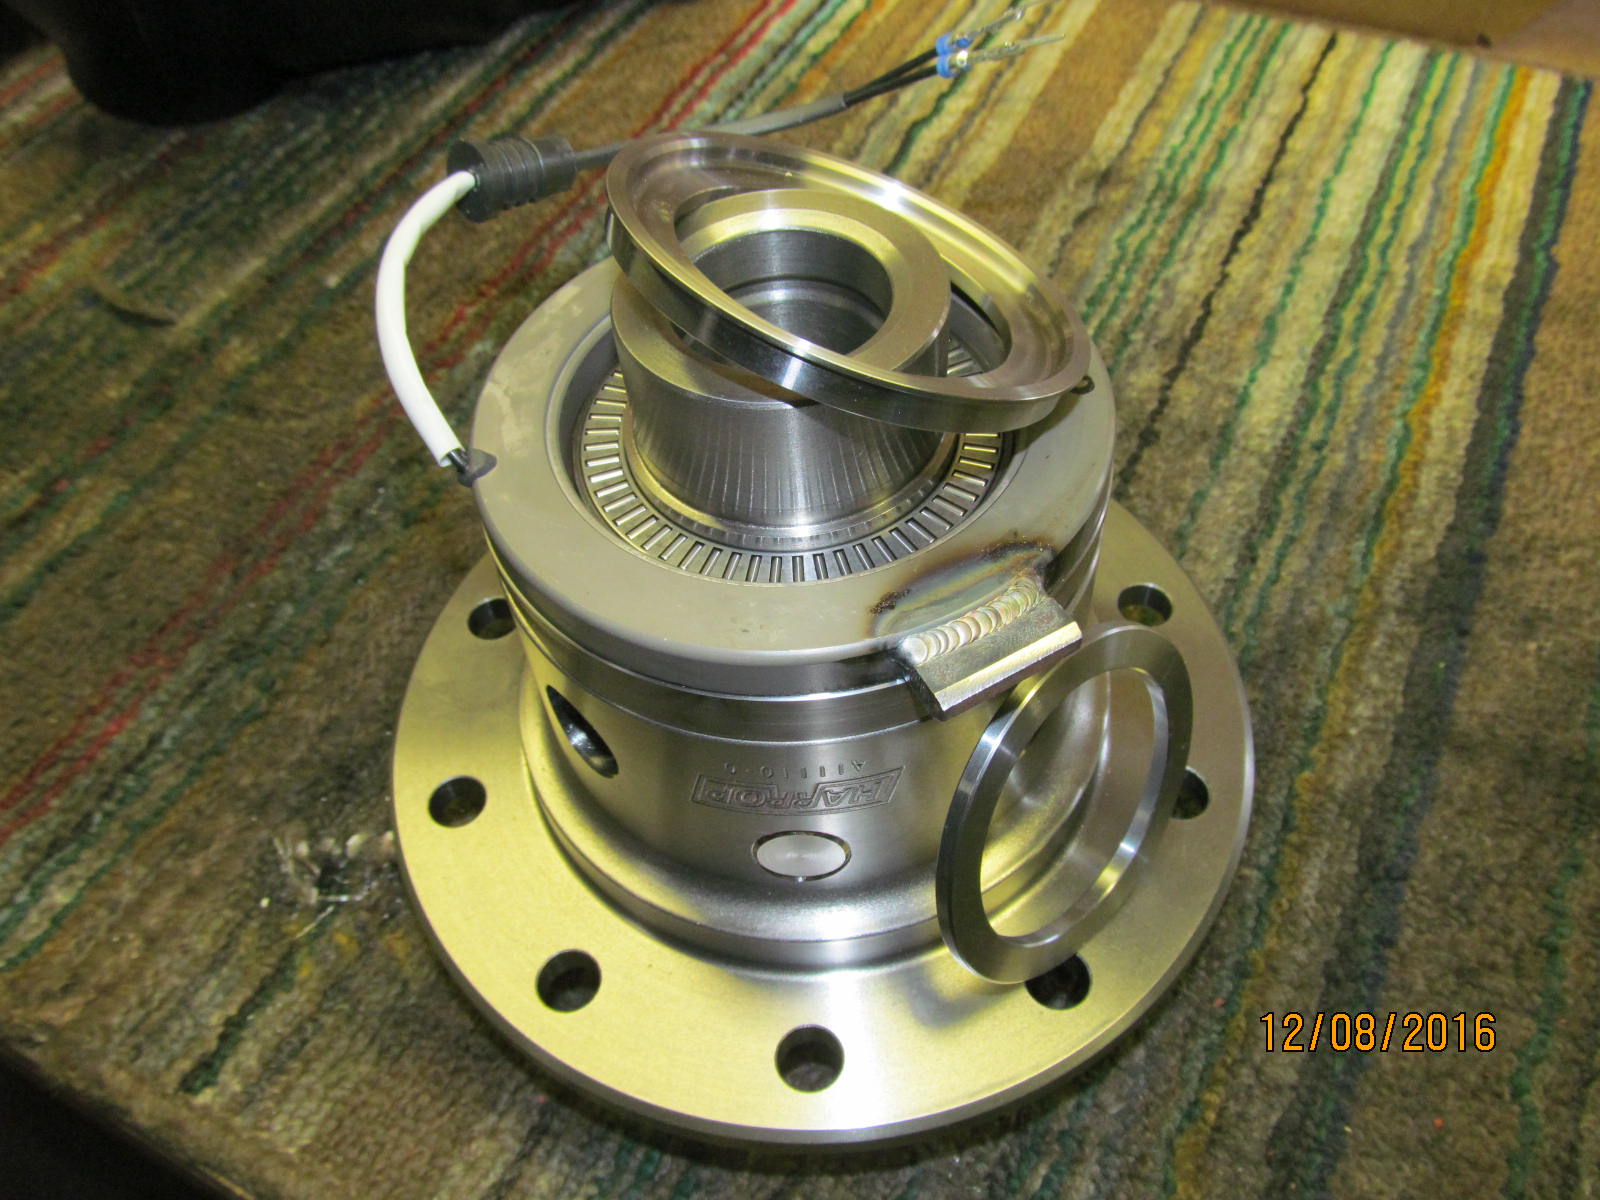
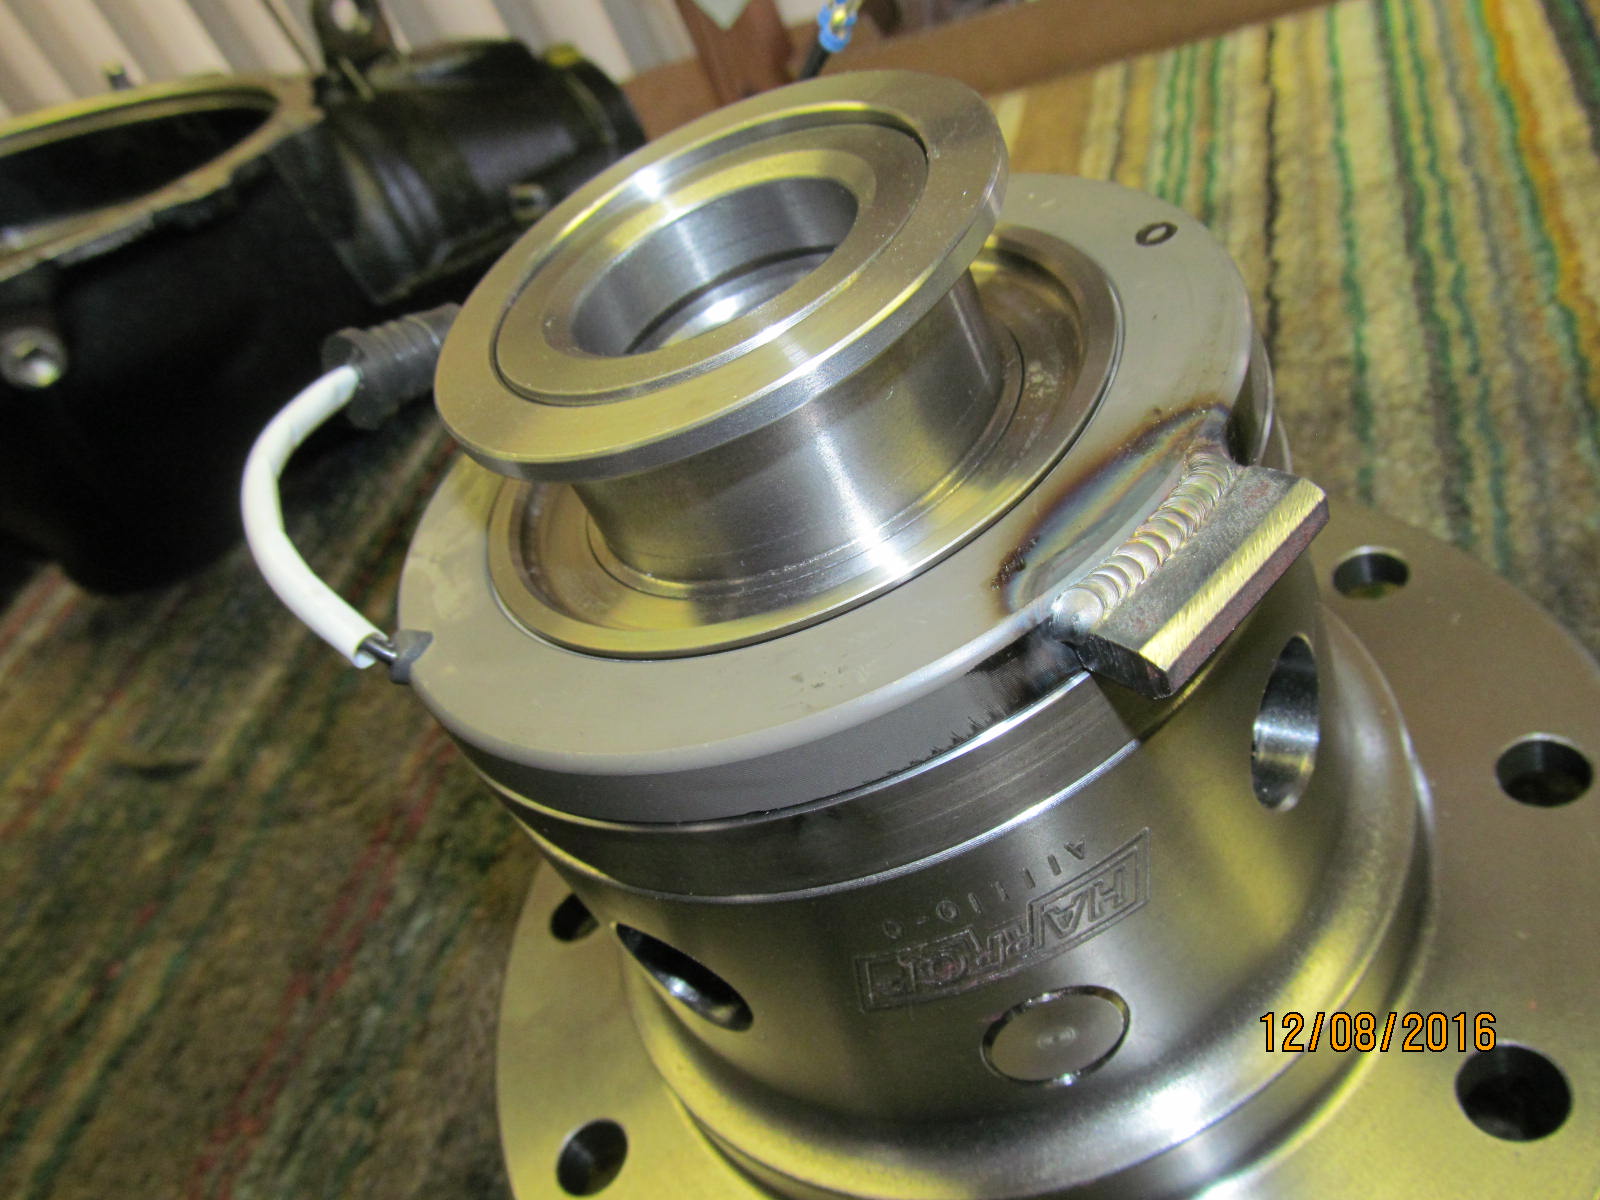
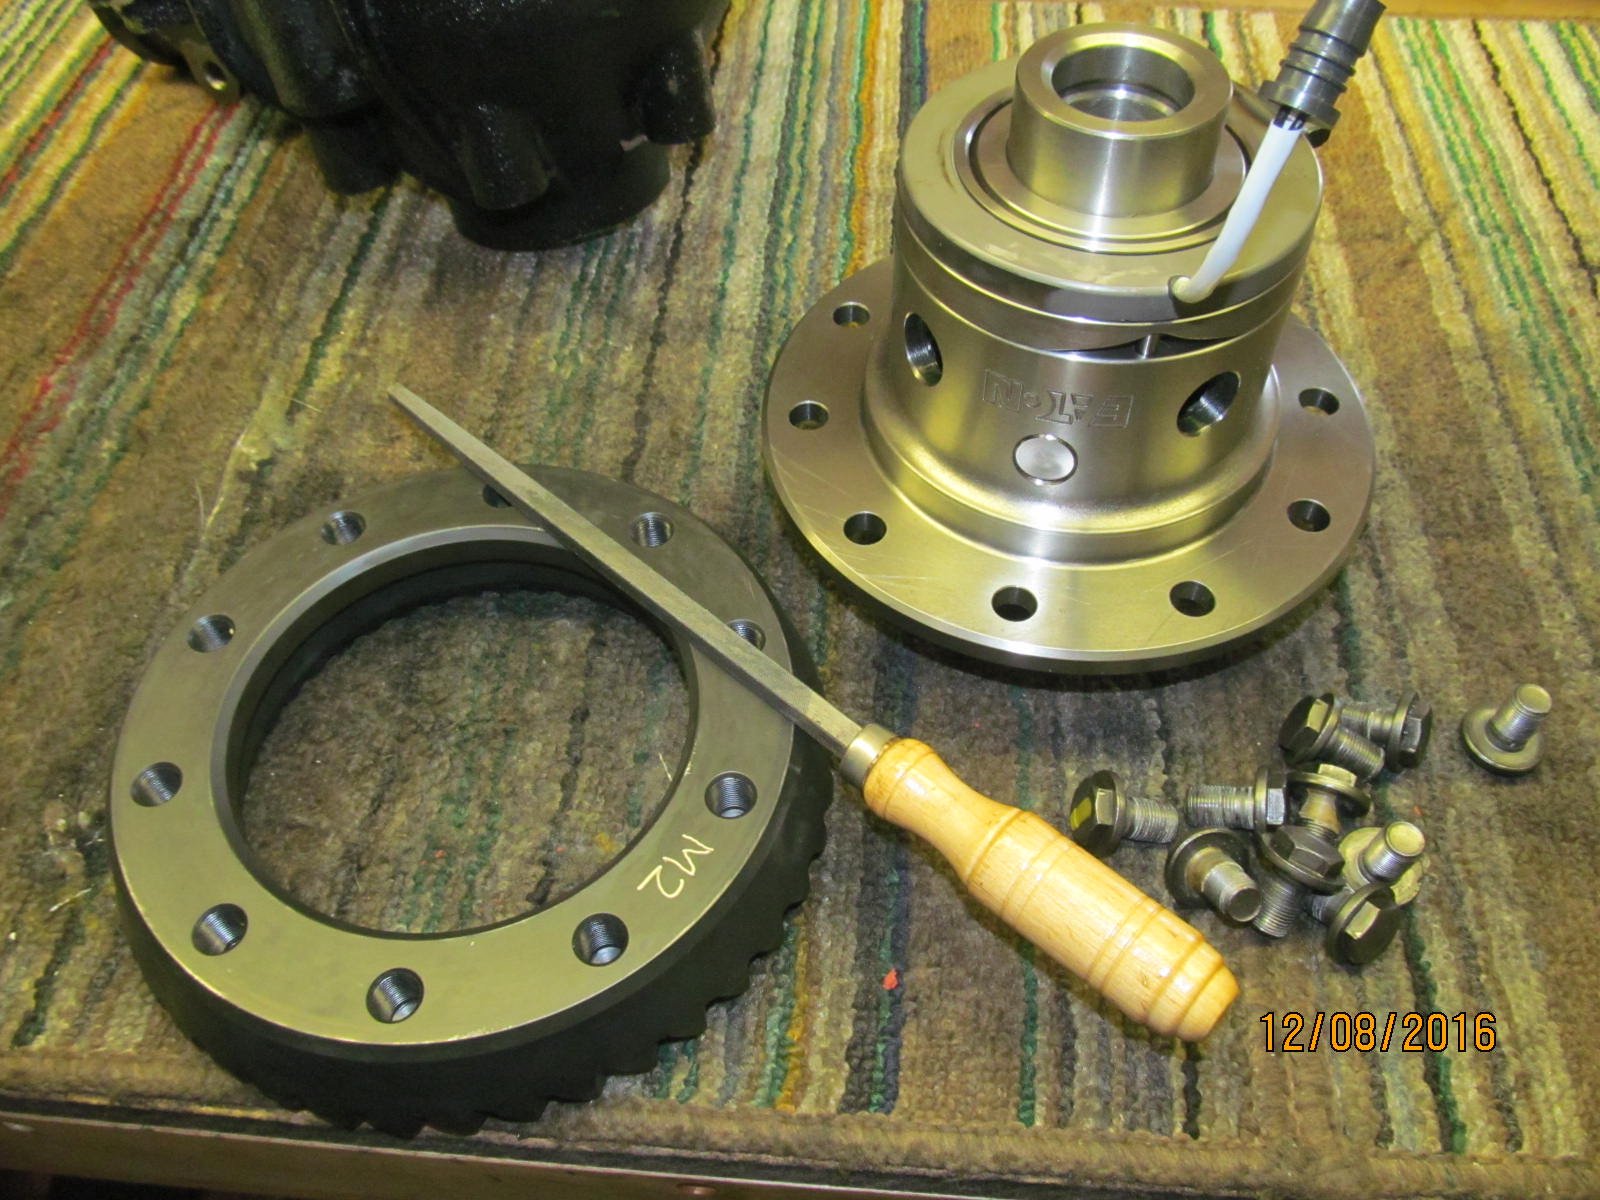
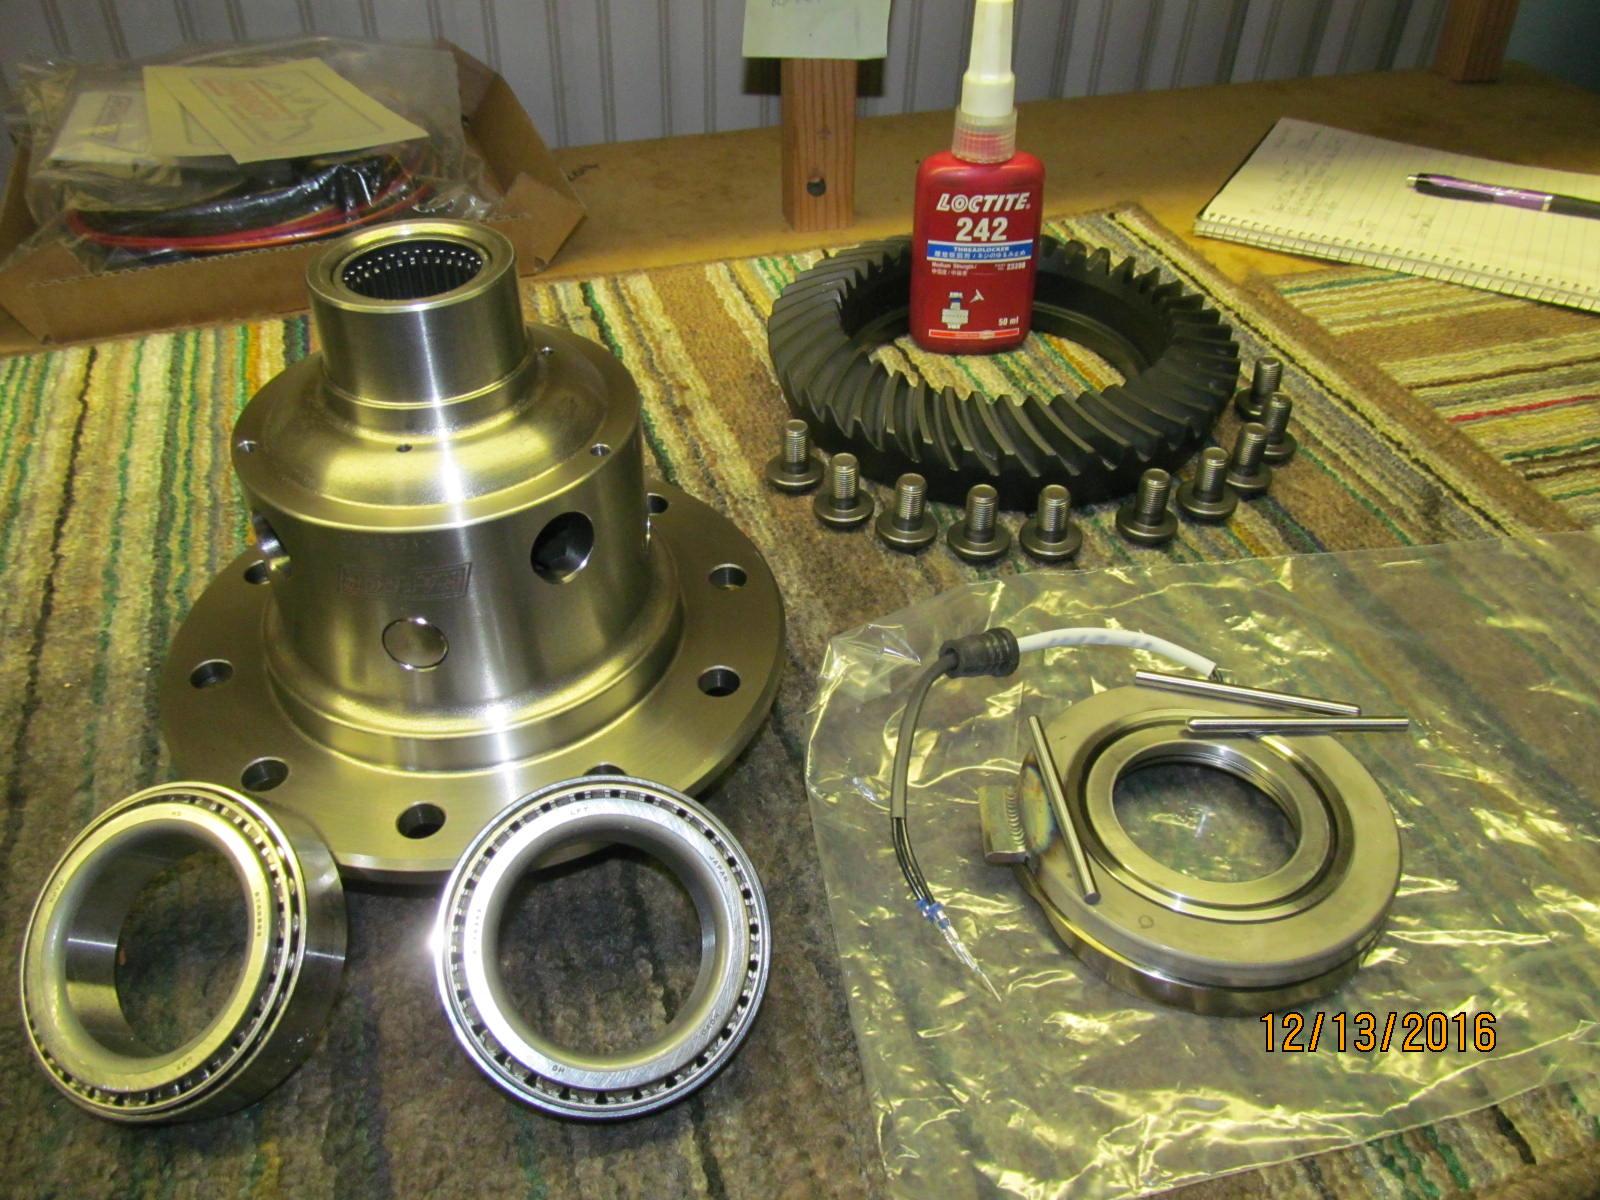
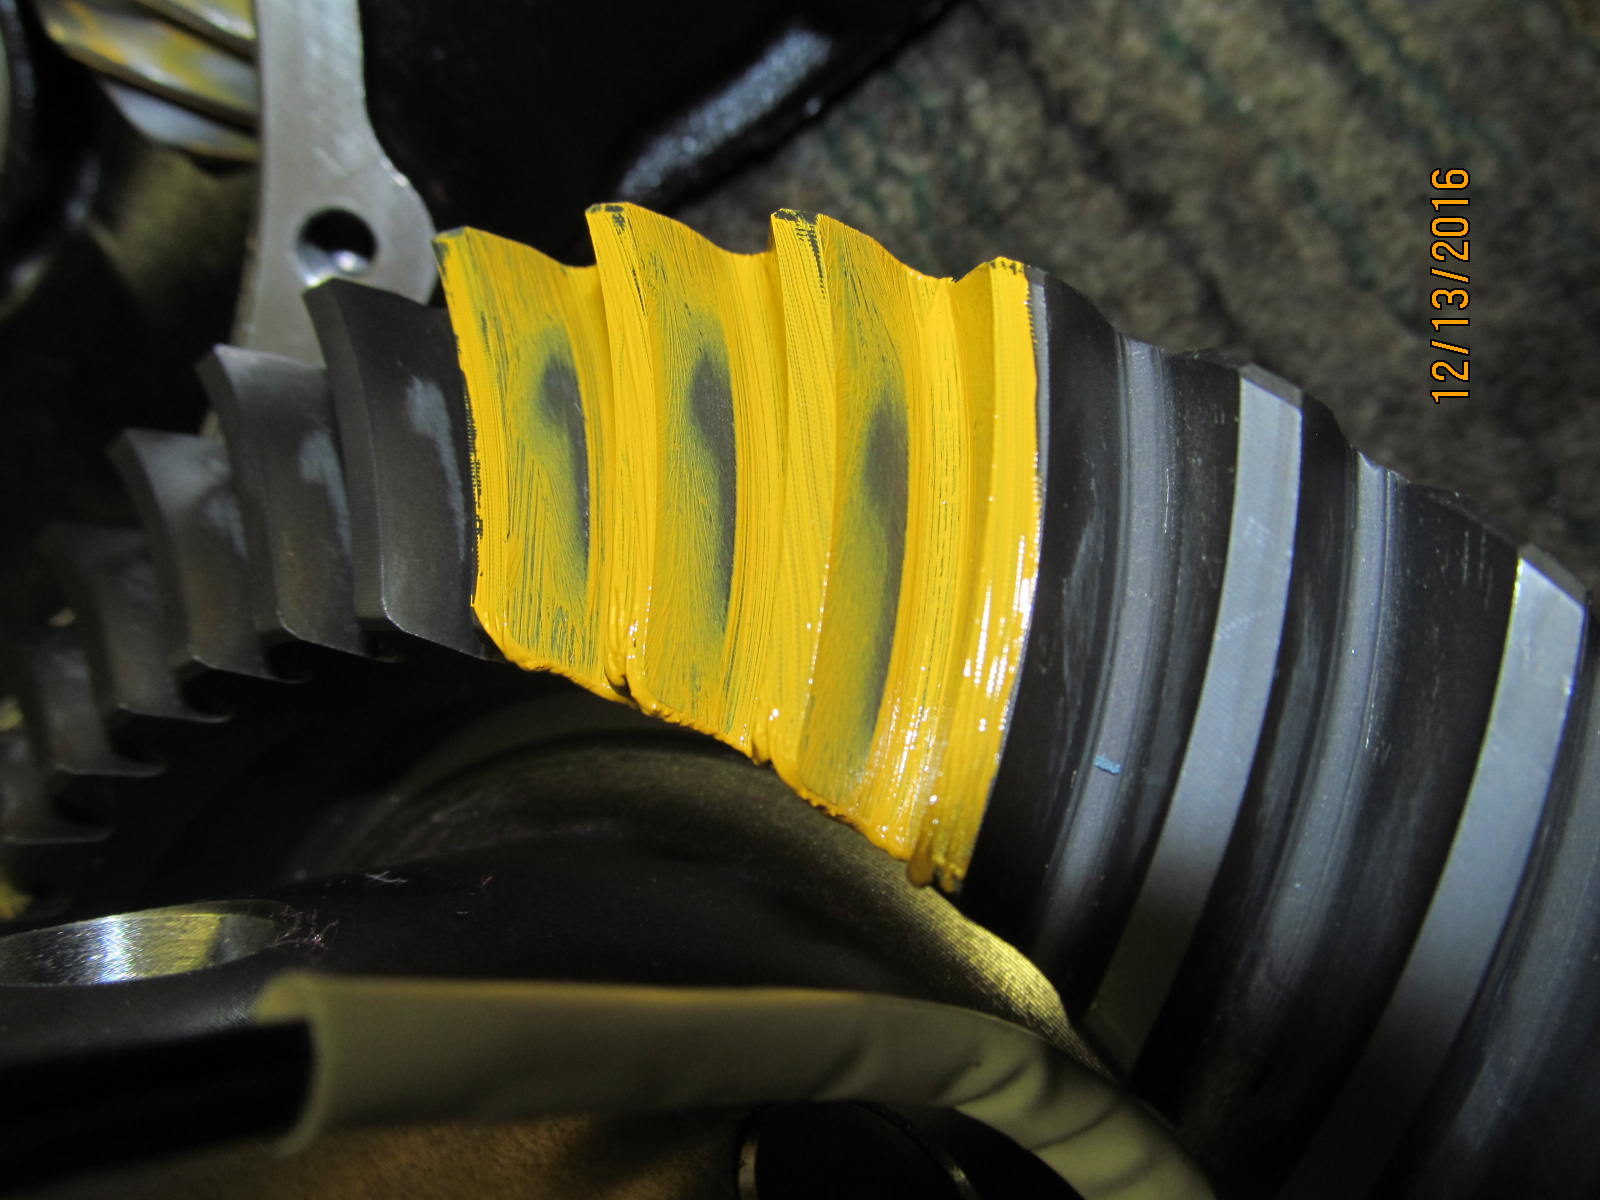
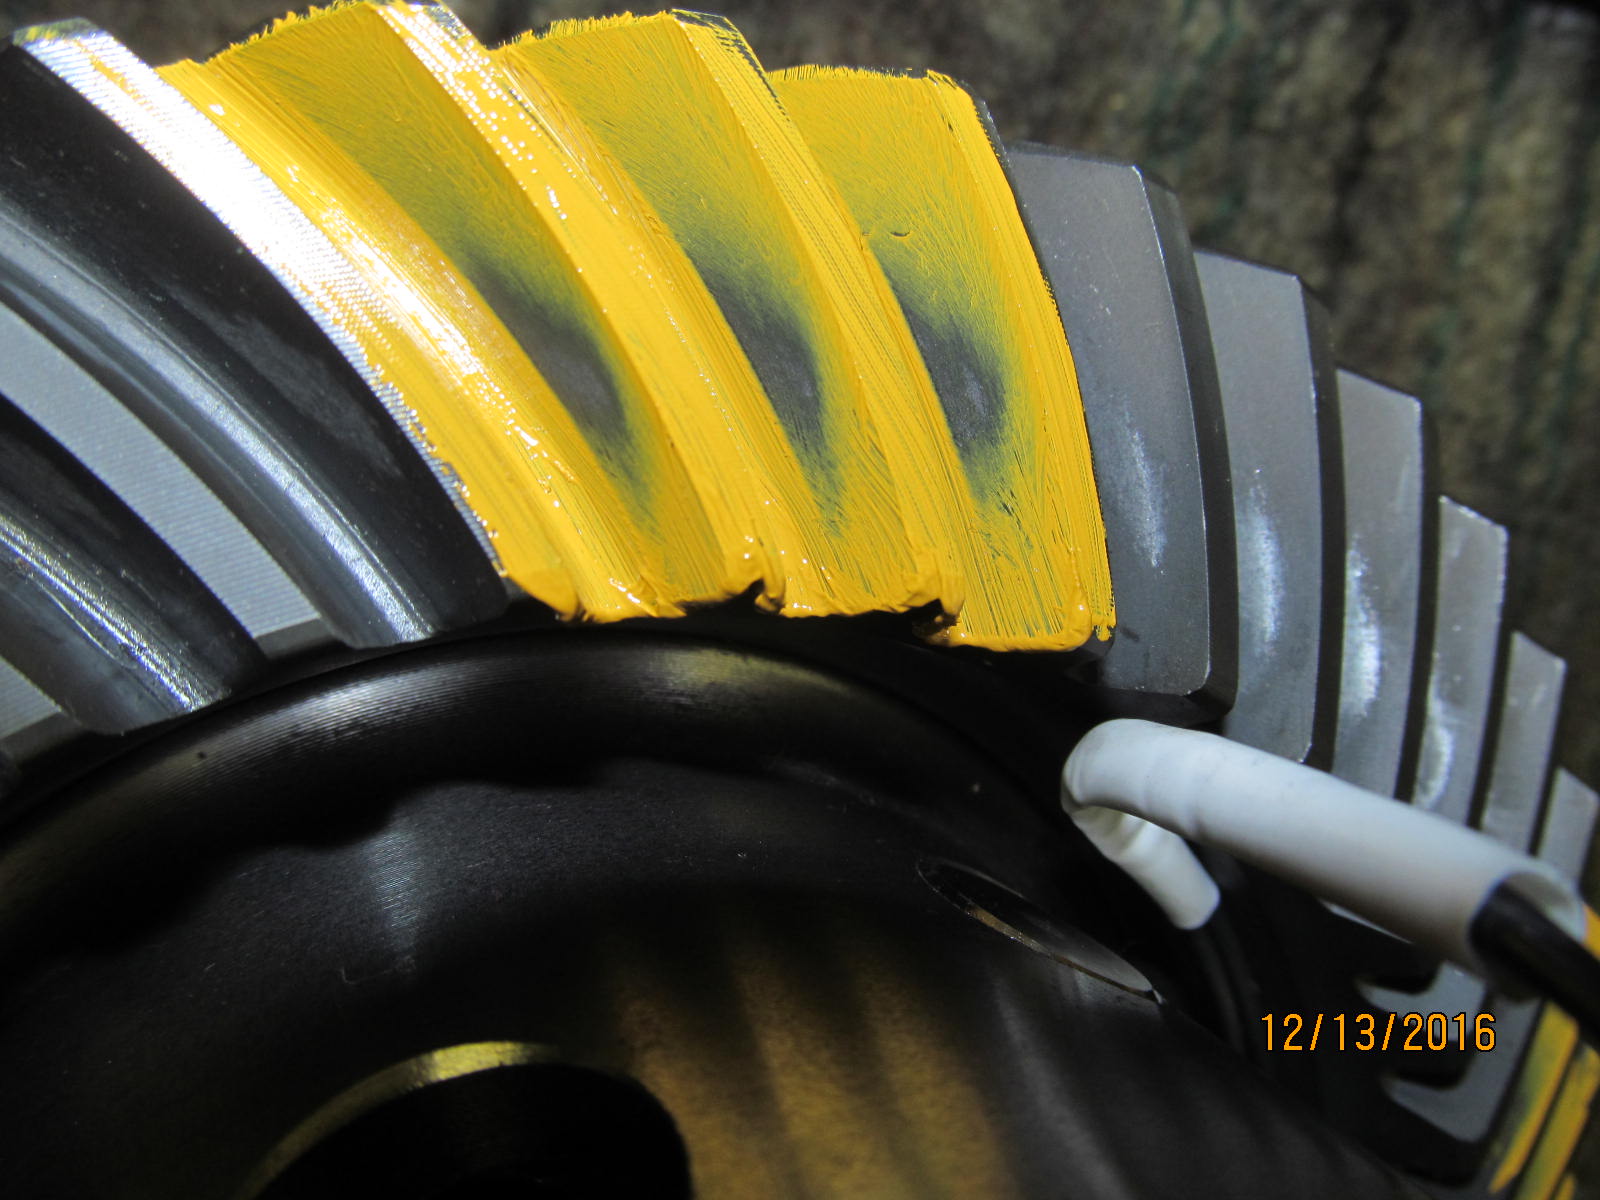
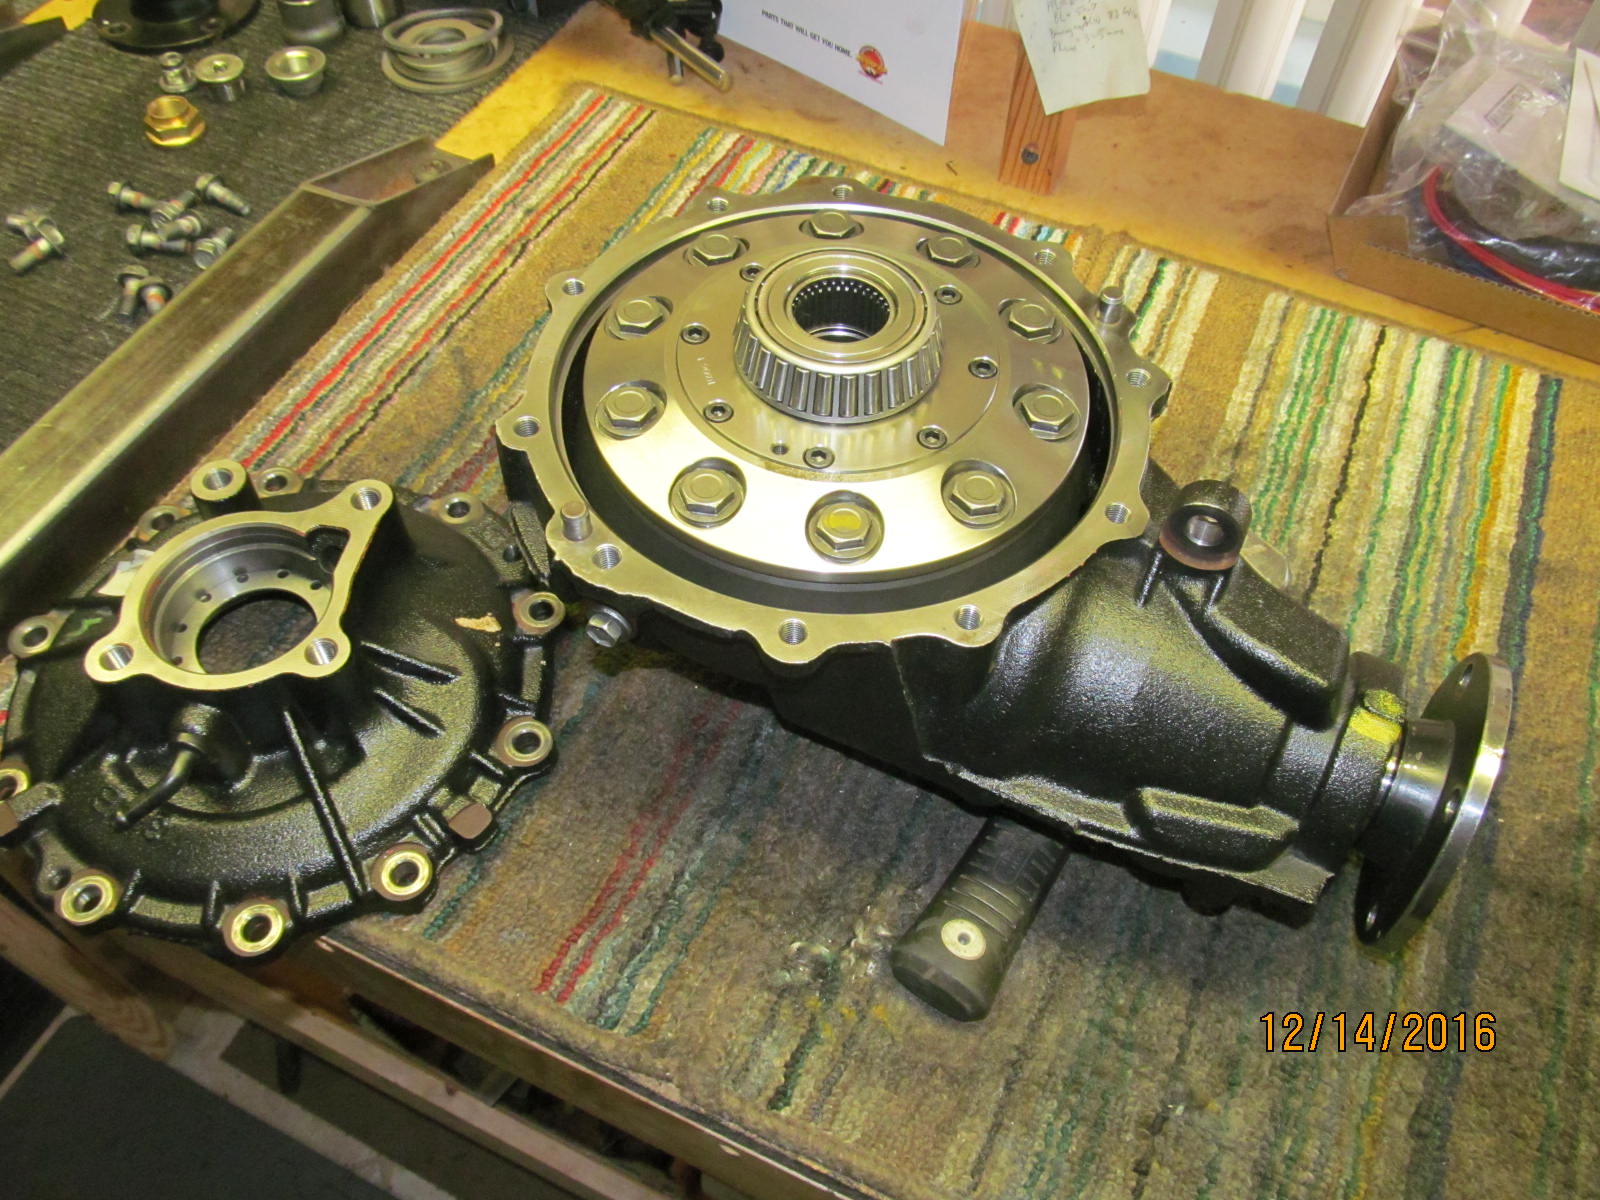
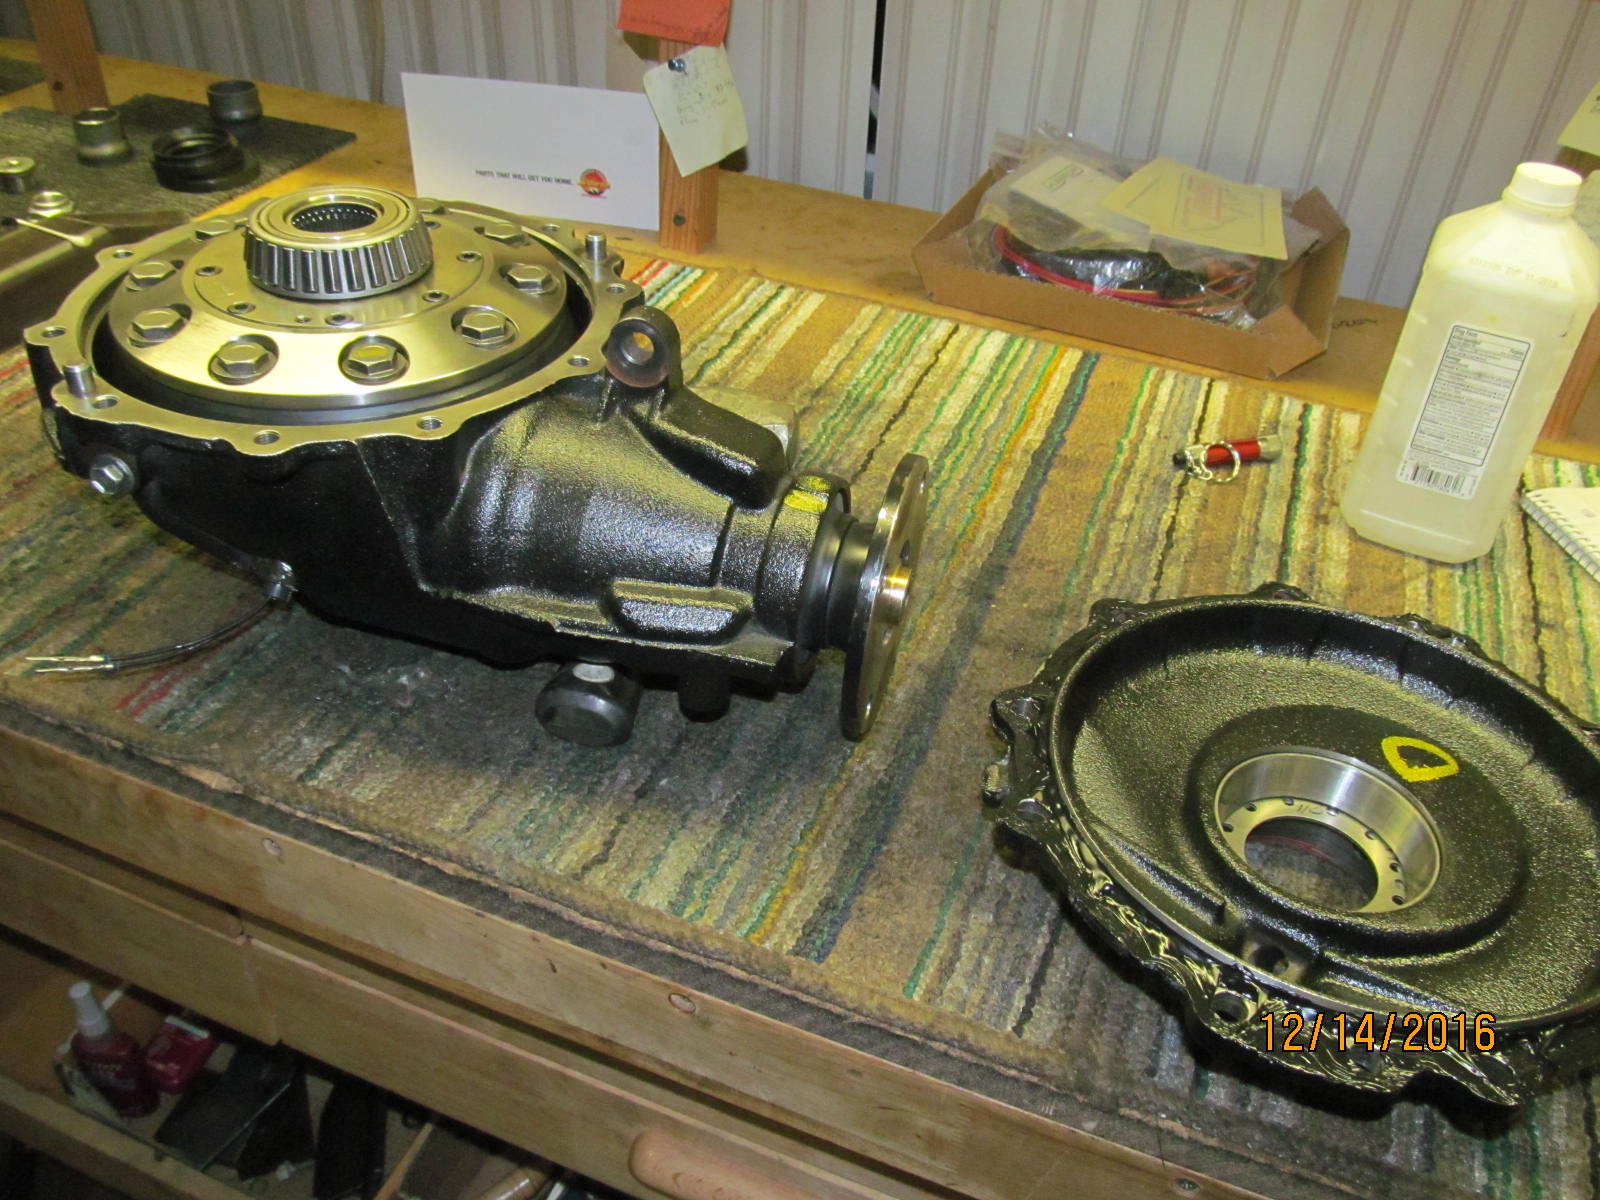
On the right is the Harrop Elocker.
Contact Ward Harris (National importer/authorized dealer for Harrop) at 1-800-224-7801
or email info@cruiserbrothers.com
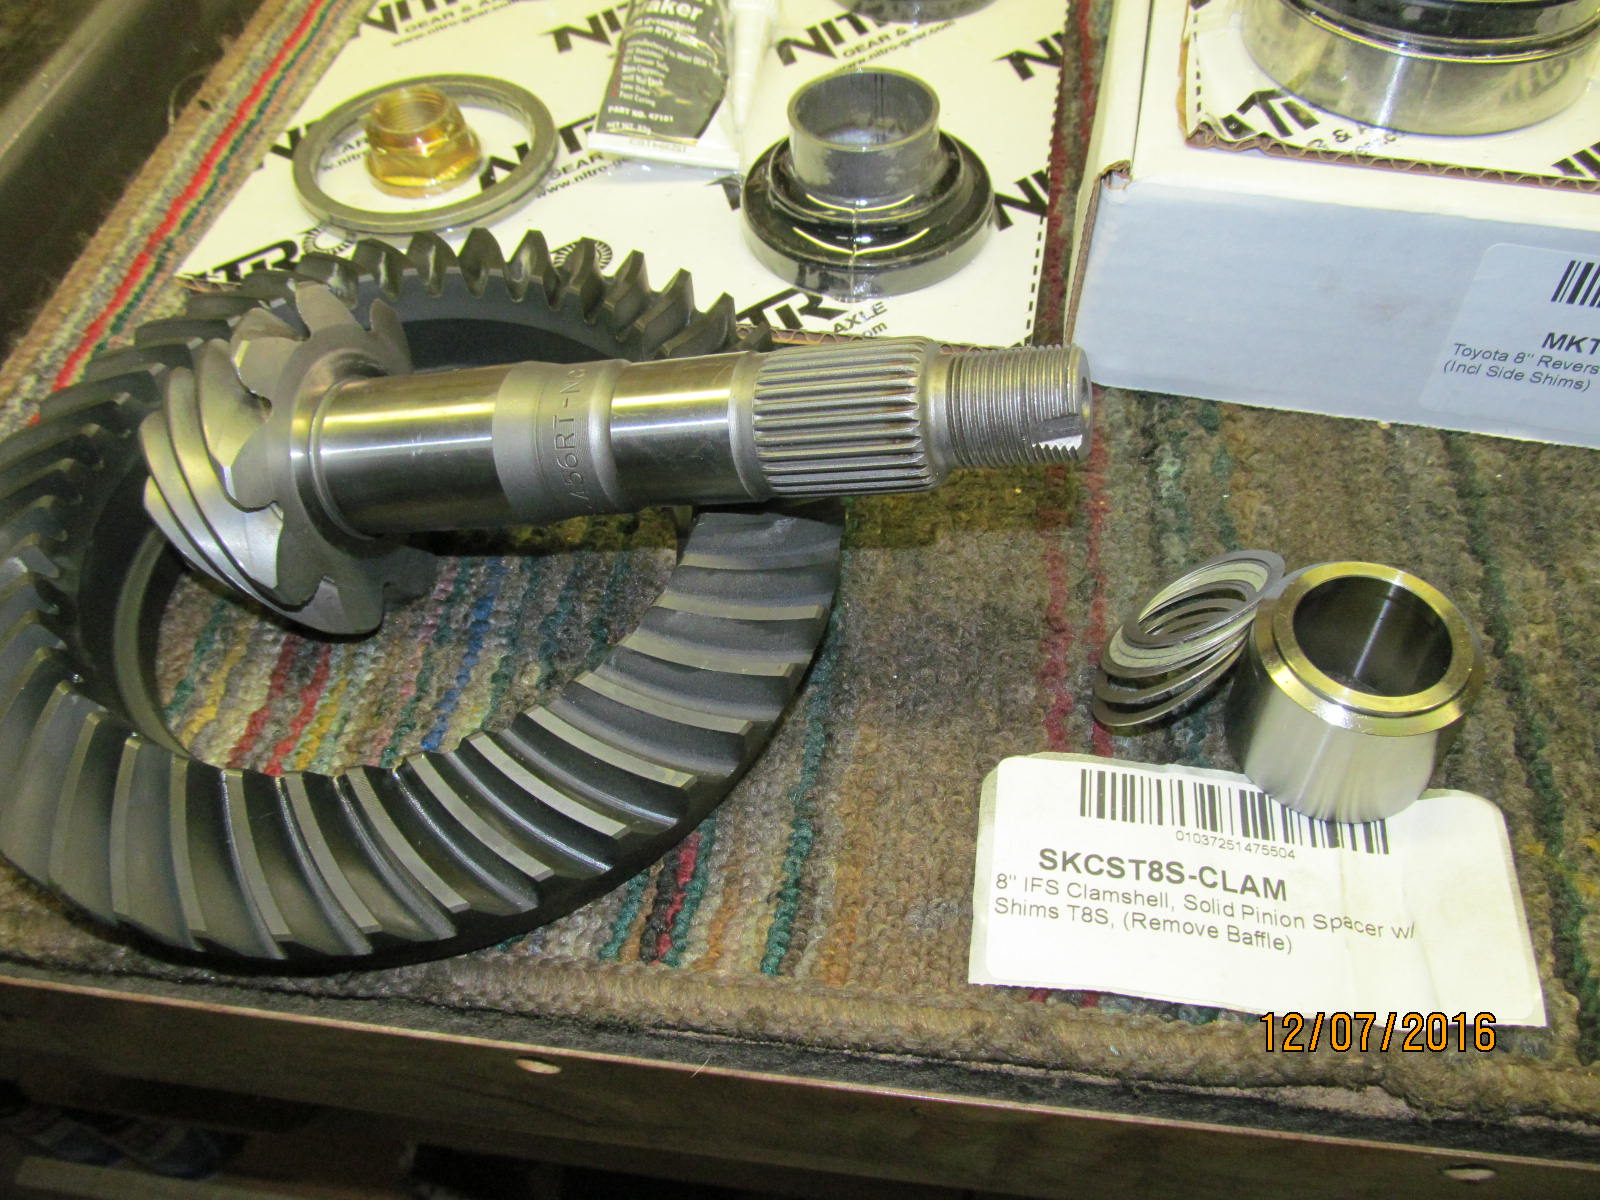
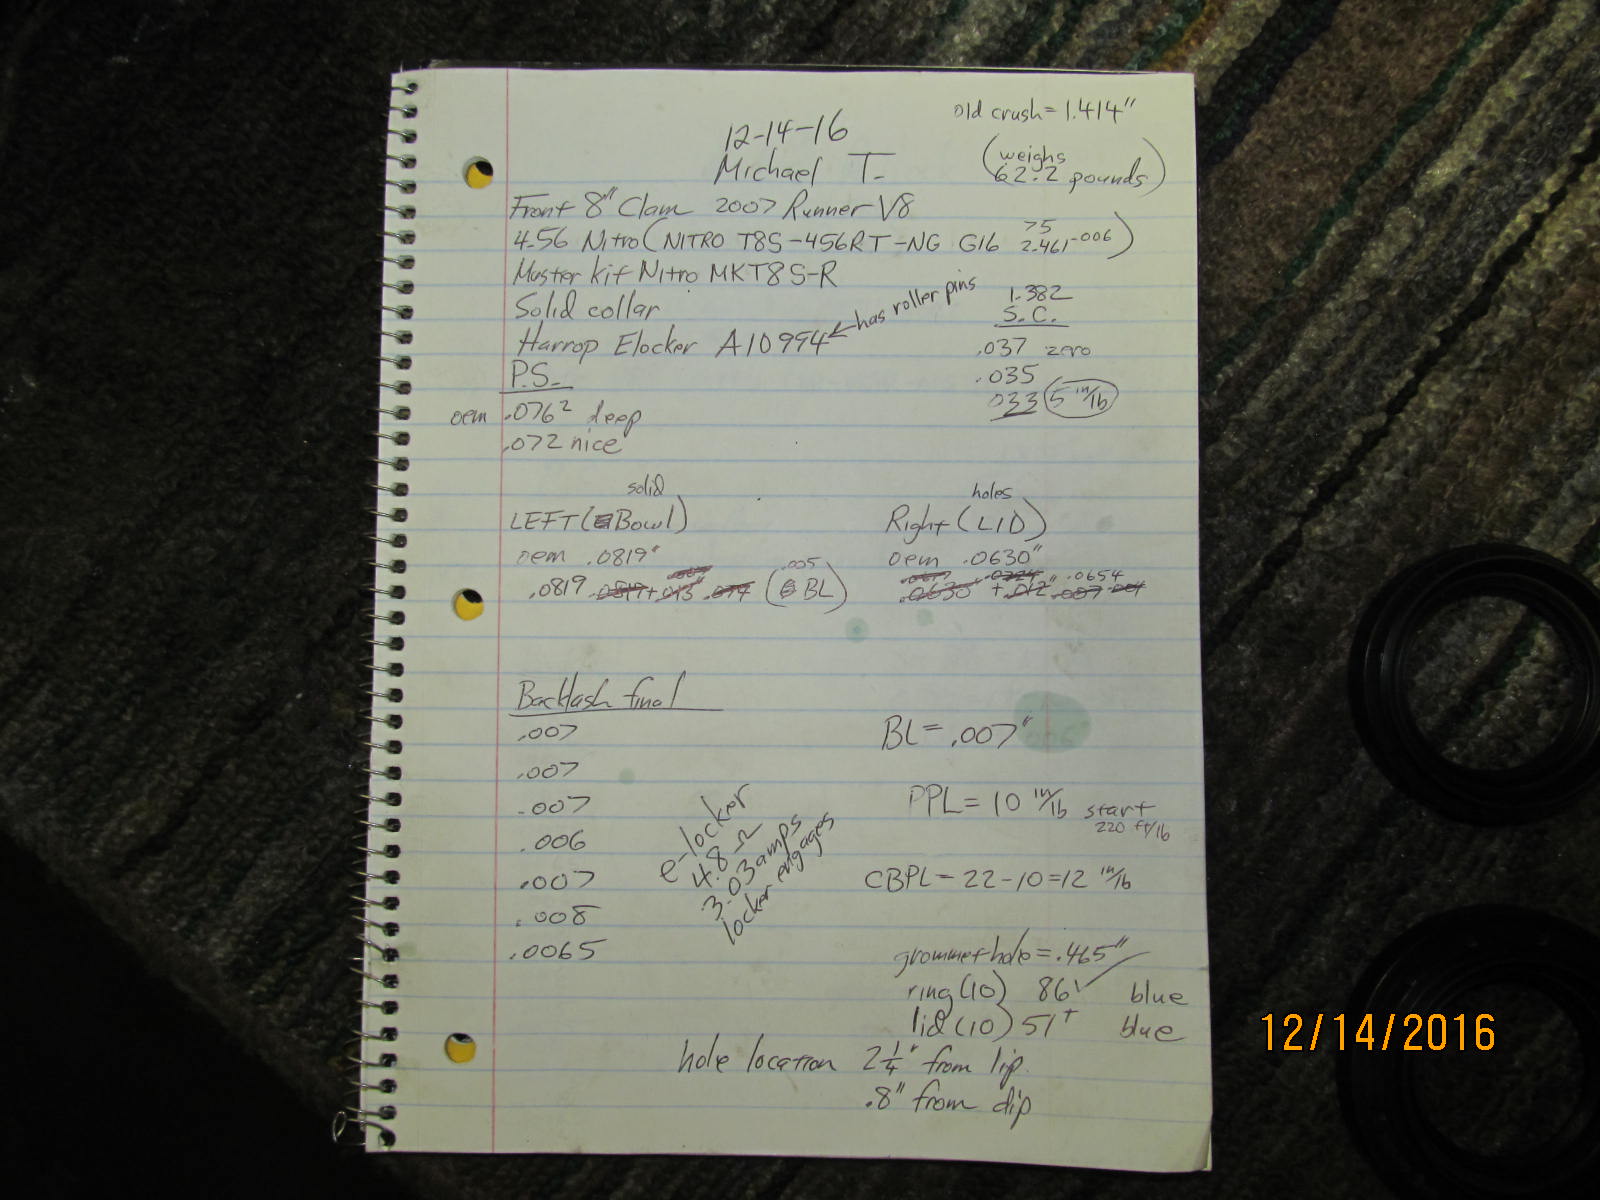
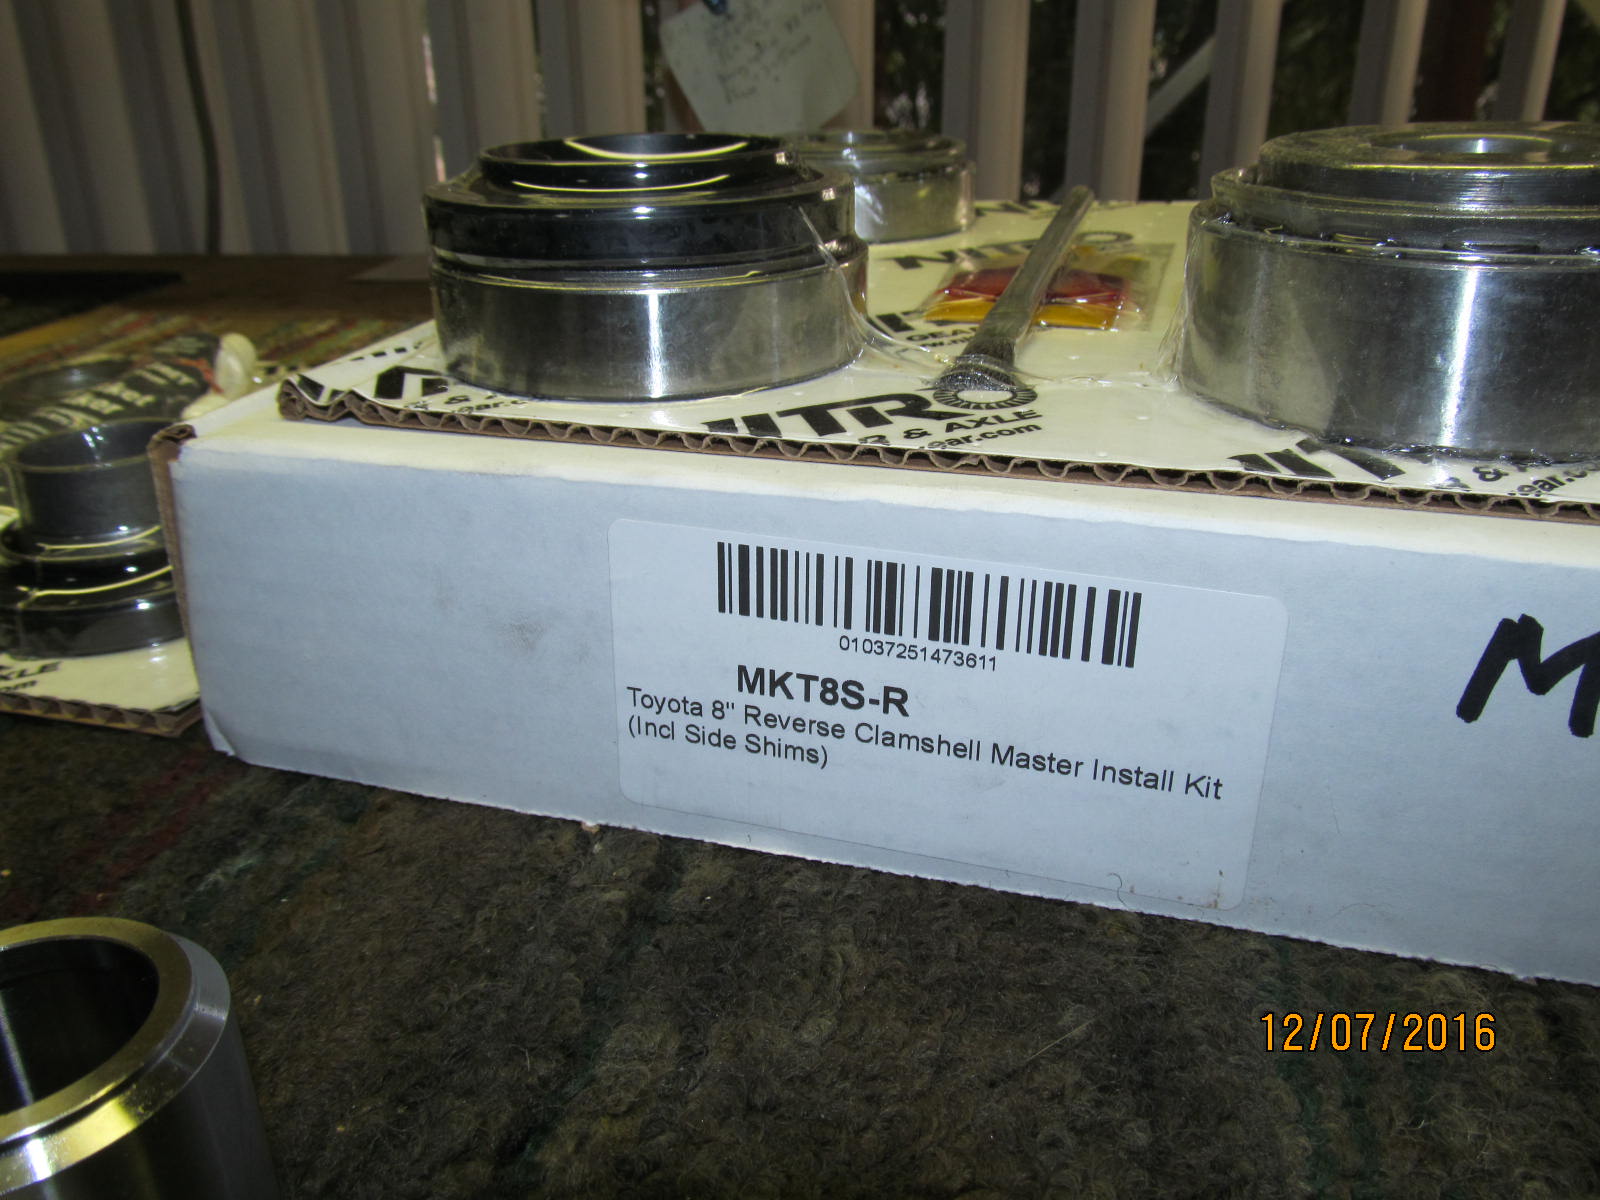
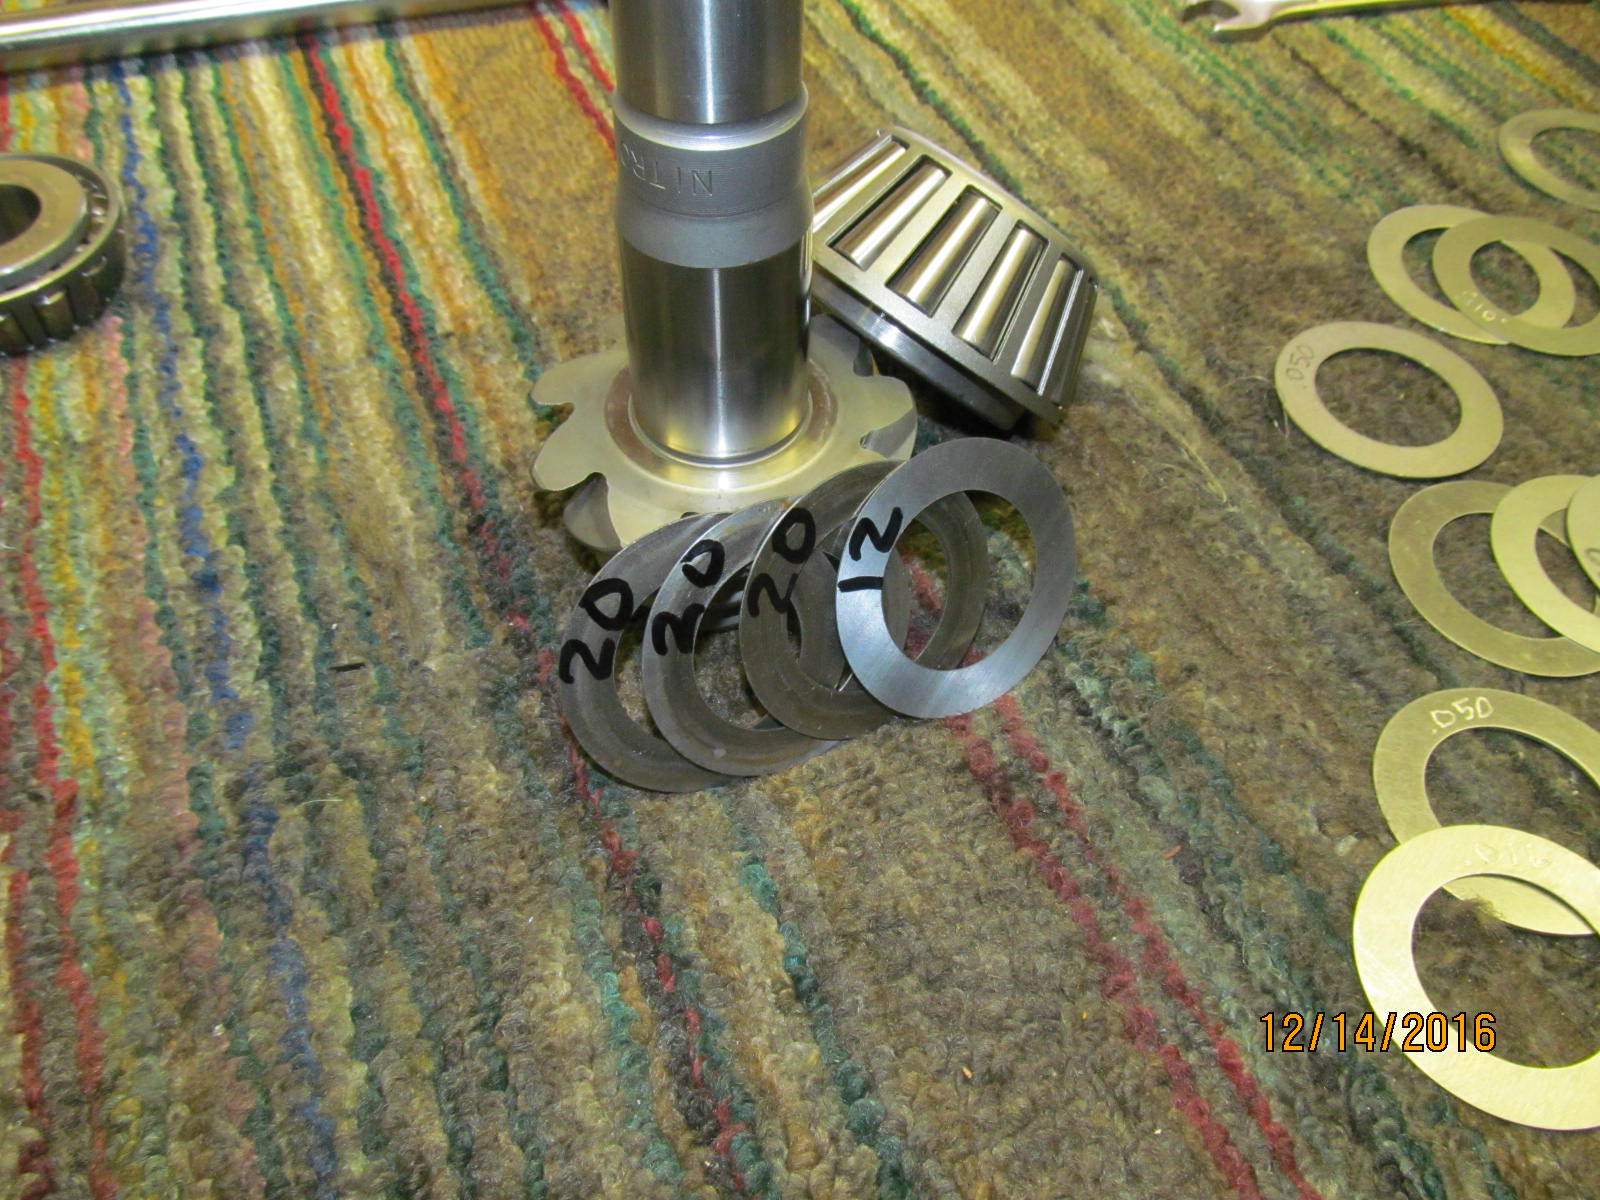
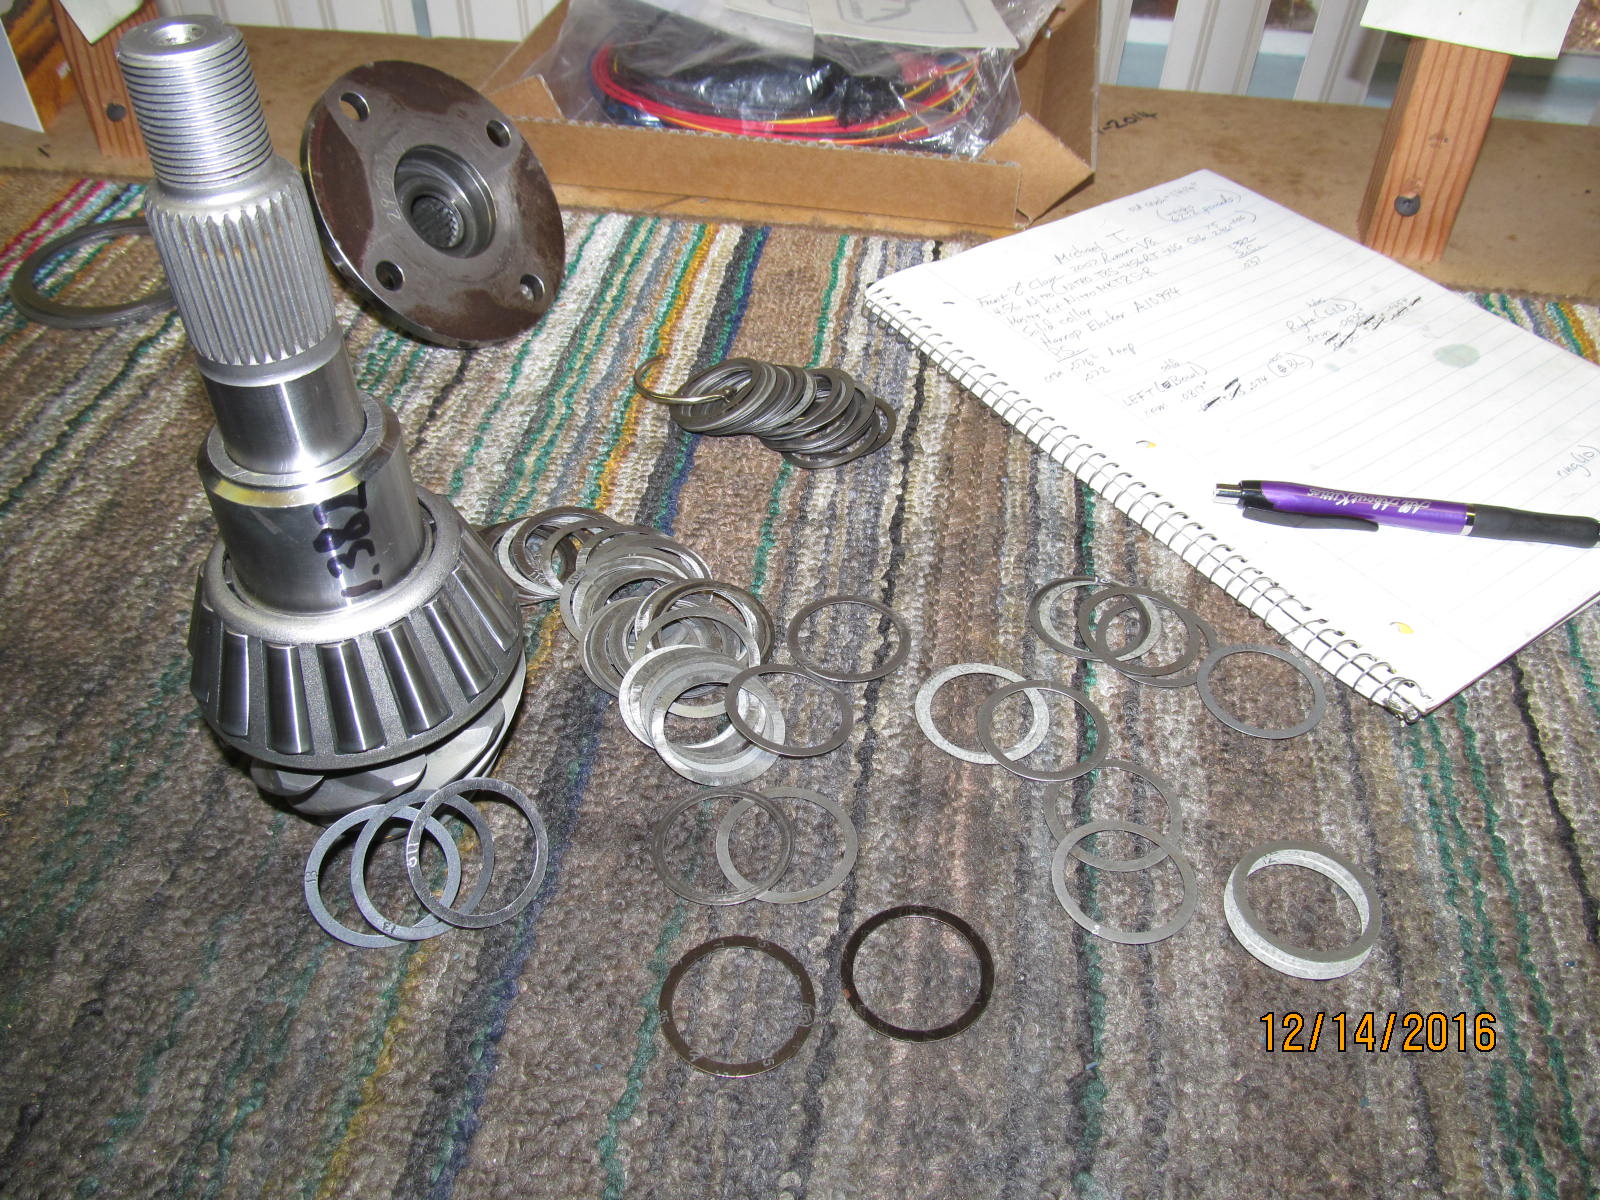
Description says it includes "Side Shims" and those shims may or may not be of help in setting up the gears.
The best route is to get a complete set or at least a select set of oem washer plates. See below.
90564-50184 T=1.58, .0622" LH 1 $11.31
90564-50124 T=1.60, .0630" LH 1 $9.05
90564-50185 T=1.62, .0638" LH 1 $9.05
90564-50186 T=1.64, .0646" LH 1 $9.05
90564-50126 T=1.66, .0654" LH 1 $9.05
90564-50187 T=1.68, .0661" LH 1 $11.31
90564-50188 T=1.70, .0669" LH 1 $9.05
90564-50128 T=1.72, .0677" LH 1 $9.05
90564-50189 T=1.74, .0685" LH 1 $9.05
90564-50190 T=1.76, .0693" LH 1 $11.31
90564-50130 T=1.78, .0700" LH 1 $9.05
90564-50191 T=1.80, .0709" LH 1 $11.31
90564-50192 T=1.82, .0717" LH 1 $11.31
90564-50132 T=1.84, .0724" LH 1 $9.05
90564-50193 T=1.86, .0732" LH 1 $11.31
90564-50194 T=1.88, .0740" LH 1 $11.31
90564-50134 T=1.90, .0748" LH 1 $11.31
90564-50195 T=1.92, .0756" LH 1 $11.31
90564-50196 T=1.94, .0764" LH 1 $11.31
90564-50136 T=1.96, .0772" LH 1 $11.31
90564-50197 T=1.98, .0780" LH 1 $11.31
90564-50198 T=2.00, .0787" LH 1 $11.31
90564-50138 T=2.02, .0795" LH 1 $11.31
90564-50199 T=2.04, .0803" LH 1 $11.31
90564-50200 T=2.06, .0811" LH 1 $11.31
90564-50140 T=2.08, .0819" LH 1 $11.31
90564-50201 T=2.10, .0827" LH 1 $11.31
90564-50202 T=2.12, .0835" LH 1 $11.31
90564-50142 T=2.14, .0843" LH 1 $11.31
90564-50203 T=2.16, .0850" LH 1 $11.31
90564-50231 T=2.18, .0858" LH 1 $11.27
90564-50232 T=2.20, .0866" LH 1 $11.27
90564-50233 T=2.22, .0874" LH 1 $11.27
90564-50234 T=2.24, .0882" LH 1 $11.27
90564-50235 T=2.26, .0890" LH 1 $11.27
90564-50236 T=2.28, .0898" LH 1 $11.27
90564-50237 T=2.30, .0906" LH 1 $11.27
90564-50224 T=1.44, .0567" RH 1 $9.05
90564-50225 T=1.46, .0575" RH 1 $9.05
90564-50226 T=1.48, .0583" RH 1 $9.05
90564-50227 T=1.50, .0591" RH 1 $9.05
90564-50228 T=1.52, .0598" RH 1 $9.05
90564-50229 T=1.54, .0606" RH 1 $9.05
90564-50230 T=1.56, .0614" RH 1 $9.05
90564-50204 T=1.58, .0622" RH 1 $9.05
90564-50154 T=1.60, .0630" RH 1 $9.05
90564-50205 T=1.62, .0638" RH 1 $9.05
90564-50206 T=1.64, .0646" RH 1 $9.05
90564-50156 T=1.66, .0654" RH 1 $9.05
90564-50207 T=1.68, .0661" RH 1 $9.05
90564-50208 T=1.70, .0669" RH 1 $9.05
90564-50158 T=1.72, .0677" RH 1 $9.05
90564-50209 T=1.74, .0685" RH 1 $9.05
90564-50210 T=1.76, .0693" RH 1 $9.05
90564-50160 T=1.78, .0700" RH 1 $9.05
90564-50211 T=1.80, .0709" RH 1 $11.31
90564-50212 T=1.82, .0717" RH 1 $9.05
90564-50162 T=1.84, .0724" RH 1 $9.05
90564-50213 T=1.86, .0732" RH 1 $9.05
90564-50214 T=1.88, .0740" RH 1 $11.31
90564-50164 T=1.90, .0748" RH 1 $9.05
90564-50215 T=1.92, .0756" RH 1 $11.31
90564-50216 T=1.94, .0764" RH 1 $11.31
90564-50166 T=1.96, .0772" RH 1 $9.05
90564-50217 T=1.98, .0780" RH 1 $11.31
90564-50218 T=2.00, .0787" RH 1 $11.31
90564-50168 T=2.02, .0795" RH 1 $9.05
90564-50219 T=2.04, .0803" RH 1 $11.31
90564-50220 T=2.06, .0811" RH 1 $11.31
90564-50170 T=2.08, .0819" RH 1 $11.31
90564-50221 T=2.10, .0827" RH 1 $11.31
90564-50222 T=2.12, .0835" RH 1 $11.31
90564-50172 T=2.14, .0843" RH 1 $11.31
90564-50223 T=2.16, .0850" RH 1 $11.31
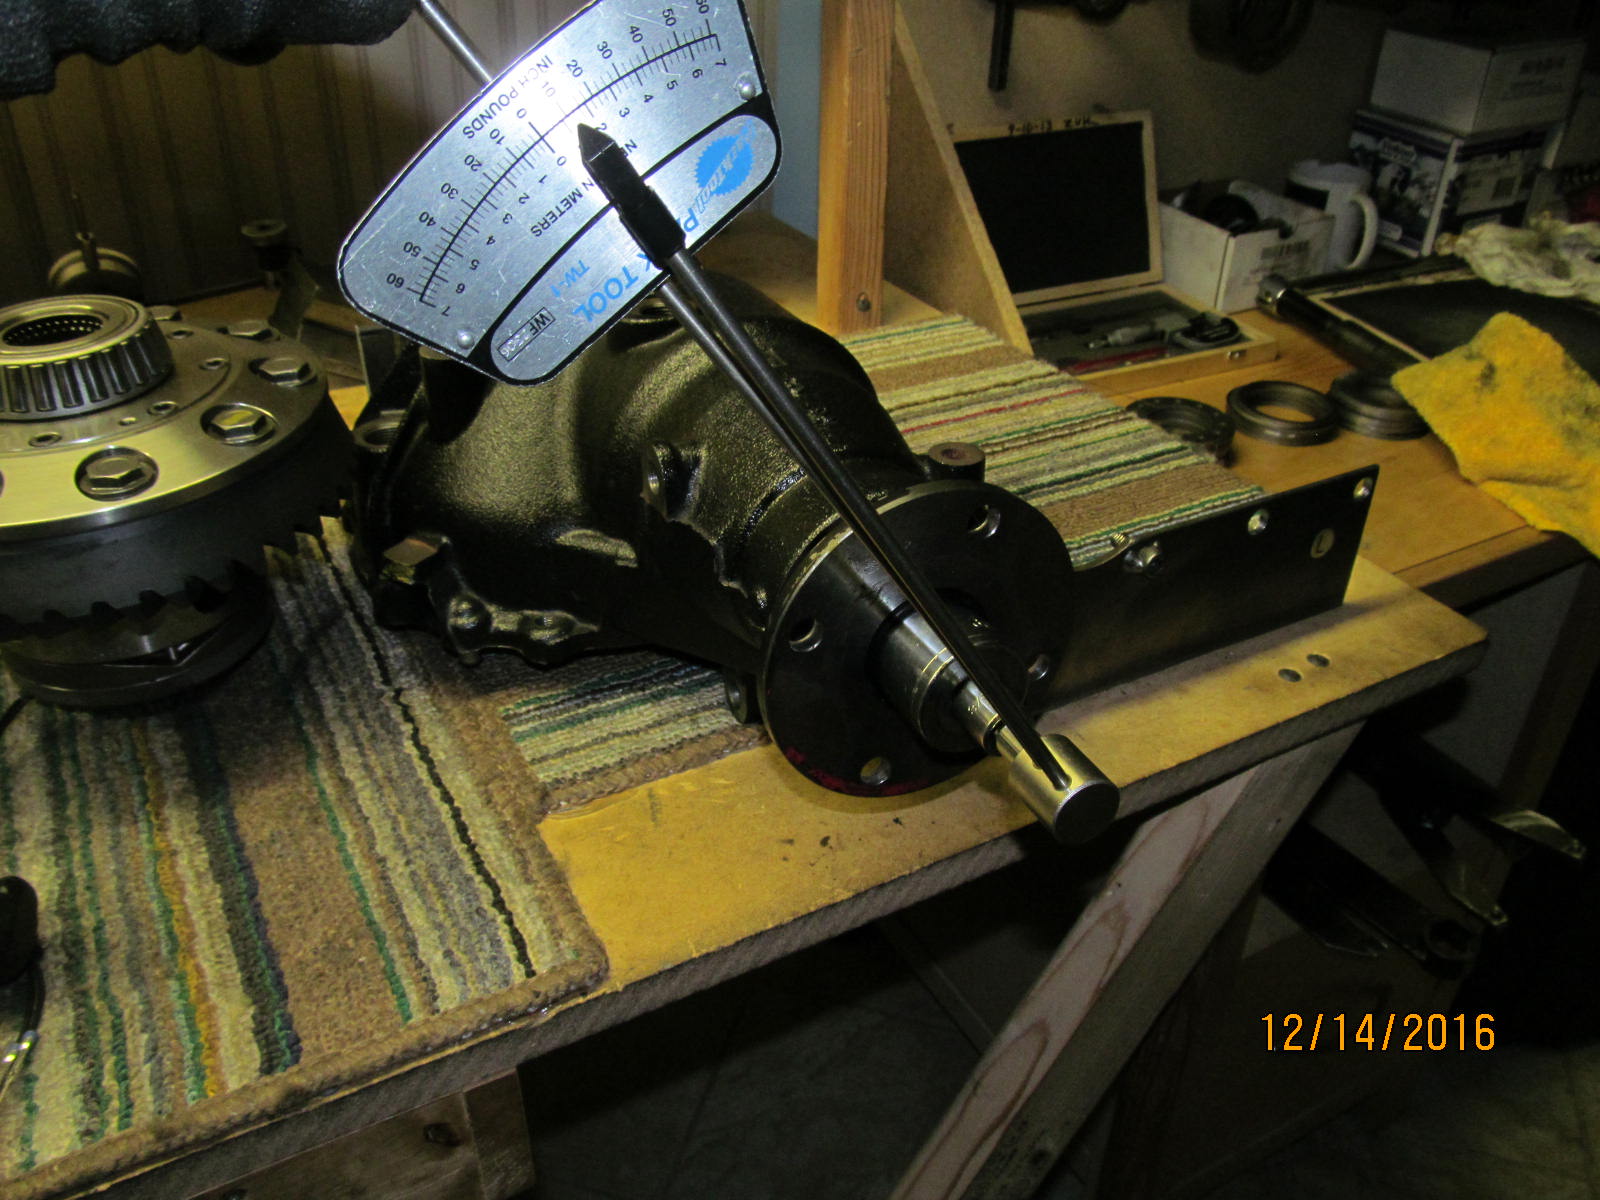
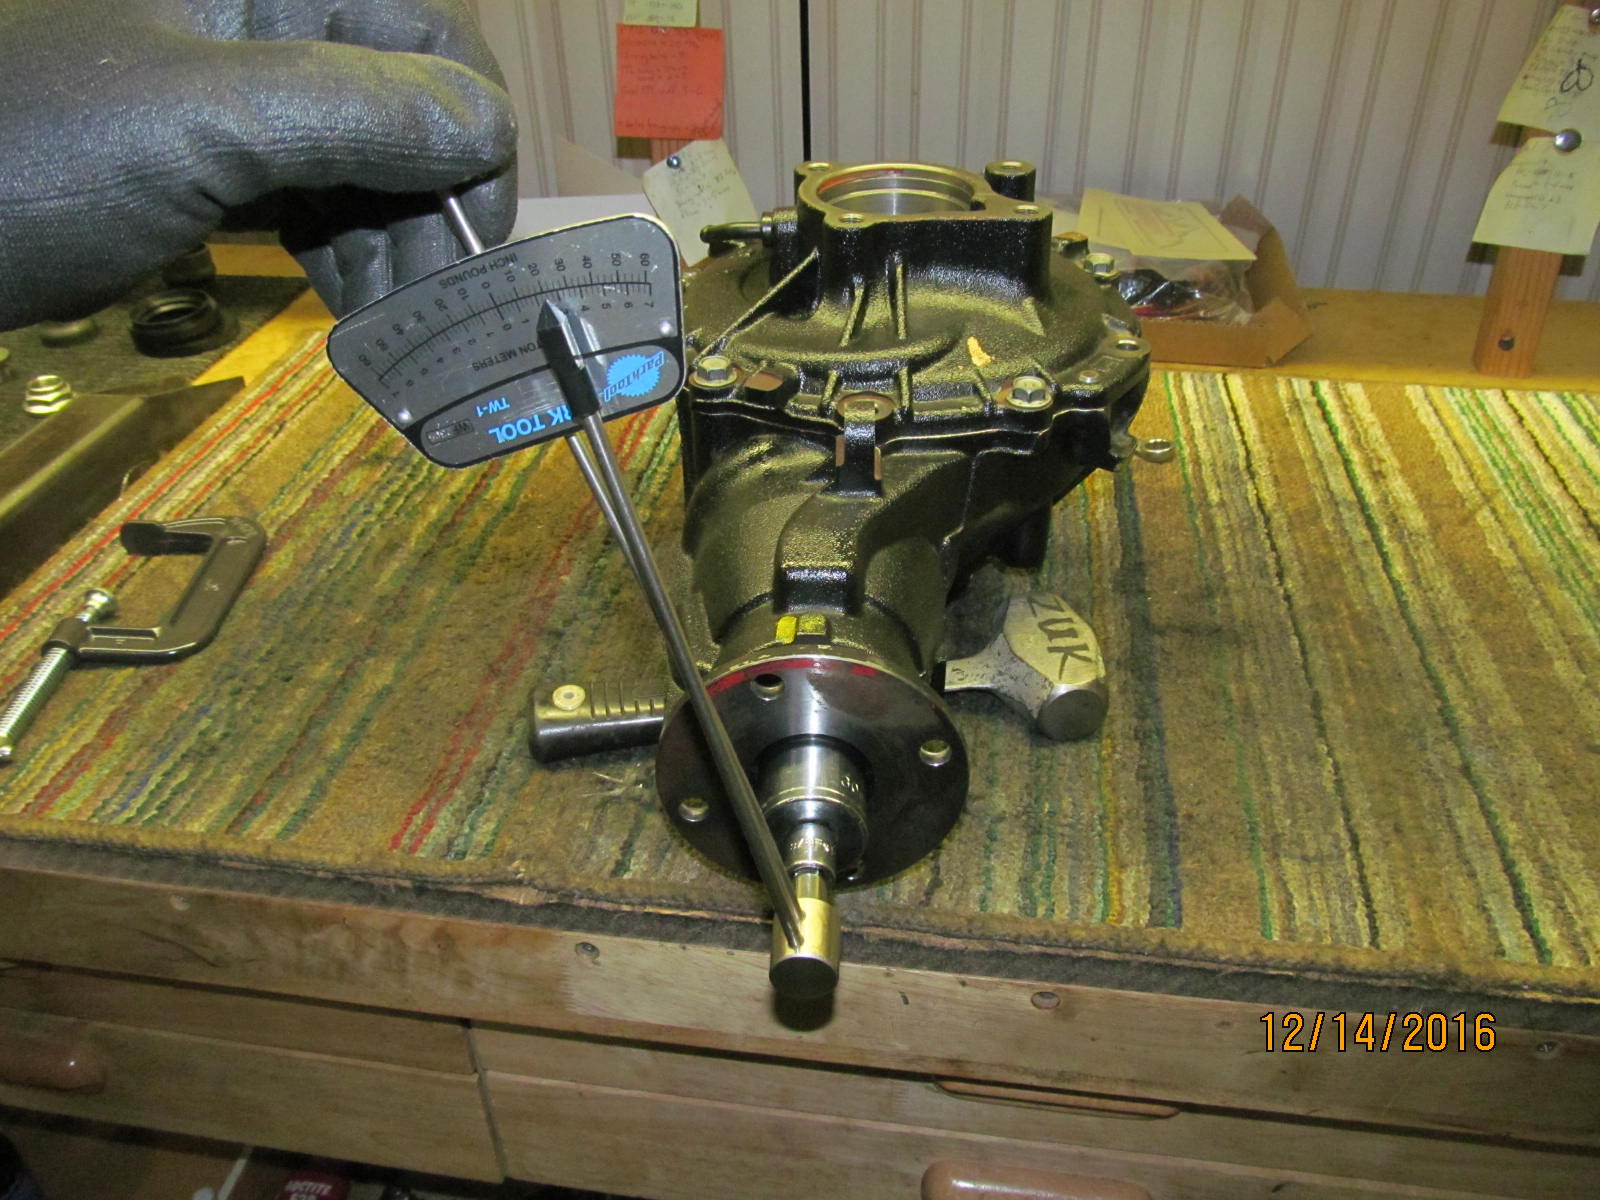
with numerous tap taps.
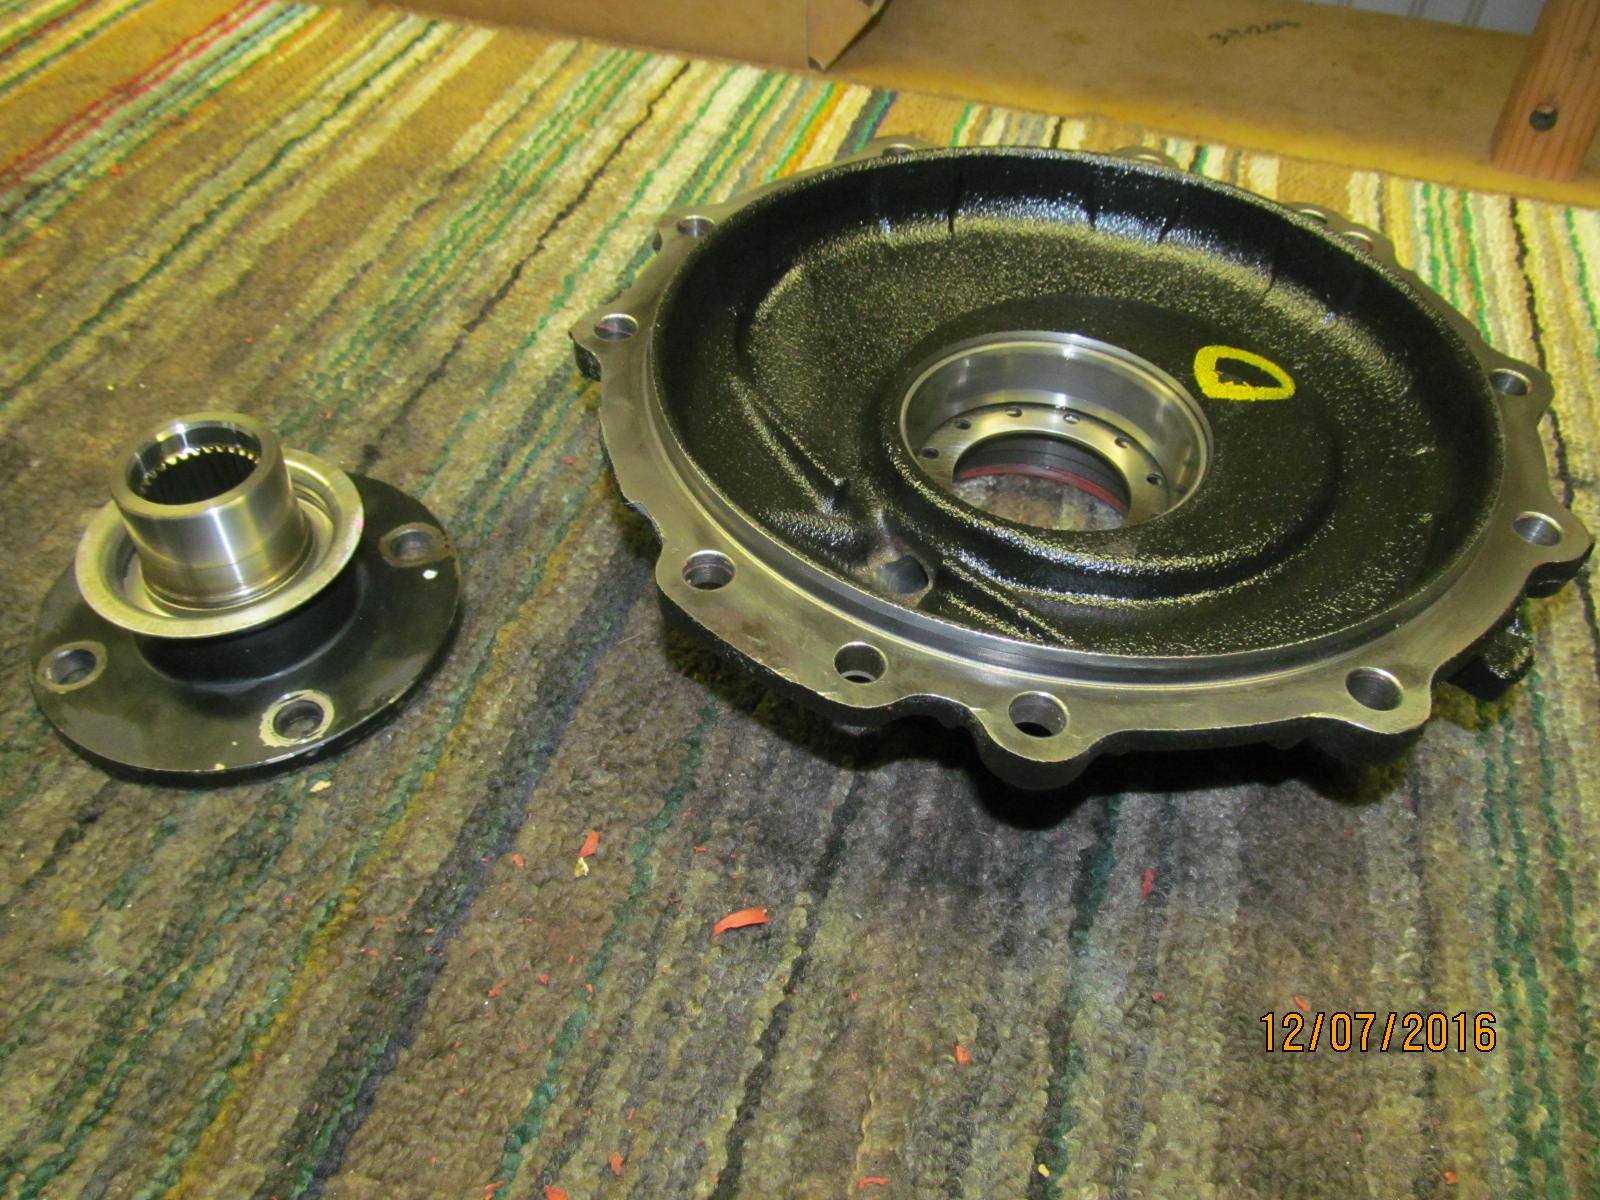
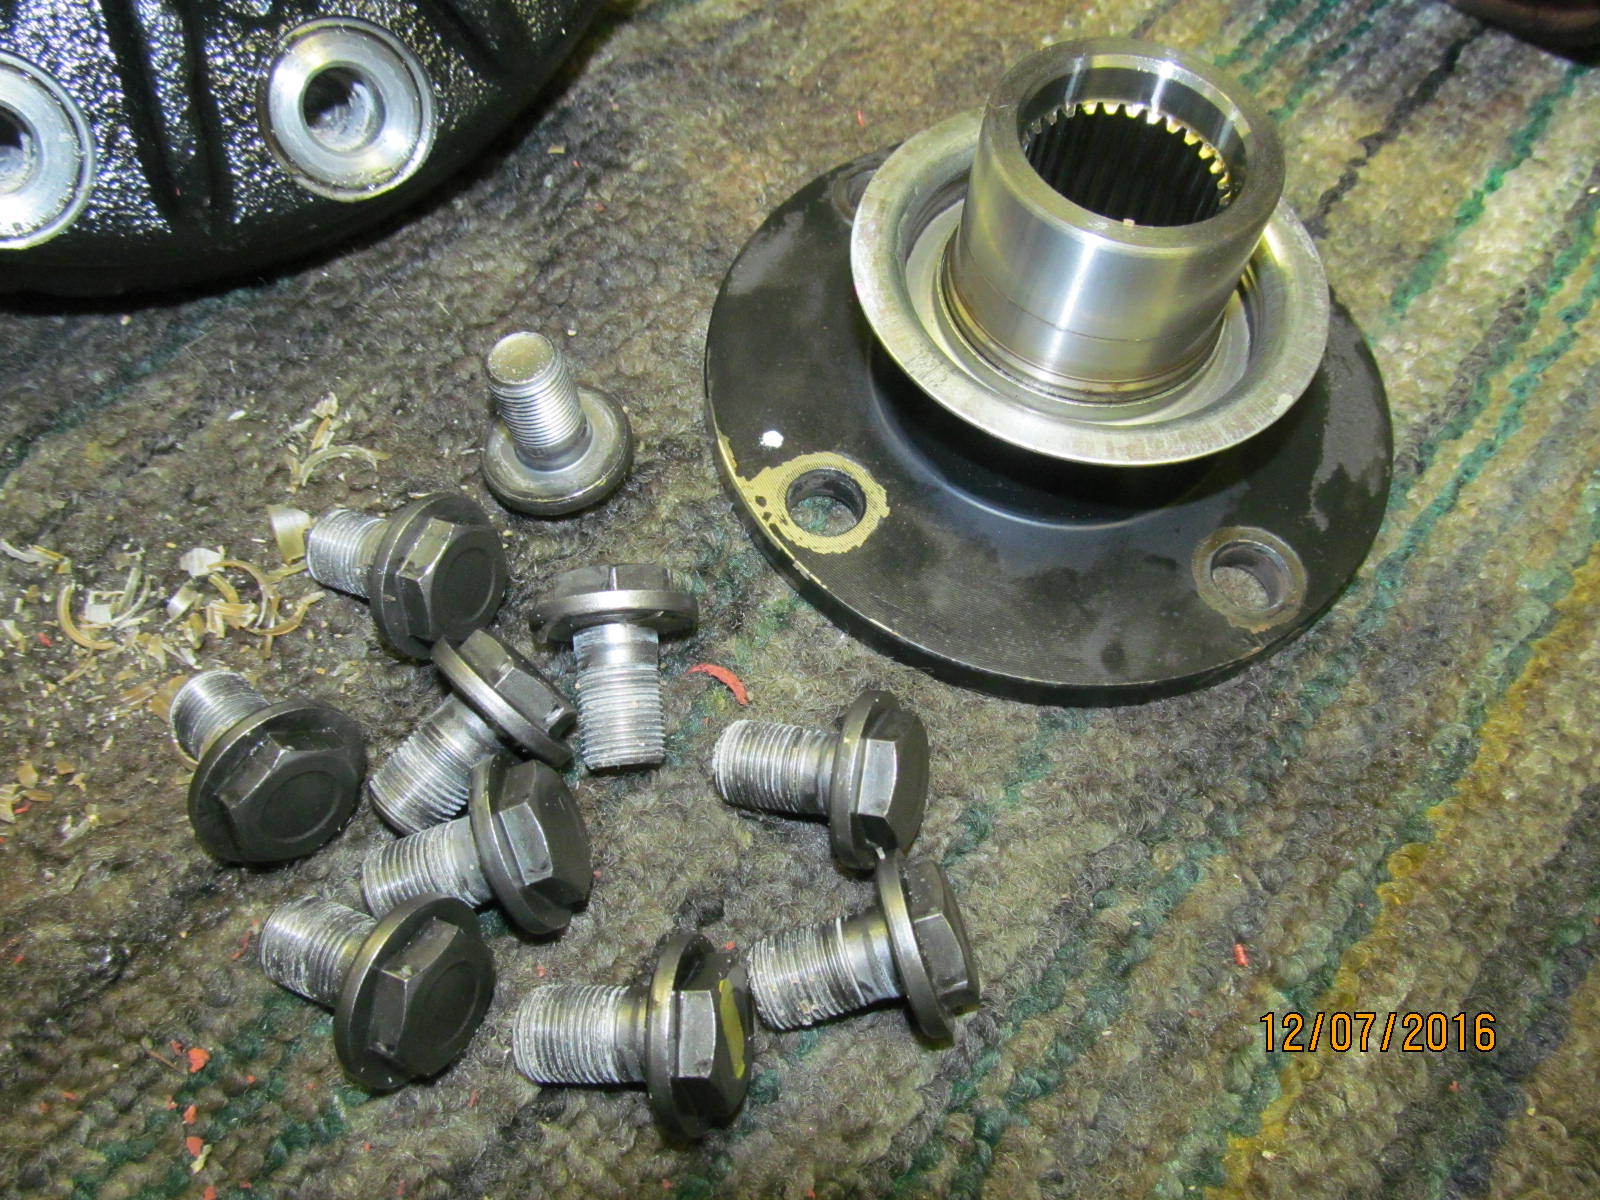
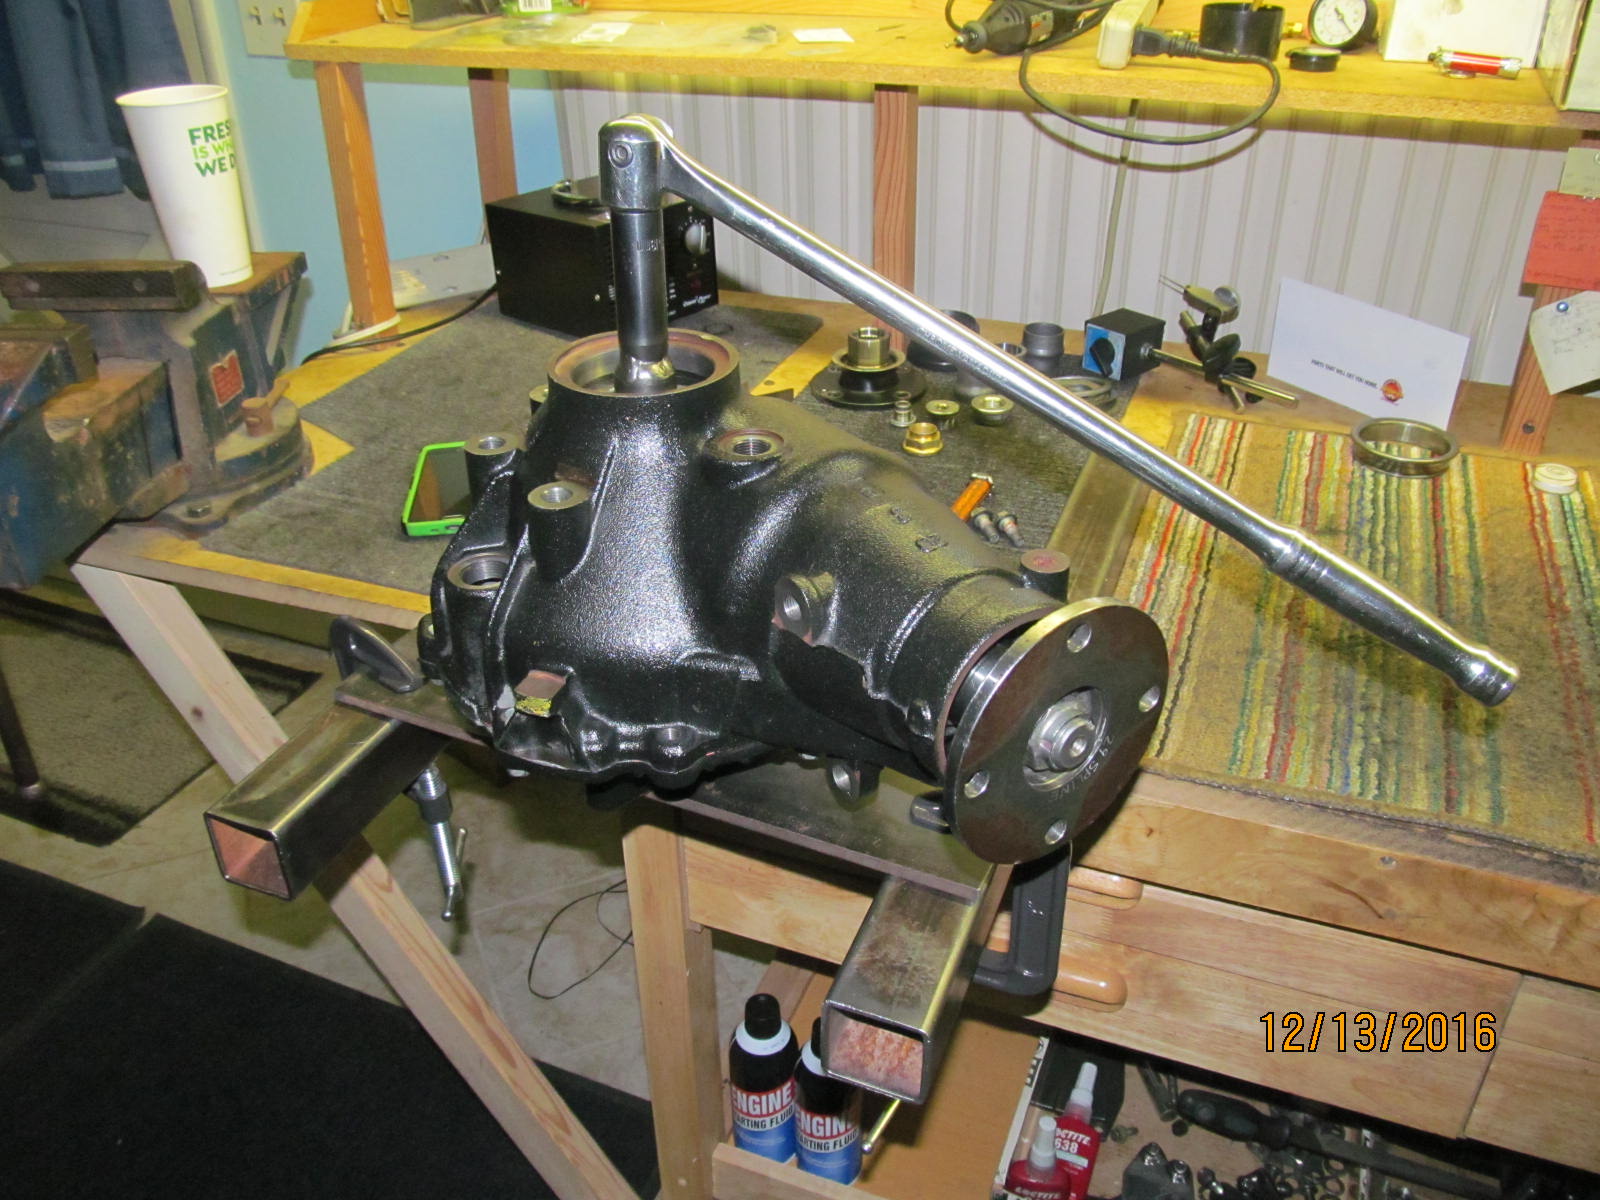
replacement flange is available....has to be from the dealer if a new one was needed.
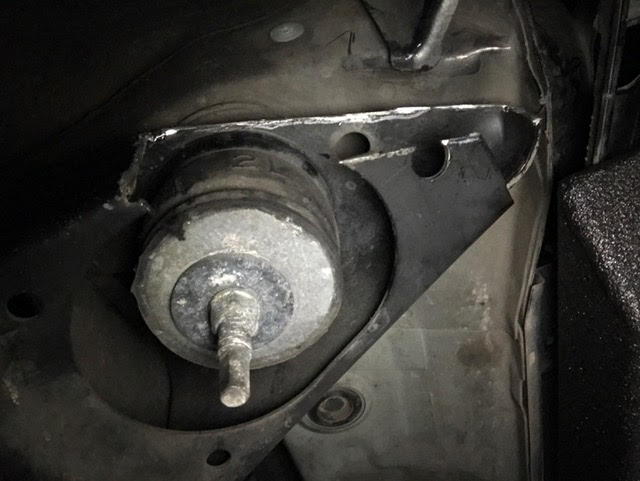
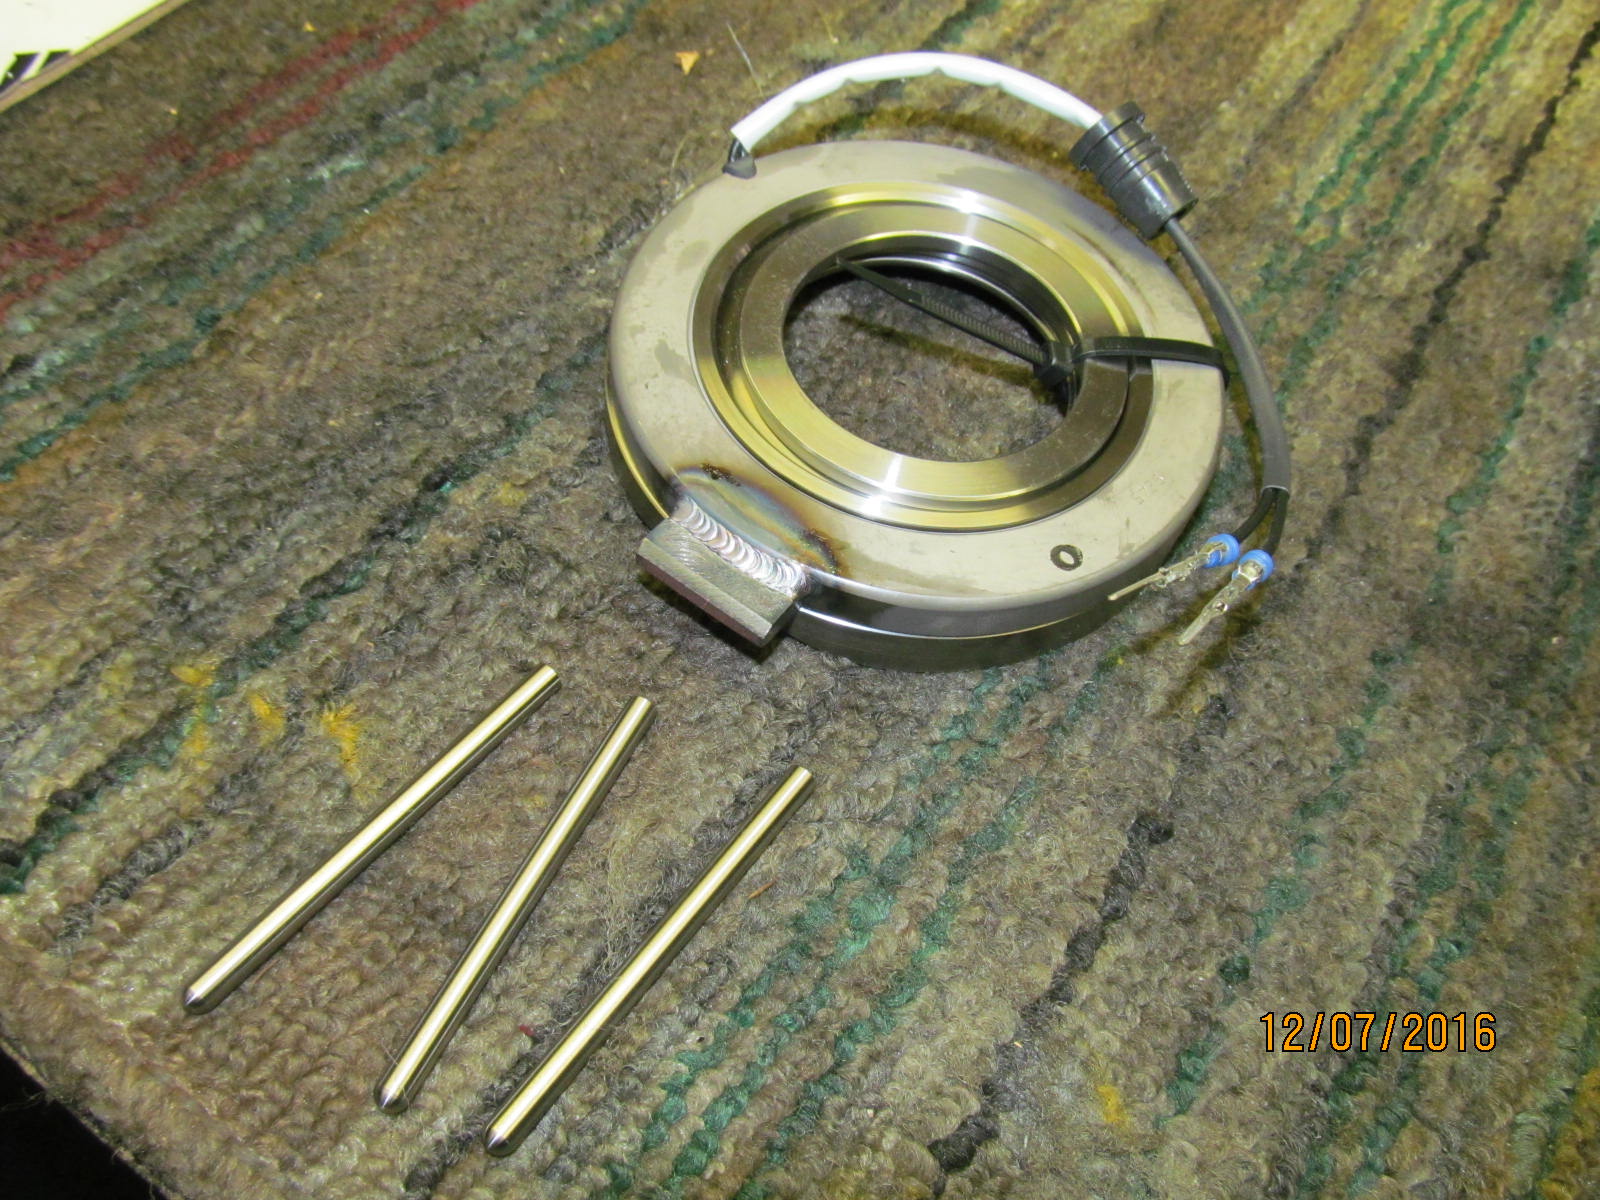
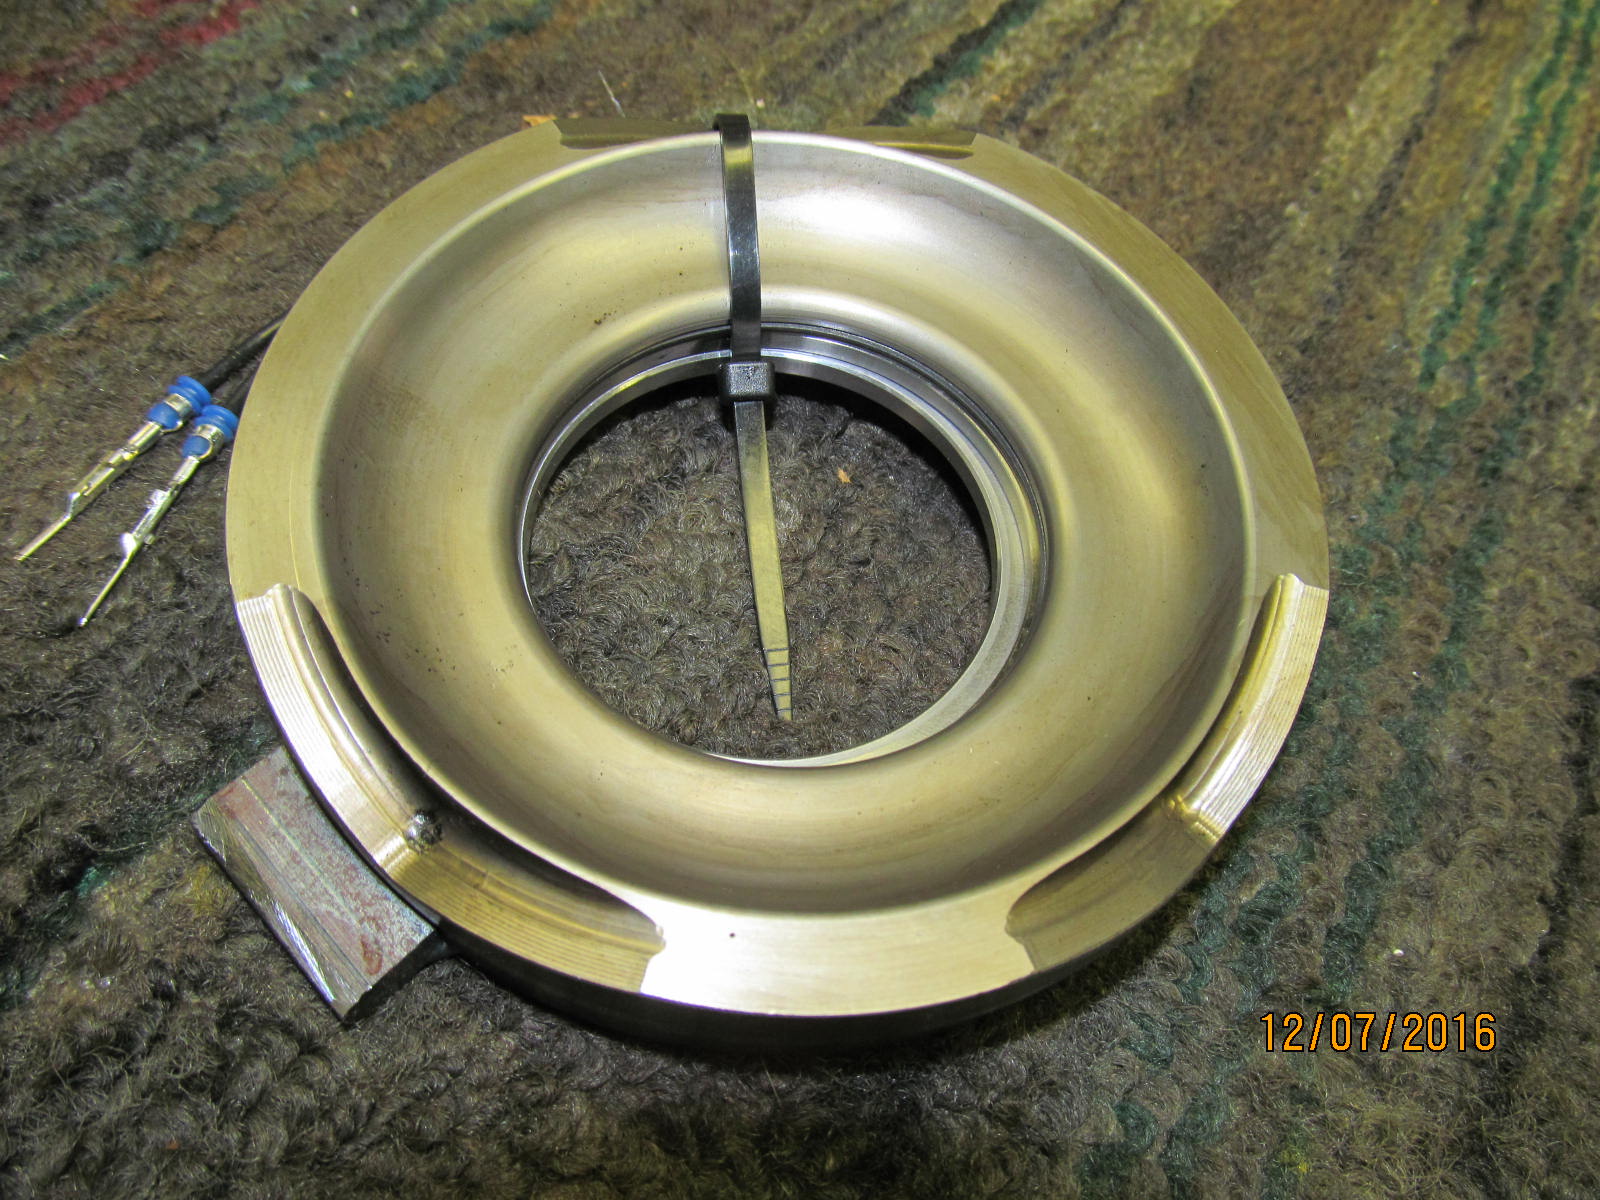
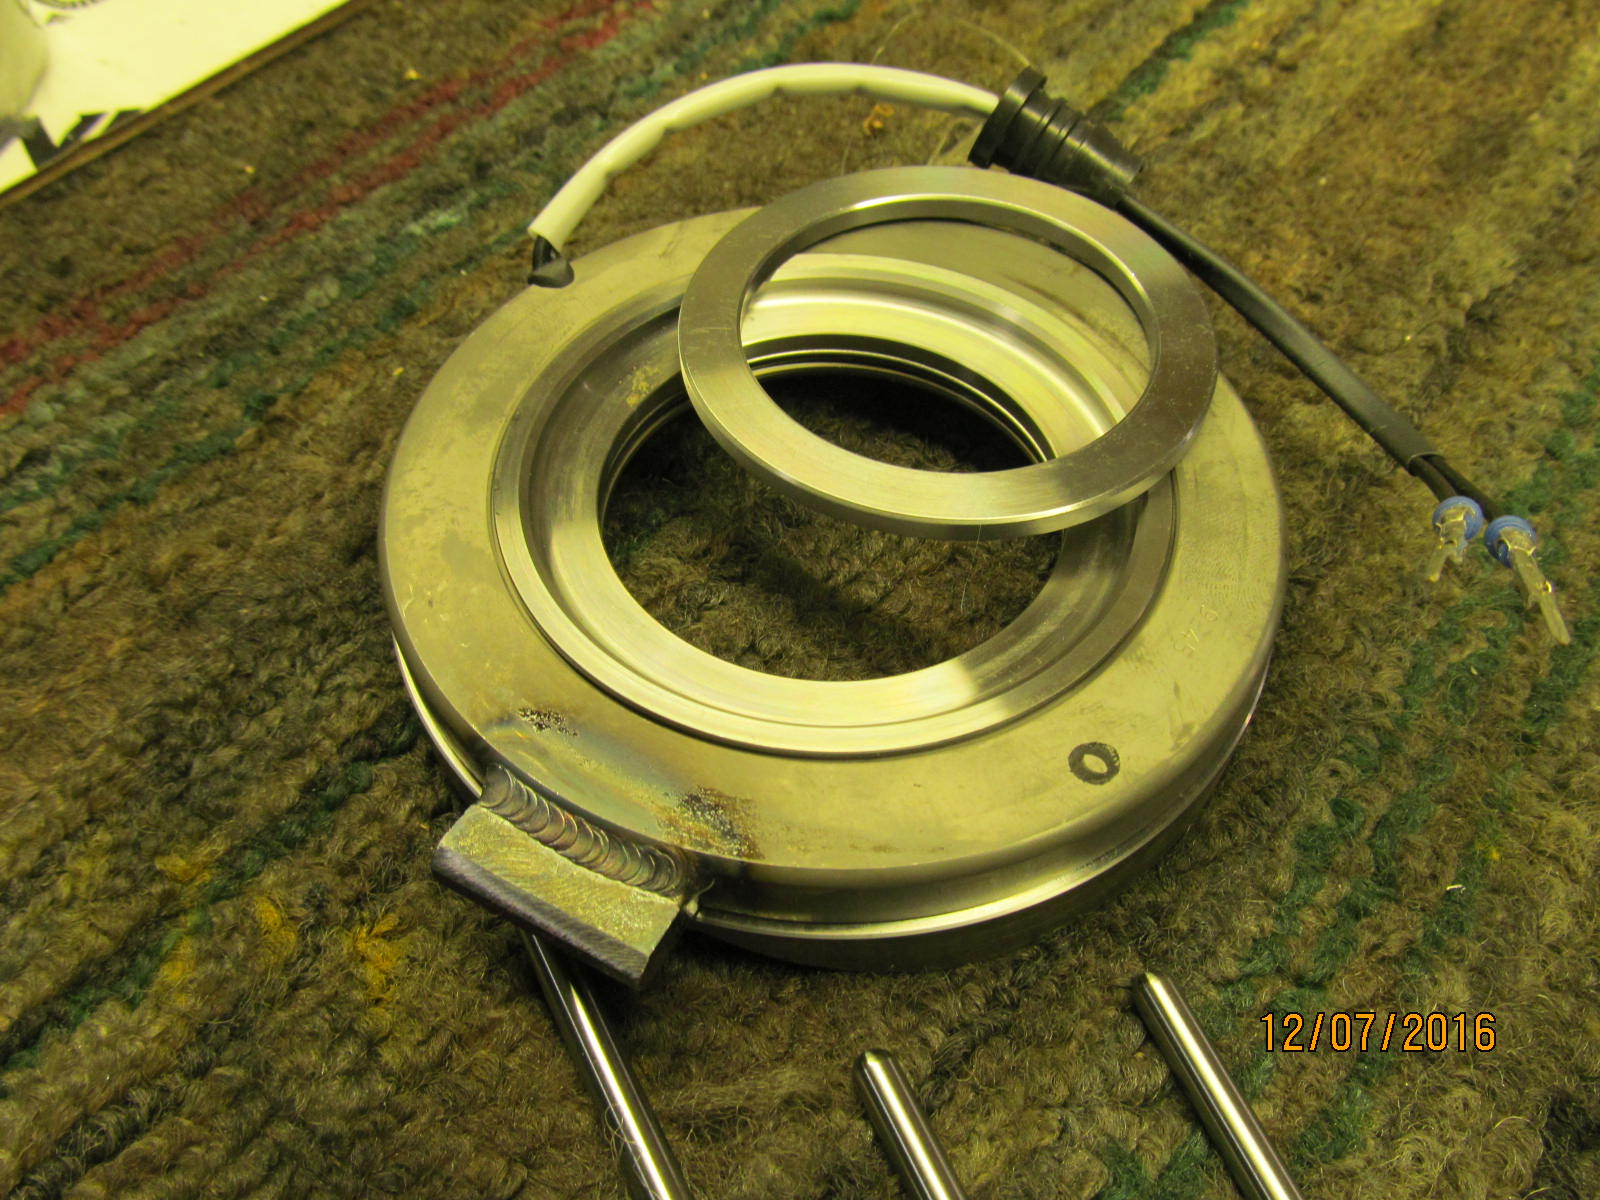
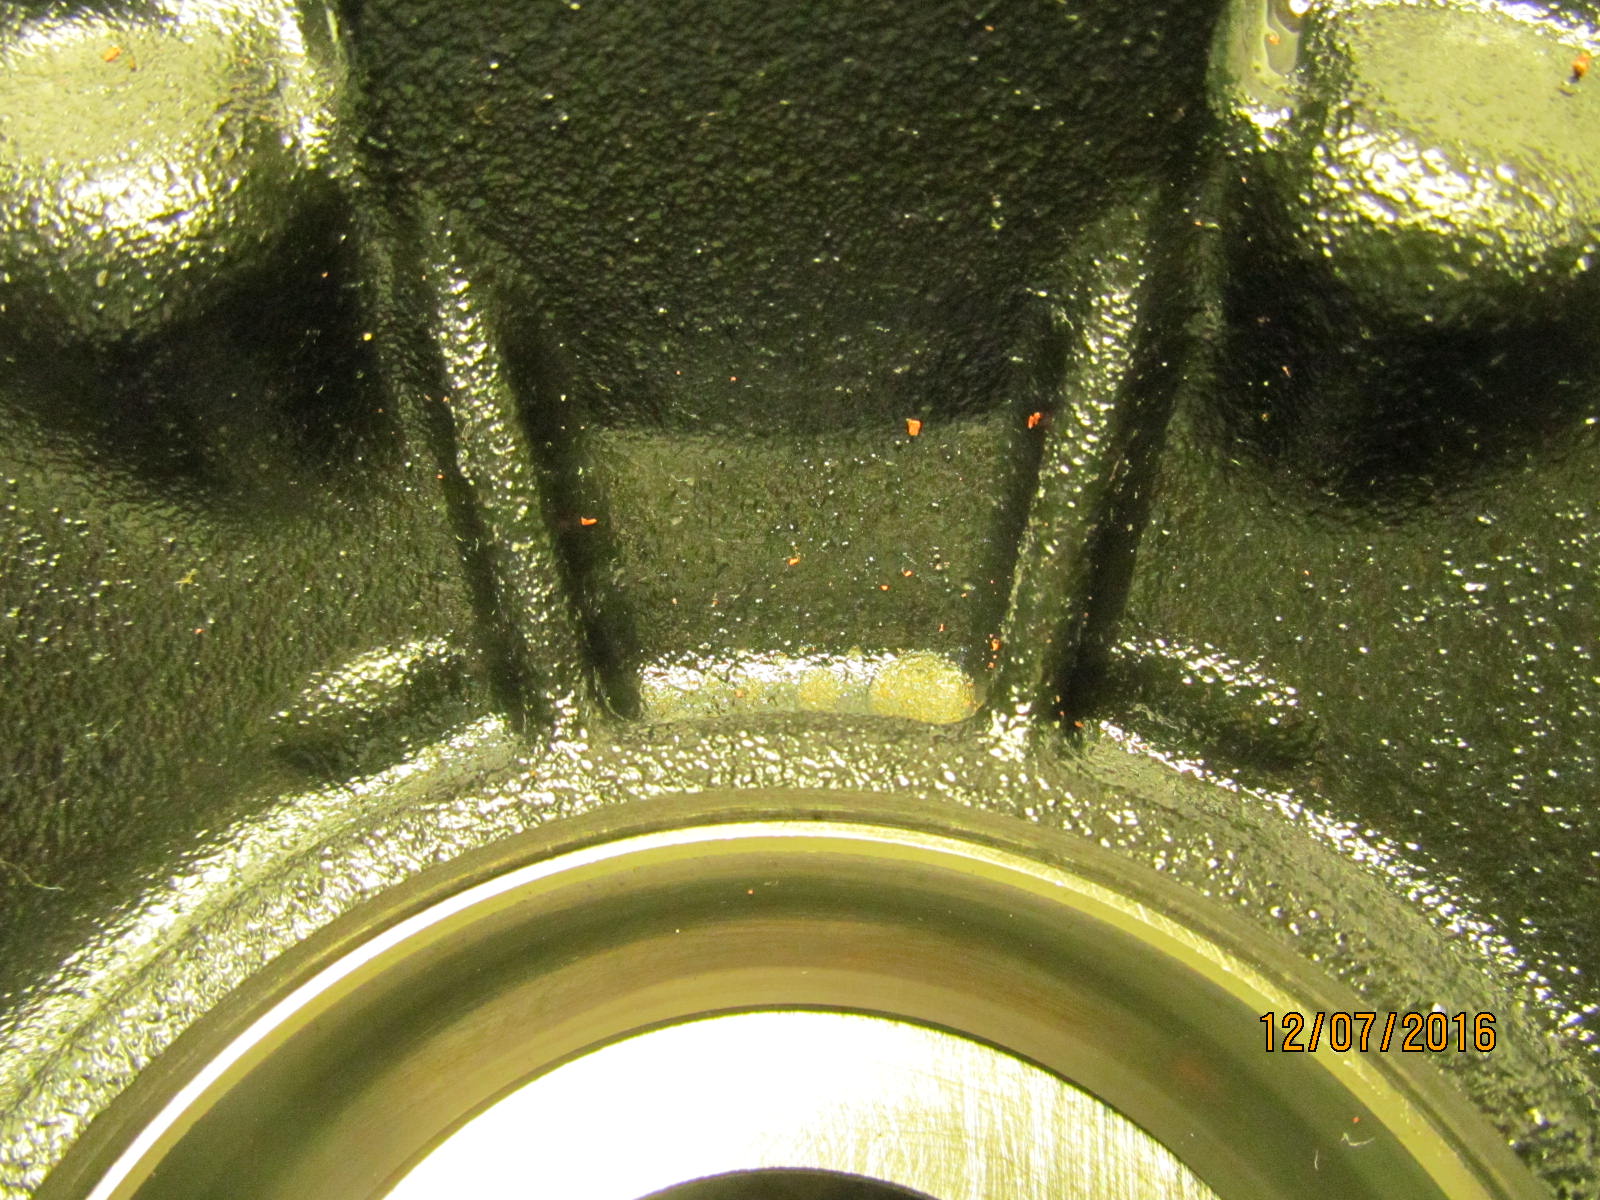
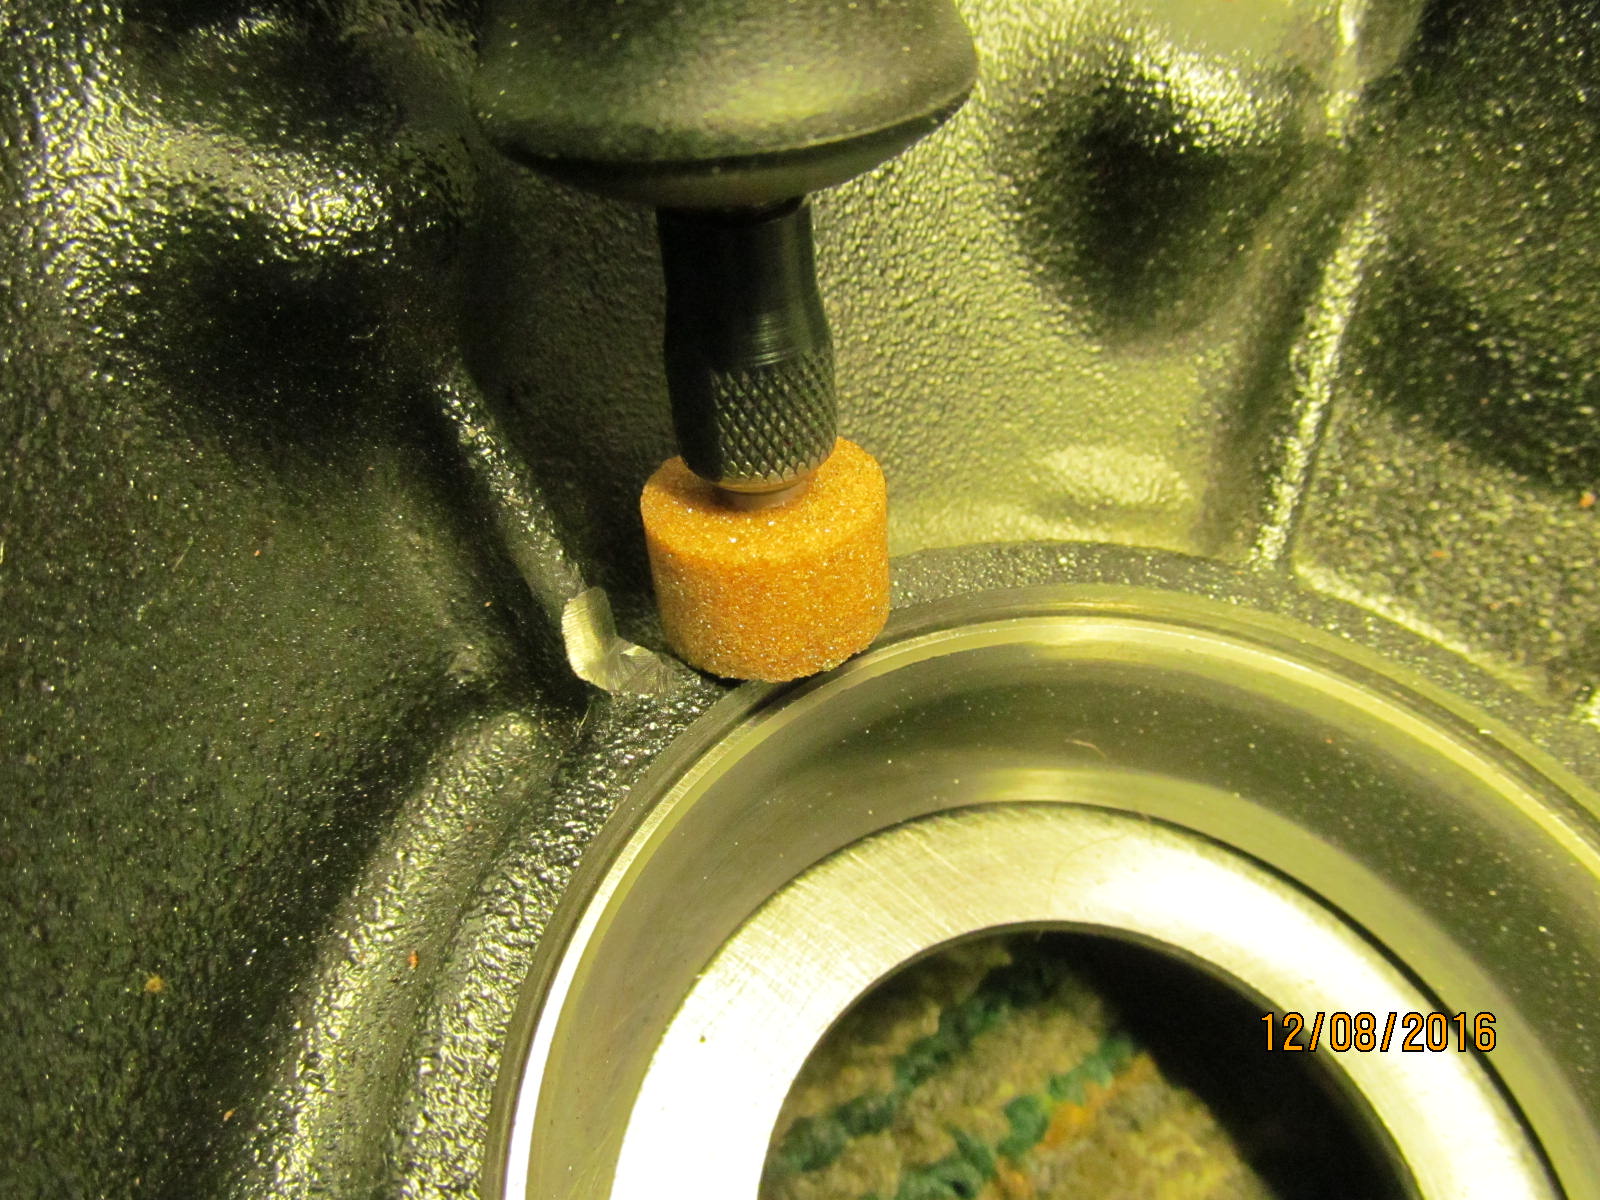
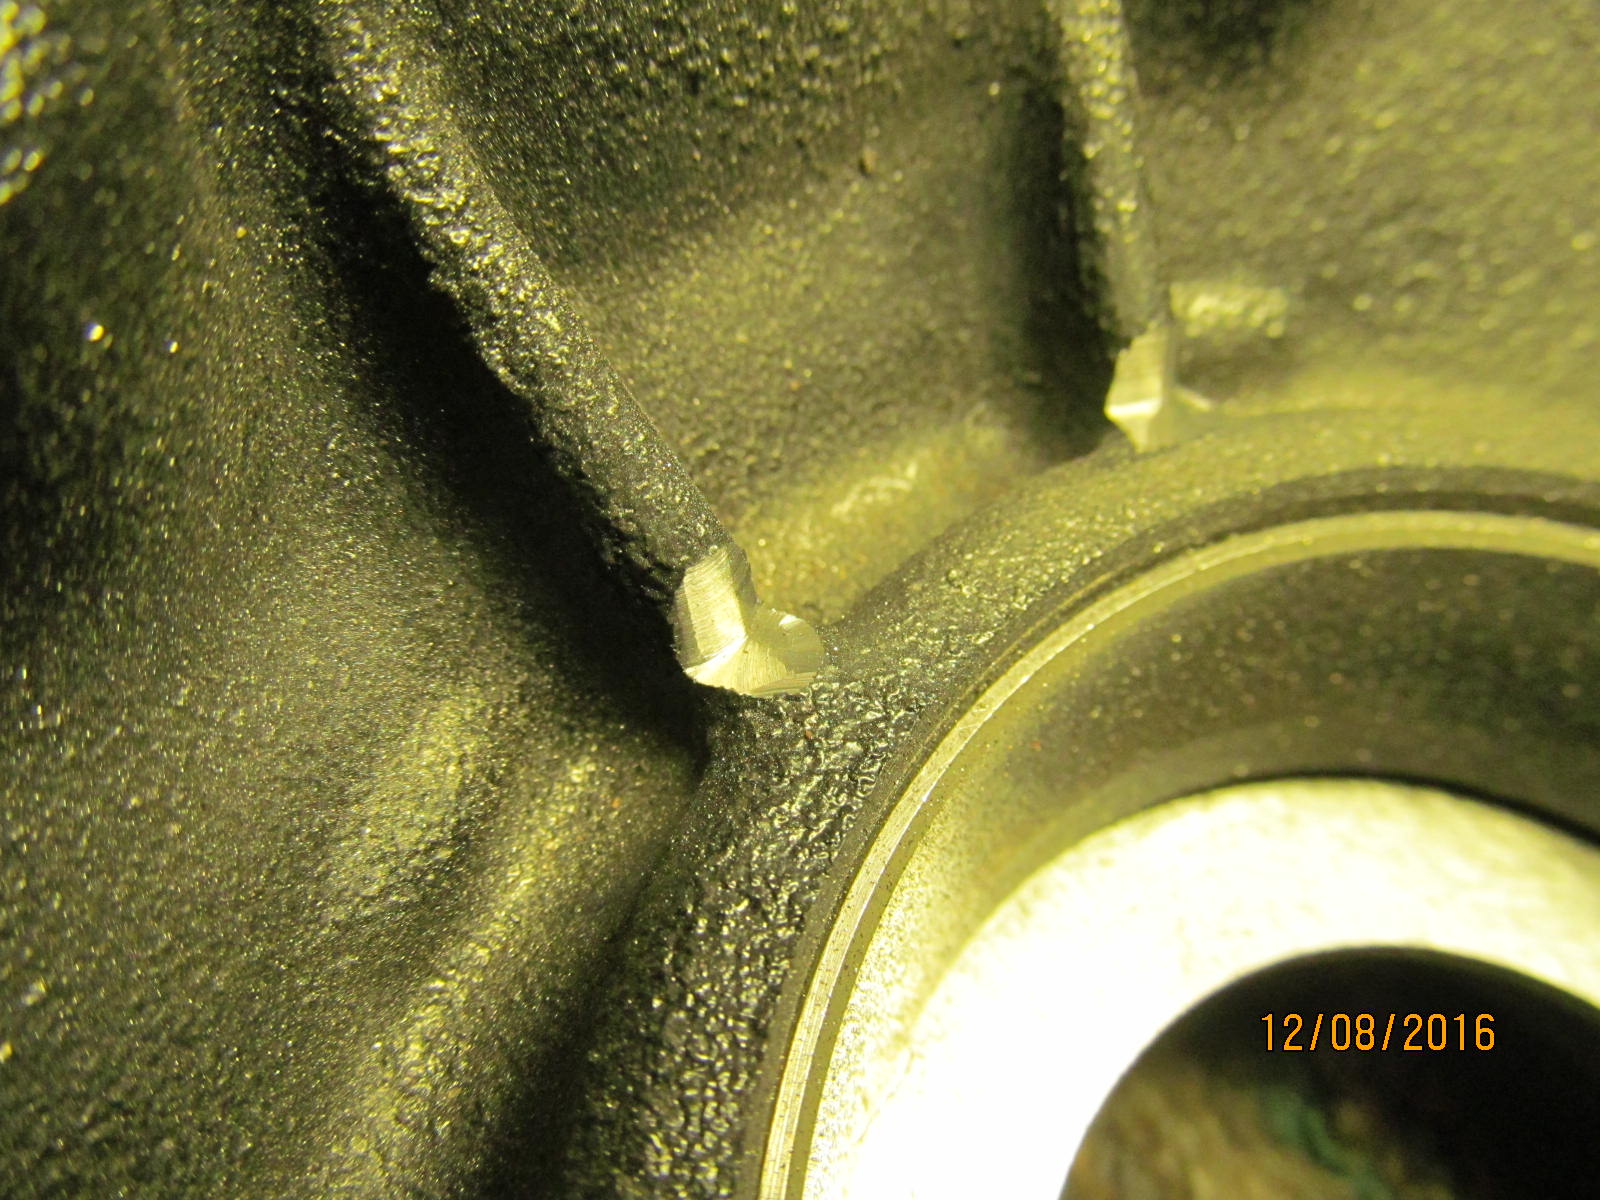
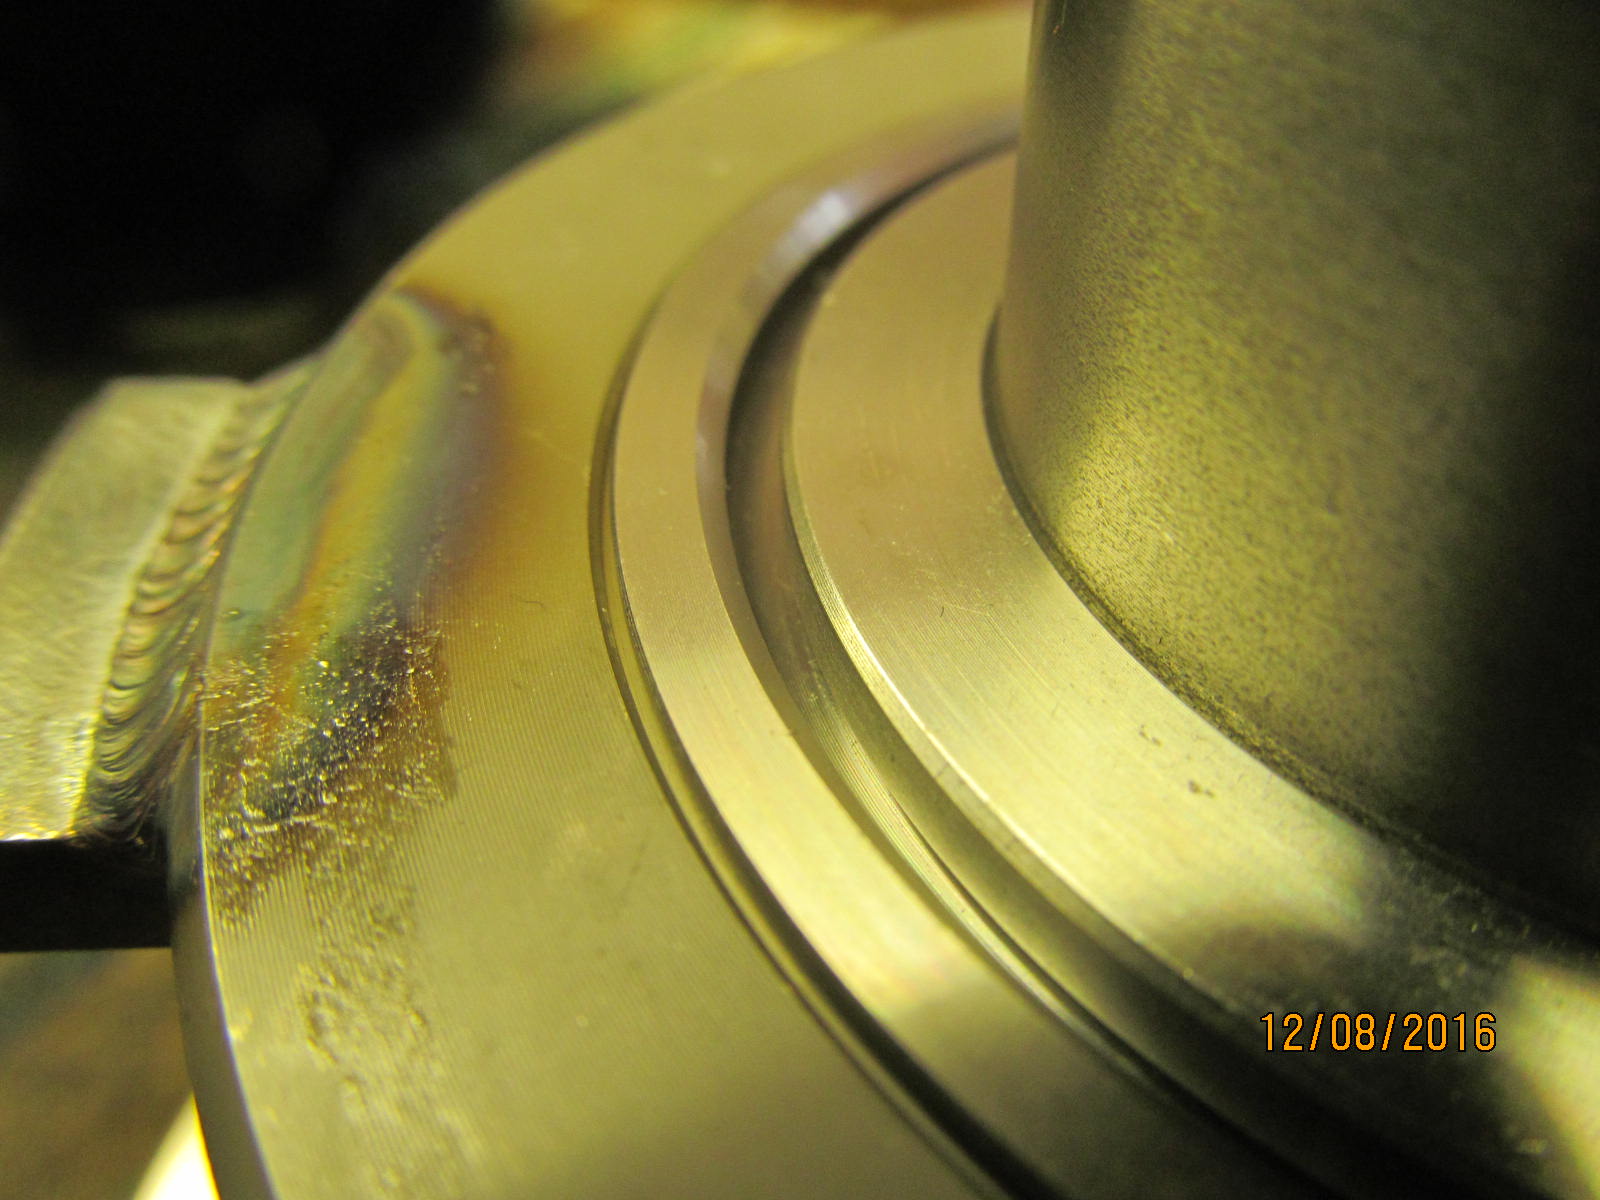
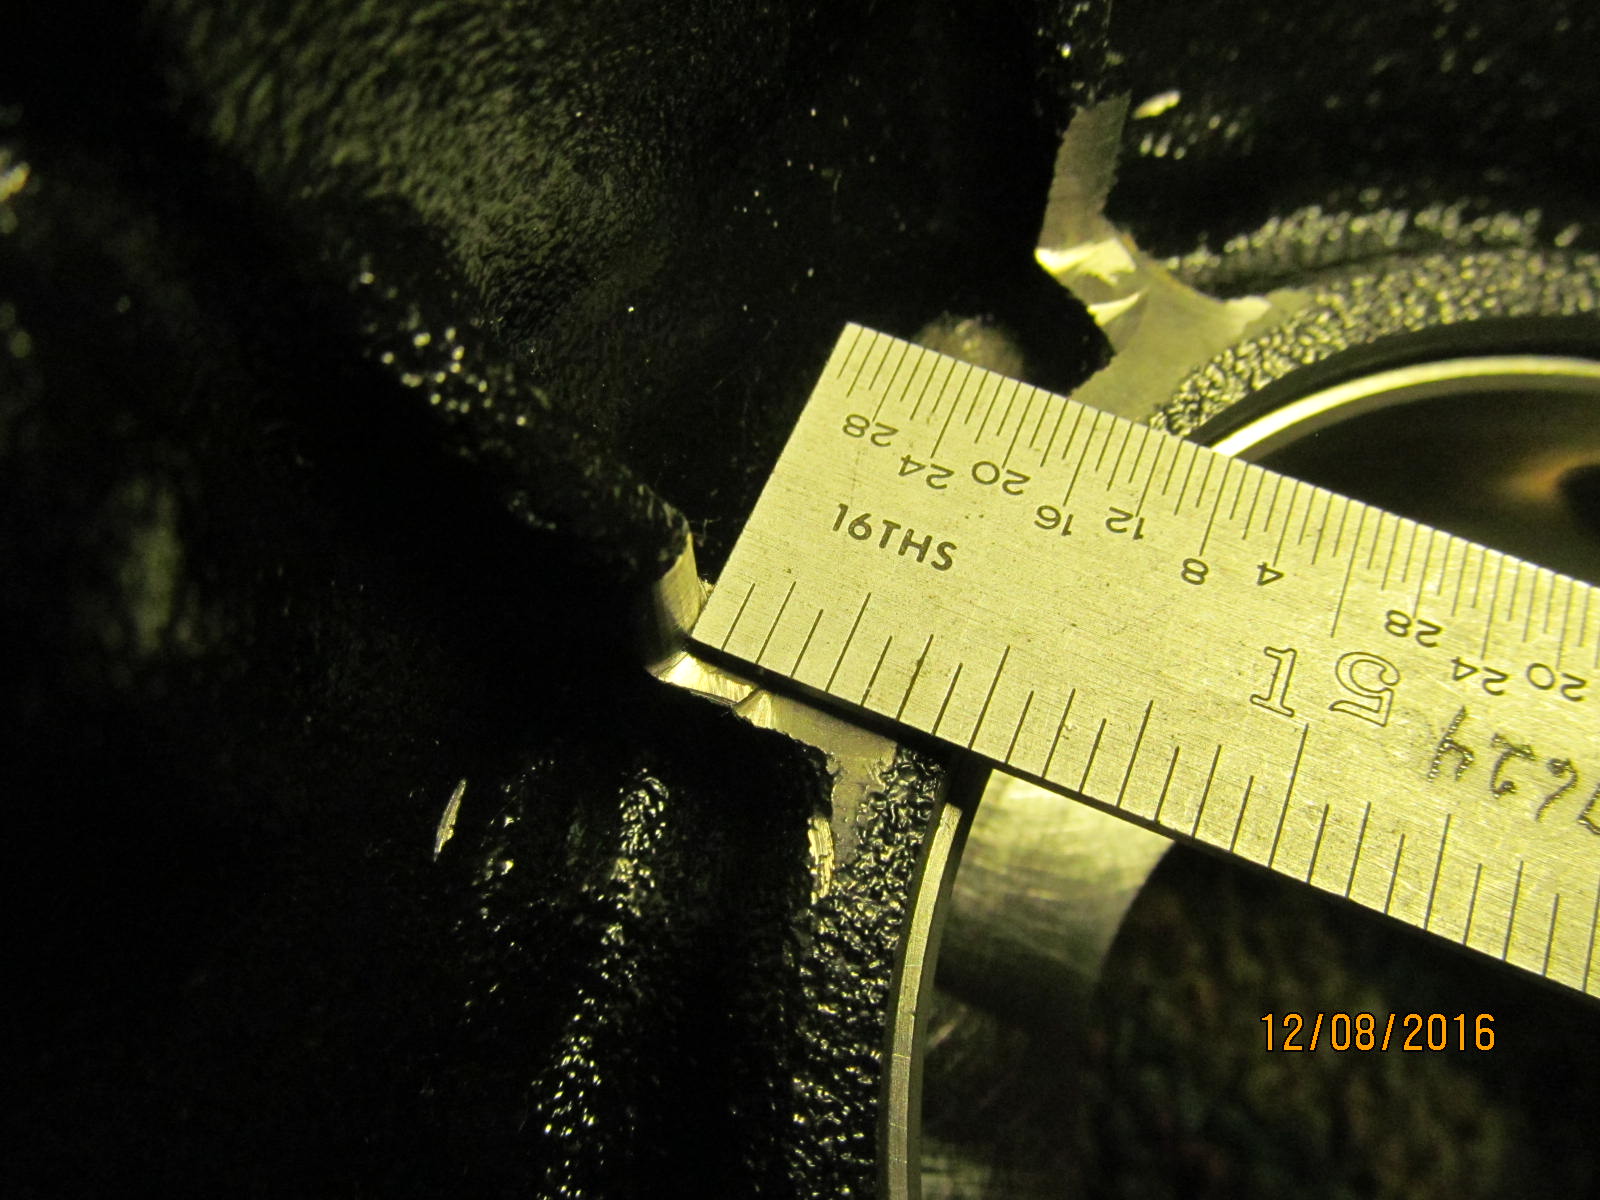
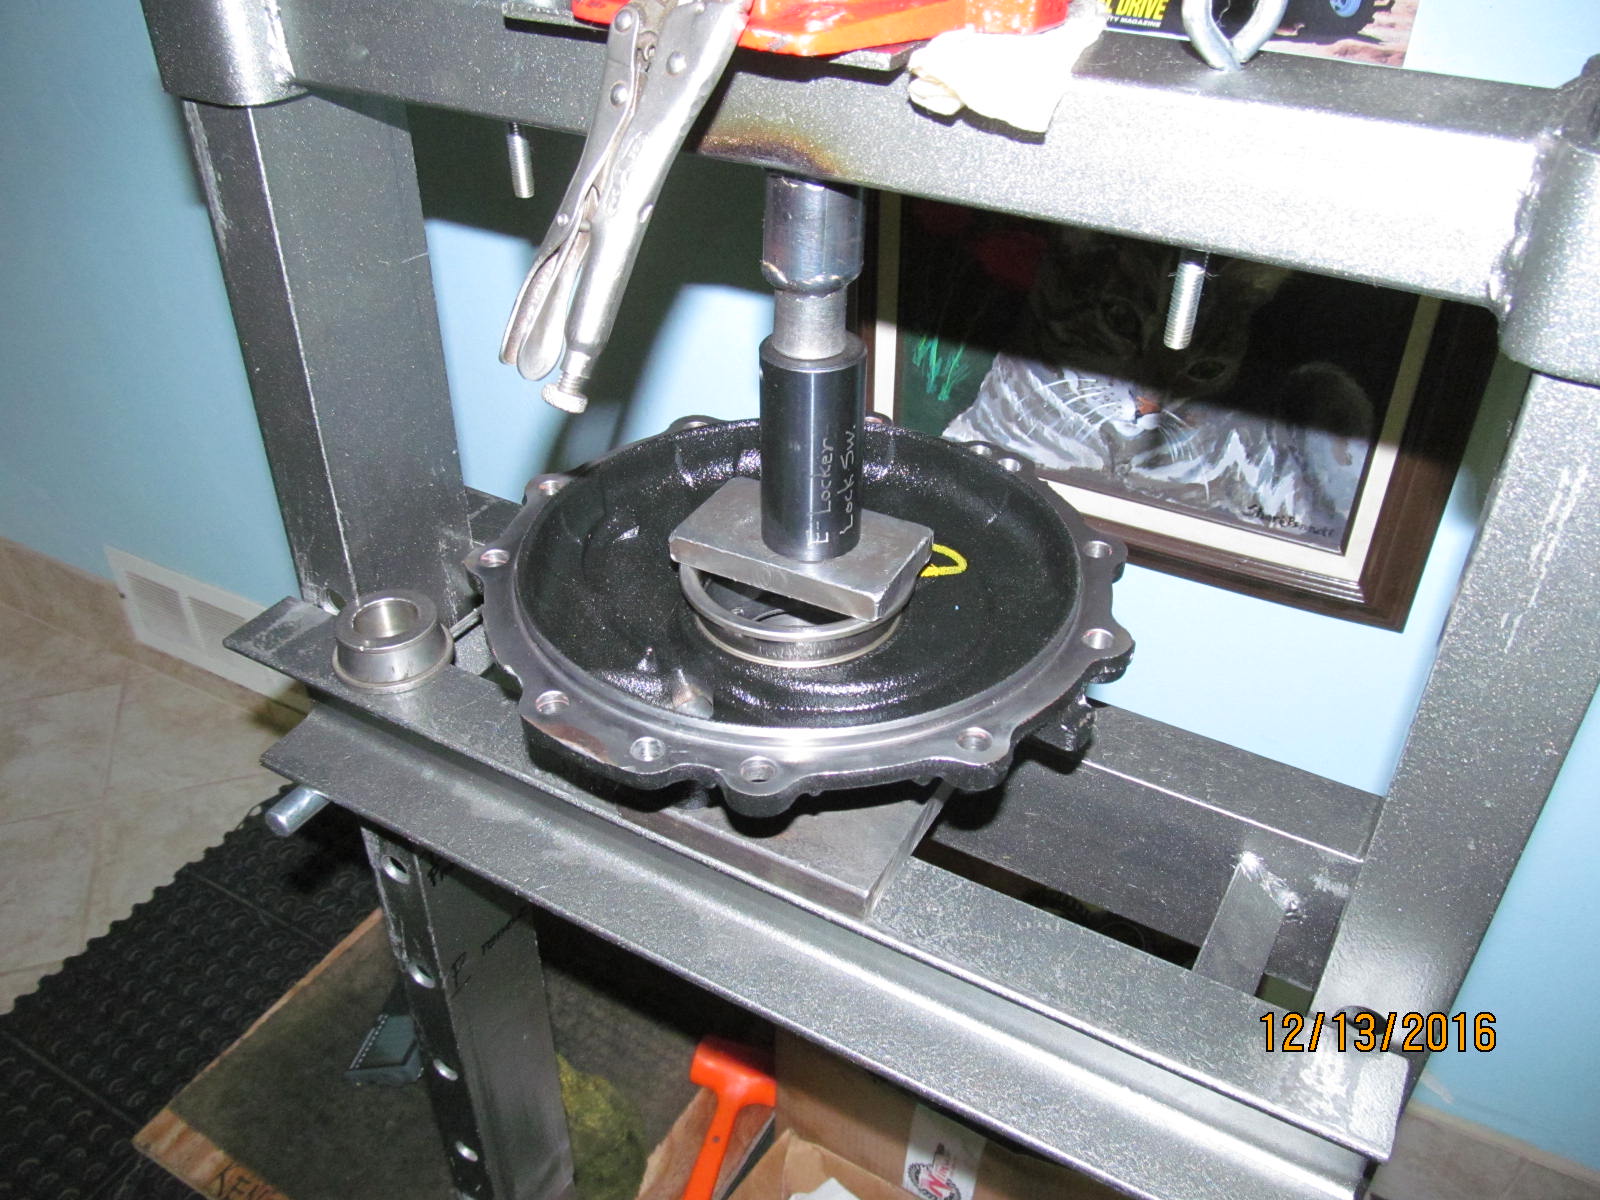
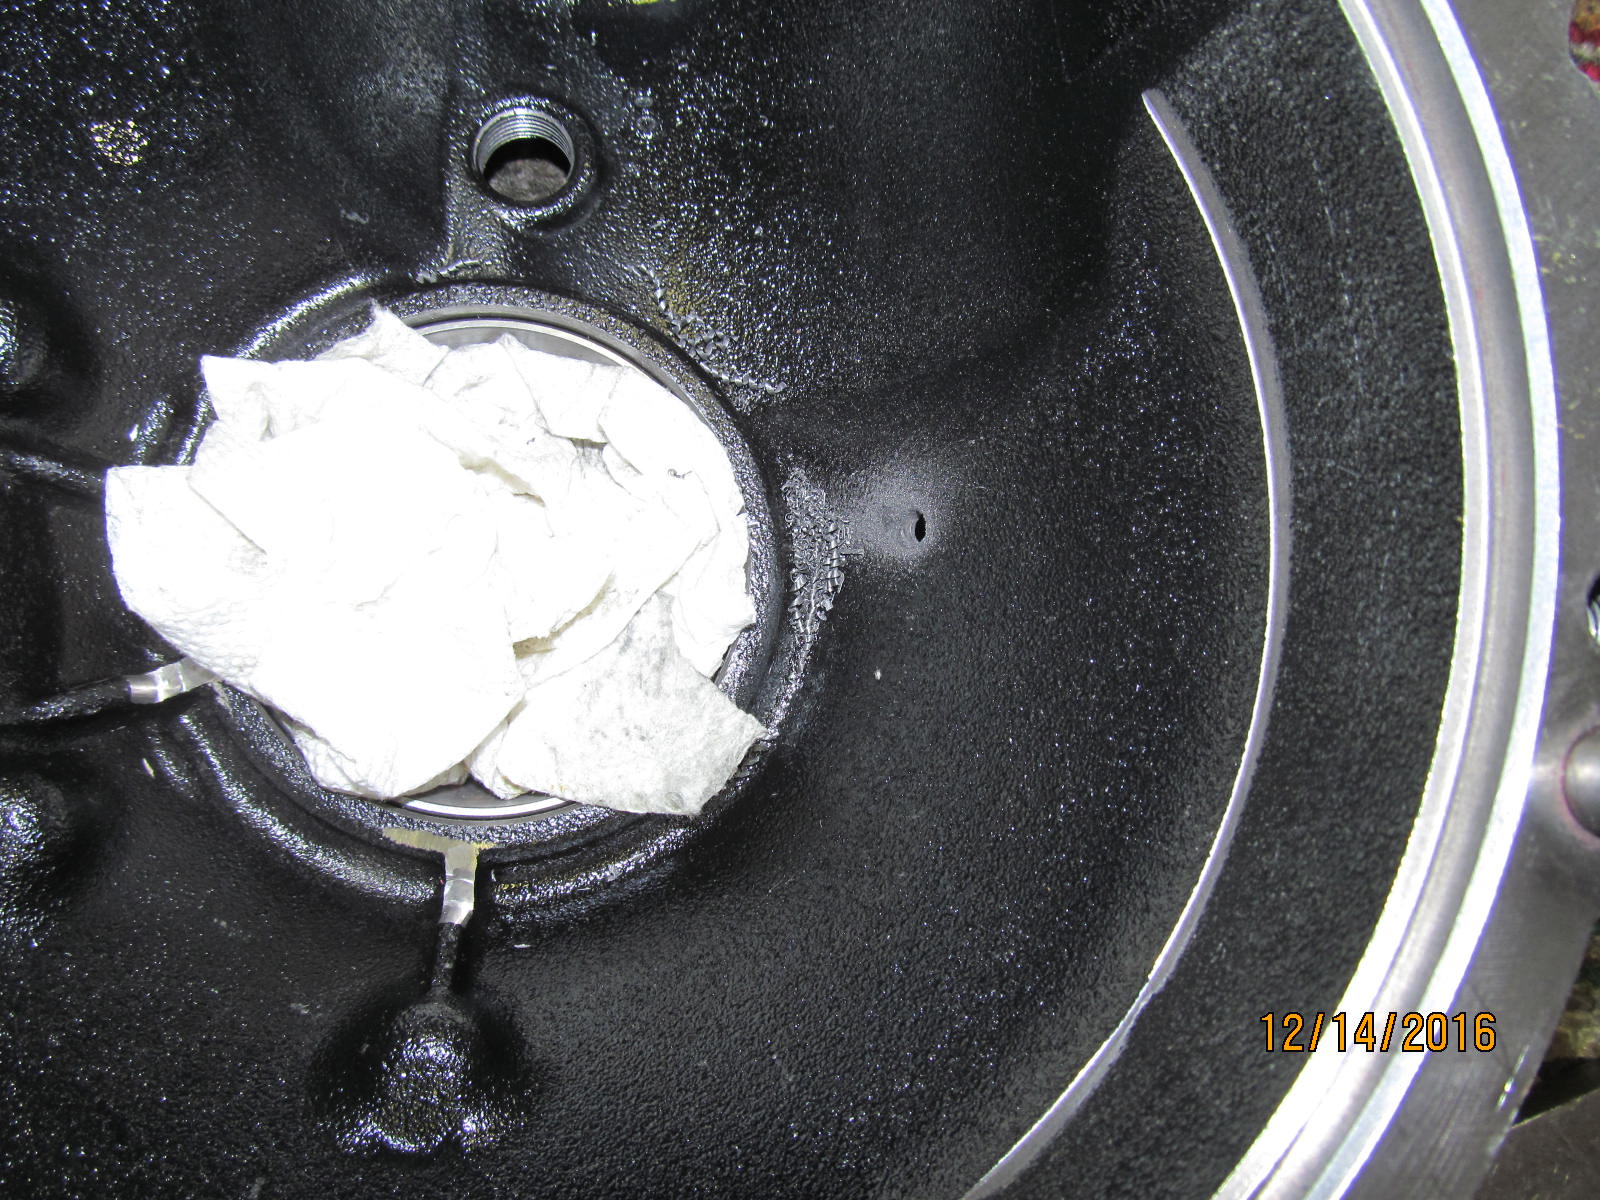
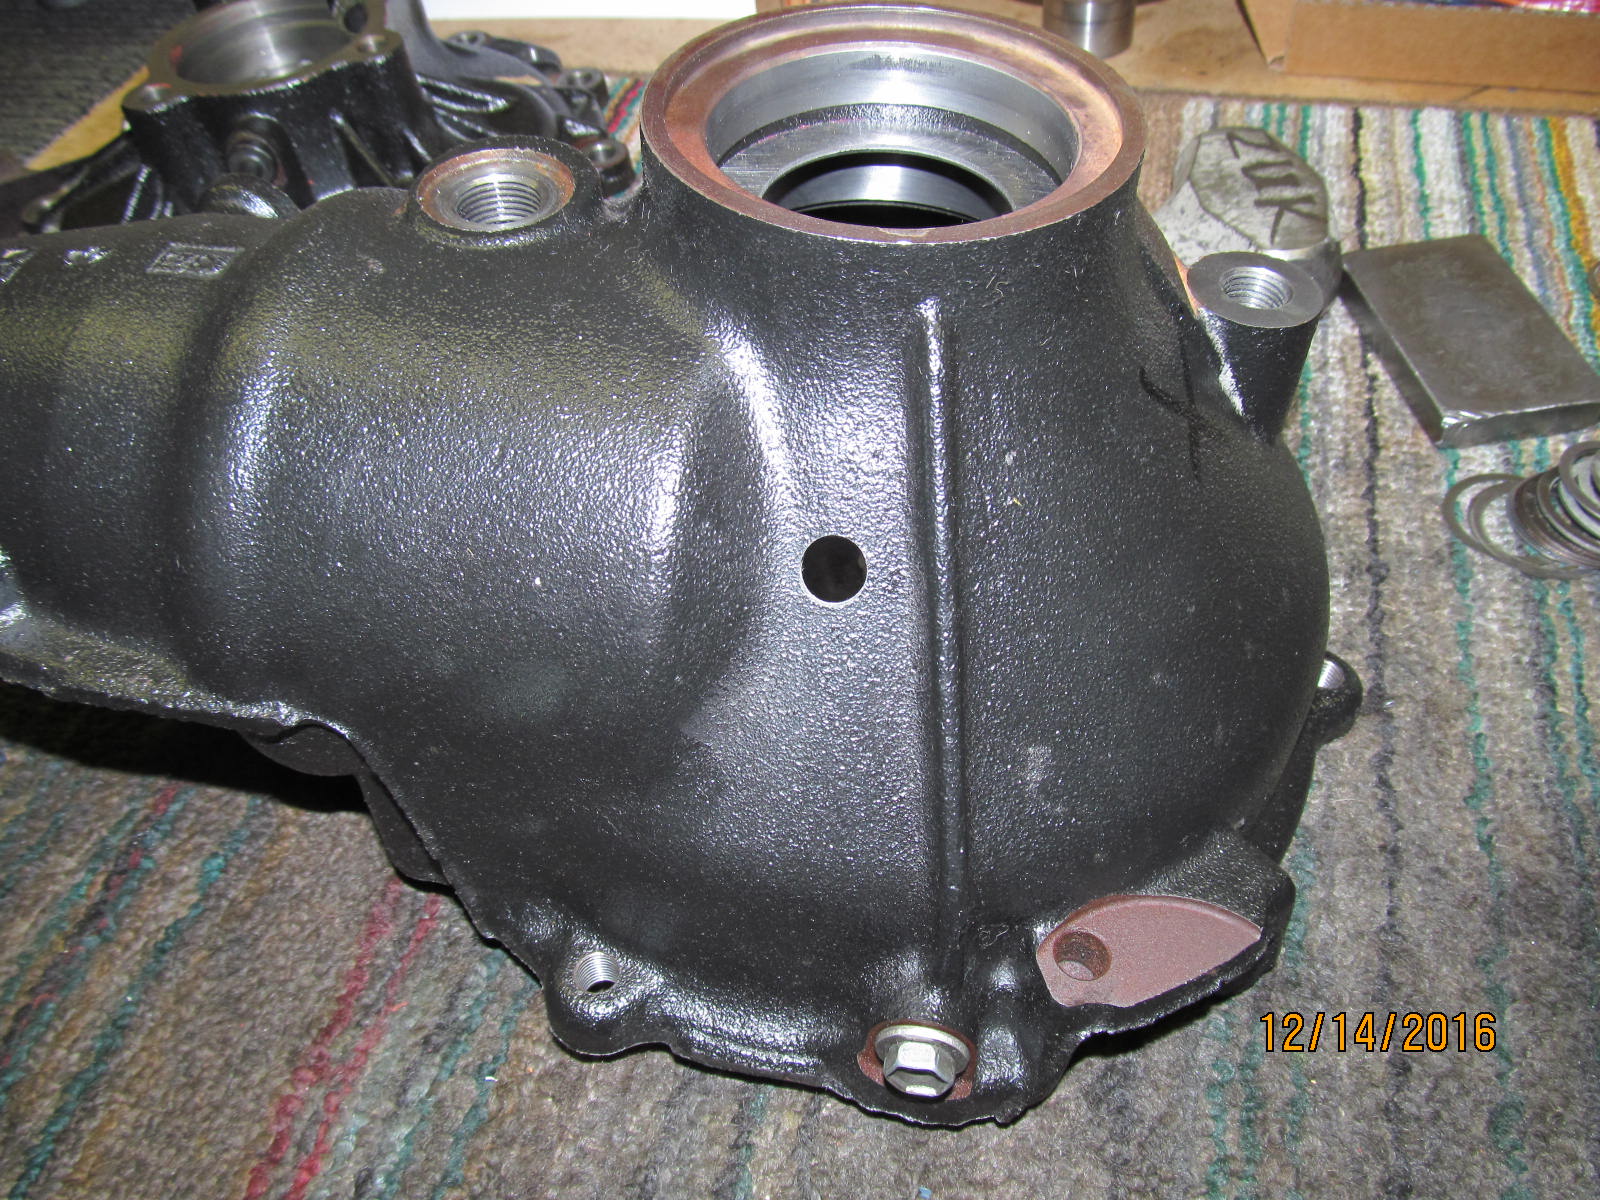
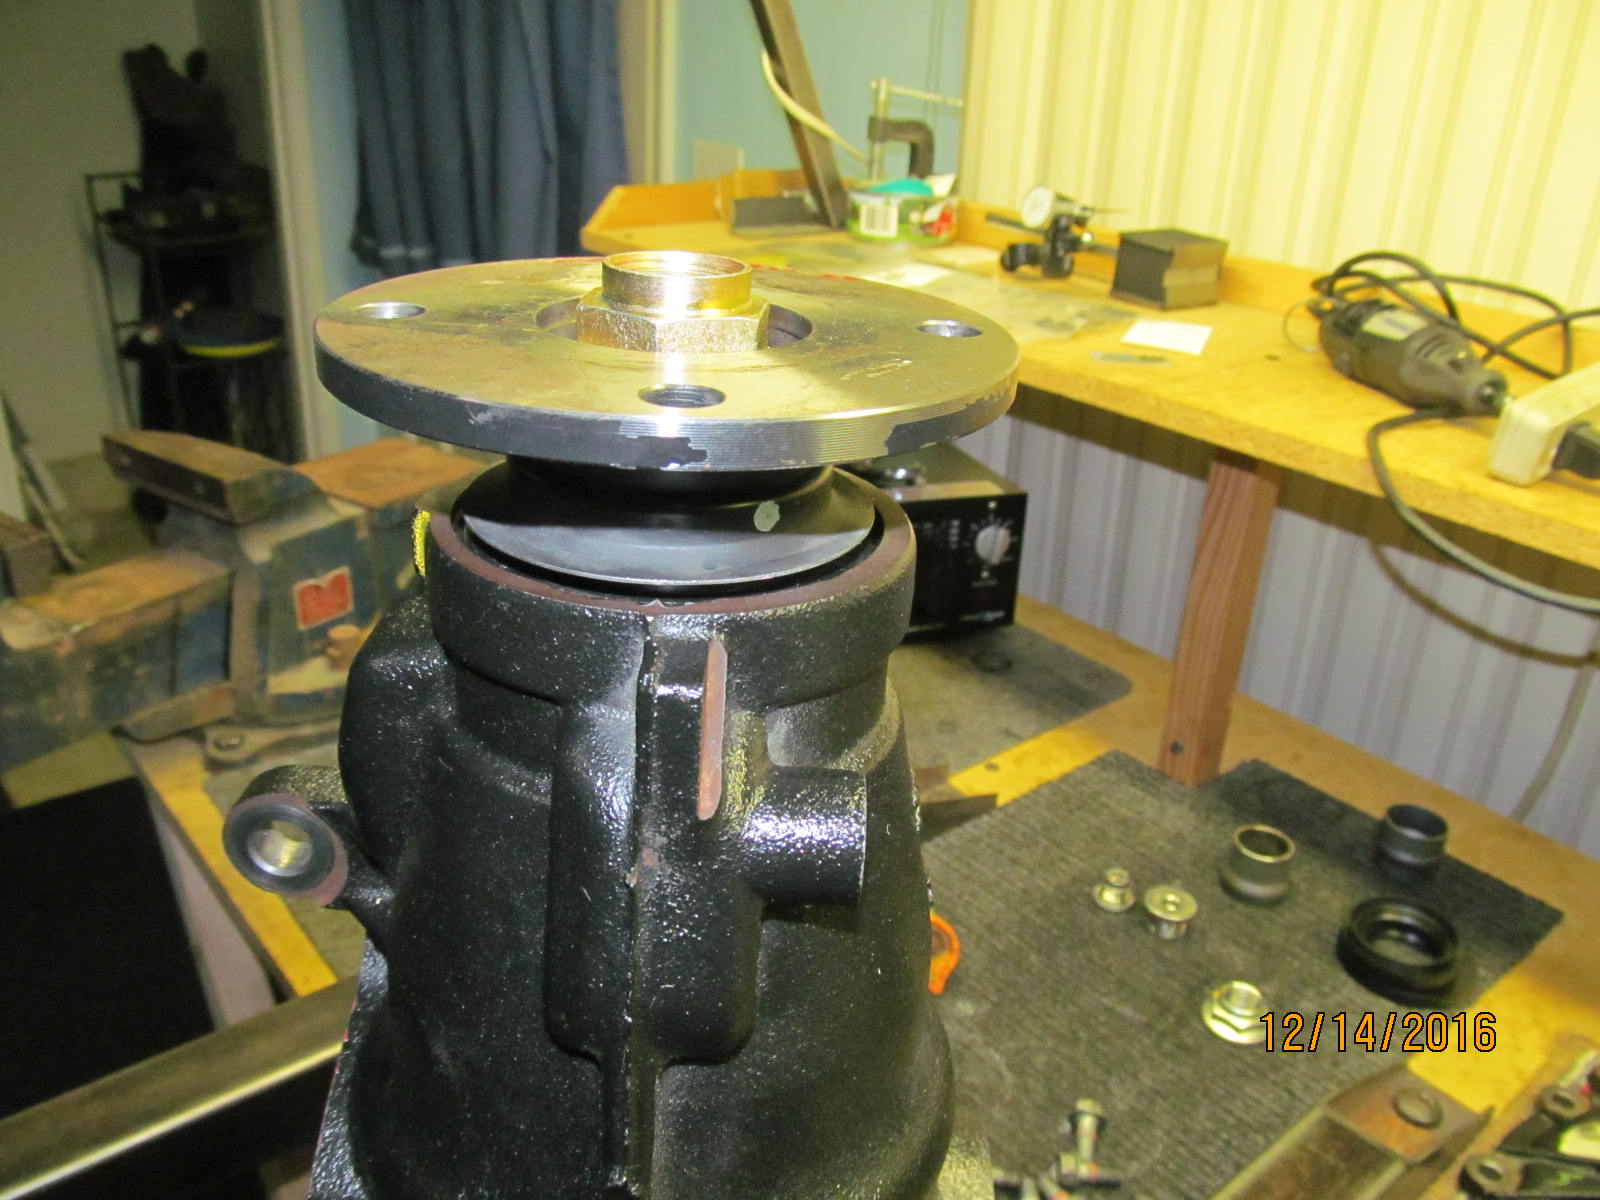
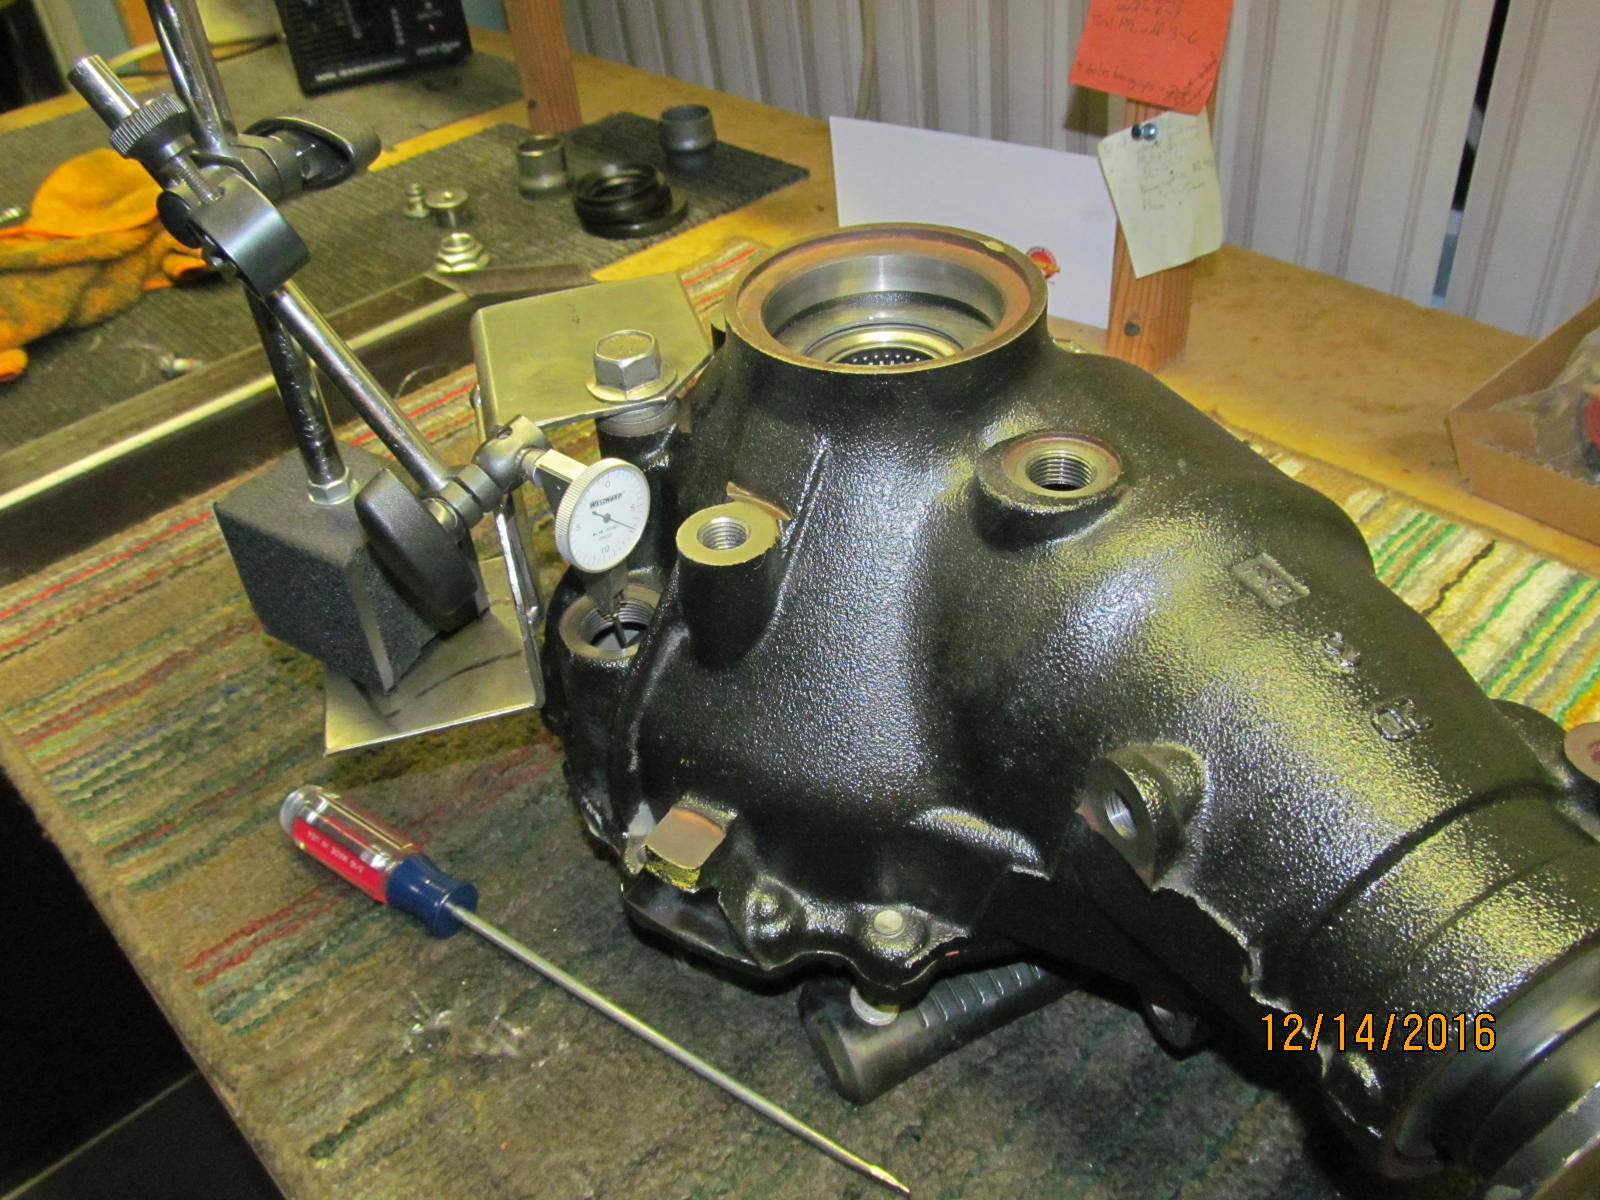
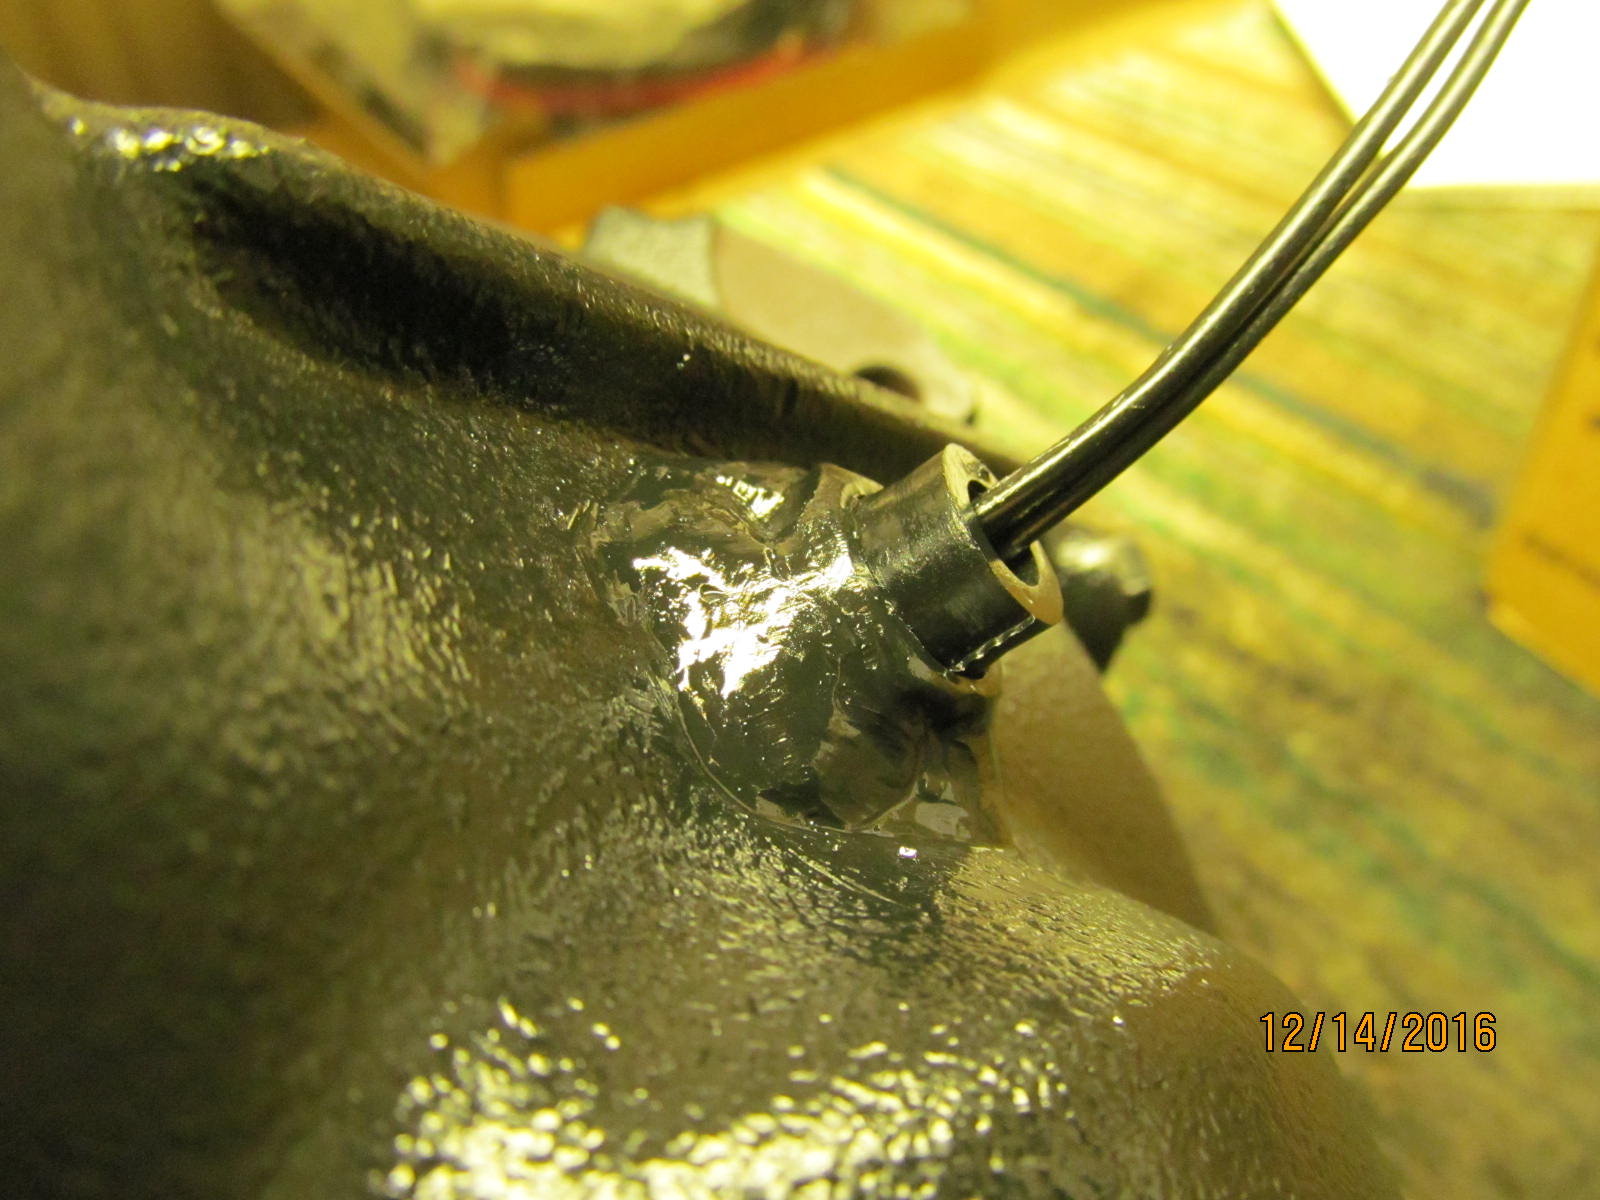
that the tab is at the 12 o'clock position and that the hole that will be drilled for the rubber
grommet will be very near the 6 o'clock.
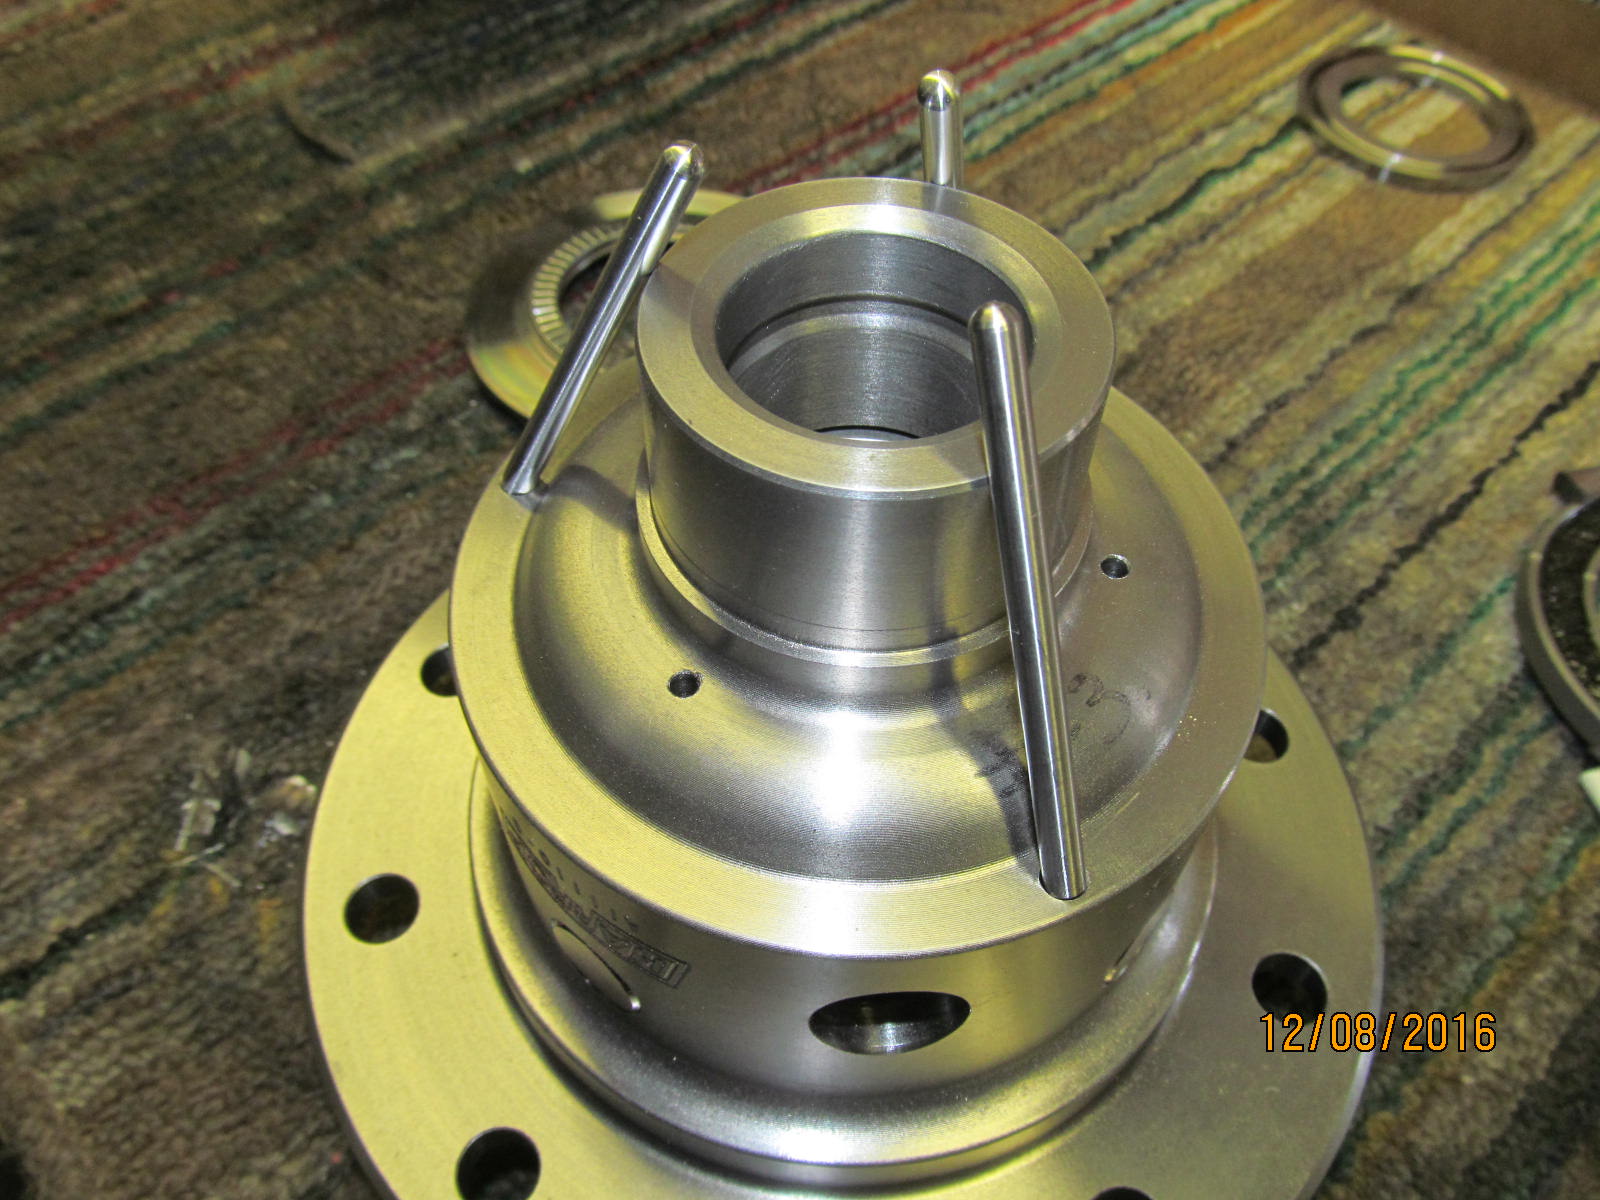
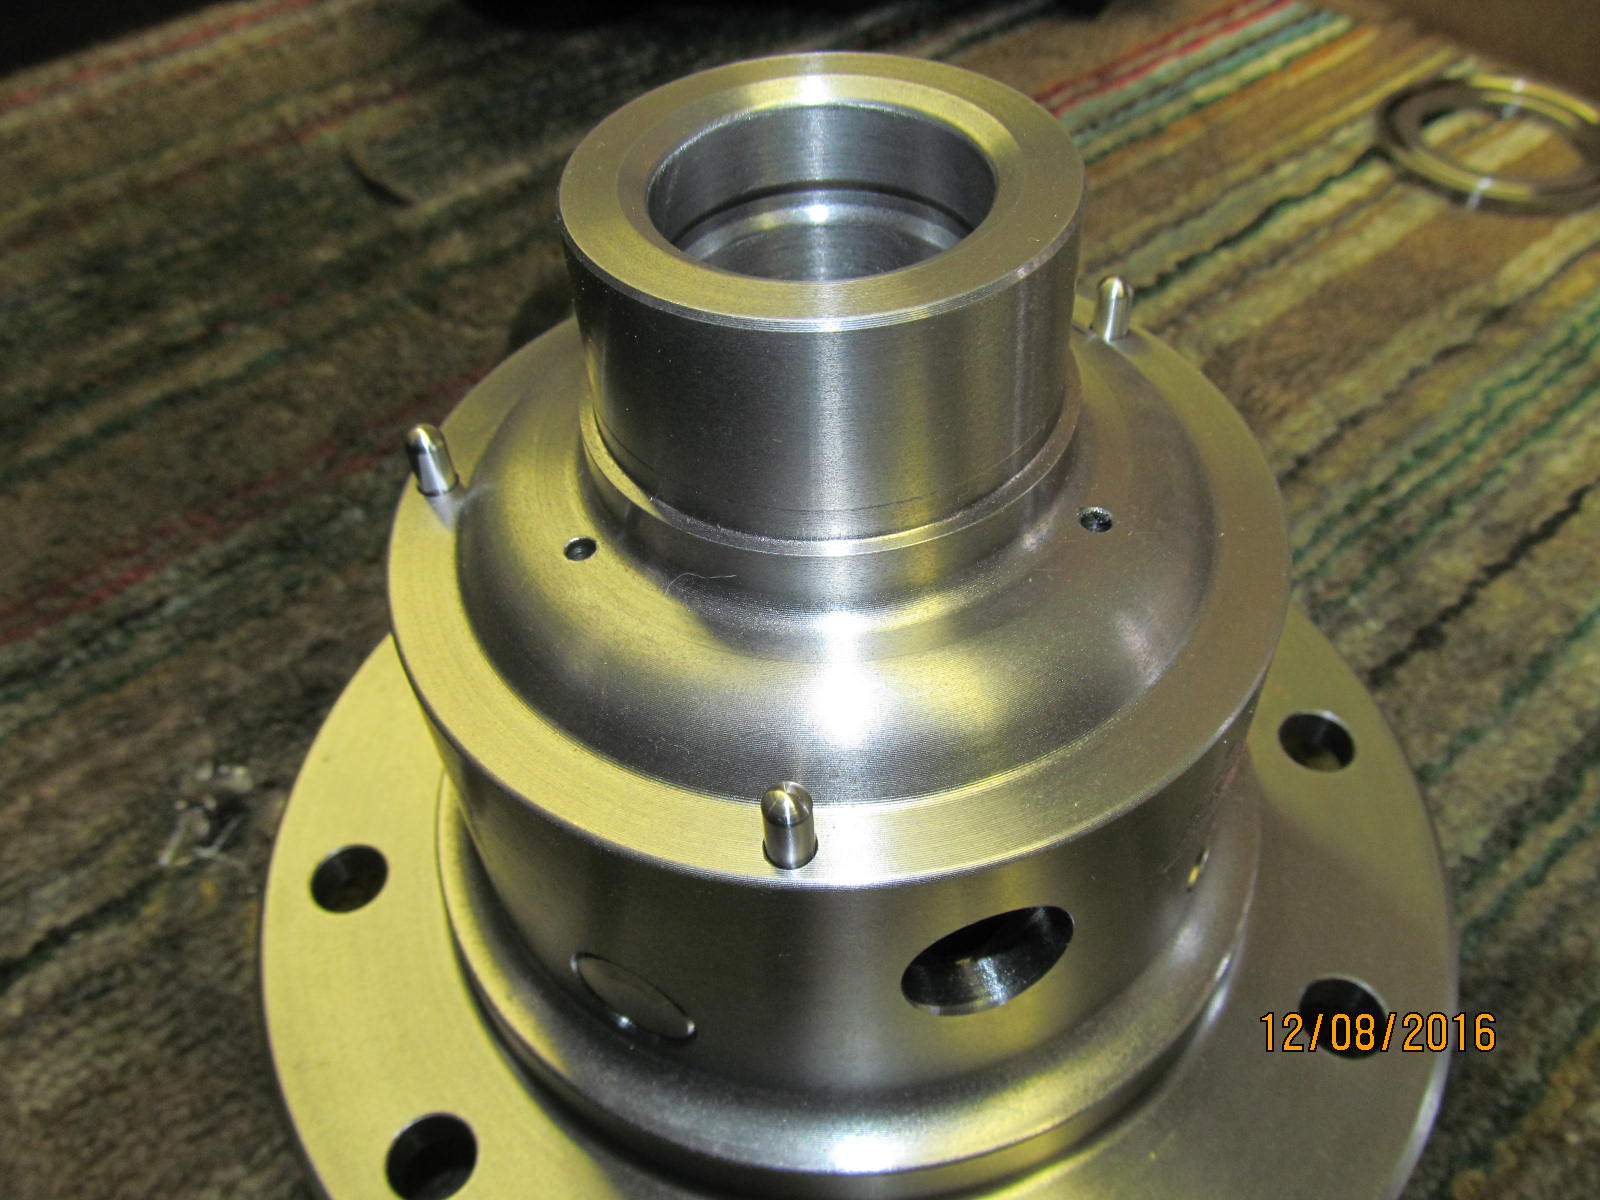
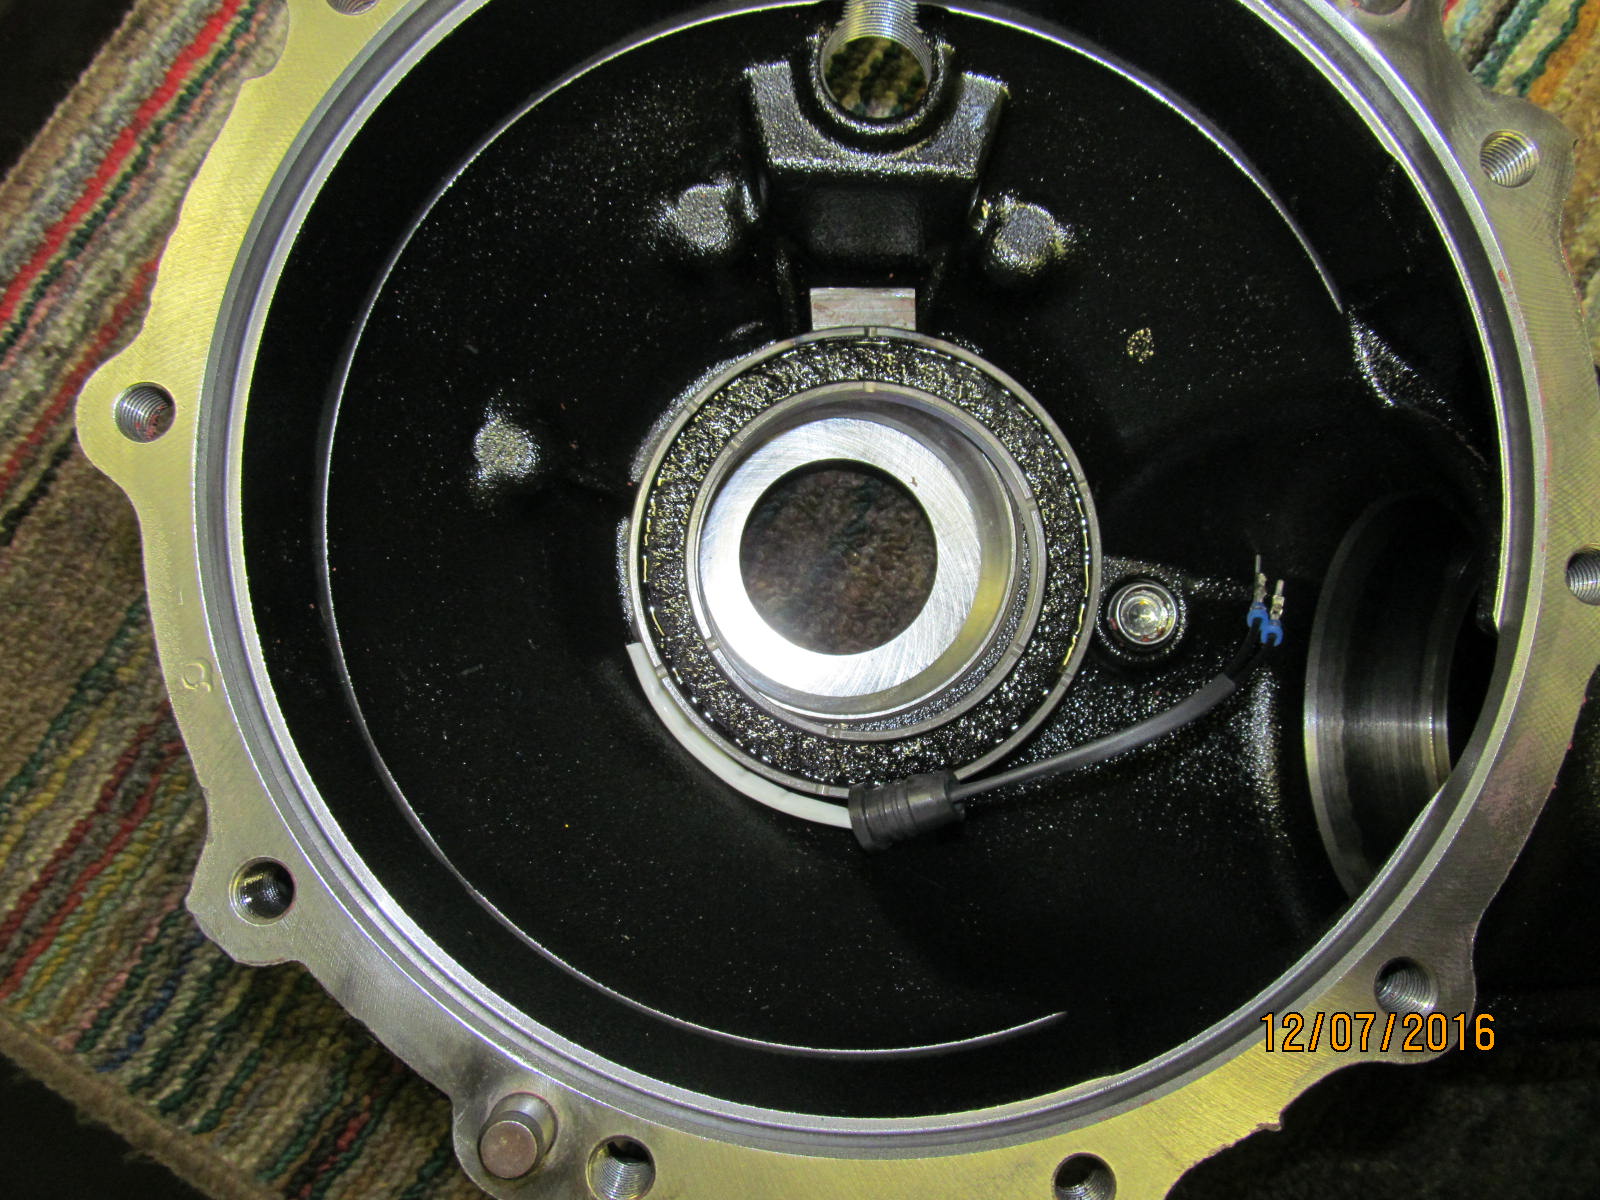
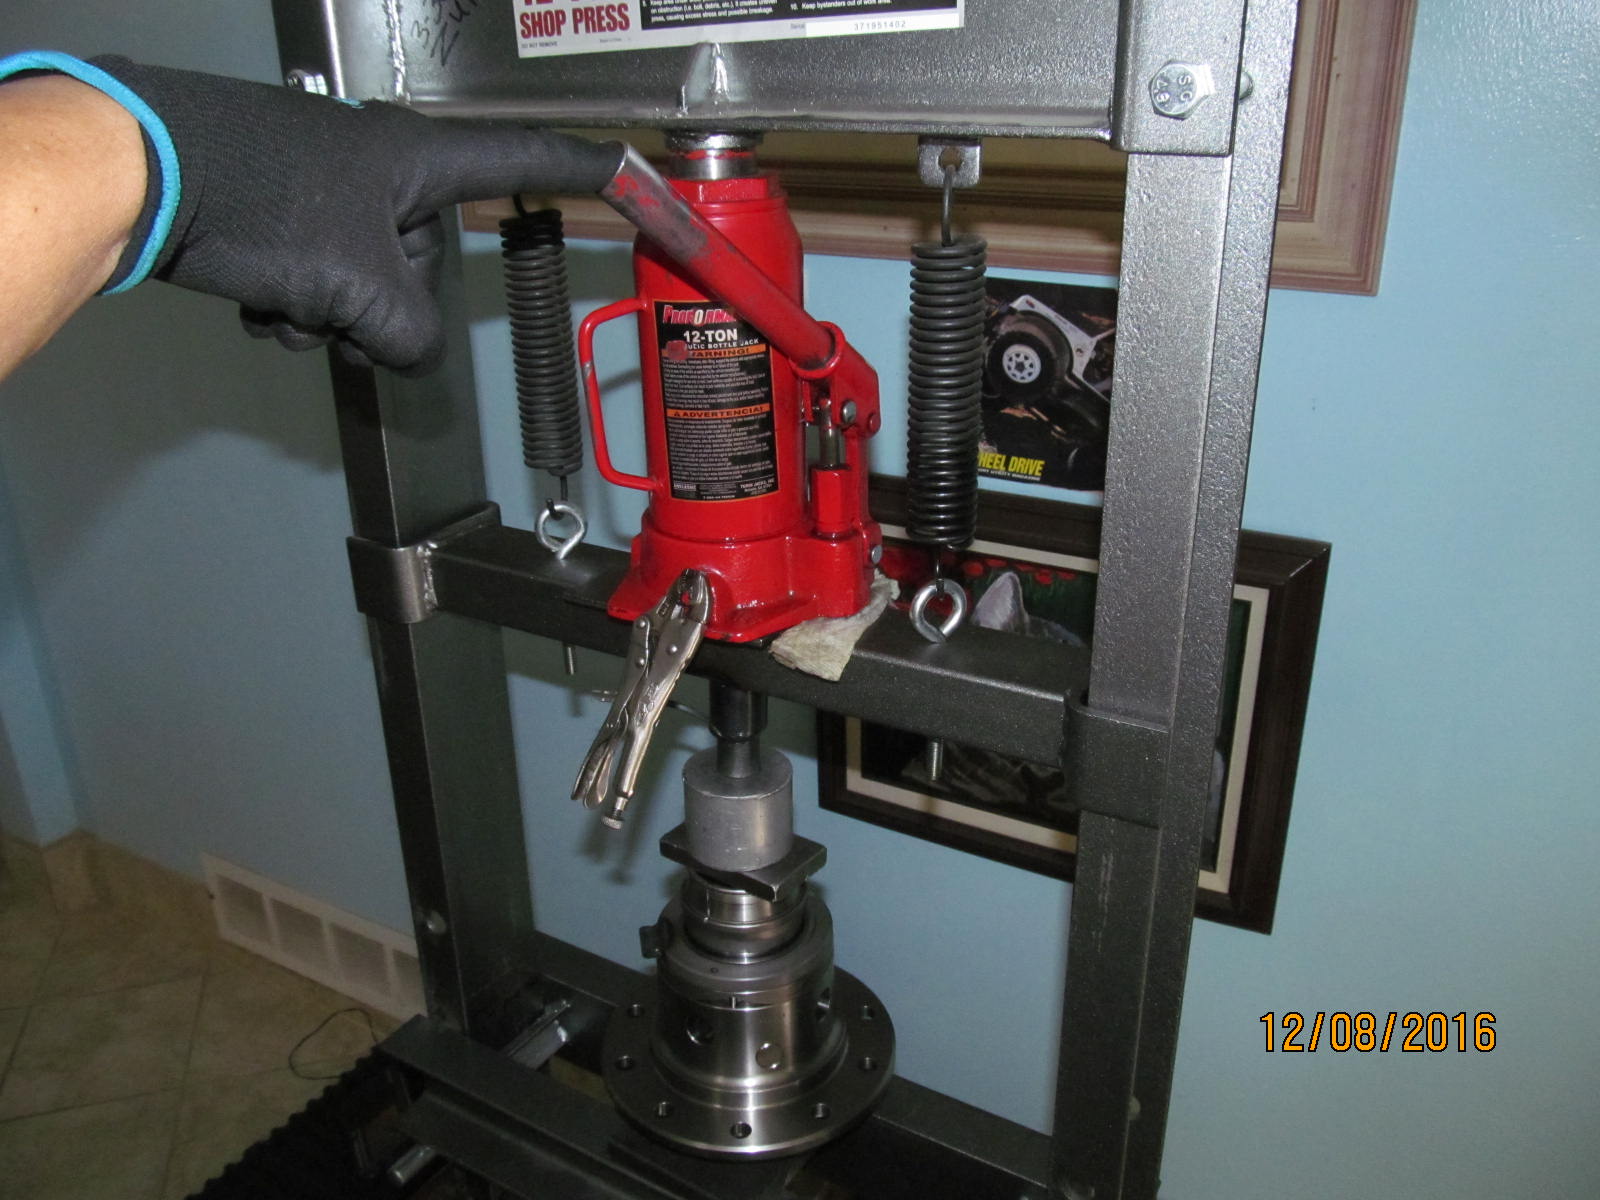
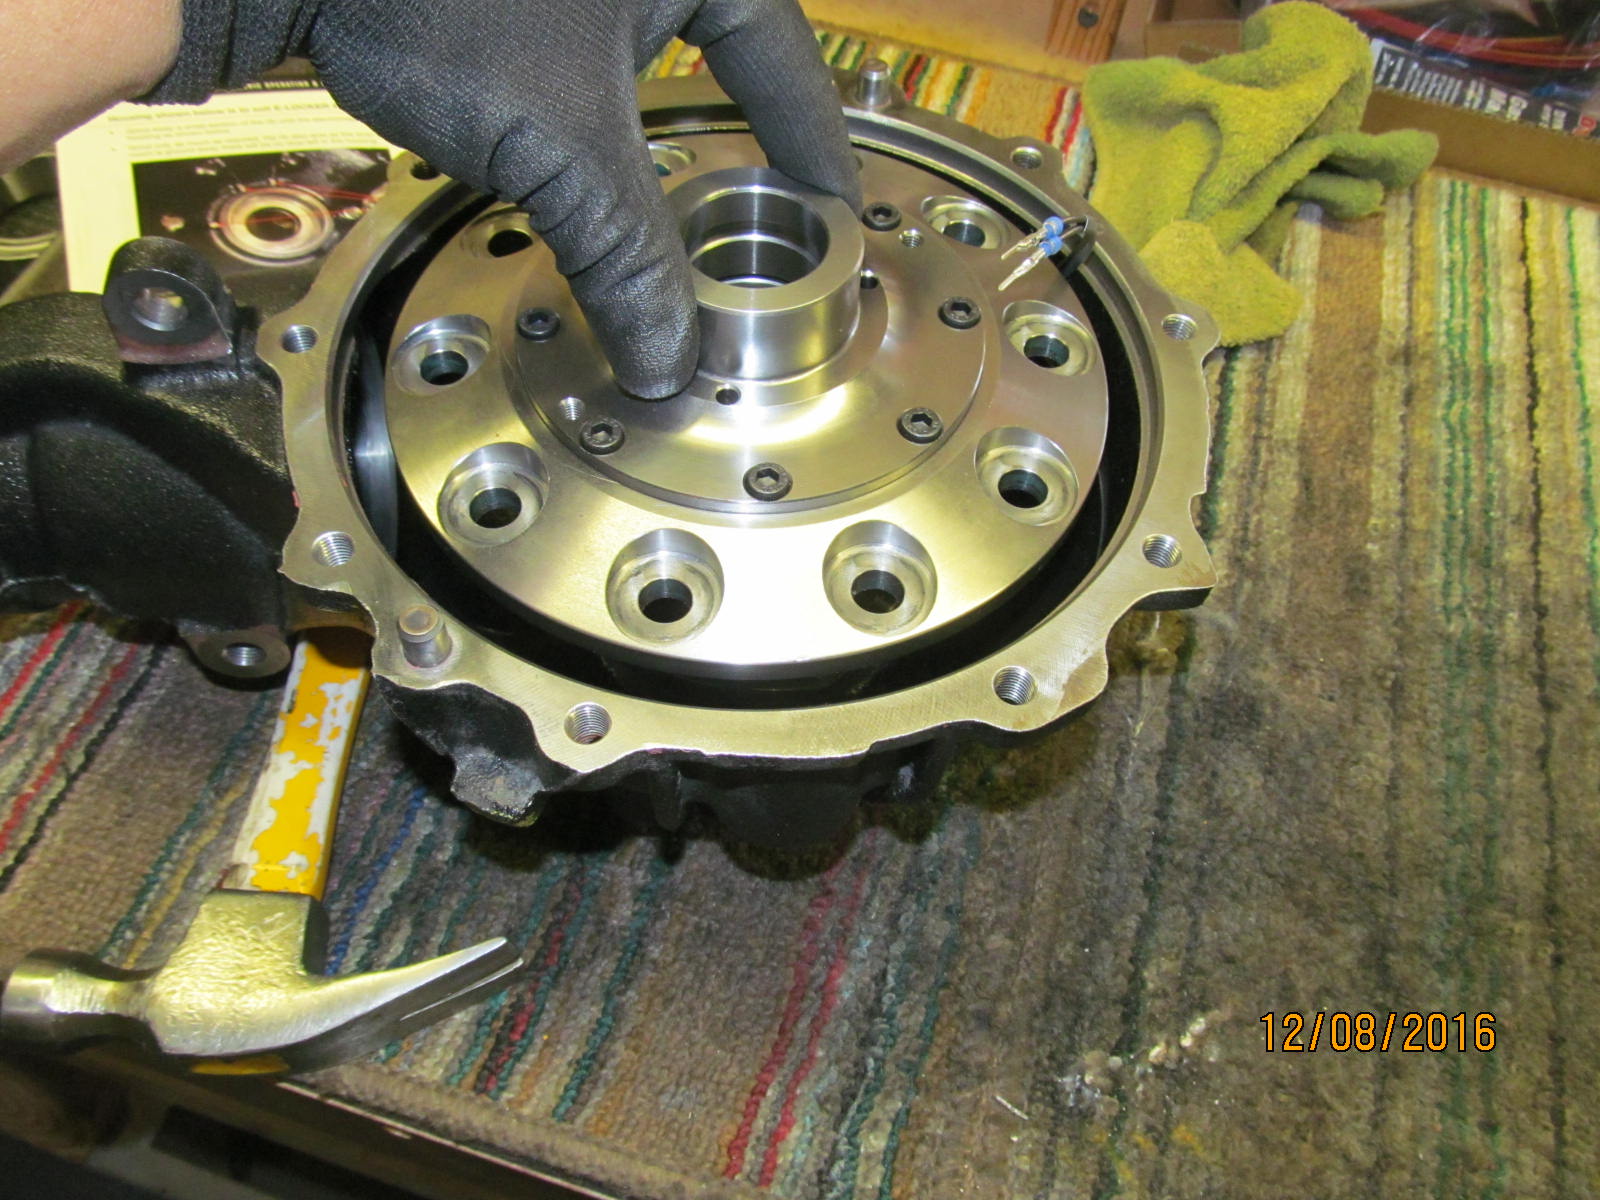
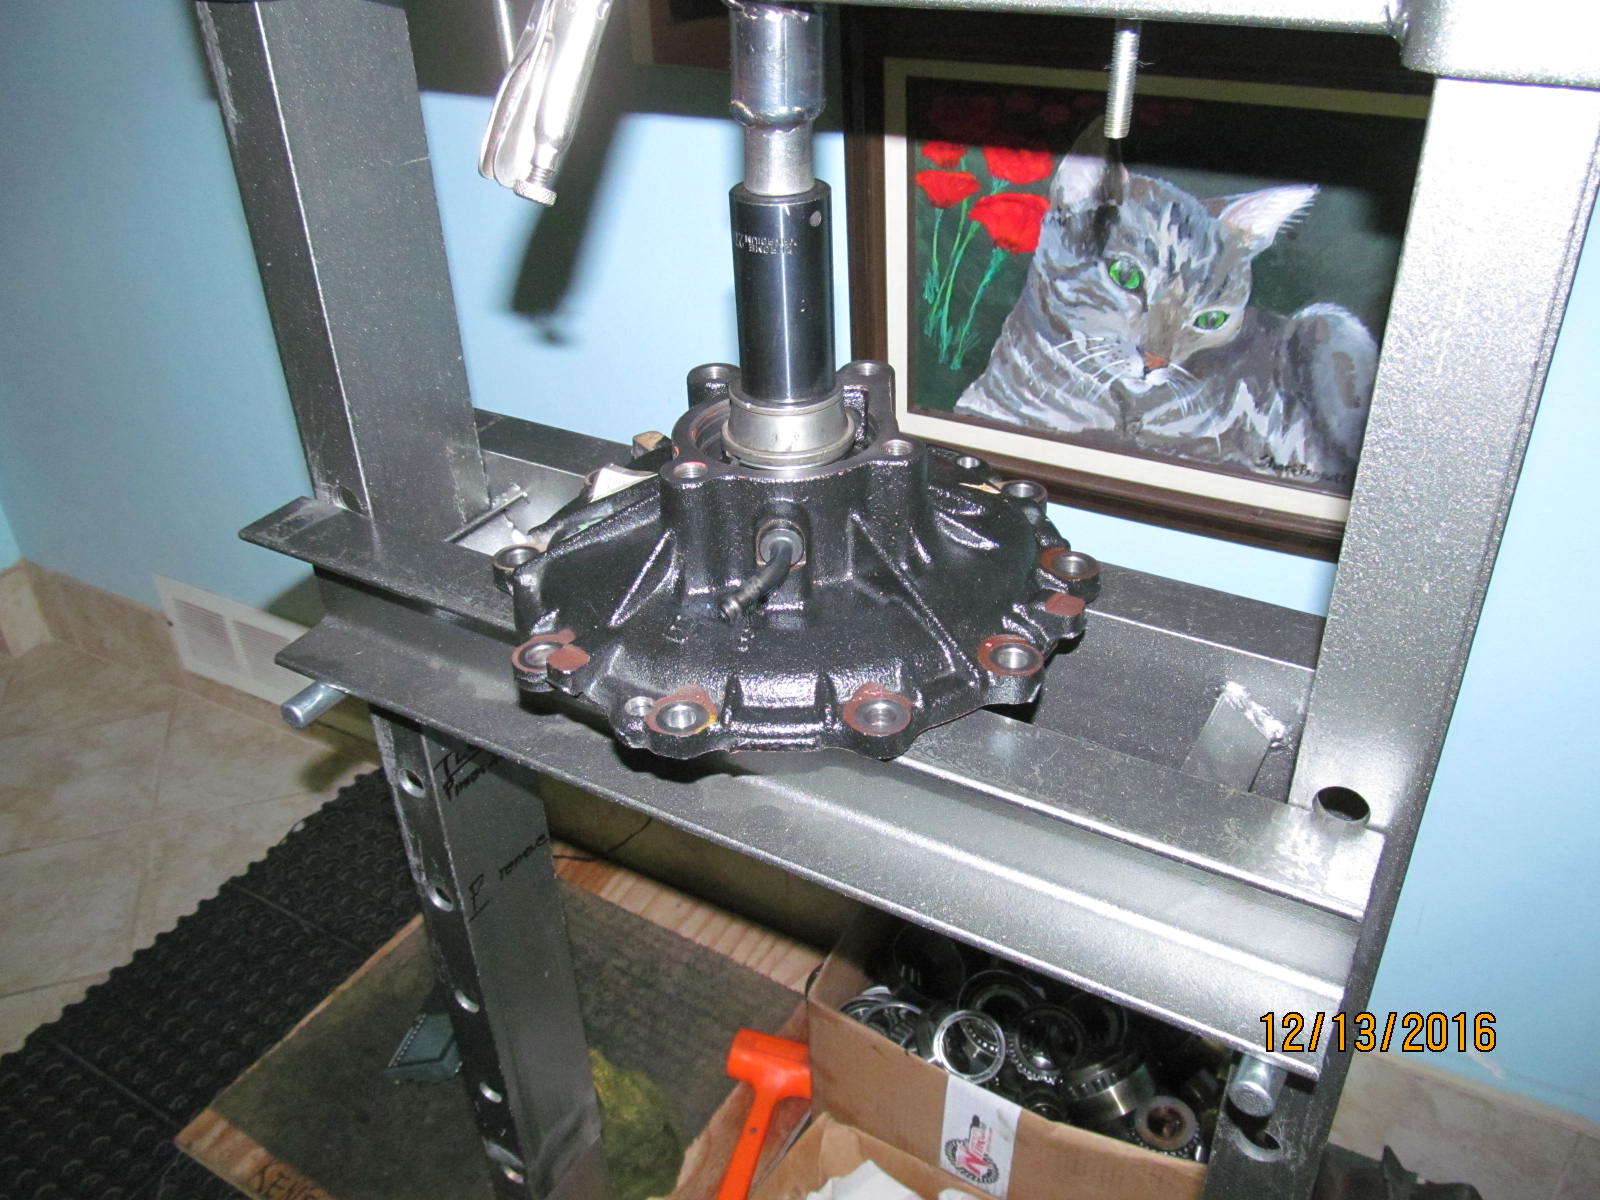
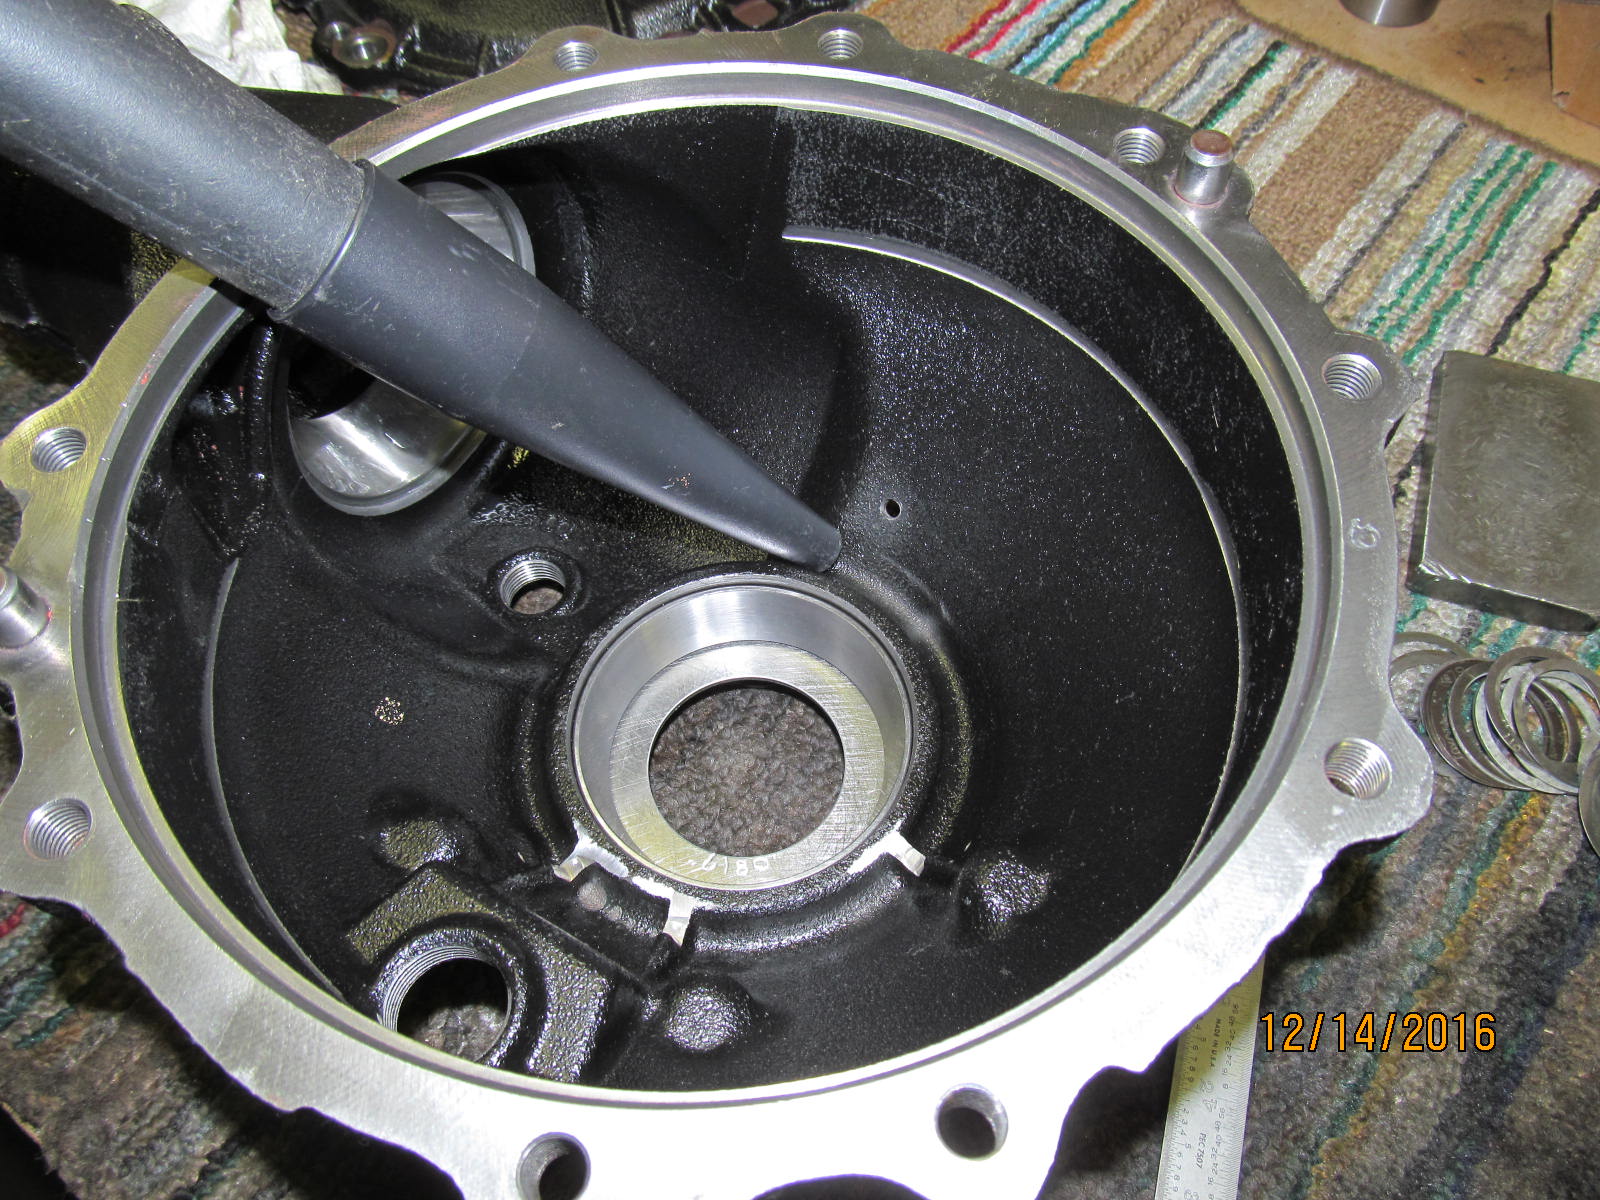
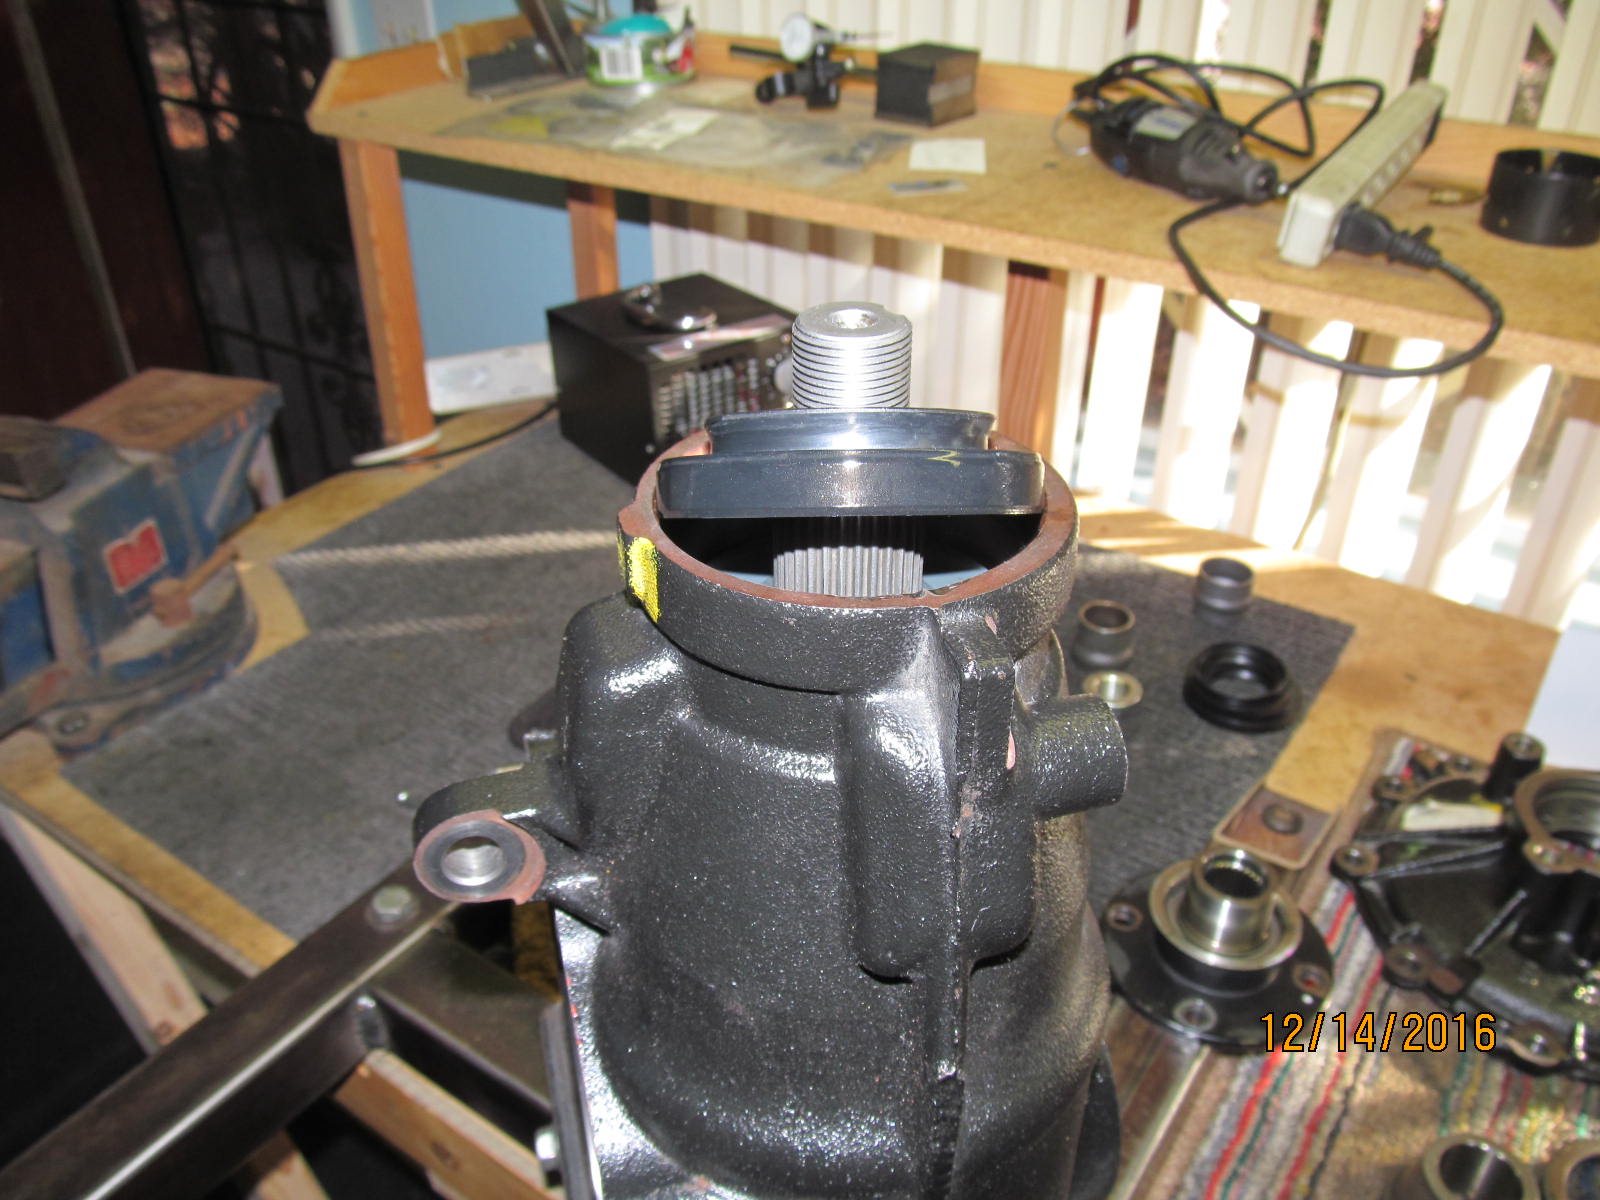
a tight press fit but tight enough to keep it all in place while the carrier bearing presses in place.


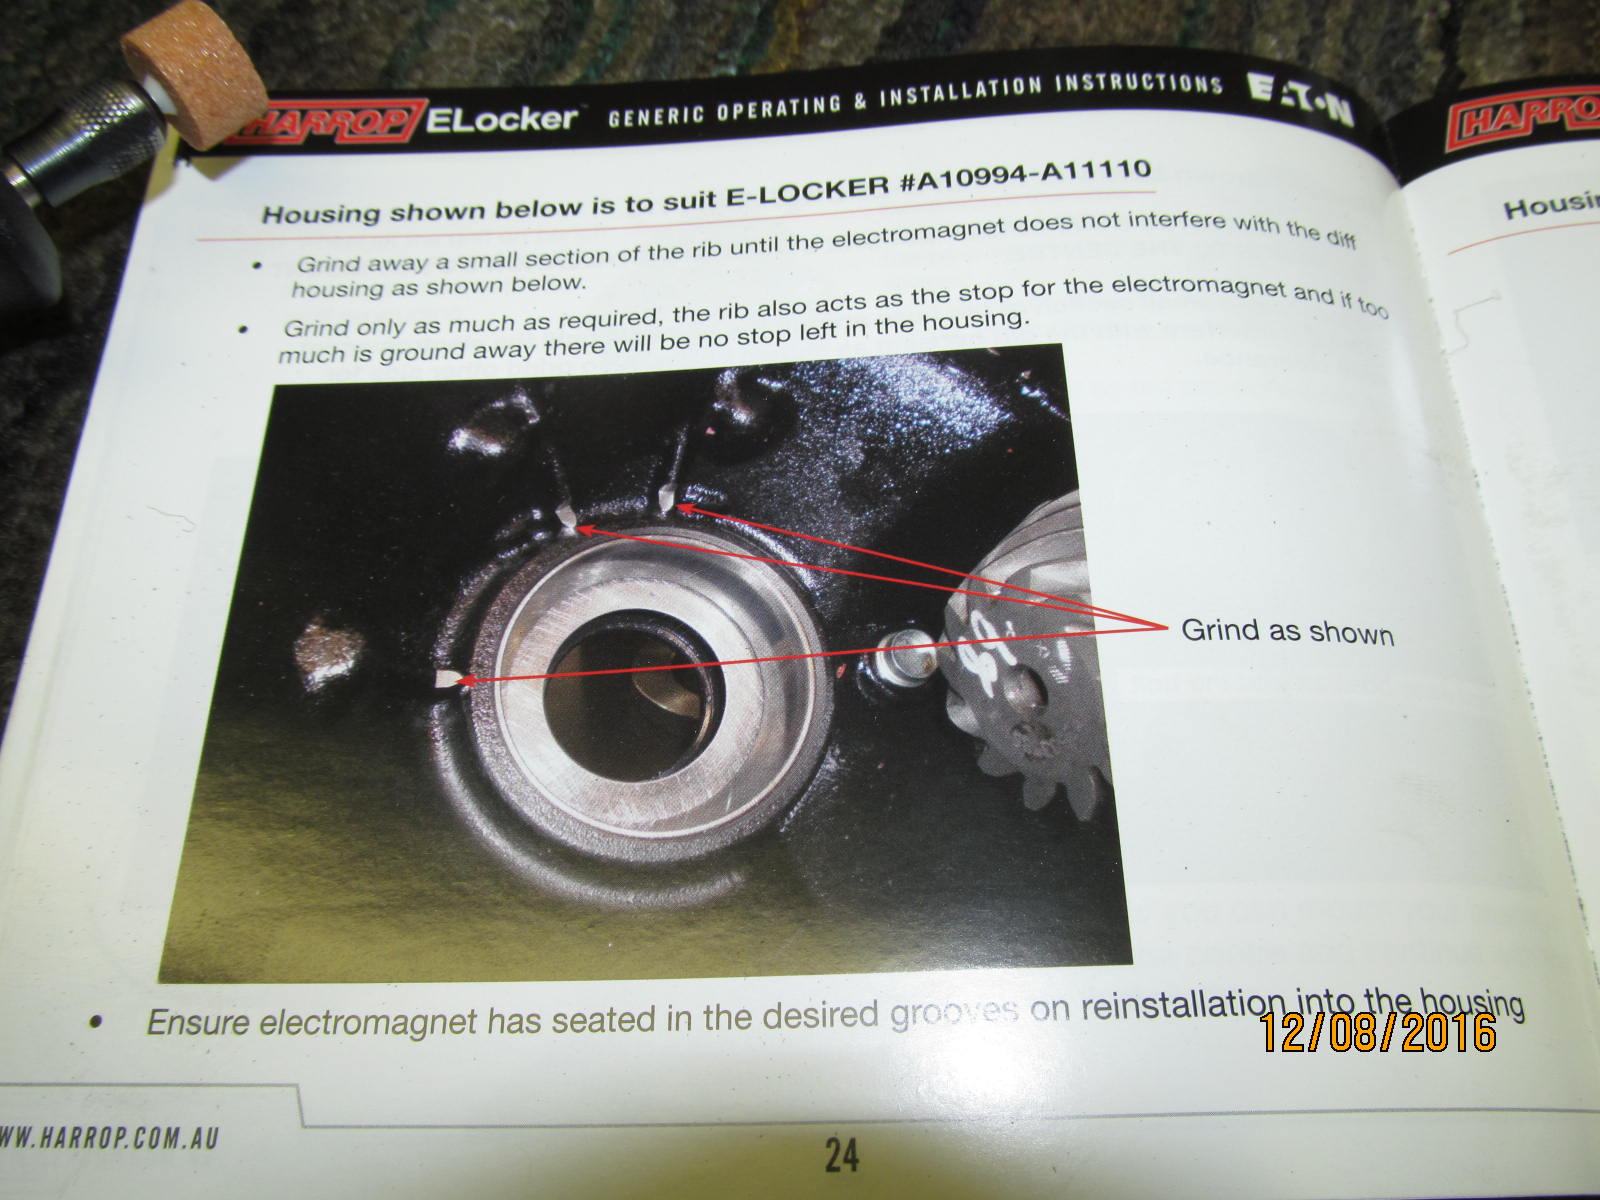
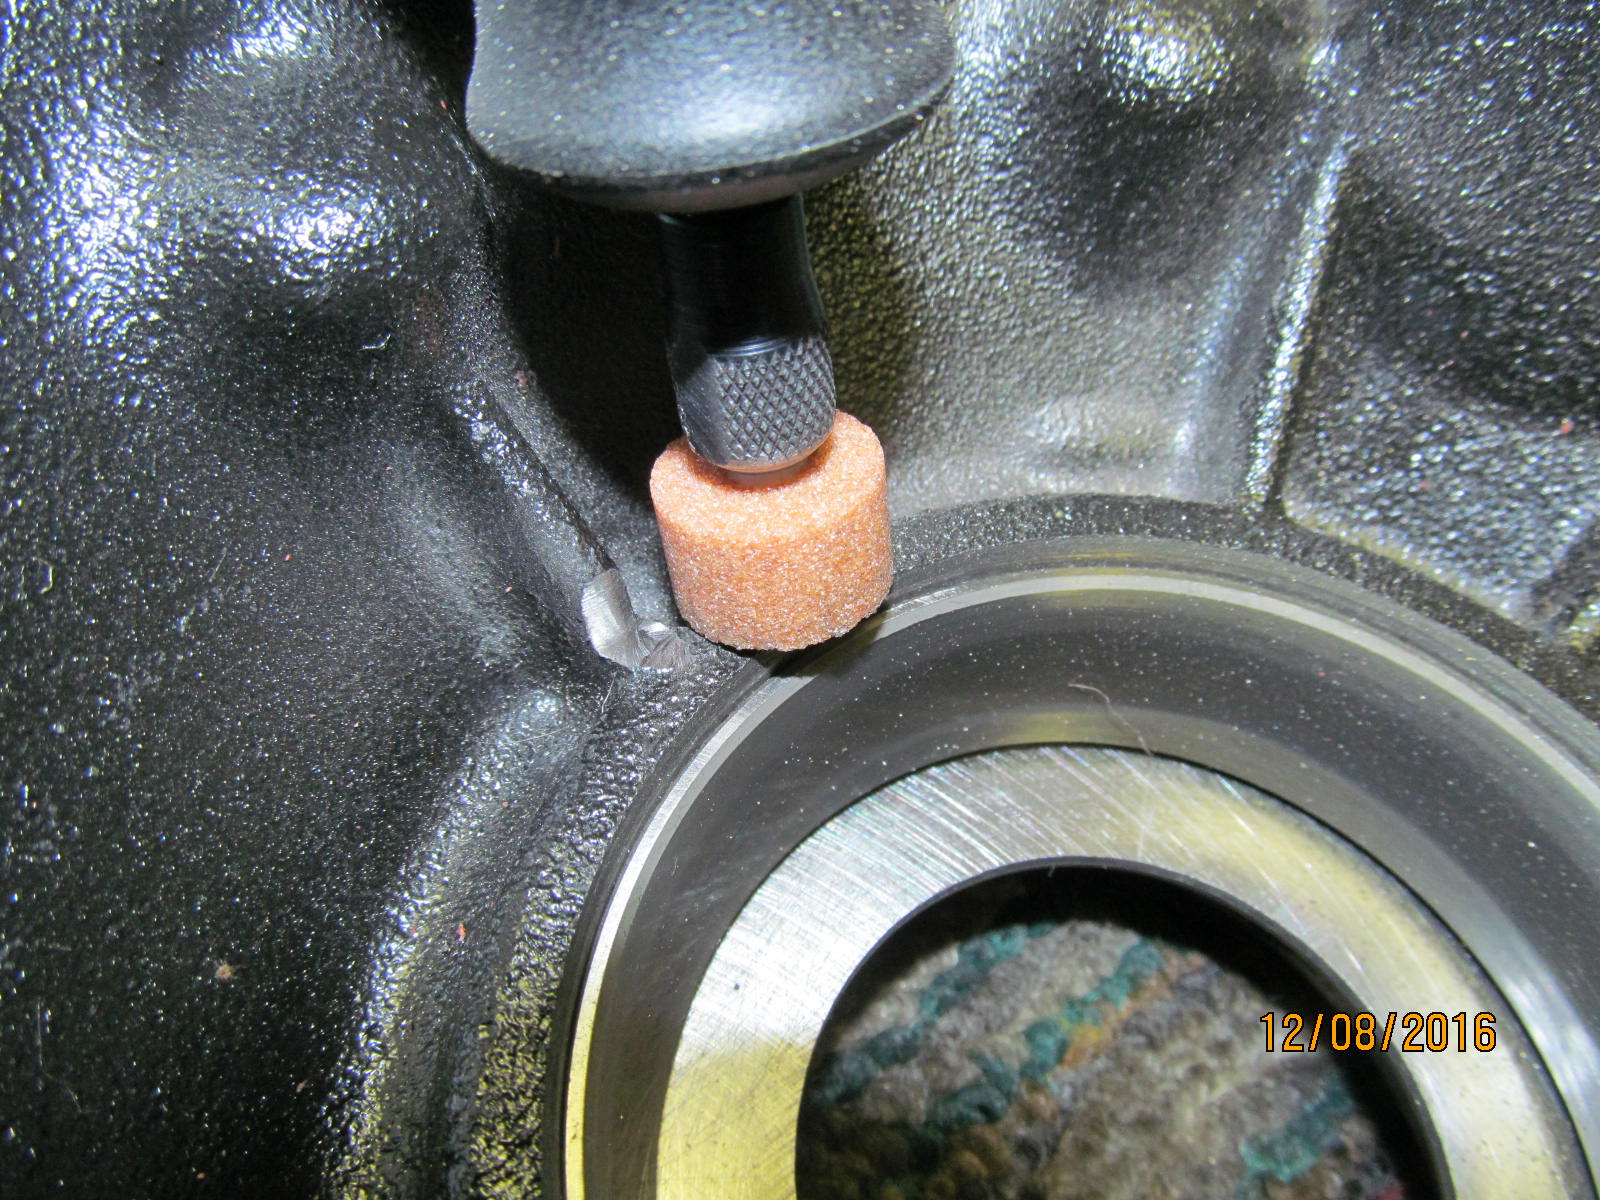
because the tab and the electromagnet should be double checked to clear things.
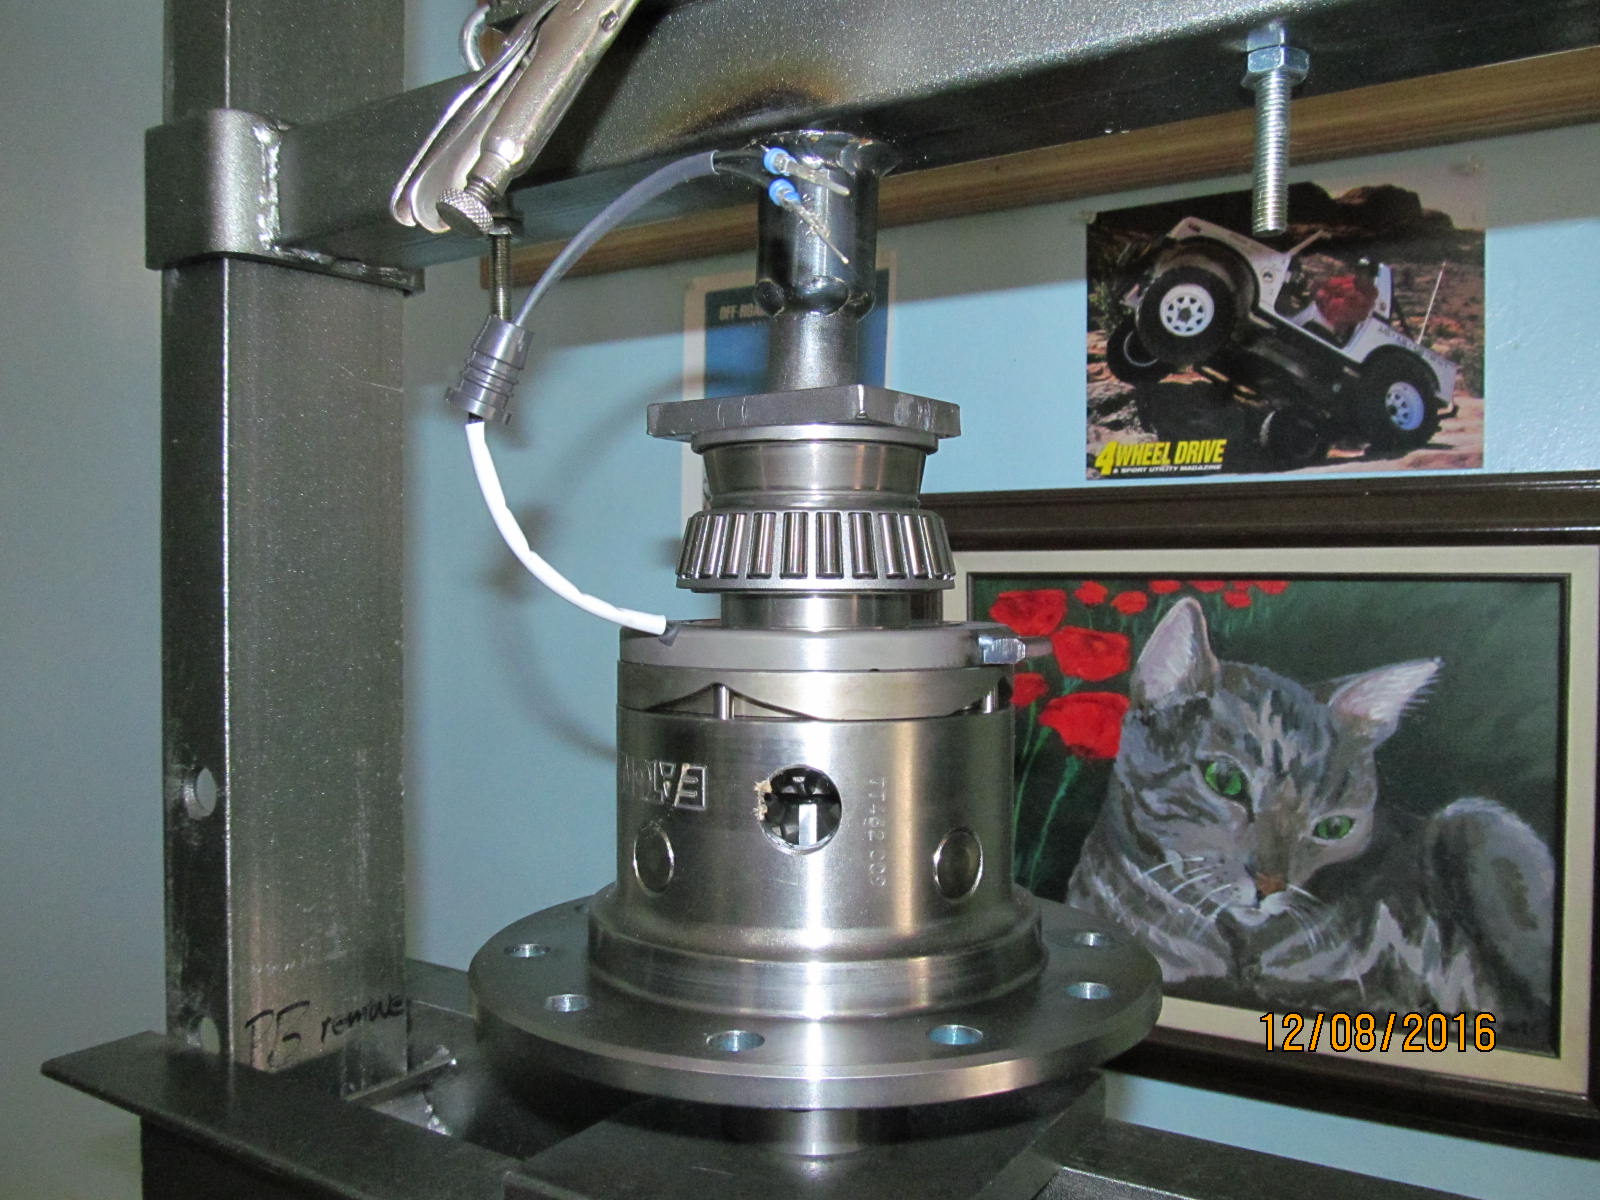
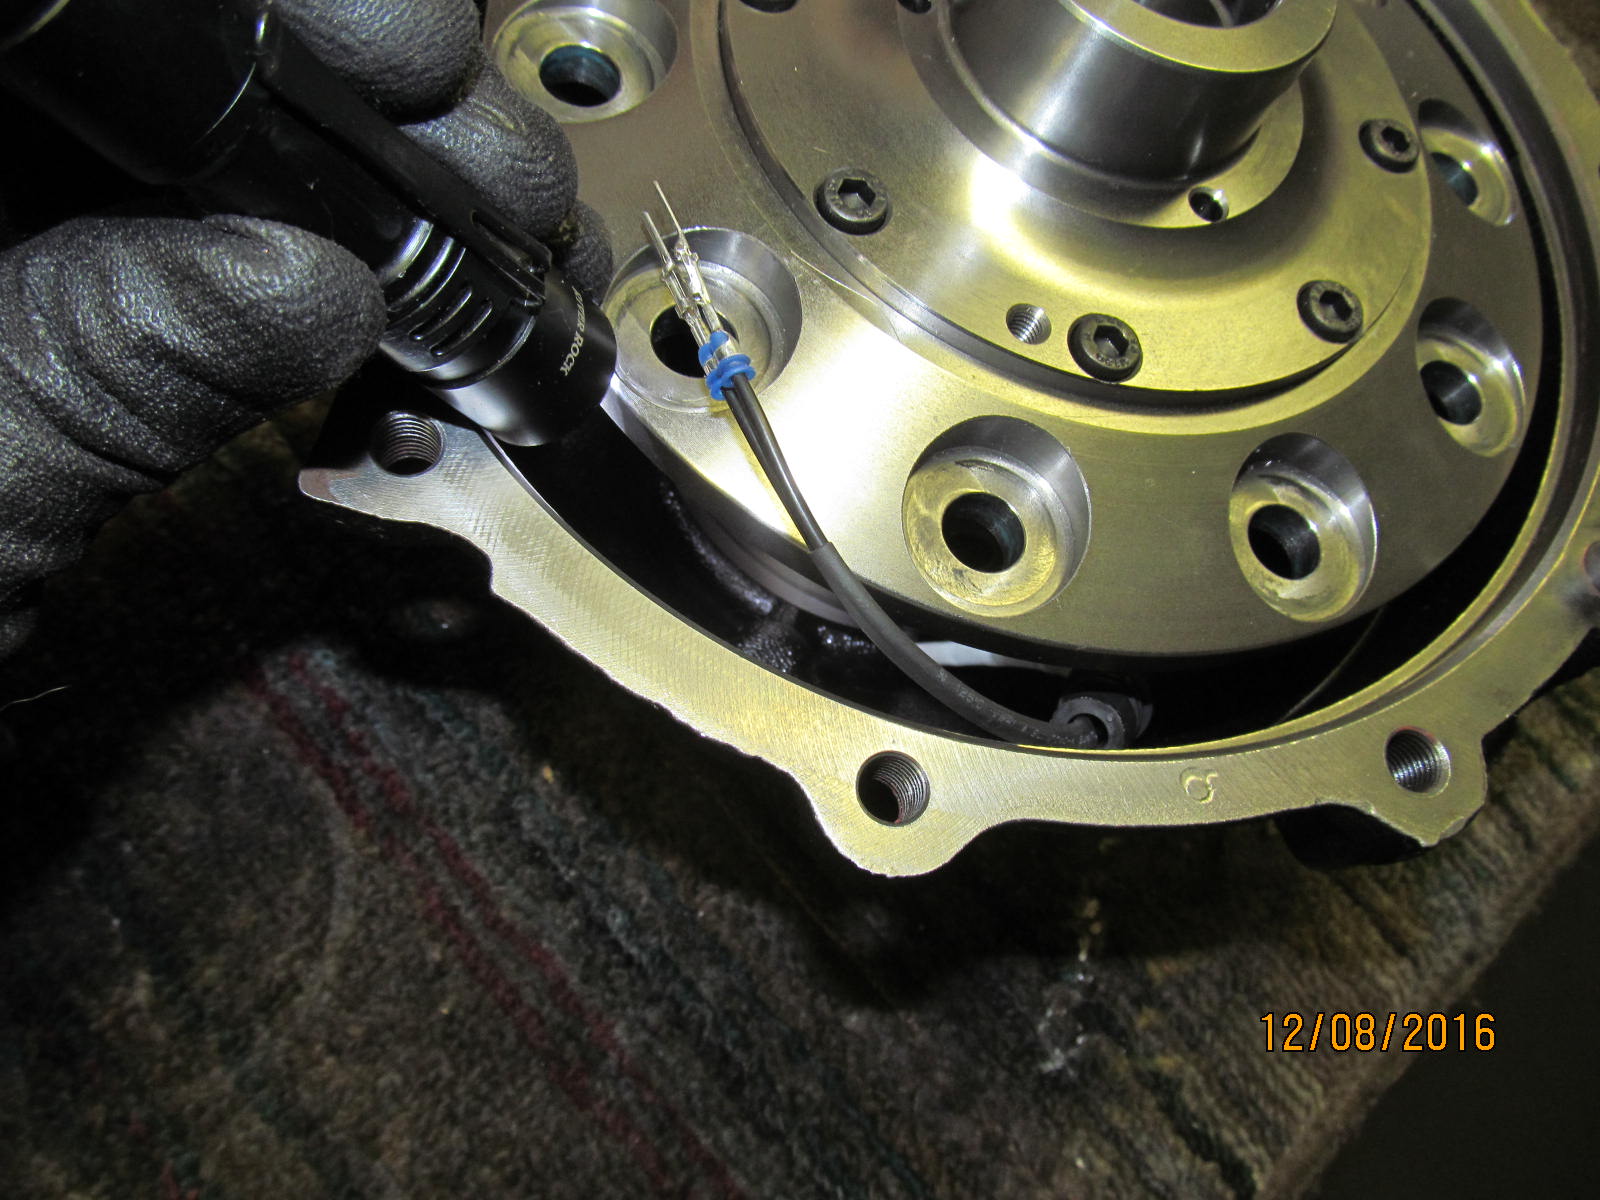
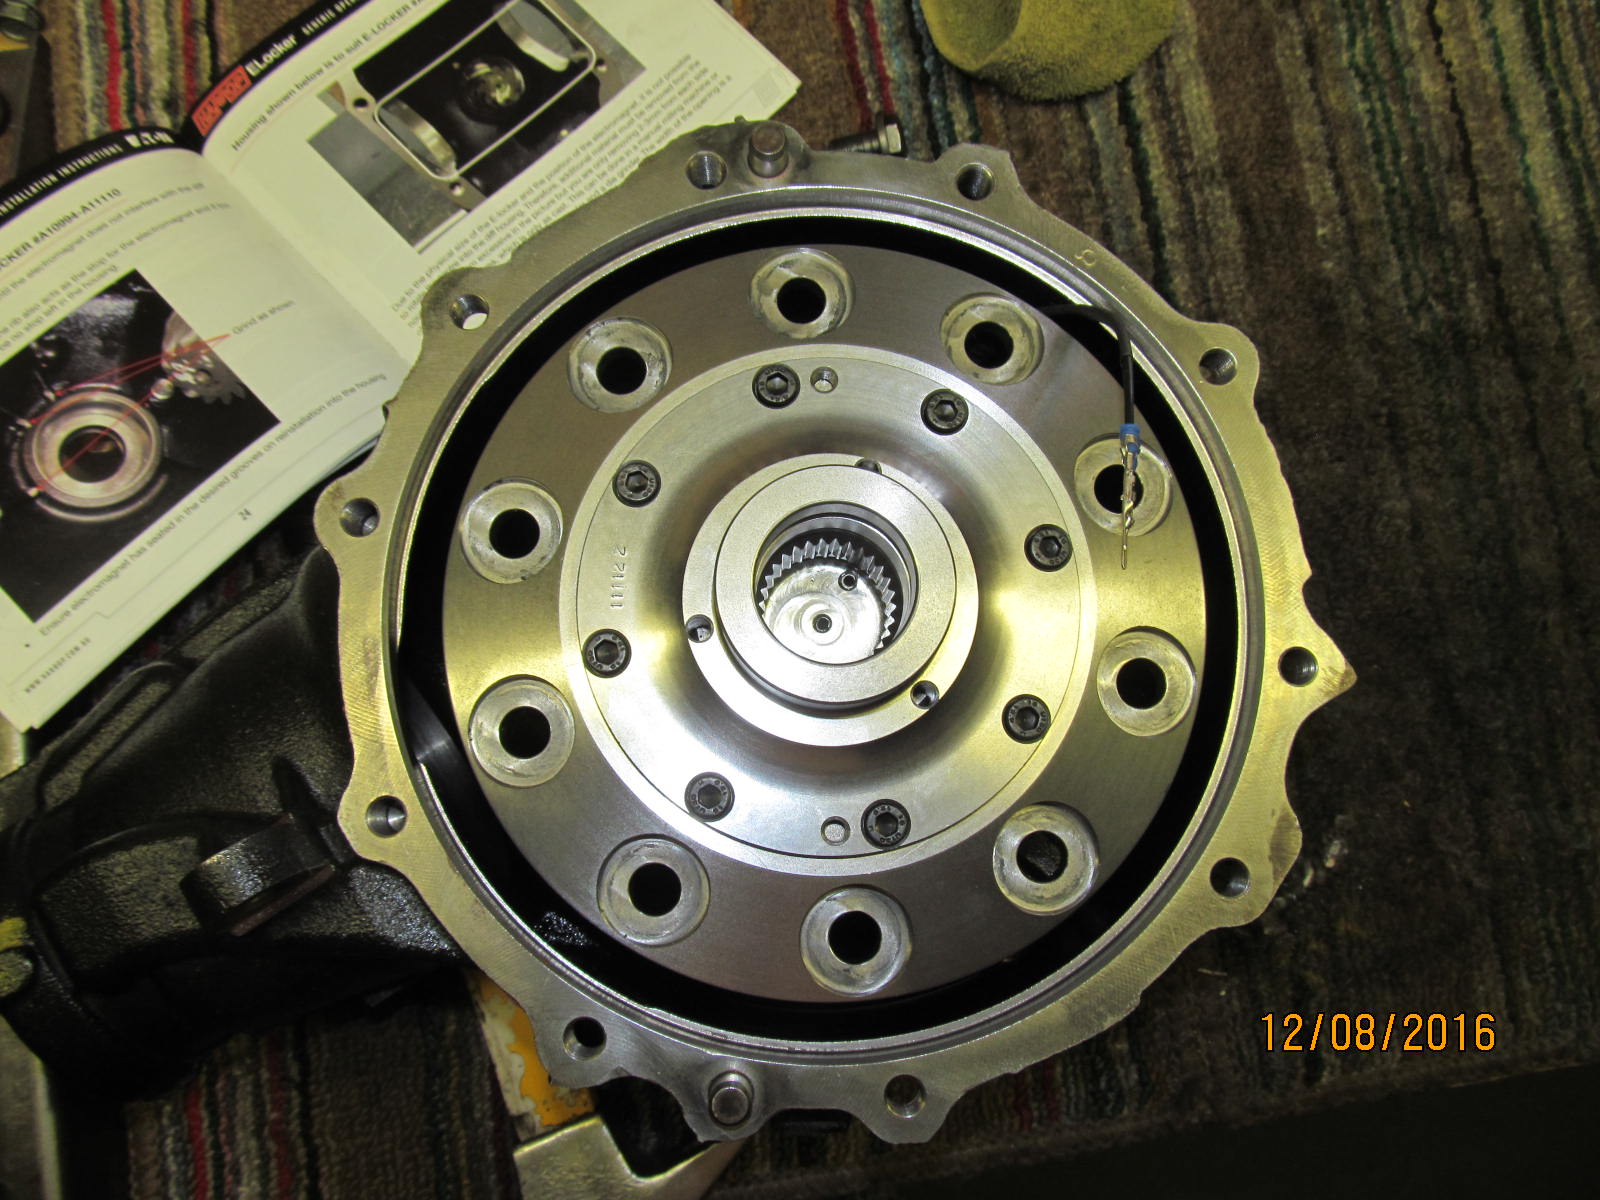
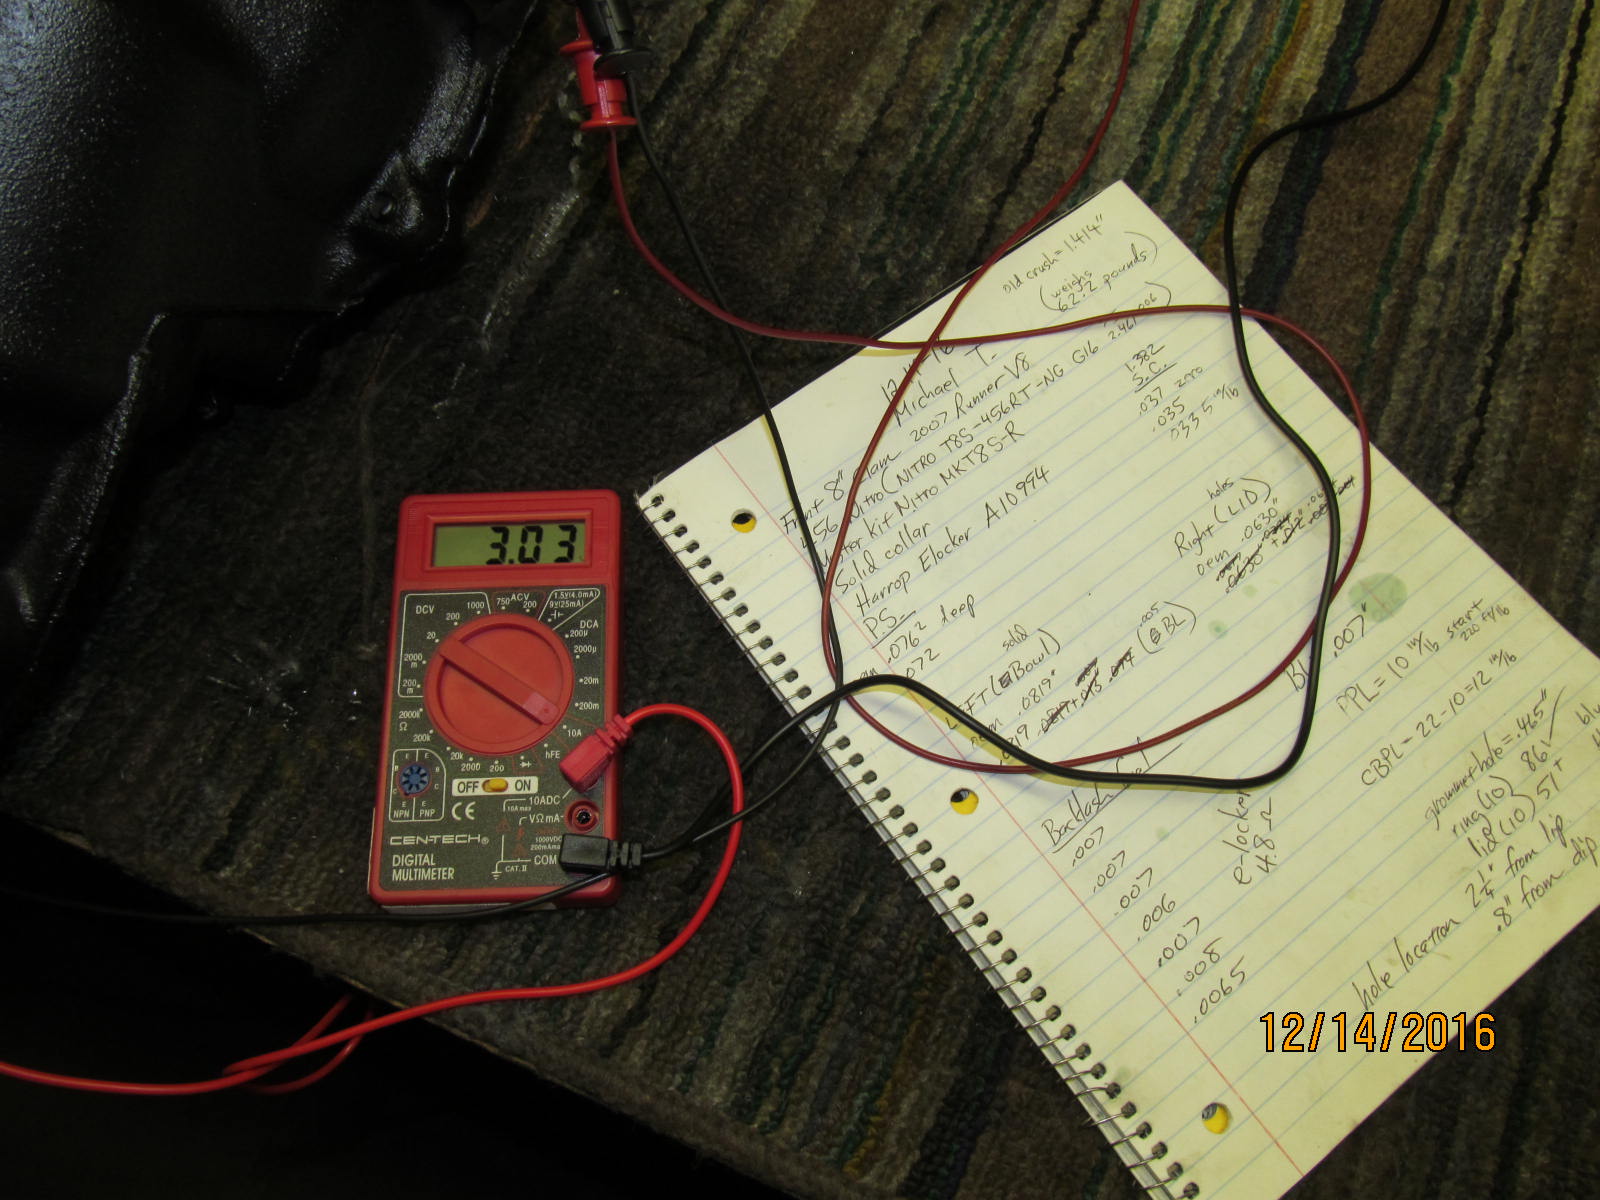
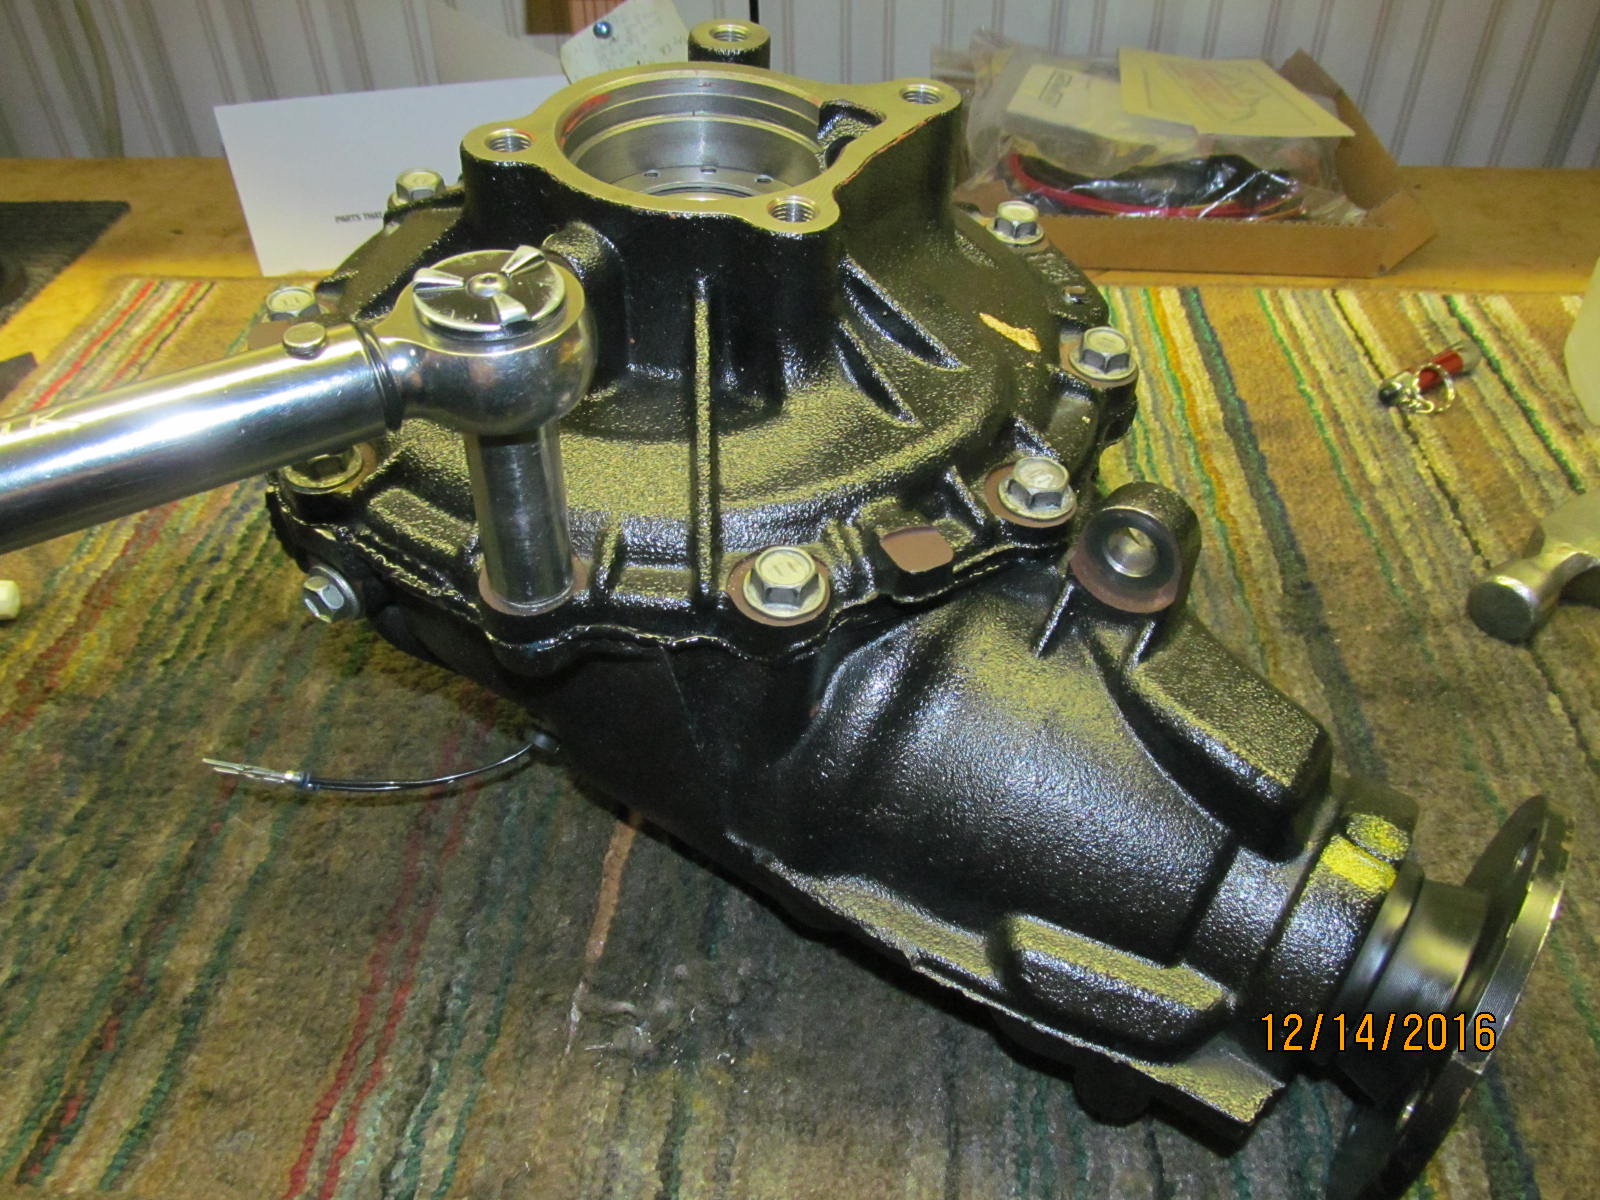
Has a good feel and can tell it's not rubbing anything.

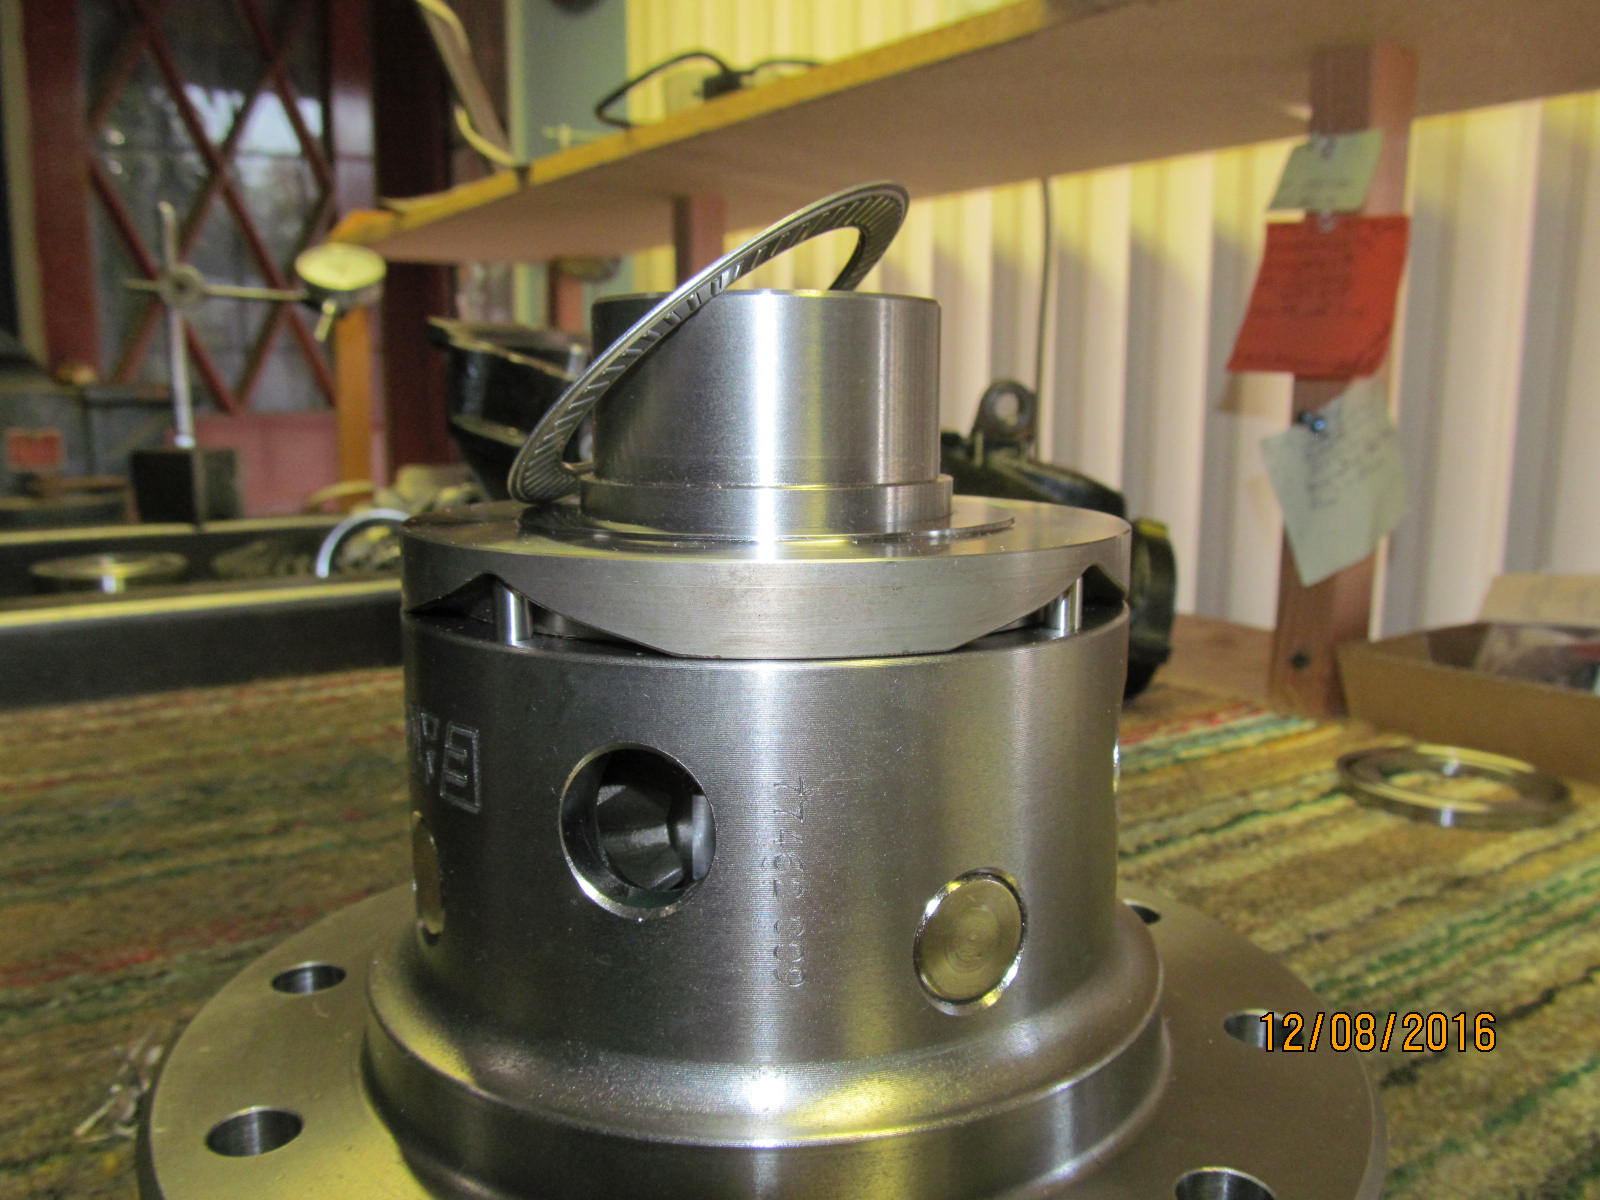
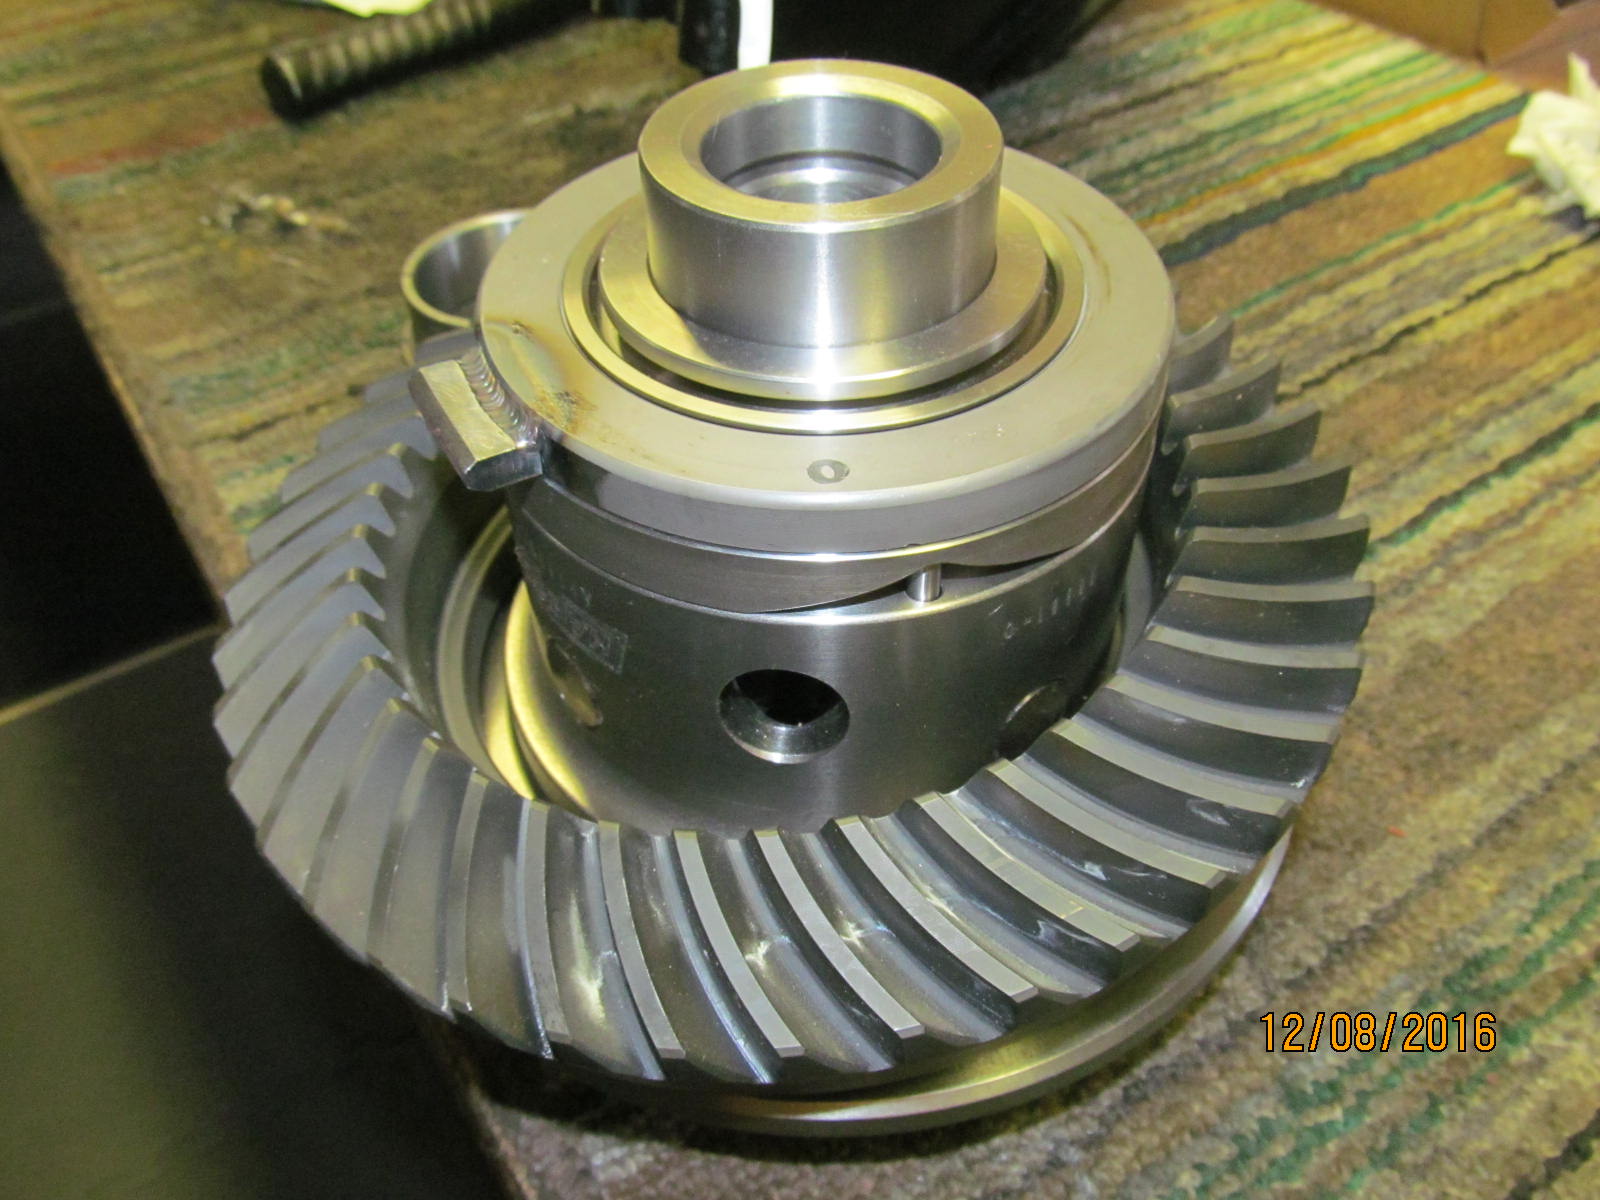
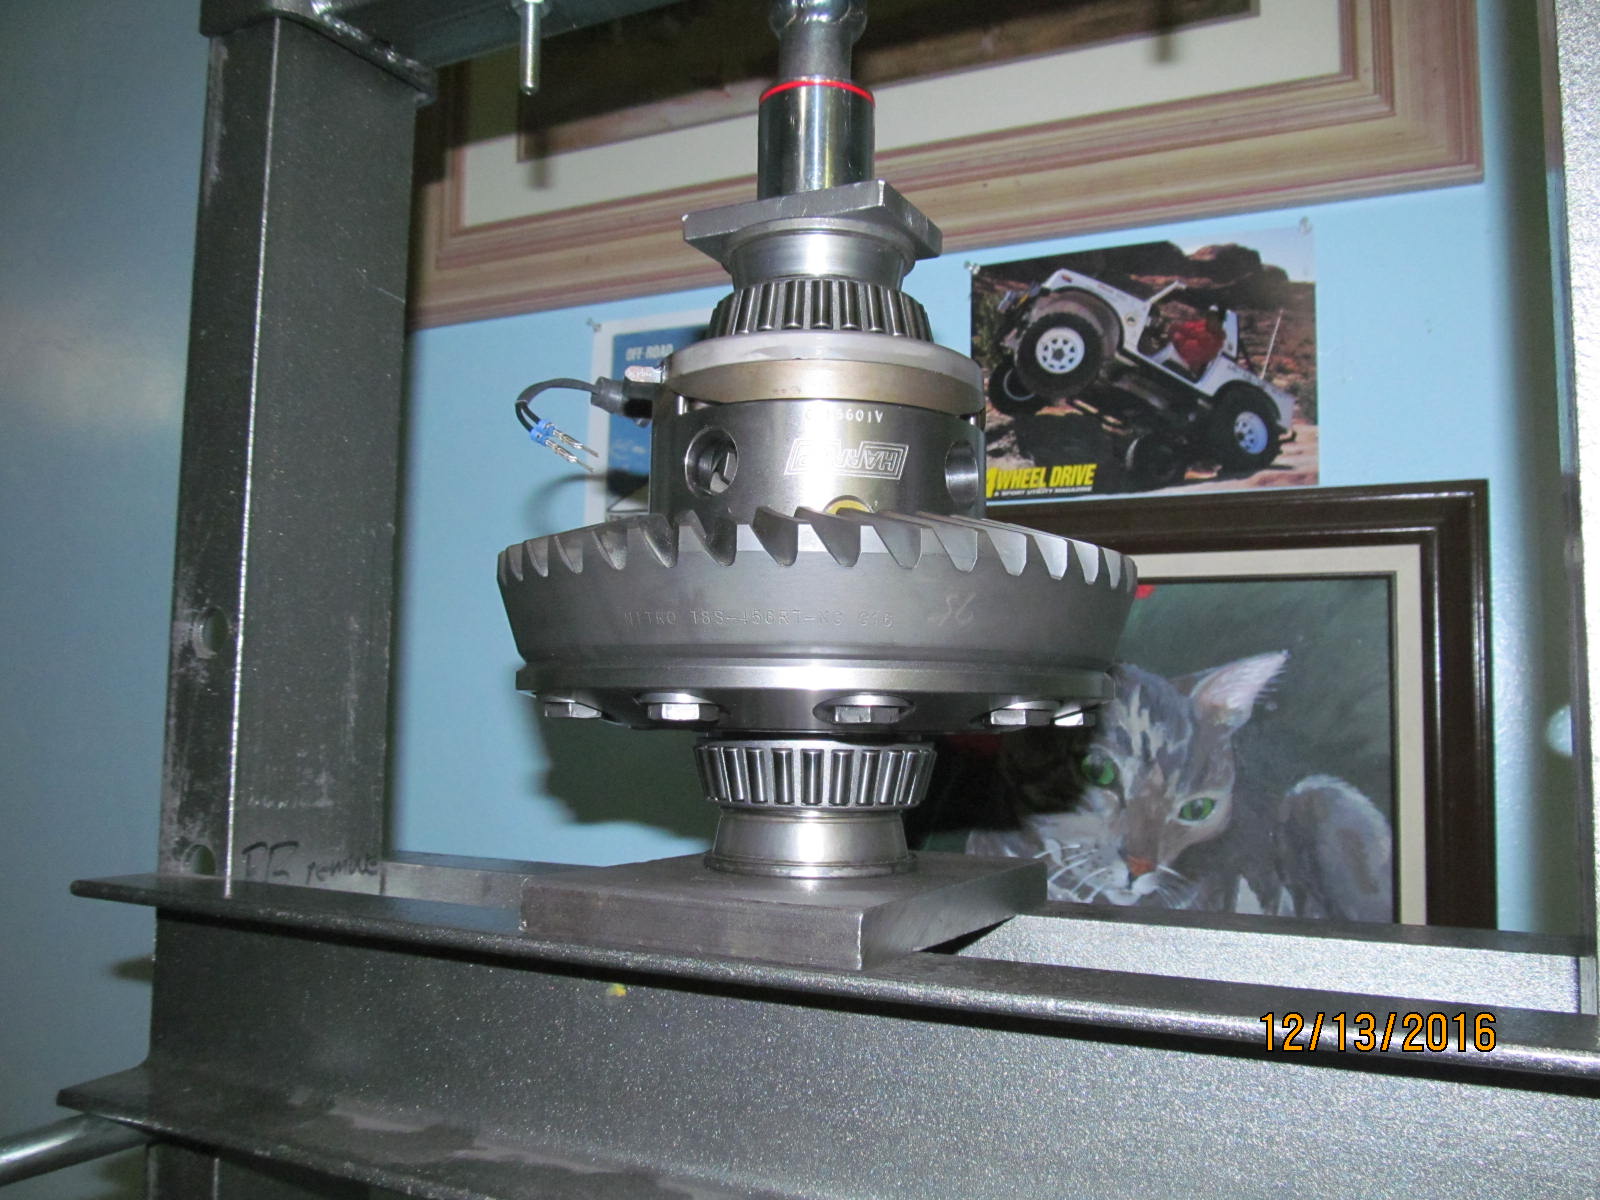
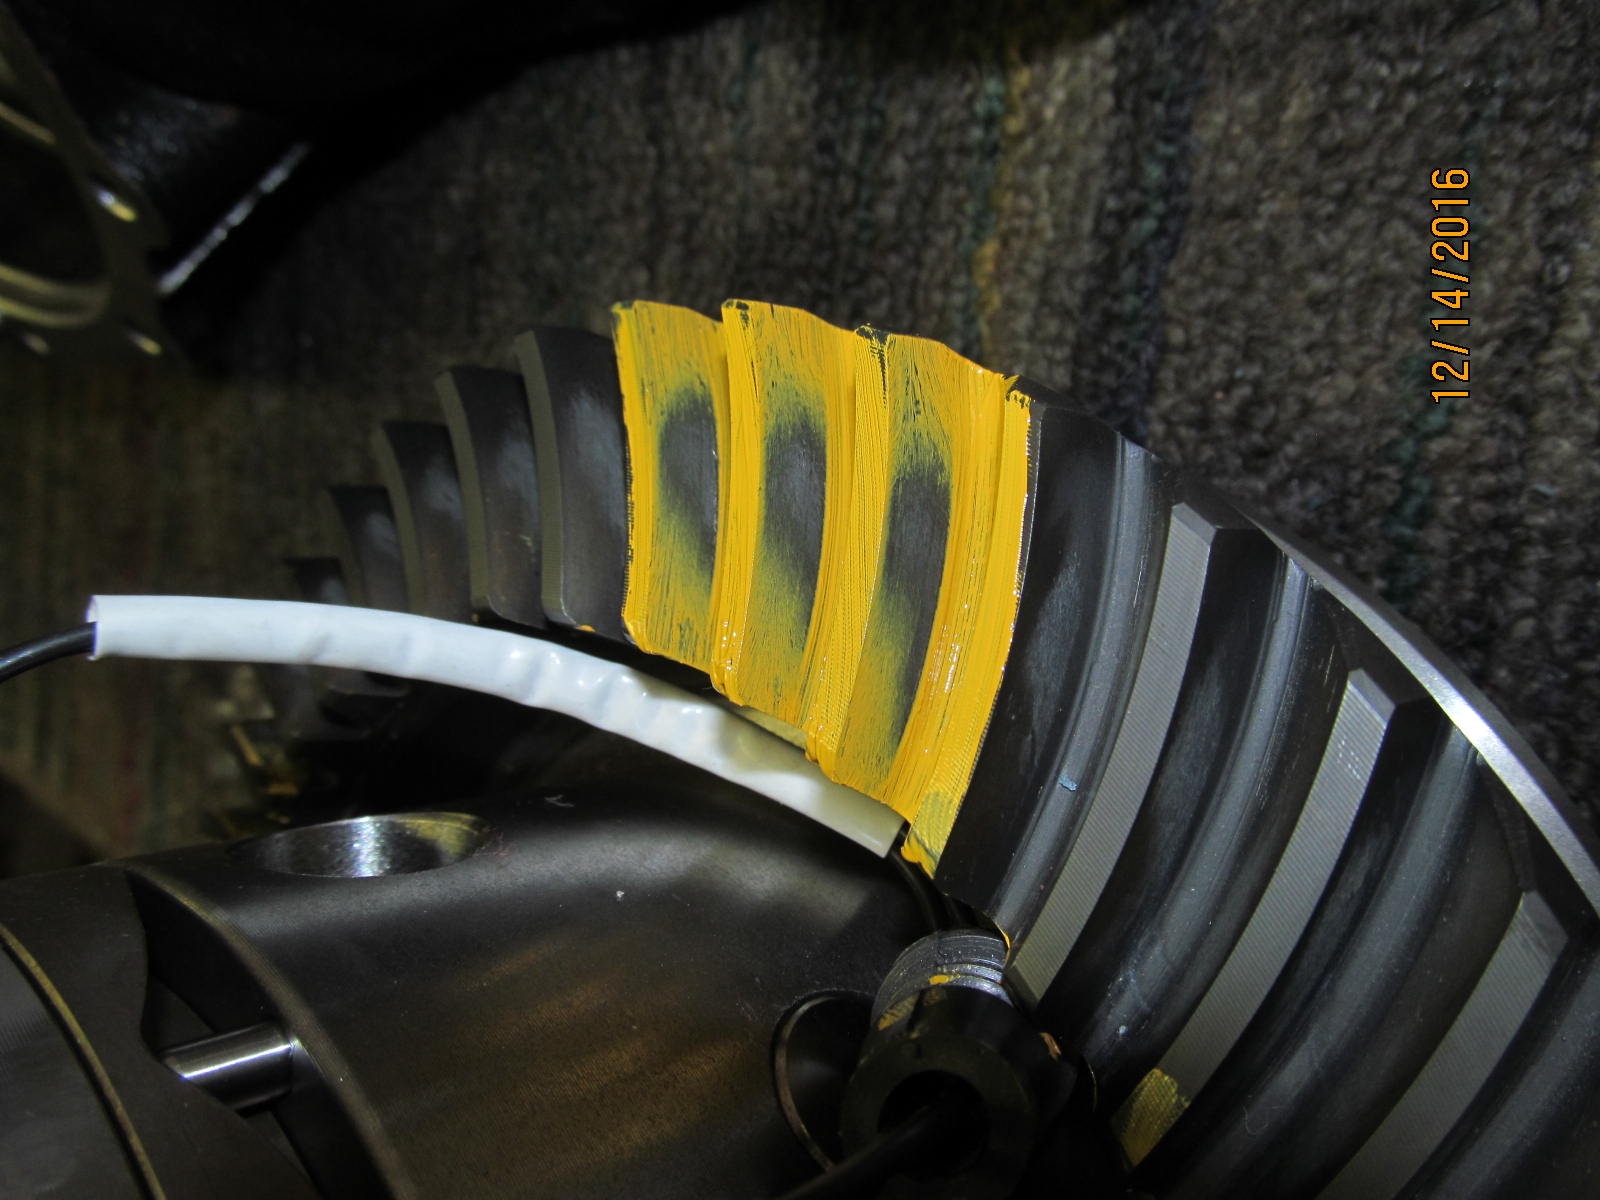
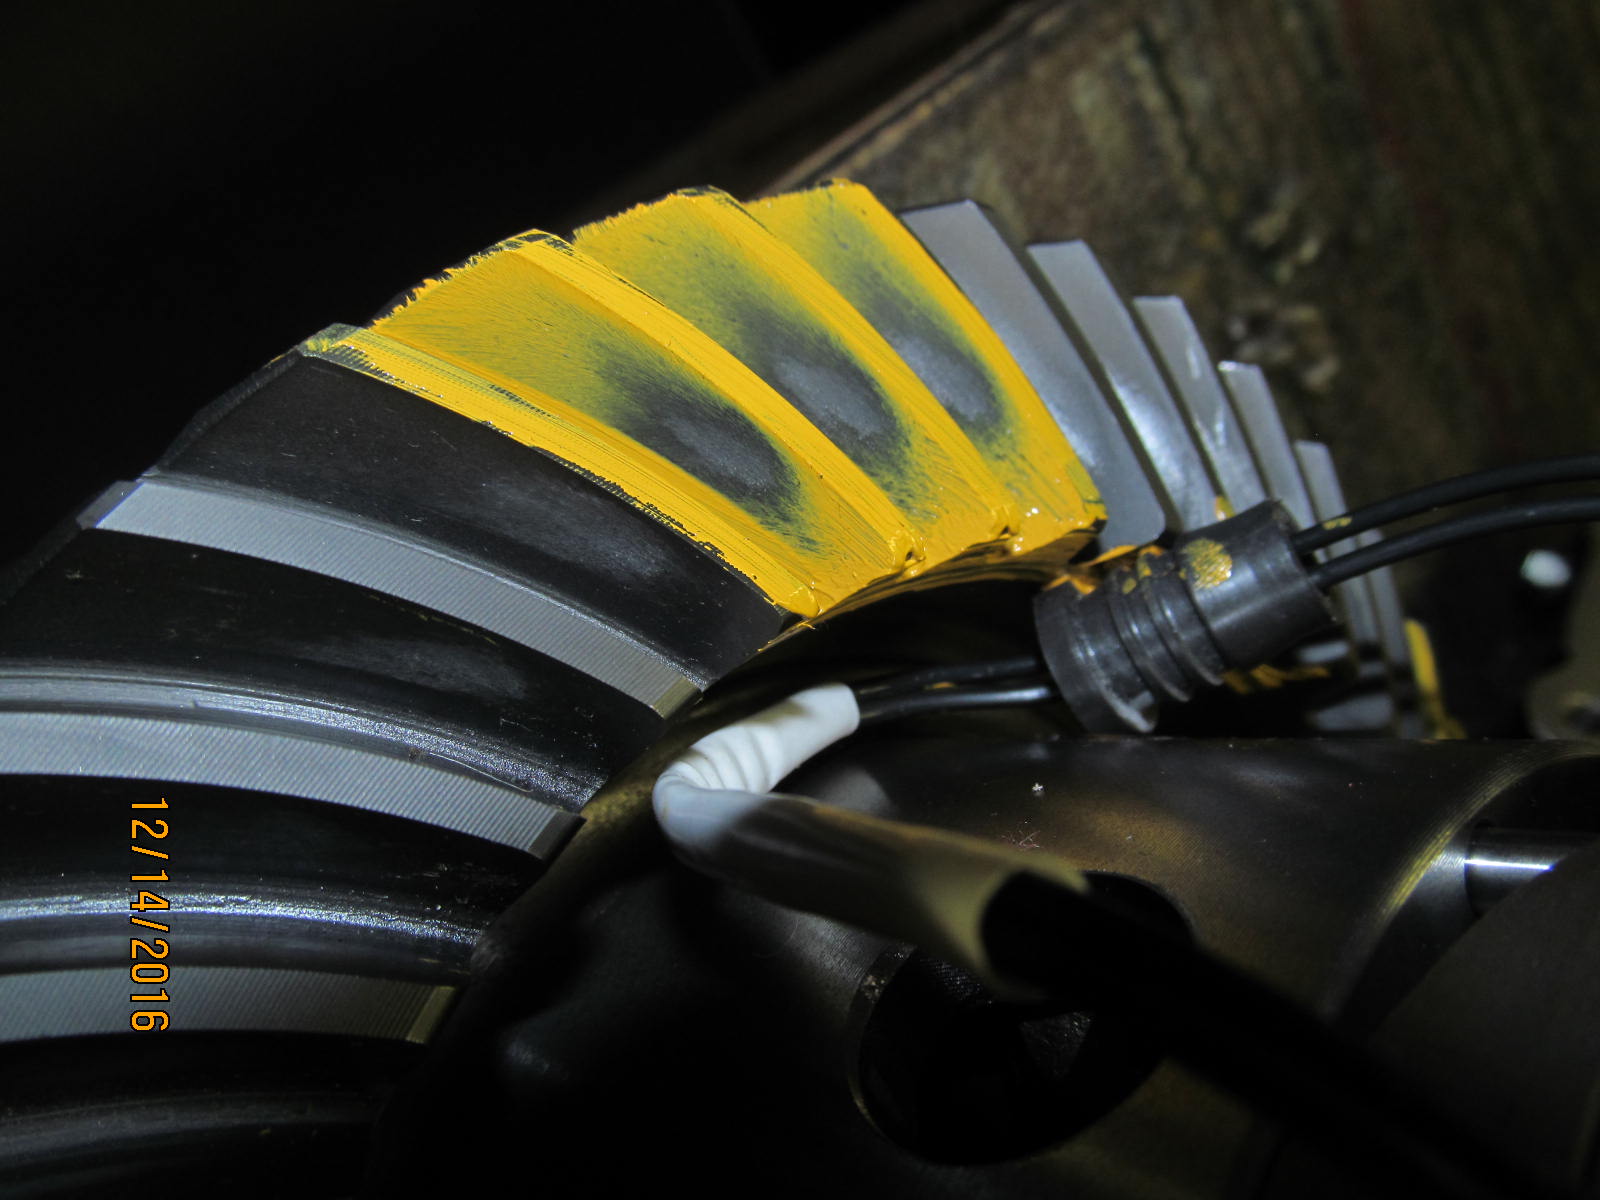
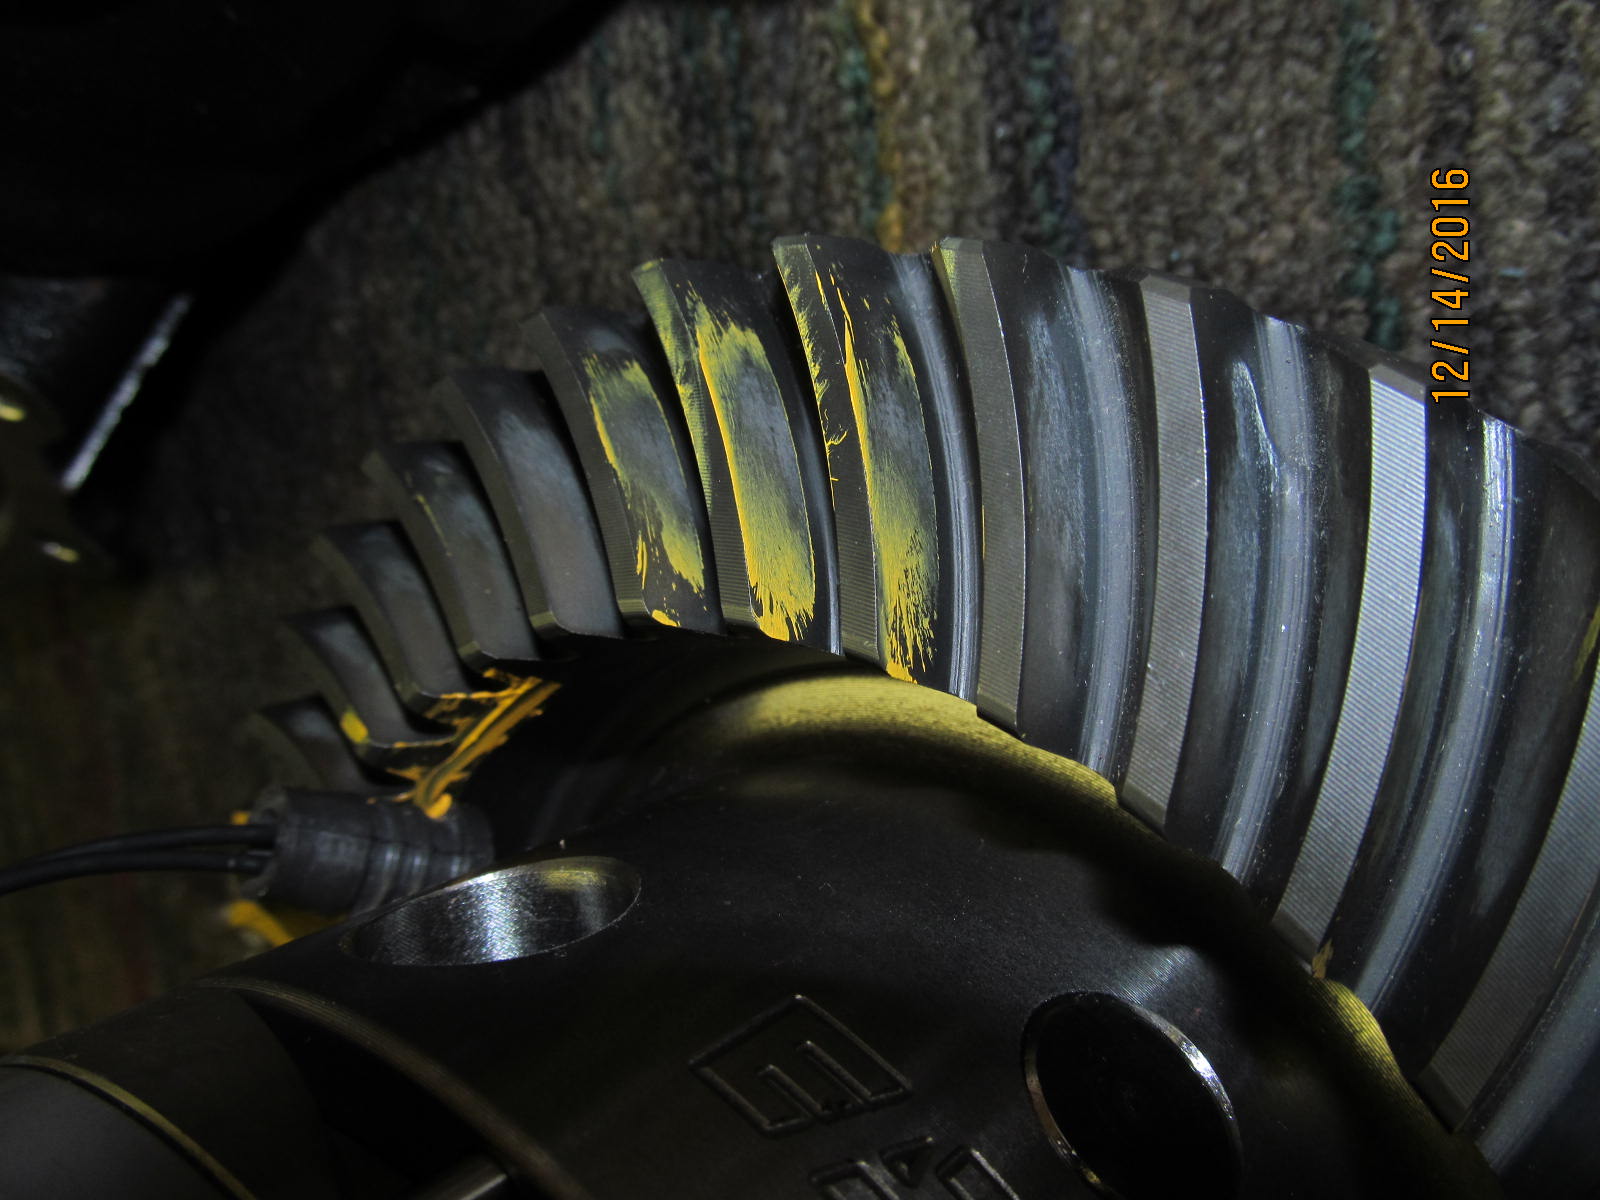
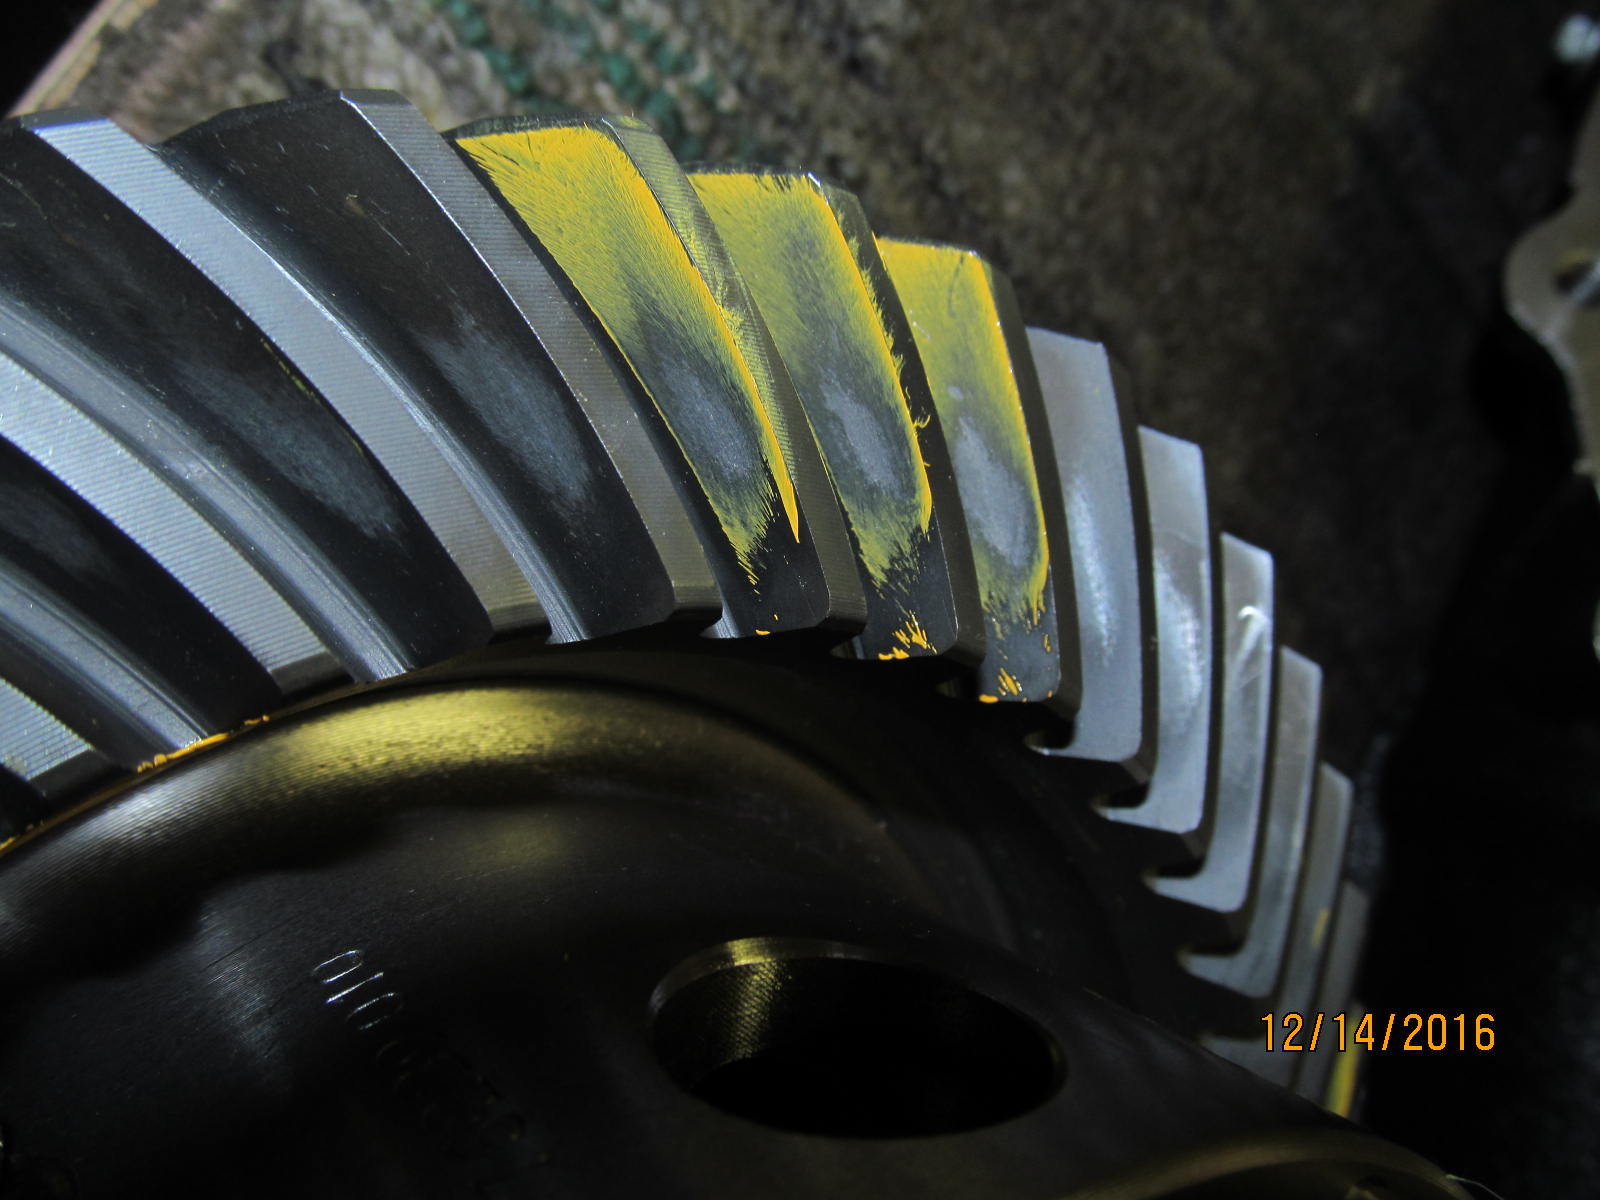
#110 elocker don't play together. The solution is to use the #994 harrop elocker and this
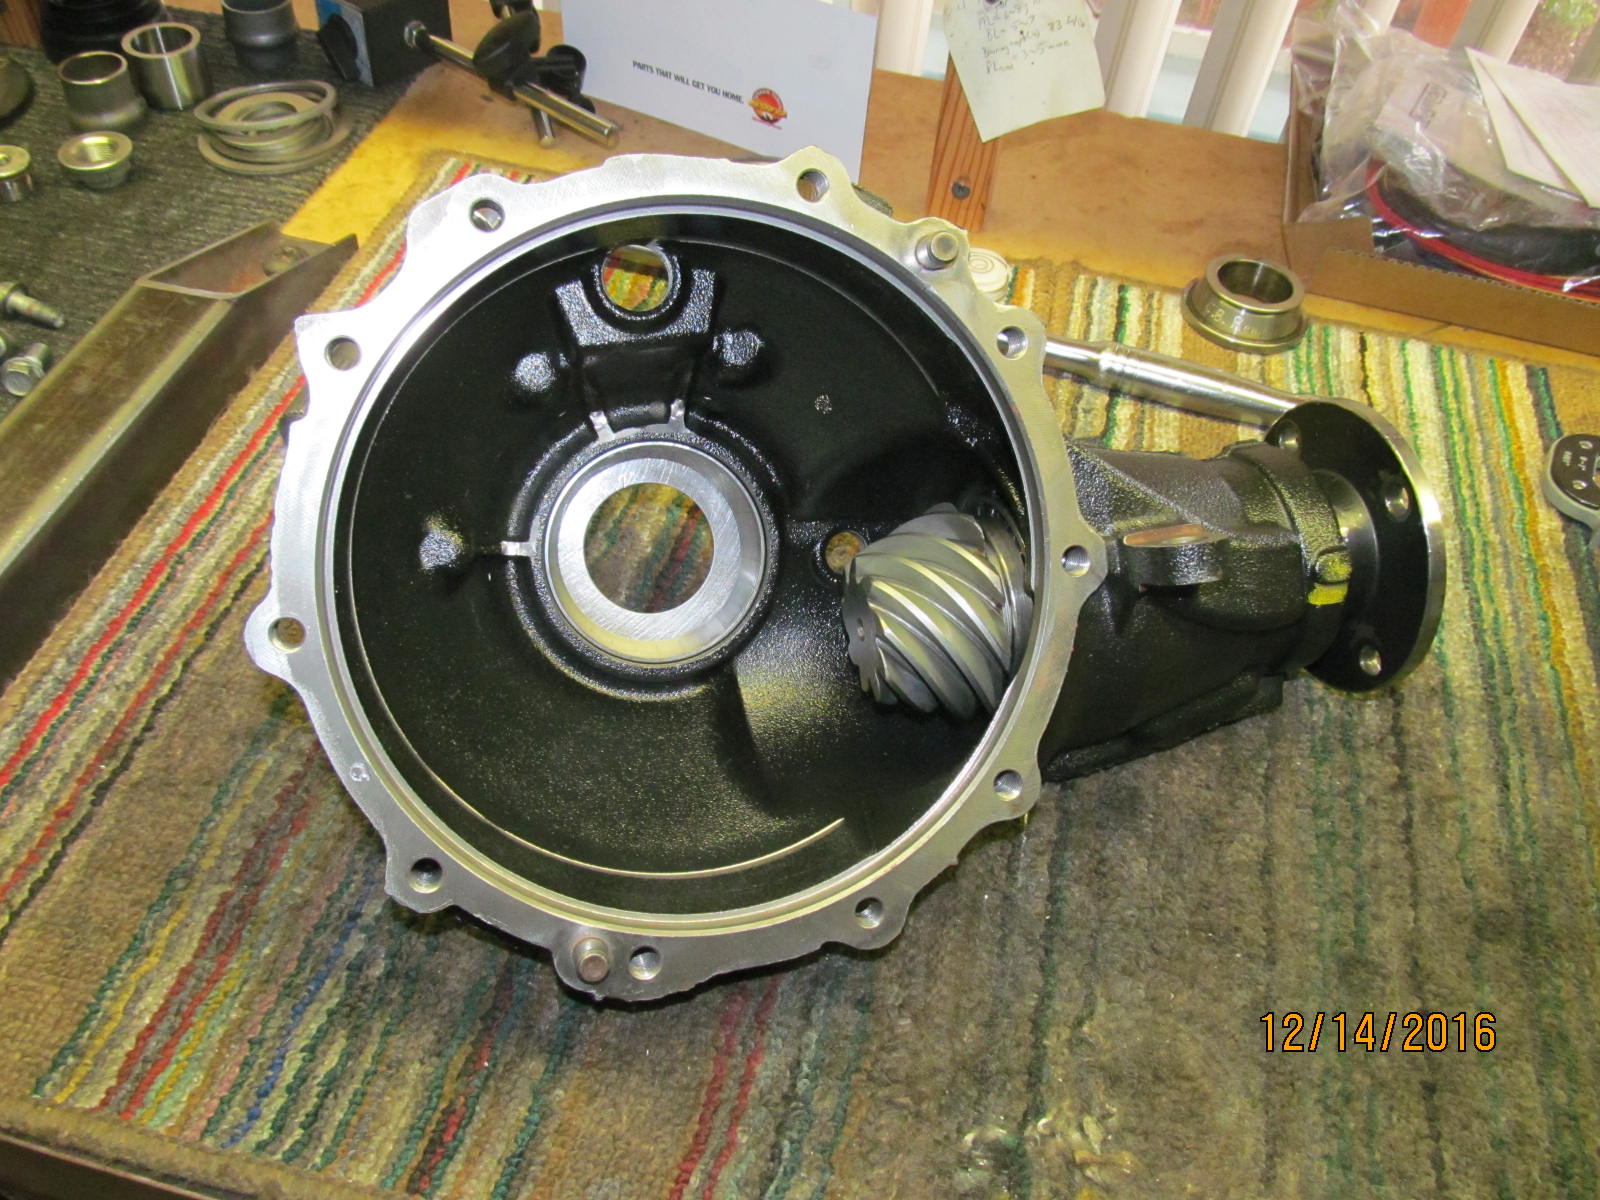
allows the thick 456 gears to be positioned perfectly.
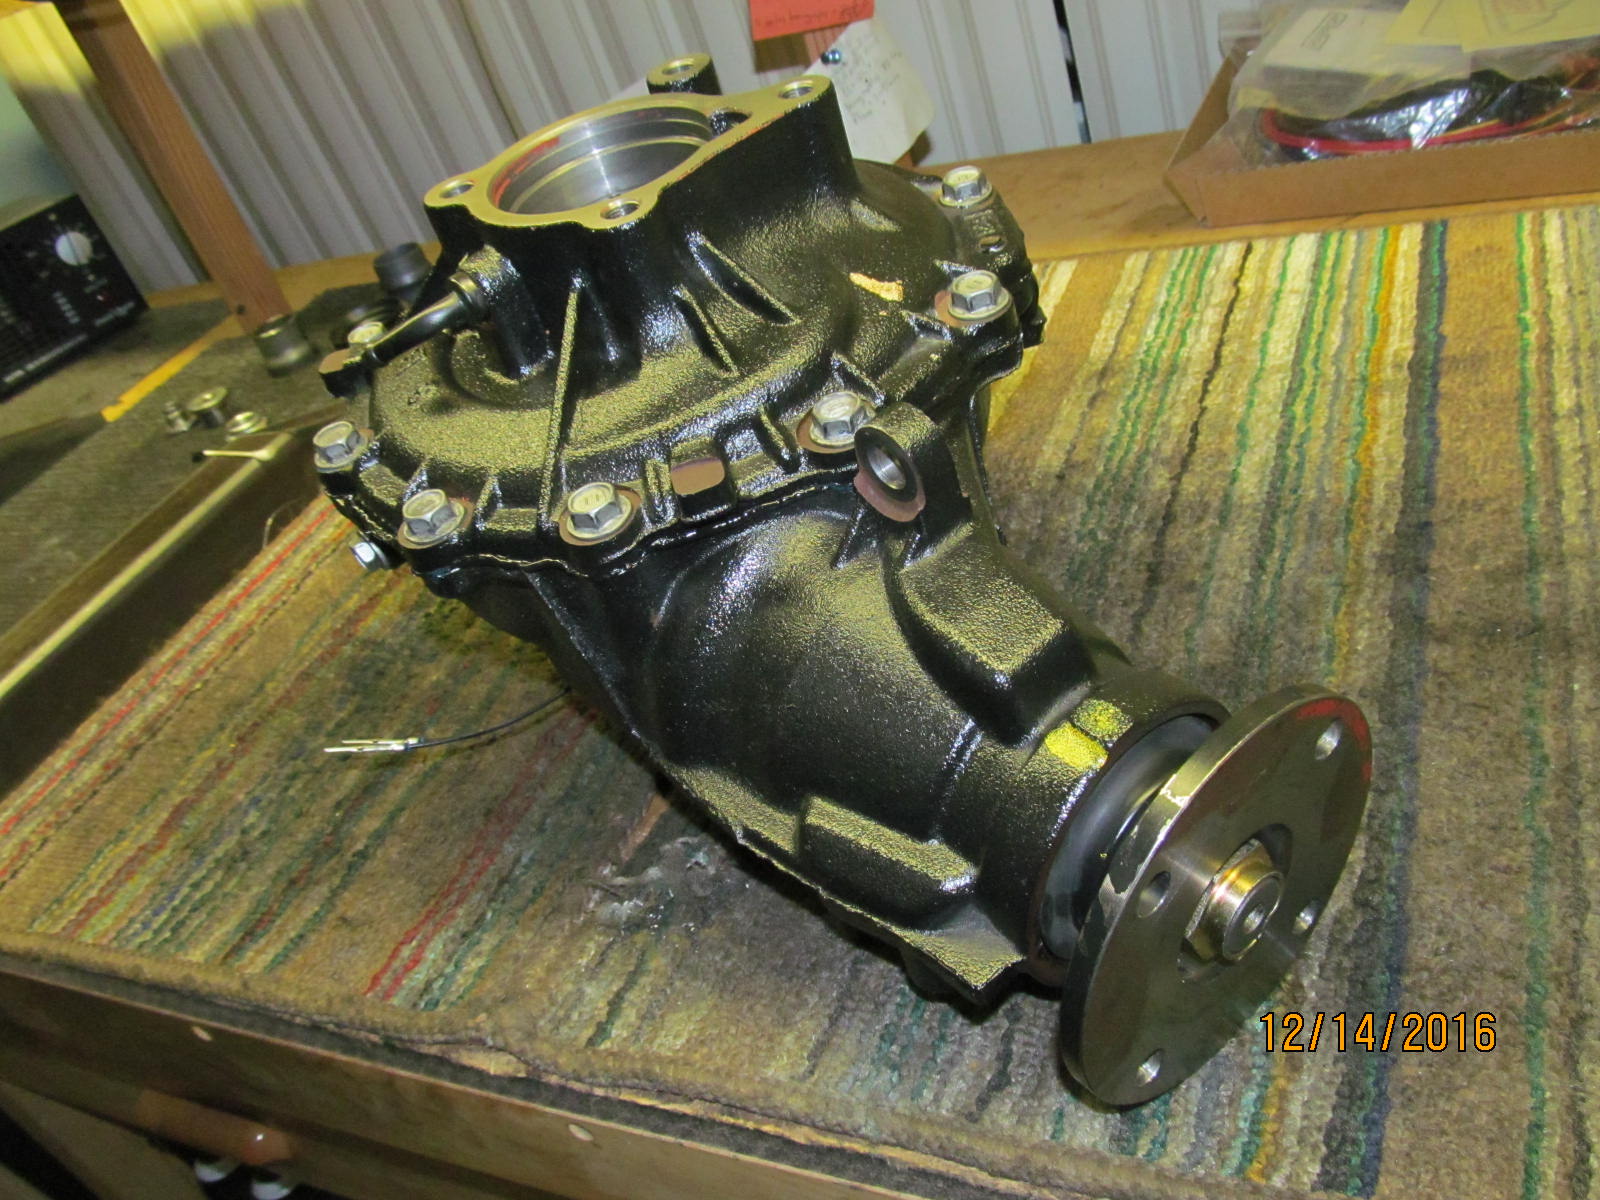
Nitro supplies the 456 ratio only as thick gears...no normal thin ones. I'm sure they do this to allow
customers to re-use their stock 373 carriers and be able to fit 456 gears without the expense of buying
another offset stock oem carrier..
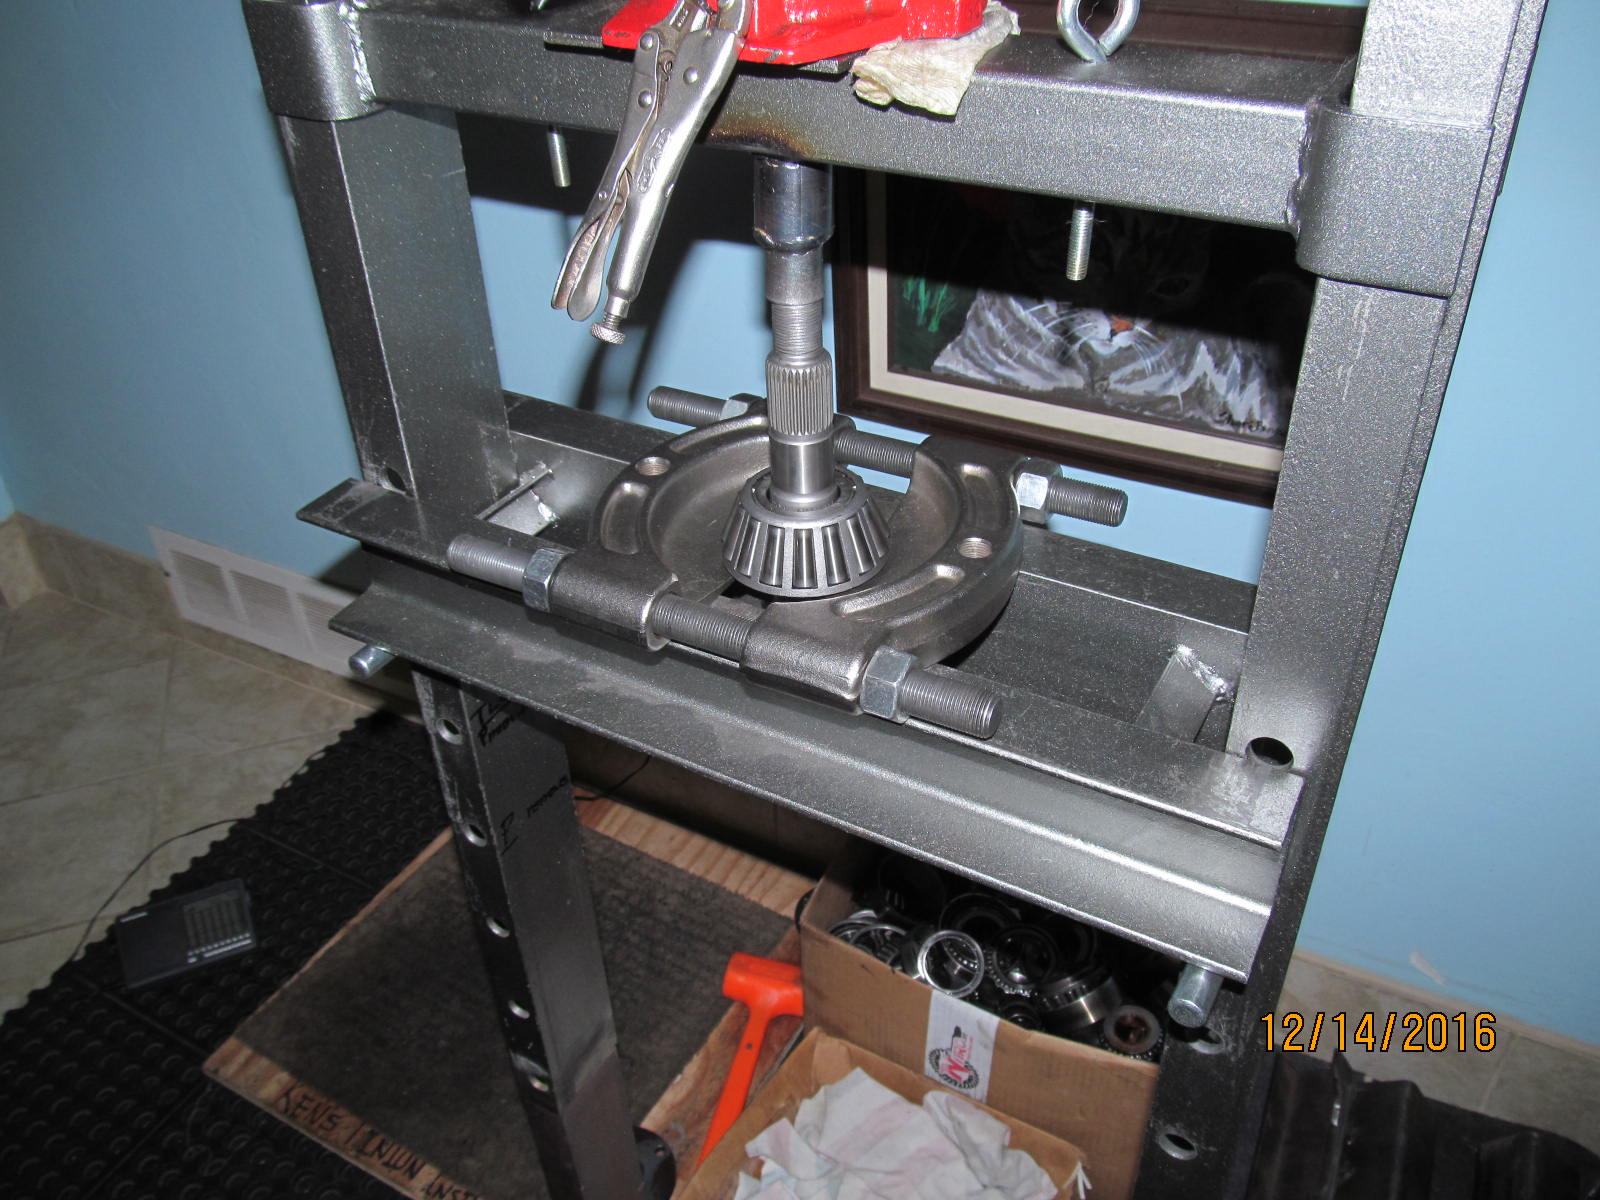
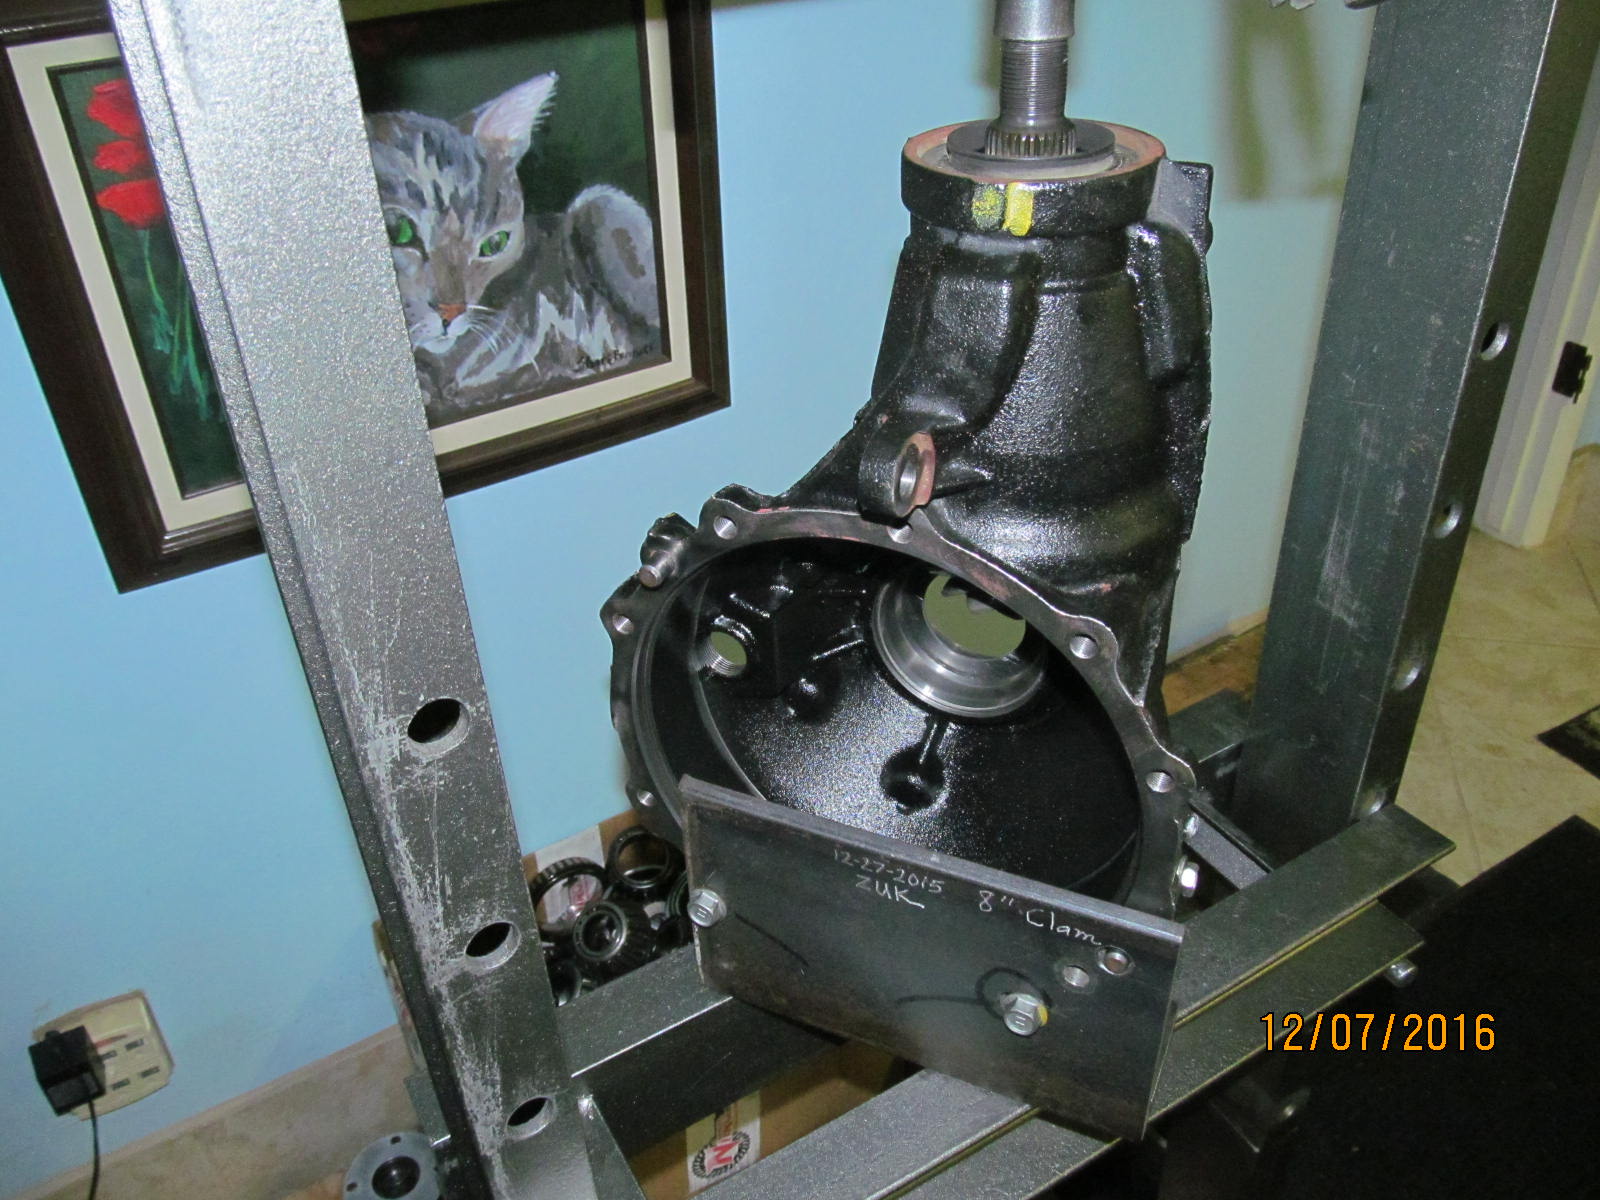
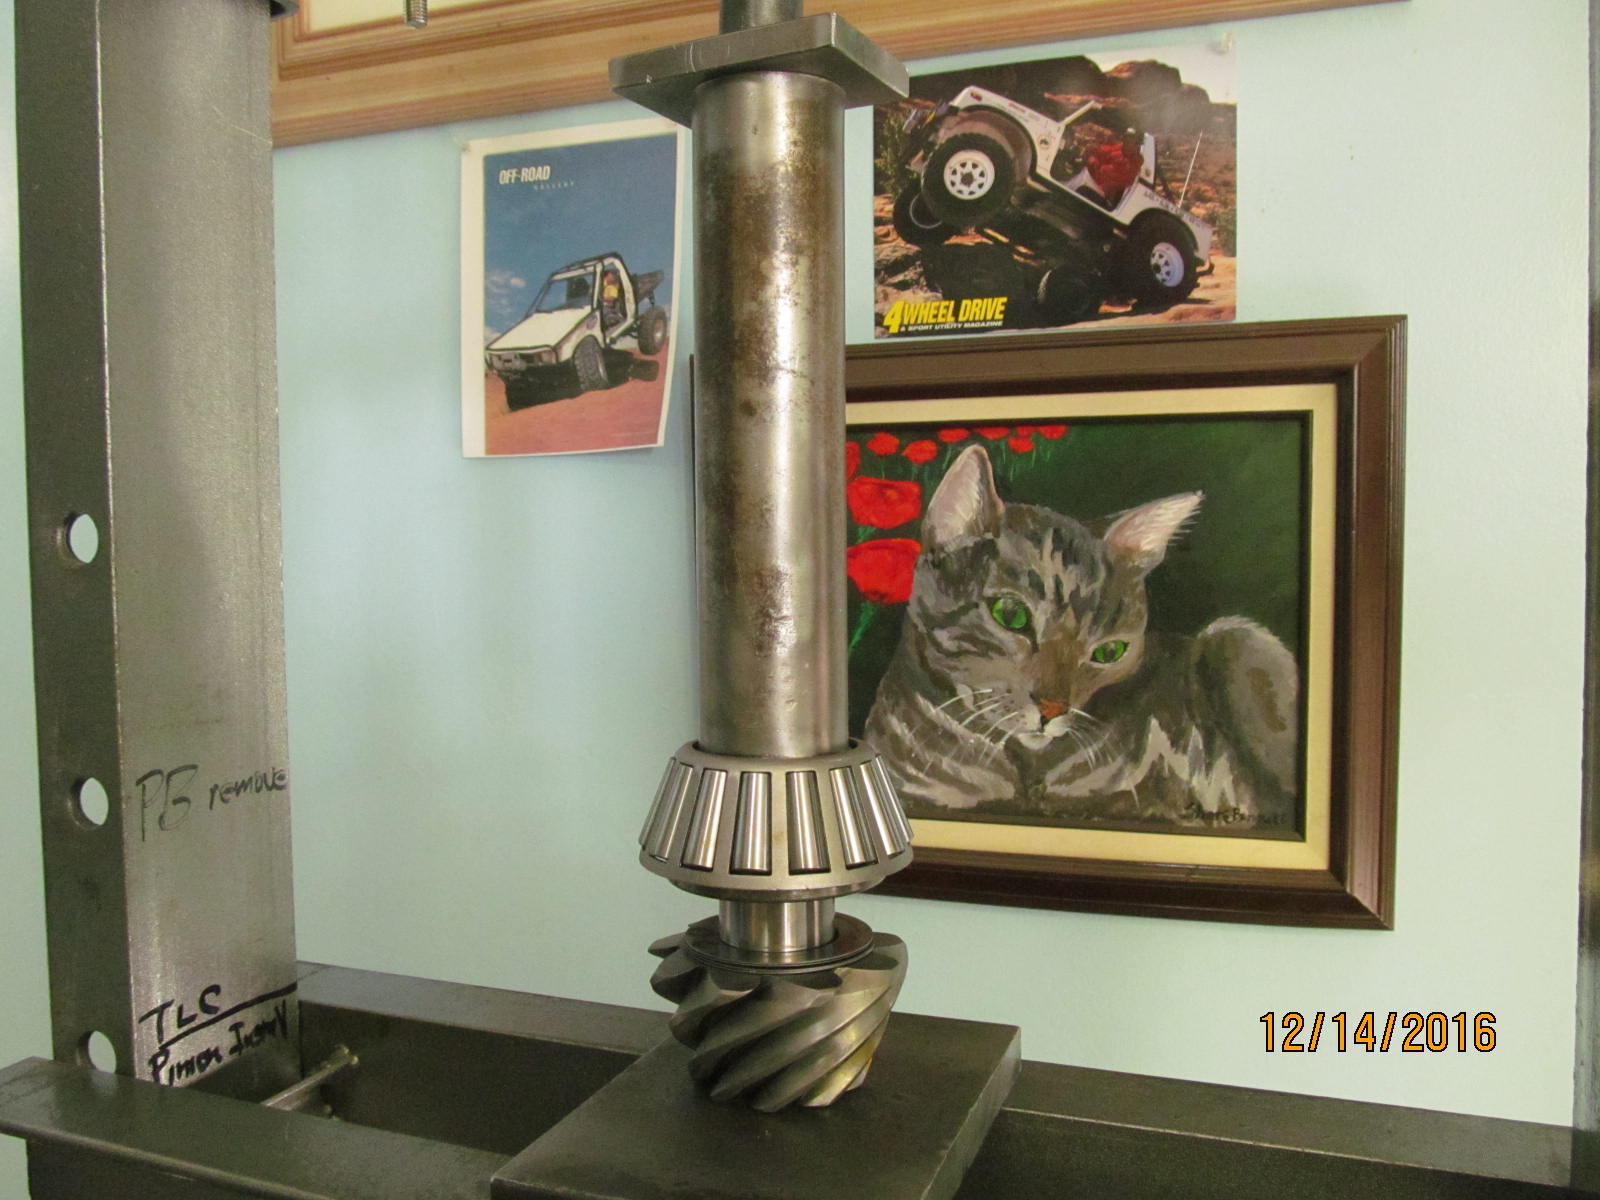
thousands of times this has been used for this exact same operation in the last 10 years. The 2 main halves
of this bearing separator were cryo treated back in Nov of '07 and still going strong.
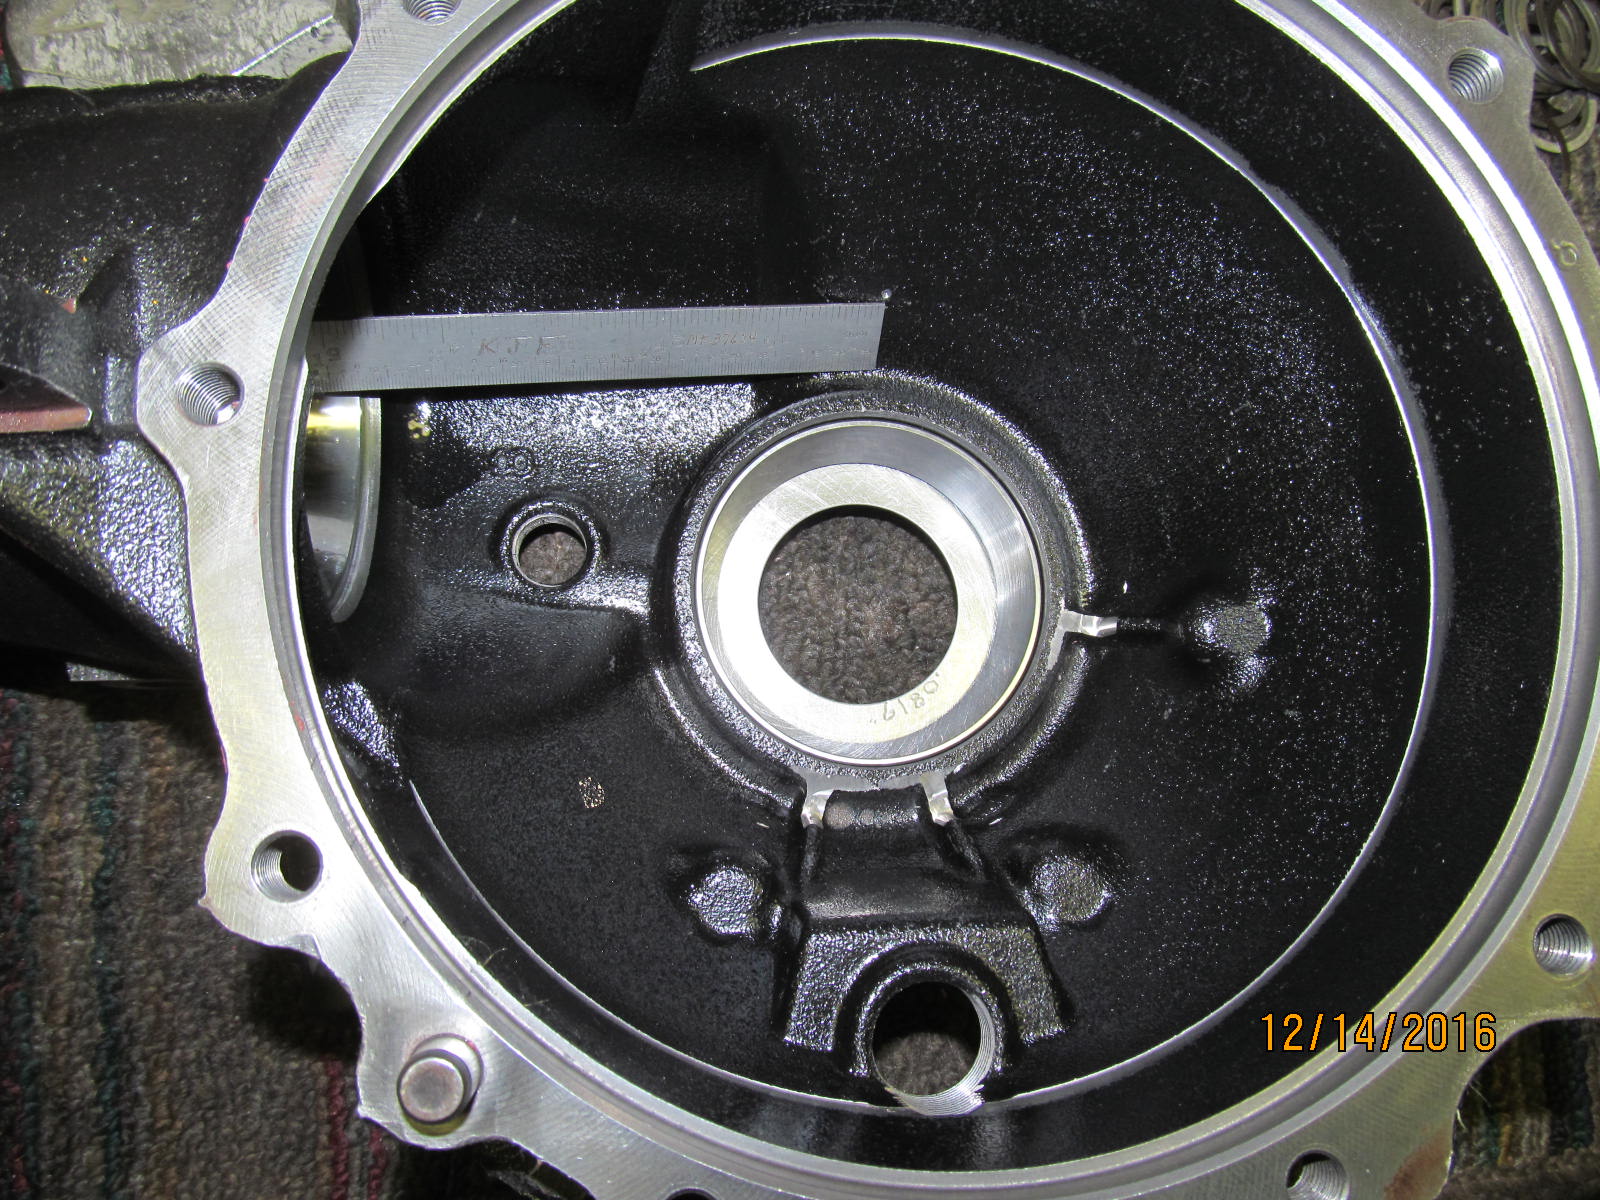
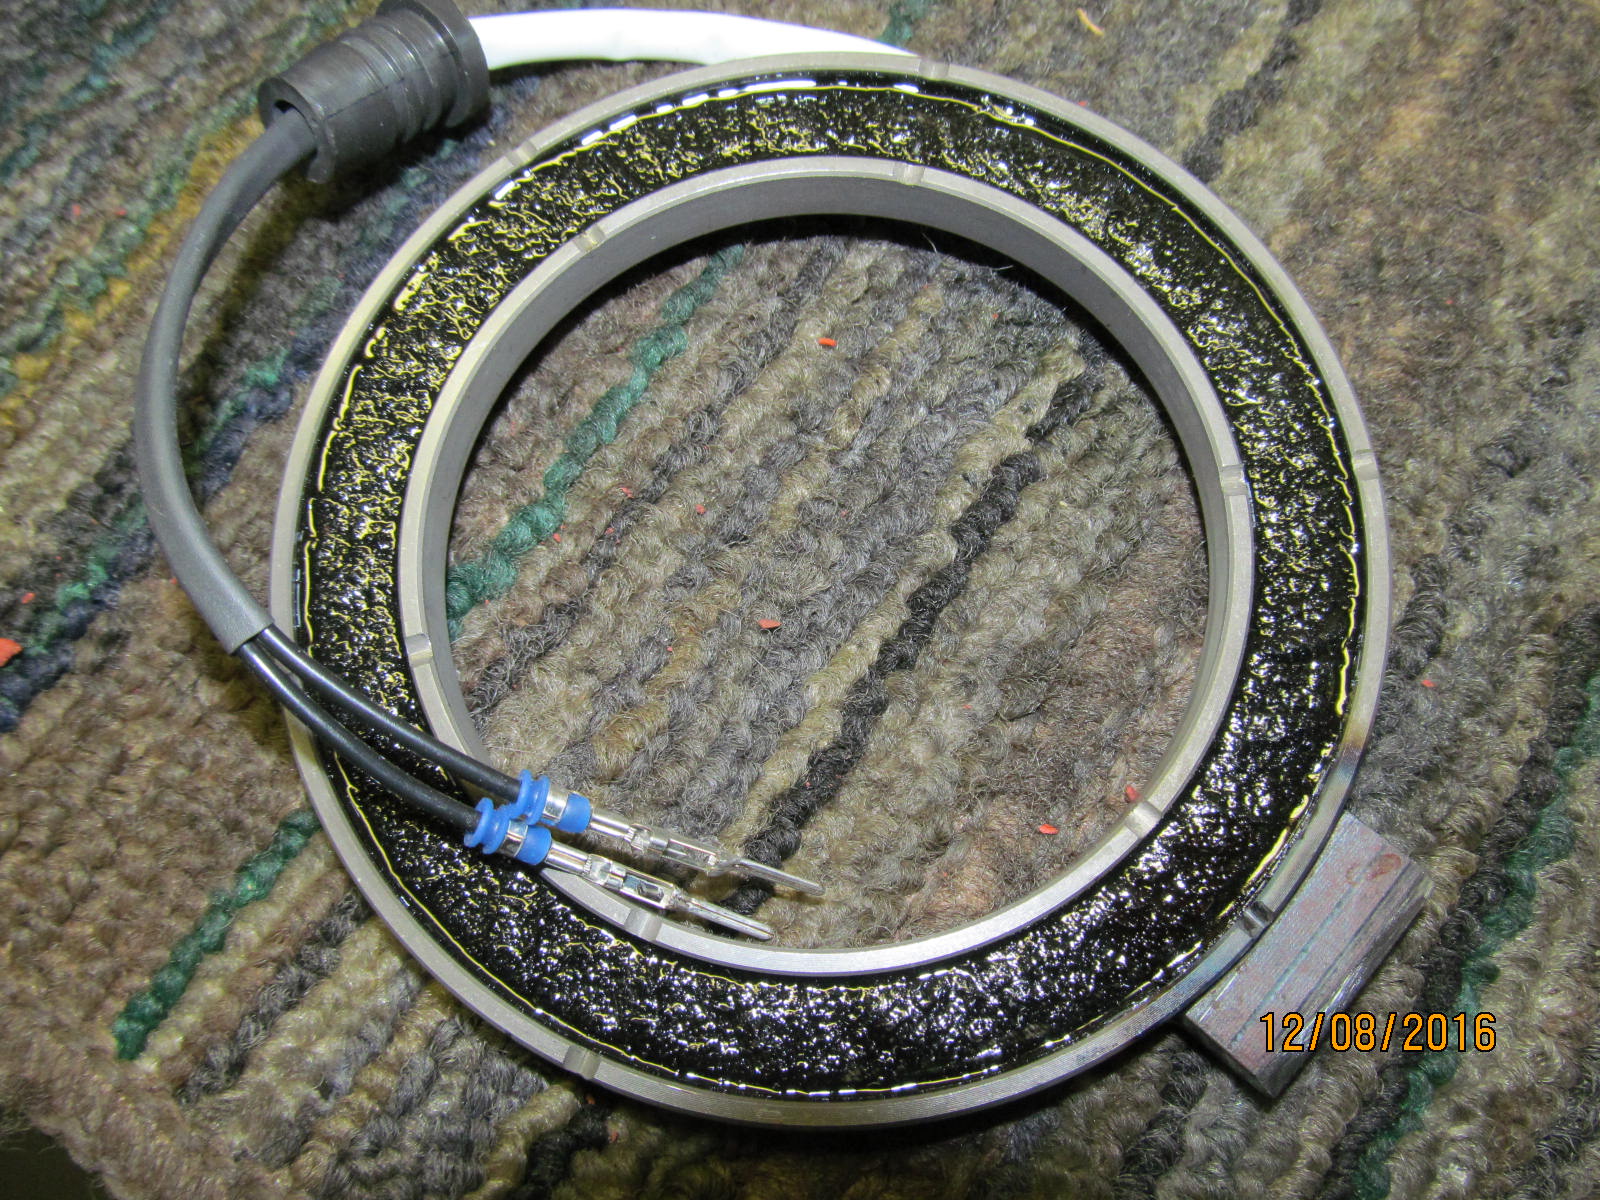
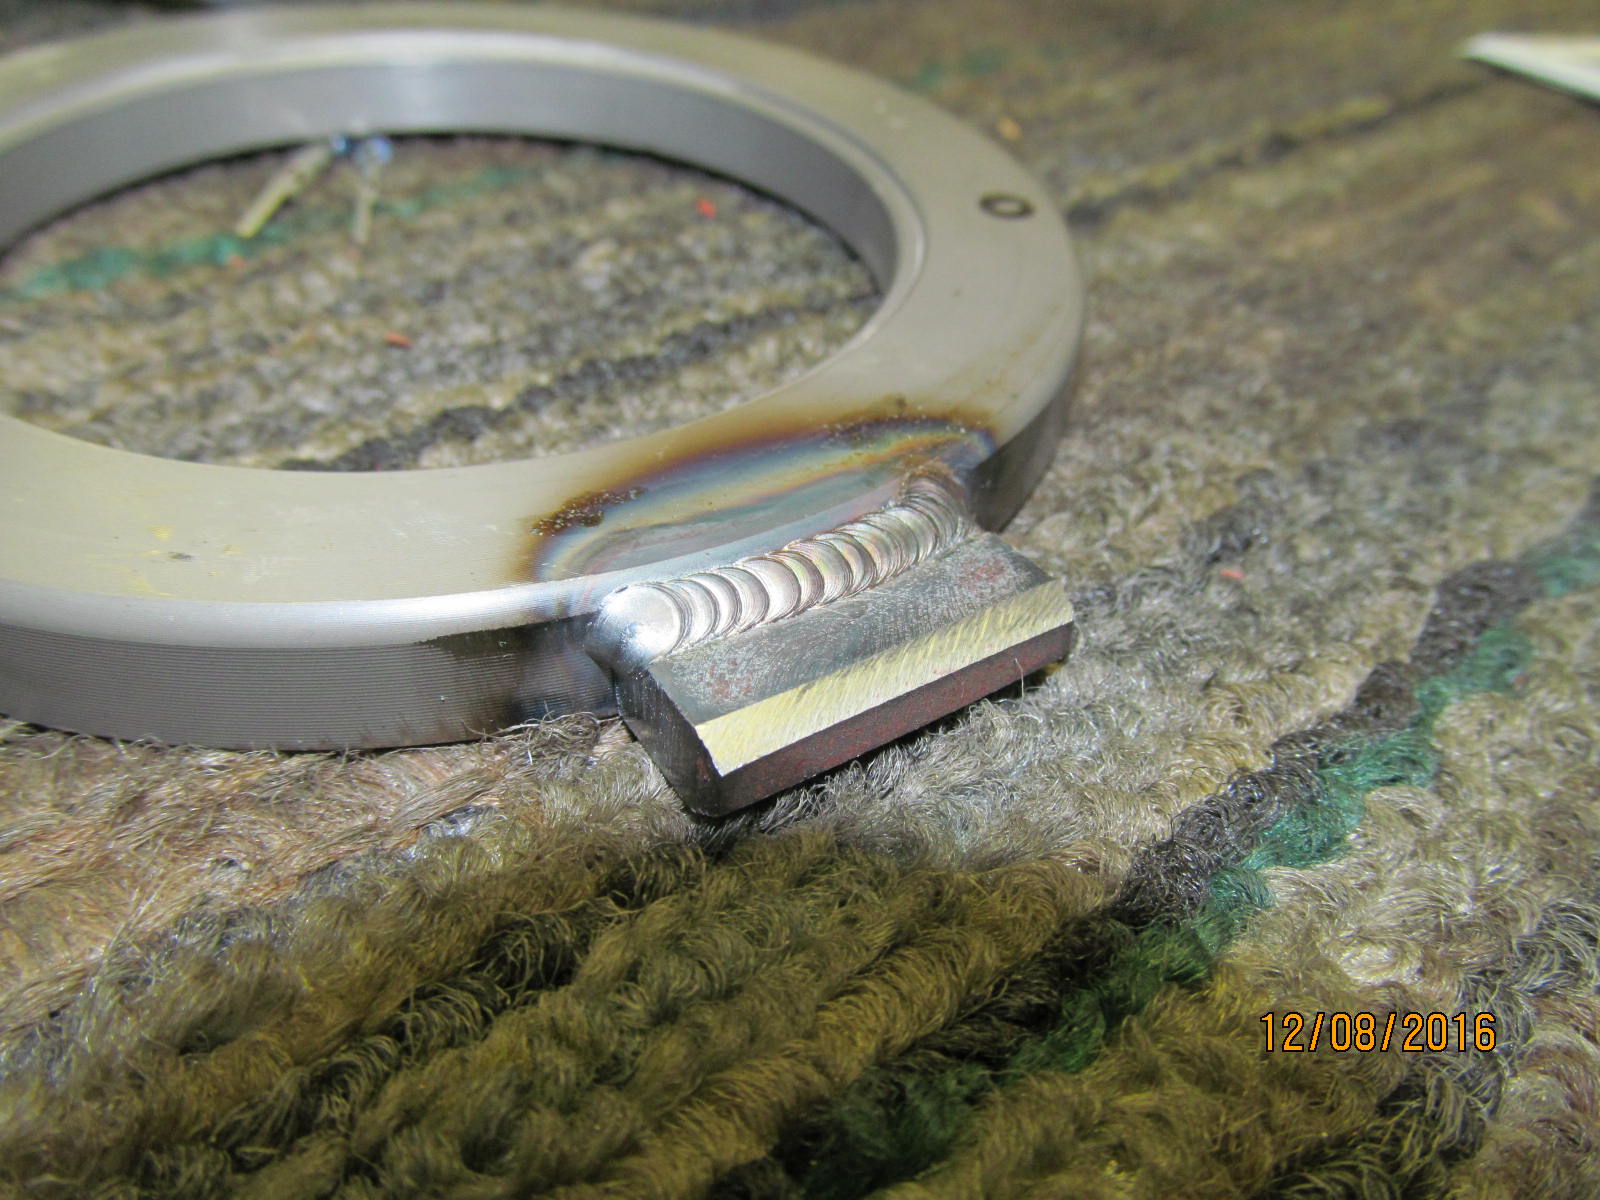
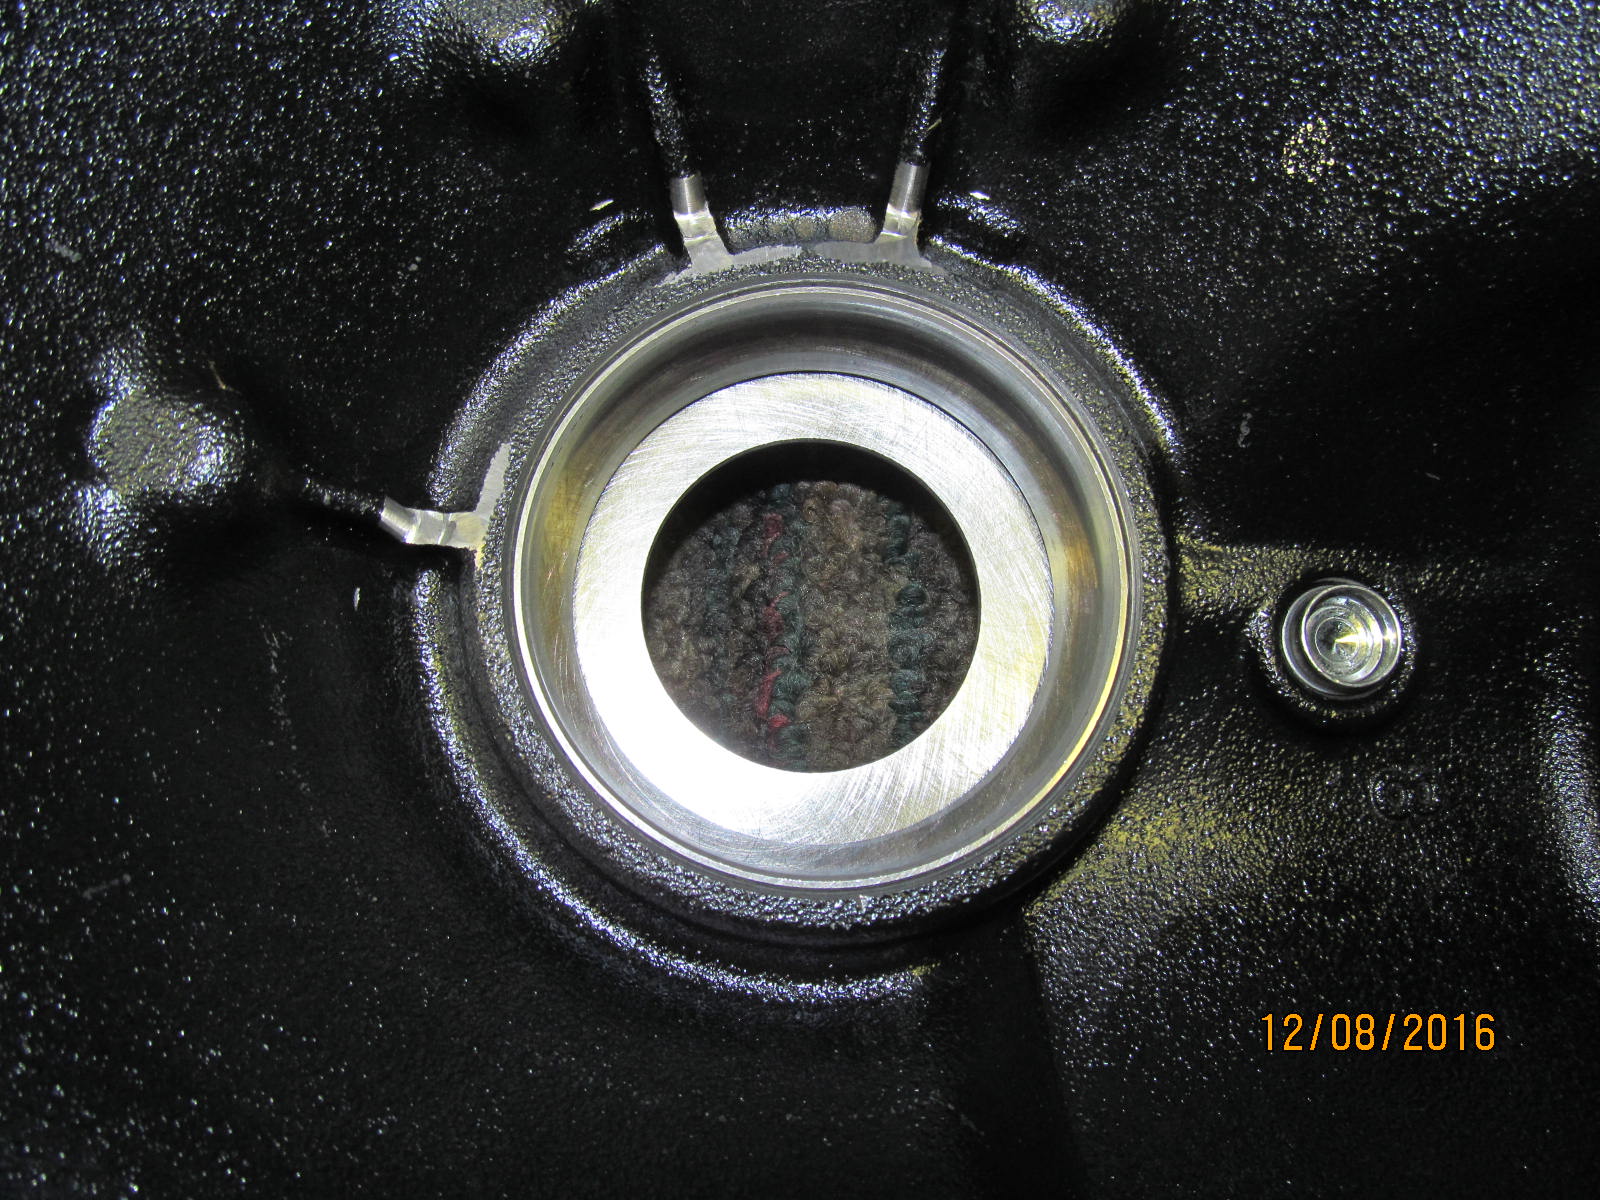
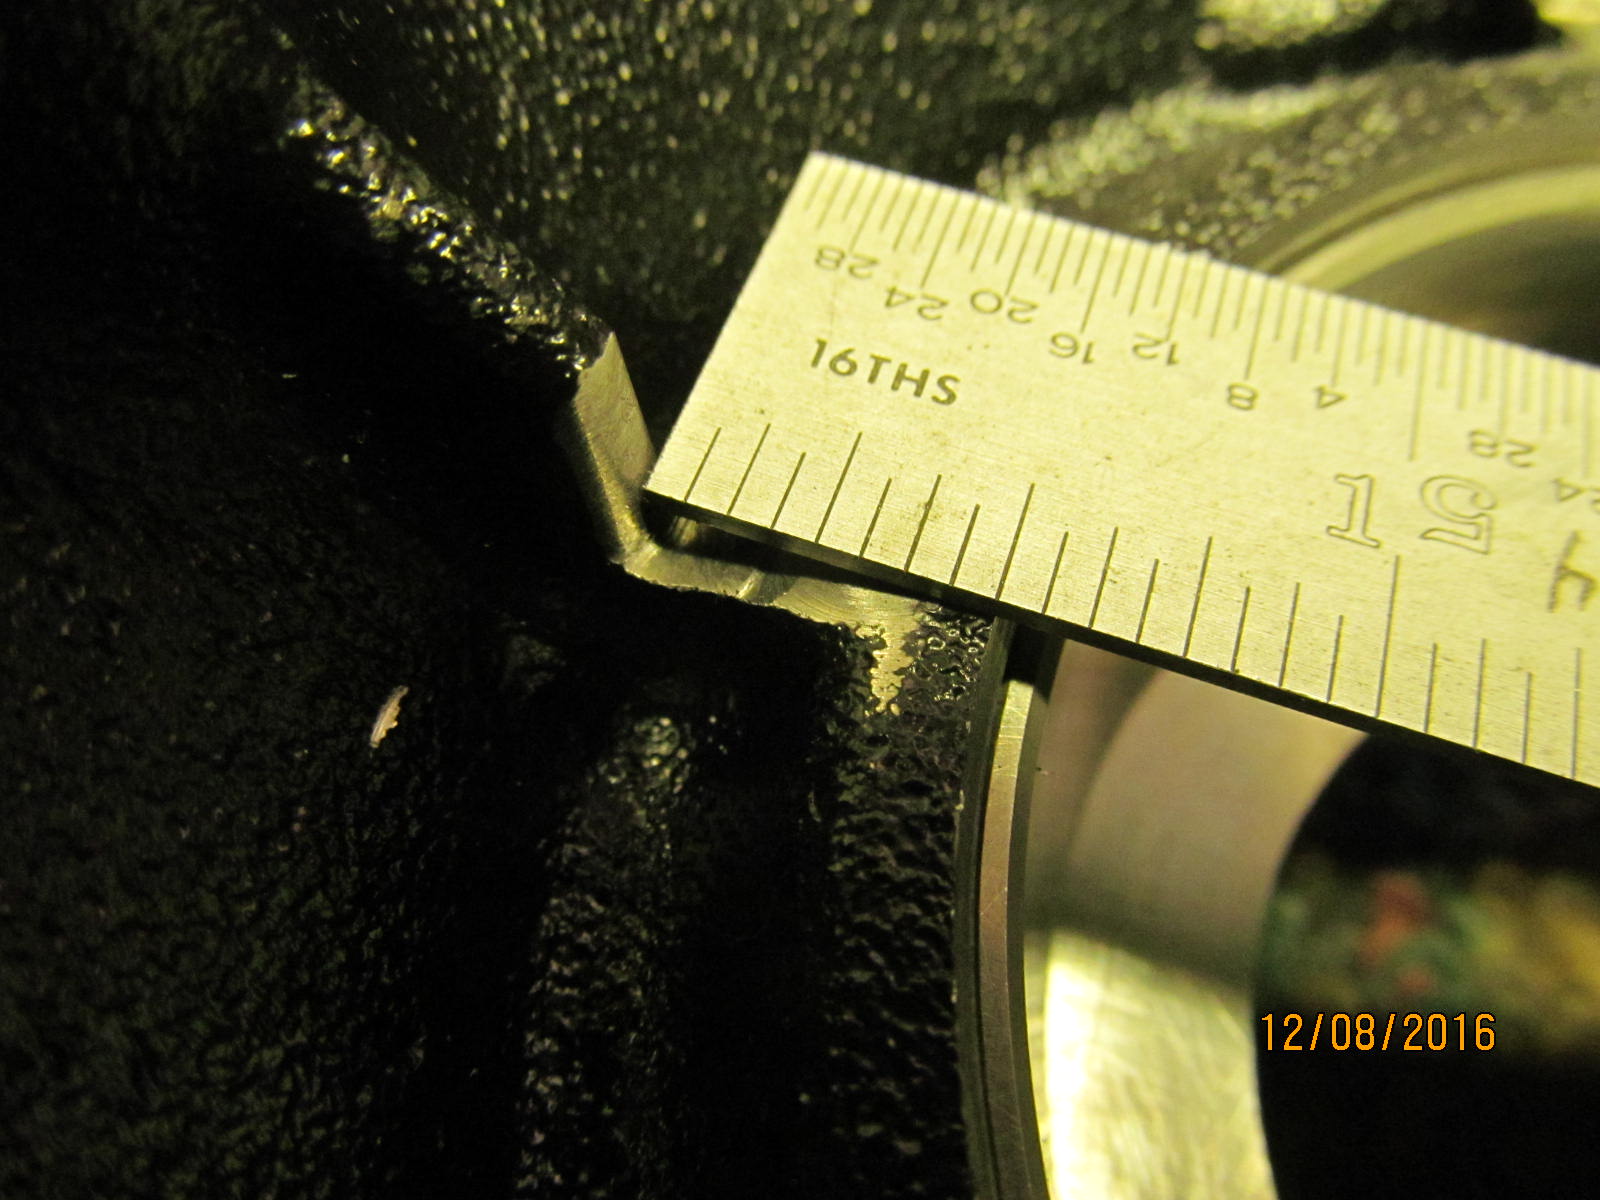
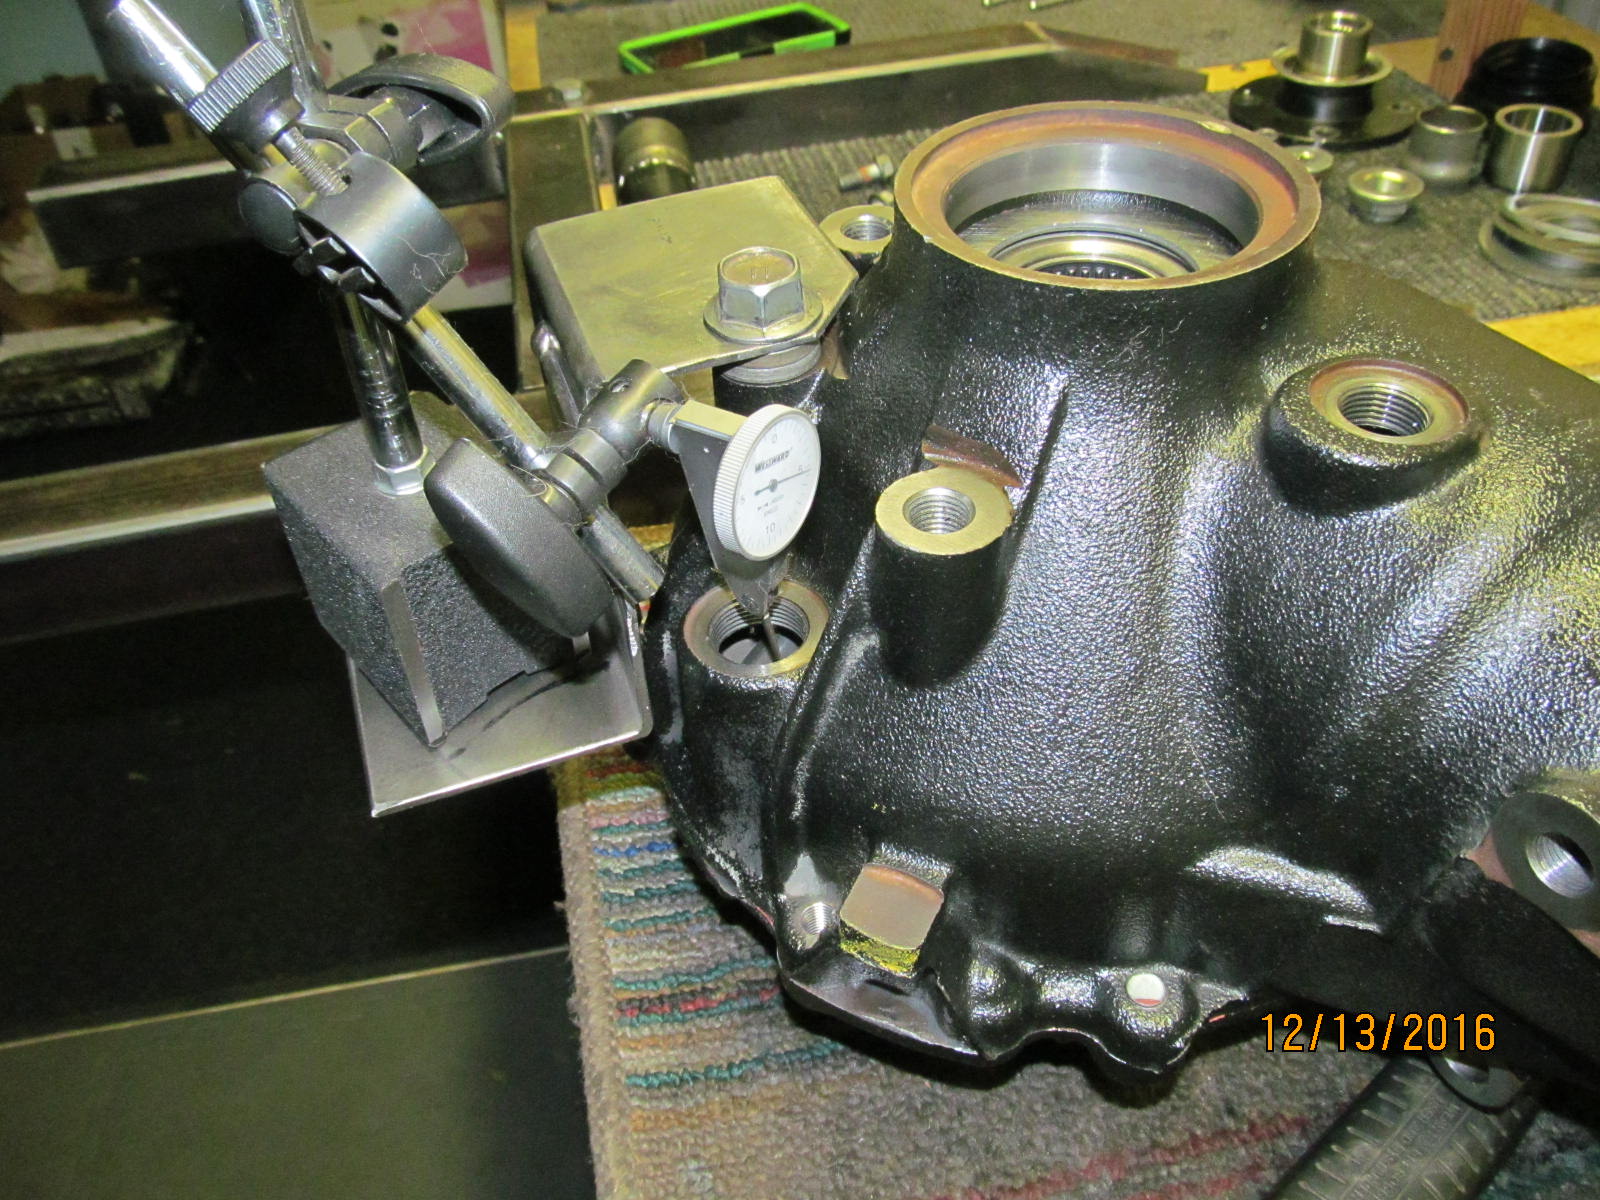
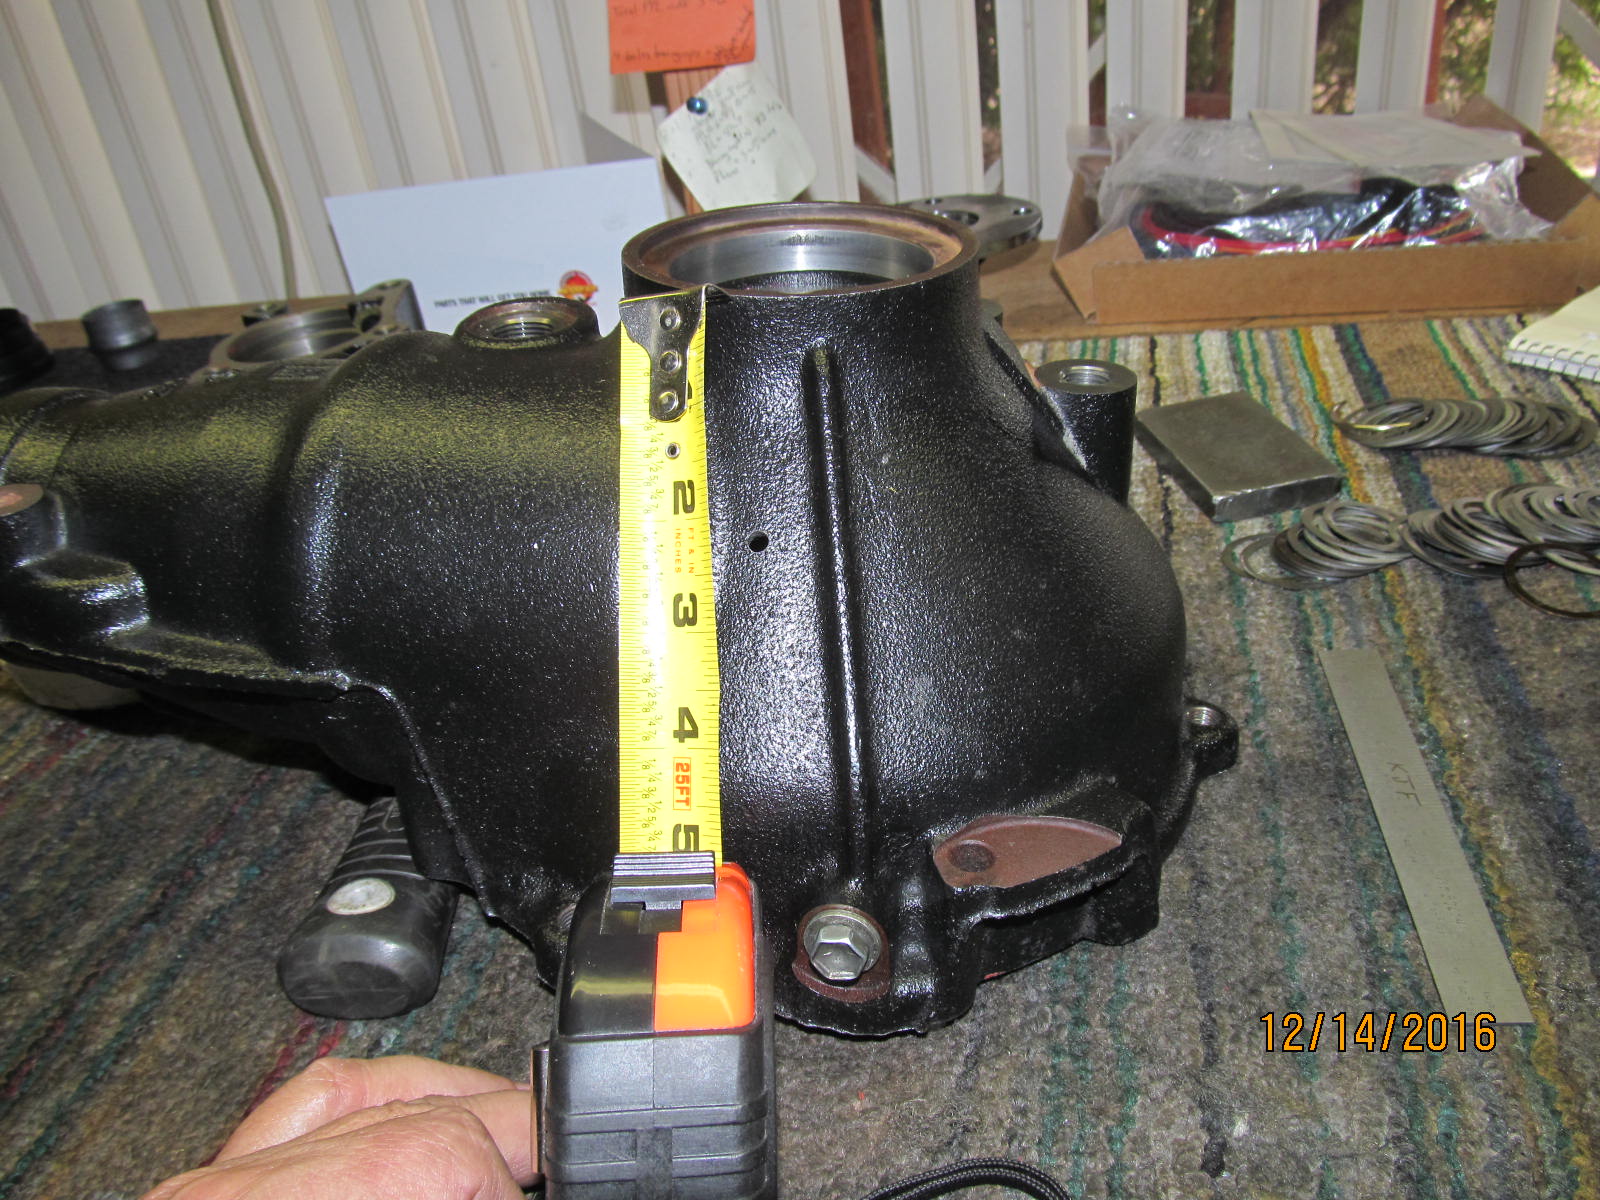
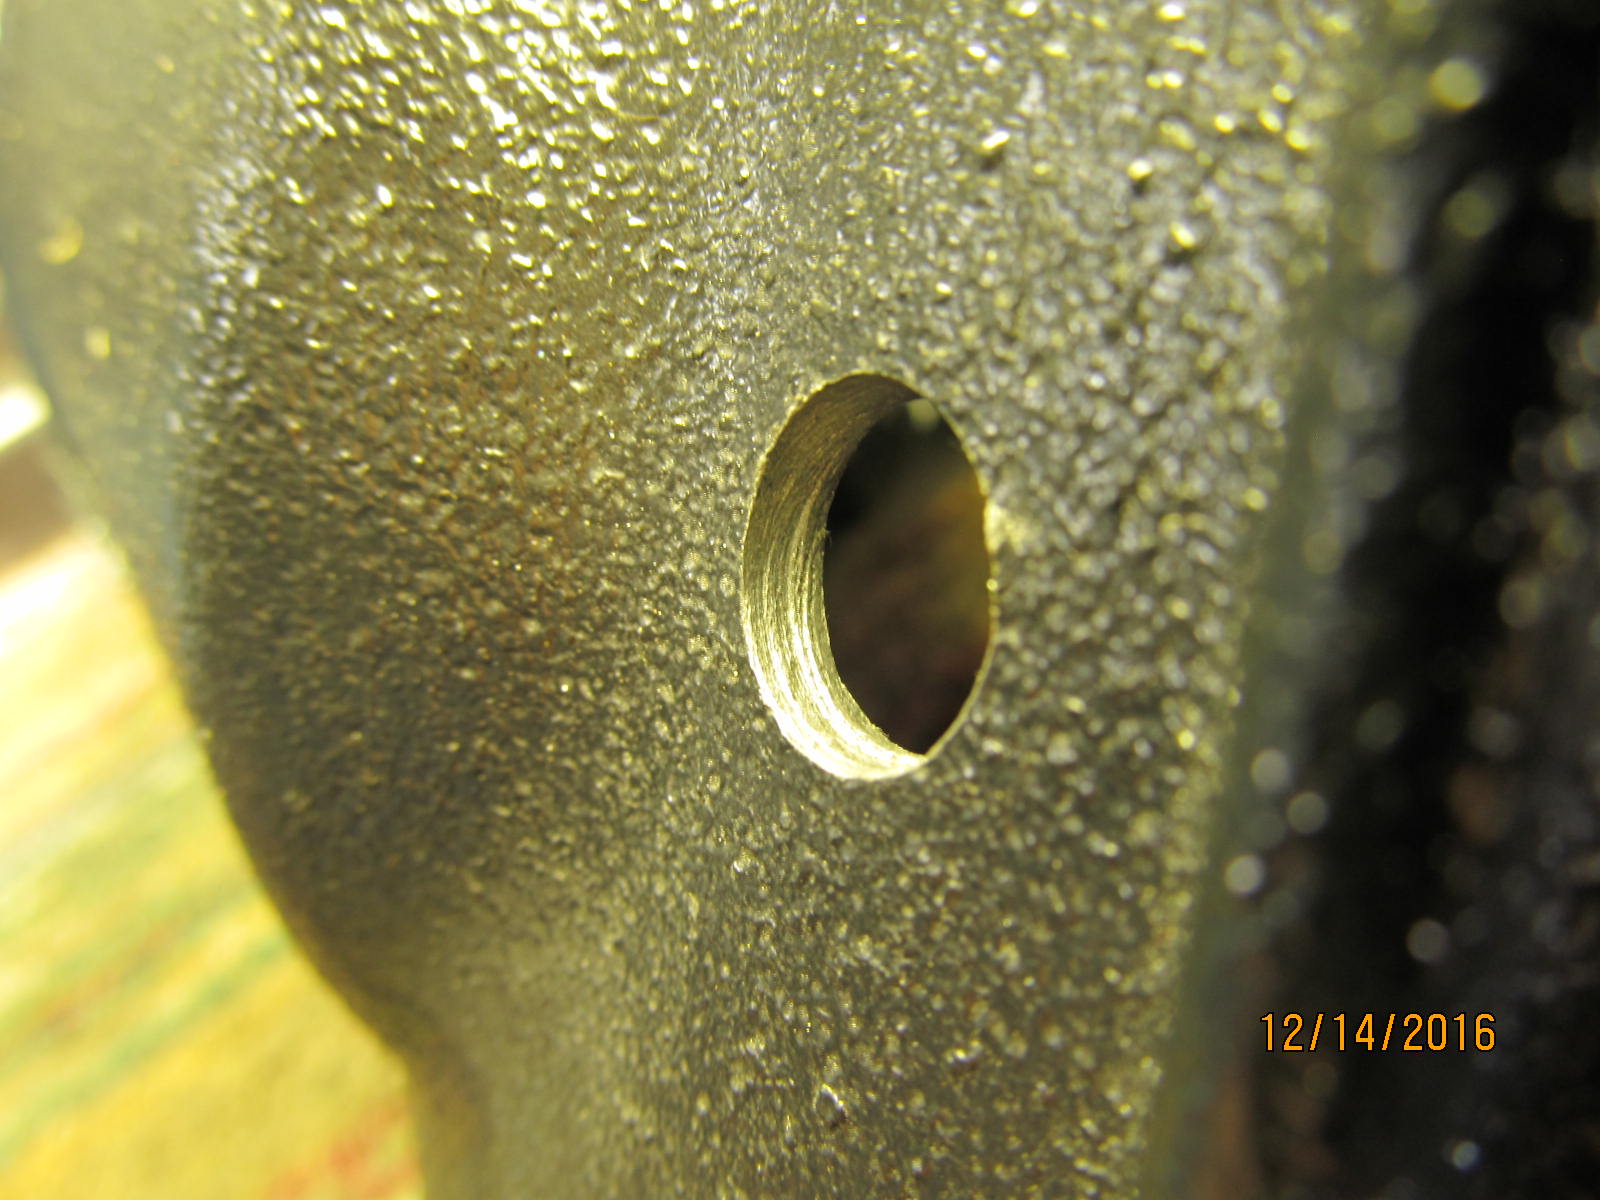
Almost exactly opposite the tab location. Steel ruler is showing the dimple where the hole is to be drilled.
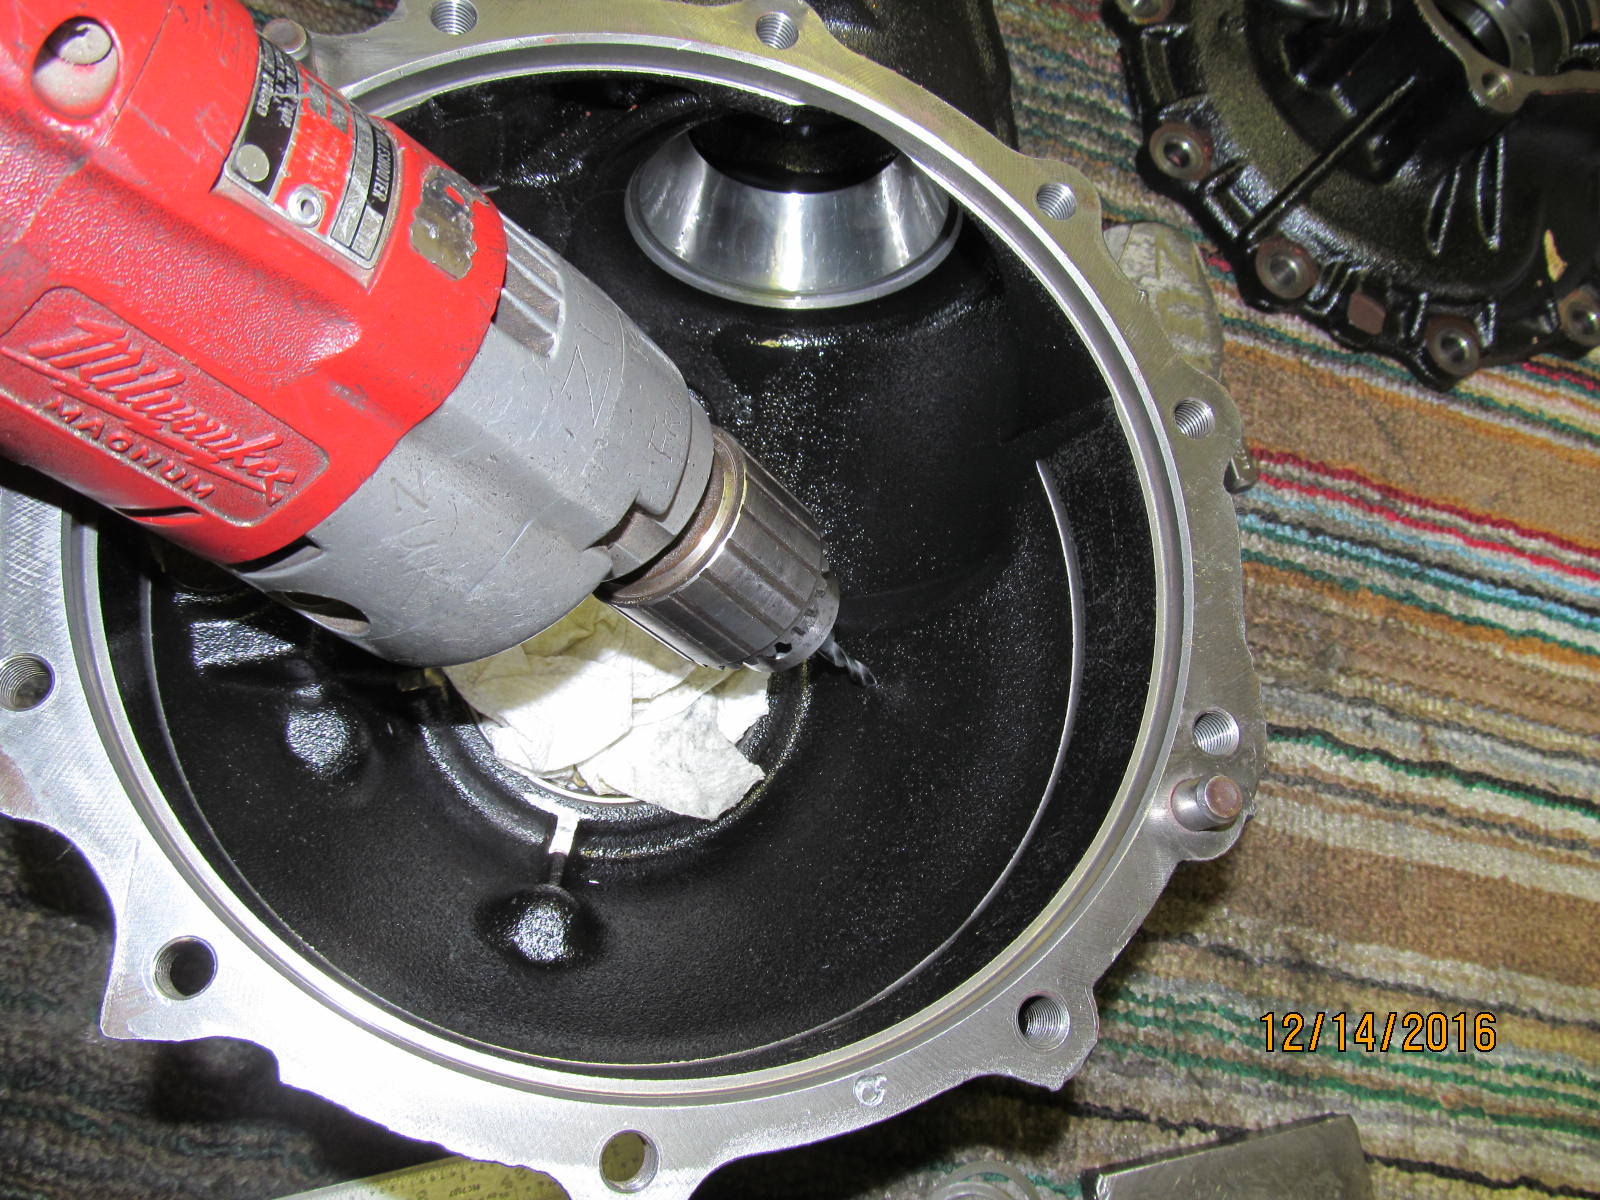
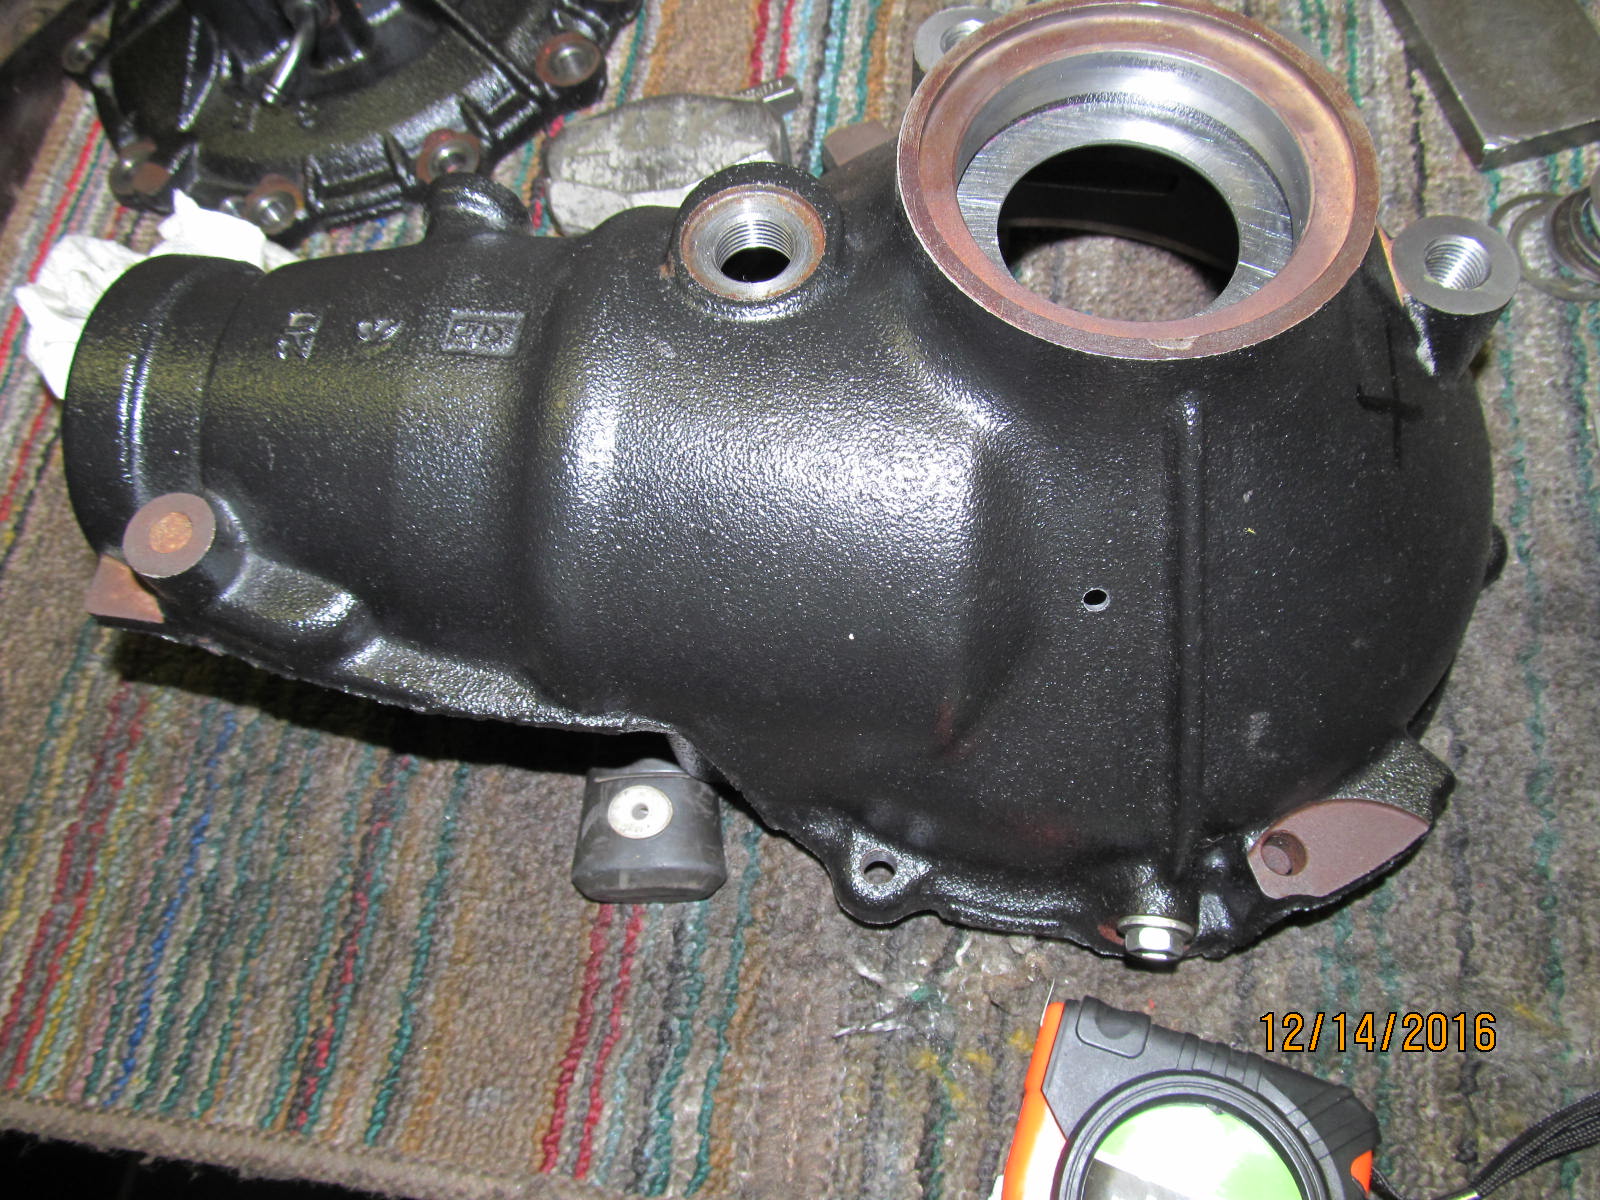
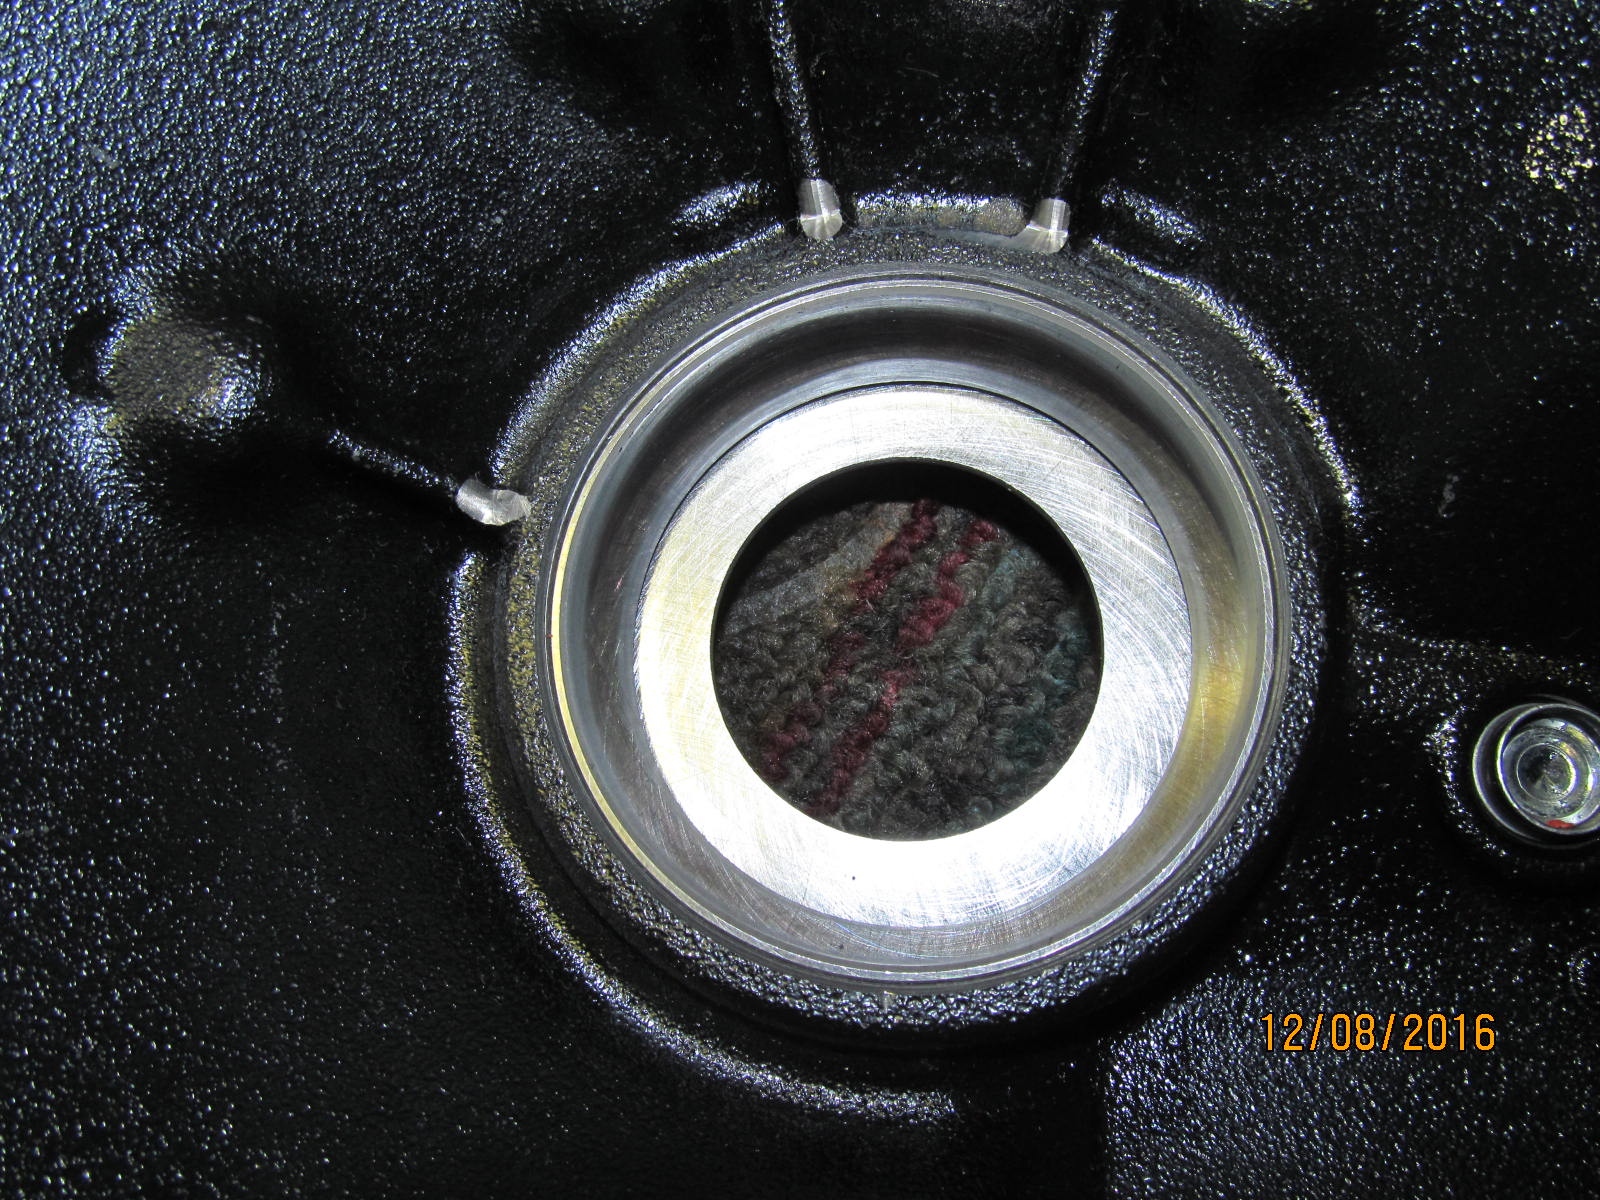
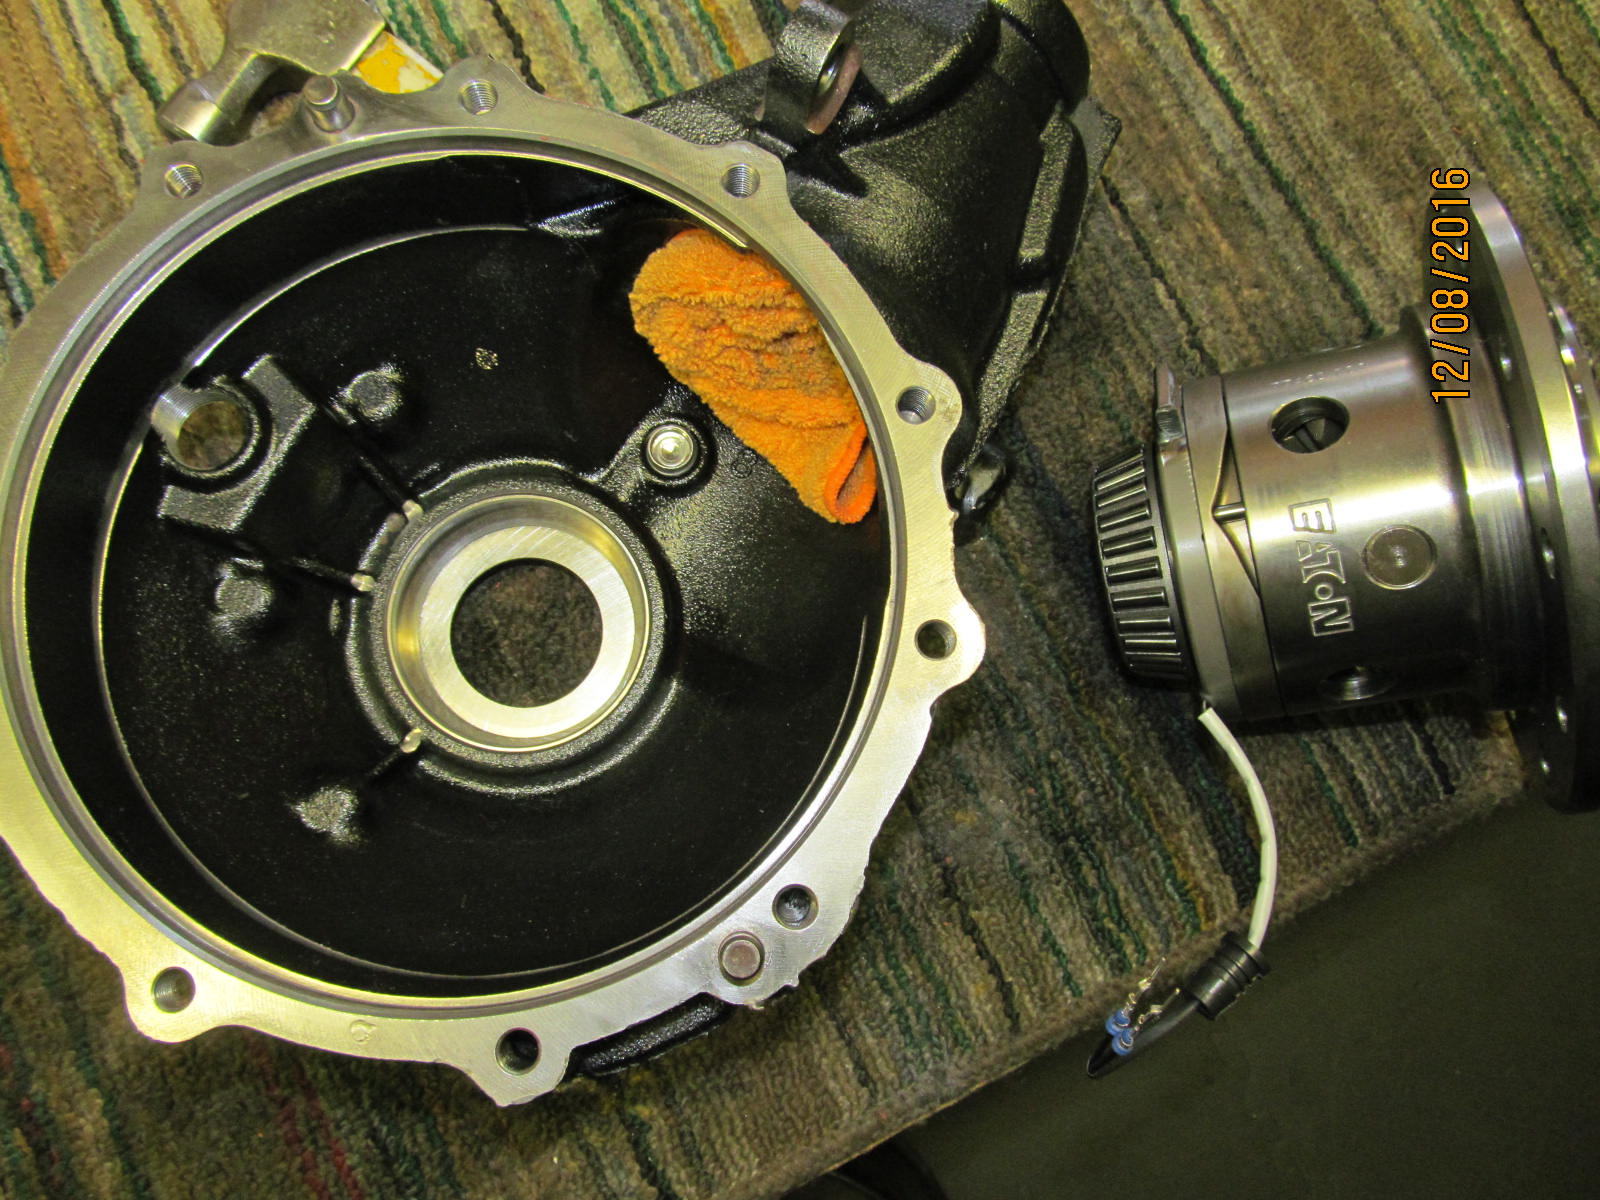
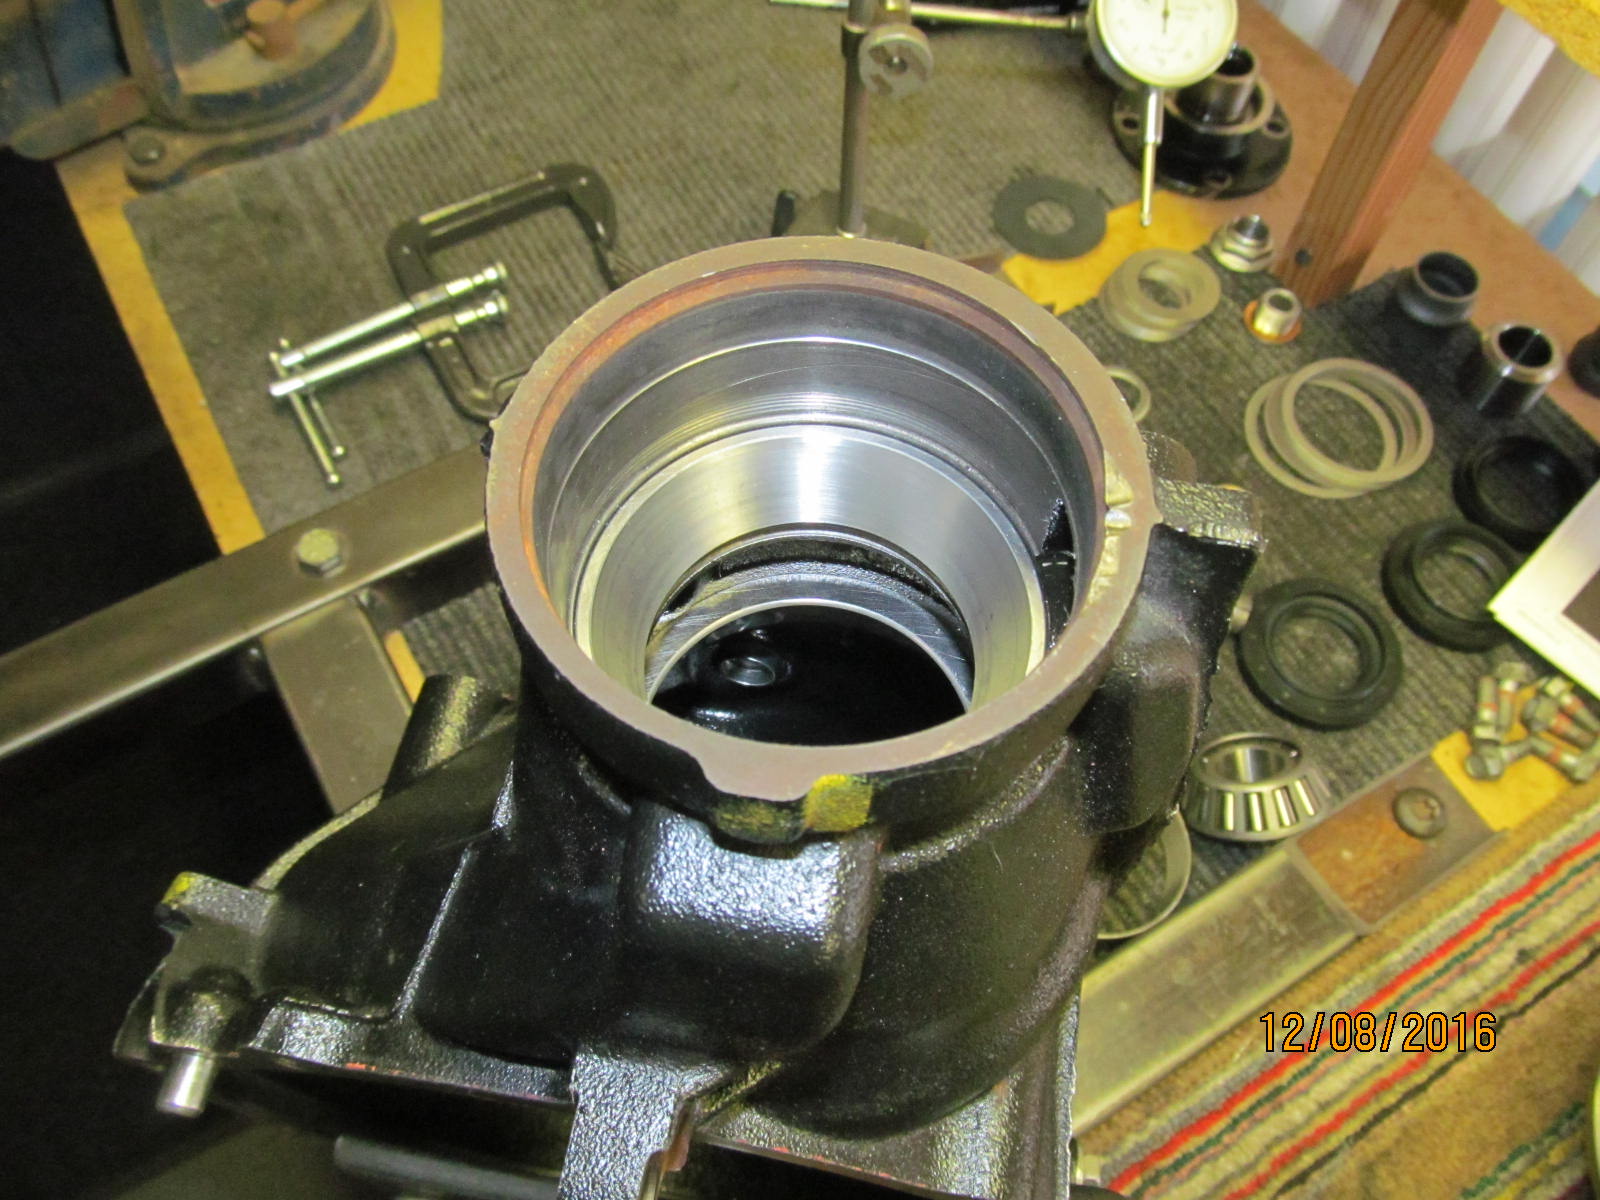
seal properly and leak some gear oil.
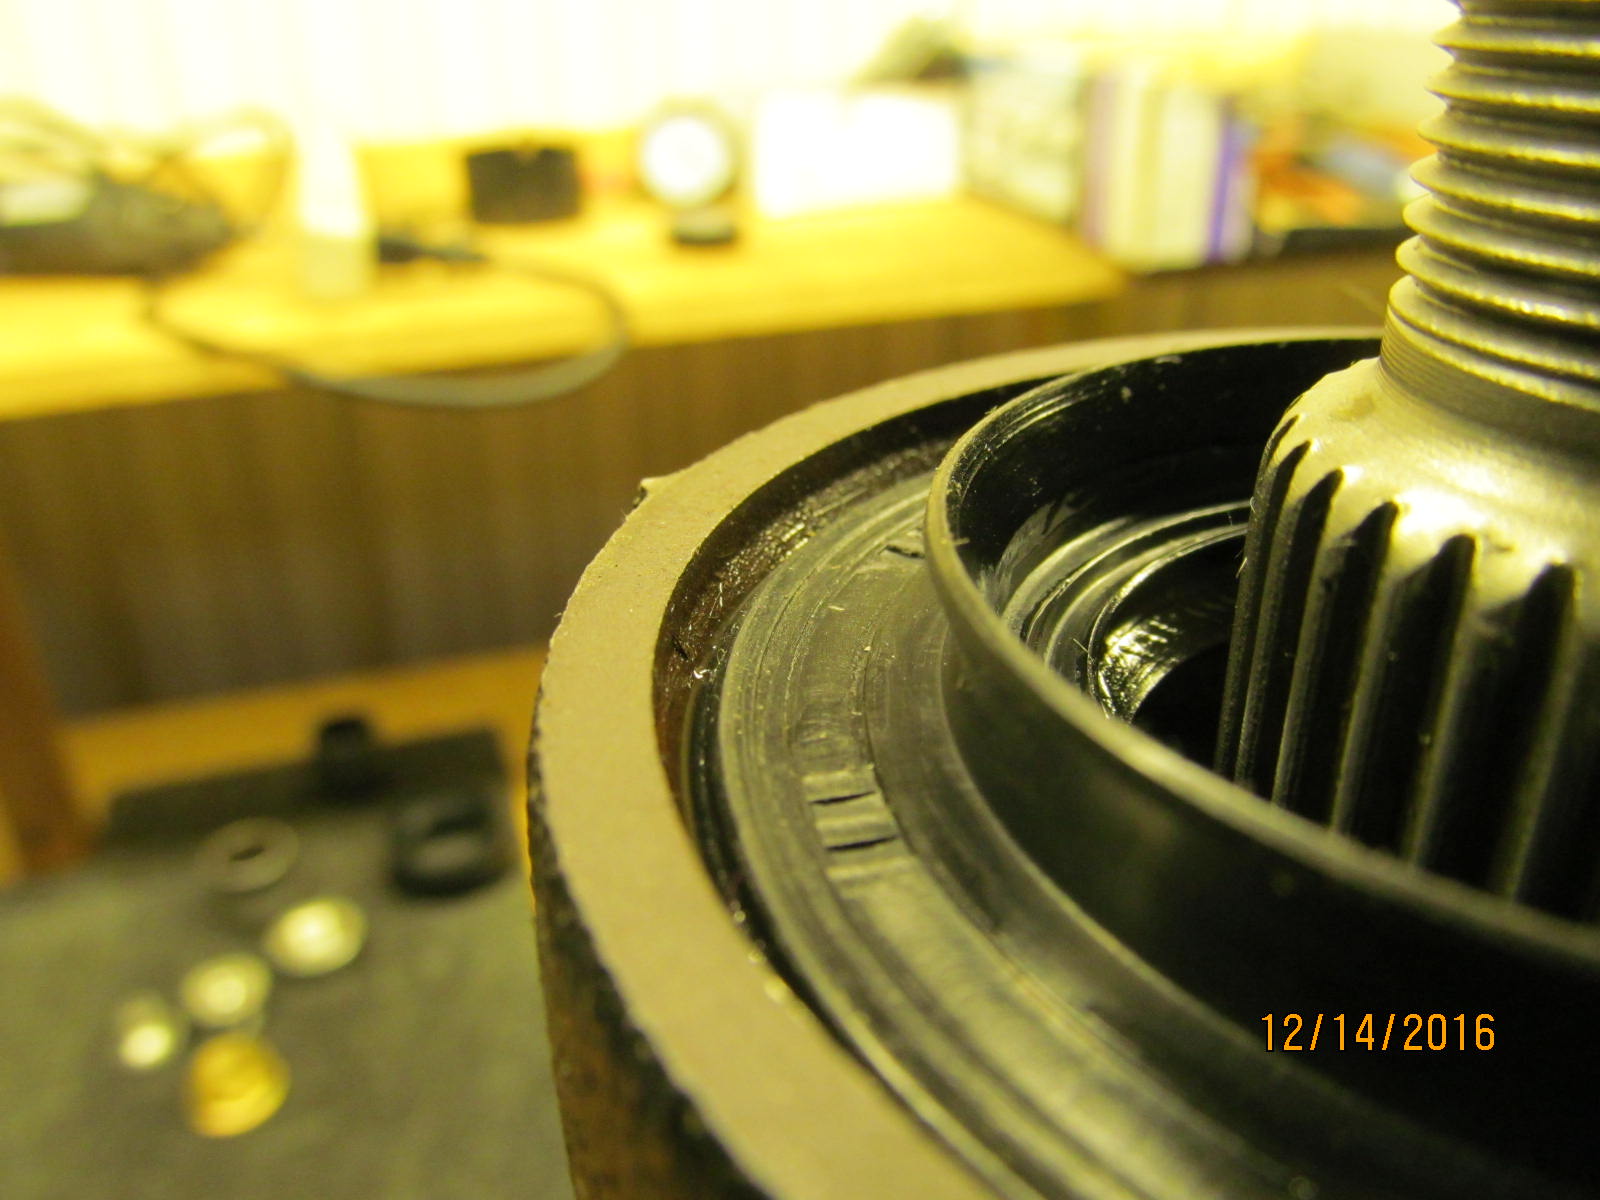
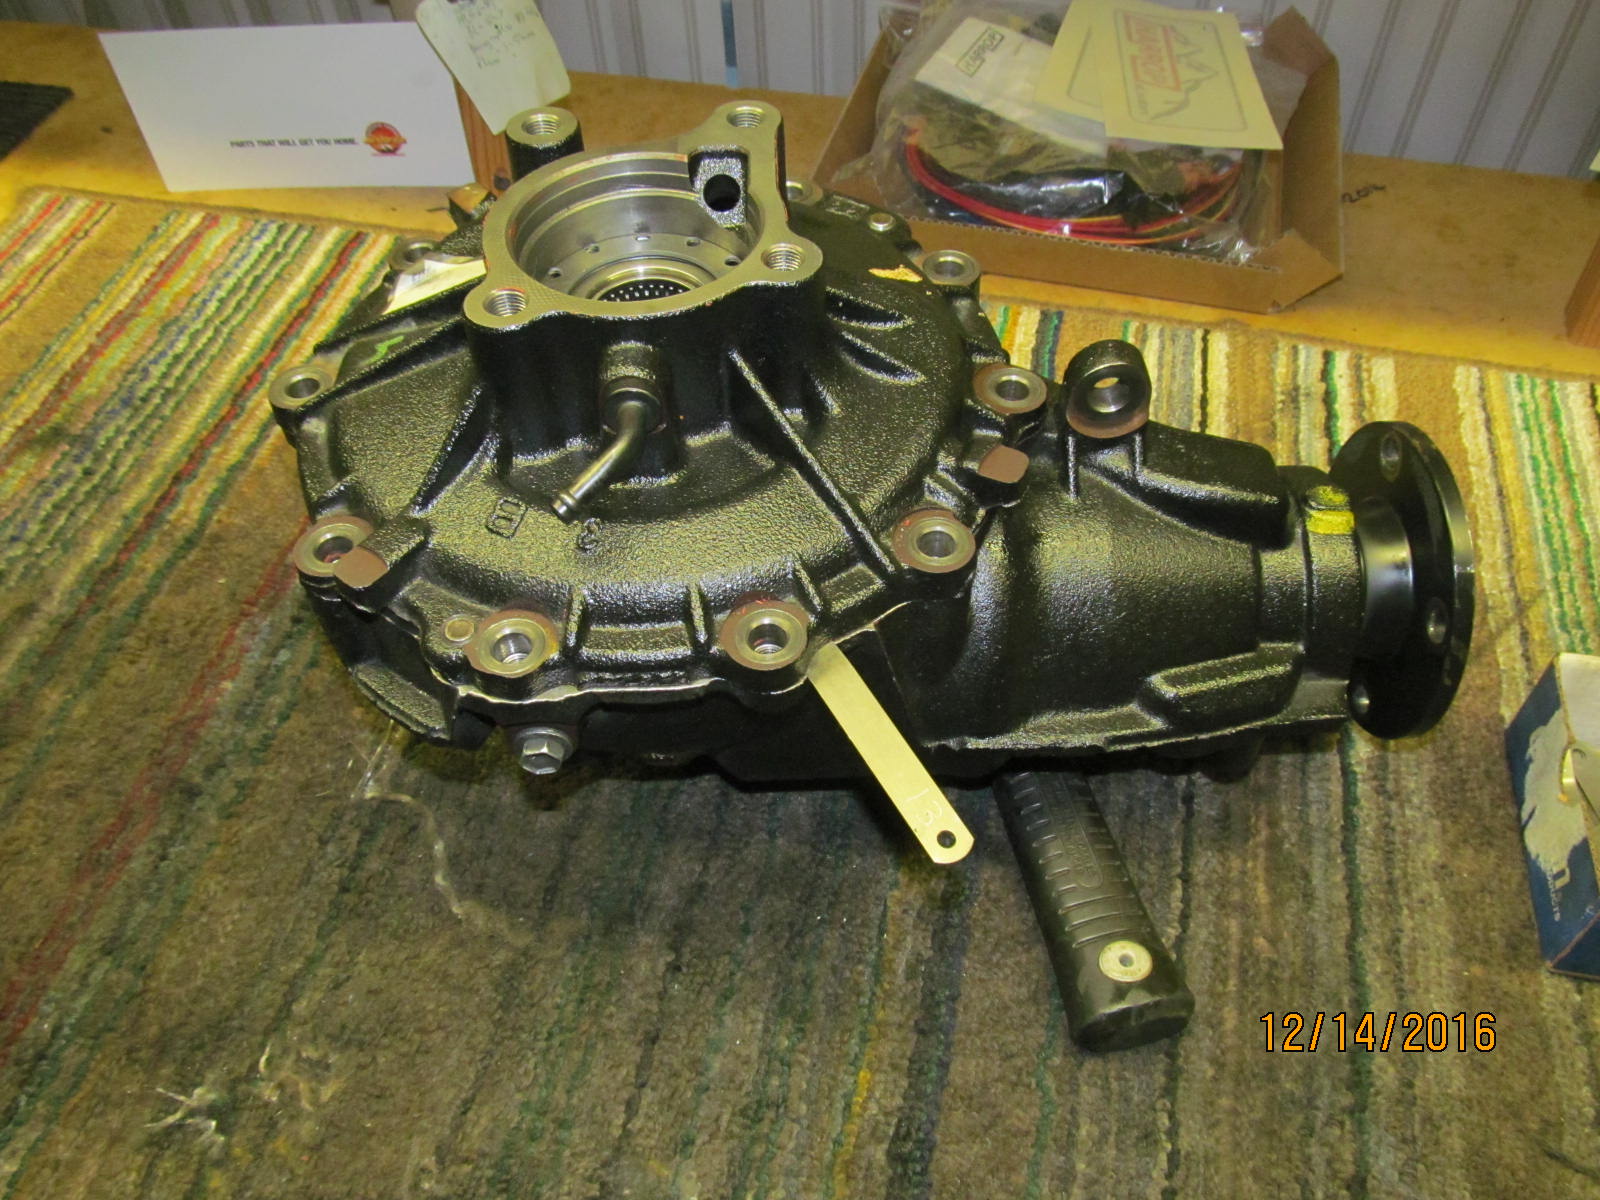
the grommet thru a .453" hole even gooped up with FIPG. This grommet is leak free.
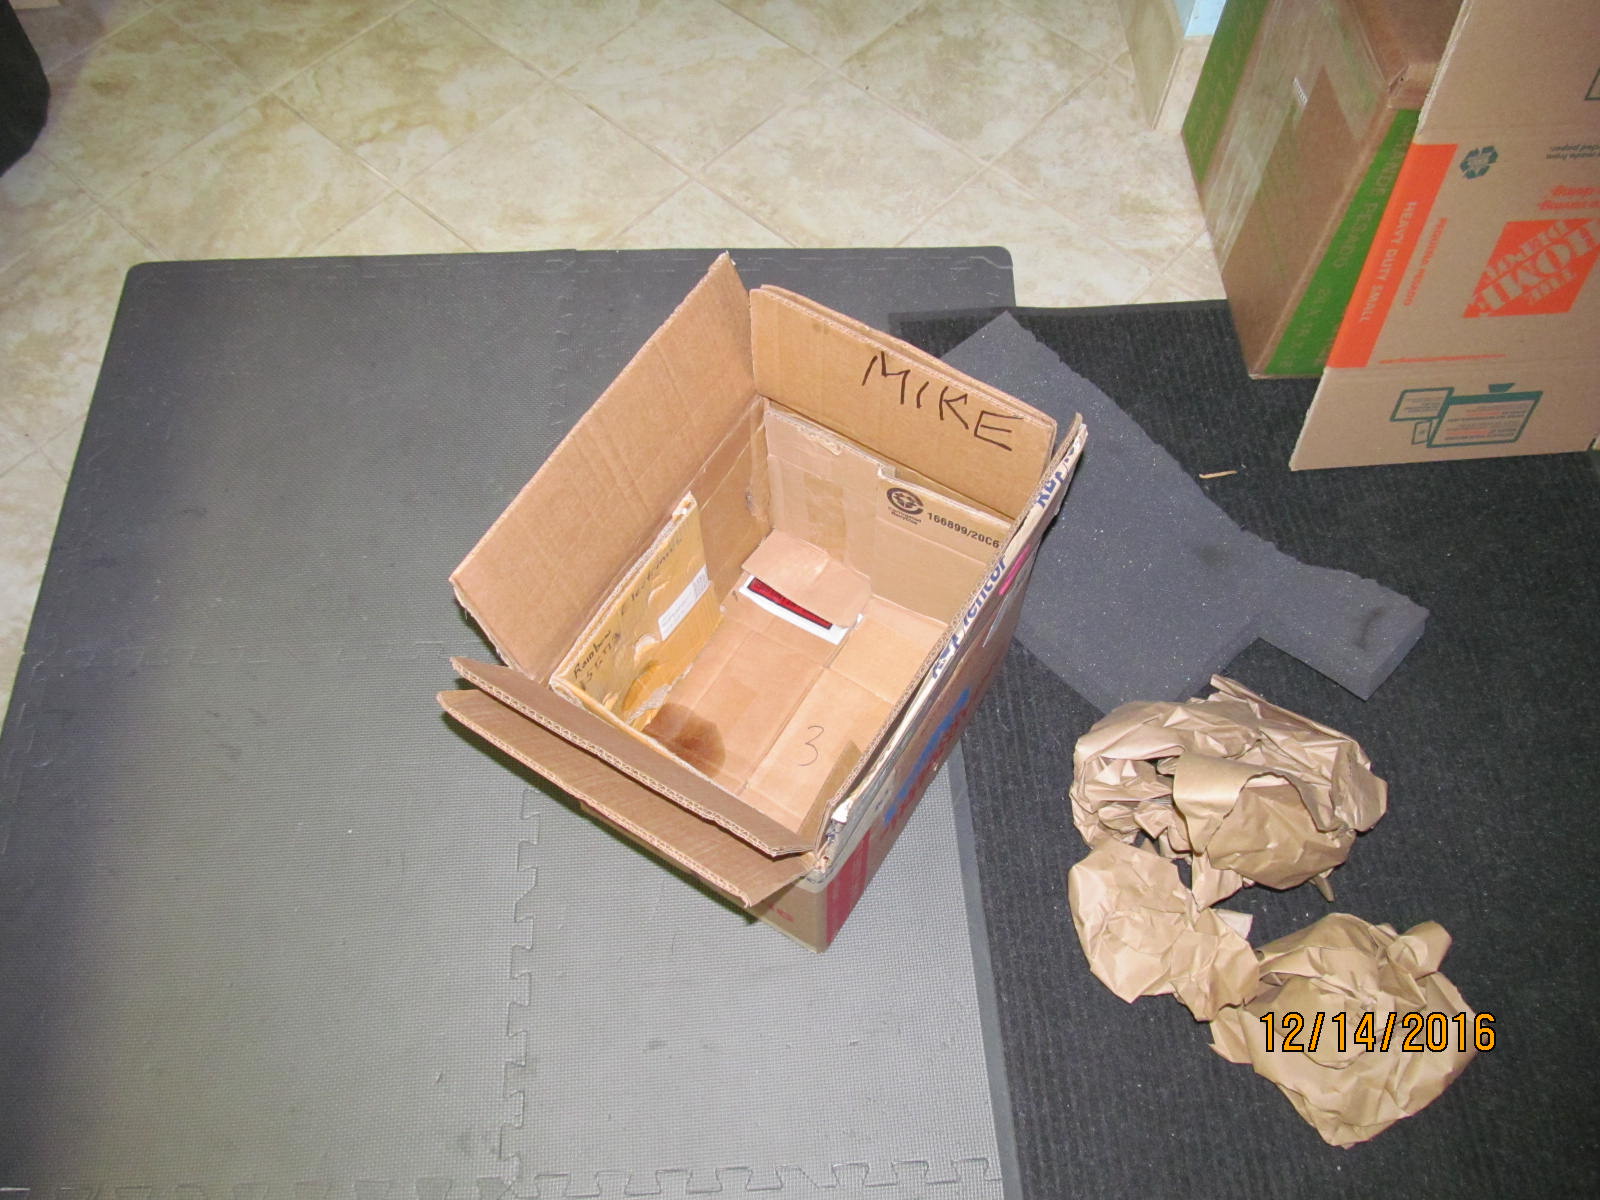
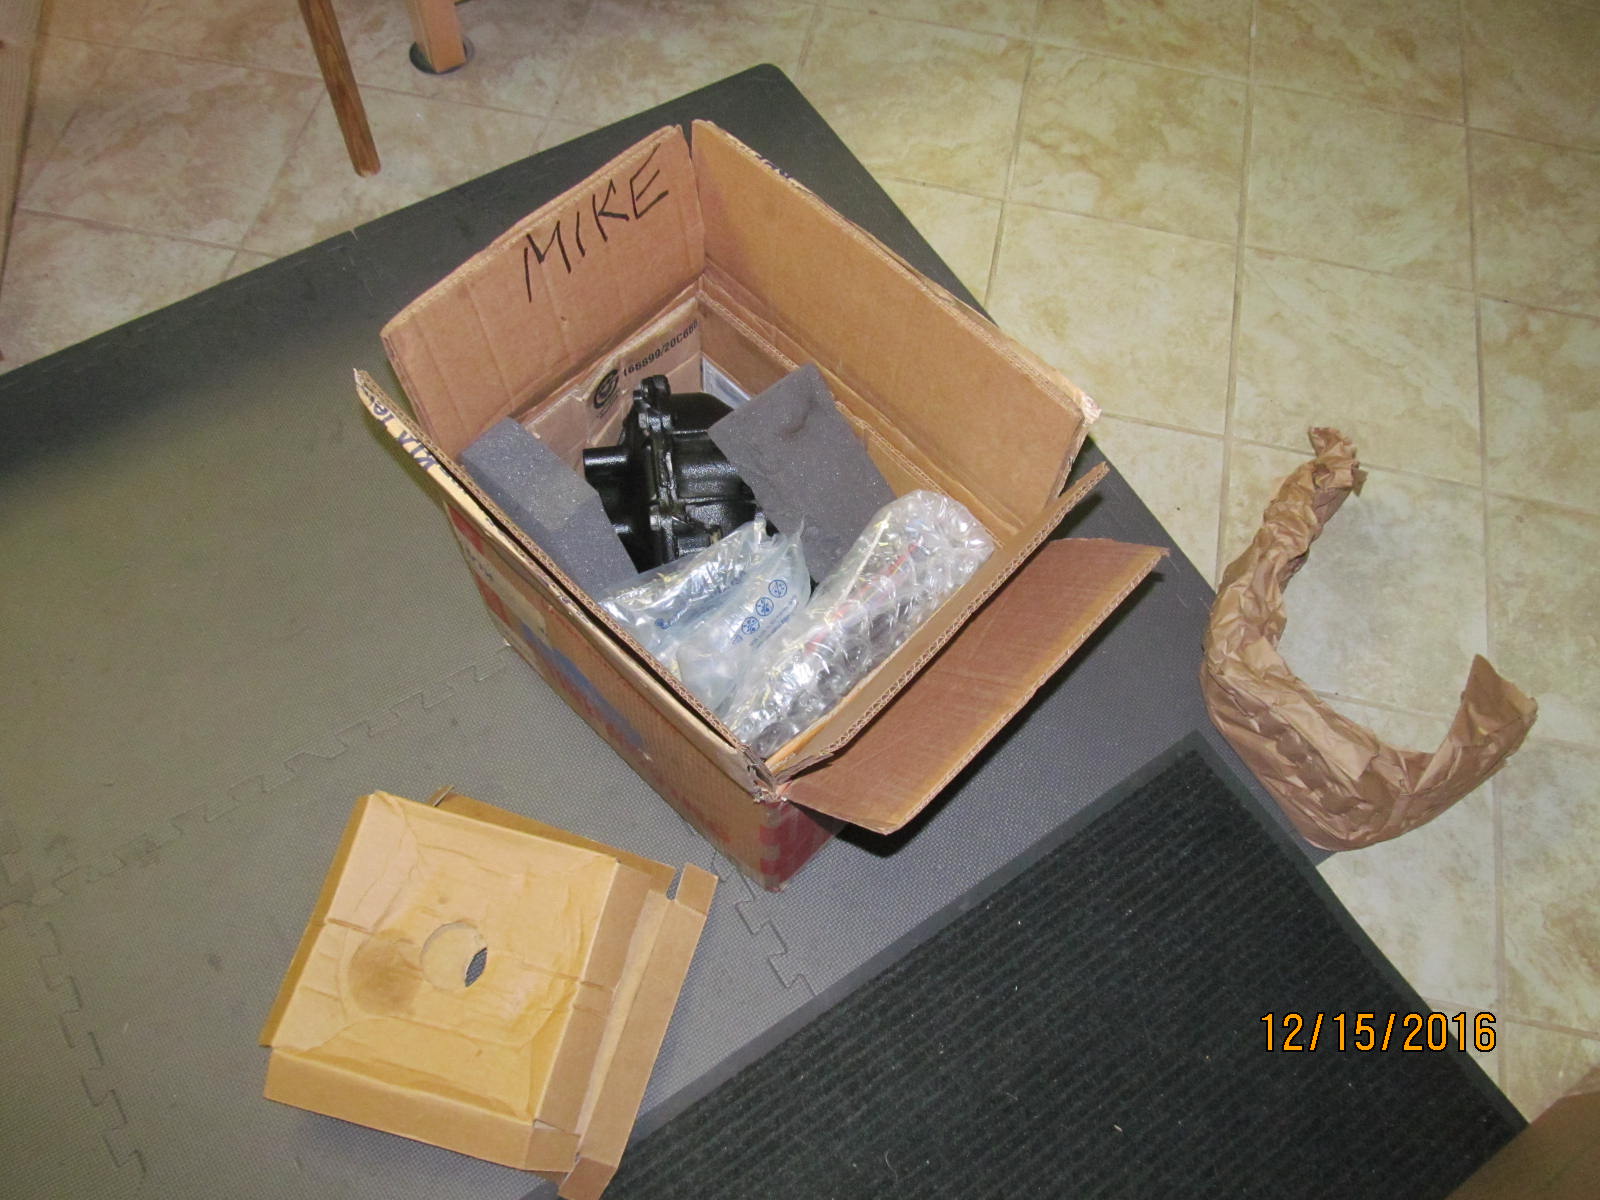
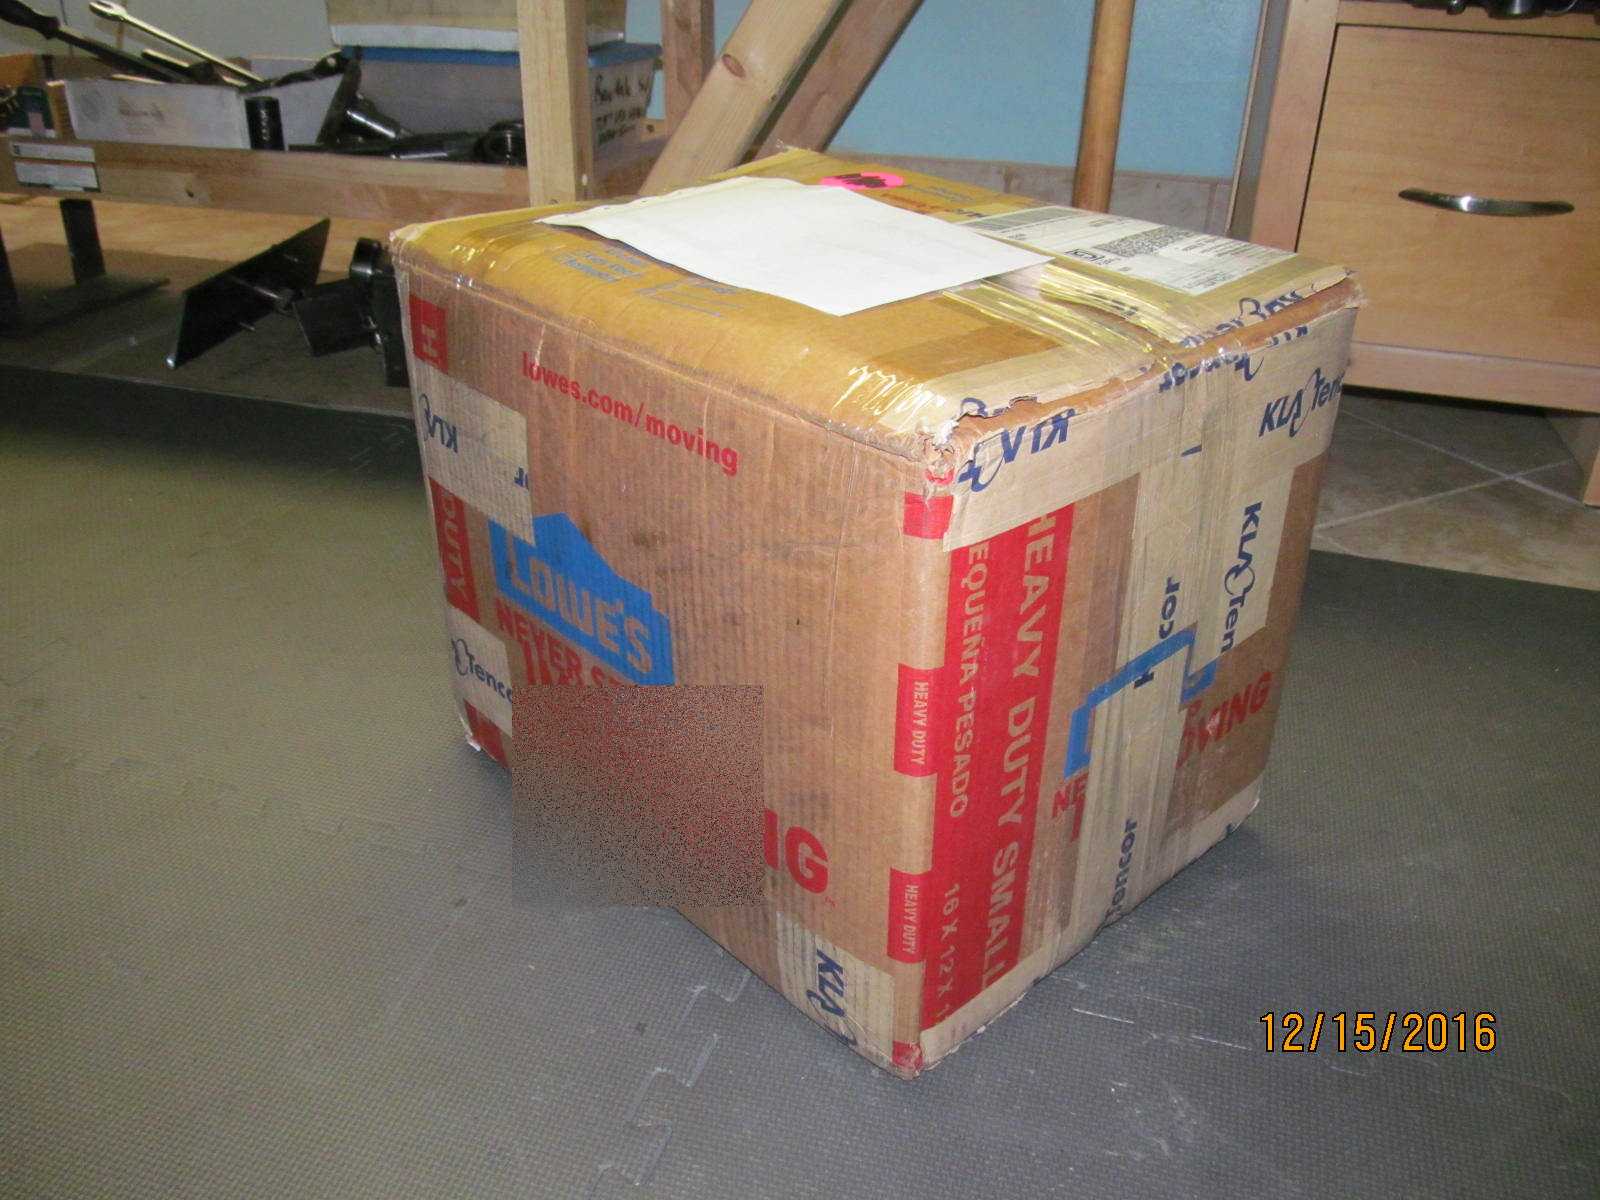
of good miles left in it. I get this feeling that I will see this box again when Paul gets ready
to send his diffs to me in a couple weeks.