|
|
|
|
|
|
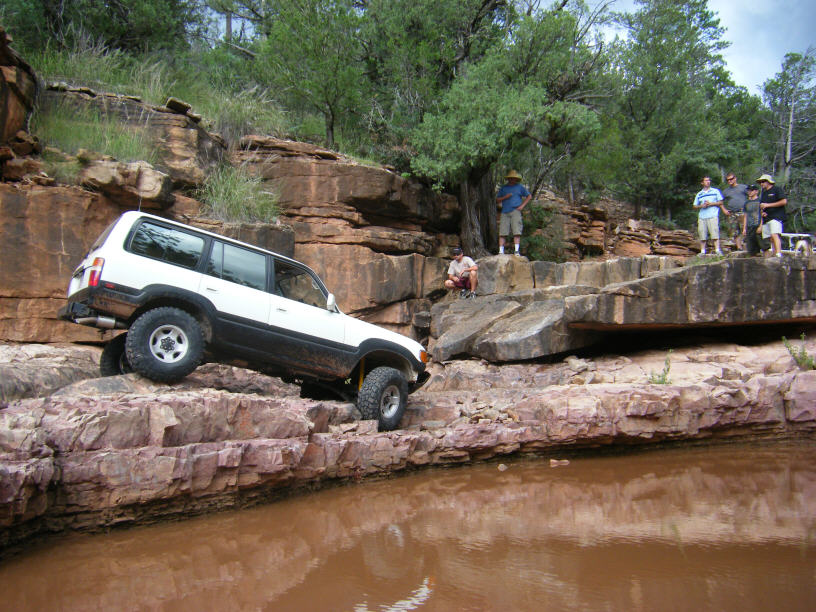
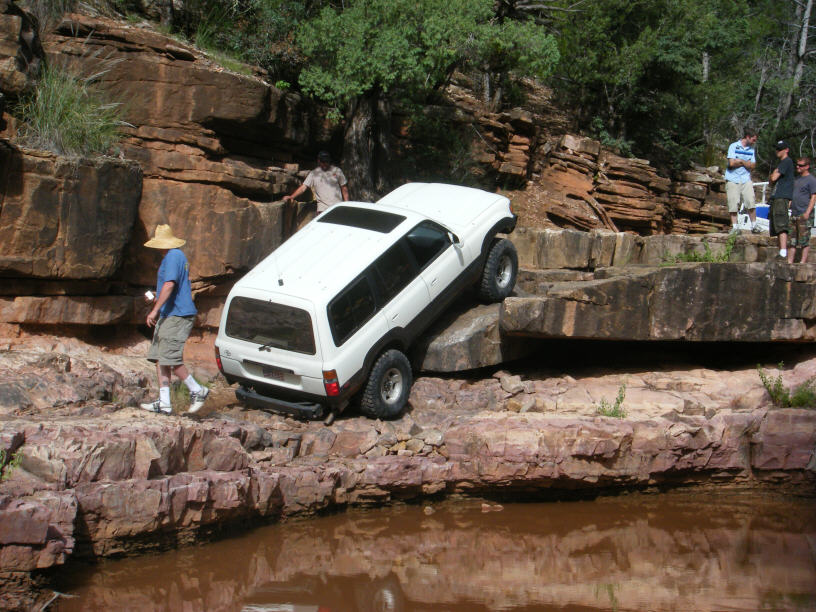
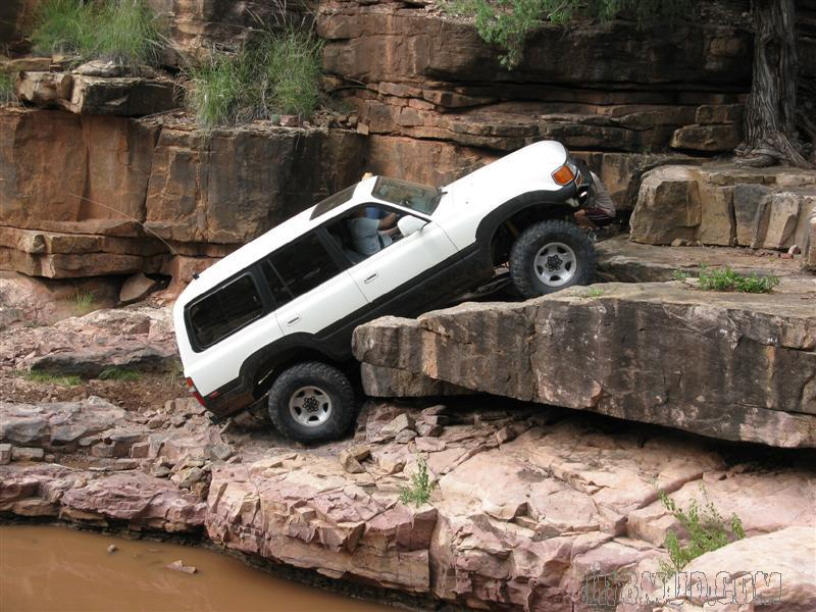
Kerry's 1994 FZJ80 on the waterfall at Pyeatt Draw (north of Payson, AZ). |
|
... |
|
Kerry did opt for the winch for about 4 feet here. These photos taken back when he had the factory 410 gears, fyi. |
|
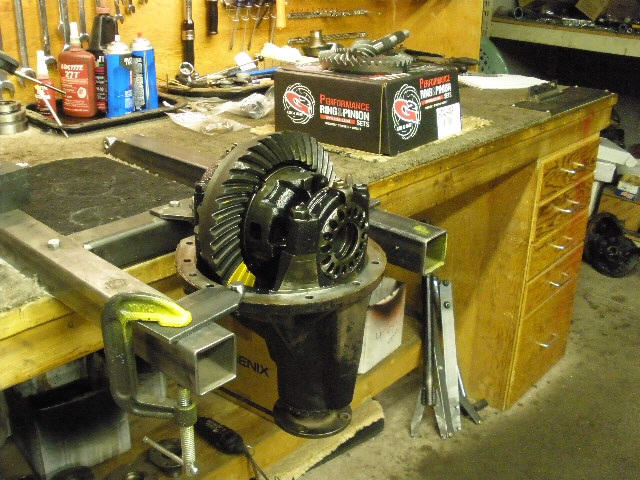
Kerry is local to me and recently had his gears changed out to 488 at a large Toyota dealership. The guy that did it was said to have had 20 years of 'experience'. Kerry supplied all the right stuff....Nitro brand gears(one of my favorites) and master kits with KOYO bearings....they did the labor. |
|
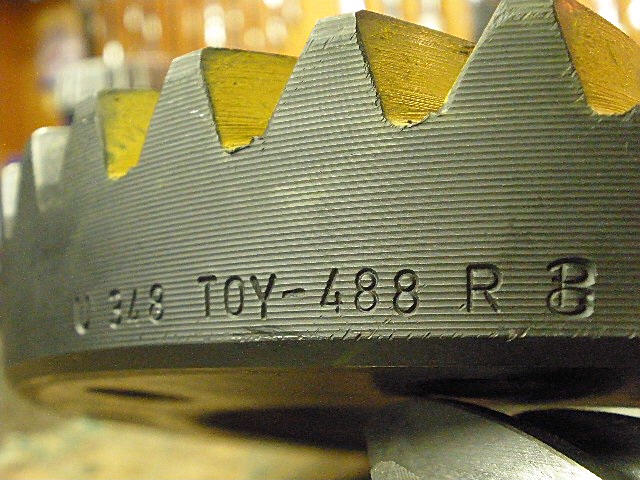
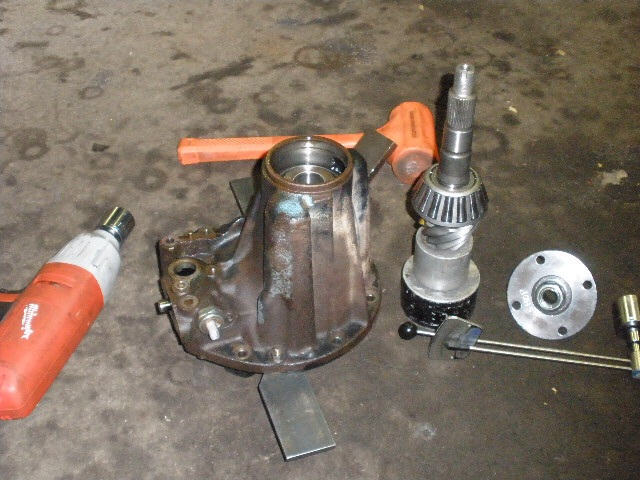
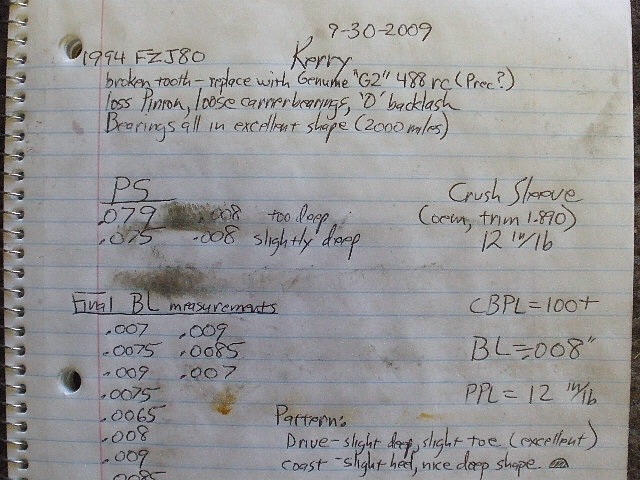
2000 miles later, a broken tooth is found in the drained oil from the front 8" E-Locked hi-pinion 3rd. FYI- At the end of this lengthy page is a link for Kerry's rear 3rd rebuild. |
|
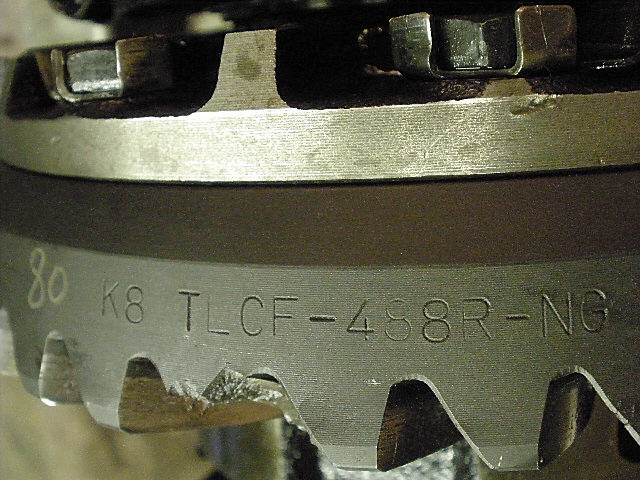
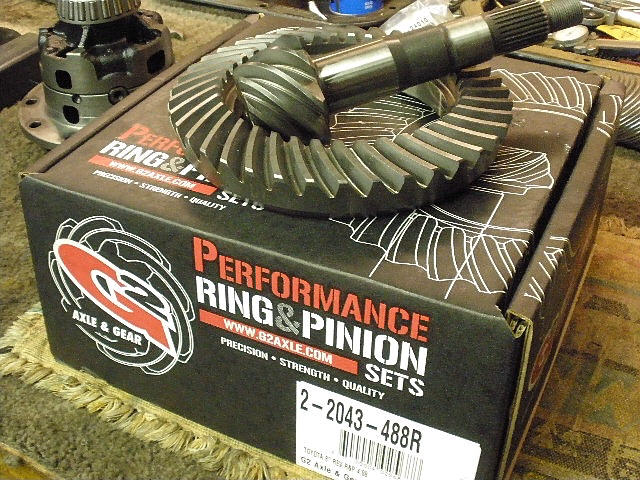
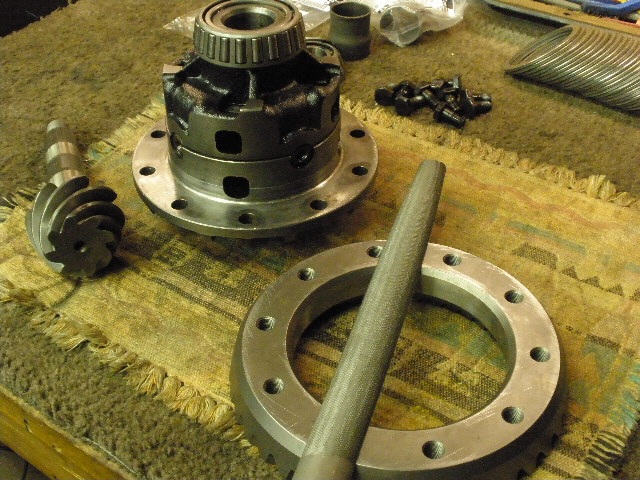
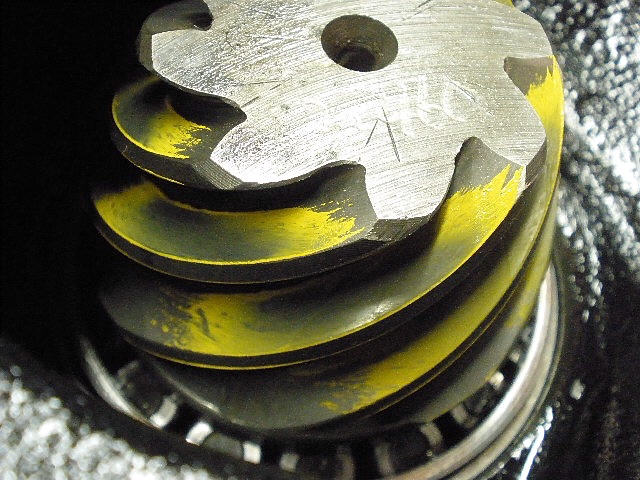
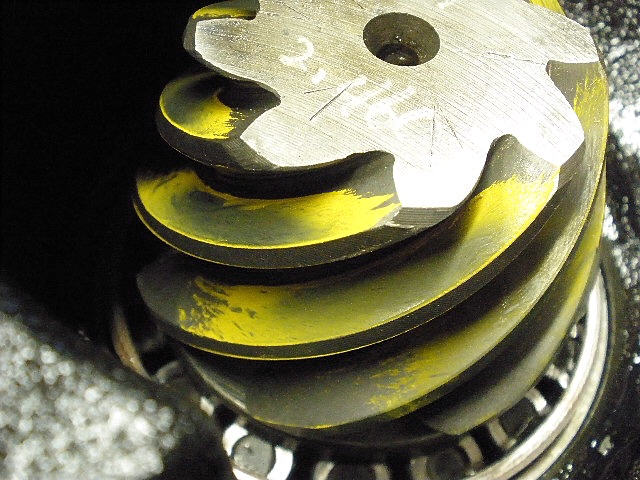
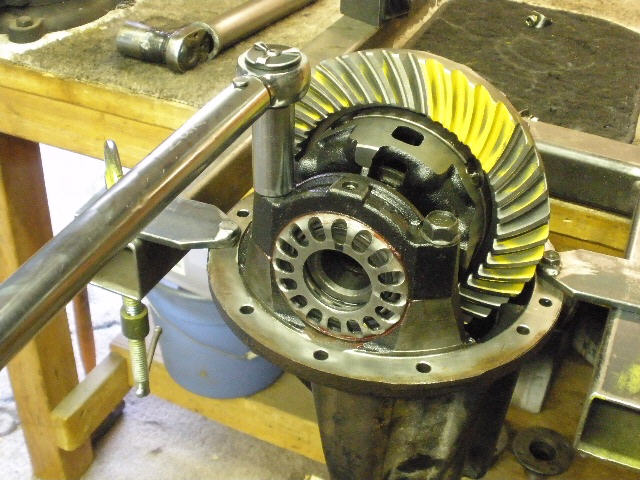
Reverse cut 488 Nitro Gears....a nice gear brand. They will last a long time when properly installed. |
|
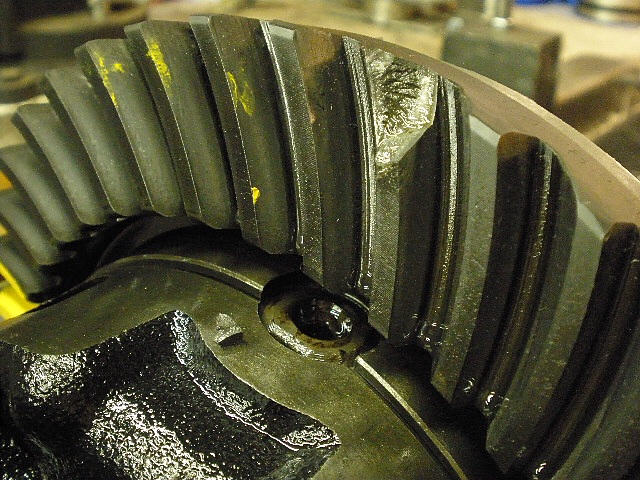
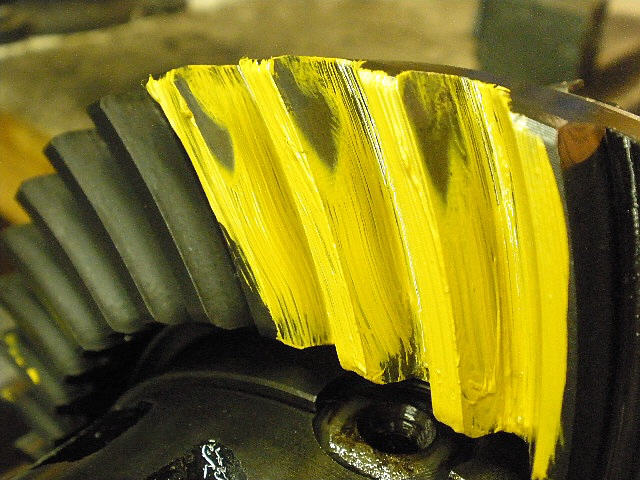
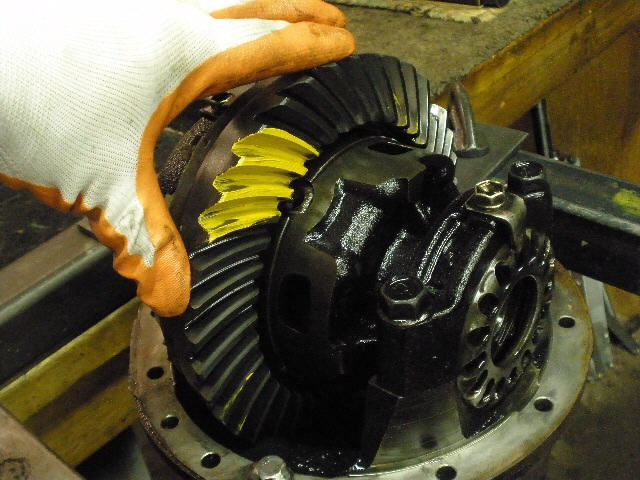
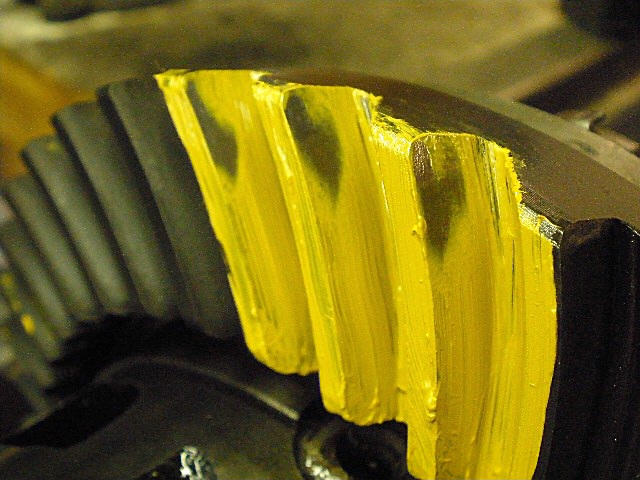
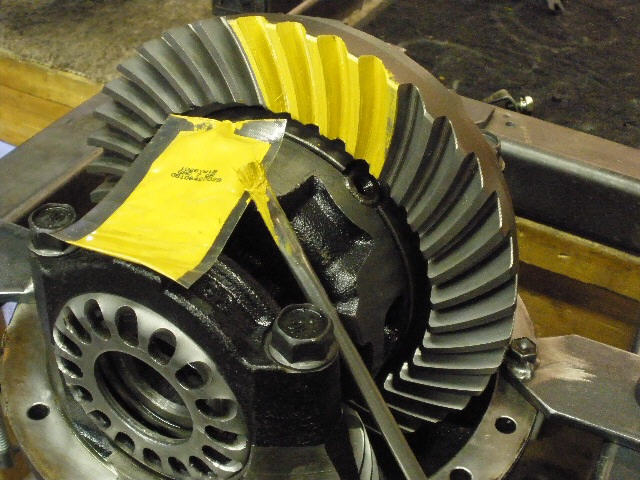
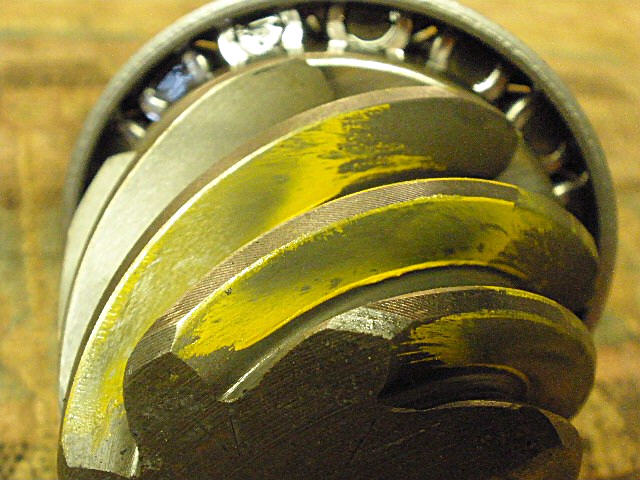
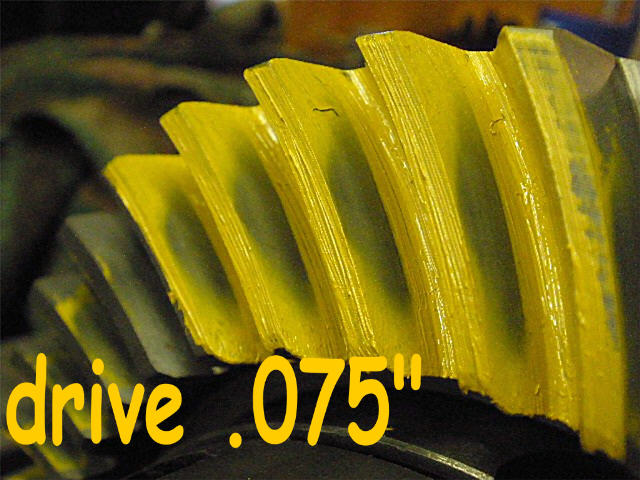
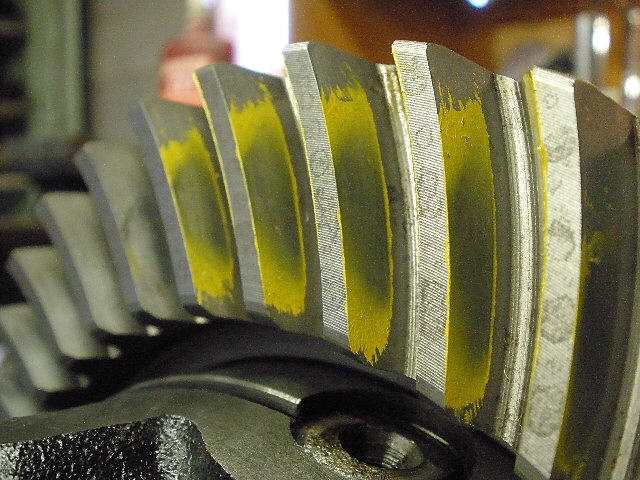
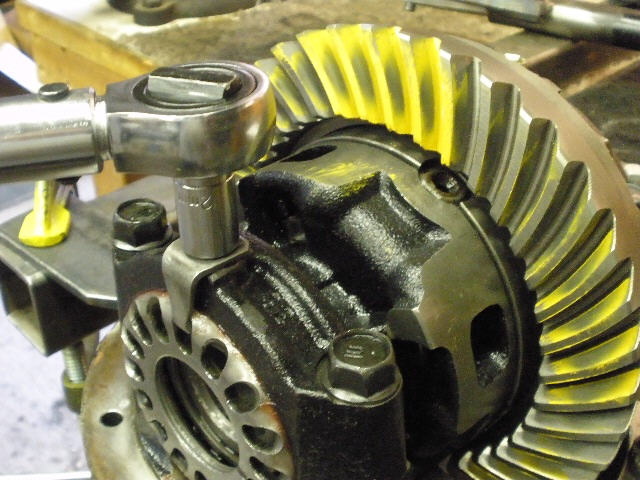
Kerry and I both noted that there was no pattern check paint of any sort on the ring gear so I applied some and noted that the pattern was terrible. The drive side shown here is on the edge of the heel and at the top...an indication that the pinion depth shim is far too thin. |
|
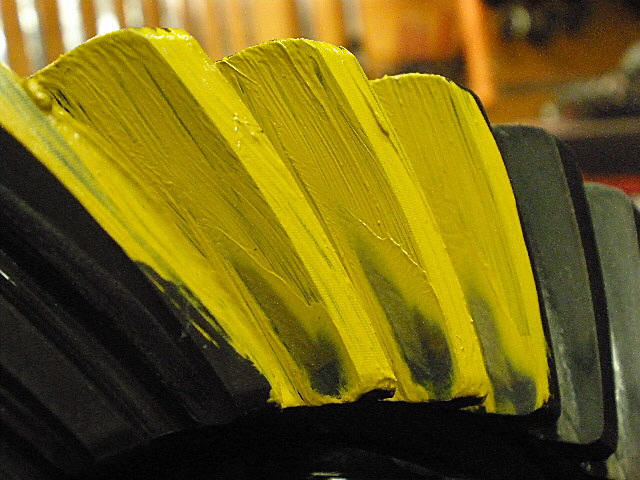
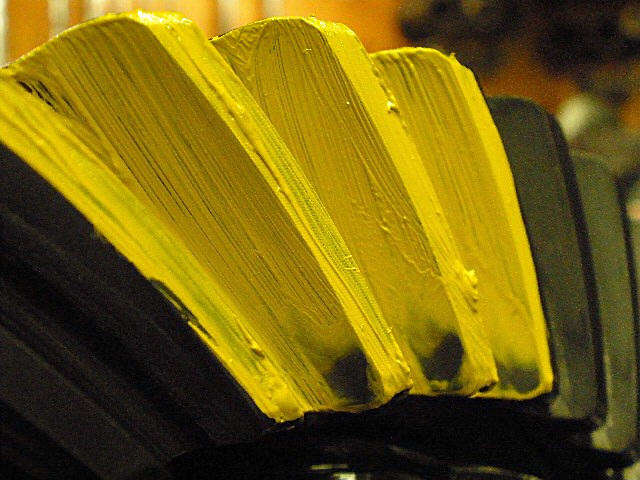
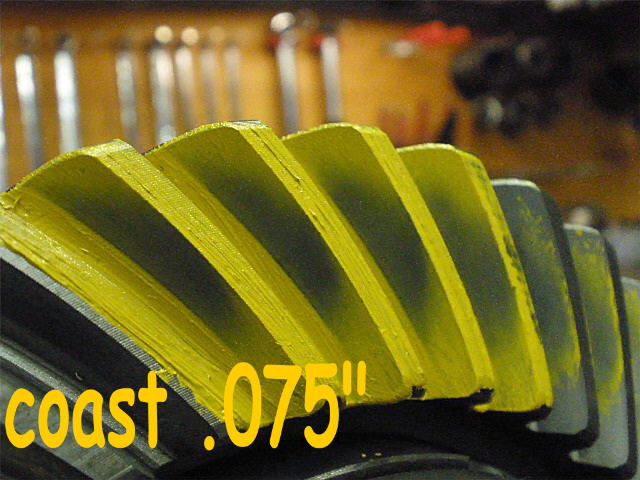
Coast side is equal and opposite....hard on the toe and deep in the root. |
|
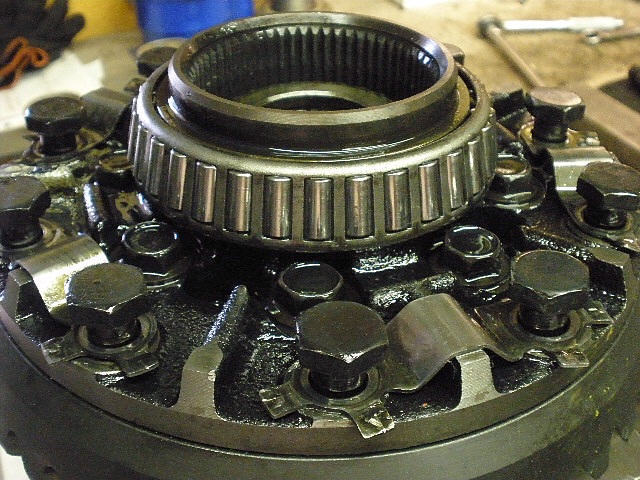
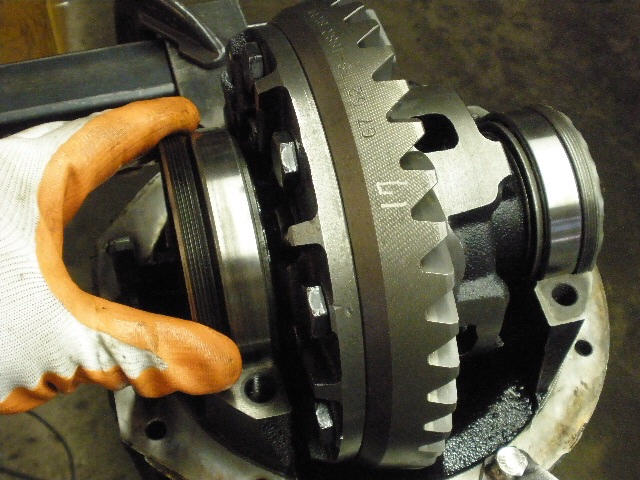
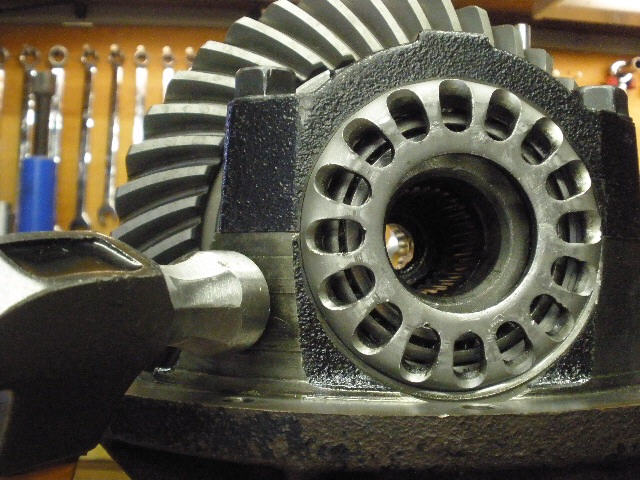
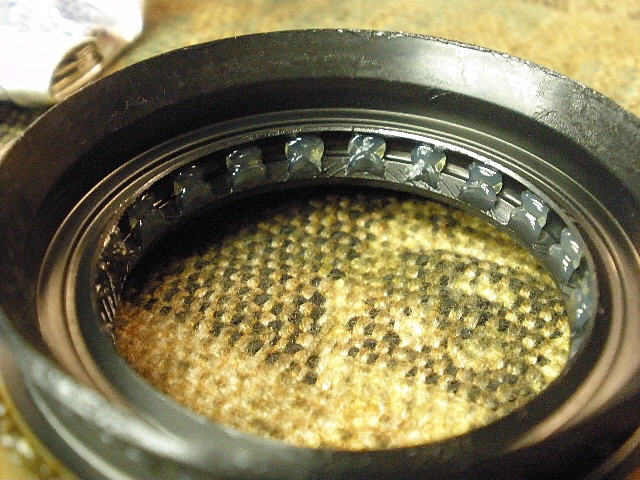
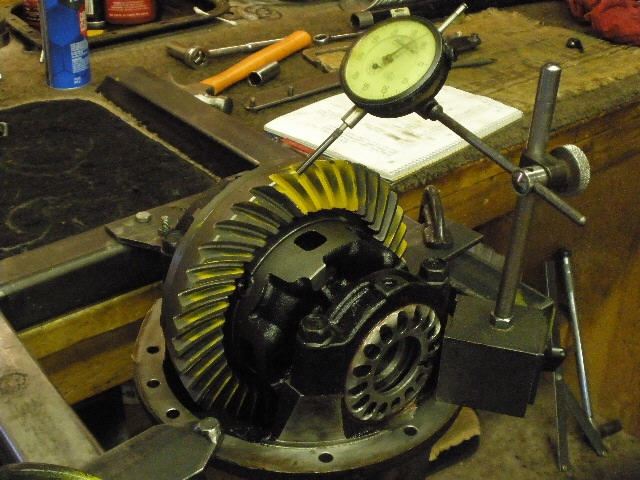
Absolutely no CBPL...no tension or pre-load on the carrier bearings. It almost felt 'sloppy' to me to the point where the inner case almost jiggled around on the 2 carrier bearings. |
|
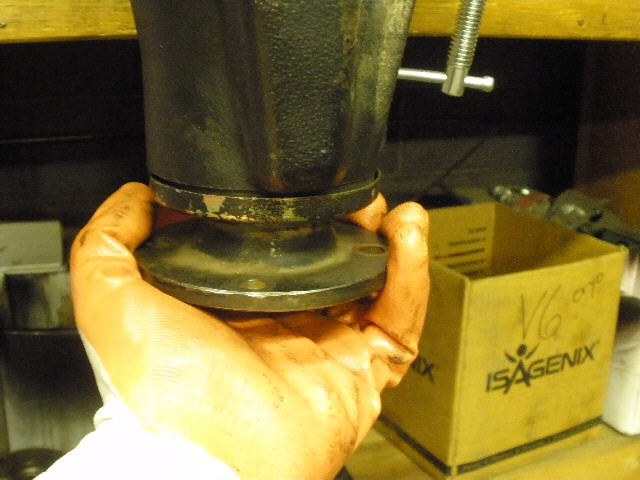
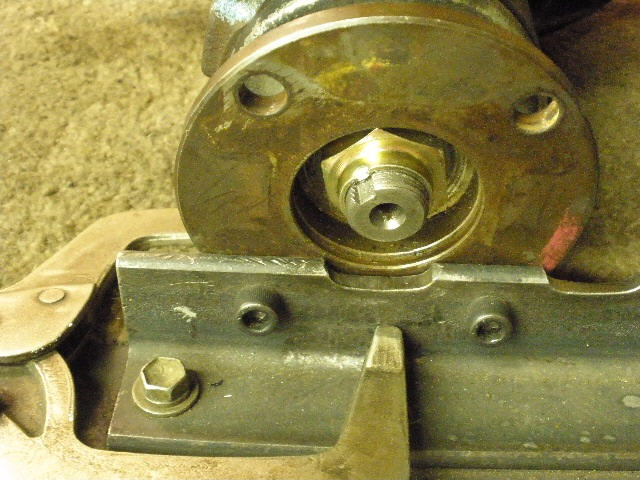
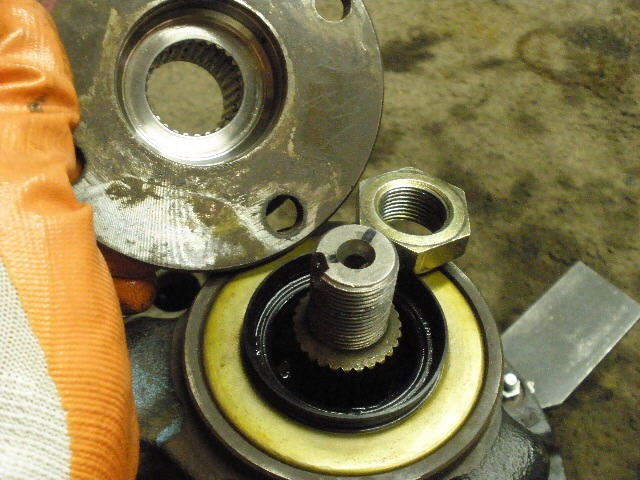
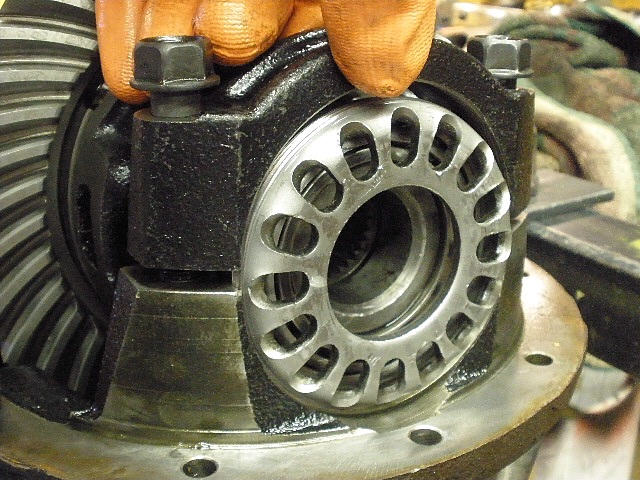
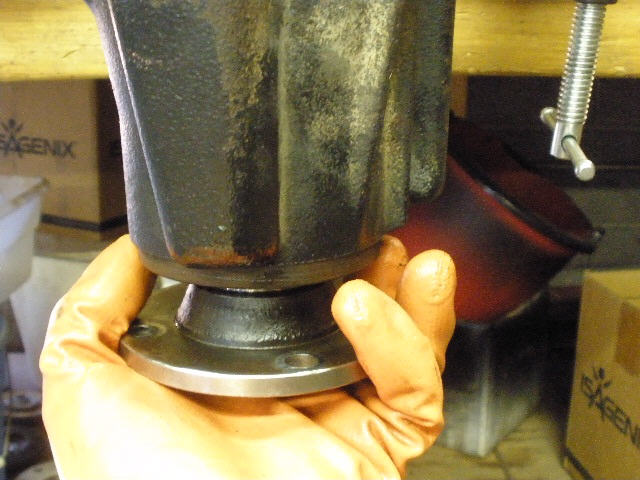
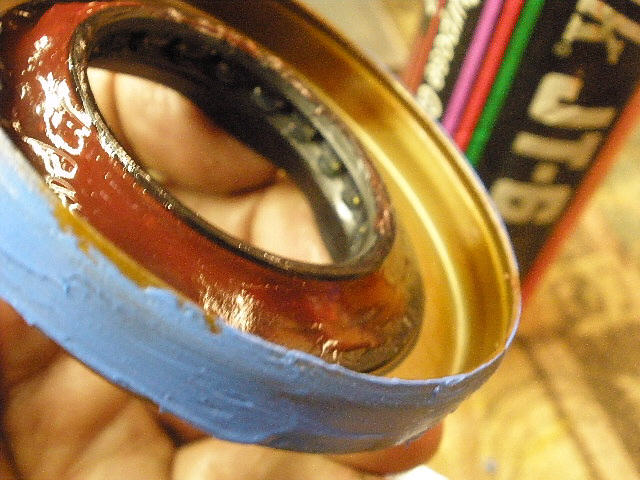
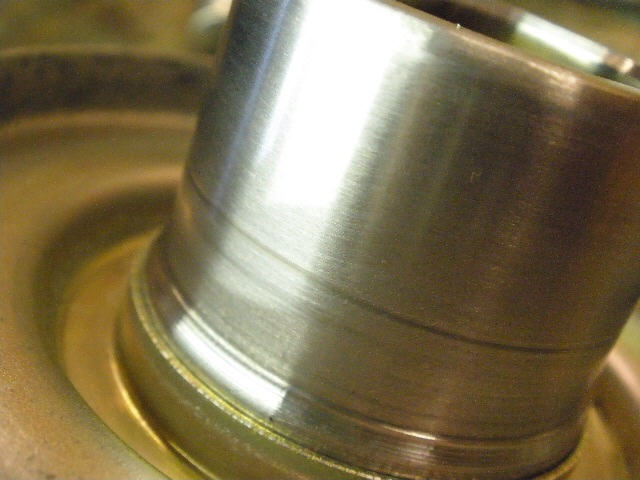
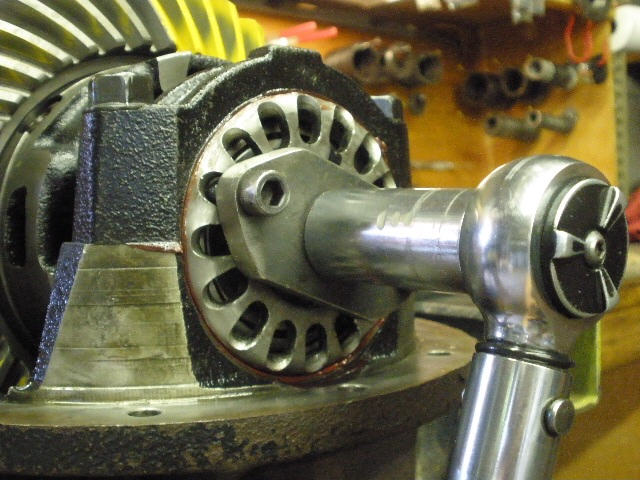
This side did actually jiggle...the pinion nut was not tightened enough and the result is the pinion flange actually moved up and down as visible by the eye. |
|
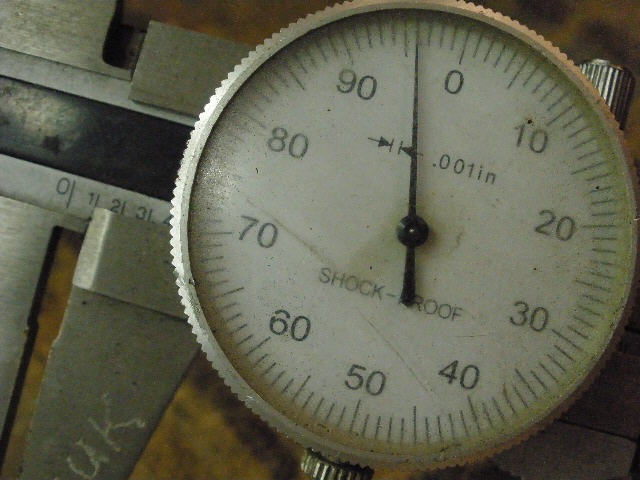
Backlash measured at ZERO....it should be in the .006~.008" range. Normally, zero backlash results in a rough turning pinion but, with the pinion and the case both slopping around, the ring gear could then appear to be turning smoothly. |
|
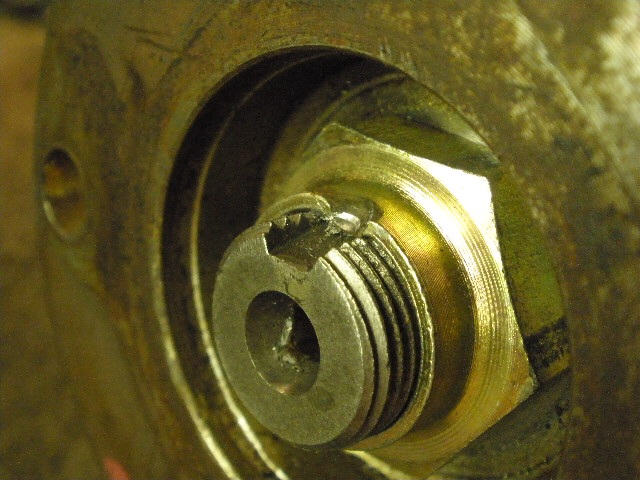
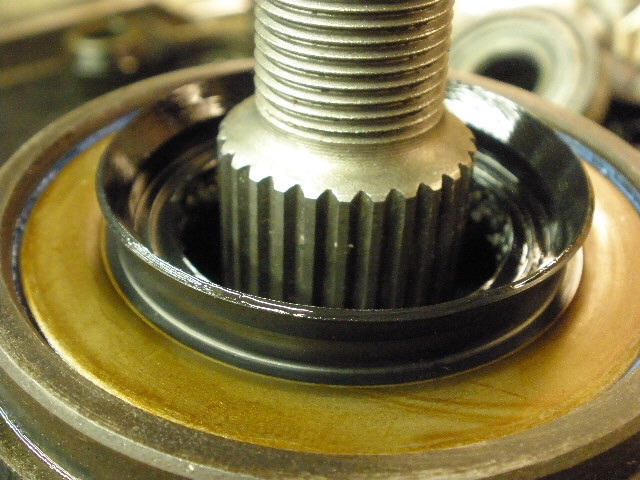
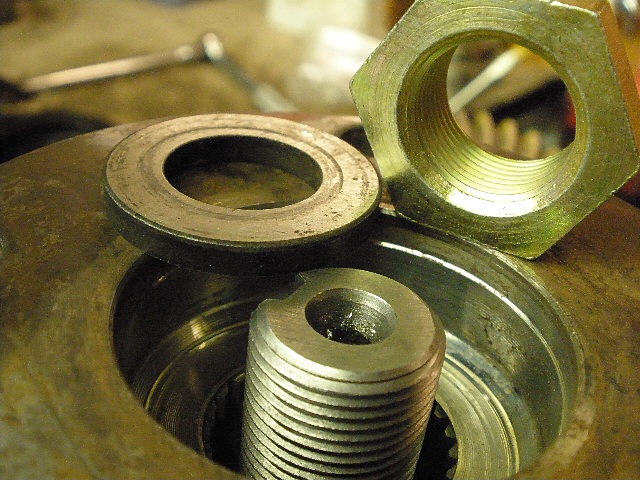
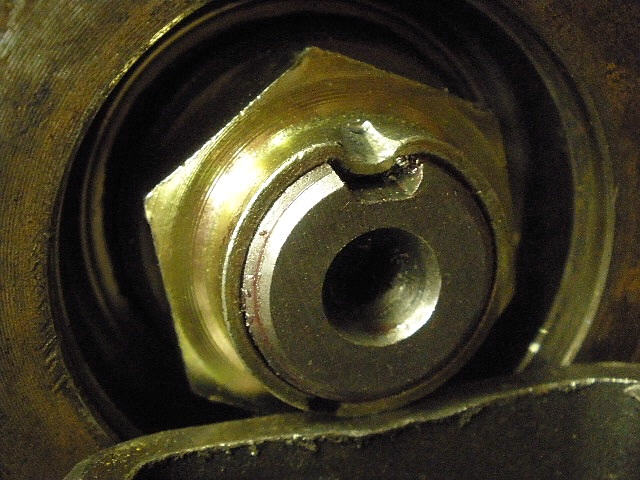
At least the nut was staked. The reason there appears to be so much thread showing is that the OEM super-thick washer is missing. |
|
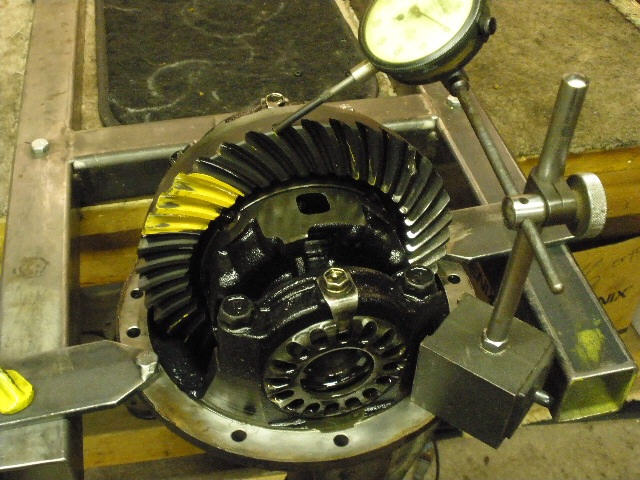
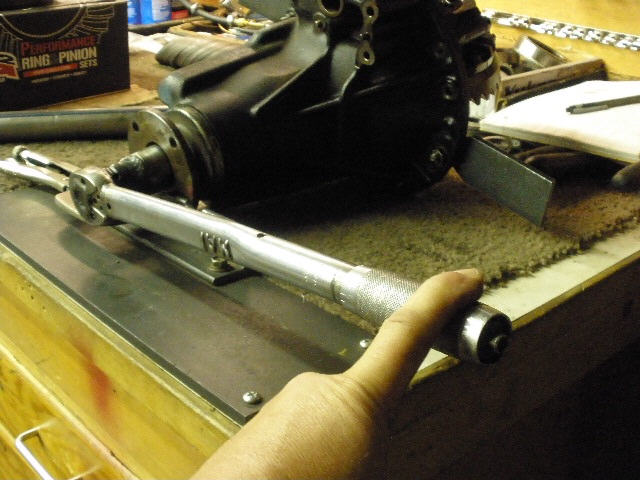
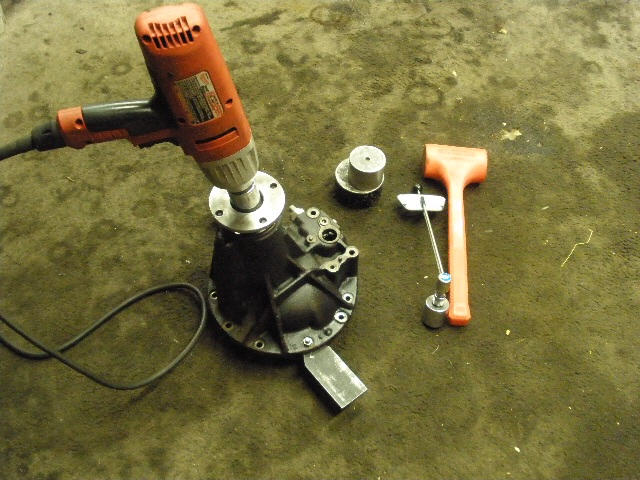
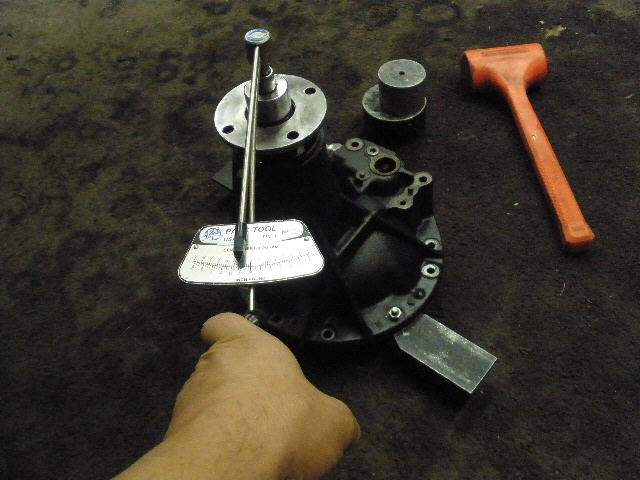
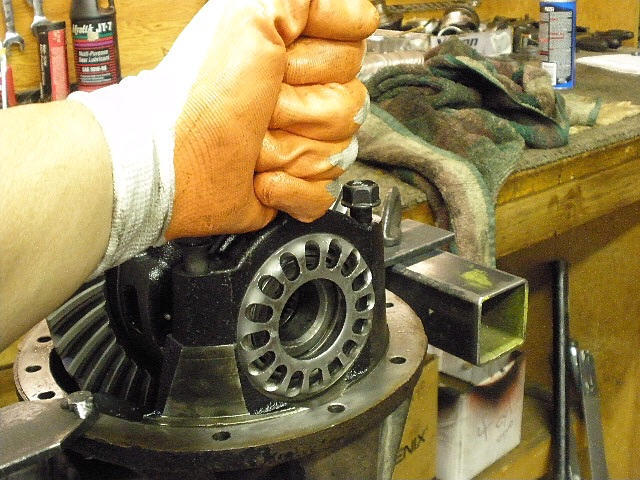
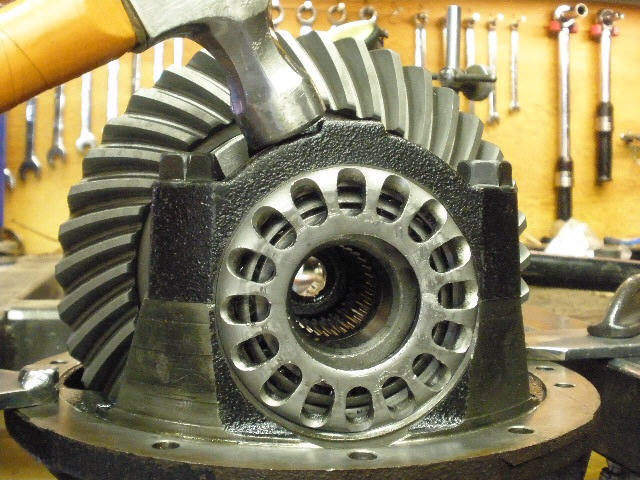
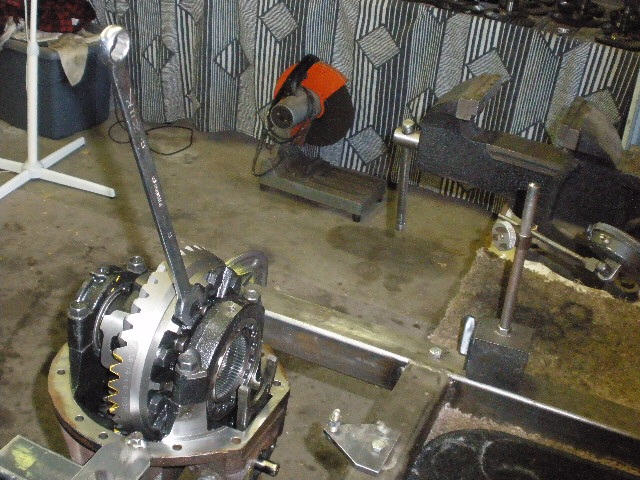
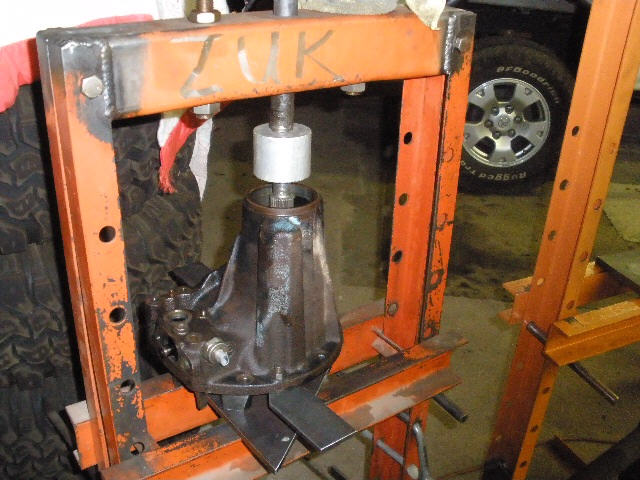
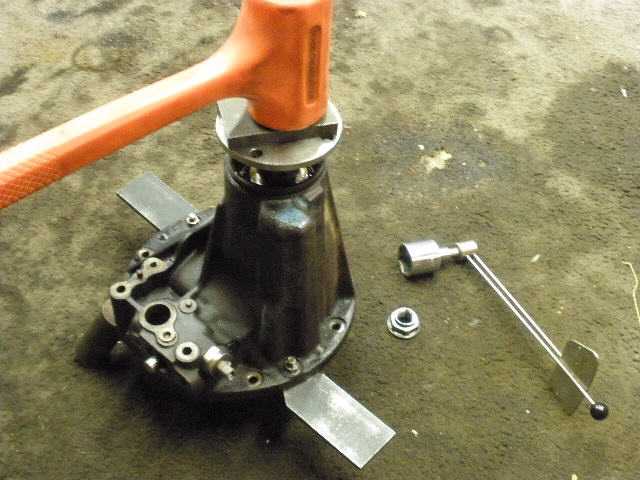
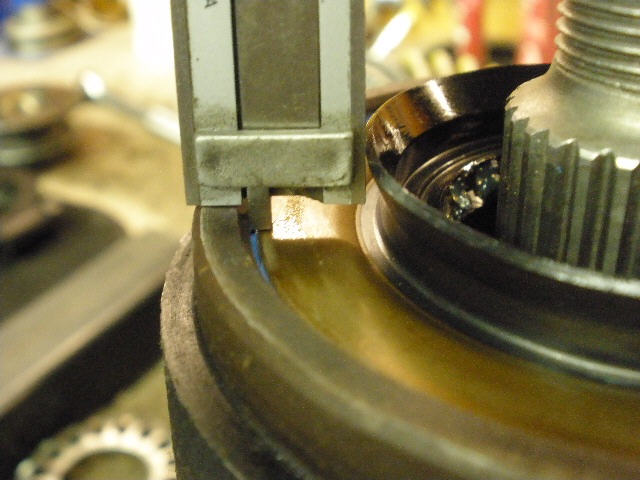
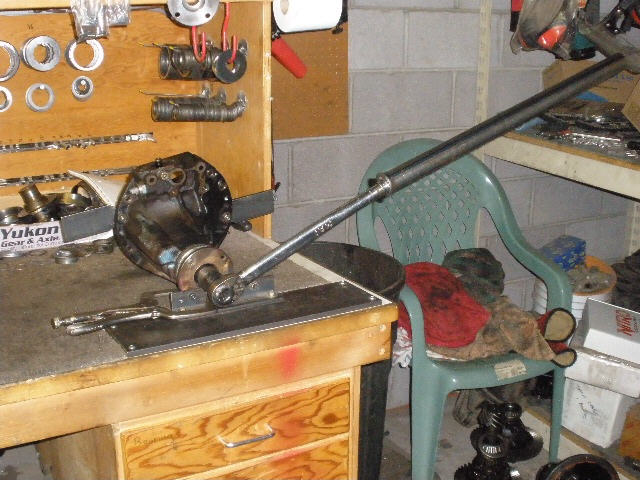
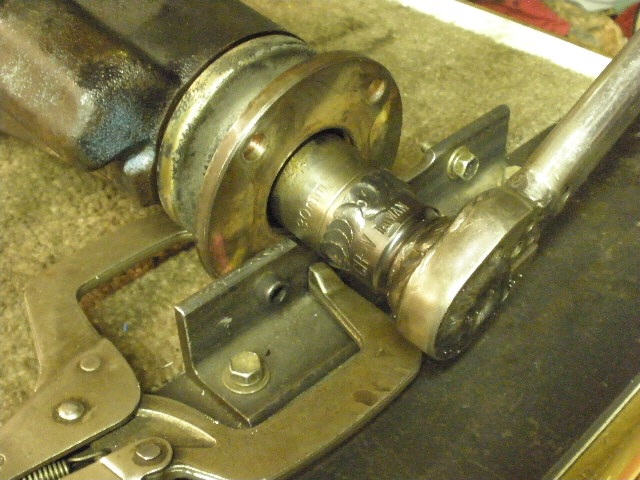
Before the 3rd is torn down, I will tighten the pinion and the carrier bearings closer to spec and run another paint check. First, I secure the flange. |
|
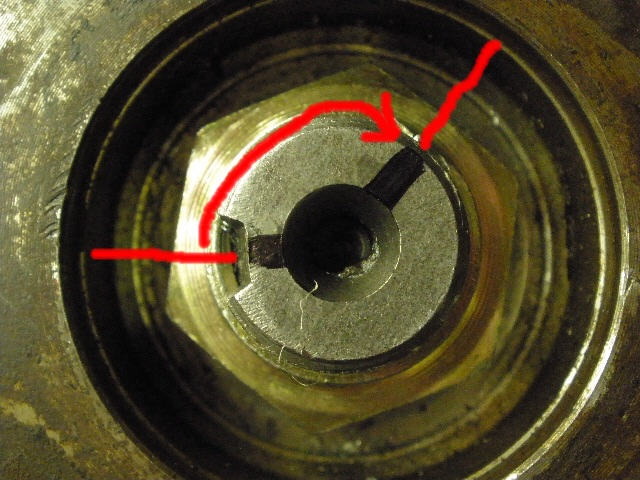
It only took 1 finger to get the nut to tighten 1/4 turn. I tighten the nut a little then check it by spinning the flange by hand checking for minimal pre-load. After about 6 times I get some pre-load and this portion is done. |
|
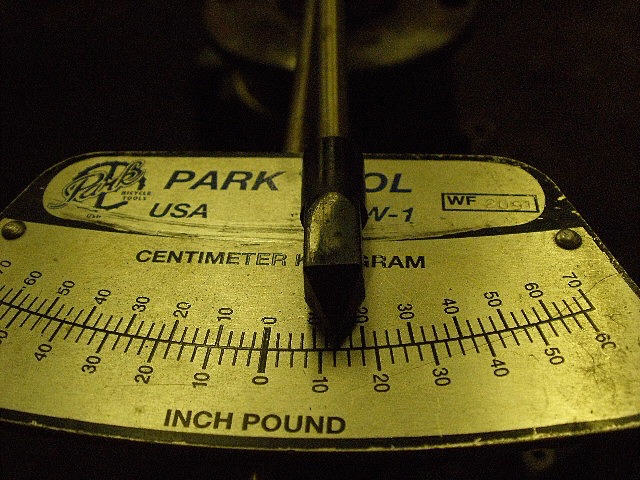
After about 120 degrees of nut rotation, the pinion pre-load was around a minimal 2 or 3 inch/pounds. |
|
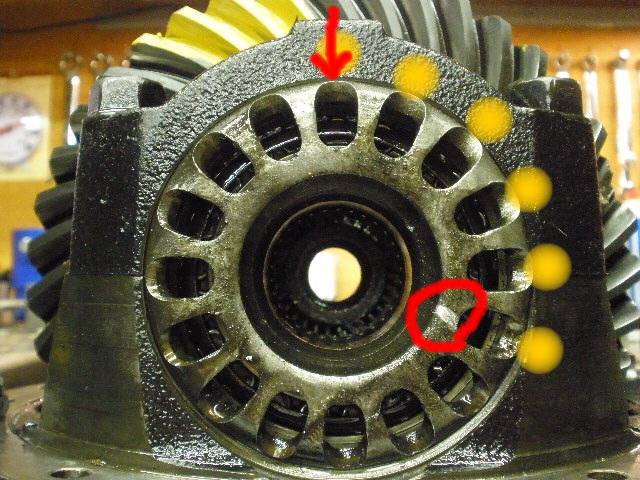
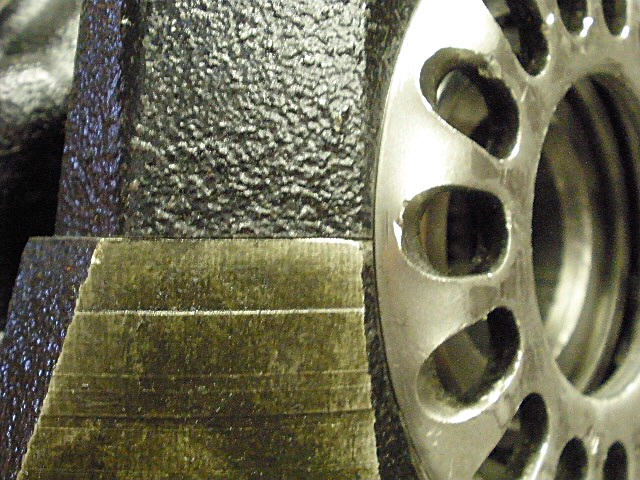
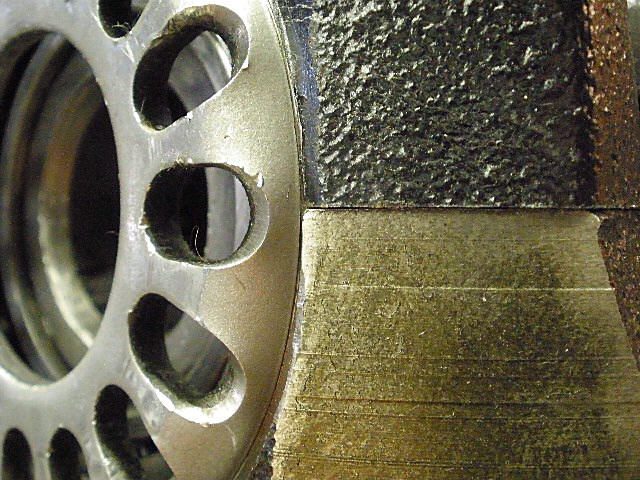
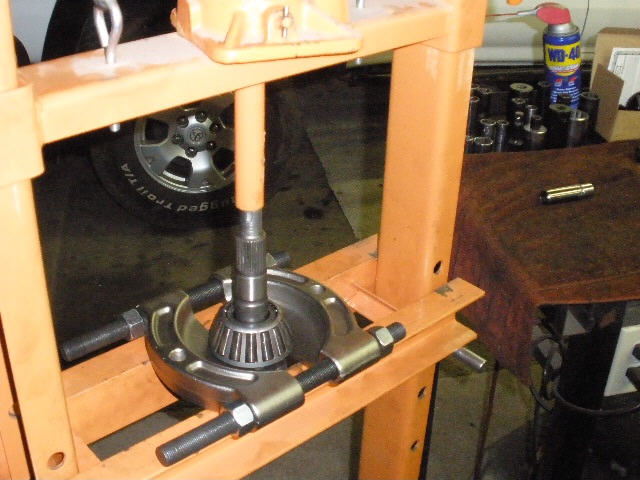
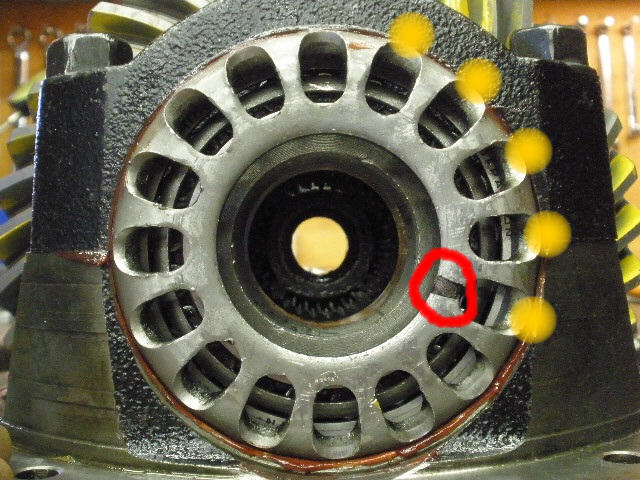
Now I turn my attention to the loose carrier bearings. I measured no BL so I will tighten this adjuster only. I will tighten it until I measure about .008" backlash. I made a mark with the dremel tool at the 12 o'clock straight-up position then started tightening it. It took 5 notches to get to that BL. The CBPL (carrier bearing pre-load) was rather minimal but, at least, it was not loose so now we can run a paint check. |
|
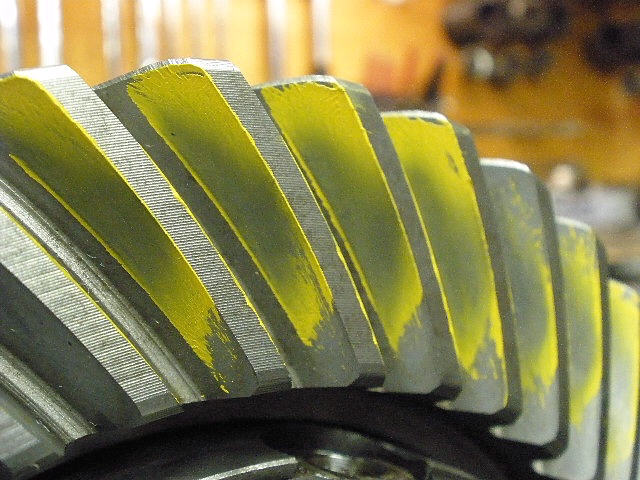
About the same as before....drive side. |
|
coast...same. |

|
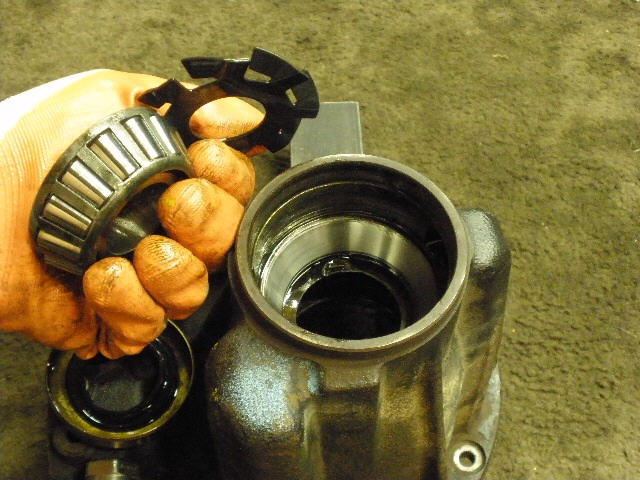
The case was then removed and the carrier races looked ok for 2000 miles...running a bit loose at that. |
|
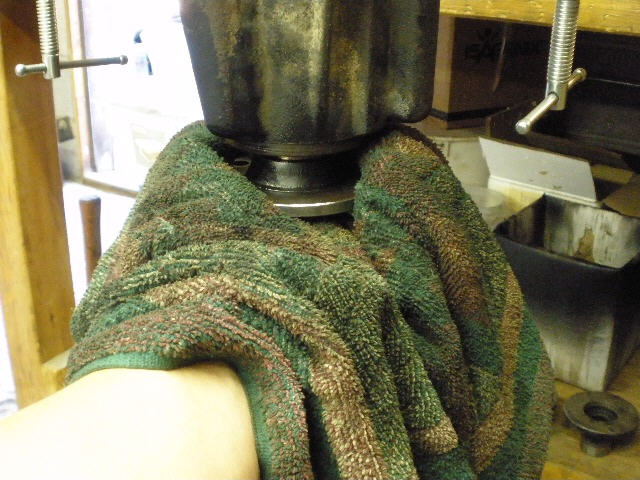
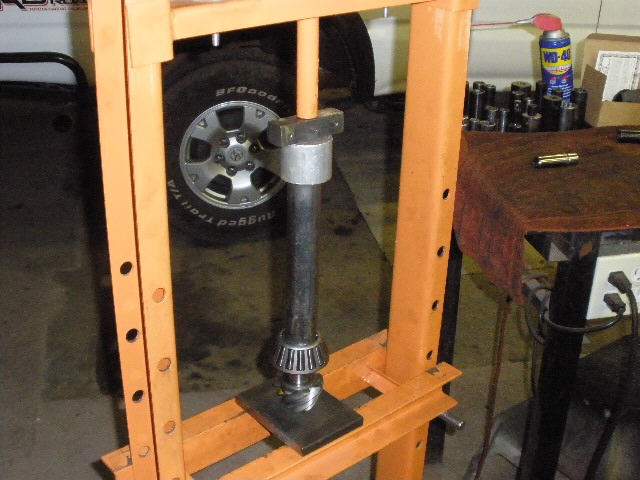
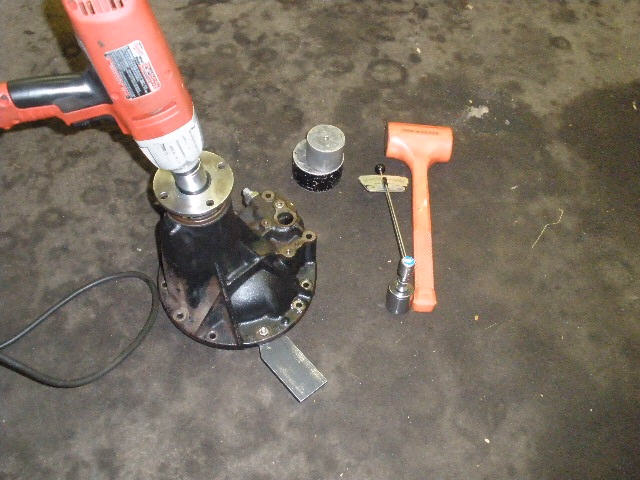
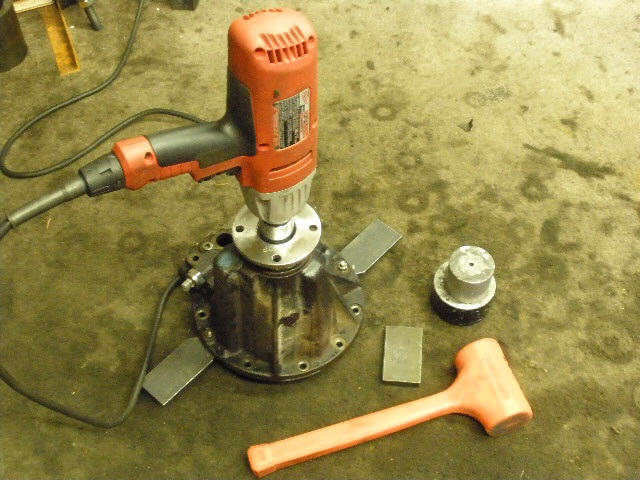
Flange is removed... |
|
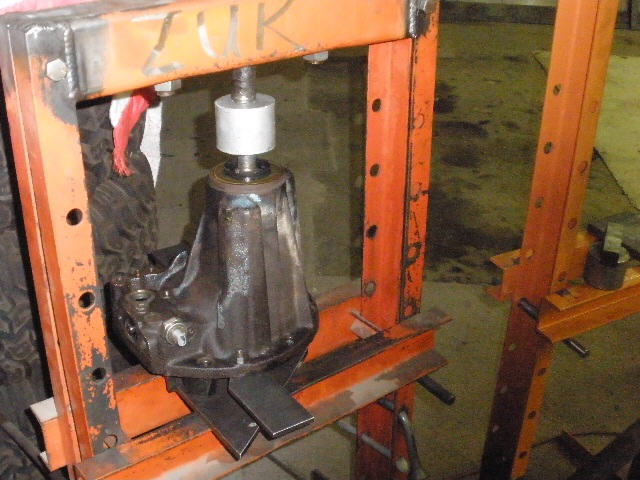
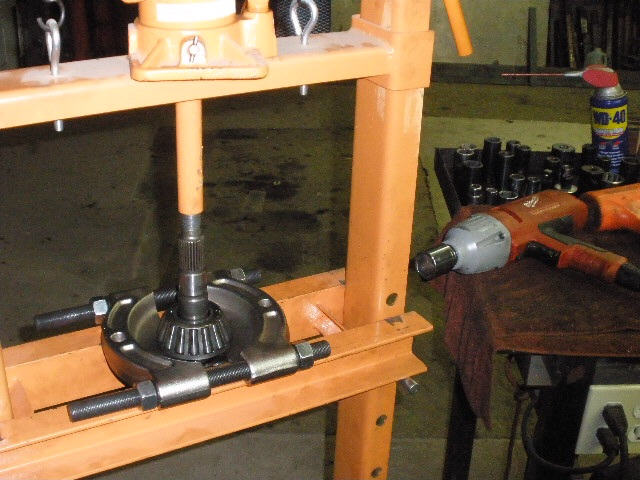
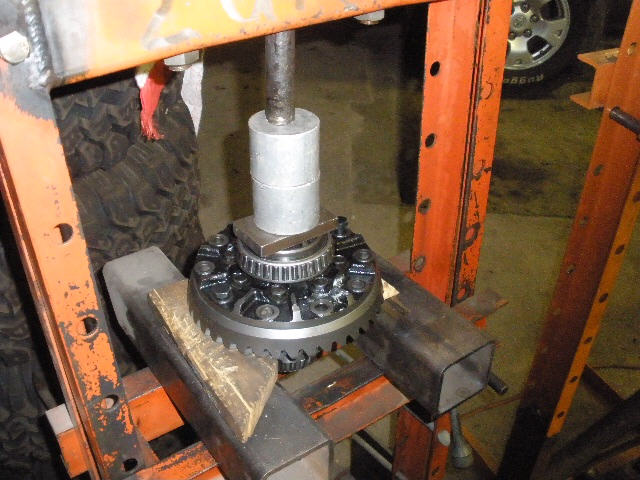
...pinion is pressed out. |
|
Outer pinion bearing looks ok here. |
|
Inner pinion bearing is pressed off. |

|
The shim measured at .075"...based on how shallow the pattern appeared to be maybe a .085" shim (or larger) would be in order. |
|
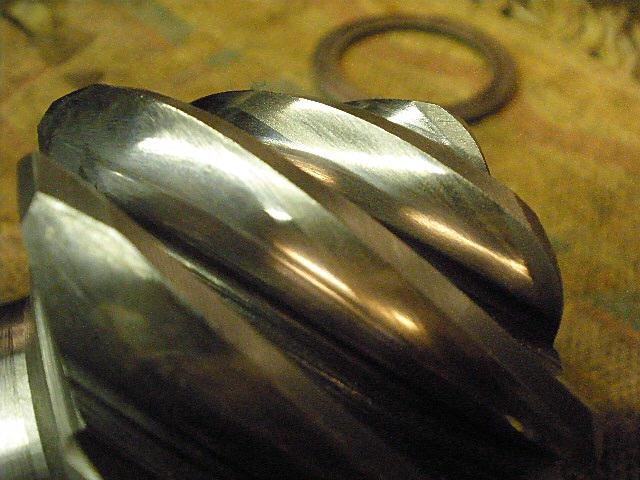
It's hard to see but there was quite a bit of wear/scuffing near the tips(face) of the pinion teeth. |
|
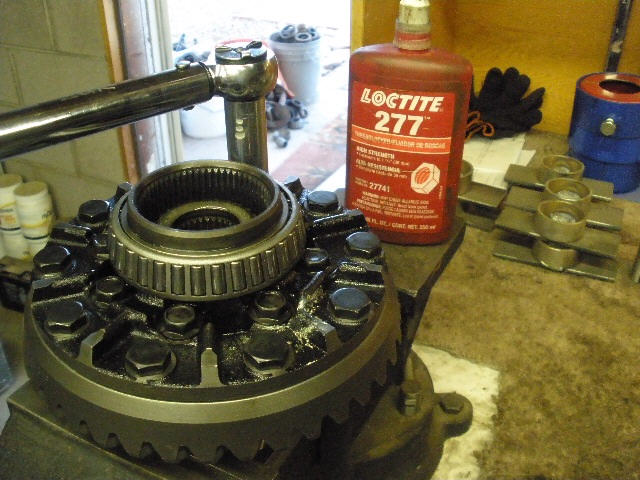
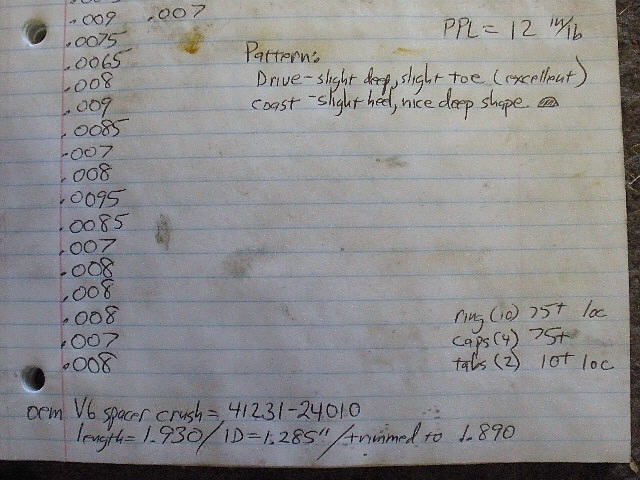
Now the damaged ring is removed. Some of the bolts were torqued to only 45 ft/lb also. I will throw away the used factory lock tabs and use red loctite with 70~75 ft/lb. |
|
I went to their website and they say, "G2 Performance was started as a branch of Genuine Gear to provide premium products designed to withstand the needs of today�s high performance vehicles". G2 offers 2 levels or lines of quality...OEM Series and Performance Series. |

|
These G2 gears are available online from 4wheelparts.com. Also, here's another good source for them...
Daveoffroadperformance.com. Although I would never
recommend the baseline economy GENUINE GEARS....I think I would give the thumbs-up for the G2 Performance series.
|
|
I've seen gears similar to these in surface finish and stamp marks...might be related to Precision Gear but I'm only 30% positive. |
|
In any event, these G2 Series look like a vast improvement over the Genuines of the past. |
|
Talking about the past...these are the old fashion Precisions that I have not seen for years. I was sorry to see them go away because these were #1 in strength and ease of set-up. The PG insignia (P over the G) on the far right is the marking found on the old ones....the mark of quality. |
|
Back to the G2 install...the usual extra steps are done...file the surfaces to check for burrs. All is good. |
|
It was a tight fit but a little gentle persuasion works wonders. |
|
Red loctite and 75 ft/lb. |
|
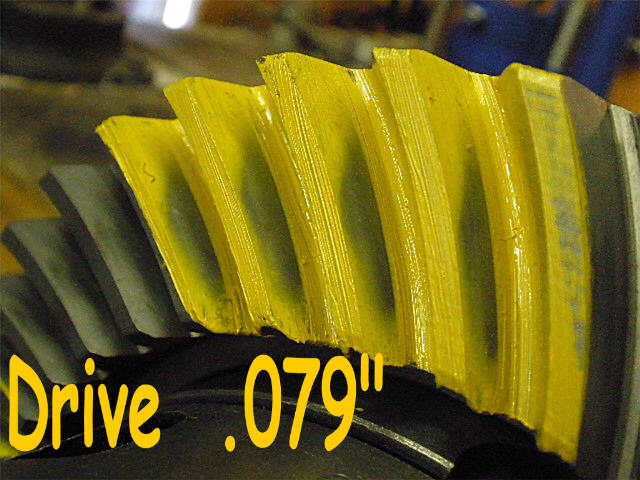
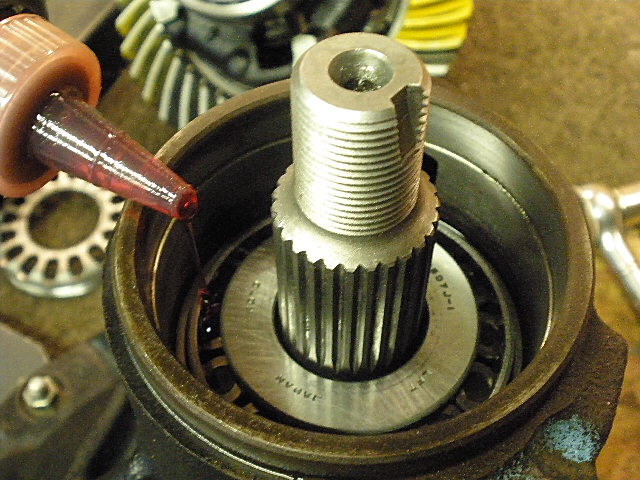
Starter pinion shim selection is random...I'll start with .079" and press the inner bearing on here. |
|
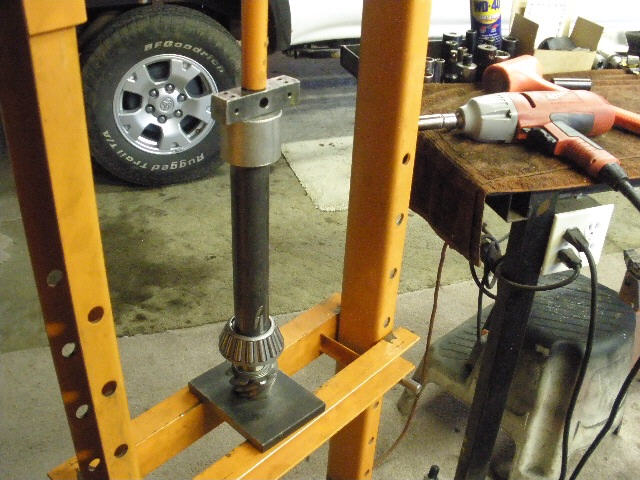
I assemble the pinion end with no crush sleeve and a beat up shop flange. The crush sleeve will go in once the proper depth has been established. |
|
Make sure both bearings have lots of gear oil on them for a meaningful reading. Tighten the nut and spin the torque wrench until about 10 in/lb of pinion drag is noted. This is not start-up drag but rolling drag...I spin the pinion at a rate of about 1 turn per second and can still read the somewhat blurry 10 in/lb with little trouble. My shop flange does not have the dust seal on it so it's easy to squirt gear oil on the upper pinion bearing. |
|
This is important....install the adjuster wheels such that the threads are in perfect mesh with each other. These were in good shape but I have received a number of 3rds in the past that had damaged threads from a gear install gone bad. Sometimes, just the wheel threads are trashed and a new $20 dollar adj wheel fixes it....sometimes, the carrier itself has crushed threads and the whole carrier needs replacing. |
|
The cap is held in place while the 2 long bolts are threaded in 2 or 3 turns..... |
|
...then the tower is set down and nudged in place with the bottom of my fist. |
|
...and it should seat with a solid sounding snap with no air gap at this junction... |
|
...or on the other side at this junction. That means the threads are likely in proper mesh with each other. |

|
Then I further confirm that it's threaded properly by lightly tapping on it while snugging each side. If the ratchet or wrench tightens solidly then that's good news. Now I can tighten the 2 tower bolts to the full 70~75 ft/lb and if I can turn the wheel adjusters with just finger pressure then I know all is right on. |
|
Now I turn the flange back and forth... |
|
...while tapping on the sides of the towers to help synchronize the 2 bearings...to equalize tensions between them (for accurate BL measurements). |
|
The rotating rollers plus the shock waves do a nice job of syncing the rollers on both sides. This is done for just a simple paint pattern check and also for the final settings. |
|
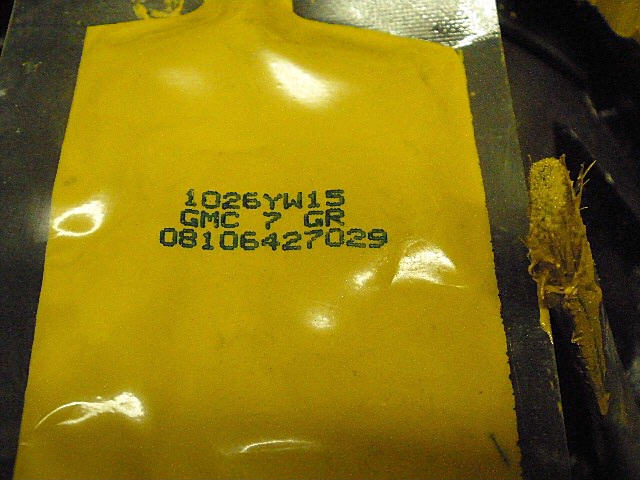
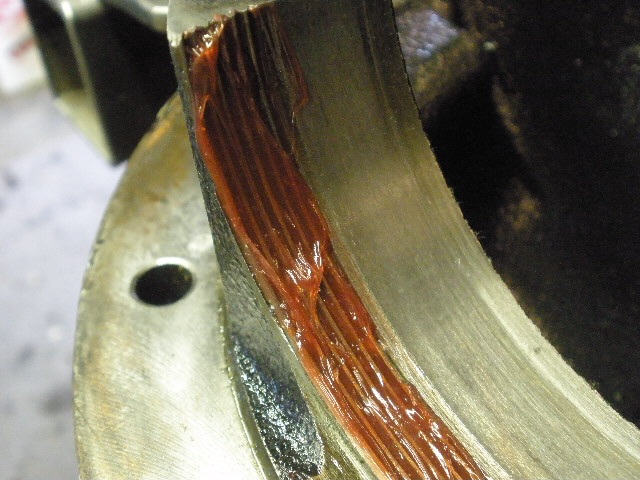
Specialized yellow marking compound is painted on the teeth. |
|
Perhaps a GMC part number? |
|
For a good readable paint pattern...use a rag and apply a light resistance... |
|
...while turning the 17mm wrench back and forth 2 or 3 times. |
|
This is well centered but too deep. |
|
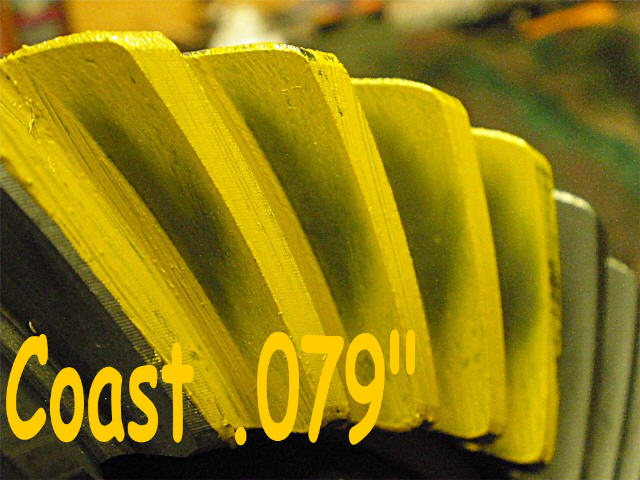
Coast looks deep also. |
|
Press the pinion out... |
|
The pinion shows us that it is shallow....close to the face (top of tooth) of the tooth. SHALLOW on the pinion translates into DEEP on the ring tooth. |
|
Again, the bearing is pressed off. |
|
A thinner .075" shim is in place and the bearing is pressed on. |
|
Just like before, assemble the pinion end minus the crush sleeve. |
|
Place the flange over the pinion and smack it down with the lead filled plastic hammer. |
|
The electric impact step-tightens the pinion nut slow enough such that the pre-load can be dialed in very close to the target 10 in/lb. |
|
Nice...perhaps slightly deep. Generally, that is my preferred setting. |
|
Coast looks deep. Coast patterns can also be deceptive....trust in the drive side more than the coast....on new gears. |
|
Some of the other teeth get reverse painted and these look even better. Depth appears right on here. |
|
coast |
|
pinion teeth look right on the money. |
|
```````````````````````````` |
|
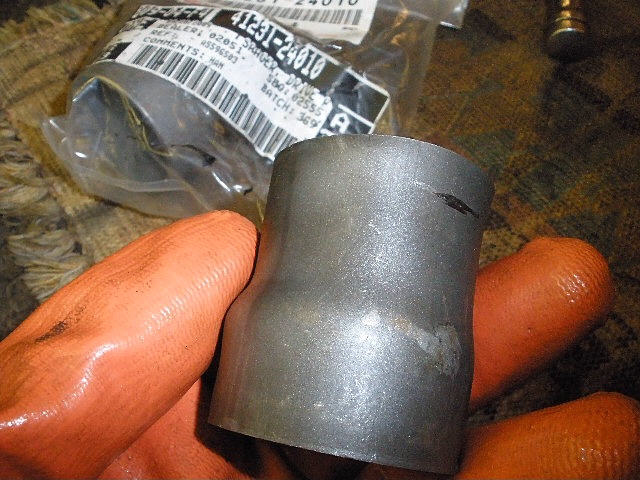
The after-market crush that came in the master install kit was not of the proper dimension at the top end. |

|
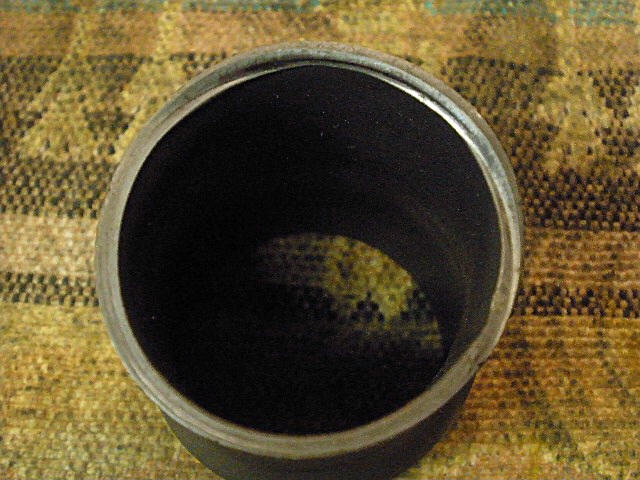
The upper inside diameter was just a tad too large and this caused it to start to slip over the bearing. This was not related to the pinion being loose though. |
|
```````````````````````````` |
|
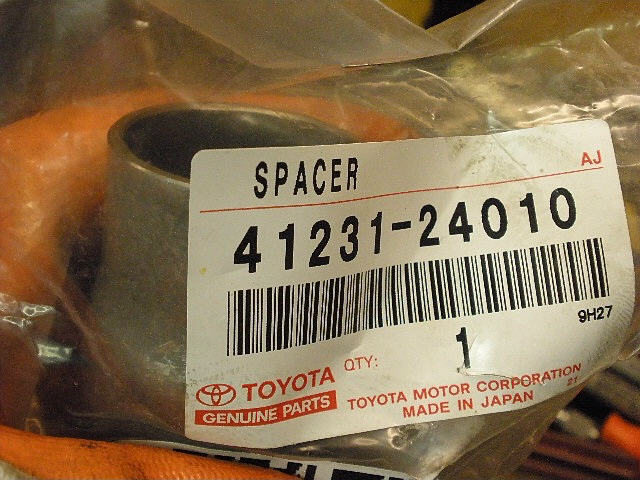
Kerry supplied the genuine Toyota crush sleeve which is the correct fit. |
|
Now I assemble the pinion end using the new crush and my old flange. The seal will be installed shortly. The electric impact does not have enough torque to crush the sleeve so there is still some slop and the pinion still wobbles a bit which is just fine for now. |
|
Now I remove the shop flange and everything is easy to work on. The pinion won't fall through because the upper bearing has a firm hold on it. Last chance to shoot more gear oil on the bearing. |
|
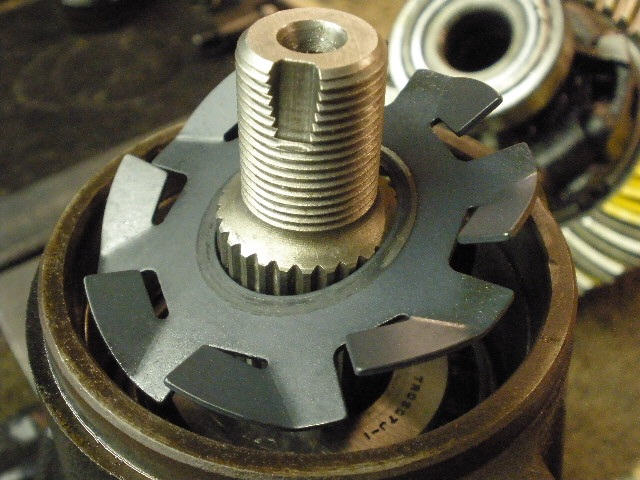
The oil slinger is dropped in place. All of the high pinion 8" 3rds should come factory equipped here with an oil slinger. |
|
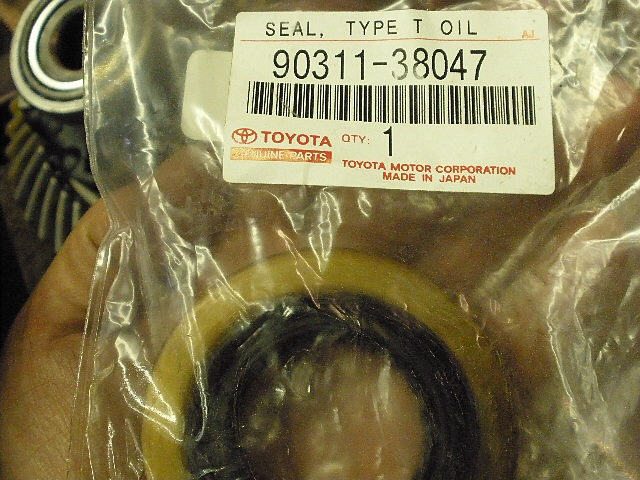
OEM Toyota pinion seal. |
|
This one has some factory grease already on the lip to prevent dry start-up. |
|
RTV is applied to the outside and a thick grease is coated over the tiny compression spring. The grease prevents the spring from popping off when the seal is pounded on with a hammer. |
|
Not shown here but I use an old race that has the perfect diameter to tap the seal down past flush. |
|
There's a raised ridge that prevents the seal from going down too far. I measured it and... |
|
Almost recessed .100"....about 2.5mm. I figure by recessing the seal down like this that the rubbing pressure of it against the underside of the flange (rubber dust seal) will be less...and the extra drag will have less effect on the overall pinion pre-load measurement. |
|
The flange is cleaned and lightly sanded with a fine #1000 sandpaper. |
|
Red loctite is always applied on the nut threads. |
|
Leverage is your friend. |
|
```````````````````````` |
|
Crush a little then check...crush a little more and re-check. After 6 or 7 times I had the perfect 12 in/lb. |
|
Ding and this end is done. |
|
Anti-seize or a good thick grease on the threads. |
|
Towers are carefully matched together. Bolts are tightened to the full 75 ft/lb. |
|
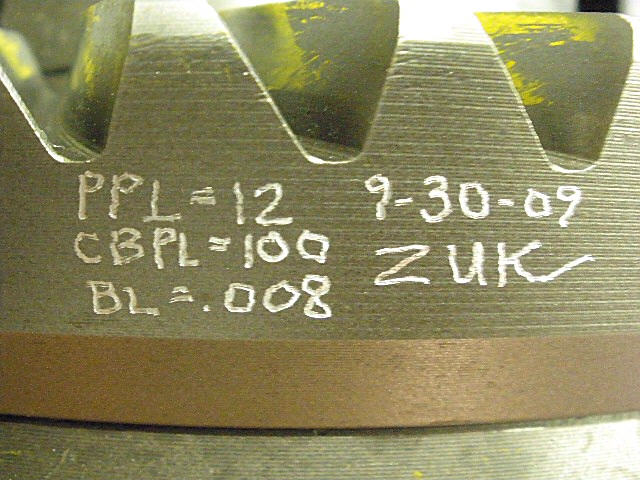
I tightened and hammer-tapped and repeated this until I had a backlash average of .008" with about 100 ft/lbs of carrier bearing pre-load. Actually, that would be 100 ft/lb on the wheel adjusters themselves which corresponds to 10 in/lb of carrier bearing drag. |
|
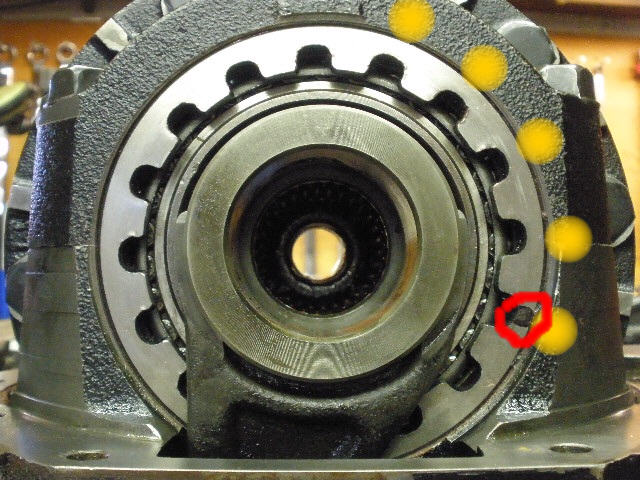
5 notches tighter than when I received it... |
|
Same thing on the other side...5 notches tighter. That means I have 10 notches better 'tightness' than the job the other fellow did. This is proper CBPL and this helps prevent the ring gear from deflecting under heavy torque loads to result in superior strength and durability. Other factors obviously can effect gear strength... like pinion depth and a pinion that has the proper bearing preloads and doesn't wobble around but those have already been addressed. |
|
The final backlash is recorded on every other tooth for about 21 measurements. See data notes at end of the page. |
|
Lock tabs are cleaned, loctited, and tightened to 10 ft/lb. |
|
Top half of the notes taken during the install. |
|
```````````````````````` |
|
I know there are others that can do a gear install in 1 hour maybe 2.....I end up taking 4 or 5 hours.
That's just me. |
|
|

|
