|
Tanner's 1996 Landcruiser Nitro 488 gear install and ARB RD142
|
|
(50 BIG pics loading)
|
|
July 5 2016
|
|
|
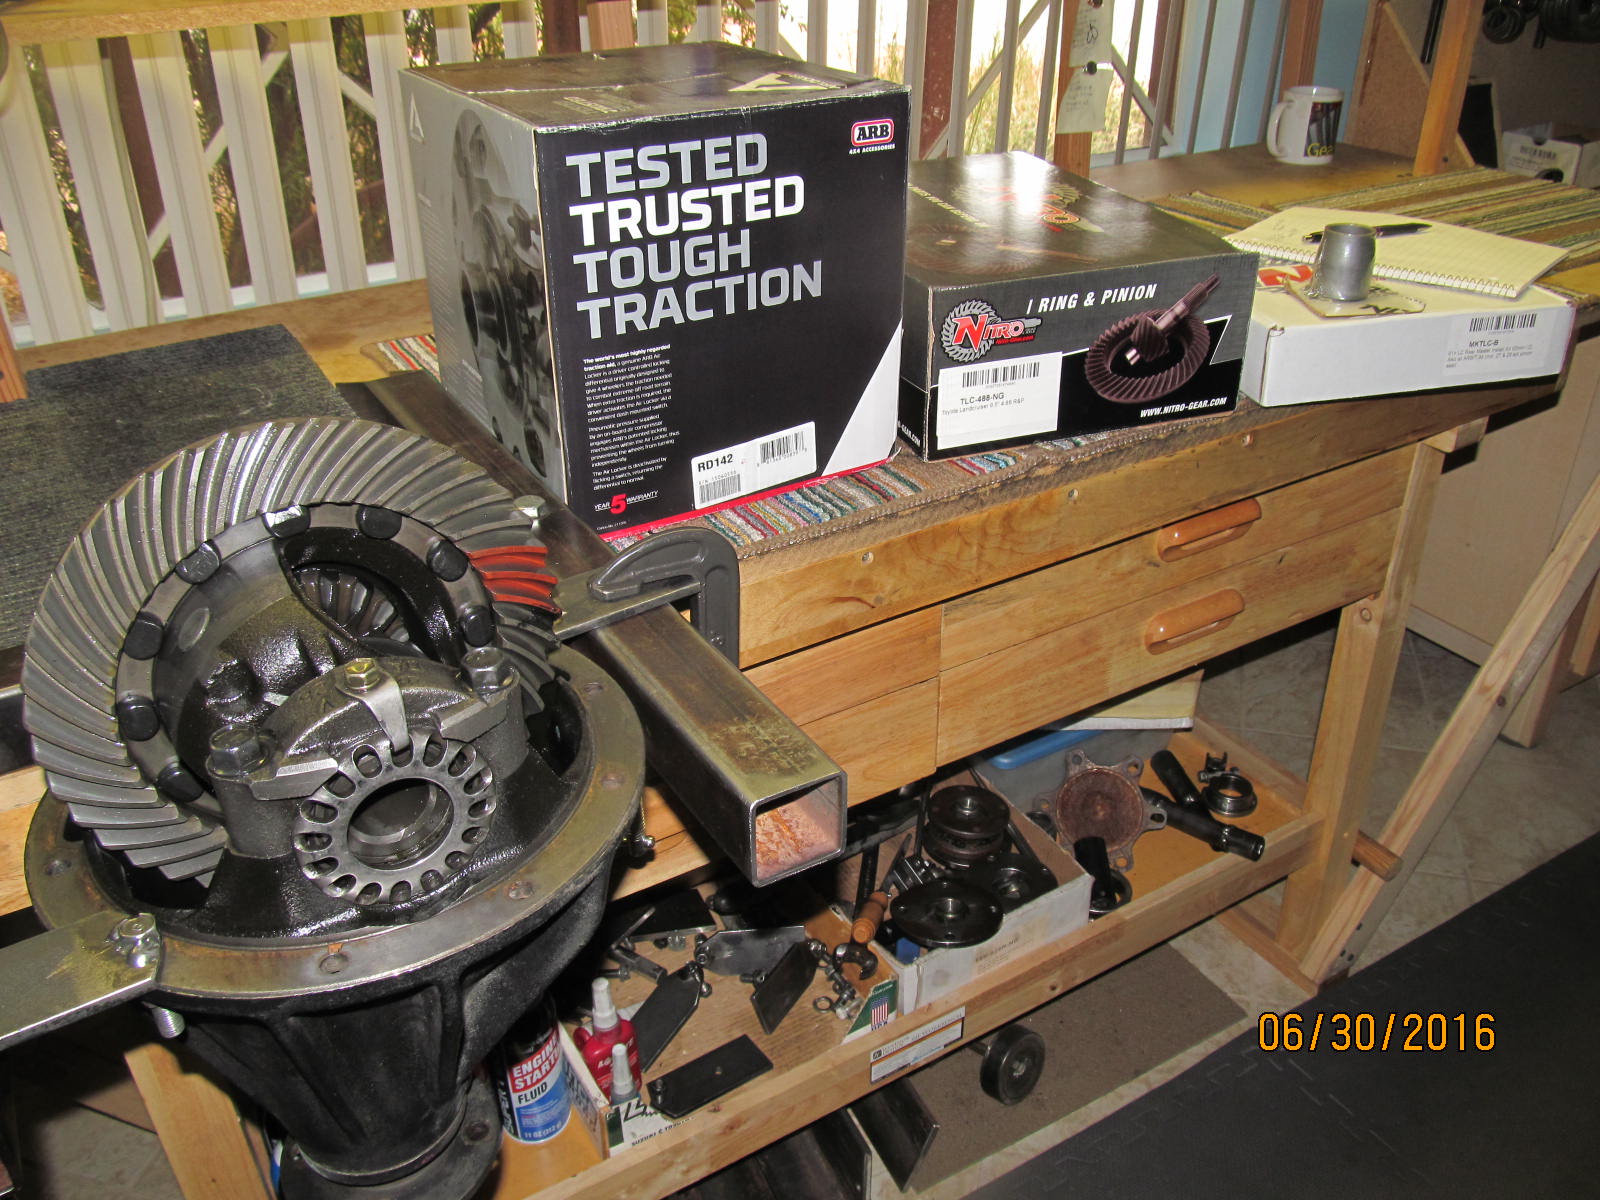
Tanner contacted me about regearing his Cruiser and adding in ARBs on both ends. I sent him the suggested
procedure and, in no time, 2 totes arrived loaded with 3rds/lockers/gears/masterkits
from JustDifferentials.com
|
|
|
|
|
The rear 3rd will be completed first.....and here is the link for the front install.
|
|
|
|
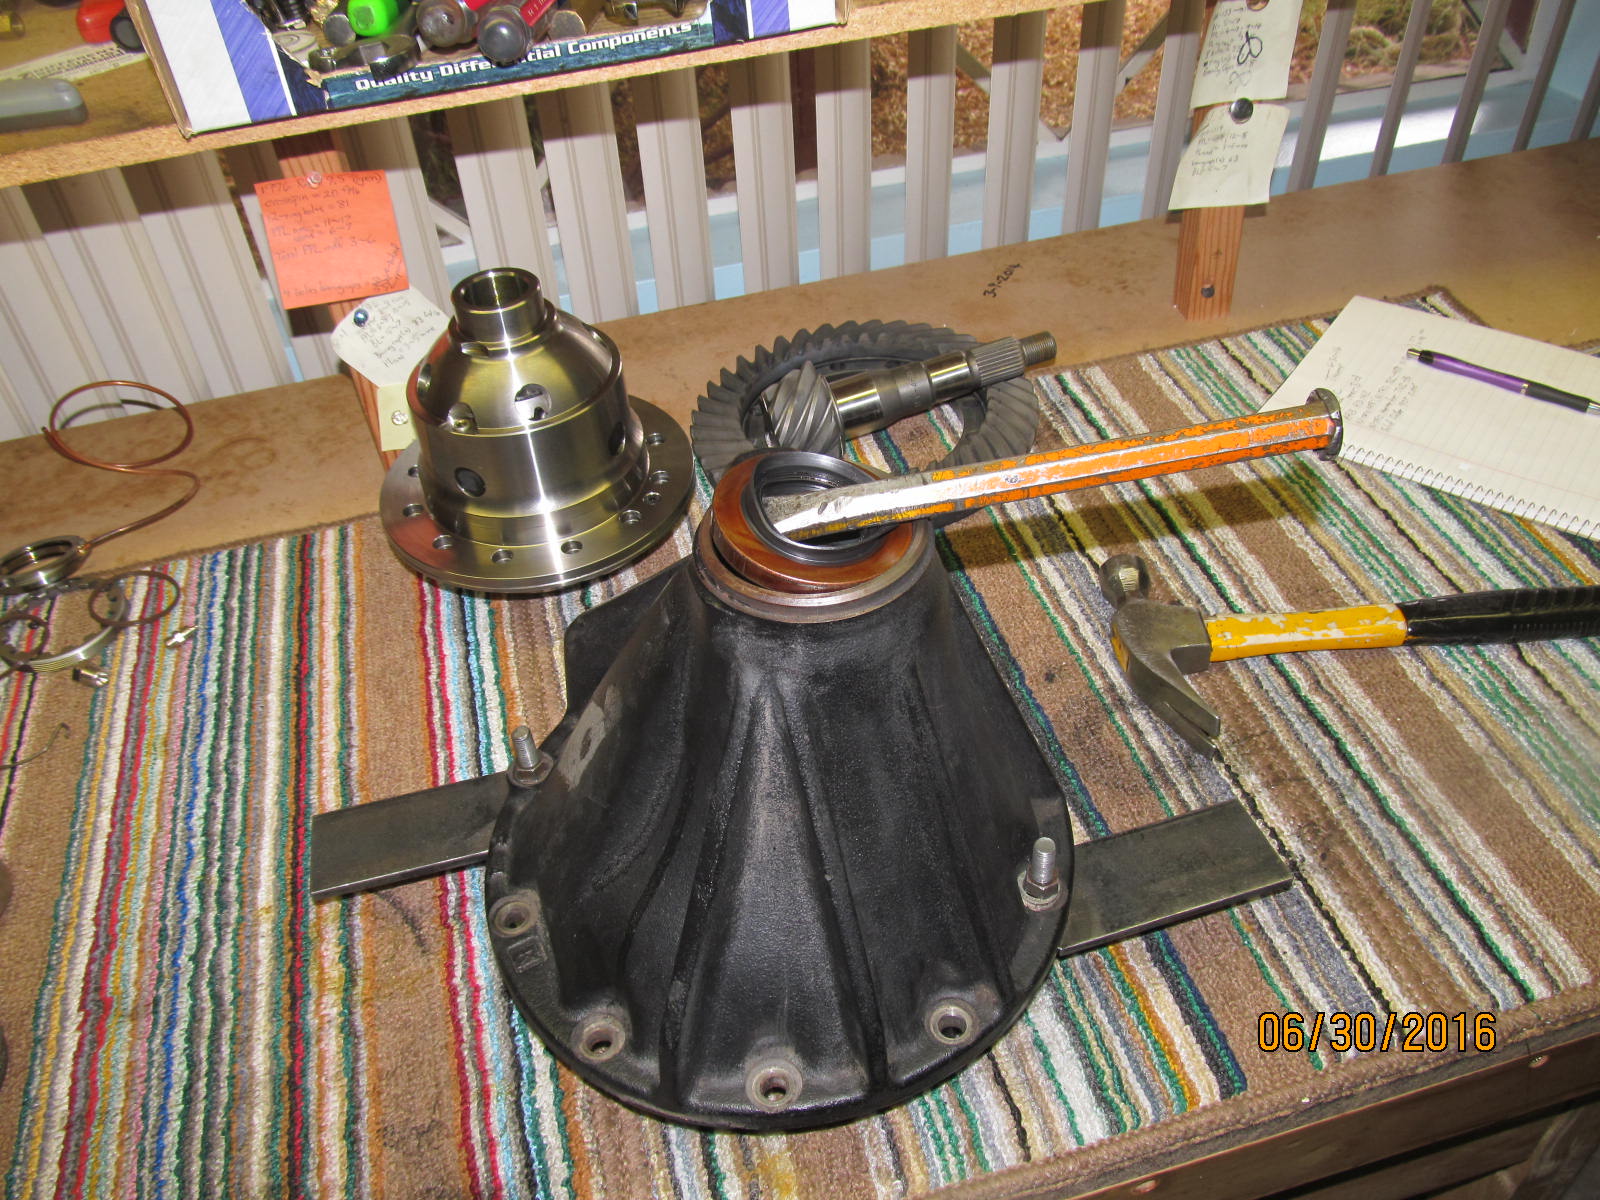
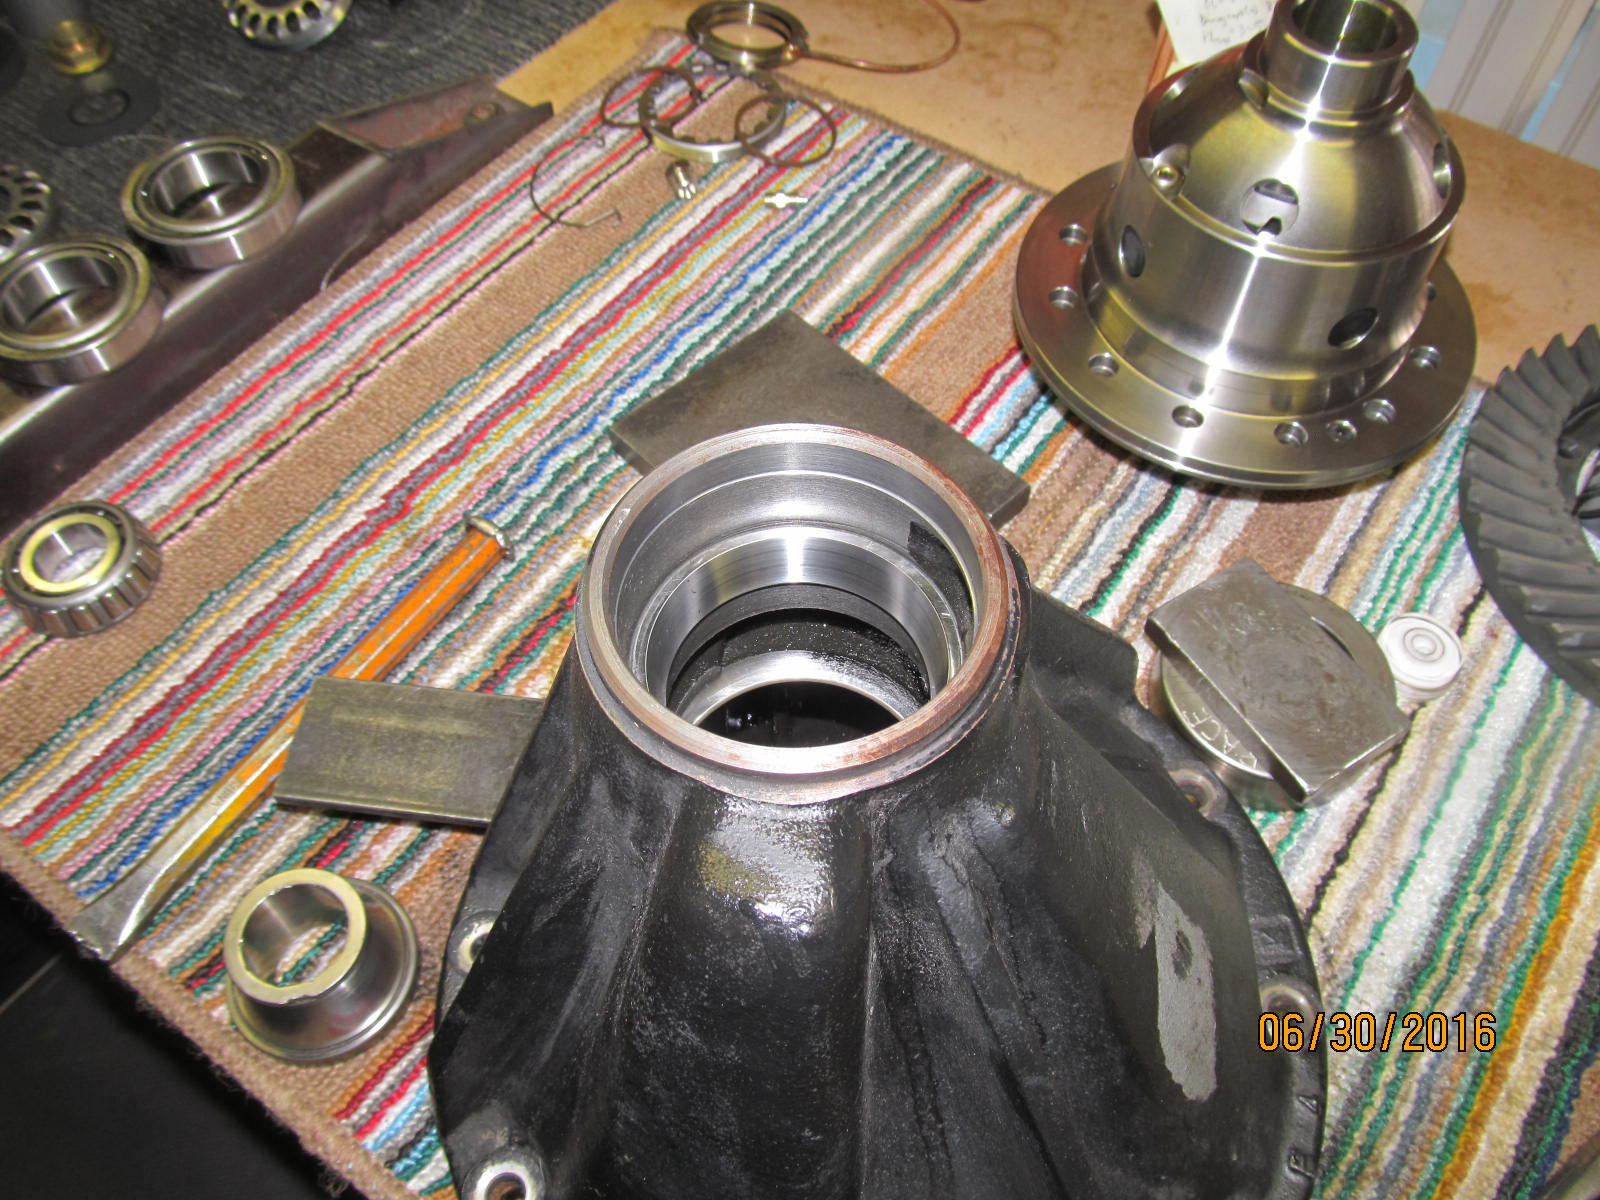
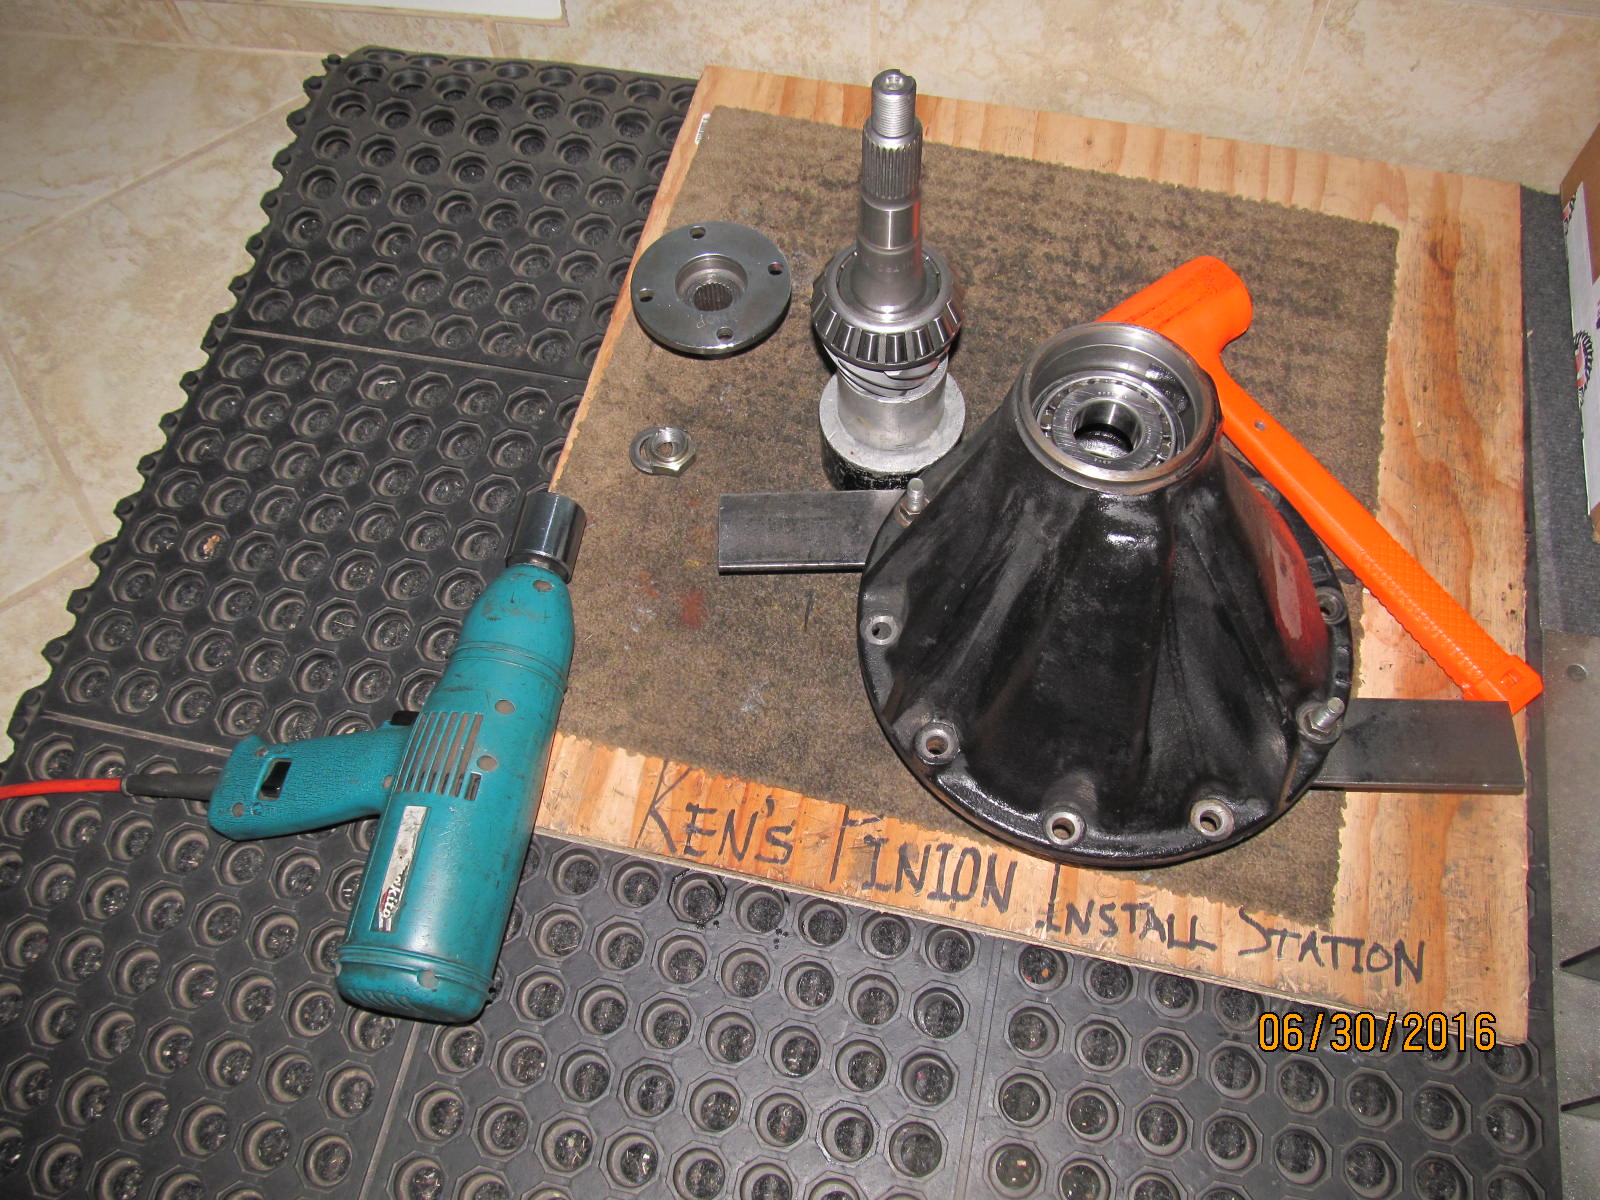
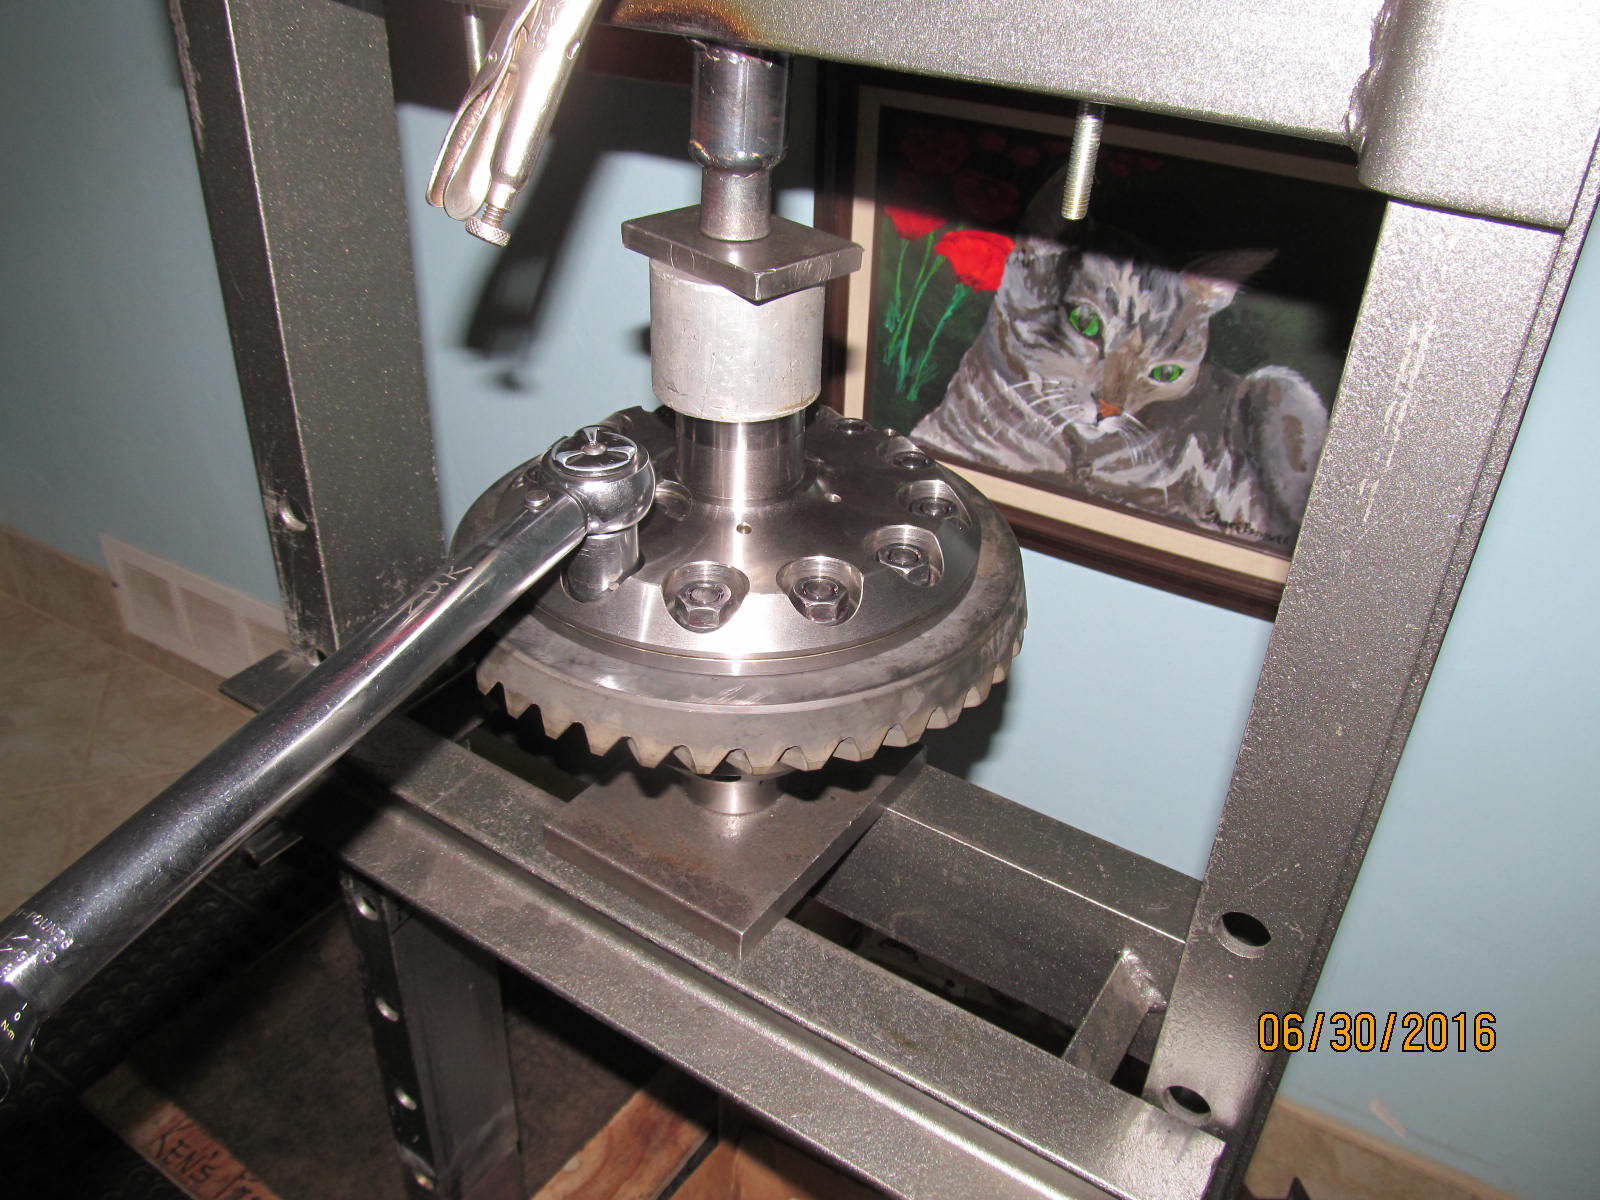
Both bearings caps are removed and the 2 pinion open case put off to the side. The ARB
in the background will replace it.
|
|
|
|
|
Push the pinion out.
|
|
|
|
|
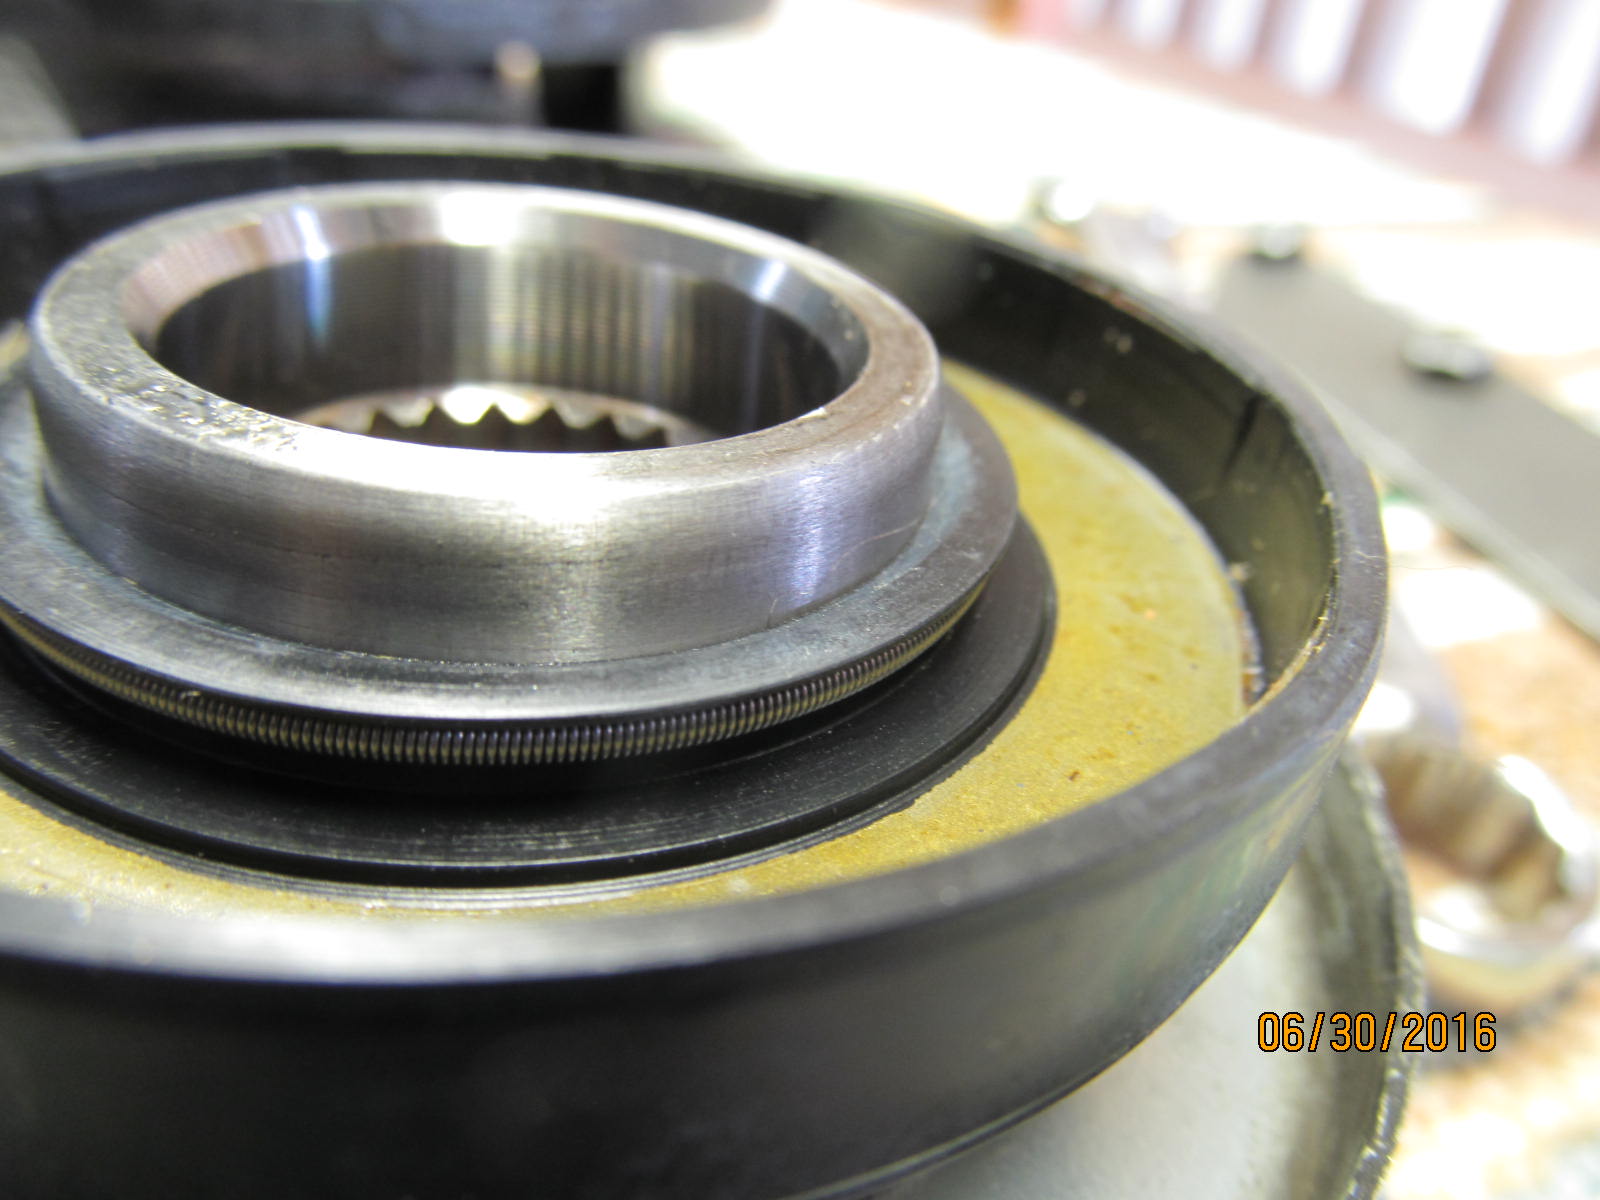
Old seal is pried out.
|
|
|
|
|
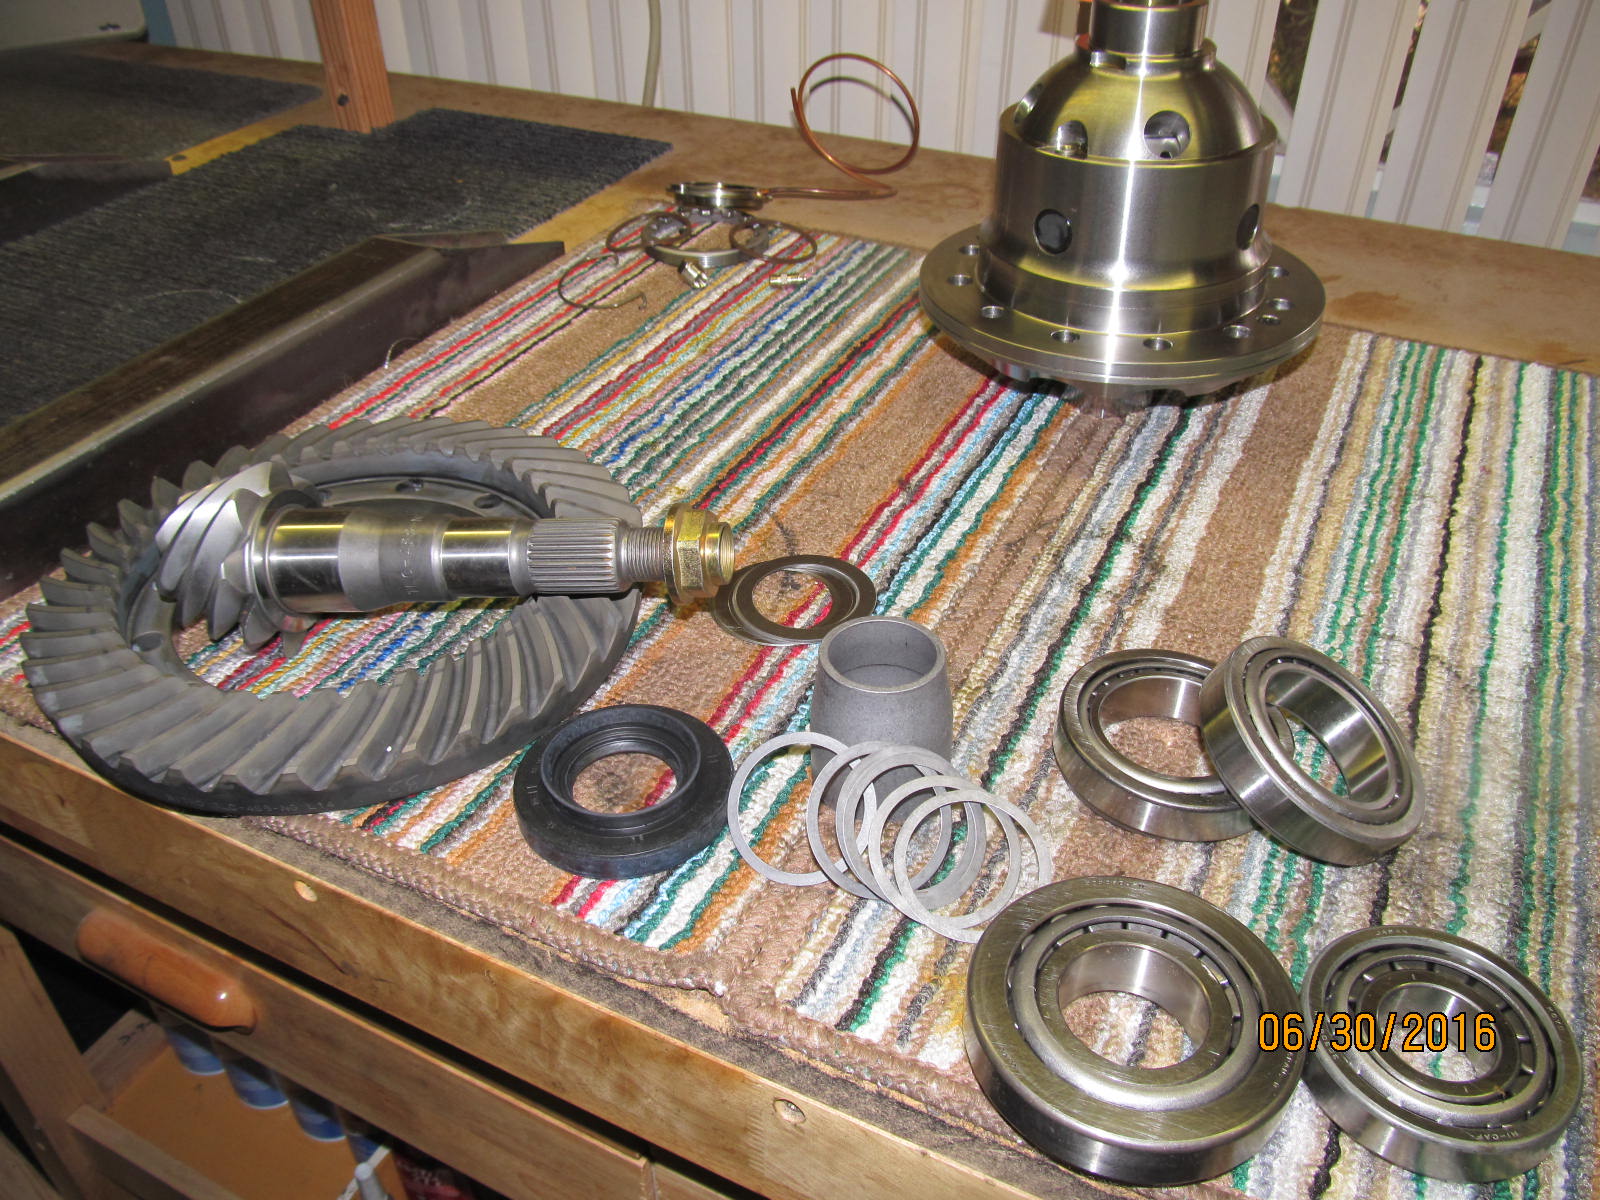
Old races removed and new Koyo races tapped in.
|
|
|
|
|
Making sure that it is 100% all the way in.
|
|
|
|
|
New outer race is tapped in.....
|
|
|
|
|
....and, same thing, it is verified to really be seated down 100%.
|
|
|

|
|
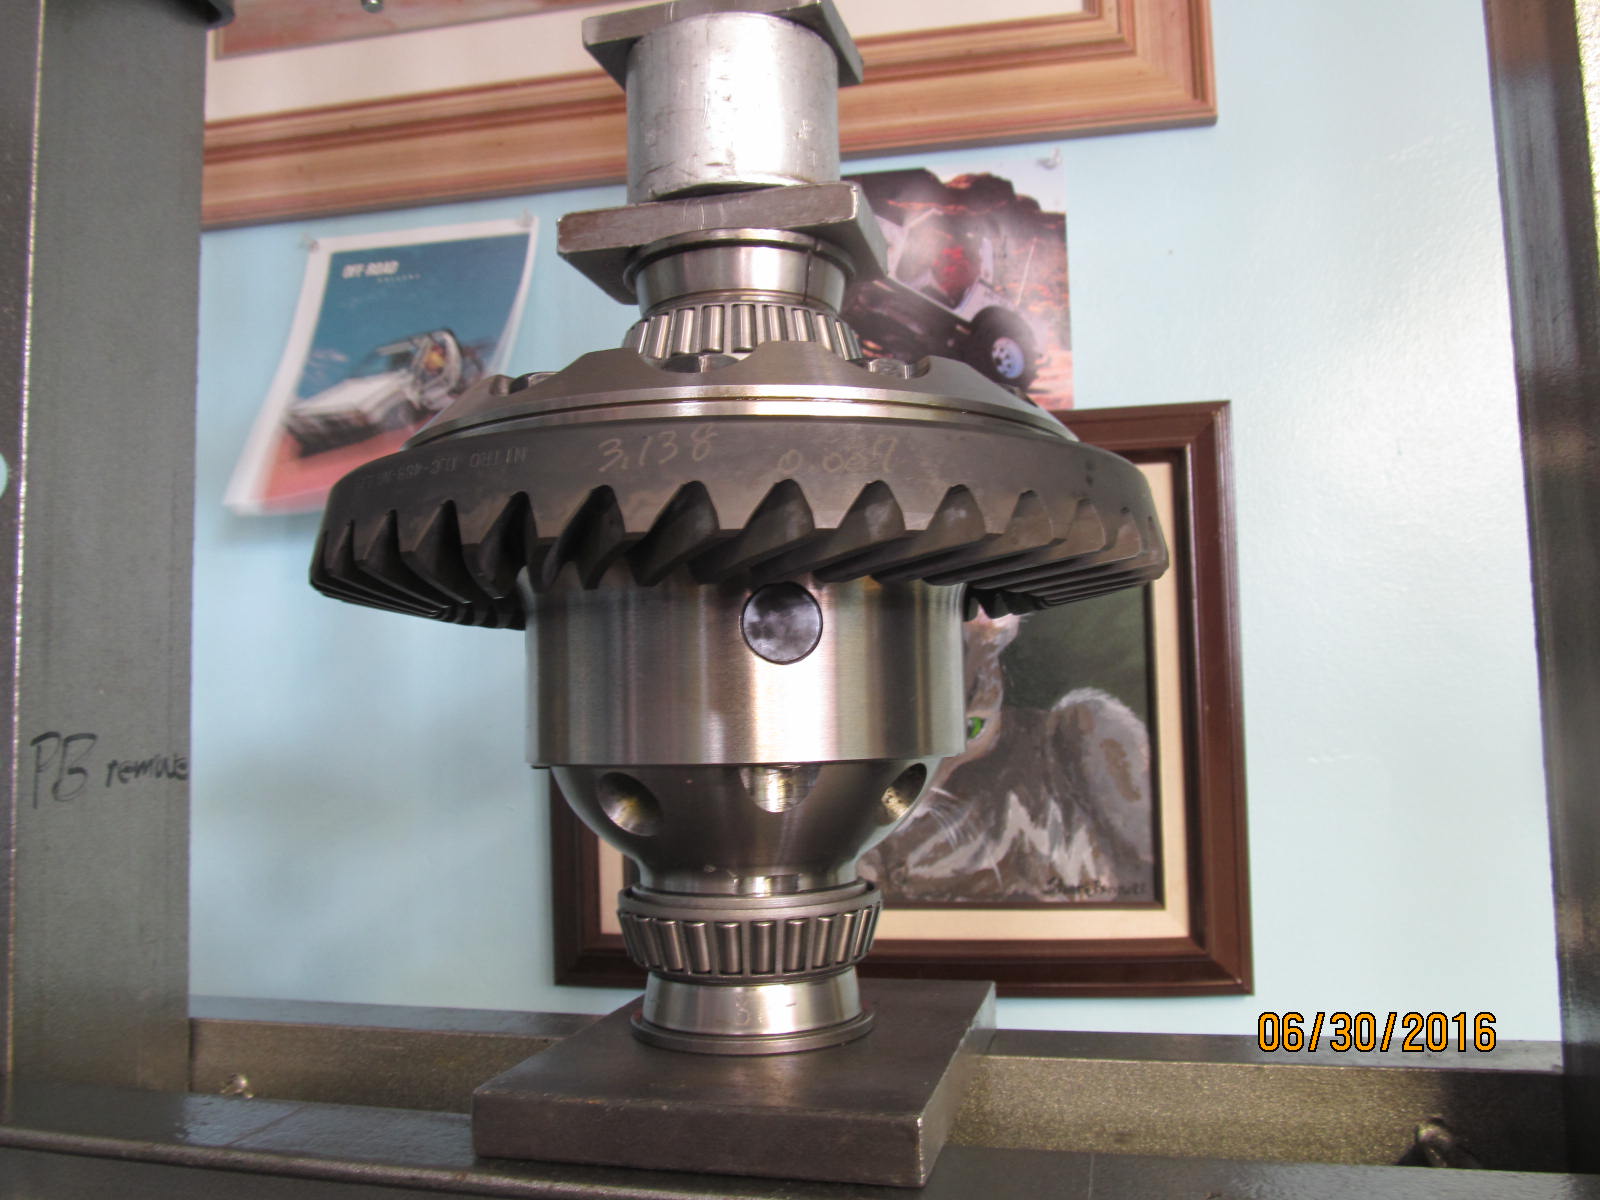
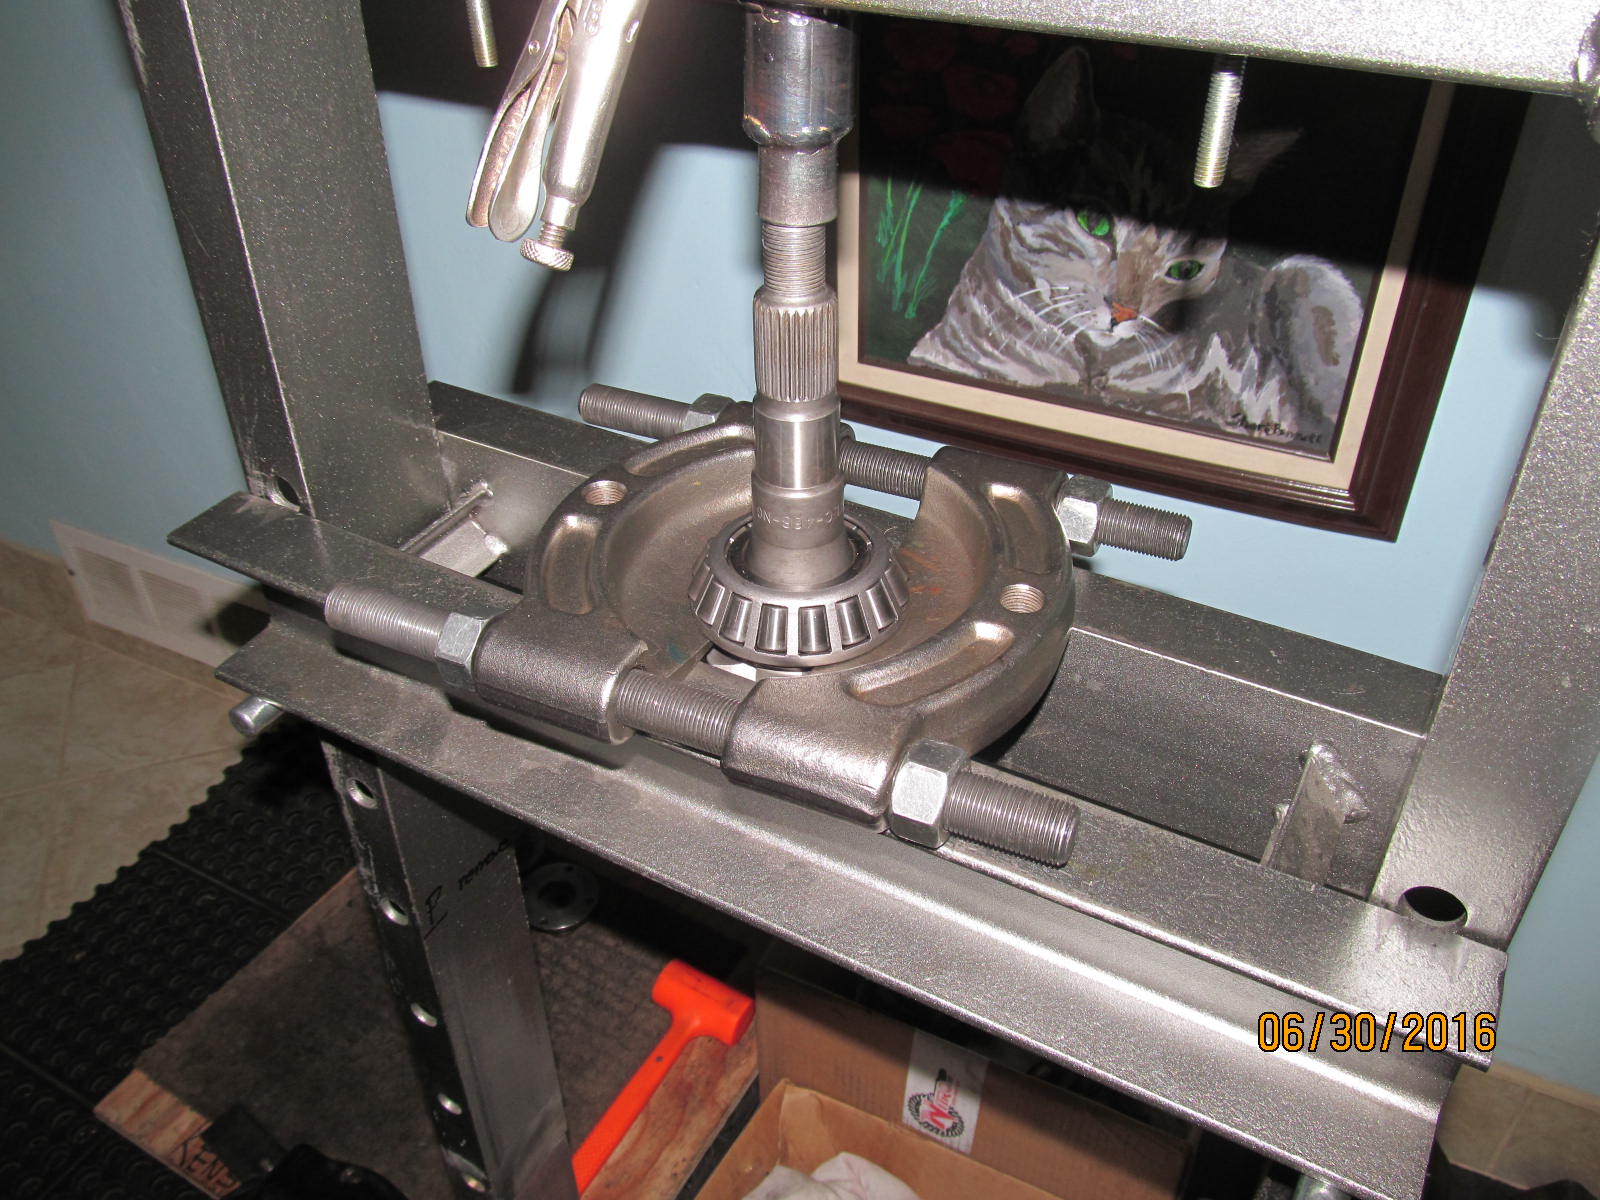
It now waits at the pinion install station.
|
|
|
|
|
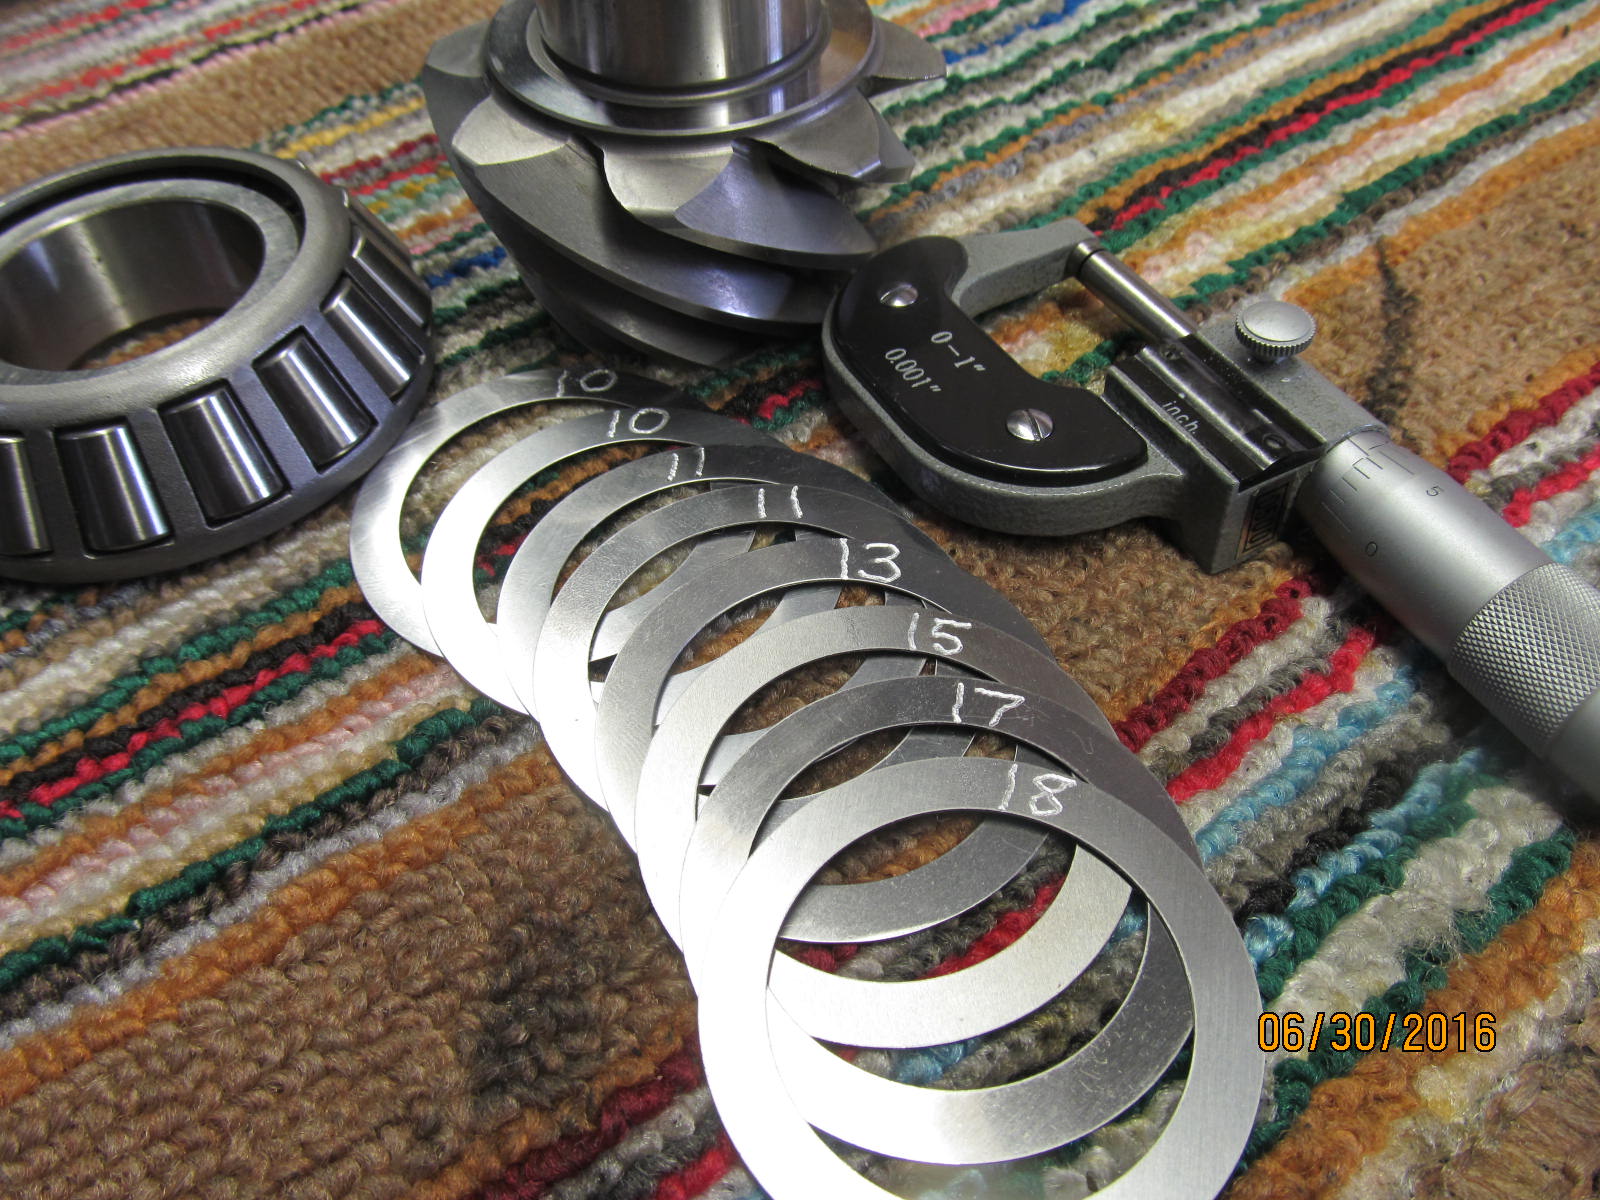
The Nitro master kit has a decent pinion selection to work with.
|
|
|
|
|
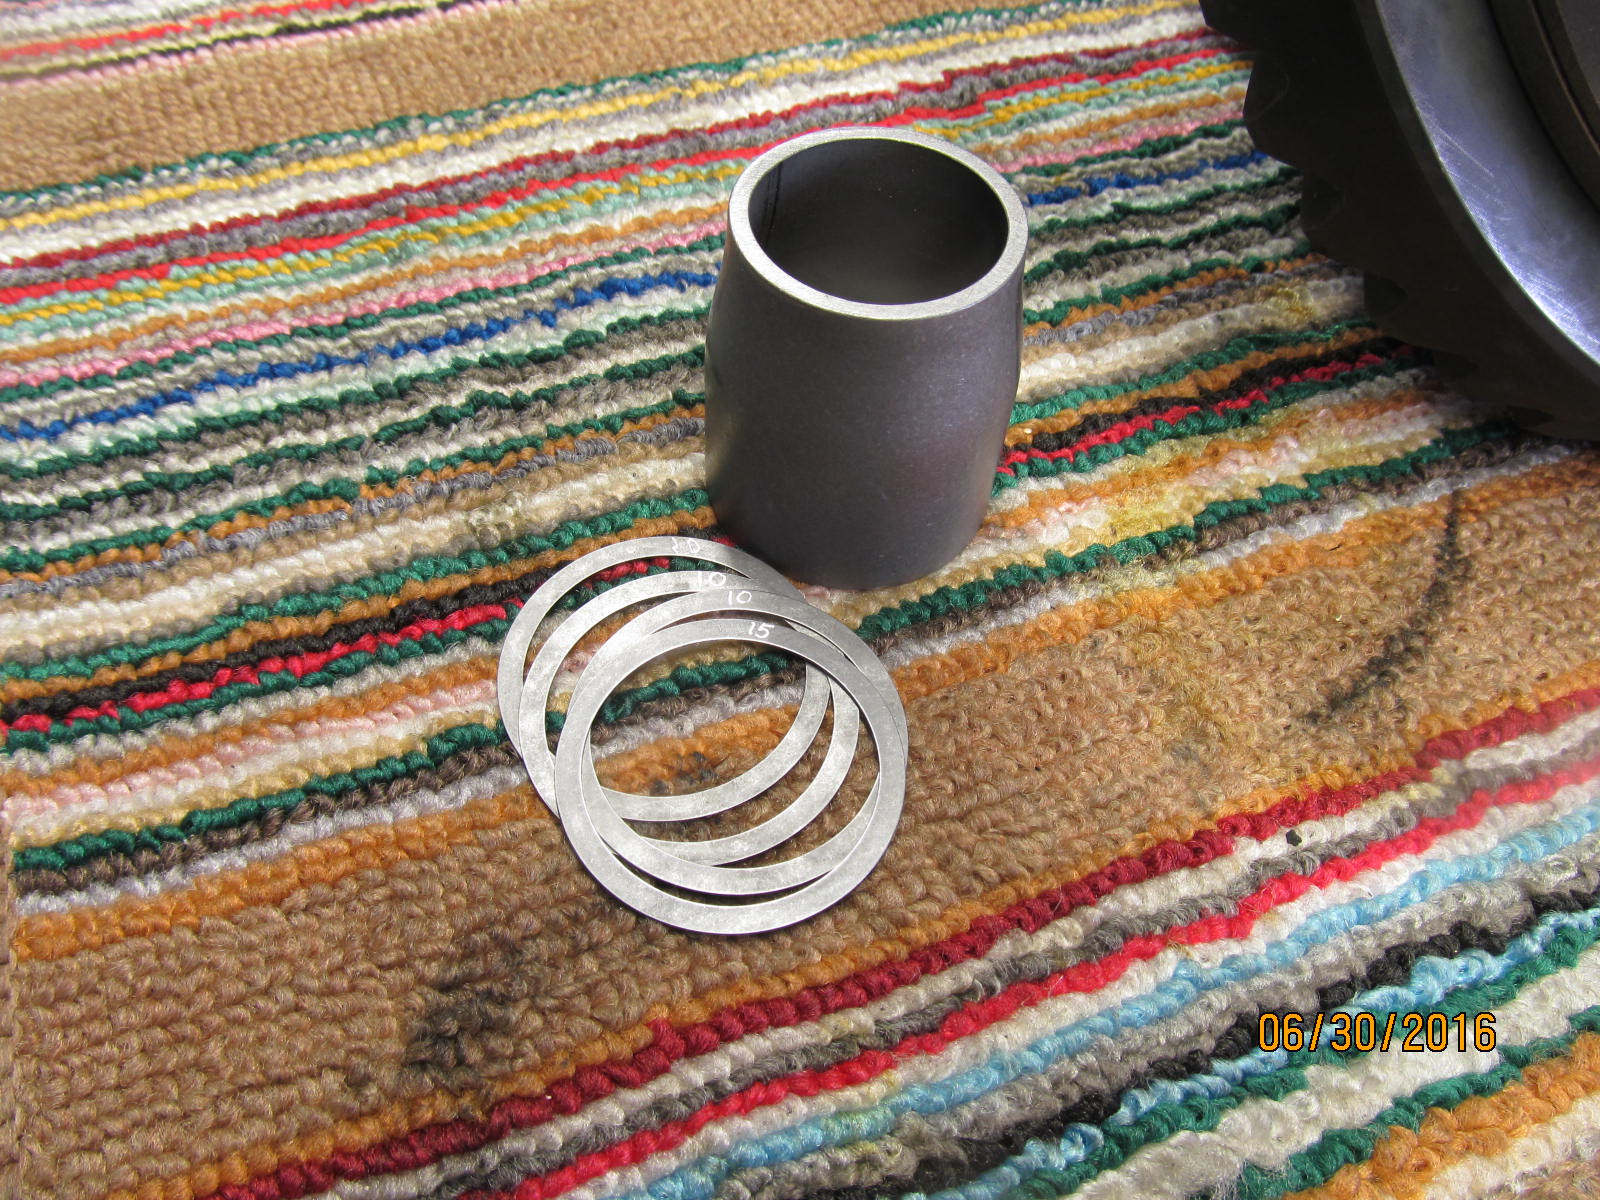
A .060" starter shim will be tried with the Nitro 488 pinion.
|
|
|
|
|
A really good use for a bunch of old bearing inners.
|
|
|
|
|
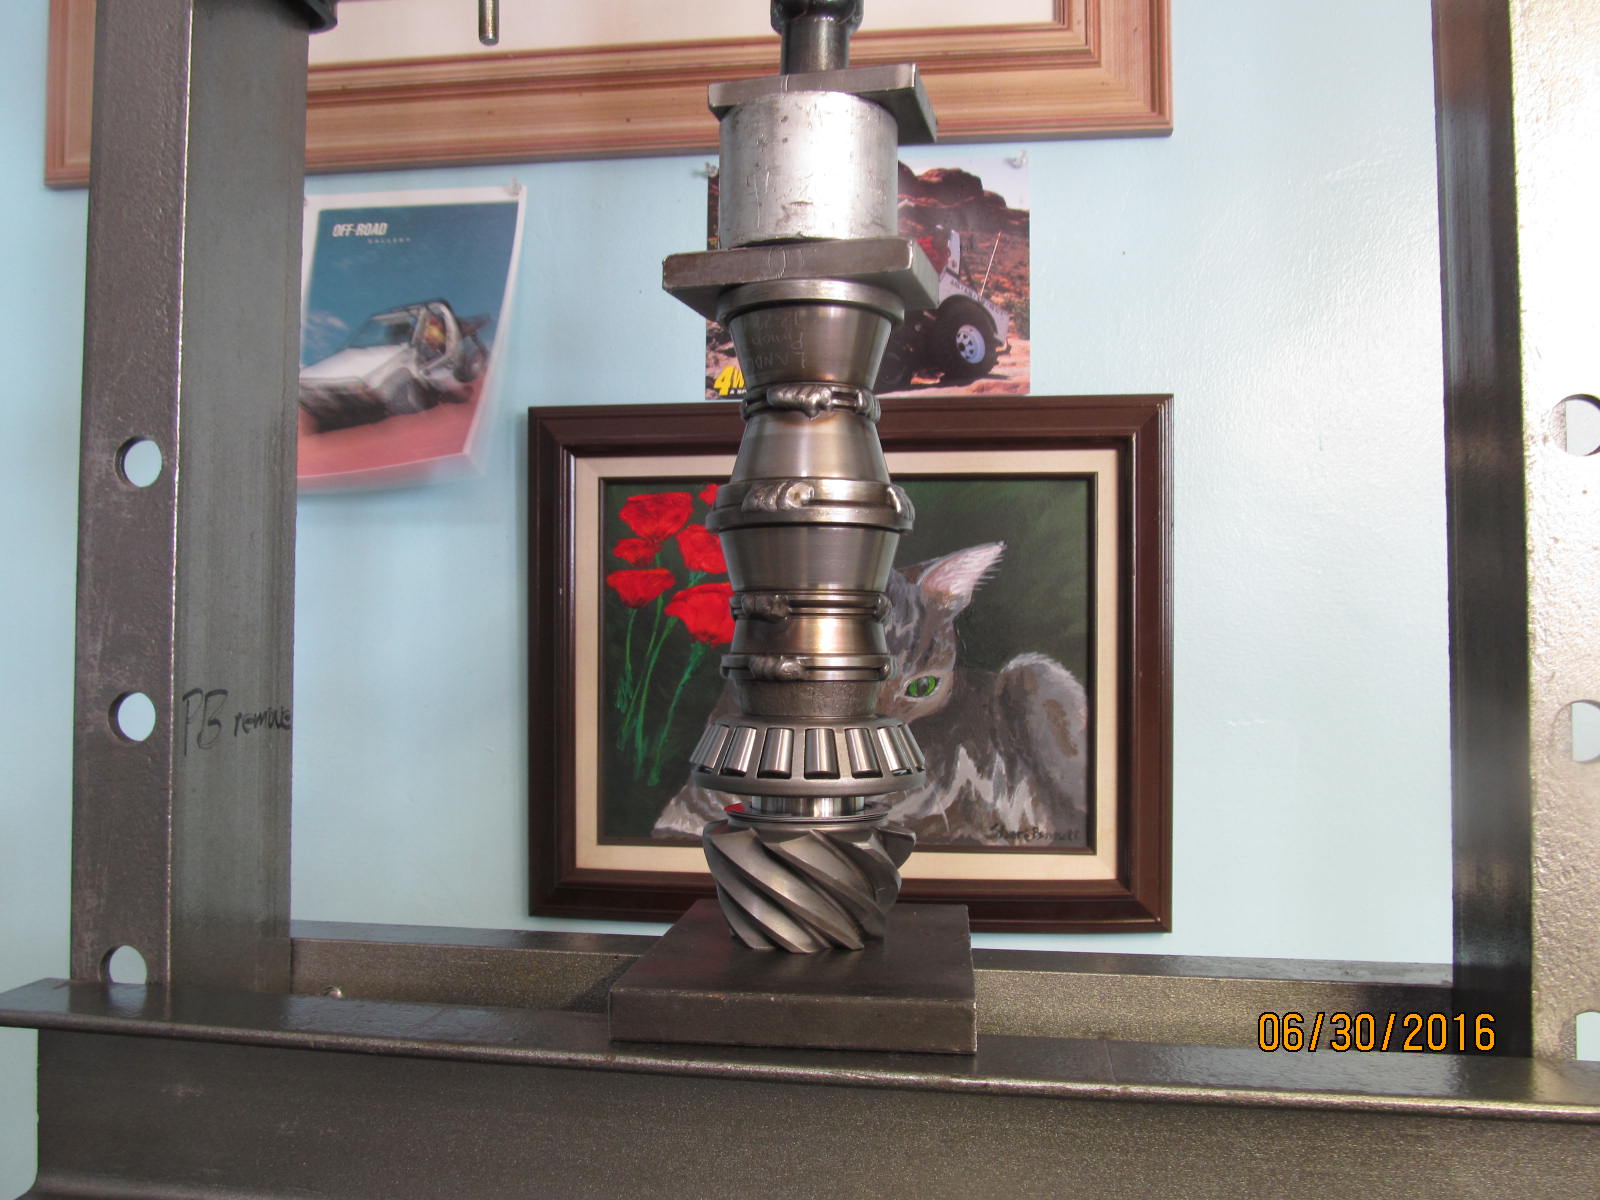
This is just a preliminary paint test so no crush or solid collar yet.
|
|
|
|
|
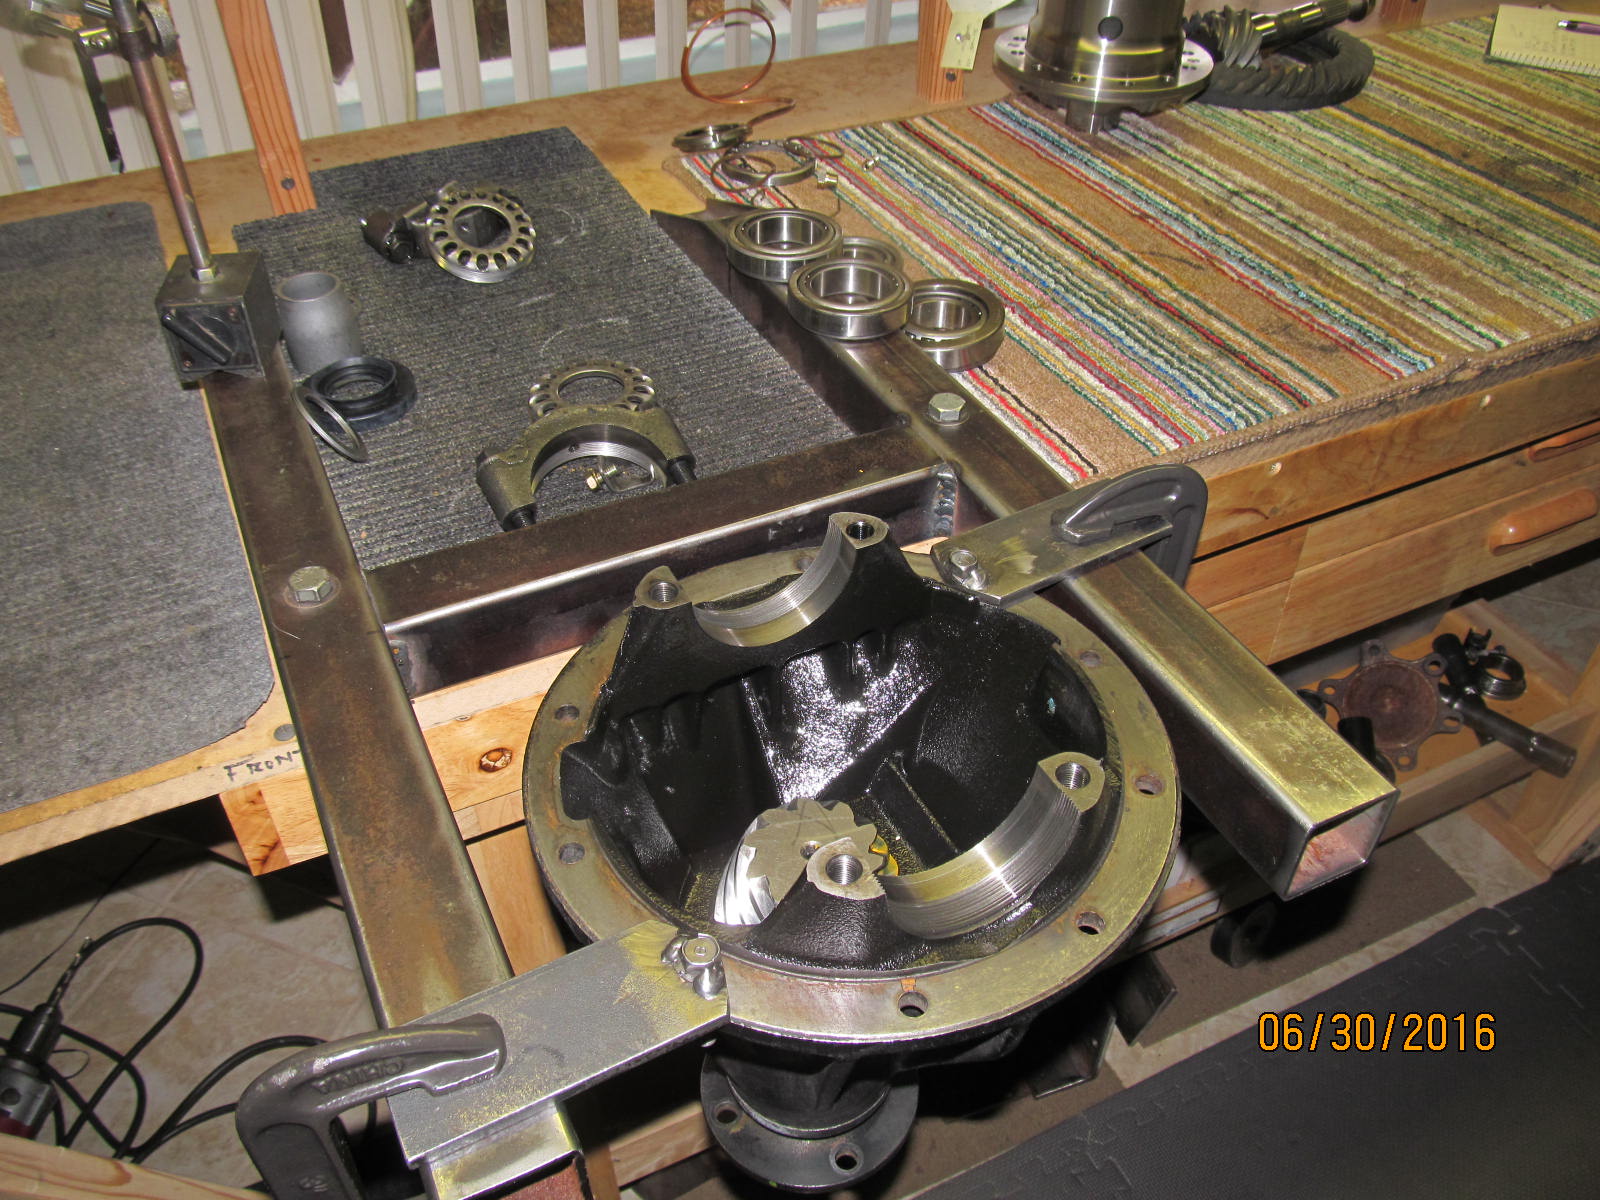
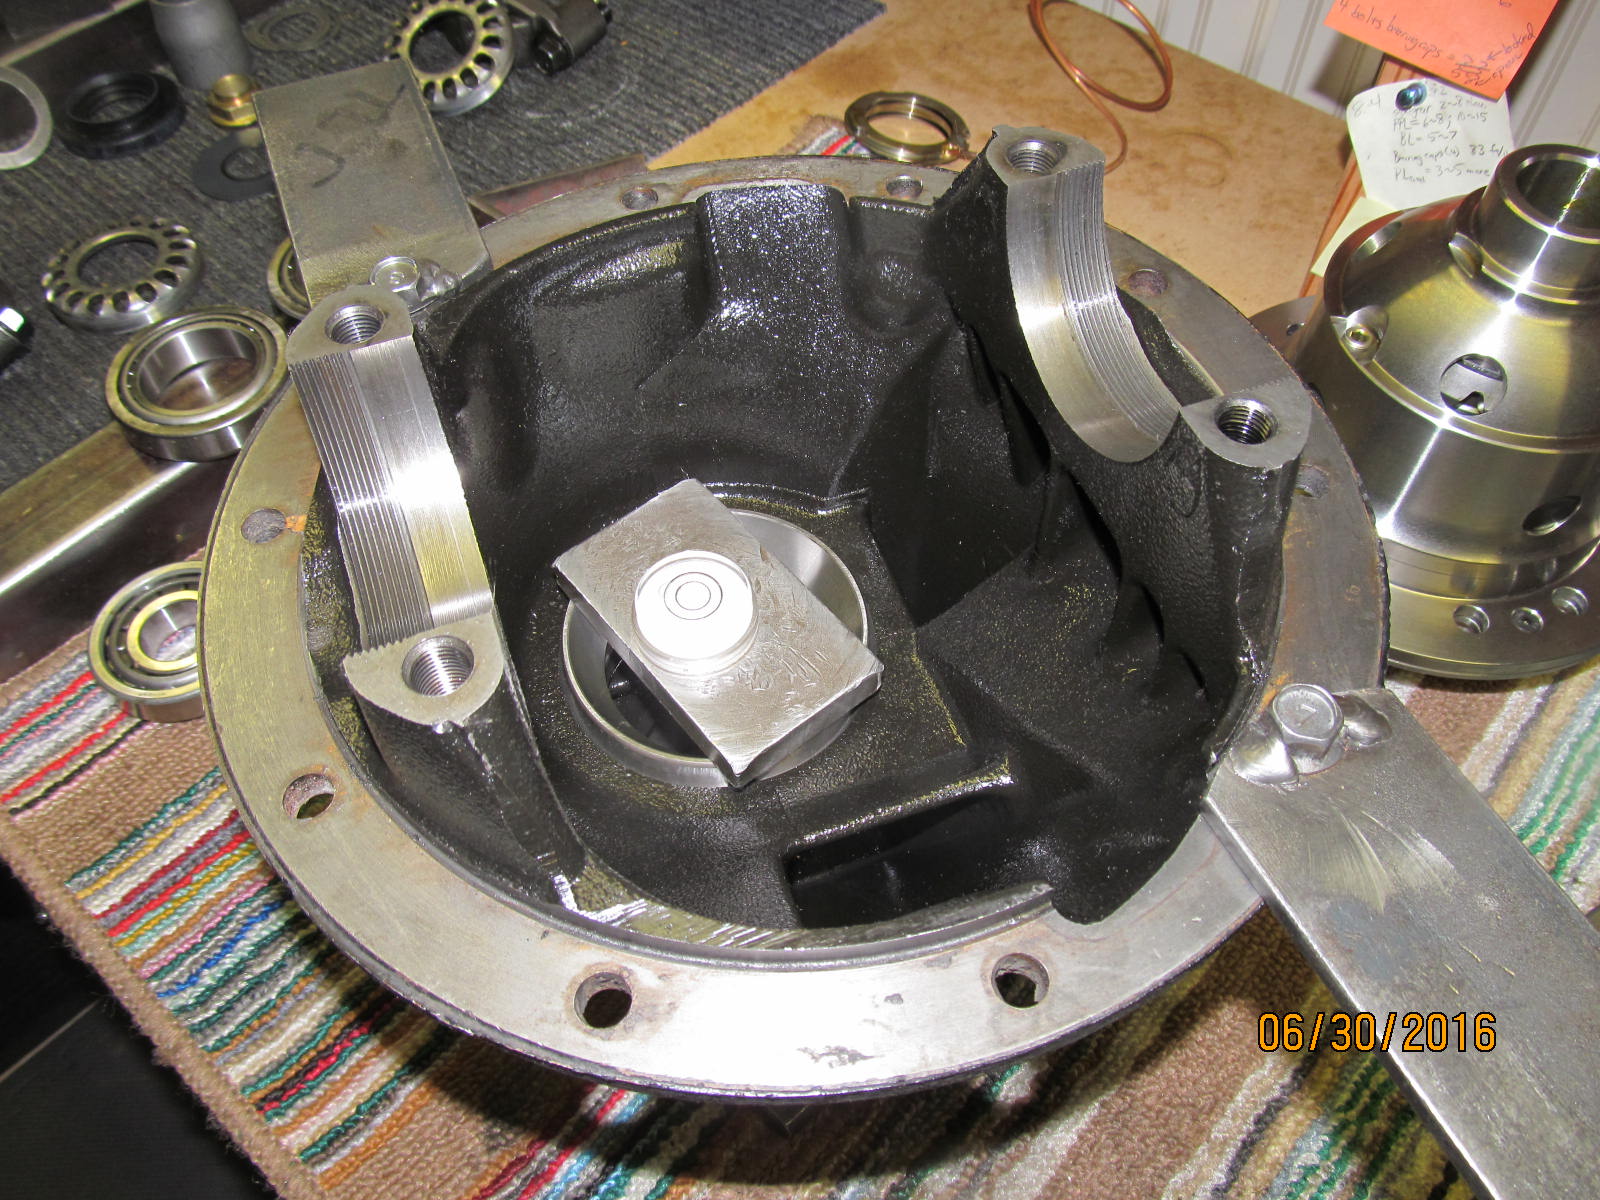
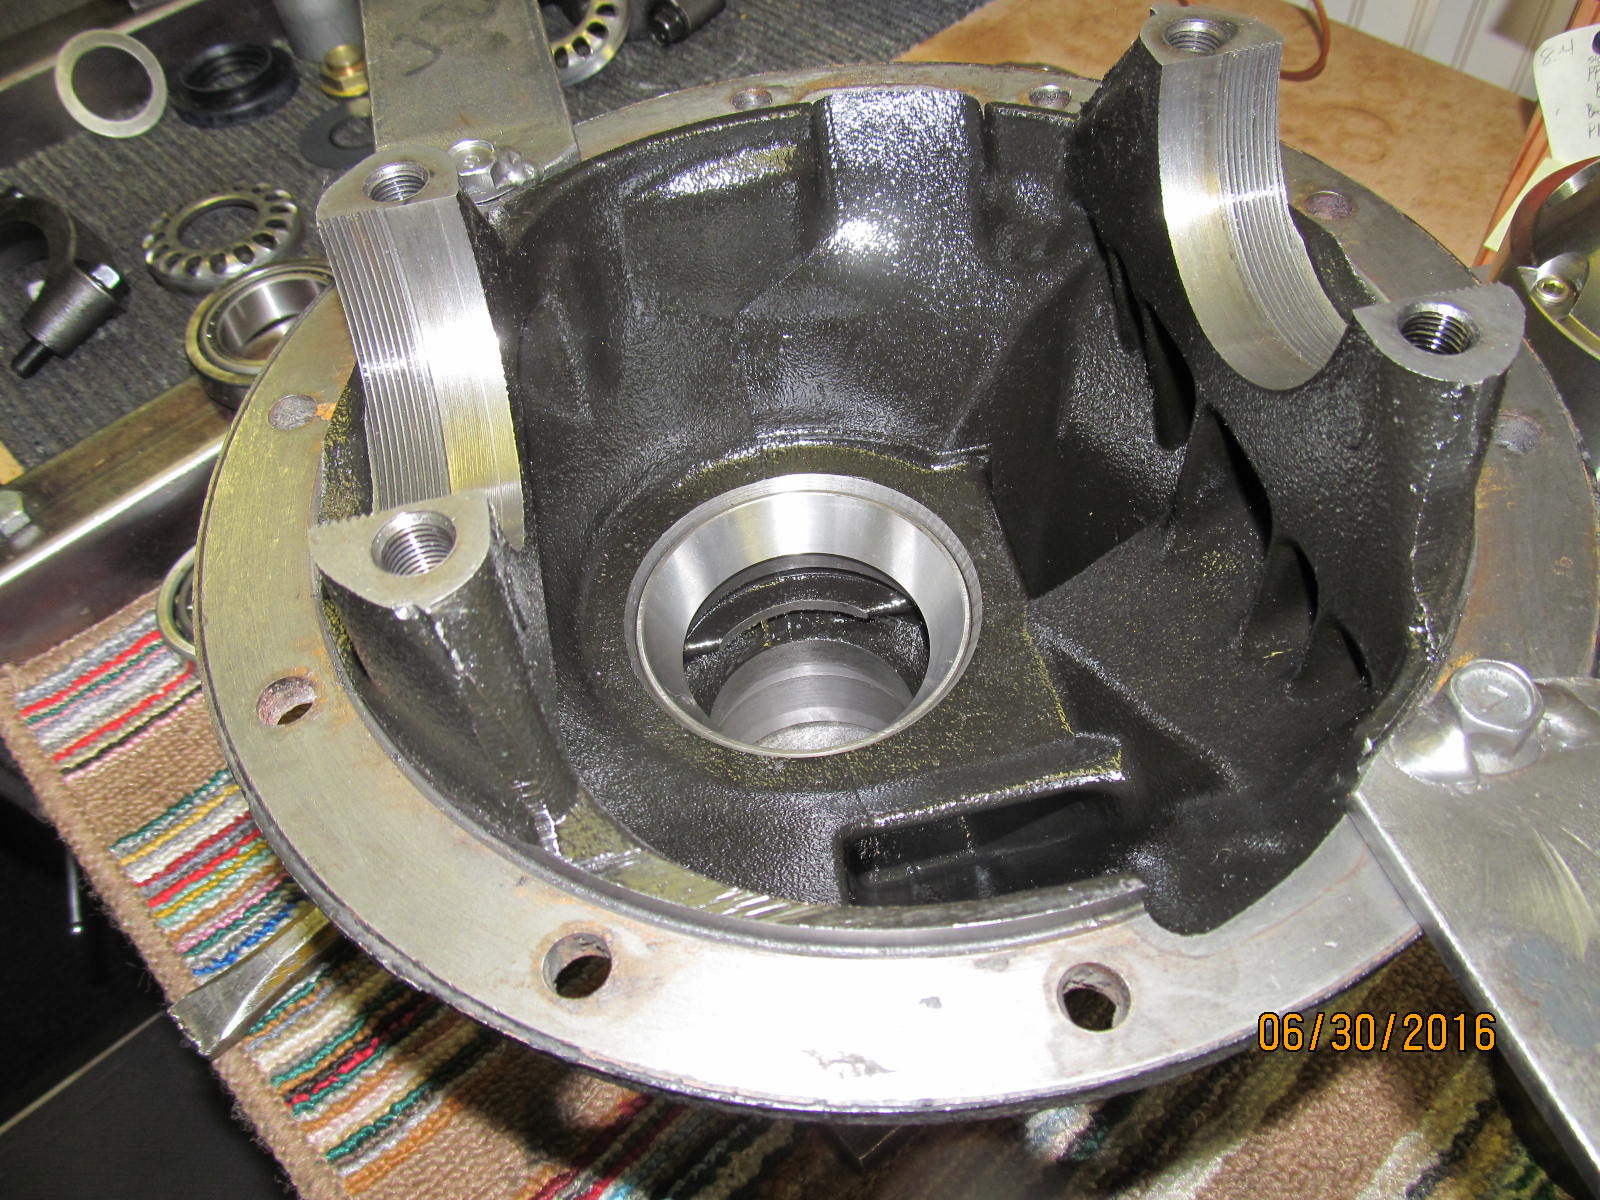
On to the arb....both surfaces were checked for high spots and all looked good.
|
|
|
|
|
I could have used the press.....it was a tight fit as is the case with almost all ARBs.
|
|
|
|
|
But, with a few dozen hits, it worked its way down. The 12 bolts were placed just perfect.
|
|
|
|
|
81 ft/lb and red locktight.
|
|
|
|
|
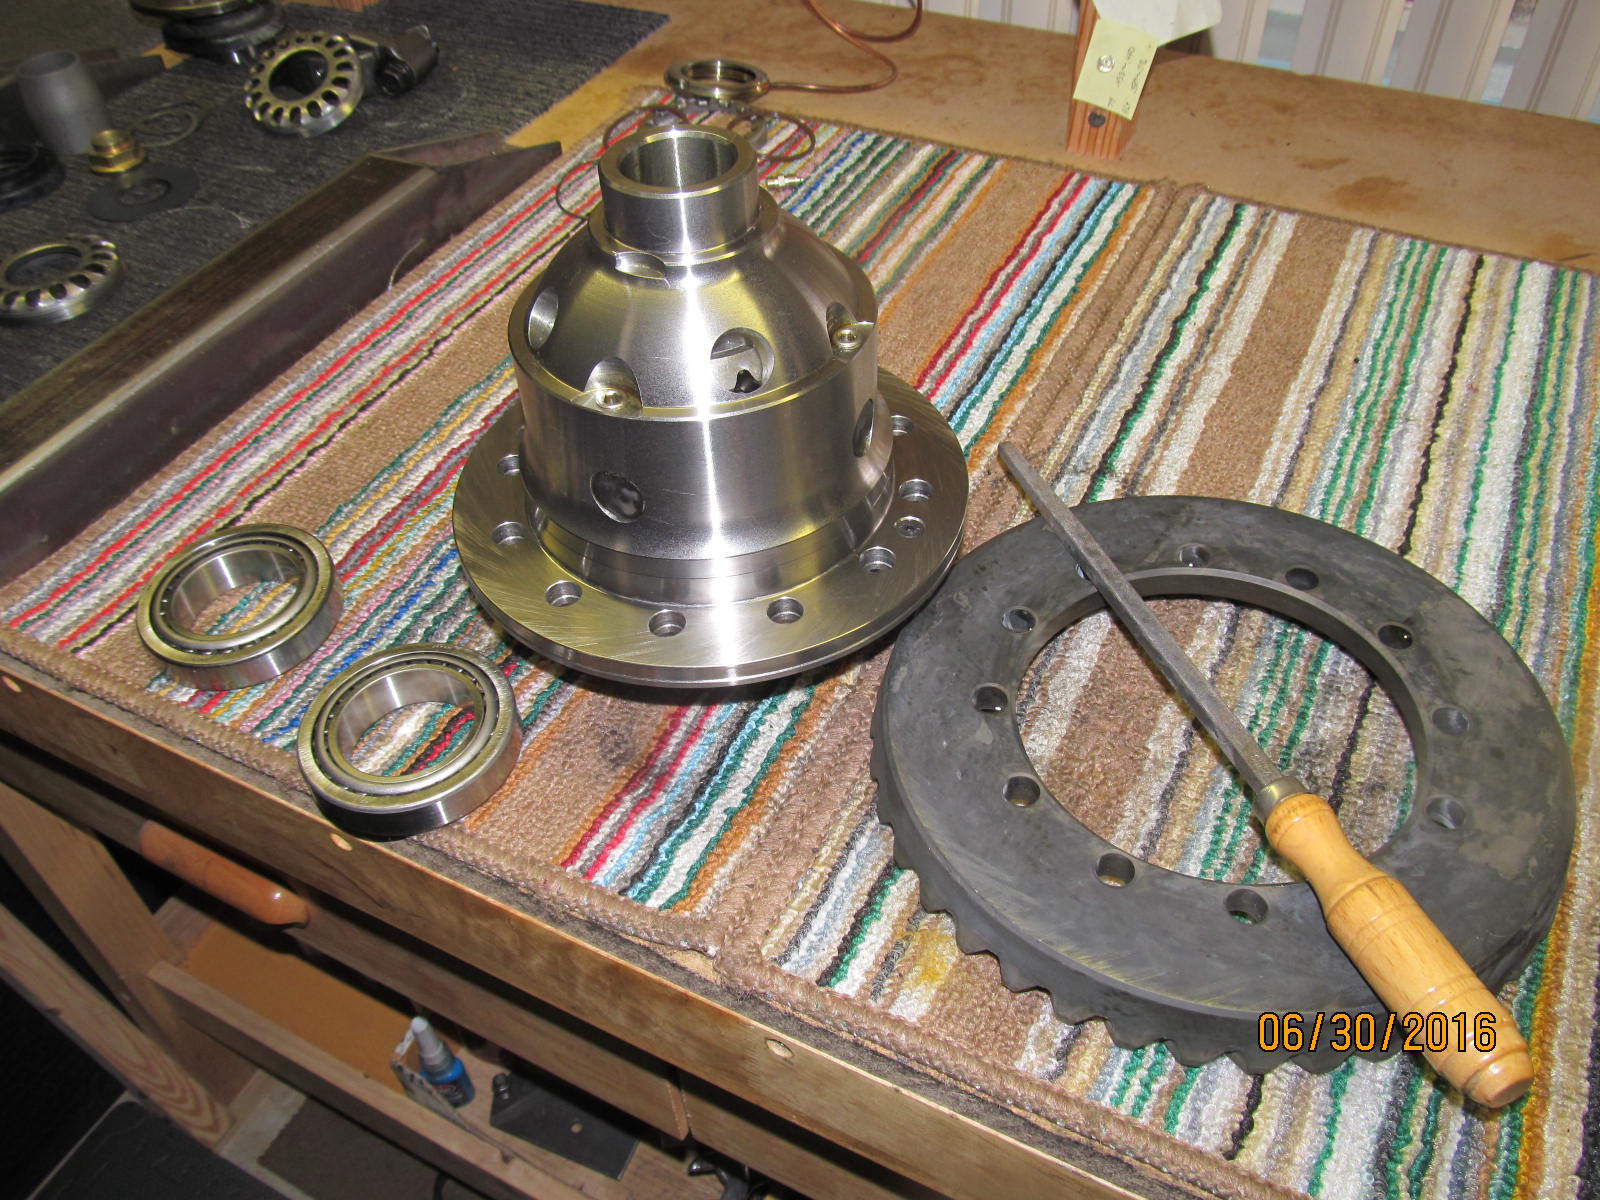
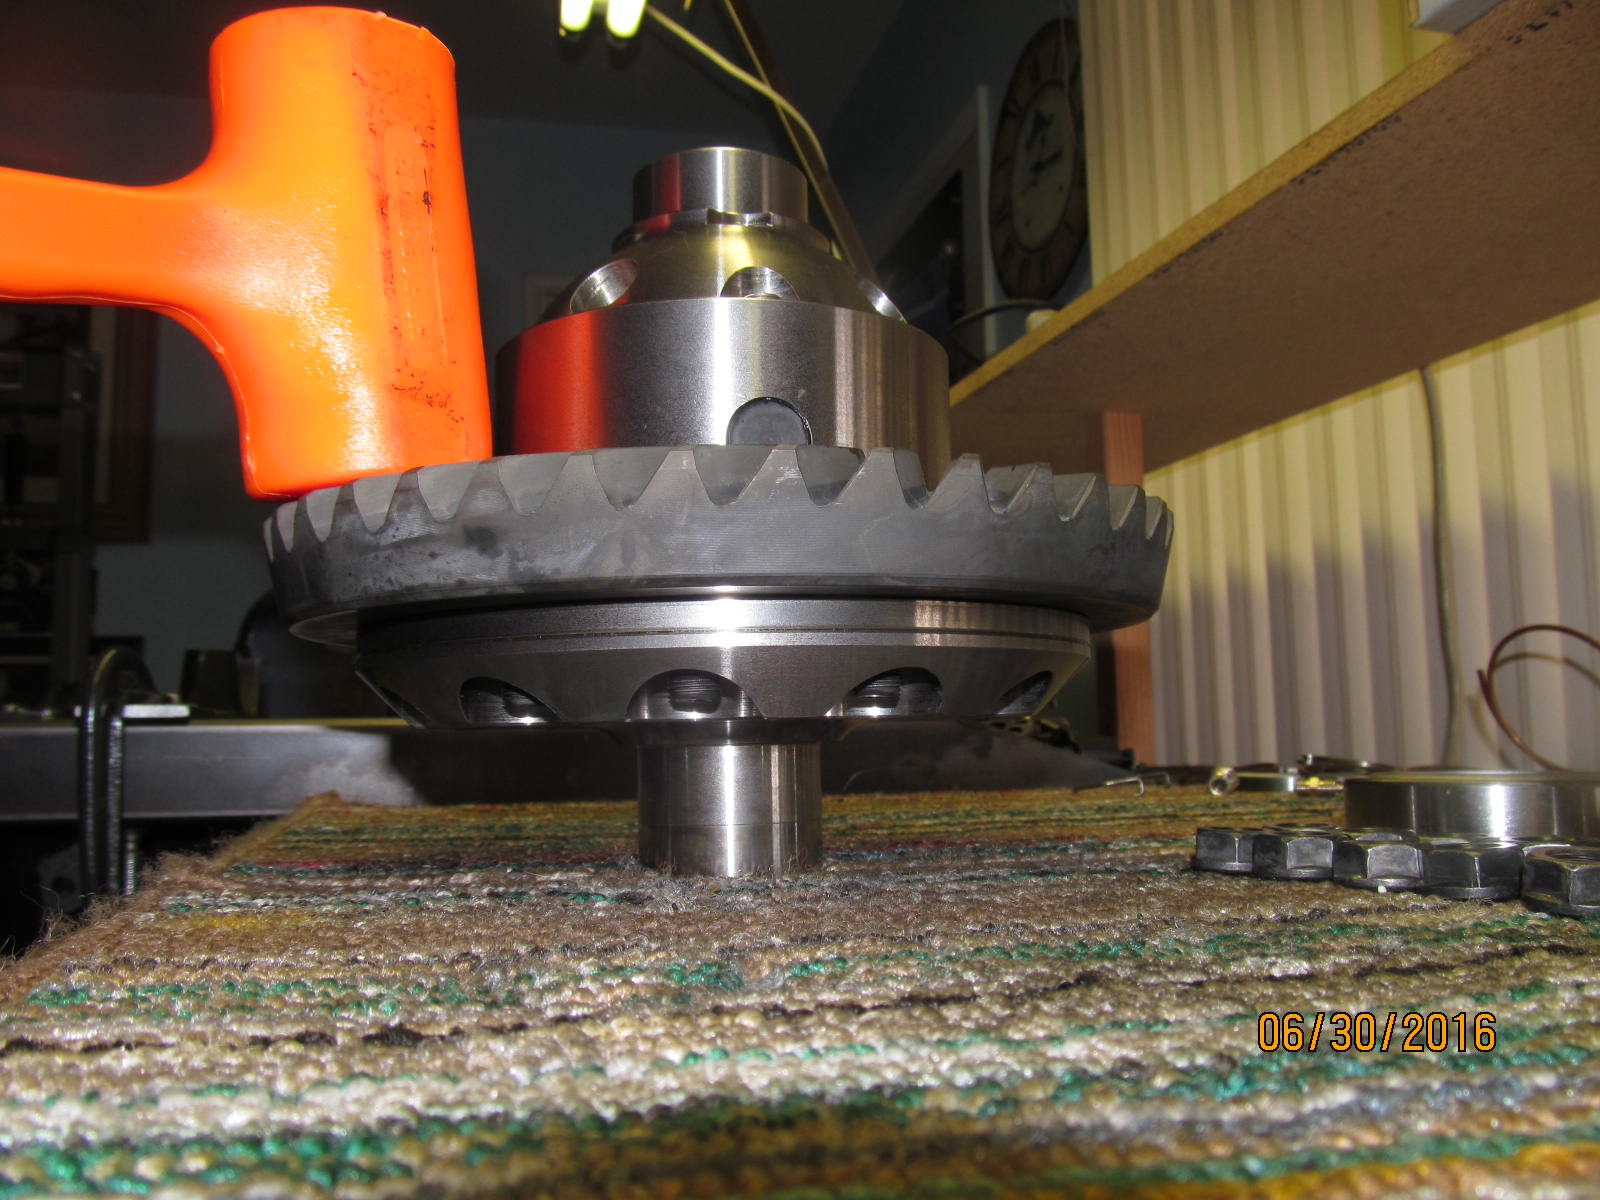
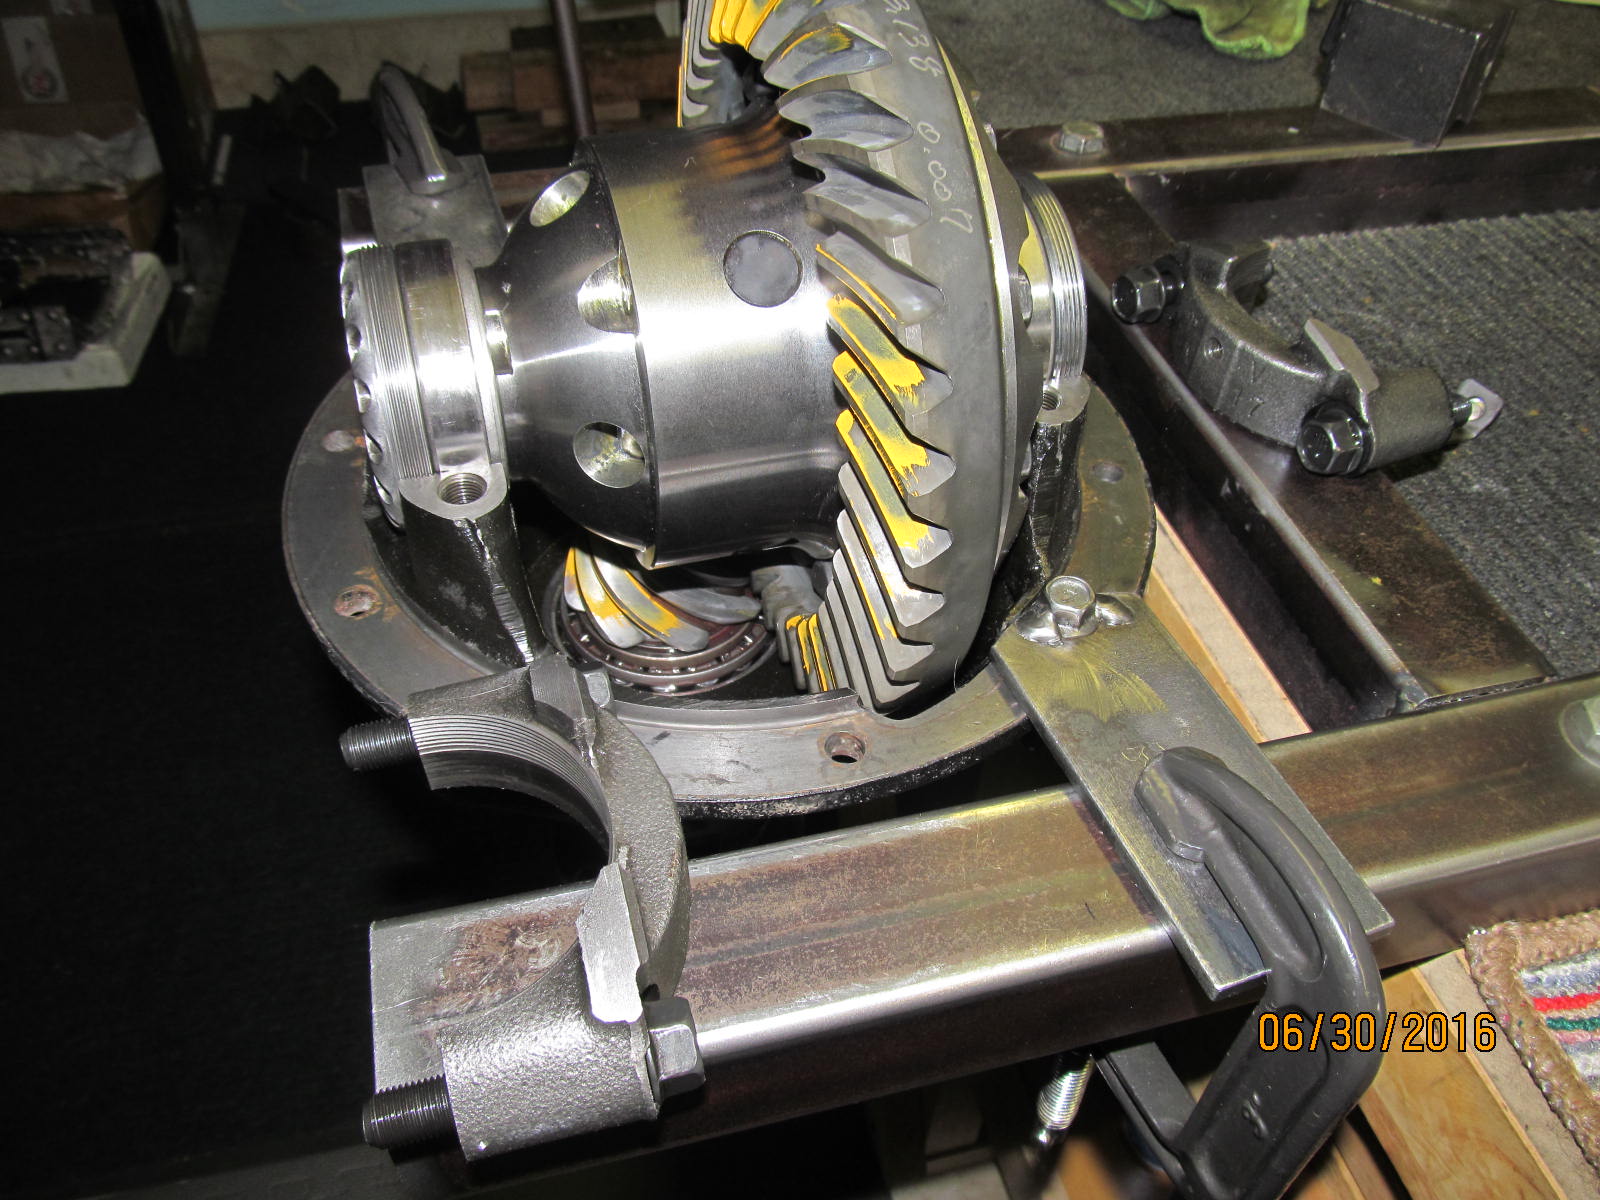
Carrier bearings were a nice tight fit but went on smoothly with the press.
|
|
|
|
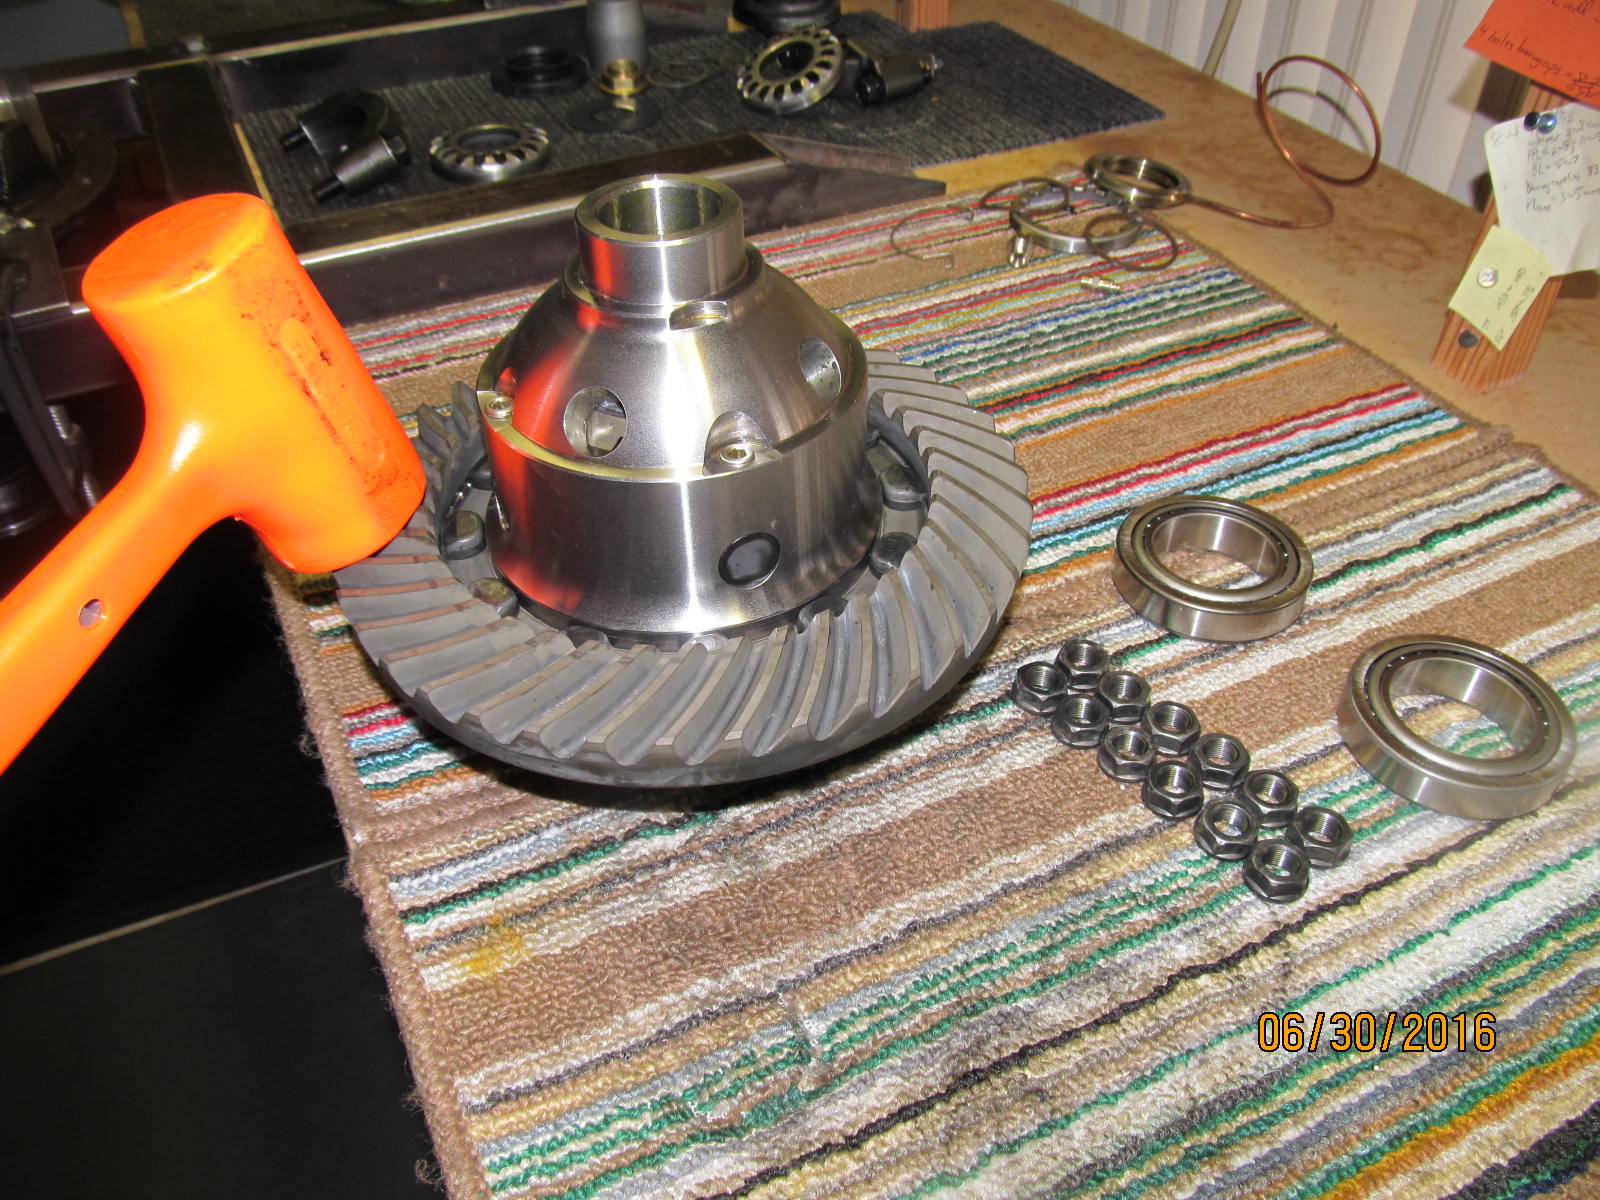
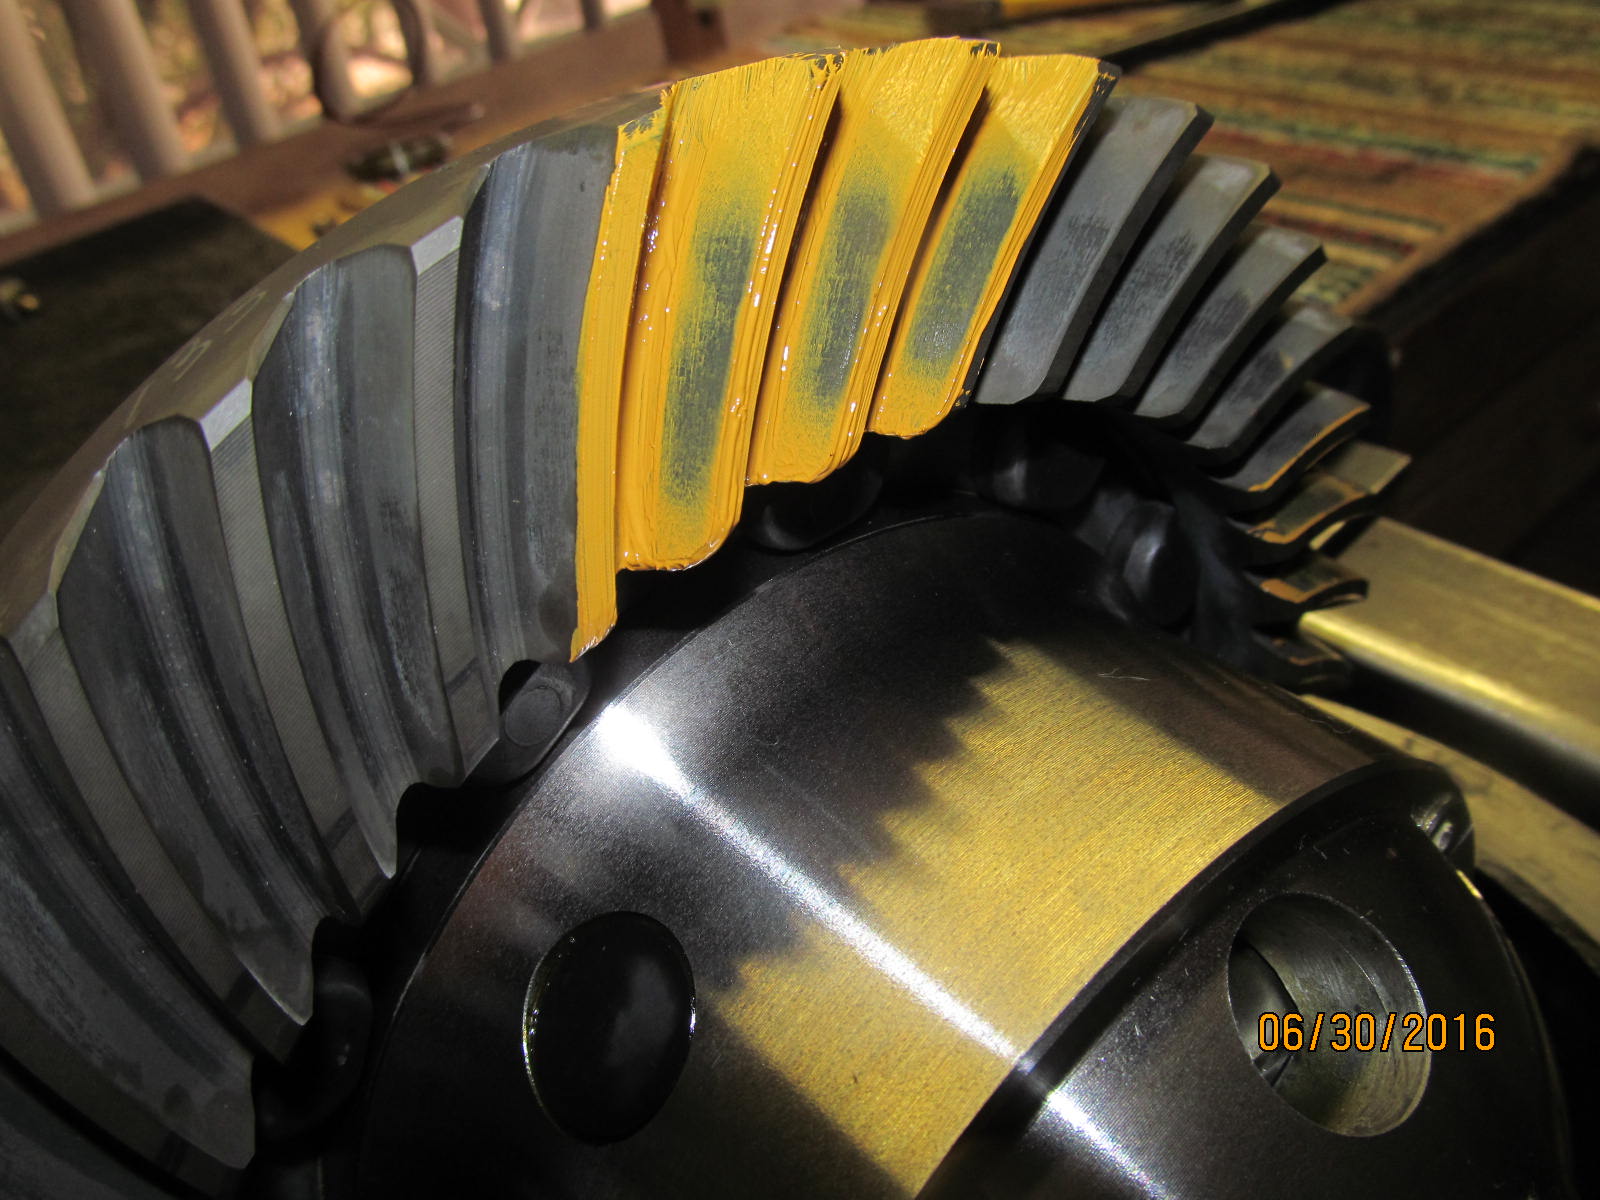
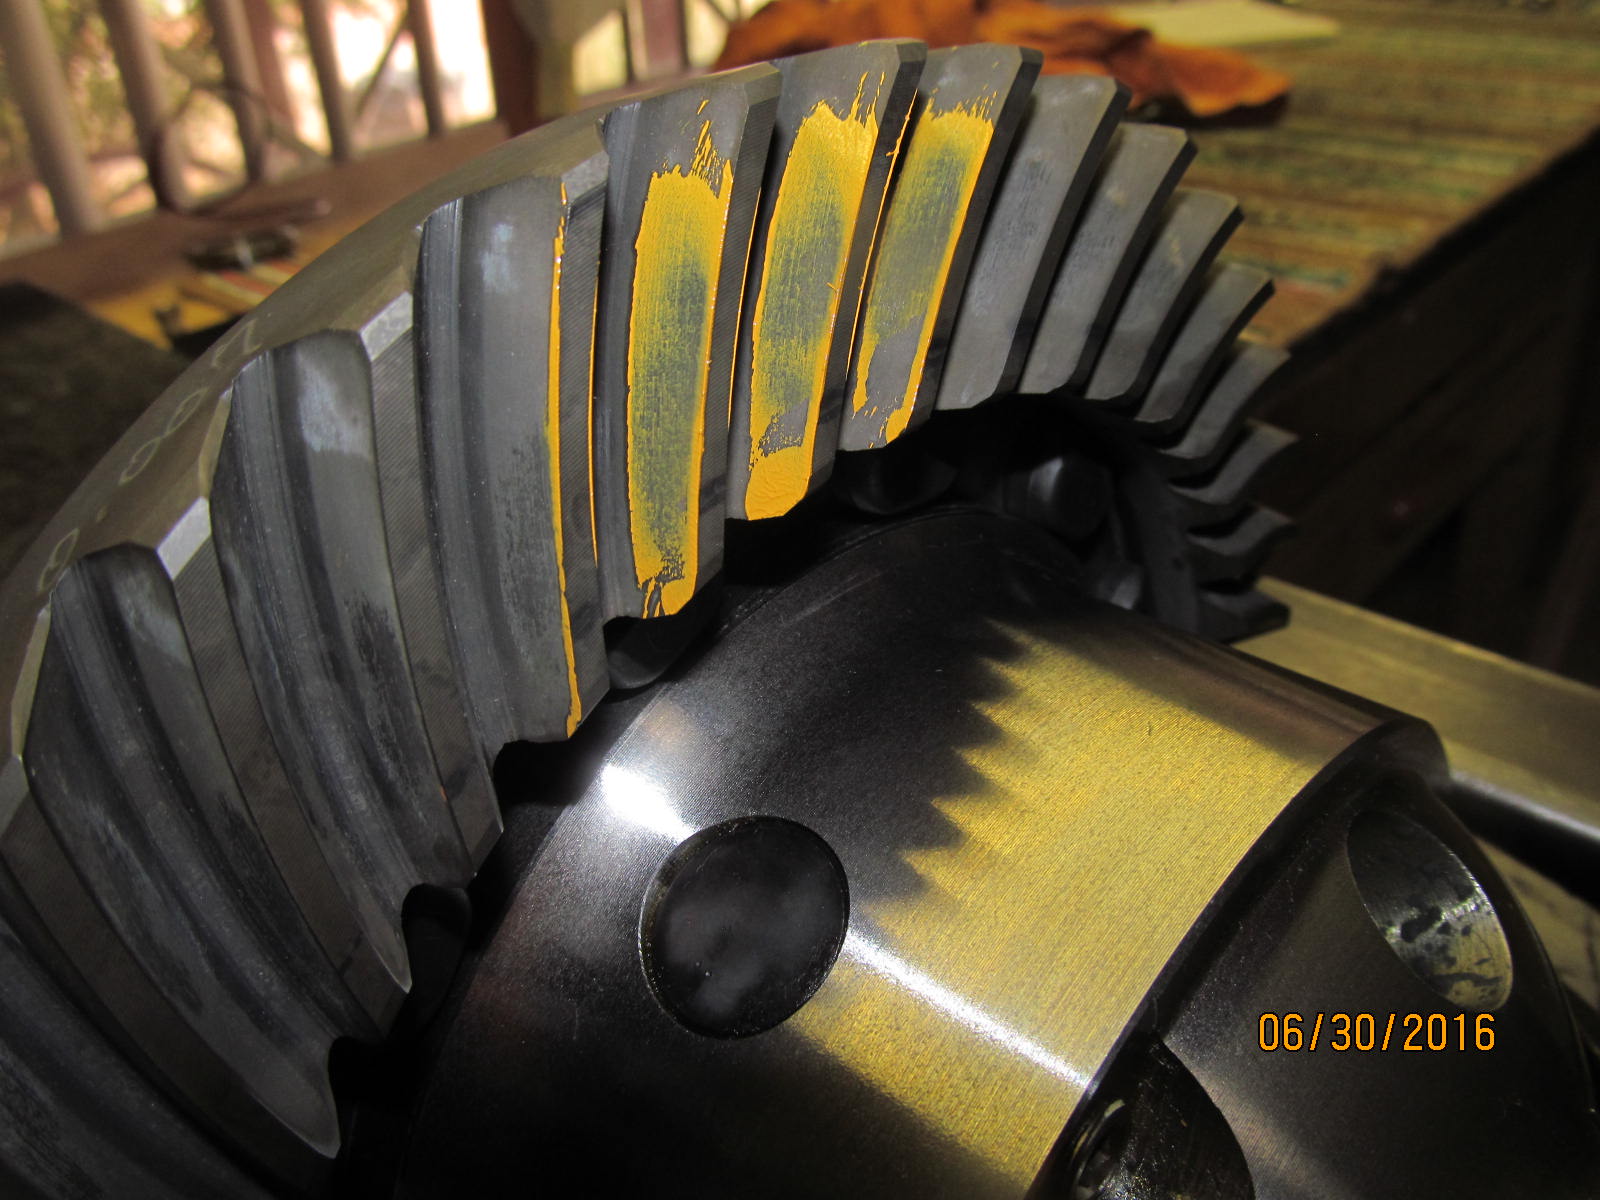
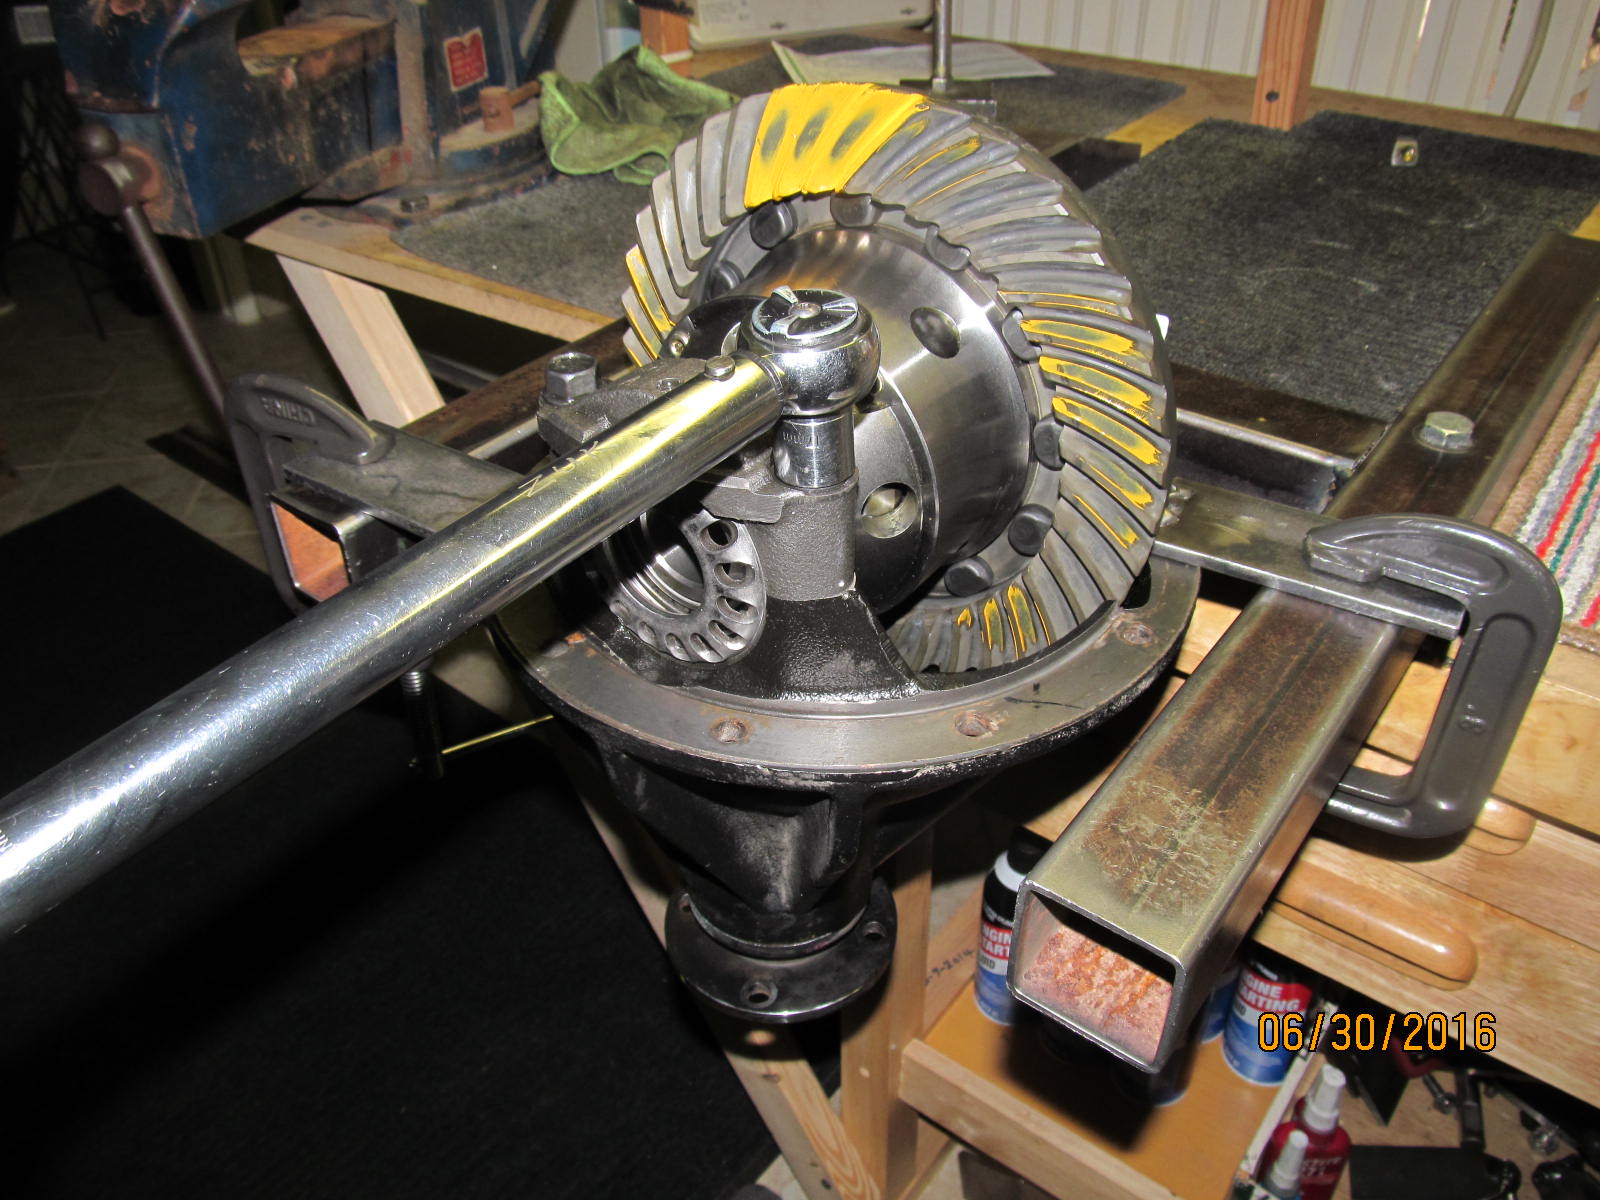
Skipped a few pics but basically put the ARB case in....snugged the carrier bearings up.....got the
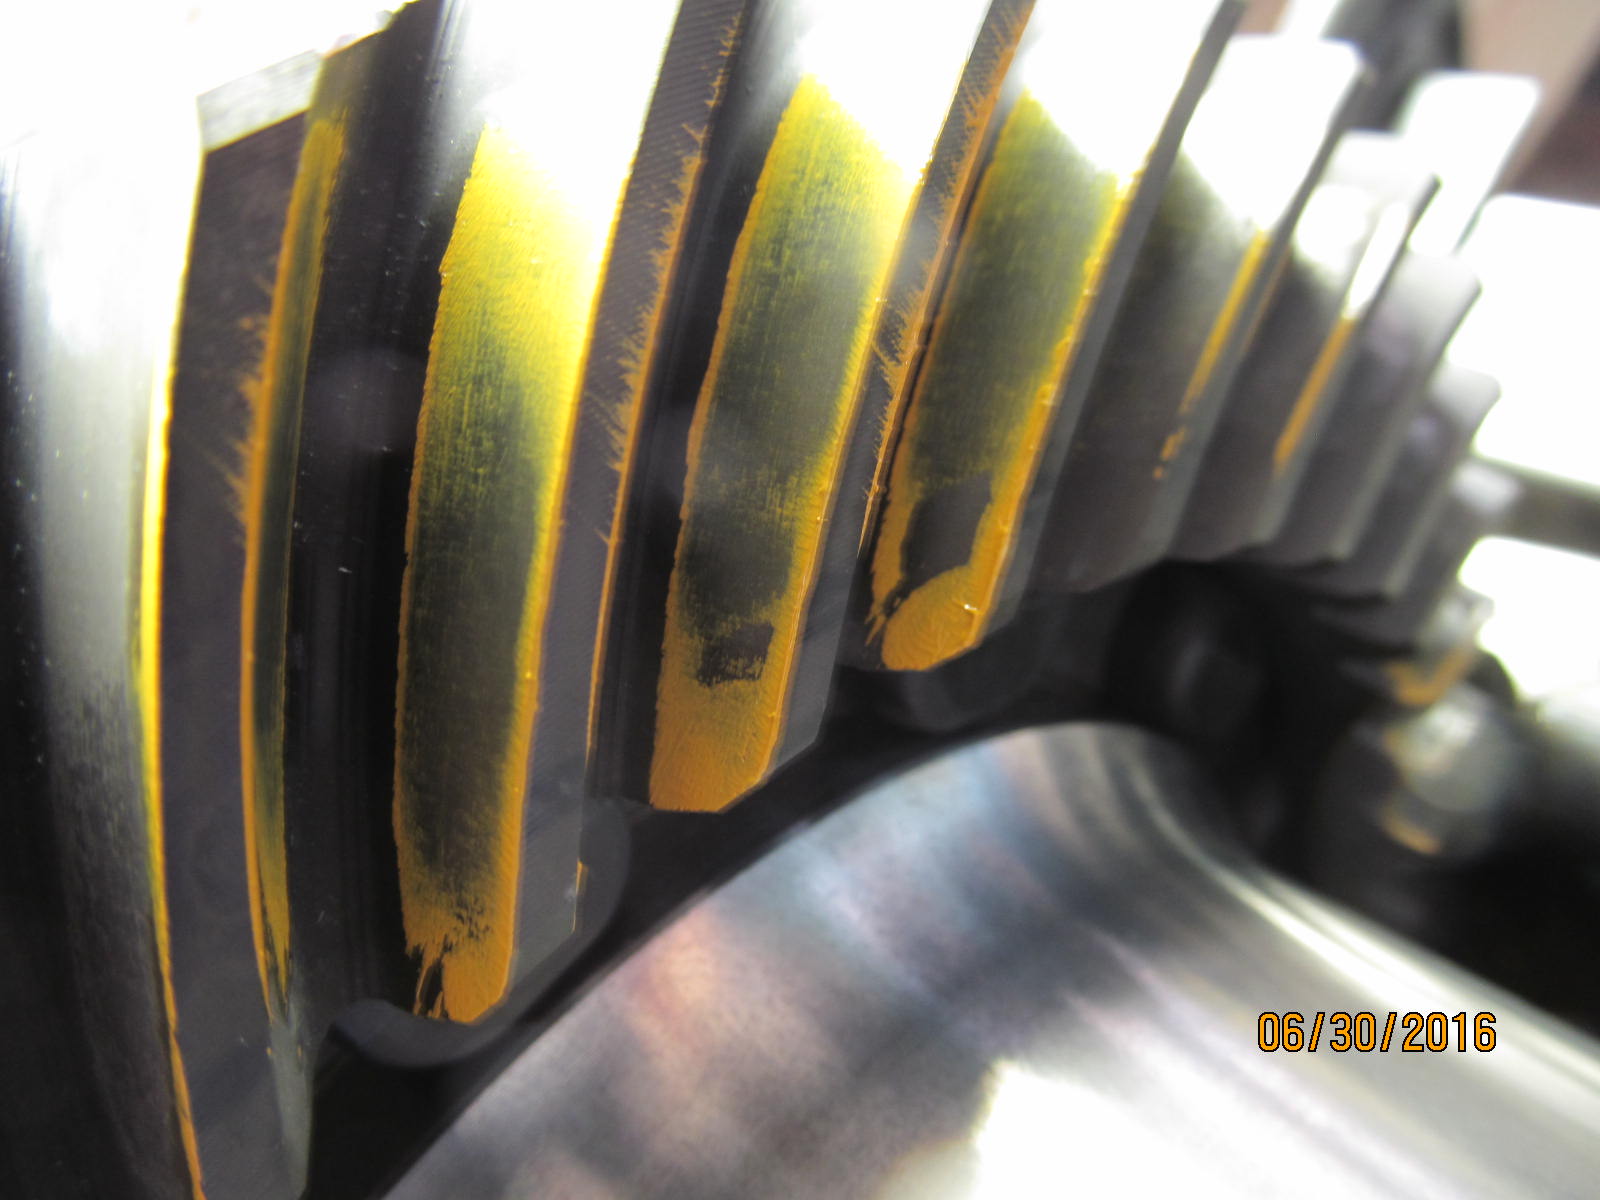
backlash set to about .007". As shown above the drive side pattern is a bit shallow.
|
|
|
|
|
Coast agrees.
|
|
|
|
|
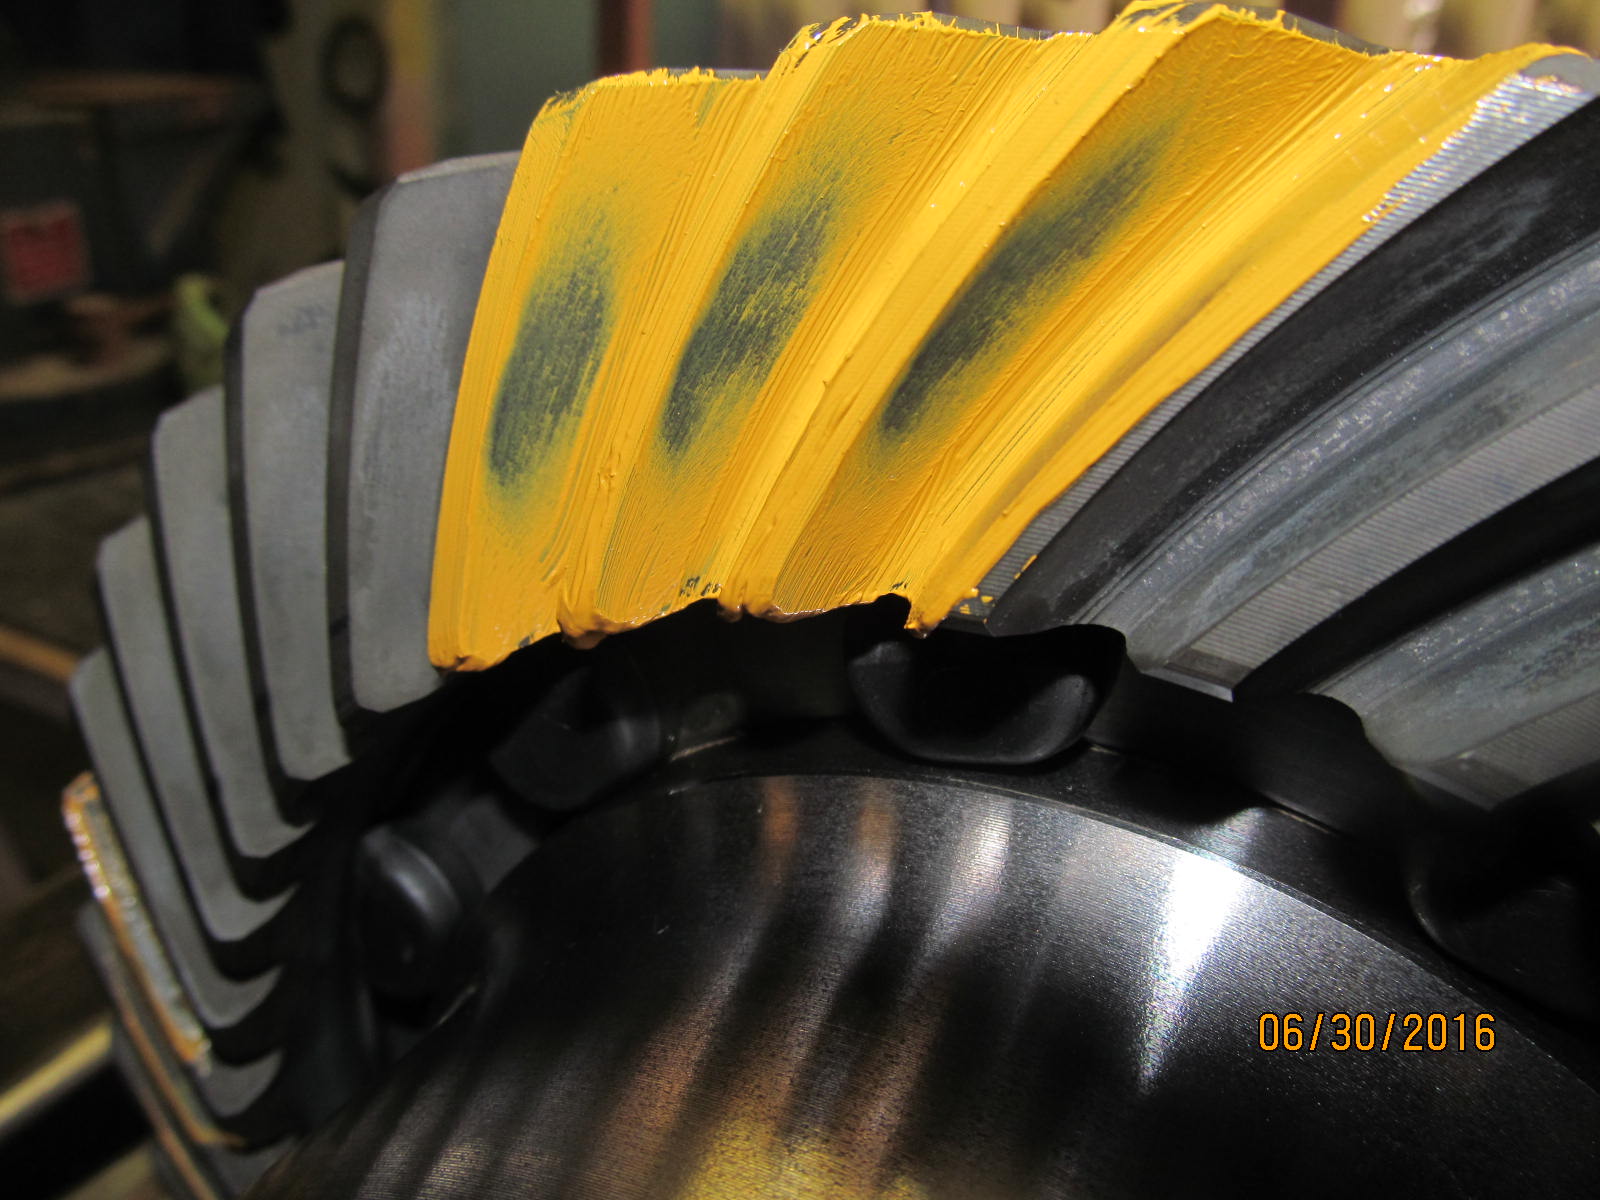
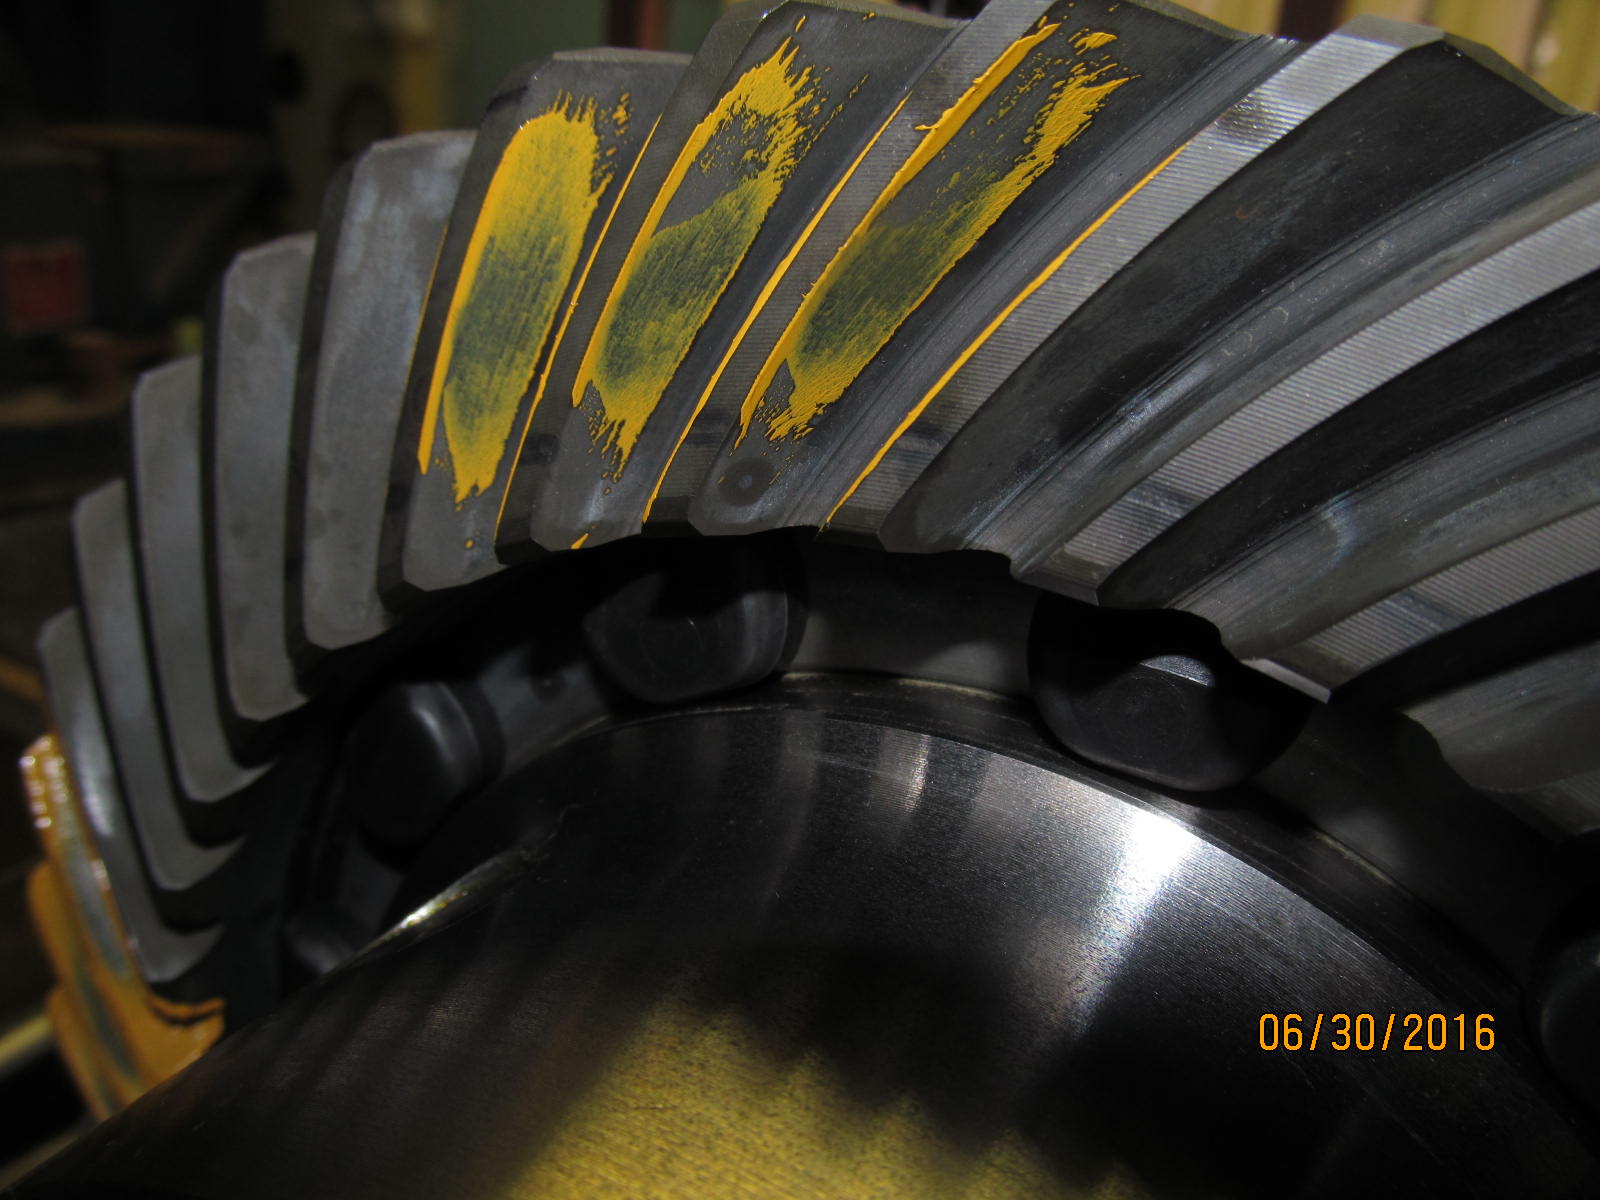
Drive side on a reverse painted tooth makes it more obvious that it is shallow and favors the edge.
|
|
|
|
|
,,,,,,,,,,,,,,,,,,,,,,,
|
|
|
|
|
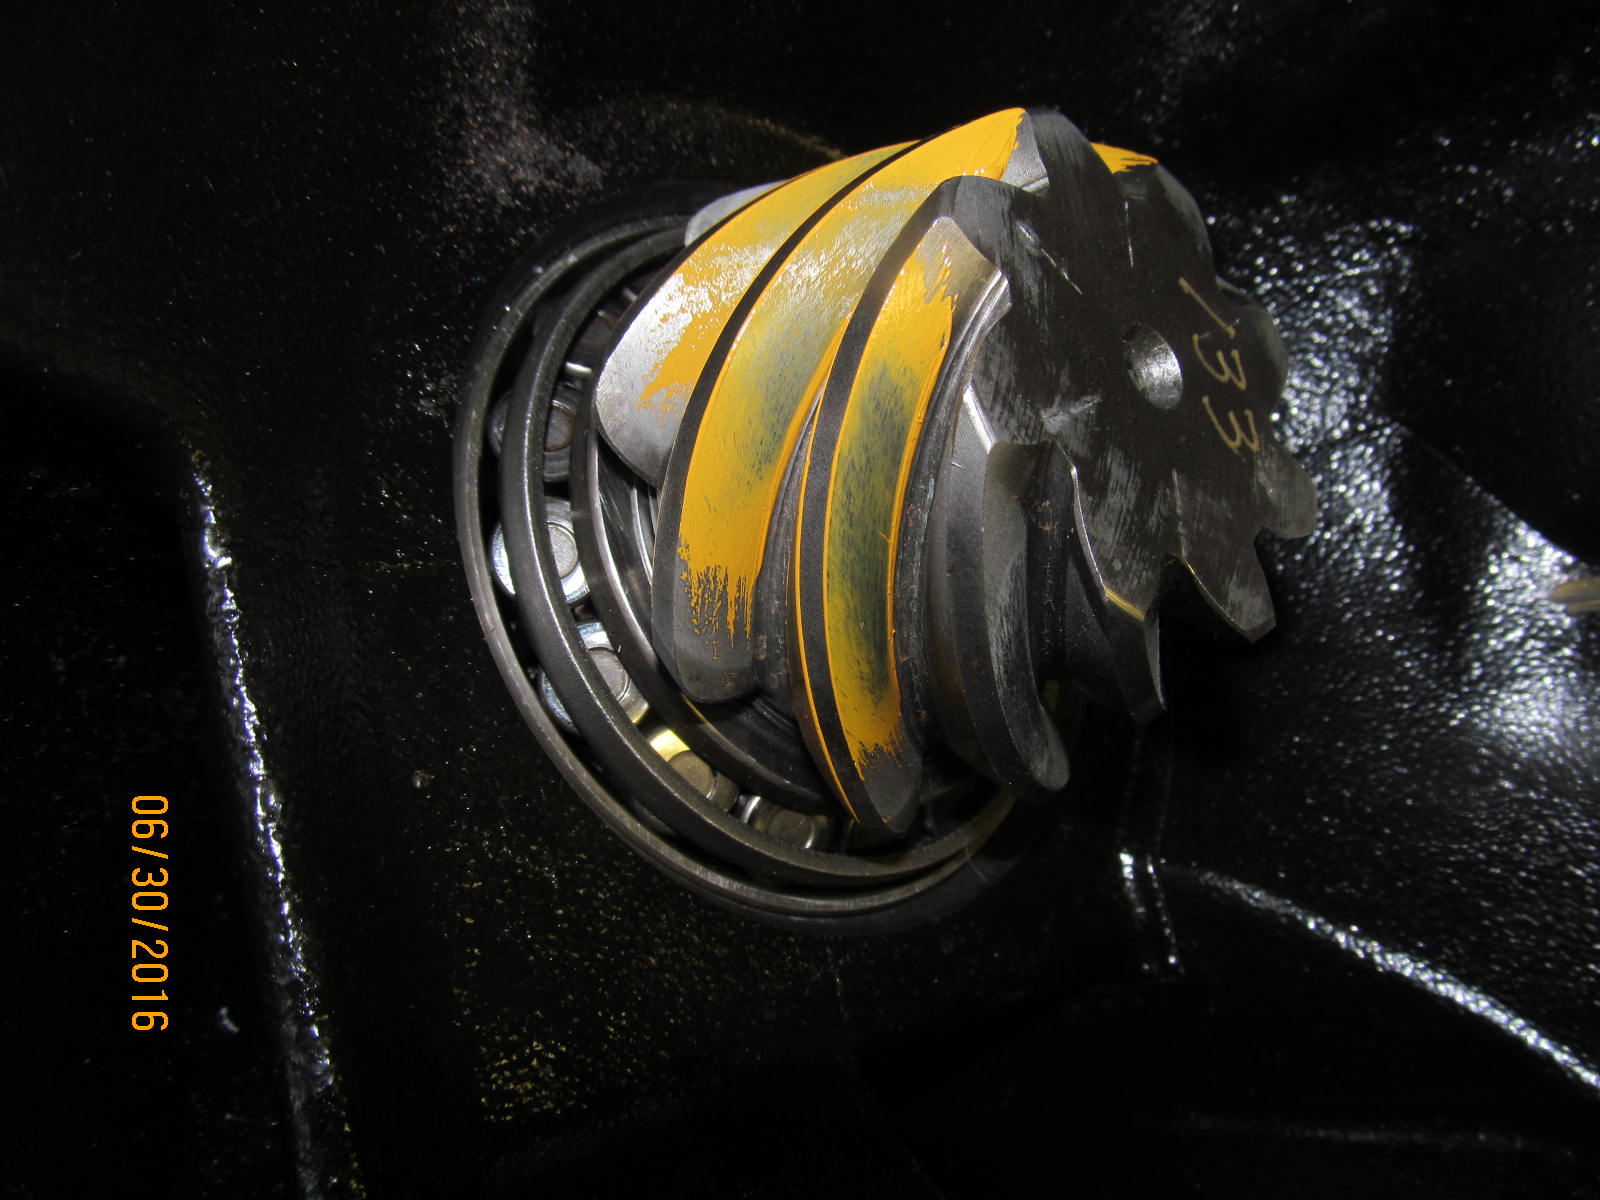
Drive side on the pinion tooth....shows the lower comet tail is tucked into the root too hard.
|
|
|
|
|
,,,,,,,,,,,,,,,,,,,,,,,
|
|
|
|
|
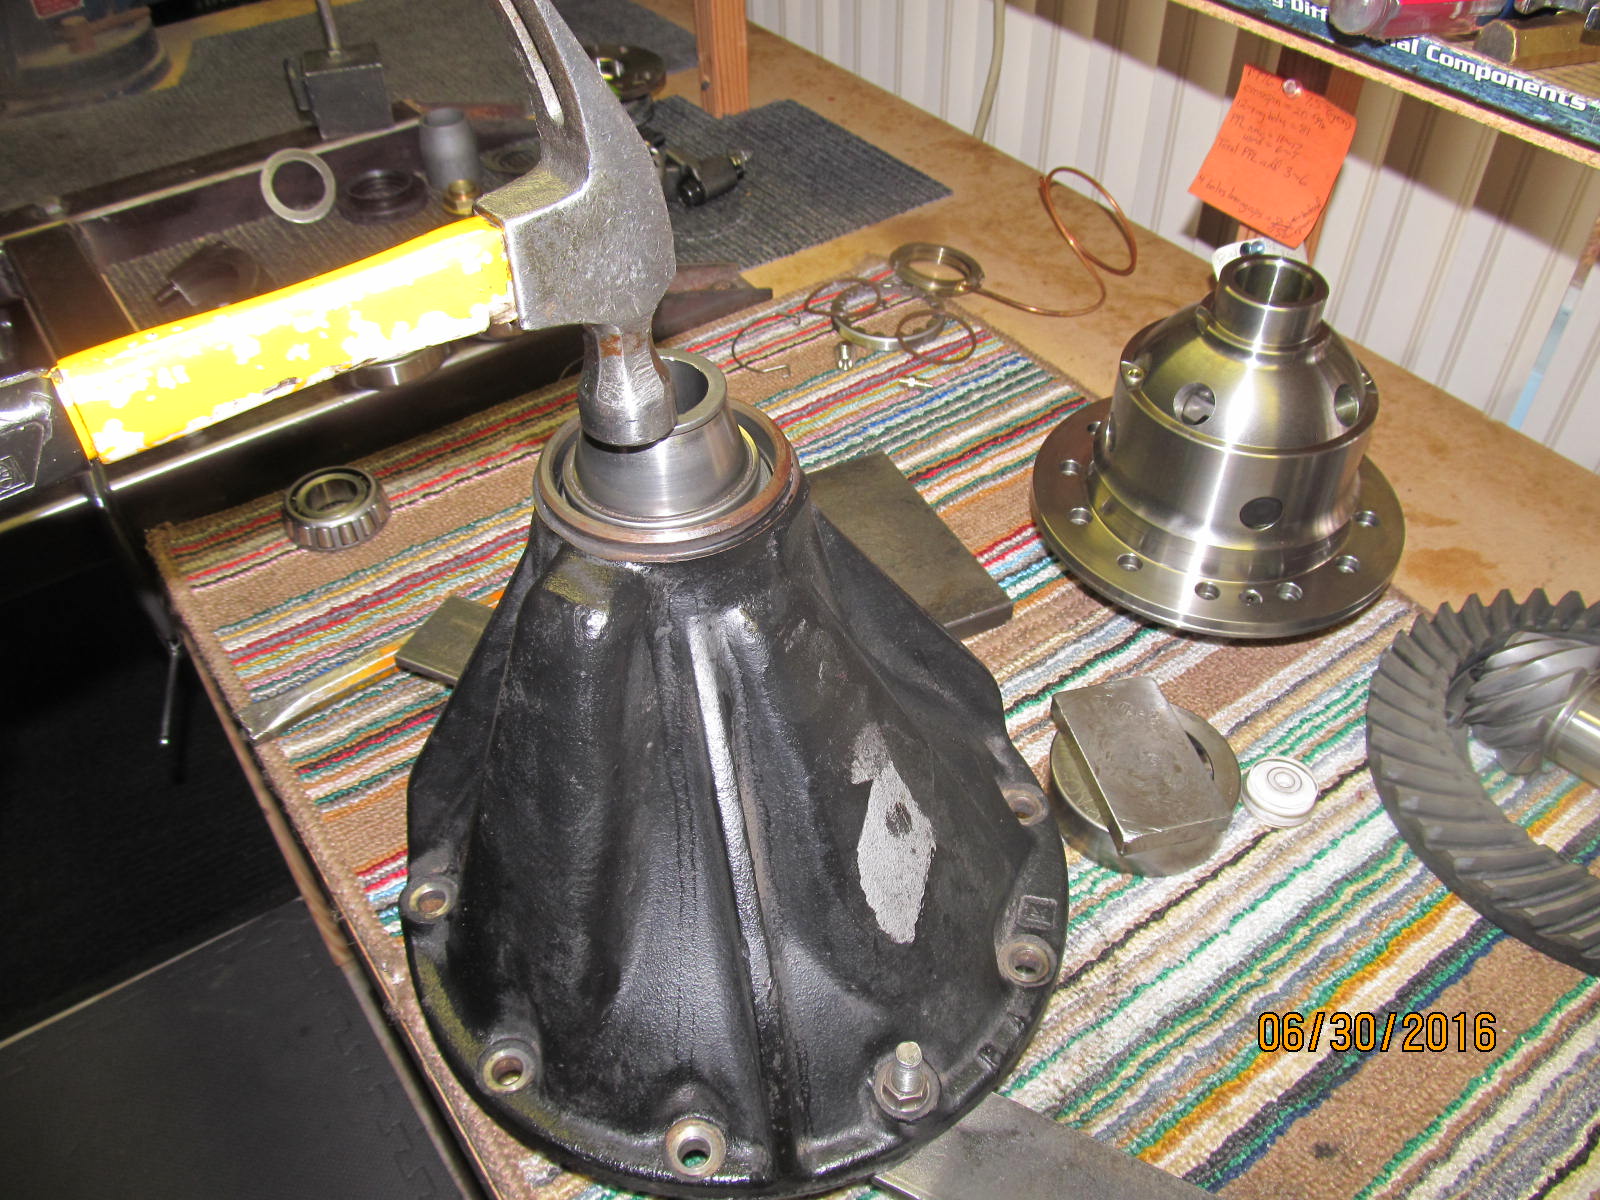
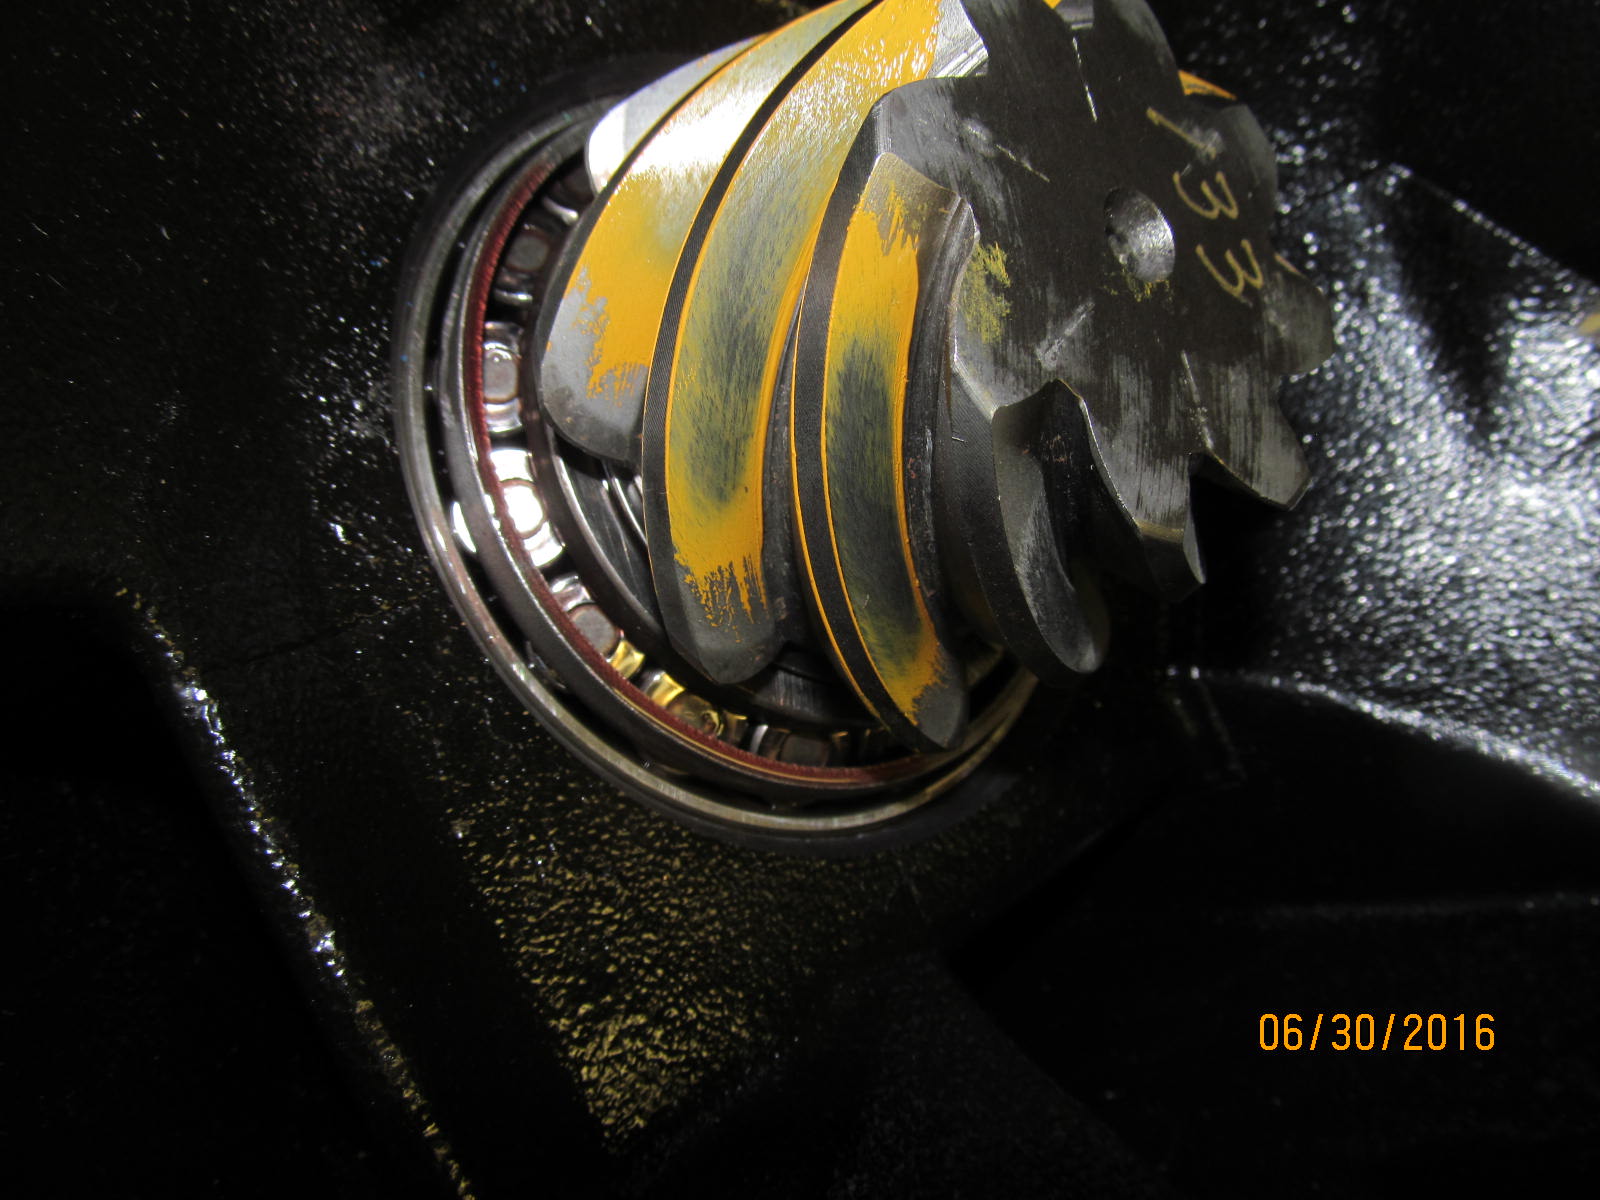
So, tear it back down.....off with the pinion bearing.
|
|
|
|
|
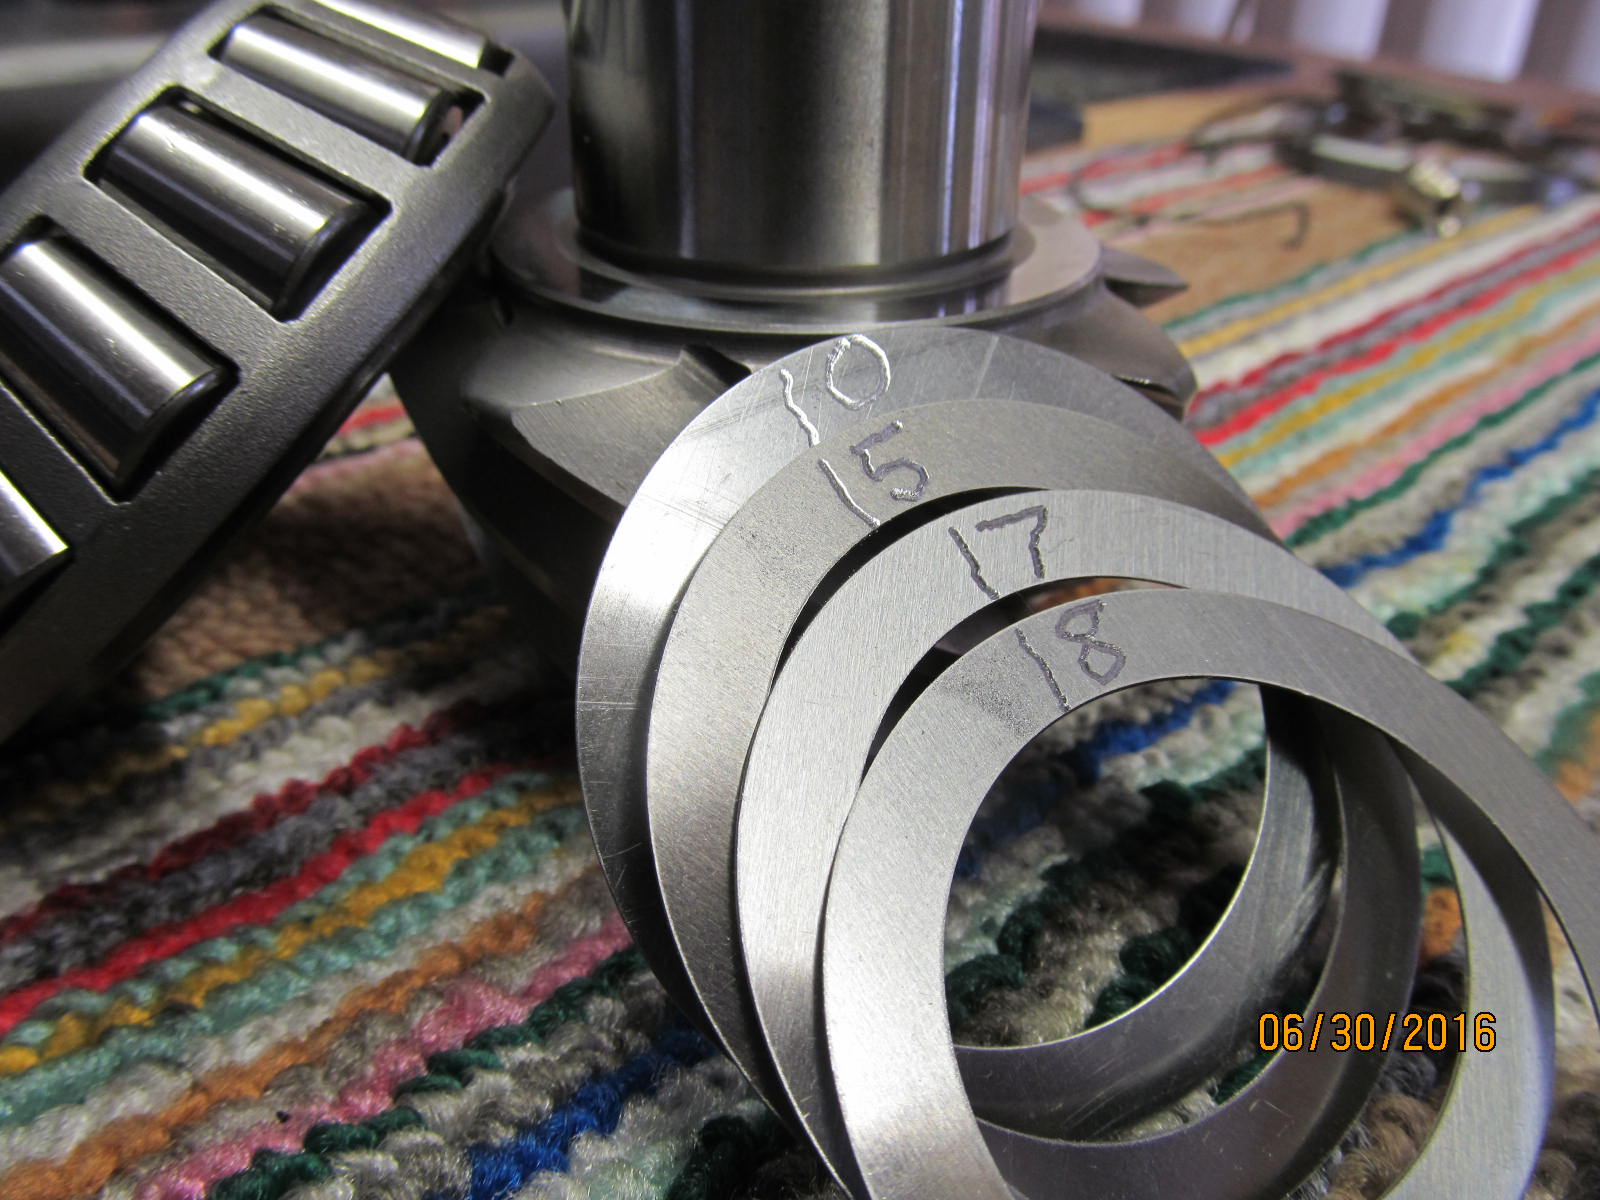
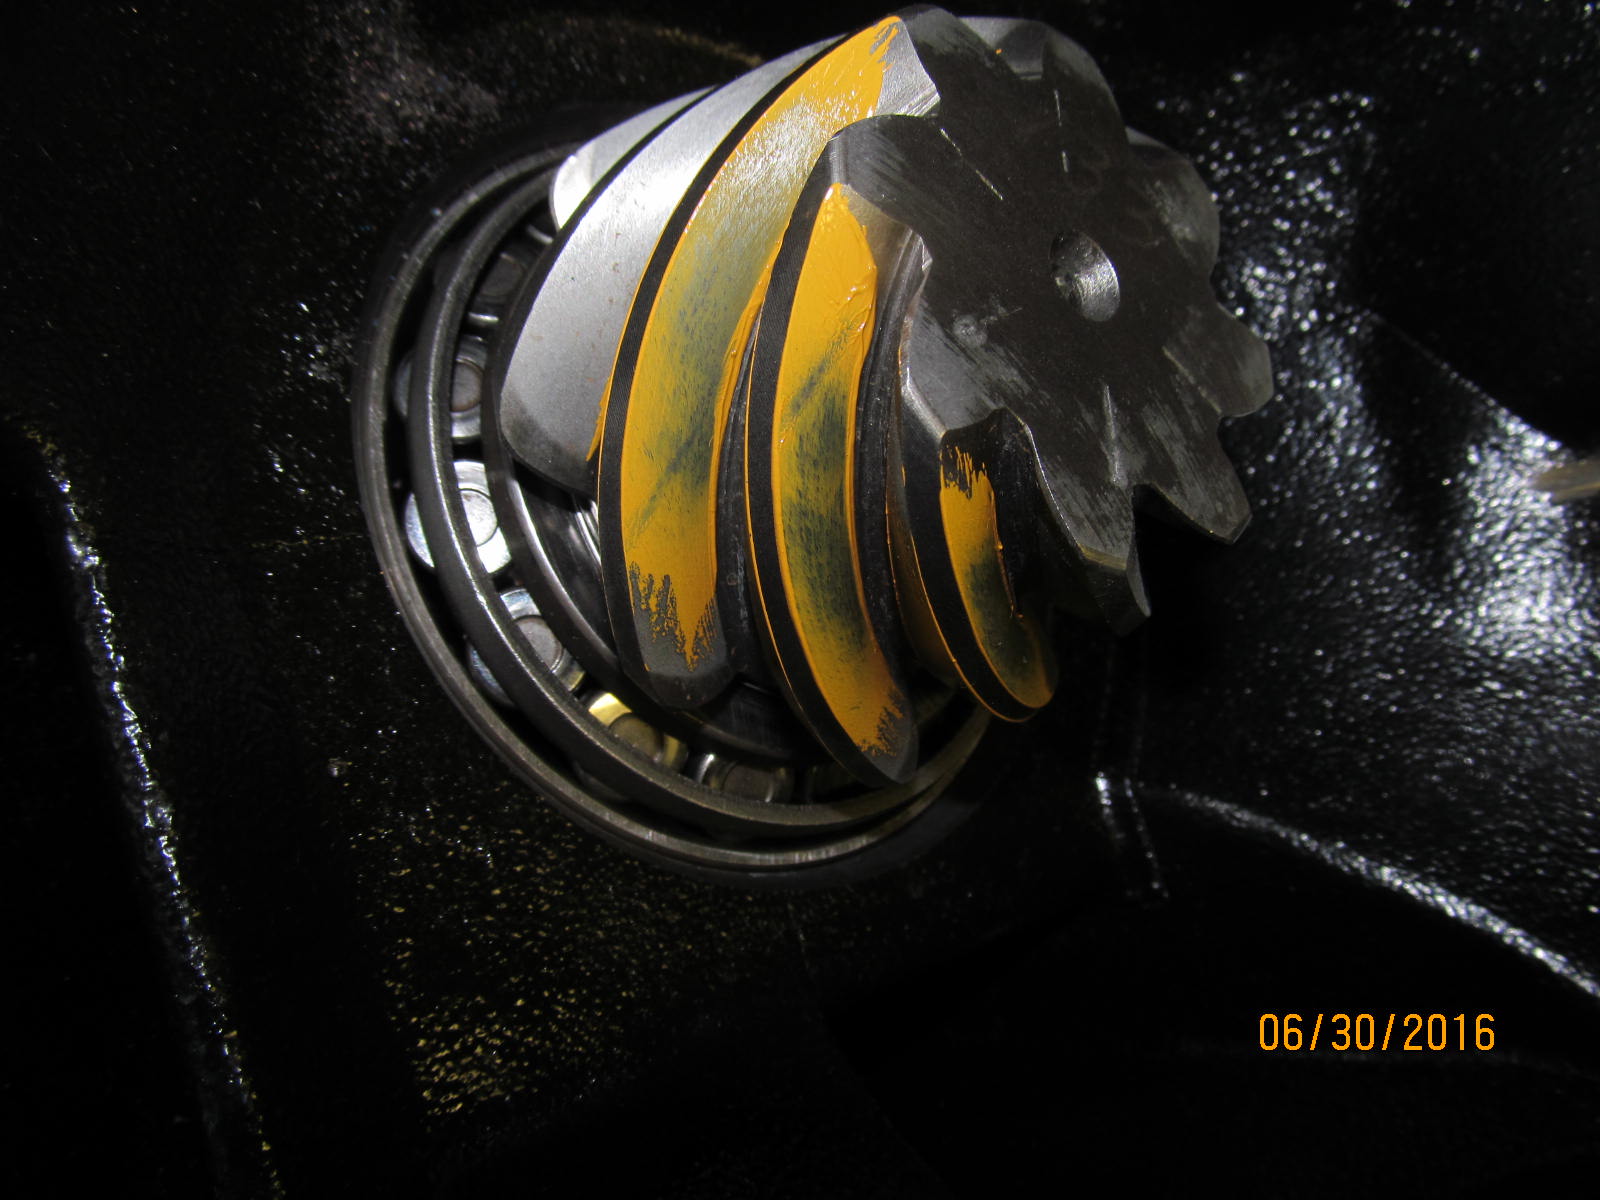
And this time, the solid collar is inserted and on the 3rd try a .046" shim was the winner.
|
|
|
|
|
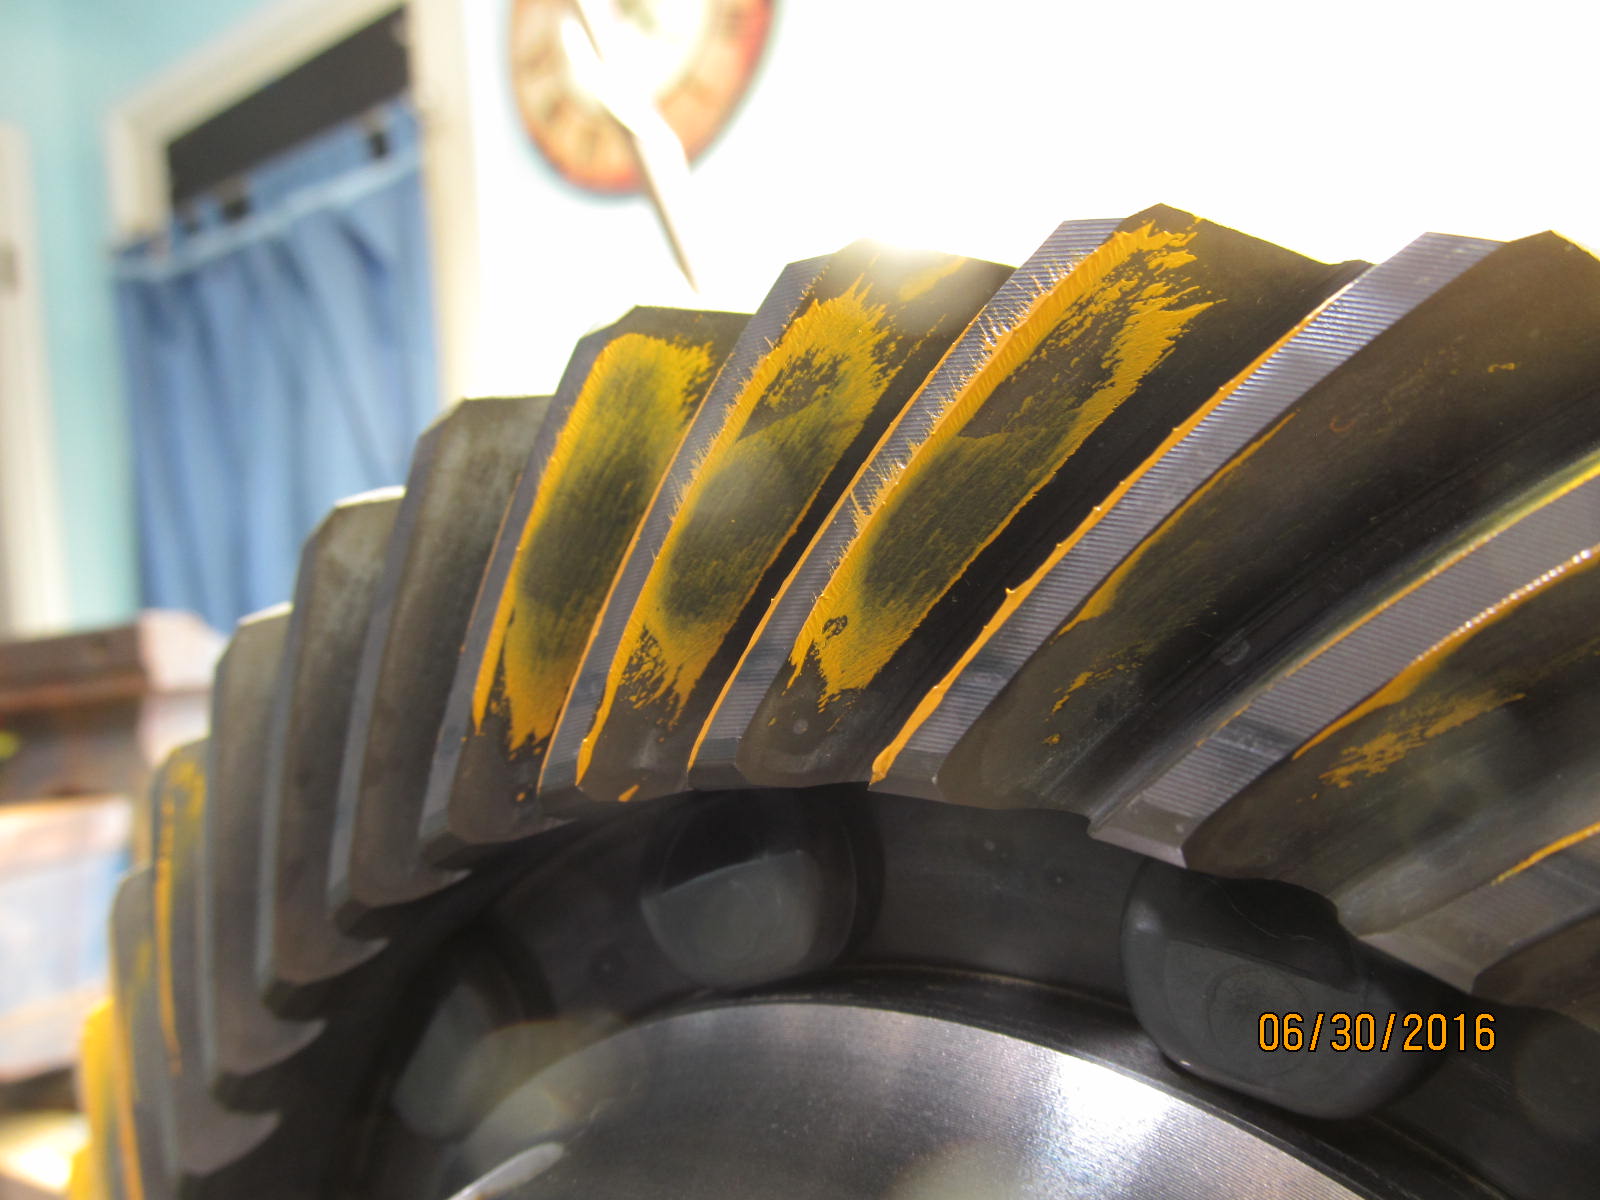
Just .003" deeper and it looks so much better. This is exact depth.
|
|
|
|
|
,,,,,,,,,,,,,,,,,,,,,,
|
|
|
|
|
,,,,,,,,,,,,,,,,,,,,,,,,,,
|
|
|
|
|
,,,,,,,,,,,,,,,,,,,,,,
|
|
|
|
|
The comet tail is shifting out to center a bit.
|
|
|
|
|
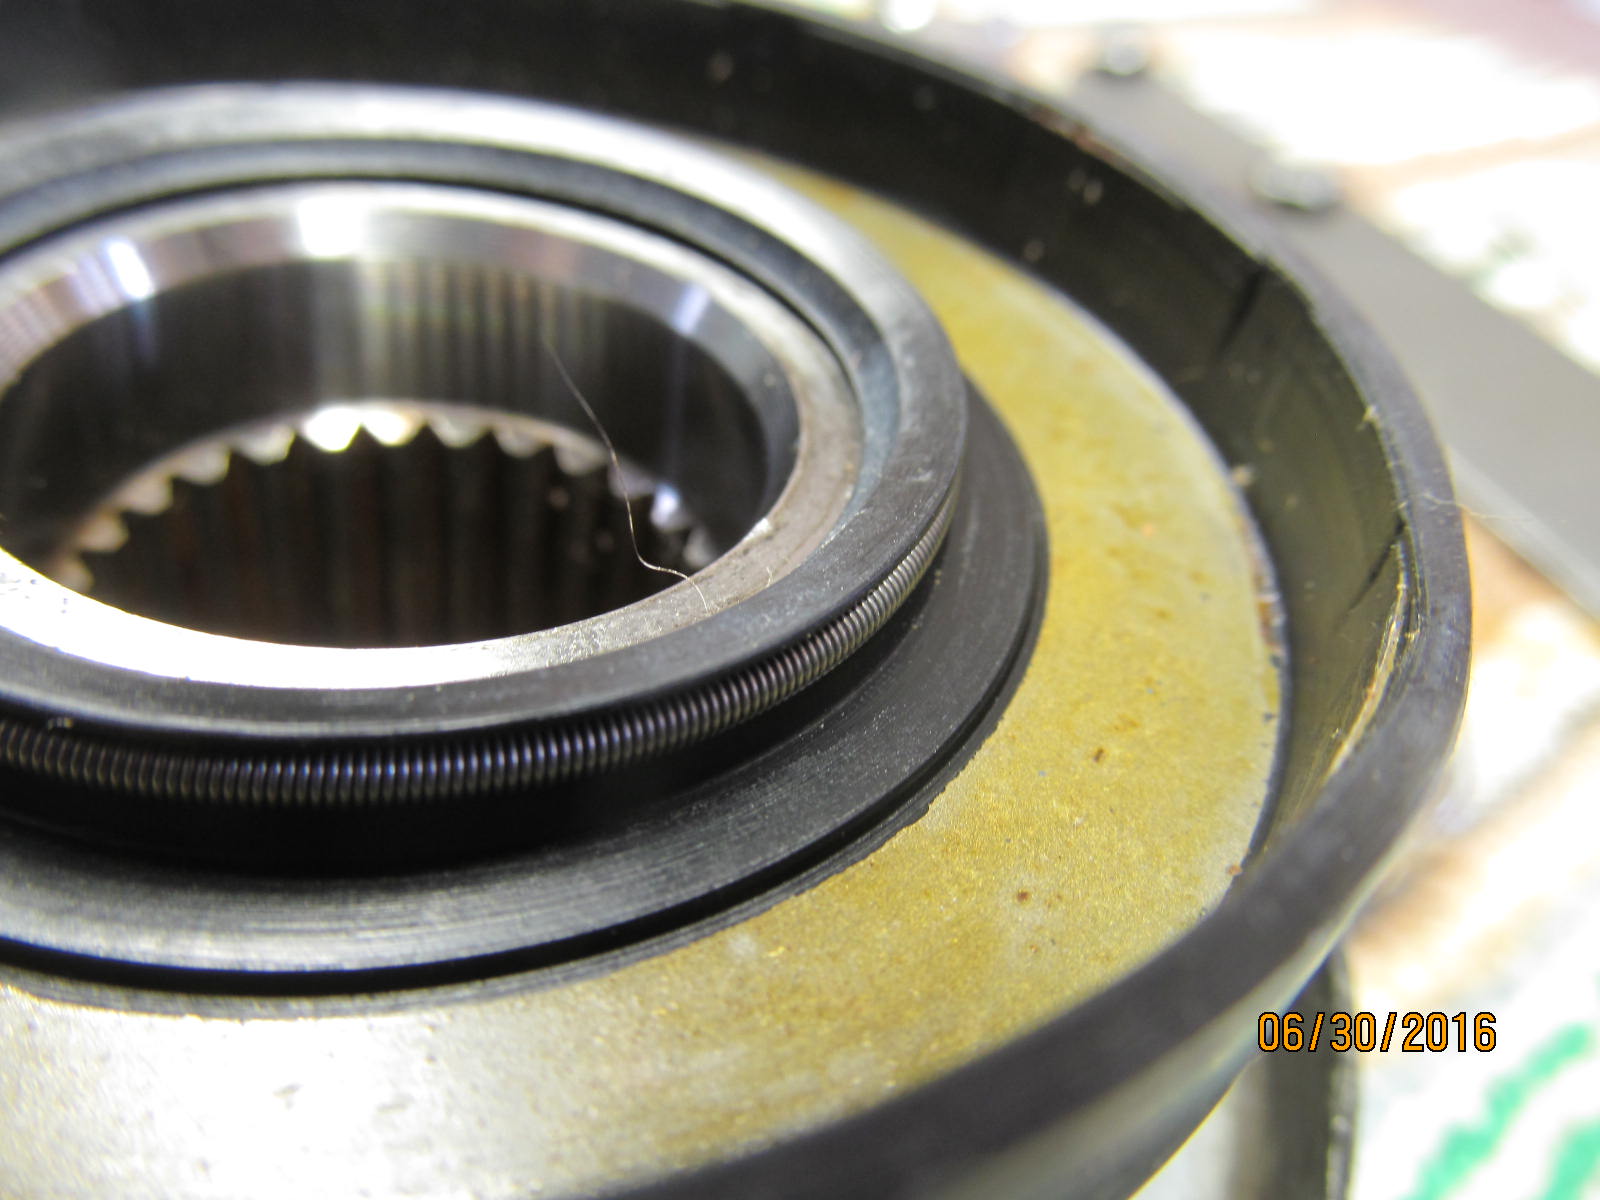
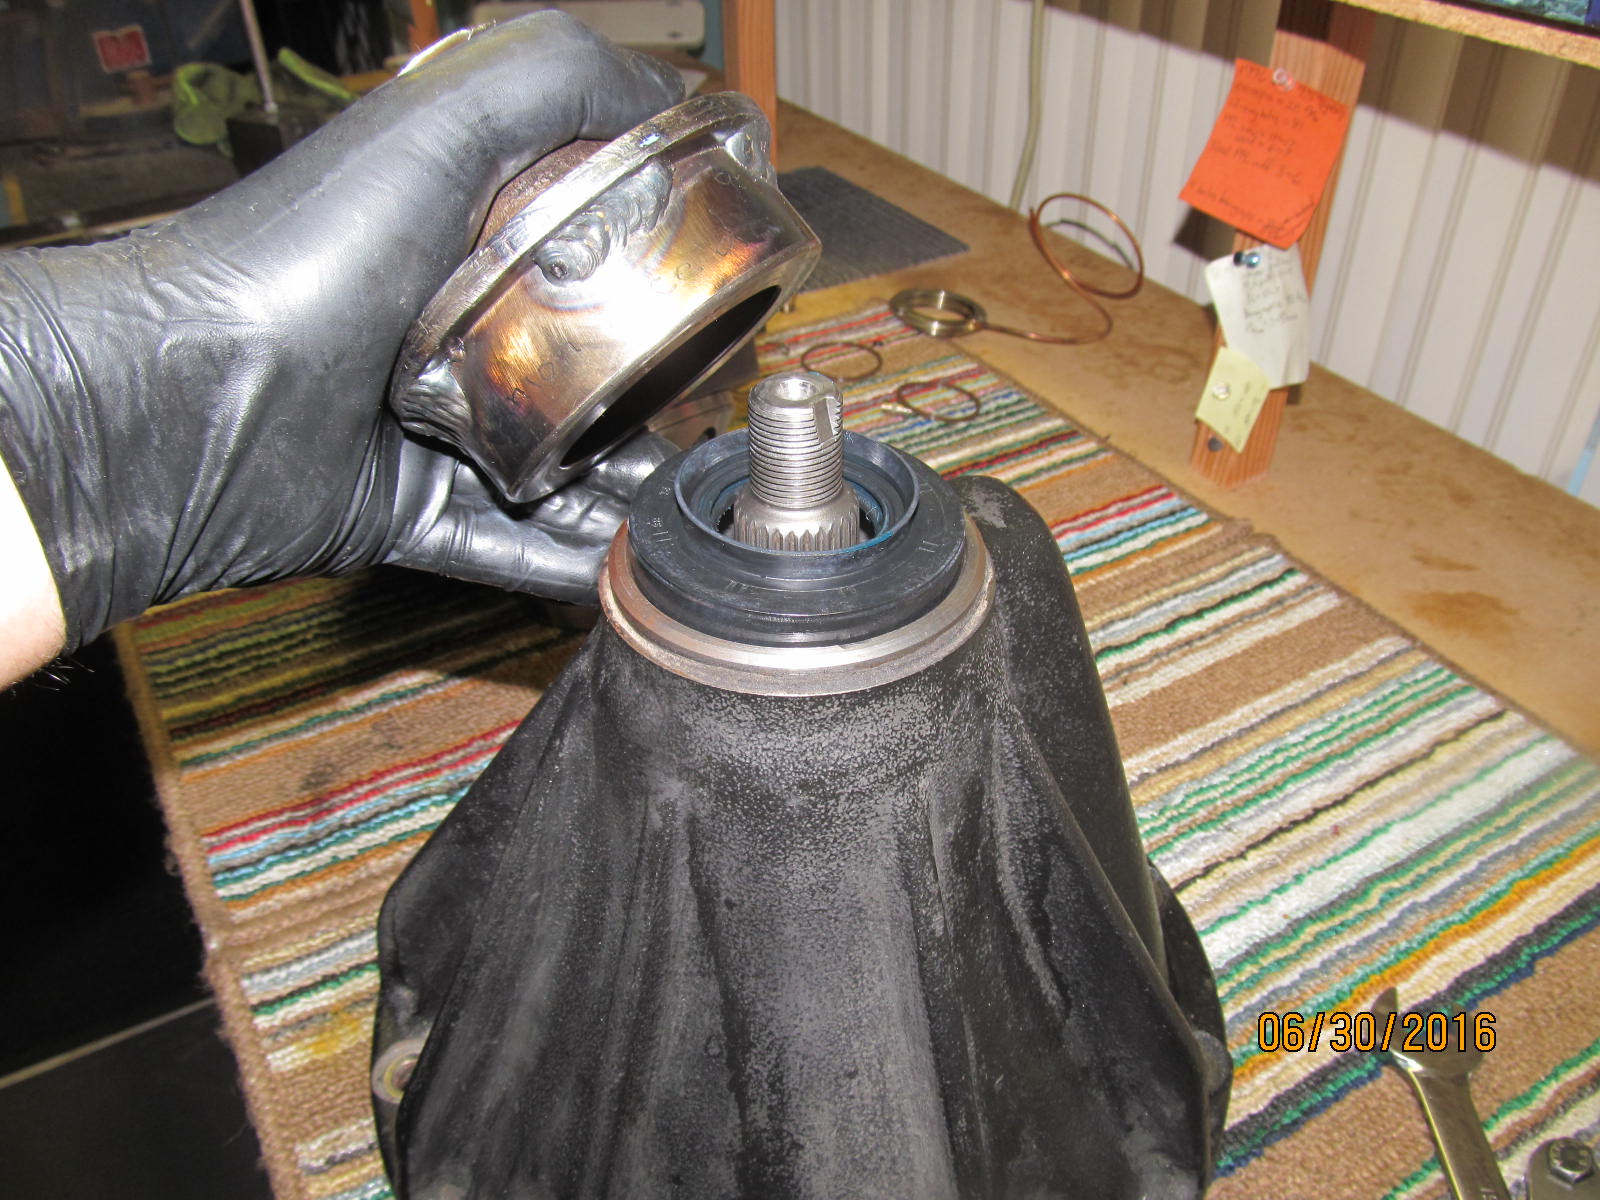
Seal check.
|
|
|
|
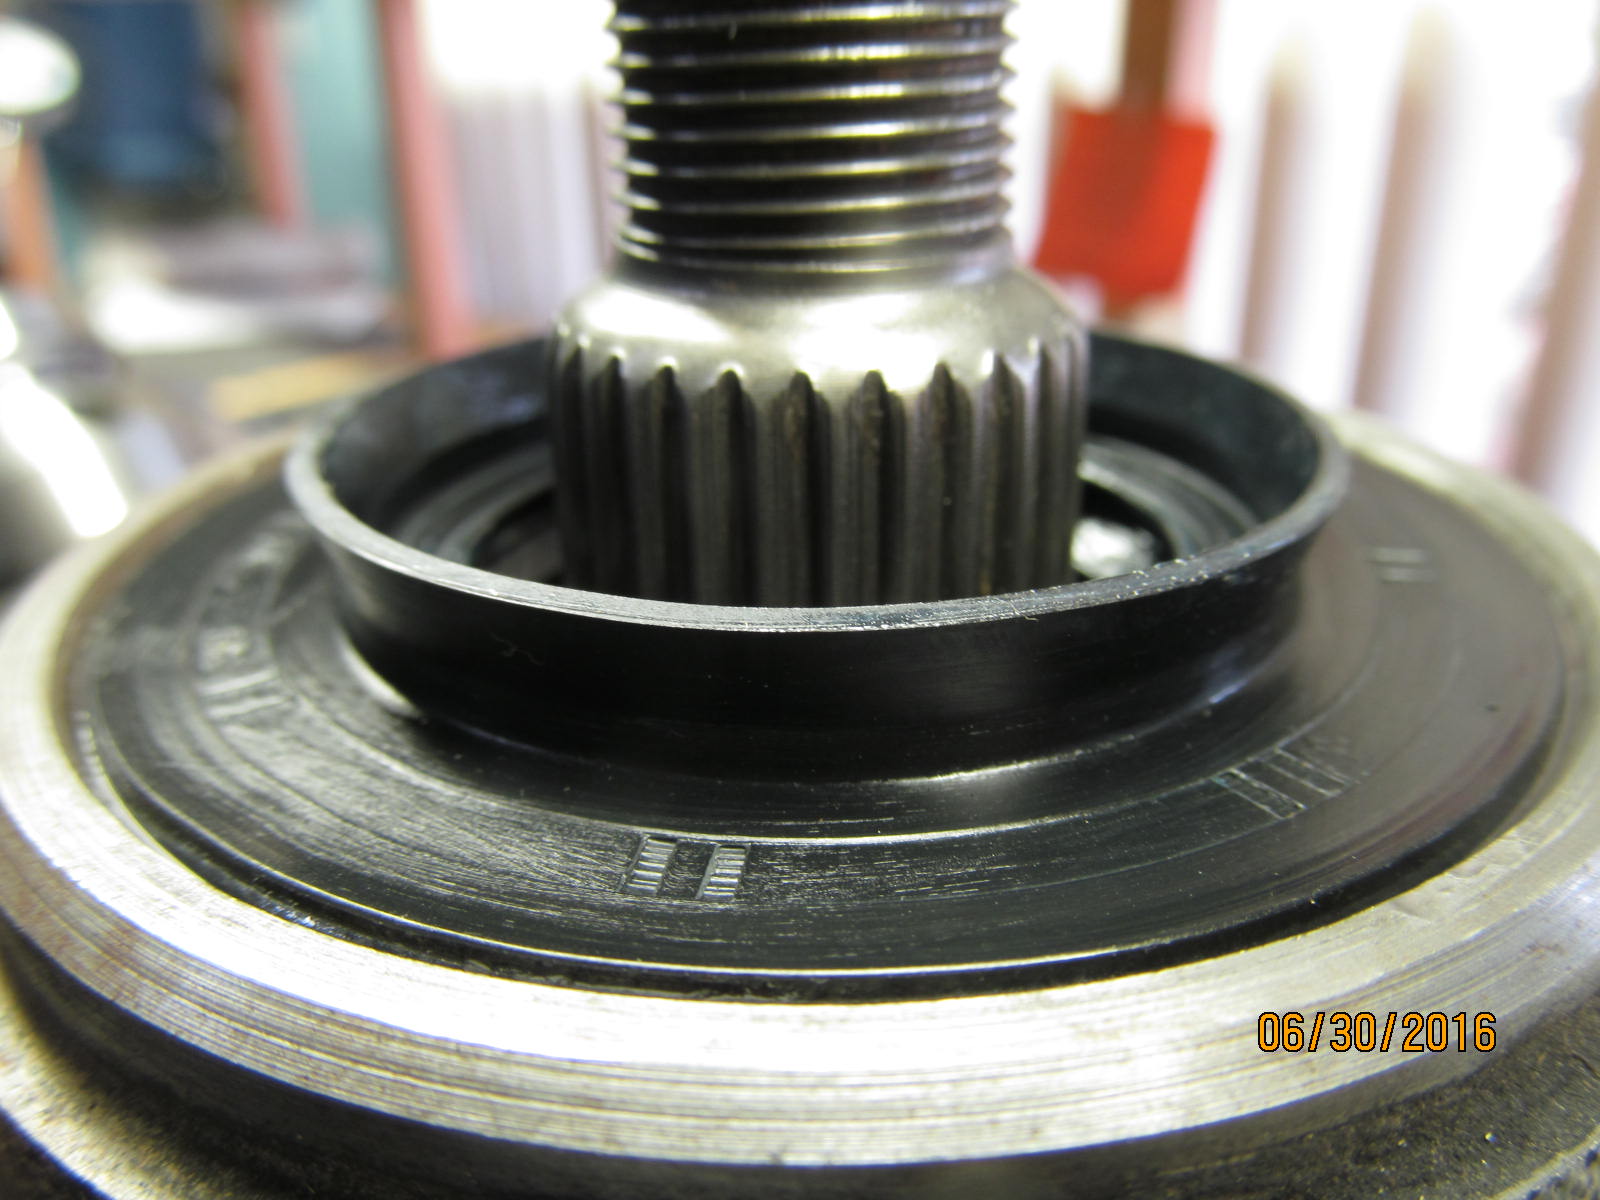
I have had some seals that pushed on so hard that I had to substitute something else in its place.
This one went on with some resistance but not so much that it starts a fire from the friction.
|
|
|
|
|
Best seal installer I've ever had....
|
|
|
|
|
,,,,,,,,,,,,,,,,,,,
|
|
|
|
|
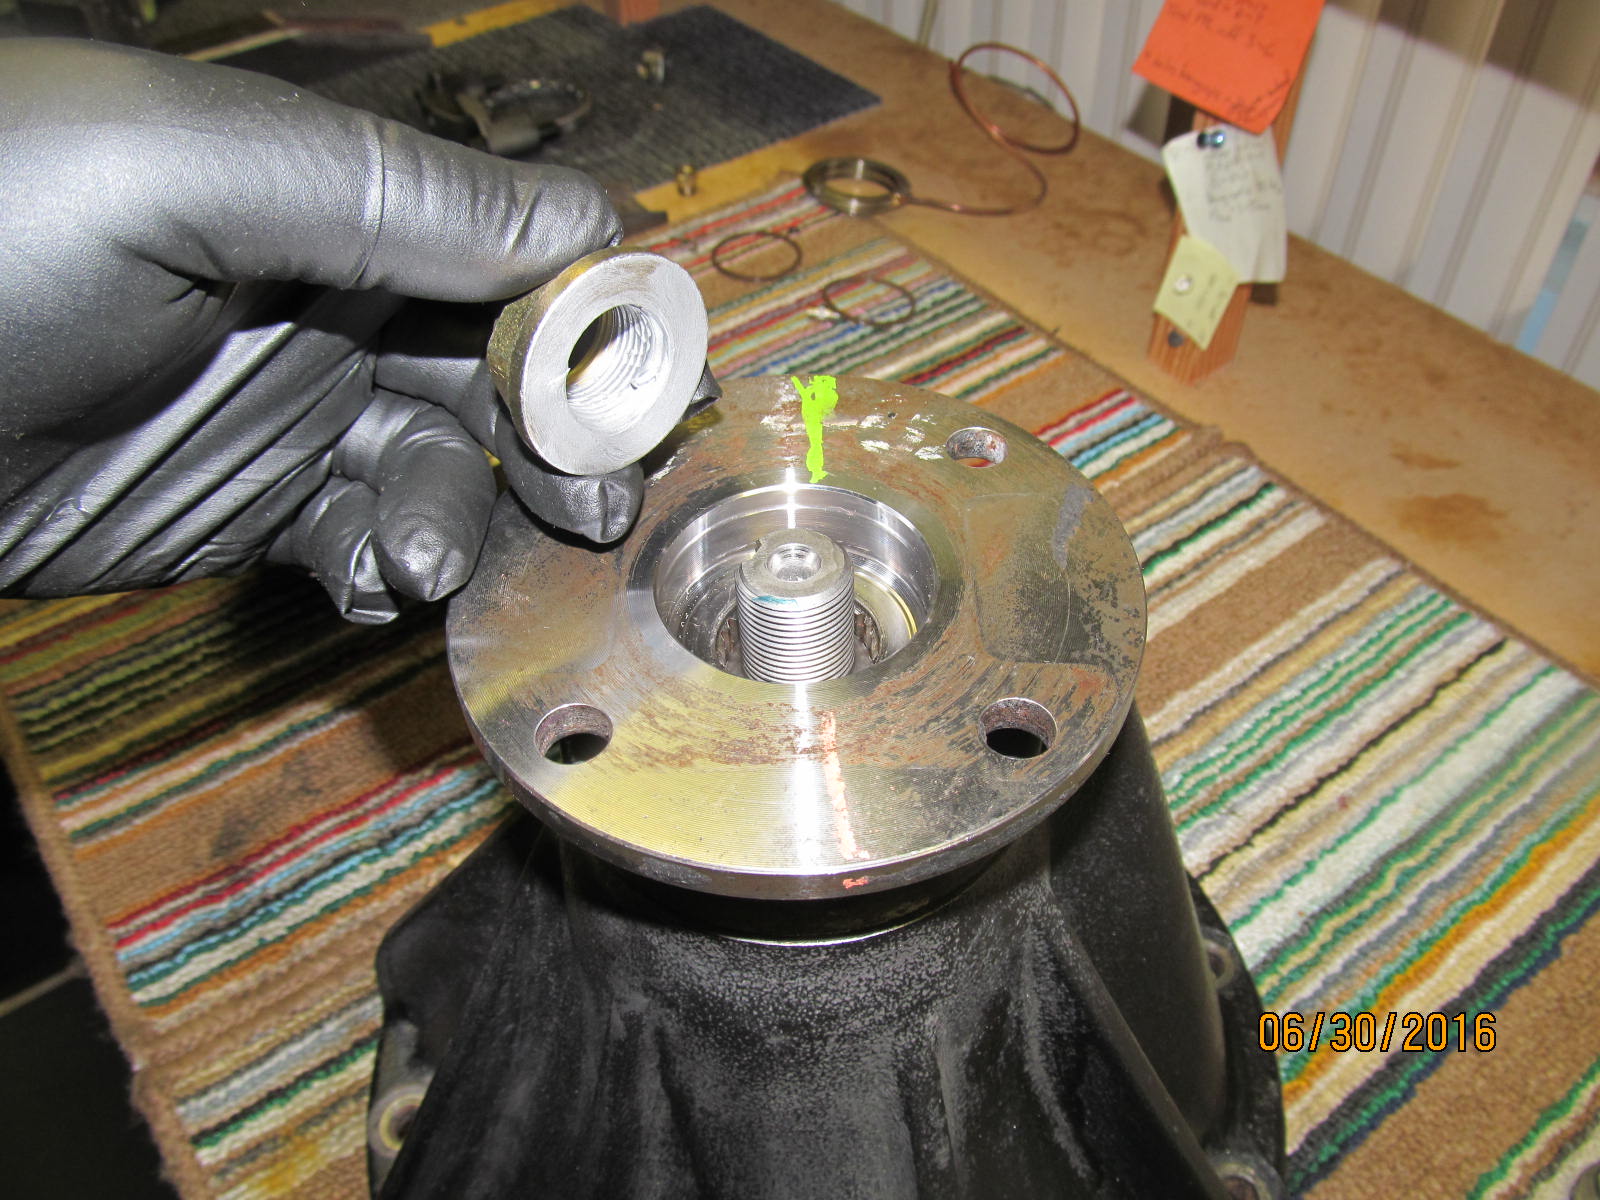
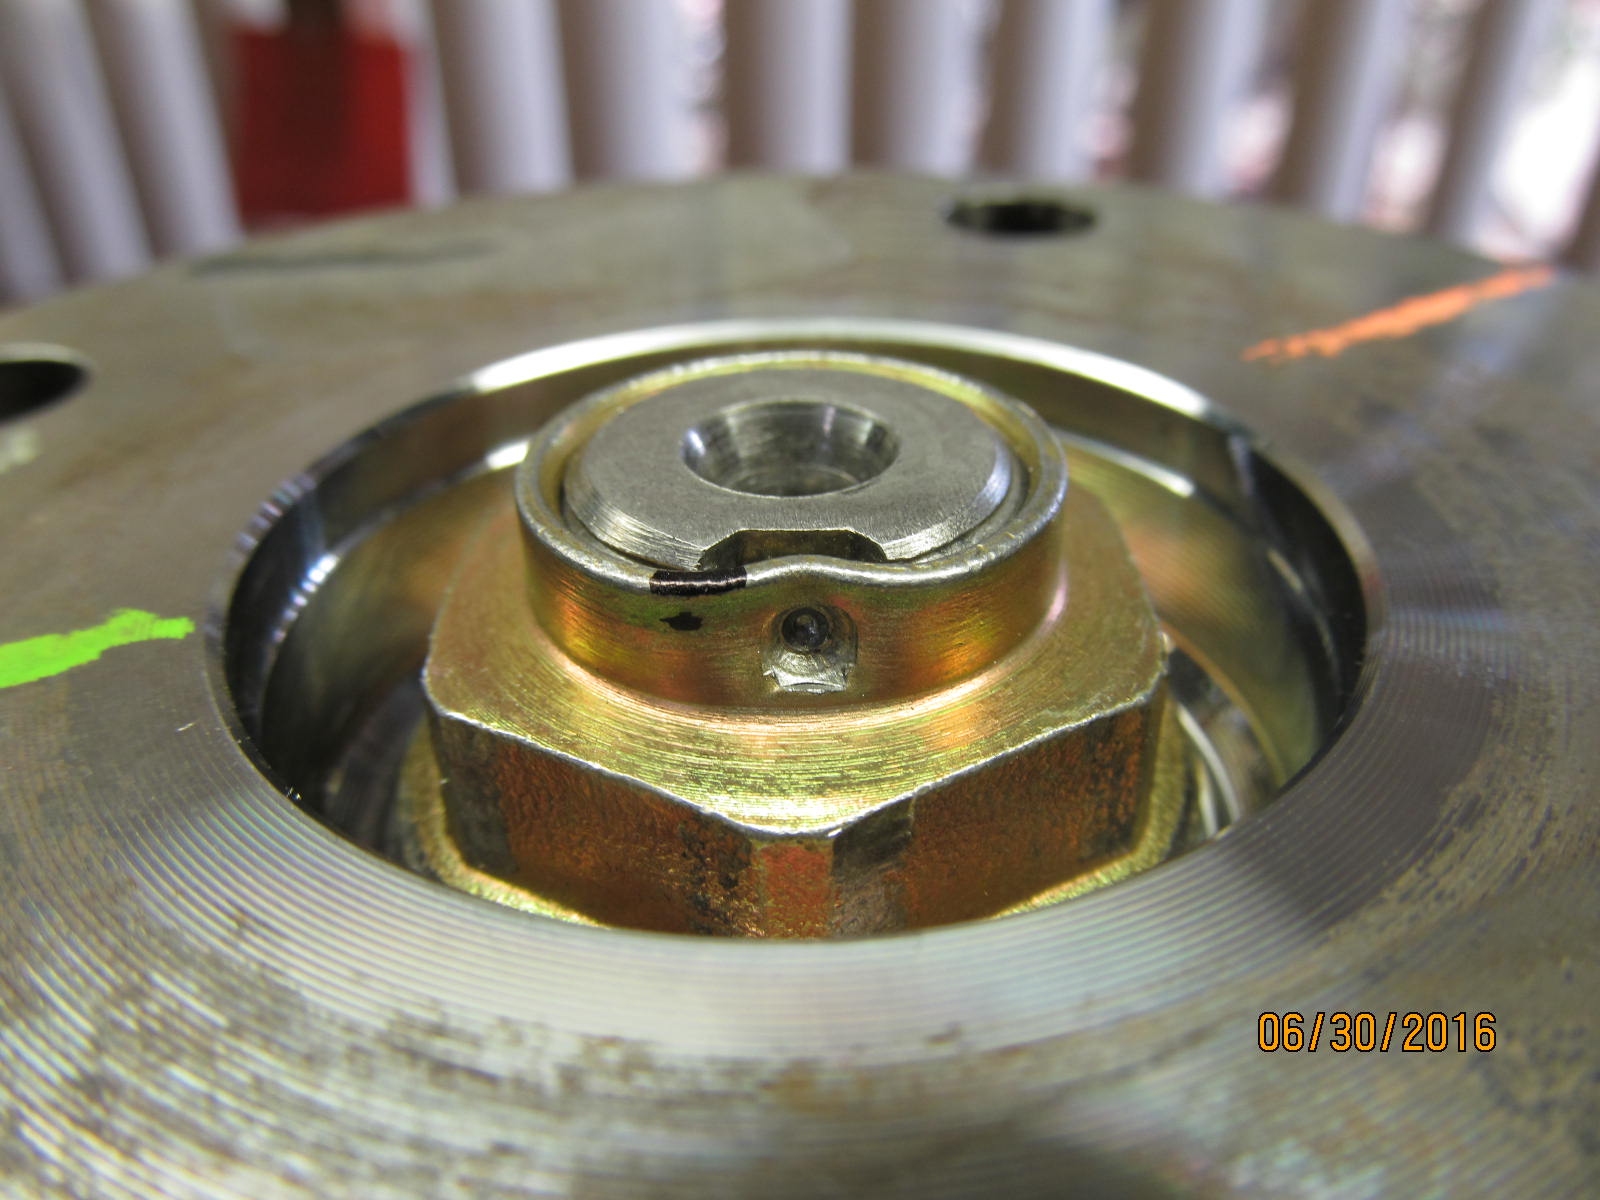
Aluminum based anti-seize.
|
|
|
|
|
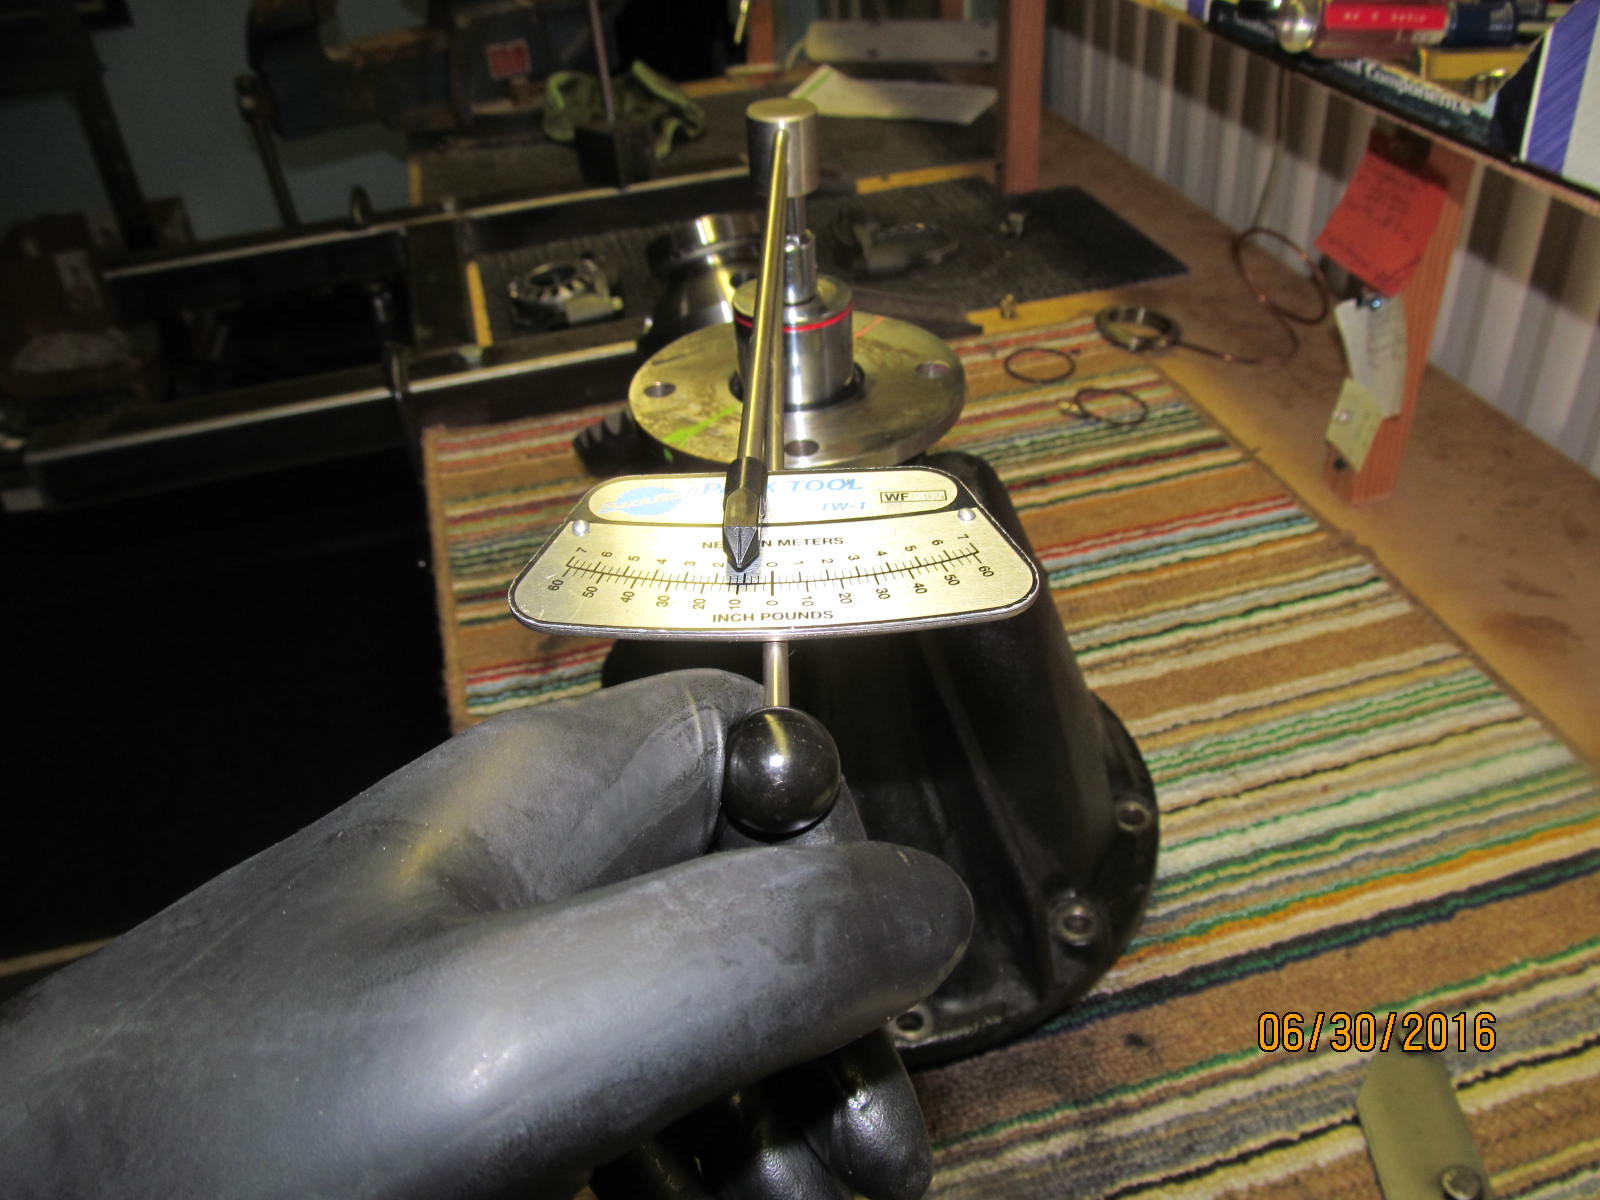
Tighten until proper PPL is reached...in this case, 12 in/lb start torque.
|
|
|
|
|
Ding! and the pinion end is complete.
|
|
|
|
|
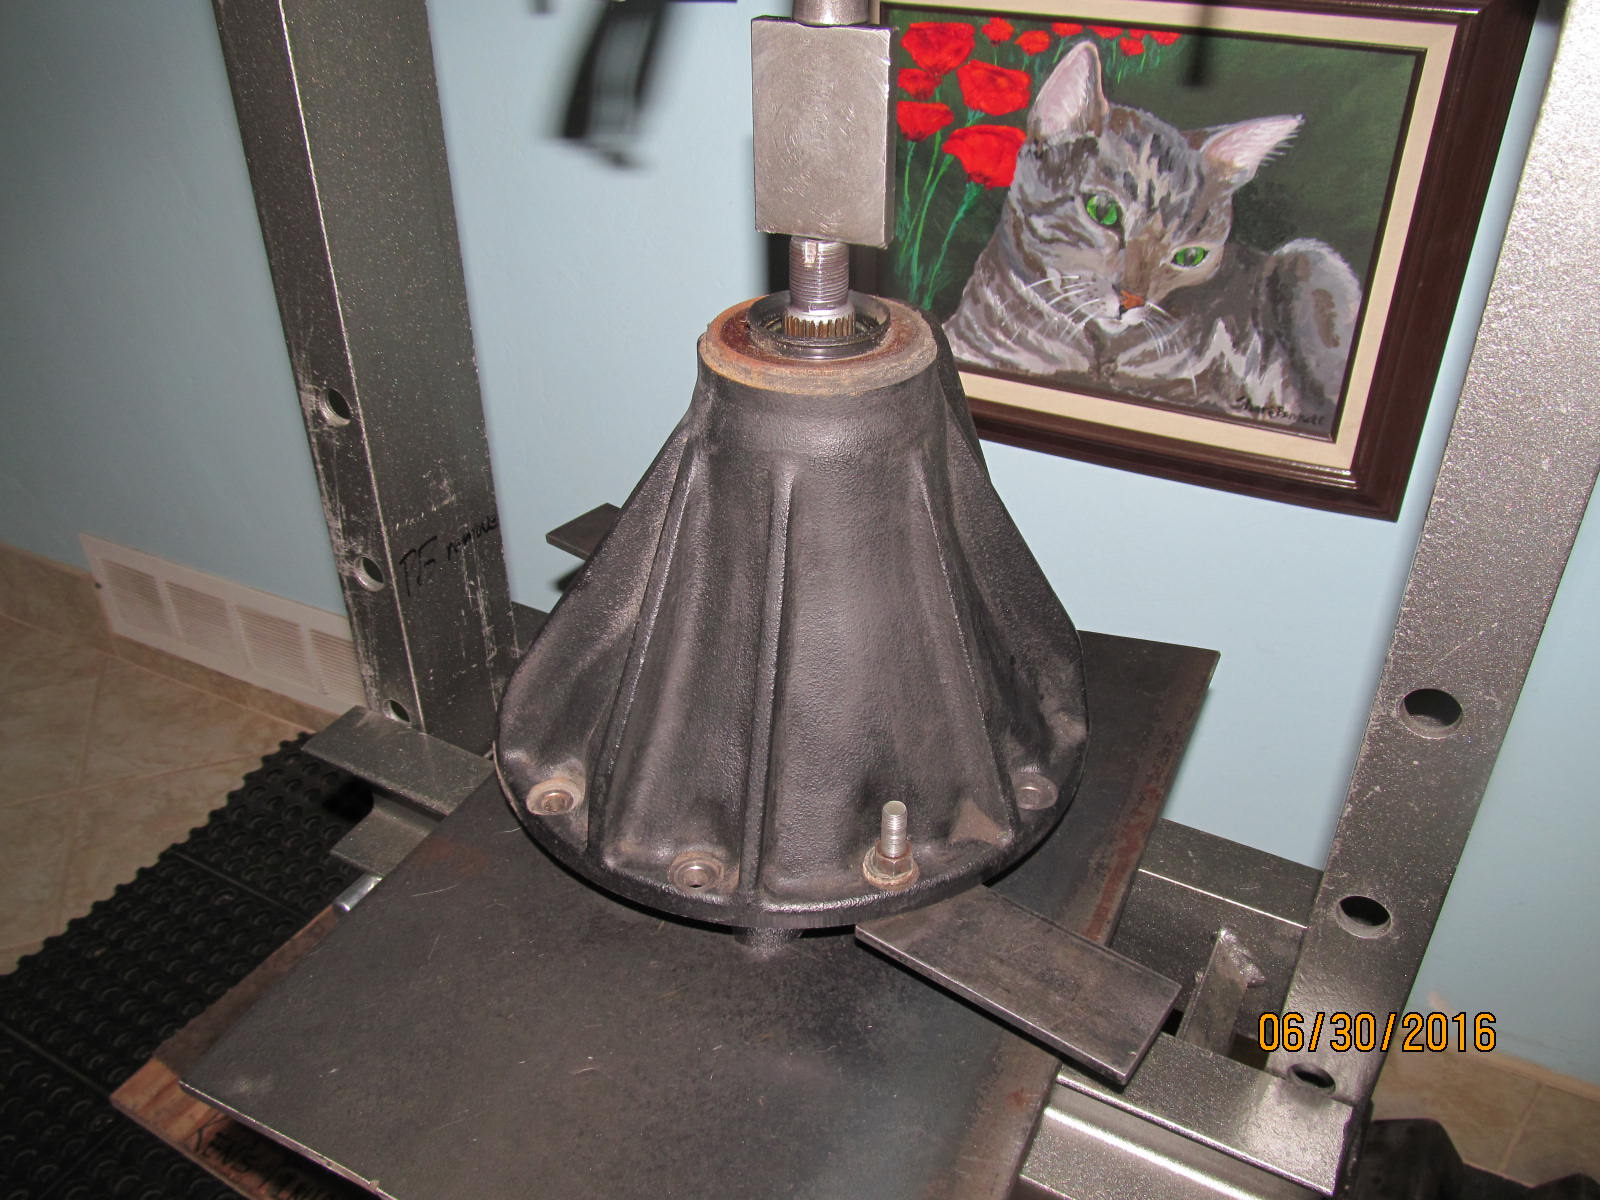
This end is pretty much very straight forward. :) Wheel adjusters are carefully lined up in the proper threads.
|
|
|
|
|
I tightened these 4 bolts to 75 ft/lb because there is an ARB in this equation.
|
|
|
|
|
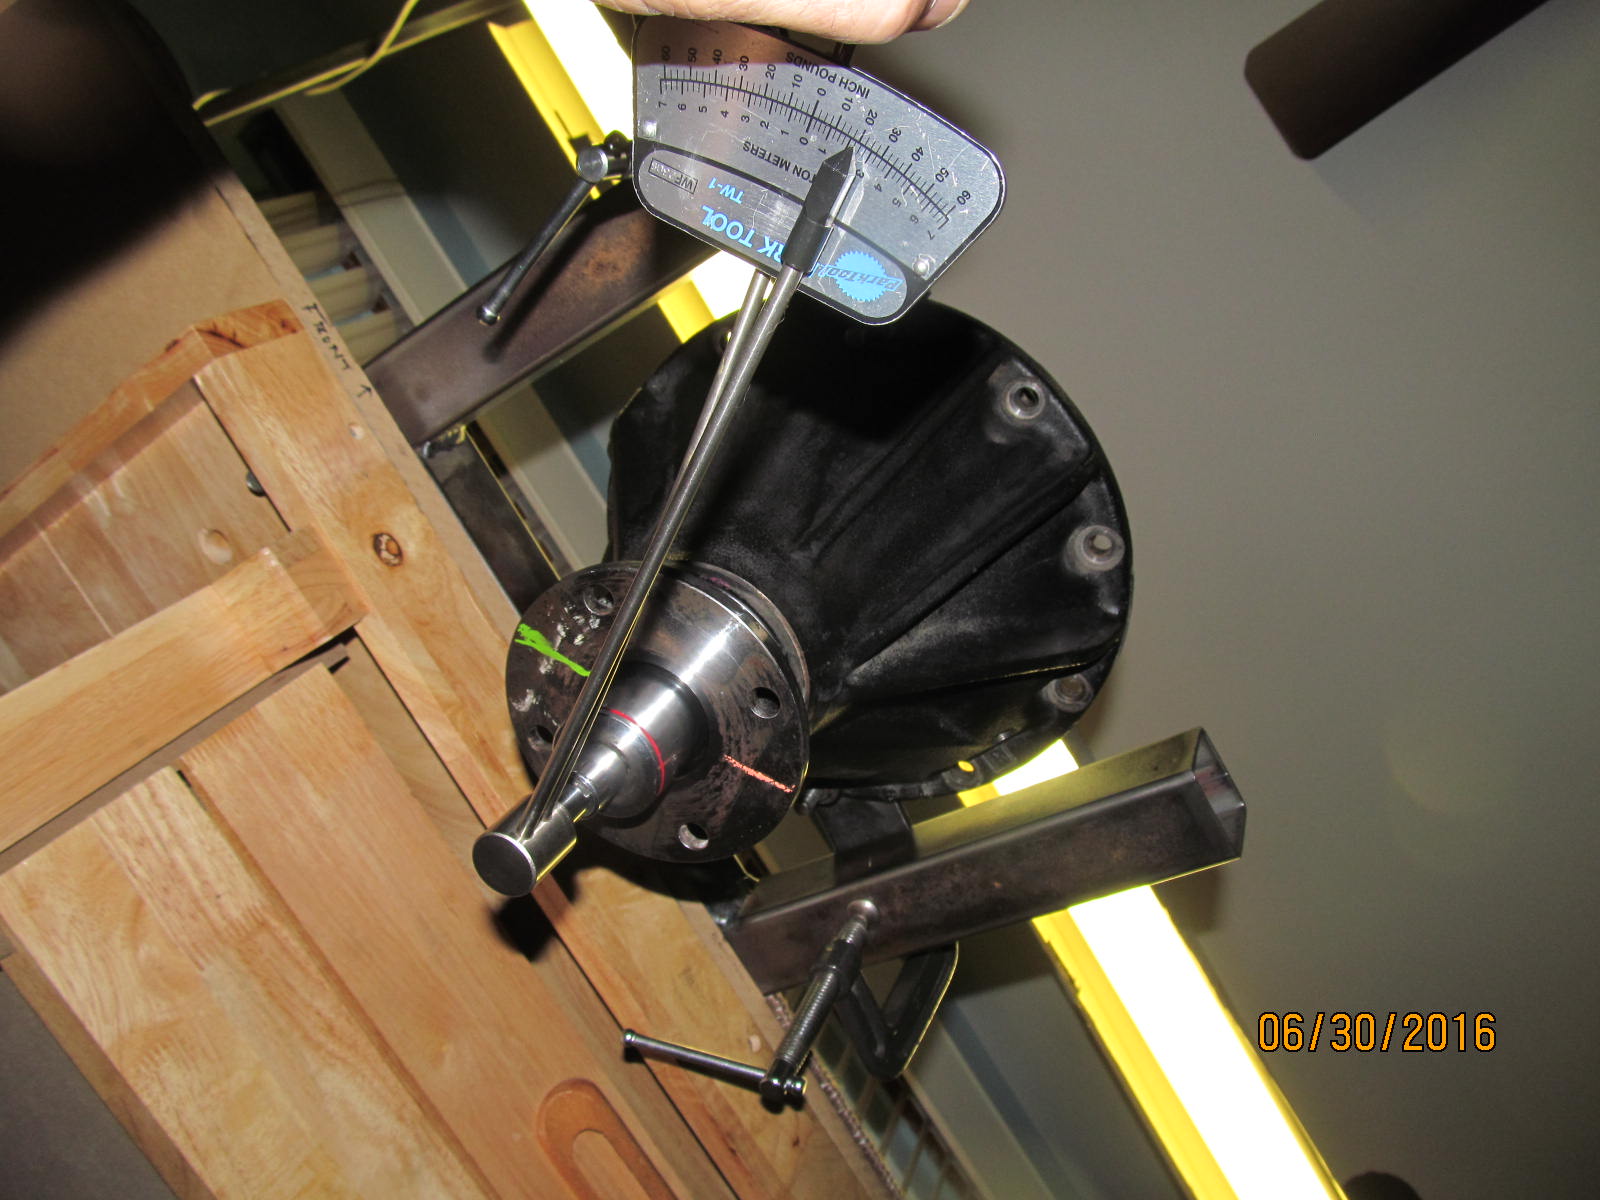
Total preload was measuring right at 20 in/lb start torque.
|
|
|
|
|
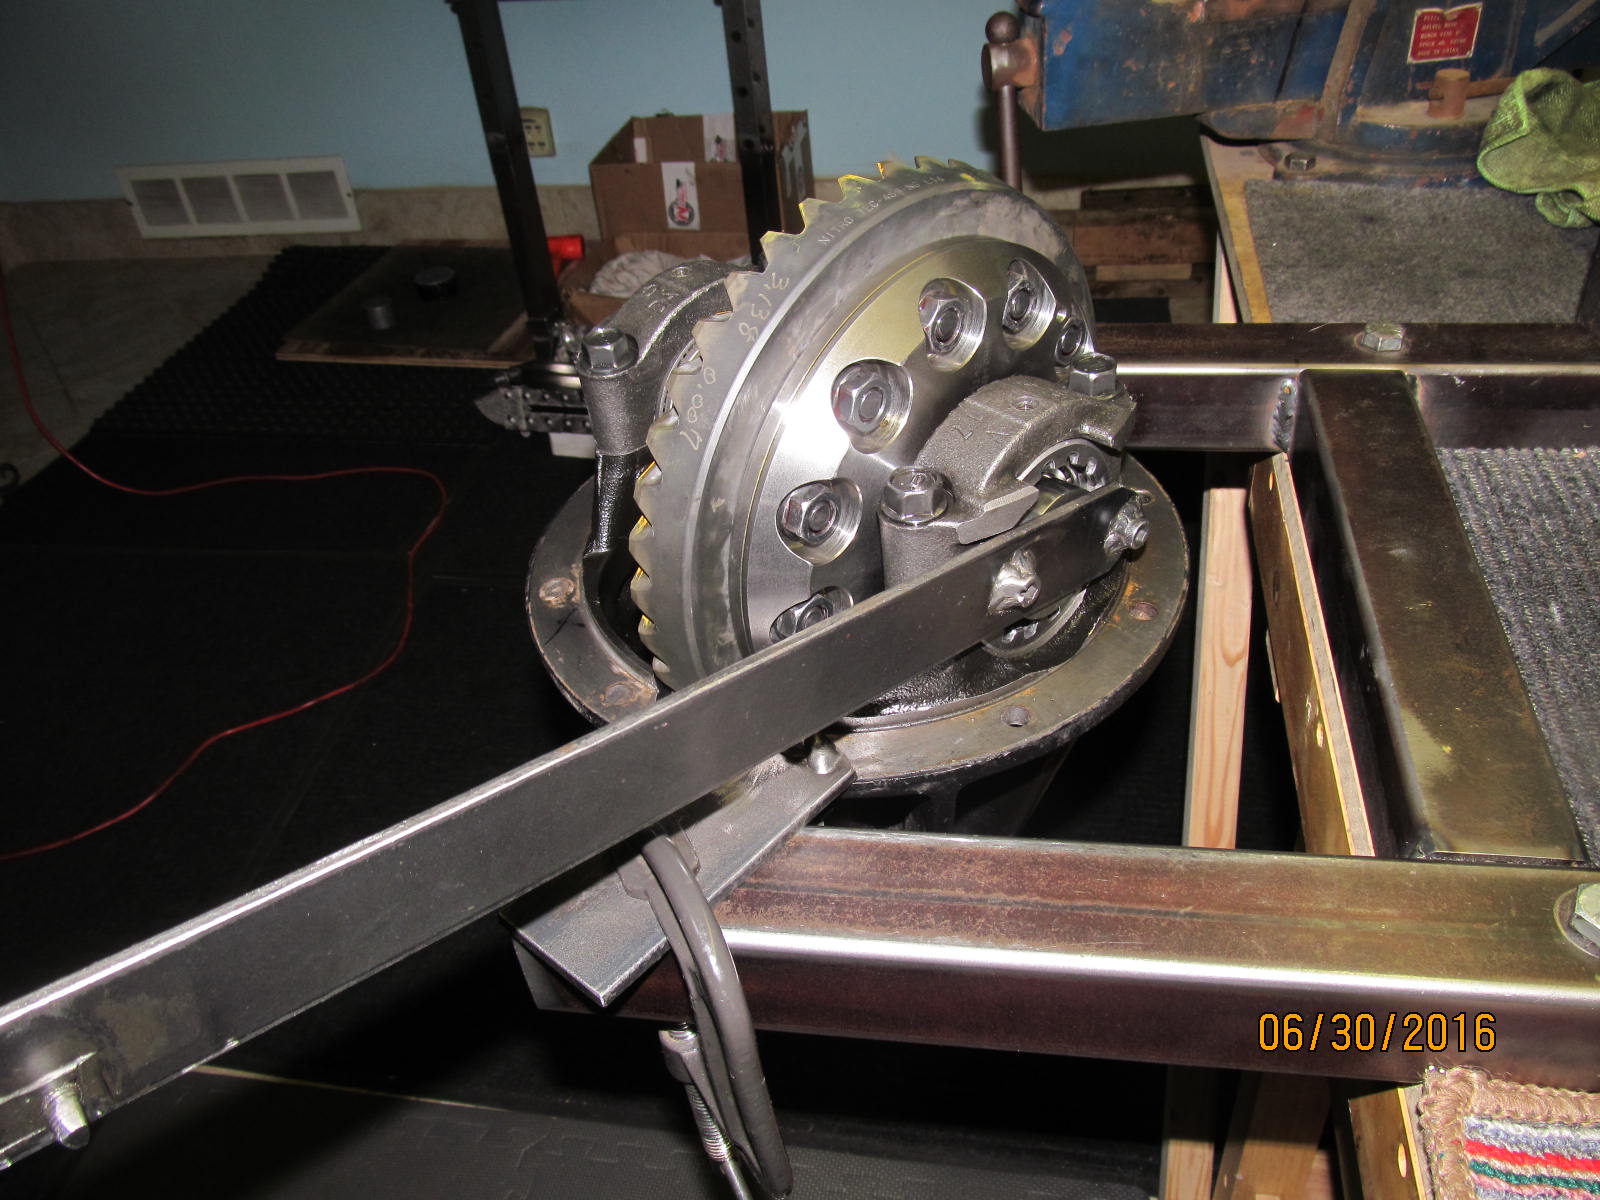
One final tweak and tightened the ring side adjuster wheel 1 notch and then the backlash was right in the zone.
|
|
|
|
|
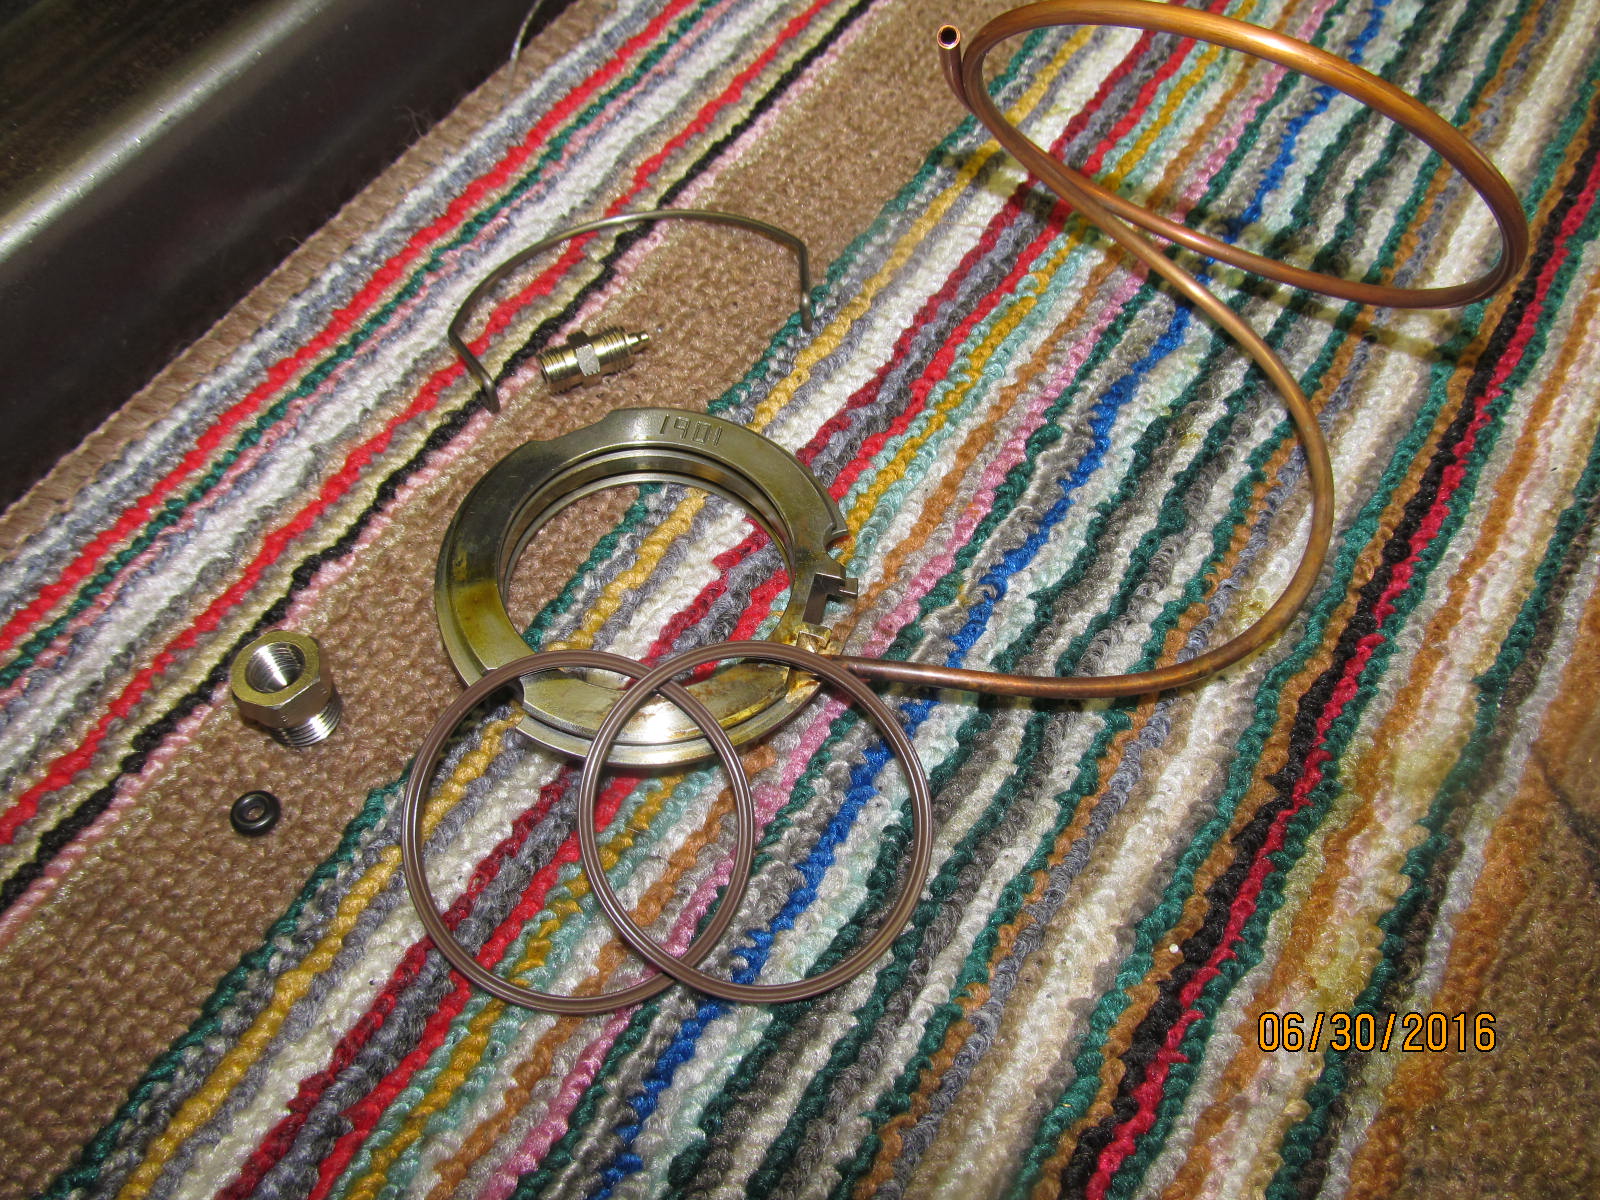
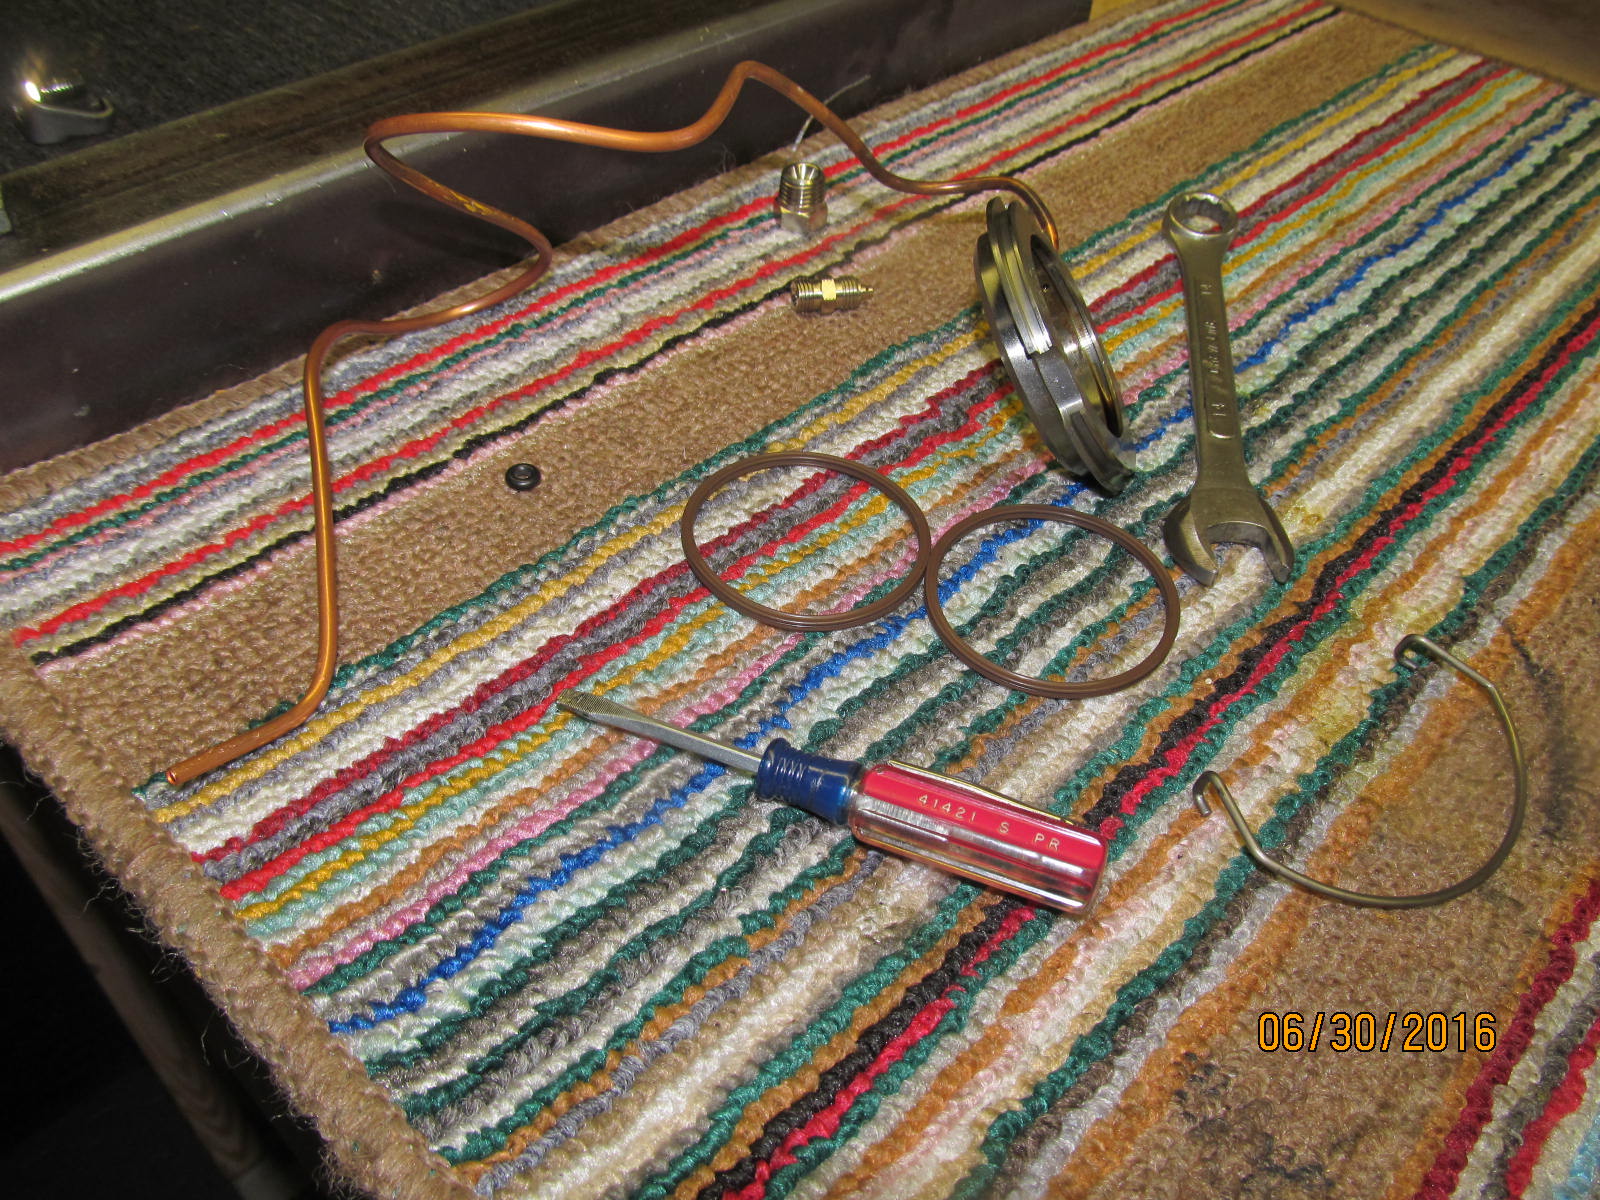
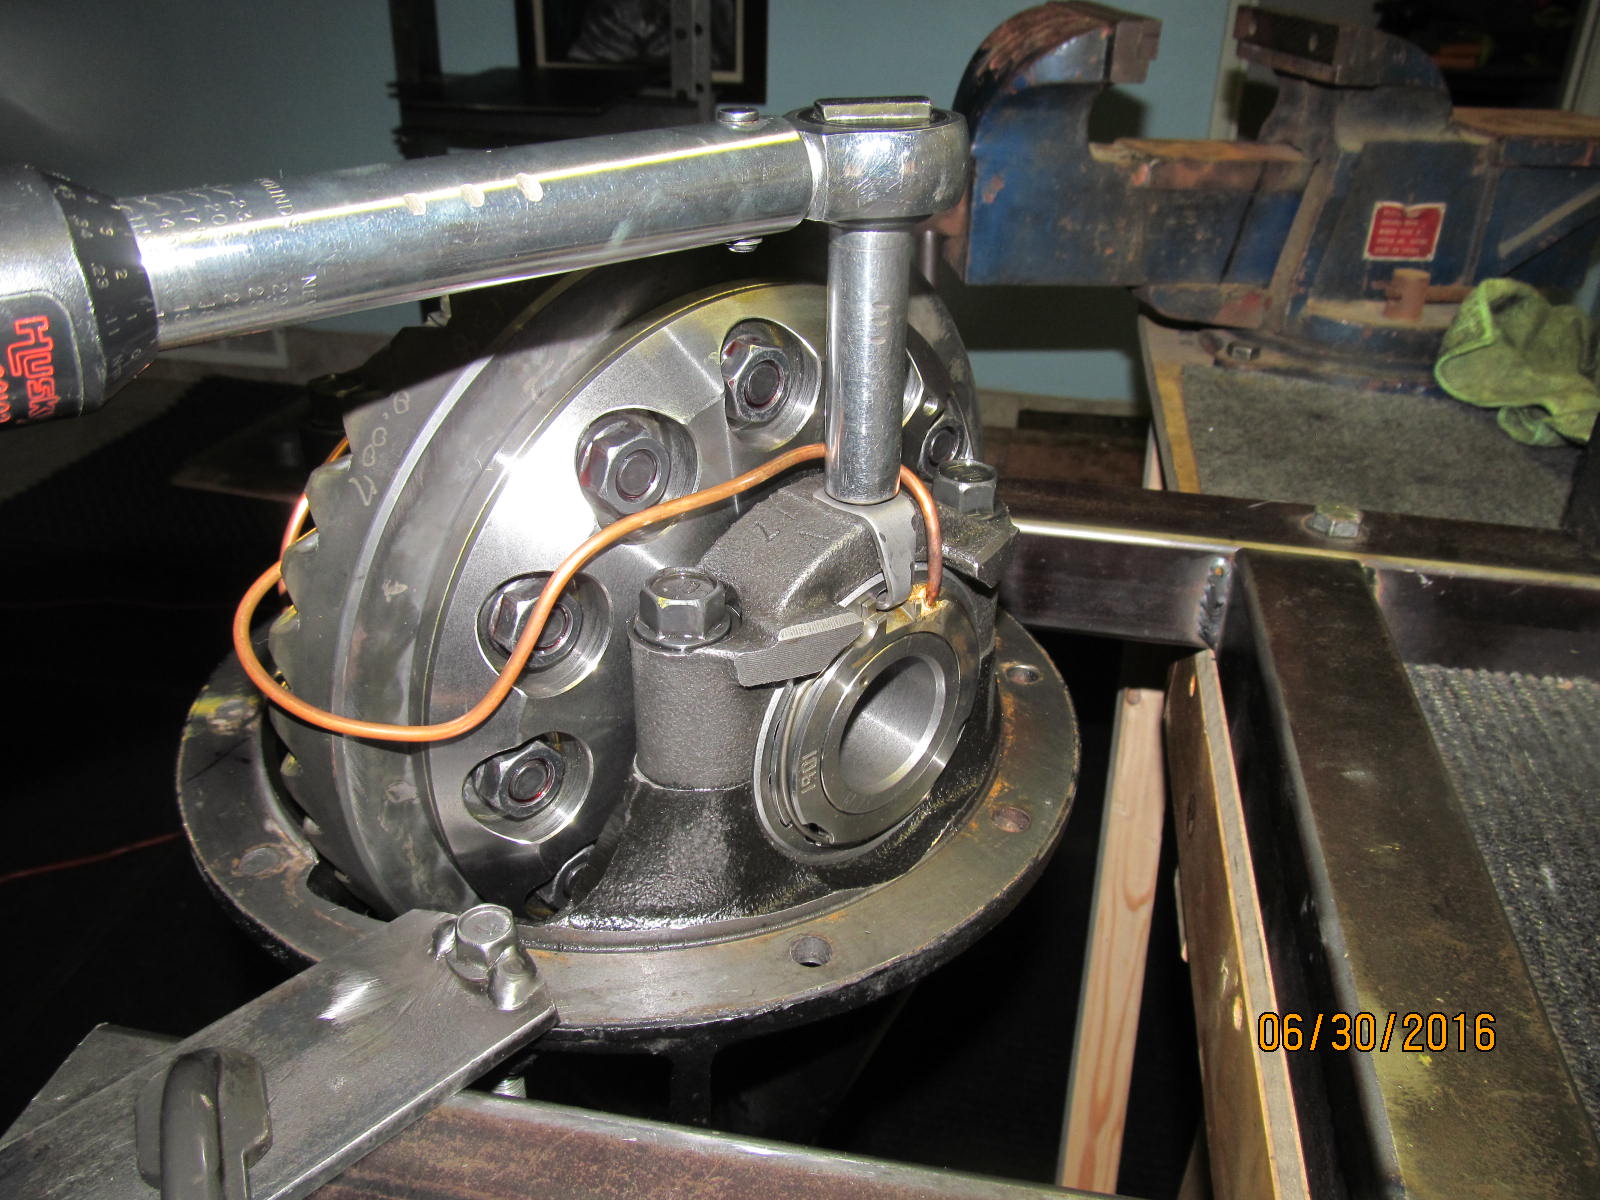
Last of the ARB parts to be installed.
|
|
|
|
|
I just finished form fitting the soft copper tube in place.
|
|
|
|
|
Now the 2 lock tabs are tightened to 10ft/lb and a little more for good measure.
|
|
|
|
|
ARB is pumped up to 100 psi and this one was left setting overnight and still had 100 in the morning.
|
|
|
|
|
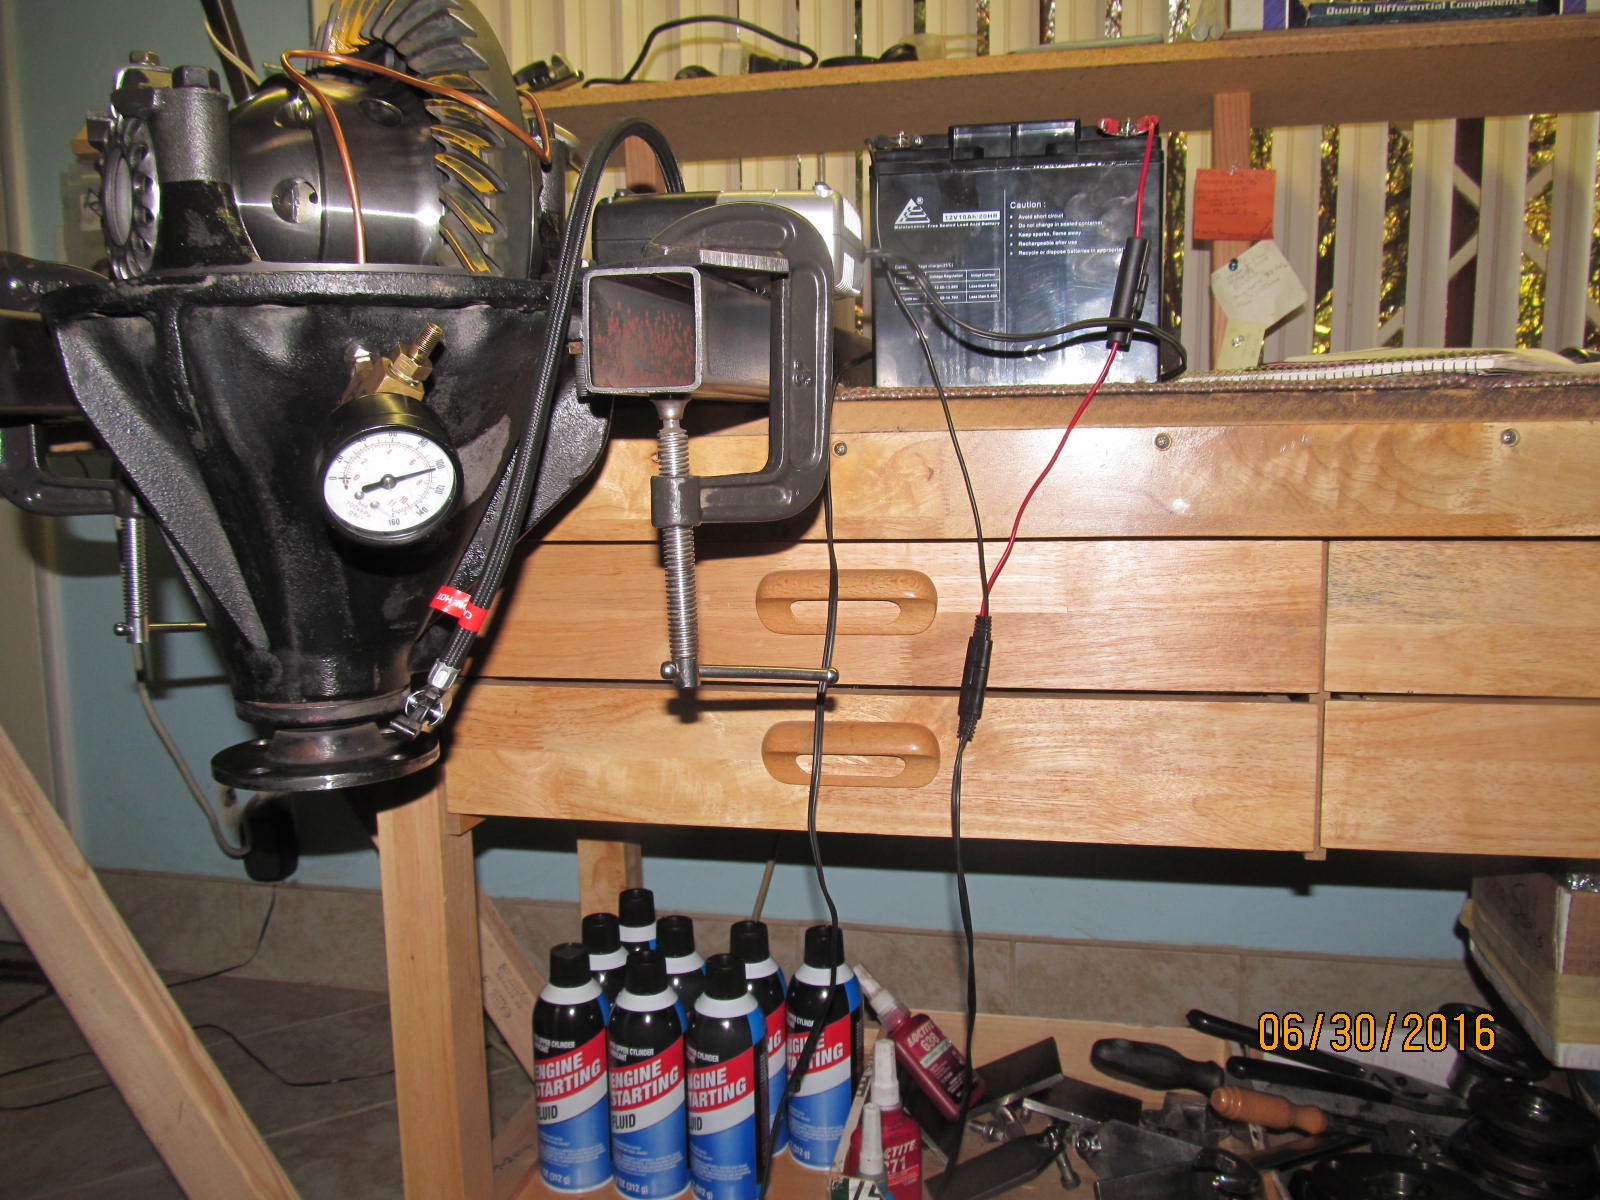
Nice picture
|
|
|
|
|
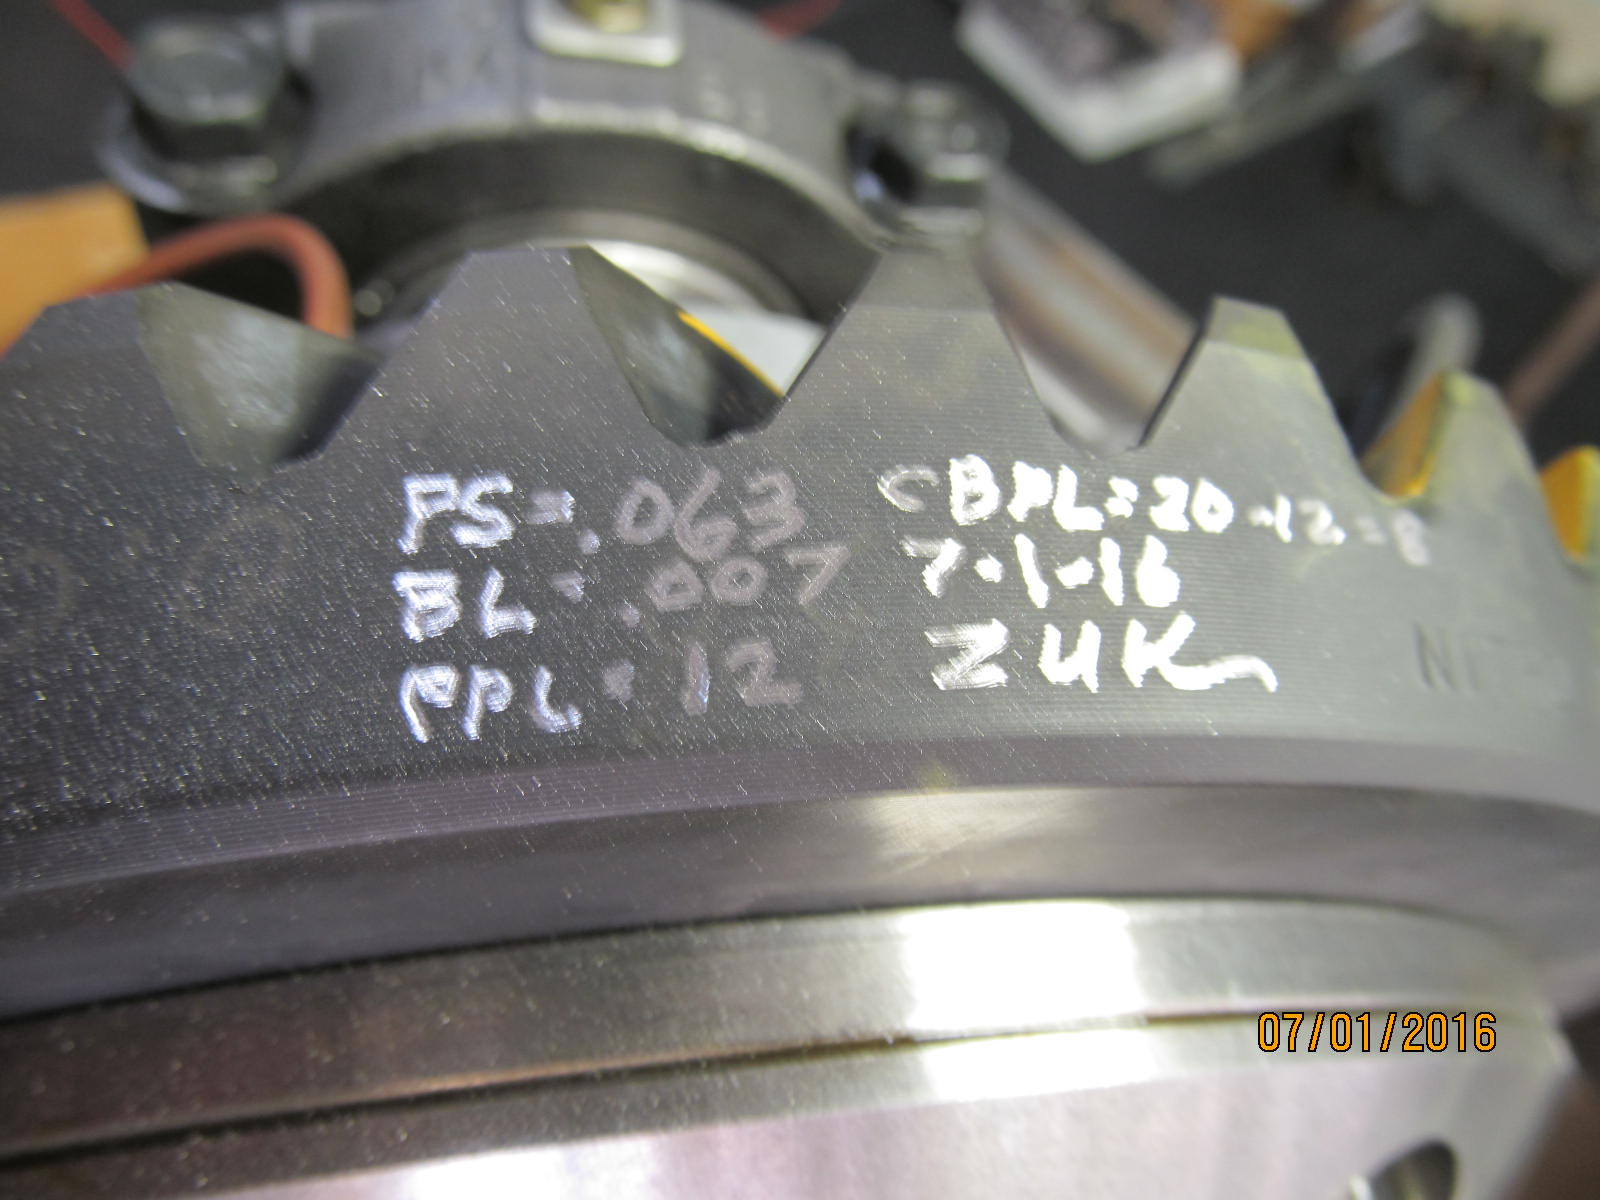
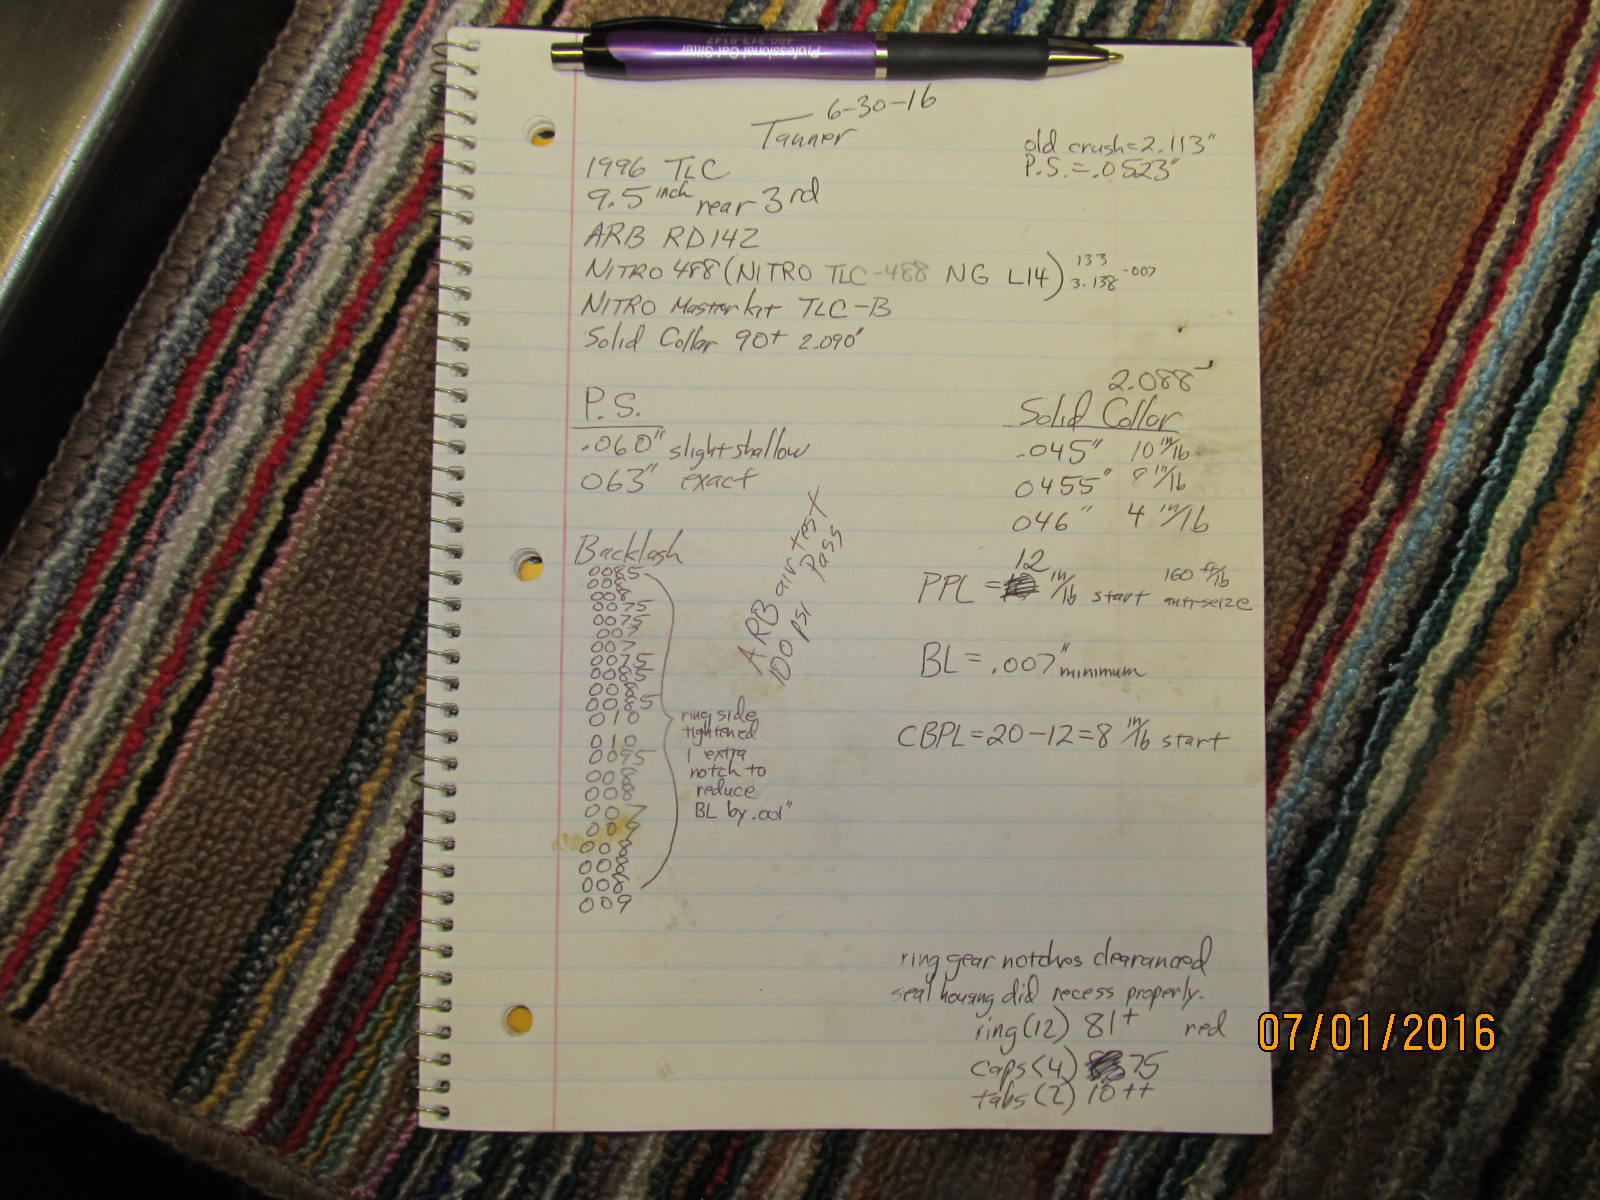
Final snapshot of the assembly notes.
|
|
|
|

|